Art With Heart Retiring Products Blog Hop
Tonight the Art With Heart team are sharing creative projects featuring products from the last chance products list.
There are lots of products to choose from with retiring stamp sets, ink pads and ink refills guaranteed to be available until 7 May (and all other products while supplies last).
Contact anyone on the blog hop to place your last chance order today.
Watercolour Wings (and its matching die sets, Bold Butterfly Framelits Dies and Butterflies Thinlits Dies) is one of the stamp sets I’m really going to miss when it retires on May 31 this year. This beautiful set can be used with any combination of colours and the watercolour-look photopolymer 3 step stamps are incredibly forgiving of any mistakes.
To showcase this retiring bundle I decided to make a butterfly display box. I’ve been thinking about making this home decor piece for a while now, but it was a recent trip to America that really triggered this project.
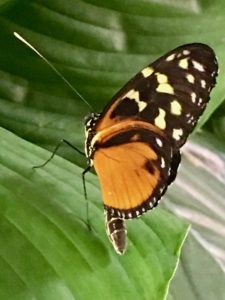
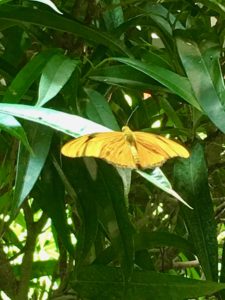
Earlier this year I was incredibly lucky to finally visit a city that I’ve always wanted to visit: New York, New York. We only had a week there but managed to cram so much in, including a visit to the Museum of Natural History, where we walked through an incredible exhibit of live butterflies in a rainforest.
We were surrounded by thousands of these gorgeous creatures as they landed on our heads and our hands, but they were quite tricky to photograph.
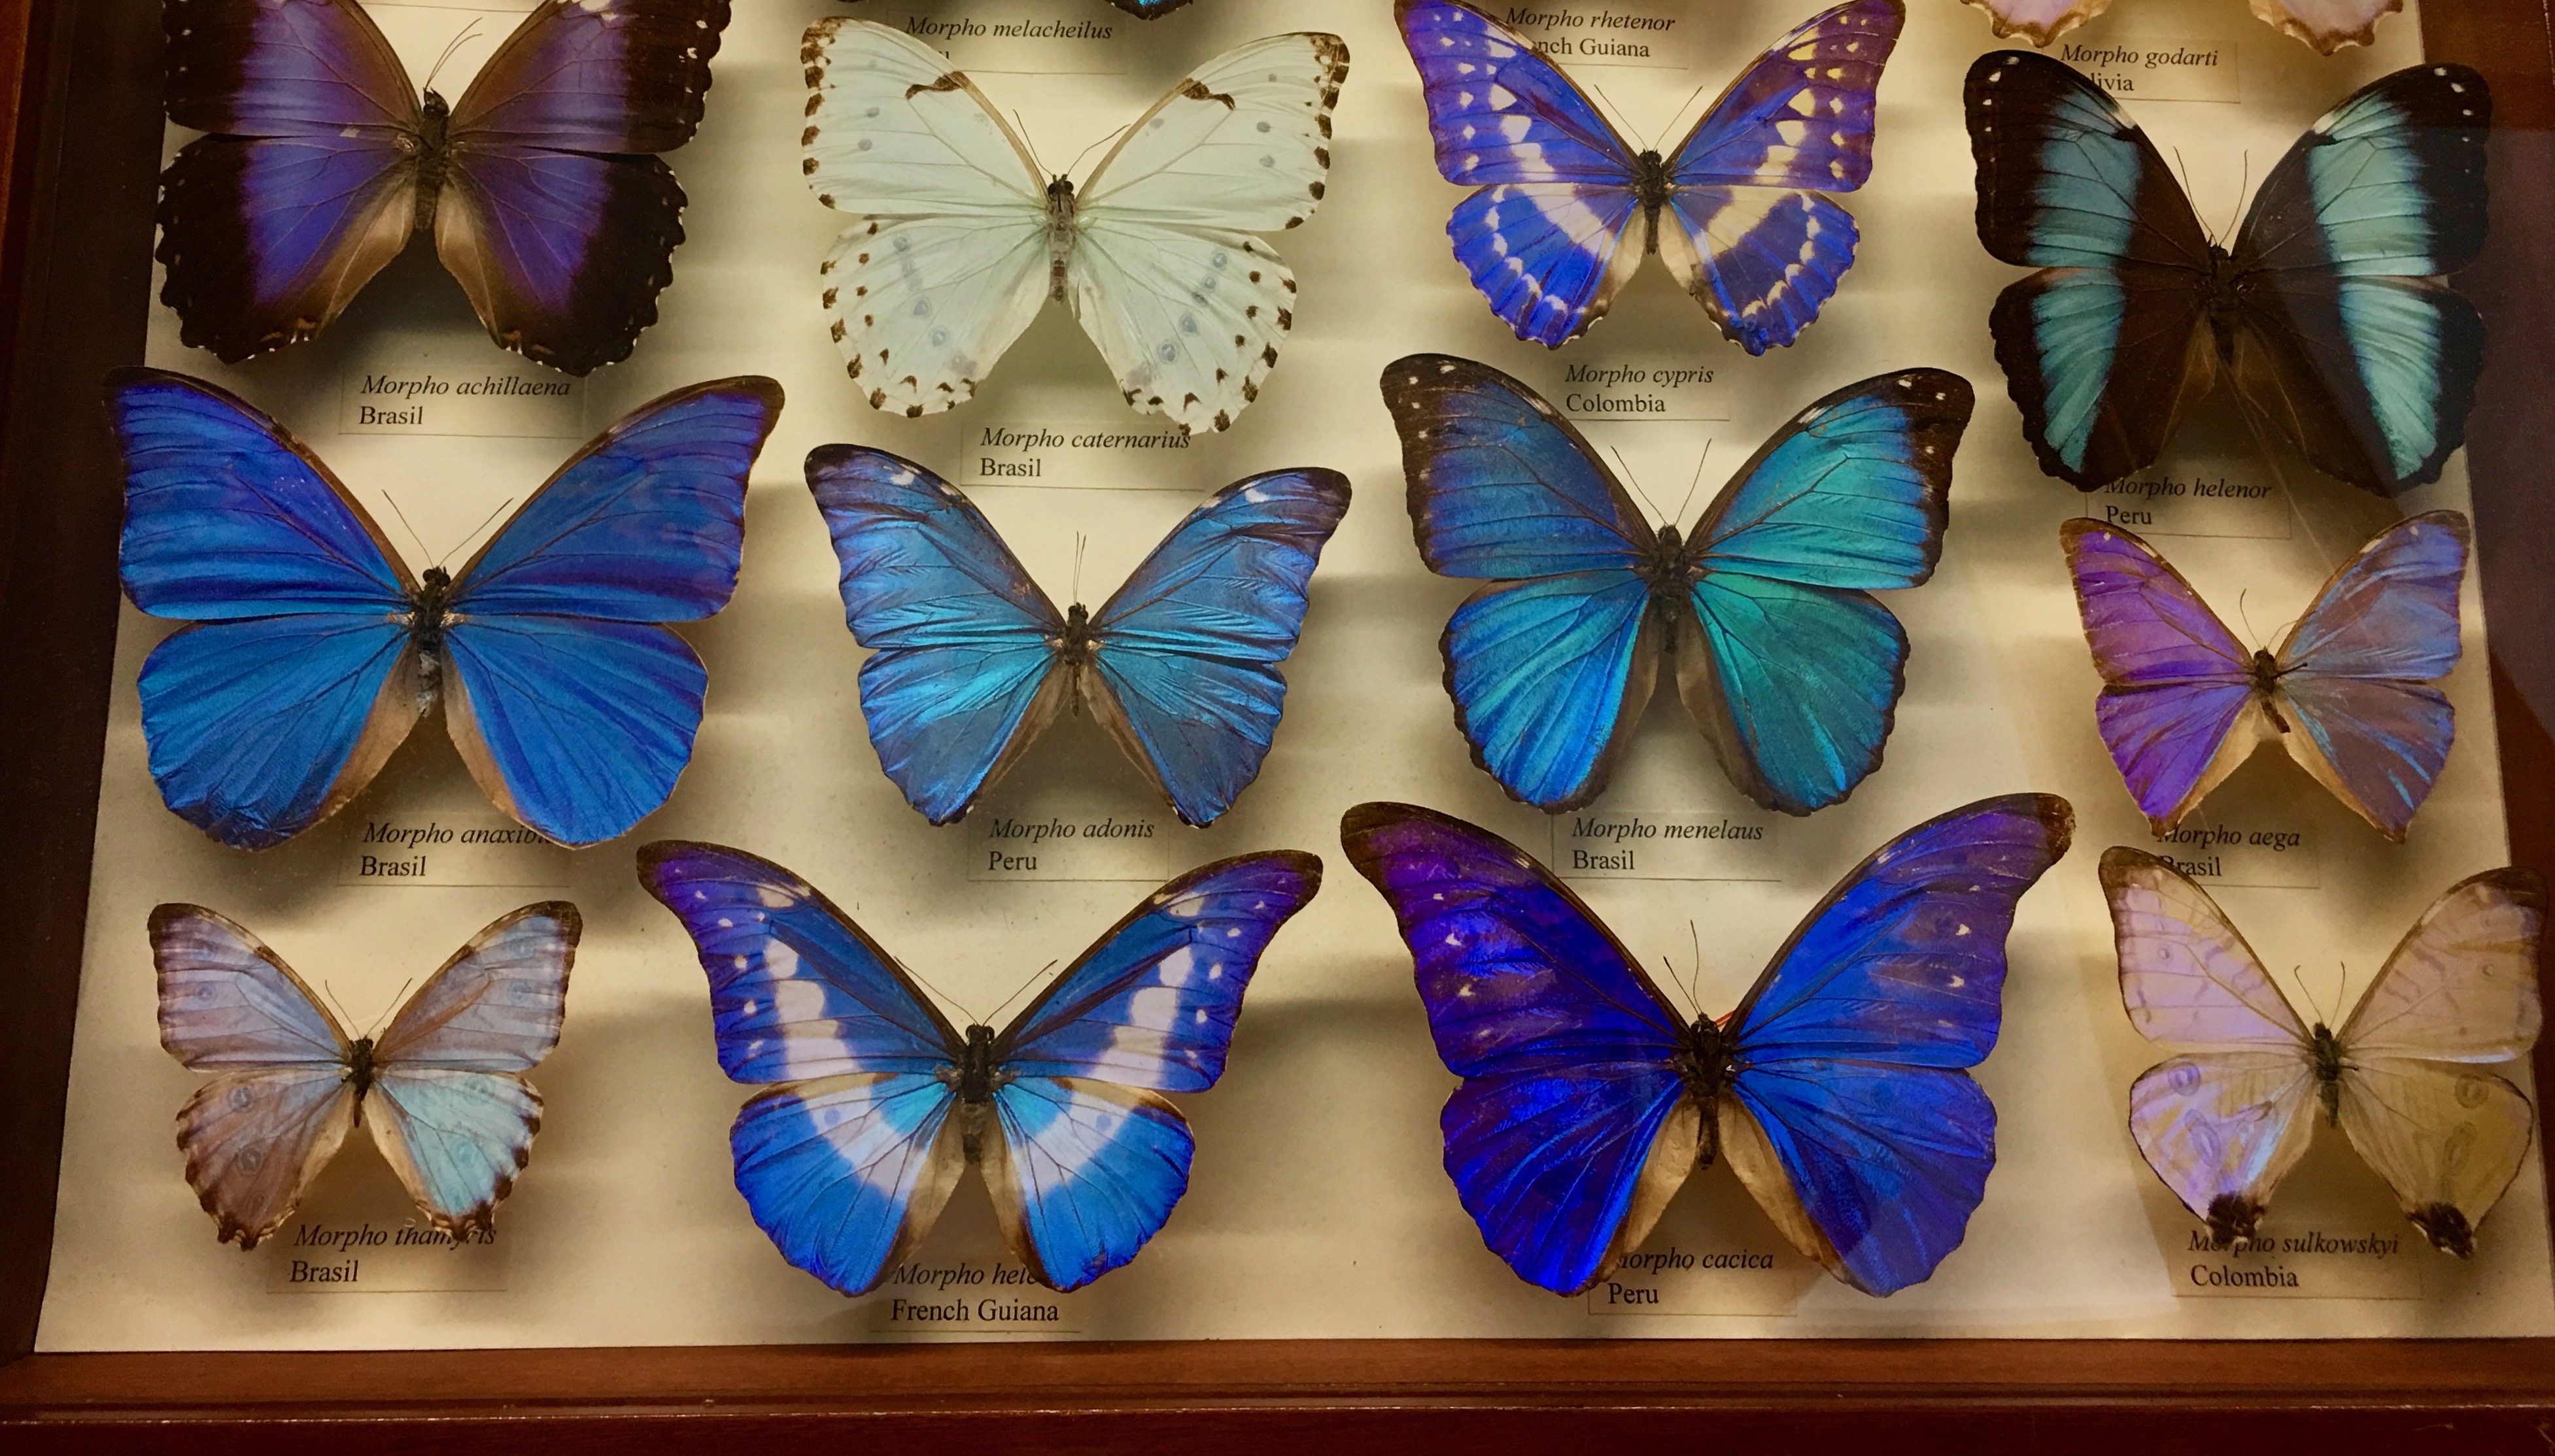
Much easier to photograph were the amazing butterfly display boxes in the main section of the museum, and this one below was my absolute favourite.
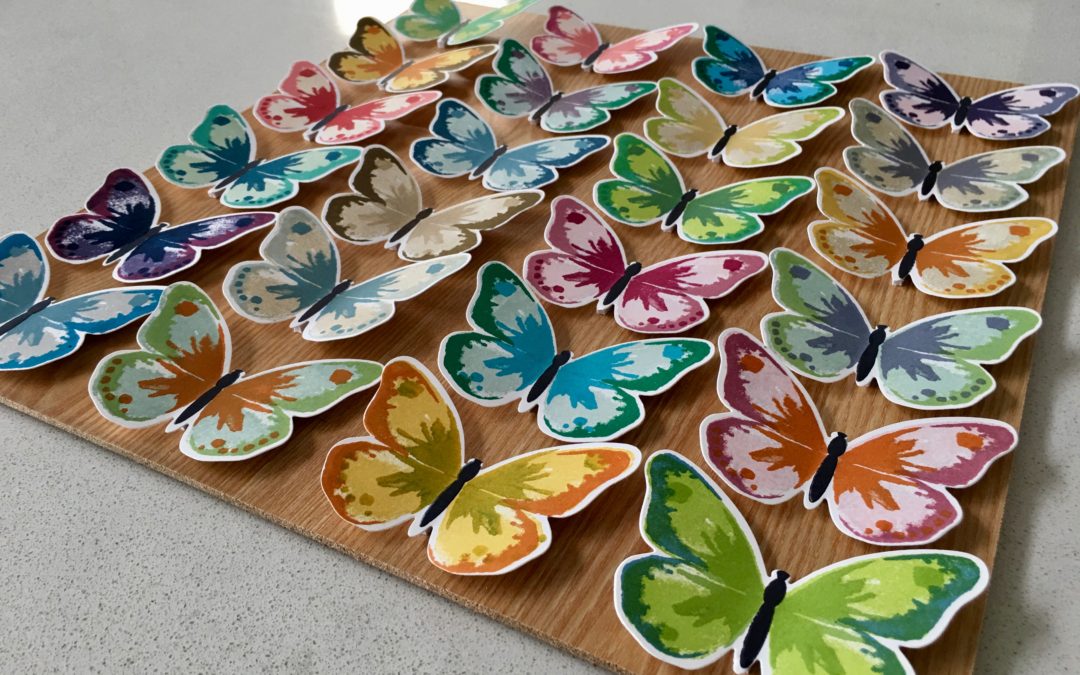
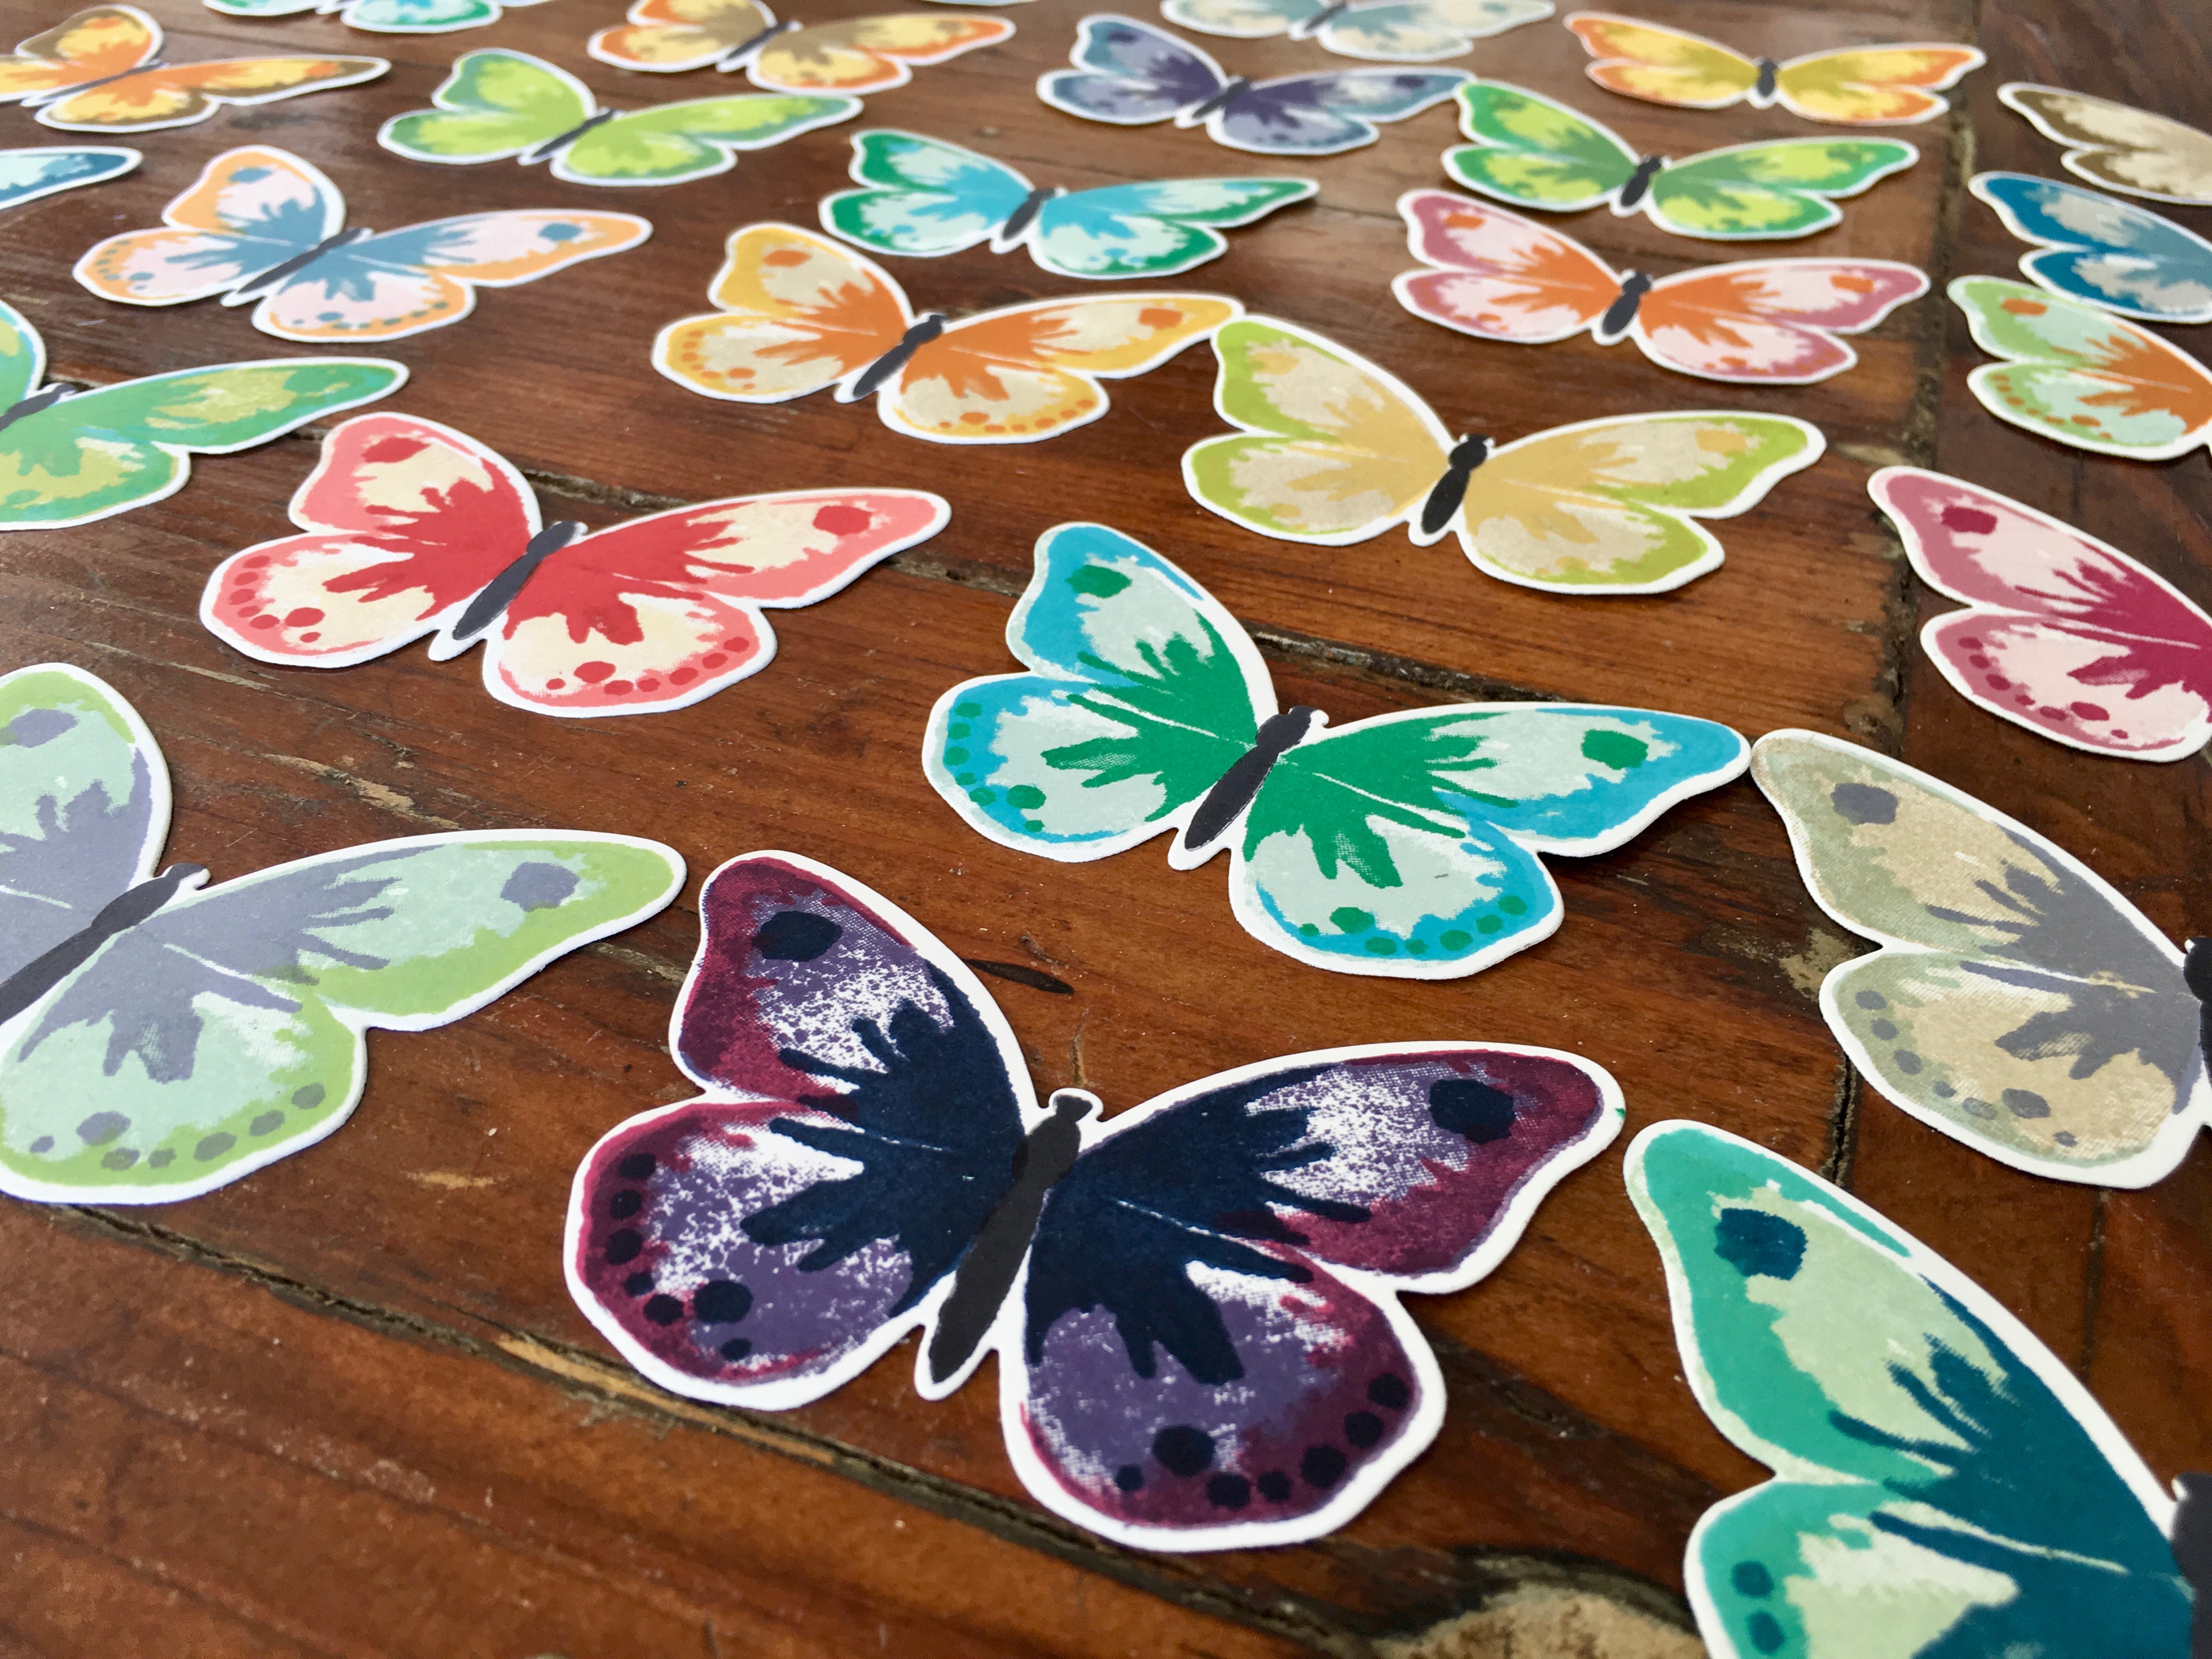
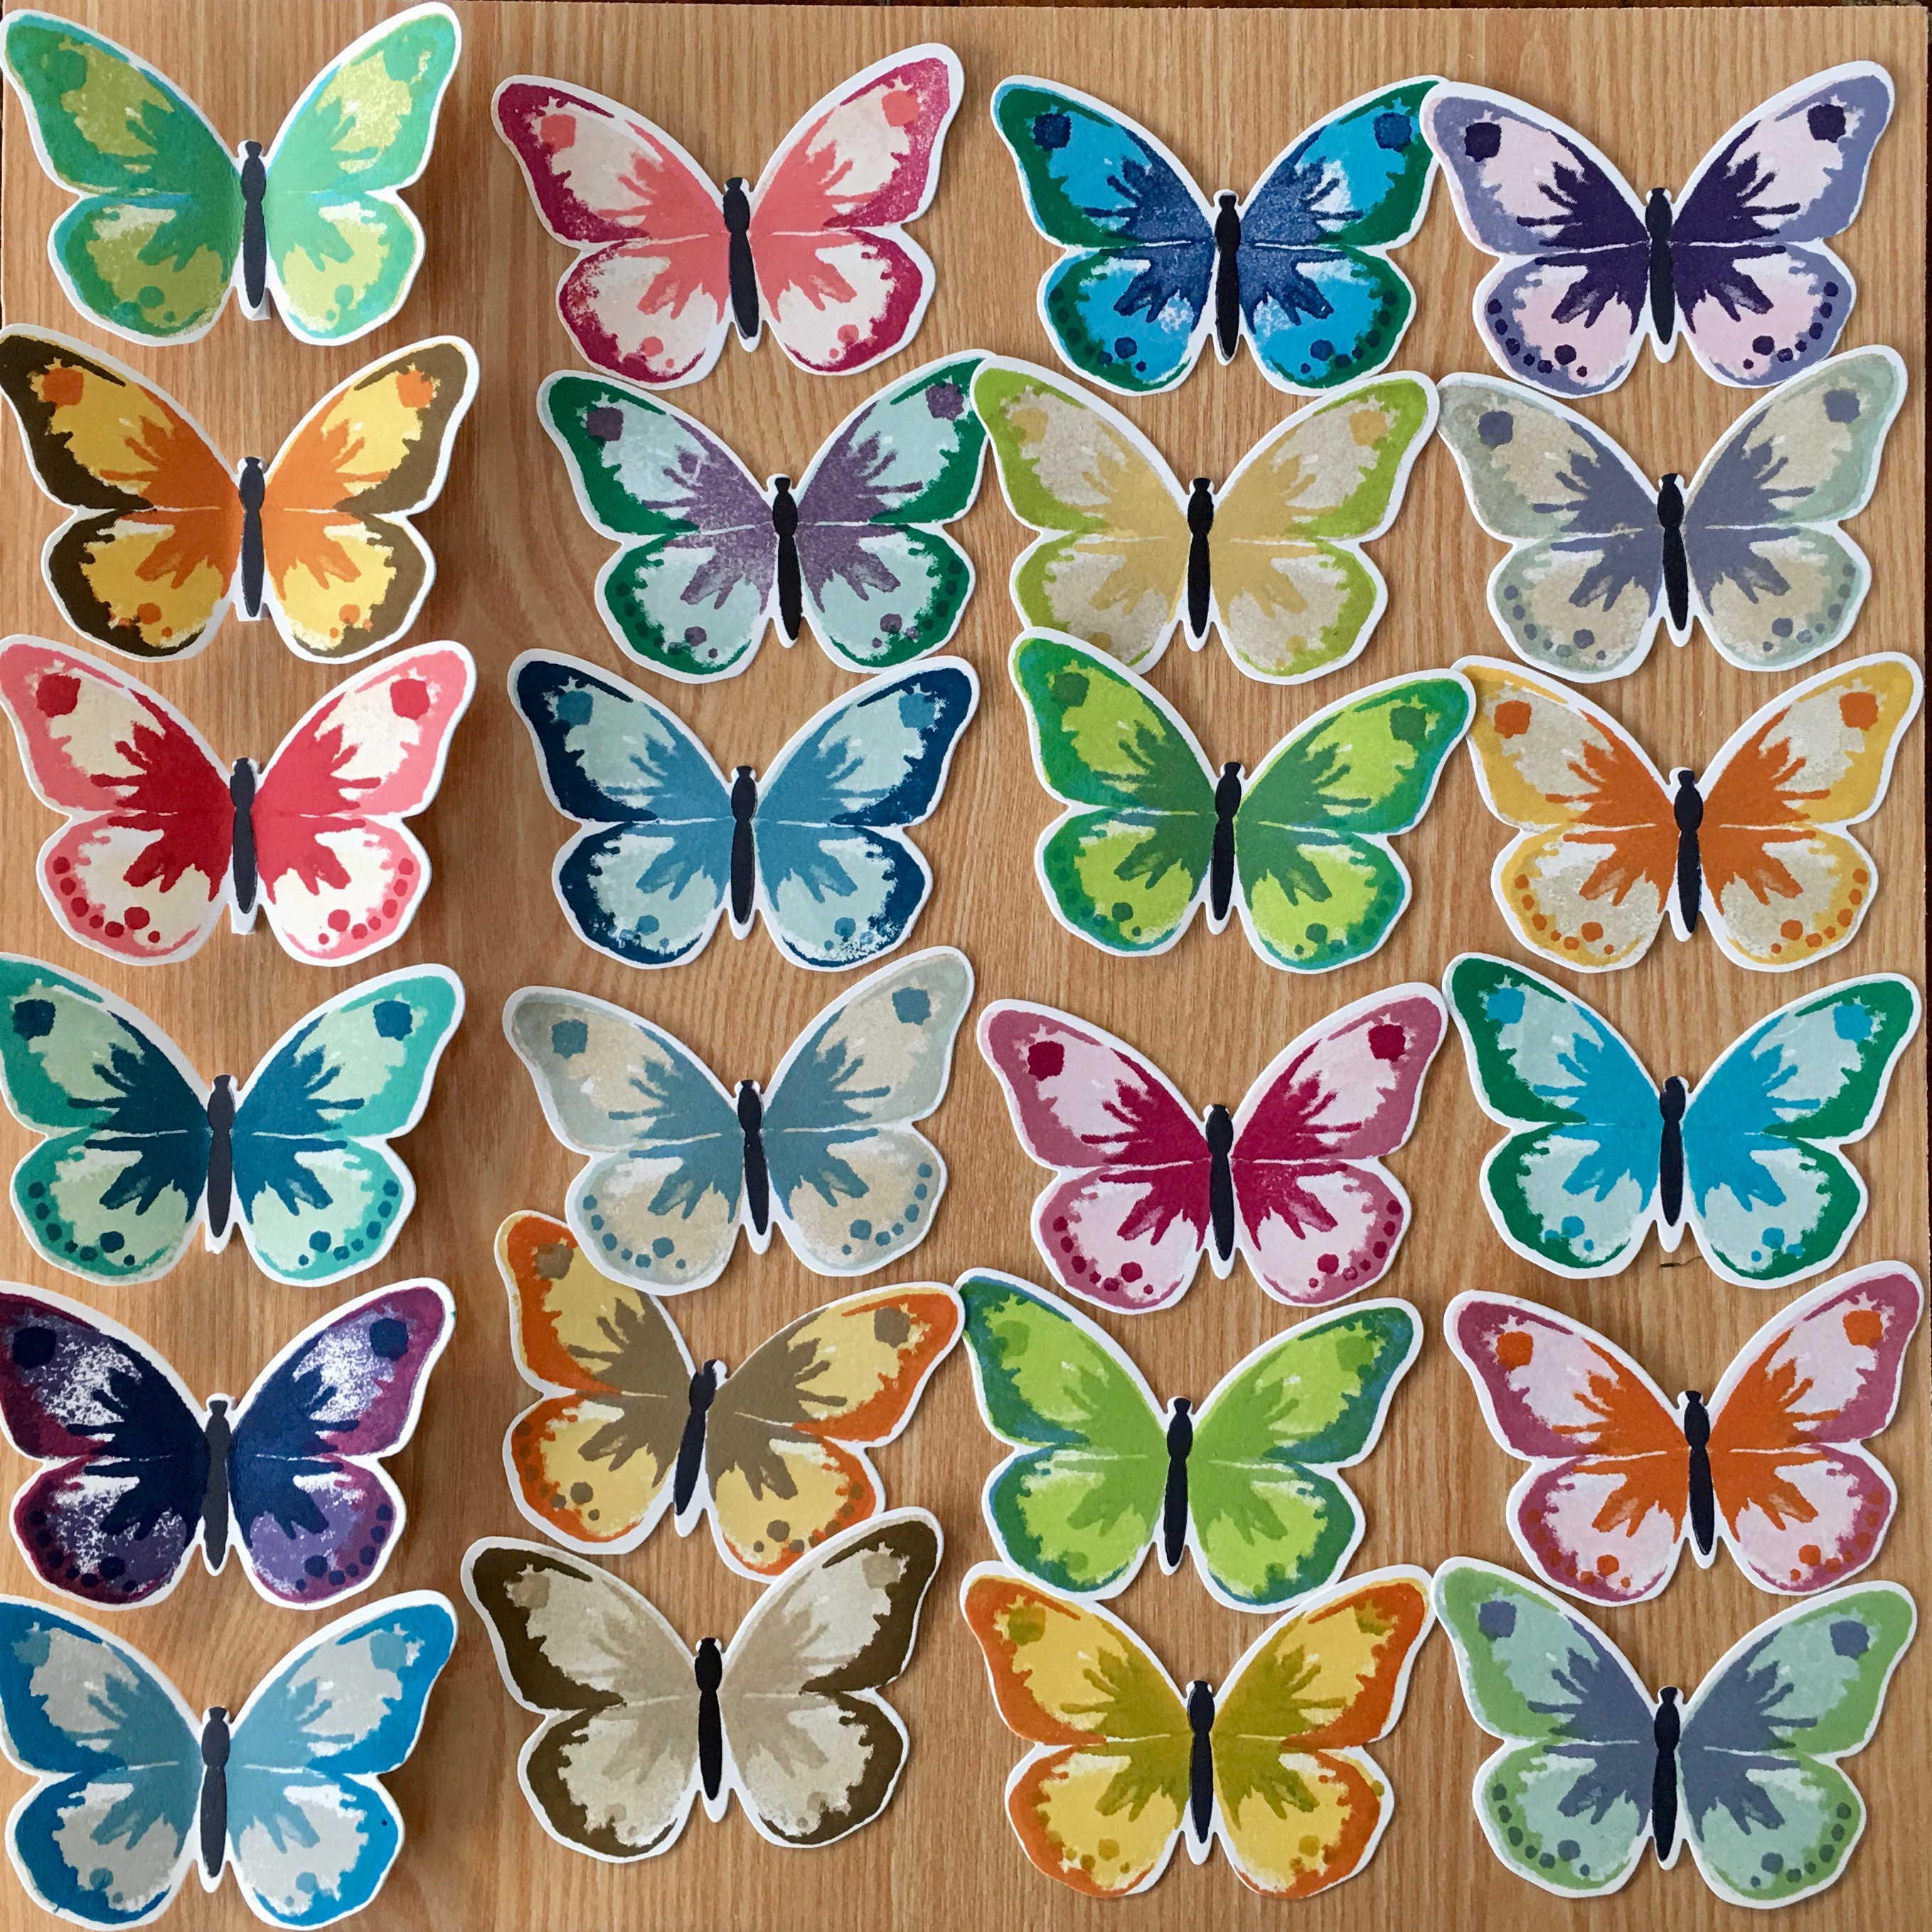
To make my own butterfly display box I simply stamped a variety of different coloured butterflies using the larger butterfly stamps and then stamped the body of the butterflies in black.
Generally, I found that a lighter colour works best as the background colour, allowing the darker and bolder colours to really pop out the details of the butterflies. Some of my favourite retiring colours – Tempting Turquoise, Perfect Plum, and Soft Sky – worked especially well for this project.
I die cut the butterflies out using the Bold Butterfly Framelit that matches the larger of the 2 butterfly stamps and then arranged them on the backboard of a shadow box. The butterflies were attached using Foam Adhesive Strips to really make them pop.
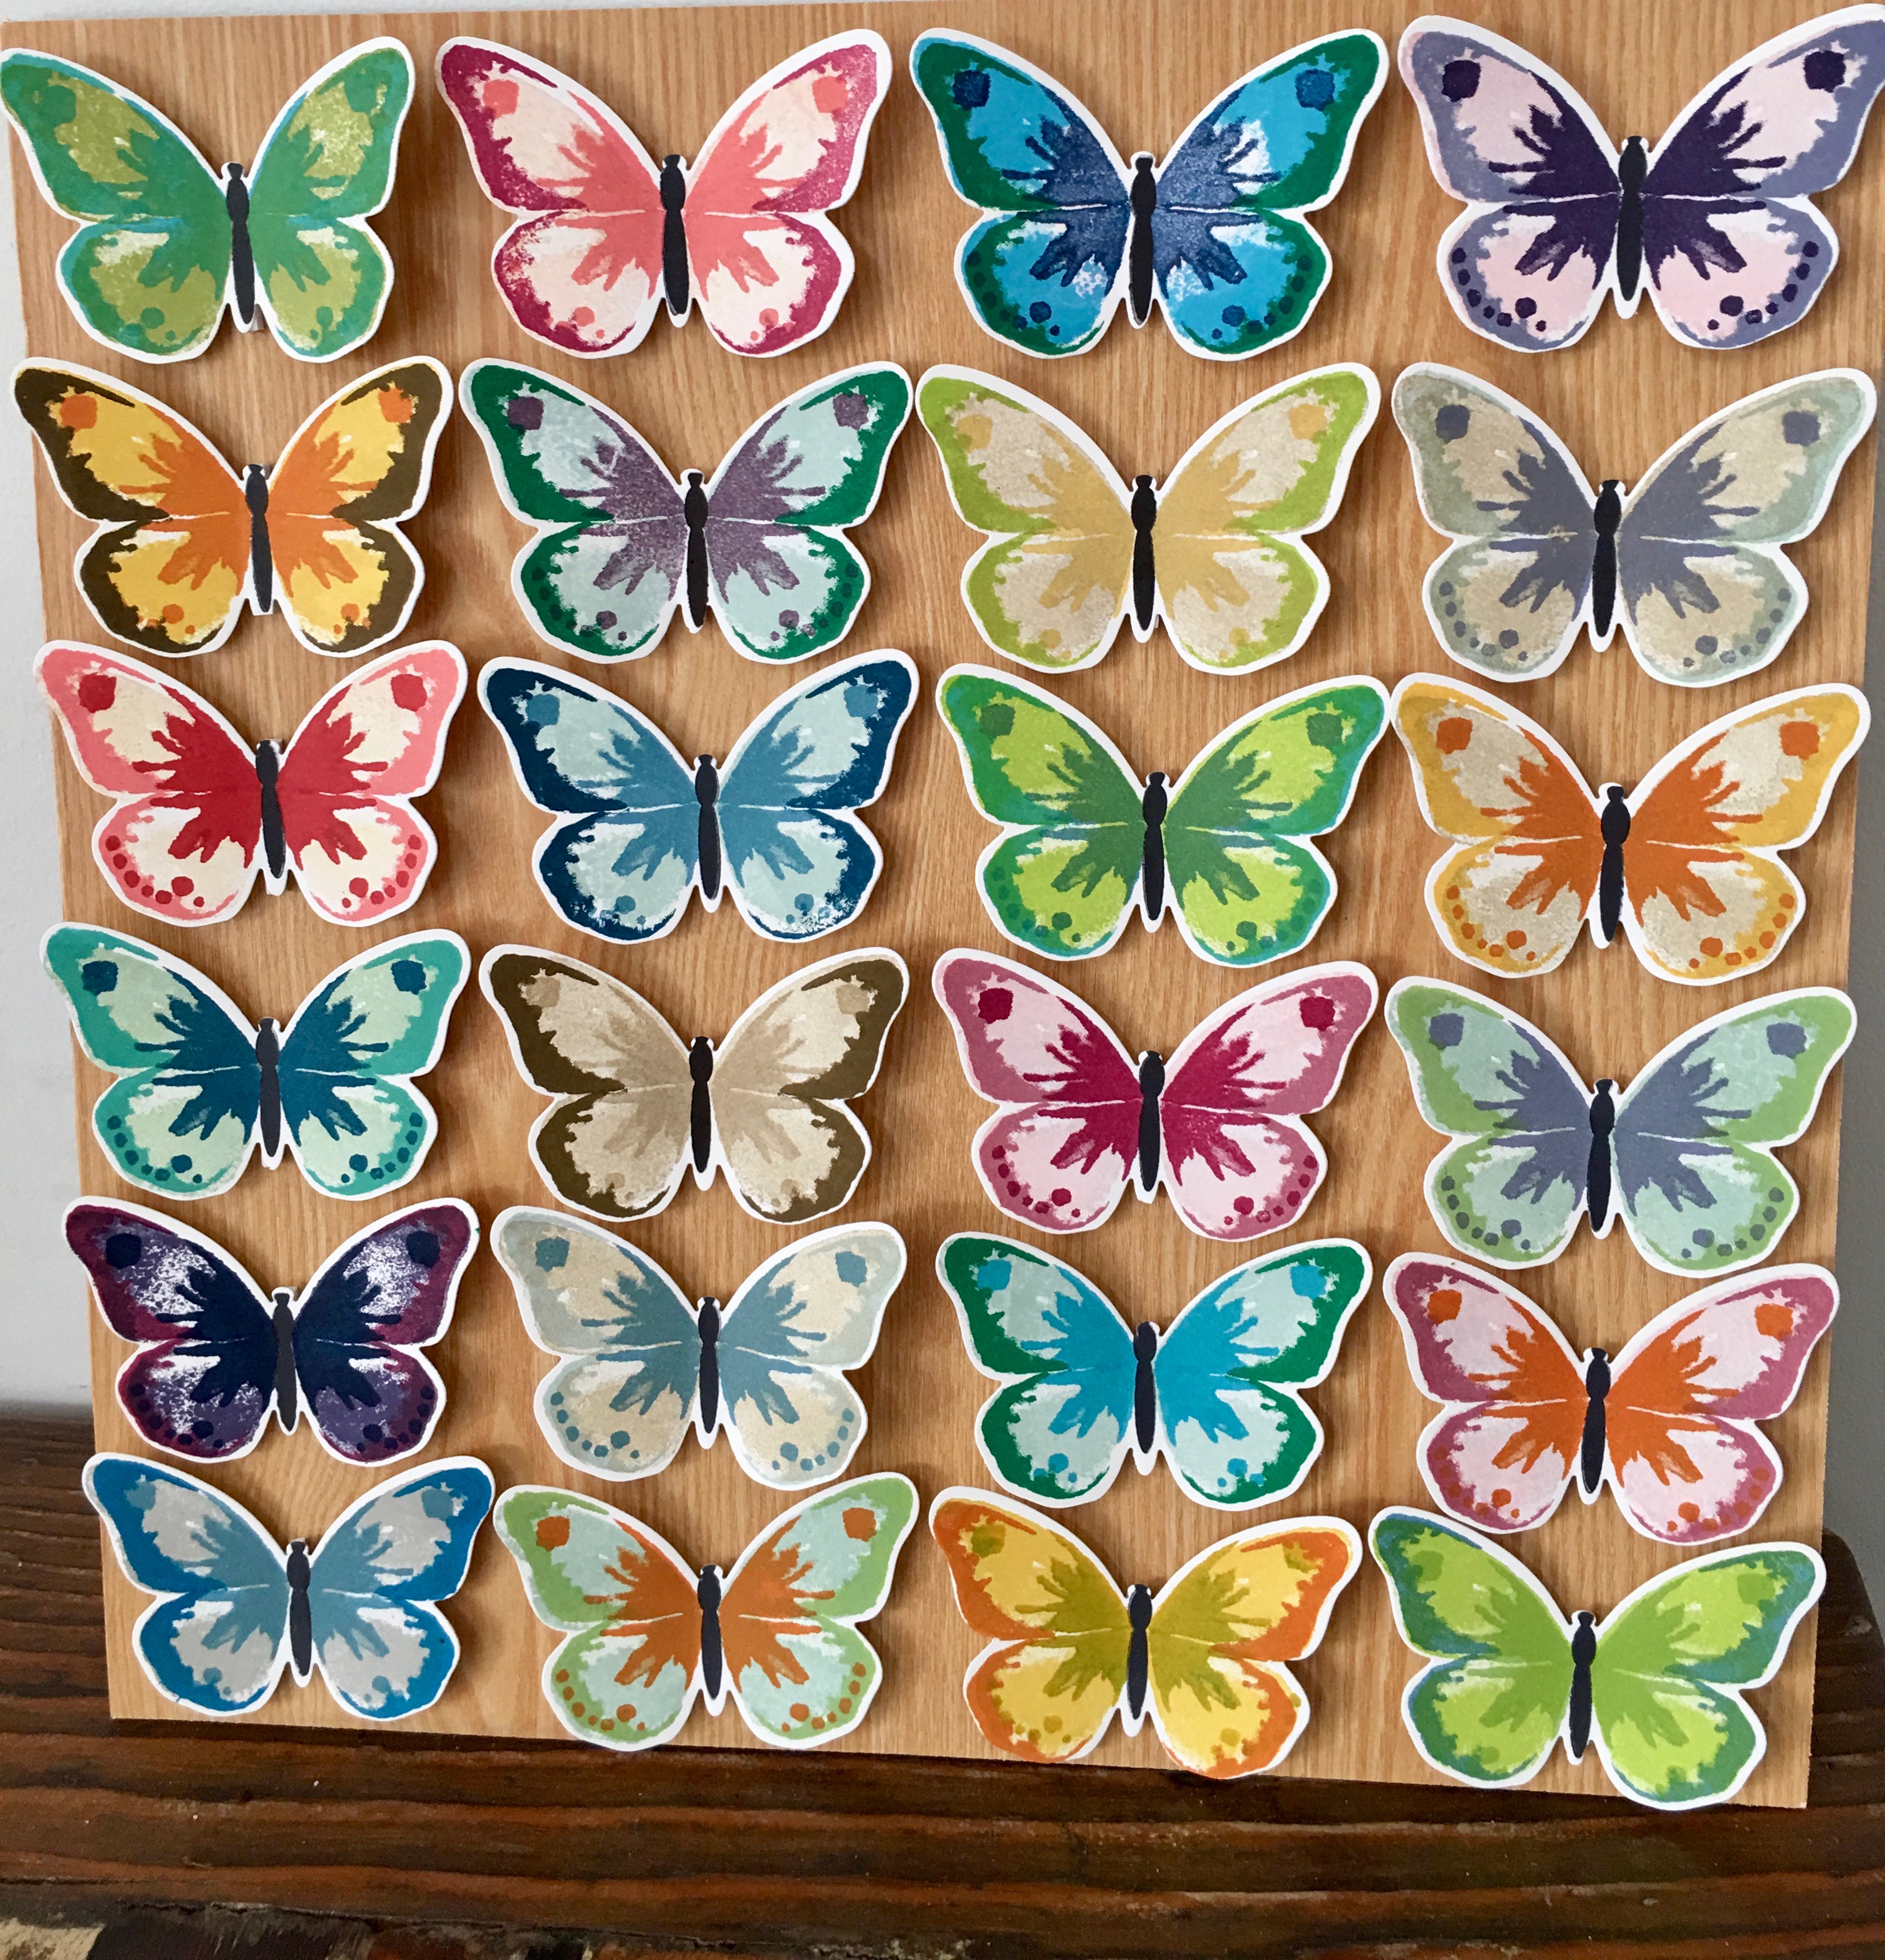
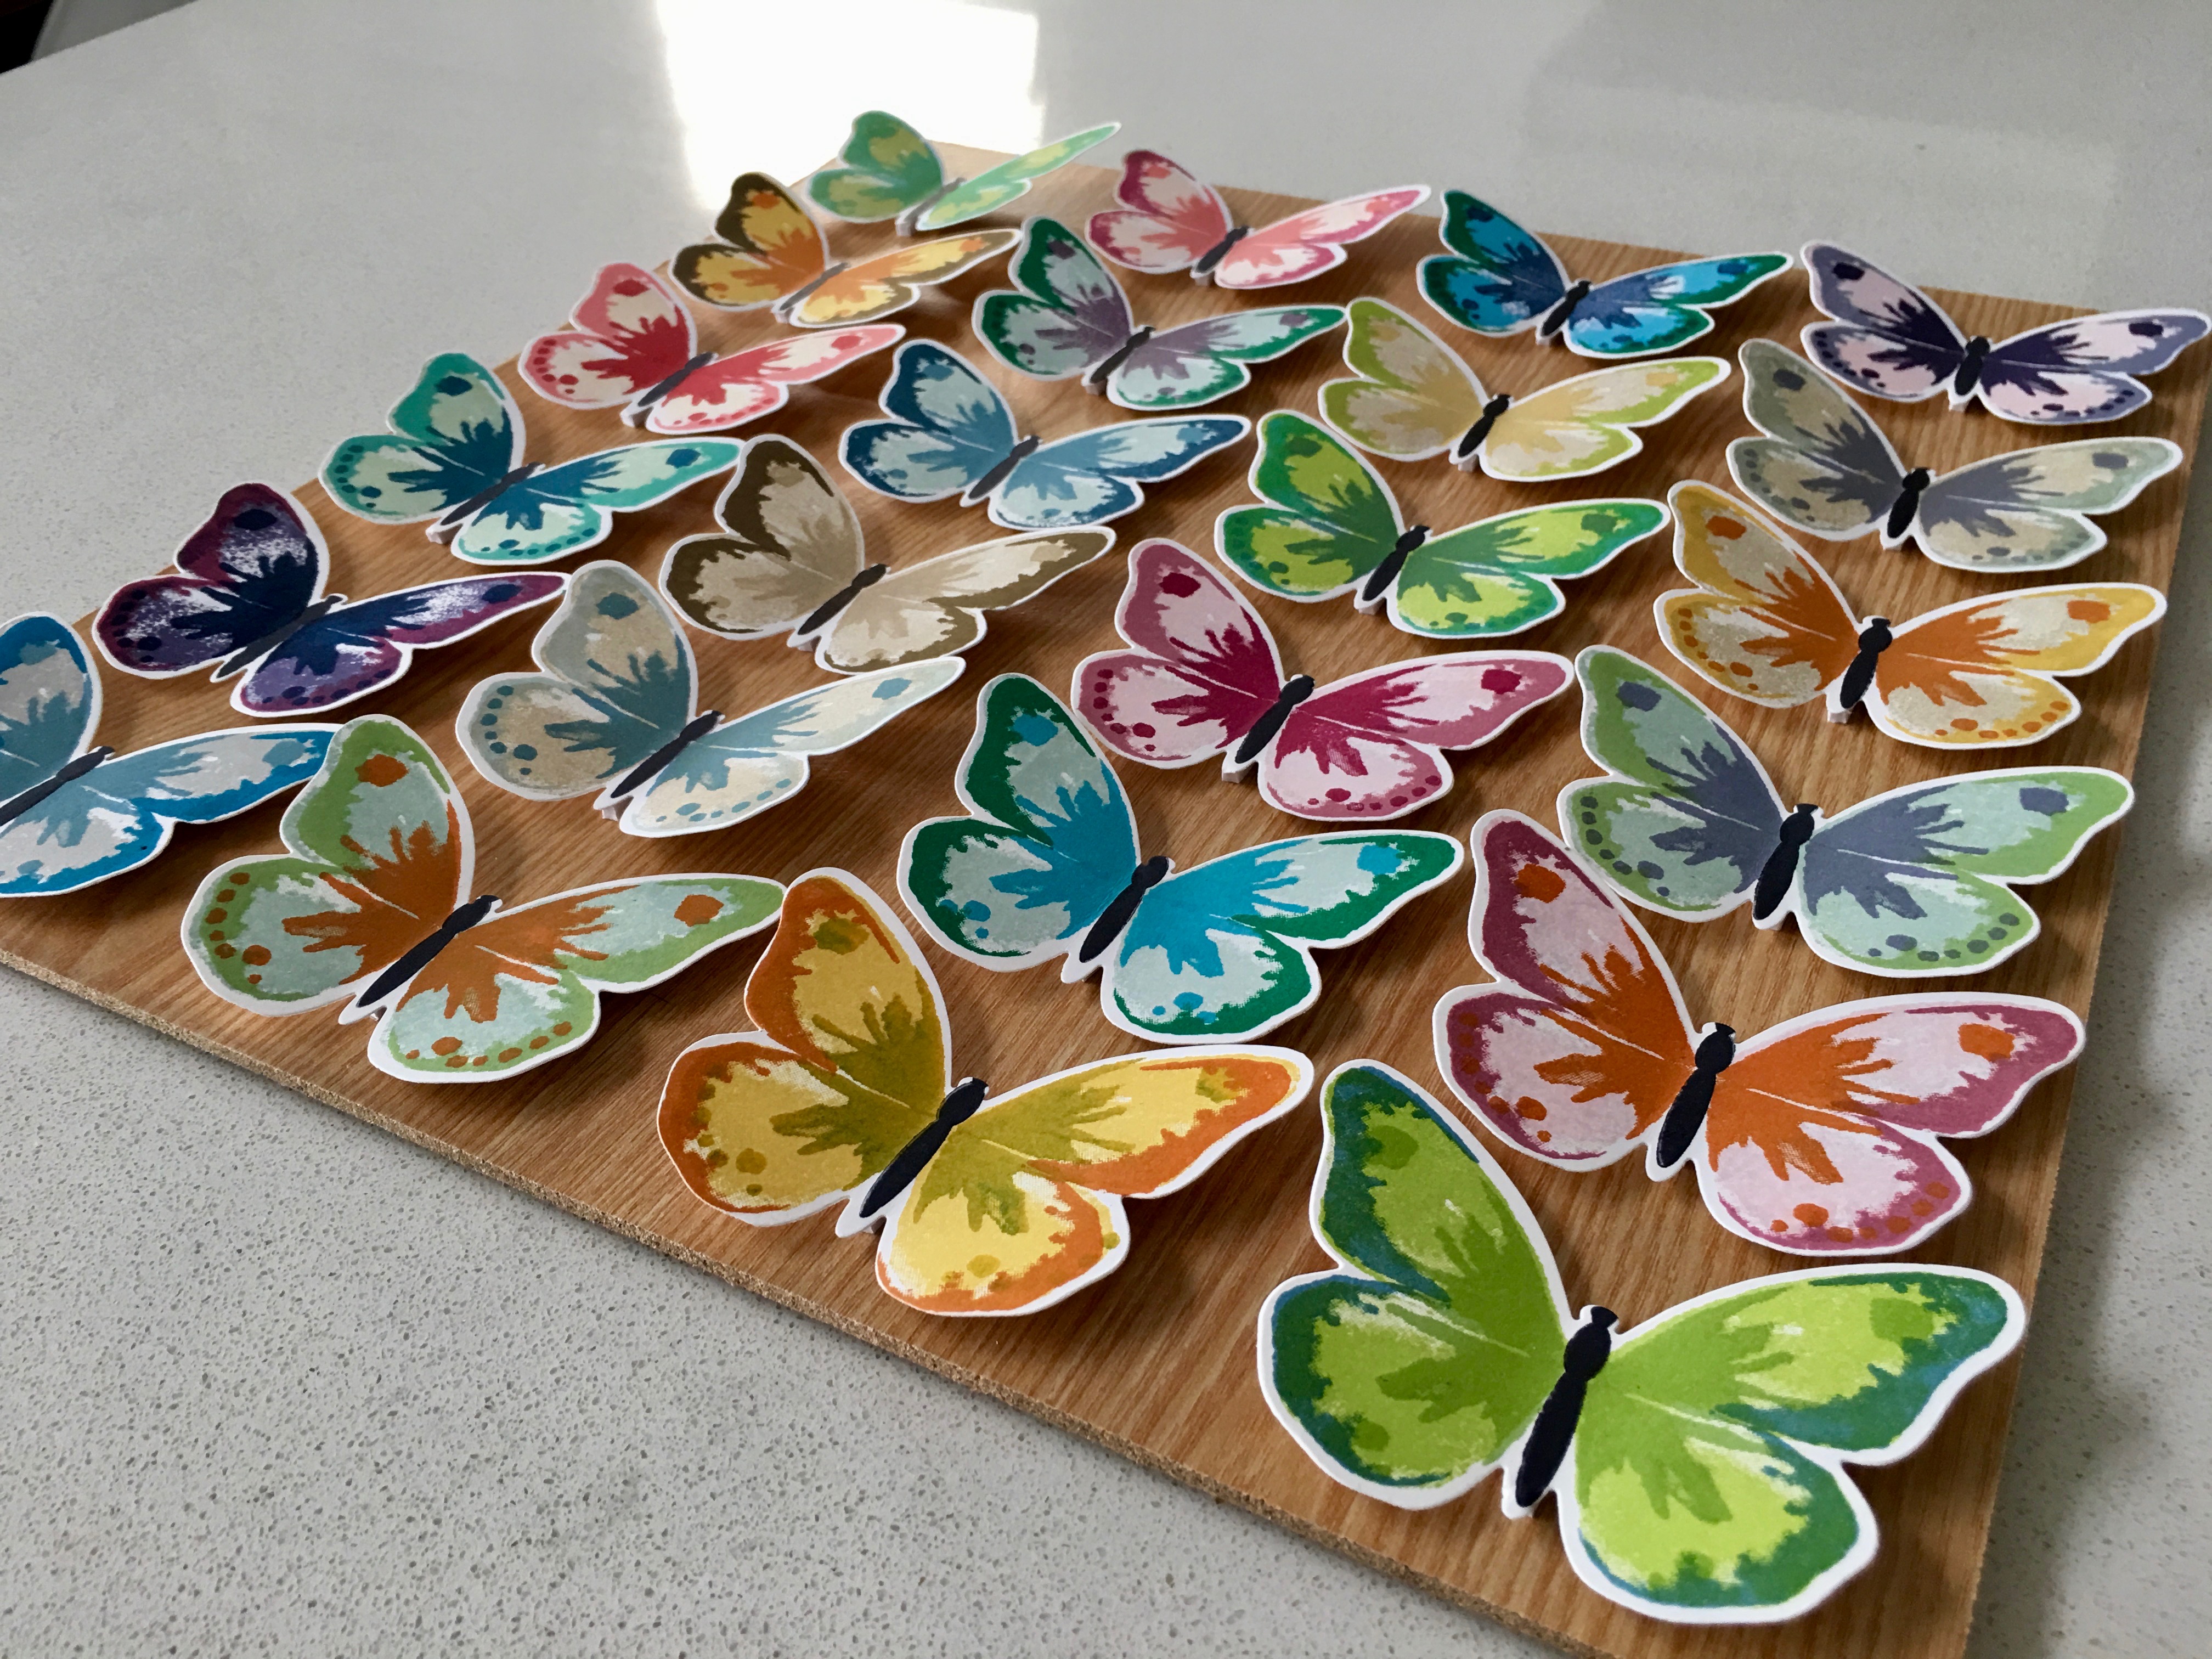
As I attached the butterflies to the board I bent their wings forward…you can see in the image below (where just the left column has been attached) how the butterflies really come to life once their wings are bent and they are mounted on a foam strip.
It’s really hard to photograph the butterflies inside the shadow box because of the reflection off the glass, so here is the finished product before I put it into the shadow box. Don’t they look like they might all just take flight at any moment?
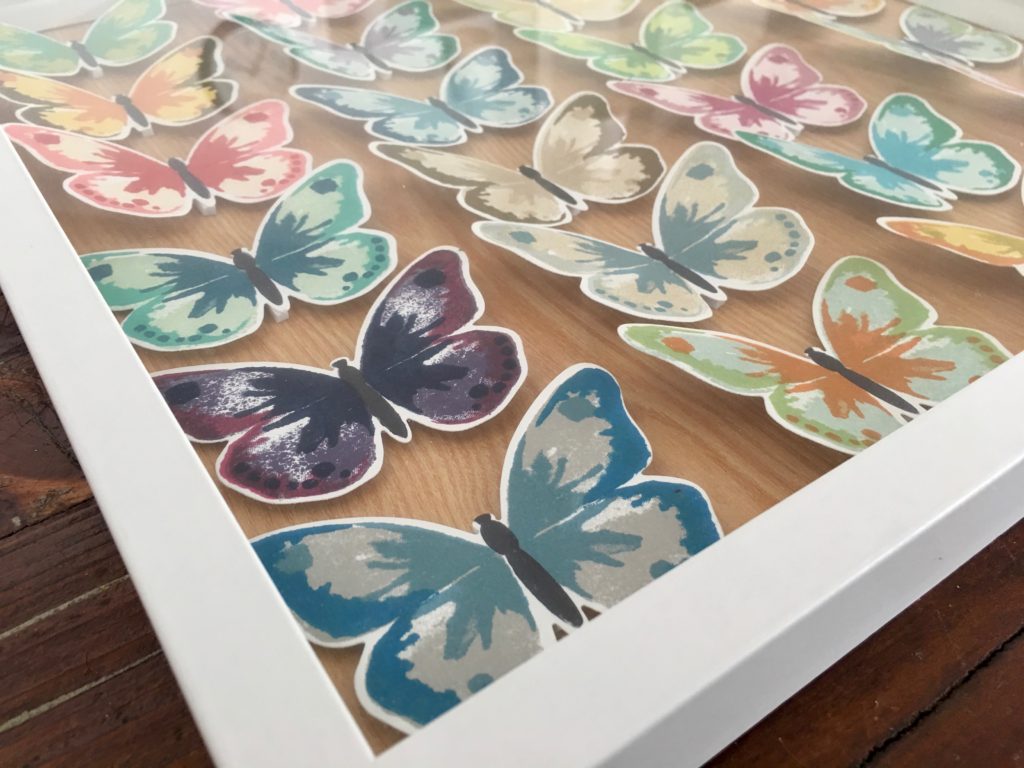
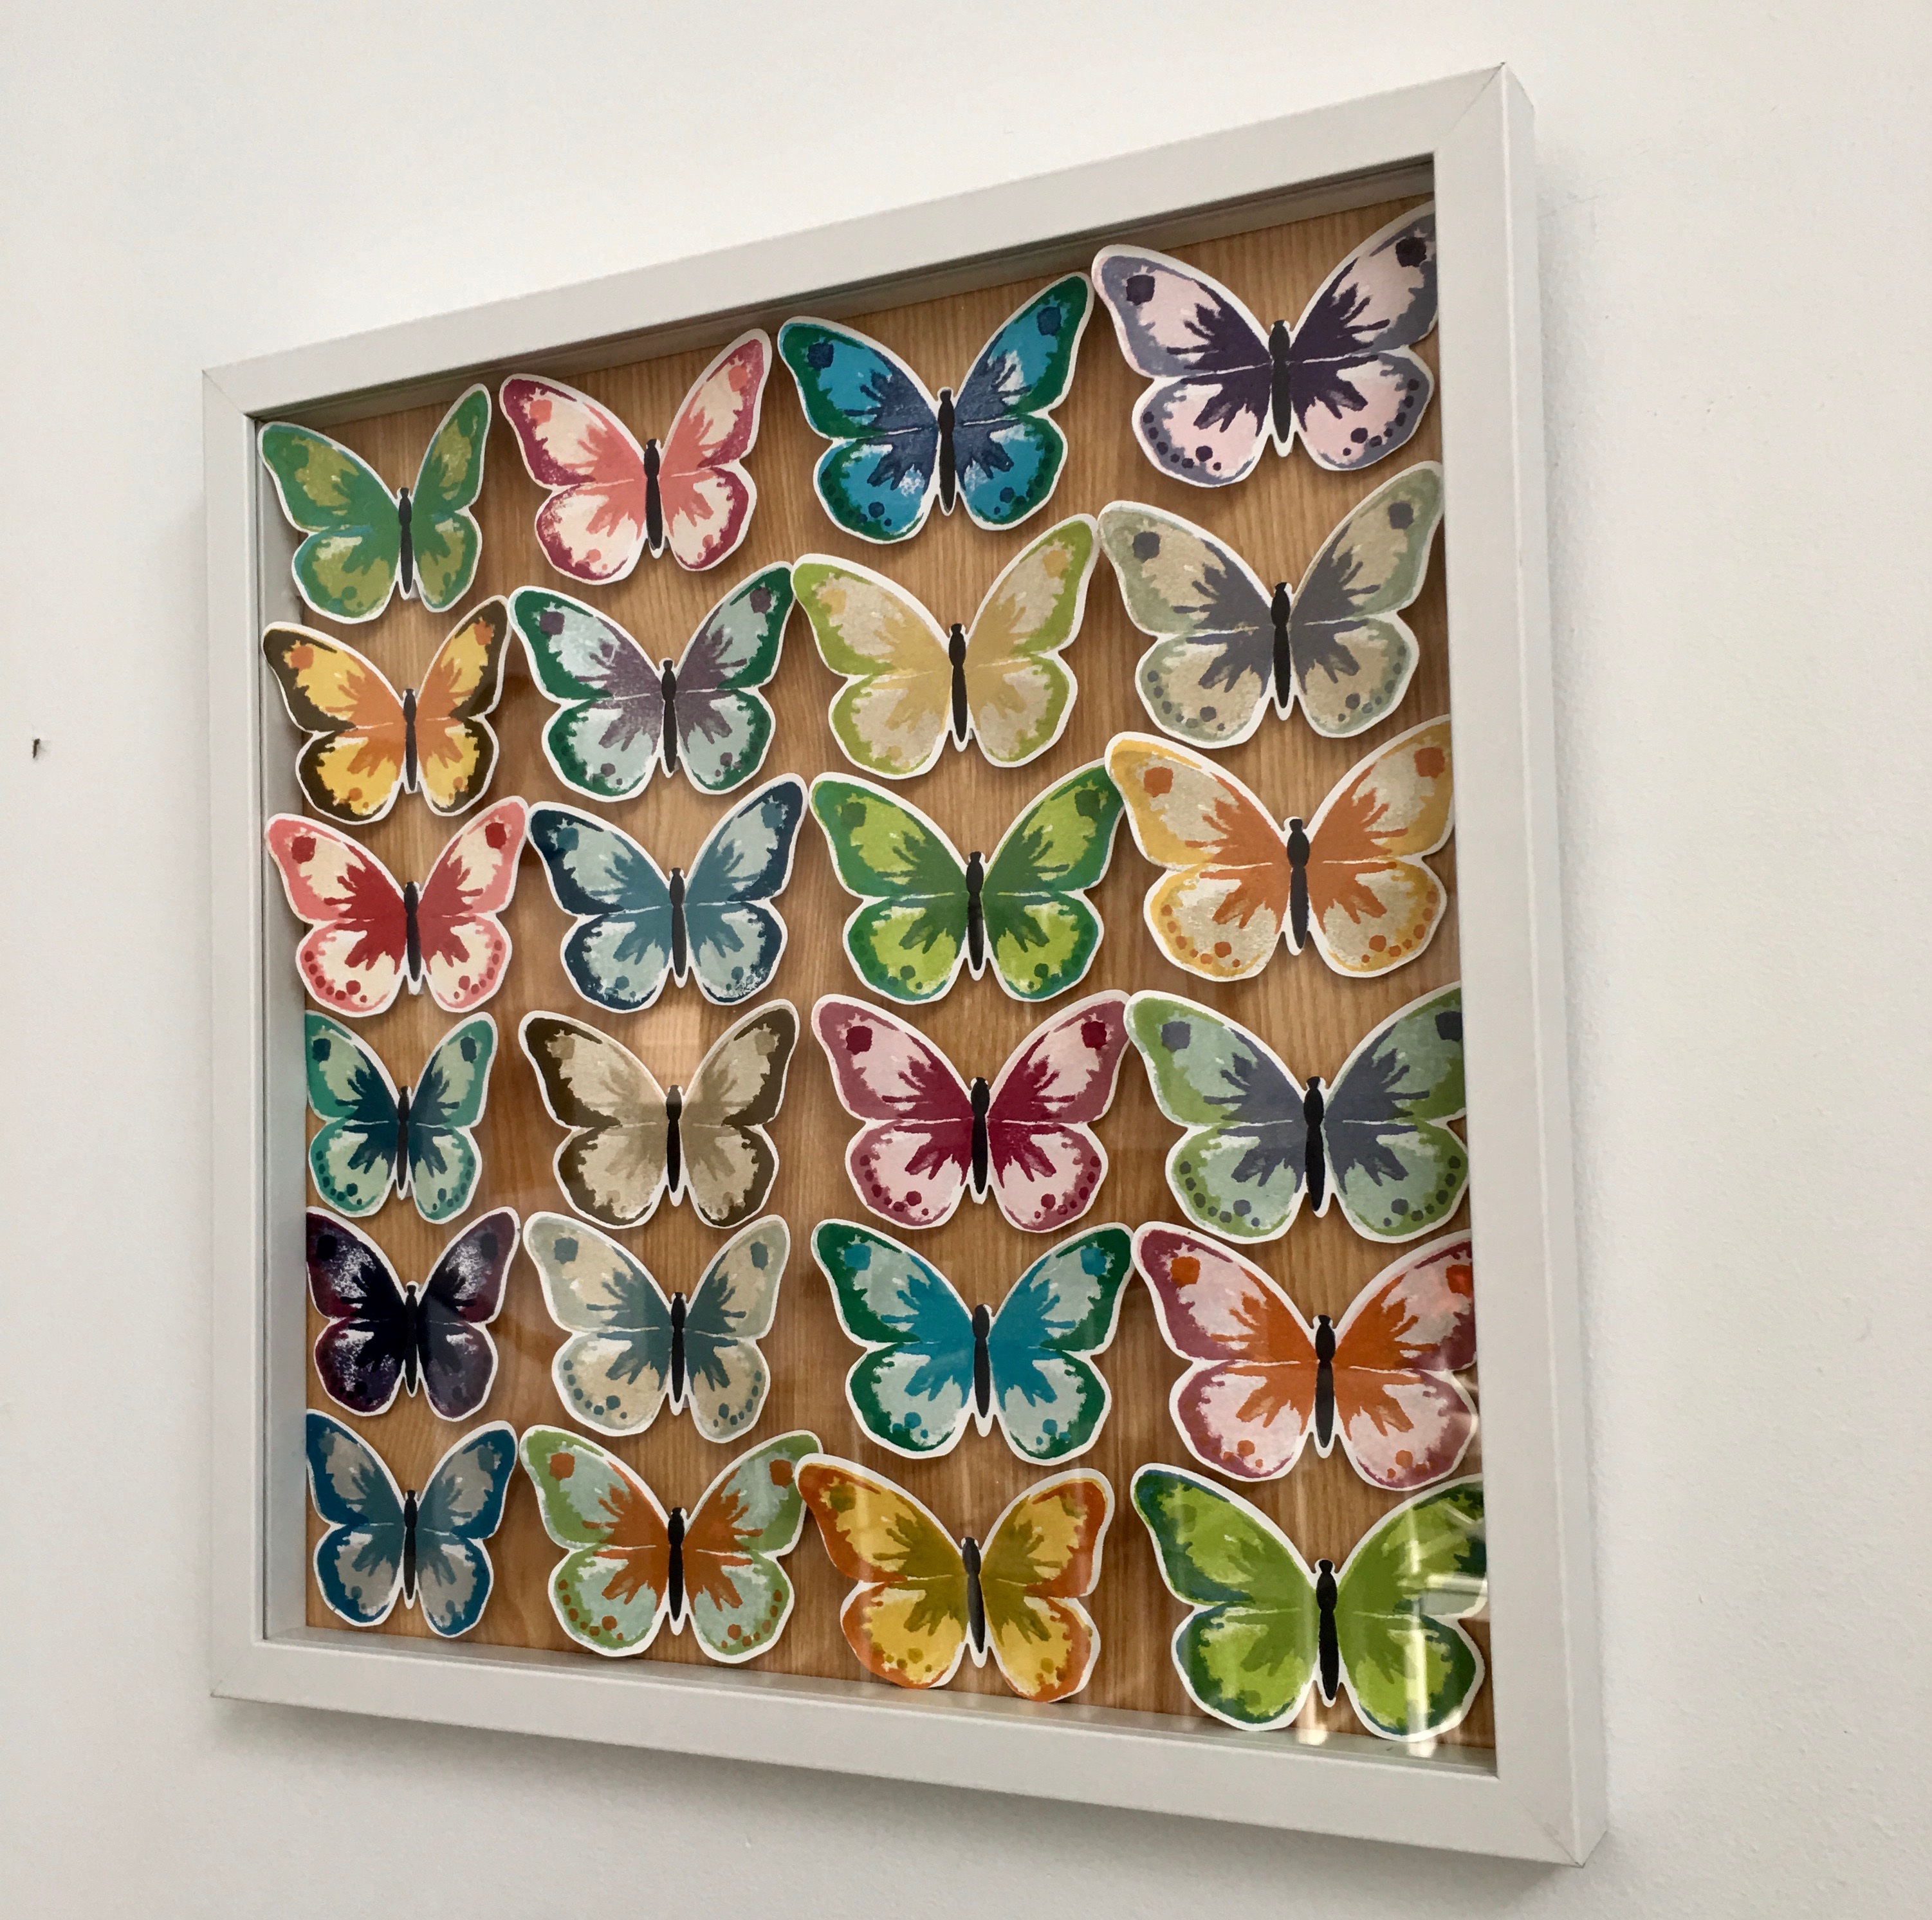
And here’s the best photo I could get of the shadow box. It’s still a bit glary from the reflected light but it shows you just how pretty they all look lined up inside the shadow box.
Now it’s time to hop on over to our next participant, the very talented, Sharon Davern. I can’t wait to see what Sharon has made!
If you find a broken link or have come to this blog hop from a different entry point, you can view the participants below: