Welcome to week twenty nine of our Art With Heart 2023-24 Colour Creations blog hop!
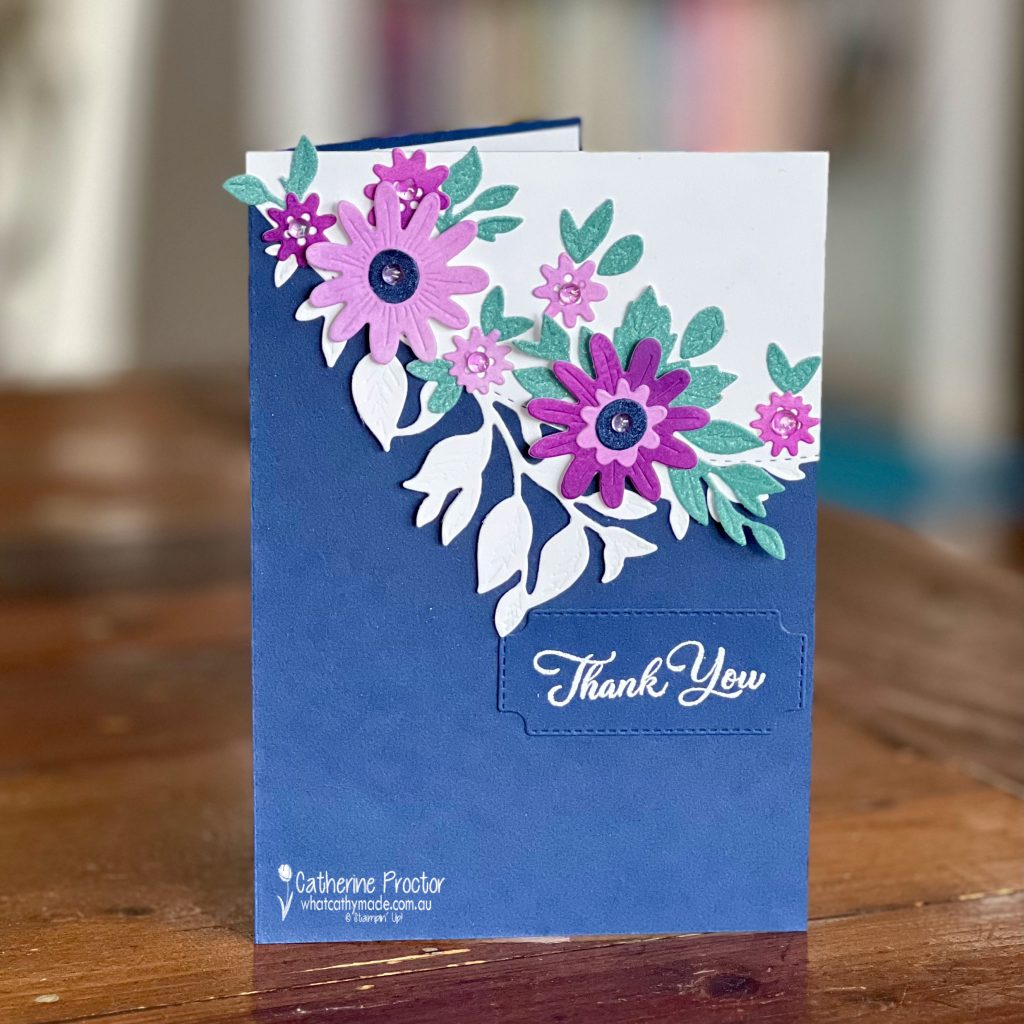
This week we are showcasing Highland Heather, a lovely soft purple colour from the subtles family. Can you guess the other colours I’ve paired it with on my thank you card?
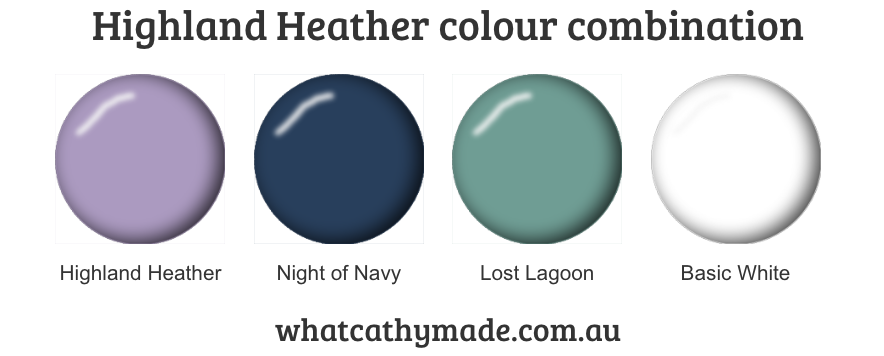
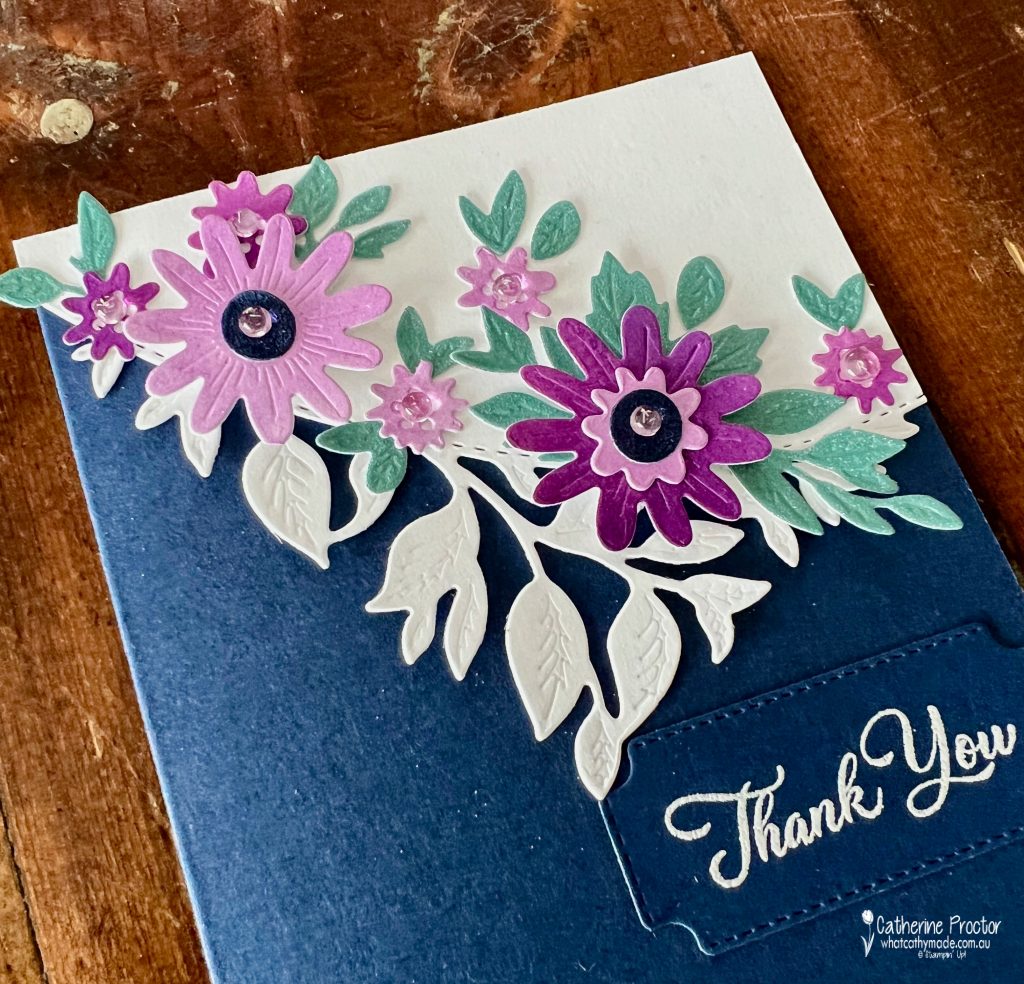
There are actually just four colours on this card: Highland Heather, Night of Navy, Lost Lagoon and Basic White.
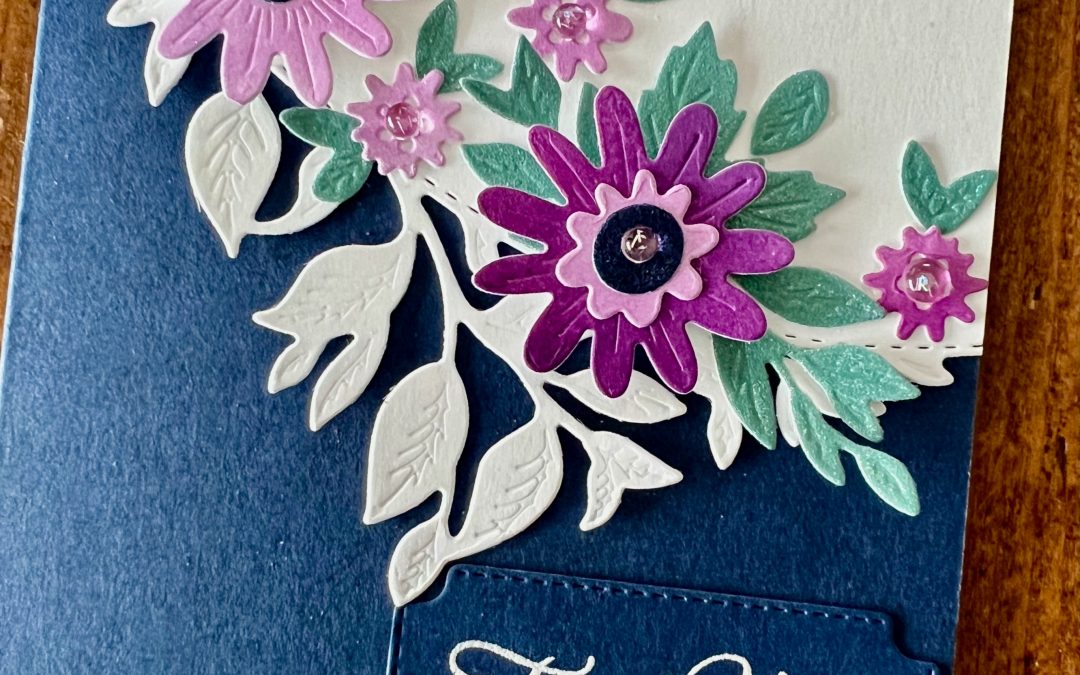
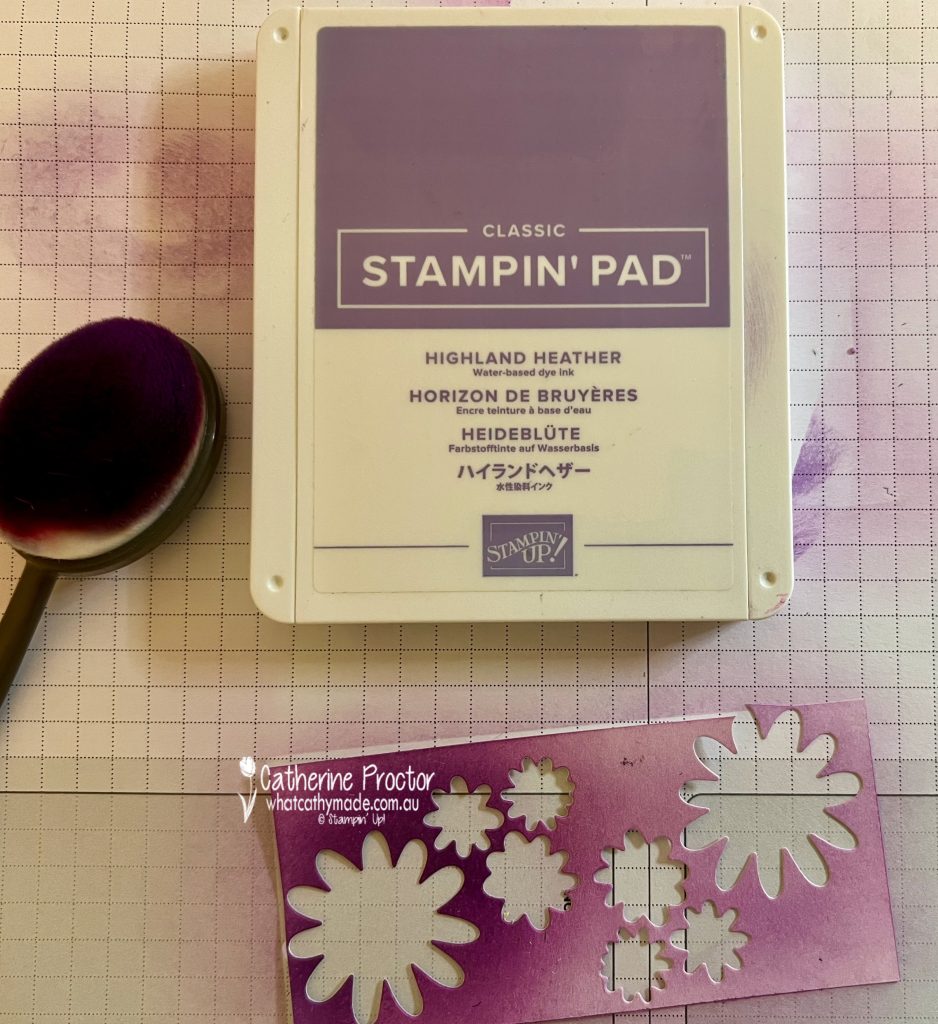
I’ve used a blending brush to achieve different shades of purple with Highland Heather ink. I die cut the coloured cardstock using flower dies from the Around The Bend Dies.
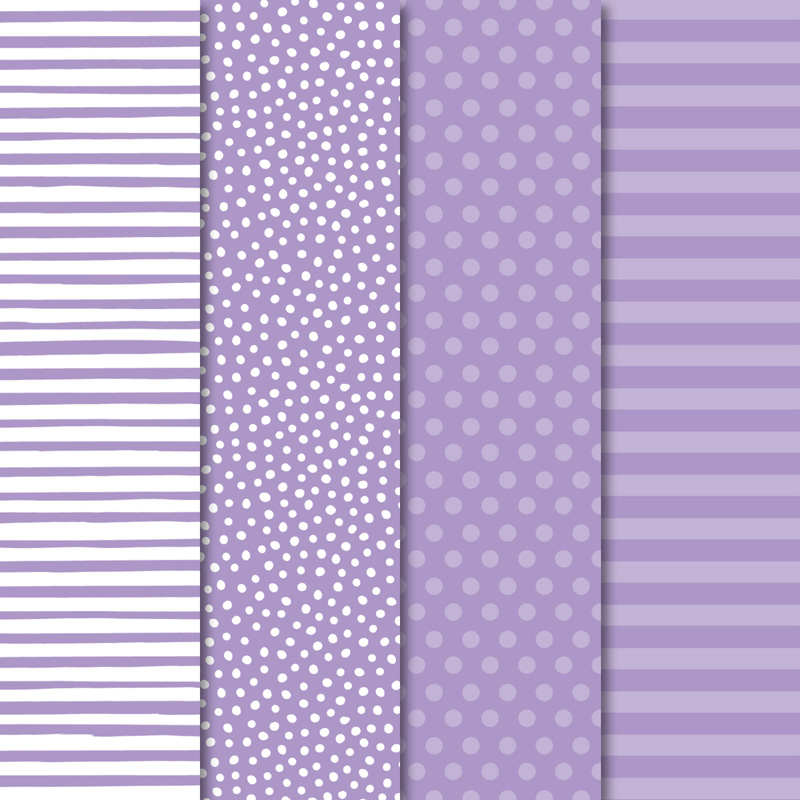
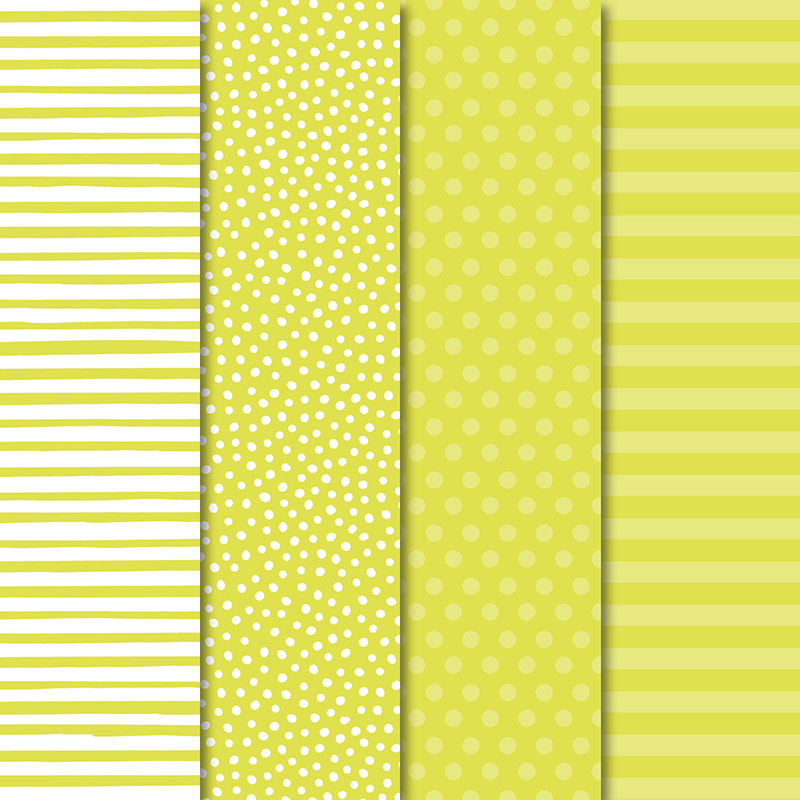
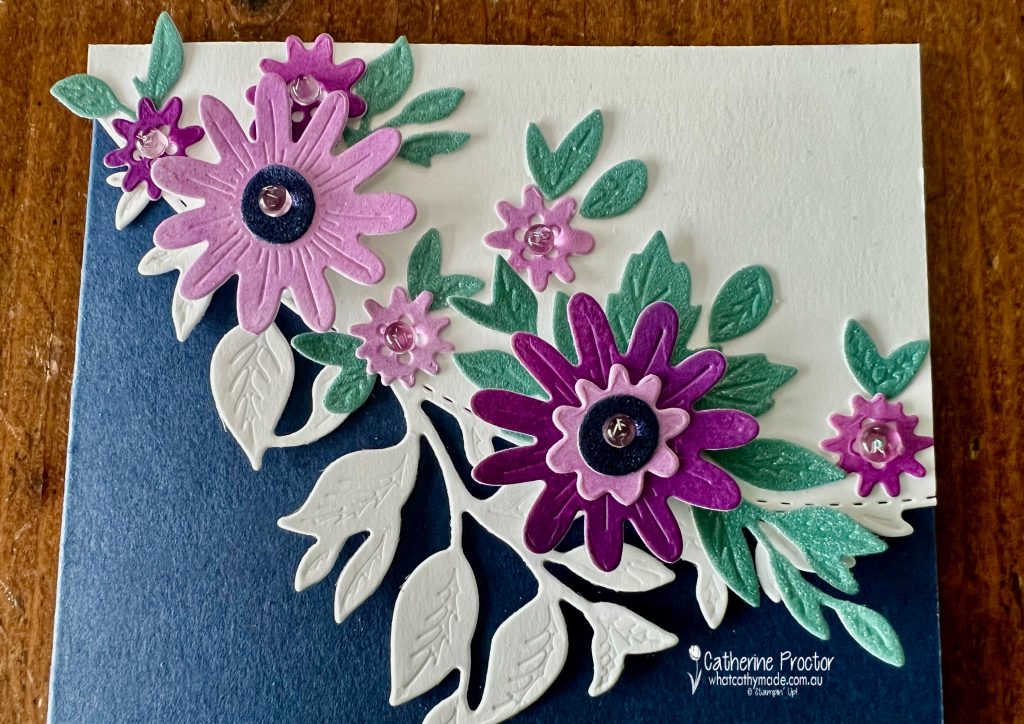
The leaves have been cut from the Lost Lagoon Soft Shimmer 12″ x 12″ (30.5 x 30.5 cm) Paper Combo Pack, on sale for three days, reduced to $15.40. Aren’t these colours just stunning together?
It’s hard to capture the soft shimmer of this specialty paper in a photo, but it looks amazing in real life.
The white heat embossed thank you sentiment is from the Go To Greetings stamp set.
The Fresh Freesia gems from the Tinsel Gems Three-Pack are the finishing touch.
Now it’s time to hop on over to our next participant, the lovely Rachel Woollard – I can’t wait to see what Rachel has made this week!
If at any time you find a broken link, you can find the complete list of all participants below.
Welcome to week 22 of our 2021-22 Colour Creations blog hop! Tonight we are showcasing Highland Heather, a soft purple from the Subtles colour collection.
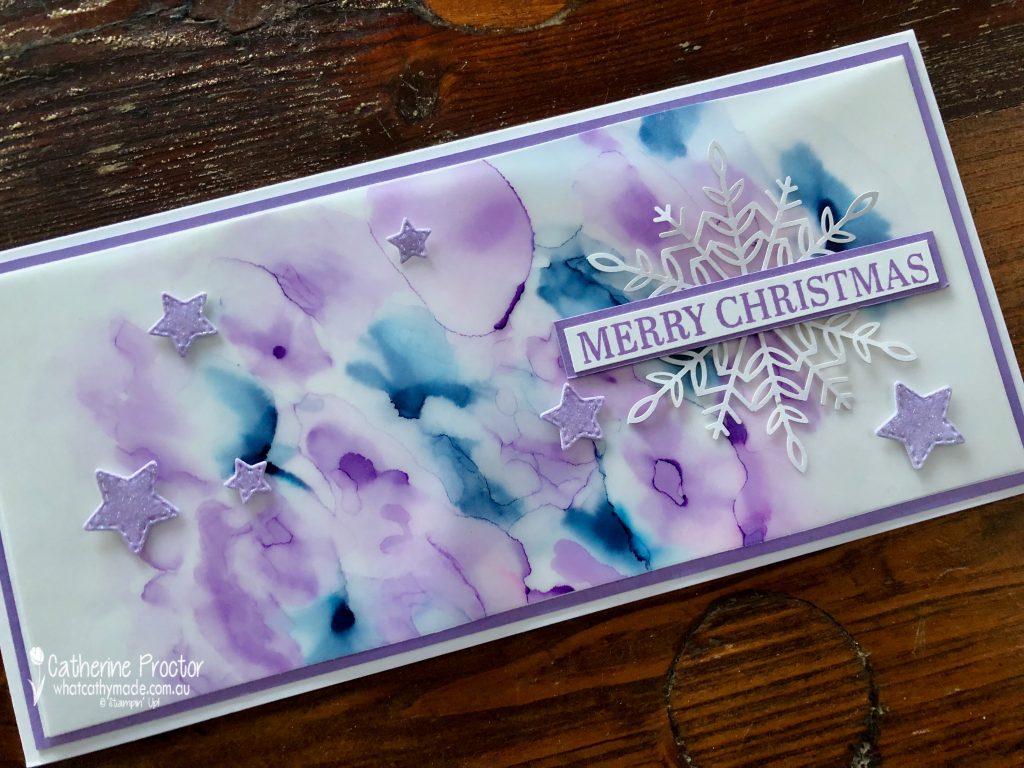
I know I’m a bit late to the party, but this week I finally tried the Stampin’ Blends alcohol technique. Oh my goodness, gracious me – what a fantastic technique this is! If you haven’t tried this technique yet, just give it a go. There is no right or wrong, it’s easy to do and you get a totally different effect every time. All you need are Stampin’ Blends, 100% Isopropyl Alcohol, vellum and a paintbrush.
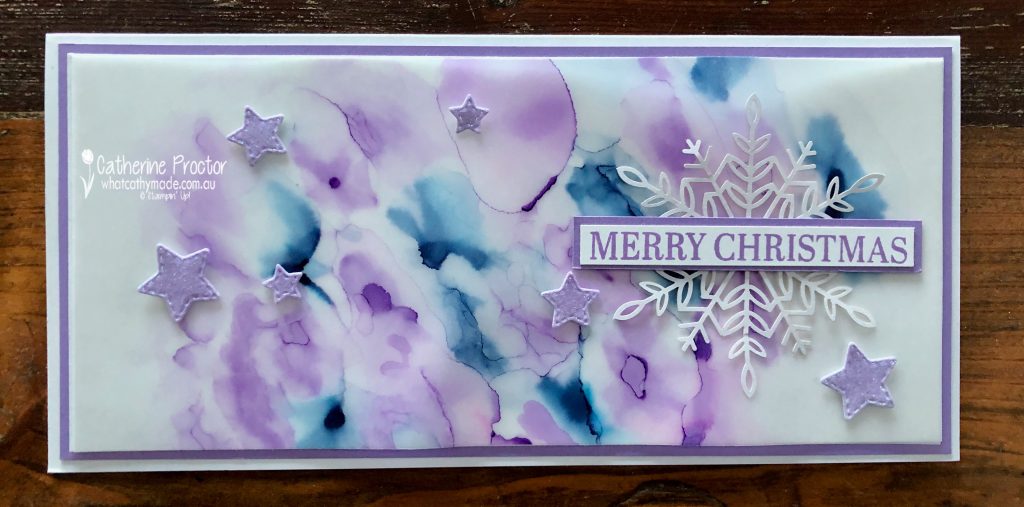
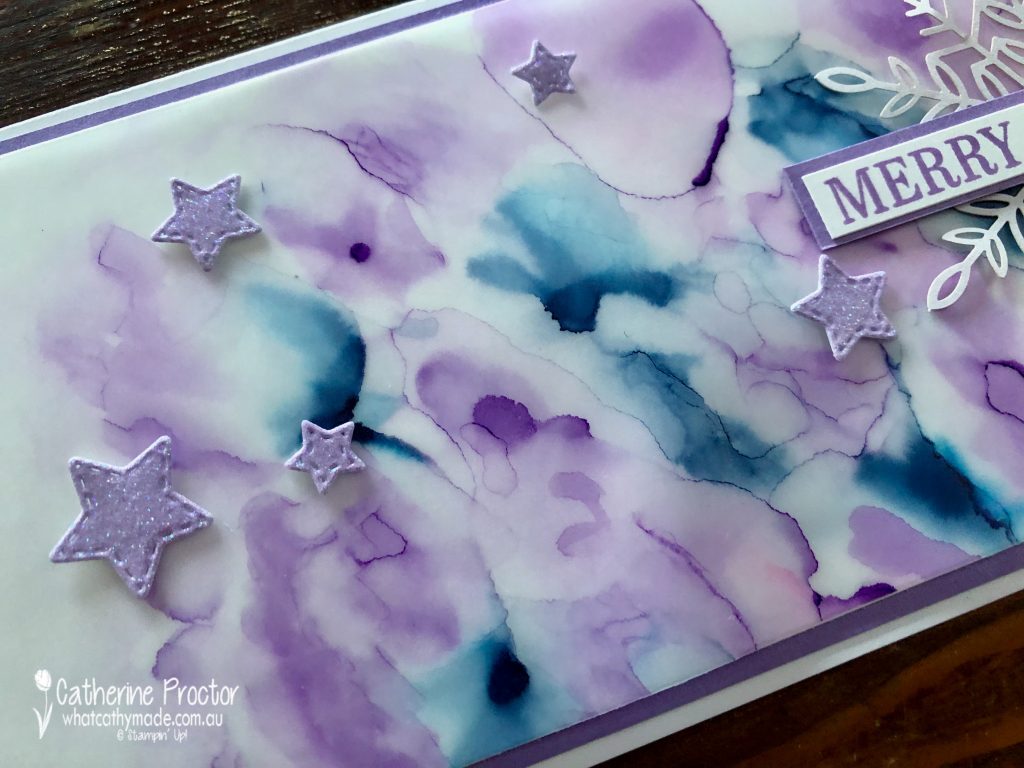
For my slimline card (10 x 20 cm) I used my dark Highland Heather Stampin’ Blend and my dark Night of Navy Stampin’ Blend. I simply scribbled random “splotches” of each colour onto vellum and then used a paint brush to gently paint the edges of the splotches with 100% Isopropyl Alcohol.
If I felt the gaps between splotches were too big, I simply waited for the alcohol to dry, added more colour with the Stampin’ Blend and repeated the alcohol painting with my paintbrush.
The sparkly stars are die cut from the from one of the glittering glimmery ombre specialty papers using the star dies from the Give It a Whirl dies. I used the Gorgeous Grape glittering glimmery ombre specialty papers – the lighter end of this ombre paper looks more like Highland Heather than Gorgeous Grape.
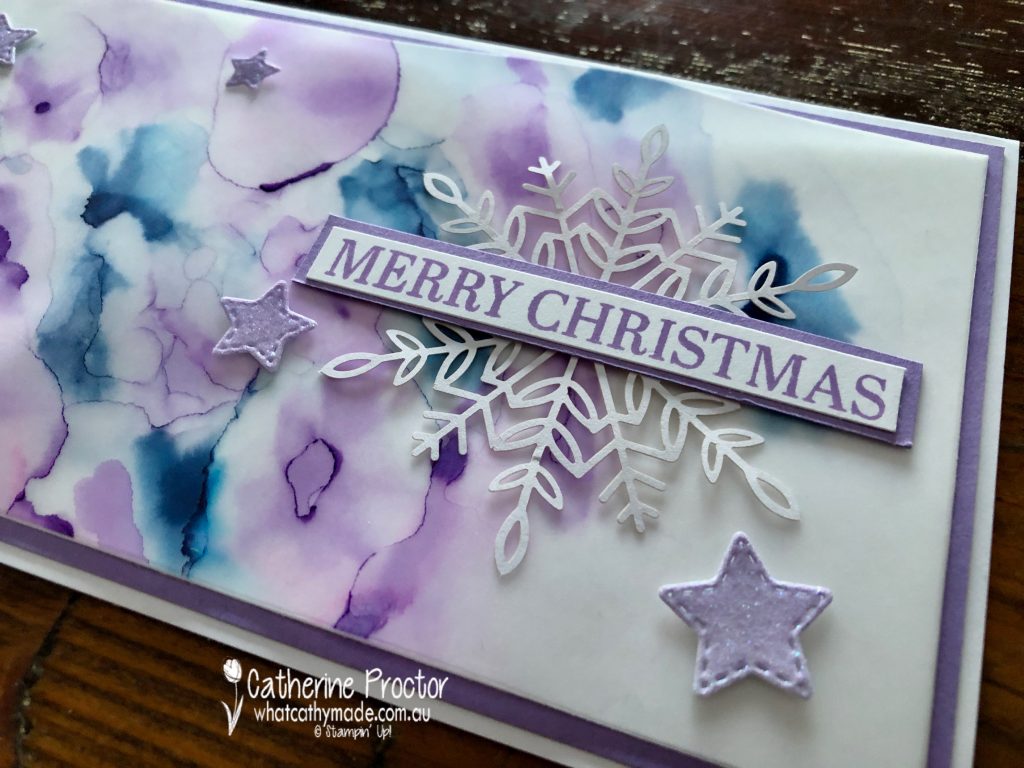
TIP: Once the alcohol has dried, adhere your embellishments to the front side of the vellum FIRST and them turn the vellum over and strategically place adhesive BEHIND where the embellishments sit so you can’t see the adhesive behind the vellum layer.
A snowflake from the Wonderful Snowflakes embellishments and the Merry Christmas sentiment from the Sparkle of the Season stamp set complete my Christmas card.
Now it’s time to hop on over to our next participant, the lovely Michele Taylor – I can’t wait to see what she’s made this week!
If you find a broken link or have come to this blog hop from a different entry point, you can view the the full list of participants below:
Welcome to the Monthly Art With Heart Creative Showcase.
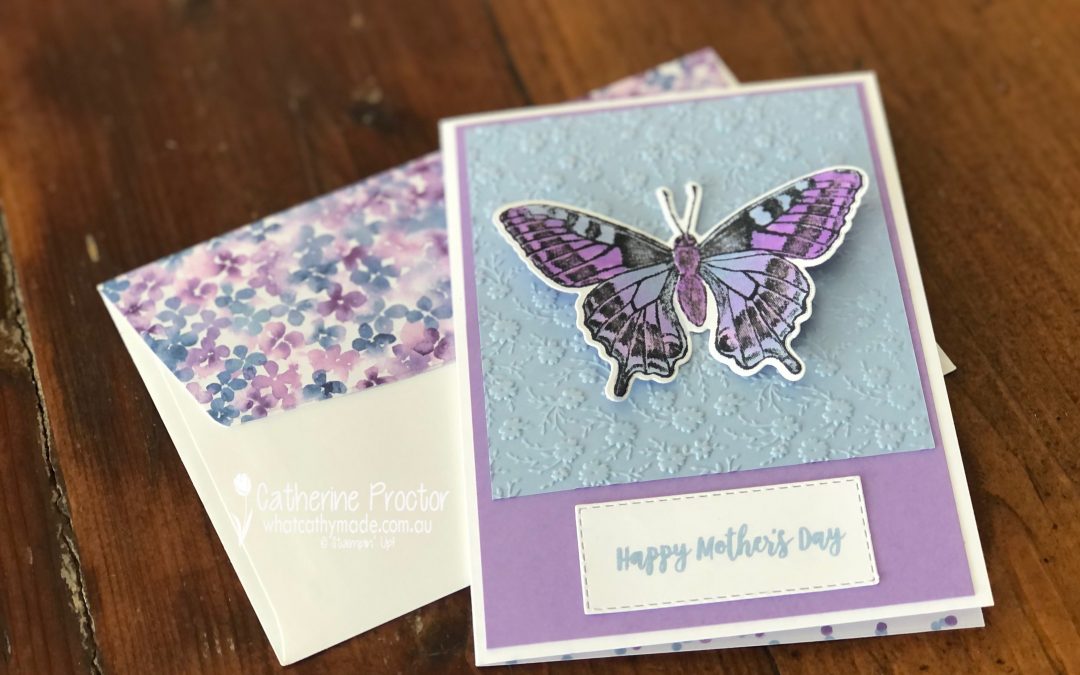
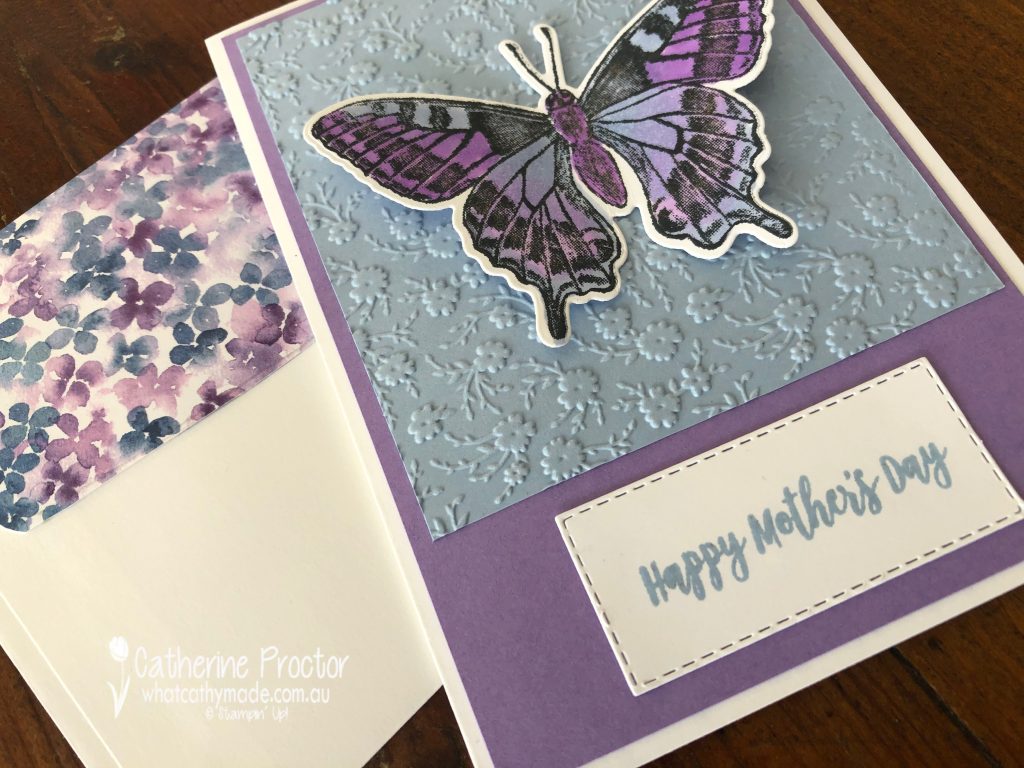
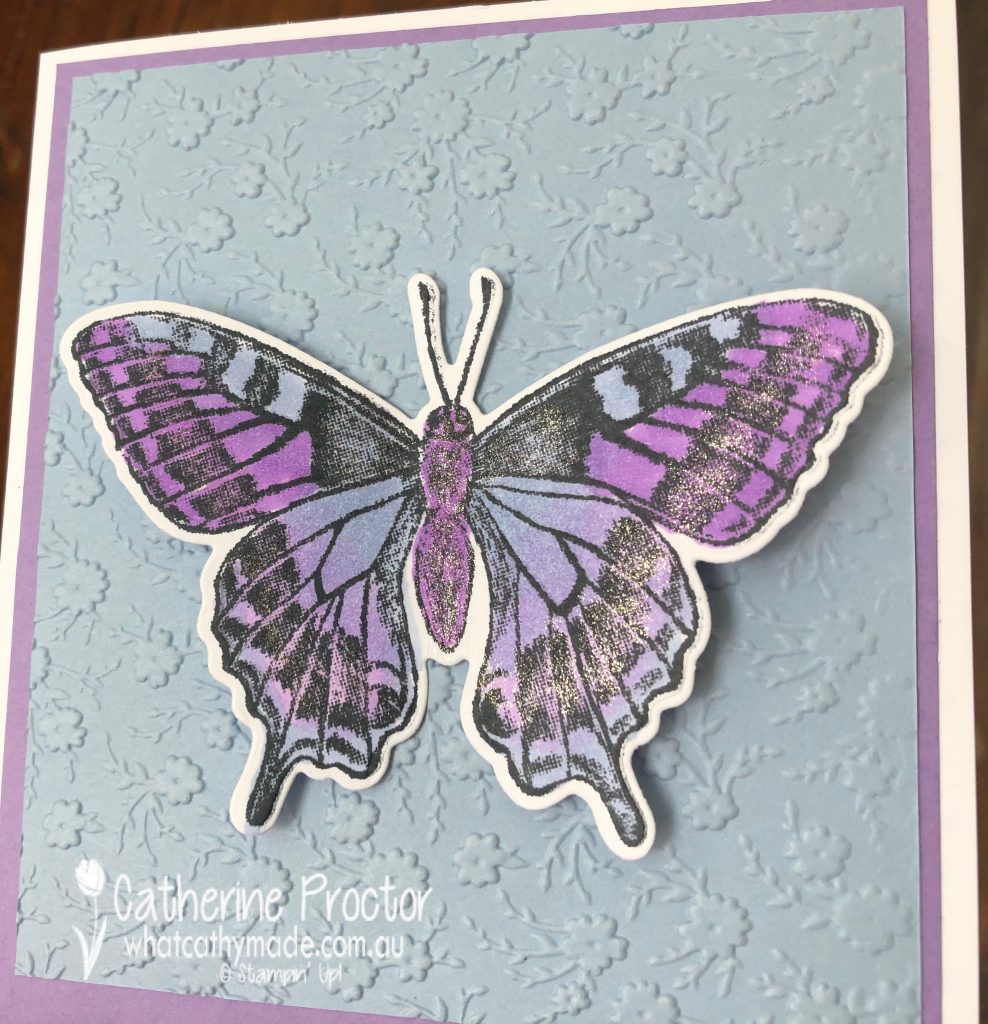
Tonight we’re sharing Mother’s Day projects. I had a beautiful card prepared for you that used the new Butterfly Brilliance bundle and the Butterfly Bijou paper, but because this paper has now sold out I’ve quickly made a replacement card.
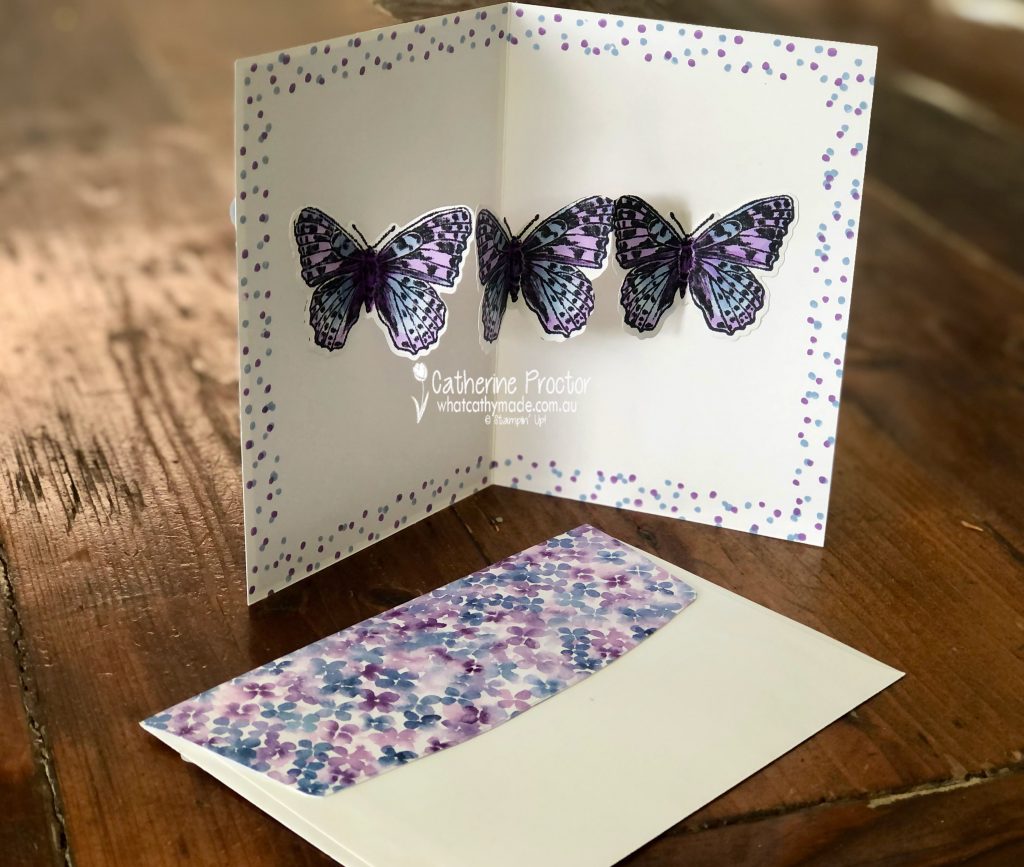
My colour combination was inspired by the beautiful sheet of Hydrangea Hill Designer Series Paper that I’ve used to decorate the back flap of my envelope.
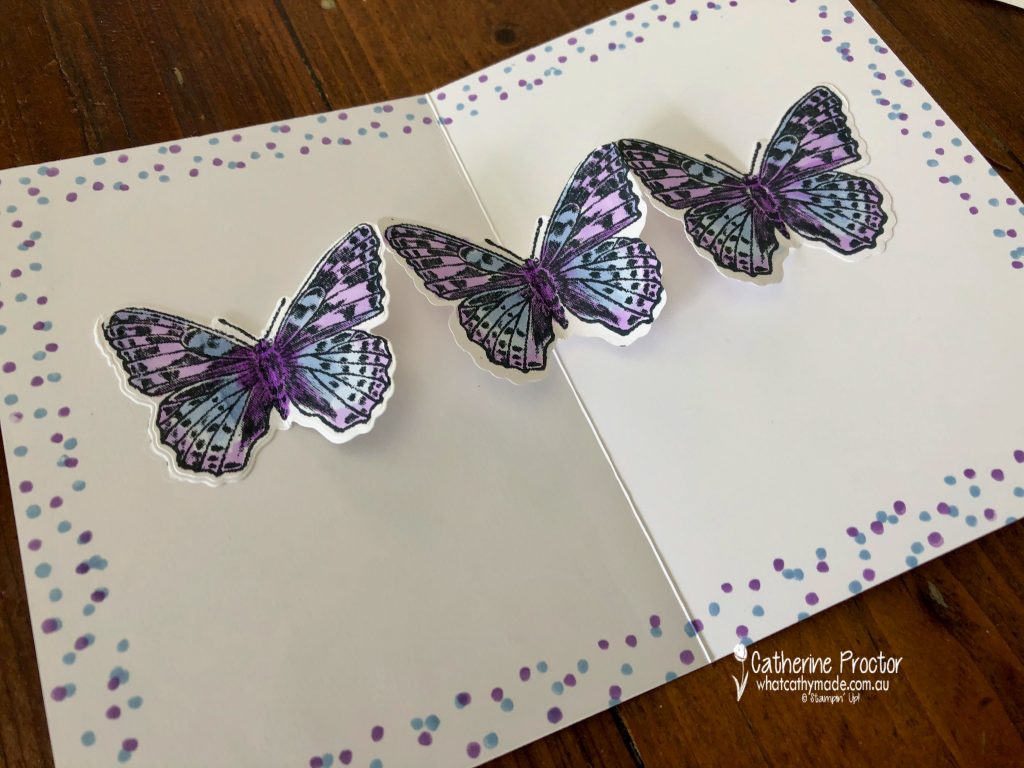
I wanted to make a card where the butterflies moved and I found a great technique to do this on Pinterest using a retired Stampin’ Up! Stamp set called Watercolour Wishes. I’ve adapted this technique to work with the new Butterfly Brilliance bundle.
Here’s the inside of my card, where the real magic happens – three beautiful butterflies that pop up and flutter their wings when you open the card!
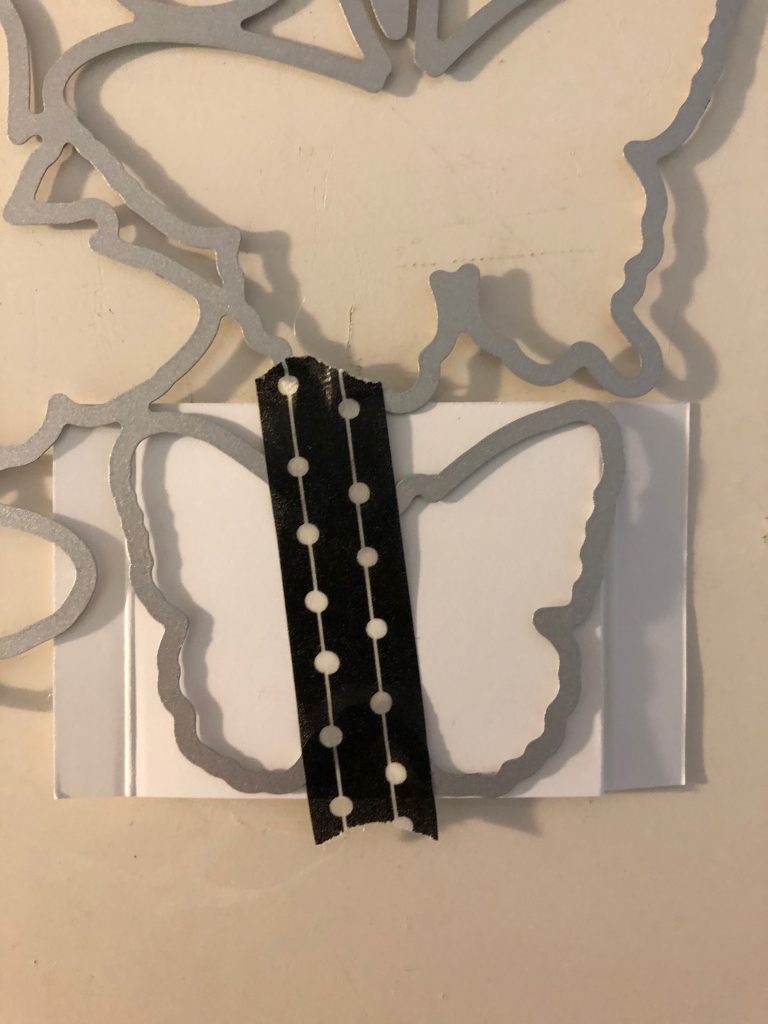
It’s actually a simple technique that involves folding and scoring a strip of 20 x 5 cm Basic White card stock at 1cm, 7 cm, 13 cm and 19cm. Use washi tape to adhere them to the bottom right butterfly in the Brilliant Wings Die and run it through a Cut’ n’ Emboss machine multiple times to ensure the die cuts through all the layers.
After die cutting I stamped my 3 butterflies with Back Tuxedo Memento Ink and coloured them in using Soft Seaspray and Highland Heather light and dark Stampin’ Blends.
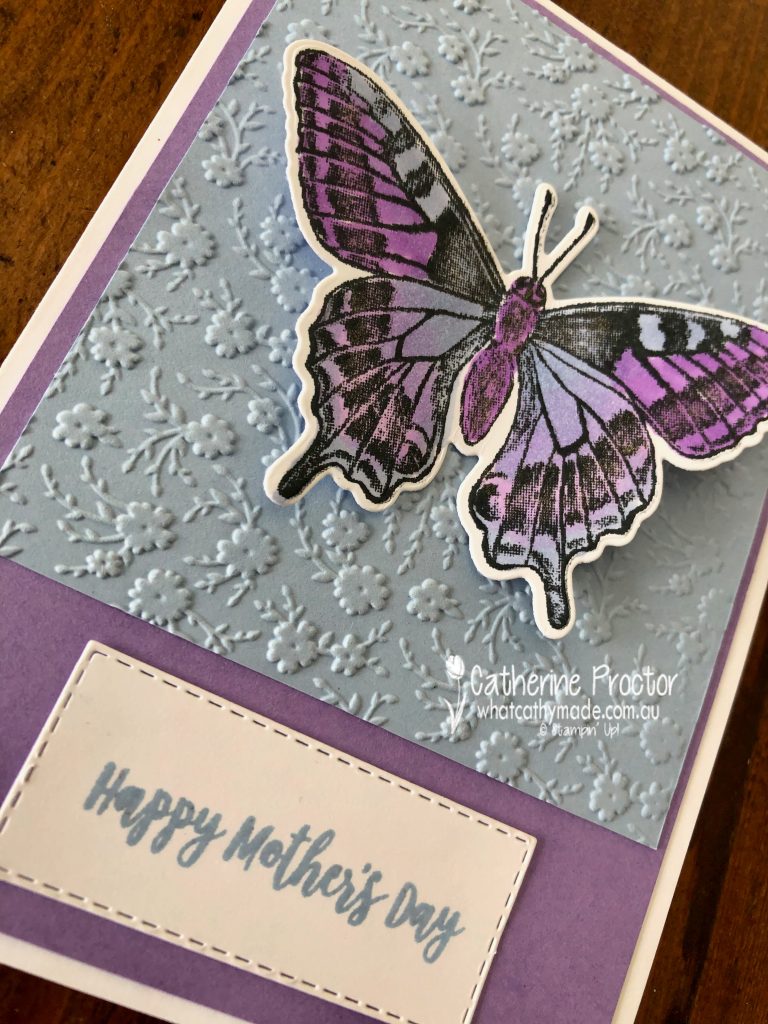
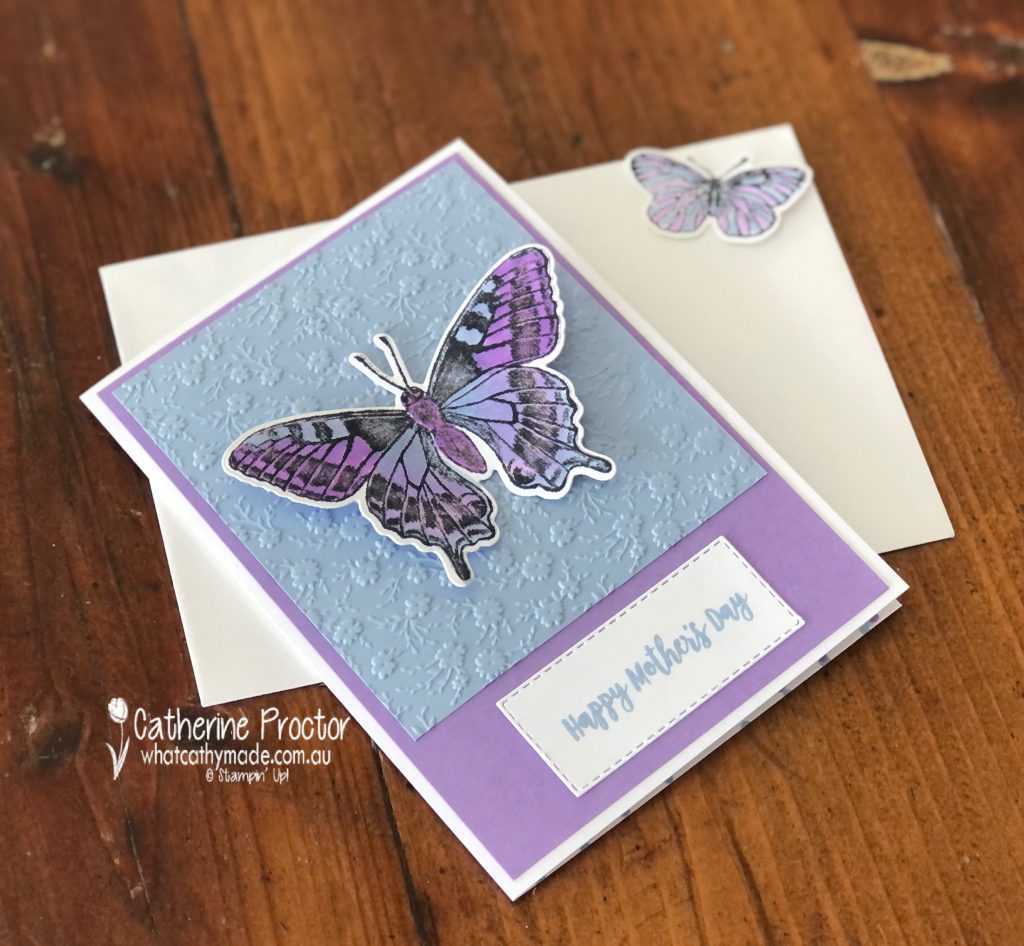
I also stamped and die cut another bigger butterfly for the front of my card and a smaller butterfly for the front of my envelope. The big butterfly was adhered with glue dots to an embossed Seaside Spray layer (Ornate Garden Embossing folder) on top of a Highland Heather card stock layer.
Can you see the glimmer my Wink of Stella pen has added to my butterfly?
Because the Butterfly Brilliance stamp set does not have sentiments I used the Dressed To Impress “Happy Mother’s Day” sentiment on the front of my card and the small dot stamp to create a border for the inside of my card.
Make sure you stamp this inside border BEFORE attaching the edges of the butterfly wings with some multipurpose glue.
Can you see the little butterfly that decorates the front of my envelope?
To see more Mother’s Day ideas from the AWH Team head back to Rachel’s page as she is hosting our monthly blog hops.
To purchase any of the products used in my card tonight, click on the links below.
If you’d like me to post you your very own copy of the forthcoming 2021-22 Stampin Up! Annual Catalogue, the January – June 2020 mini catalogue, or to simply find out about more about Stampin’ Up! contact me.
When you shop online in my Stampin’ Up! Online Store don’t forget to use my monthly Host Code (if your order is between $50 – $250) and I will send you a thank you gift the following month. If your order is over $250 don’t use the host code because you will qualify for your own stamping rewards.
My April Host Code is ESWKFC2Y and it is valid until midnight April 31.
In the meantime, wherever you are in the world, stay safe, stay calm…and keep on crafting xxx
Welcome to week twenty-one of our 2020-2021 Art With Heart Colour Creations Showcase.
Each week various members of our Art With Heart Colour Creations team will be bringing you weekly colour inspiration as we showcase our range of over 50 beautiful Stampin’ Up! colours in alphabetical order.
Week 21 – Highland Heather
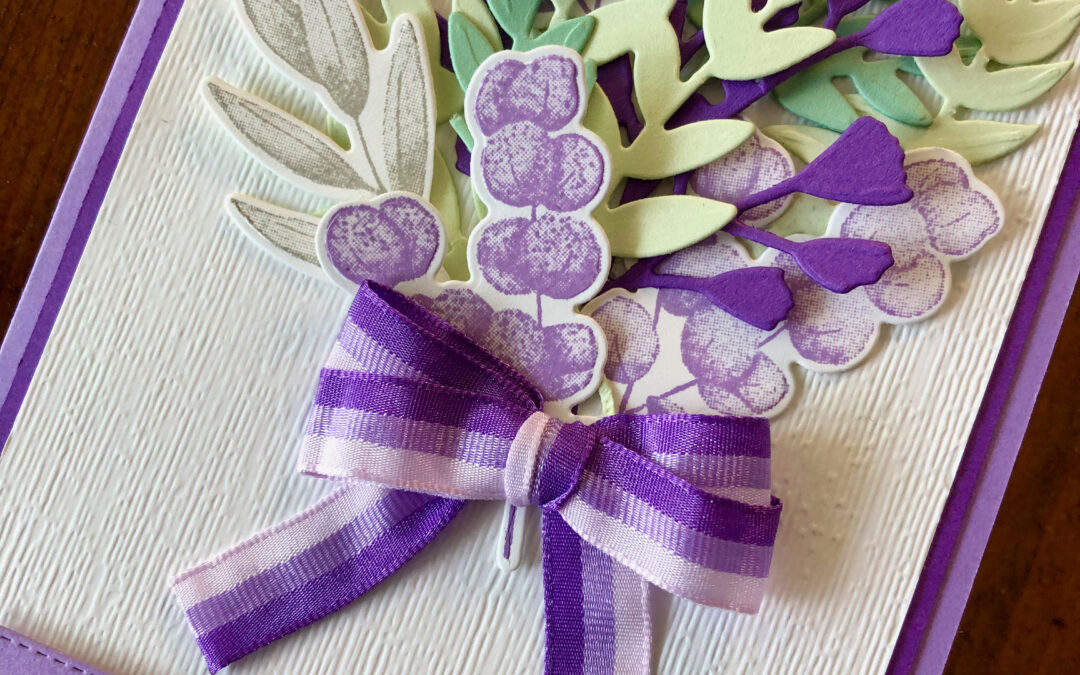
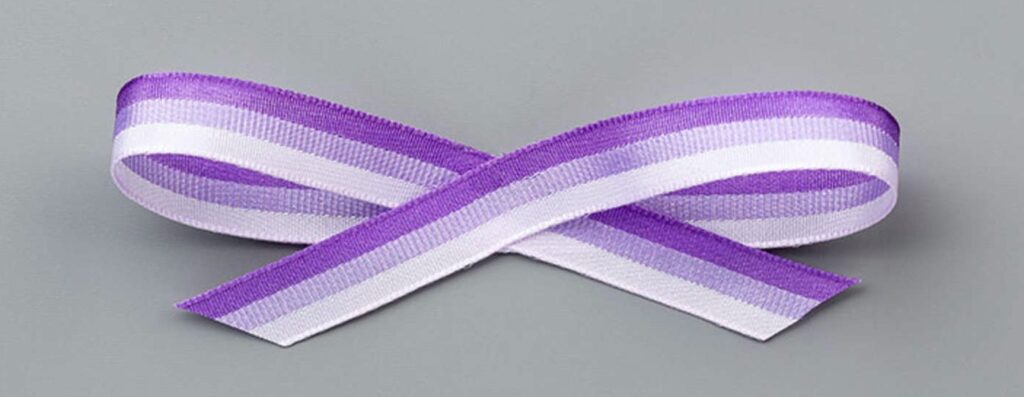
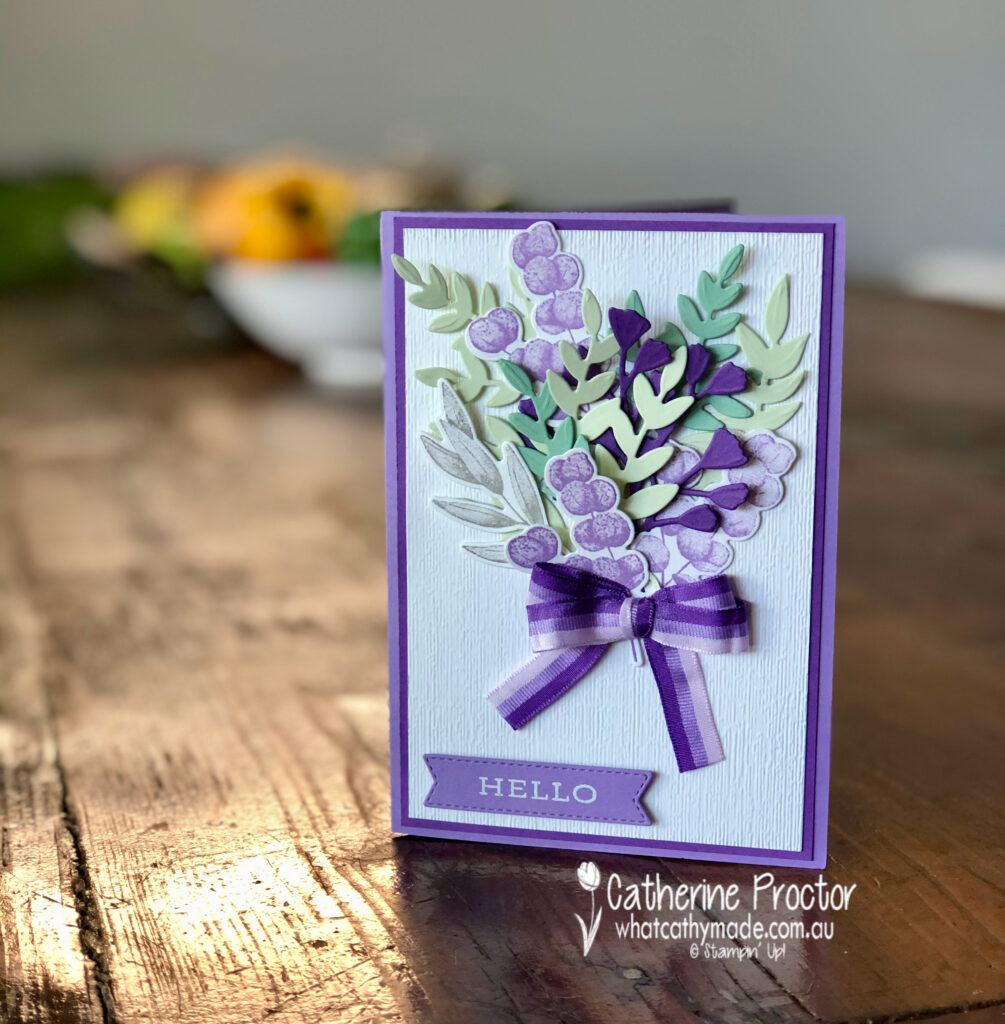
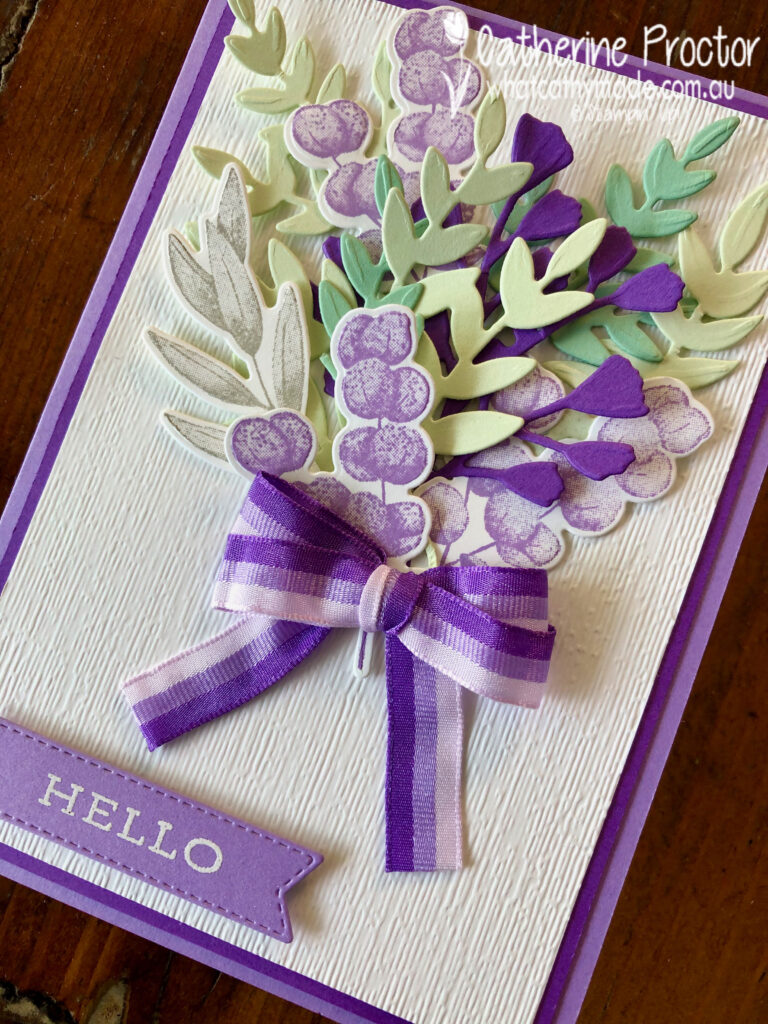
I love Stampin’ Up!’s stunning tricolour purple ribbon so much I designed my card around it this week, creating a bunch of flowers tied with a double bow of this ribbon – its three stripes are Purple Posy, Highland Heather (our colour this week) and Gorgeous Grape.
The other colours included in my bunch of flowers are Soft Sea Foam, Mint Macaron and Smoky Slate. This is such a soft and feminine colour combination.
The Forever Fern bundle was just perfect for this project – its impossible to make a bad card with this stamp set and co-ordinating Forever Flourishing dies, and there are so many way you can use this bundle.
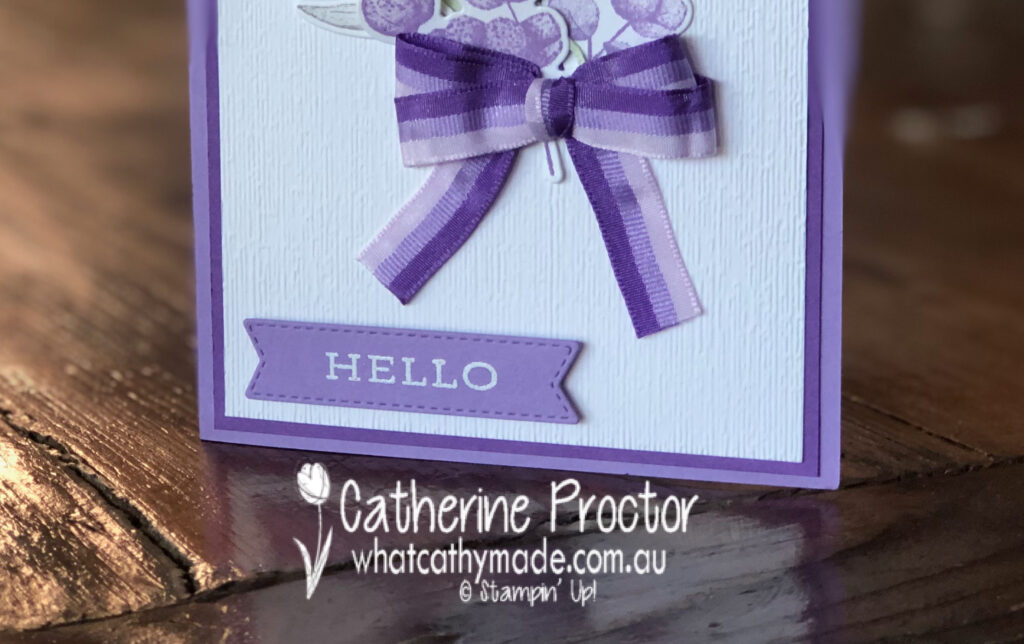
Because I wanted to create a double bow with the stripes in same direction on both sides of my bow I used a bow maker to carefully tie the double bow. If you don’t have a bow maker you can use a fork or even your fingers – there are heaps of free tutorials on Pinterest that will show you how to make a perfect bow of any size.
Stampin’ up!’s subtle embossing folder gives a lovely texture to the Whisper White card stock layer. The “hello” sentiment was stamped in Versamark ink before being heat embossed using white emboss power.
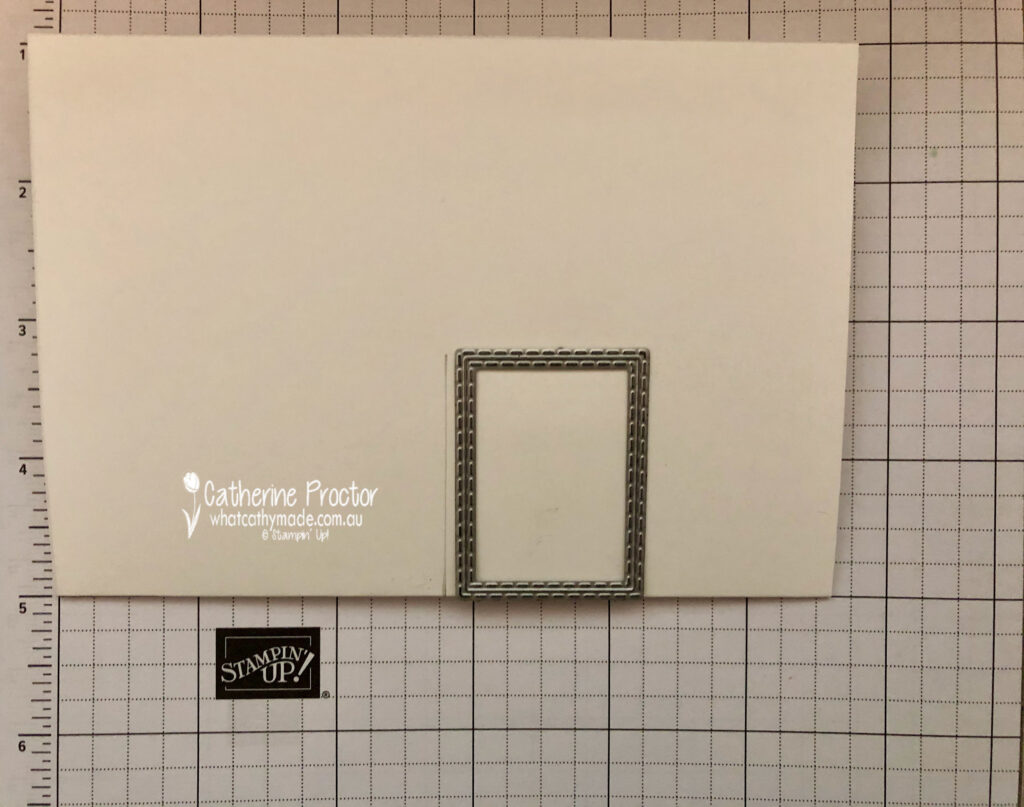
Because I had so many left over die cut pieces I decided to make a quick pop-up planter basket for the middle of my card. I traced around the smallest stitched rectangle to work out where to cut my pop-up mechanism and then simply used my paper snips to cut two side slits into a Whisper White insert.
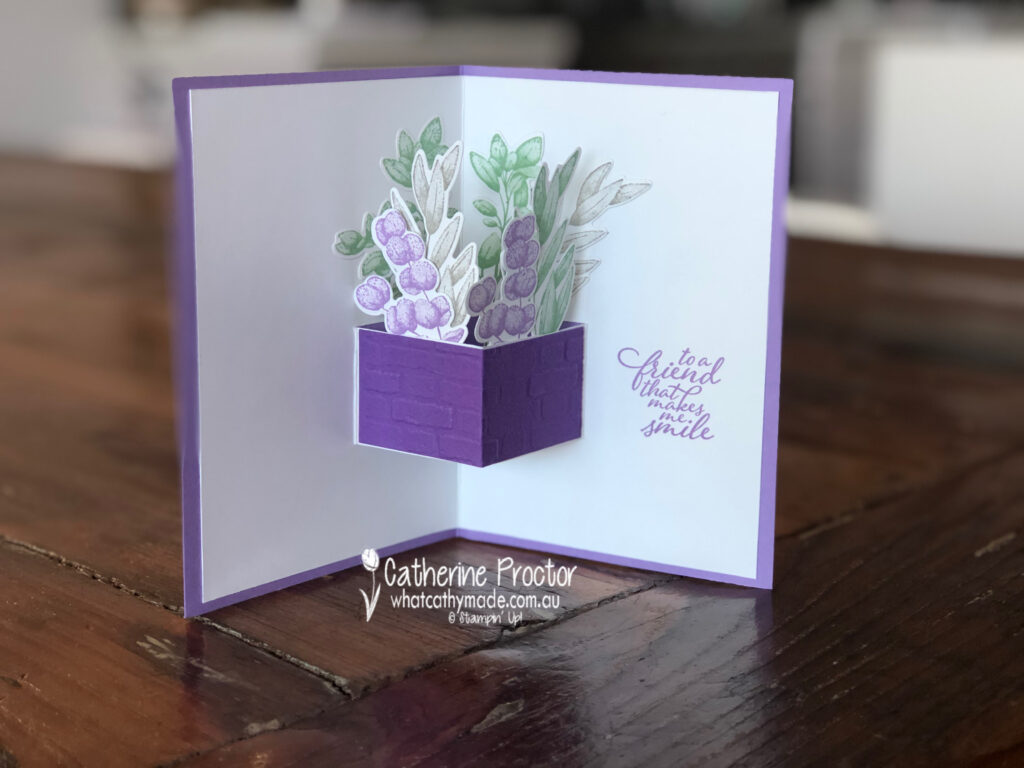
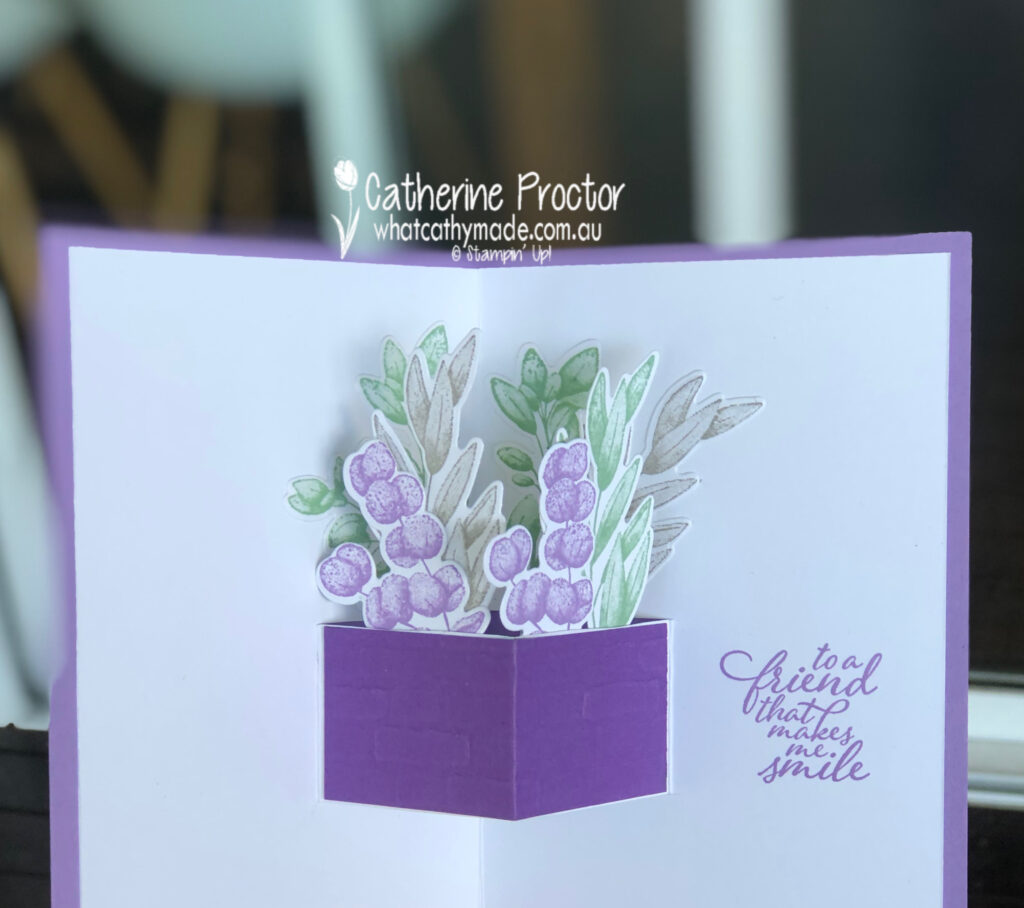
Once I cut my two side slits I simply flipped out the pop-up mechanism (so it pops in the opposite direction to the card insert) and added a piece of Gorgeous Grape card stock embossed using the Brick & mortar Embossing Folder to create the planter box.
As well as attaching foliage pieces to the inside of the planter box pop-up section I also attached some to the inside of the Whisper White card base. Just a note of warning, when attaching die cut piece to your pop-up section just make sure they are positioned in a way that your card can close smoothly and they don’t stick out the sides when the card is closed.
Here’s a quick 17 second video showing you how my pop-up card moves.
The “to a friend that makes me smile” sentiment is the final touch for the inside of the pop-up card, stamped in Highland Heather.
I can’t wait to see what the rest of the Art With Heart team have created with Highland Heather today. Click on the links below to see what they’ve made.
If you’d like me to post you your very own copy of the August–December 2020 Mini Catalogue, 2020-21 Stampin Up! Annual Catalogue, the 2020-21 Beginners Brochure, or to simply find out about more about Stampin’ Up! contact me.
In the meantime, wherever you are in the world, stay safe, stay calm…and keep on crafting xxx
Welcome to week 24 of the Art With Heart Colour Creations Blog Hop!
This week we are showcasing one of the Subtles: Highland Heather.
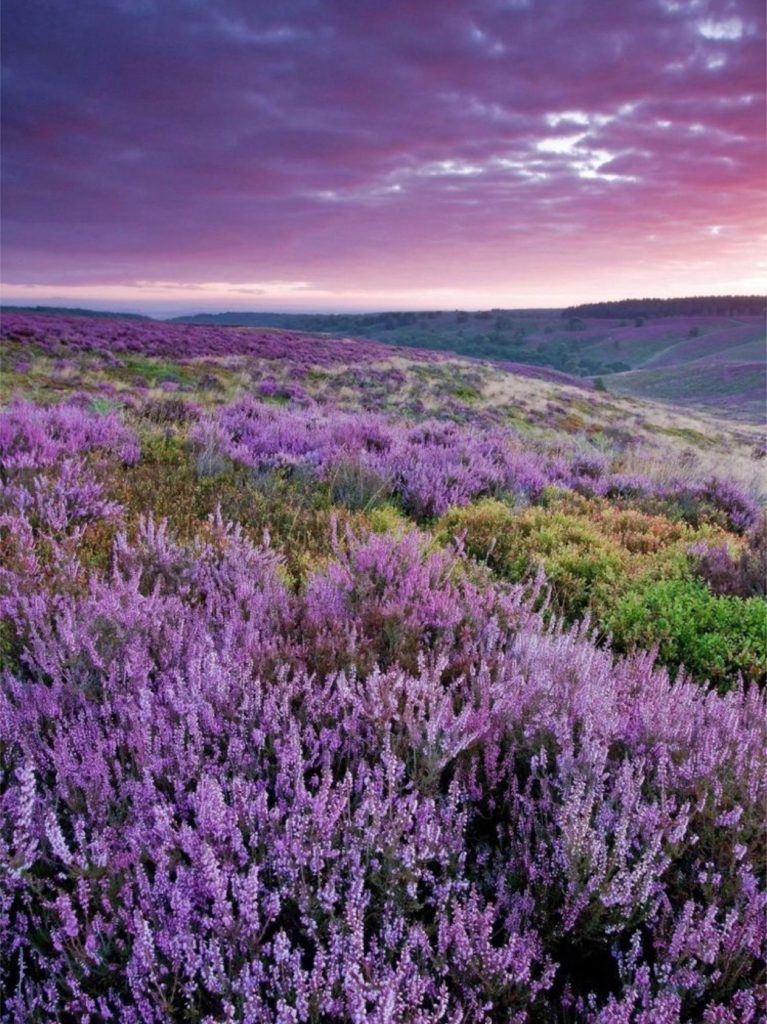
Although I’m not usually a purple kind of a gal, I really love this colour and I have a soft spot for it because of its name. You see my mum’s name is Heather and my grandparents on my dad’s side are Scottish, emigrating from the Scottish Highlands to Australia in the late 1930s.
Here’s a stunning picture I found of the Highland Heather on the Scottish moors. Look at that sky!
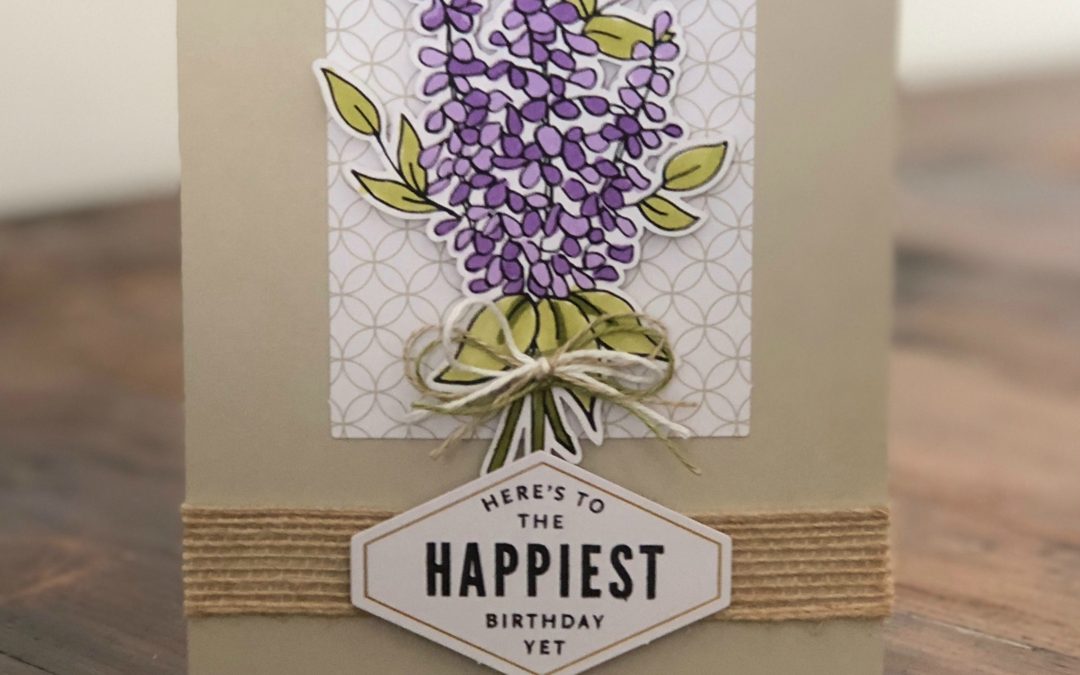
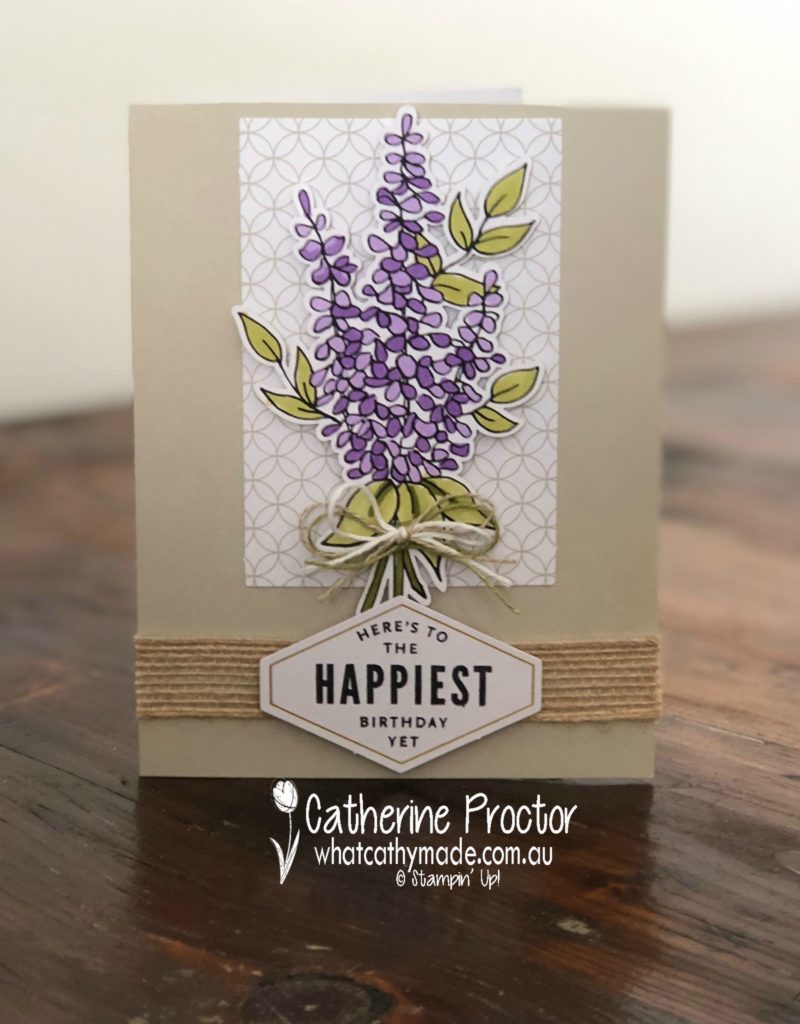
For my card today, I really wanted to recreate a bunch of this gorgeous highland heather and the “Lots of Happy Card Kit” was just perfect for the job.
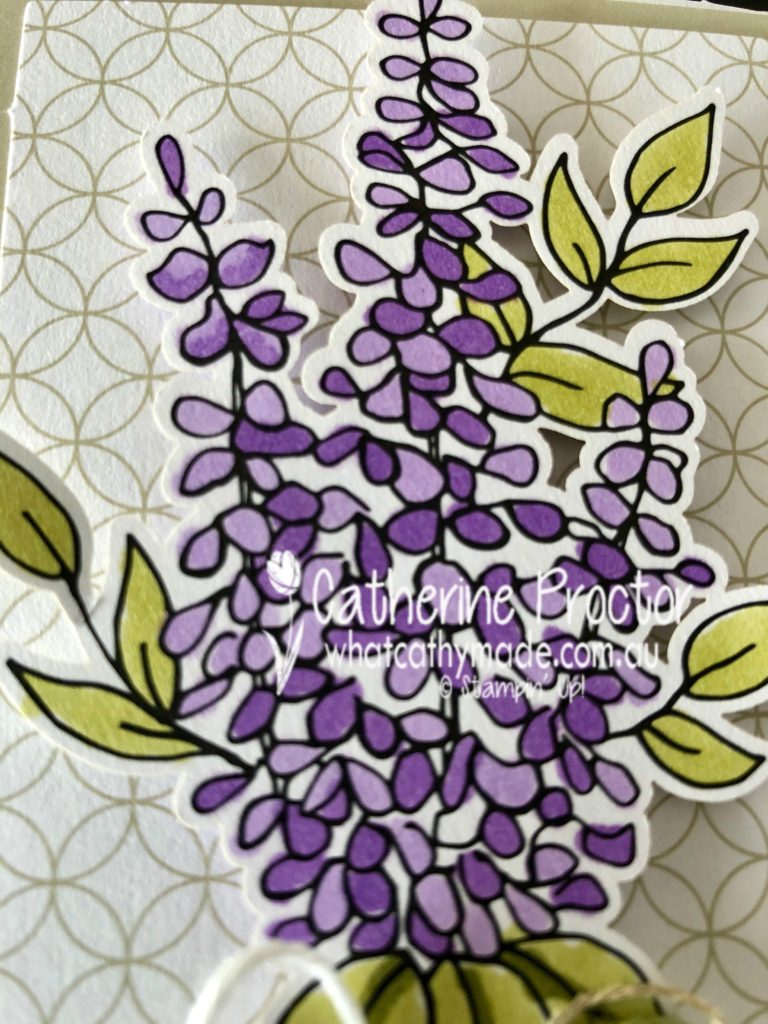
The great thing about this kit (apart from how quick it is to create a stack of cards) is that it’s also easy to make your own variations. I’m pretty sure this gorgeous flower is supposed to be lilac but I think it looks a lot like heather when it is coloured in with the Highland Heather.
Instead of using the watercolour pencils that come with the kit, I coloured the flower in with my light and dark Highland Heather blends. The leaves and stems are coloured in with my light and dark Old Olive blends.
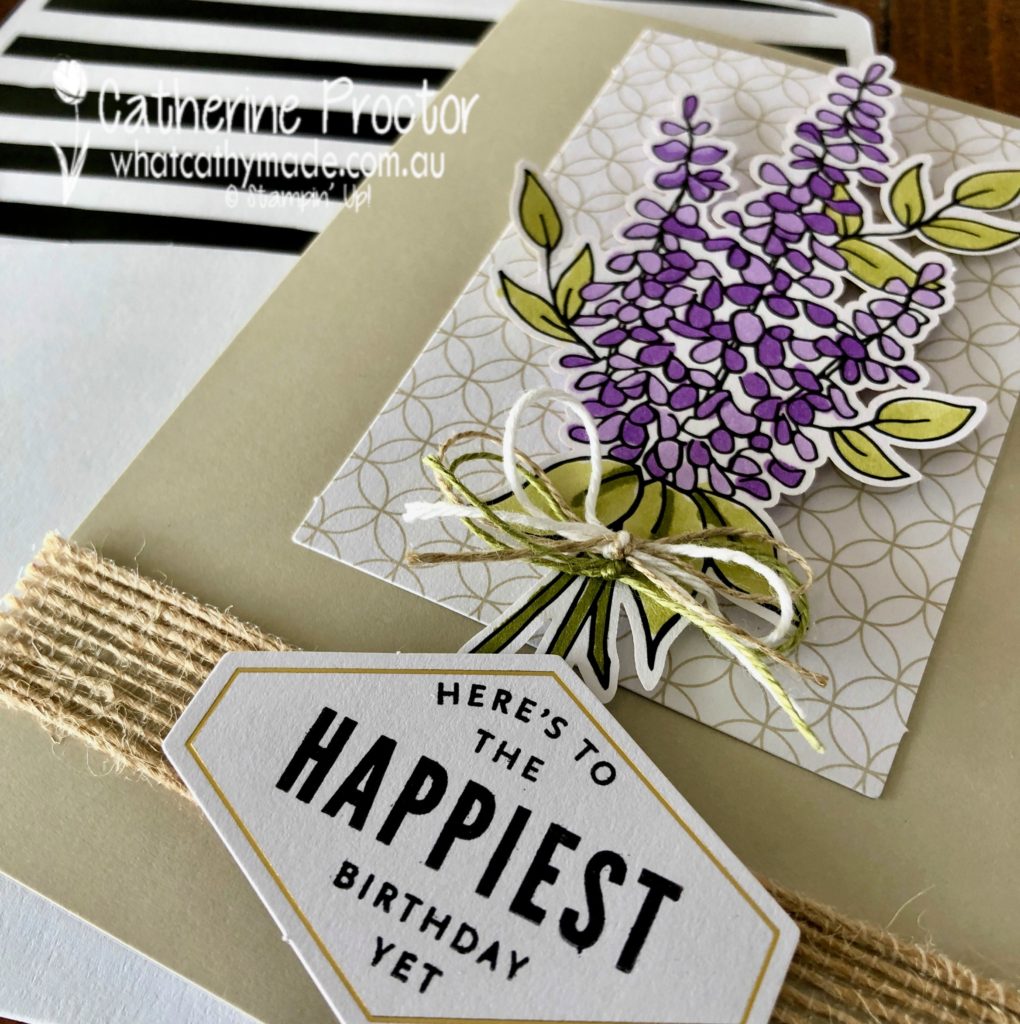
Another variation I made was to add some burlap and, drum roll………
….a sneak peek of a new item from the forthcoming Occasions catalogue – Old Olive linen thread, tied in a bow with some Crumb Cake linen thread and Whisper White bakers twine.
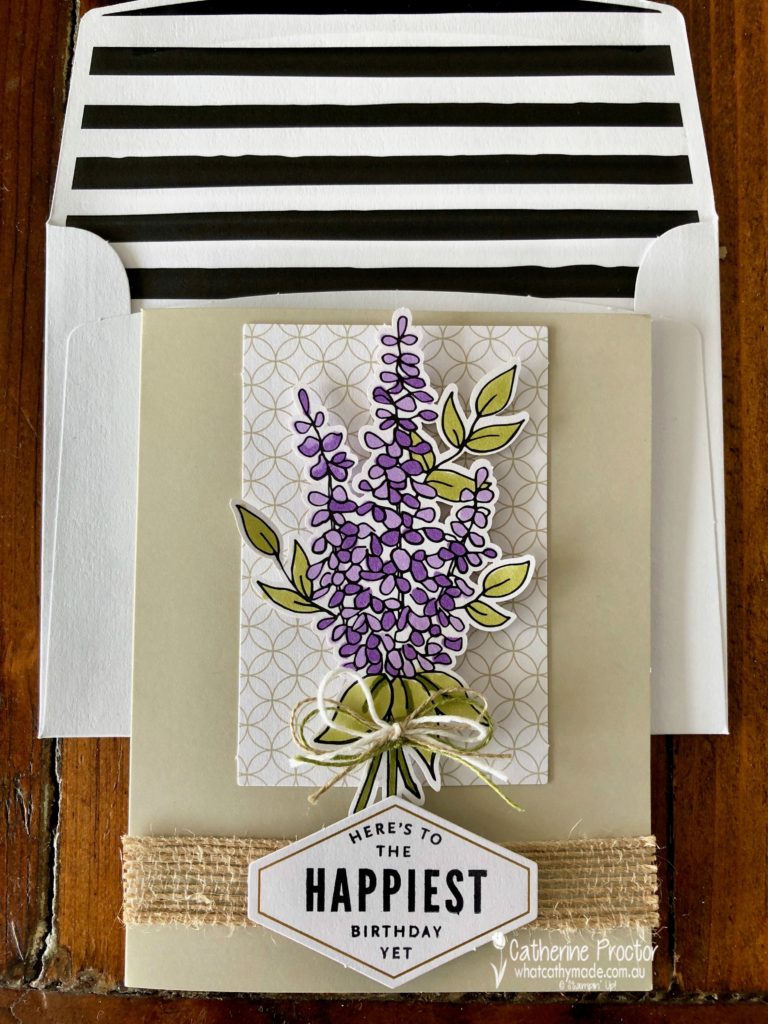
One of my favourite elements in this kit is the matching envelopes with the black and white stripe. So very cute.
To see what the rest of the team have made click on the links below.


")


 Specialty Paper")


")


")


 Tricolor Ribbon")