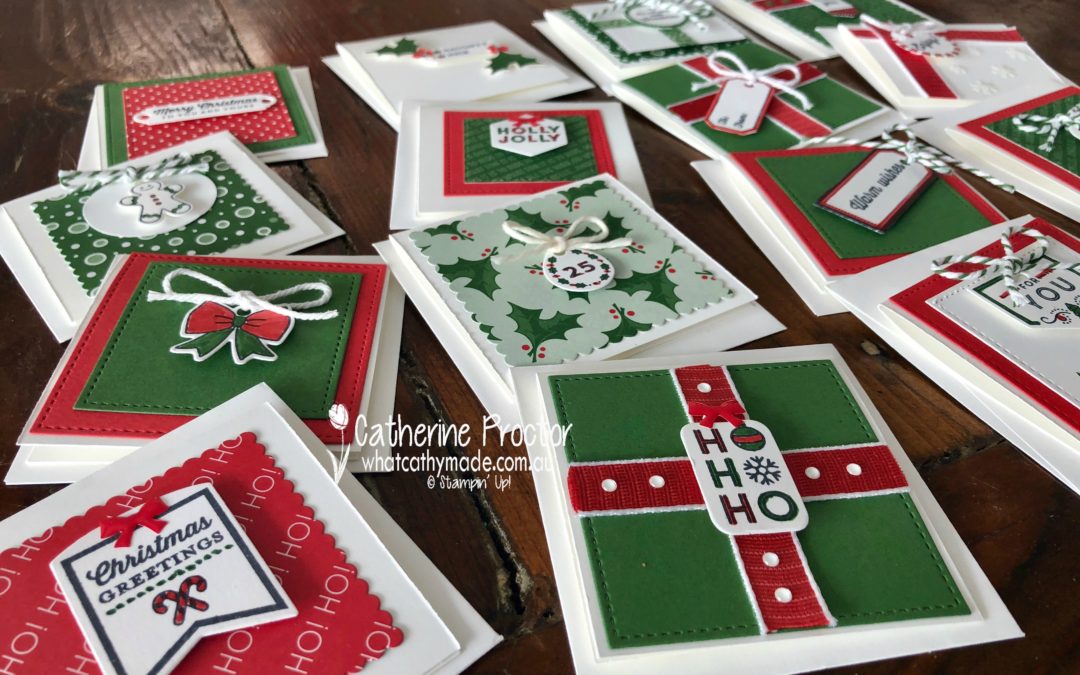
Art With Heart Blog Hop: 2018 Holiday Catalogue
If you find a broken link or have come to this blog hop from a different entry point, you can view the participants below:
Caroline Manwaring
Sharon Davern
Tina Gillespie
Ros Davidson


If you find a broken link or have come to this blog hop from a different entry point, you can view the participants below:
Caroline Manwaring
Sharon Davern
Tina Gillespie
Ros Davidson
Welcome to week 3 of the Art With Heart “Heart Of Christmas” blog hop.
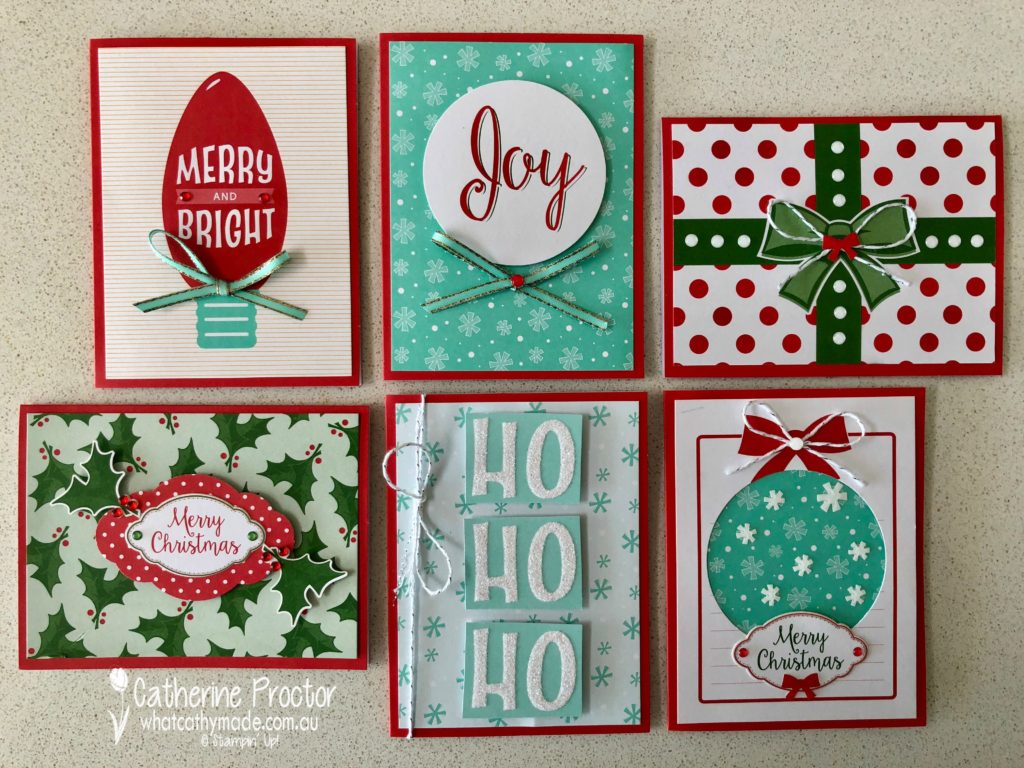
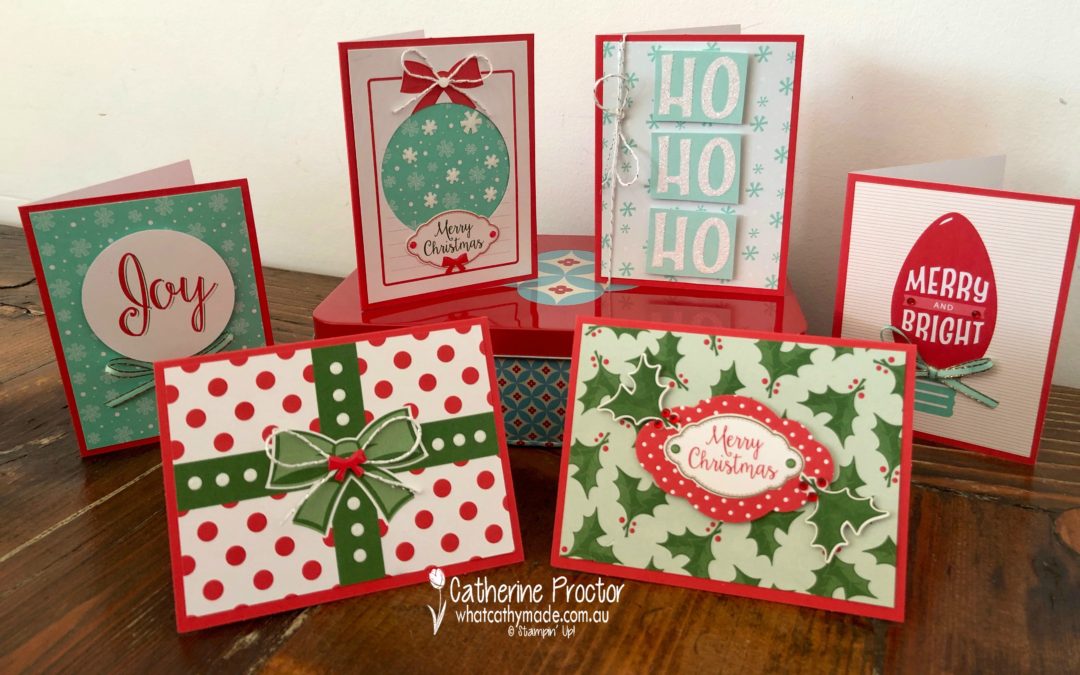
Stampin’ Up!’s Santa’s Workshop Memories & More Card Pack make it so quick and easy to create professional-looking Christmas cards…in fact, it is so easy I’m almost embarrassed to claim creative credit for these cards.
Luckily, I did a little creative cutting and embellishing to make these cards my own design, but even so, I still managed to make 6 cards in less than 30 minutes!
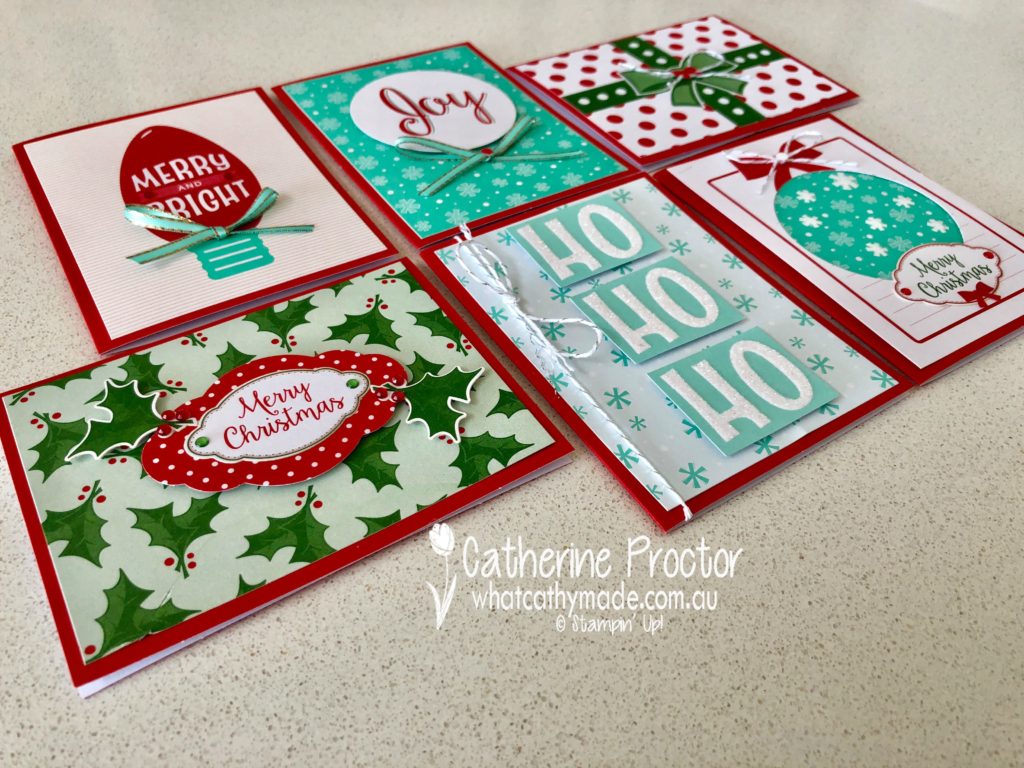
And as if Stampin’ Up haven’t made it easy enough already with 50 pre-printed cards suitable for both scrapbooking and card making, this year they’ve also released the co-ordinating Santa’s Workshop Memories & More 20 cards in two sizes (with matching envelopes) in Poppy Parade, which I’ve used to make my cards this week.
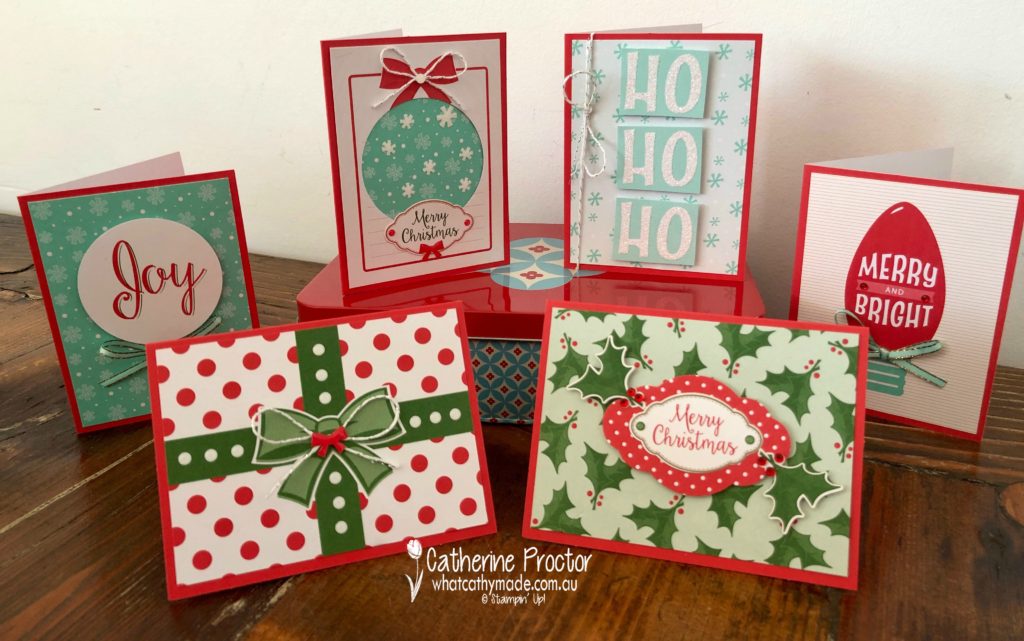
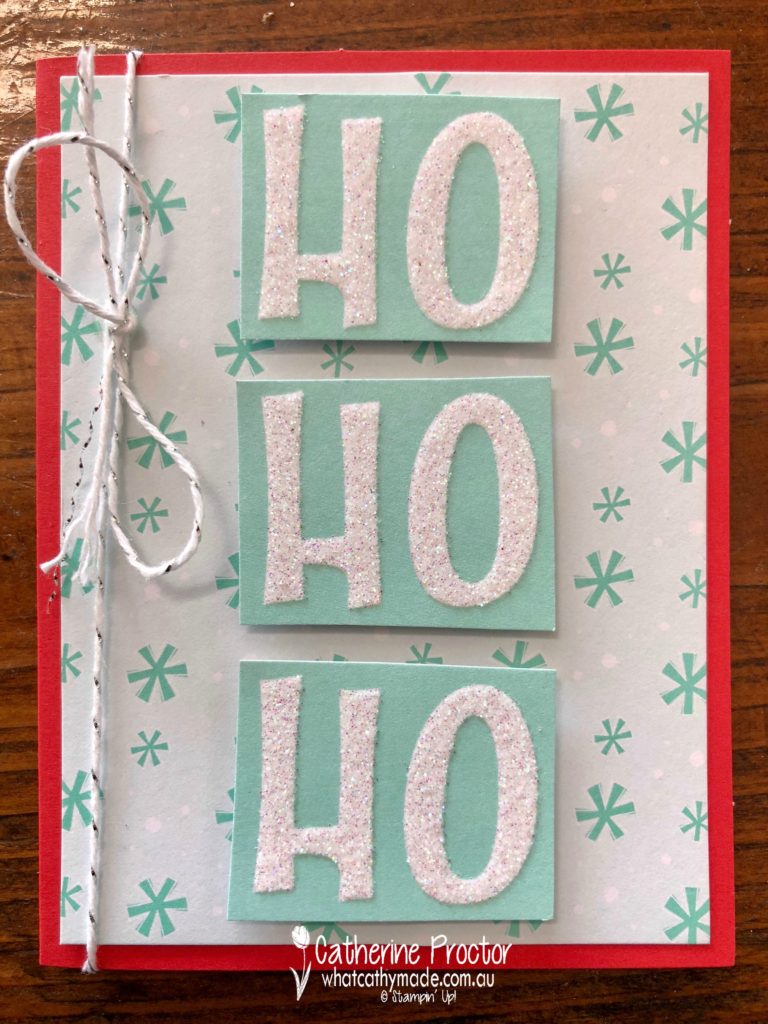
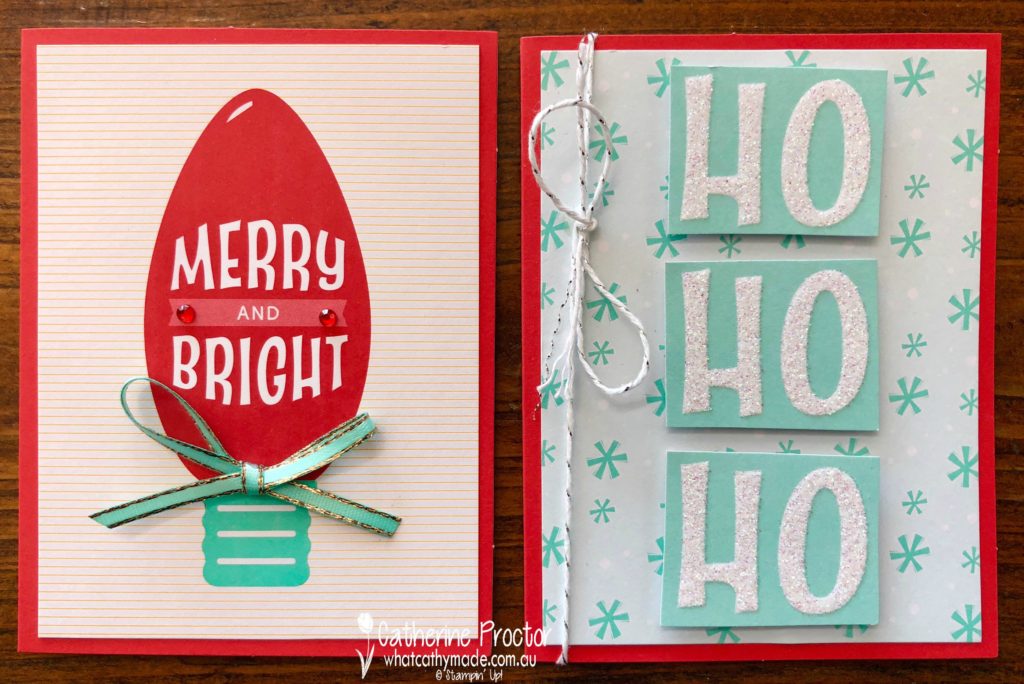
How gorgeous do the colours Poppy Parade and Coastal Cabana look together? For my first card below, I used one of the smaller Memories & More cards as the background and then chopped up the frosted glittery “ho ho ho” from one of the larger Memories & More cards to mount on top. Silver and white bakers twine complete the card.
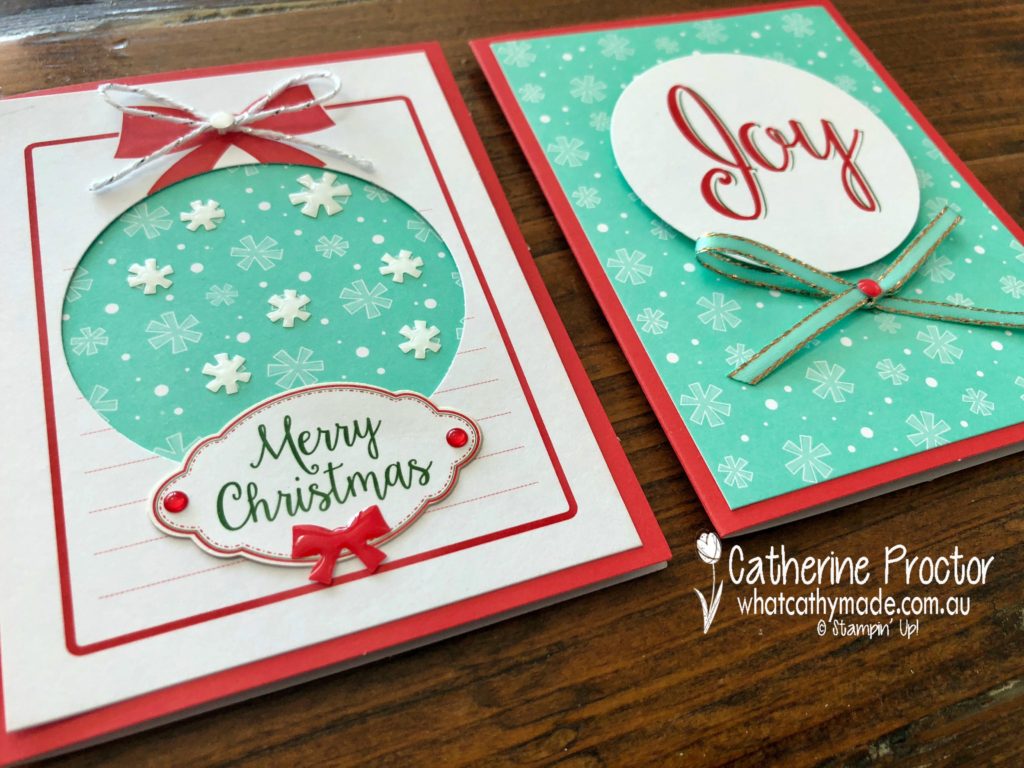
My next 2 cards use a Coastal Cabana background card and the same card on top. I used my largest Stampin’ Up! punch to punch the word joy out of the Memories & More card and mounted it onto the card on the right, then flipped over the card and used the reverse side and negative image for the card on the left, embellished with some Santa’s Workshop enamel shapes and stickers from the Memories & More card pack.
For my “Merry Christmas” card below I used my Pretty Label punch to punch out a red and white spotted memories & more card as an extra layer under the “Merry Christmas” sticker, then I added two holly stickers and some red rhinestone jewels. The top card also features a dotty card to which I added further dots, using white Santa’s Workshop enamel shapes to embellish the green bow.
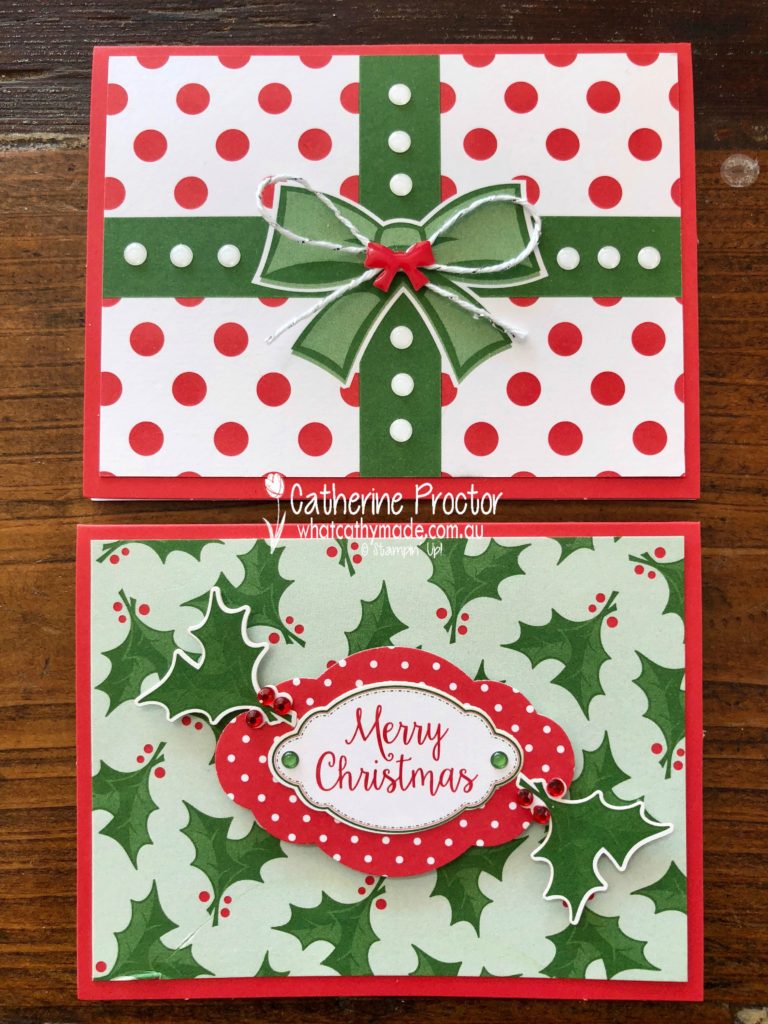
And finally, how cute is this “Merry and Bright” Memories & More card? All it needed was a couple of red rhinestone jewels and a bow of Coastal Cabana ribbon to add a little extra bling.
To see what the rest of the AWH team have made head back to the lovely Claire Daly’s blog.
To purchase any of the products I used in this project from the annual catalogue you can shop with me here.
You can order the new products from the holiday catalogue from September 5, or if you join as a demonstrator you can order them now…contact me if you’d like to find out more or receive a free copy of the holiday catalogue.
