Hello crafters! Welcome to Week 19 of our AWH Heart of Christmas blog hop.
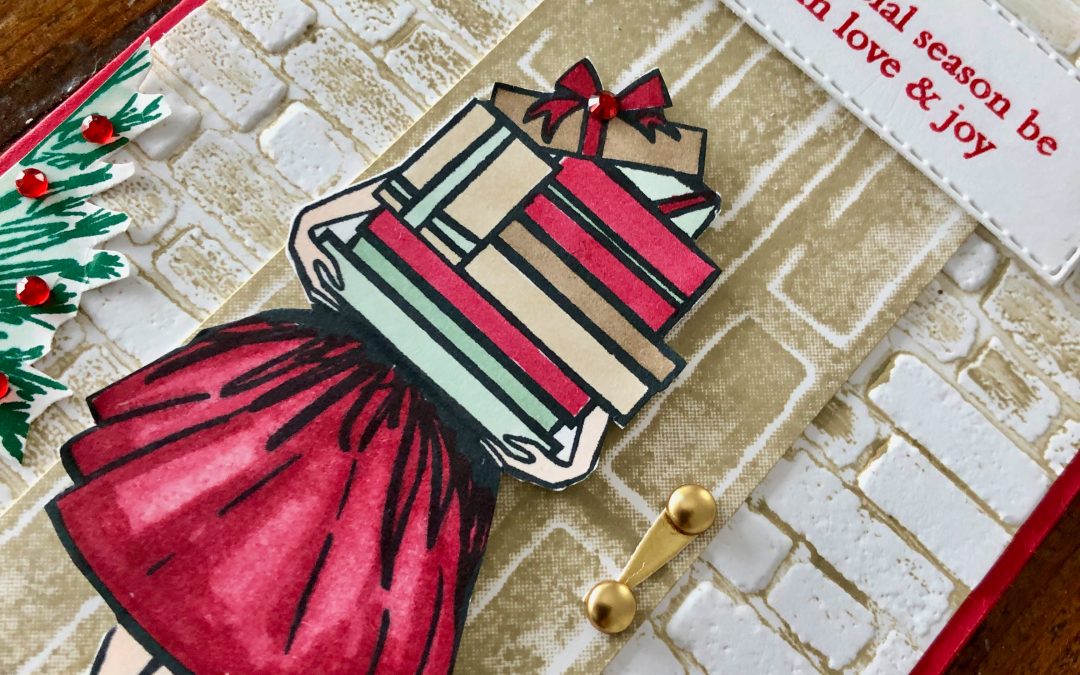
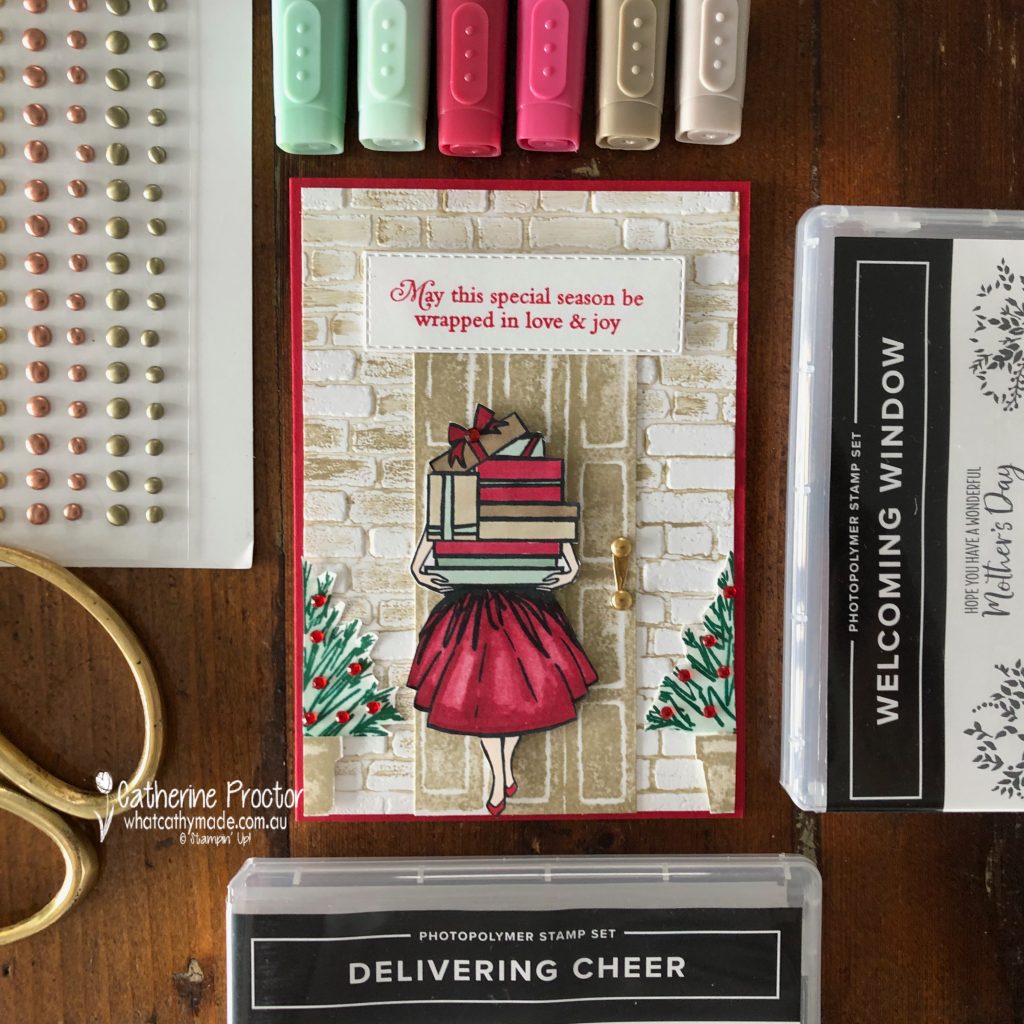
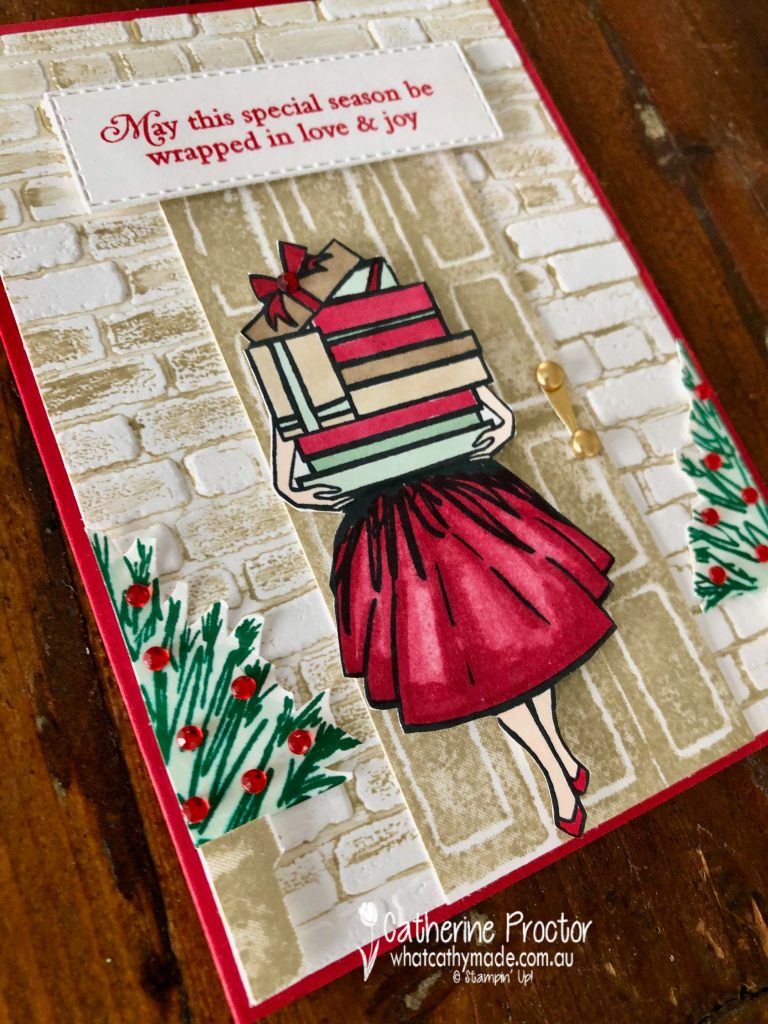
This week I’m combing a new stamp set and bundle that both work so perfectly together to create a Christmas scene card: the Welcoming Window bundle and the Delivering Cheer stamp set. I love the idea of this girl turning up to the front door with so many presents in her arms you can’t even see her face!
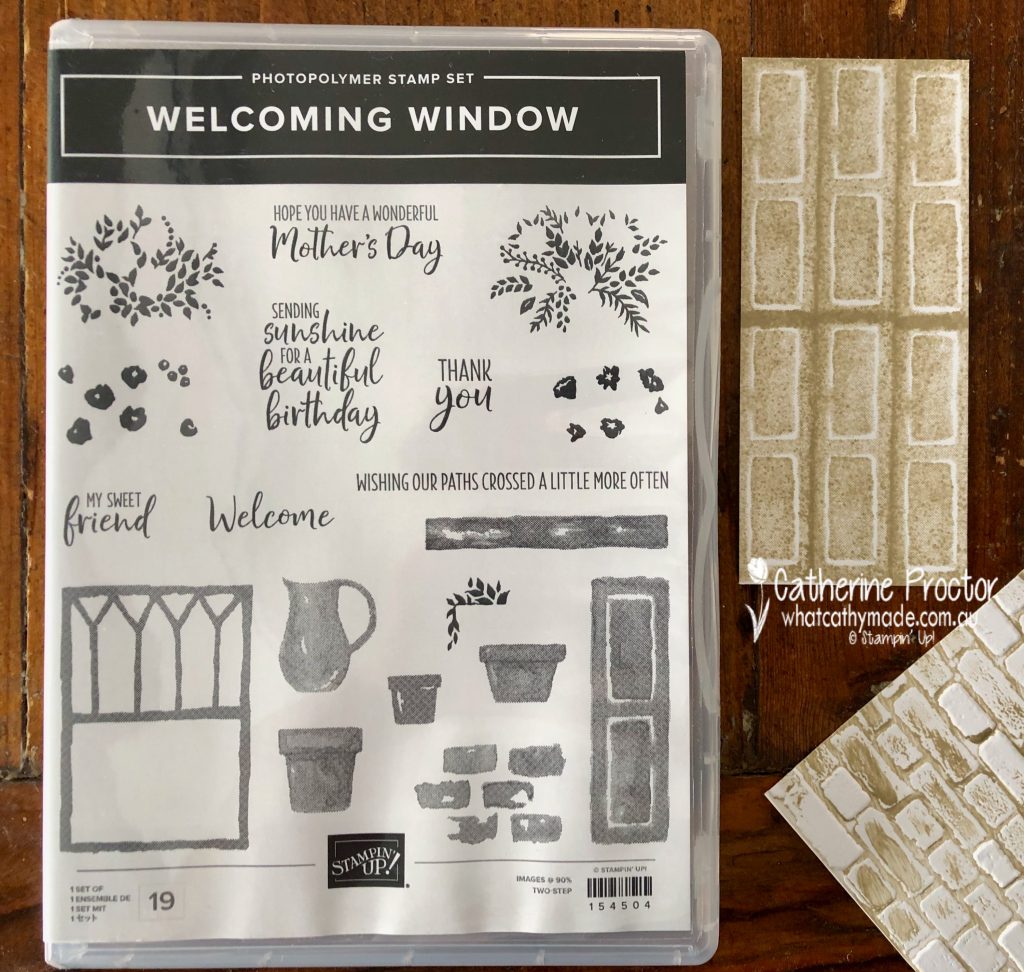
There is no door image in the Welcoming Window bundle, however the shutter stamped side-by-side six times creates a door that is the correct scale for the girl with the presents. I love a big solid front door like this!
The brickwork for the outside of the house is simply the Bricks and Mortar EF that has been swiped with the Crumb Cake ink pad (on the inside top side) before embossing a piece of Basic White cardstock.
This isn’t a quick card to make but it is relaxing (well, I think so!) to colour it all in and fussy cut the elements in this card using my Stampin’ Blends.
The shutter “hinge” dies from the Window Flower Box Dies were used with the Brushed Metallic adhesive-backed dots to create a door handle.
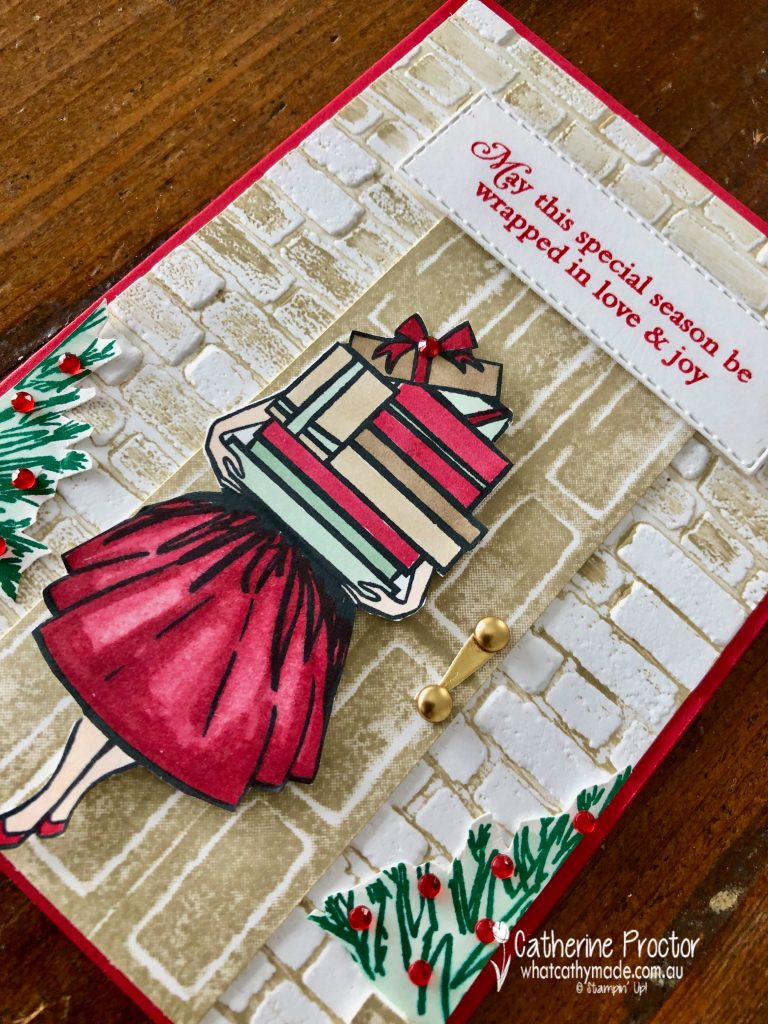
Red Rhinestone jewels decorate the Christmas trees in pots that sit either side of the front door. The pots are from the Welcoming Windows stampset but the Christmas Trees are the top section of another stamp in the Delivering Cheer stamp set.
The sentiment is from an older Christmas stamp set, the Perfectly Plaid Stamp Set. I just had to use this sentiment as it perfectly describes my Christmas scene!
Now it’s time to hop on over to our next participant, the lovely Ros Davidson. I can’t wait to see what she shares with us today!
If at any time you find a broken link please head to the blog of this week’s host of The Heart Of Christmas Blog Hop, Sharon Davern, and she will have the list of all those participating.
If you live in Australia, you can find and purchase all these products in my Stampin’ Up! Online Store or by clicking on the images below.
Hello crafters! Welcome to Week 18 of our AWH Heart of Christmas blog hop.
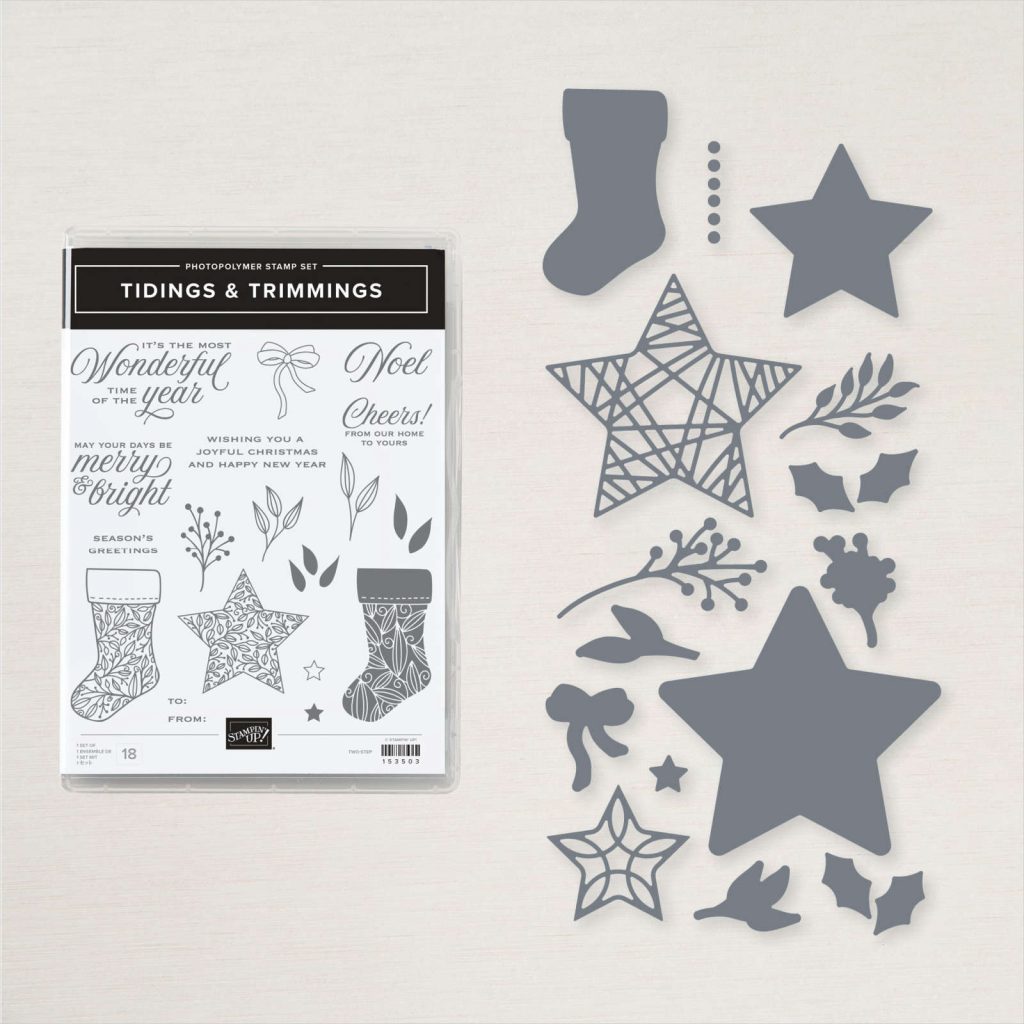
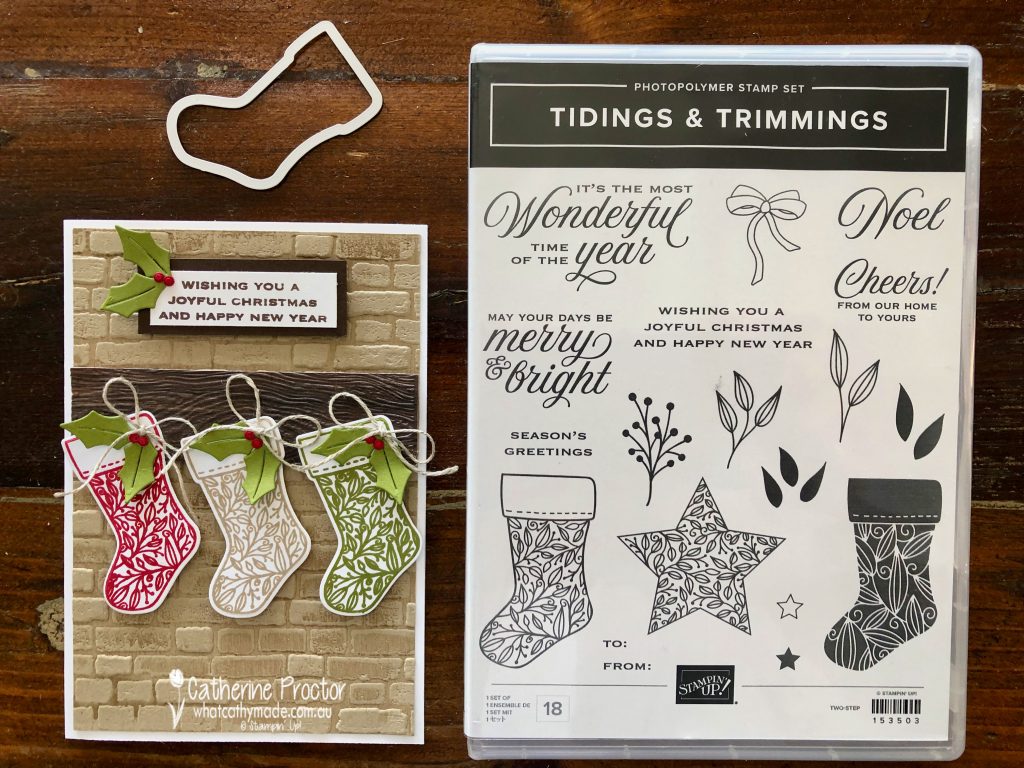
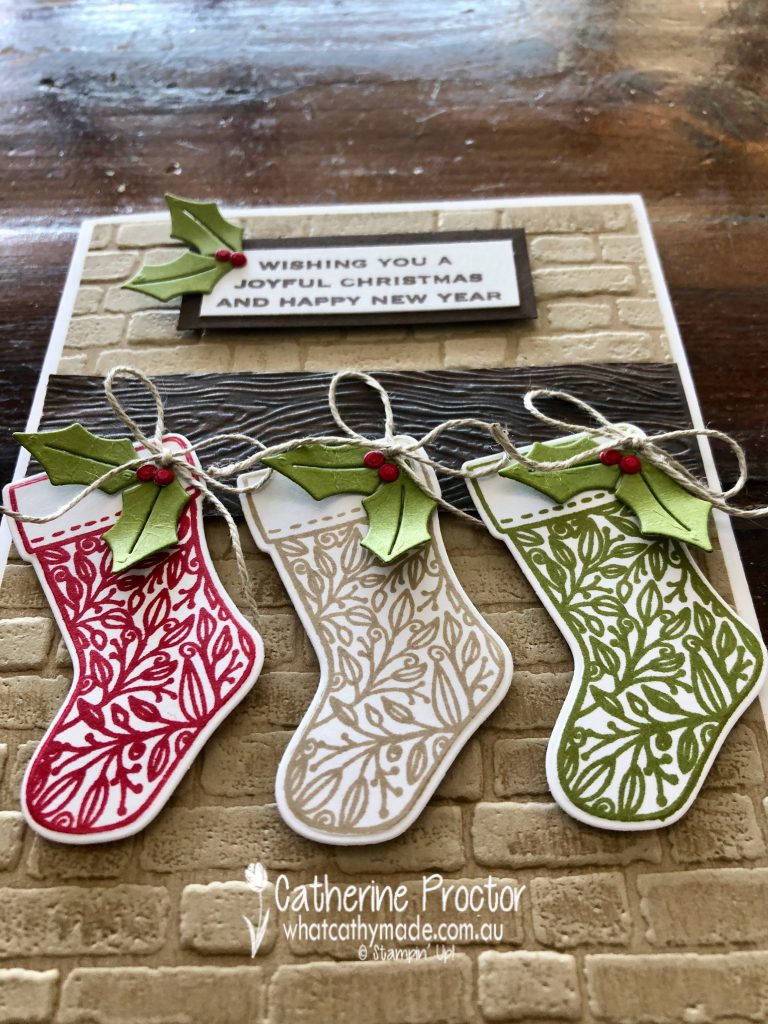
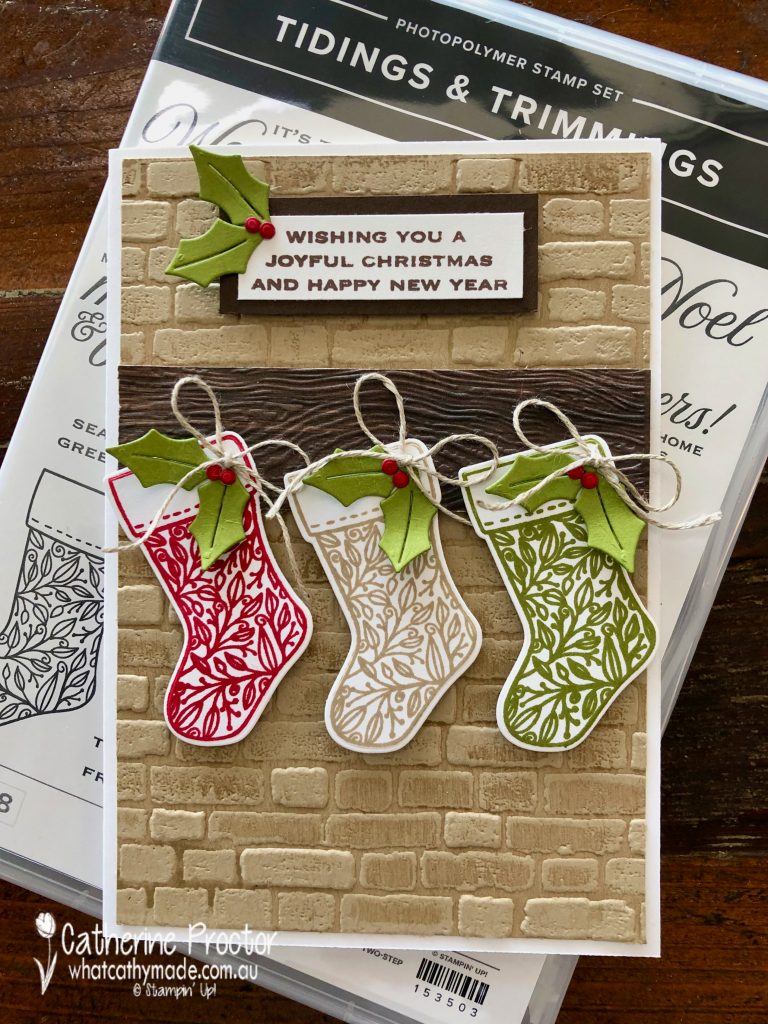
This week I finally used a bundle I’ve had for ages – I don’t know why it took me so long to open it up! The Tidings & Trimmings Bundle includes the Tidings & Trimmings Stamp Set and the Christmas Trimmings Dies. It’s on page 88 of the 2021-22 Annual Catalogue.
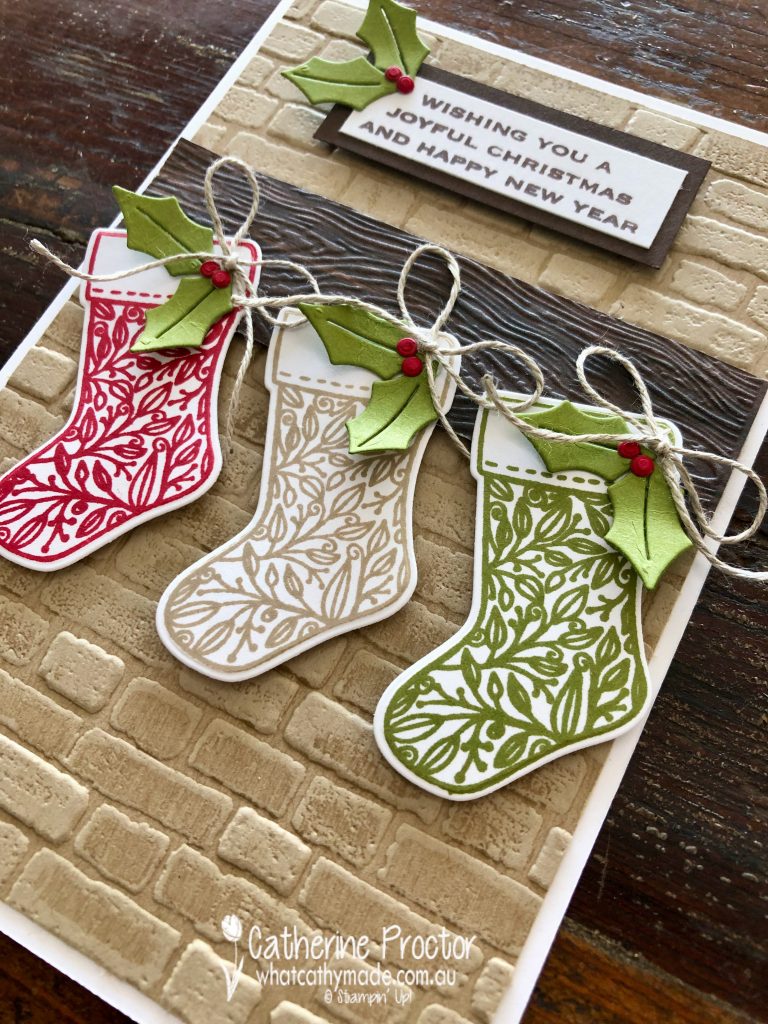
I love creating miniature scenes on cards and the lovely brick background you see on this card is actually a reject from the Christmas card I made for next Monday. I didn’t want to waste this embossed Crumb Cake background so I designed this entire card around it.
TIP: For a more realistic effect I swiped the inside of the Bricks & Mortar EF with my Crumb Cake ink pad BEFORE inserting the Crumb Cake card stock into the EF and running it through the cut’n’emboss machine.
The mantlepiece is simply a strip of In Good Taste DSP that I embossed using the Timber 3D embossing folder. I attached the mantelpiece to the brick chimney using Stampin’ dimensionals so it sits out like a real mantelpiece would.
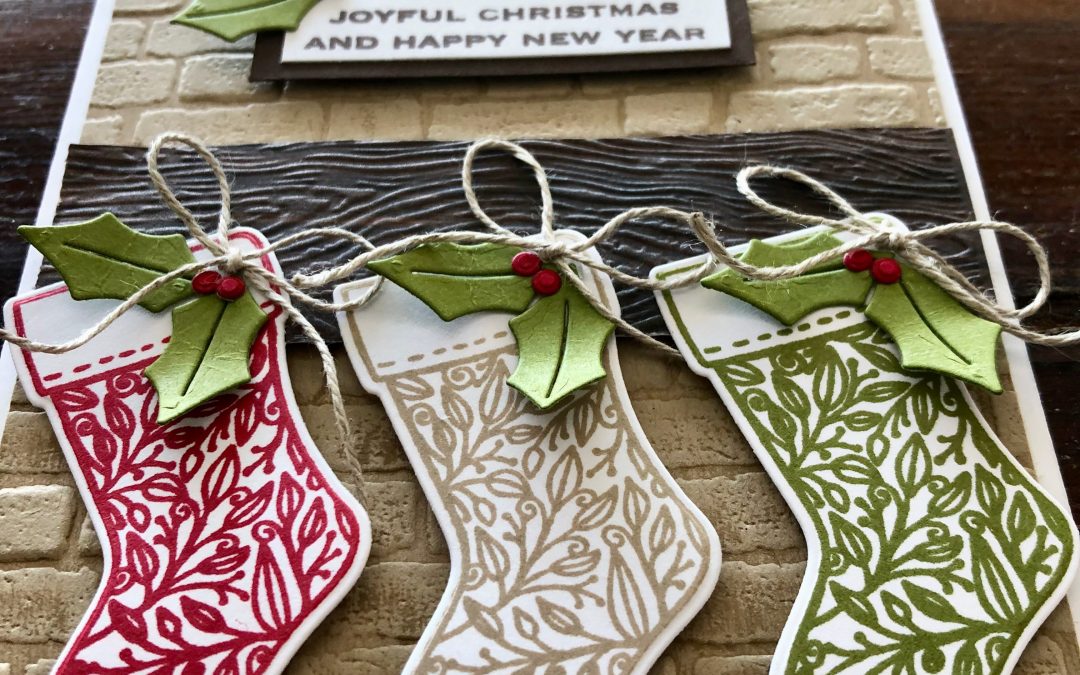
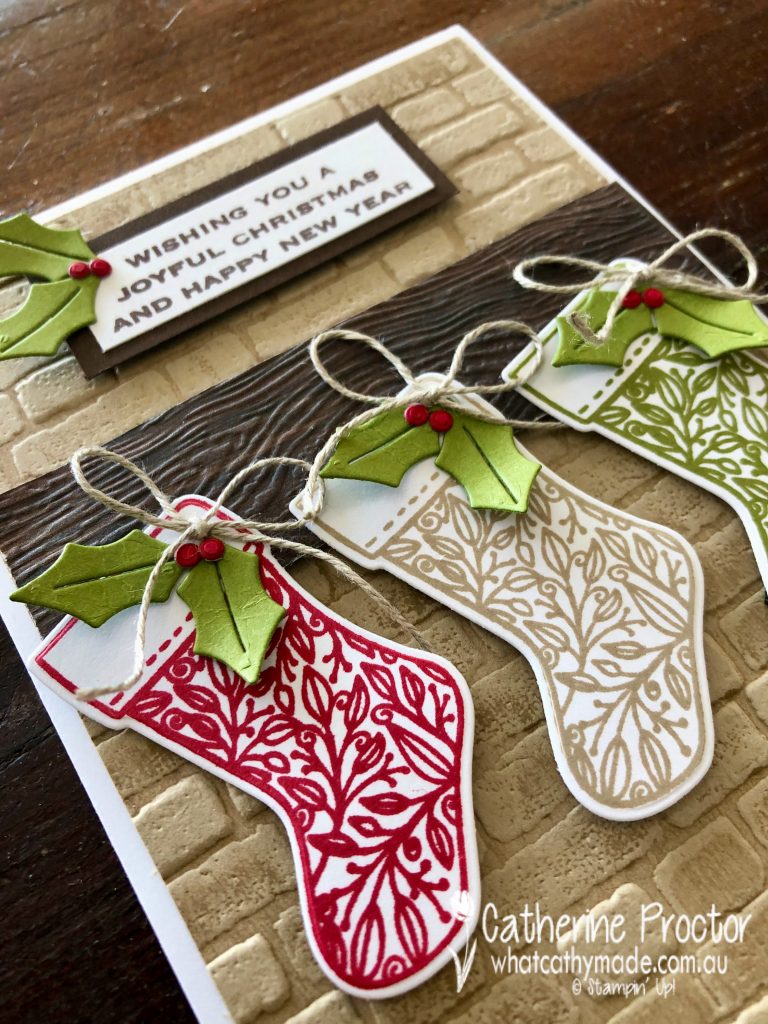
The three stockings are stamped in Real Red, Crumb Cake and Old Olive (one of my favourite Christmas colour combinations), then die cut out with the stocking die from the Christmas Trimmings Dies.
The little holly leaves and berries decorating the stockings and the sentiment are also cut using the Christmas Trimmings Dies – I used Old Olive for the holly leaves and Real Red for the holly berries.
I couldn’t resist adding a tiny bow of linen thread to each of the stockings – linen thread is hands down my all time favourite Stampin’ Up! product!I love the tiny upper case font on this sentiment. I’ve stamped it in Early Espresso to contrast with the Crumb Cake embossed background and to tie in with the colour of the mantlepiece.
Now it’s time to hop on over to our next participant, the lovely Sharon Davern. I can’t wait to see what she shares with us today!
If at any time you find a broken link please head to the blog of this week’s host of The Heart Of Christmas Blog Hop, Tina Gillespie, and she will have the list of all those participating.
Thanks for visiting my site. I’ll be back with another card on Wednesday.
In the meantime, wherever you are in the world, stay safe, stay calm … and keep on crafting xxx
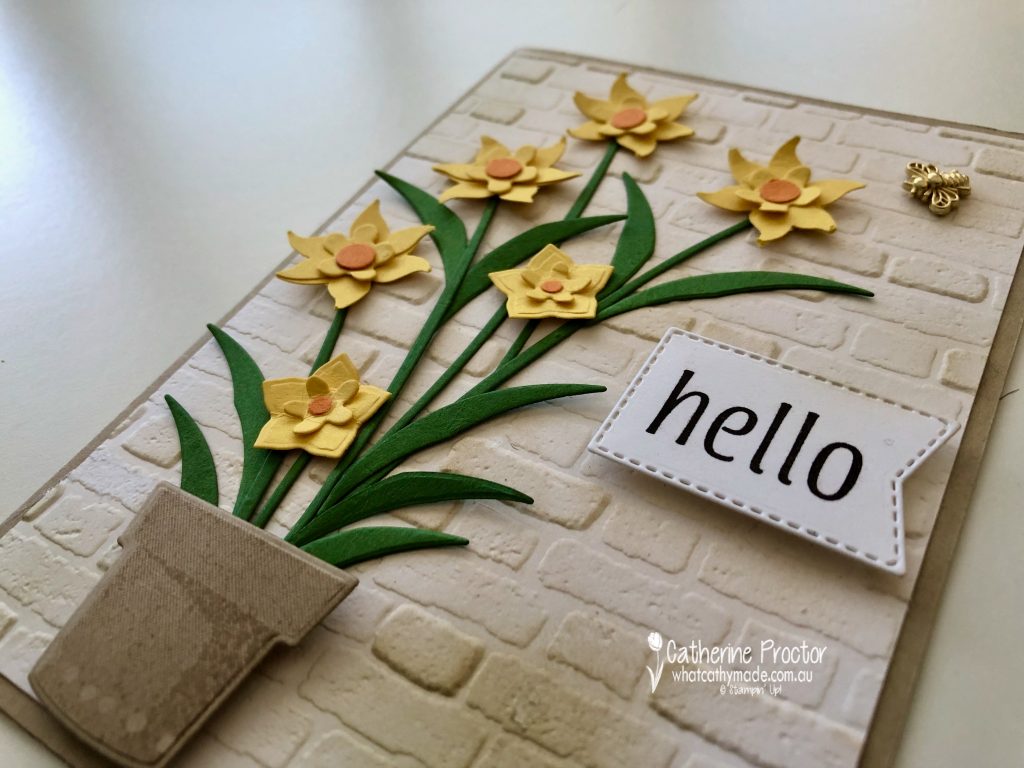
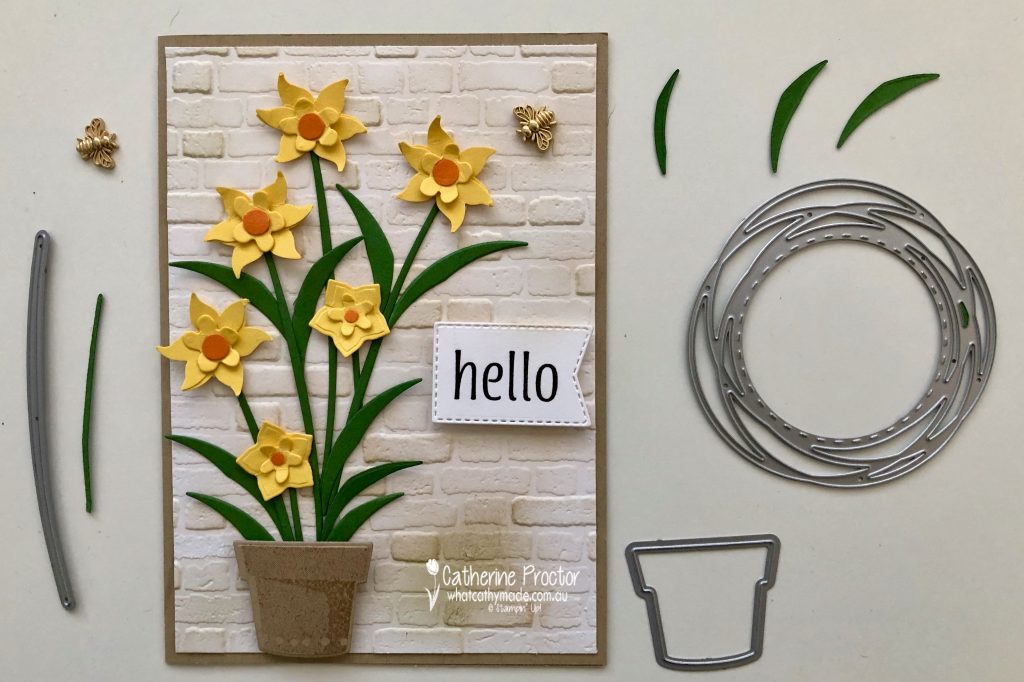
Welcome to week 15 of our 2021-22 Colour Creations blog hop! Tonight we are showcasing Daffodil Delight, a bold yellow from the Brights colour collection.
I really wanted to make a daffodil card for our Daffodil Delight blog hop, however as we only use current Stampin’ Up! products in these blog hops and I didn’t have any daffodil stamps, punches or dies. It was time to get creative.
I’m not sure just how botanically correct my daffodils are, so please allow me some artistic licence!
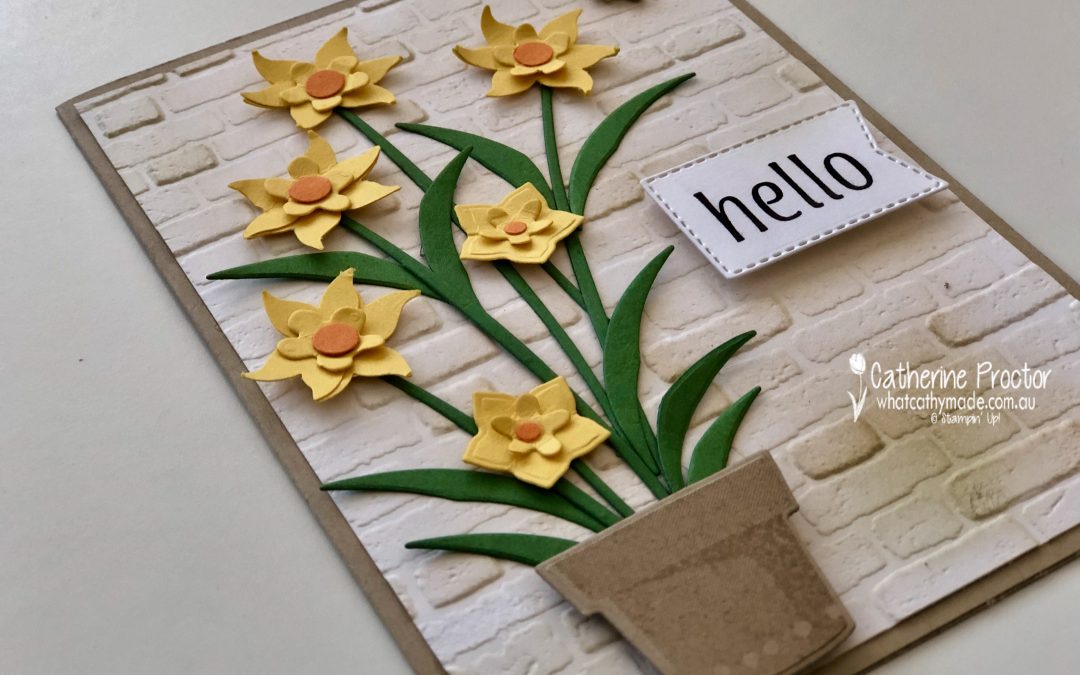
For the embossed Whisper White layer of my card front, I’ve deliberately inked my embossed brick wall darker in some places than others, applying both Crumb Cake and Garden Green with a blending brush to give a more realistic effect.
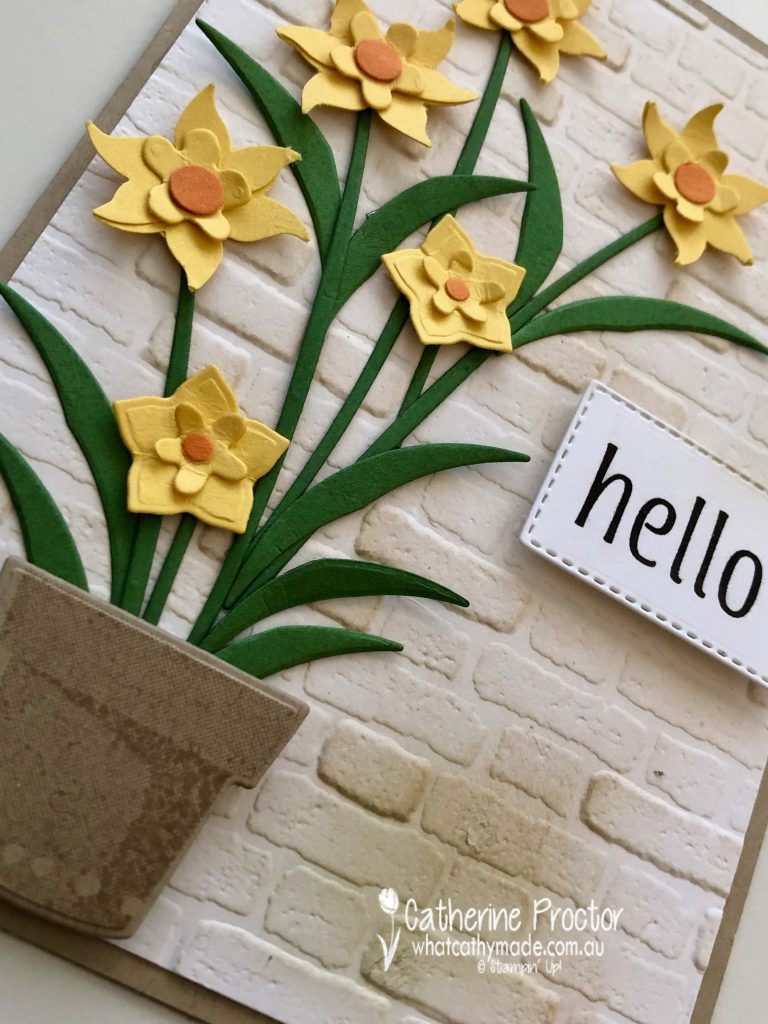
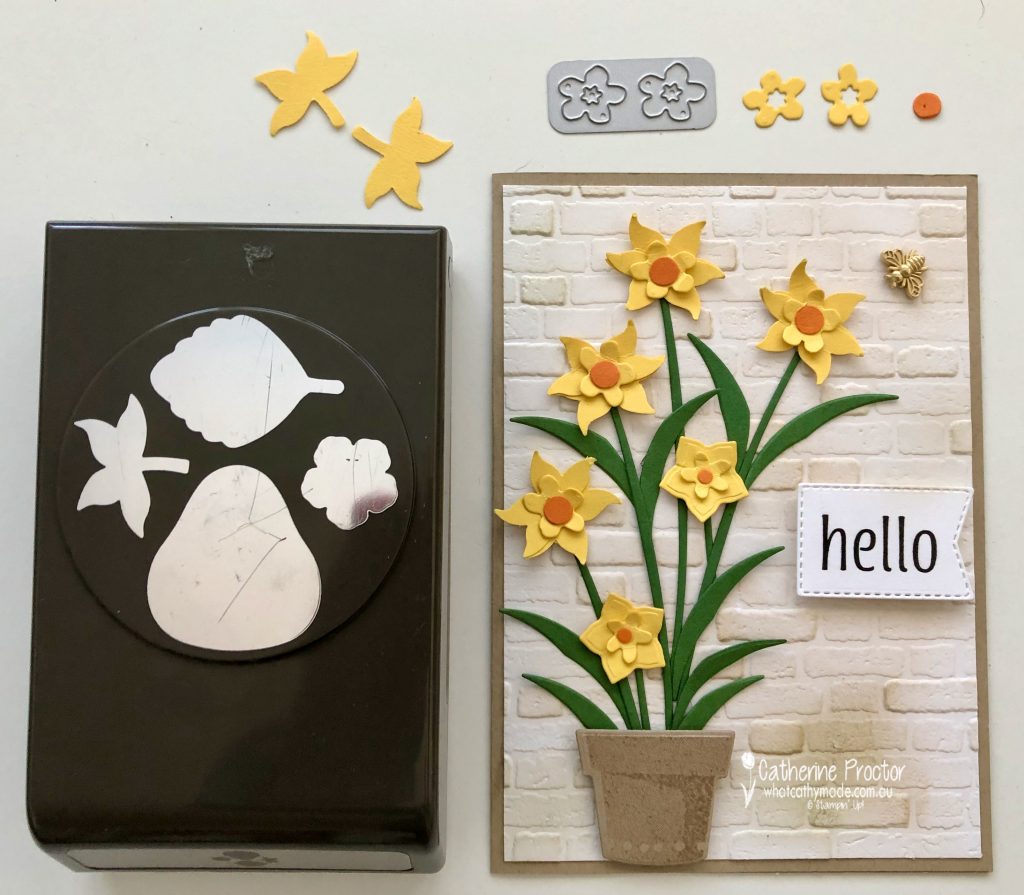
There are two sizes of daffodils on this card. For the back layer of the larger daffodil I punched two leaves in Daffodil Delight from the Strawberry Builder Punch. I them removed the leaf stems and overlapped the dies when gluing them together.
The middle layer of the large daffodil is die cut in Daffodil Delight using the small double flower dies from the Cherry Blossom Dies. The Pumpkin Pie circle in the centre of the flower is punched with a standard sized hole punch for ring binders.
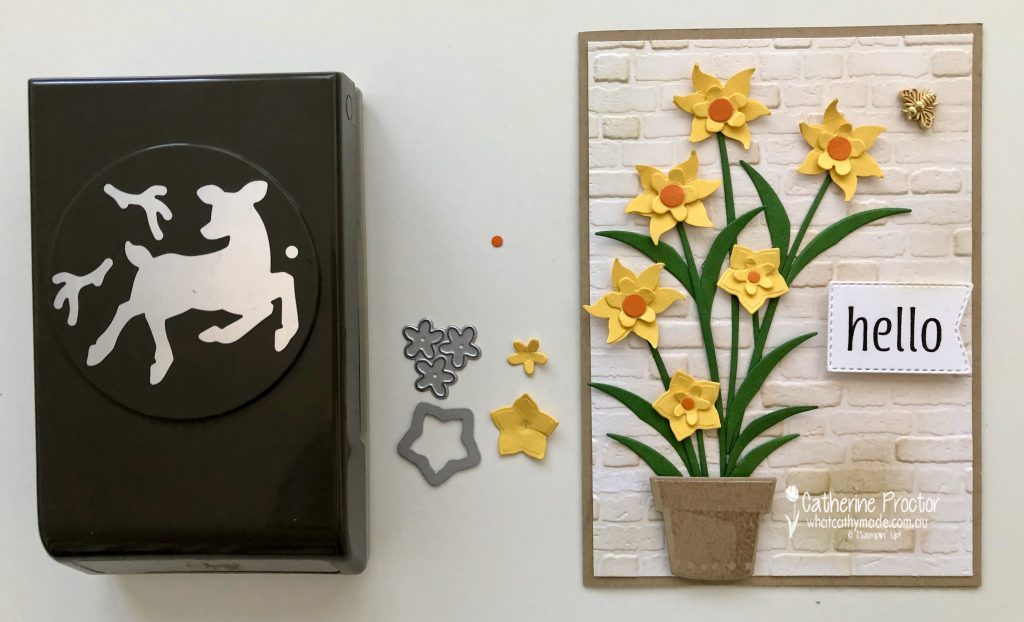
The two smaller daffodils use the flower die from Birds & More as the background layer and the triple flower die from Pierced Blooms for the middle layer, both cut from Daffodil Delight. The Pumpkin Pie flower centre is punched using the deer nose in the Deer builder punch.
Stems and leaves are die cut from Garden Green card stock using the stem die from Pierced Blooms dies and the offcuts from the circle wreath die in the Painted Labels dies. The cute little pot was stamped in Crumb Cake using a stamp from the Plentiful Plants stamp set and then die cut from Crumb Cake card stock using the coordinating Perfect Plants Dies.
I’ve recently acquired the Artistically Inked bundle and just couldn’t resist adding this gorgeous “hello” sentiment to the front of the card – isn’t this font so eye catching? I die cut it out with one of the Tasteful Labels dies.
My final touch was a Bumblebee trinket. I’ve been hoarding these – it’s time I started adding these adorable embellishments to my cards!
Now it’s time to hop on over to our next participant, the very talented Rachel Woollard – I can’t wait to see what she’s made this week!
If you find a broken link or have come to this blog hop from a different entry point, you can view the the full list of participants below:
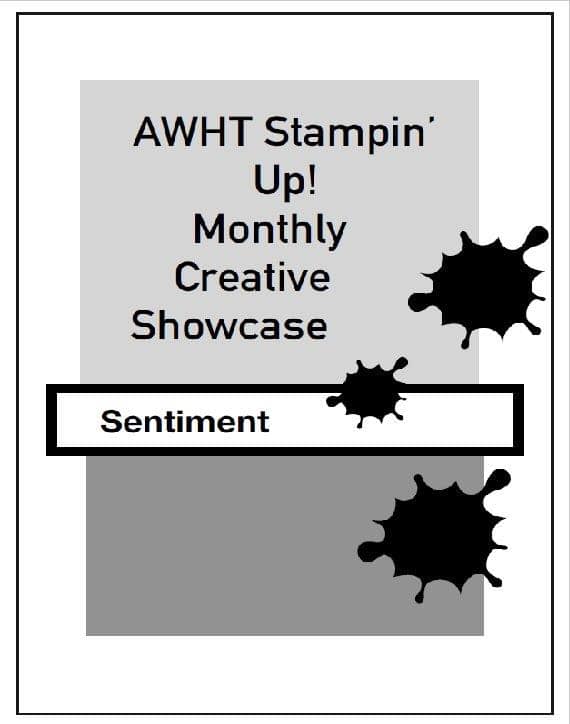
Welcome to the Monthly Art With Heart Creative Showcase.
Tonight we’re sharing some ideas for projects inspired by a card sketch. I’ve never actually participated in a card sketch challenge before but wow, I had so much fun making my card. I love how easy it is to create when someone else has done all the hard work for you in terms of thinking about the design and layout of your card! Thanks Rachel!
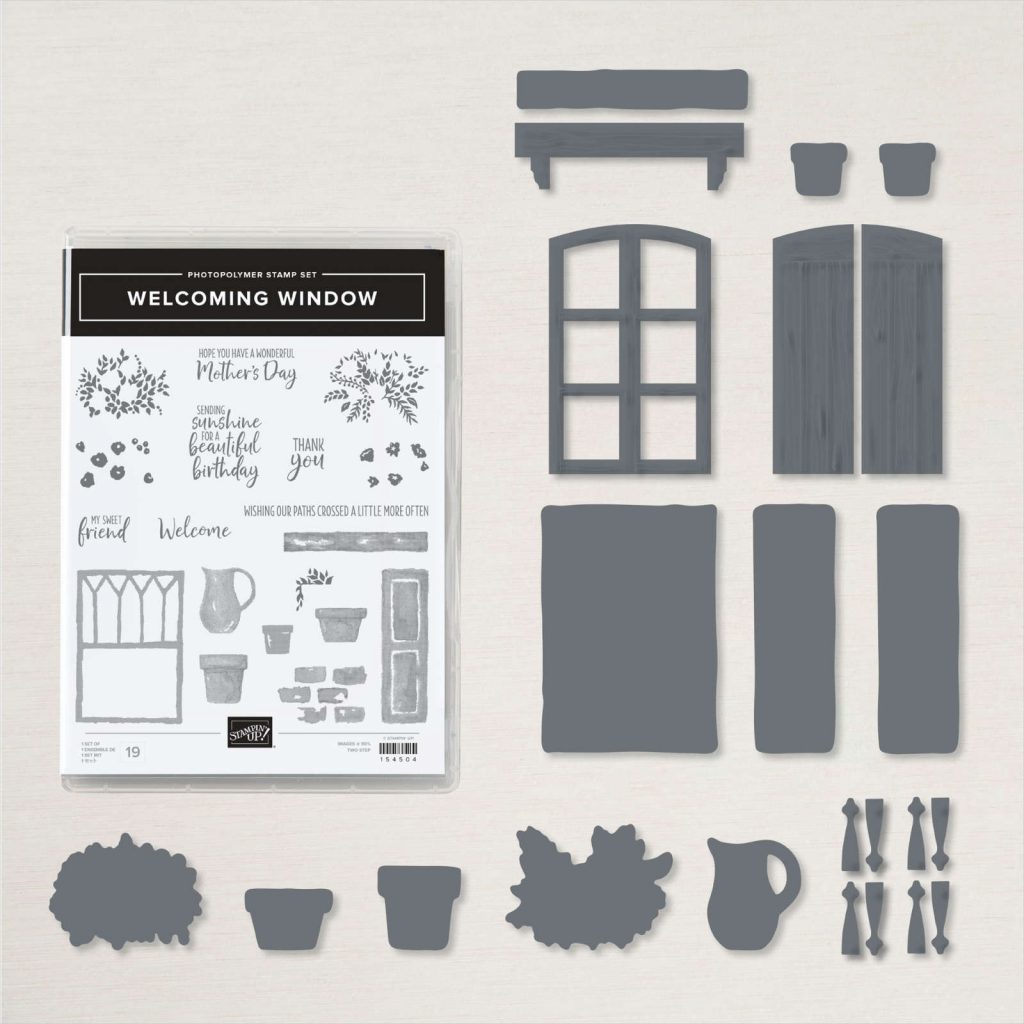
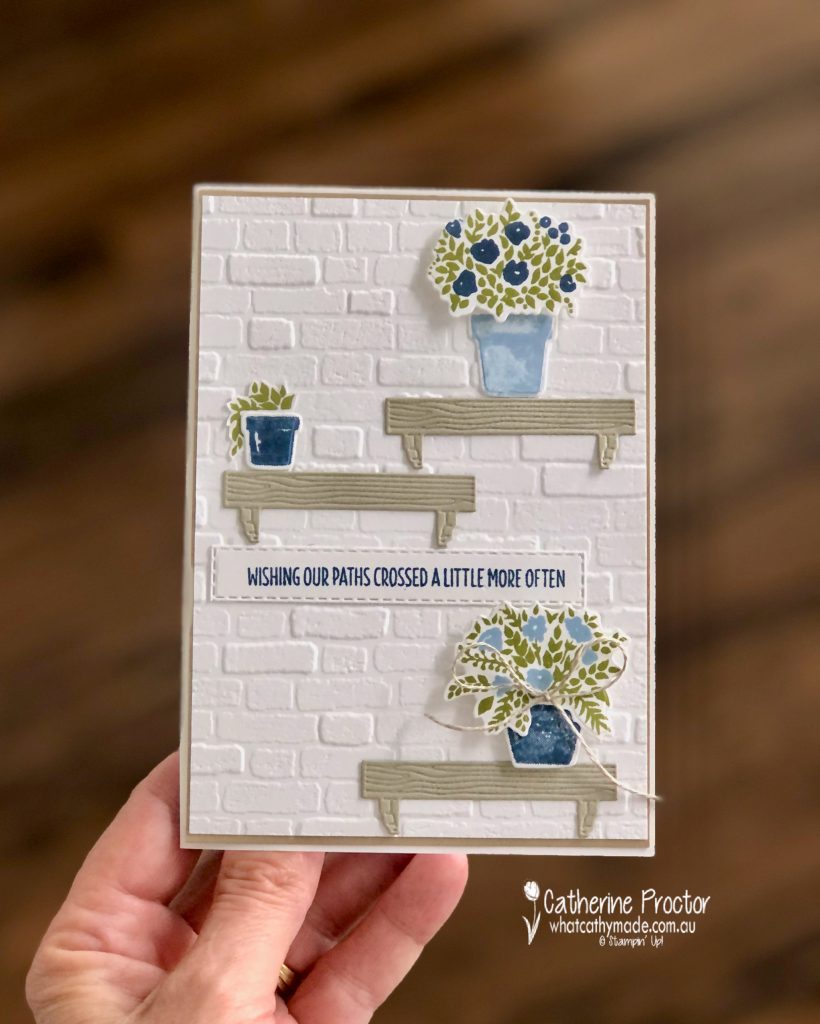
The Welcoming Window bundle was a bundle that had been on my wish list since I first saw the January – June mini catalogue and after months of deliberation it sort of “accidentally” fell into my shopping cart when I was placing an order last month. Whoops! Anyway, I must have known it would be just what I needed for this sketch challenge.
I’m always drawn to stamp sets and dies with architectural features – I think it’s because of the incredible dolls house my dad made for me when I was a child. It was my favourite toy ever!
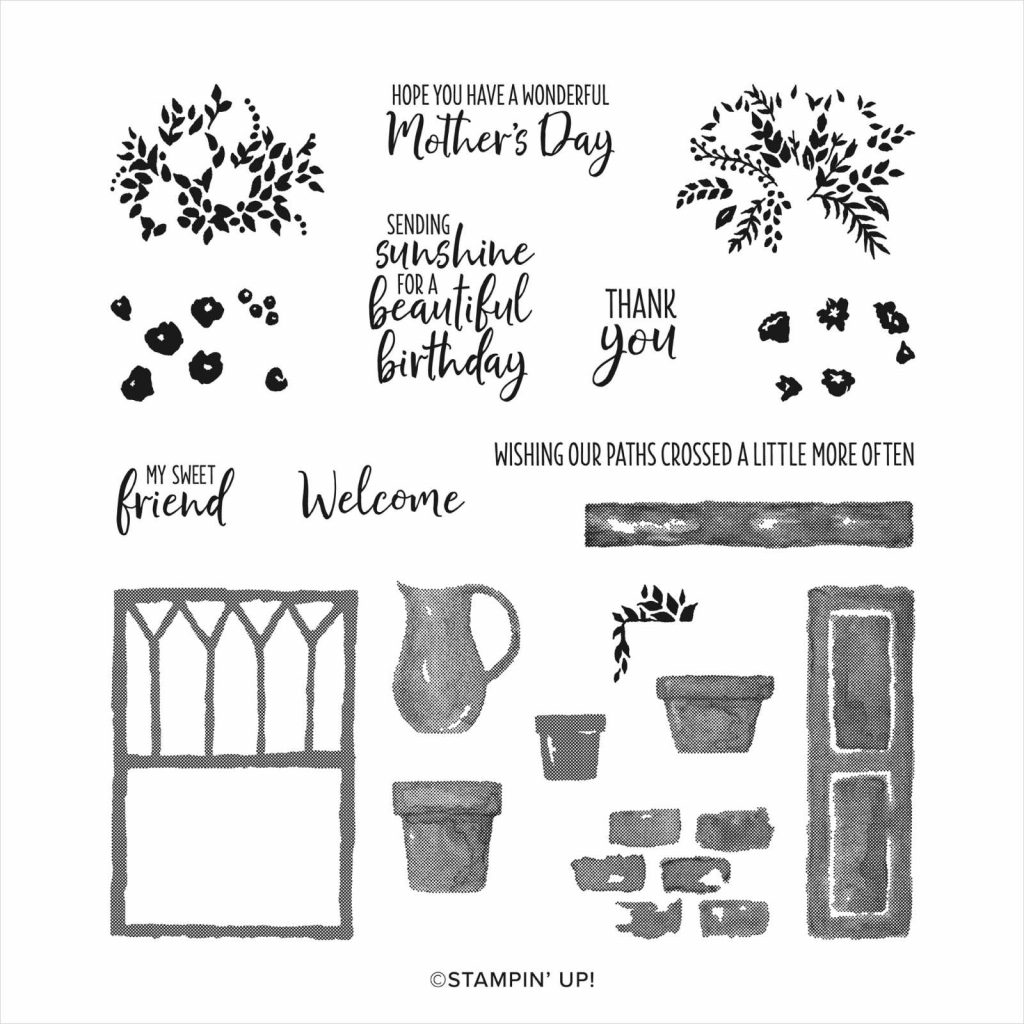
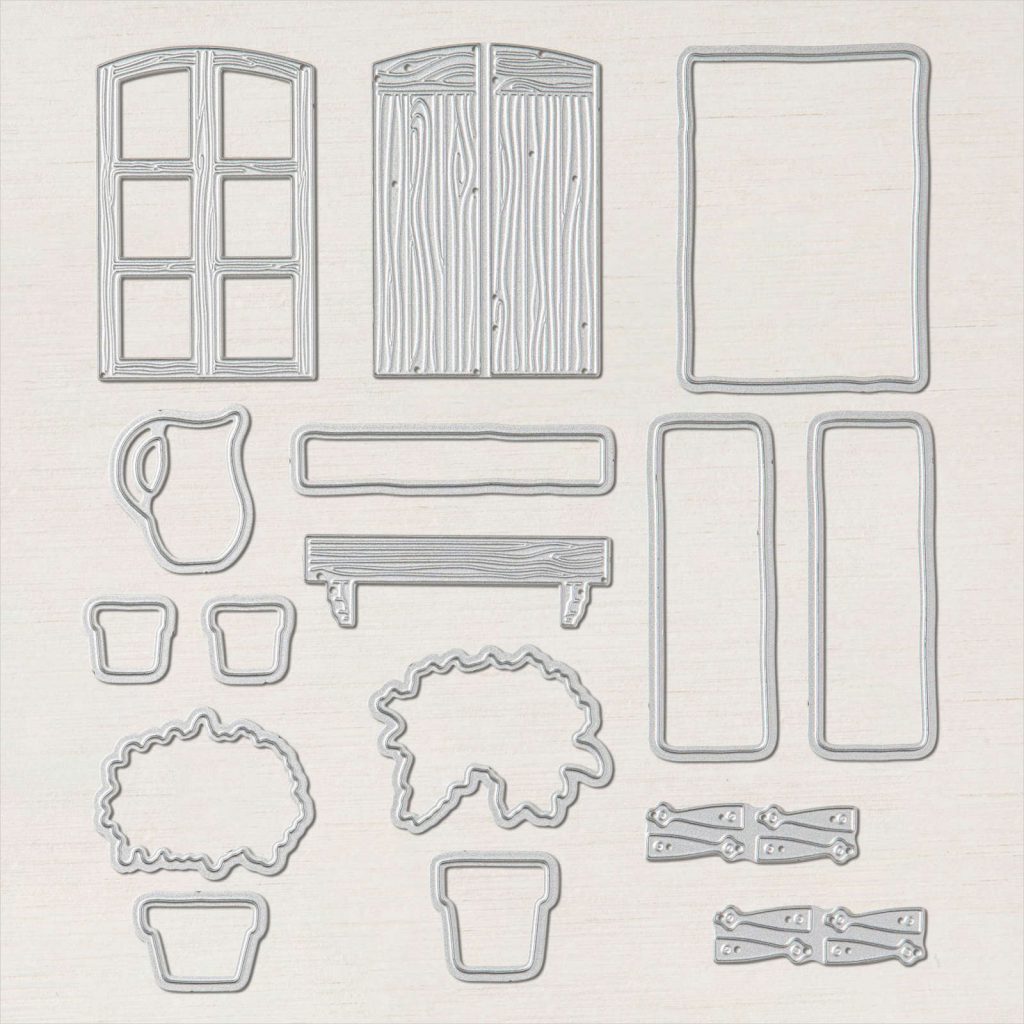
These Window Flower Box Dies are so cute – I’ve only used the embossed window sills and the dies that cut out the flowers and the pots on this card but there are also windows, shutters and hinges.
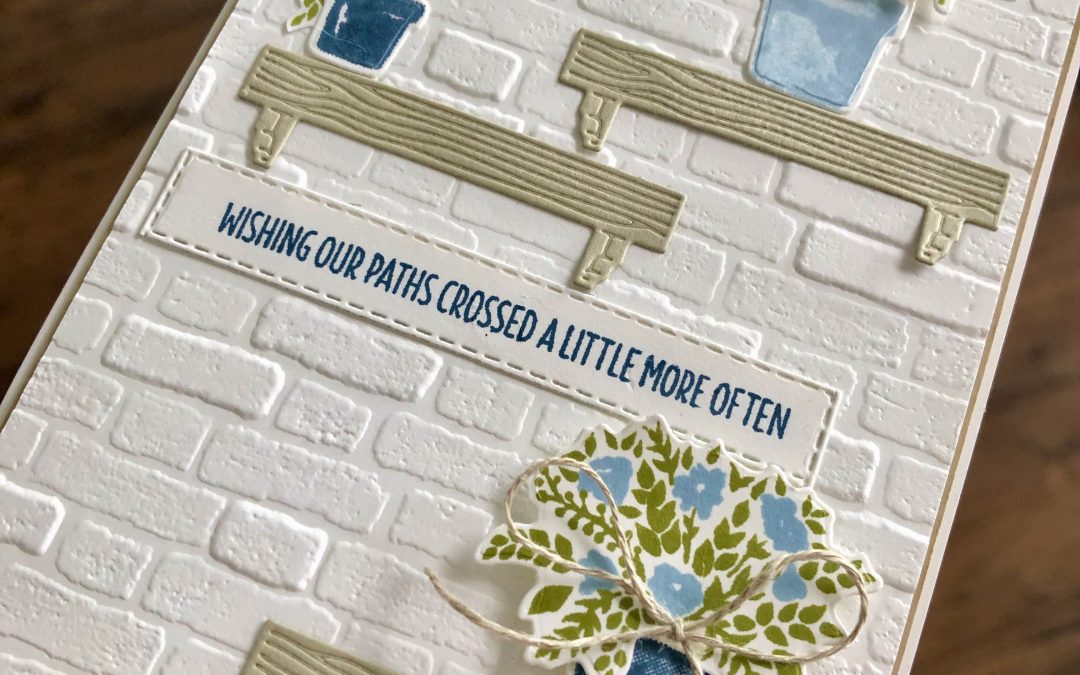
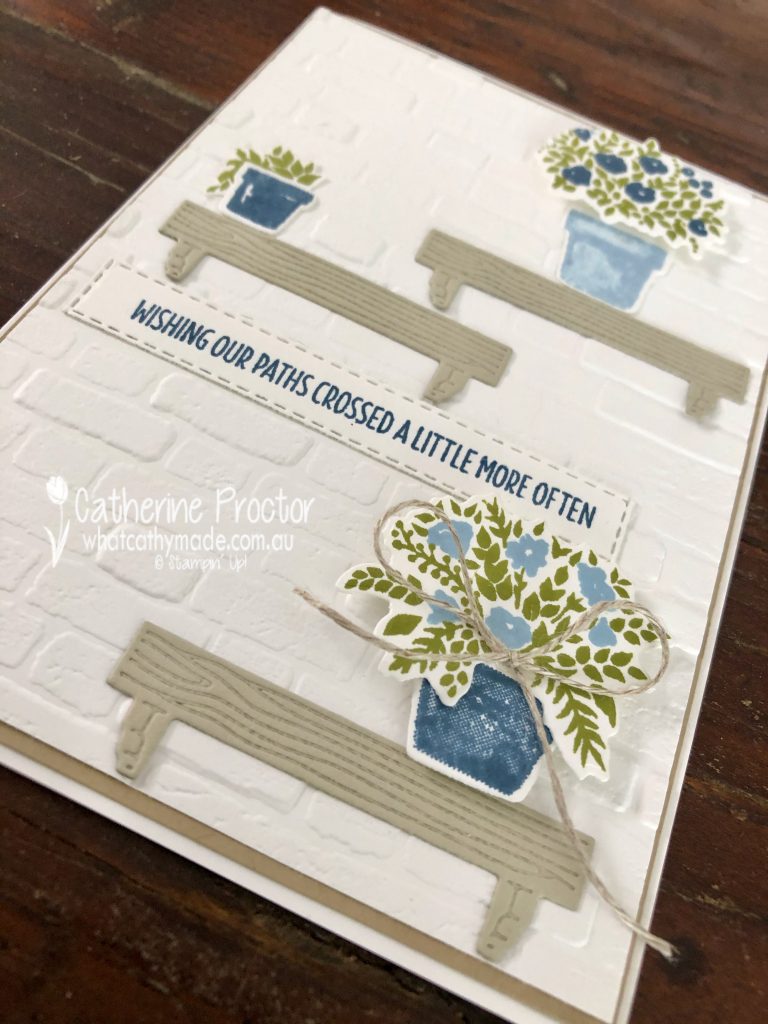
Apart from the architectural details of this bundle, I just had to have this bundle for this sentiment: “Wishing our paths crossed a little more often” – isn’t that just wonderful? It’s how I feel about a lot of my friends.
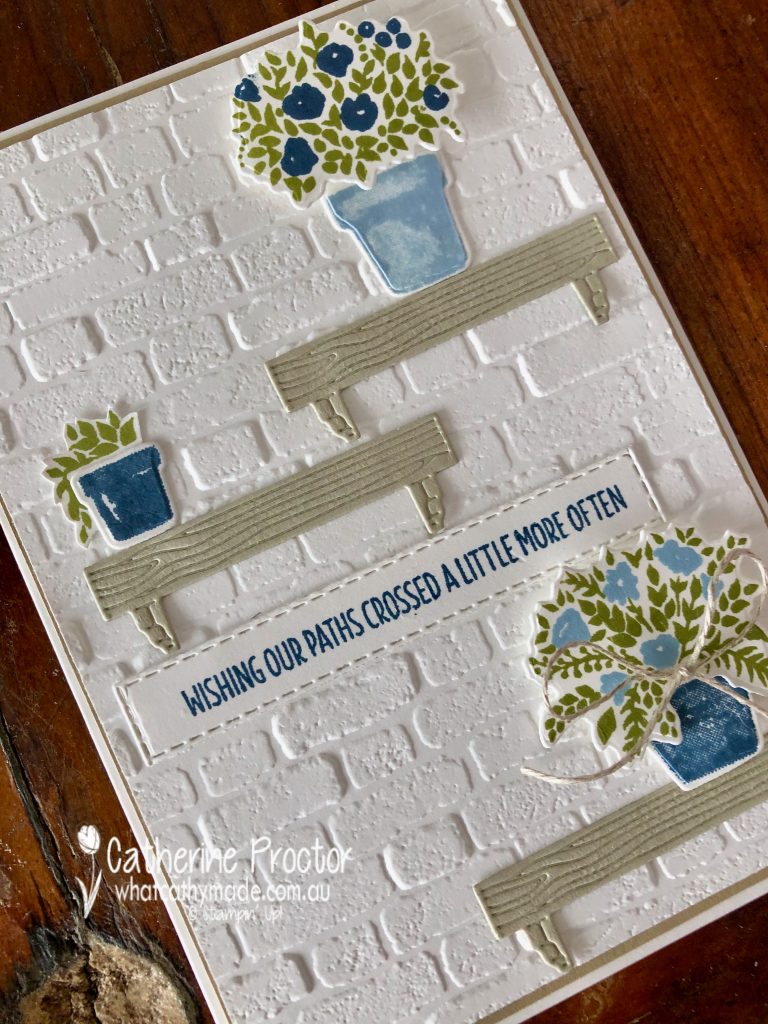
The Bricks & Mortar embossing folder was the perfect background to place my window sills on. It gives a wonderful realistic texture. If you don’t have this embossing folder you can use the brick stamp set from this bundle to stamp the background.
Can you also see how the window sill dies emboss as well as cut – all at the same time!
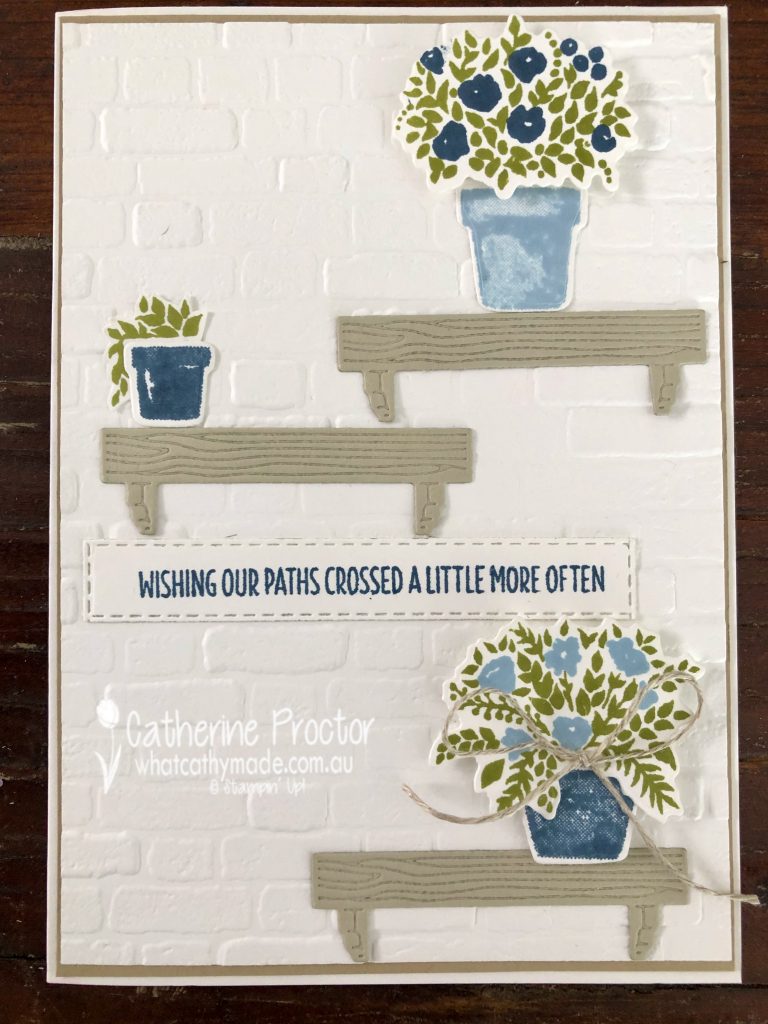
I could have used any colour for the flowers and the sweet little flower pots but I went with two of my favourite In Colours: Seaside Spray and Misty Moonlight. Olive Green is my go to green for foliage and leaves – I really use this colour like a neutral.
The sentiment is die cut with a stitched rectangle die – to get one long enough I had to use a die that was too wide so I die cut it again, using the long edge of the die to make it the right size for the sentiment.
To finish my card off I simply added a bow of linen thread under some of the flowers.
To see more sketch inspiration from the AWH Team head back to Rachel’s page as she is hosting our monthly blog hops.
To purchase any of the products used in my card tonight, click on the links below.
If you’d like me to post you your very own copy of the January – June 2020 mini catalogue, the 2020-21 Stampin Up! Annual Catalogue, the 2020-21 Beginners Brochure, or to simply find out about more about Stampin’ Up! contact me.
In the meantime, wherever you are in the world, stay safe, stay calm…and keep on crafting xxx


")