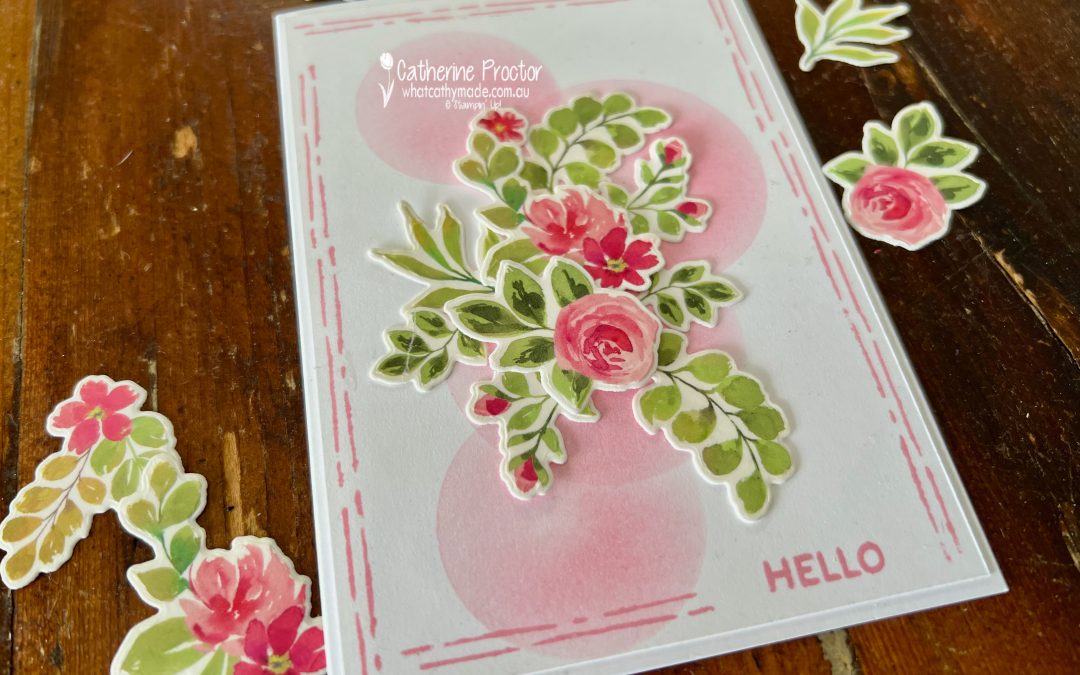
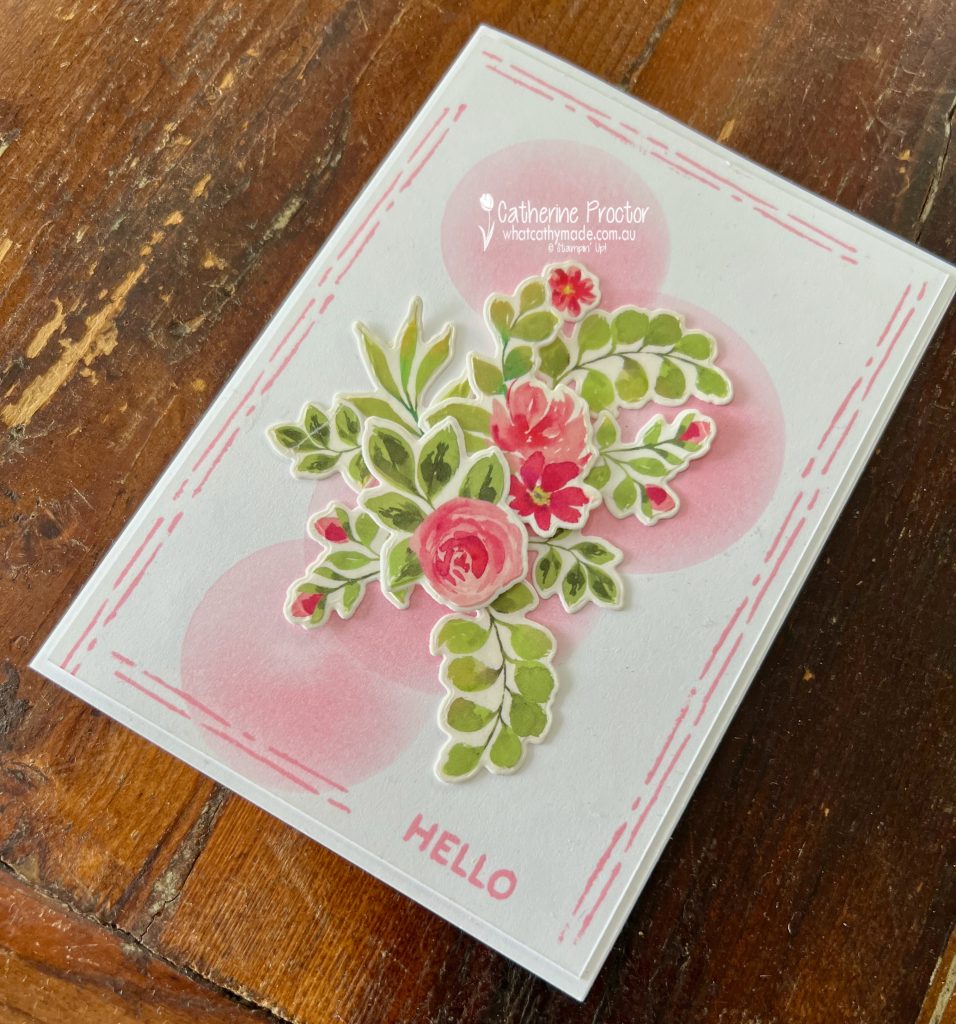
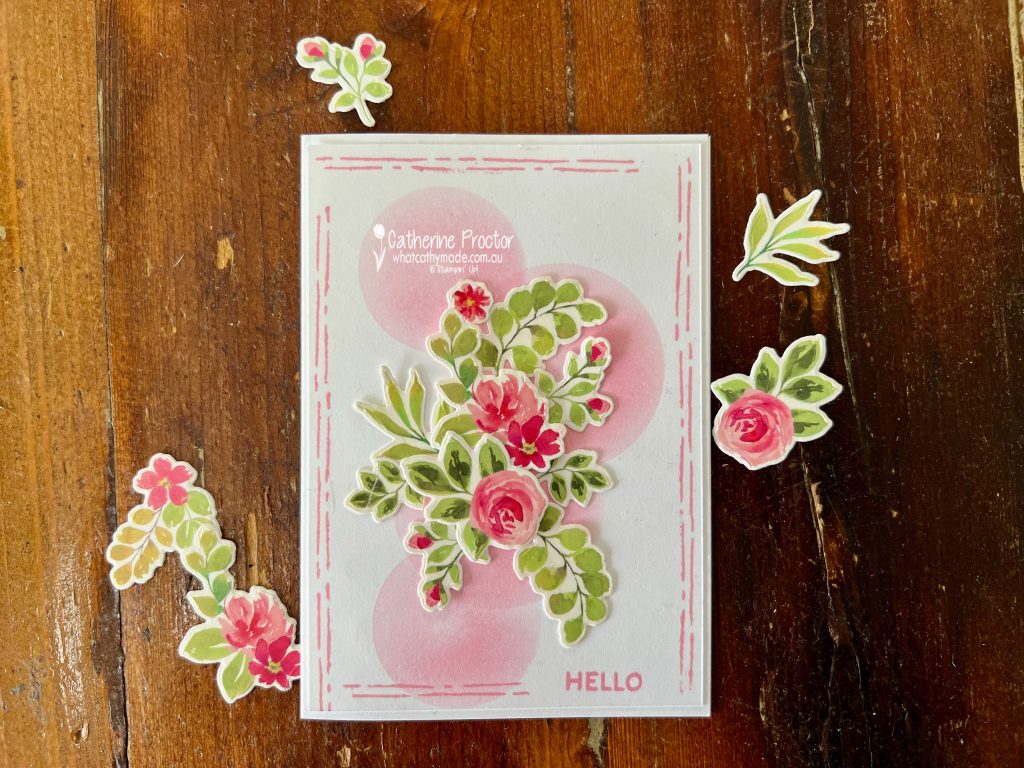
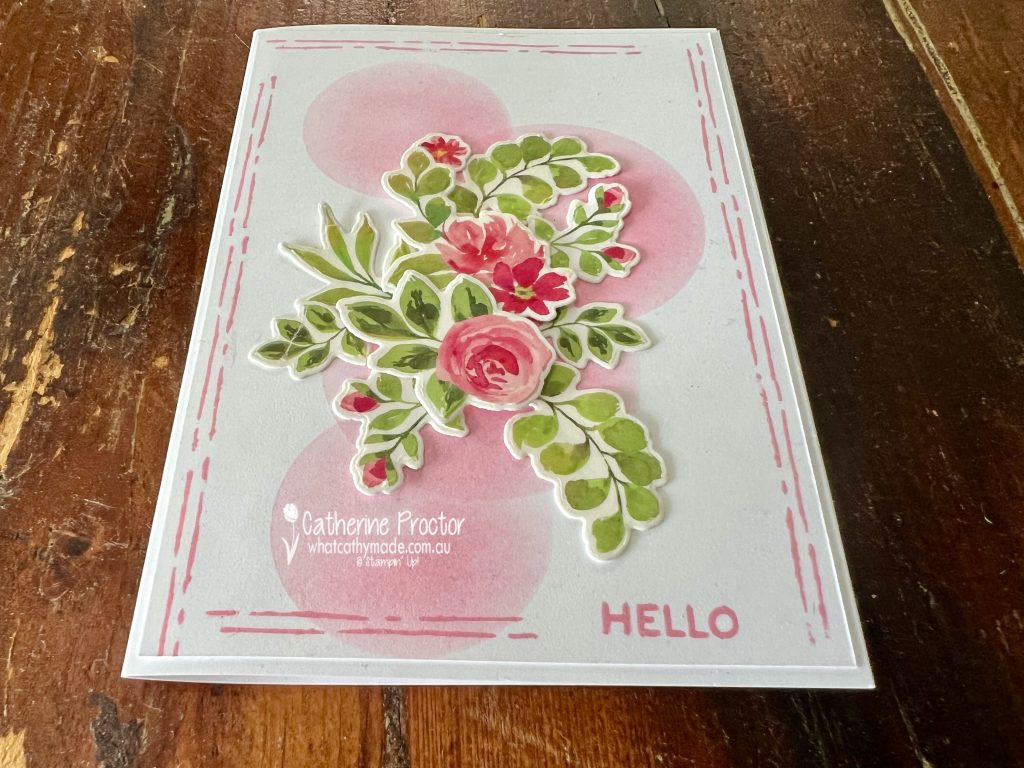
This week for Colour Creations we’re celebrating Pretty in Pink and I’ve created a soft floral hello card using hand made masks to create shading for the background layer.
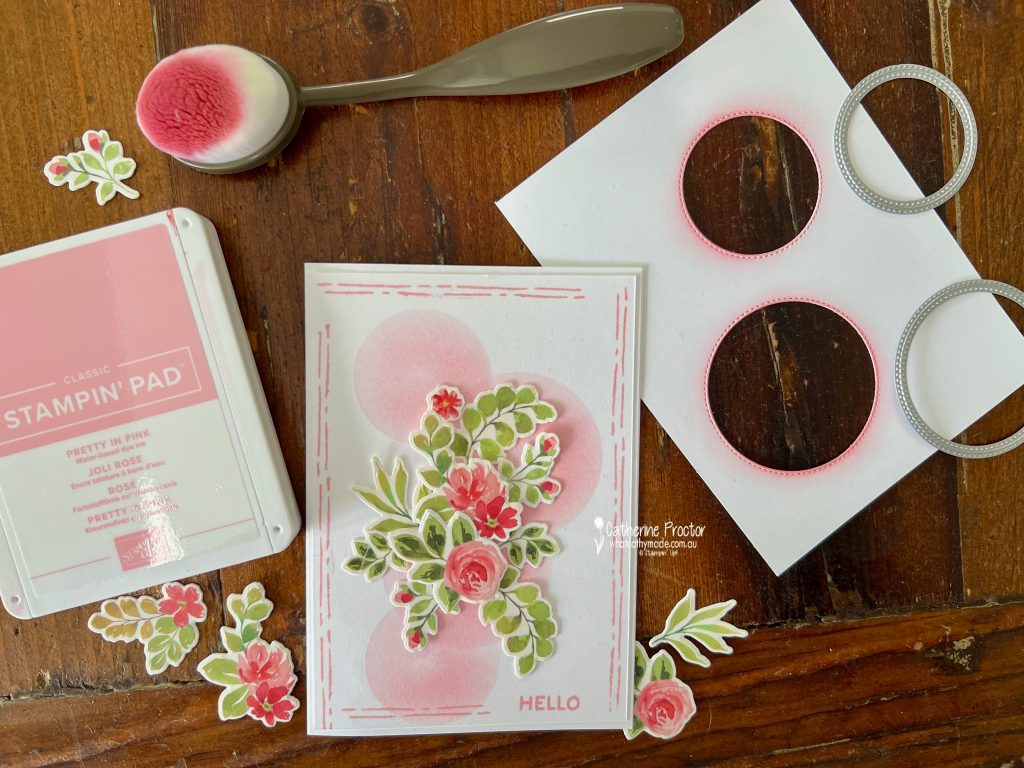
This gorgeous pink 2024-26 InColour is retiring at the end of April so stock up now if you love Pretty In Pink.
The Extraordinary Flora Bundle and the coordinating Extraordinary Flora Washi Tape makes it incredibly easy to create beautifully detailed floral clusters without lots of individual stamping and colouring.
All you need to do is adhere the tape to cardstock, die cut the images using the coordinating dies, and you suddenly have a whole pile of ready-to-use flowers and foliage.
To create the soft background detail, I die cut a few circles from scrap paper using the Stylish Shapes Dies and used them as masks. With a blending brush and Pretty in Pink ink, I gently blended ink through the circular openings to create those soft, dreamy pink circles behind the floral arrangement.
The only stamping on my card is the simple “Hello” sentiment from the Help Me Grow stamp set, sitting in a hand stamped border that I created using the parallel lines stamp in the Extraordinary Flora stamp set.
Take a look at some more Pretty In Pink inspiration on our Insta Hop!
Our blog hop is now an Instagram hop but the good news is that you don’t need to have an Instagram account to view all of the other projects!
Simply copy any of the Insta handles below into a new search engine window to follow the Instagram hop at any point.
Next in our Hop is Helen @apaperparadise. Be sure to check out her gorgeous project/s.
The full list of this week’s InstaHop is listed below:
Helen @apaperparadise
Kirsty @crafty.littlemiss
Kate @craftwithkate
Cathy @whatcathymade – you are here!
Thank you for joining me for Week 42 of Colour Creations. We’ll be back next Wednesday when we are showcasing Pretty Peacock. I hope you can join us then.
Tonight the Art with Heart team are sharing creative projects featuring the 2018 Holiday Catalogue.
We hope our blog hop inspires you to get creative and make some fabulous Christmas creations. If you would like a copy of the Holiday Catalogue, contact any of the girls on the blog hop and we will get in touch with you.
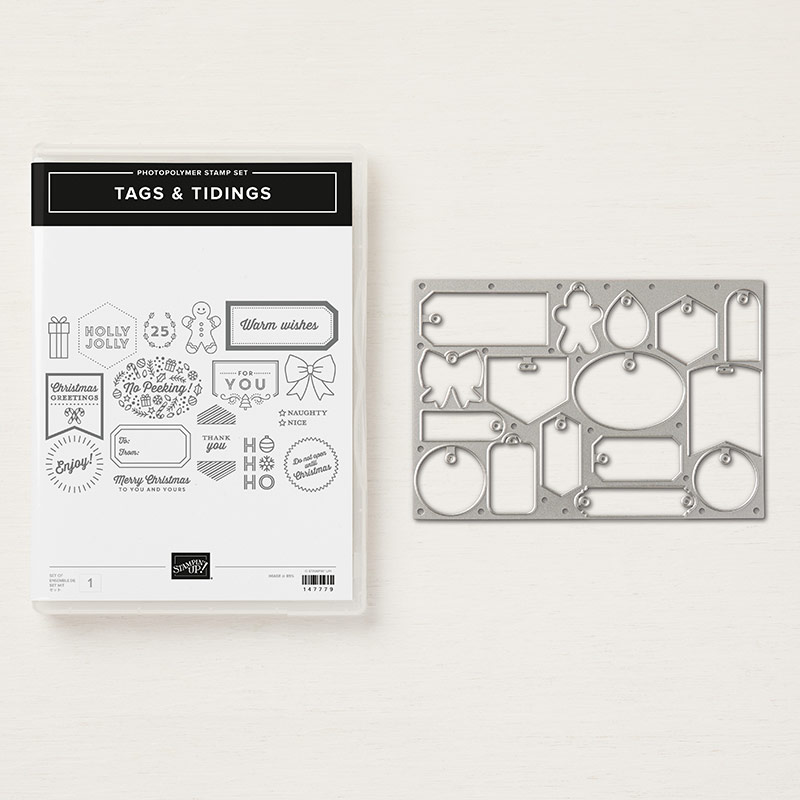
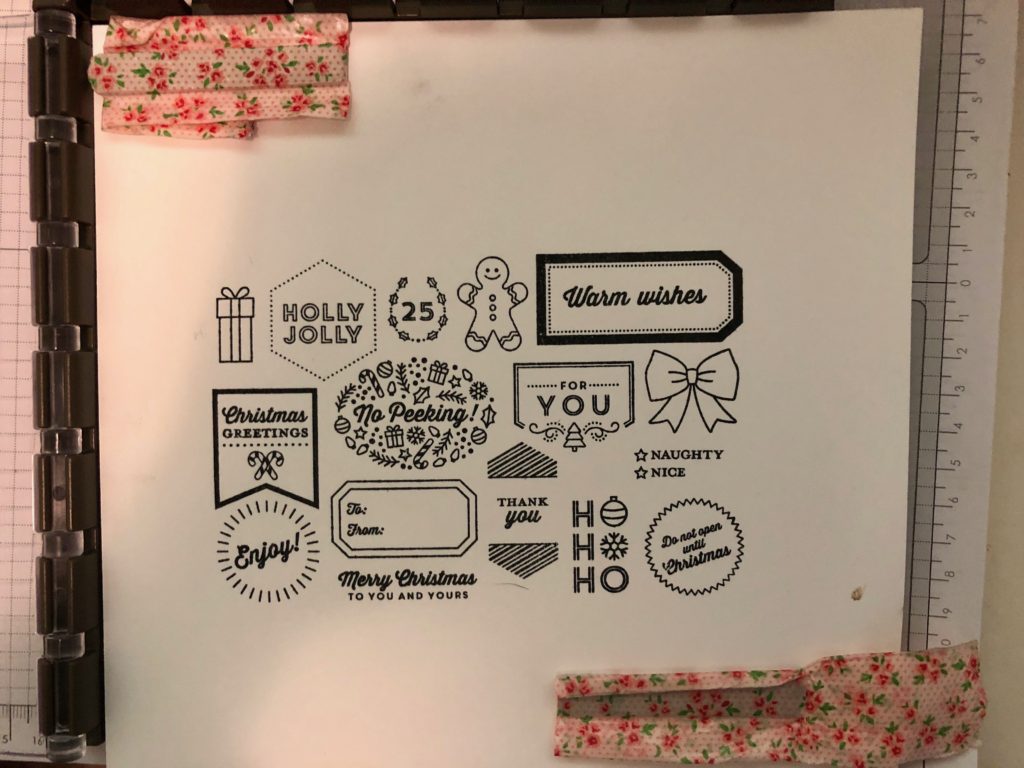
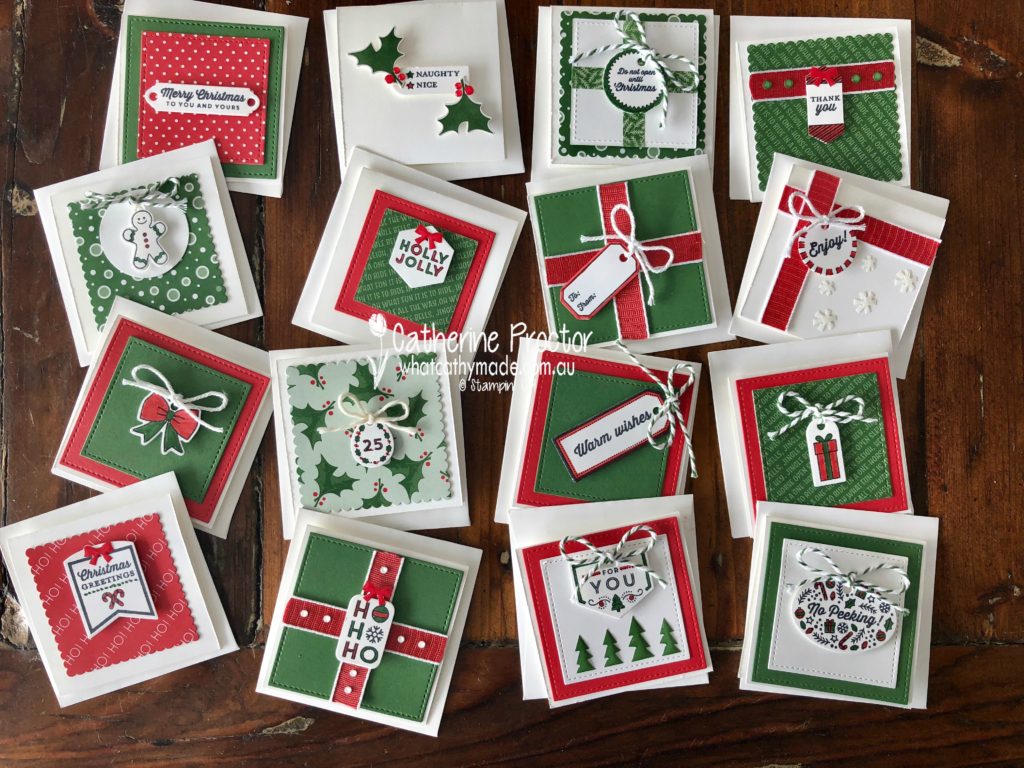
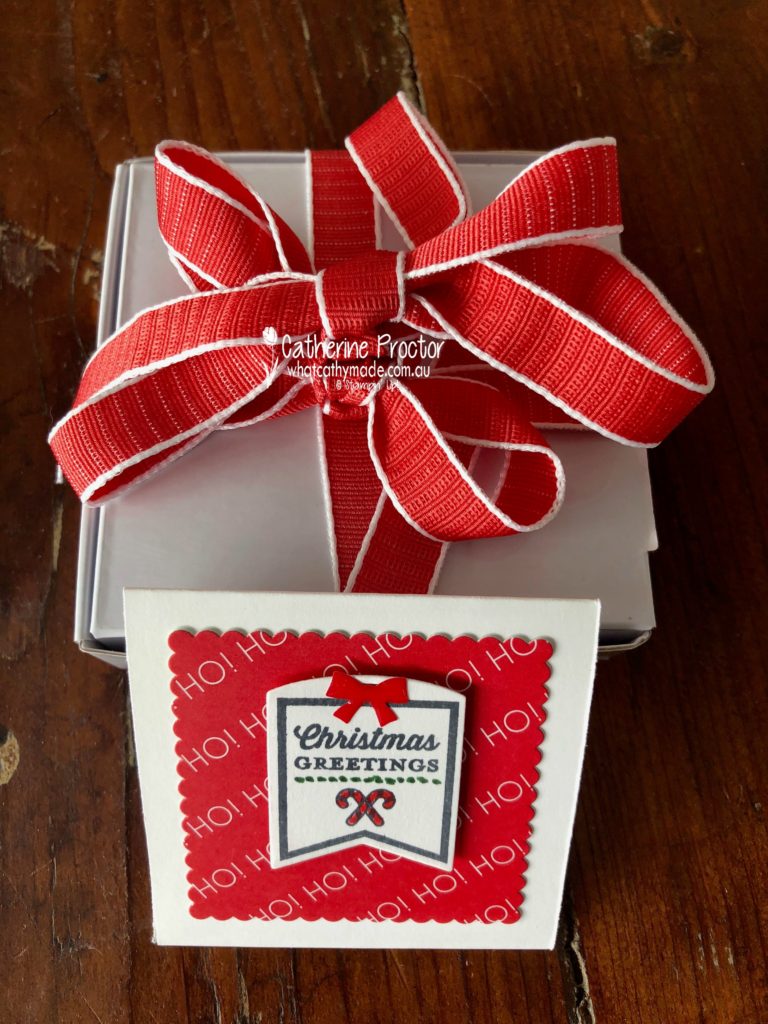
Tonight I’m showcasing the cutest bundle from the Holiday Catalogue: Tags & Tidings. What’s so special about this bundle is that it is one stamp and one die, allowing you to make 16 tags at one time! How clever is that?
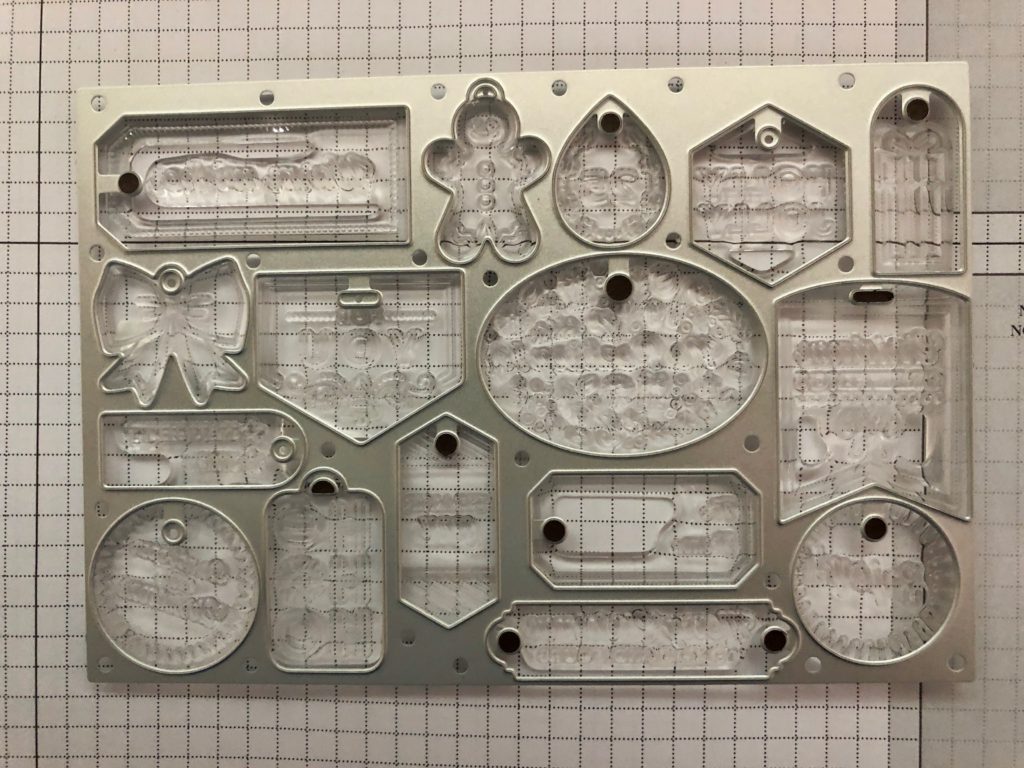
There are a couple of tricks to using this bundle. Firstly, I used the die to ensure my stamp was correctly aligned before I stamped it and secondly, I highly recommend using the Stamparatus when stamping such a large stamp.
Here’s how to use the die to align the stamp. I turned it upside down (so the side you stamp on is facing upwards) and ensure the stamp fits into the die. This ensures that your stamped images will fit exactly into the die shapes when you run it through the Big Shot.
And here’s the perfect image you get when you stamp with the Stamparatus…
Oh, and one more trick…I use washi tape to cover and protect my Stamparatus magnets (see my photo above), AND to hold the die in place over my stamped image before I cut it with my Big Shot (I forgot to take a photo of this bit).
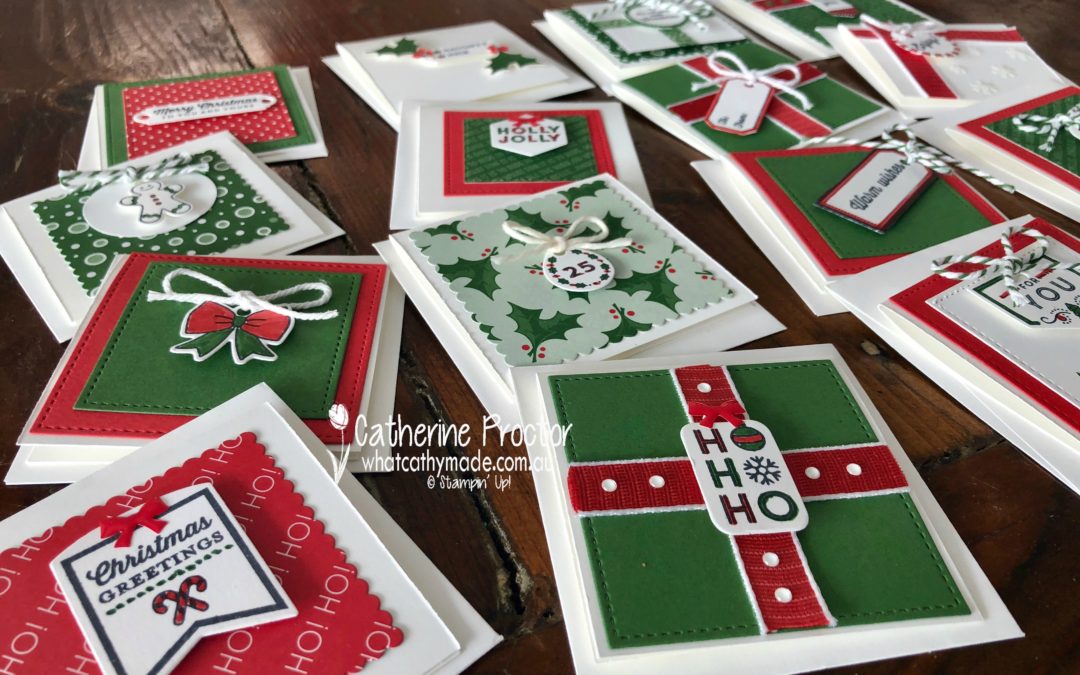
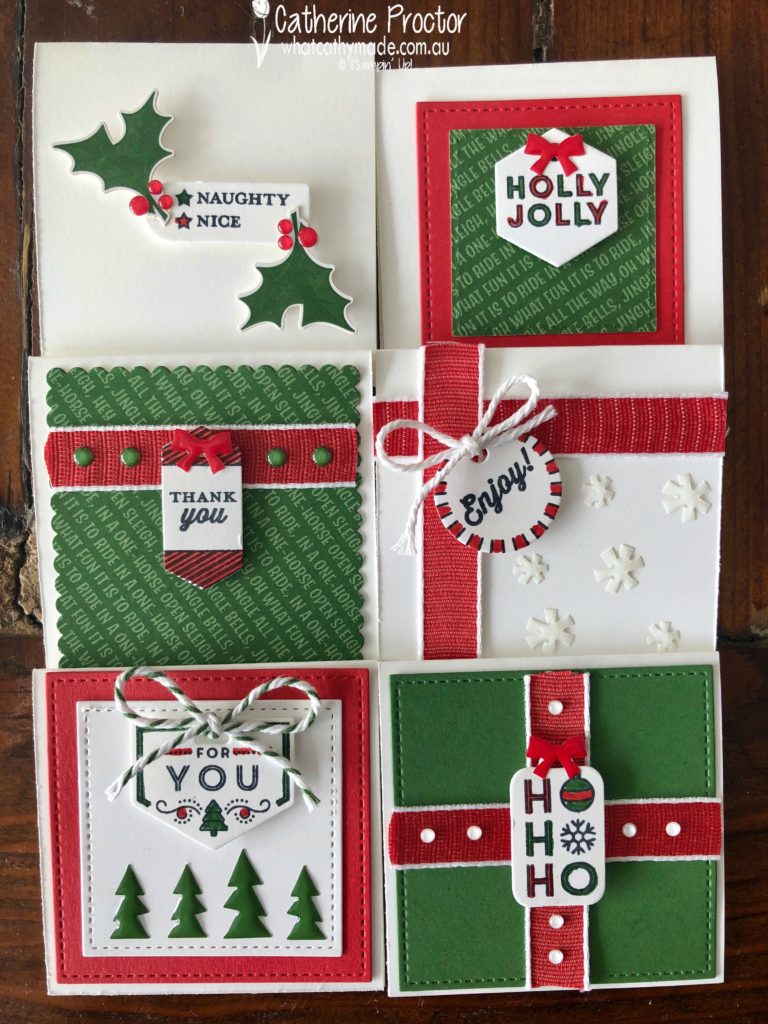
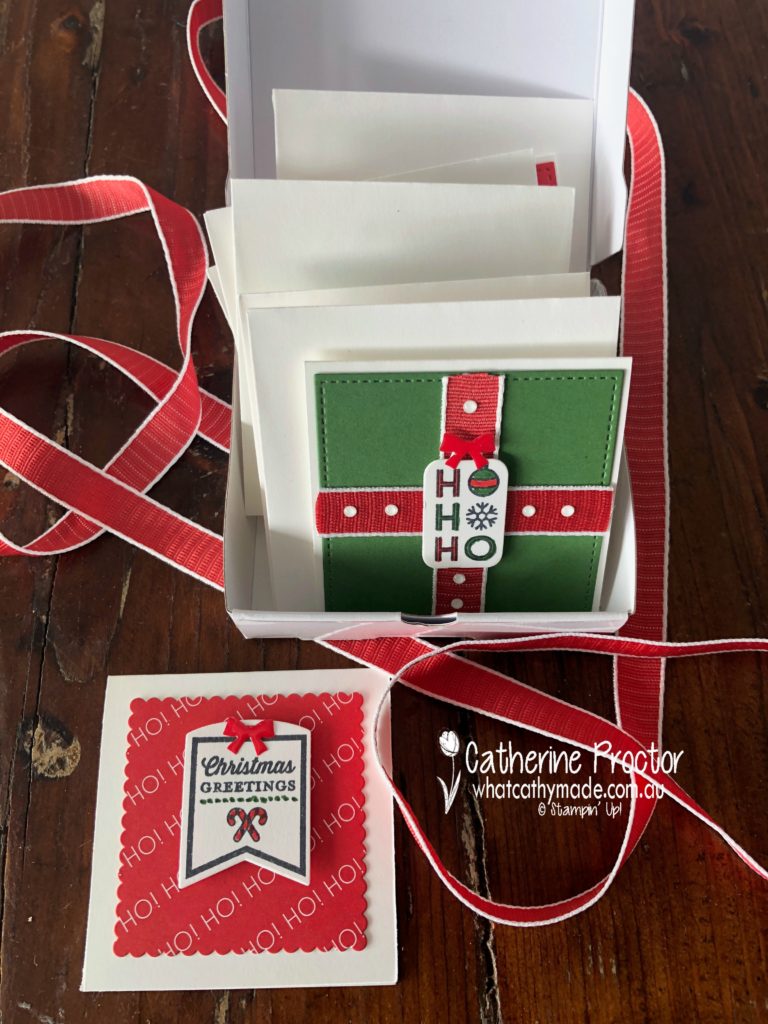
I coloured these images in using myGarden Green and Poppy Parade Markers and then turned them into mini gift cards. Check out all the cards that this one stamp makes…16 of them!!!
Because these tags are teeny tiny, I decided to turn them into gift cards that would fit into Stampin’ Up!’s 3 x3 inches envelopes by firstly making Whisper White card bases slightly smaller than the envelopes.
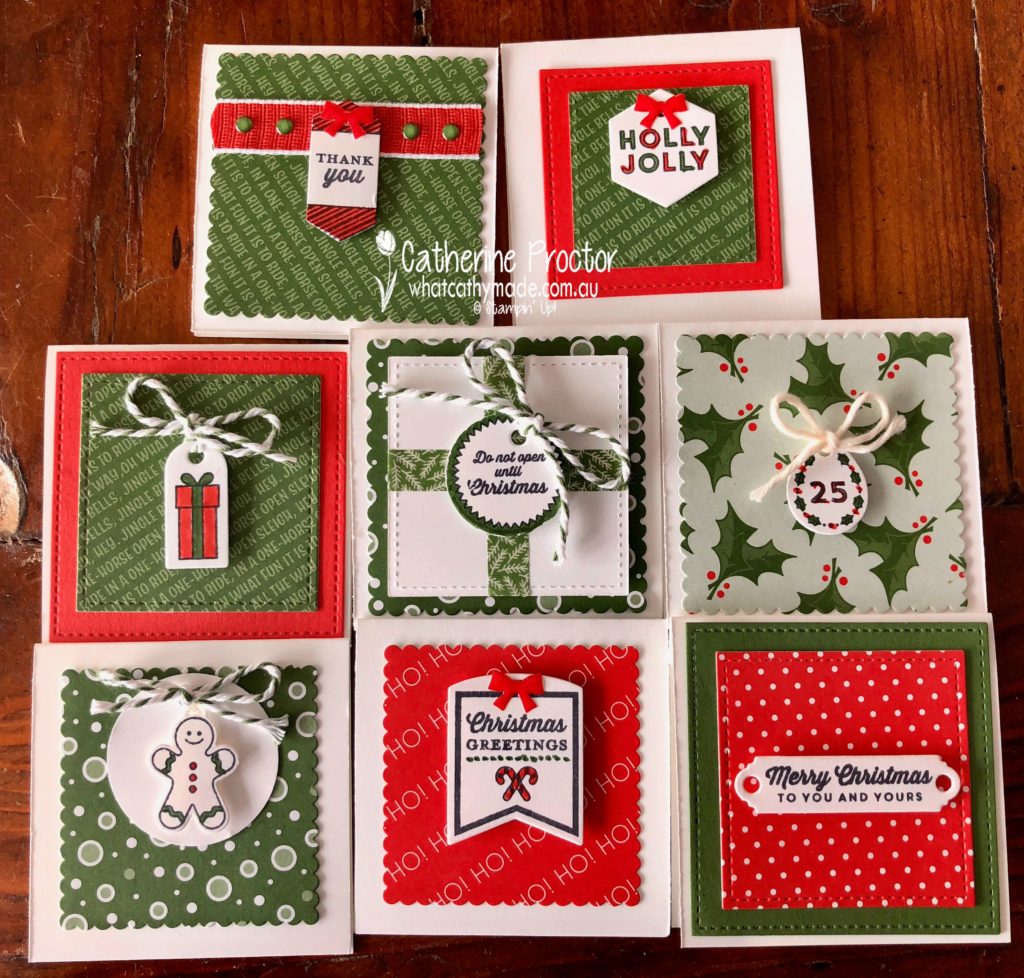
I used the layering square framelits and the Stitched shape framelits to cut different sized squares of Garden Green and Poppy Parade cardstock with my Big Shot and then I also die cut some squares out of the Santa’s Workshop Memories and More Cards.
The gift cards below are the ones where I used the Memories and More Cards as DSP. It’s a great way to add some extra pattern and interest to your cards.
To embellish my cards I used Garden Green bakers twine, Whisper White bakers twine (although looking at my photos above I can see I accidentally used Very Vanilla bakers twine on one of the cards, Whoops!!!), Poppy Parade 1/2″ Textured Weave Ribbon, stickers from the Santa’s Workshop Memories and More Cards and the darling little Santa’s Workshop Enamel Shapes.
I’ll present these gift cards as little gifts, packaged up six at a time (with their matching envelopes), in our Stampin’ Up! pizza boxes…all tied up with a bow and using one of the gift cards as the card to go with the box of cards.
Now it’s time to hop on over to our next participant, the very talented, Rachel Woollard.
If you find a broken link or have come to this blog hop from a different entry point, you can view the participants below:
Welcome to week 6 of our Art With Heart, Heart of Christmas blog hop.
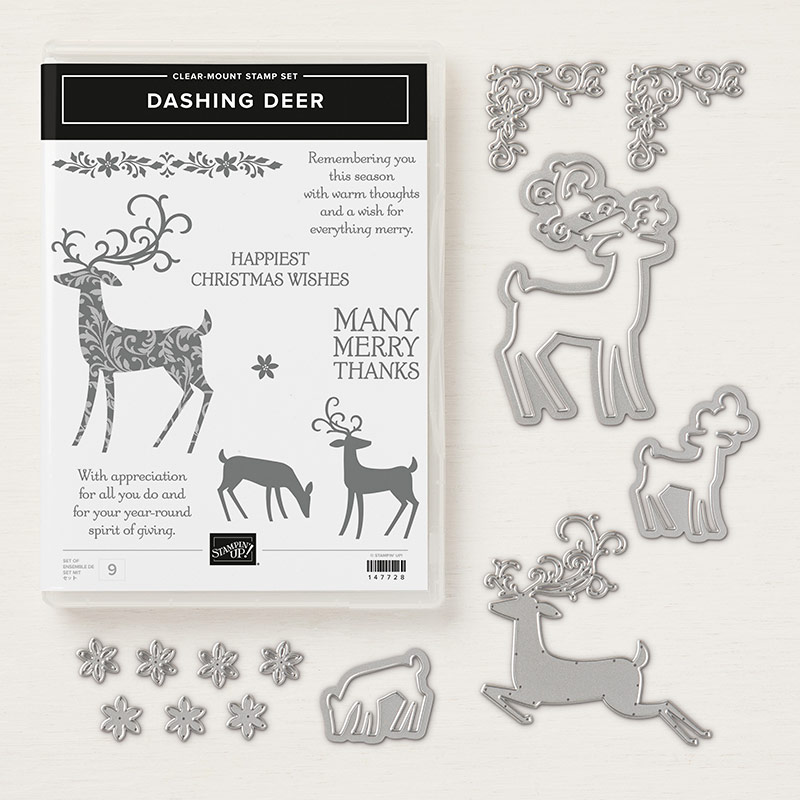
I must admit that I have a bit of a soft spot for reindeer, even though I live in the southern hemisphere, so I was very excited to see this new bundle in the Holiday Catalogue: the Dashing Deer bundle.
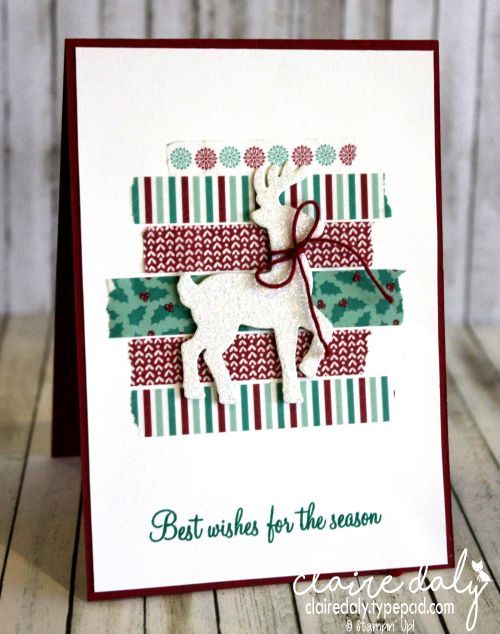
I have so many ideas for cards using this bundle, but this week I thought I’d make a quick and simple card CASEd from a lovely design Claire Daly made last Christmas, using another Stampin Up deer thinlit.
Here’s Claire’s stunning card…this really has to be one of my favourite Christmas card designs of all time so I just couldn’t resist CASEing it for this week’s project. I hope you don’t mind, Claire!
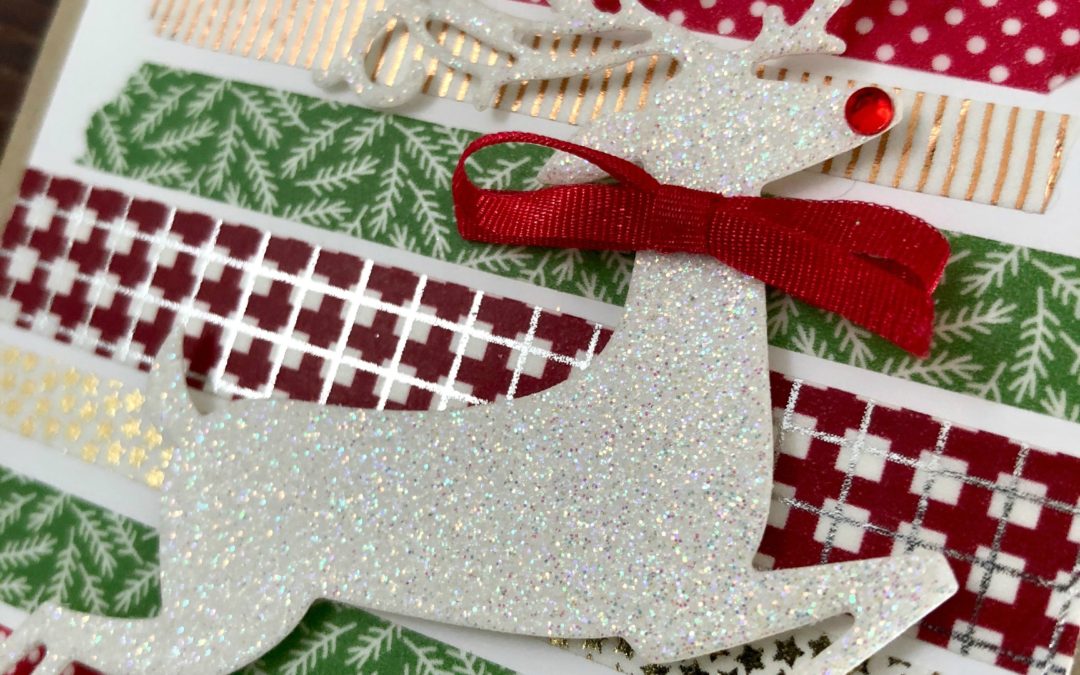
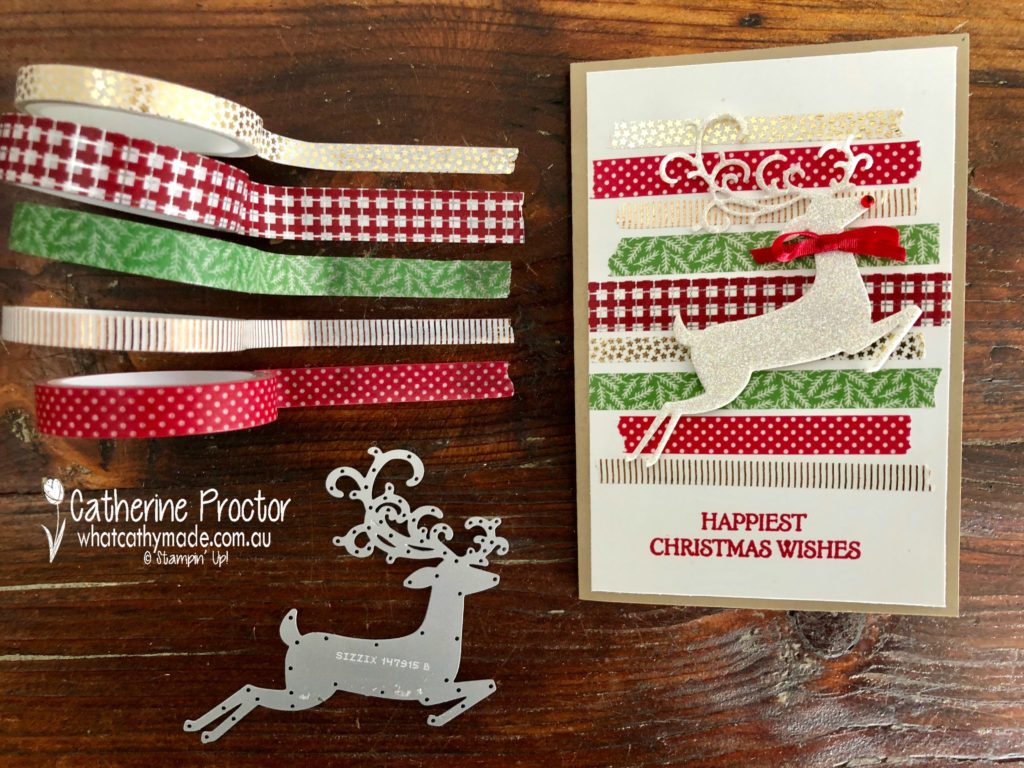
I’ve adapted Claire’s design to suit the new Dashing Deer bundle as well as the gorgeous new Suite Season Specialty Washi Tape. Here’s a closer look at that stunning washi tape and the very elegant Dashing Deer thinlit that I’ve used on today’s card.
The Suite Season Specialty Washi Tape features the following colours: Cherry Cobbler, copper foil, Garden Green, gold foil, Real Red and silver foil, so you could so make many different variations of this card by simply using different coloured paper for the reindeer, background cardstock and the ribbon.
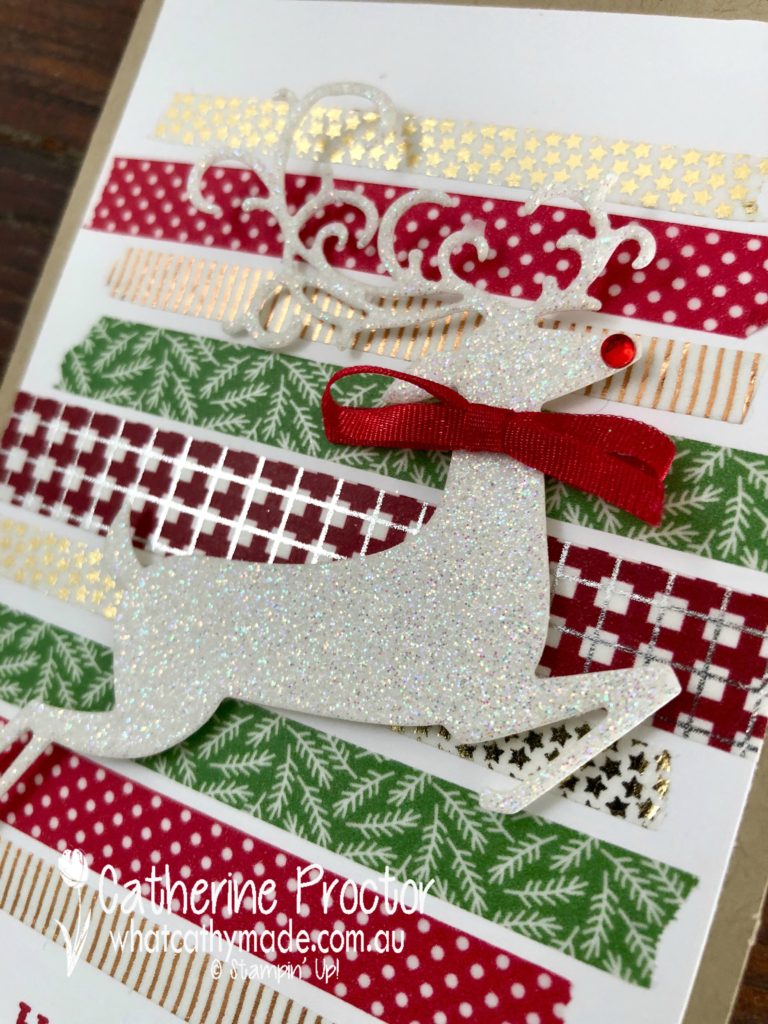
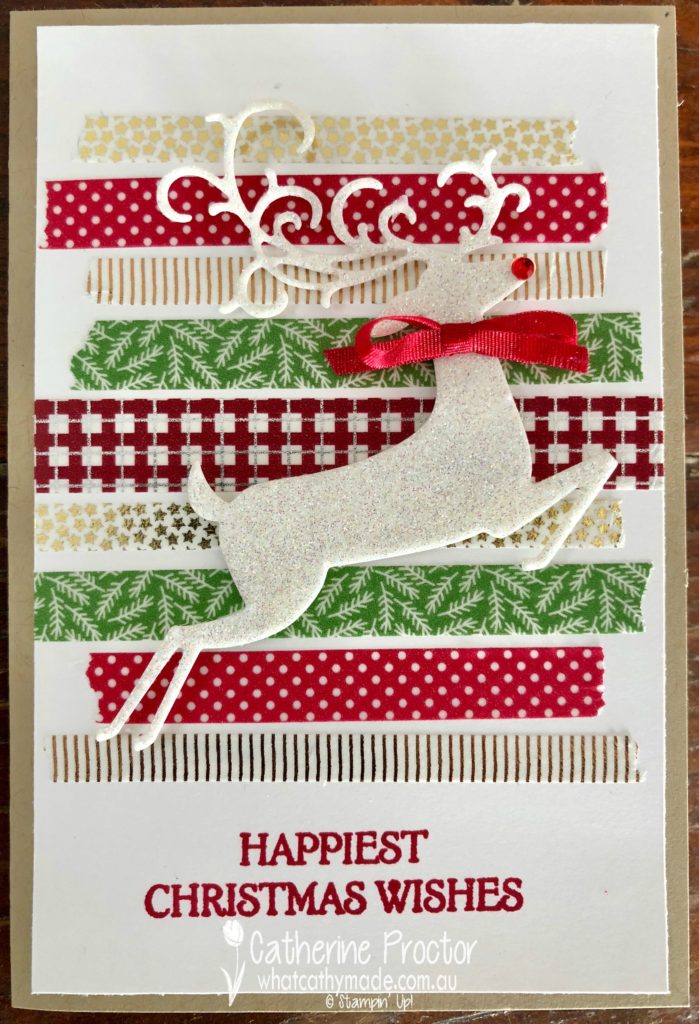
For today’s card, I decided to keep it quite traditional, cutting my deer out of sparkle glimmer paper, before adding a red rhinestone to his nose and tying a bow of real red ribbon around his neck.
The washi tape makes this card super quick and easy, but you could also adapt this design to use up strips of DSP instead. I really love this new Suite Season Specialty Washi Tape, especially the Garden Green tape with the white sprigs and the Whisper White tape with the little gold stars.
My final touch was the “Happiest Christmas Wishes” sentiment from the Dashing Deer stamp set, stamped in Real Red.
Thank you so much for the inspiration, Claire!
To see what the rest of the team have made this week hop over to the lovely Claire Daly’s blog.