Art With Heart March Blog Hop: Easter

Art With Heart March Blog Hop: Easter

Tonight the Art with Heart team are sharing creative projects with an Easter theme. 

Don’t forget, sale-a-bration ends on March 31st! There is still time to earn free product with purchase or even join our Stampin’ Up! team. Ask any of the girls on the hop for more details.

Easter means different things to different people. For some, it is all about bunnies, Easter eggs, hot cross buns and public holidays. For others, it is the most important day on the religious calendar. But although Easter is a celebration of the resurrection from the dead of Jesus Christ, did you know the Easter holiday is also based on an ancient Pagan ritual?

Easter dates change every year because it is also based on the Pagan ritual of the Spring Equinox, which is a celebration of new life and the change that comes with spring.

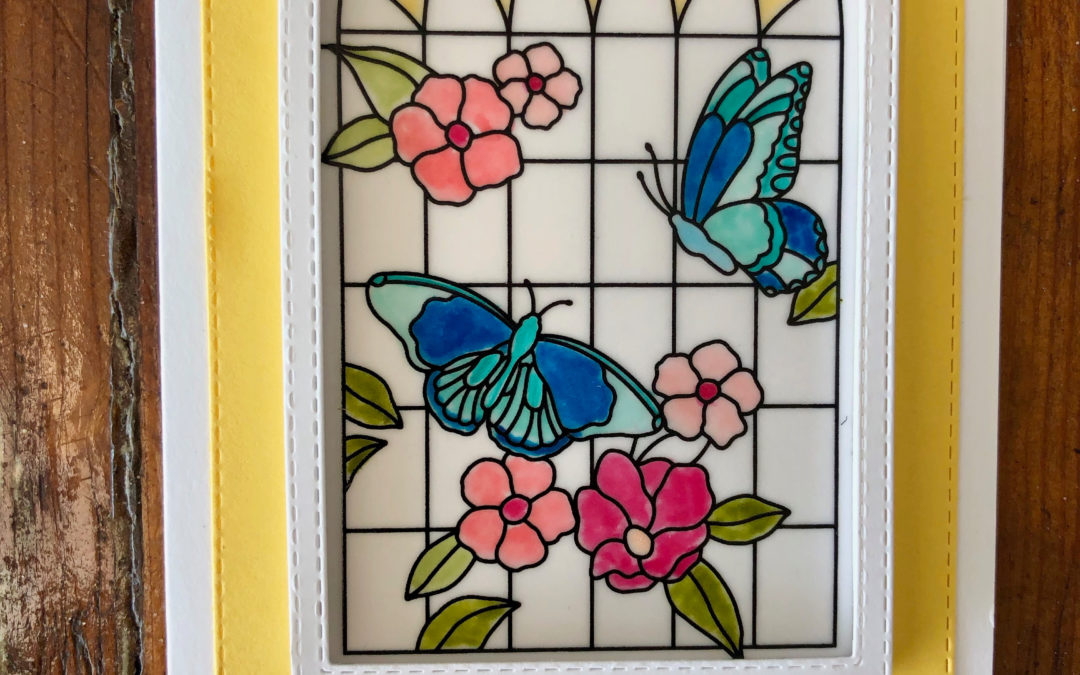
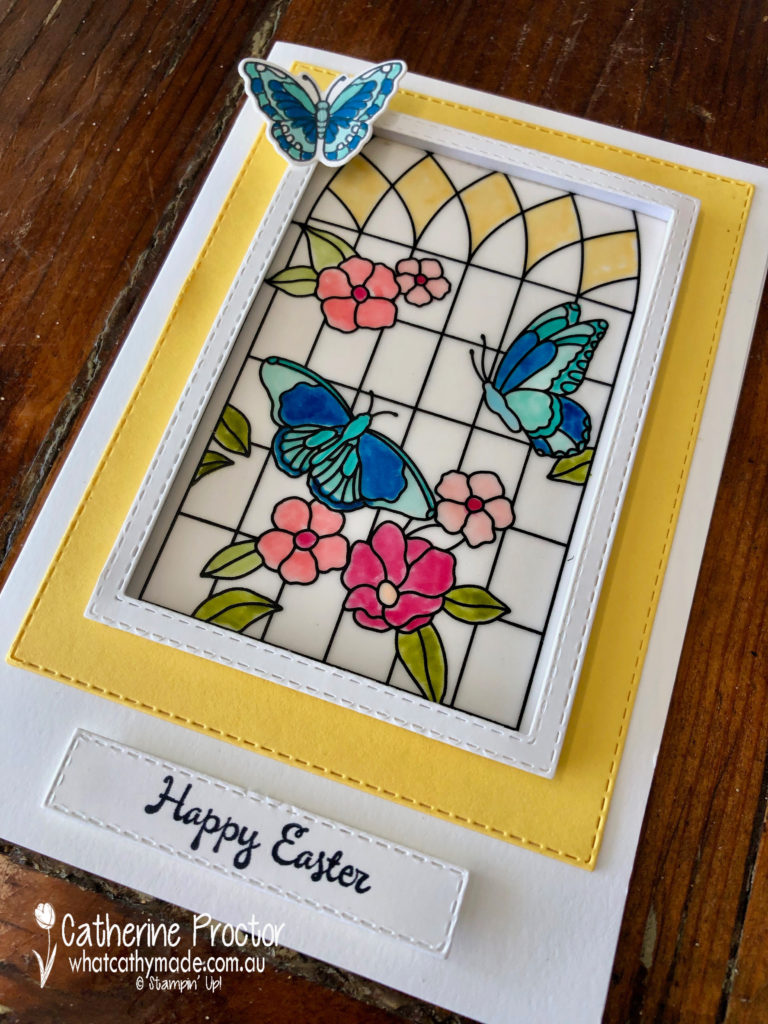
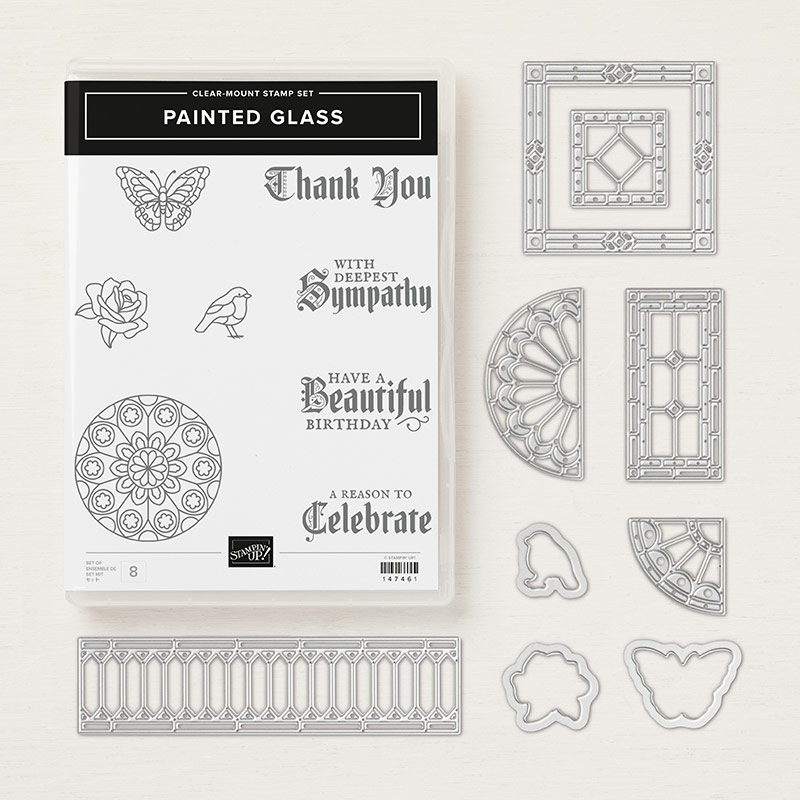
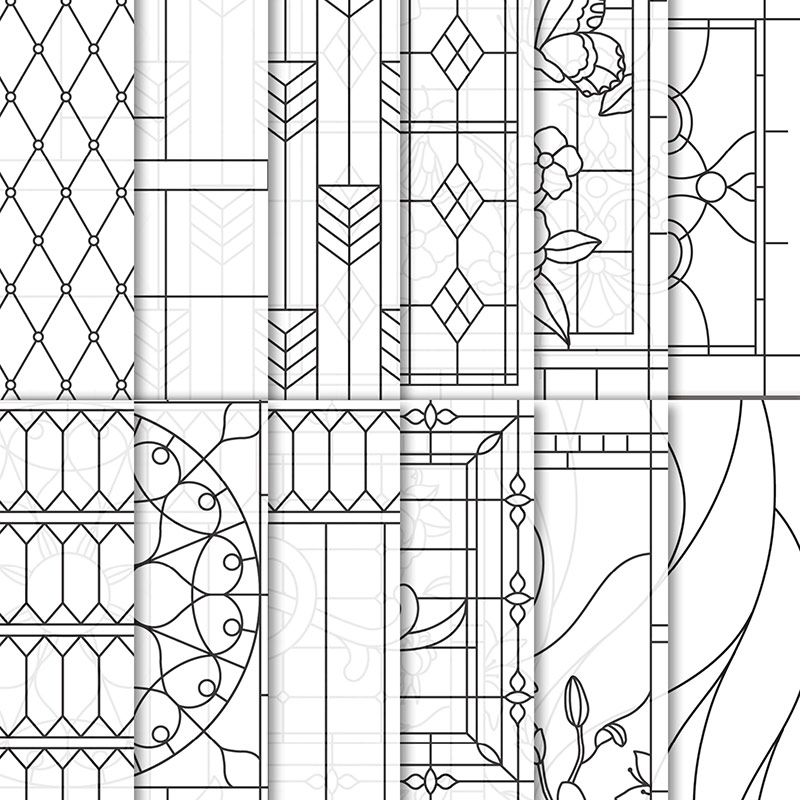
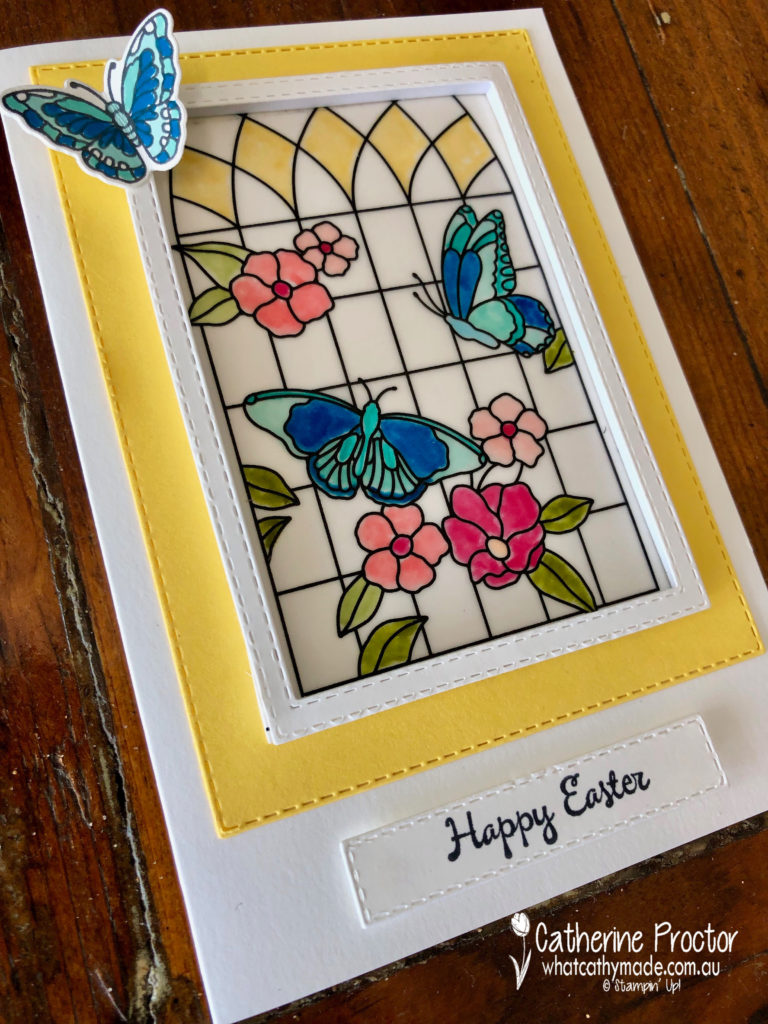
For my project tonight decided to celebrate both aspects of Easter – the Pagan and the religious celebration of Easter – by referencing the beautiful stained glass windows of the churches I would celebrate Easter morning in as a minister’s daughter. The Painted Glass Clear-Mount Bundle and Graceful Glass 6″ X 6″ Designer Vellum was just perfect for this.

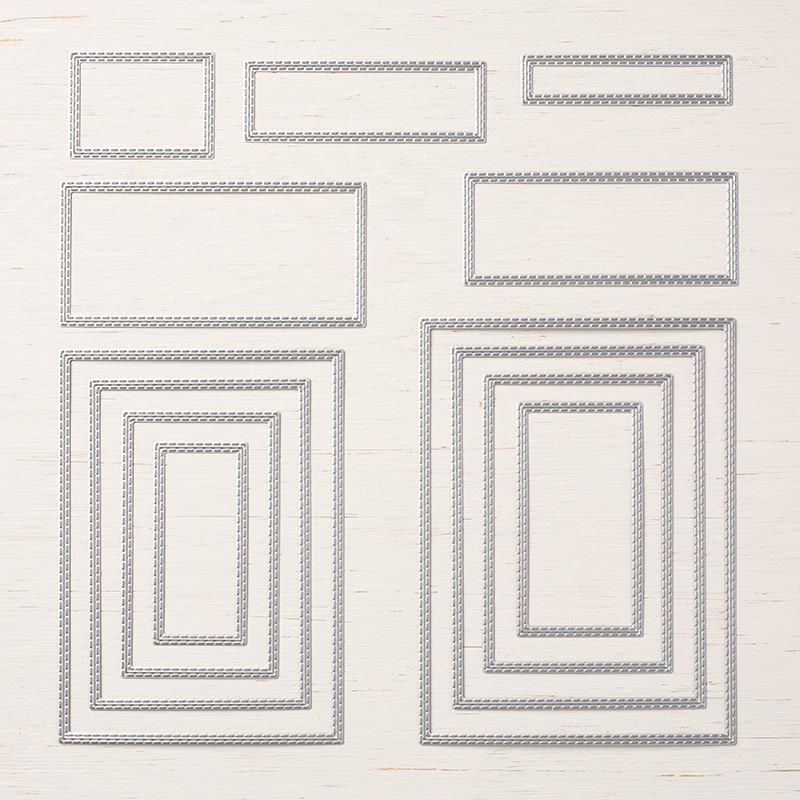
After colouring in my sheet with my Stampin blends, I used the Rectangle Stitched Framelits Dies to make a window frame for my stained glass window.

I then mounted my frame using the Foam Adhesive Strips and hey presto, I had created a beautiful stained glass window!

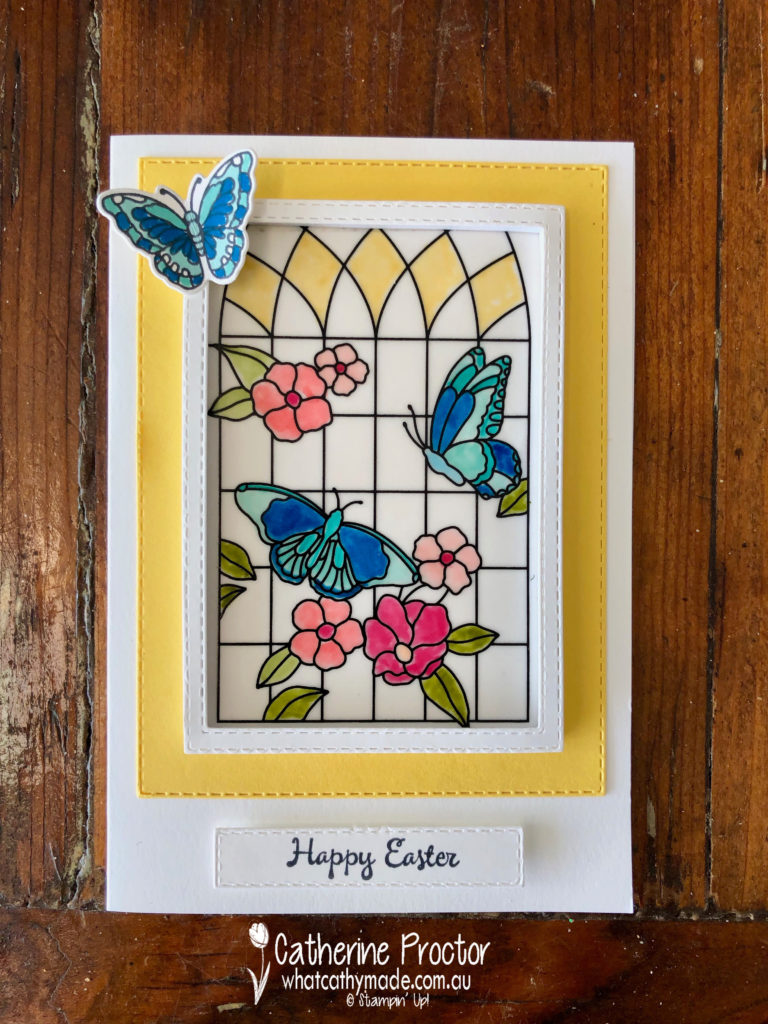
The Rectangle Stitched Framelits Dies were put to good use again for my Daffodil Delight layering mat and for my sentiment, which was stamped using the “You’re Inspiring” stamp set.

To celebrate new life and the change of season my final touch was a butterfly resting gently on my window…I think it makes my butterflies in my window come to life and look like they might fly away too!


Now it’s time to hop on over to our next participant, the very talented,   Caroline Manwaring.           

If you find a broken link or have come to this blog hop from a different entry point, you can view the participants below:

Catherine Proctor

Caroline Manwaring

Sue Madex

Kate Morgan

Ros Davidson

Kathryn Mangelsdorf

Rachel Palmieri

Rebecca Jacovou

Judy May

Rachel Woollard

Christina Barnes

Tina Gillespie

Vicki Boucher

Art With Heart Colour Creations Blog Hop: Week 39 Poppy Parade

Art With Heart Colour Creations Blog Hop: Week 39 Poppy Parade

Welcome to week 39 of the Art With Heart Colour Creations Blog Hop!

Our colour this week is a returning bright: Poppy Parade.

Last weekend I needed to make a very large card for a friend from my mother’s group. Our eldest children were born on the very same day and they turn 21 this year!!! My friend turns 50 today and we celebrated with a girl’s night out for 16 people. We all put in for a group present so there needed to be lots of room on the card for everyone to write a message.

Red is her favourite colour so I made the base of my card by simply scoring a piece of A4 Poppy Parade cardstock in half. I added a layer of Whisper White and then used my large letter dies to cut out “happy birthday” from the stunning Painted Seasons floral DSP. I mounted my letters onto the front of my card with the foam adhesive strips…they really make the letters pop!

Then I stamped some flowers and leaves in the coordinating colours and die cut them out using the Painted Seasons stamp set and the matching Four Seasons framelits.

I also made the birthday cake for dessert for my friend because she is gluten-free. Every time I make this cake I get so many requests for the recipe I thought I might share it here too.

It is so simple to make, not too sweet and very moist. I think Claudia Roden created this recipe but I have also seen Stephanie Alexander and Nigella Lawson make it. My variation is to ice it with a dark chocolate ganache, which is the perfect counterpoint for the orange cake.

Flourless Orange Almond Cake

Ingredients

  • 2 navel oranges
  • 6 eggs
  • 1 cup sugar
  • 1 tsp gluten free baking powder
  • 250gm almond meal
  • 2 blocks of dark Lindt chocolate
  • 2 tbsp cream

Method

  • Cover the oranges with water in a saucepan and boil for 1-2 hrs or until soft.
  • Remove from water and let cool.
  • Preheat oven to 180 C. Grease and line a springform pan.
  • Leaving the skin on, roughly chop oranges into chunks and blend in a food processor until smooth.
  • Add eggs, sugar, almond meal and baking powder to a food processor and blitz to combine. the mixture will be quite runny.
  • Pour into your lined springform tin and bake for about 1 hour or until a skewer comes out cleanly and cake starts to come away from the sides.
  • Let cool for a few minutes and then gently release cake from the tin.
  • Once the cake has totally cooled, melt chocolate and cream together and combine to make a glassy ganache. Spread over cake, decorate and enjoy!

To see what the rest of the team have made click on the links below.

Claire Daly

Rachel Palmiri

Michelle Taylor

Kate Morgan

Tania Johnson

Tina Gillespie

Diane Furniss

Rachel Woollard

Catherine Proctor (you are here)

To purchase any of the products I used in this project you can shop with me here. Or if you’d like me to post you your very own copy of any of the Stampin Up! catalogues or find out about more about Stampin’ Up! contact me.

We will be back again next week showcasing one of the 2018-20 in colours Powder Pink! We hope you can along with us then.

Art With Heart Blog Hop: 2019 sale-a-bration

Art With Heart Blog Hop: 2019 sale-a-bration

Tonight the Art with Heart team are sharing creative projects using products available for FREE when you make a minimum purchase during sale-a-bration. For every $90 (AUD) you spend before postage, you can choose FREE products from the brochure.

If you spend $90, you get one free level 1 product. If you spend $180, you get one free level 2 product, OR, you can choose two level 1 items. If you spend $270, you have the option to choose three level 1 items or one level 1 item and one level 2 items.     

The sale-a-bration promotion is current now until March 31st. Be sure to request your copy of the brochure today if you don’t already have one. Sale-a-bration is also a great time to join our fabulous team – just ask any of the girls on the blog hop for more details!

There are so many lovely products in this sale-a-bration promotion it was hard to choose just one product.

In the end I decided to use the Painted Seasons bundle to make four cards with matching lined envelopes.


I made four cards to show all the sheets of DSP and to use every dynamic stamp, as well as the all of the dies. Here they all are with their matching envelopes.

My favourite card is the winter card, featuring this stunning pinecone Dynamic stamp.

My next favourite card is the spring card, featuring the beautiful poppy stamp.

Next up are the stunning summer succulents…

…and finally, the autumnal card.

I used the notecards with matching envelopes to make this set of four cards, hand cutting the reverse of the DSP to line the envelope flaps.

The happy birthday sentiment is from the Itty Bitty Birthday stamp set in the ocassions catalogue and a bow of linen thread finishes off the four cards.

Now it’s time to hop on over to our next participant, the very talented Sue Madex.    

If you find a broken link or have come to this blog hop from a different entry point, you can view the participants below:

Sue Madex

Tina Gillespie

Ros Davidson

Kathryn Mangelsdorf

Rachel Woollard

Rebecca Jacovou

Caroline Manwaring

Claire Daly

Kate Morgan

Judy May

Catherine Proctor (you are here)

Social media & sharing icons powered by UltimatelySocial