Welcome to week twelve of the Heart Of Christmas Blog Hop!
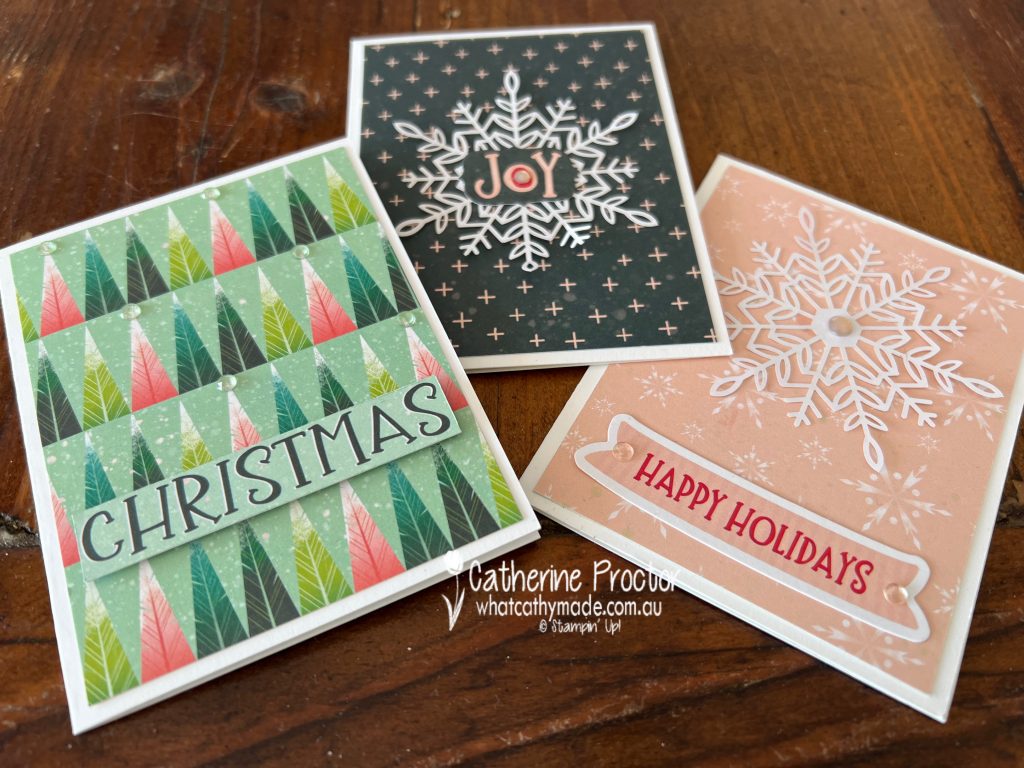
This week I’m sharing three cards that are perfect for a beginner cardmaker to make as they require no stamping or die cutting.
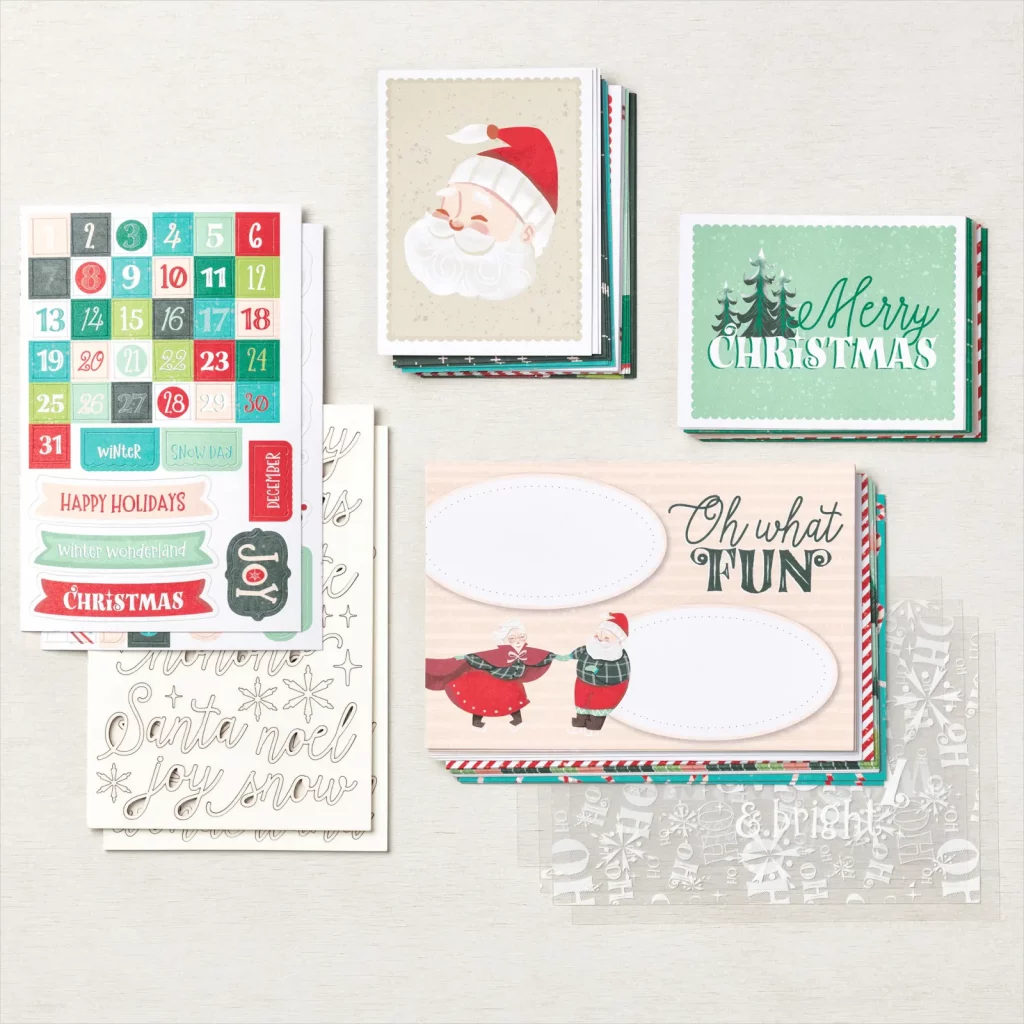
All I’ve used is a pack of the Santa Express Memories & More Card Pack, card bases from Memories & More Card Packs and a few embellishments.
The Santa Express Memories & More Card Pack includes:
54 double-sided, printed cards
2 sheets of stickers
4 acetate overlays
2 laser-cut sheets of words and embellishments
I love the colour combinations and the designs of the Memories & More cards in this pack.
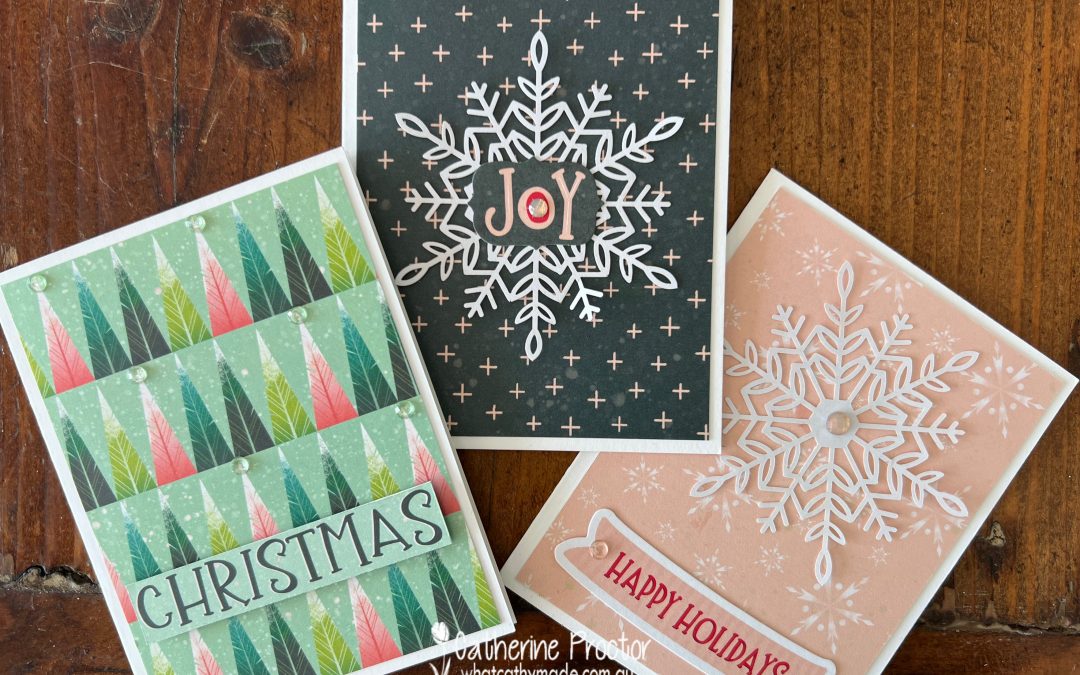
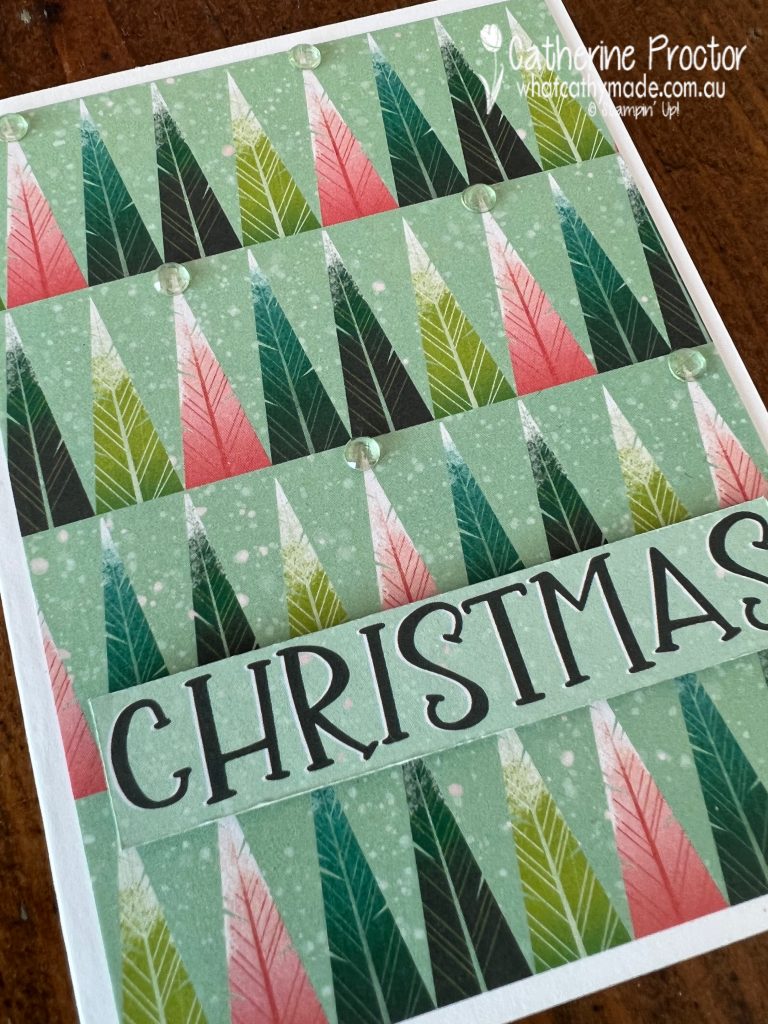
For card one I’ve used this graphic Christmas Tree design and a Christmas sentiment cut from another one of the Memories & More cards. Clear Elegant Faceted Gems embellish the tops of some of the trees.
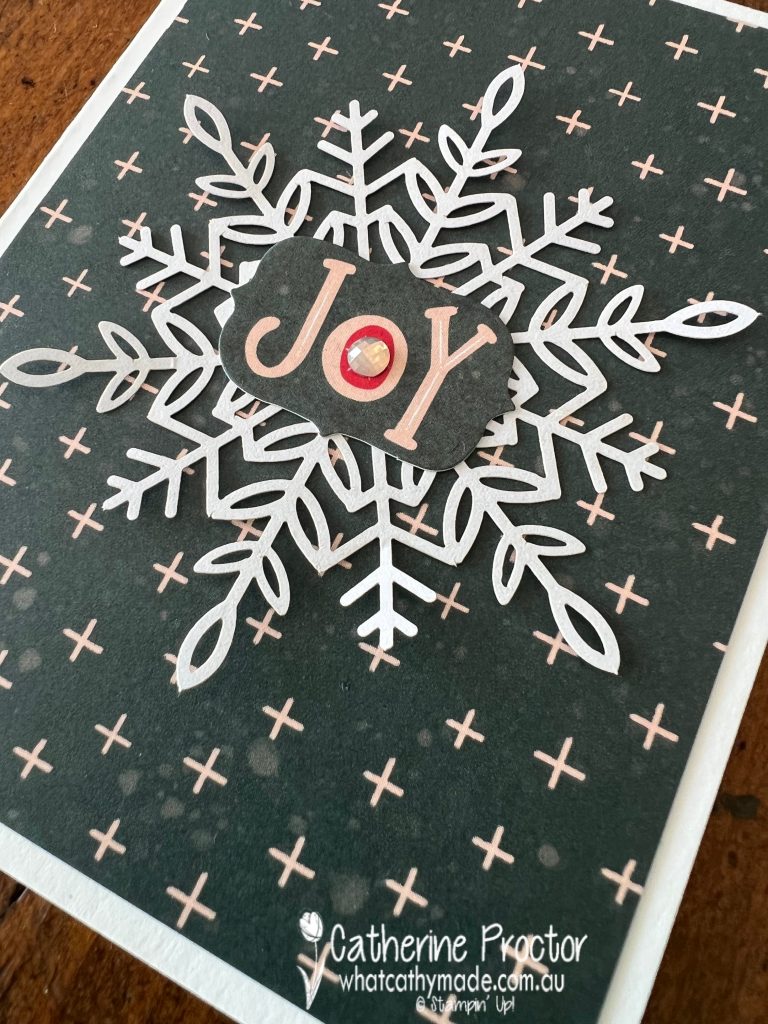
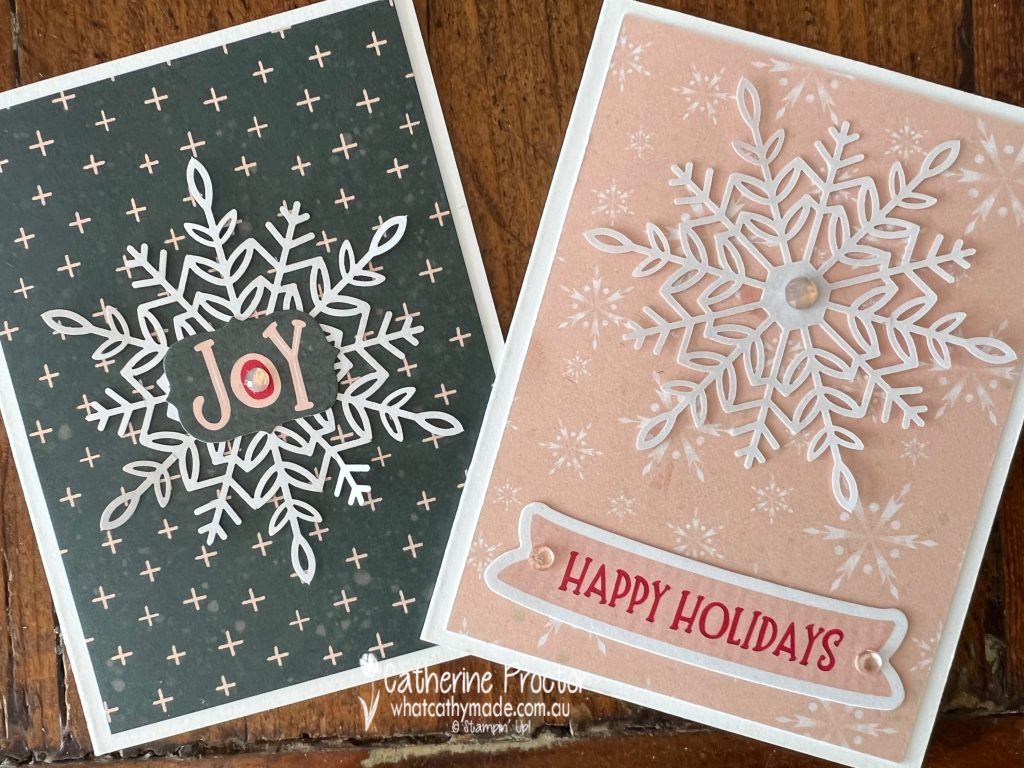
My “Joy” card uses one of the stickers from the pack, an Evening Evergreen Memories & More card, a Wonderful Snowflake and a pink Elegant Faceted Gem.
Card three also uses another one of the stickers from the pack – Happy Holidays –a Petal Pink Memories & More card and another Wonderful Snowflake with a Petal Pink Elegant Faceted Gem in it’s centre and clear Elegant Faceted Gems on the sentiment.
Wonderful Snowflakes are one of my favourite Christmas embellishments as they instantly add an elegant touch to any Christmas card.
Quick and easy but oh so effective – Memories & More cards and notecards and envelopes are great to have in your stash when you really don’t have the time or the inclination for stamping and die cutting.
Now it’s time to hop on over to our next participant, the lovely Christine Blain– I can’t wait to see what Christine has created today!
If at any time you find a broken link, you can find the complete list of all participants on Tina’s blog. Tina is running the hop for us tonight as Sharon is very busy running 21st celebrations. Thanks so much Tina!
If you live in Australia, you can find and purchase these products in my Stampin’ Up! Online Store or by clicking on the links below.
Welcome to week 22 of our 2021-22 Colour Creations blog hop! Tonight we are showcasing Highland Heather, a soft purple from the Subtles colour collection.
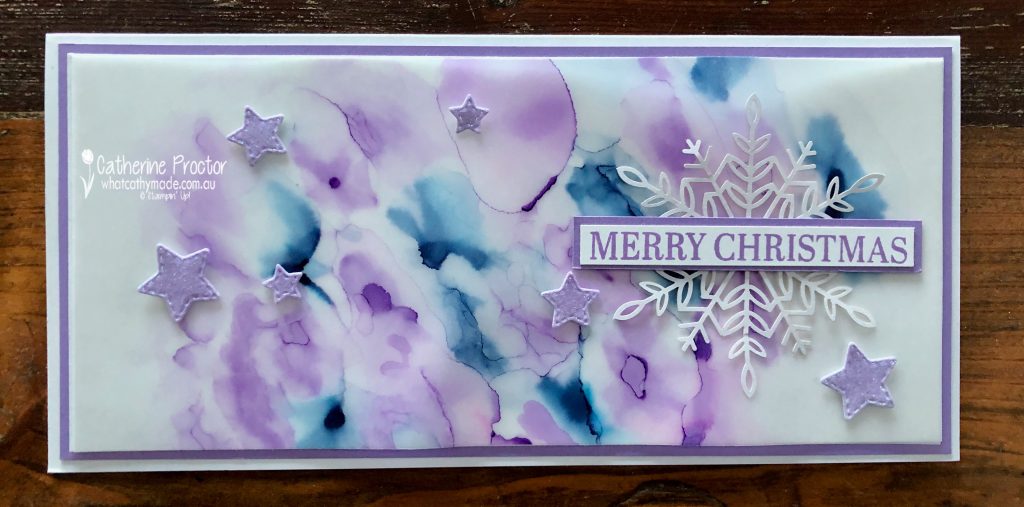
I know I’m a bit late to the party, but this week I finally tried the Stampin’ Blends alcohol technique. Oh my goodness, gracious me – what a fantastic technique this is! If you haven’t tried this technique yet, just give it a go. There is no right or wrong, it’s easy to do and you get a totally different effect every time. All you need are Stampin’ Blends, 100% Isopropyl Alcohol, vellum and a paintbrush.
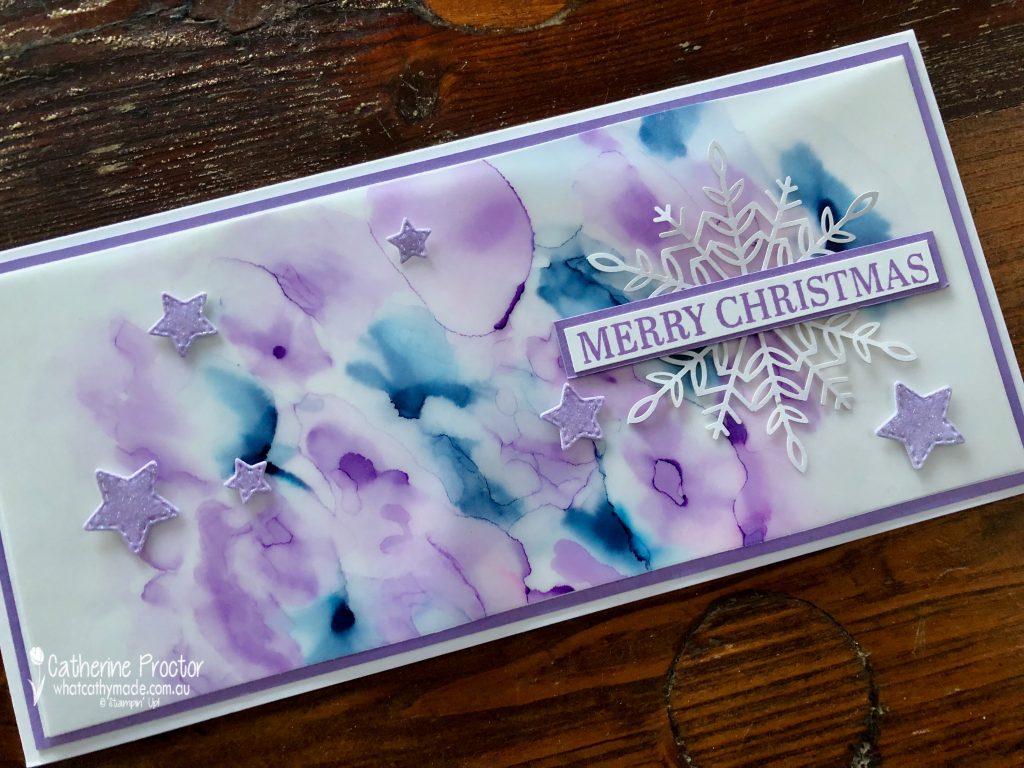
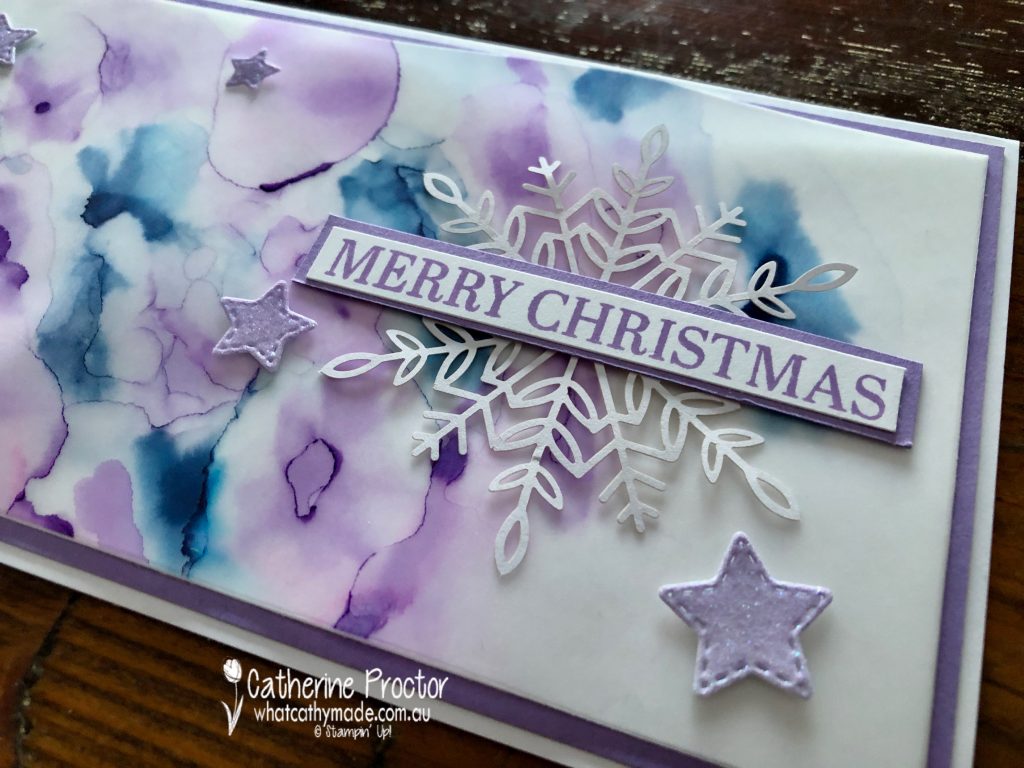
For my slimline card (10 x 20 cm) I used my dark Highland Heather Stampin’ Blend and my dark Night of Navy Stampin’ Blend. I simply scribbled random “splotches” of each colour onto vellum and then used a paint brush to gently paint the edges of the splotches with 100% Isopropyl Alcohol.
If I felt the gaps between splotches were too big, I simply waited for the alcohol to dry, added more colour with the Stampin’ Blend and repeated the alcohol painting with my paintbrush.
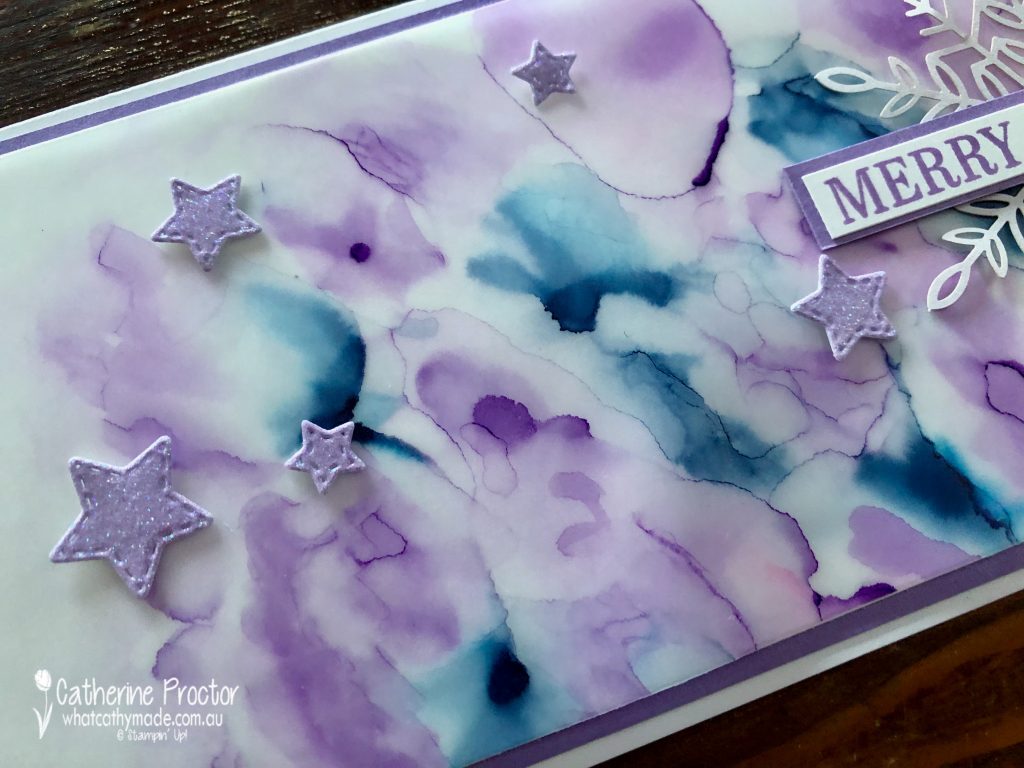
The sparkly stars are die cut from the from one of the glittering glimmery ombre specialty papers using the star dies from the Give It a Whirl dies. I used the Gorgeous Grape glittering glimmery ombre specialty papers – the lighter end of this ombre paper looks more like Highland Heather than Gorgeous Grape.
TIP: Once the alcohol has dried, adhere your embellishments to the front side of the vellum FIRST and them turn the vellum over and strategically place adhesive BEHIND where the embellishments sit so you can’t see the adhesive behind the vellum layer.
A snowflake from the Wonderful Snowflakes embellishments and the Merry Christmas sentiment from the Sparkle of the Season stamp set complete my Christmas card.
Now it’s time to hop on over to our next participant, the lovely Michele Taylor – I can’t wait to see what she’s made this week!
If you find a broken link or have come to this blog hop from a different entry point, you can view the the full list of participants below:
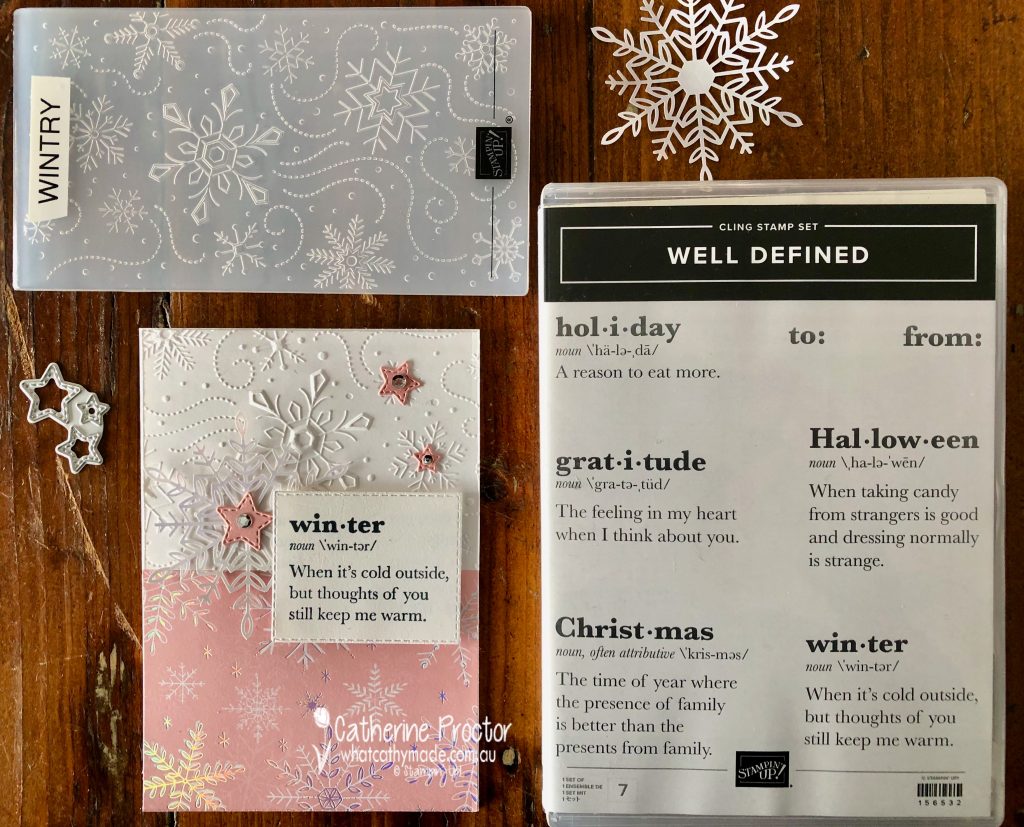
Hello crafters! For my cards this week I’m using the Whimsy & Wonder DSP and the Seasonal Swirl dies again, this time pairing them with the Well Defined stamp set and matching embossing folders.
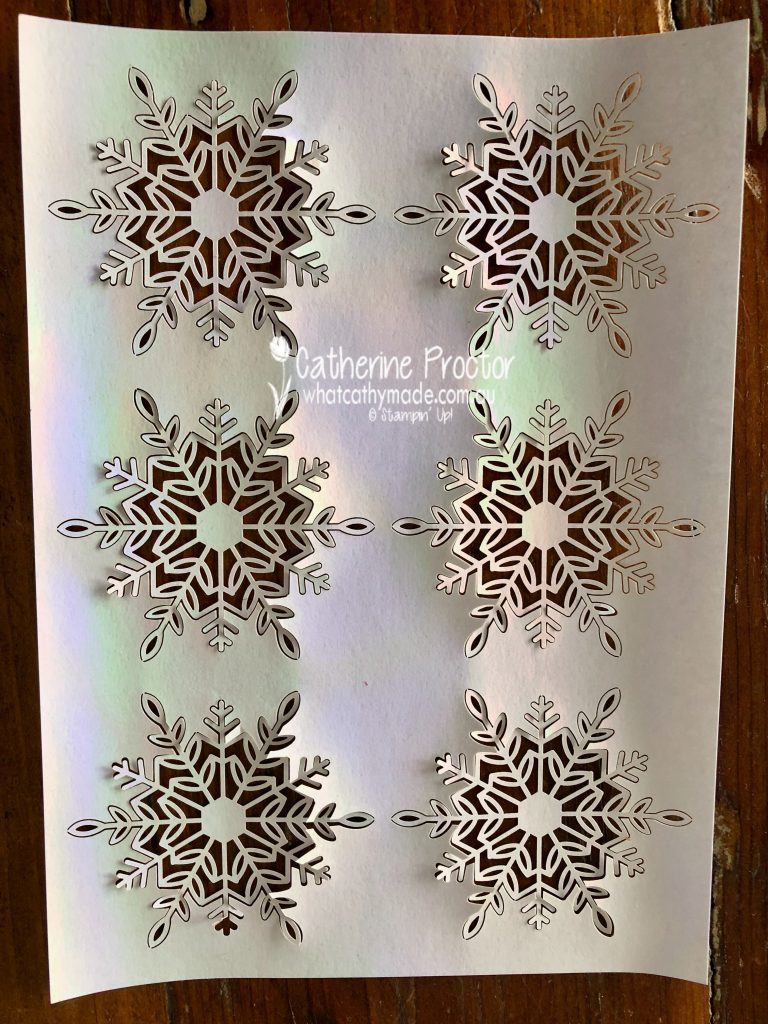
I’ve also created my own matching embellishments using the leftover iridescent foil that surrounds the Wonderful Snowflakes embellishments. There is plenty of spare foil here – don’t waste it! Use your dies and punches to create homemade embellishments to match your cards.
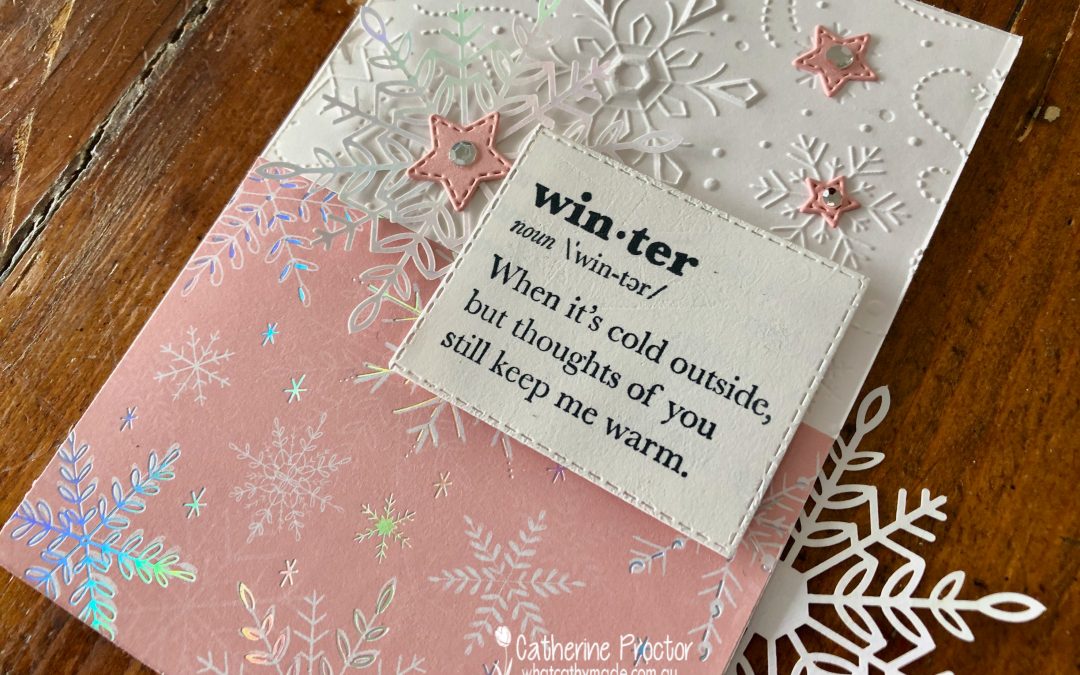
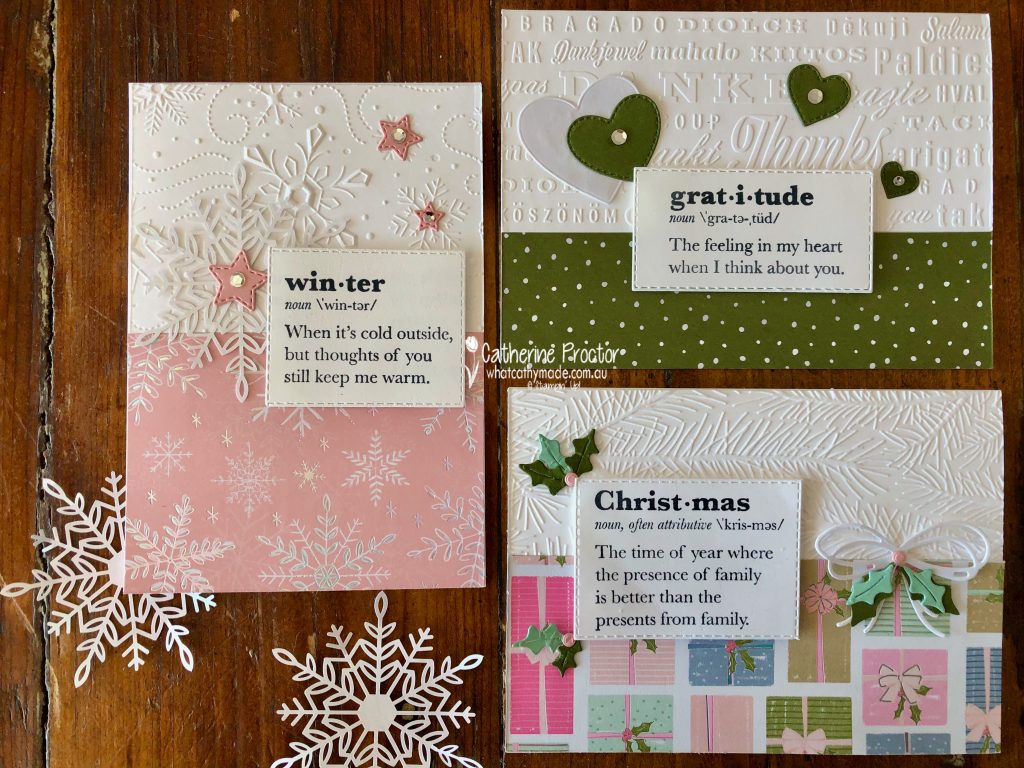
The different elements I used for each card were inspired my the particular definition I chose from the Well Defined stamp set. I think this first card is my favourite.
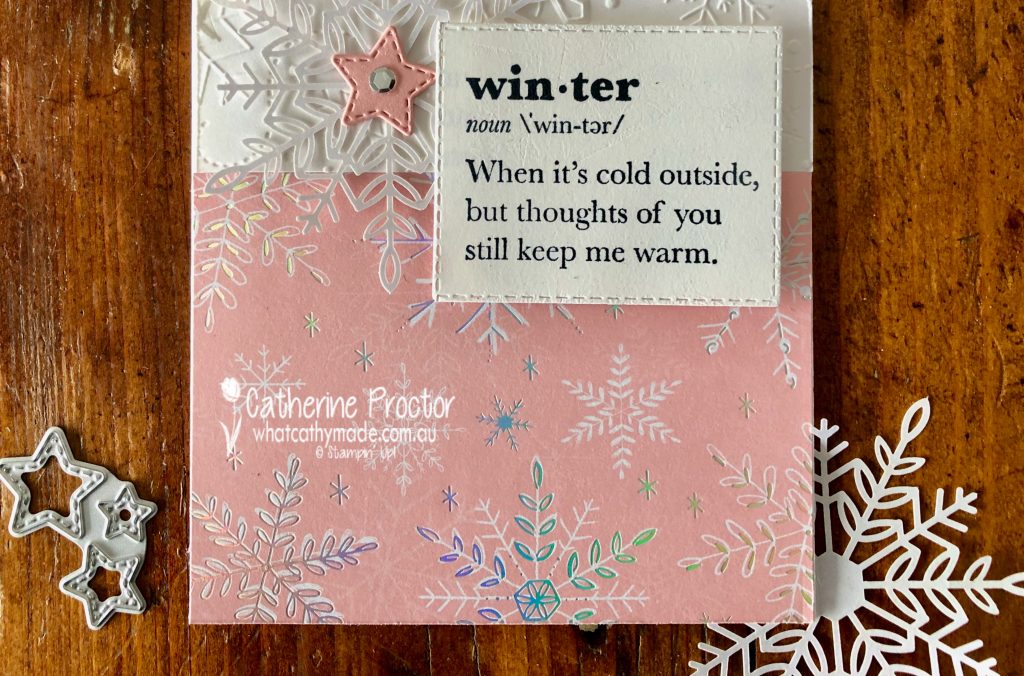
I’ve used the stamp that has “Winter” as the definition word, so I used the snowflake patterned DSP, the snowflake Wintry Embossing folder, one of the Wonderful Snowflakes embellishments and tiny stitched stars from the Seasonal Swirl dies. Subtle Shimmer Sequins add a final touch of bling.
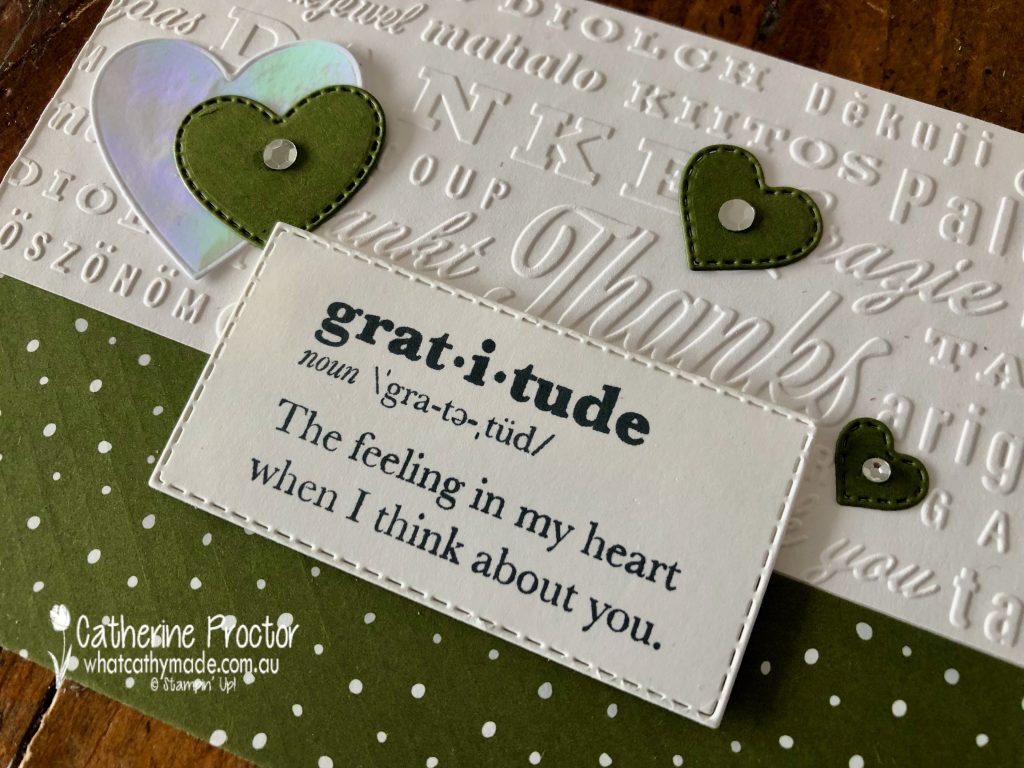
Card two uses the gratitude definition stamp, so the Thanks embossing folder from the Hello and Thanks embossing folders and stitched hearts were the obvious embellishments choice. The iridescent heart is die cut from leftover iridescent foil using the largest heart die in the Seasonal Swirl dies.
I like that this card uses mainly Christmas products to make a thank you card.
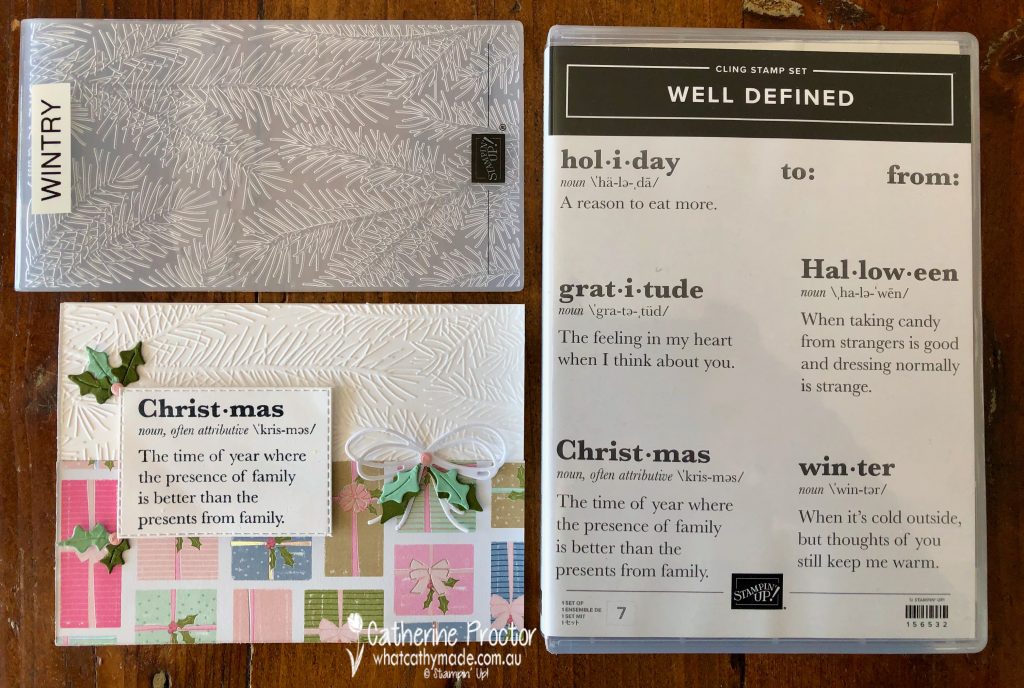
Card three is features the “Christmas” dictionary definition that references presents, so I used the Whimsy & Wonder DSP pattern with presents and holly on it. The holly embellishments are die cut using the Seasonal Swirl dies and the iridescent foil bow is die cut using the bow die from Pierced Blooms dies.
Which card is your favourite?
Now it’s time to hop on over to our next participant, the lovely Michele Taylor … I can’t wait to see what Michele shares with us today!
If at any time you find a broken link please head to the blog of this week’s Host of the Heart of Christmas Blog Hop, Tina Gillespie, as she has the full list of links for everyone who is participating.
You can purchase any of the products I’ve used tonight.
Thanks for visiting my site. I’ll be back with another card on Wednesday.
In the meantime, wherever you are in the world, stay safe, stay calm … and keep on crafting xxx
This week I was inspired by a beautiful card made by a Dutch Stampin’ Up! demonstrator called Berdien Weideveld. I loved the way her square card featured the Whimsy & Wonder DSP.
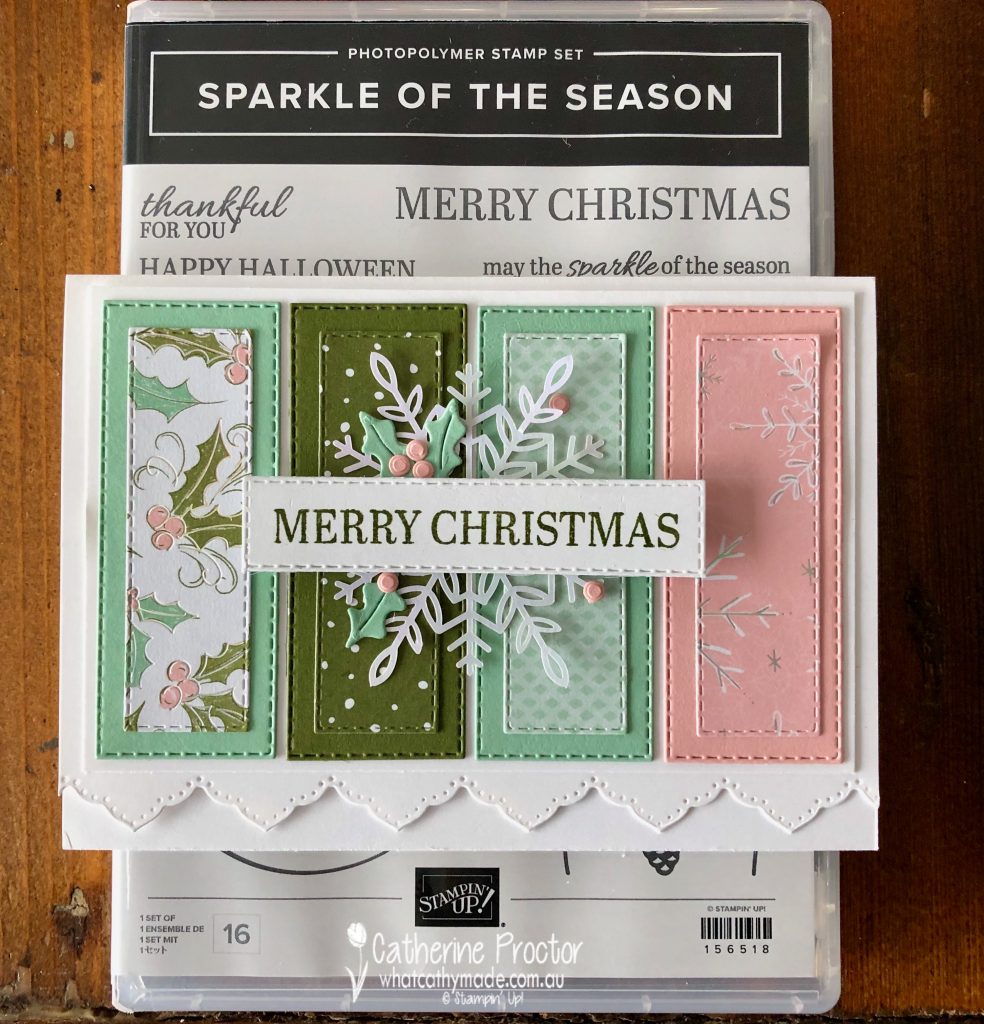
Berdien’s card also used a variety of retired products as well as several products I don’t own, so I’ve loosely CASED her card by changing my card to a rectangular design and only using current Stampin’ Up! products I already own.
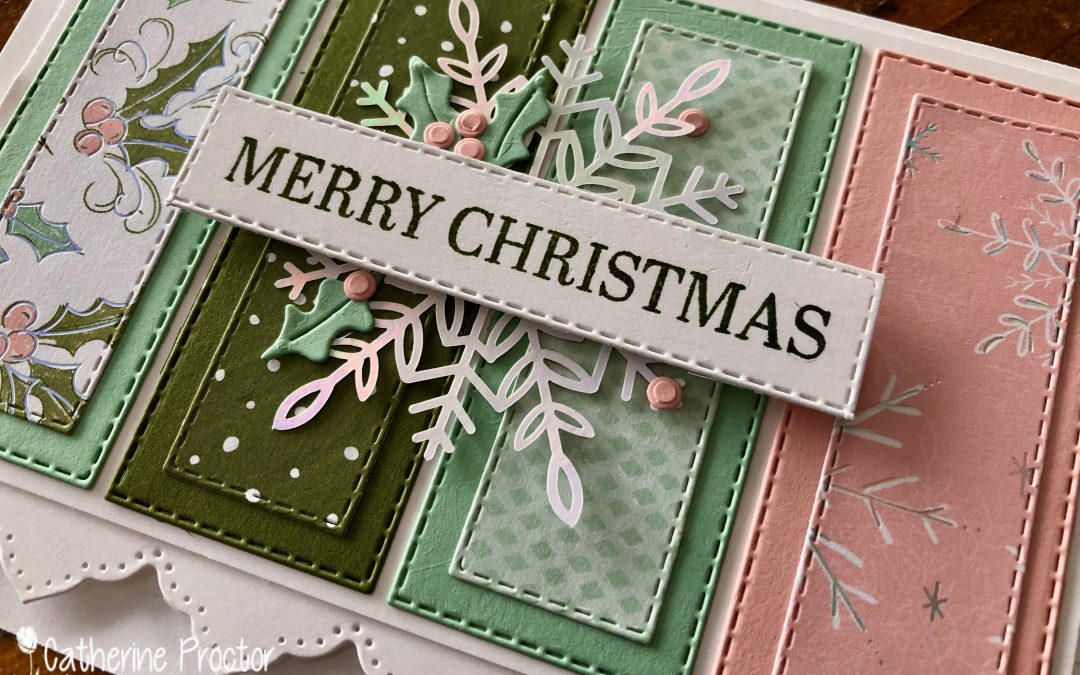
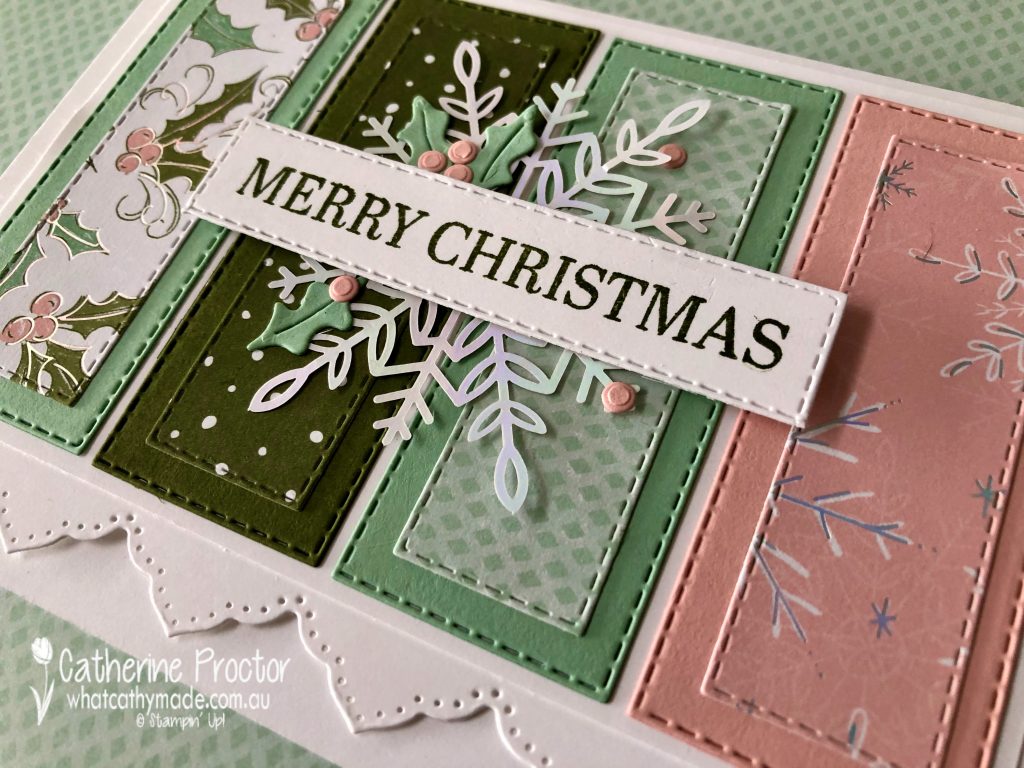
I originally bought the Sparkle of the Season bundle with the intent to make wreath wards, but I still haven’t made one yet! I am, however, getting a lot of use out of some of the other elements in this bundle, such as the holly berry and holly leaves dies and the “Merry Christmas” sentiment on my card today.
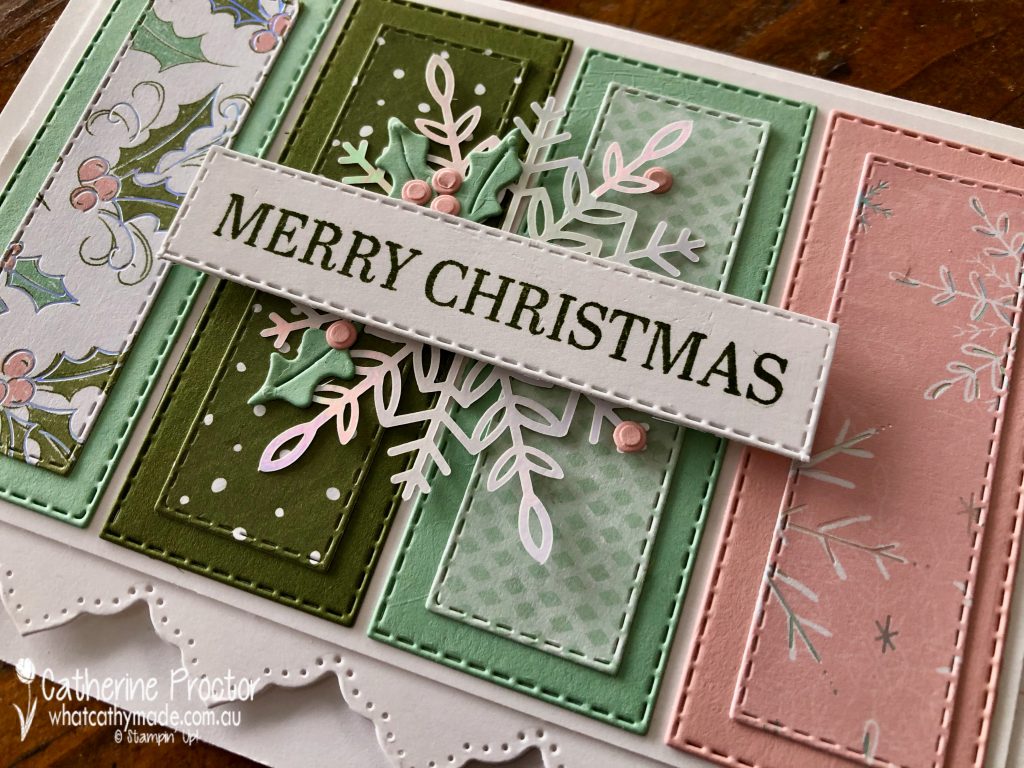
These stitched rectangles would definitely have to be my most used dies, despite the fact that they are designed to fit American sized cards, not our Aussie card bases, which are made from half an A4 sheet of cardstock.
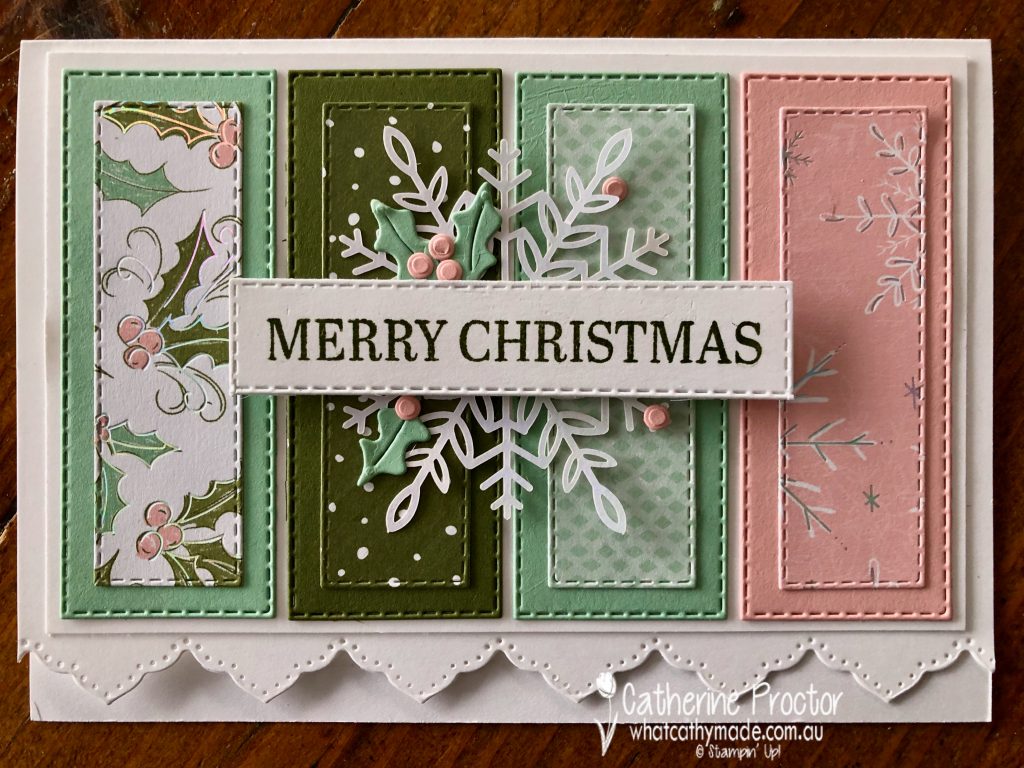
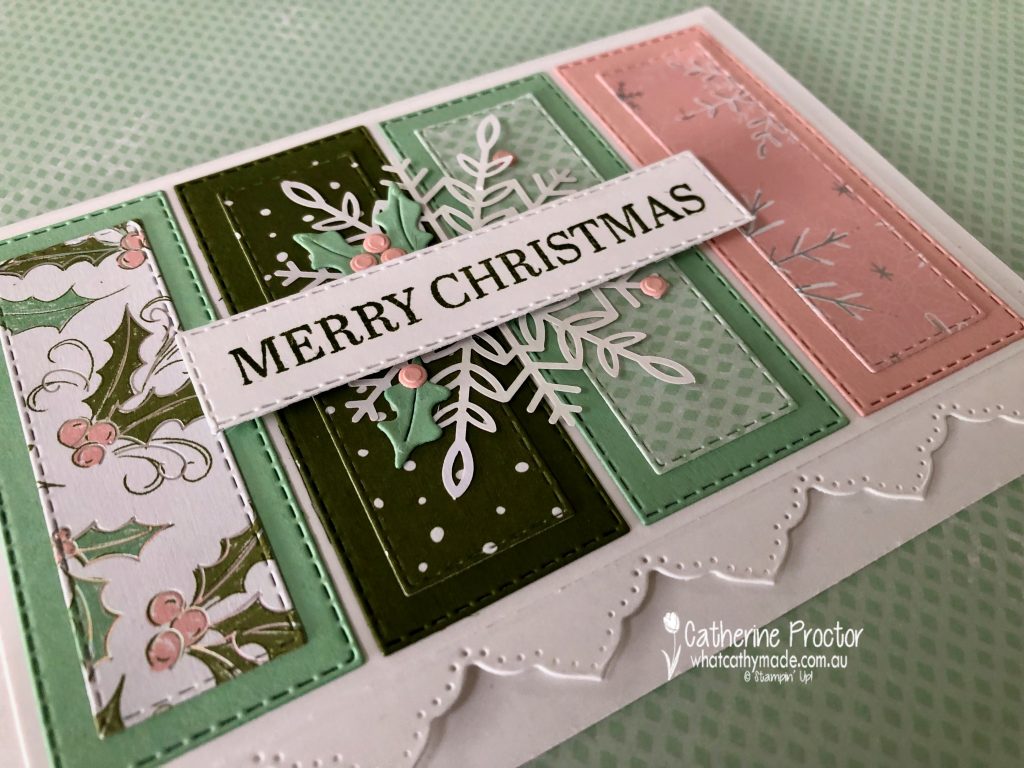
When I lined up four of the stitched rectangles across the card front, there was a much wider border of Basic White at the base of the card compared to the top and the sides. So I used one of the Basic Border dies to turn this problem into a feature instead.
The Wonderful Snowflakes are white cardstock on one side with an iridescent foil on the other side and you get 24 in a pack. They are such a great embellishment and an easy way to quickly add texture, dimension and visual interest to a card.
This card design could be made out of any of our beautiful designer series papers (BONUS: it only uses a small amount of DSP) and the stitched rectangle dies make it so easy to line everything up!
I was soooooo tempted to add a touch of the FREE Be Dazzling DSP to my card but I resisted! I actually made 6 cards over the weekend and I didn’t add the Be Dazzling DSP to a single one. I think I might be having withdrawal symptoms though, so prepared to be dazzled again next week!
Now it’s time to hop on over to our next participant, the incredible talented Kate Morgan. It’s her birthday today. Happy birthday my friend! I can’t wait to see what Kate shares with us today!
If at any time you find a broken link please head to the blog of this week’s Host of the Heart of Christmas Blog Hop, Sharon Davern, as she has the full list of links for everyone who is participating.
You can purchase any of the products I’ve used tonight here.
Thanks for visiting my site. I’ll be back with another card on Wednesday.
In the meantime, wherever you are in the world, stay safe, stay calm … and keep on crafting xxx


")


 Specialty Paper")