I really love getting multiple uses from all of my craft equipment which is why I’m super excited to share with you a birthday card I made this week.
To create my birthday card I used 2 products from the holiday catalogue: a Christmas stamp set and a Fall/Autumn/Thanksgiving punch. Can you guess which products I used?
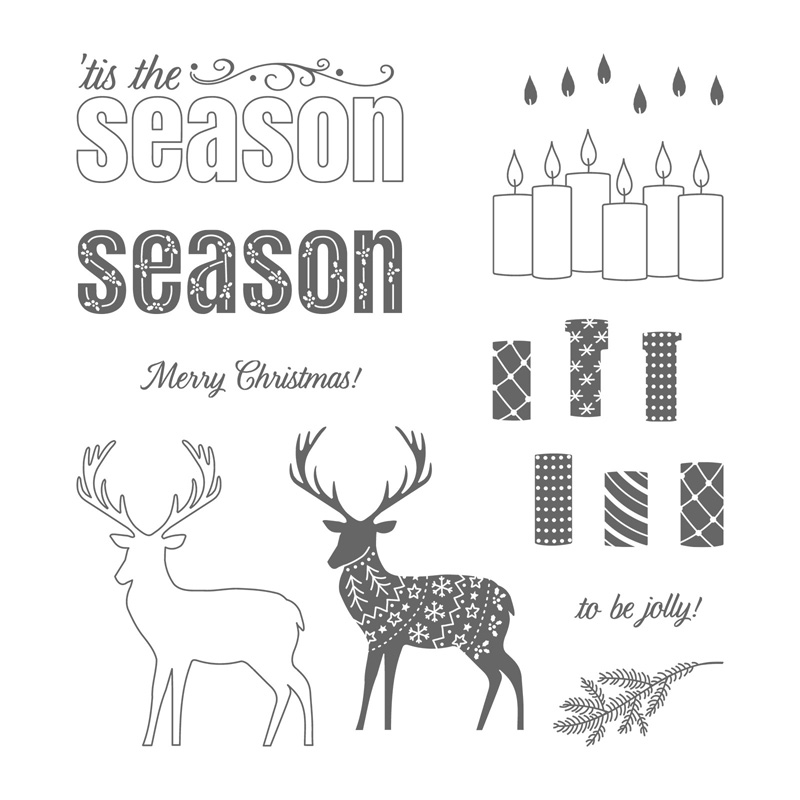
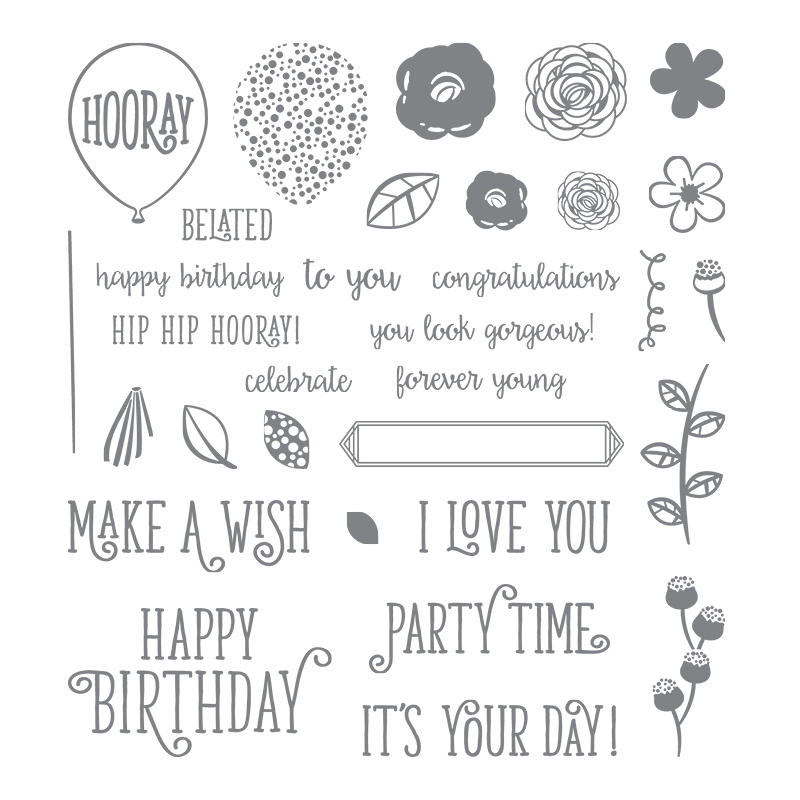
The stamp set is called Merry Patterns. This is a beautiful Christmas stamp set that features so many great stamps: a lovely large sentiment, beautiful candles, a fir branch and the cutest reindeers! Here’s a couple of the cards I’ve already made from this set.
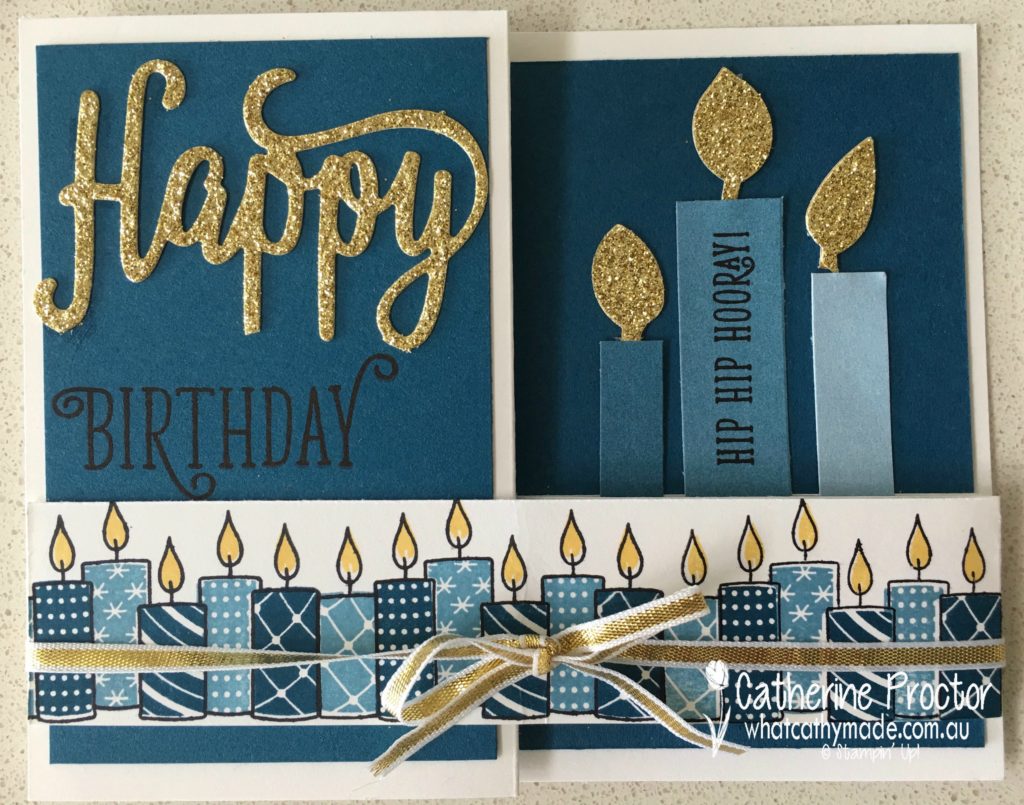
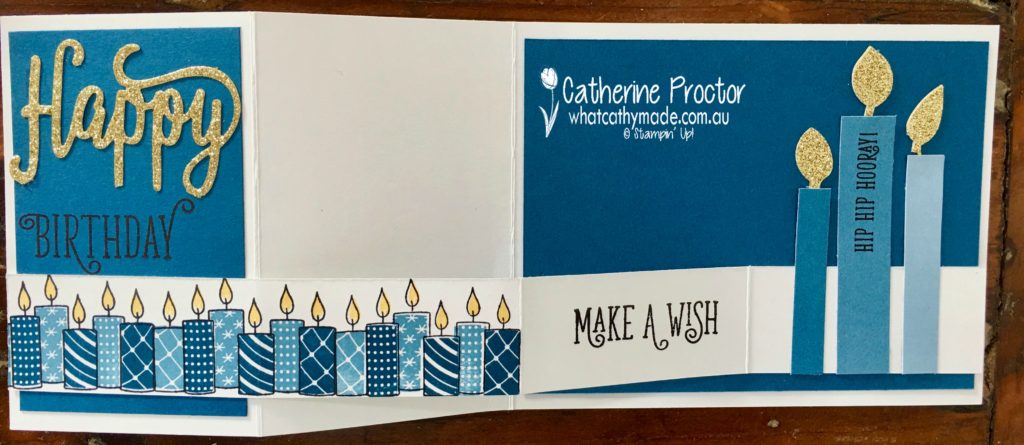
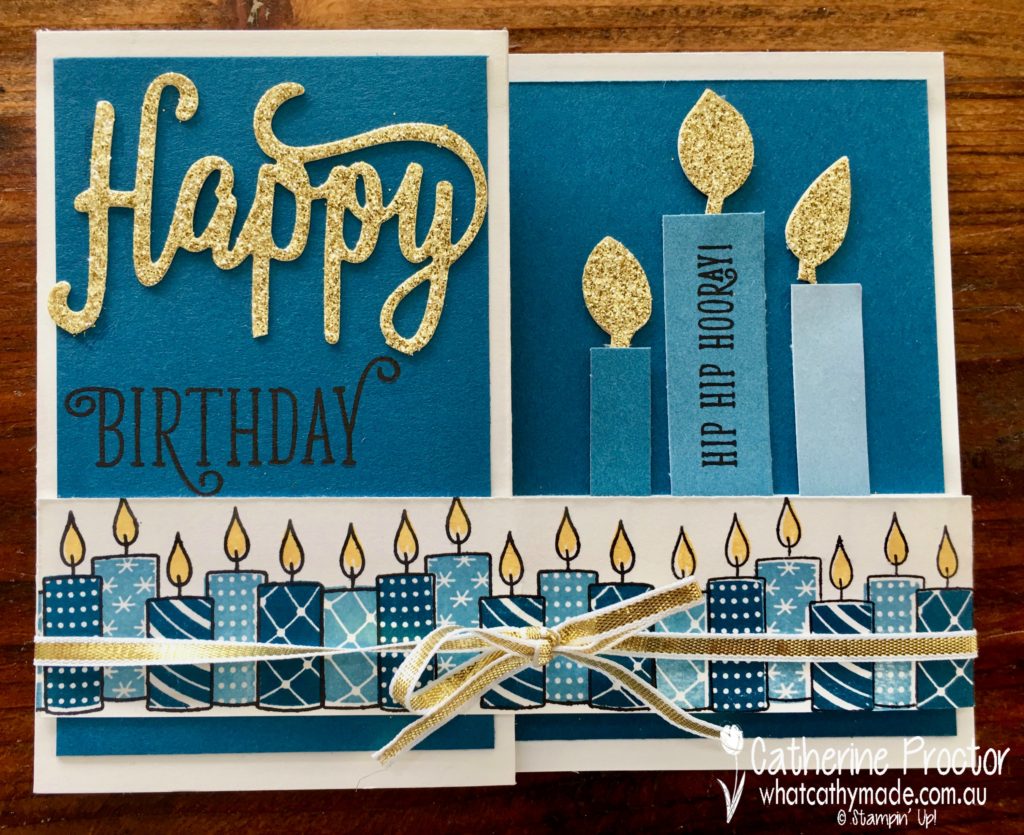
When I went to make another card with this set I wanted to try out the candle stamp this time…and I suddenly realised the candles would also work really well on a birthday card. So I made my first ever double Z fold card using the Merry Patterns stamp set.
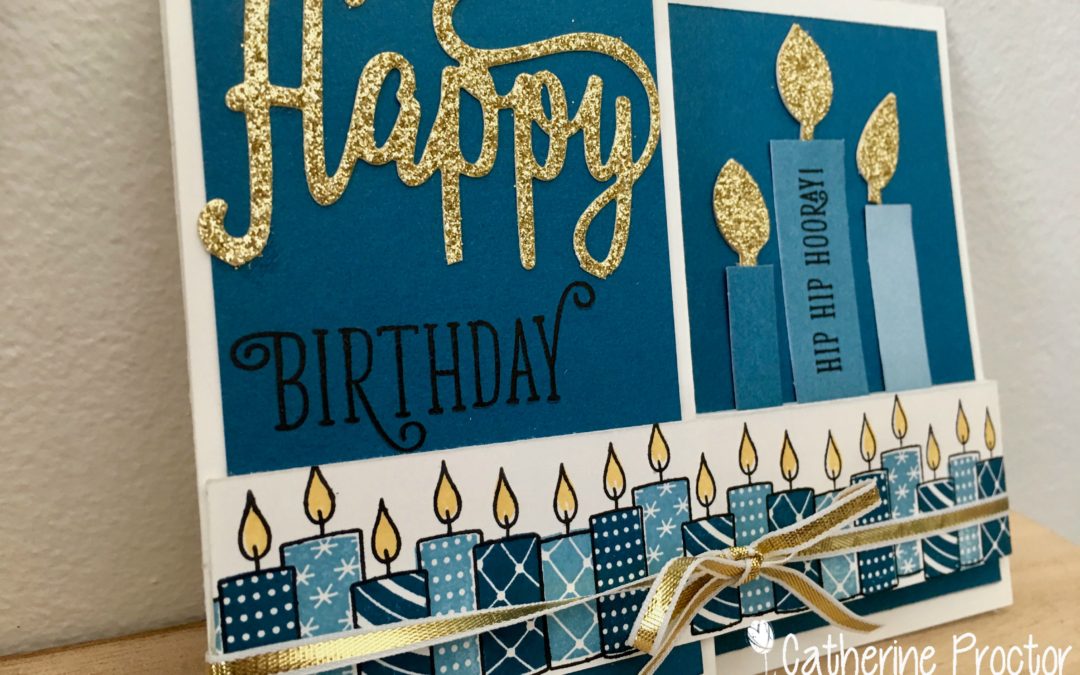
I used dapper denim and marina mist ink to stamp my candle stamp and then I decided the card needed something above the candles. I die cut the happy birthday die in gold glimmer paper for one side of the card but I only used the “happy”…the birthday was stamped from the matching Happy Birthday Gorgeous stamp set…I really love the font on this set.
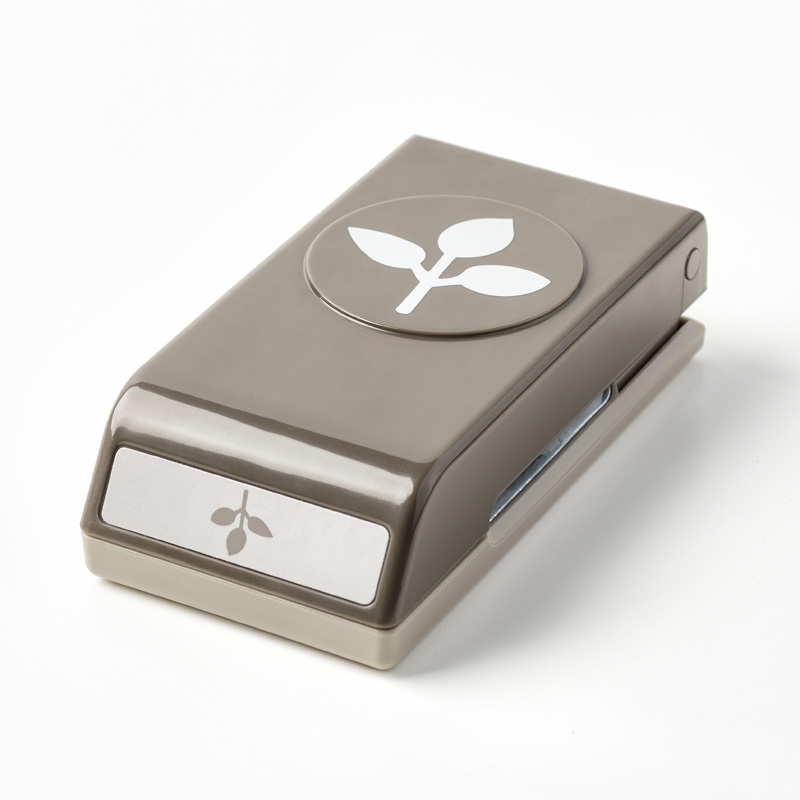
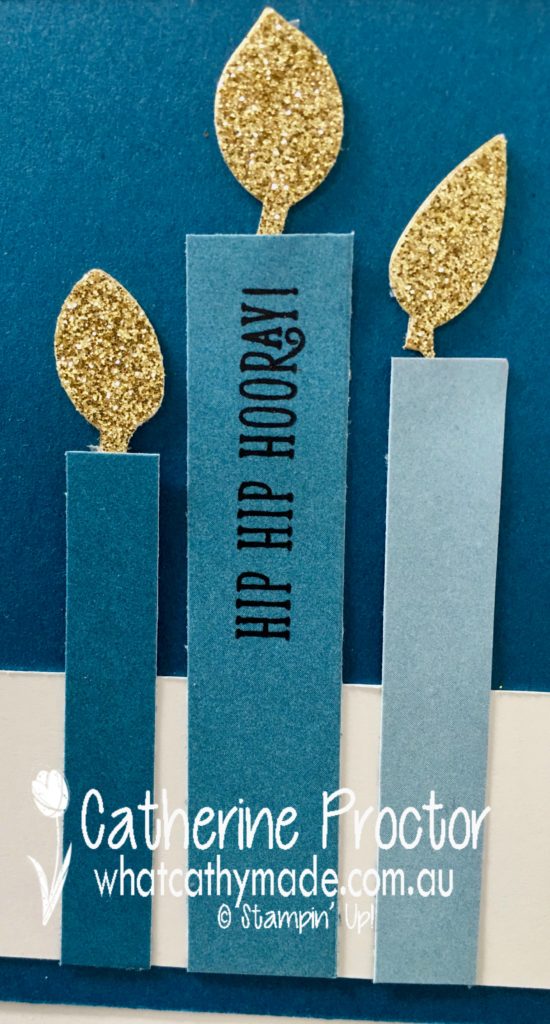
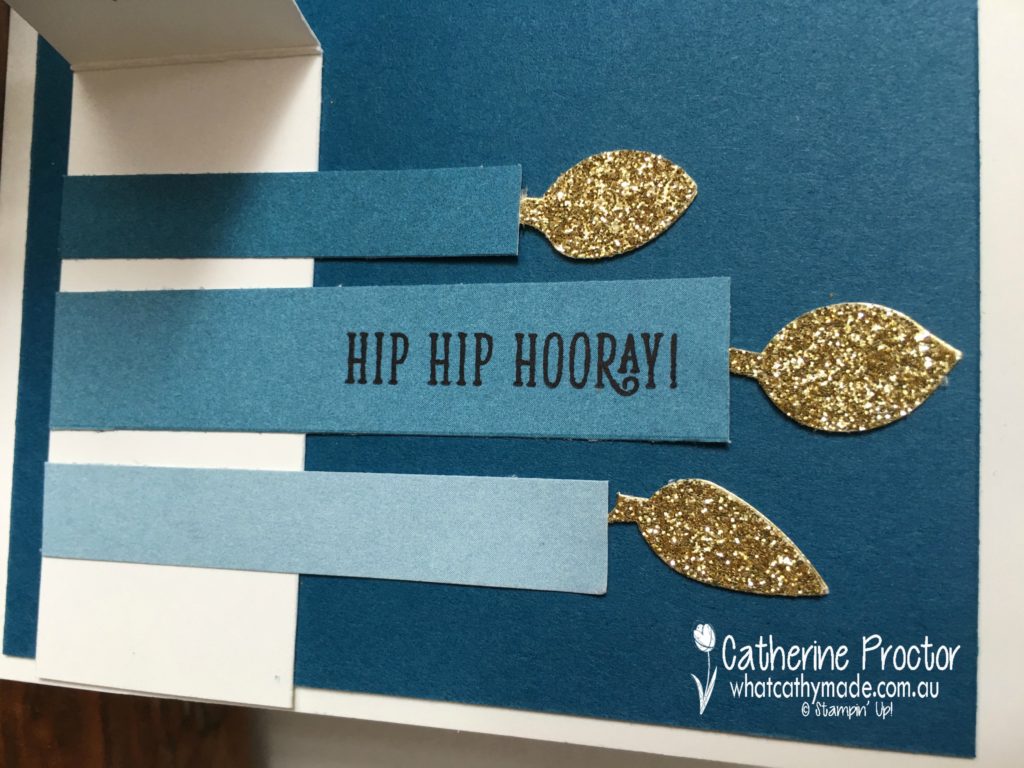
I made some large candles for the other side of the card using the Colour Theory Designer Series Paper Stack, but my hand-cut candles really needed a flame. Can you guess what I used?
That’s right, I used the new leaf punch! I simply stamped it out of gold glimmer paper as well and cut it in three. I love how the shape of the leaves makes the candle flames look like they are moving in the wind (and close up you can see that I didn’t quite position the 3rd flame correctly, whoops!).
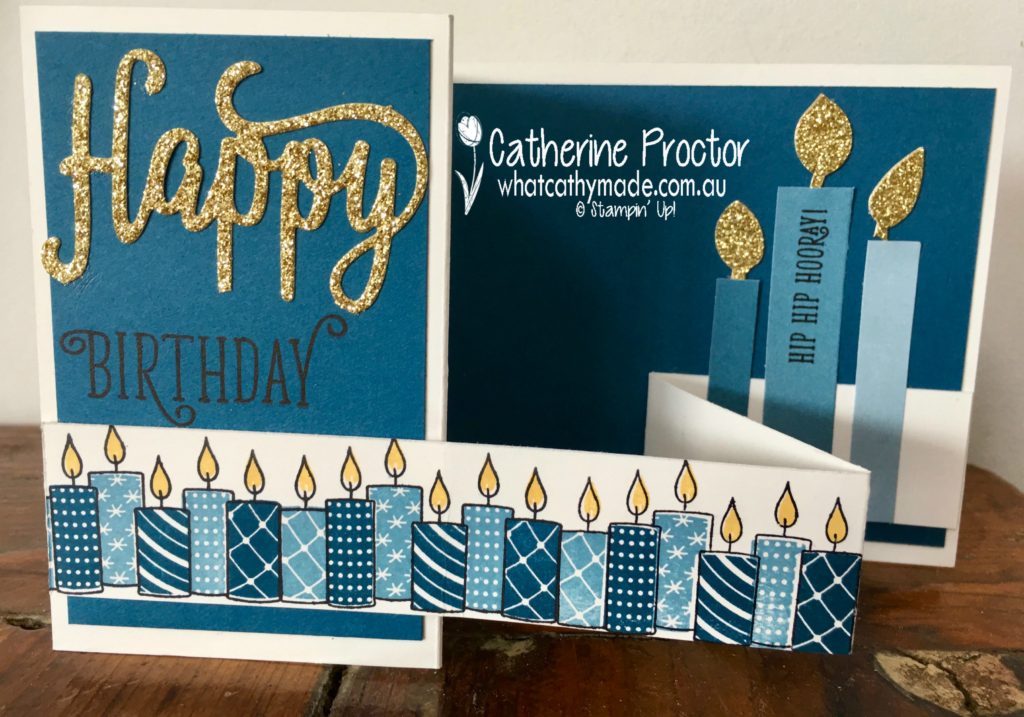
The final touches to this card were stamping the “make a wish’ sentiment on the inside of the double Z fold. You can see on the photo below how when the card is fully opened there’s also a blank section of whisper white to write your own message on.
The big candles were looking a little plain so I decided to stamp the “hip hip hooray” sentiment sideways onto the middle candle…I really like the look of stamps stamped vertically instead of horizontally.
And to keep the card folded flat so it can easily pop into en envelope I attached a length of gold 1/8 ribbon to the back of the card and then used it to tie around the front and make a decorative bow.
I deliberately made this card in blue so it could be used for male or fame, young or old. I think this is a really versatile card for a wide range of ages.
Are you getting the most out of your craft supplies? I’ve got another versatile idea for you, this time using the offcuts of the Happy Birthday Die. I explain it all in my blog last week.
To purchase any others supplies I’ve used you can click on the links below, and I’ll be back with 2 more blogs later this week.
Welcome back to the Heart of Christmas weekly blog.
Have you ever had what I call a “happy accident” while crafting?
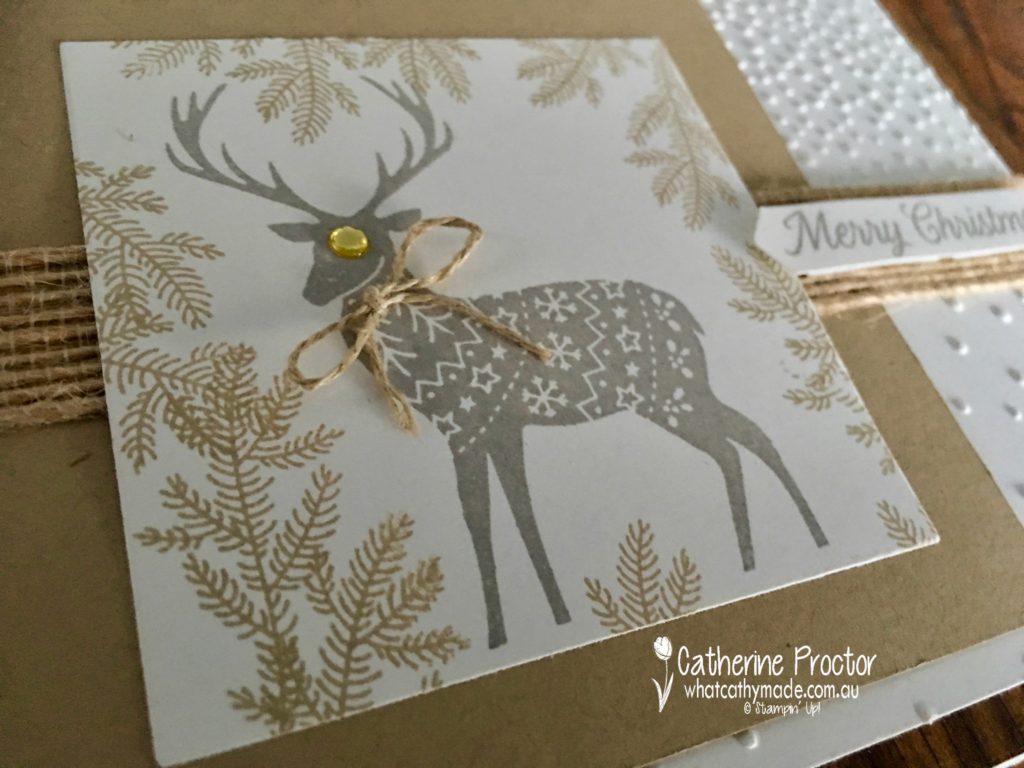
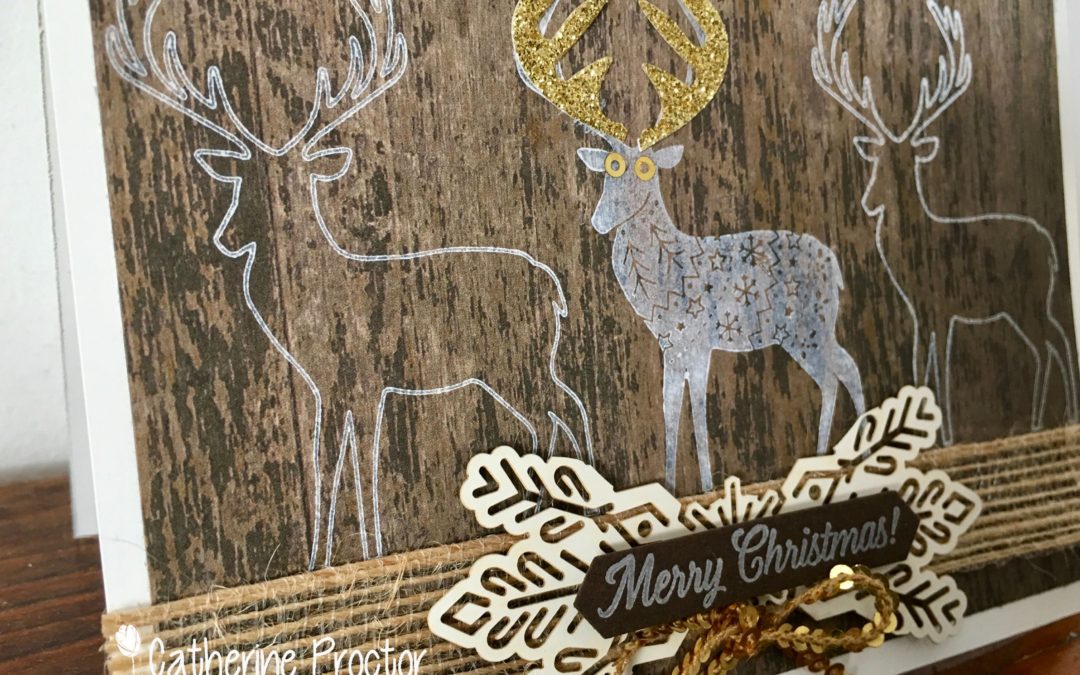
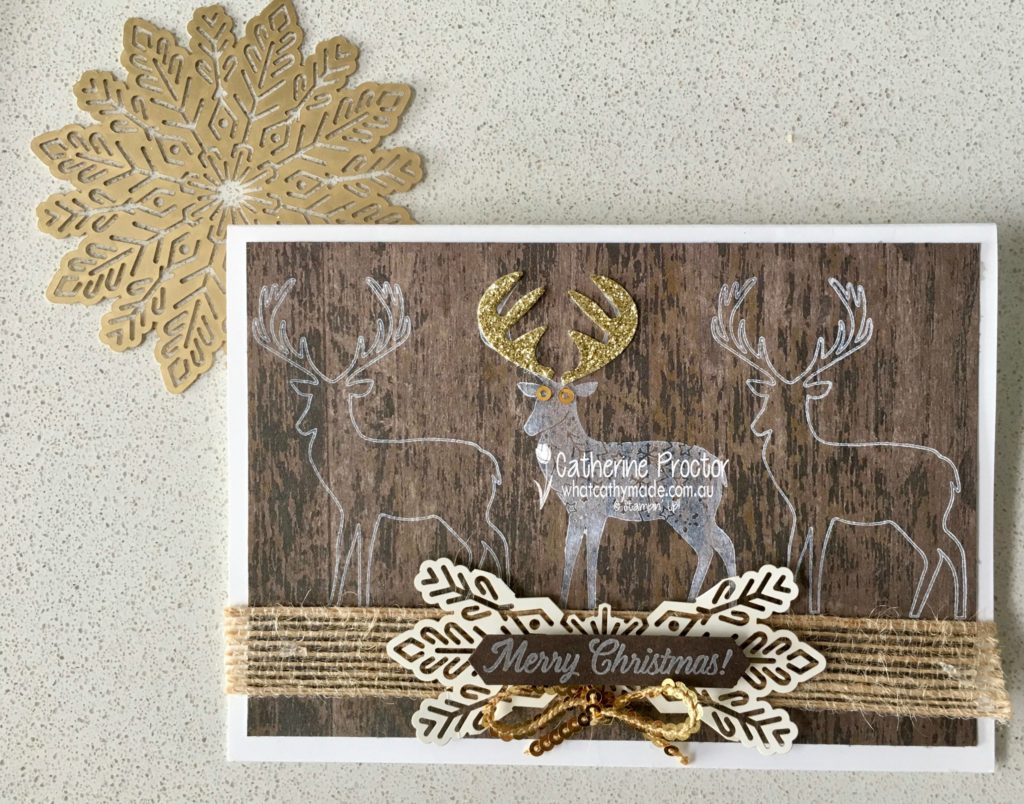
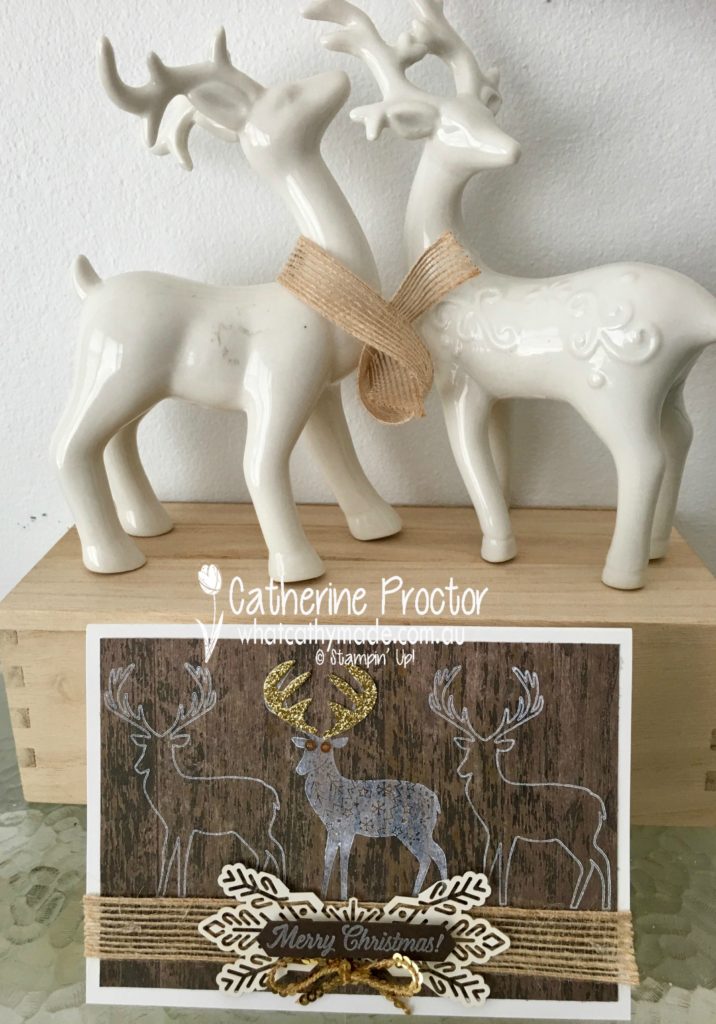
Well on Monday (a public holiday here in NSW where I live) I had some unexpected craft time to myself and I was having another play with the gorgeous new Merry Patterns stamp set when I had my happy accident. I began my card by stamping the 2 deer stamps in whisper white onto the Wood Textures Double Sided Paper (on sale at the moment if you want to stock up) but I was unsure just how to embellish this card so I set it aside and began to use the Marry Patterns stamp set to make another card.
I was actually now making a birthday card with the Merry Patterns stamp set (I’ll do a post about this card later this week) and in the process of using the Happy Birthday die.
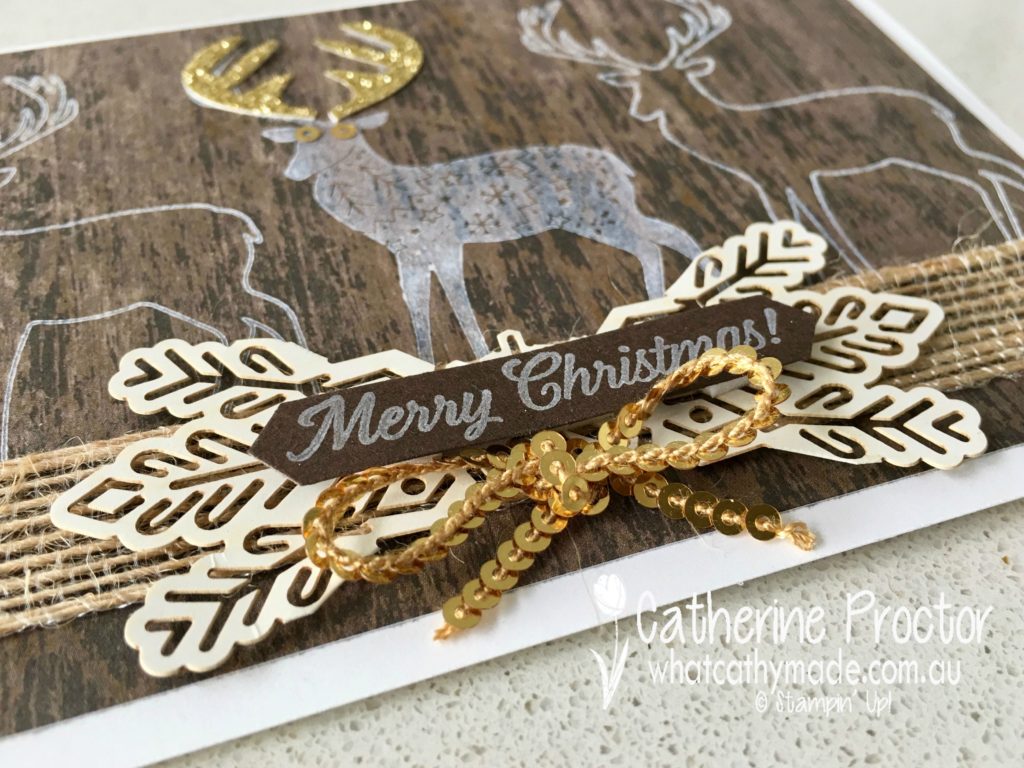
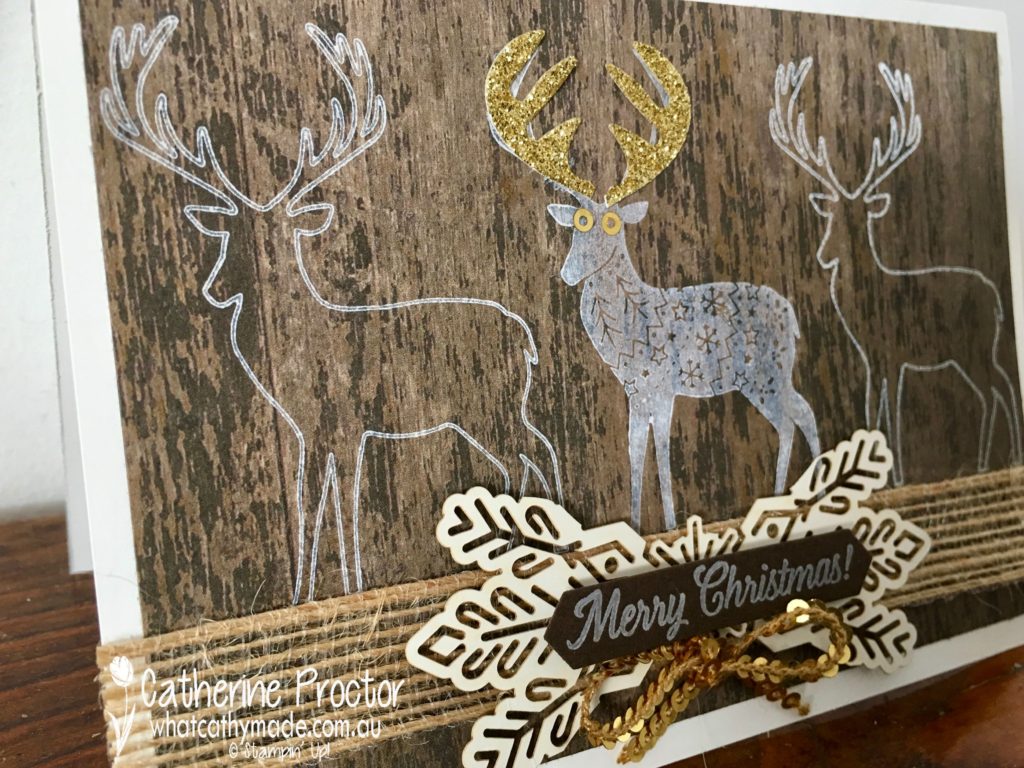
While I was cleaning up the offcuts from the Happy Birthday I realised that one section of these paper offcuts would make the most perfect reindeer antlers!
If you’d like to make some antlers yourself you need to just die cut the top right section of “happy”. You need the off cut that falls between the top of the p and the y and underneath the swirl…does that make sense? Here’s a photo that hopefully makes it much clearer. Can you see the antler shape now?
Because I used the gold glimmer paper for the antler I had to cut the other side of the antler on the reverse side of the paper, however if you’re not using glimmer paper or foil and just cutting out of card stock you won’t need to do this as card stock is exactly the same on both sides.
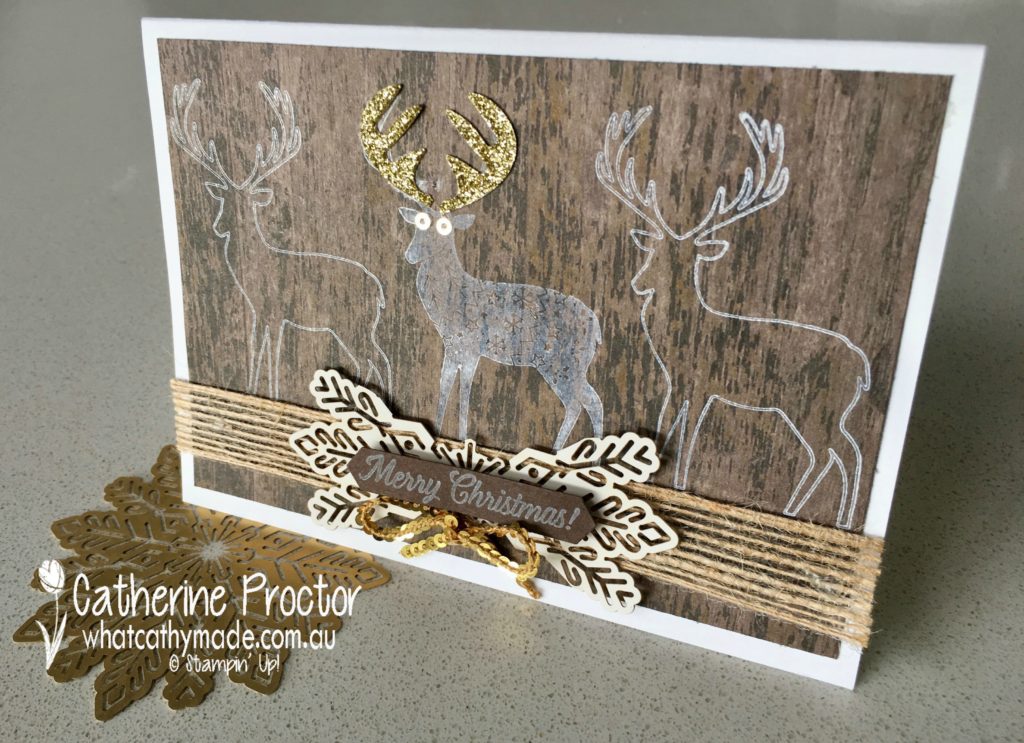
To finish off this card I attached some burlap and cut up a foil snowflake, but I used the reverse side, rather than the foil side. Did you realise you can also use this reverse side to colour the snowflake any colour you want?
The final touches to my card were to make a bow out of the gold sequin ribbon, and I used 2 of the sequins pulled off this ribbon to make eyes for my reindeer,
The sentiment is also from the Merry Patterns set, stamped in whisper white onto early espresso card stock and punched out with the classic label punch.
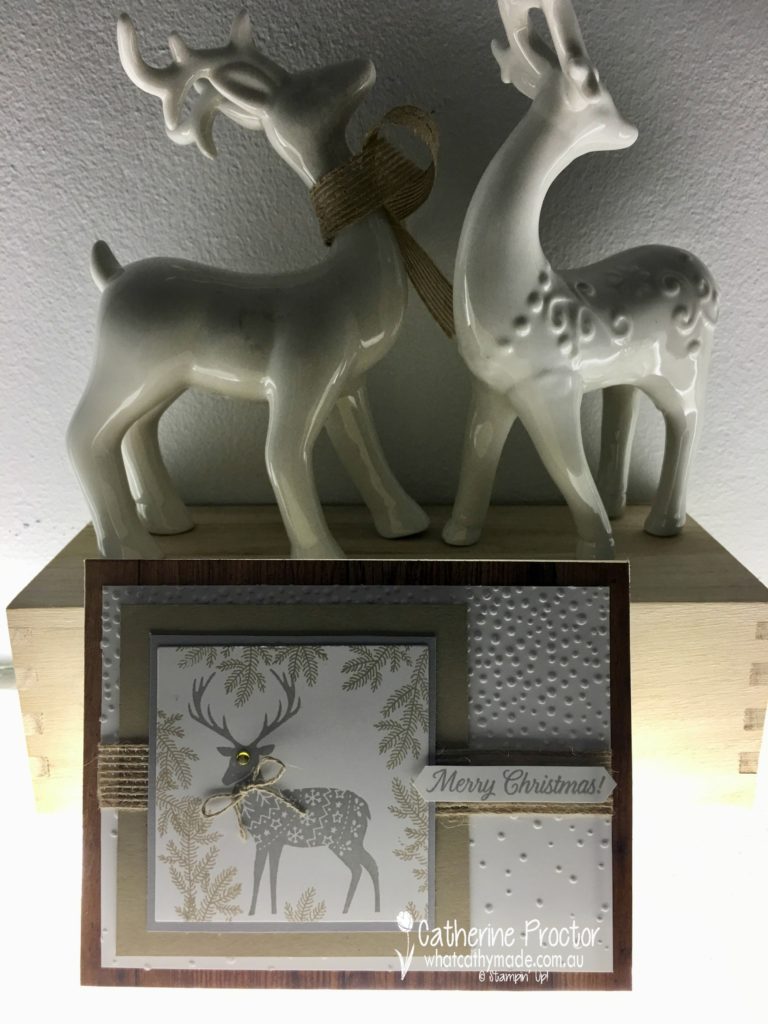
I’m so happy with this happy accident and my little reindeer with his sparkly antlers…and so are my little ceramic reindeer it seems!
I’ll be back in the next couple of days to show you the card I made using the happy birthday die (it also involves using a product in an unusual way) but in the meantime you can go back to Claire’s blog to see what the rest of our team have made this week.
And you can click on any of the links below to purchase the products I’ve used for today’s card.SaveSave
Welcome back to the Heart of Christmas weekly blog.
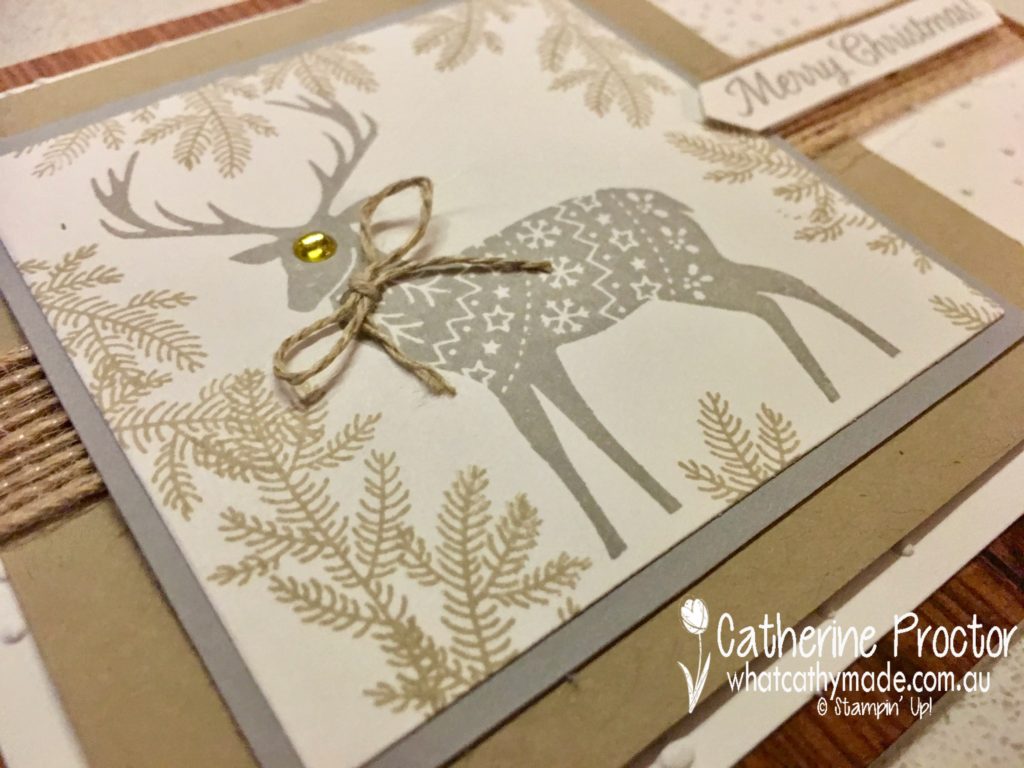
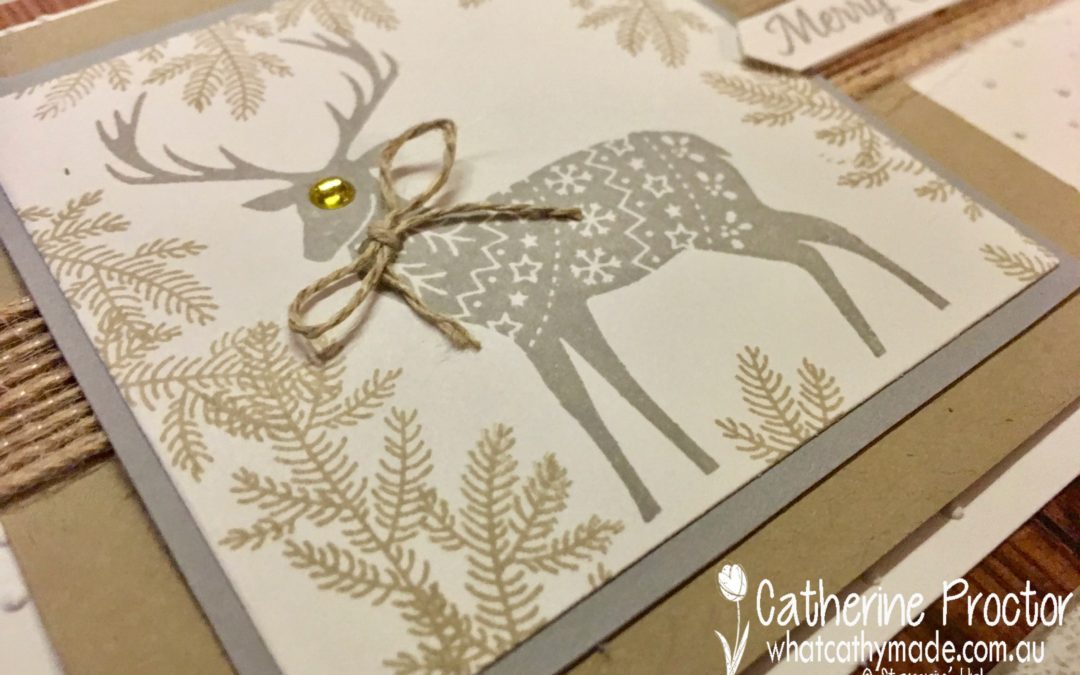
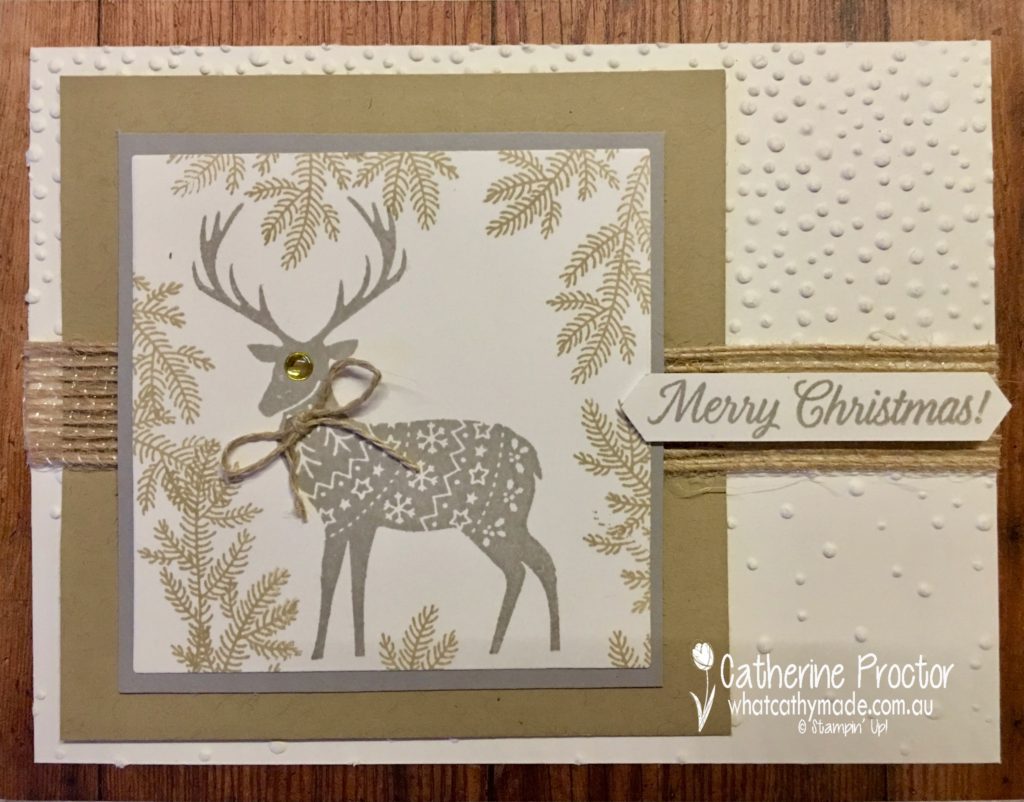
This week I had a play with a gorgeous new free Stampin’ Up! hostess set called Merry Patterns. Merry Patterns features the cutest reindeer in its very own knitted jacket. It’s no secret that I adore reindeer and just take a look at this beauty!
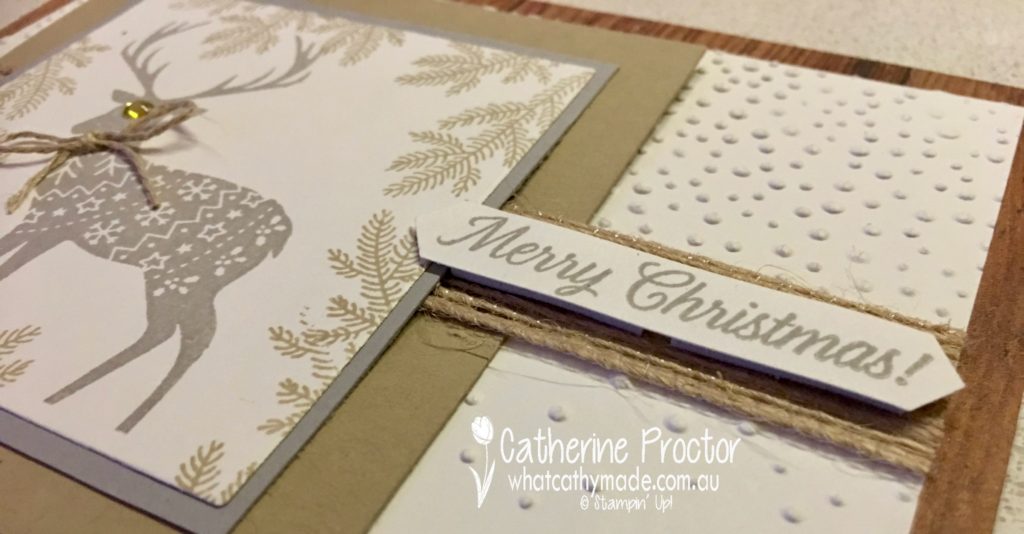
There are so many cute stamps in this stamp set but I only used 3 of them here…the pine branch is so lovely and the Merry Christmas sentiment is the perfect size for the modern label punch.
.
I’m going to make some more cards with this set to share with you in the coming weeks because this is such a versatile set. Here are all the stamps you get in this set:
What I love about this set is that you don’t need a big shot to make stunning cards…the images are just lovely on their own, which makes for quick, easy and inexpensive cards. My kind of cards.
I also think I’ve found a new favourite colour combination while making this card: crumb cake and smoky slate. Don’t you just love this combo?
Originally I mounted the stamped image straight onto the crumb cake layer (see the pic below) but them I went back and added a layer of smoky slate between. I really like both versions.
I hope you’ve enjoyed my Merry Patterns card today and I’ll be back soon with some more cards made from this lovely set.
My last photo is a bit dark but I had to include this shot with my reindeer because I made a reindeer card this week and they haven’t appeared on my blog for a couple of weeks!
To see what the other members of the Art with Heart team have made for you today, please go back to the very talented Claire Daly’s blog.
And to purchase any of the products I’ve used you can click on the links below.
PLEASE NOTE: Merry Patterns cannot be purchased…it is a free hostess stamp set you can earn simply by hosting a qualifying party…contact me to find out more.


 Because I used the gold glimmer paper for the antler I had to cut the other side of the antler on the reverse side of the paper, however if you’re not using glimmer paper or foil and just cutting out of card stock you won’t need to do this as card stock is exactly the same on both sides.
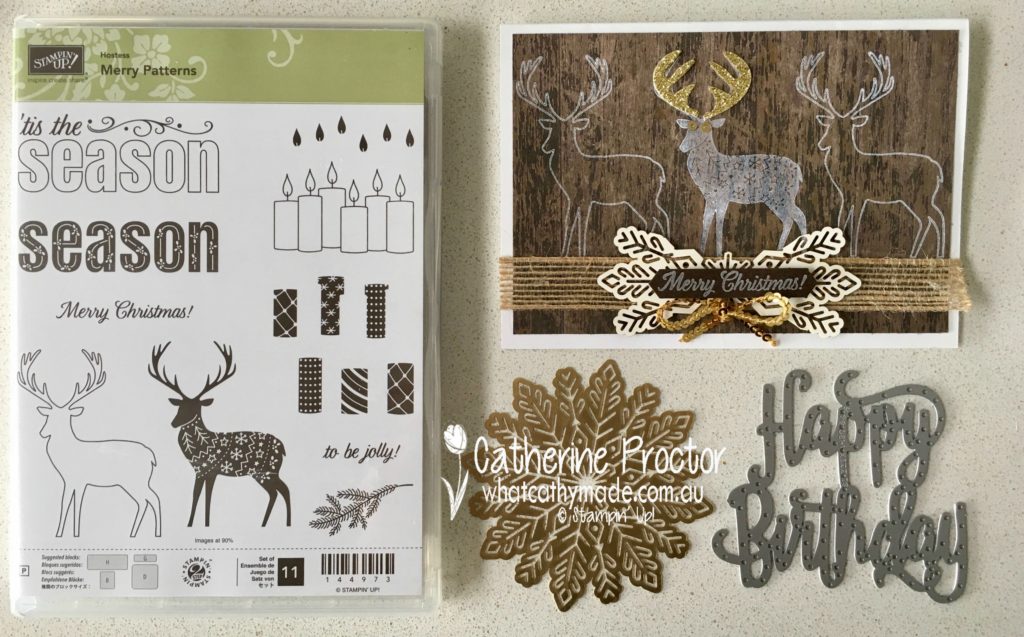


 Burlap Ribbon")


 .
.