The Christmas countdown continues – it’s 19 weeks today until Christmas Day! Have you started making Christmas cards yet?
Tonight I’m sharing some ideas on ways to use some of the Stampin’ Up! Christmas kits as they are all discounted for the month of August, so now’s the perfect time to purchase a Christmas kit.
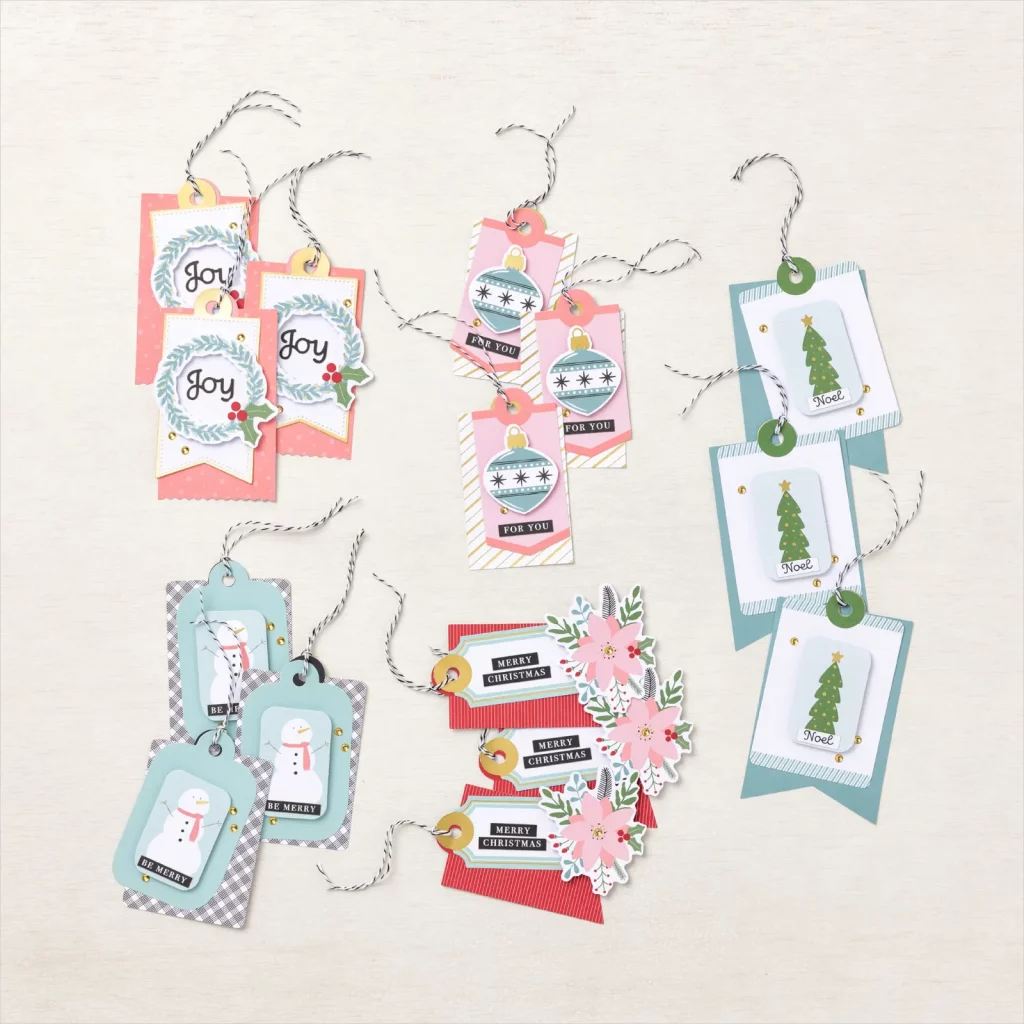
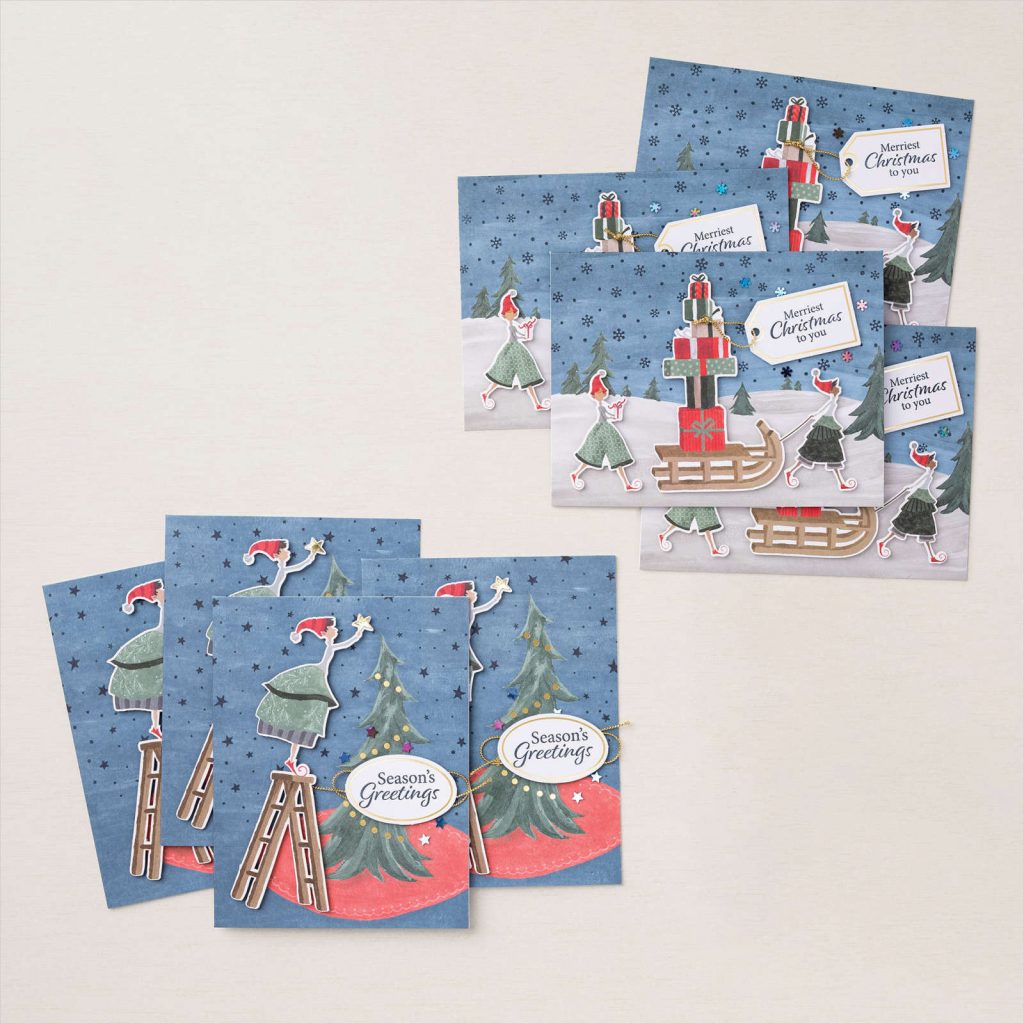
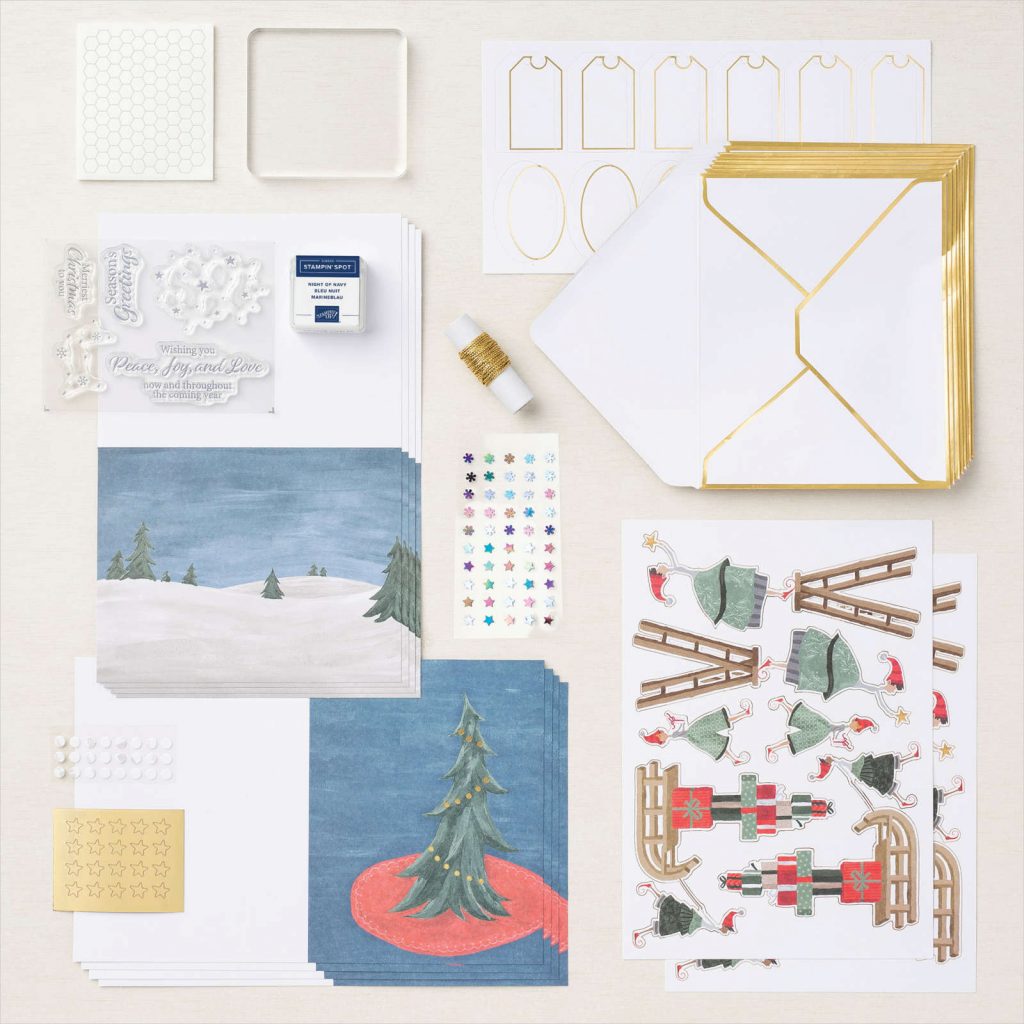
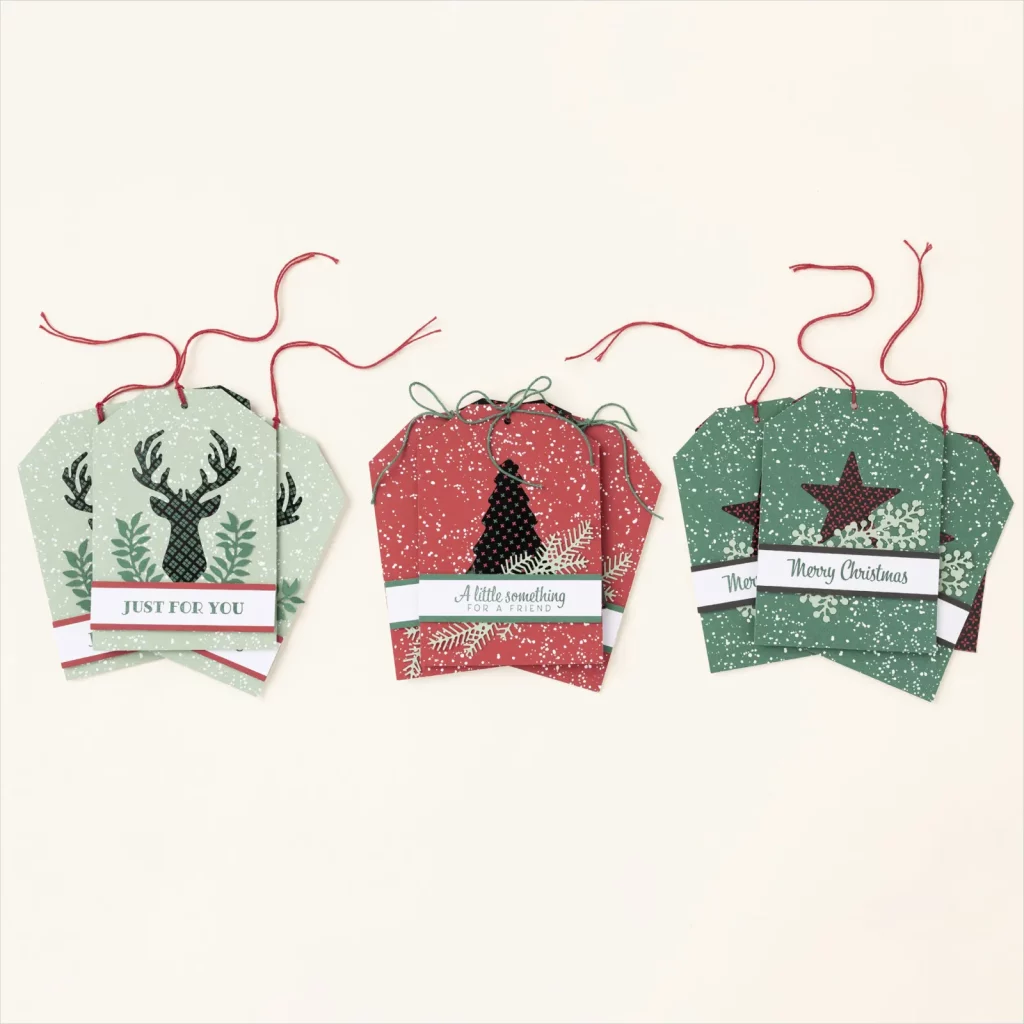
Currently, there are 5 kits to choose from and the kit I’ve used to create my cards today is the latest Stampin’ Up! kit, Festive Tags.
There is no stamping required to makes these tags and the sentiment pieces come in several languages.
I was lucky enough to watch Sara Douglass, Stampin’ Up! CEO, demonstrate this in person at a 35 for 35 event last month and she gave us all some samples to take home.
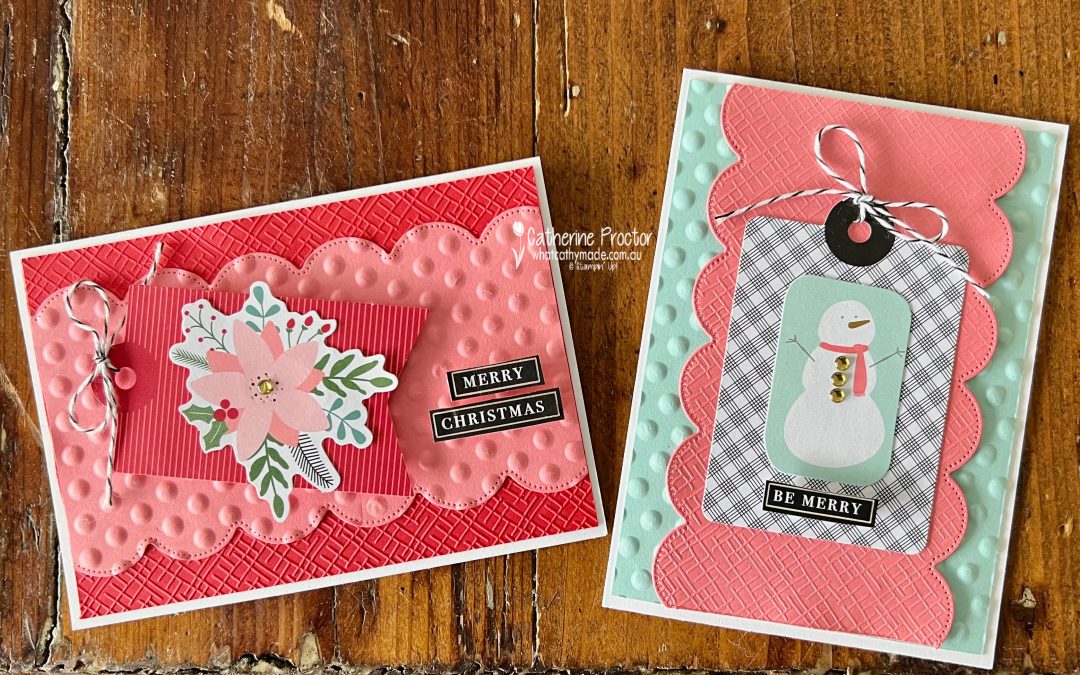
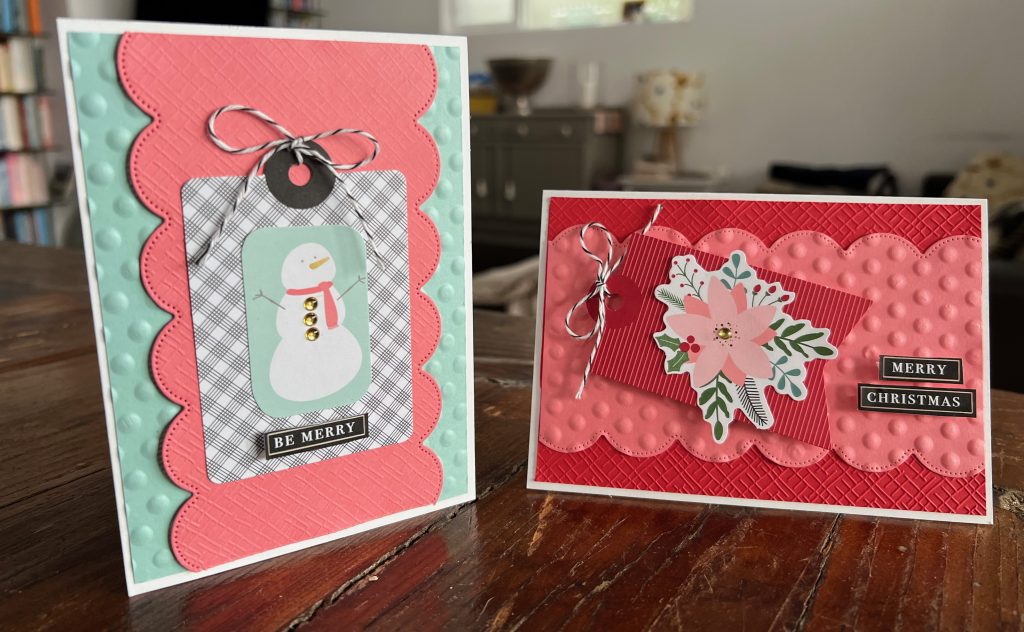
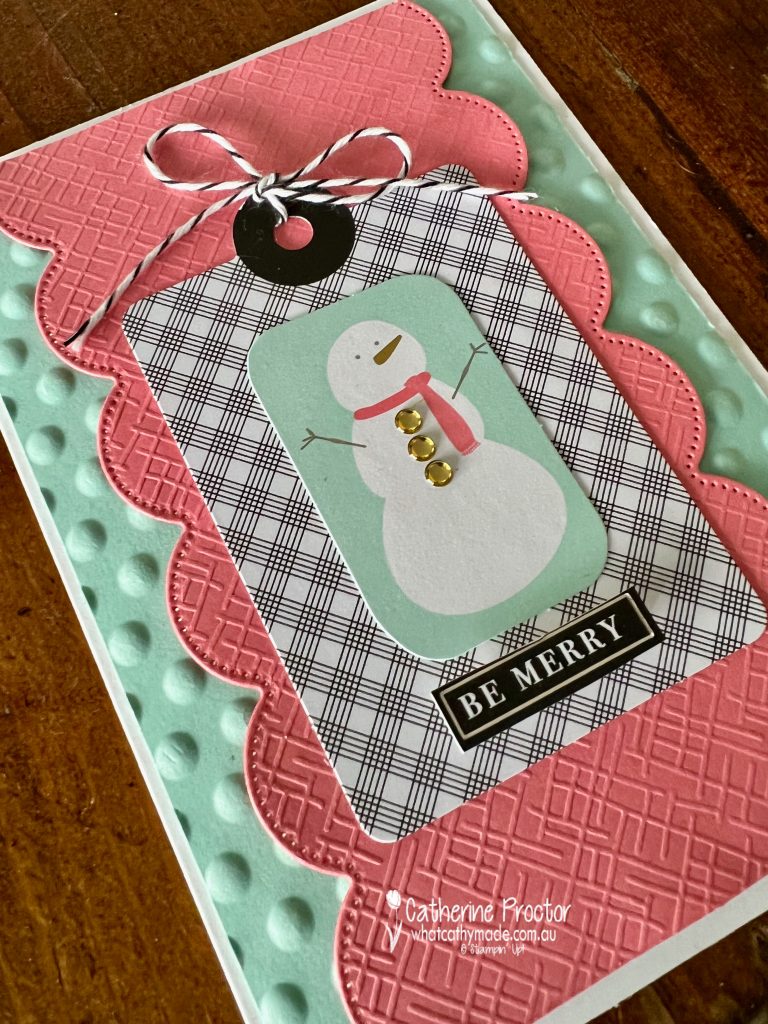
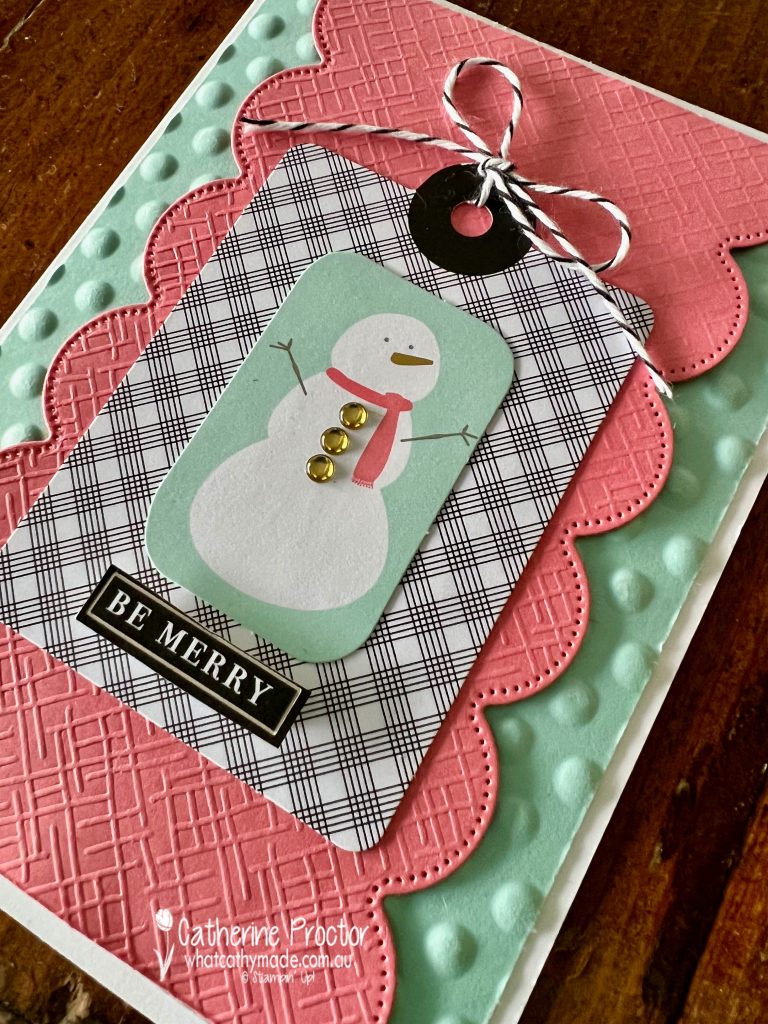
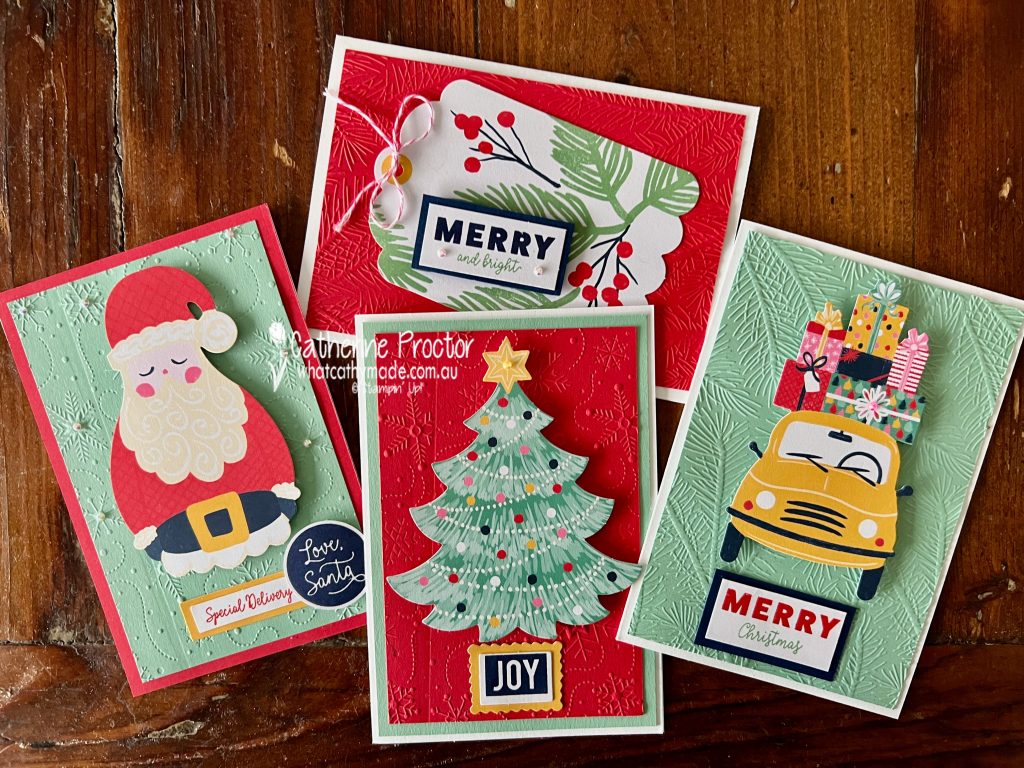
Although this is a tag kit, I’ve turned my sample tags into cards, by using a few extra supplies in the same colours used in the kit.
For the snowman card, I’ve embossed a layer of Pool Party card stock using the circles embossing folder from the Basics Embossing folders (online only).
The layer of Flirty Flamingo has been embossed using the crosshatch embossing folder from the Basics Embossing folders and a scalloped border die cut with the Scalloped Layers dies.
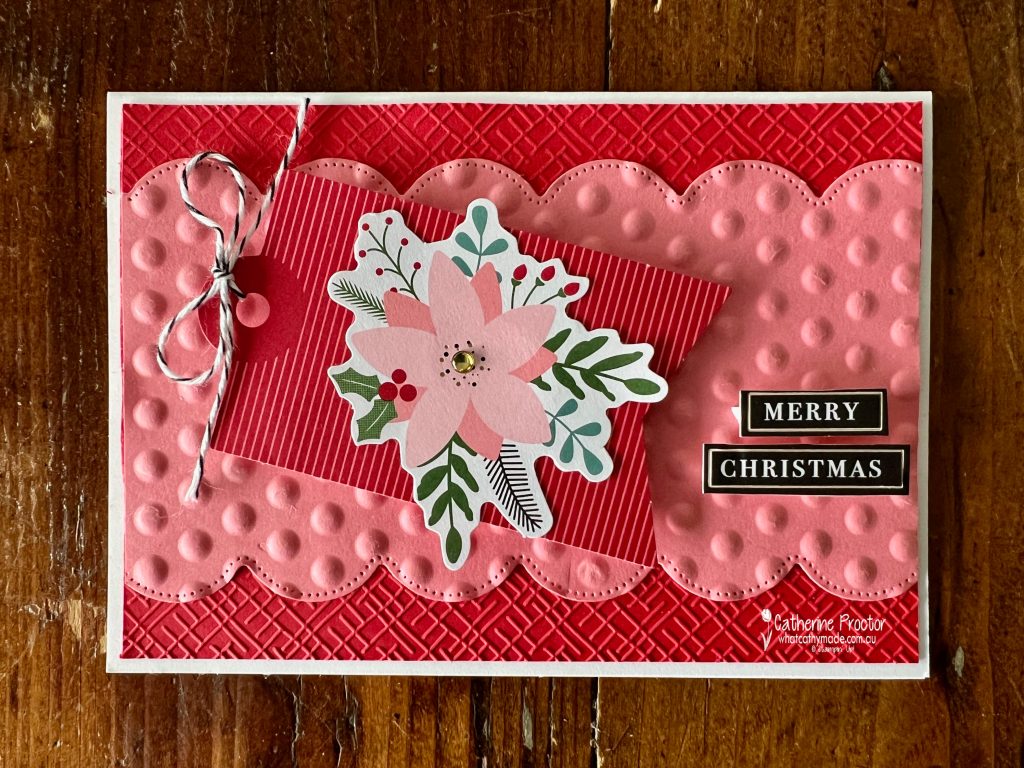
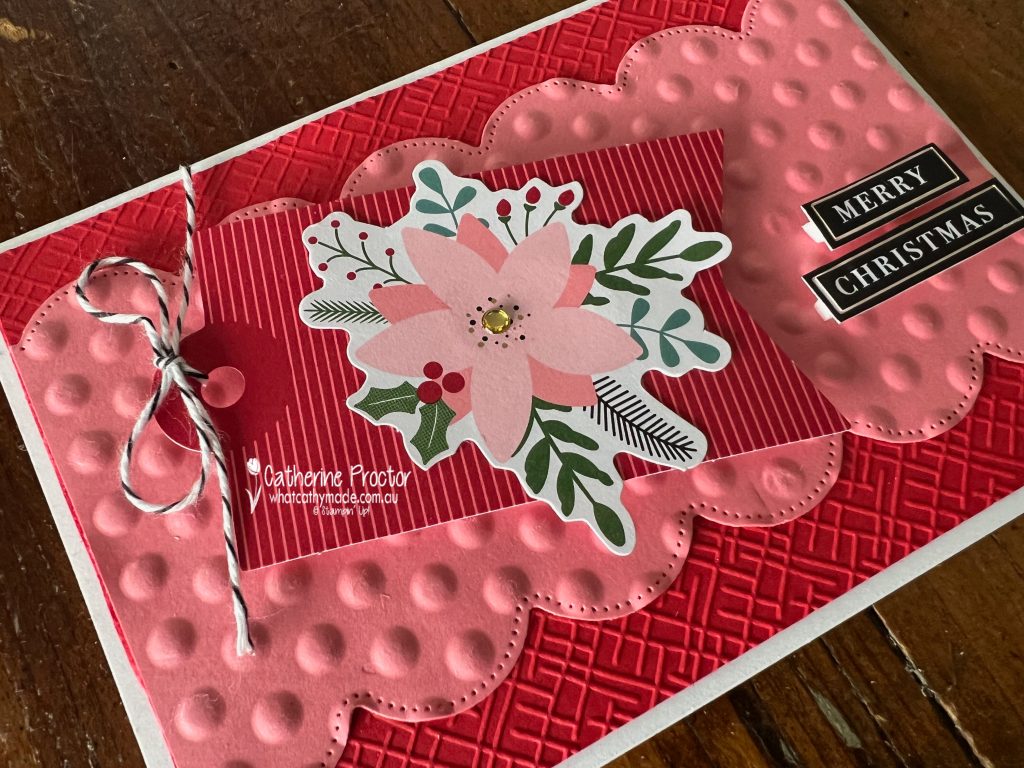
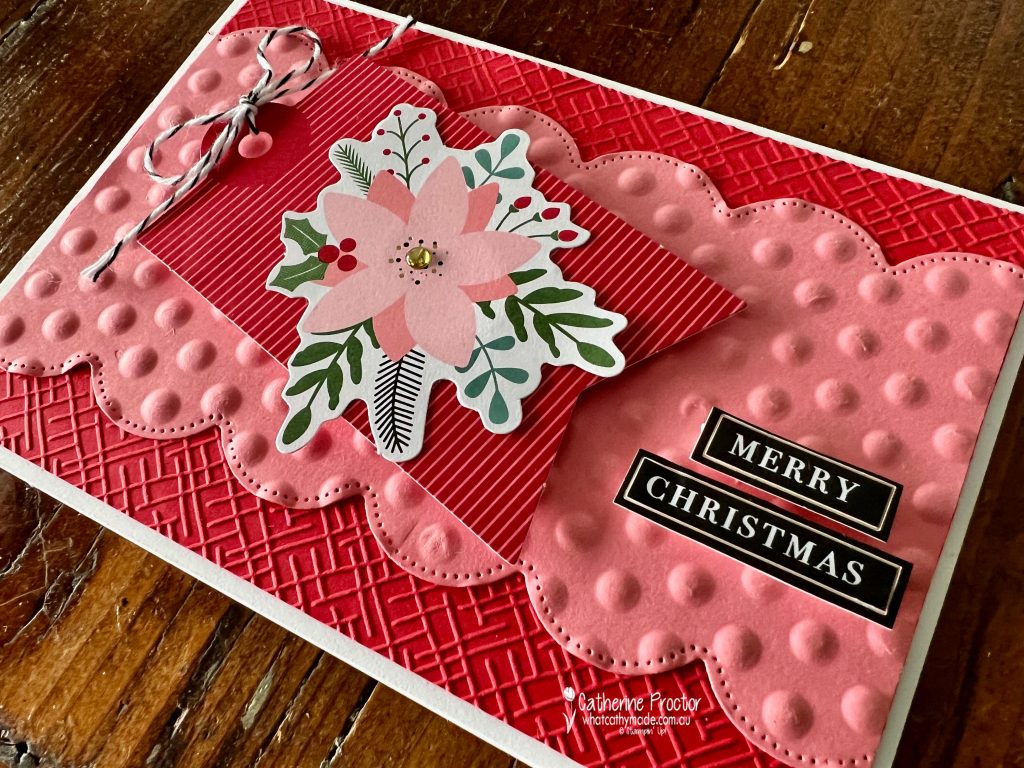
The floral Christmas card uses the same embossing folders and the Scalloped Layers dies to emboss and die cut Real Red and Flirty Flamingo card stock.
I love Flirty Flamingo and Real Red together!
The rest of the elements on my cards are all from the Festive Tags kit.
Some of the other Stampin’ Up! Christmas kits also have stamp sets, acrylic blocks and ink spots included.
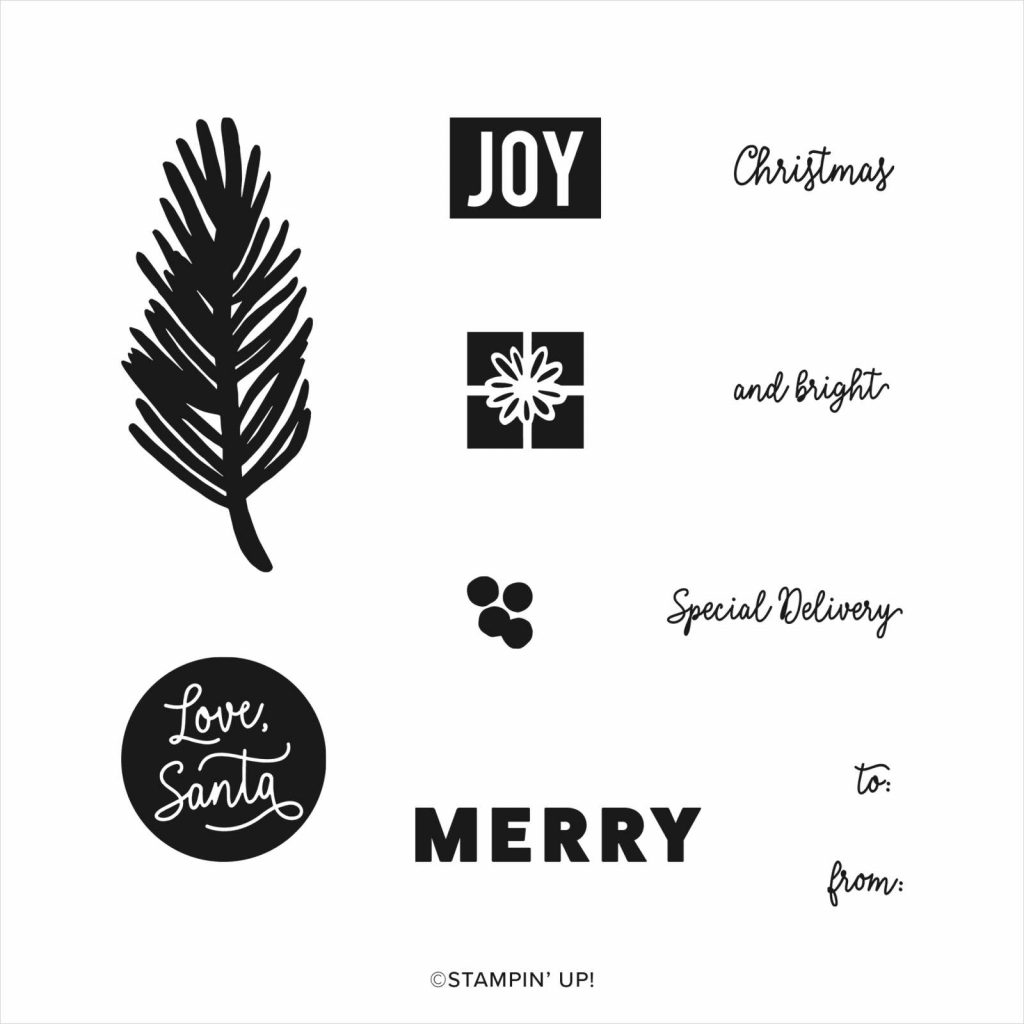
The Love, Santa Tag Kit makes very large tags and it has a fabulous stamp set too.
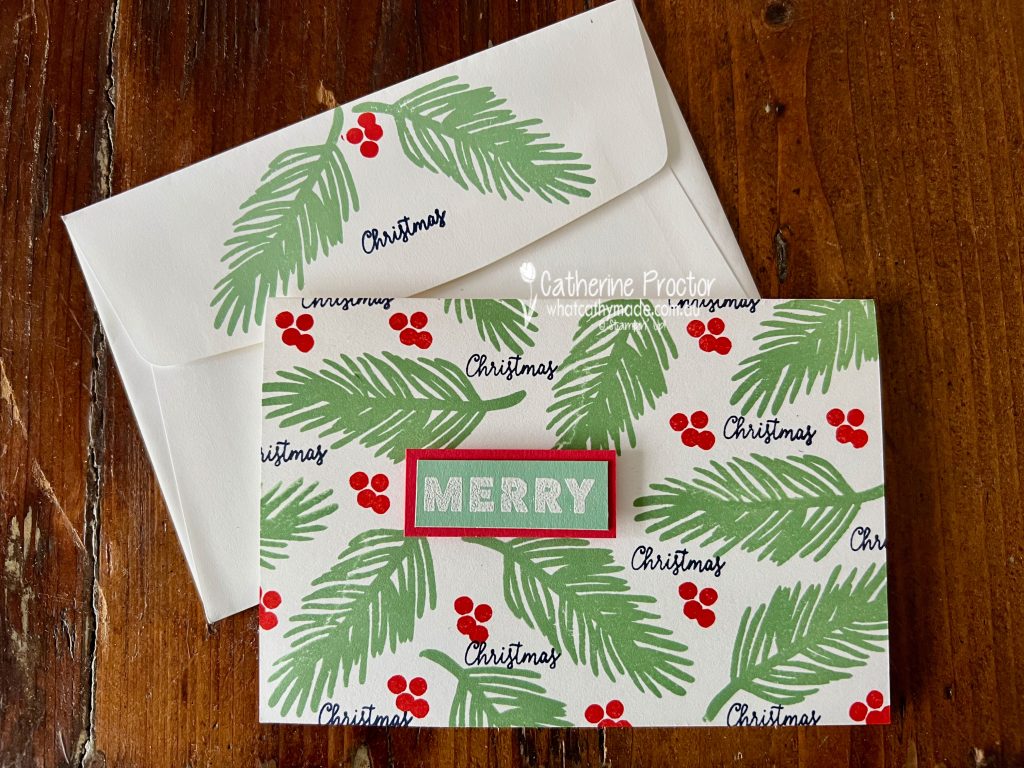
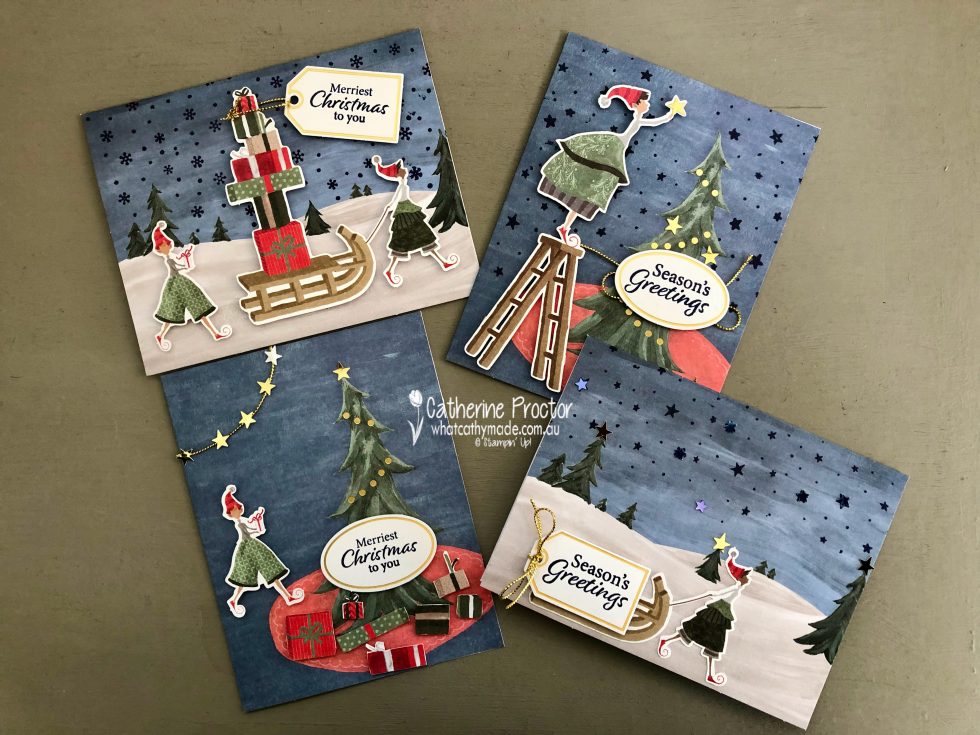
Here are variations on this kit I’ve previously shared – four cards using the tags, as well as another card with matching envelope using just the stamp set.
And here is the fabulous Christmas Whimsy card kit with its gold edged envelopes, stamp set and embellishments.
And here are my card variations – they only use the supplies included in the Christmas Whimsy card kit.
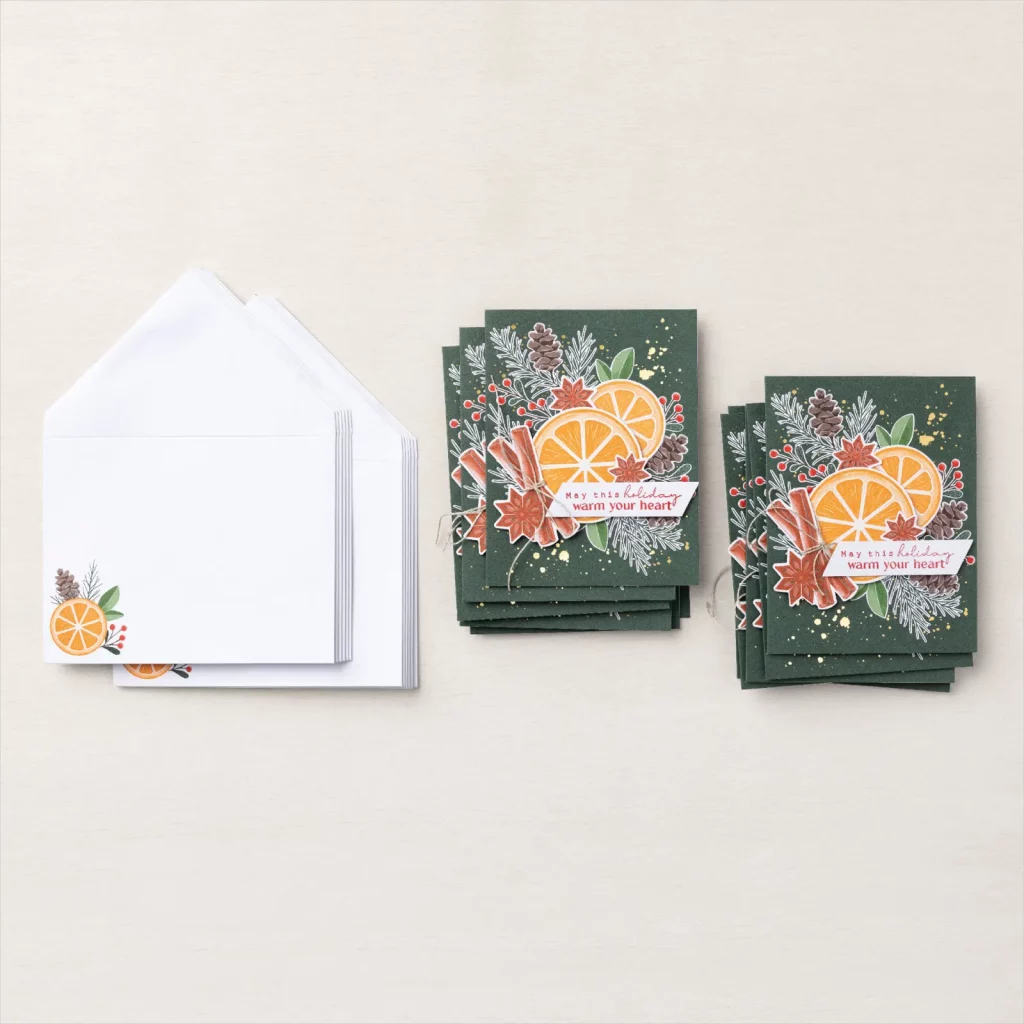
These are the other two Christmas kits, available online only. They both have stamp sets, acrylic blocks and ink spots included too.
It’s so fun and easy to get creative with the Stampin’ Up! Christmas kits – don’t forget to also use the stamps that come in the kits to create your own Christmas cards.
Now it’s time to hop on over to our next participant, the lovely Rachel Woollard. I can’t wait to see what Rachel has made this week.
If at any time you find a broken link, you can find the complete list of all participants on Sharon’s blog.
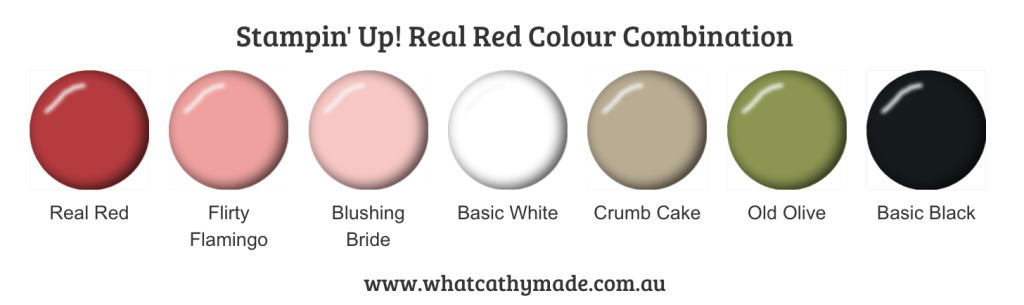
Welcome to week forty two of our Art With Heart 2022-23 Colour Creations blog hop.
This is a weekly blog hop where we showcase the stunning range of Stampin’ Up! colours in alphabetical order over 12 months and this week we are featuring Real Red from the Regals family.
Sometimes you feel like stamping – sometimes you don’t!
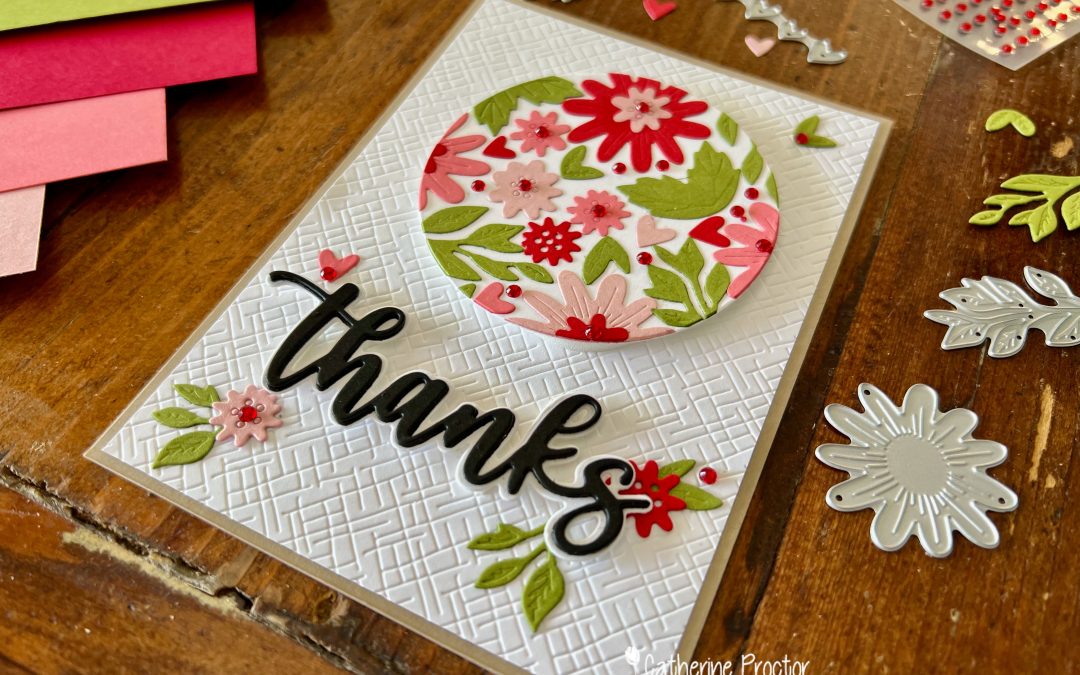
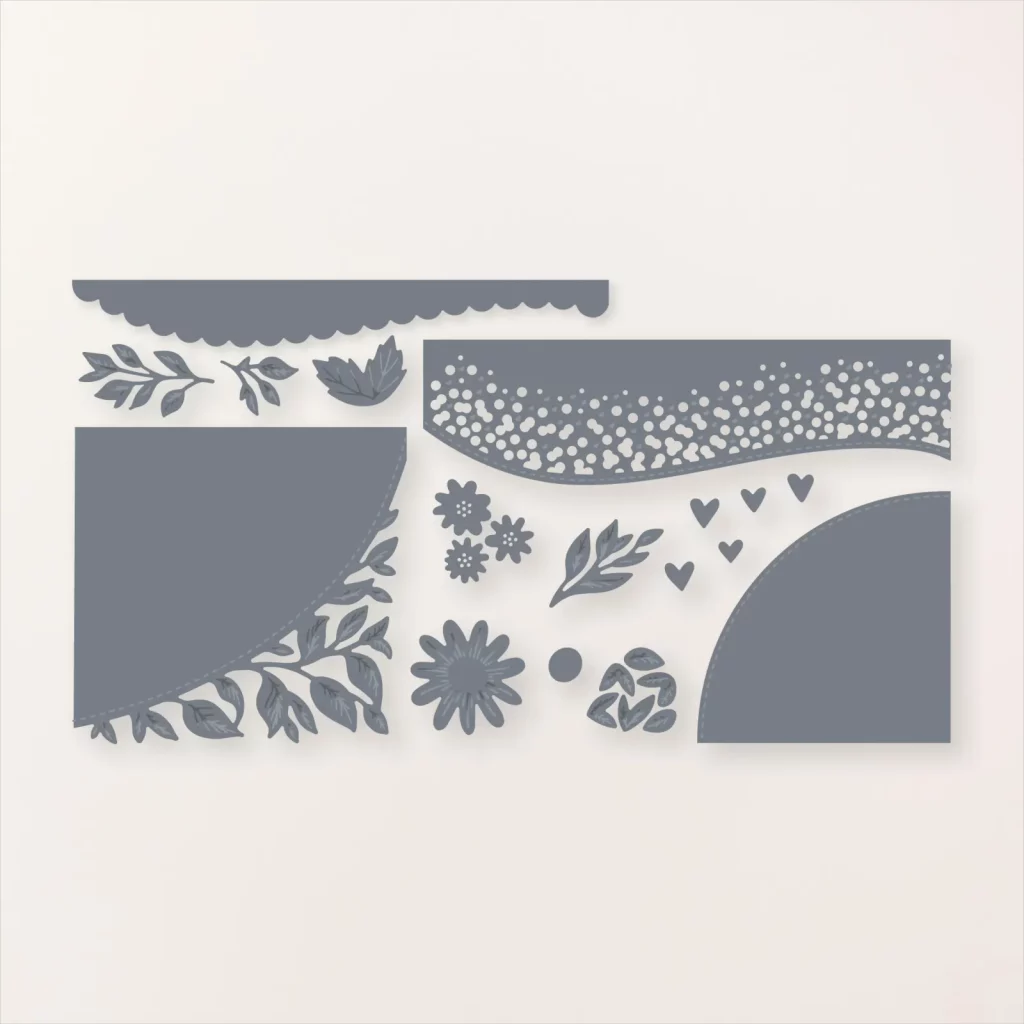
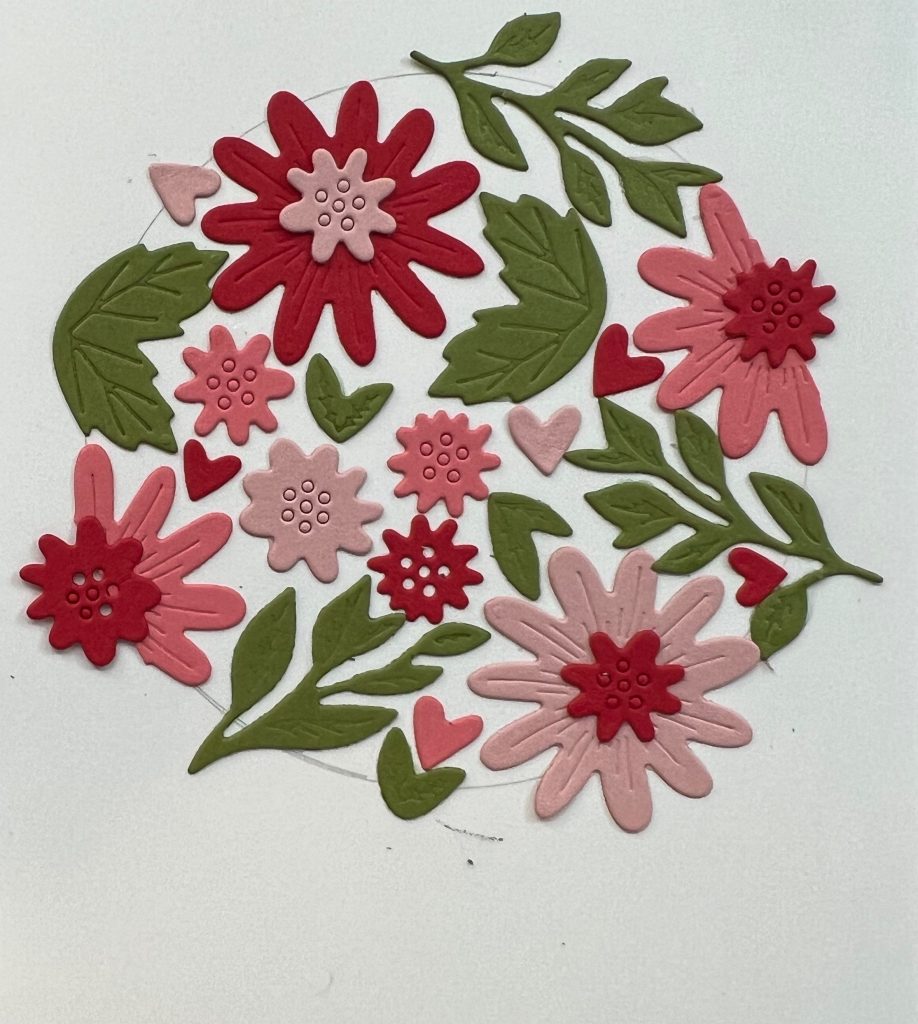
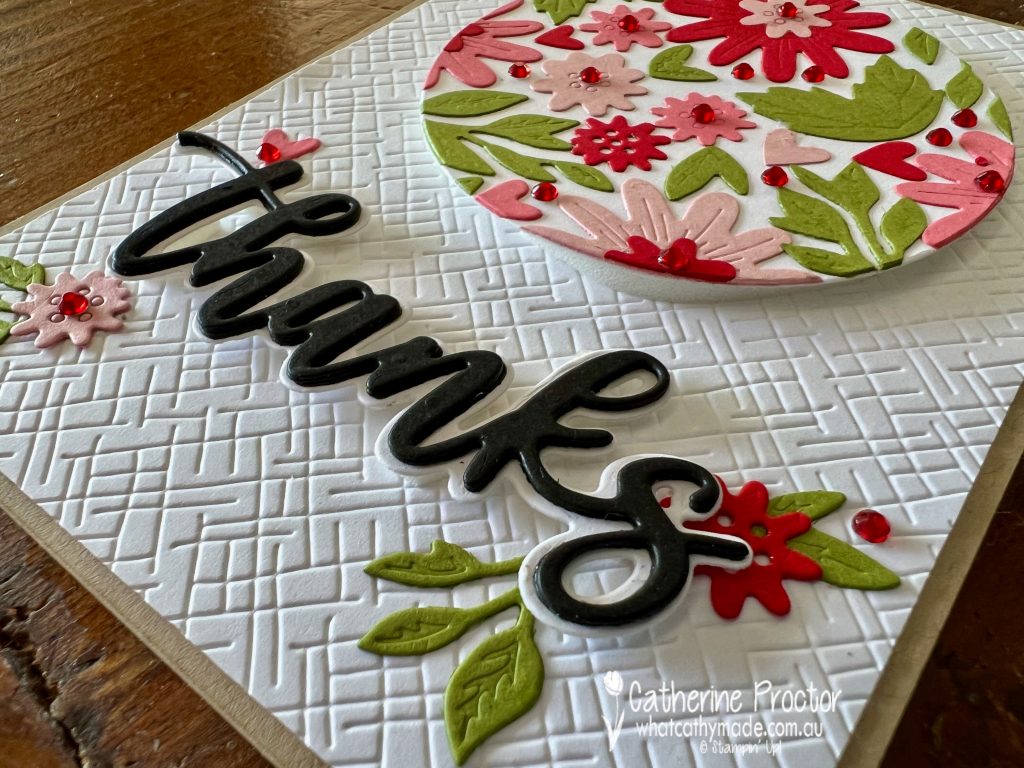
This Real Red card does not have any stamping thanks to the Amazing Thanks Dies and the Around The Bend Dies, which include multiple “stand alone” floral dies.
Stand alone floral dies do not die cut stamped images – they die cut and emboss flower and leaf pieces that you can layer or use on their own. The Around the Bend dies give you 20 floral pieces as well as four larger curved border dies.
I have to confess that I don’t use Real Red very often outside of Christmas cards, however, I do love using red and pink together, hence my colour combination today.
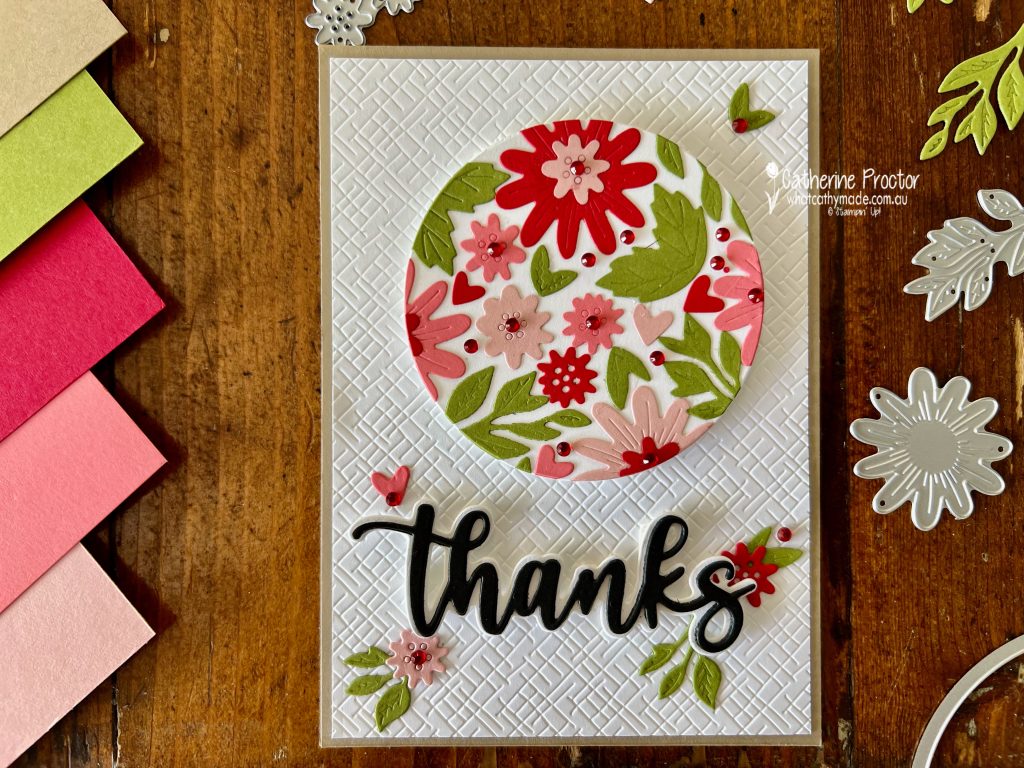
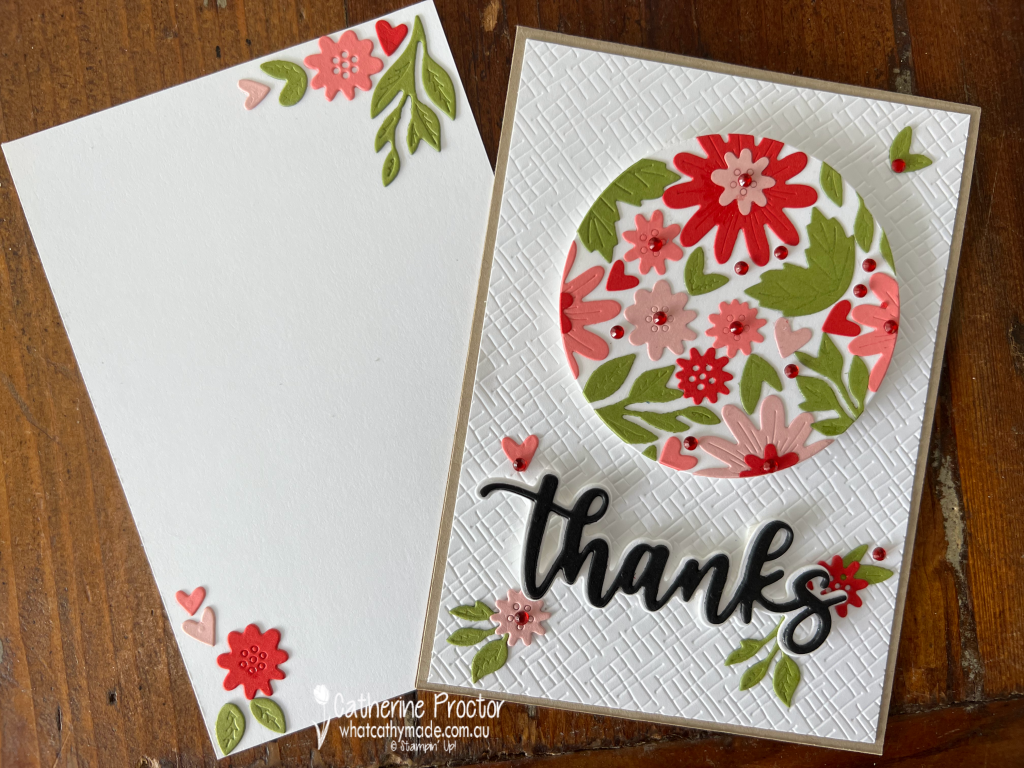
This style of card is so easy to make – you can use any large die or shape template. I used a pencil to trace around the outside of the largest of the layering stitched circle dies.
After die cutting an assortment of flowers and leaves I arranged them within the circle shape, making sure the die cut pieces fit together snugly and overlap the circle outline. I always take a photo at this stage to use as a reference before I remove all the die cuts and then glue them back into the circle shape.
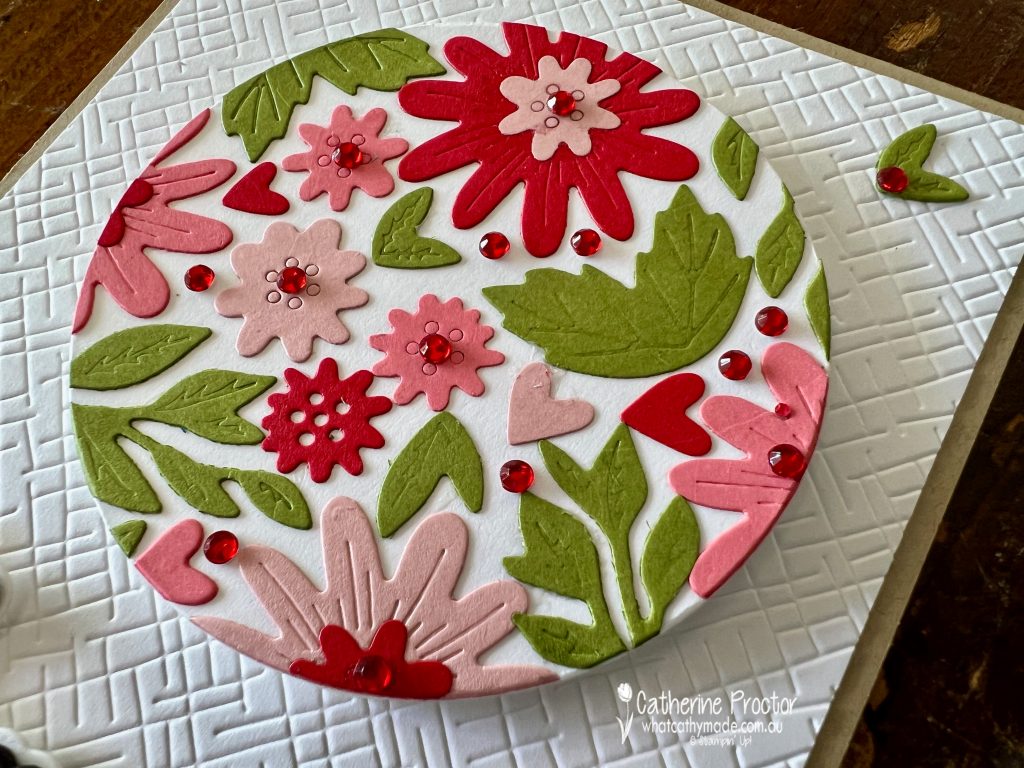
Once I’d adhered all of the die cut shapes I used the circle die to cut the floral circle out and adhere to my card base, adding red Rhinestone jewels. There’s no need to rub out the pencil marks as the layering circle die cuts the flowers INSIDE the pencil circle outline.
Did you notice the embossed background on this card? Today, Stampin ‘Up! has released online exclusive products and this embossing folder is part of a three pack called Basic 3D embossing folders.
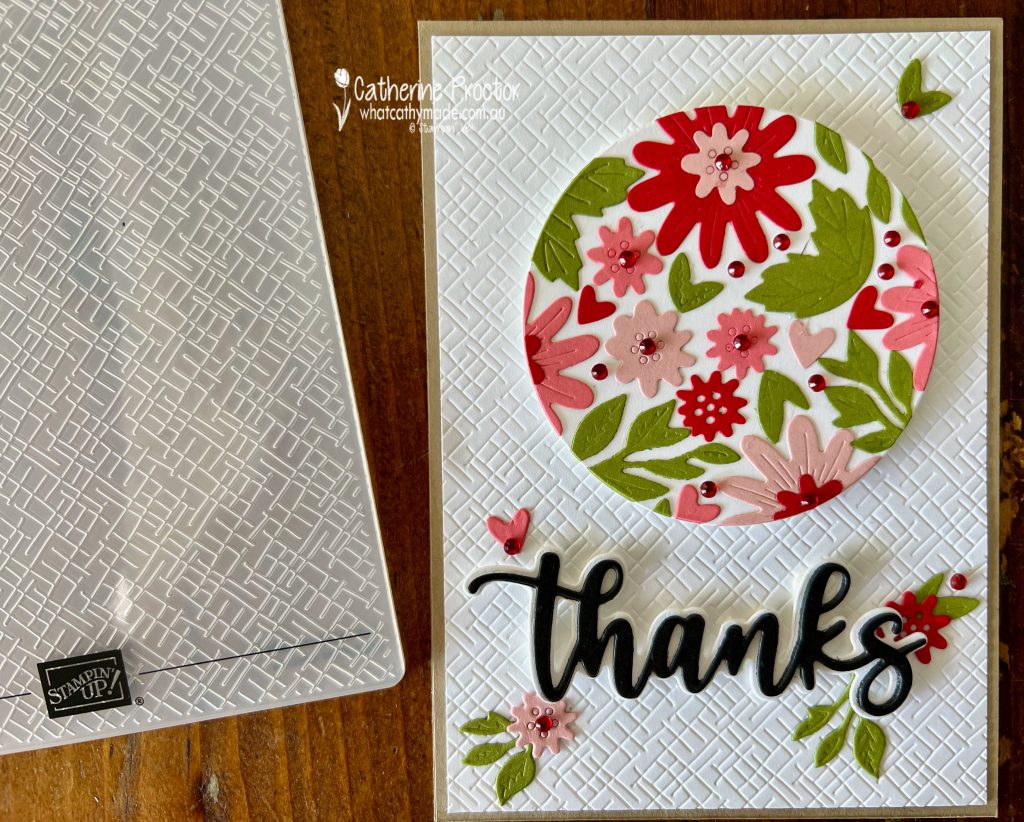
I’ve die stacked the “Thanks” die by cutting it out three times in Basic Black cardstock, gluing the three layers together and then adhering it to the “Thanks” die layer die cut in Basic White. You can see the incredible dimension from the side of the card.
I decided to leave the inside of the card blank, just using up some spare die cuts to decorate it. This truly is a no stamping card!
Now it’s time to hop on over to our next participant, the lovely Rachel Palmieri – I can’t wait to see what Rachel has made this week!
If at any time you find a broken link, you can find the complete list of all participants below.