Welcome to week 20 of our 2021-22 Colour Creations blog hop! Tonight we are showcasing Granny Apple Green, a vivid green from the Brights colour collection.
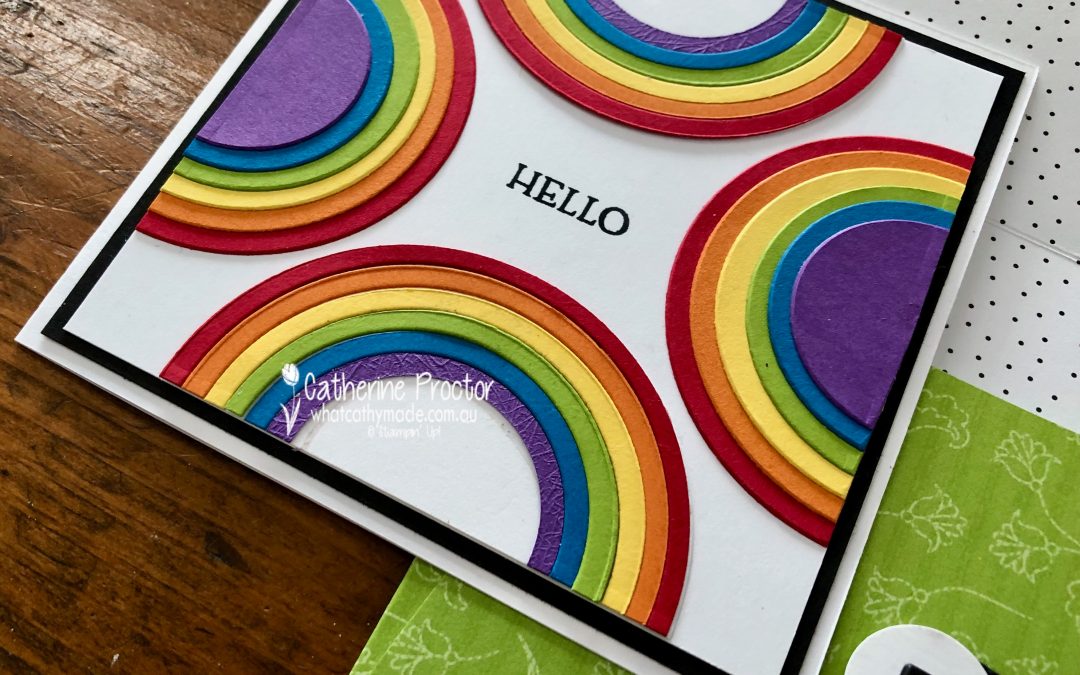
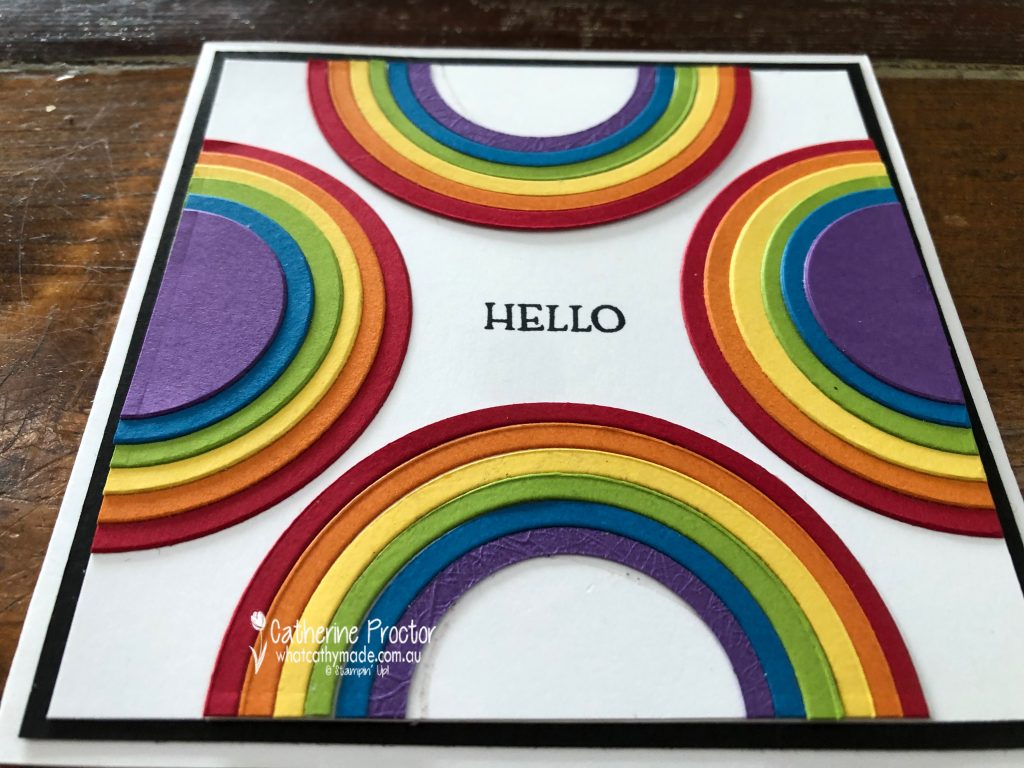
It’s such a cold, wet and windy day here in Sydney – the sort of weather that calls for a bright and happy rainbow card!
The rainbow colours on this card from top to bottom are:
Real Red
Pumpkin Pie
Daffodil Delight
Granny Apple Green
Pacific Point
Gorgeous Grape.
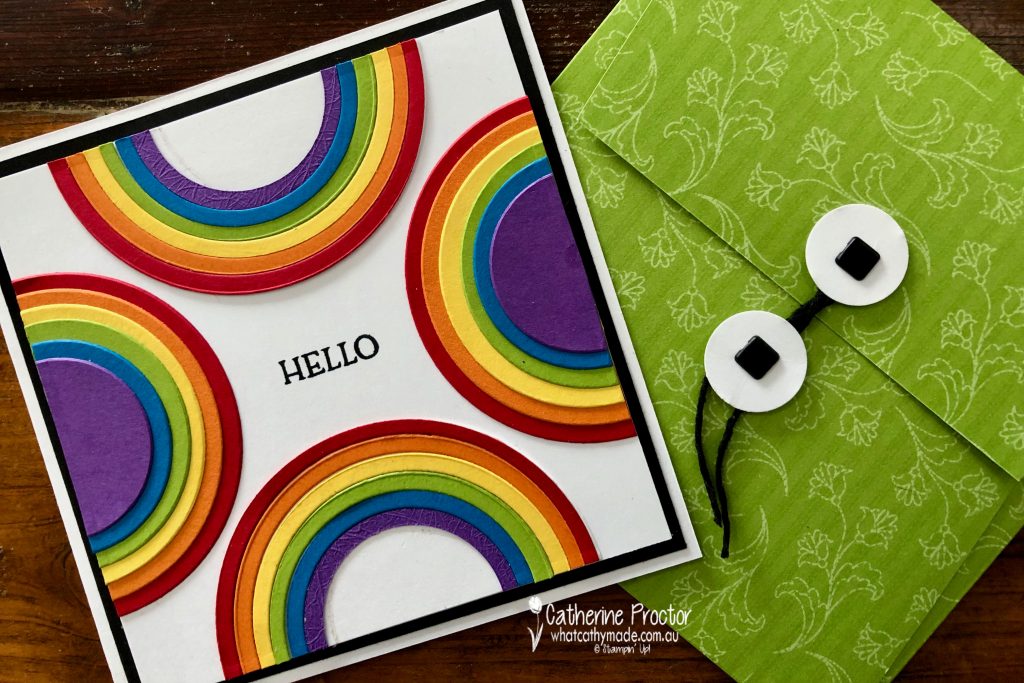
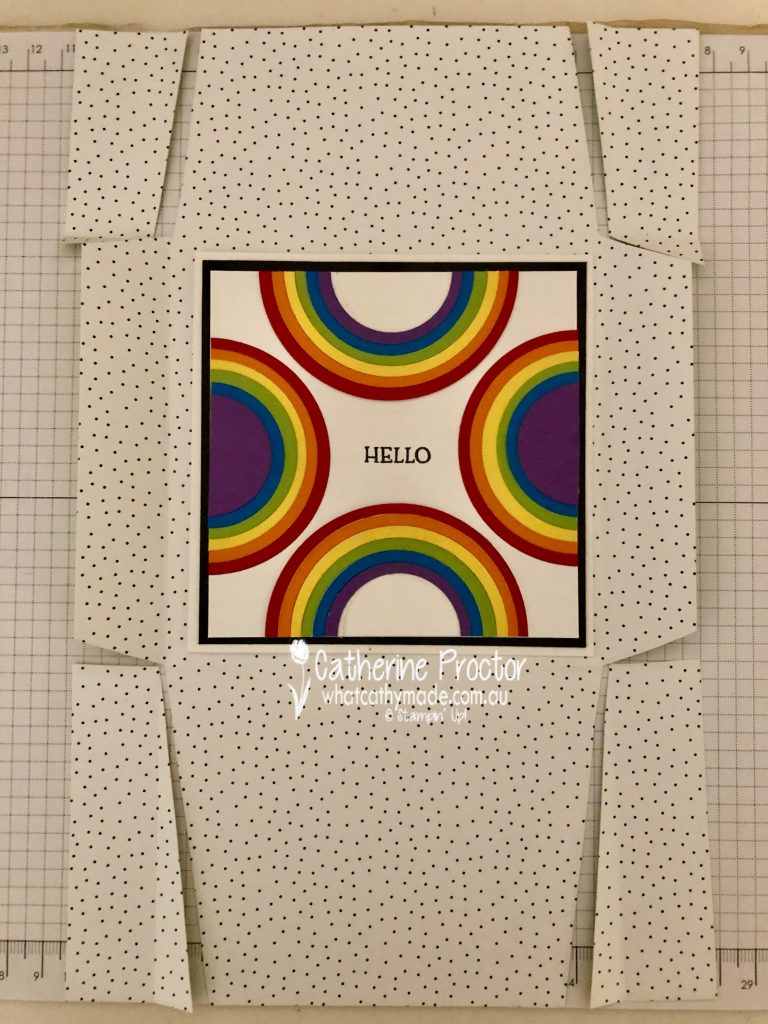
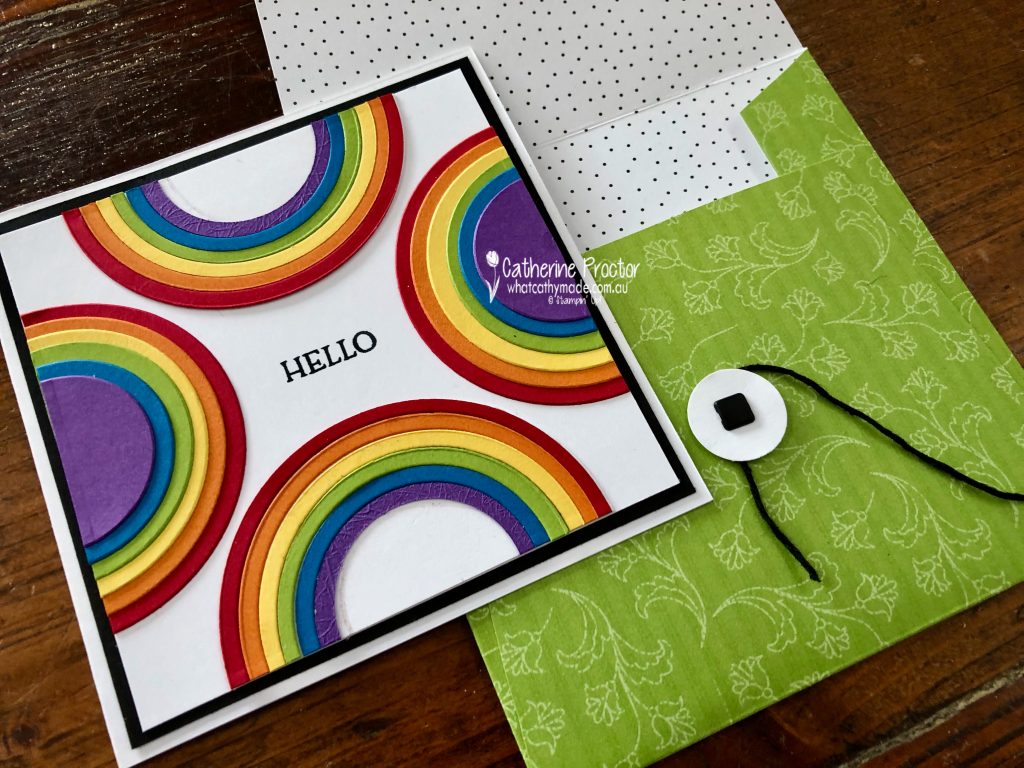
Because I didn’t feel there was enough Granny Apple Green in the card to justify using it for a Colour Creations Granny Apple Green blog hop, I made a matching envelope to showcase this vibrant green, using the Pattern Party DSP.
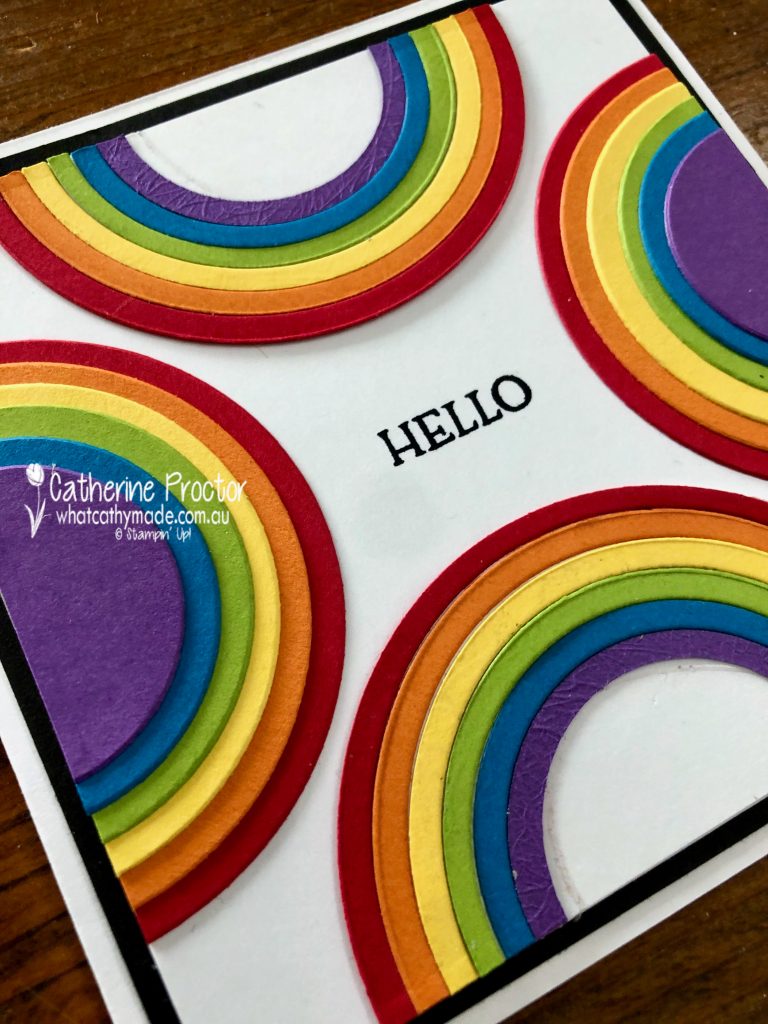
The layering circle dies make this card quick and easy to make. I created the top and bottom rainbows by die cutting a circle of Real Red with the largest circle die then die cutting it again with the next smallest sized circle and repeating that process with all the colours, using smaller and smaller circle dies. I carefully adhered the colours in rainbow order onto a circle of basic white and cutting it half. The rainbows on the sides of the card use the leftover circles, adhered in the same colour order.
TIP: adhere these circle in 2 sections of 3 layers each and cut them in half BEFORE adhering both sections together. These rainbows are 6 layers thick and too thick to be cut in half with paper trimmer all at once.
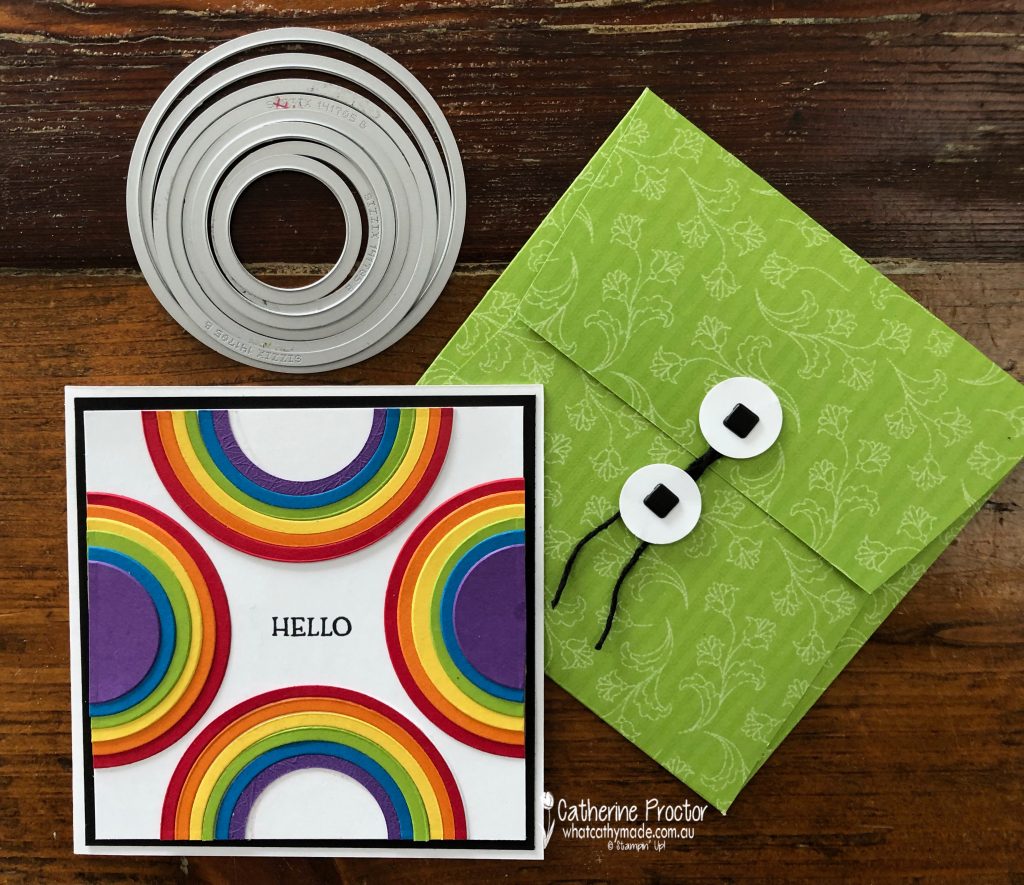
The scoring and cutting pattern for the envelope is shown in the photo below – whatever size your card is, make sure your finished envelope allows enough room for the card to slide in and out.
This card measures 11.5 x 11.5cm (4 1/2 x 4 1/2 inches) so I made my envelope 12.5 x 12.5 cm (5 x 5 inches). The flaps either side are scored at 2.5 cm (1 inch) wide and, the bottom flap is scored at 9.5 cm (3 3/4 inches) and the top flap is scored at 6cm (2 3/8 inches).
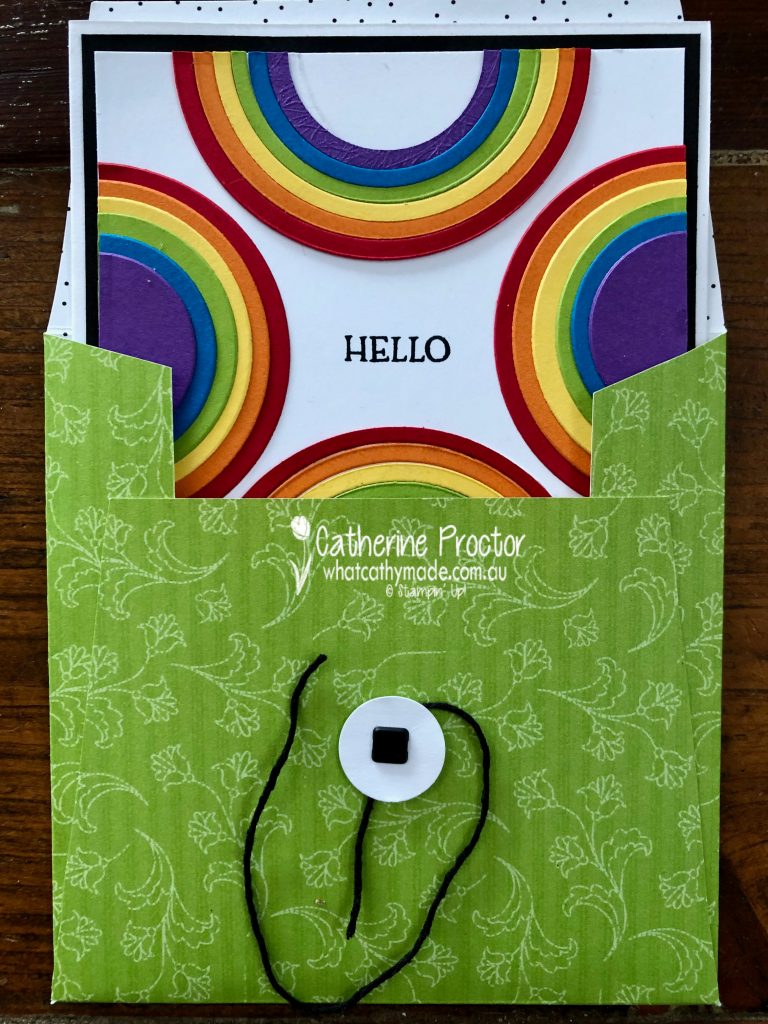
The back flap of the envelope closes with die cut Basic White circles secured to the card with square brads and a tie made using a short length of Basic Black Bakers Twine twisted around them. The “Hello” sentiment is from the Blossoms in Bloom stamp set.
Now it’s time to hop on over to our next participant, the lovely Rachel Woollard – I can’t wait to see what she’s made this week!
If you find a broken link or have come to this blog hop from a different entry point, you can view the the full list of participants below:
Welcome to week six of our 2020-2021 Art With Heart Colour Creations Showcase.
Each week various members of our Art With Heart Colour Creations team will be bringing you weekly colour inspiration as we showcase our range of over 50 beautiful Stampin’ Up! colours in alphabetical order.
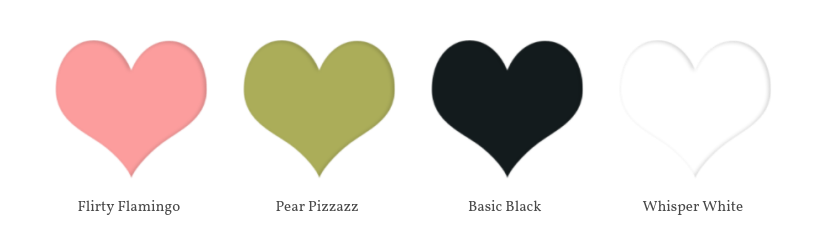
Week 16 – Flirty Flamingo
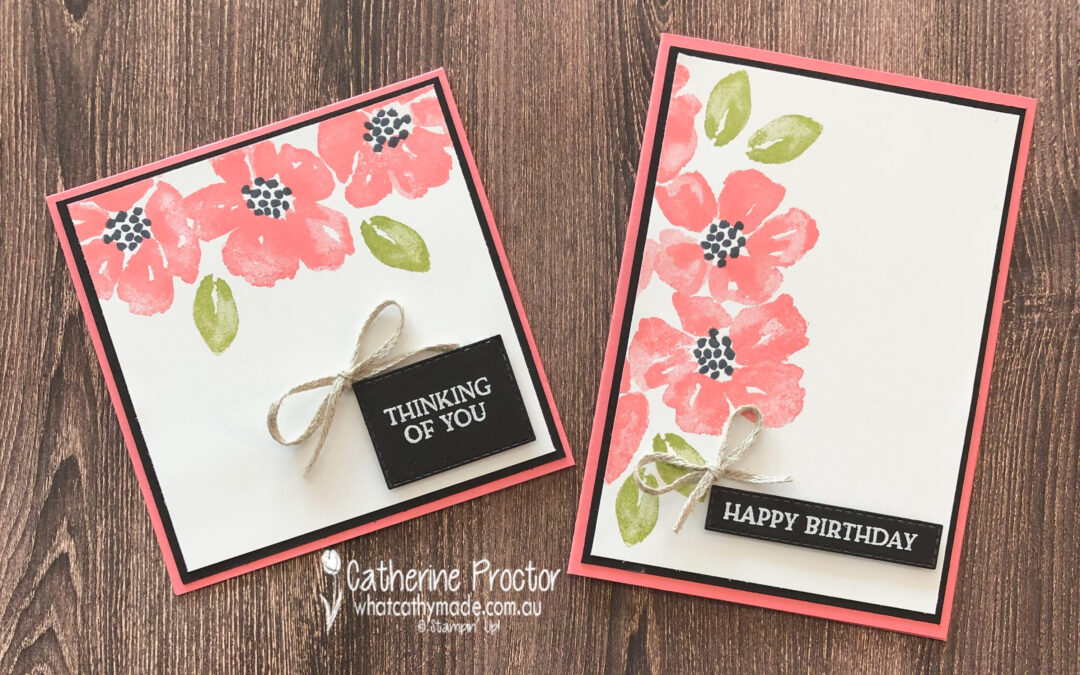
Week 16 brings us to Flirty Flamingo – a bright happy pink with a touch of orange in it. I tried to make a card using Flirty Flamingo with some of the blues but it just wasn’t working for me so I went back to the drawing board and started again with this colour combination.
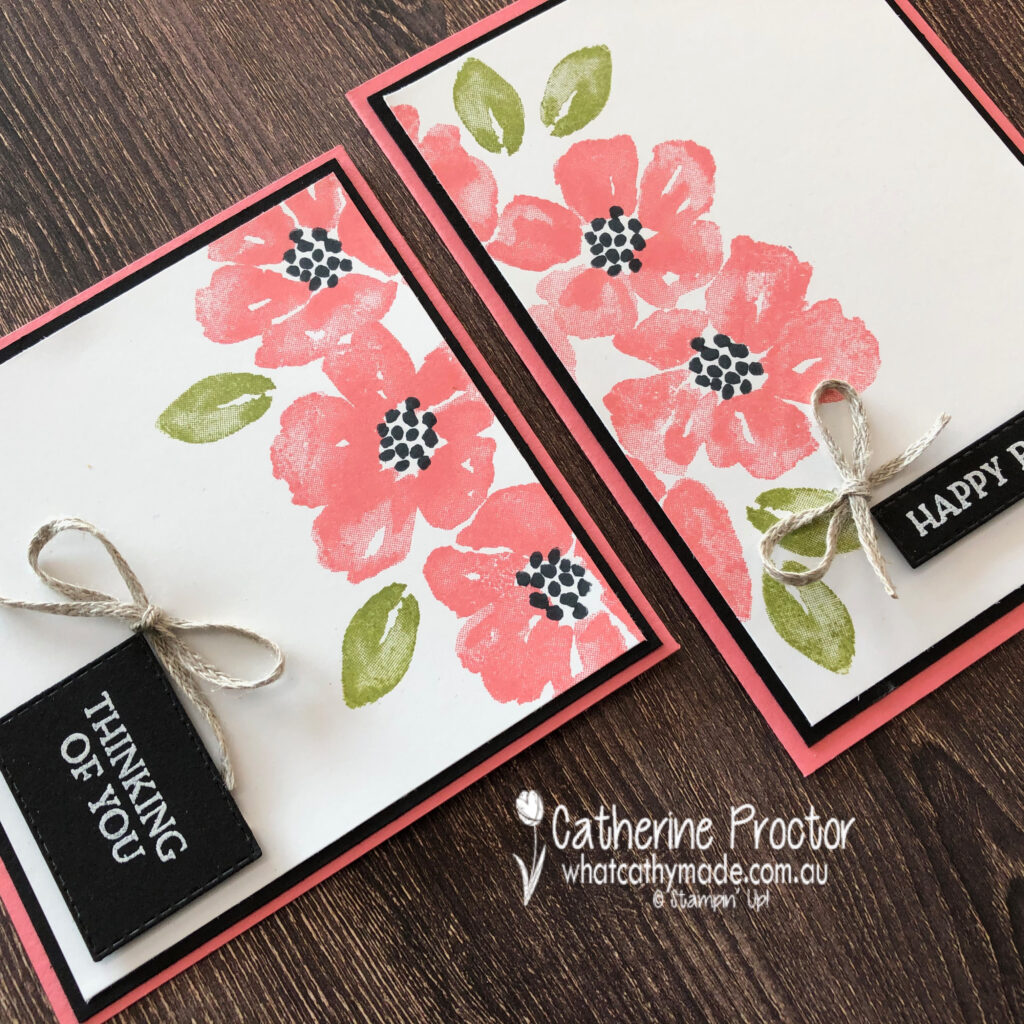
Have you ever tried the split card technique? It’s a quick and easy way to create more cards in less time and it also gives your cards that lovely stamped off to the edge effect.
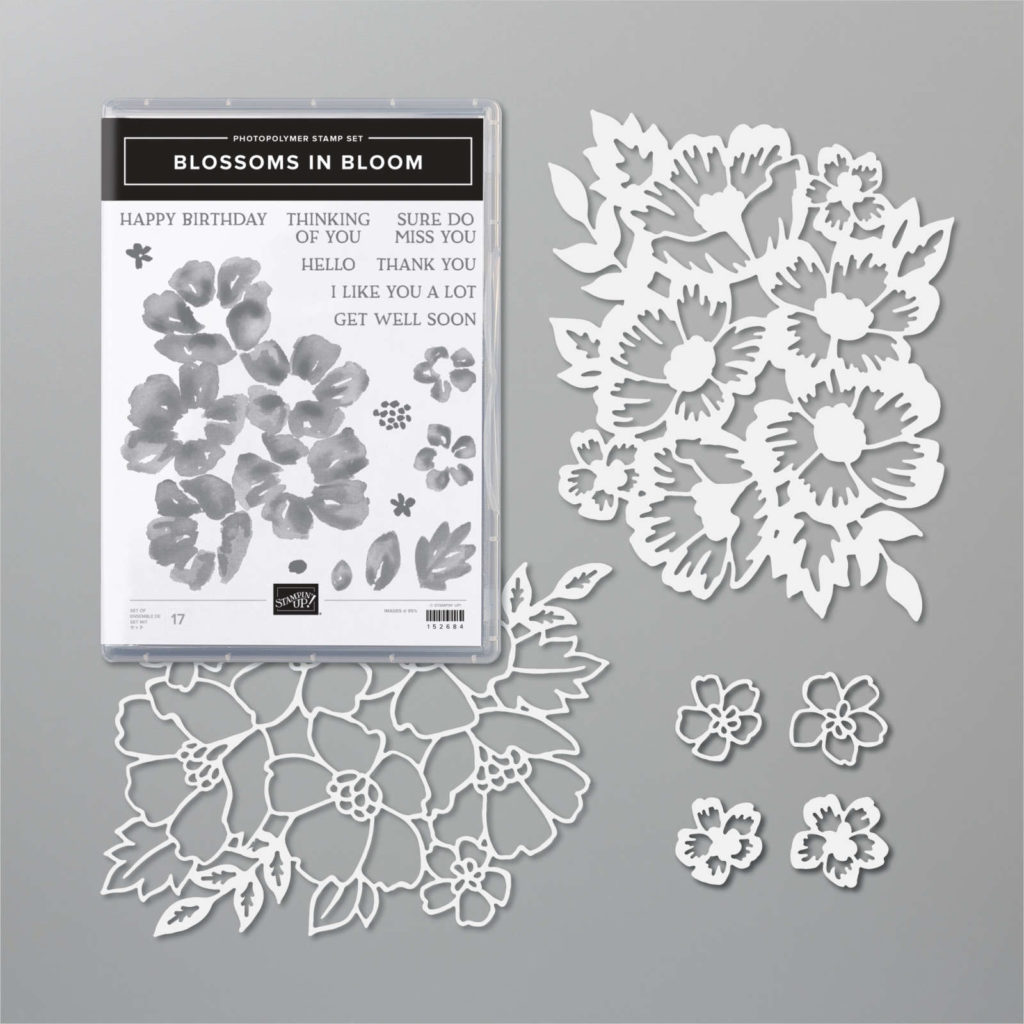
To create the split card technique you can either use die cut images adhered to a card stock layer or you can stamp directly onto your card stock. I’m doing the easiest version today – using stamped images from the Blossoms in Bloom stamp set, but these co-ordinating Many Layered Blossoms dies would also work really well.
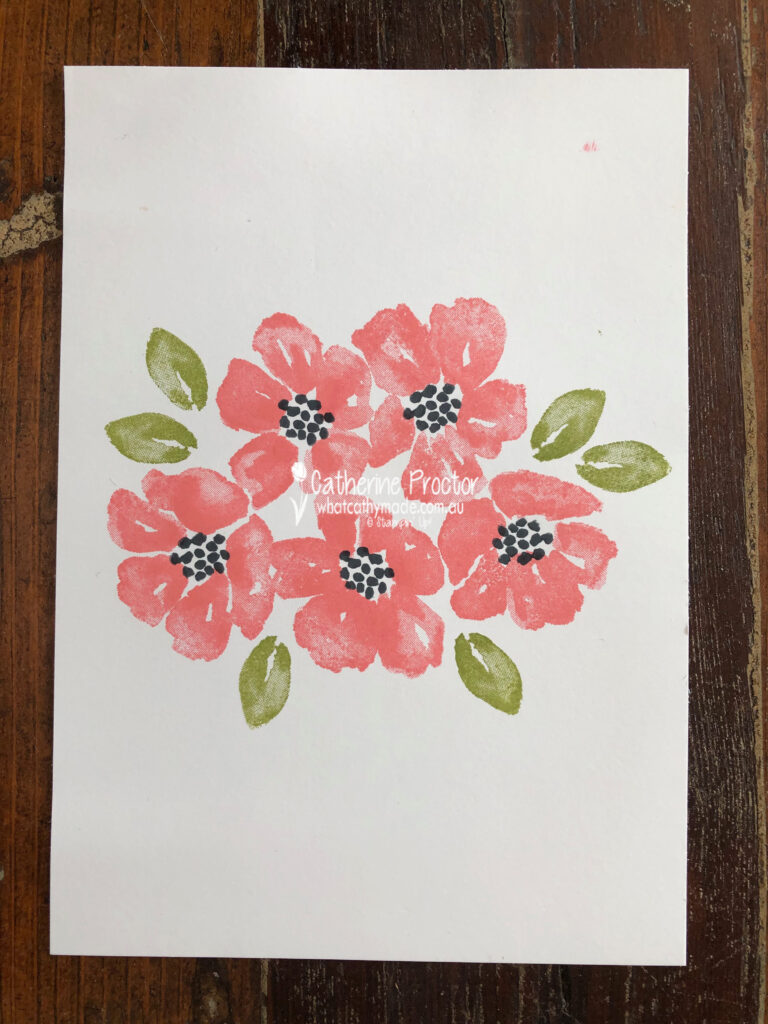
Begin by cutting an A4 sheet of Whisper White in half and then stamping the main image into the centre of the card stock. My large floral image was stamped in Flirty Flamingo, with just a few Pear Pizzaz leaves stamped around the flowers and Basic Black flower centres stamped in Tuxedo Memento.
This large floral stamp is ideal because it covers a large surface area with a single stamp and it’s a non-geometric floral image, which is easiest to work with using the split card technique.
To create two cards I simply cut my image in half and then decided how best to use each half . This photo shows you where I cut the image and how the two sides of the card stock line up.
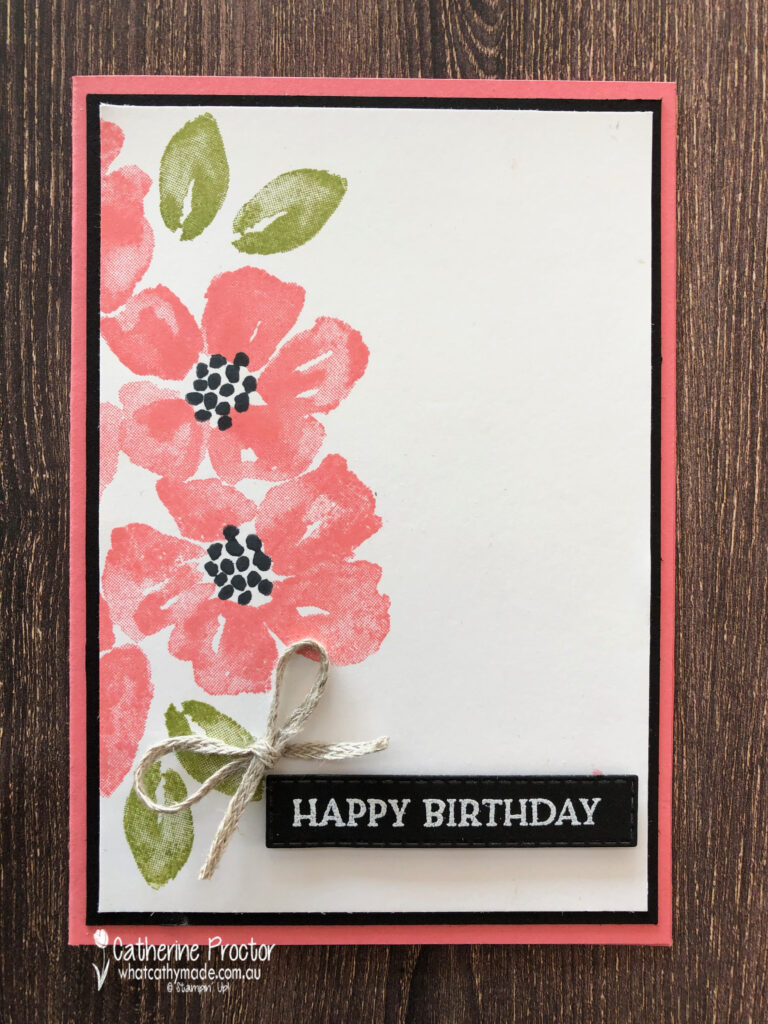
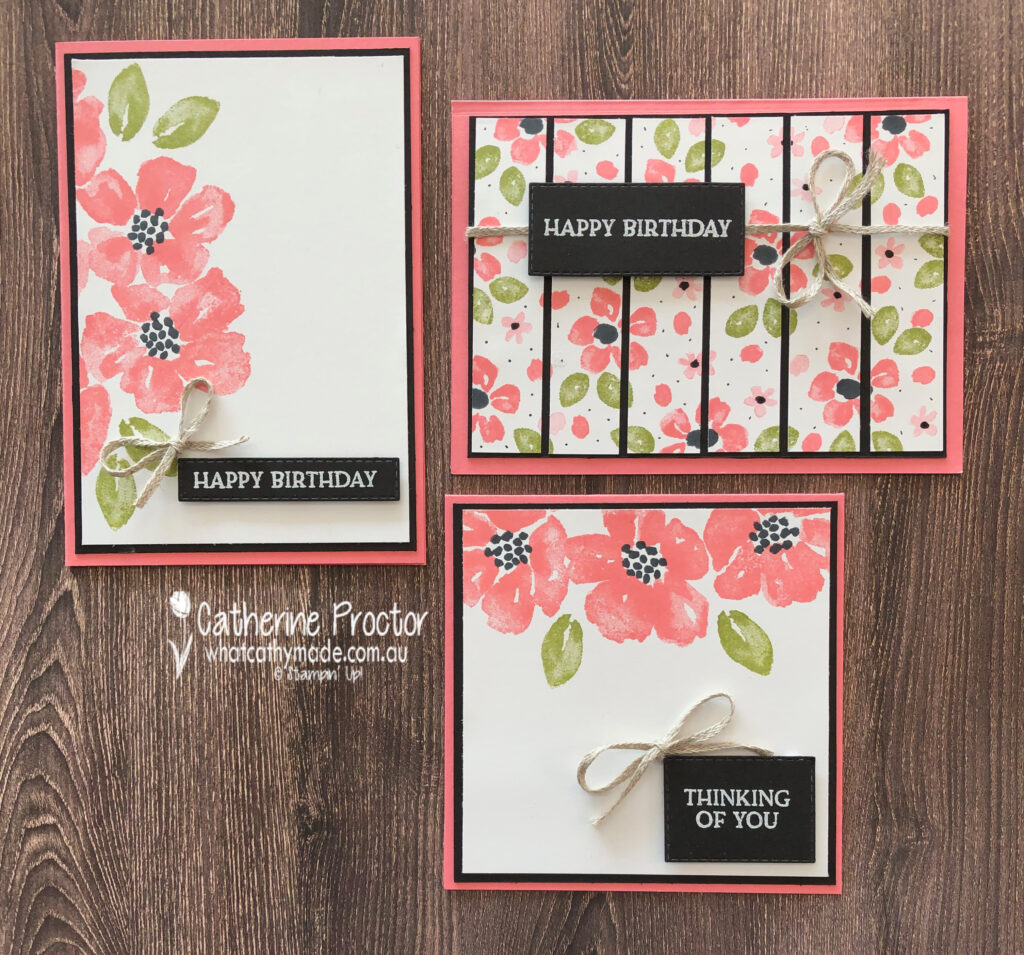
For the happy birthday card I trimmed the stamped image to 9.5 x 13.8 cm before mounting it on a 10 x 14.2 cm Basic Black card stock layer. The card base is an A4 sheet of Flirty Flamingo card stock cut in half and then folded in half.
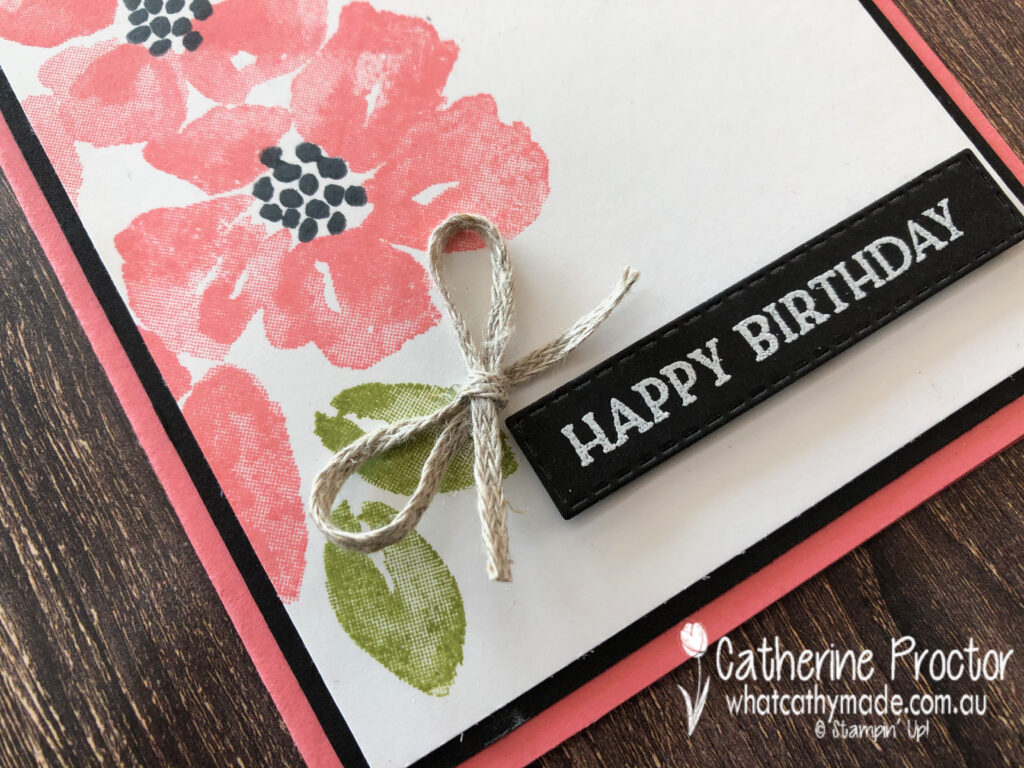
The Happy Birthday sentiment was stamped in versamark ink, before adding white embossing power, setting with a heat tool and die cutting using a Stitched Rectangle die.
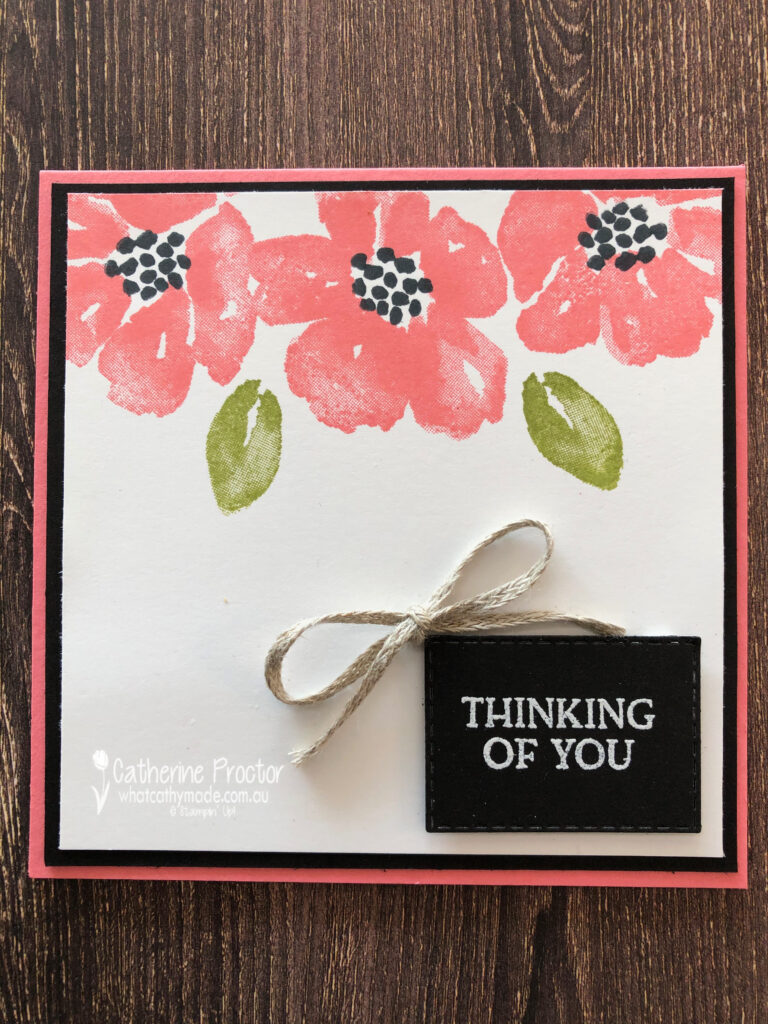
I trimmed my second half of my stamped card stock to 10.5 x 10.5cm and rotated the image to the top of the card this time before mounting it onto a 11 x 11cm Basic Black card stock layer. The card base is an 11.5 x 11.5 cm square of Flirty Flamingo card stock.
The Thinking of You sentiment was stamped in versamark ink, before adding white embossing power, setting with a heat tool and die cutting using a different Stitched Rectangle die.
Like the Happy Birthday card this card was finished with a bow of Braided Linen Trim.
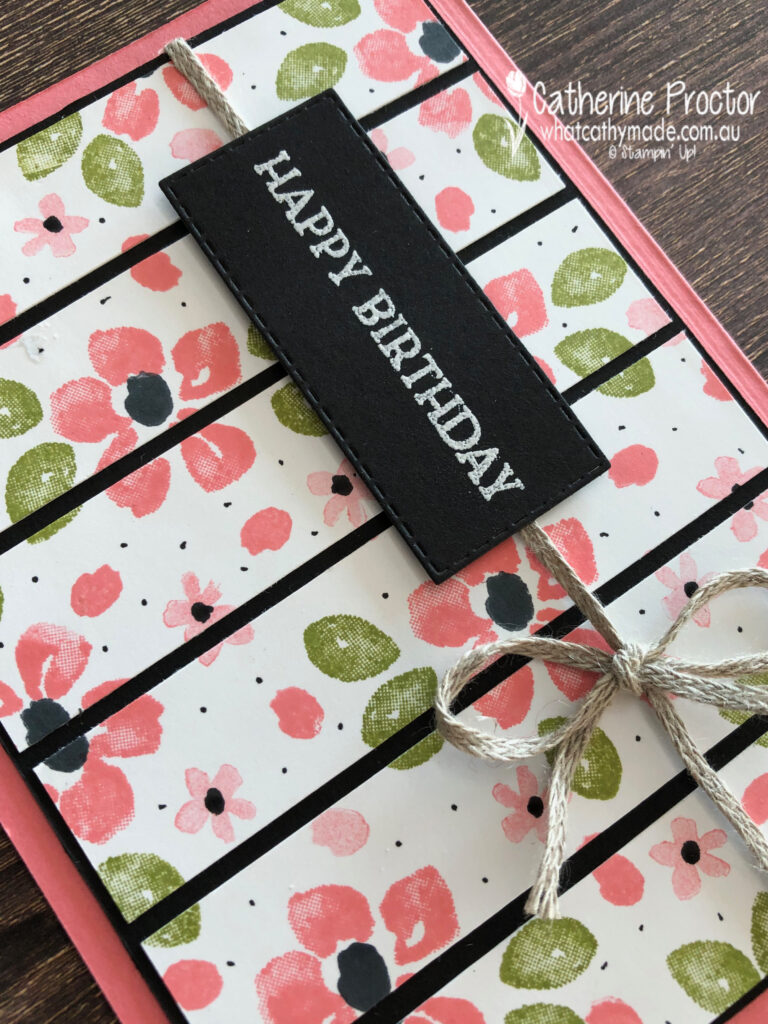
Just for fun I made a third card, creating my own DSP with the same colours as the other cards, but this time using the smaller stamps in the Blossoms in Bloom stamp set.
Those tiny black dots and the centres of the smaller flowers were created using my Basic Black Stampin’ Write Marker. The smaller flowers are a lighter pink than the larger flowers because I stamped off the Flirty Flamingo ink once before stamping on the card stock.
Like the two split cards, my homemade DSP Happy birthday card was finished off with a bow of Braided Linen Trim and the sentiment created with heat embossing.
I can’t wait to see what the rest of the Art With Heart team have created with Flirty Flamingo today. Click on the links below to see what they’ve made.
Next Wednesday we’ll be showcasing one of the Regal family: Garden Green. We hope you can join us all then.
To purchase any of the products featured in today’s post, simply contact your Stampin’ Up! demonstrator, any of the ladies in the AWH Colour Creations Showcase or click on the product links below.
If you’d like me to post you your very own copy of the August -December 2020-21 Stampin Up! Catalogue, the 2020-21 Stampin Up! Annual Catalogue, the 2020-21 Beginners Brochure, or to simply find out about more about Stampin’ Up! contact me.
In the meantime, wherever you are in the world, stay safe, stay calm…and keep on crafting xxx
A few weeks ago I shared some cards I made with this gorgeous Stampin’ Up! Birds & Branches Bundle. I have to admit I’m slightly obsessed with these sweet little birds!
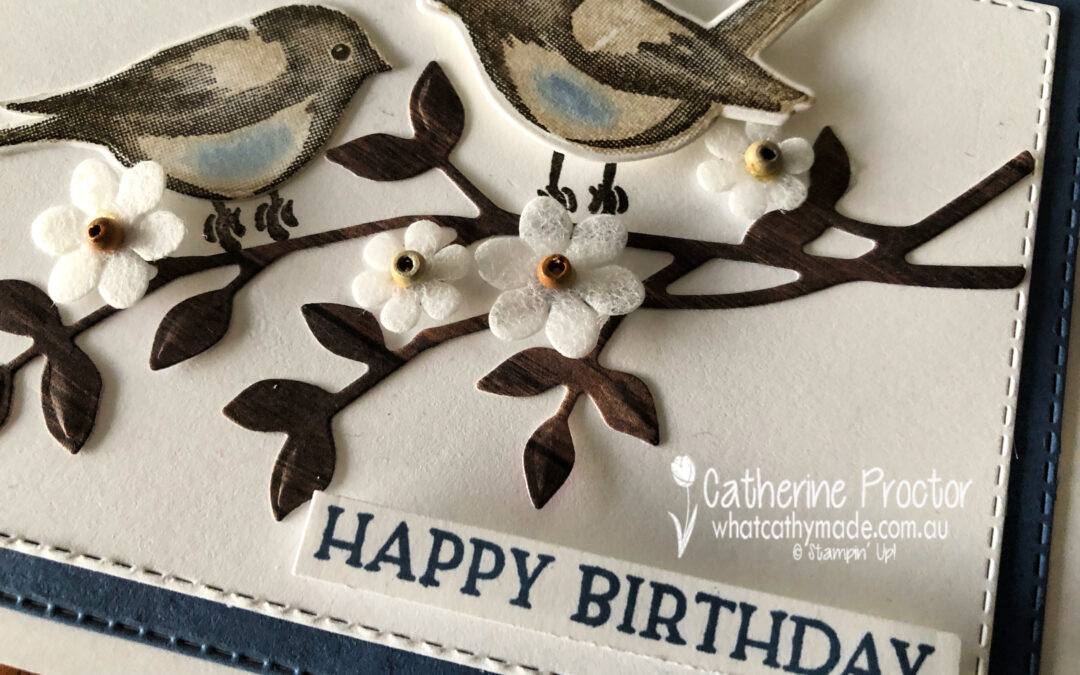
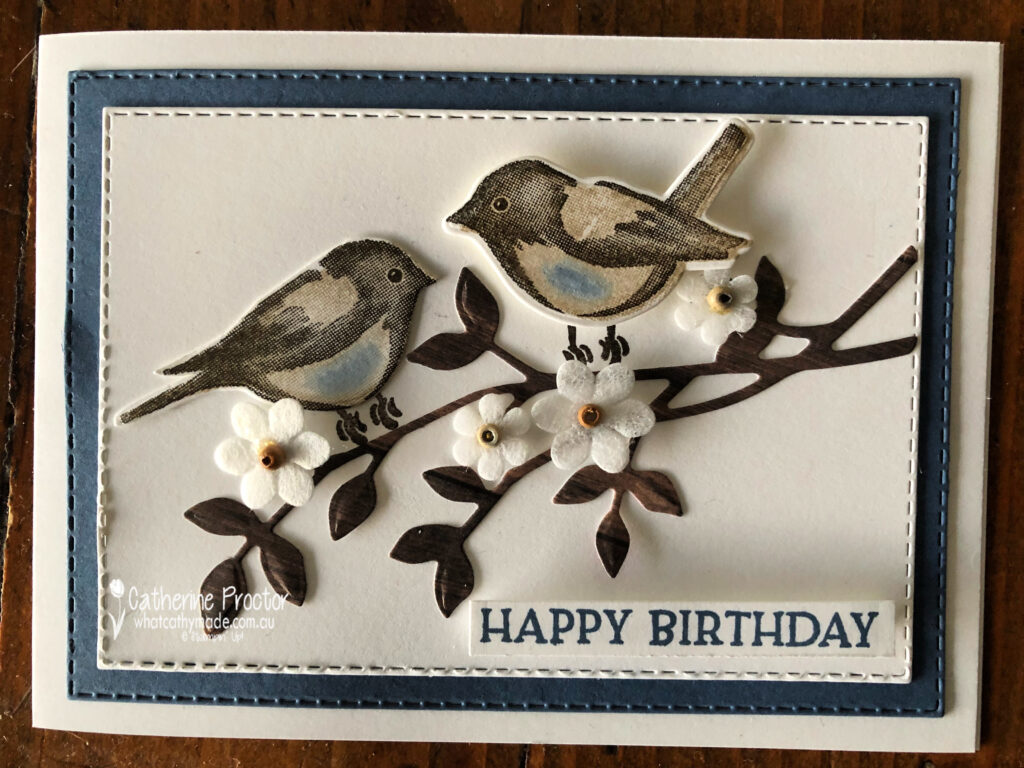
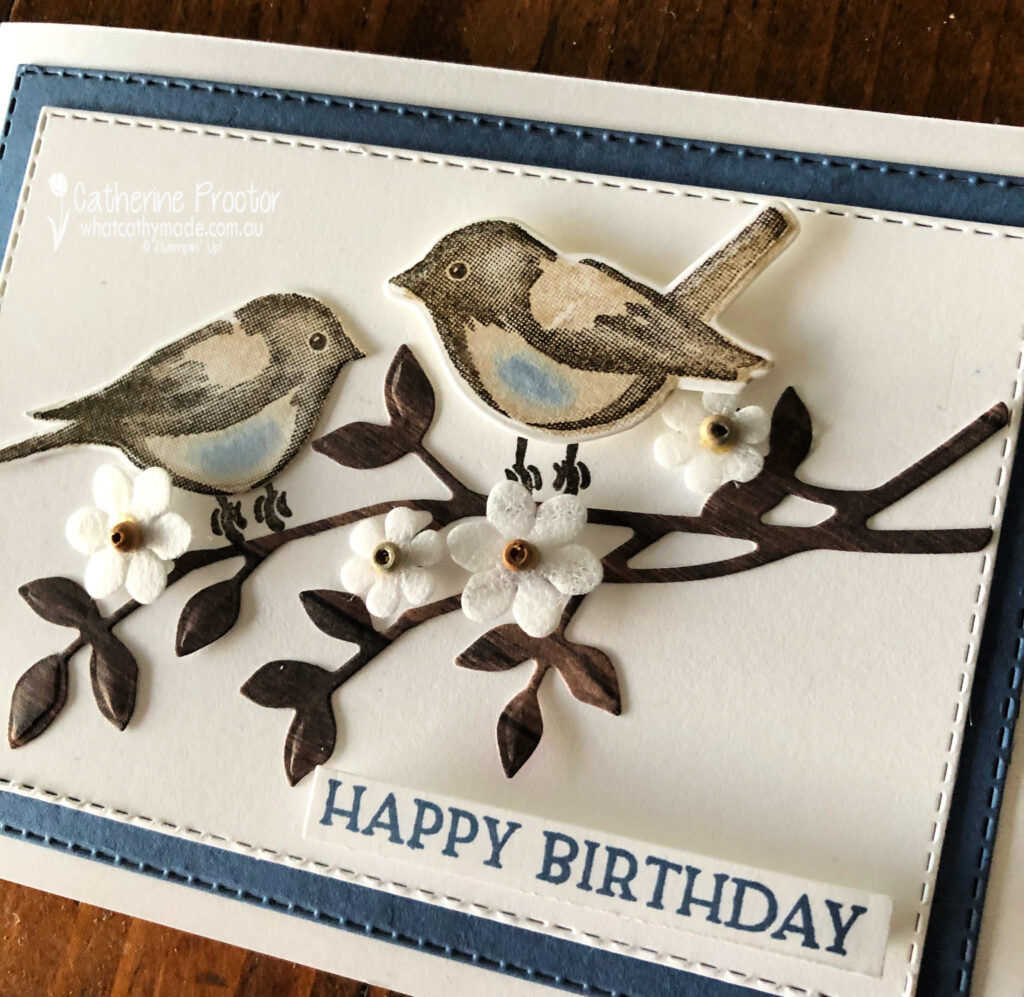
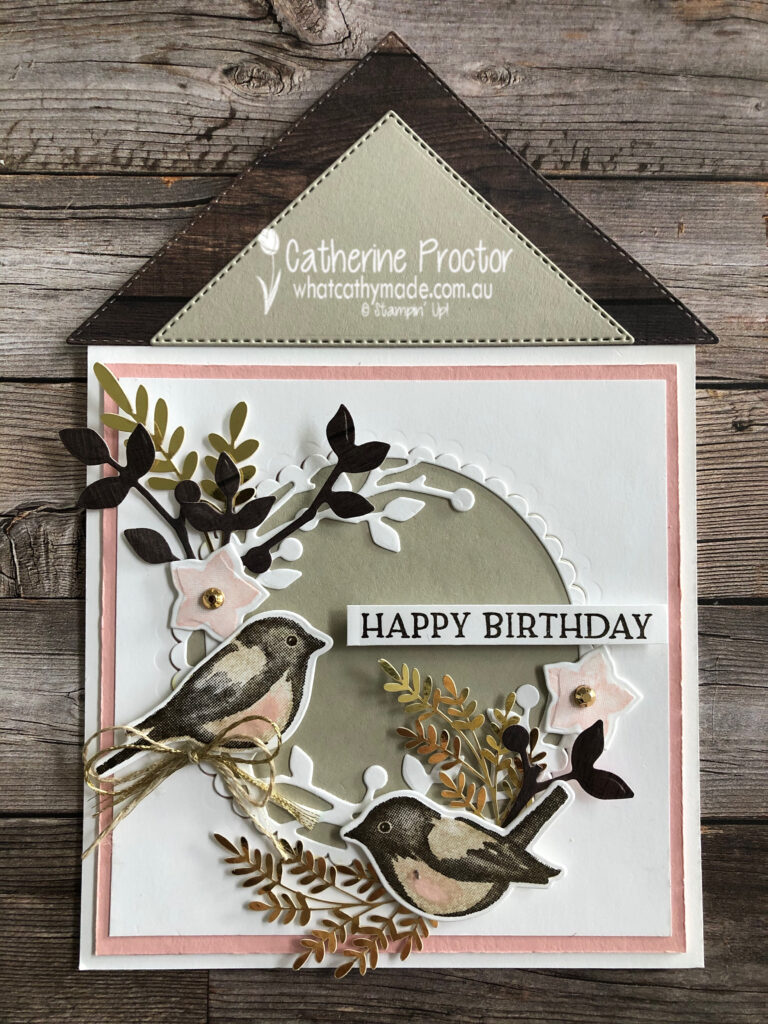
Today I’m sharing a couple more cards made with the Birds & Branches Bundle – this first one has a touch of Misty Moonlight and features some cute little paper flowers from the Boho Indigo product medley.
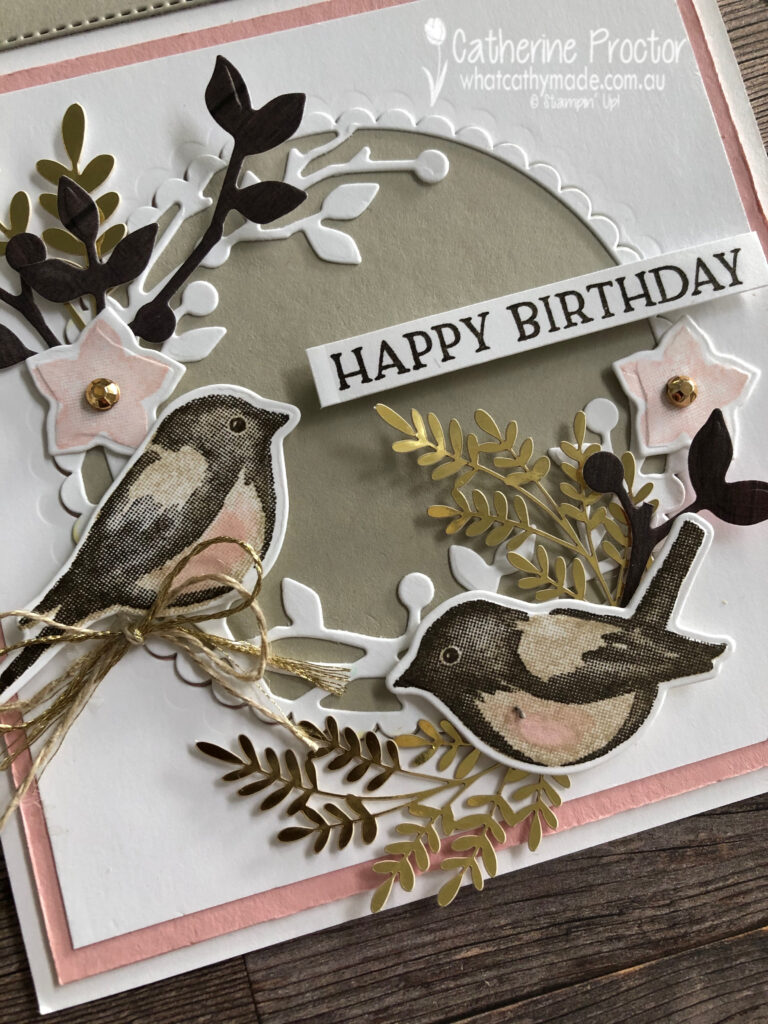
I love the touch of Misty Moonlight blue on the tummies of the birds, but seriously, how cute are these paper flowers from the Boho Indigo product medley?
They come in two sizes with the little brown wooden button already in the centre of the flower – but you don’t have to buy the entire medley to get the flowers as they also come in the Boho Medley refill.
I cut my branch from one of the In Good Taste Designer Series Paper DSP sheets and the “Happy Birthday” sentiment is from the Blossoms in Bloom bundle.
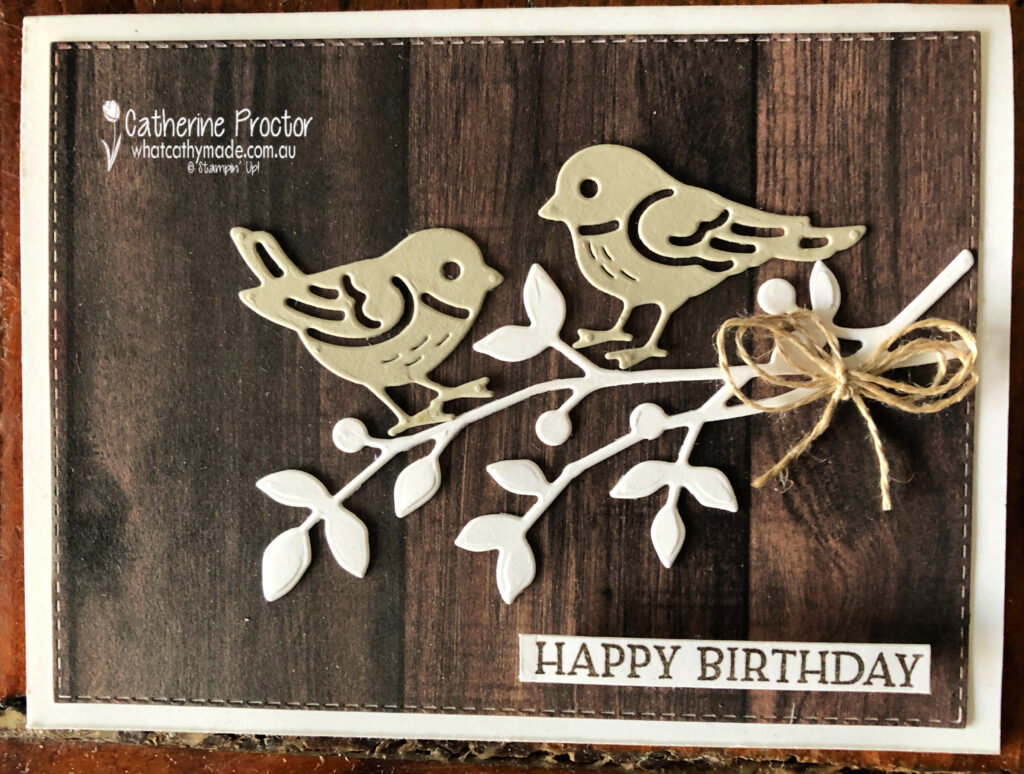
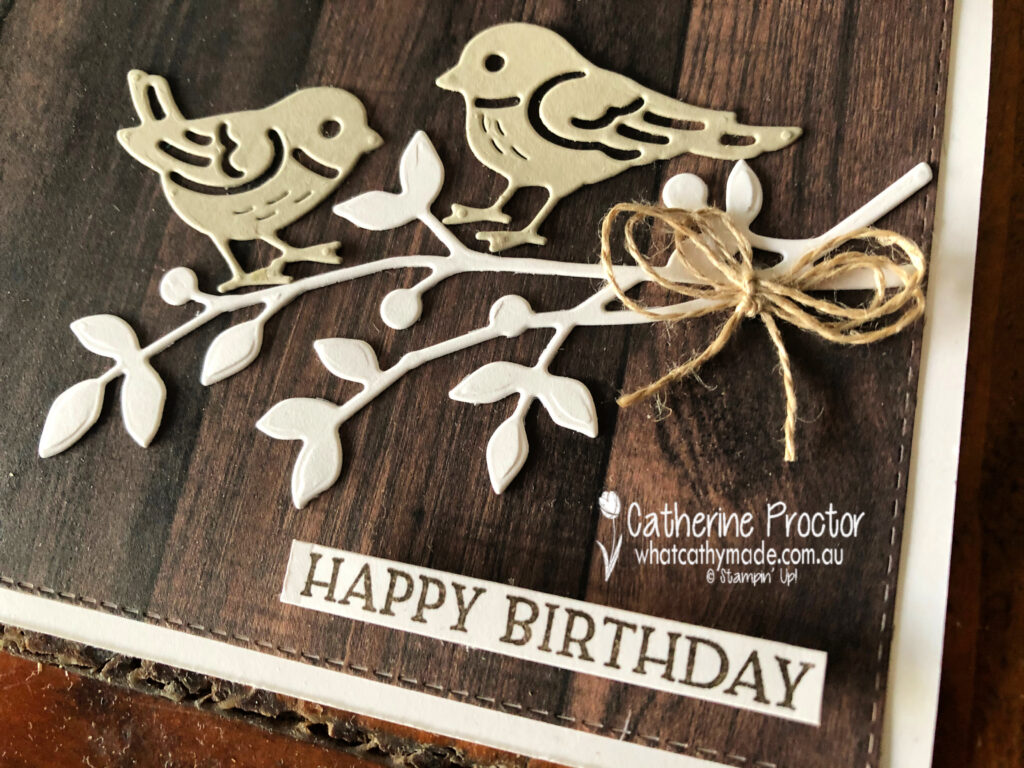
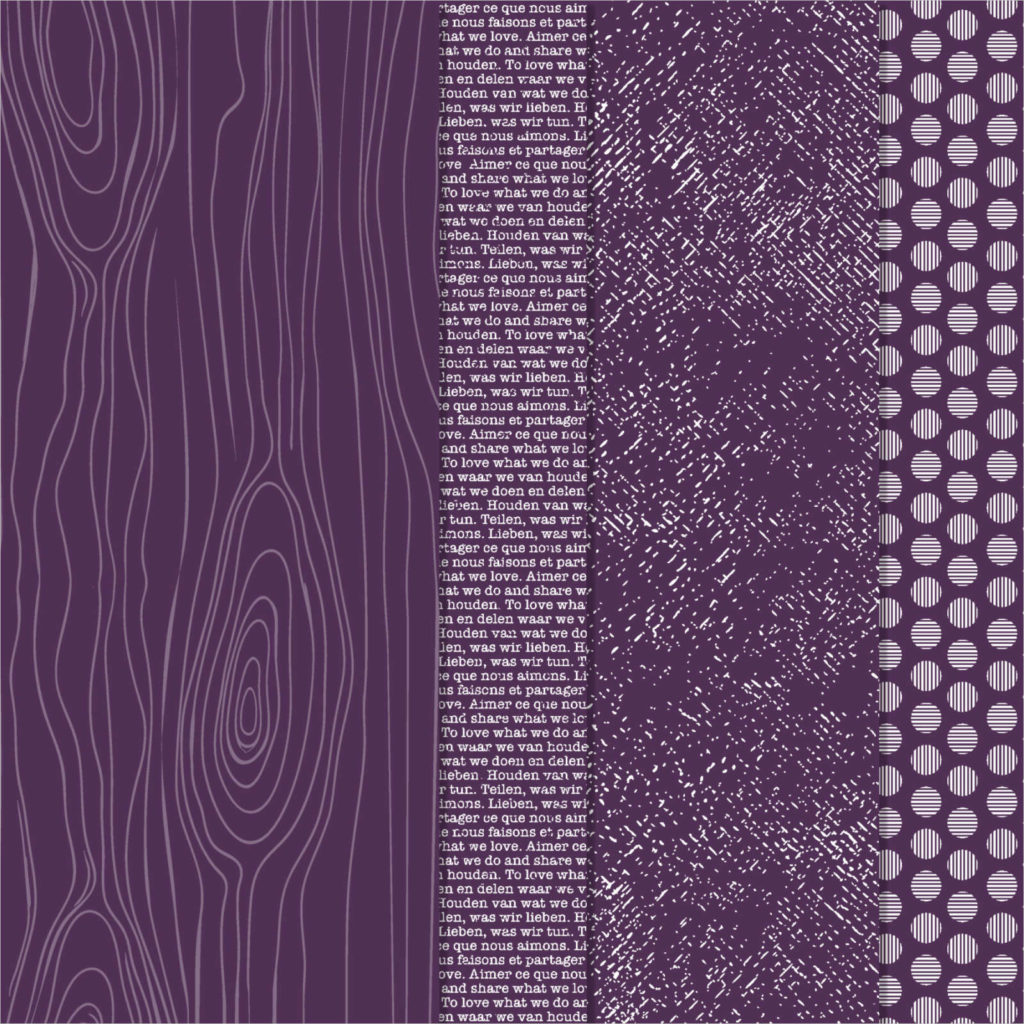
Card two just uses the Birds and More dies, this time with the In Good Taste DSP as the background layer behind the birds. Doesn’t this wood grain paper look so realistic!
I die cut my birds out of Crumb Cake card stock and finished off the card with a double bow of linen thread.
In case you missed my post four weeks ago, this was the birdhouse card I made also using the Birds & Branches Bundle and the stitched triangle dies. You can see more photos of this card and how I made it here.
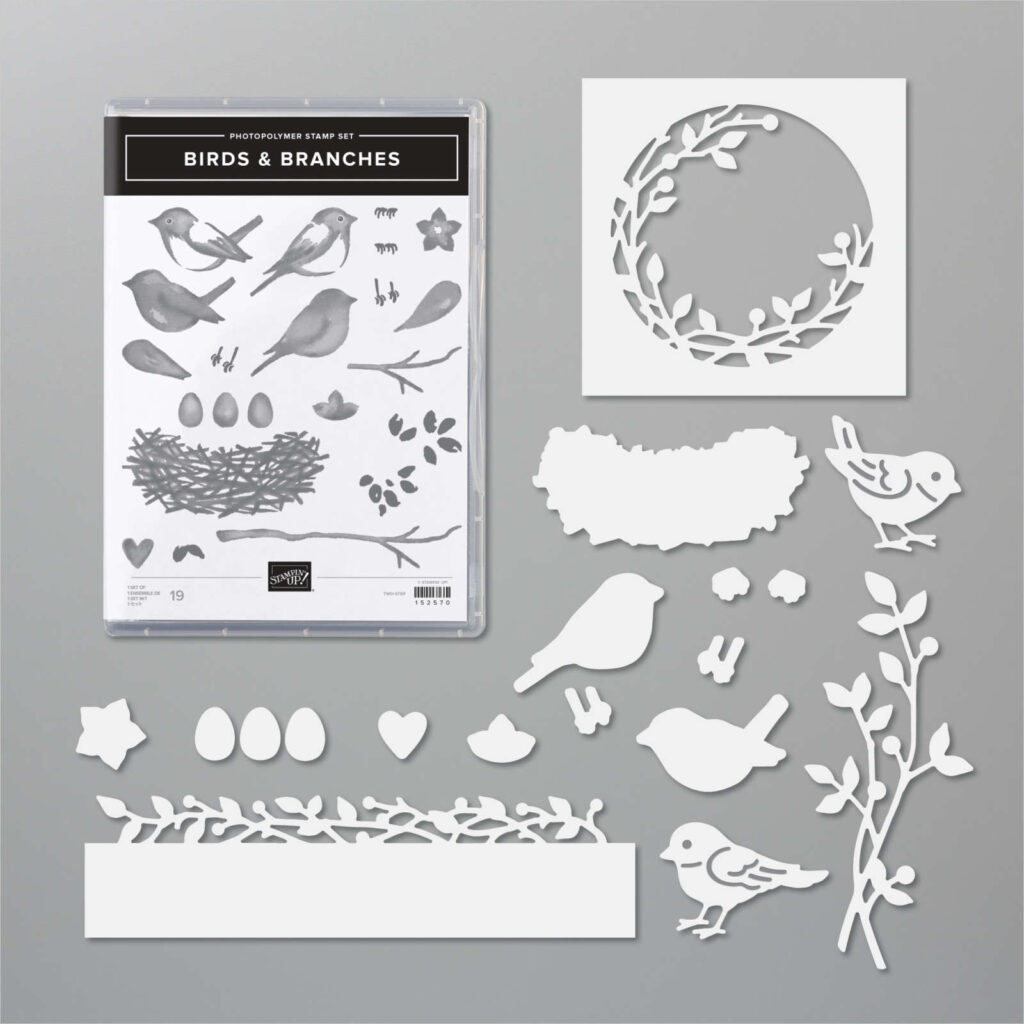
These are the stitched triangle dies and Birds and More Dies I used to make my birdhouse card.
The soft pink is Blushing Bride and I used my water painter to add a touch of it to their tummies.
To purchase any of the products featured in today’s post, simply click on the product links below.
If you’d like me to post you your very own copy of the 2020-21 Stampin Up! Annual Catalogue, the 2020-21 Beginners Brochure, or to simply find out about more about Stampin’ Up! contact me.
In the meantime, wherever you are in the world, stay safe, stay calm…and keep on crafting xxx
Welcome to week three of our 2020-2021 Art With Heart Colour Creations Showcase.
Each week various members of our Art With Heart Colour Creations team will be bringing you weekly colour inspiration as we showcase our range of over 50 beautiful Stampin’ Up! colours in alphabetical order.
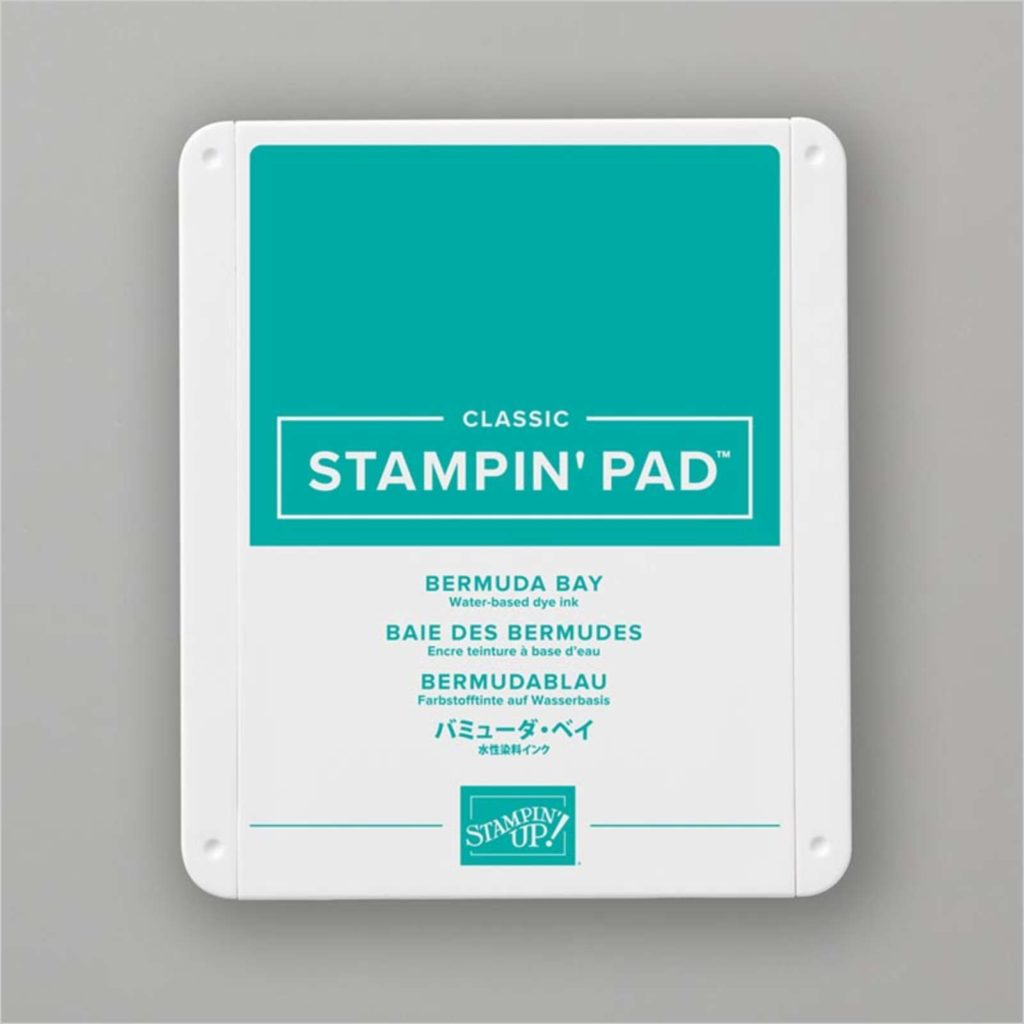
Week 3 -Bermuda Bay
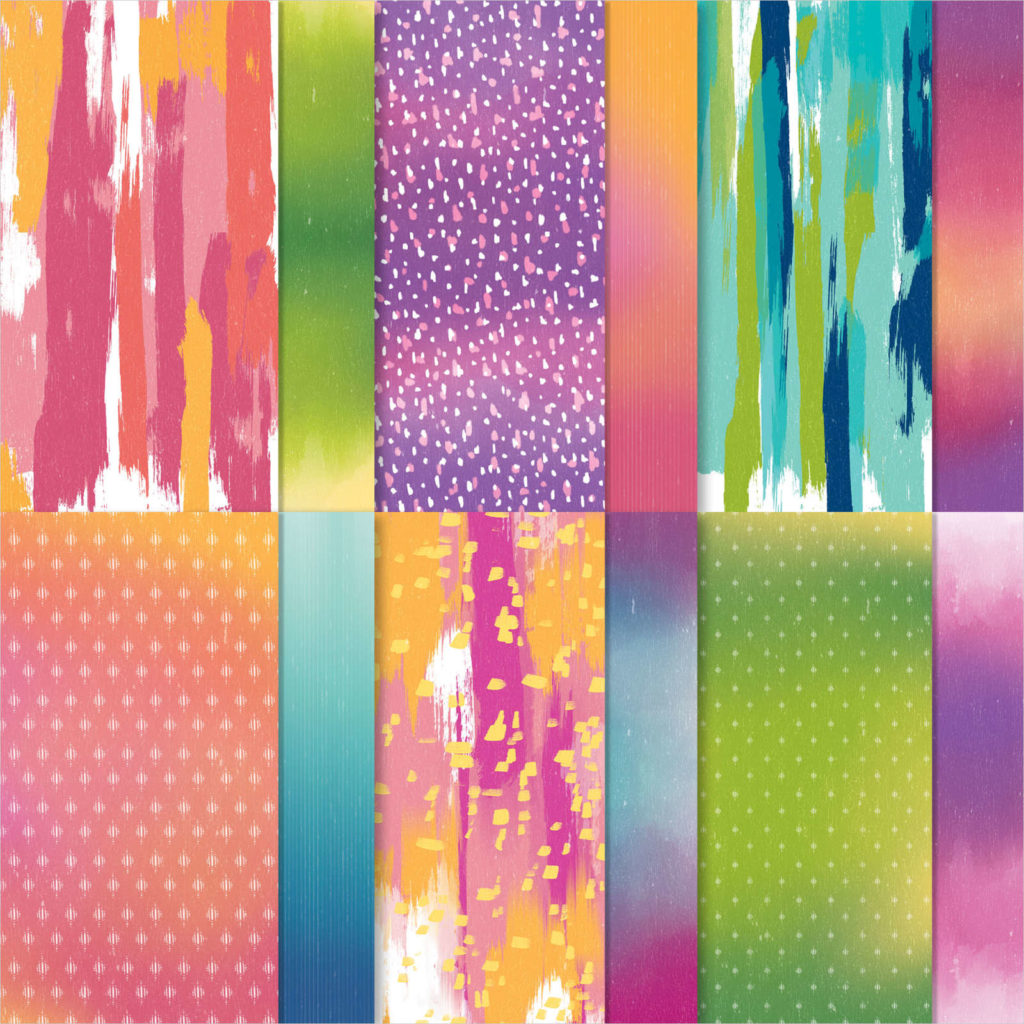
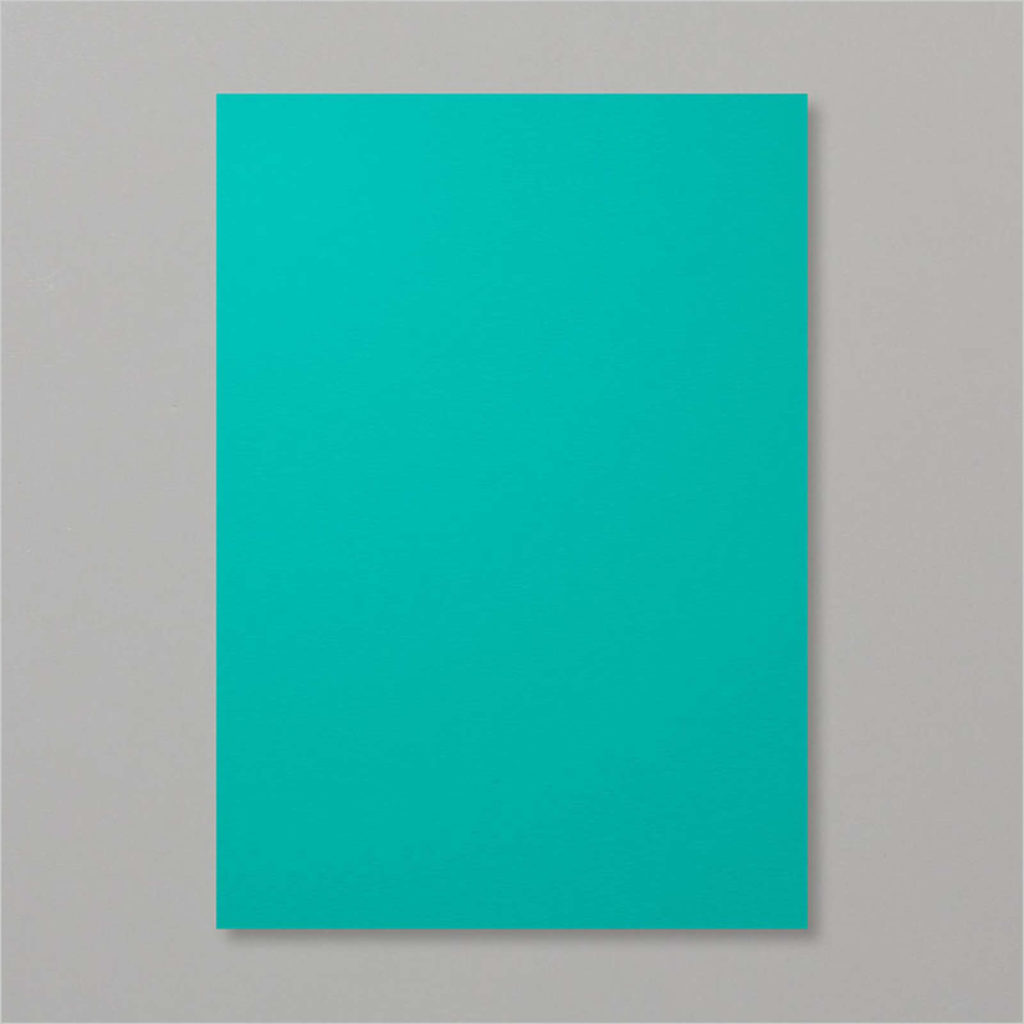
Bermuda Bay is part of the Brights collection of colours. It is available as a Classic Stampin’ Pad and ink refill, Stampin Blends combo pack, Watercolour Pencils pack, Stampin’ Write marker, Brights 6×6 Designer Series Paper and Artistry Blooms DSP, or you can purchase it within any of the Brights collections.
Bermuda Bay Stampin’ Pad
Bermuda Bay ink refill
Stampin’ Blends Bermuda Bay Combo Pack
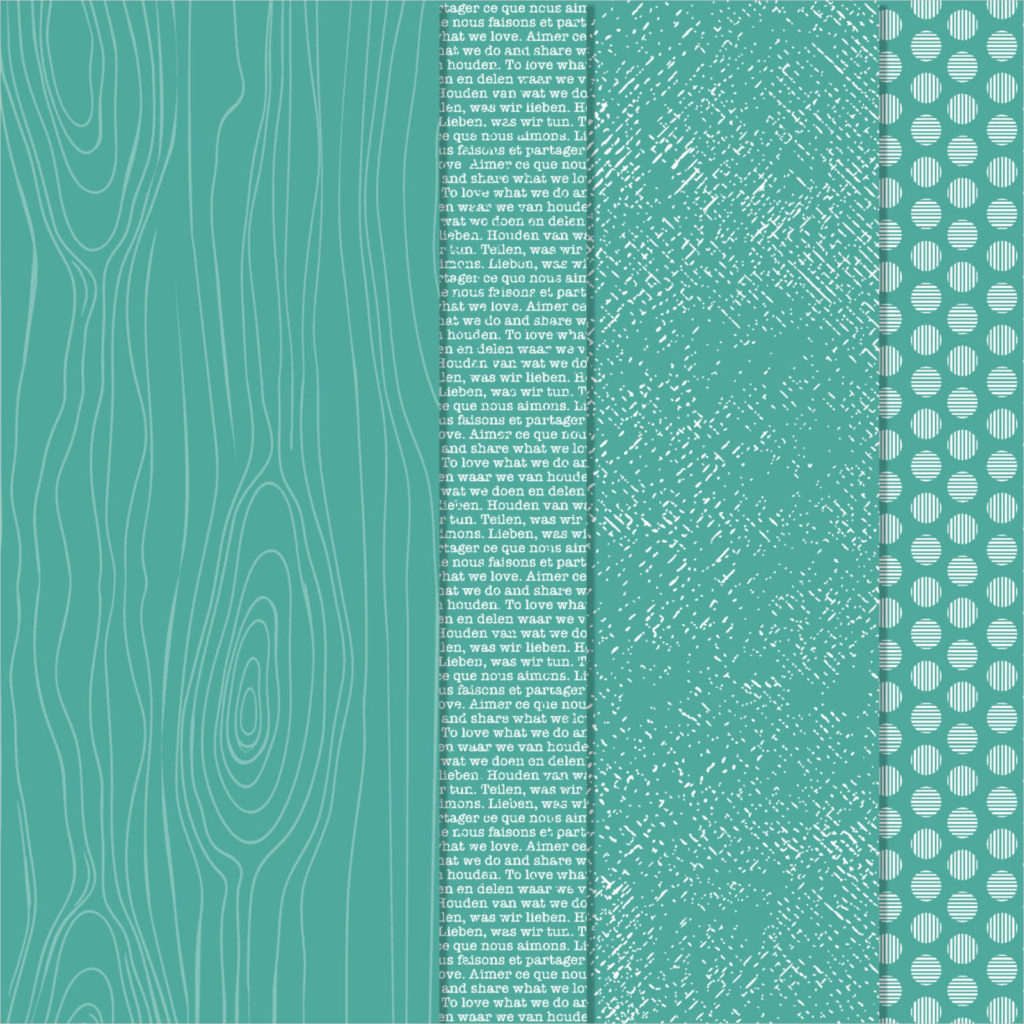
Brights 6×6 DSP
Watercolour Pencils
Artistry Blooms Designer Series Paper
Bermuda Bay A4 Card Stock
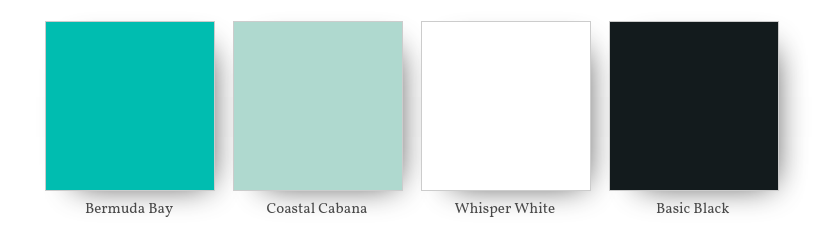
Any shade of aqua or blue is in my top ten list of colours so I took the opportunity to use both Bermuda Bay and Coastal Cabana, paired with Basic Black and Whisper White. It’s such a fresh combination that really reflects the beautiful beaches near where I live.
Originally I was just going to make one card but because I didn’t want to waste the leftovers from card one I used them to make card two. And then there were more leftovers from card two and it seemed a crime to waste them so I made card three.
I could have kept going, making more and more cards with leftovers but I had to stop somewhere, so here’s what I made.
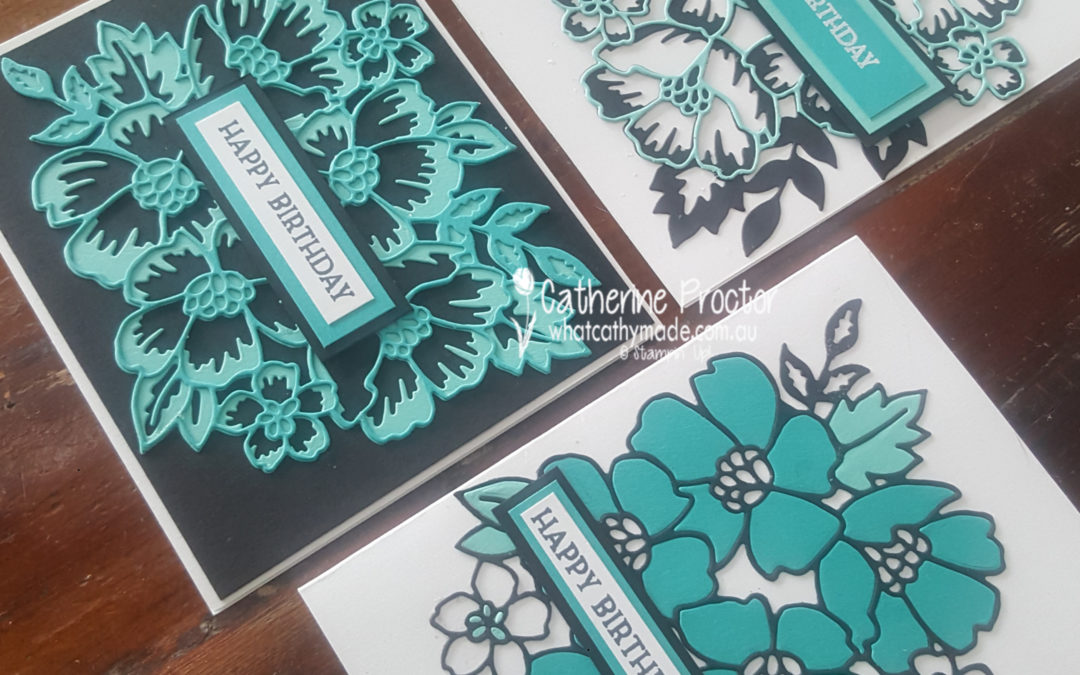
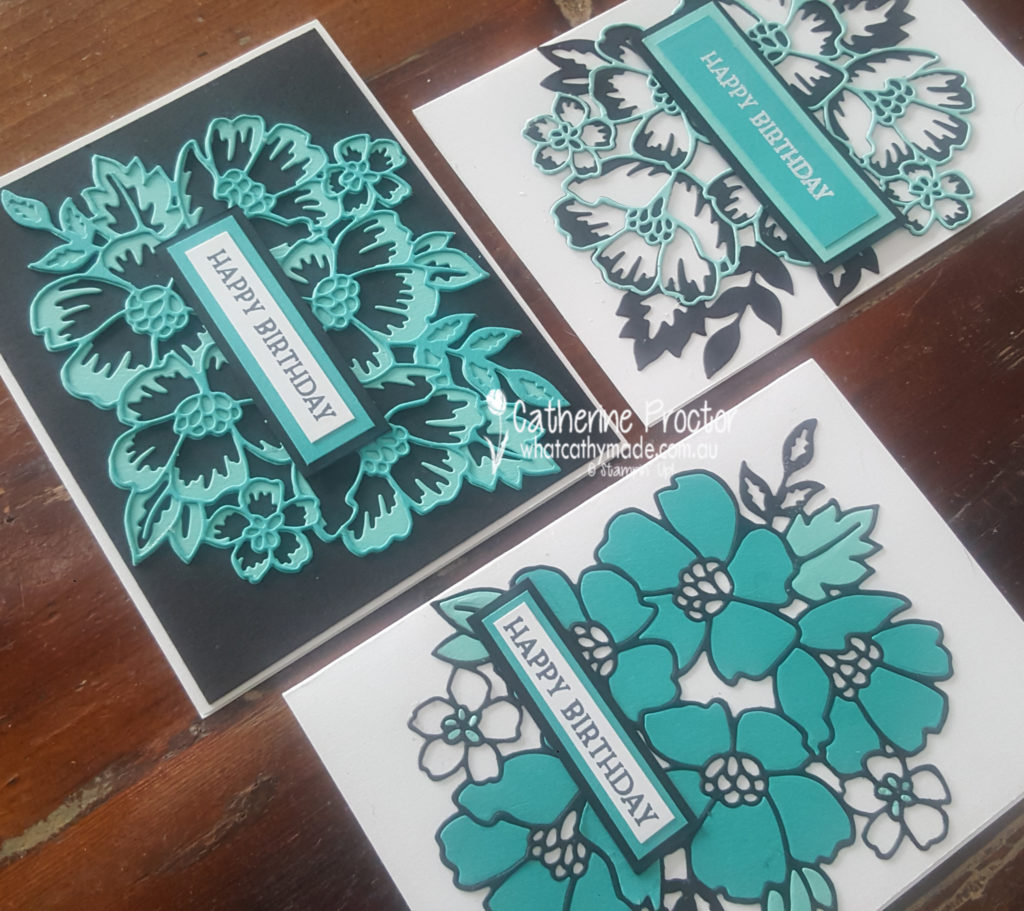
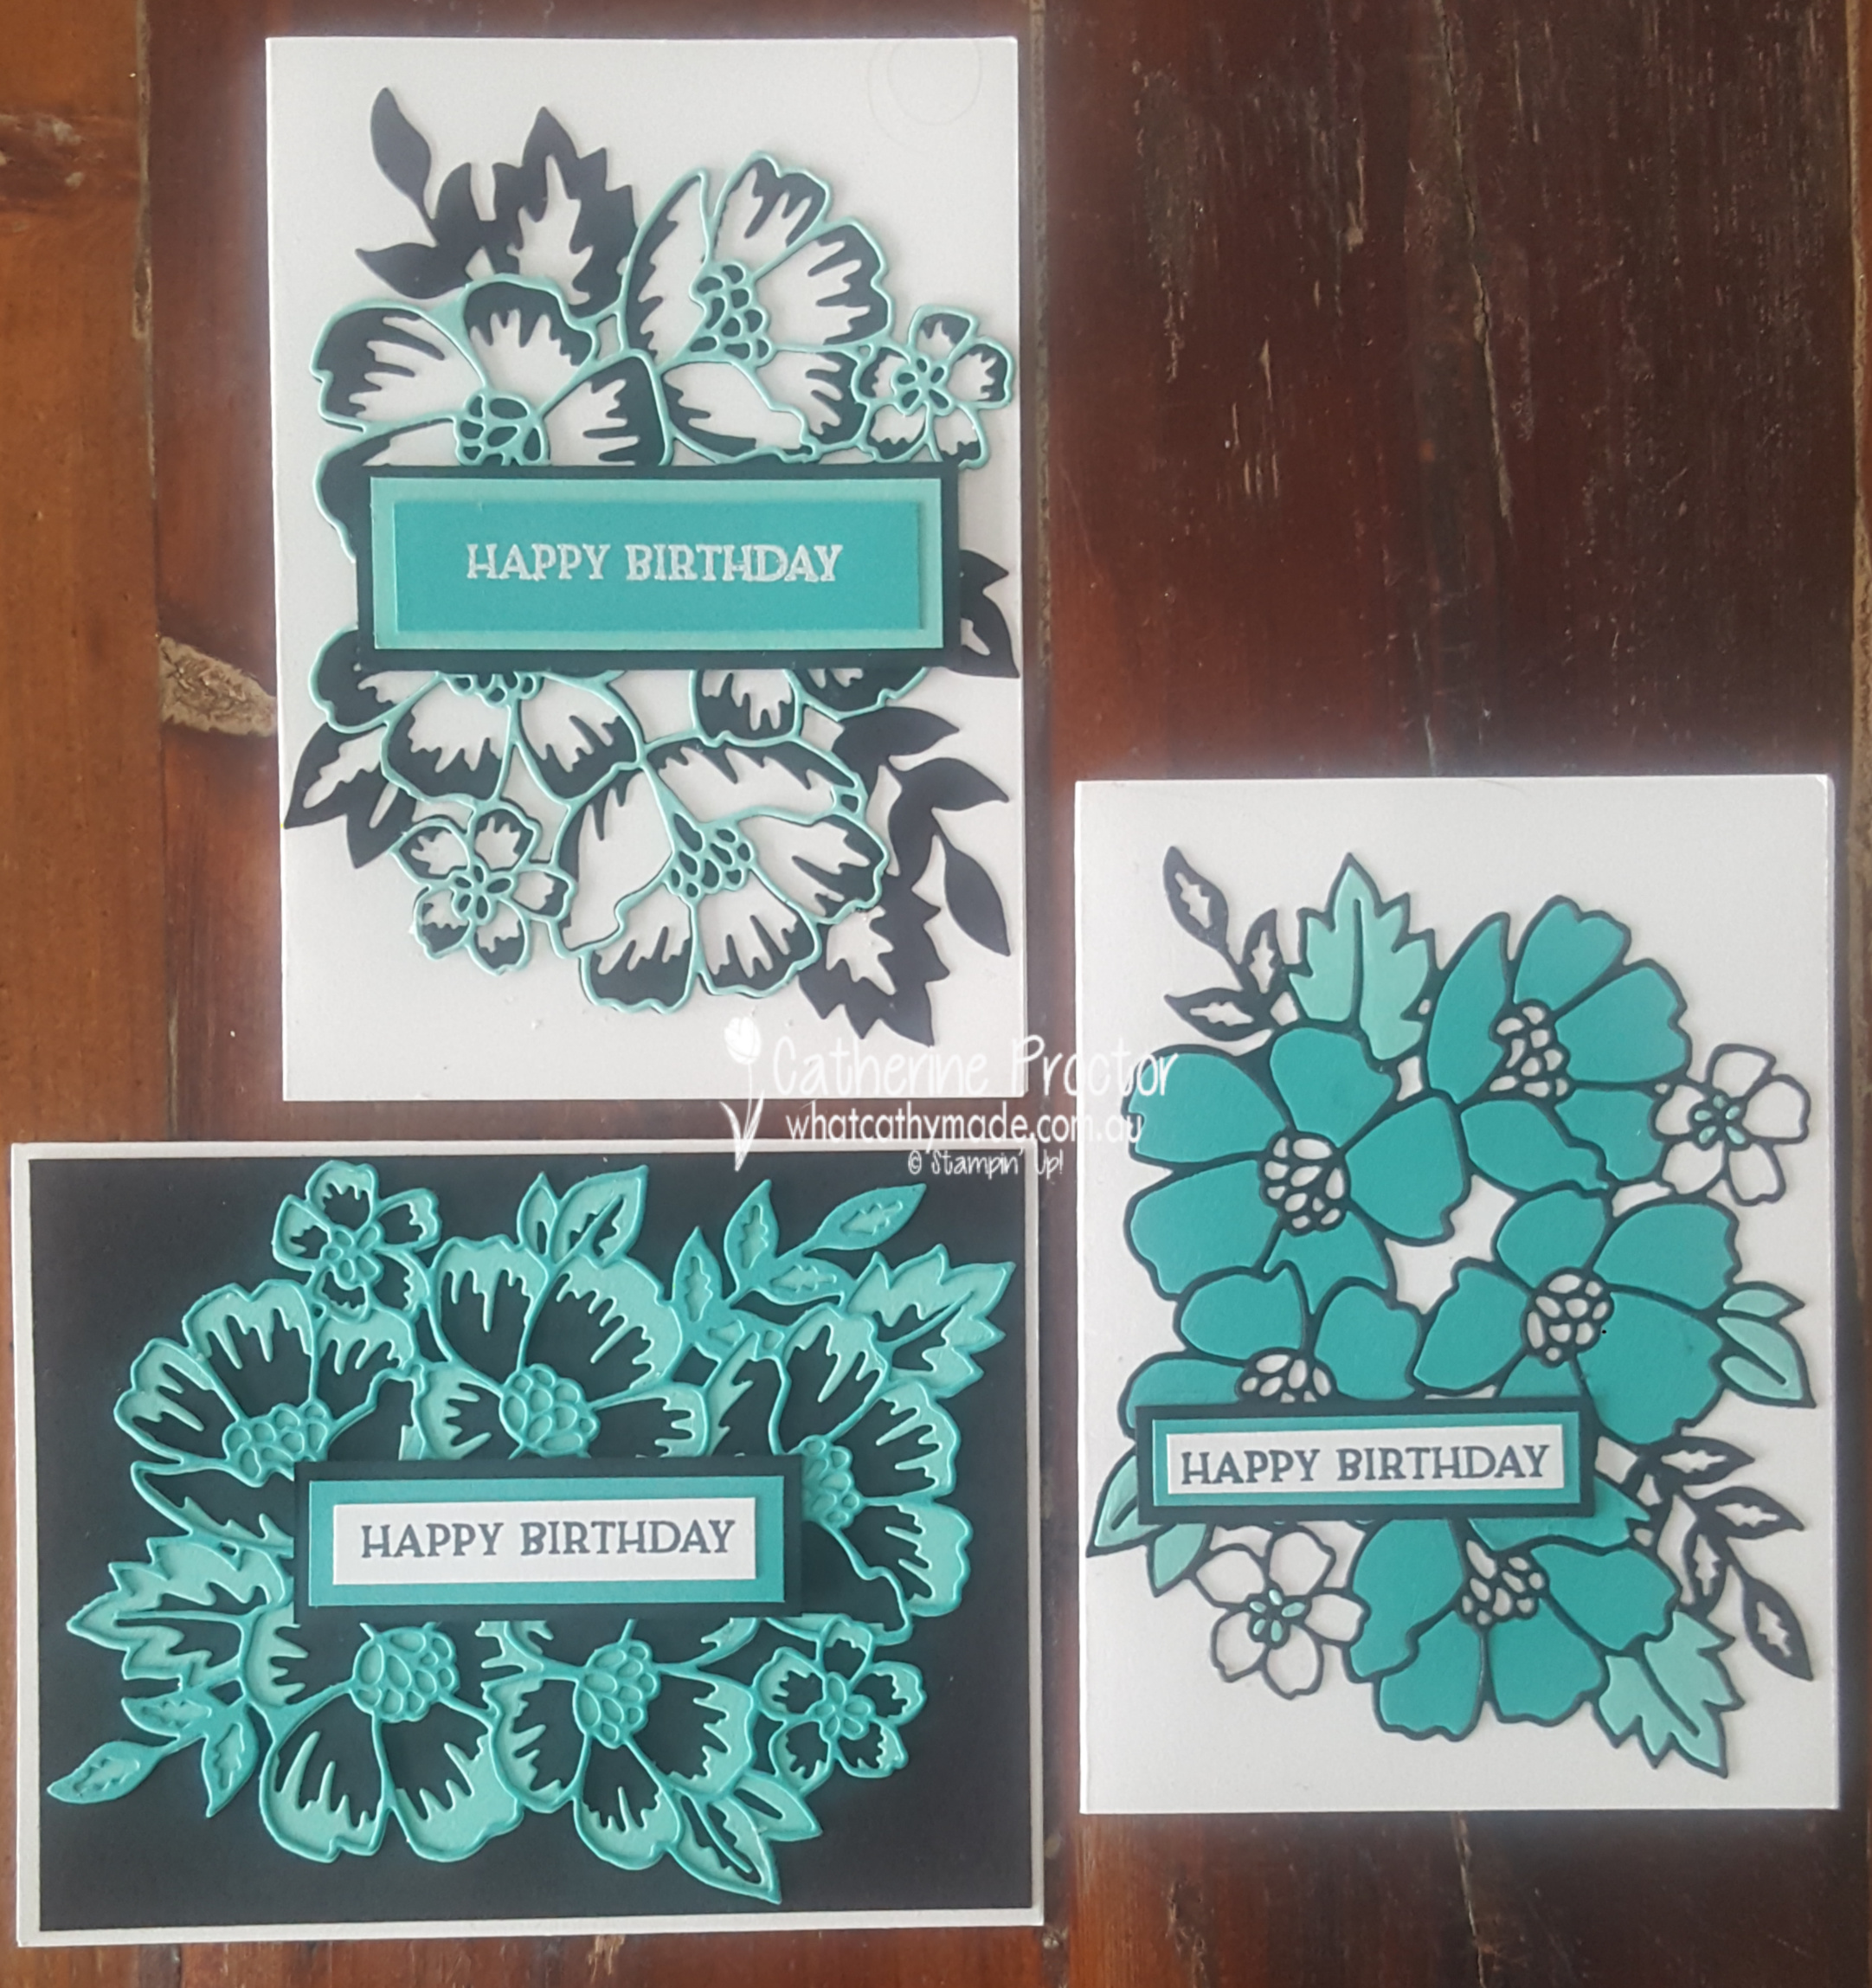
All three cards use a new bundle from the 2020-21 Annual Catalogue called the Blossoms in Bloom bundle. I just love the large layered floral dies in this set, as well as the font of the sentiments and the watercolour effect of the floral stamps.
For card one I cut the top layer from Bermuda Bay card stock, the bottom layer of the flower die from Coastal Cabana card stock and layered the dies onto a Basic Black mat to make them really pop.
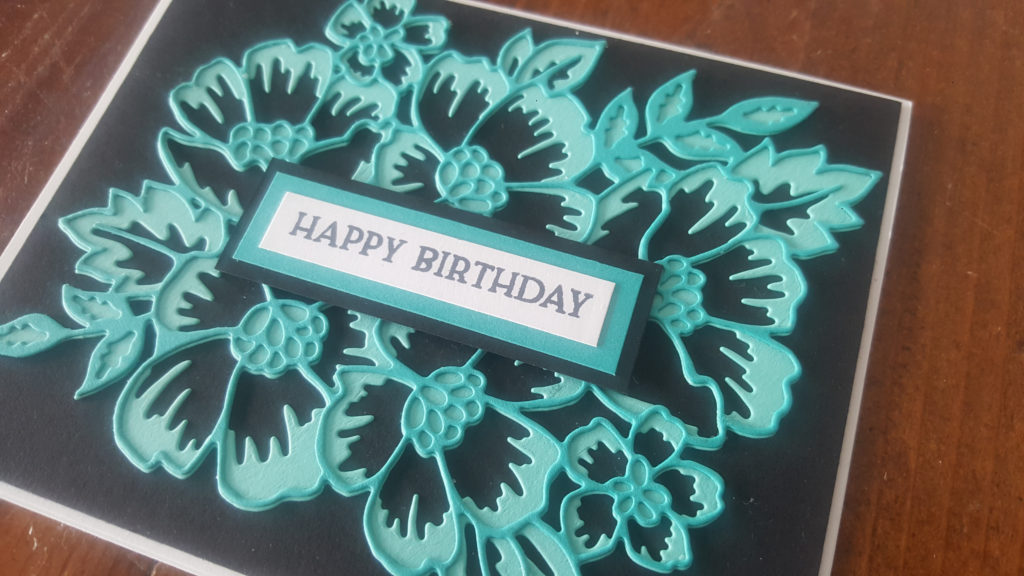
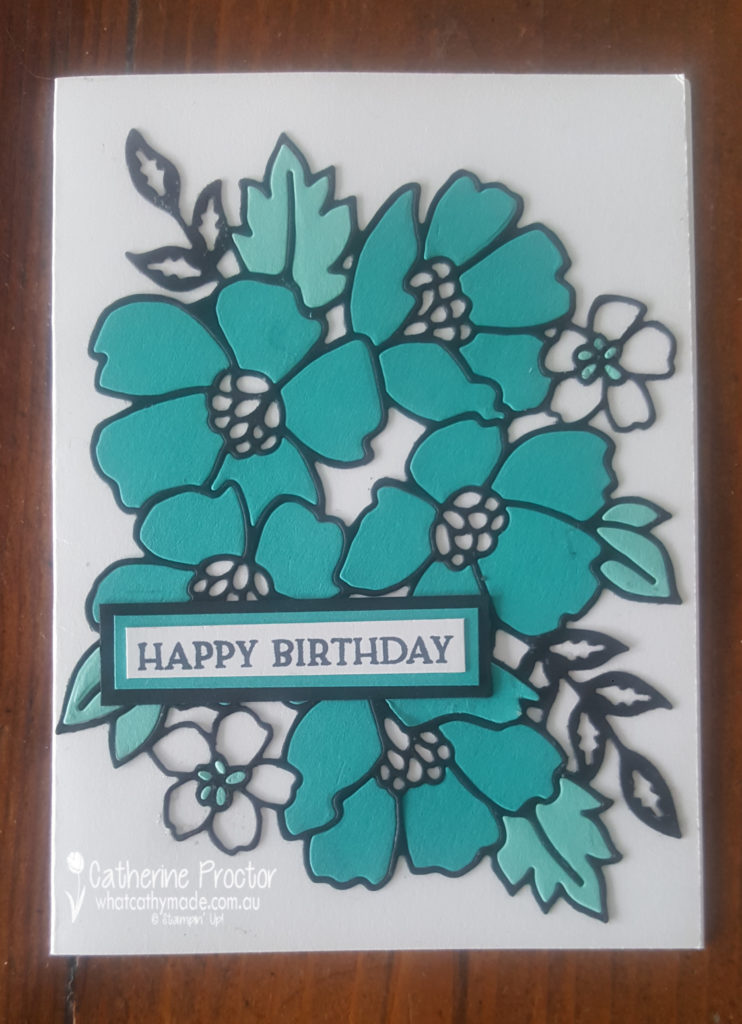
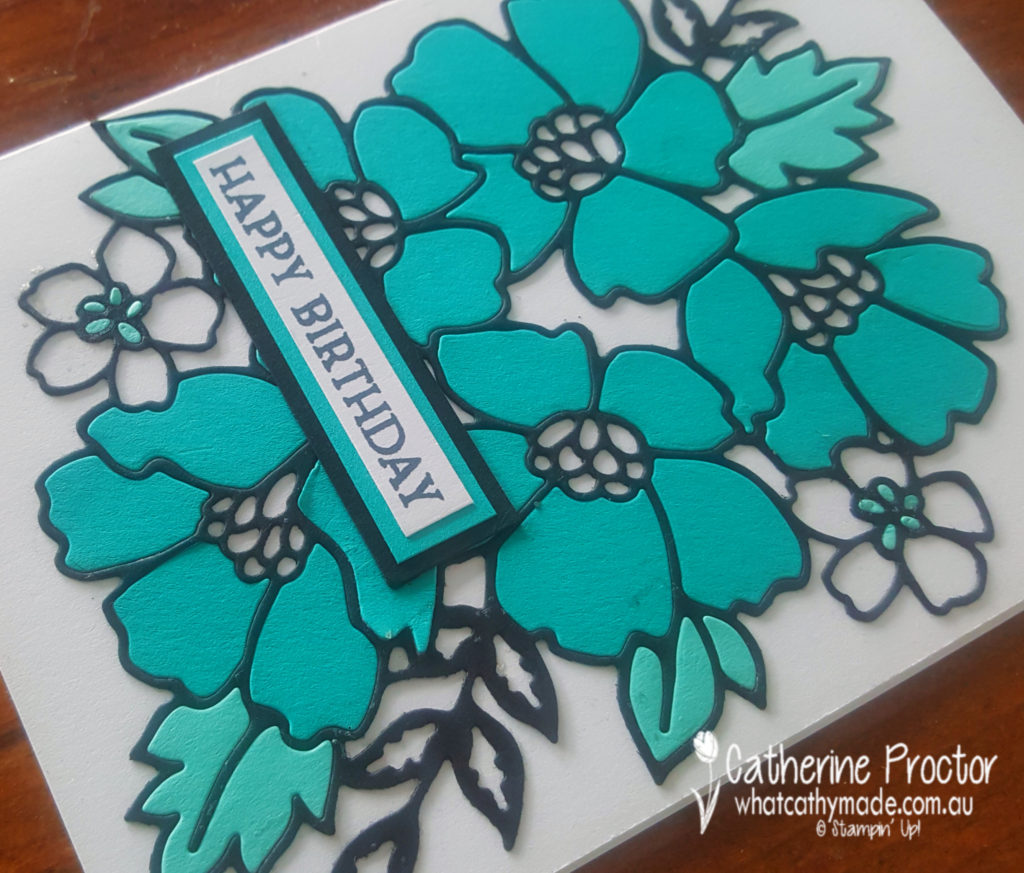
I had so many beautiful pieces of Bermuda Bay card stock left over from card one, I decided to use the paper piecing technique to make card two.
This time I cut the top flower layer in Basic Black and layered it straight onto a whisper white base. I glued the Bermuda Bay flower petals into the black outline of the die and then cut another top flower layer die out of Coastal Cabana to get some leaf pieces as well as the tiny flower centres.
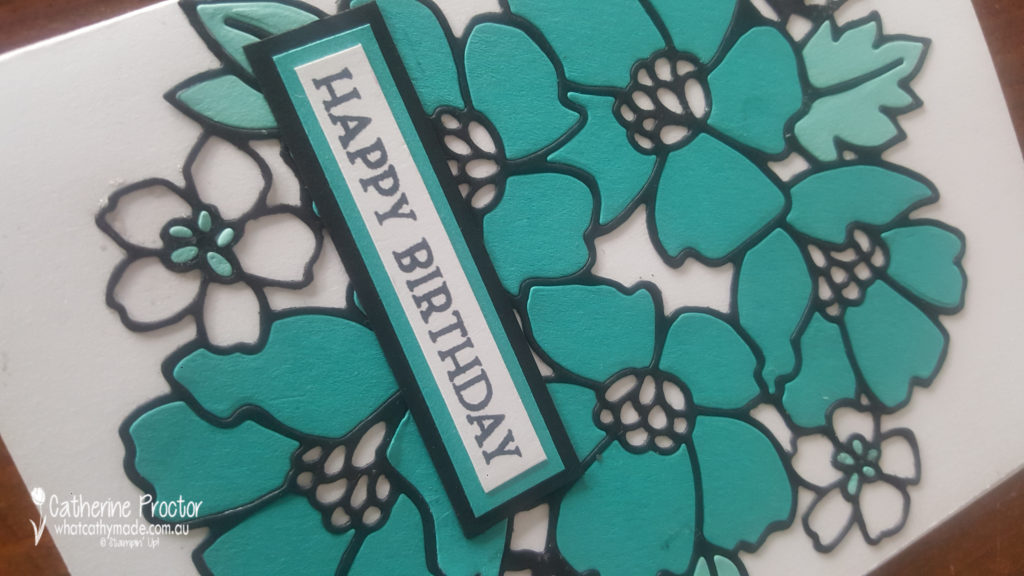
Yes, this card did take some patience but I love the effect it gives. Here’s another close up to show you the tiny detail you can achieve with this technique. Because the pieces fit so perfectly the card has such impact!
You can probably guess the inspiration for card three?
I now had a spare Coastal Cabana top layer flower die so I decided to use just part of this die cut, layered onto the bottom layer of the flower die which I cut out of Basic Black card stock. I trimmed the Coastal Cabana top layer down so I only used the floral section of the die on my finished card.
There are so many possibilities with the Blossoms in Bloom bundle, both in terms of the range of colours you can use and the different effects you can achieve.
I can’t wait to see what the rest of the Art With Heart team have created with Bermuda Bay today.
Just click on the links below to see what they’ve all made.
Thanks so much for hopping along with the Art With Heart Team on our weekly Colour Creations Showcase.
Next Tuesday we’ll be showcasing one of the regals: Blackberry Bliss. We hope you can join us all then.
To purchase any of the products featured in today’s post, simply contact your Stampin’ Up! demonstrator, any of the ladies in the AWH Colour Creations Showcase or click on the product links below.
If you’d like me to post you your very own copy of the 2020-21 Stampin Up! Annual Catalogue, the 2020-21 Beginners Brochure, or to simply find out about more about Stampin’ Up! contact me.
In the meantime, wherever you are in the world, stay safe, stay calm…and keep on crafting xxx


")


 Braided Linen Trim")


")


")


