Welcome to week 10 of our 2021-22 Colour Creations blog hop! Tonight we are showcasing Cherry Cobbler, from the regals collection.
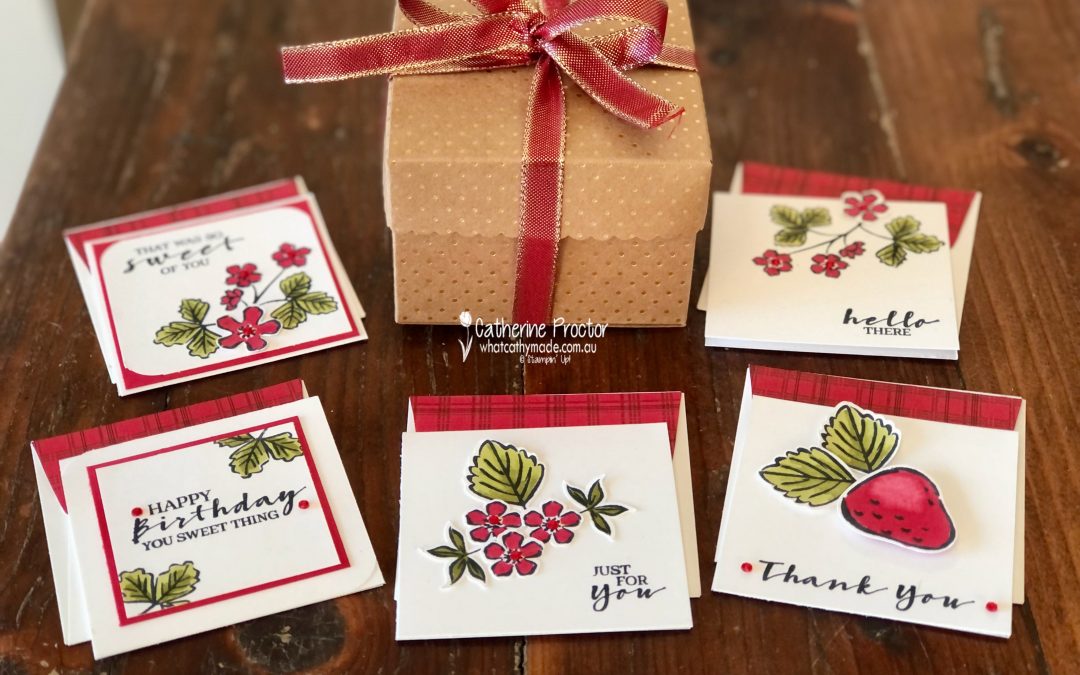
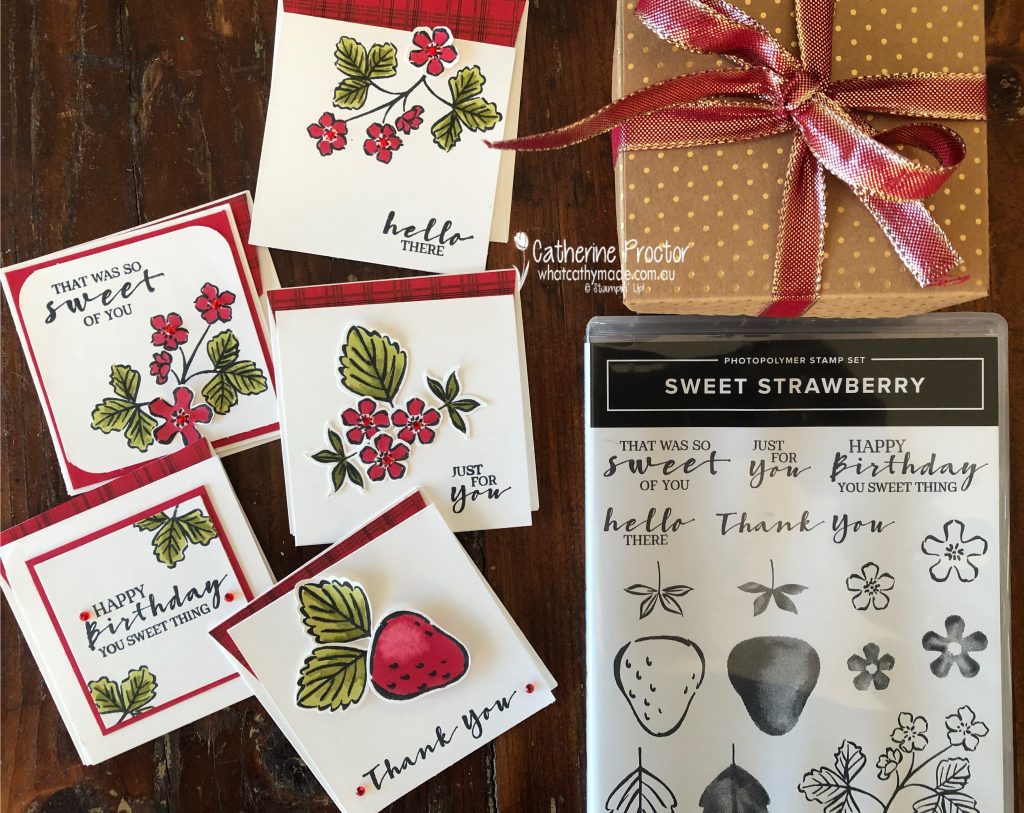
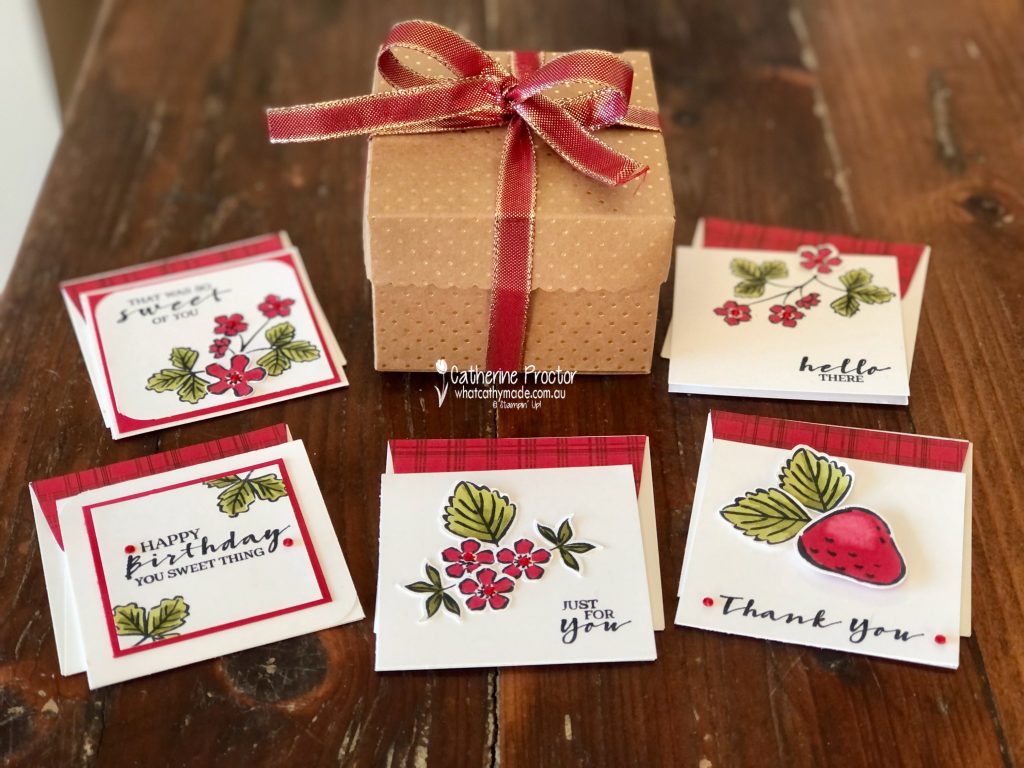
I normally use Cherry Cobbler to make Christmas cards, however, as I’m already making a Christmas card every Monday for our Heart of Christmas blog hop I decided to make a non-Christmas project instead that uses the Sweet Strawberry bundle and the stunning Cherry Cobbler & Gold 1/2″ (1.3 cm) Ribbon.
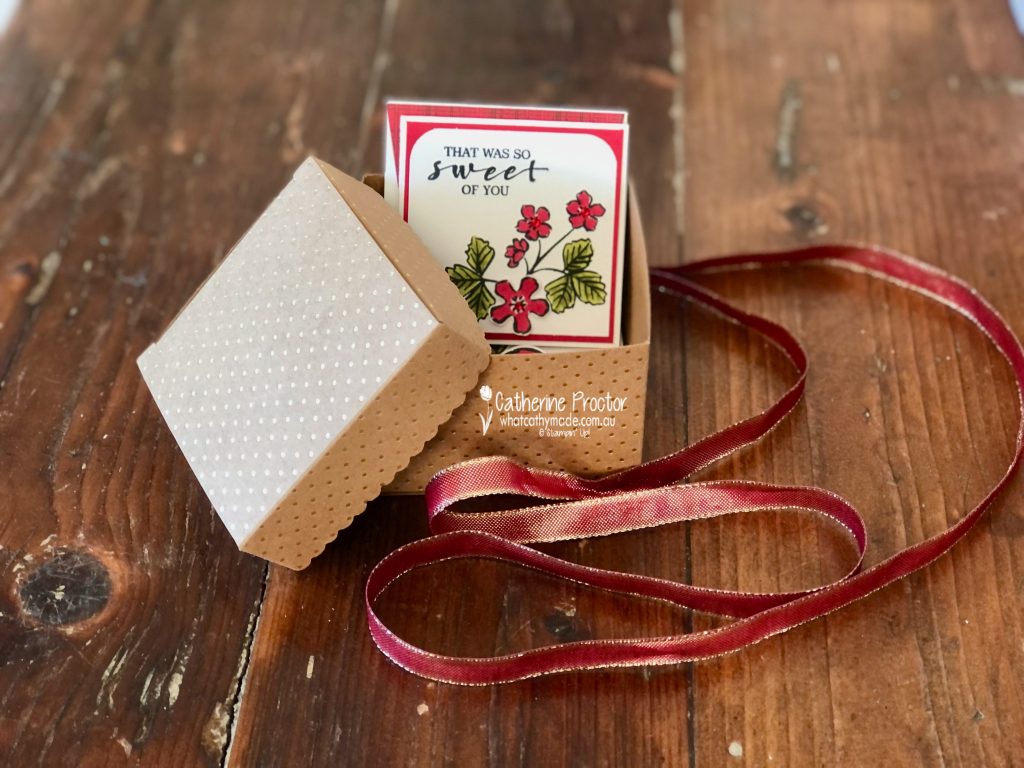
Have you seen the the Scalloped Kraft Treat Boxes in the Annual Catalogue? They are covered in tiny gold foil dots and they are perfect size for packaging up a selection of 3×3 inch notecards. They also coordinate so well with the Cherry Cobbler & Gold 1/2″ (1.3 cm) Ribbon.
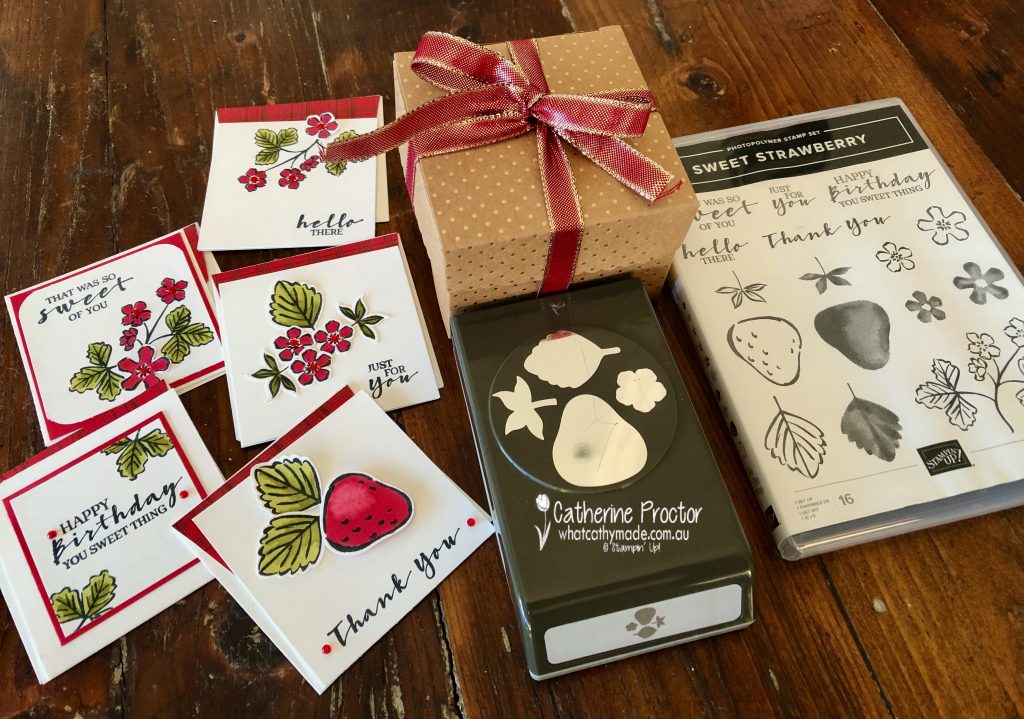
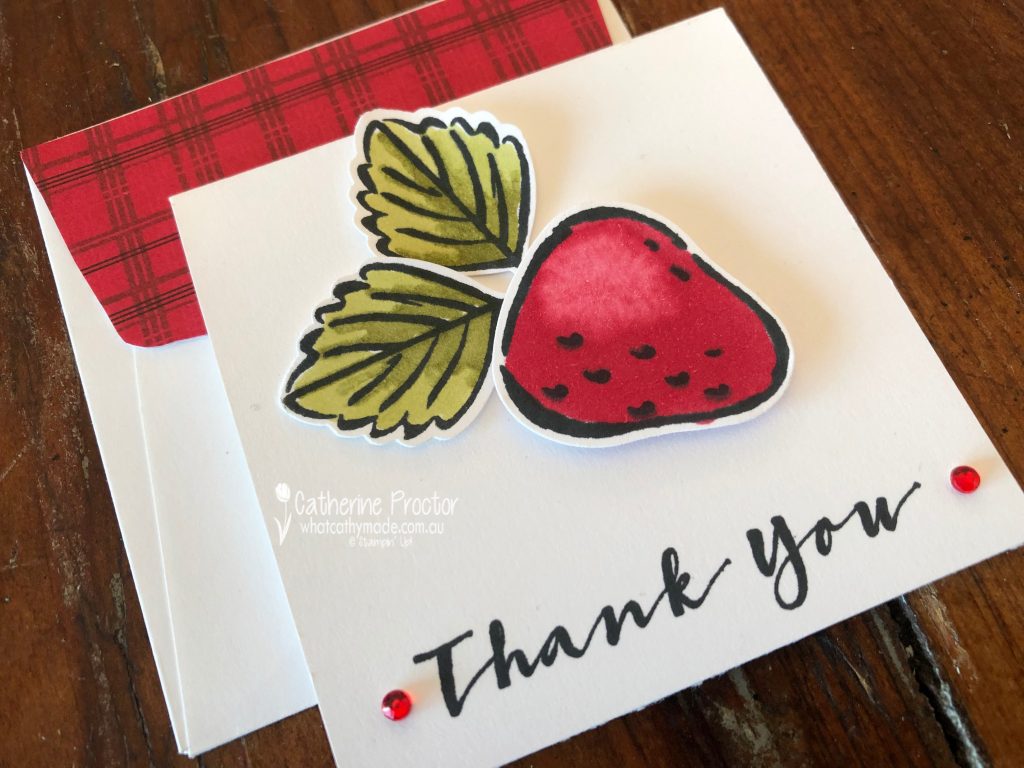
The Sweet Strawberry stamp set was the perfect stamp set to be coloured in with my light and dark Cherry Cobbler Stampin’ Blends. I’ve also used light and dark Old Olive Stampin’ Blends for the leaves.
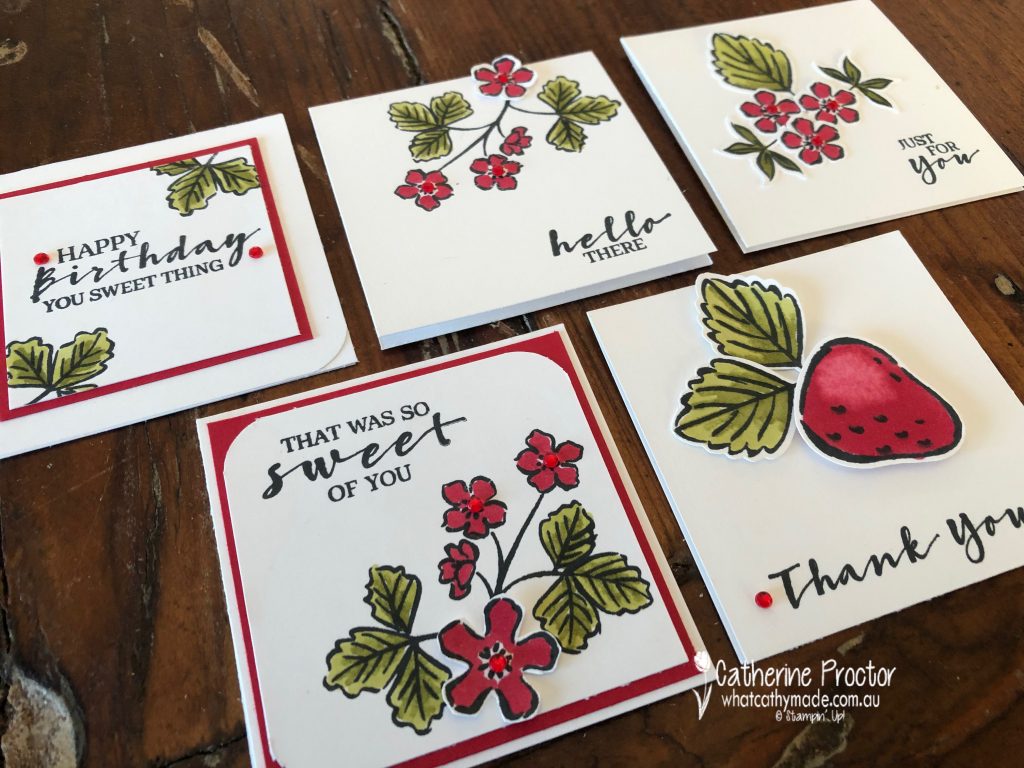
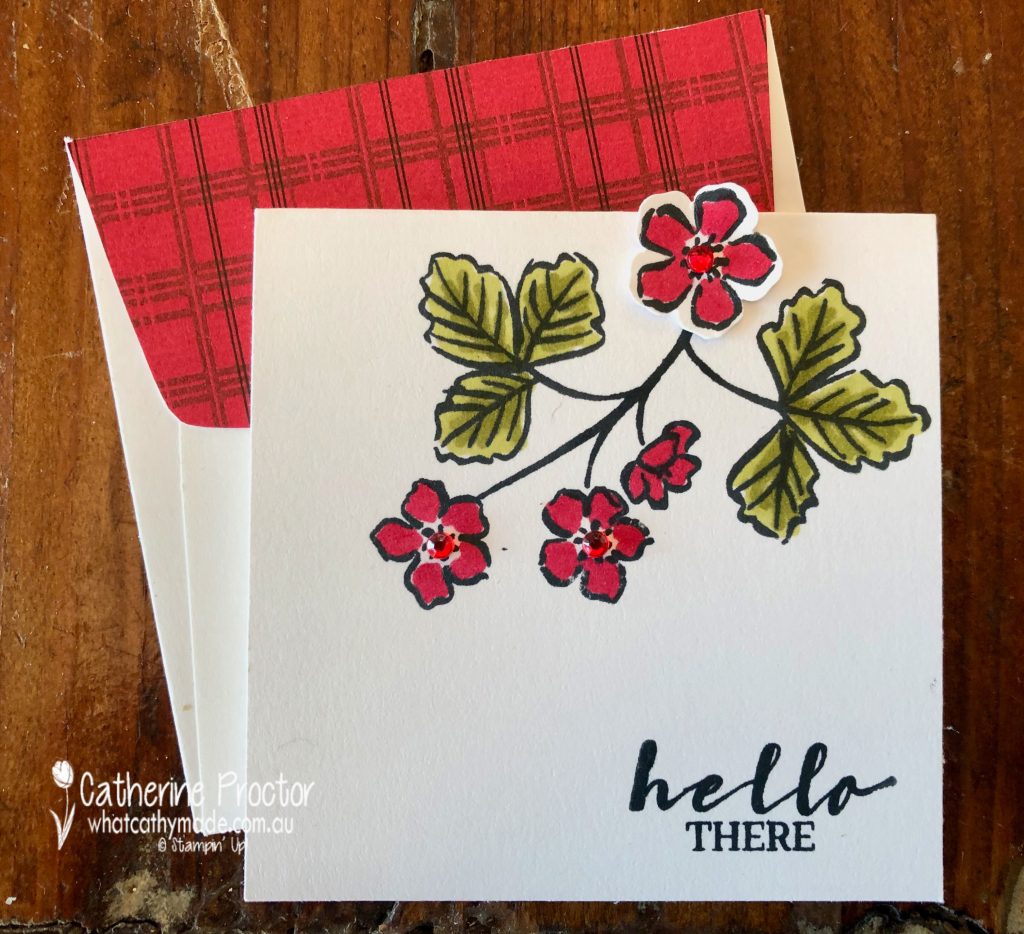
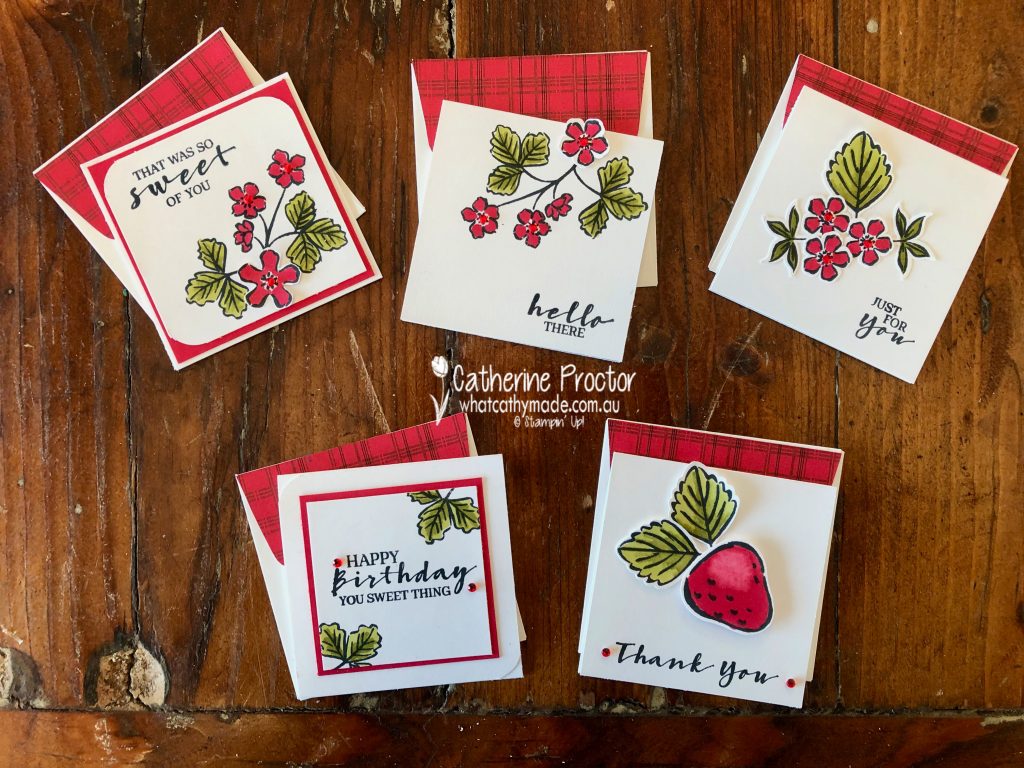
There’s a lovely selection of sentiments in this stamp set and I’ve used a different one on each notecard.
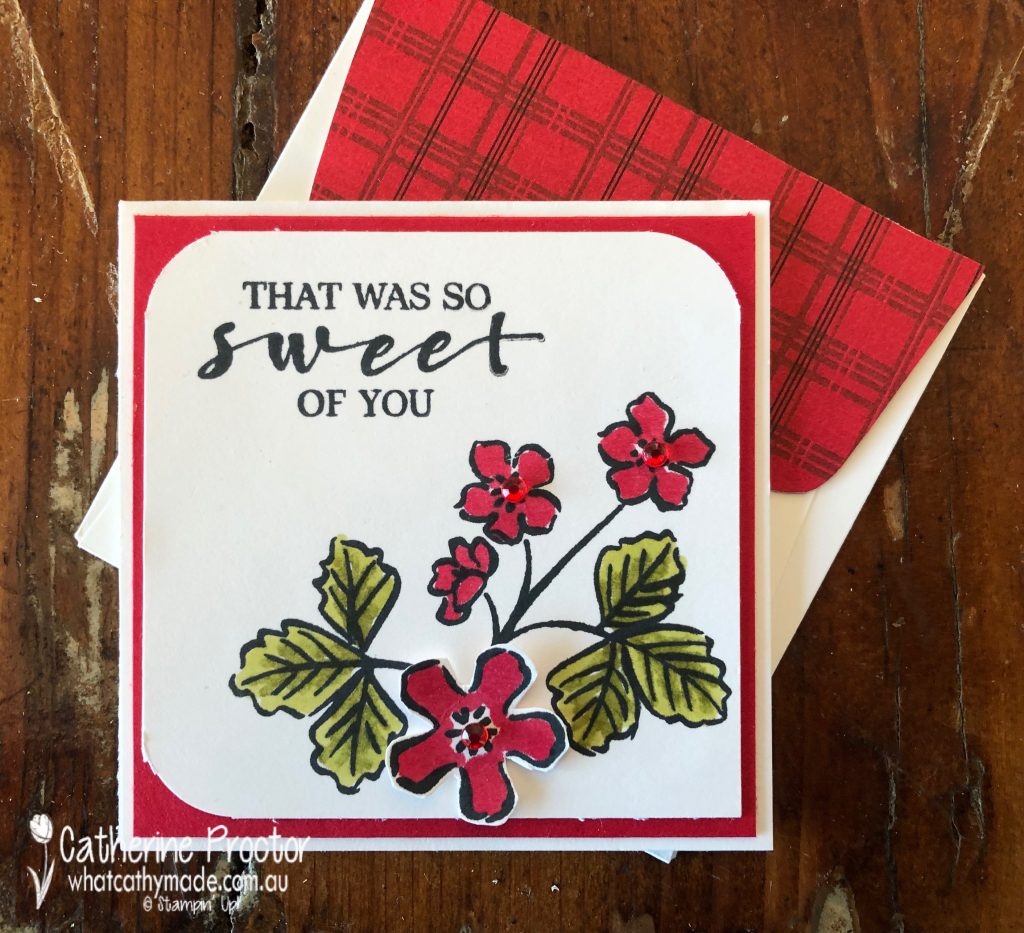
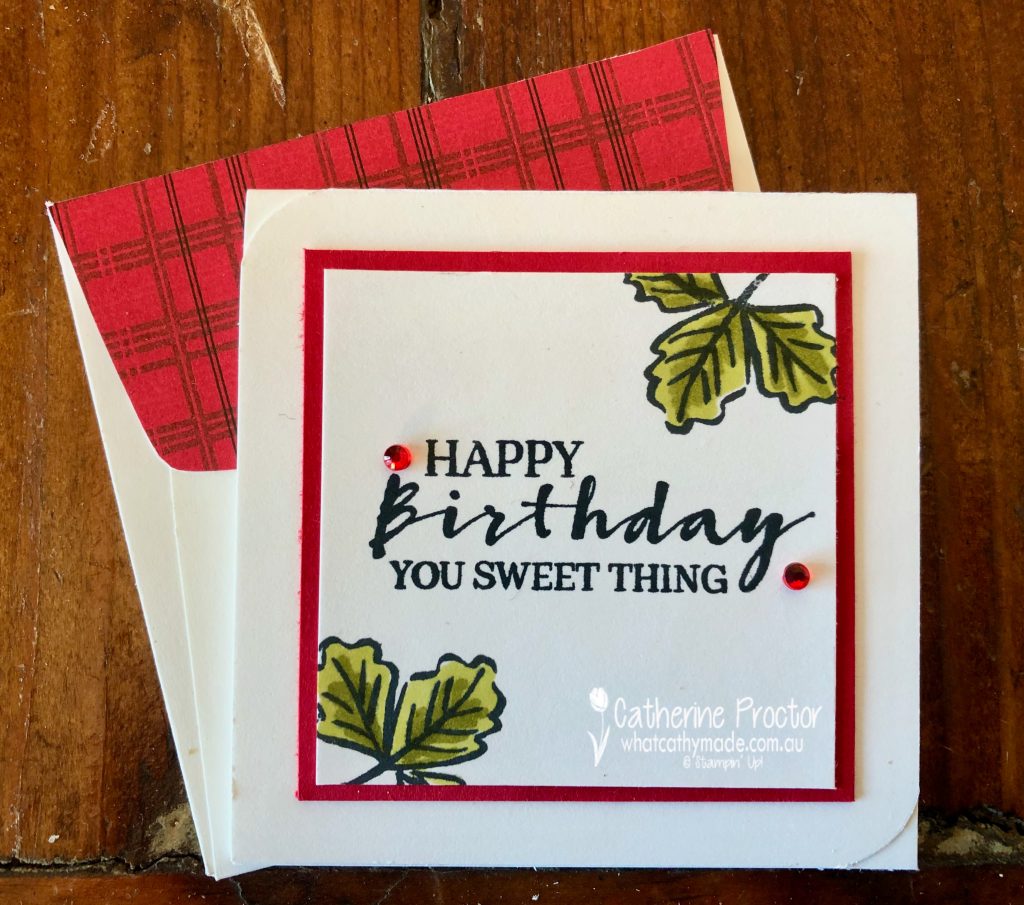
Here’s a closer look at each note card. For the first two notecards I added a layer of Cherry Cobbler Cardstock behind the stamped layer and I stamped directly onto the top card stock layer.
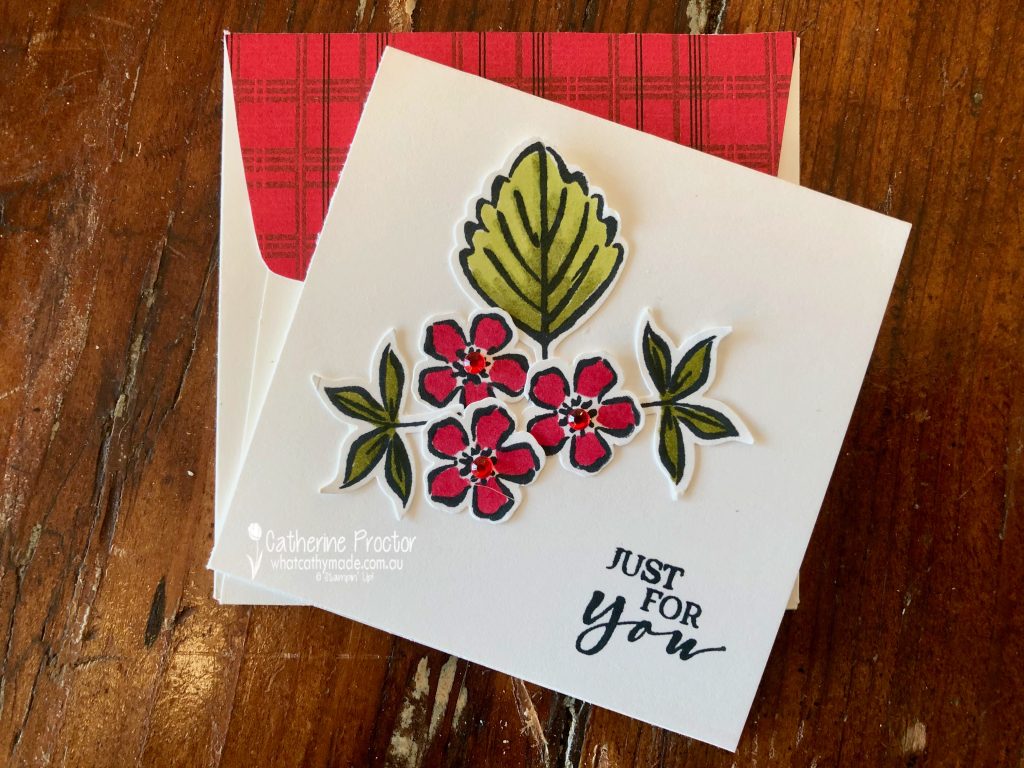
The coordinating Strawberry Builder punch punched out the strawberry, the large and small leaf and the strawberry flower that I’ve used for these notecards below – the large flower I fussy cut with my paper snips. Red Rhinestone Basic Jewels add a tiny touch of bling.
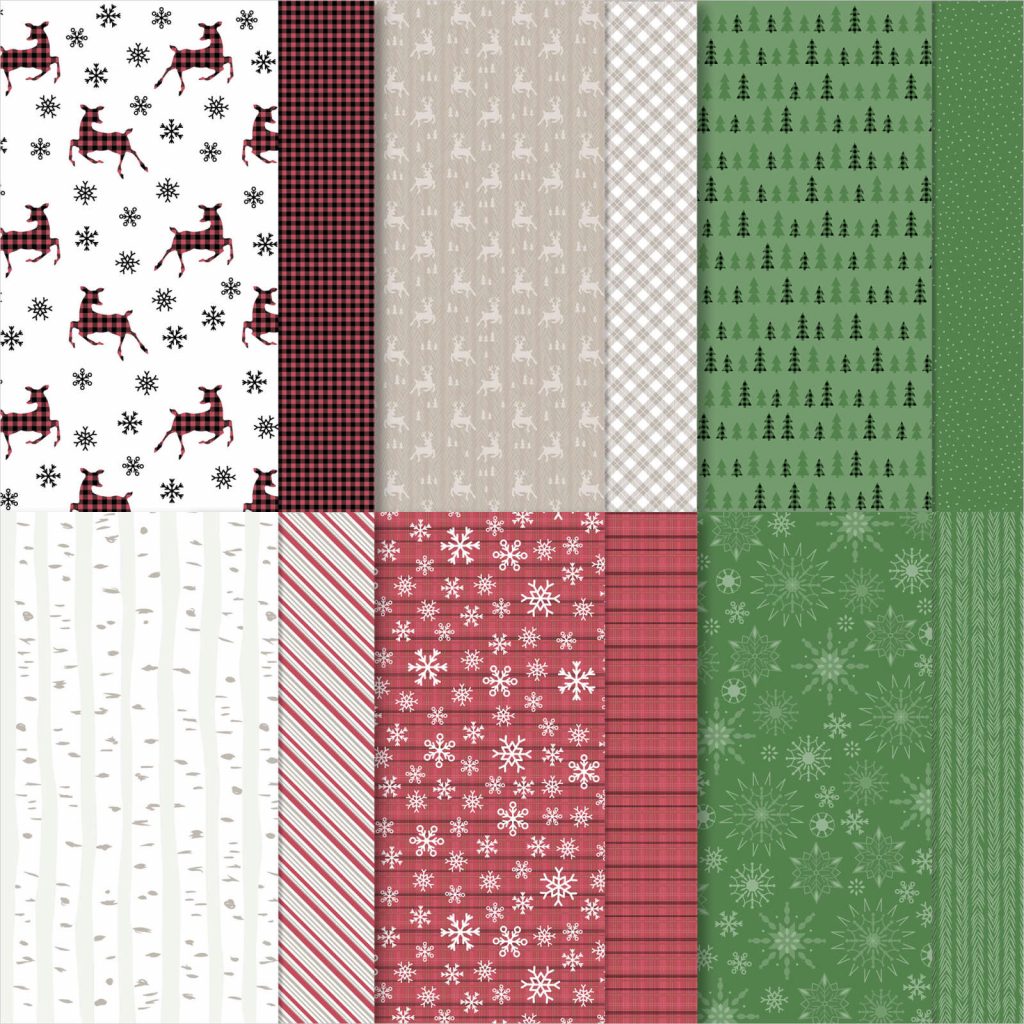
These Stampin’ Up! square envelopes come in a pack of 40 and are designed to fit 3″ x 3″ (7.6 x 7.6 cm) notecards. To coordinate with envelopes with my Cherry Cobbler notecards I’ve simply glued a strip of the Peaceful Prints FREE Sale-a-bration Designer Series Paper to the envelope flaps and trimmed the DSP with paper snips to fit the curve of the envelope flaps.
Although this DSP has Christmas designs on one side, the other sides are all background patterns you can also use on non-Christmas cards, like I have done here, using the Cherry Cobbler and Basic Black check pattern to decorate the envelope flaps.
The final touch for my gift box of Cherry Cobbler notecards is to tie it up with the new Cherry Cobbler & Gold 1/2″ (1.3 cm) Ribbon.
Now it’s time to hop on over to our next participant, Rachel Palmieri. I can’t wait to see what she’s made this week!
If you find a broken link or have come to this blog hop from a different entry point, you can view the the full list of participants below:
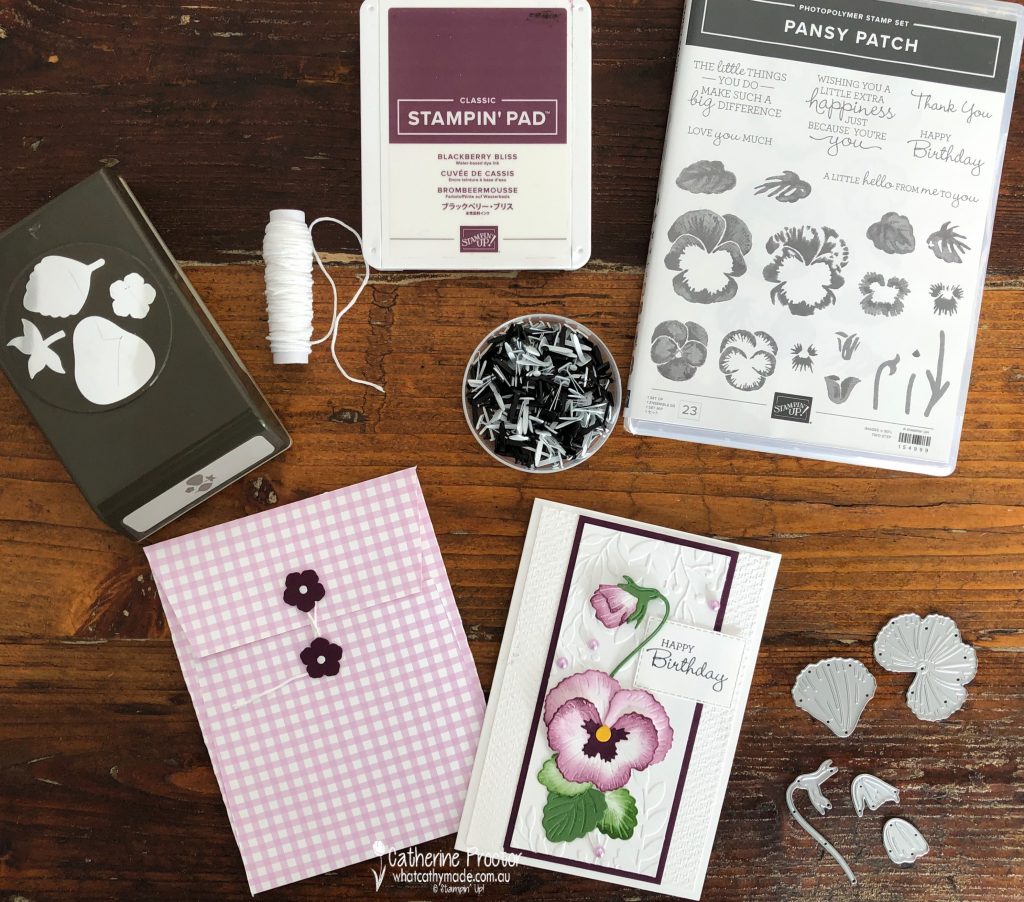
Welcome to week 5 of our 2020-21Colour Creations blog hop! We are showcasing Blackberry Bliss, a rich, deep colour from our regal family.
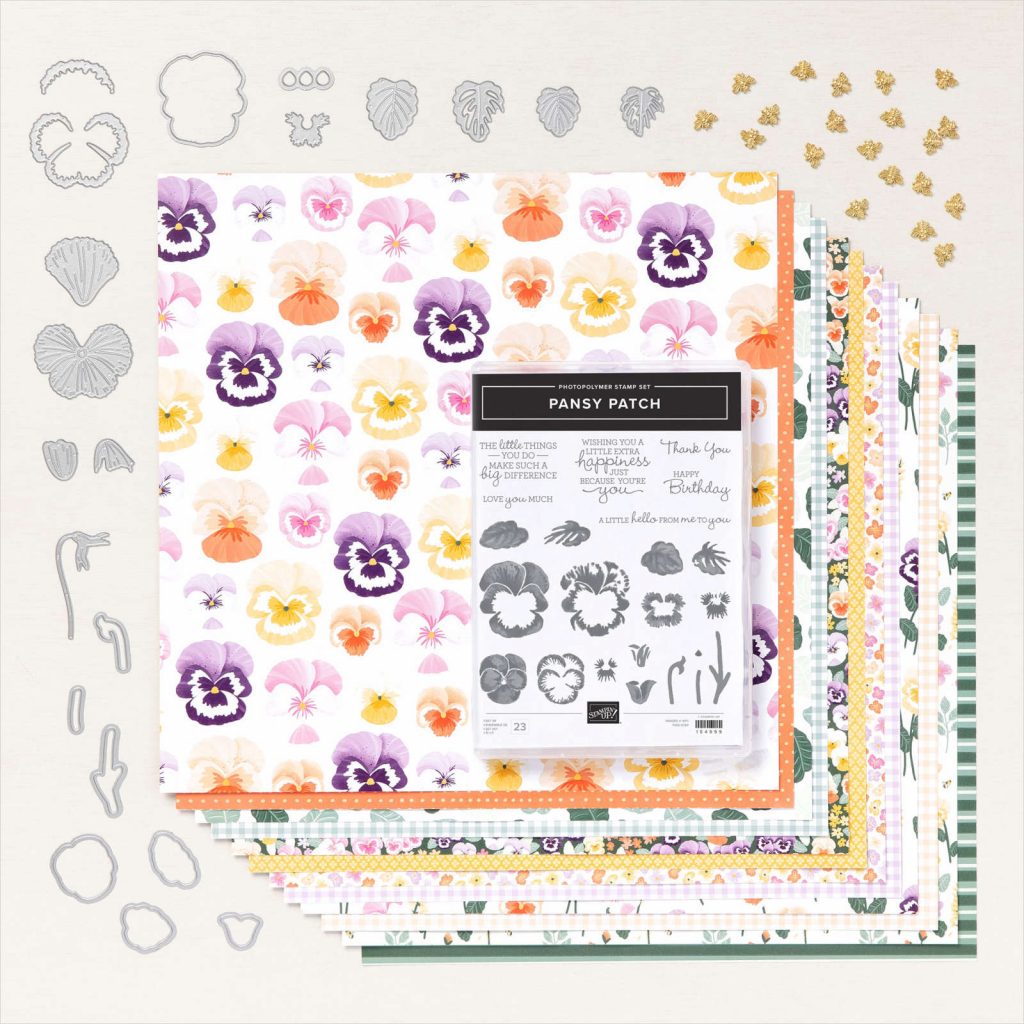
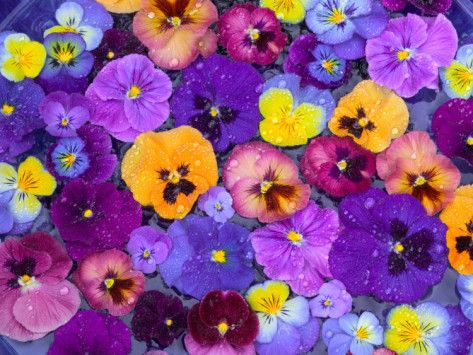
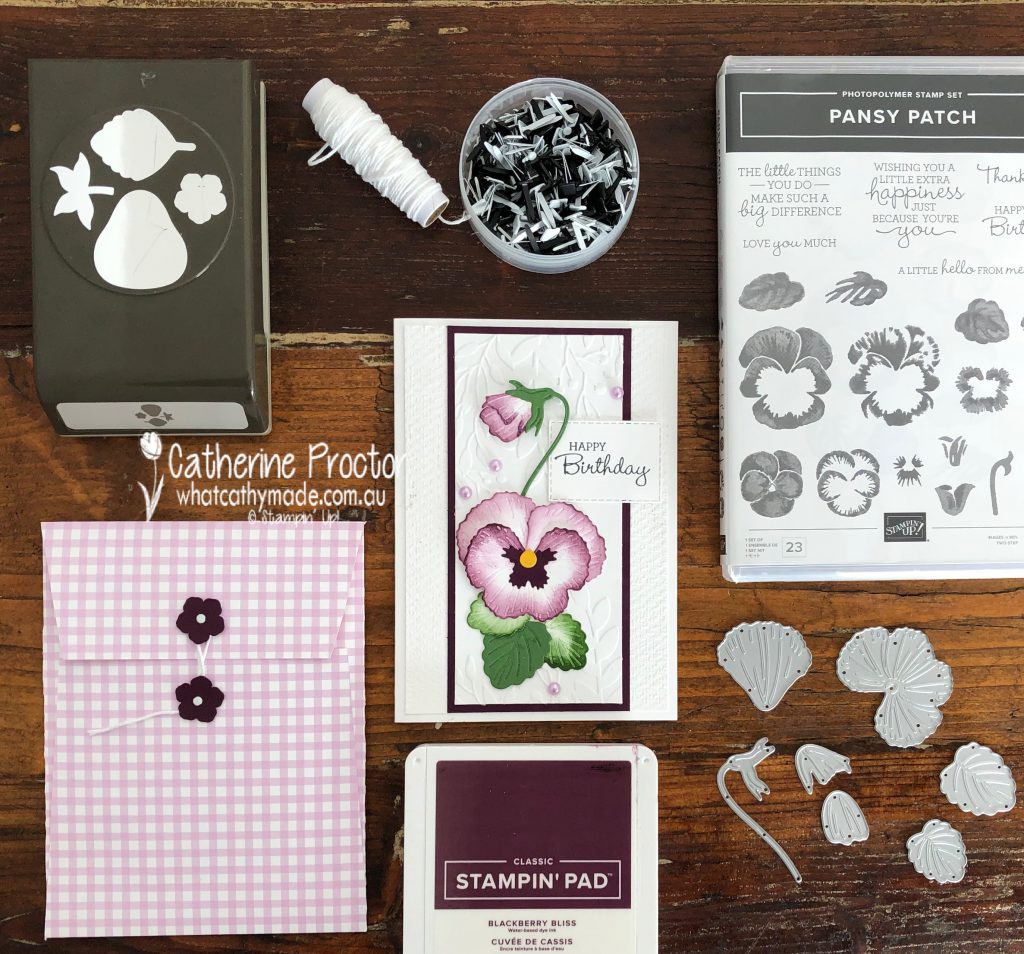
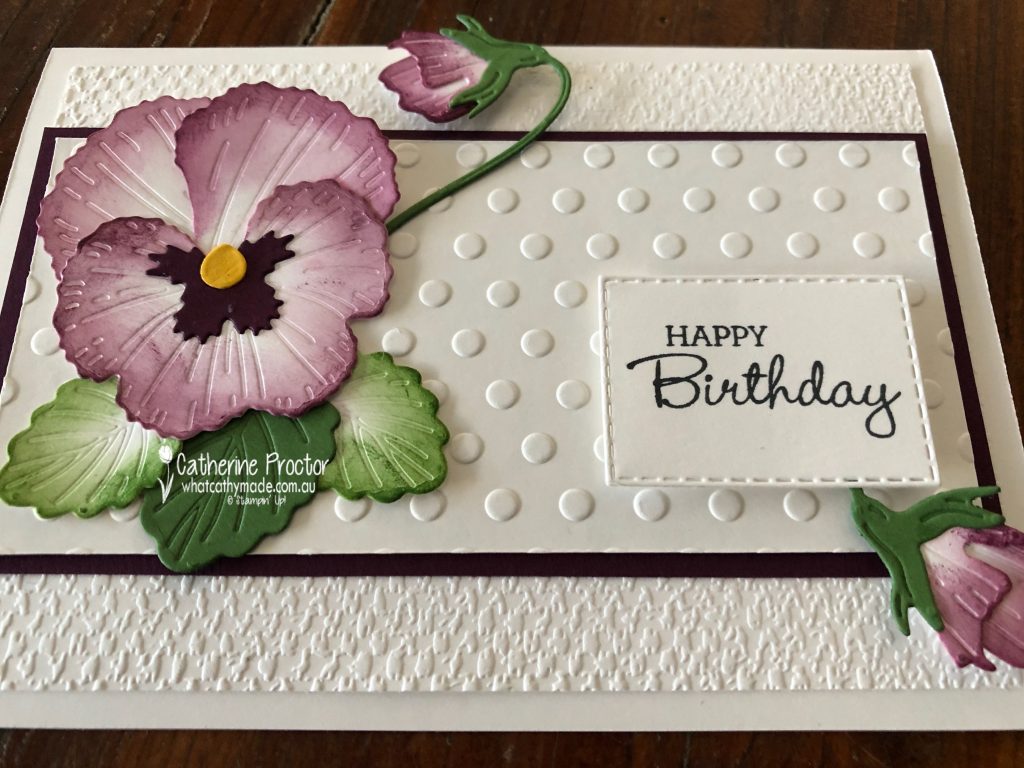
One of the most beautiful suites in the new Stampin’ Up! Annual catalogue is the Pansy Petals suite. I love this suite so much because it reminds me of my Nan and her stunning African Violets.
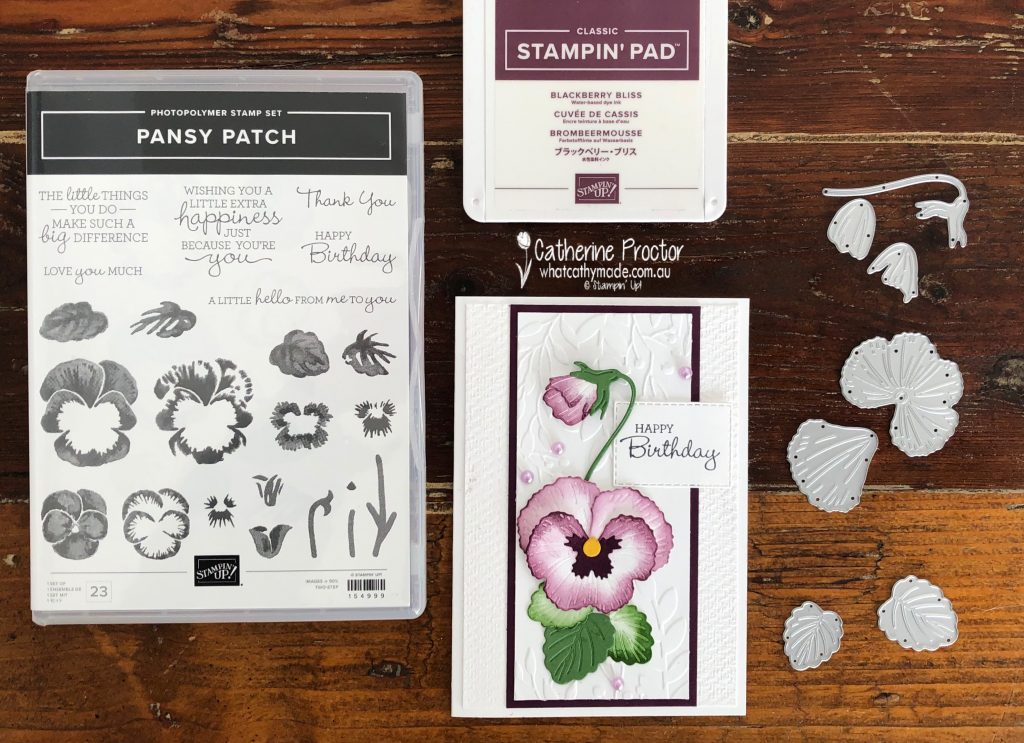
The Pansy Petals DSP in this suite has the following colour combination: Basic White, Blackberry Bliss, Bumblebee, Calypso Coral, Evening Evergreen, Fresh Freesia, Pale Papaya, Polished Pink, Soft Sea Foam and Soft Succulent. However, because pansies come in so many different colours so you really can use any colours with this suite.
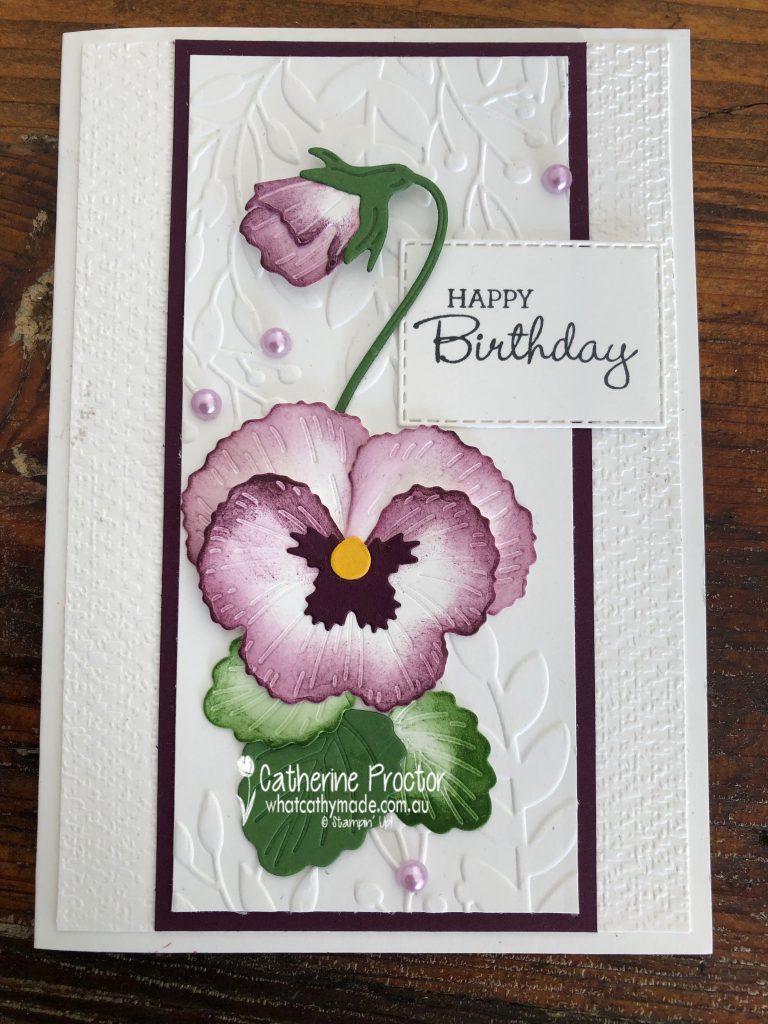
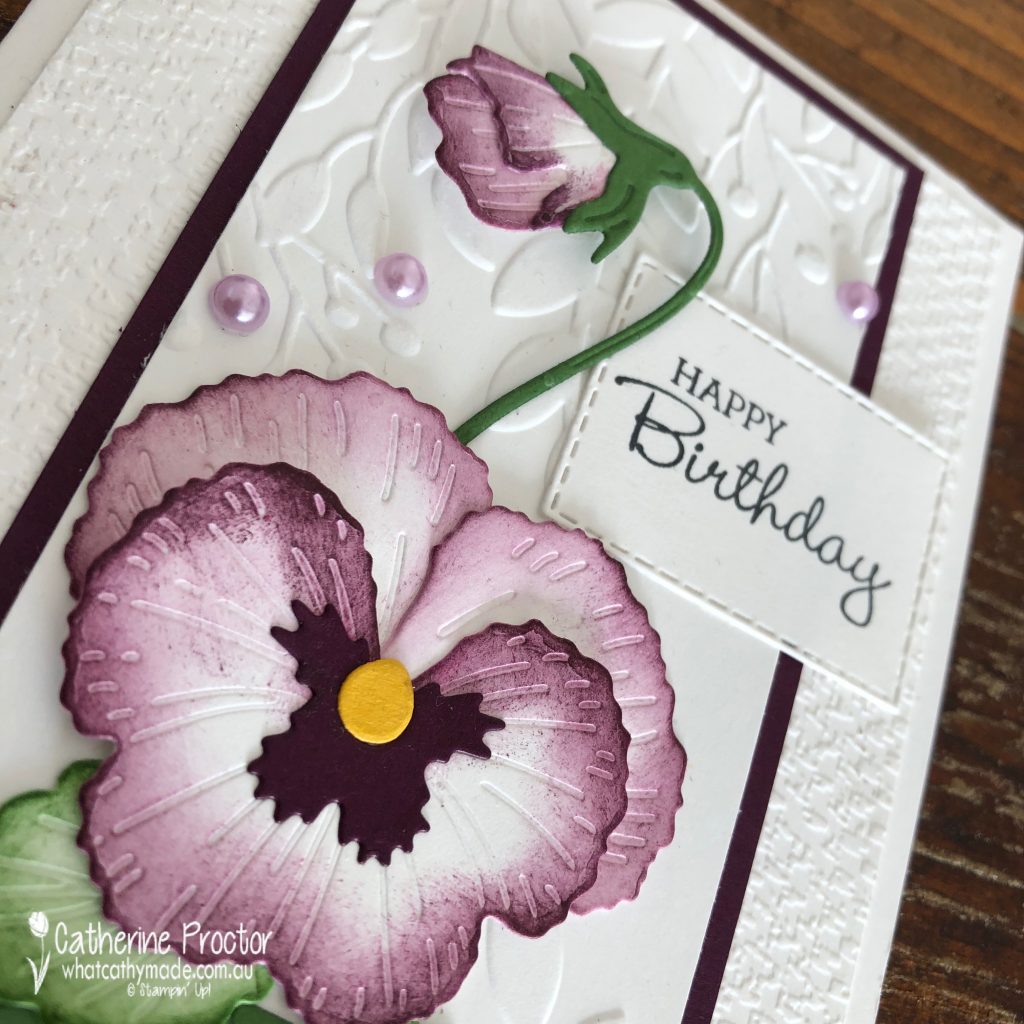
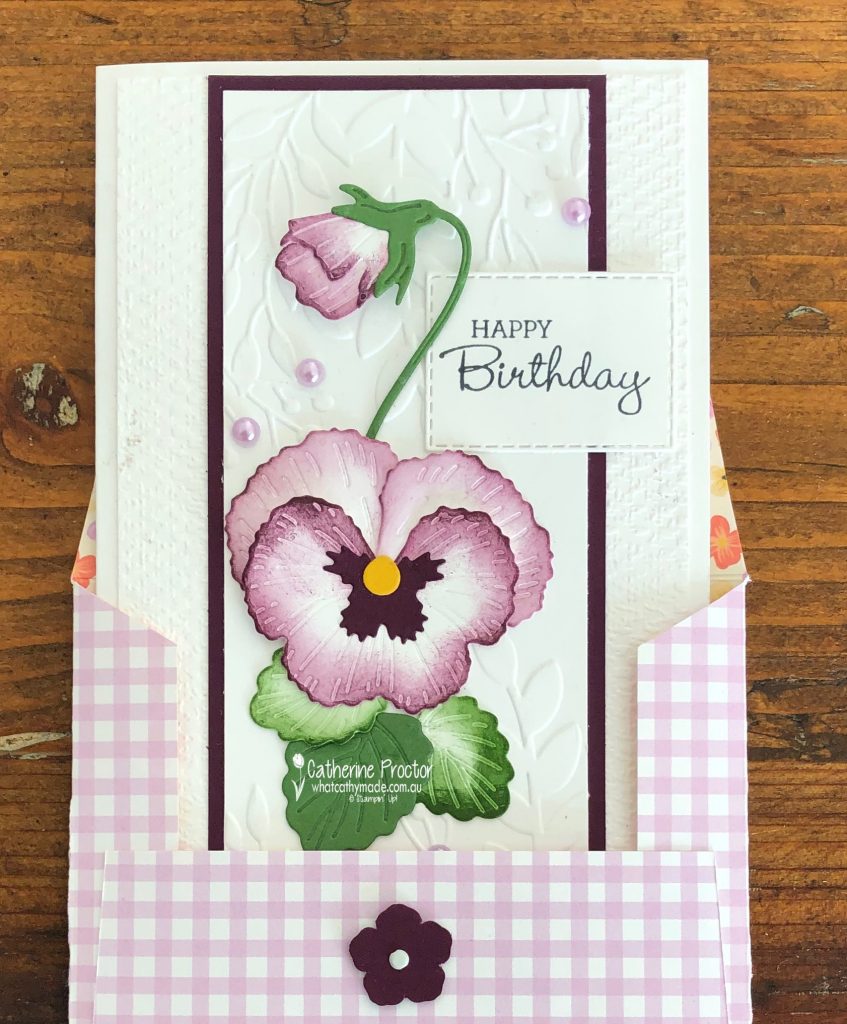
My first card was CASEd from a card I found on Pinterest made by an incredibly talented Stampin’ Up! demonstrator called Gail Ellis. I’ve CASEd her basic layout, the use of two different embossing folders and the shading of the flower petals and the leaves, however I’ve used different colours, a different background embossing folders, a different sentiment and different embellishments.
To achieve the colour shading on the edge of the flower, the flower bud and the leaves, I used sponge daubers, taking the ink directly off my ink pads. The flowers and buds are sponged with Blackberry Bliss and the leaves with Garden Green.
The yellow centre of the pansy flower is die cut from a scrap of Crushed Curry card stock, with the stem and large leaf die cut from Garden Green card stock.
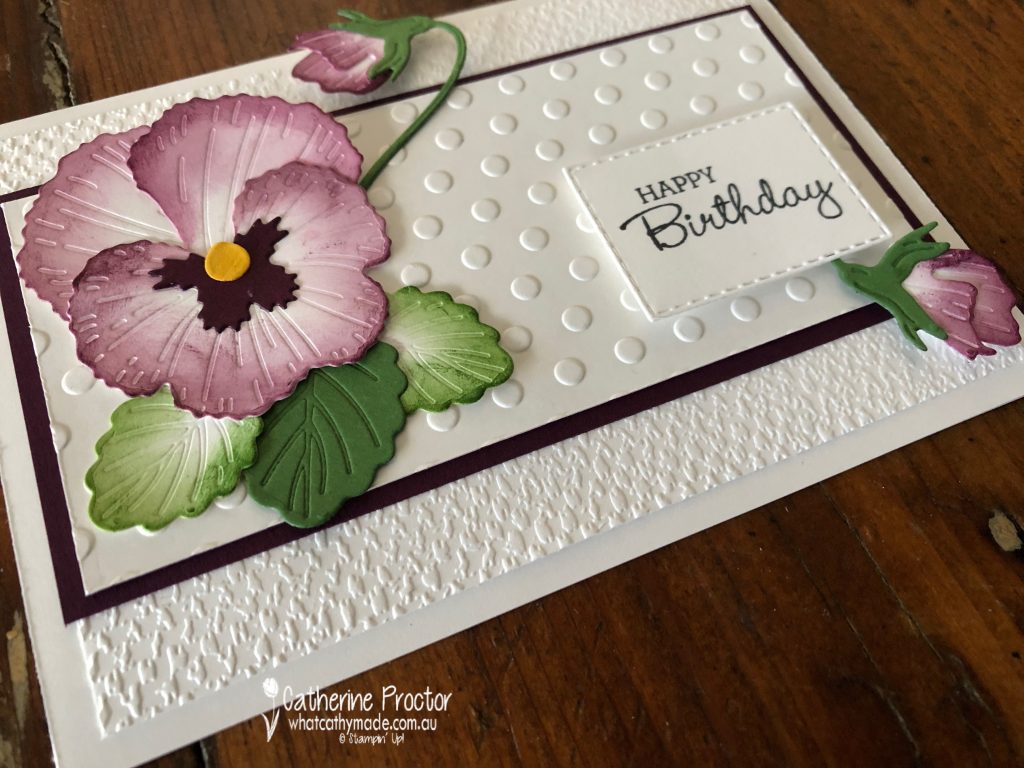
These Pansy dies really are so realistic – they emboss at the same time that they die cut the flower petals, buds and the leaves.
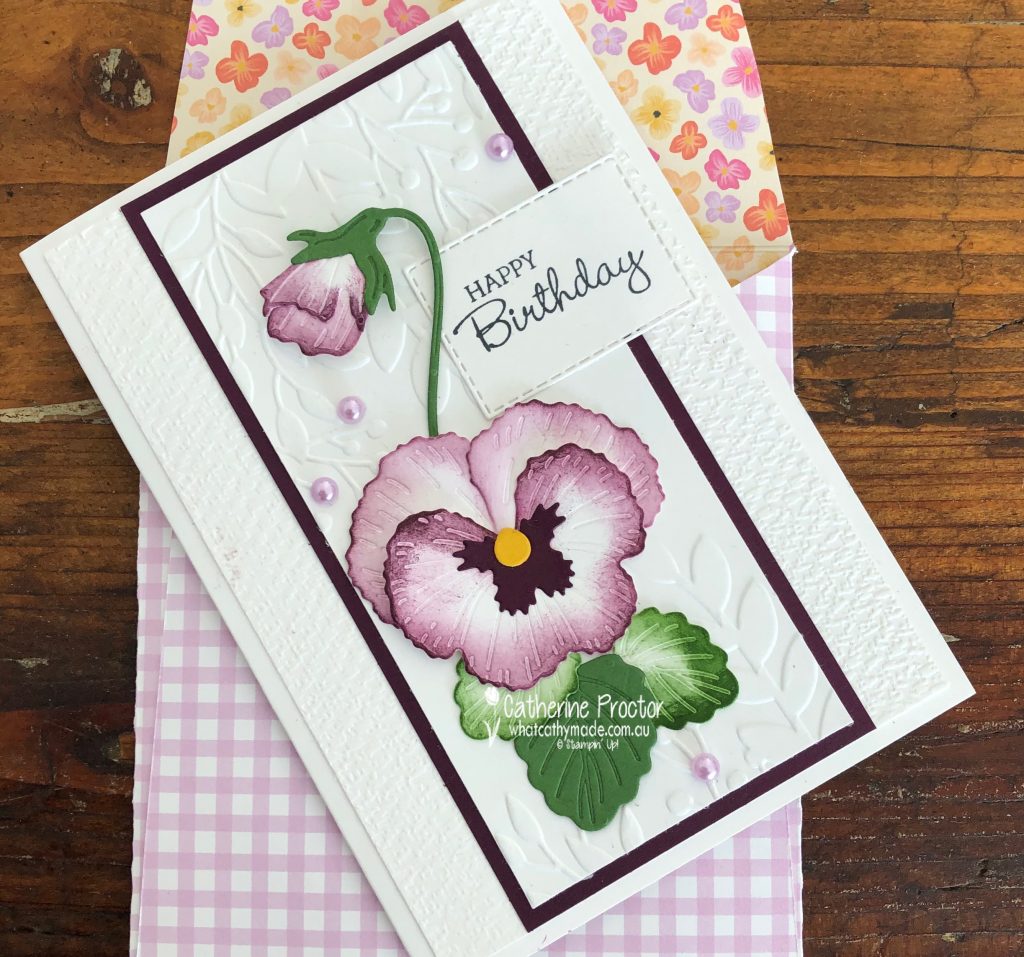
Thank goodness the Pastel Pearls have carried over to the new catalogue – I’ve used the Highland Heather coloured pearls for a touch of bling.
The Pansy Patch stamp set has a wonderful range of sentiments – I love how they mix both italic and Roman text together. I prefer to make most of my cards with either a happy birthday or a thank you sentiment as these are the types of cards I use the most and the Pansy Patch stamp set has both of these sentiments.
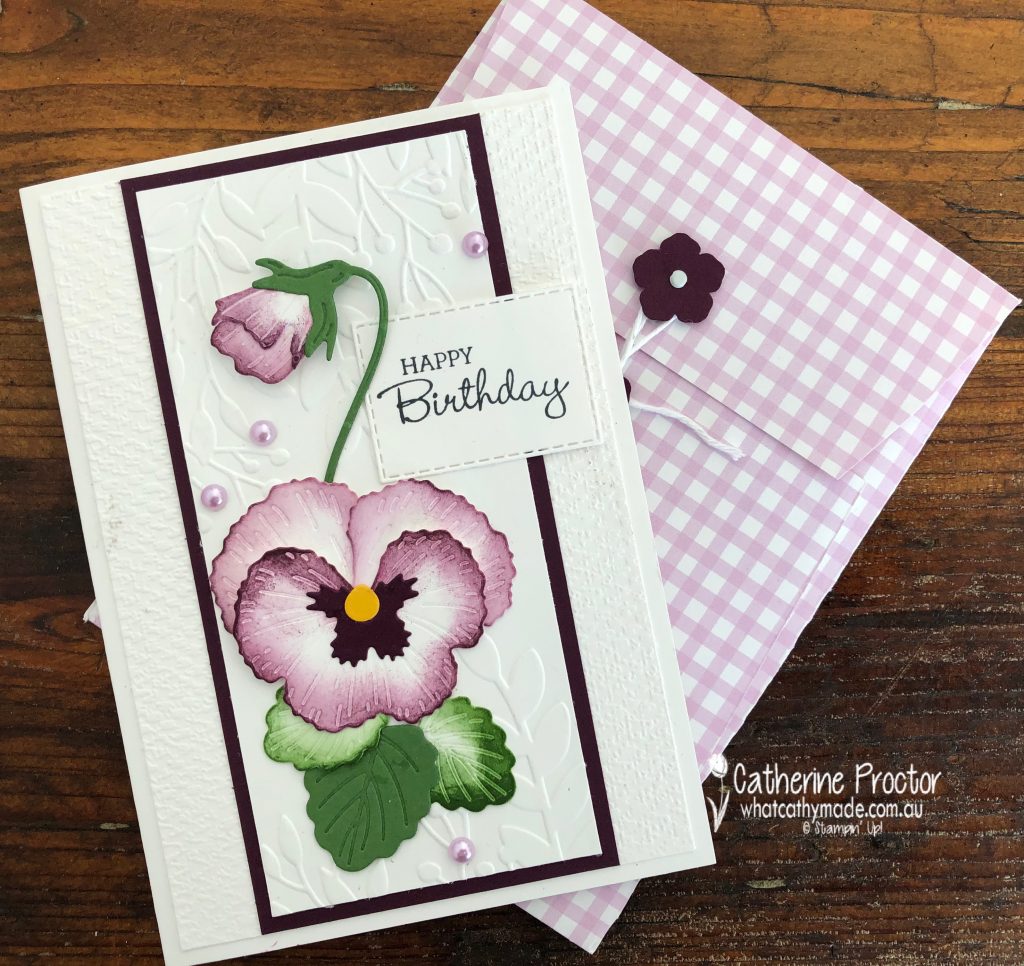
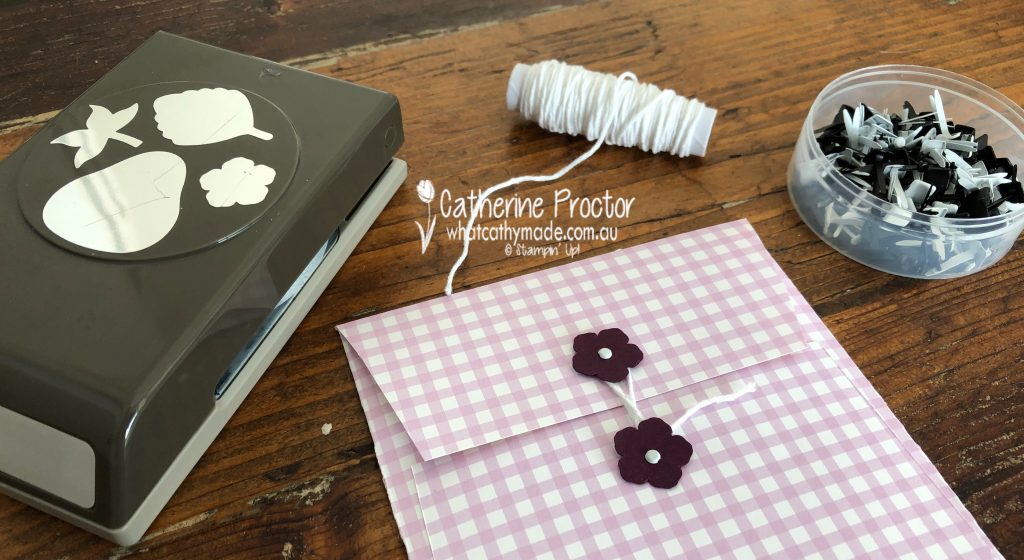
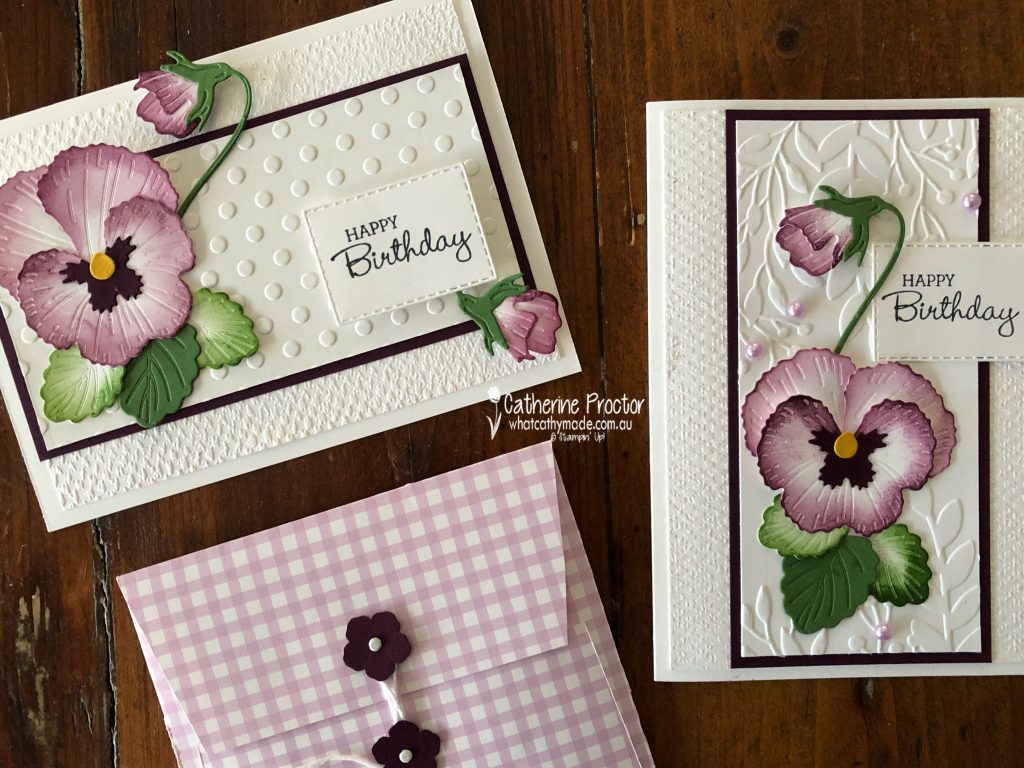
Did you notice the handmade envelope made from Pansy Petals DSP? On Stampin’ Up! Sara Douglass’s Facebook live this week she demonstrated how to make this envelope as well as two other sizes.
I slightly adapted the American measurements to fit our metric card size, assuming a card base made with half a A4 piece of cardstock. Tip – the envelope fits better if you trim just 5 mm off the height of the card base.
The back closure is super easy to make. Use the Strawberry Builder punch to punch two flowers out of Blackberry Bliss card stock and attach them to the top and bottom flap with two of the white round brads.
A length of white baker’s twine twisted under the flowers closes the envelope. You could also use any round or flower shaped die or punch if you don’t own the Strawberry Builder punch.
Card two is horizontal and uses the same colours, however it features the dots embossing folder (instead of the greenery embossing folder) for the top layer and it also has an additional flower bud placed under the “happy birthday” sentiment to balance the layout.
Both cards use the Tasteful Textiles embossing folder for the base layer – this embossing folder is my new “go to” replacement for the now retired *sob!* Subtles folder.
Horizontal or vertical? Do you have a favourite?
Now it’s time to hop on over to our next participant, the very talented Rachel Palmieri. I can’t wait to see what she’s made this week!
If you find a broken link or have come to this blog hop from a different entry point, you can view the participants below:
Welcome back to our Colour Creations Showcase as we continue our showcase of over 50 beautiful Stampin’ Up! colours in alpha order.
This week we are showcasing Pacific Point, a lovely vibrant blue from our brights family.
Week 32 – Pacific Point
Hands up if you have ever bought an entire pack of Designer Series Paper because you just had to have one of the designs?
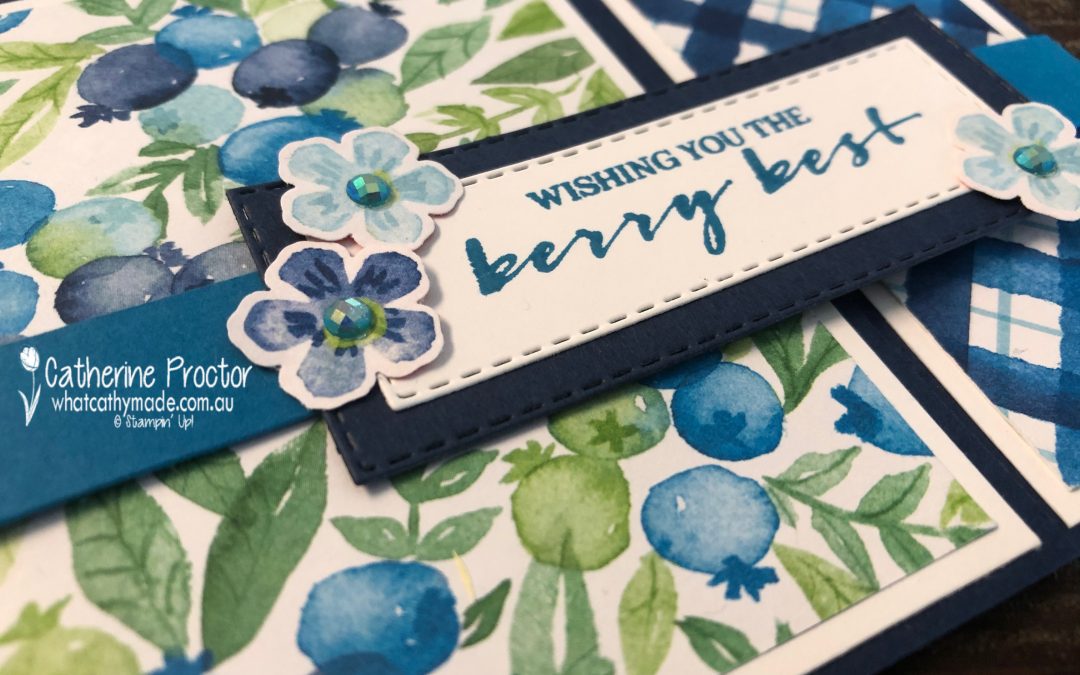
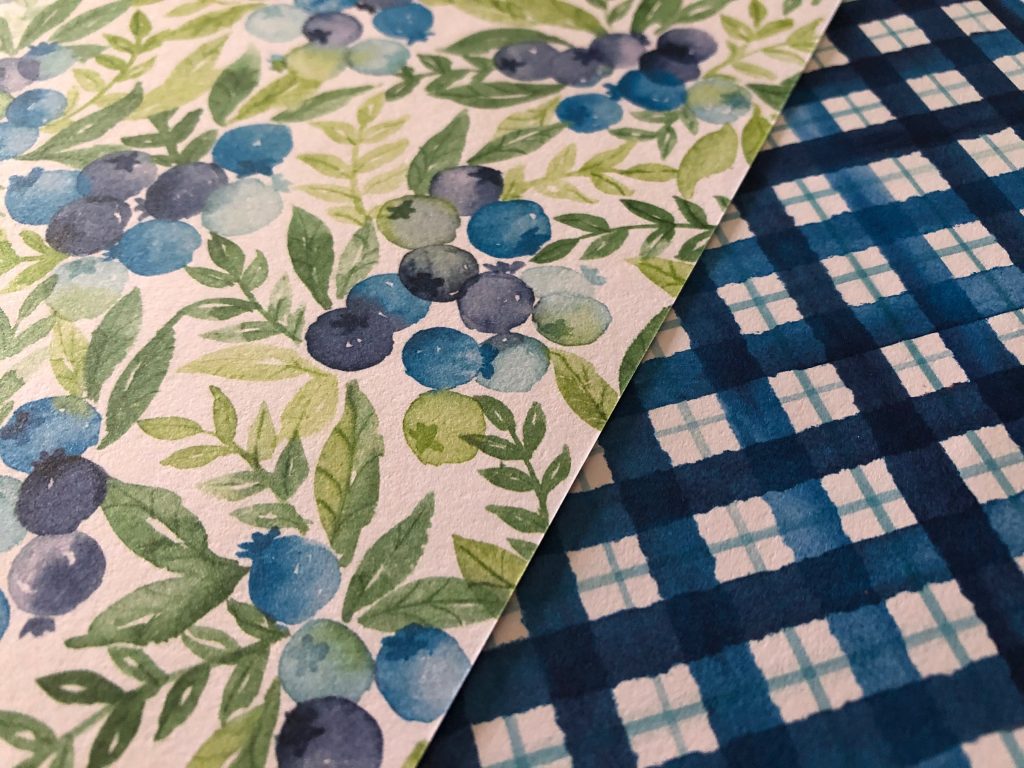
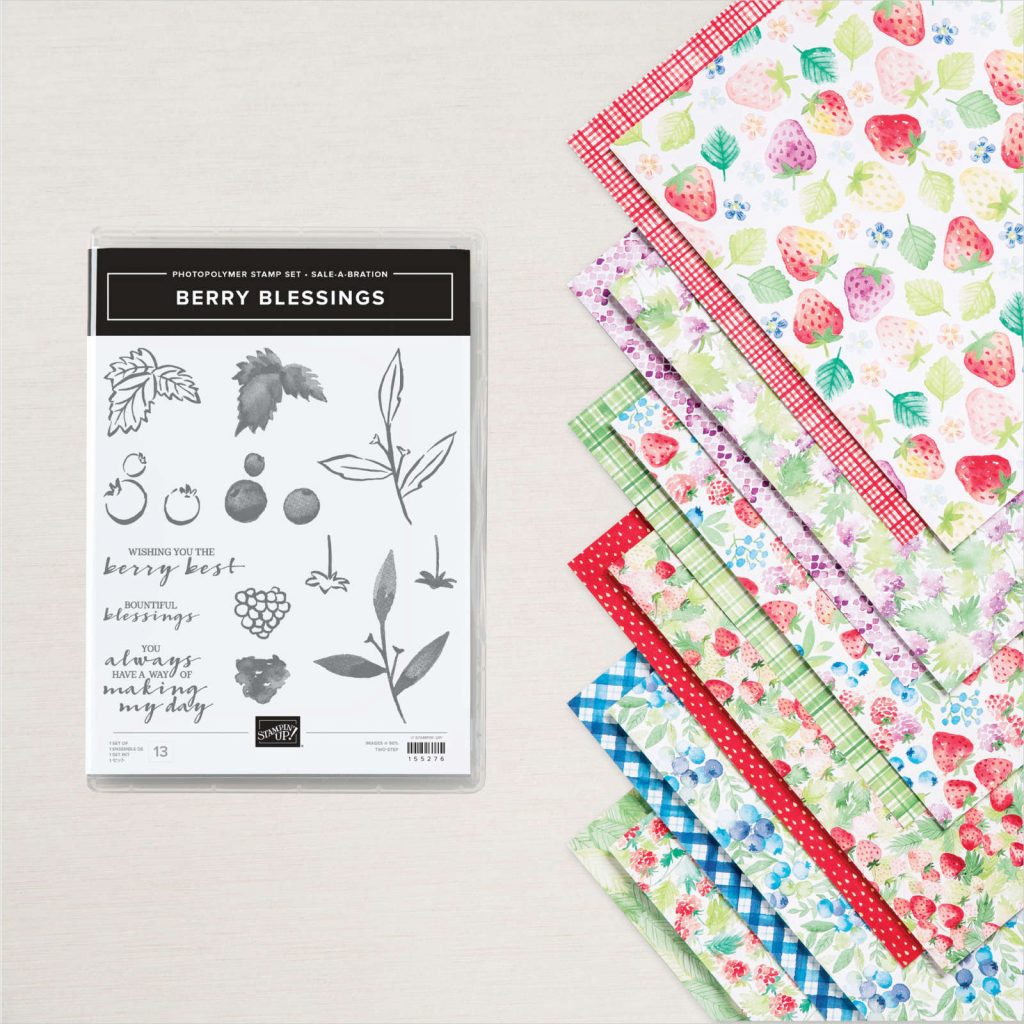
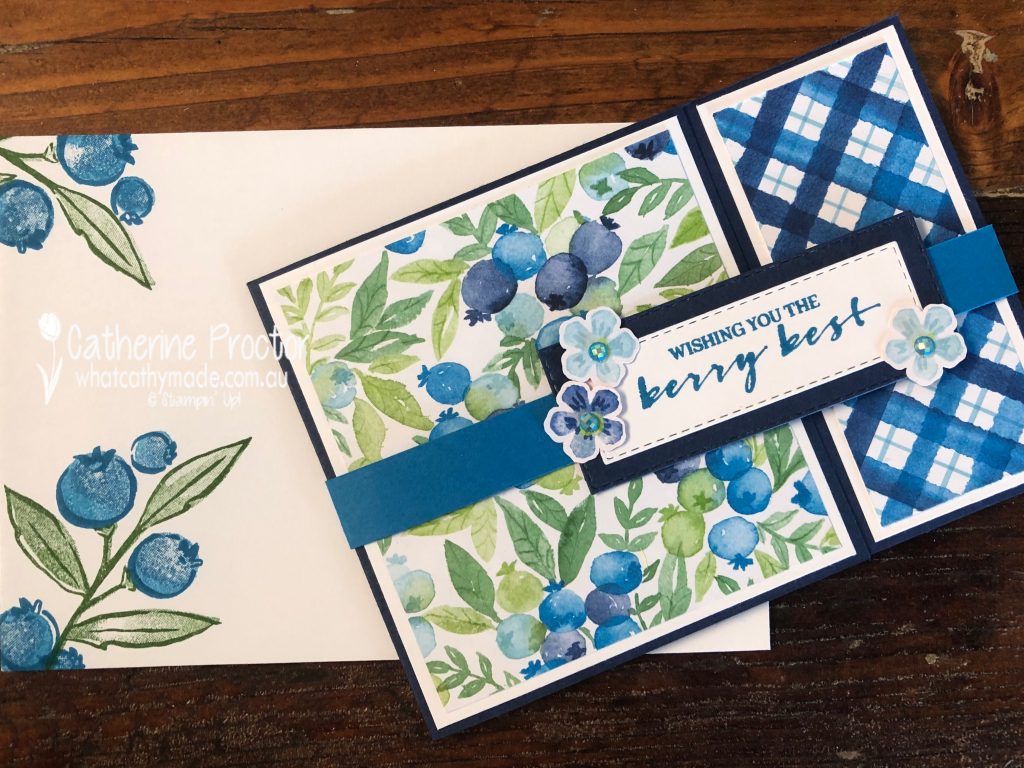
As soon as I saw the Berry Blessings Stamp Set & Berry Delightful DSP bundle in the SALE-a-bration catalogue my eye was immediately drawn to this beautiful sheet of DSP, blueberry patterned on one side with a fresh blue check on the other side.
And even better still, because the Berry Blessings Stamp Set & Berry Delightful DSP is one of the SALE-a-bration items I earned this bundle for FREE by placing an order of over $180 – not hard to do with all the lovely new products in the January-June 2021 Mini Catalogue!
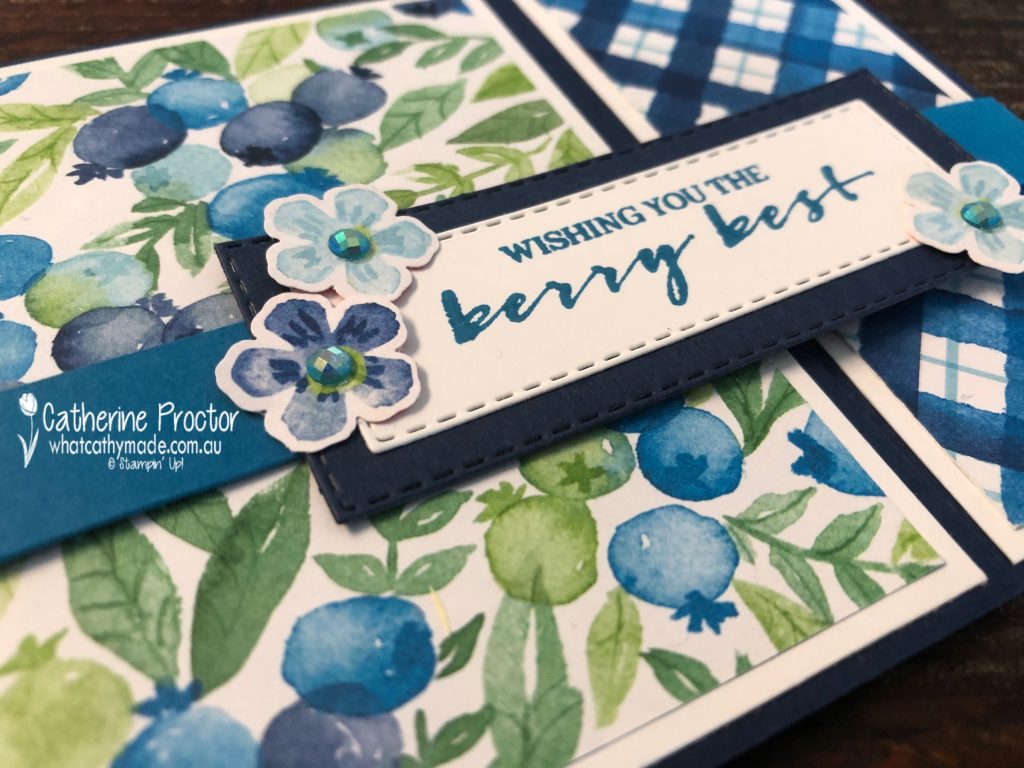
The colour scheme for my card today is a lovely fresh mix of the different blues and greens in this DSP. Doesn’t Pacific Point look amazing alongside Night of Navy and Balmy Blue?
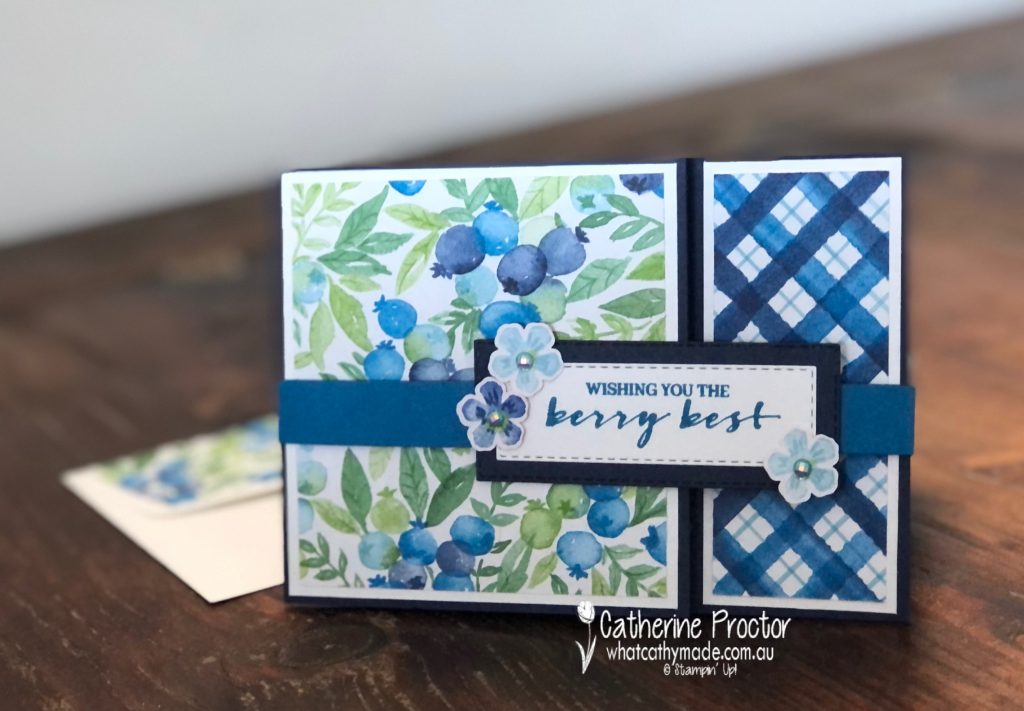
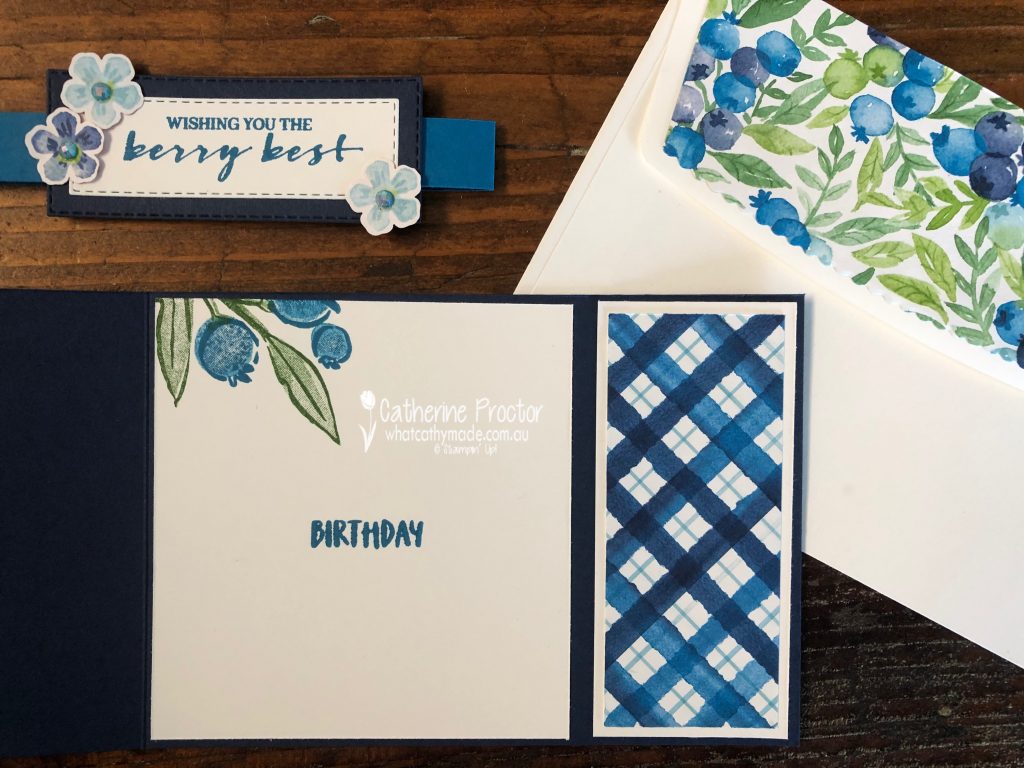
I’m not sure what to call this type of card – maybe a “fancy fold belly band” card?
Whatever you call it, I promise you that fancy folds don’t get any easier than this card. Simply take a 25 x 10cm rectangle of Night of Navy card stock and score along the longest side at 10cm. Fold this flap over – this is the front of your card. I decorated my front flap with a 9 x 9cm square of the berry DSP, layered on top of a 9.5 x 9.5cm layer of Whisper White card stock.
The inside of the card is decorated with another 9.5 x 9.5cm layer of Whisper White card stock, stamped with a berry and leaf stamp from the Berry Blessings stamp set and a “birthday” sentiment.
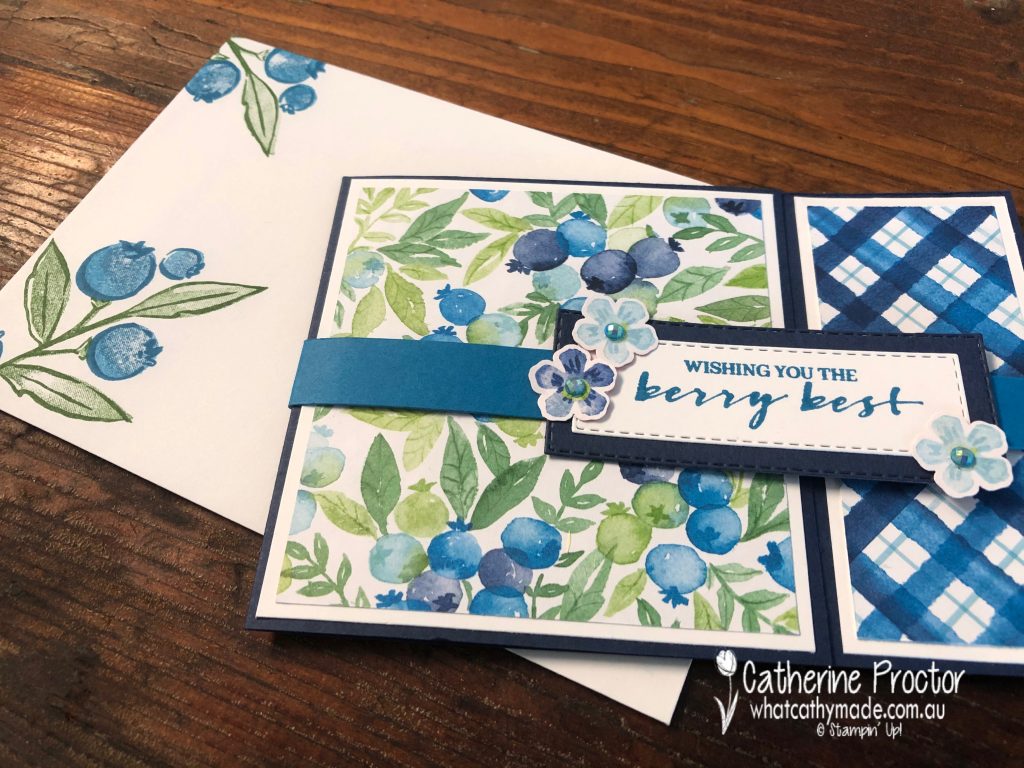
I used the recently retired envelope dies to die cut a piece of the berry DSP to decorate the back of my envelope but if you don’t have these envelope dies you can simply trace around the back of your envelope flap and cut the DSP out with your paper snips.
The other panel on the right hand side of the card uses the reverse side of the berry DSP, cut to 4 x 9 cm and layered on top of a piece of 4.5 x 9.5 cm Whisper White card stock.
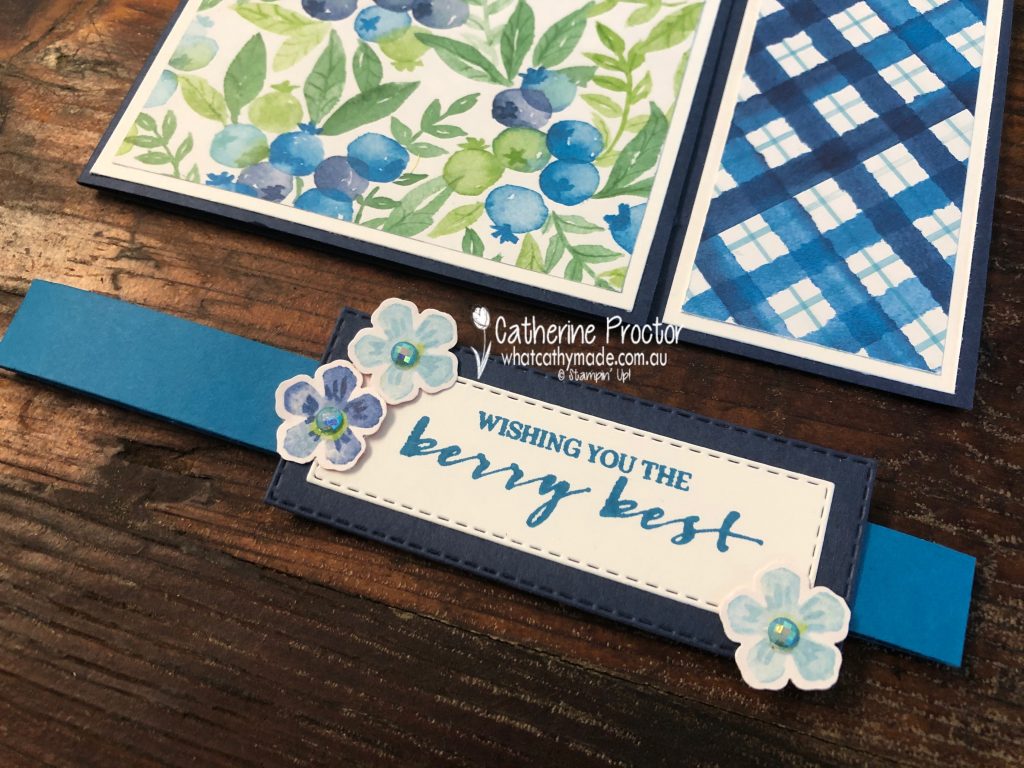
To make the belly band I trimmed a 1.5cm wide strip off the longest side of an A4 sheet of Pacific Point card stock. I wrapped it around the card and adhered it behind the “wishing you the berry best” sentiment.
The pretty little flowers on my belly band are punched out from another sheet of DSP in the Berry Delightful DSP pack using the Strawberry Builder punch from the co-ordinating Sweet Strawberry Bundle with a Blue Adhesive-Backed Gem in the centre of each flower.
The strawberry builder punch not only punches out the stamps in the co-ordinating Sweet Strawberry stamp set, it also punches out the blossoms, the leaves and the strawberries from one of the sheets in the Berry Delightful DSP – how cool is that!
I didn’t forget to decorate the front of my envelope – the berry stamps in the Berry Blessings stamp set match this DSP perfectly!
I can’t wait to see what the rest of the Art With Heart team have created with Pacific Point today. Click on the links below to see what they’ve made.
We will return next year on Wednesday January 27th when we’ll be showcasing one of the Subtles: Pear Pizzaz. We hope you can join us all then.
If you’d like me to post you your very own copy of the January – June 2020 mini catalogue, the 2020 Sale-a-bration catalogue, the 2020-21 Stampin Up! Annual Catalogue, the 2020-21 Beginners Brochure, or to simply find out about more about Stampin’ Up! contact me.
In the meantime, wherever you are in the world, stay safe, stay calm…and keep on crafting xxx


")

 Designer Series Paper")


")


