I love sheep! Growing up in the country, we always had a pet poddy lamb in our backyard. Poddy lambs are what lambs are called if they have either been orphaned or rejected by their mother and the local farmers would give them to us to hand raise as pets.
My brother and I would bottle feed the lambs and as they grew they would keep our lawn permanently mowed and let us ride them like horses and even dress them up in fancy dress clothes!
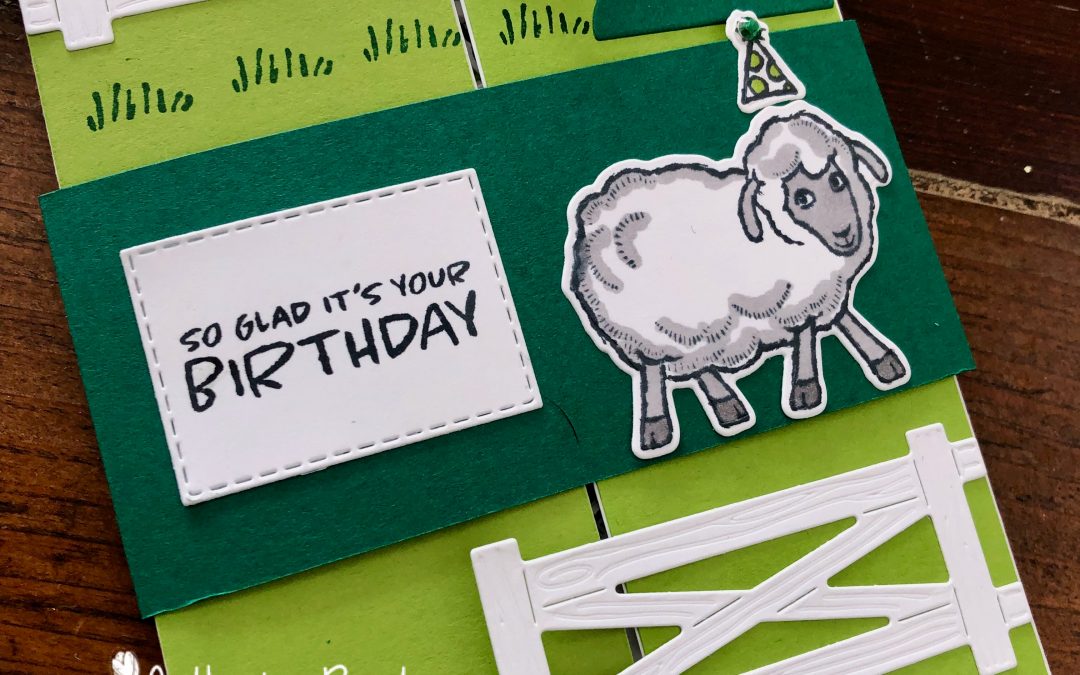
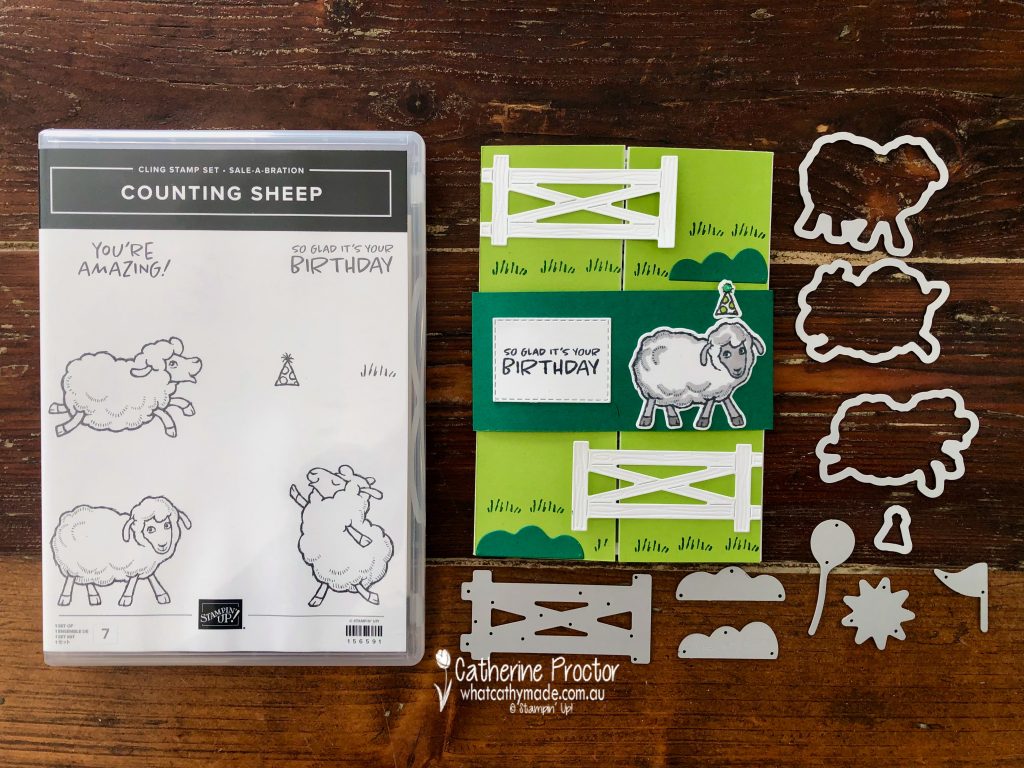
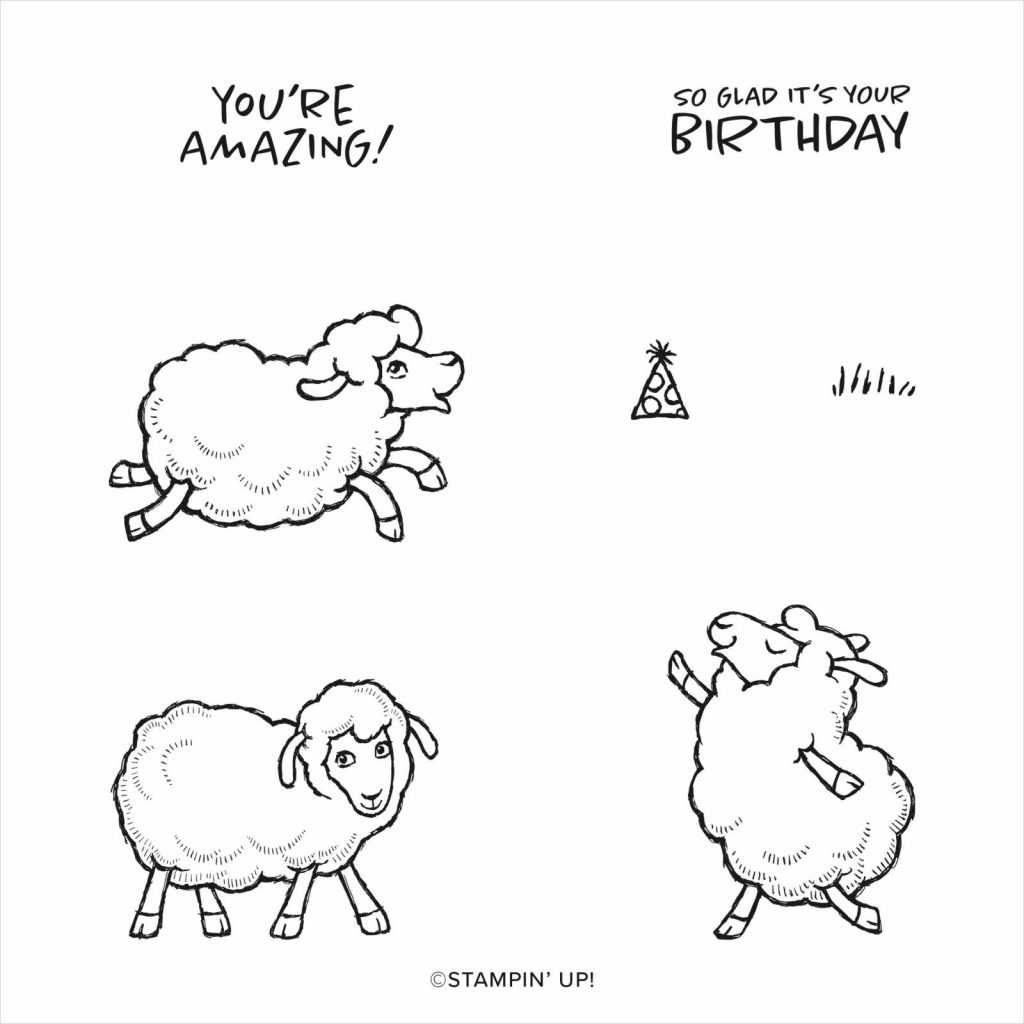
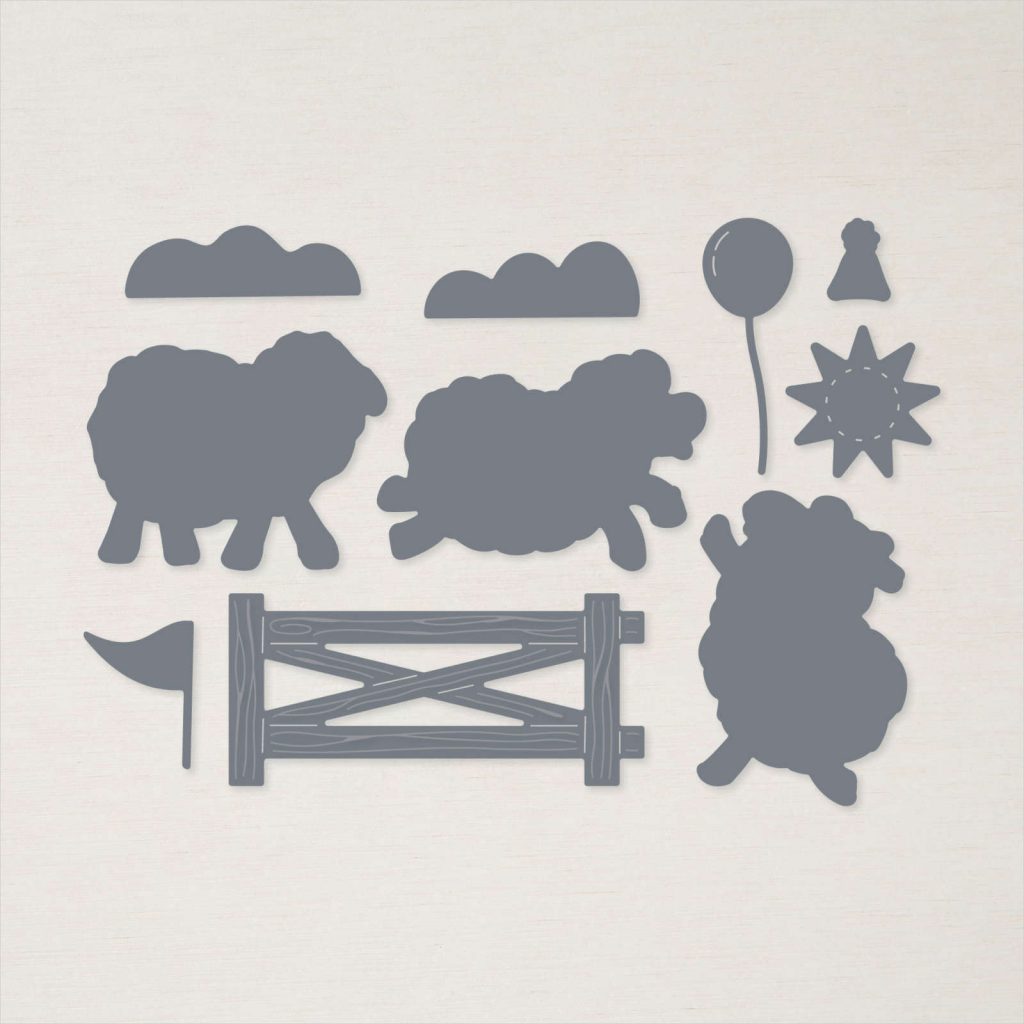
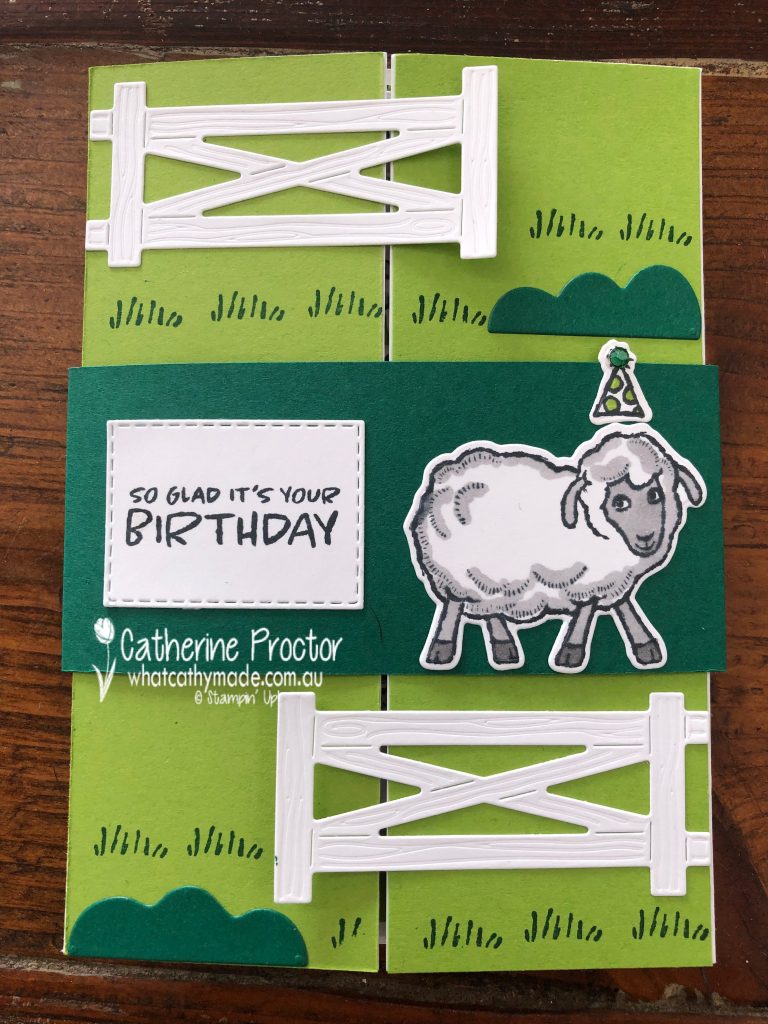
For this card I’ve used two FREE SALE-a-bration products: the Counting Sheep stamp set and the coordinating Sheep Dies. These adorable sheep are the perfect size for a Floating Gatefold Card. You could also use the penguins from the Penguin Place bundle or even the Peaceful Deer Bundle.
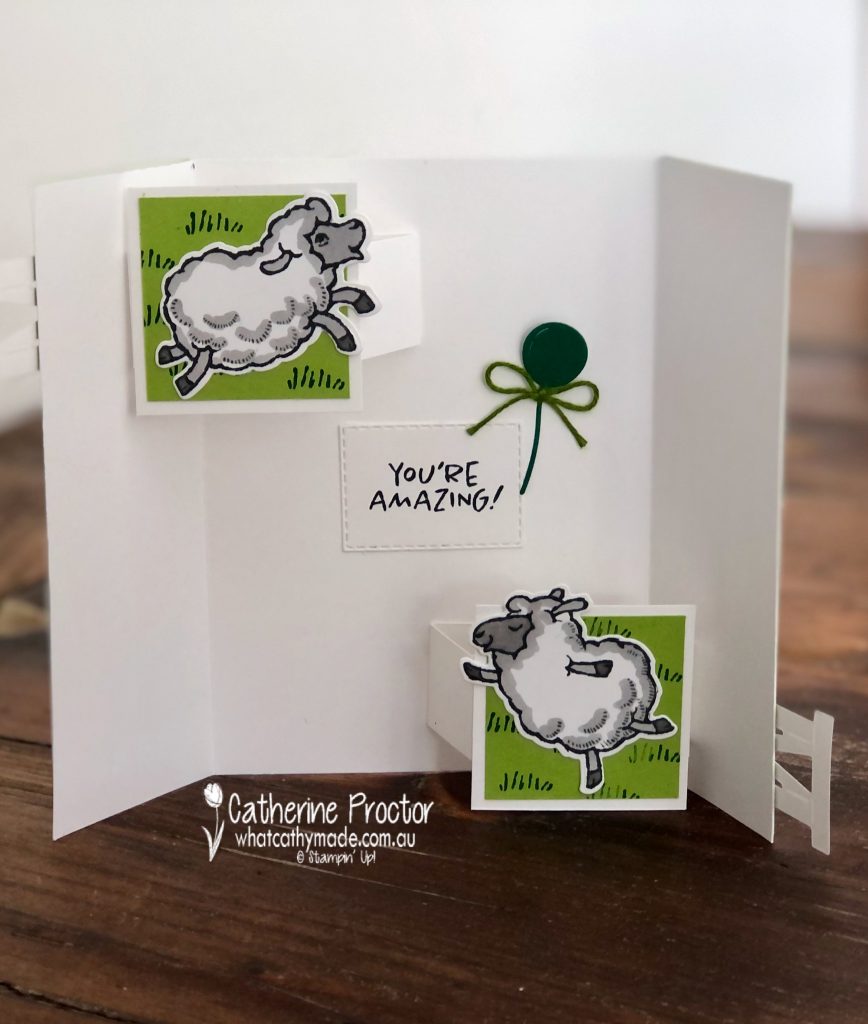
Here’s what the card looks like when closed with the belly band on (left photo) as well as on the inside of the card with the sheep popping up (right photo).
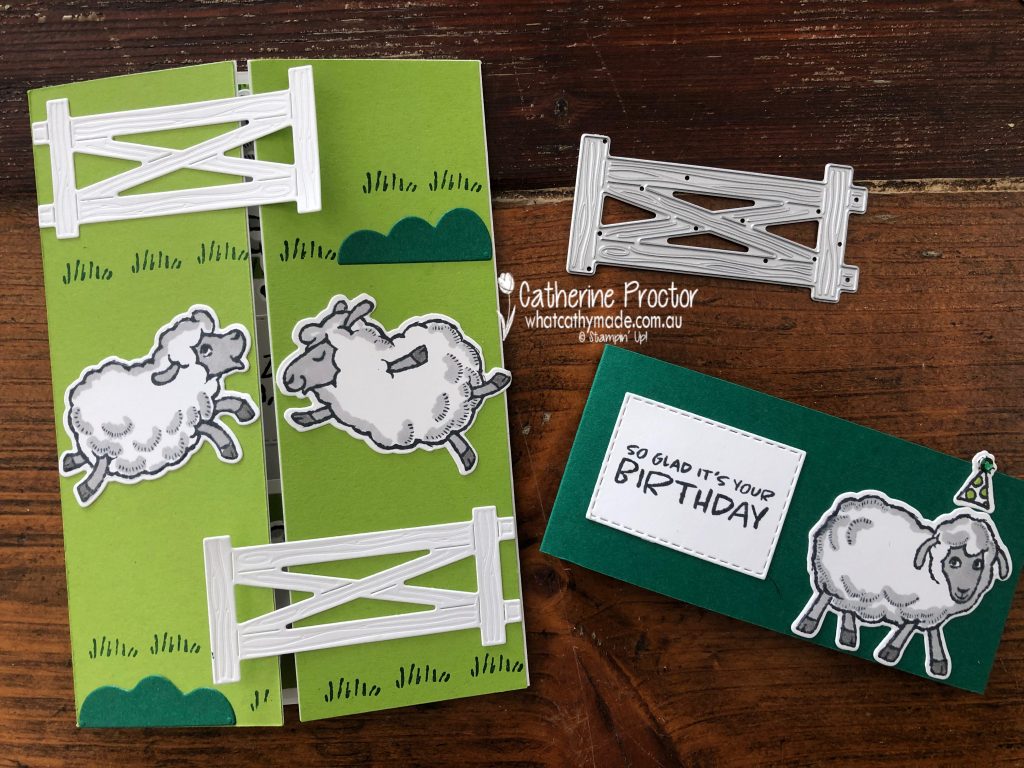
Because this card has pop up elements inside it is hard to keep it flat when the card is closed, which is why I decided to create a belly band. This card will easily fit into an standard envelope for posting but it was tricky to photograph it closed without the belly band on!
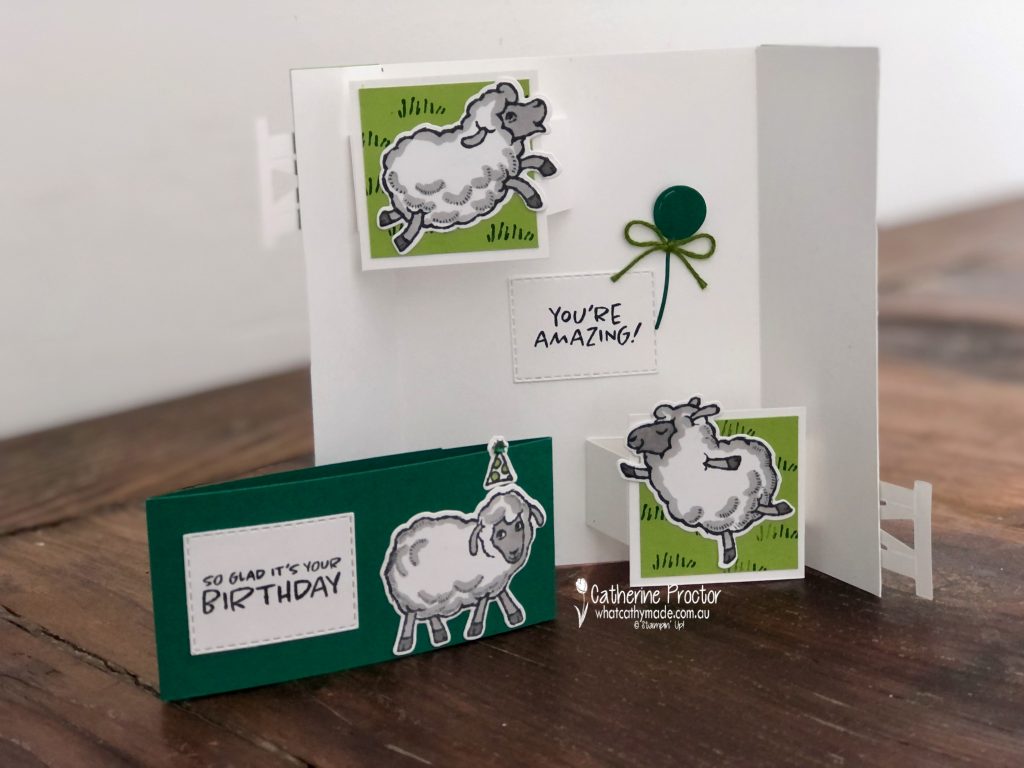
And here is another look at the inside. Because this is quite a busy card on the inside I’d probably write on the back panel instead.
Don’t these sheep just make you laugh!
If you would like the instructions on how to make this card, they are in the August Tutorial bundle, are available on my tutorial page.
Thanks for visiting my blog today. I’ll be back this week with some more Heart of Christmas inspiration and our weekly AWH Colour Creations Showcase on Wednesday.
If you live in Australia, you can find and purchase all these products in my Stampin’ Up! Online Store. Don’t forget to use my monthly Host Code (if your order is between $50 – $250) and I will send you a thank you gift the following month. If your order is over $250 don’t use the host code because you will qualify for your own stamping rewards.
My September Host Code is WVX3UYCR and it is valid until midnight September 30.
In the meantime, wherever you are in the world, stay safe, stay calm … and keep on crafting xxx
Welcome to week twenty-one of our 2020-2021 Art With Heart Colour Creations Showcase.
Each week various members of our Art With Heart Colour Creations team will be bringing you weekly colour inspiration as we showcase our range of over 50 beautiful Stampin’ Up! colours in alphabetical order.
Week 21 – Highland Heather
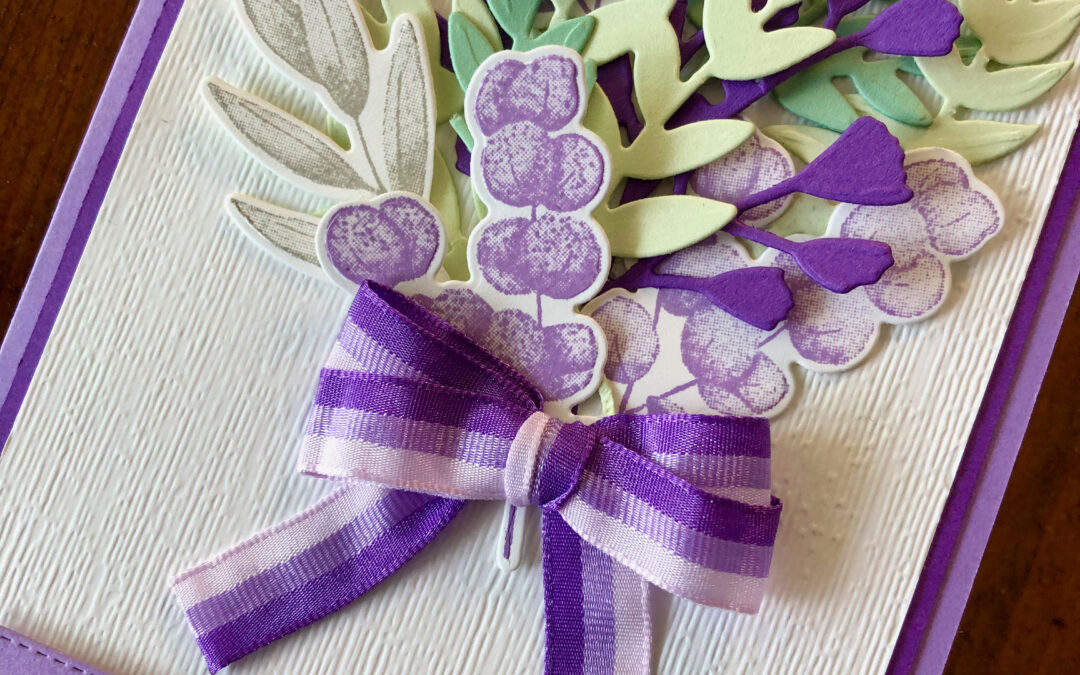
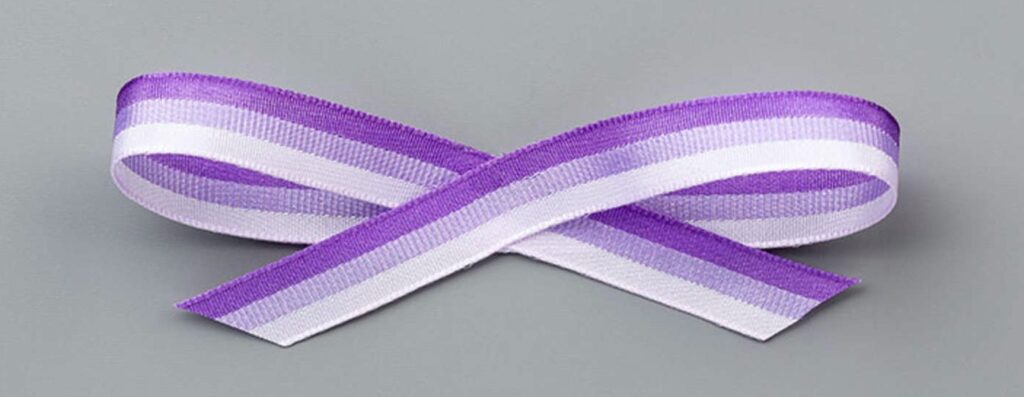
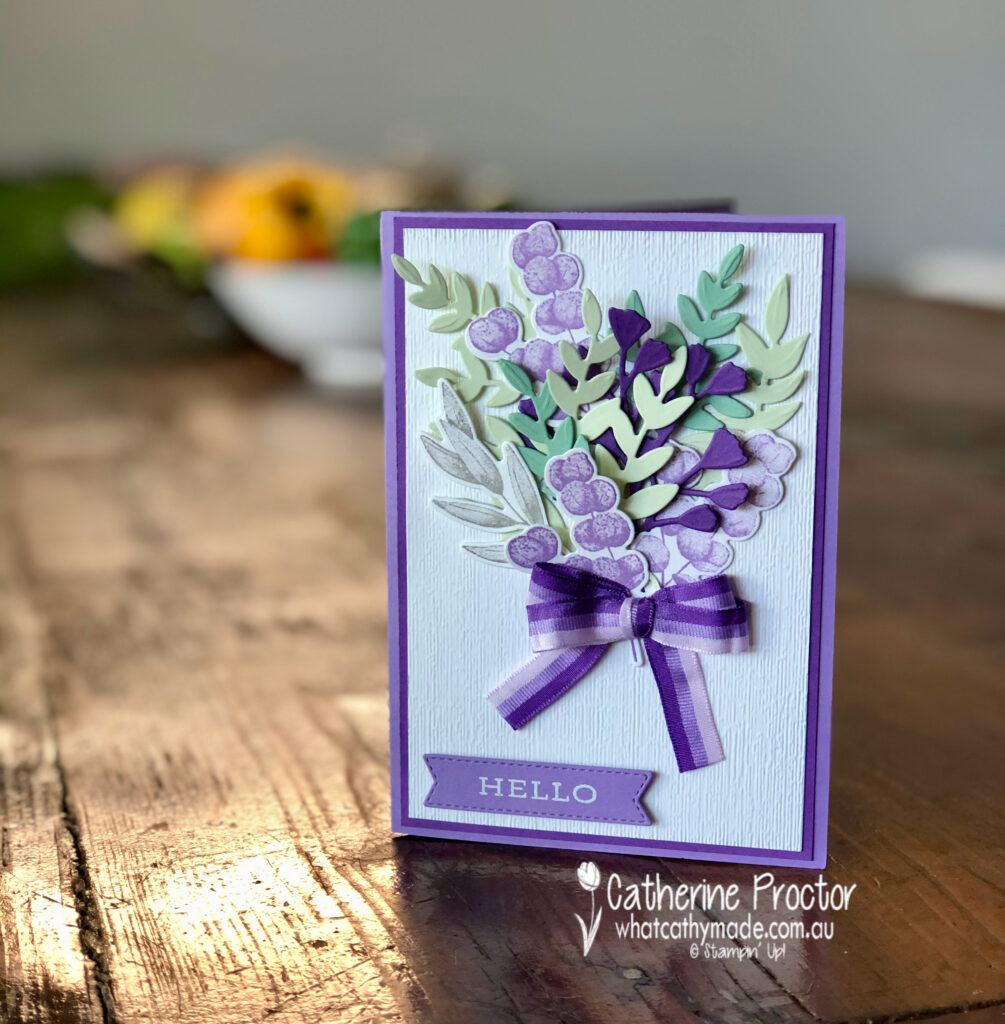
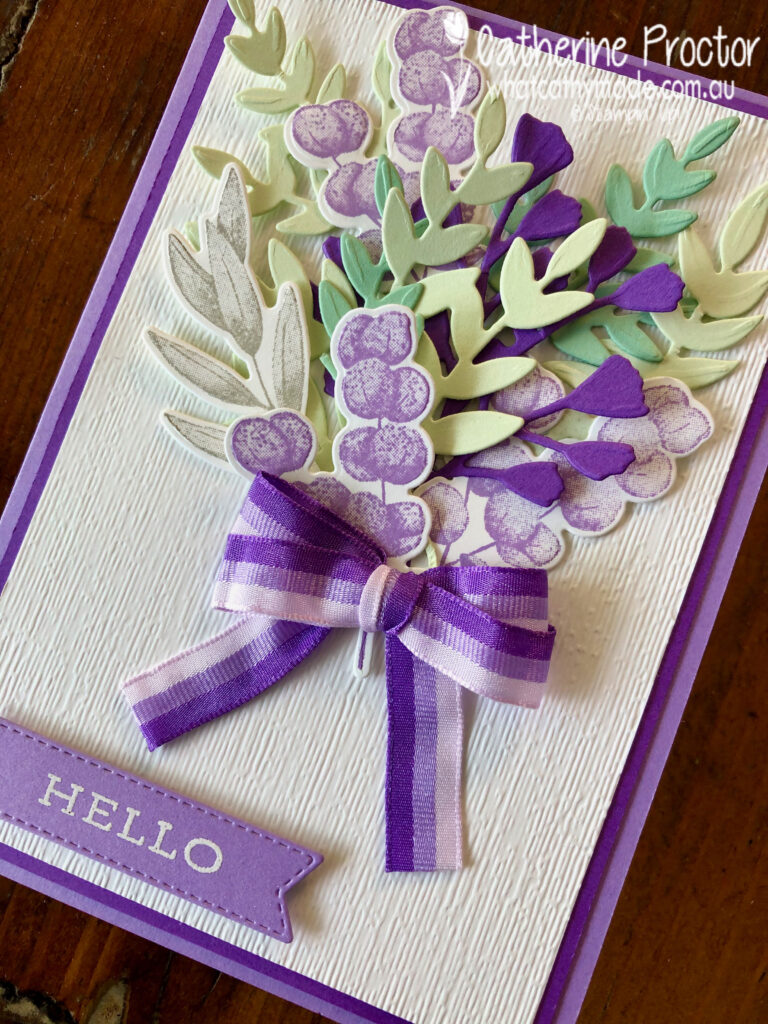
I love Stampin’ Up!’s stunning tricolour purple ribbon so much I designed my card around it this week, creating a bunch of flowers tied with a double bow of this ribbon – its three stripes are Purple Posy, Highland Heather (our colour this week) and Gorgeous Grape.
The other colours included in my bunch of flowers are Soft Sea Foam, Mint Macaron and Smoky Slate. This is such a soft and feminine colour combination.
The Forever Fern bundle was just perfect for this project – its impossible to make a bad card with this stamp set and co-ordinating Forever Flourishing dies, and there are so many way you can use this bundle.
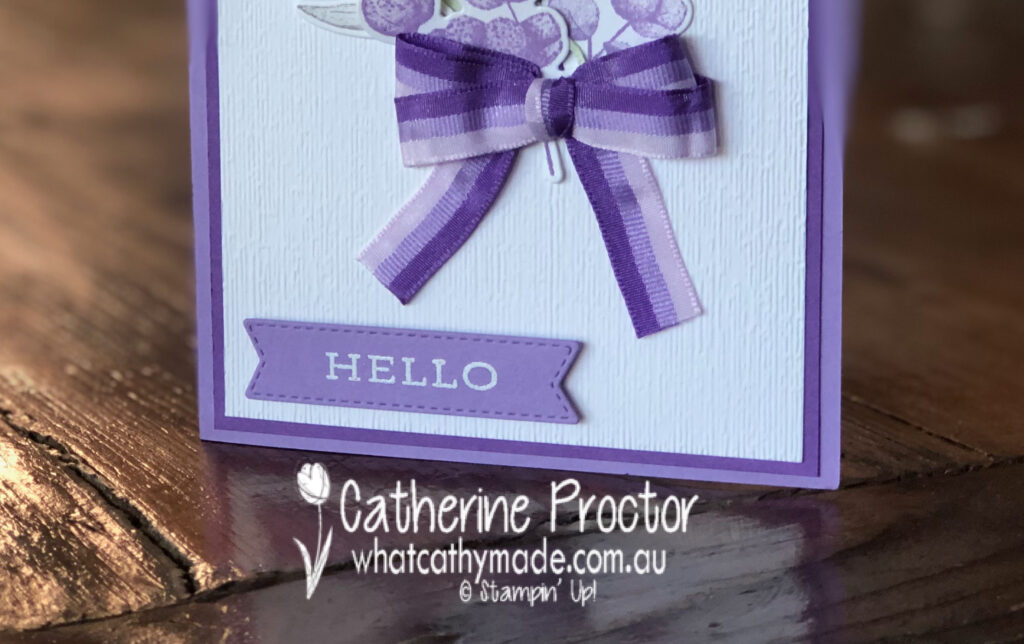
Because I wanted to create a double bow with the stripes in same direction on both sides of my bow I used a bow maker to carefully tie the double bow. If you don’t have a bow maker you can use a fork or even your fingers – there are heaps of free tutorials on Pinterest that will show you how to make a perfect bow of any size.
Stampin’ up!’s subtle embossing folder gives a lovely texture to the Whisper White card stock layer. The “hello” sentiment was stamped in Versamark ink before being heat embossed using white emboss power.
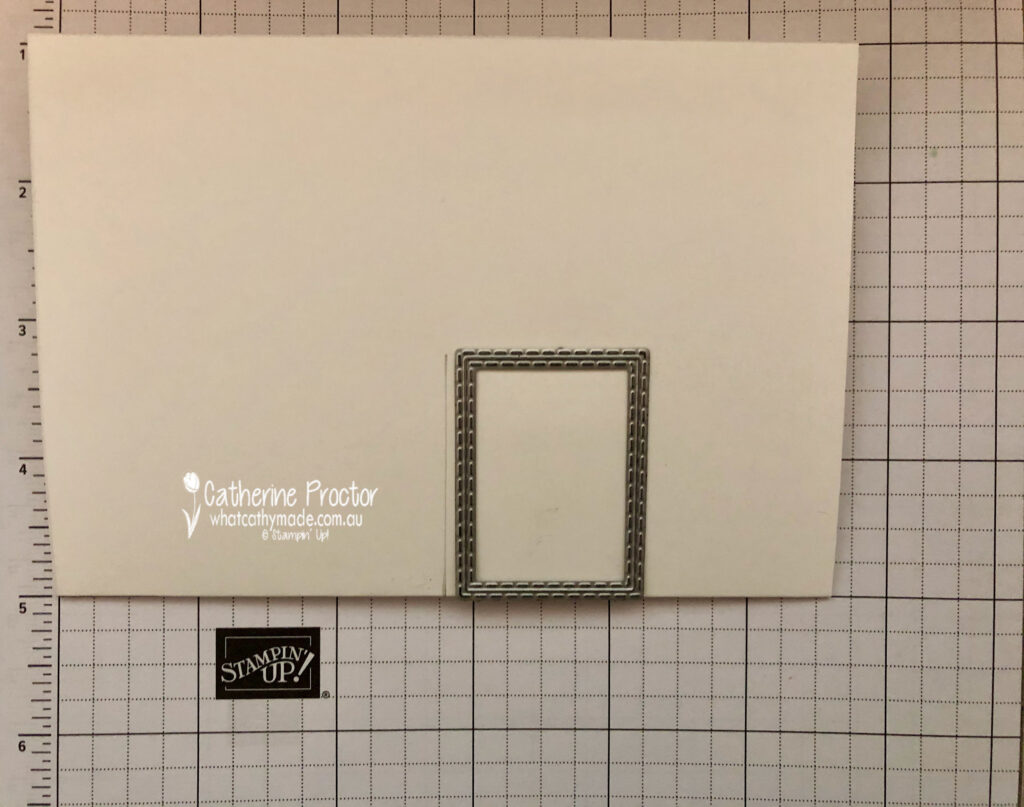
Because I had so many left over die cut pieces I decided to make a quick pop-up planter basket for the middle of my card. I traced around the smallest stitched rectangle to work out where to cut my pop-up mechanism and then simply used my paper snips to cut two side slits into a Whisper White insert.
Once I cut my two side slits I simply flipped out the pop-up mechanism (so it pops in the opposite direction to the card insert) and added a piece of Gorgeous Grape card stock embossed using the Brick & mortar Embossing Folder to create the planter box.
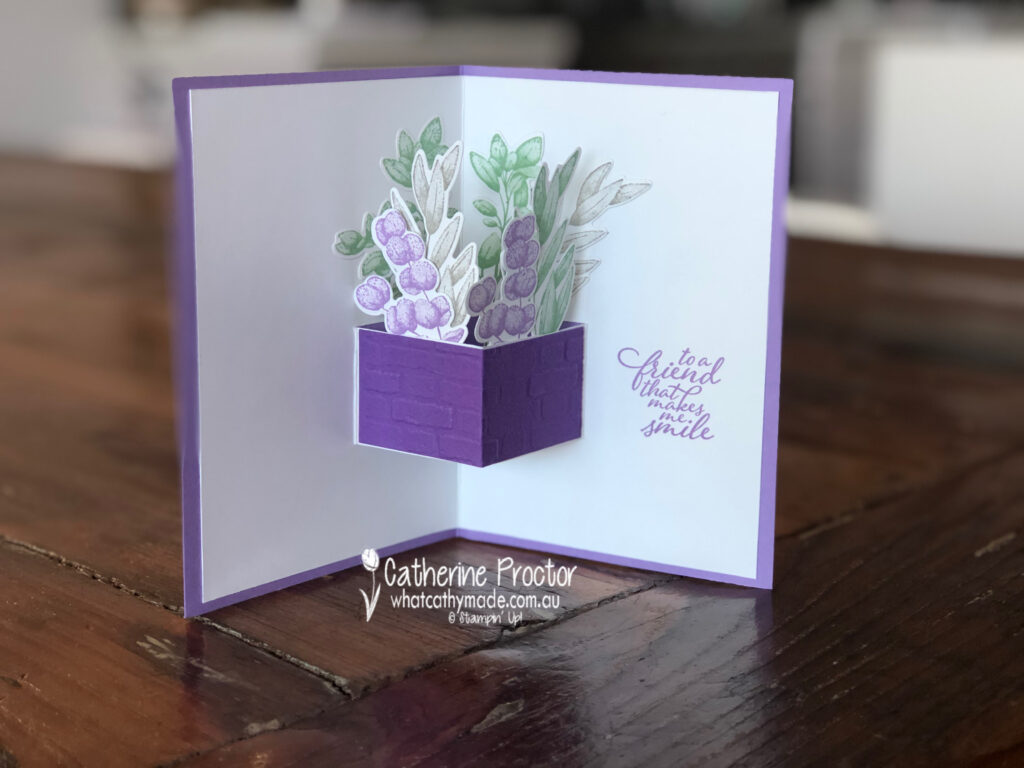
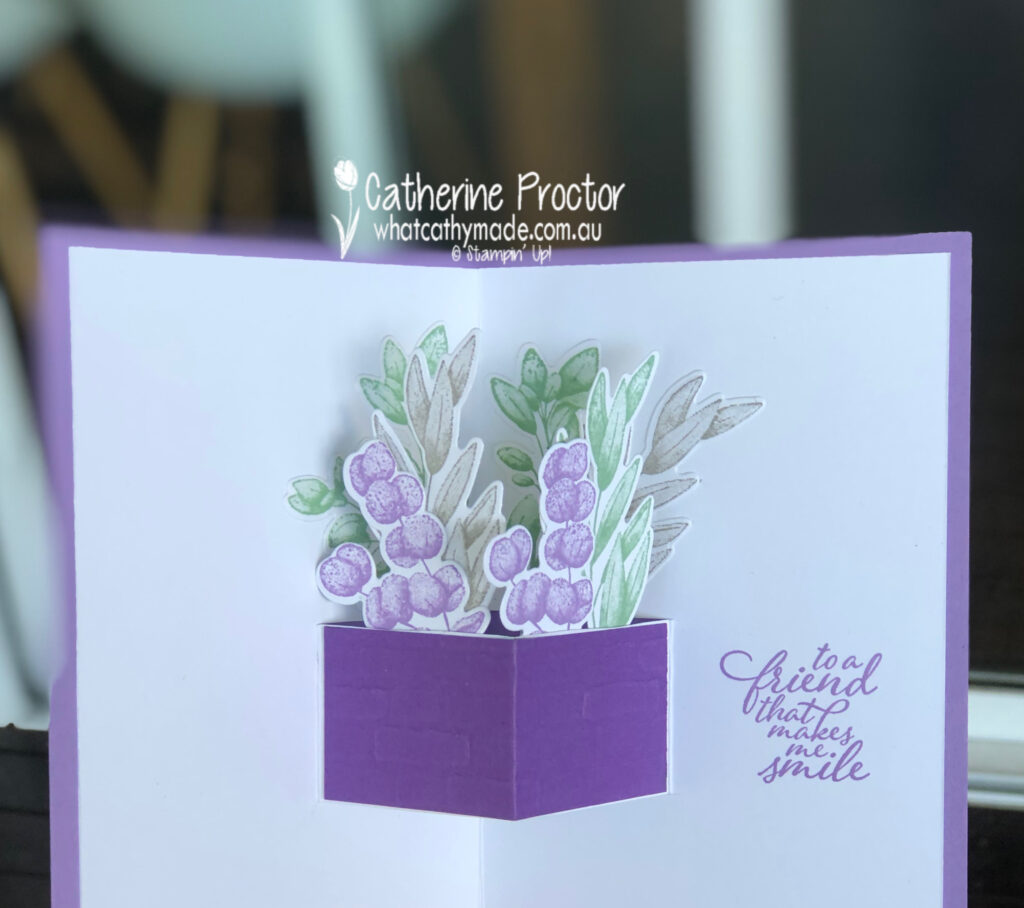
As well as attaching foliage pieces to the inside of the planter box pop-up section I also attached some to the inside of the Whisper White card base. Just a note of warning, when attaching die cut piece to your pop-up section just make sure they are positioned in a way that your card can close smoothly and they don’t stick out the sides when the card is closed.
Here’s a quick 17 second video showing you how my pop-up card moves.
The “to a friend that makes me smile” sentiment is the final touch for the inside of the pop-up card, stamped in Highland Heather.
I can’t wait to see what the rest of the Art With Heart team have created with Highland Heather today. Click on the links below to see what they’ve made.
If you’d like me to post you your very own copy of the August–December 2020 Mini Catalogue, 2020-21 Stampin Up! Annual Catalogue, the 2020-21 Beginners Brochure, or to simply find out about more about Stampin’ Up! contact me.
In the meantime, wherever you are in the world, stay safe, stay calm…and keep on crafting xxx
Welcome to week fifteen of our 2020-2021 Art With Heart Colour Creations Showcase.
Each week various members of our Art With Heart Colour Creations team will be bringing you weekly colour inspiration as we showcase our range of over 50 beautiful Stampin’ Up! colours in alphabetical order.
Week 15 – Early Espresso
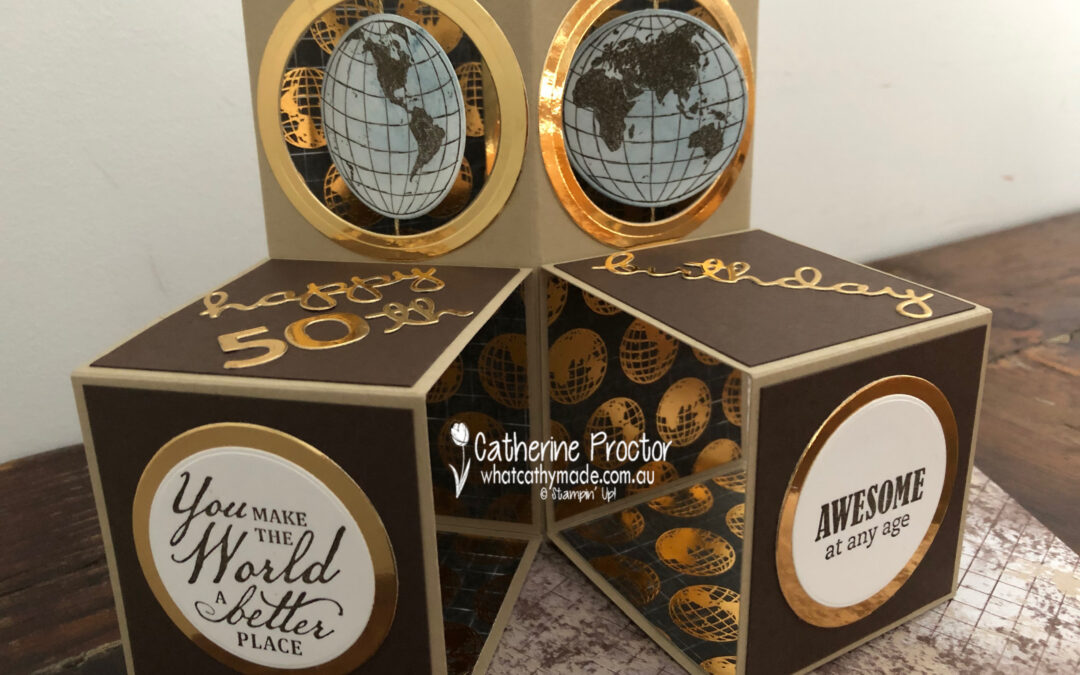
I actually made this special card in July for my brother’s 50th birthday but I waited until tonight to share it with you because it features the rich dark chocolate brown of Early Espresso…a colour that is just perfect for male cards.
I love using Early Espresso with other neutral colours and especially with foils – Early Espresso really makes foils pop. For my card today I’ve paired Early Espresso with Crumb Cake, Brass Foil, Whisper White and just a touch of Misty Moonlight.
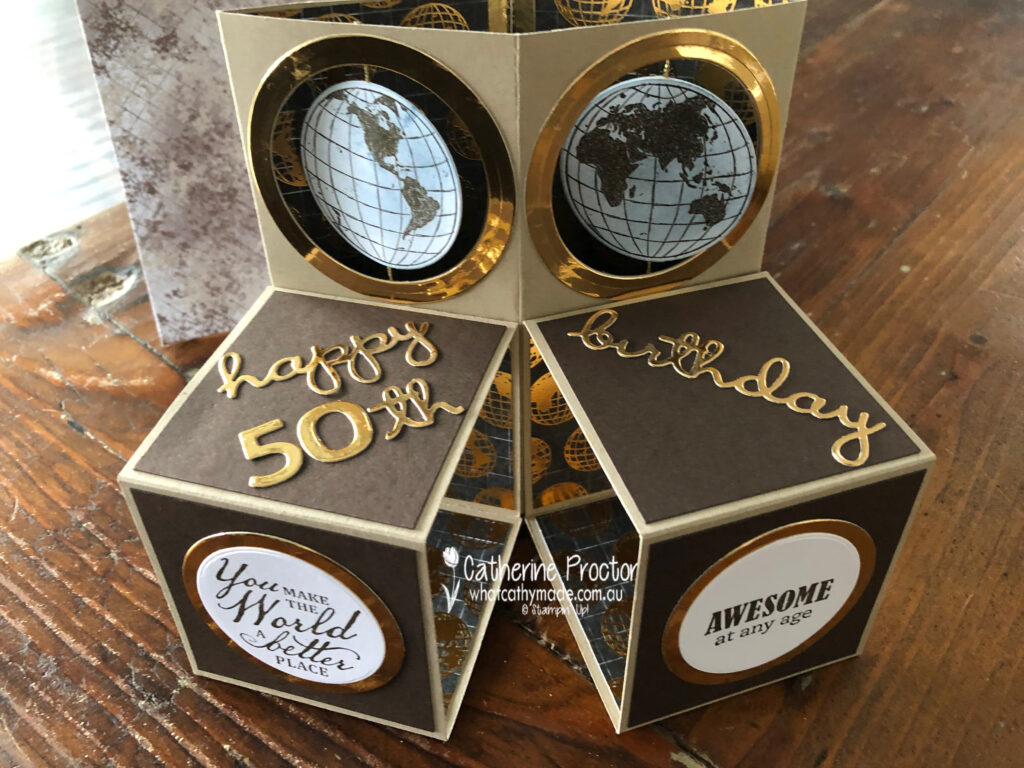
I wanted to make a birthday card that moved for my brother because he used to be an engineer but I couldn’t find a pattern for a combined spinner and triple cube card so I designed one myself.
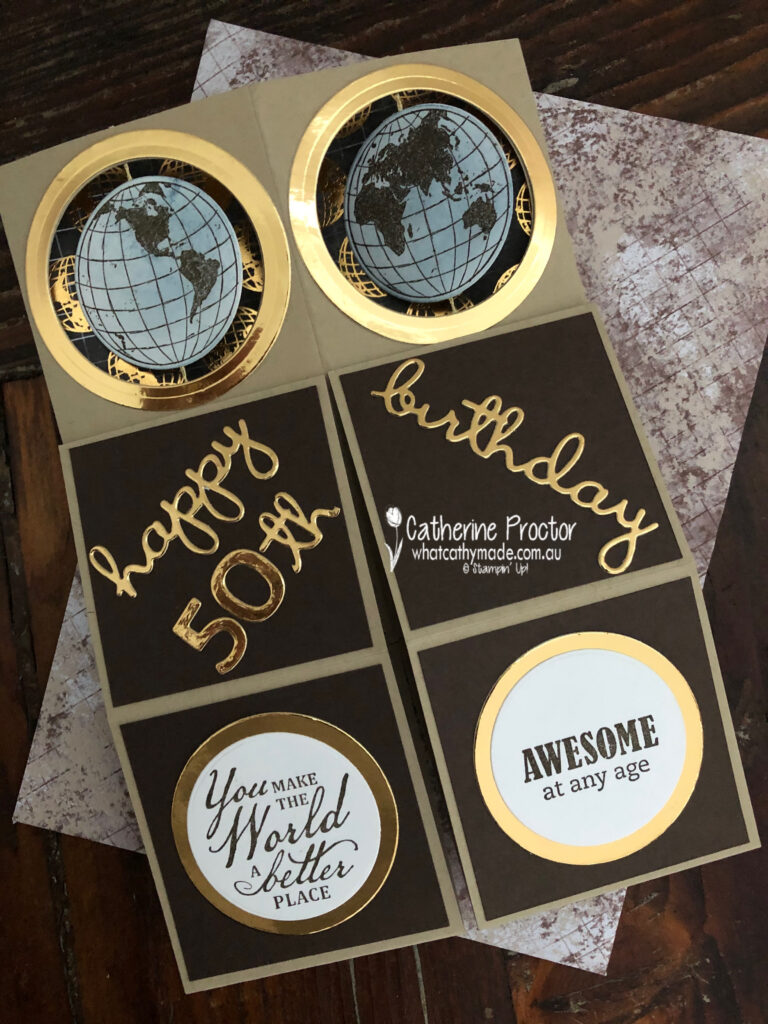
This 30 second video shows you how my double spinner triple cube pop-up card goes from lying flat in an envelope to popping up with spinning globes – it’s such a cool card to make if you love cards that move, like I do!
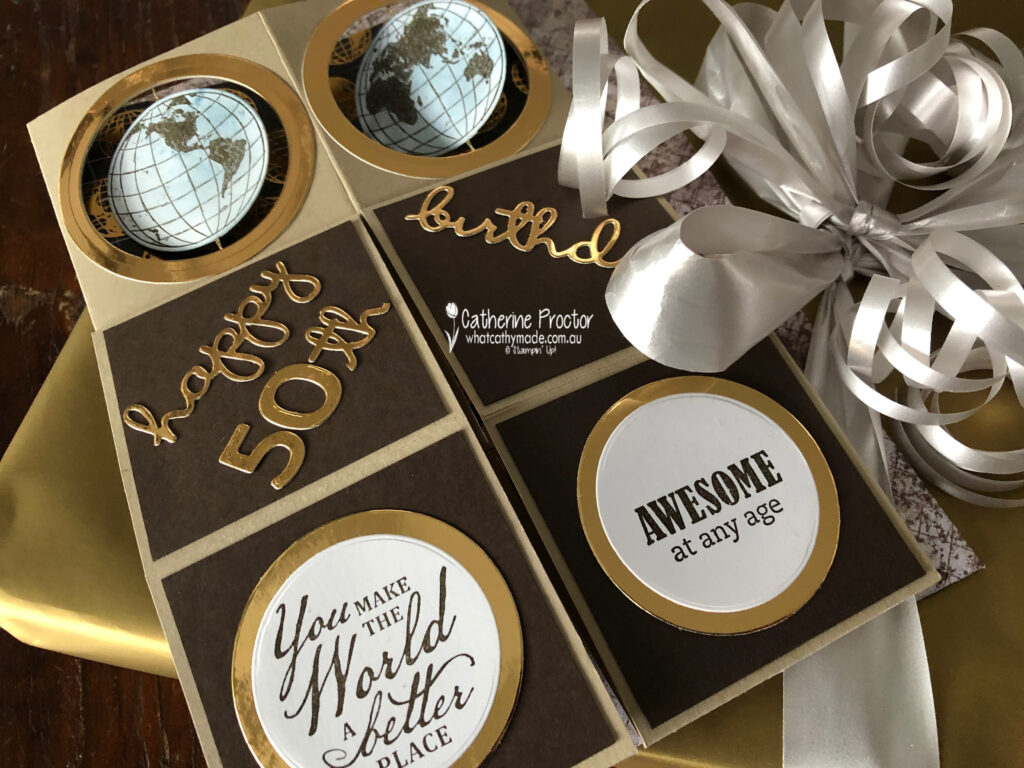
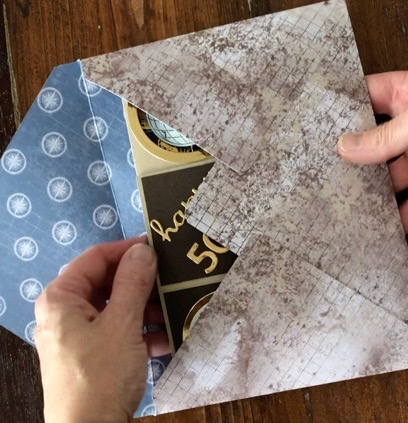
Here’s a close up of what the double spinner triple cube pop-up card looks like lying flat to slip inside an envelope.
And here’s how to make the card.
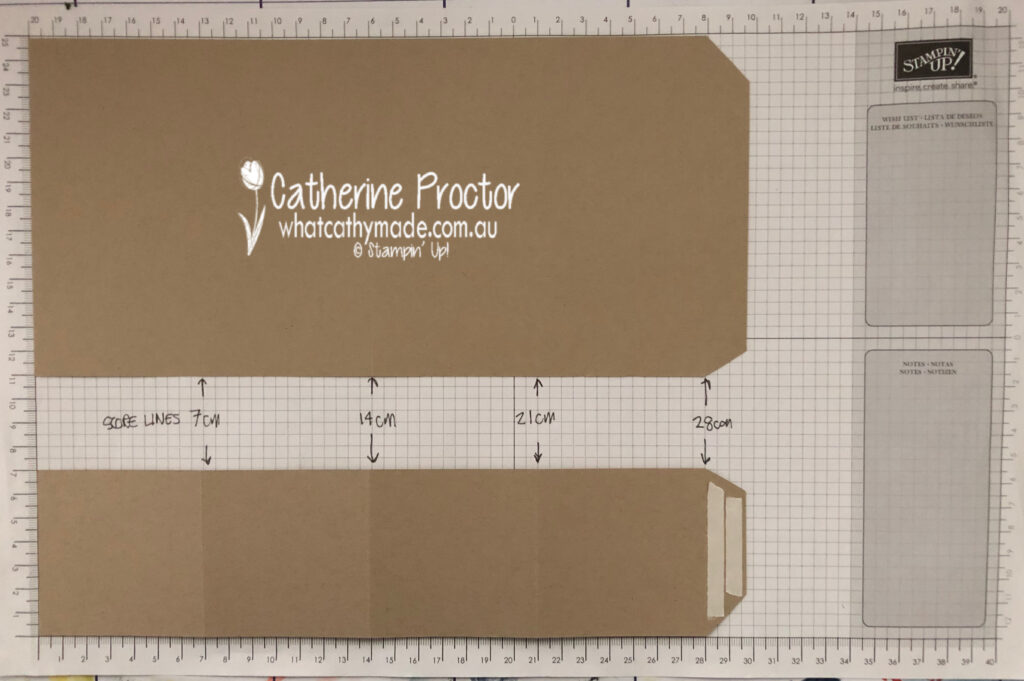
Triple Cube Instructions
Use your trimmer to score an A4 piece of Crumb Cake card stock at 7cm, 14cm, 21cm and 28cm and then cut across the A4 sheet at 7cm along the 21cm side as shown in photo above.
Trim another A4 piece of Crumb Cake card stock at 7cm x 29.7cm and score at 7cm, 14cm, 21cm and 28cm (this piece is identical to the smaller rectangle in the photo above).
You will now have one larger 14cm x 29.7cm rectangle and two smaller 7cm x 29.7cm pieces. Bevel the side flap of all three rectangle pieces and adhere Tear & Tape to the beveled edges.
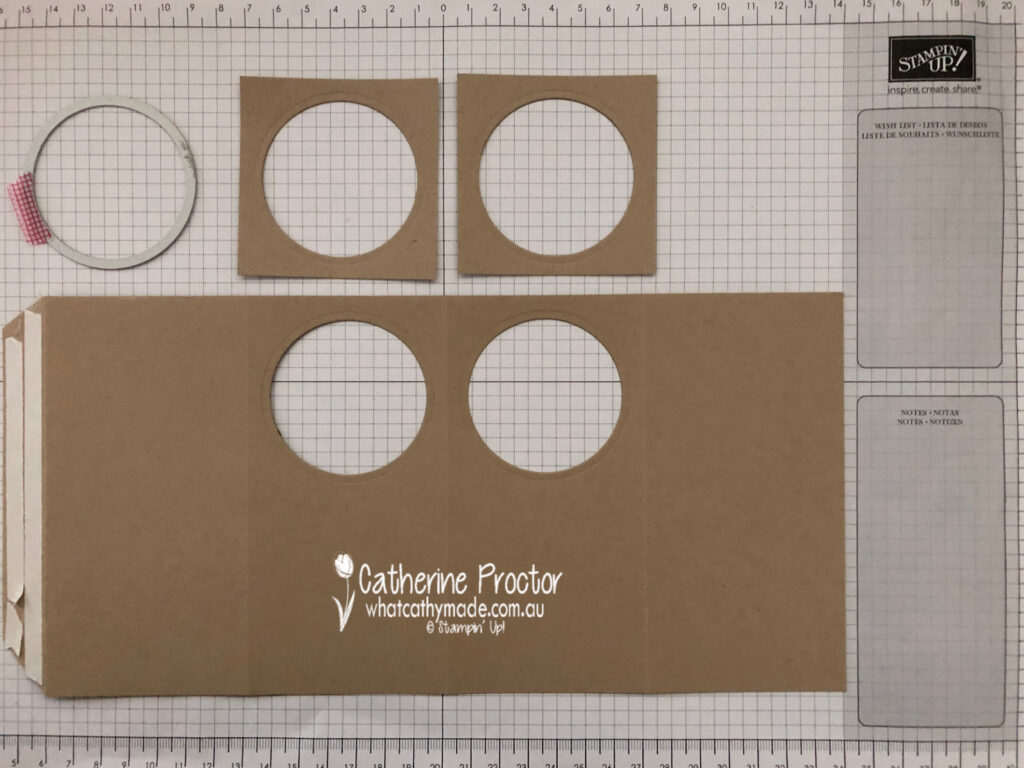
Double Spinner Instructions
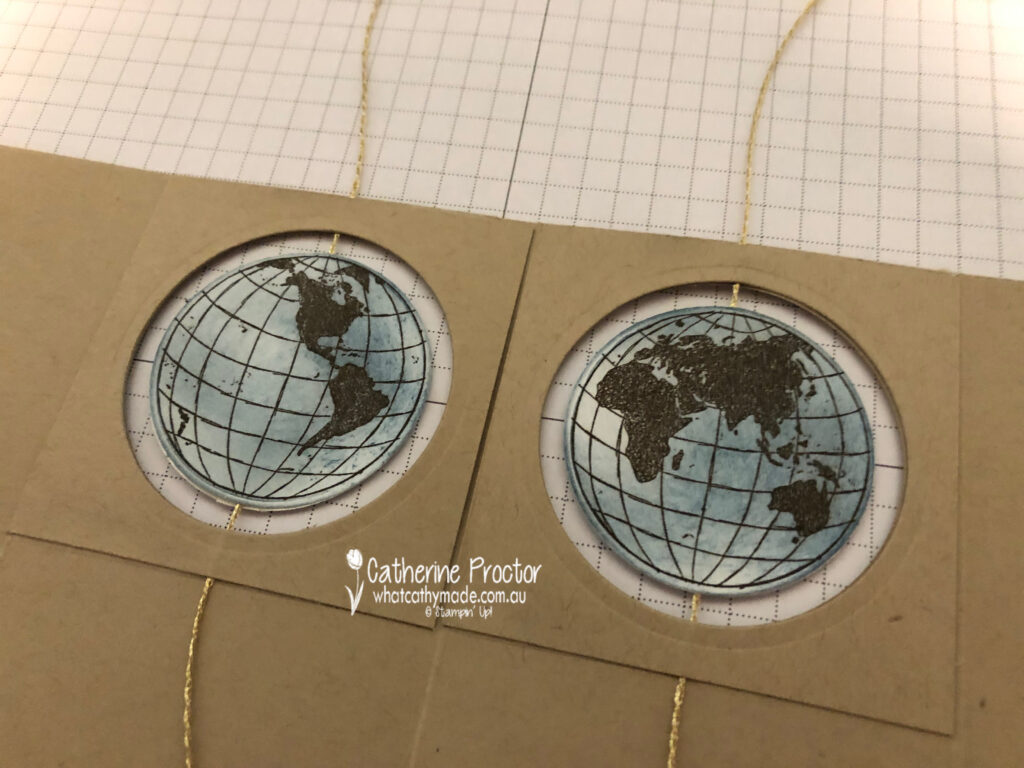
Create the holes for the two spinner mechanisms by cutting two 7x7cm squares of Crumb Cake card stock and laying them over the top of the two centre panels of the largest rectangle. Use a layering circle die in the centre of the 7cm square pieces to cut through both layers of card stock.
Stamp four globes in Early Espresso onto Whisper White card stock – two of each side of the world. Die cut these four globe pieces with the matching circle die. Use a sponge dauber to gently shade some Misty Moonlight ink onto the globes.
Carefully lay a strip of Tear & Tape from the north pole to the south pole on two of the globes and lay a piece of gold trim (from the Forever Greenery trim pack) along the Tear & Tape. Glue the other side of the globe together – you will now have two complete double-sided globes.
Align the globes onto the card base and glue the 7x7cm square of Crumb Cake to the inside of the card base to hold the spinner globes in place as shown in the photo below. Cut off the excess gold trim.
Double Spinner Triple Cube Pop-up Card Assembly and Decoration
Fold the large cube card base and the two smaller cube bases, closing them into cube shapes by removing the Tear & Tape to adhere the sides of the cubes together.
Use multipurpose glue or Tear & Tape to attach the two smaller cubes to the bottom front of the larger spinner cube base as shown below.
Die cut six 6.5 x 6.5cm squares of Early Espresso card stock and attach to the outer squares of the two smaller cubes. Decorate with sentiments of your choice – I’ve stamped my sentiments in Early Espresso onto Whisper White card stock.
Other decorations on the spinner cube include brass foil circles die cut using the layering circle dies, squares of the World of Good DSP and “Happy 50th birthday” greeting die cut from brass foil with the Well Written dies and the Playful Alphabet Dies.
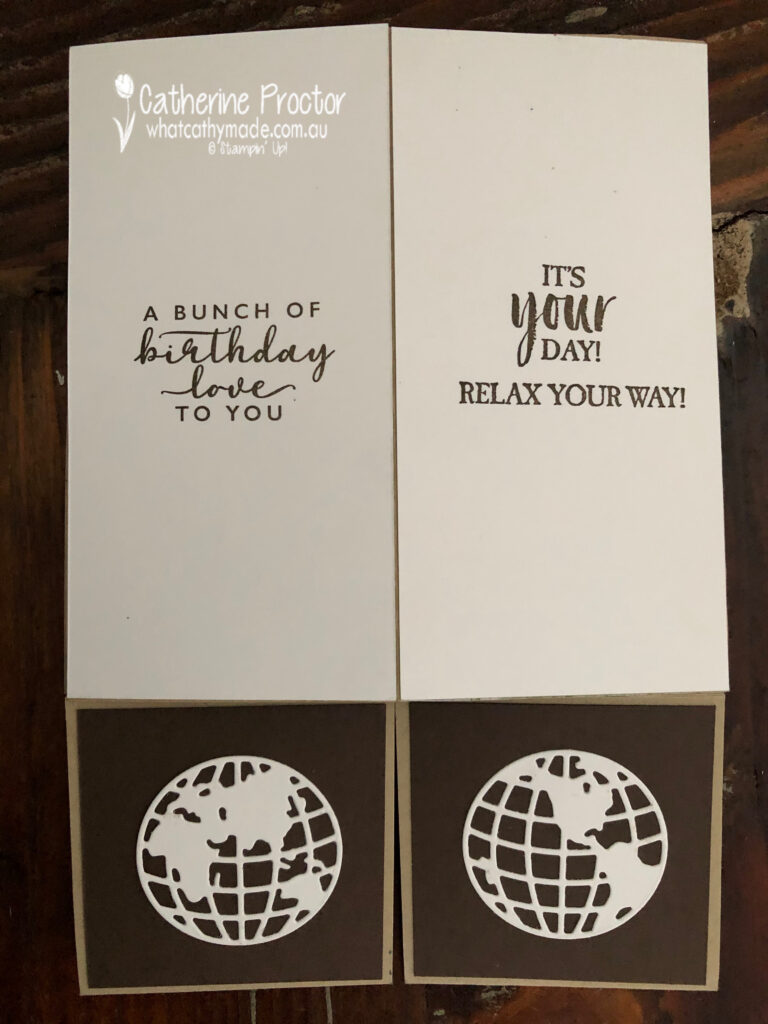
The back side of my card has Whisper White panels to write a message on and more globes die cut using the World Map dies.
Finally, I used another sheet of the World of Good DSP to make a simple co-ordinating envelope.
I can’t wait to see what the rest of the Art With Heart team have created with Early Espresso today. Click on the links below to see what they’ve made.
Next Wednesday we’ll be showcasing one of the Brights family: Flirty Flamingo. We hope you can join us all then.
To purchase any of the products featured in today’s post, simply contact your Stampin’ Up! demonstrator, any of the ladies in the AWH Colour Creations Showcase or click on the product links below.
If you’d like me to post you your very own copy of the August – December 2020 Mini Catalogue, the 2020-21 Stampin Up! Annual Catalogue, the 2020-21 Beginners Brochure, or to simply find out about more about Stampin’ Up! contact me.
In the meantime, wherever you are in the world, stay safe, stay calm…and keep on crafting xxx


")


 Tricolor Ribbon")


")


