Welcome to week twenty four of our Art With Heart 2022-23 Colour Creations blog hop!
This is a weekly blog hop where we showcase the stunning range of Stampin’ Up! colours in alphabetical order over 12 months and this week we are featuring Granny Apple Green from the brights family.
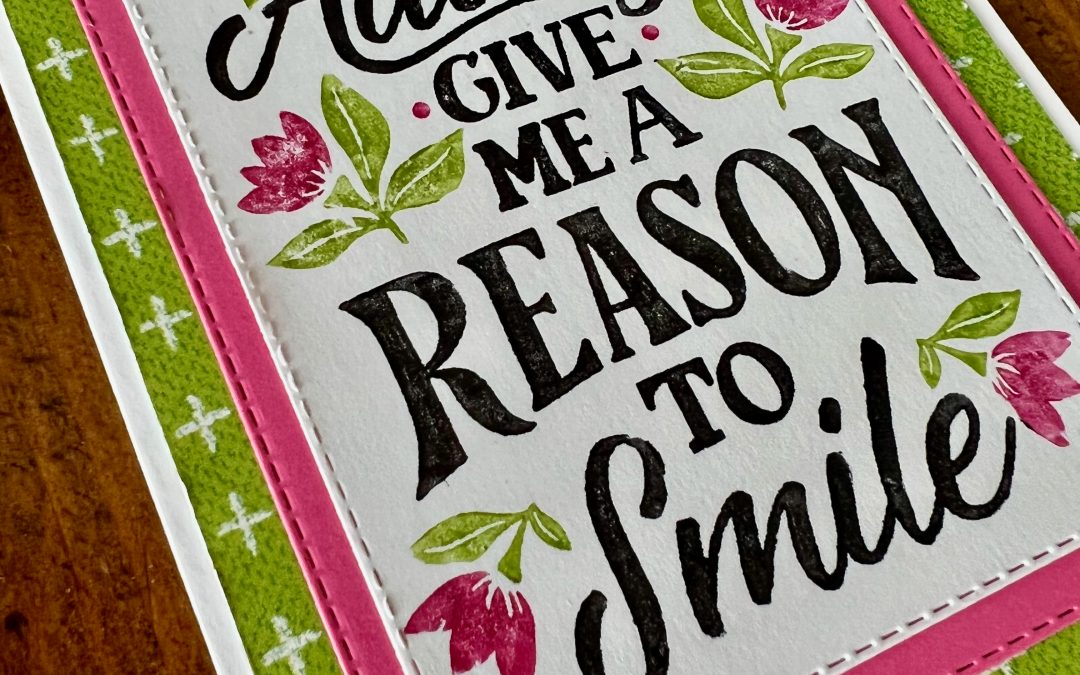
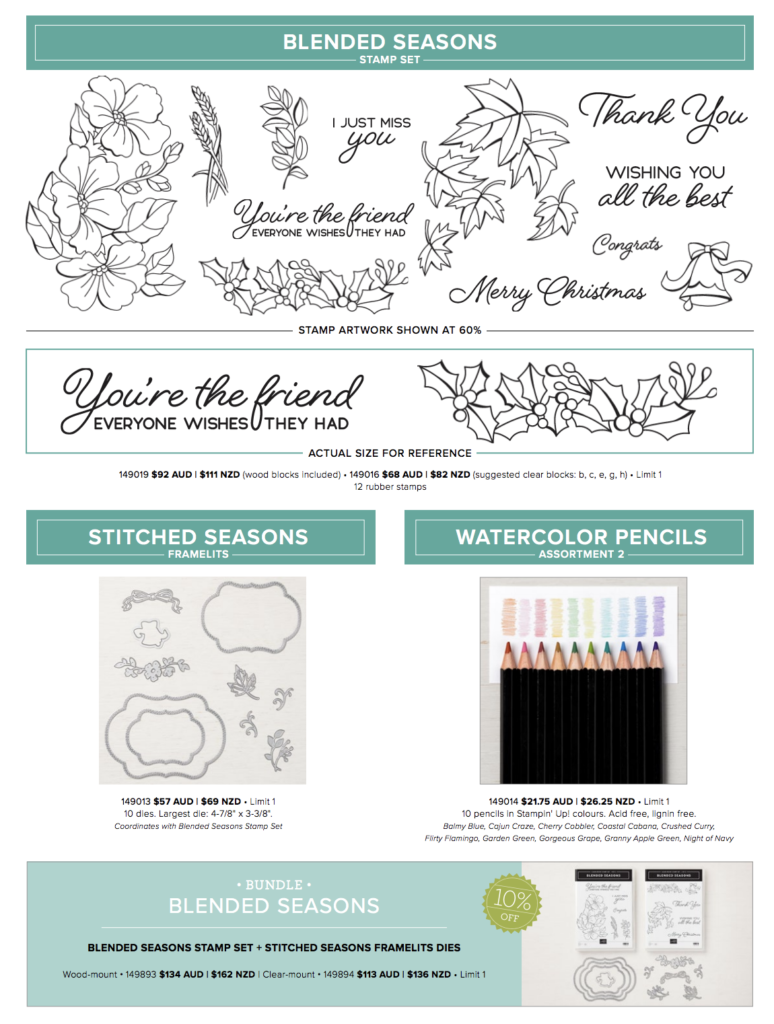
The Reasons to Smile Stamp Set is a wonderful stamp set, ideal for all ages, genders and occasions.
These stamps are great for fast card making as they give you both a sentiment and an image in one and can be stamped in any colour. They quickly fill the space on your card, work with a simple layer of DSP or cardstock and the mix of fonts is gorgeous!
My card for this week uses a technique I have not used in a long time – the marker to stamp technique. You do not need ink pads for this technique as you actually apply colour directly to the stamp set using markers.
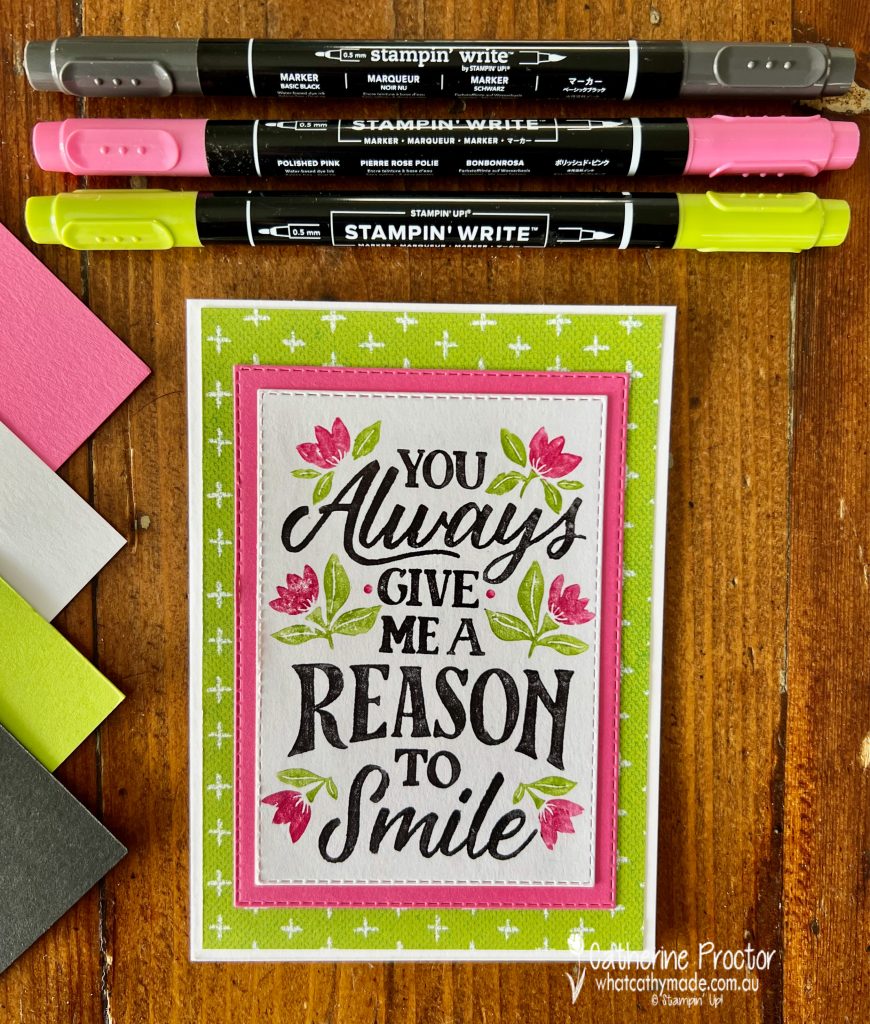
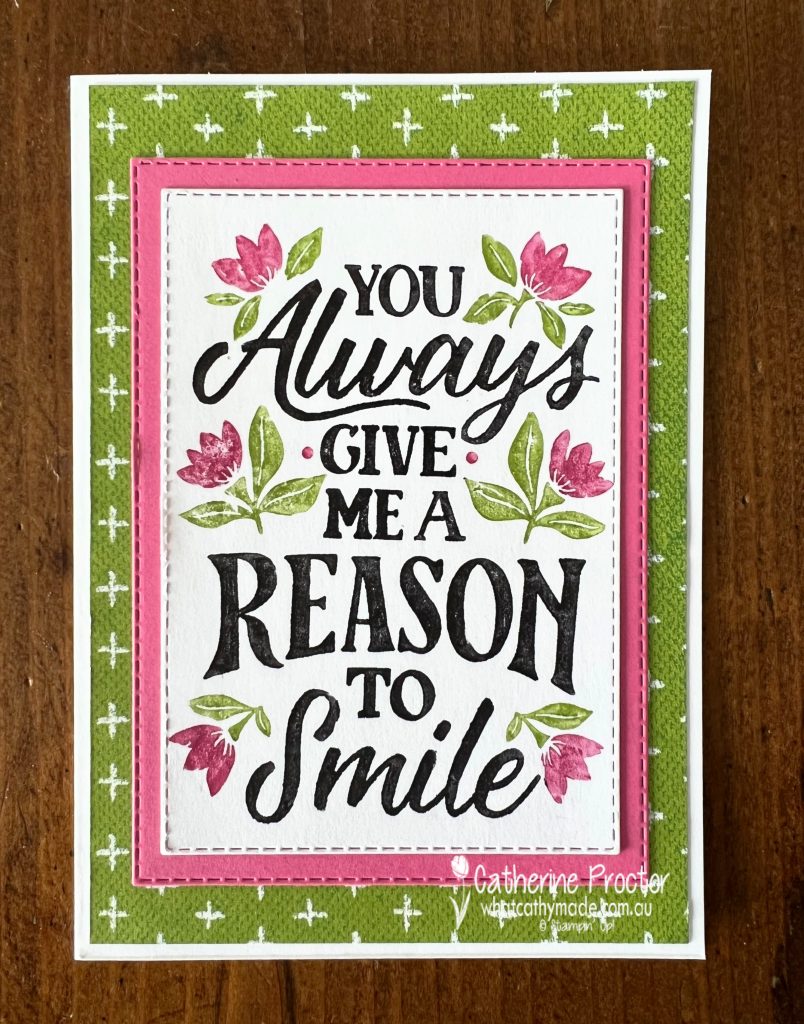
This technique is wonderful for stamping in multiple colours using just one stamp. I’ve paired Granny Apple Green with Polished Pink, Basic Black and Basic White, colouring the stamp with my Stampin Write Markers to create a vibrant happy card.
Stampin' Up! Granny Apple Green Colour Combination
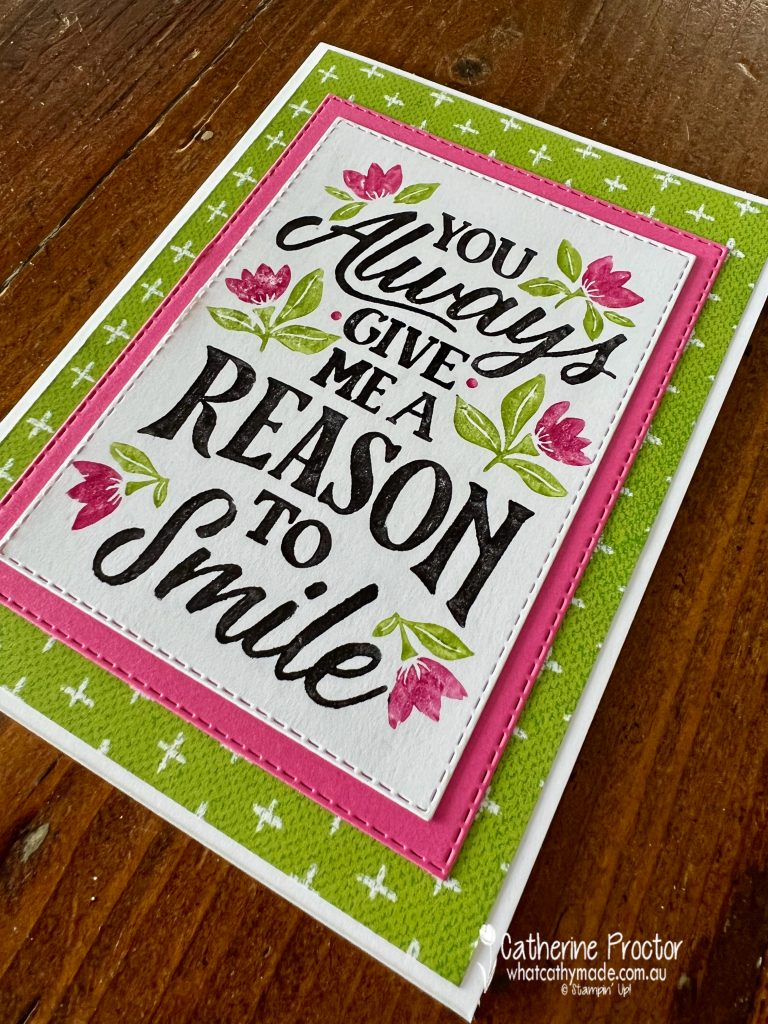
Use a stamparatus so you can repeatedly stamp as you add different colours and ensure it lines up perfectly.
Add one colour at a time, colouring the stamp surface with the marker.
Huff on your stamps after colouring them in with the marker and before stamping.
You can recolour any area of the stamp if you have missed a section or if you would like a heavier coverage.
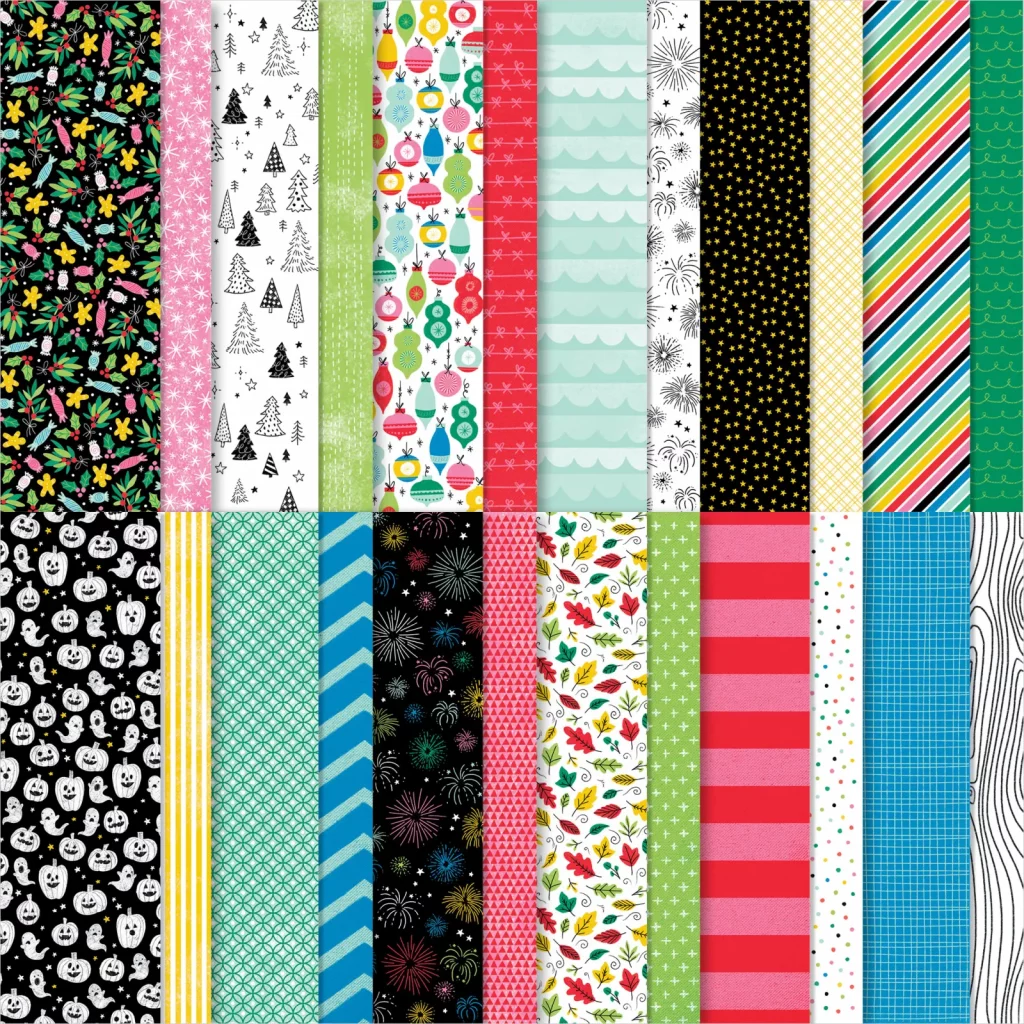
The gorgeous Granny Apple Green DSP background layer is from the Celebrate Everything 12″ x 12″ (30.5 x 30.5 cm) Designer Series Paper.
Speaking of celebrations, I won’t be hosting this hop tonight as my eldest son, Samuel, graduates from university today and we are taking him out after his graduation.
I can’t show you the card I made for Samuel yet because I made it for the Gray Granite blog hop next Wednesday night. The graduation card uses another DSP pattern from the very versatile Celebrate Everything 12″ x 12″ (30.5 x 30.5 cm) Designer Series Paper. Can you guess which pattern it is?
Now it’s time to hop on over to our next participant, the lovely Kate Morgan – I can’t wait to see what Kate has made this week!
If at any time you find a broken link, you can find the complete list of all participants on Tina’s Gillespie‘s website. Tina is hosting the blog tonight for me – thank you so much Tina!
Welcome to the Monthly Art With Heart Creative Showcase.
This month the Art With Heart Team are featuring projects using different colouring techniques. The Stampin’ Up! range contains an enormous bevy of functional and effective colouring tools that include:
Stampin’ Blends (alcohol markers)
Stampin’ Write Markers (dual-tipped markers)
Stampin’ Pads (water based dye ink)
Stampin’ Ink Refills (dye based ink)
Uninked Stampin’ Spots (felt Stampin’ Spots for use with Ink Refills)
Watercolour Pencils
Water Painters
Stampin’ Chalk Marker (permanent white chalk-like ink)
Sponges, daubers, sponge rollers and blender pens
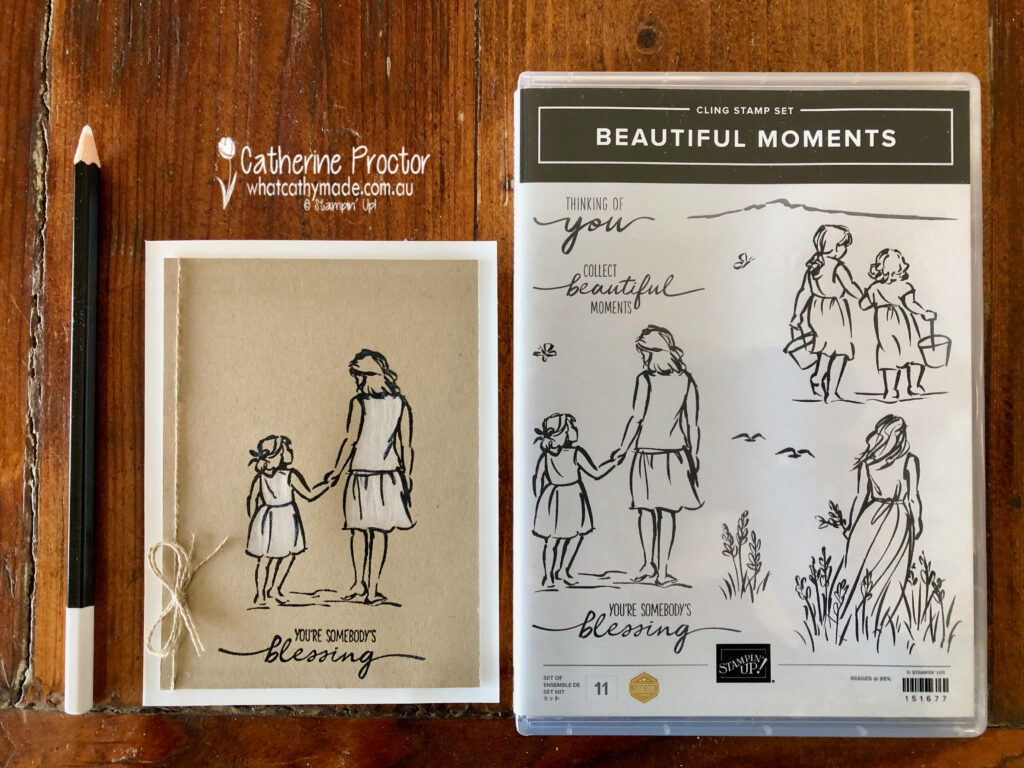
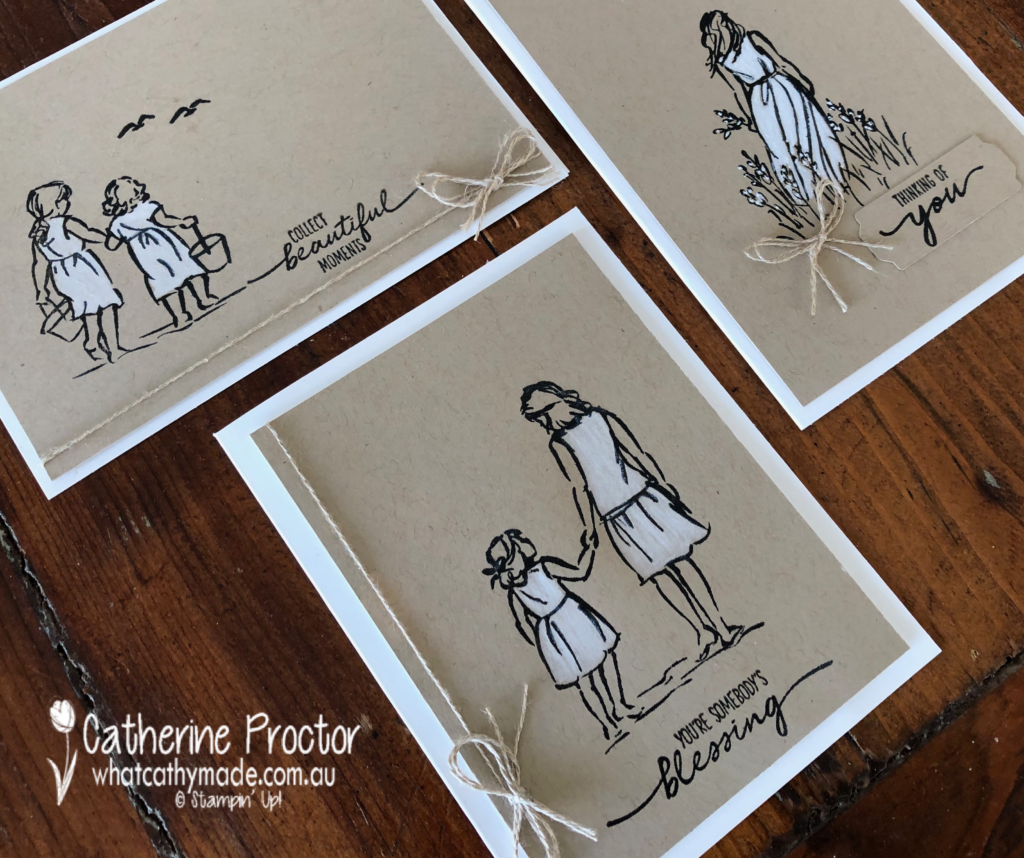
With so many tools and over 50 colours to chose from I actually decided to do something different today and show you three different ways of colouring in white onto coloured card stock. These techniques work for any coloured card stock, but I’ve decided to use a favourite colour combination of mine: Whisper White and Crumb Cake.
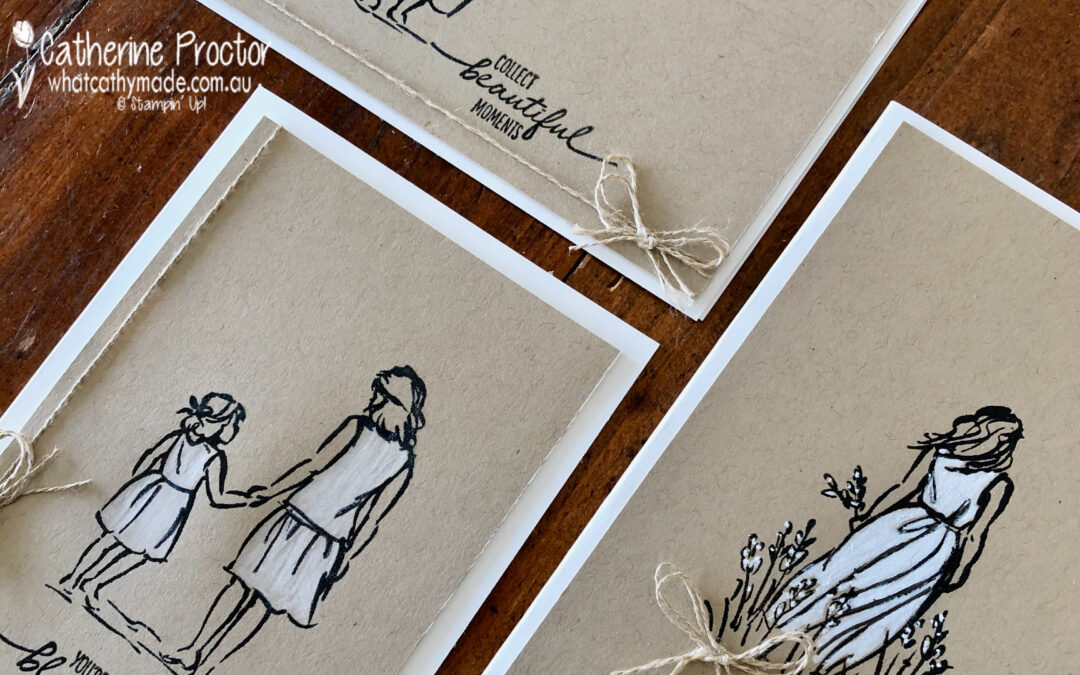
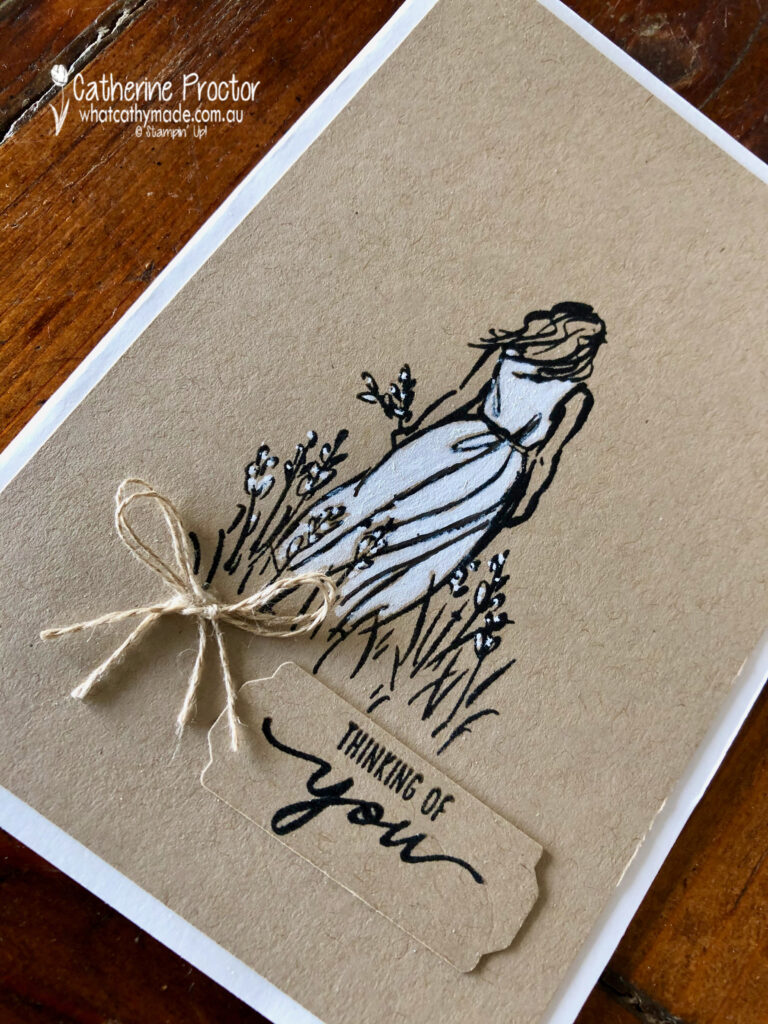
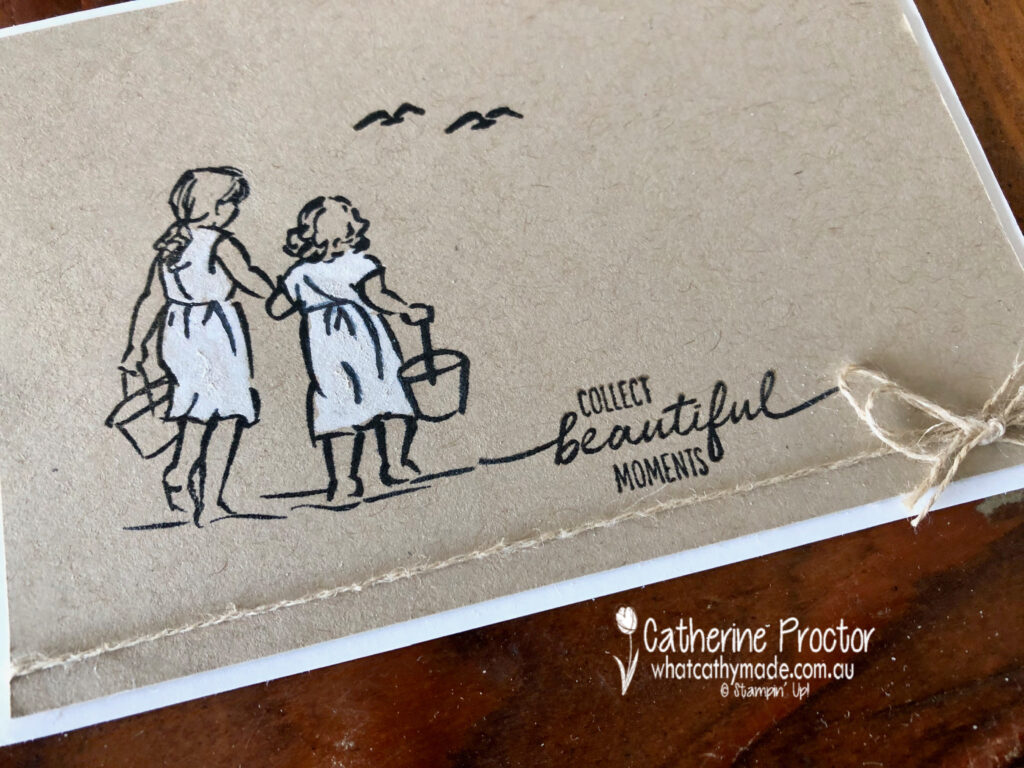
All three cards that use the stunning Beautiful Moments stamp set – this is a stamp set that makes anybody look like an artist!
For all three cards I began by stamping and heat embossing my image and sentiment. To achieve a black embossed image I inked up my stamp firstly with Versamark ink and then Memento before stamping. I then covered the image in Clear Stampin’ Emboss Powder and heat embossed it the image with my heat tool. I repeated this process for the sentiments.
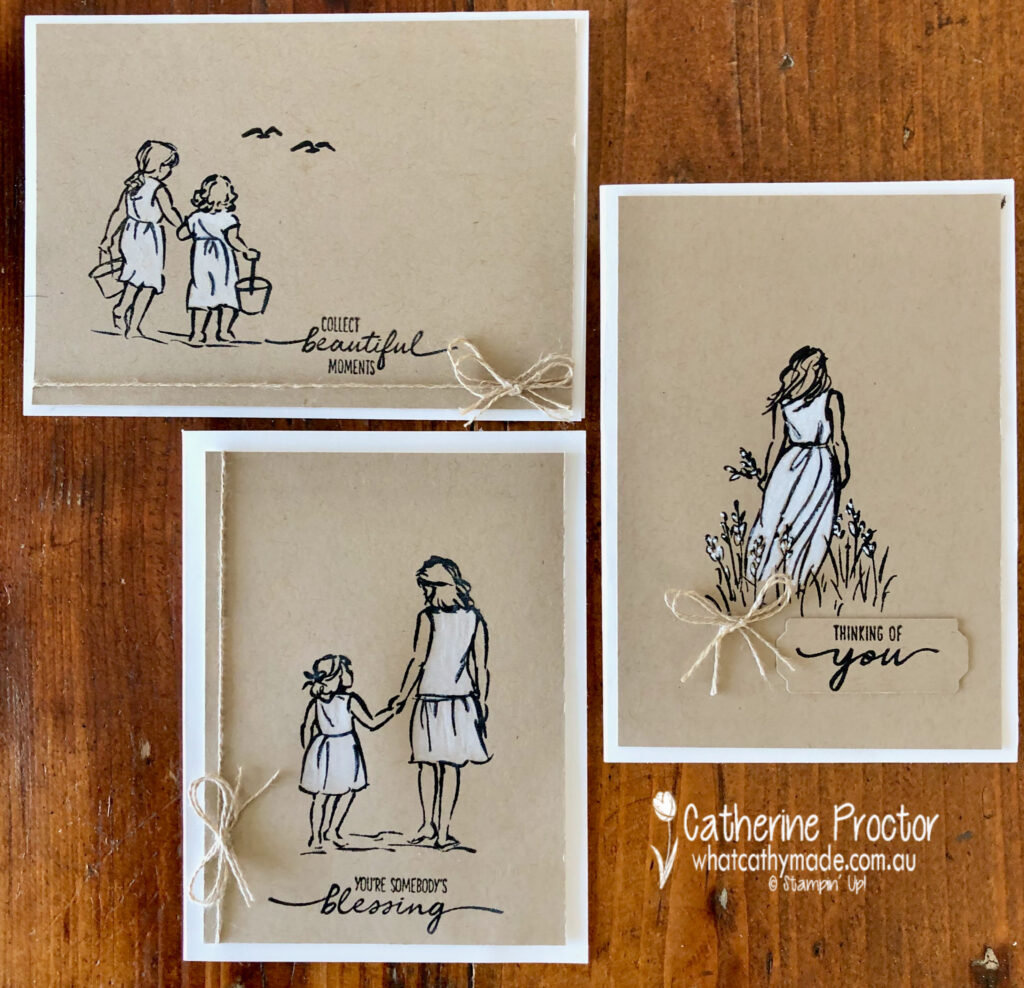
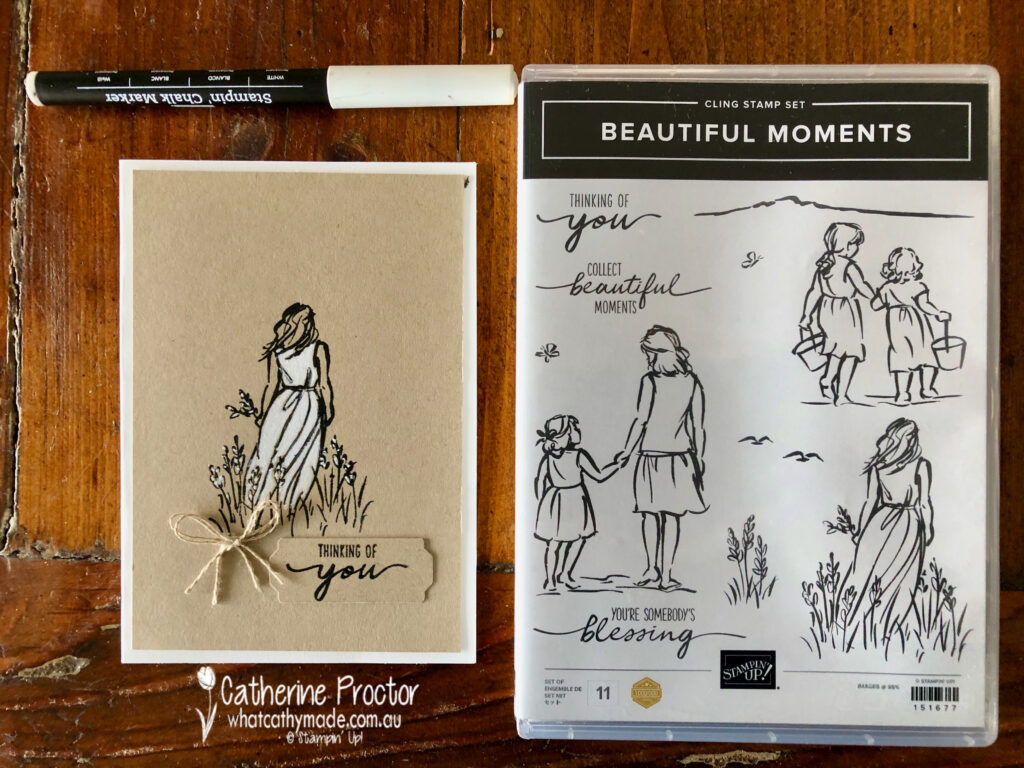
My “Thinking of you” card is coloured using a Stampin’ Chalk Marker, which is a permanent white chalk-like ink.
I simply coloured in the dress and the flowers, adding more chalk marker if there were any patchy bits as the marker dried.
The sentiment was punched out using the Lovely Label punch to add some dimension to the card.
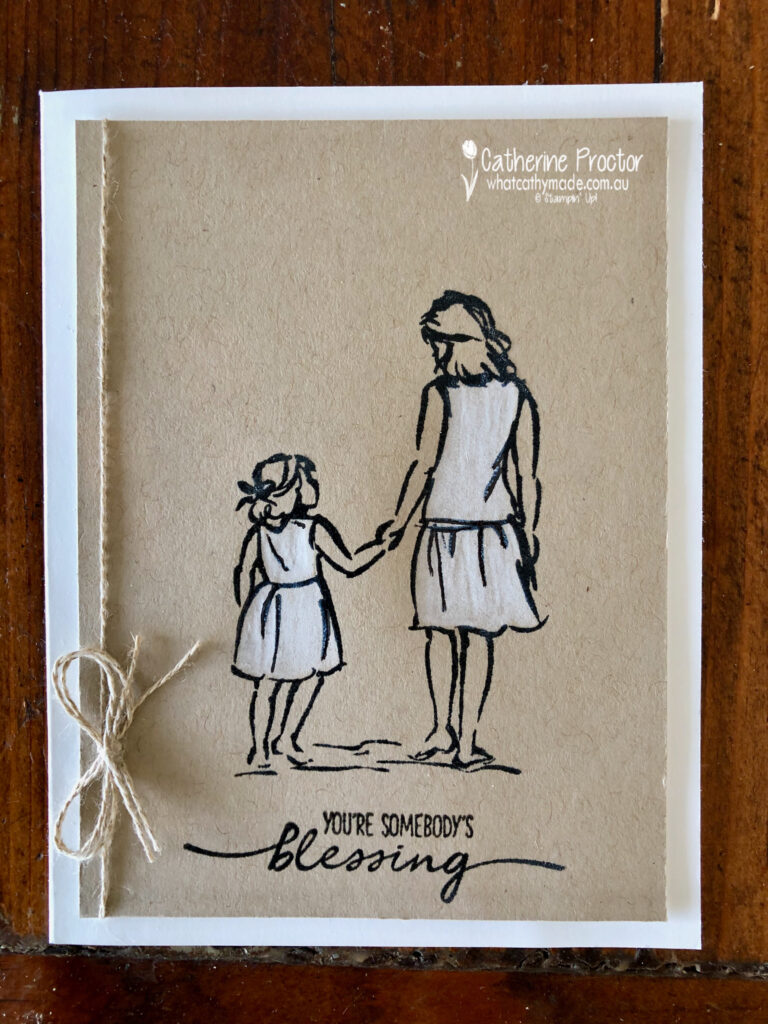
For card two I used my white watercolour pencil from the Watercolour Pencils assortments one.
You’ll need to press quite hard and layer your colouring to achieve good coverage with the pencil but I love the soft chalkiness the pencil gives to the image.
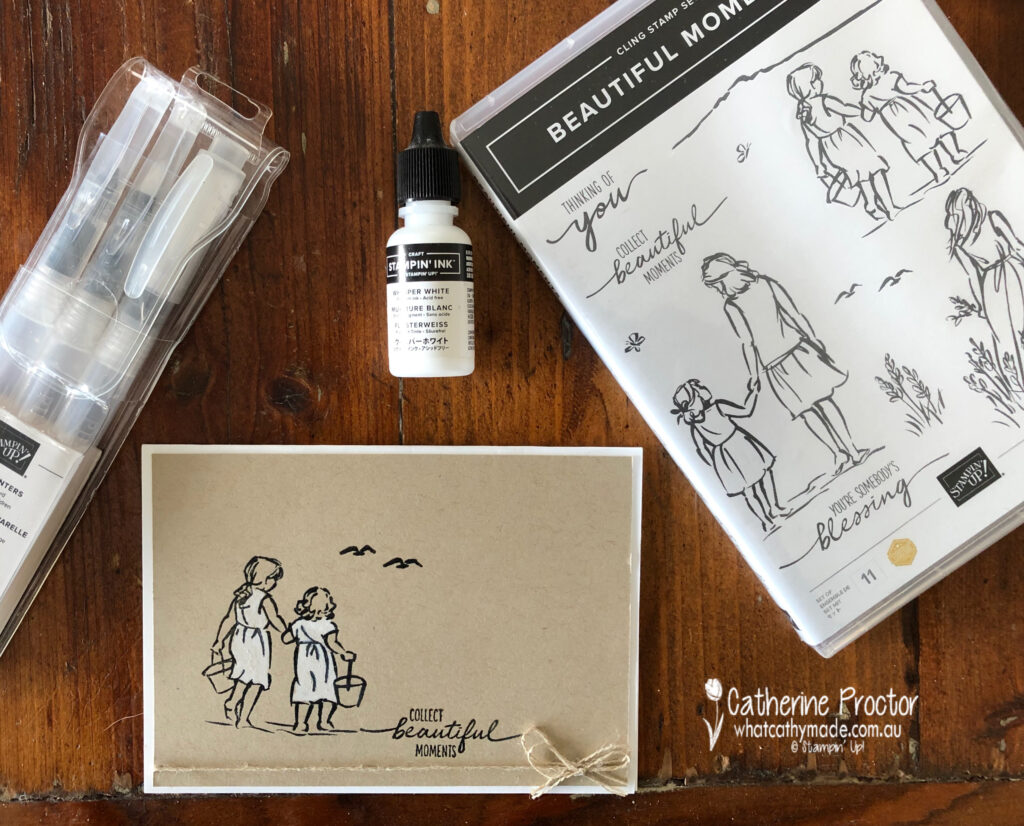
The white colouring on my final card was achieved using Whisper White pigment ink refill and my smallest Water Painter.
I squeezed a small amount of the pigment ink onto a dish and used a wet nib of my water painter to slightly dilute the pigment ink before colouring in the girl’s dresses. You could also use white ink from your Whisper White stamp pad for this technique – simply tap a small acrylic block onto your stamp pad and then use your water painter to lift the ink off the acrylic block as you colour in.
This card took a bit longer to dry but the effect is well worth the wait.
All three cards were finished off with a double bow of linen thread and I used my Basic Black Stampin’ Write Marker to re-define any black lines that had been covered in white.
I hope my cards have inspired you to try white colouring on coloured card stock as it is such a beautiful and timeless technique you can achieve with a variety of different colouring tools.
The next Art With Heart Team Member to share their colouring technique with you is the very talented Vicki Boucher.
If you have a broken link or have come to this blog hop midway, you can view all the participants below:
Tonight the Art with Heart team are sharing creative projects featuring stamp sets that you can colour in. We hope our blog hop inspires you to pick up some Stampin’ Write markers, watercolour pencils, Stampin’ Blends or another form of colouring medium and colour in with your stamps.
Don’t forget to contact any of the ladies on the blog hop to order any products, especially these limited edition Colour Your Season products (pictured below), only available until the end of August, or until supplies last.
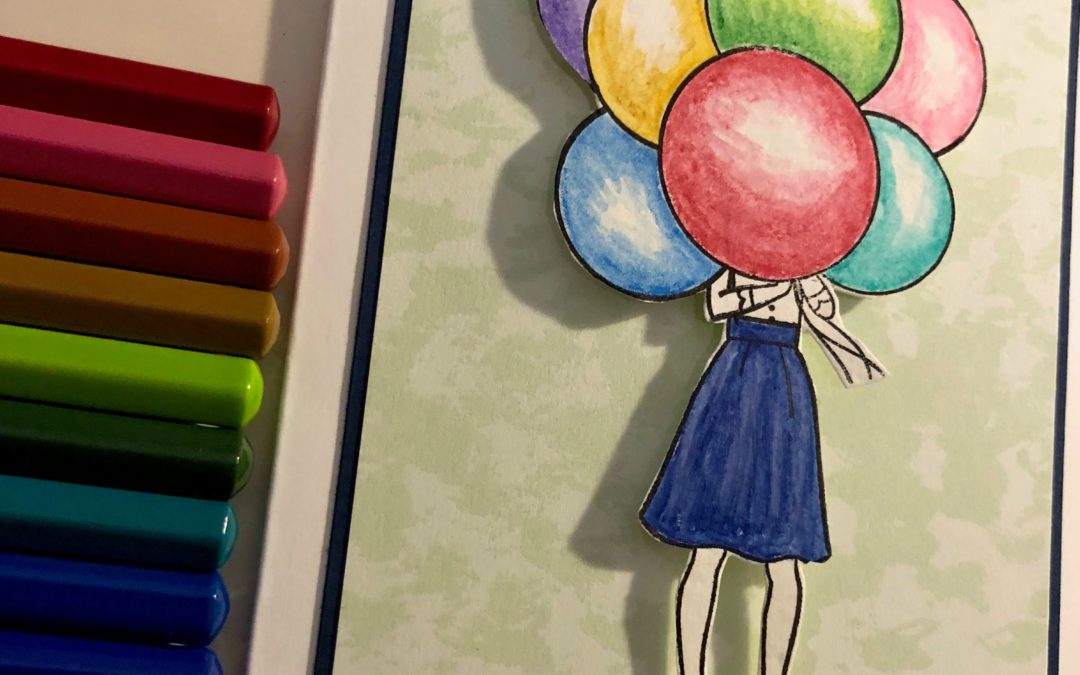
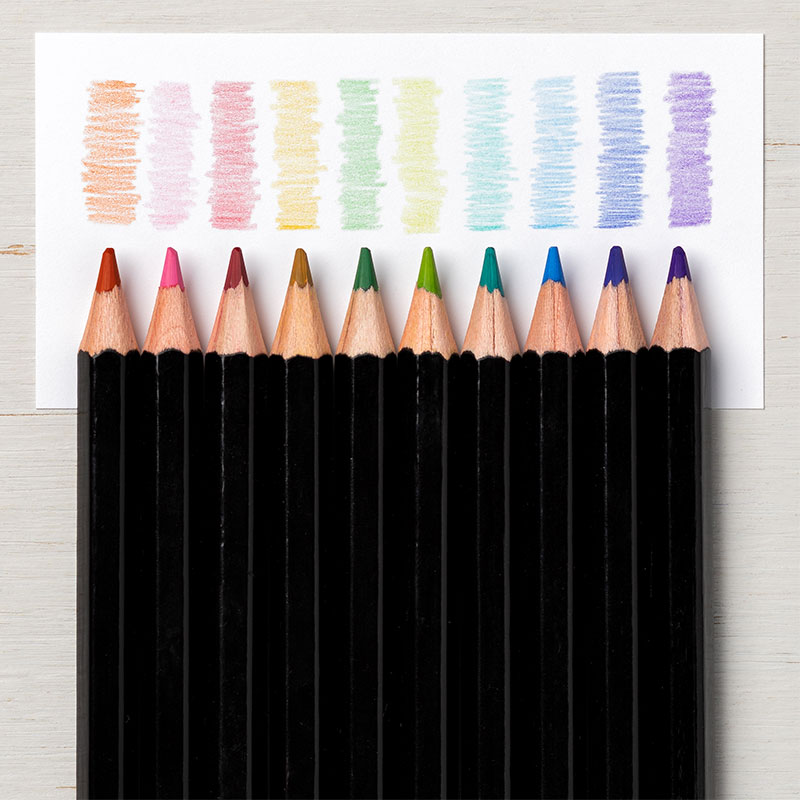
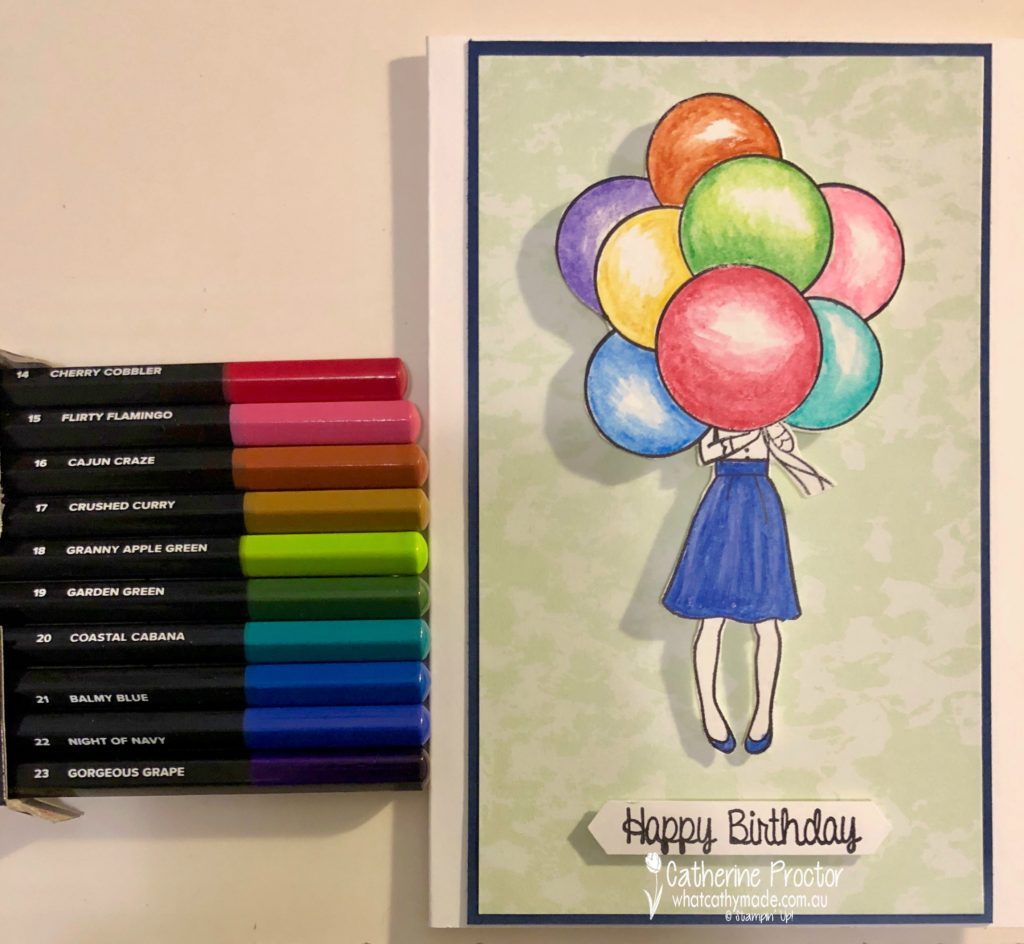
My project tonight uses the new watercolour pencils. Here’s a close up of these gorgeous high-quality pencils, available in 10 new colours: Balmy Blue, Cajun Craze, Cherry Cobbler, Coastal Cabana, Crushed Curry, Flirty Flamingo, Garden Green, Gorgeous Grape, Granny Apple Green, and Night of Navy.
These pencils are so easy to use and combined with the blender pen they give the most beautiful watercolour effect.
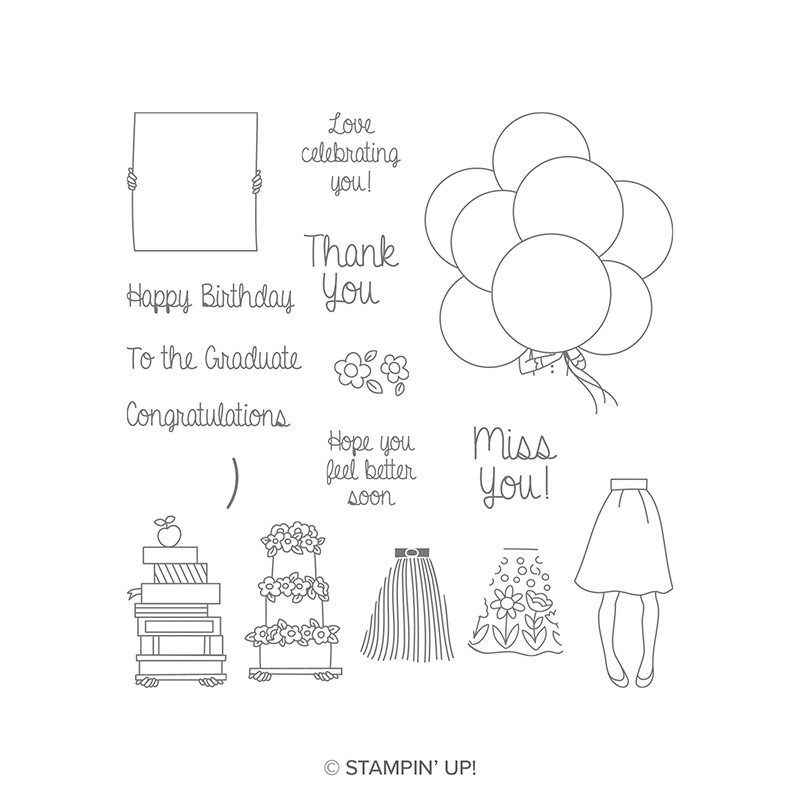
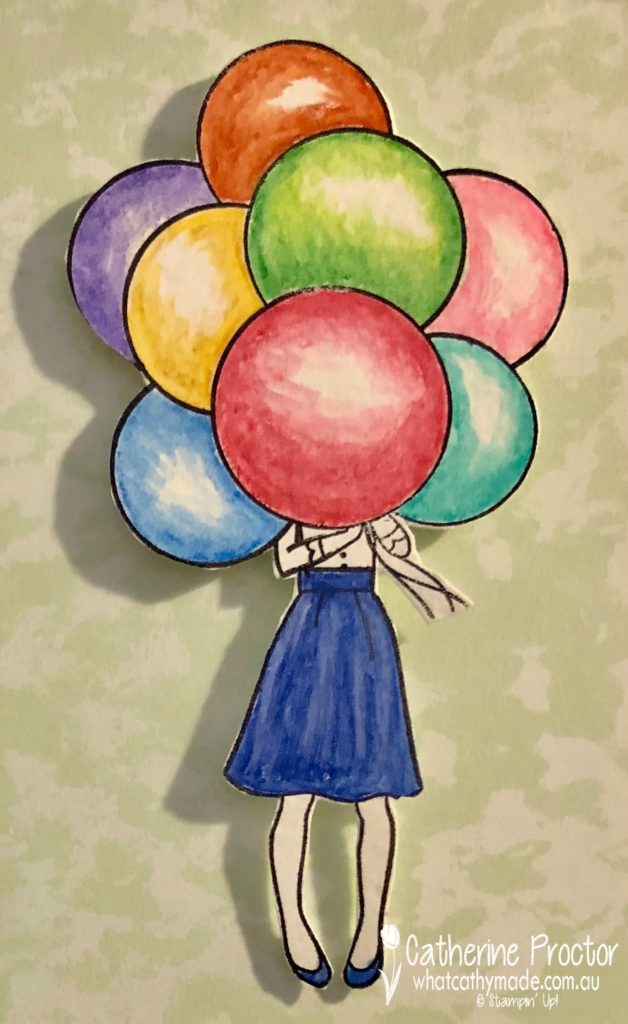
I’ve chosen a stamp set that allows me to showcase all of these gorgeous new watercolour pencils: it’s a hostess set called Hand Delivered.
You could colour these images in with your Stampin’ Markers, ink from your ink pads using an aqua painter as your brush, and Stampin’ Blends, or, as I have done on my card below, you can use watercolour pencils and blender pens.
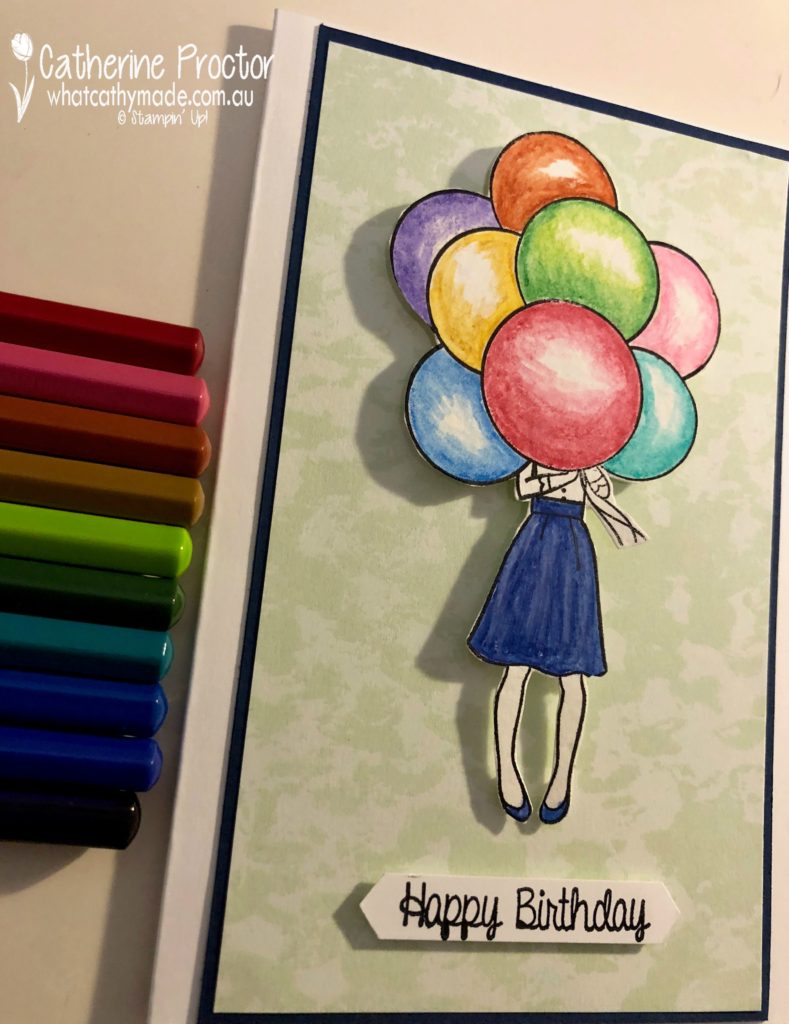
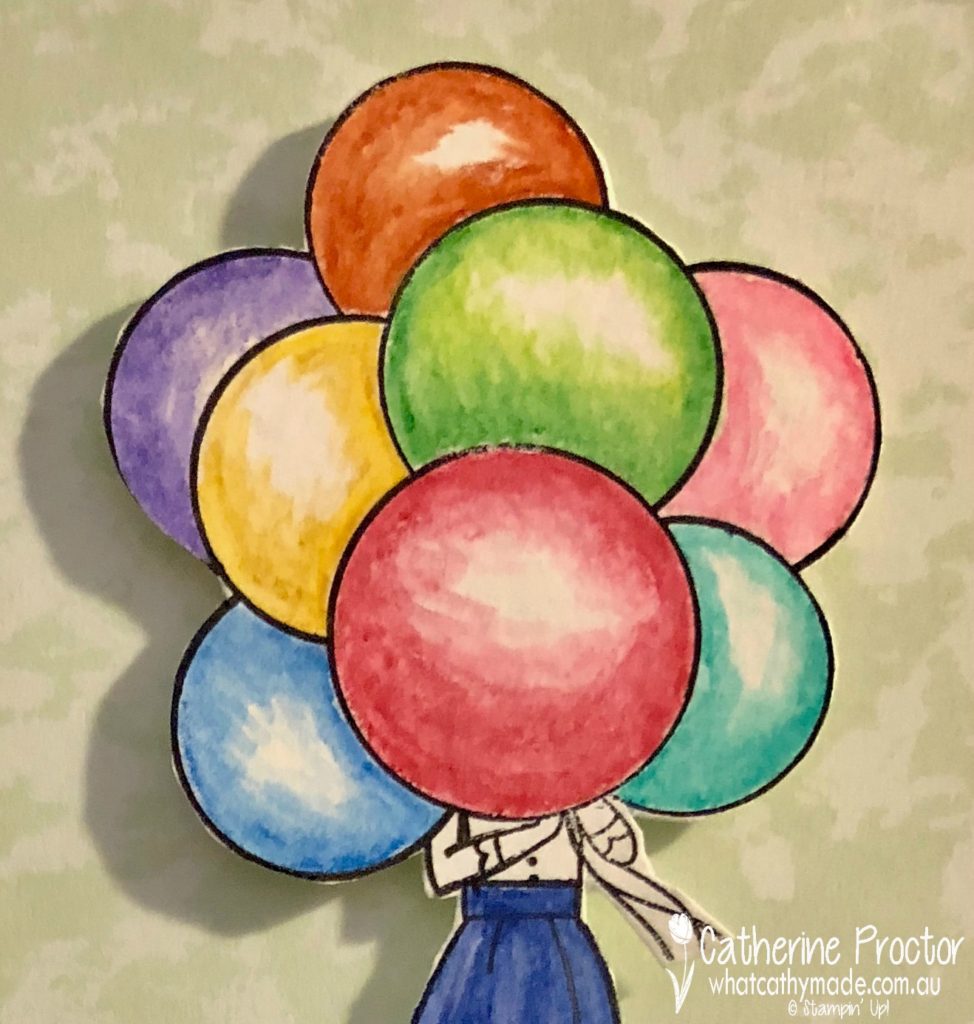
This colouring-in technique is so incredibly easy. You simply stamp your image in black ink and then colour in with your watercolour pencils, working from the outside in. The trick to getting dimension is to leave some white space in the middle of each balloon (where the light would reflect) and then use your blender pen to smooth out any pencil lines, being careful to keep the centre of each balloon white.
Here’s a close-up of the balloons…don’t they look so shiny and realistic?
Once I’d finished colouring in, I fussy cut my balloon lady out (using my paper snips) and mounted her onto the DSP with mini dimensionals, layered over a base of Night of Navy cardstock (to match her skirt) and a Whisper White card base.
My balloon lady reminds me of a Royal Doulton figurine my grandmother had…I think it was called the Balloon Seller? I loved looking at that figurine.
The final touch is the “Happy Birthday” stamp, which I punched out using my classic label punch.
Now it’s time to hop on over to our next participant, the very talented, Caroline Manwaring.
If you find a broken link or have come to this blog hop from a different entry point, you can view the participants below: