Art With Heart Designer Series Paper Blog hop
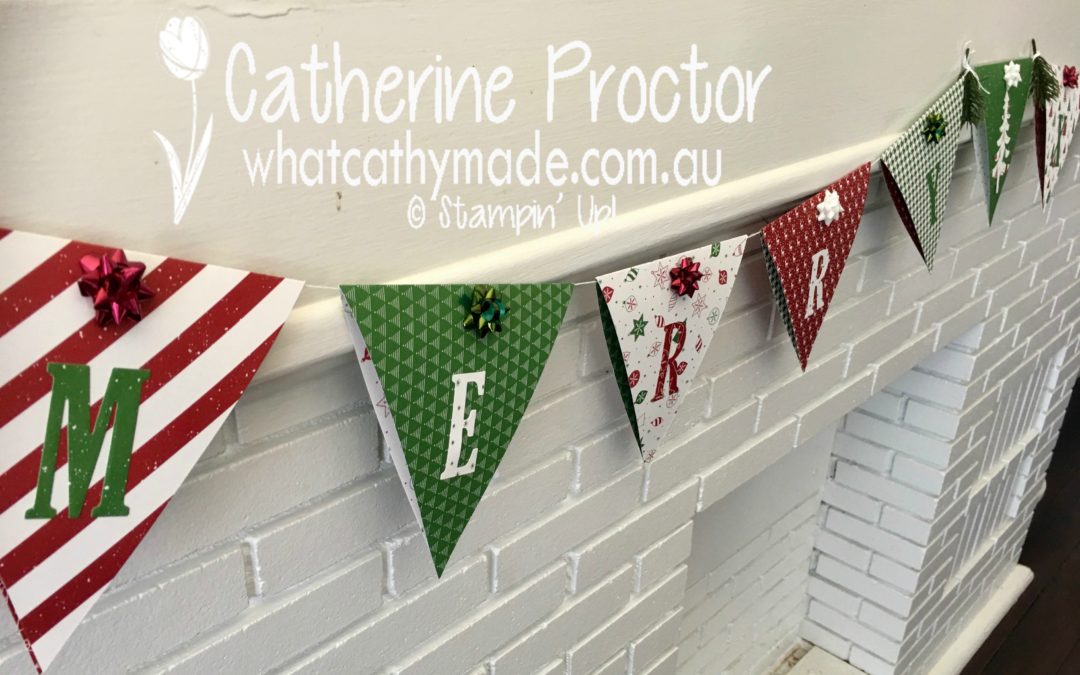
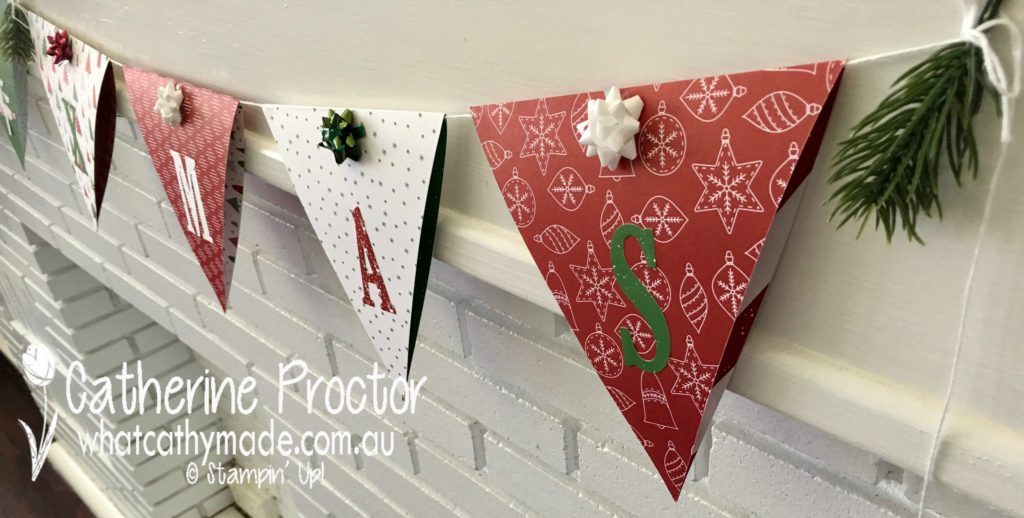
 Have you ever made your own bunting? If you haven’t now’s the time to give it a go while the paper is on sale. I decided to make some Christmas bunting using the beautiful “Be Merry Designer Series Paper” and here it is hanging on my mantelpiece.
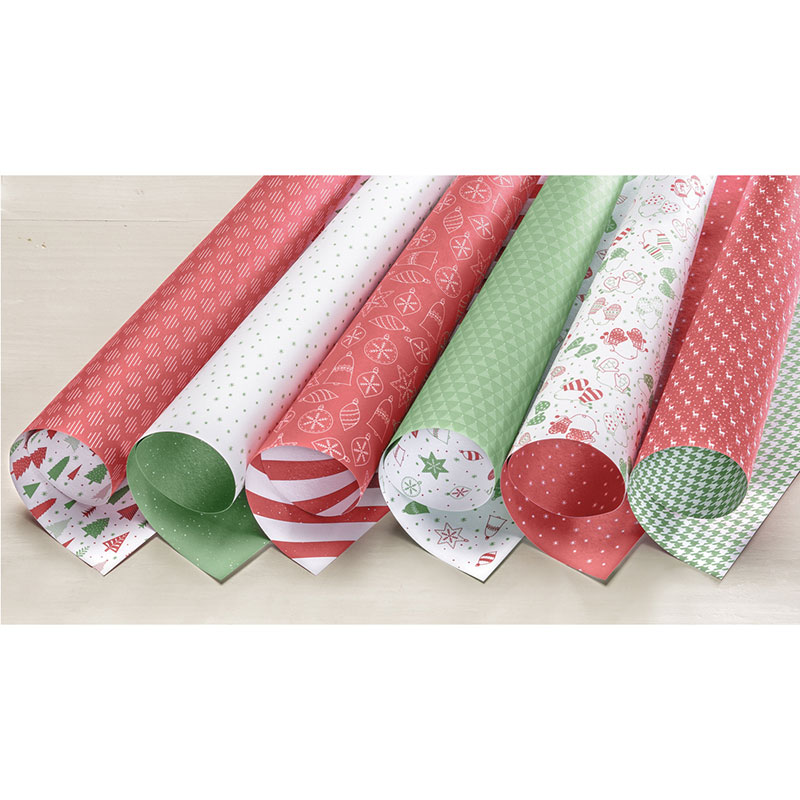
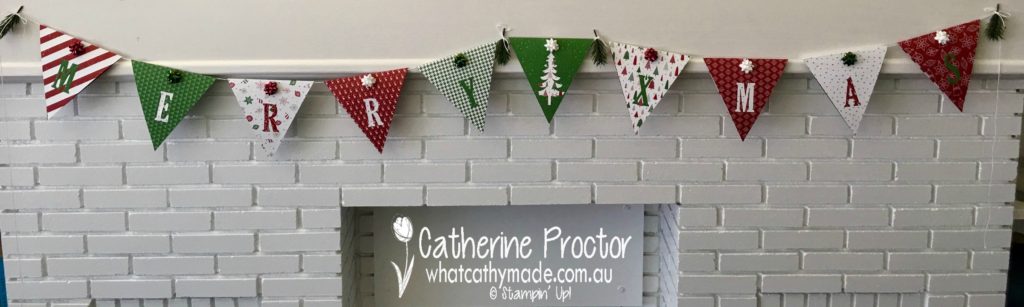 This is such a quick and easy project to make and you can use any of the gorgeous DSPs for this project. For my bunting I used less than half a packet of DSP…and that still left me with 7 full 12 x 12 inch sheets (one of each design and one spare sheet) and plenty of scraps to use for card making or other projects.
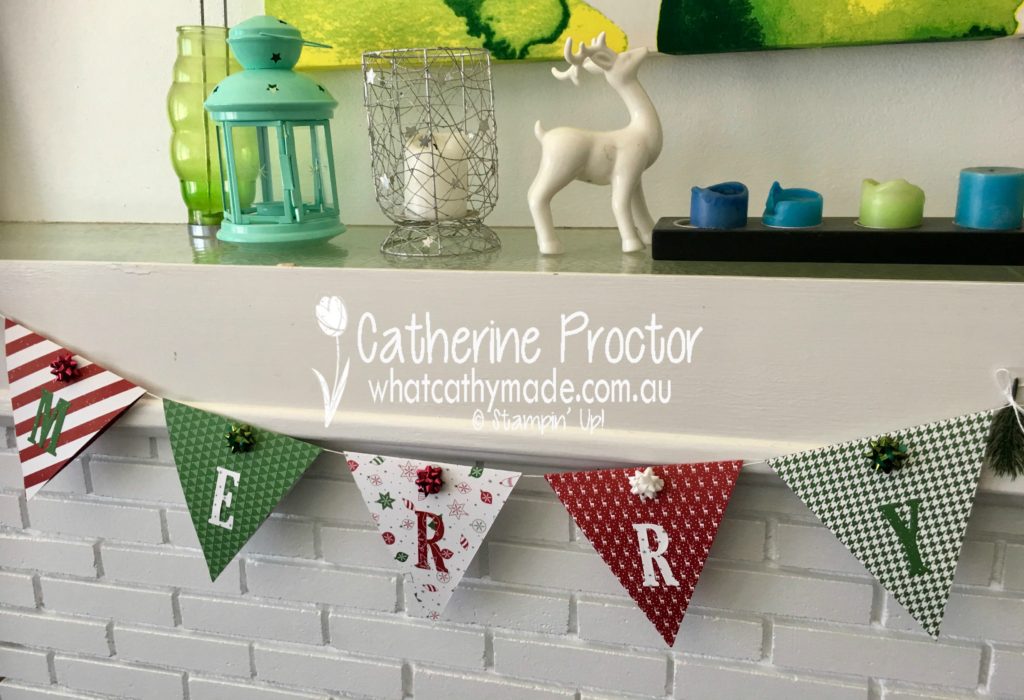
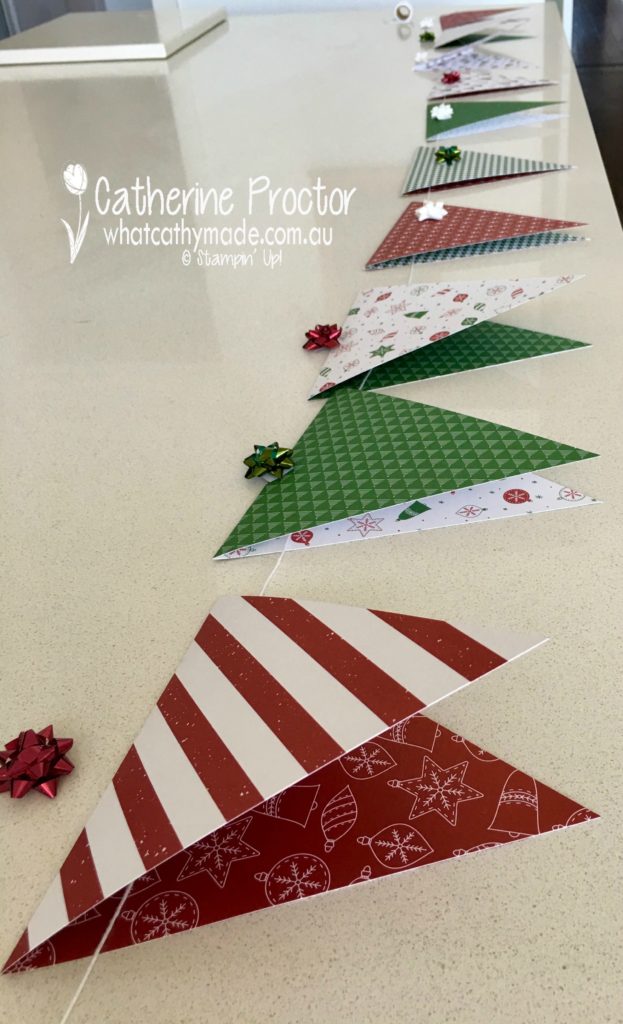
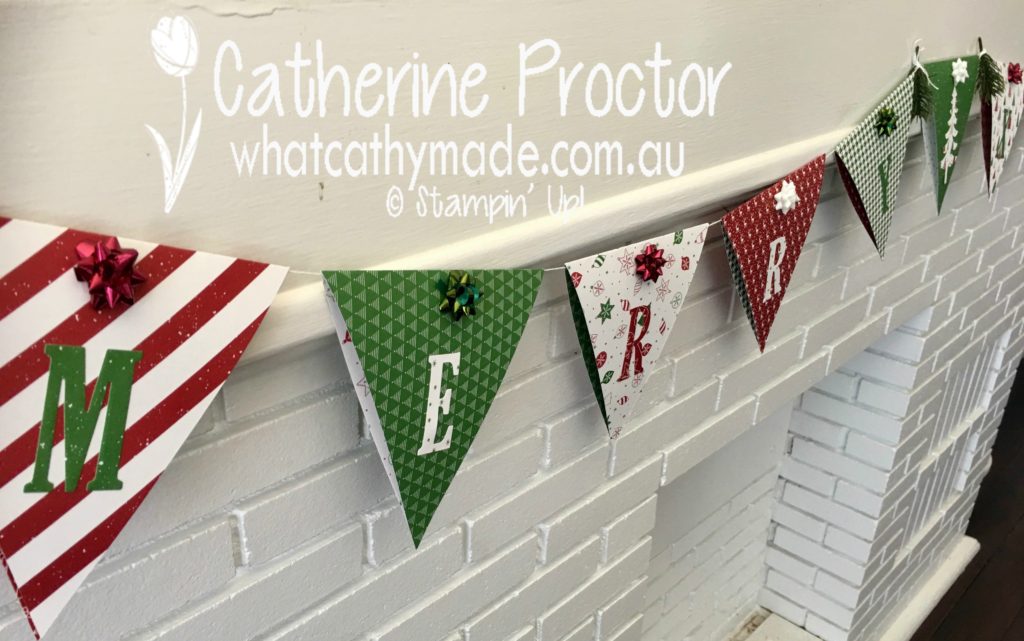
I threaded whisper white bakers twine through the folded side of the flags and used a glue dot at either end of the fold to adhere the flag to the twine and close up the flag. I also used a glue dot at the bottom point of the flag. You can see in the picture below how nicely they hang…I left about 1 inch gap between the flags.
The finishing touch was to decorate the bunting with letters made from the DSP offcuts using the large letters framelits and a Christmas tree using a die from the Santa’s Sleigh die to break up the words “Merry” and “Xmas”.
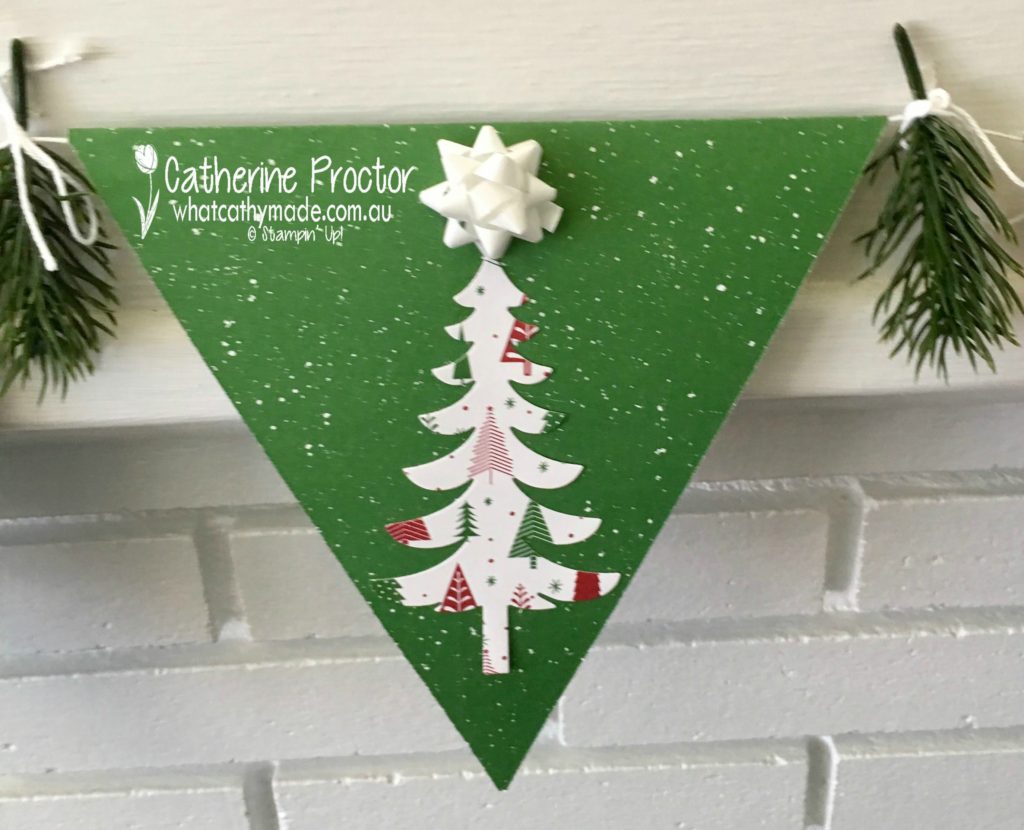
The season of glitz mini gift bows are just the perfect size to add a little dimension (they come with their own adhesive backing), coupled with the green sprigs that I attached to the bunting with a bow of whisper white bakers twine.
You could make this bunting any length you wanted…I made mine to fit my mantelpiece…and you could leave your paper flags plain or decorate them with other punched or die cut shapes or words, such as “Peace, joy, love” or “ho, ho, ho”…it’s really up to you how you want to personalise your bunting.
Now it’s time to hop on over to our next participant, the very talented, Caroline Manwaring

If you find a broken link or have come to this blog hop from a different entry point, you can view the participants below:
2. Tina Gillespie
3. Claire Daly
4. Andrea Roberts
5. Kimberly Hern
6. Catherine Proctor (you are here)
7. Caroline Manwaring
8. Monika O’Neill
9. Rebecca Jacovou
10. Ros Davidson
11. Kate Morgan
12. Rachel Palmieri