Stampin’ Up! Blushing Bride – Week 6 AWH Colour Creations Blog Hop
Welcome to week 6 of our 2021-22 Colour Creations blog hop! We are showcasing Blushing Bride, a pale pink colour from our subtles family.

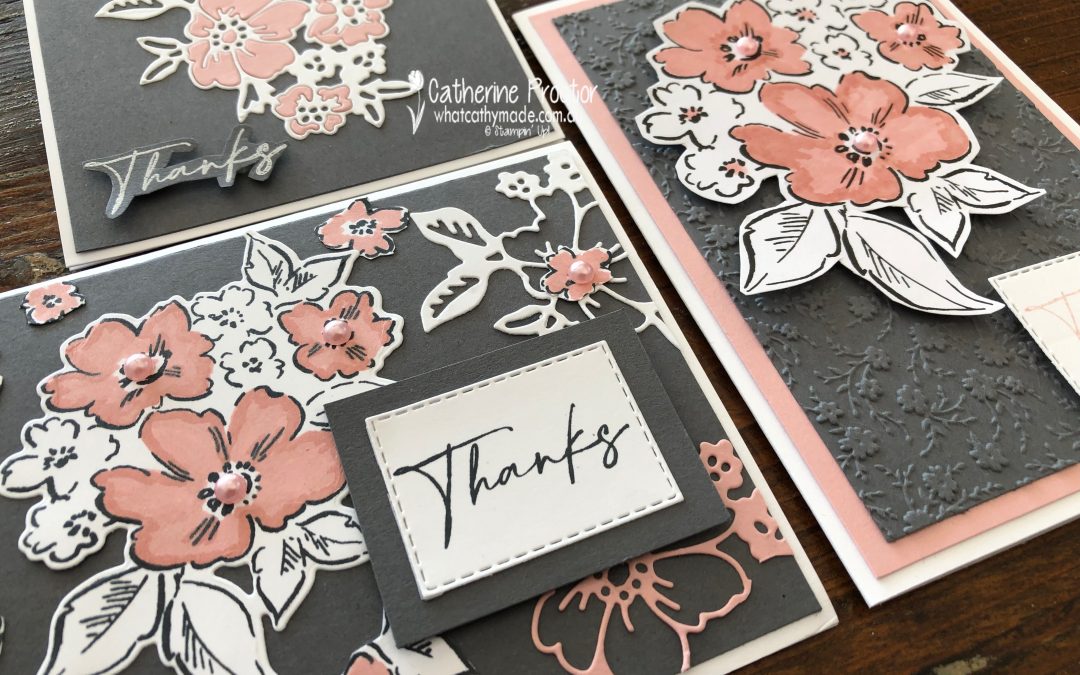
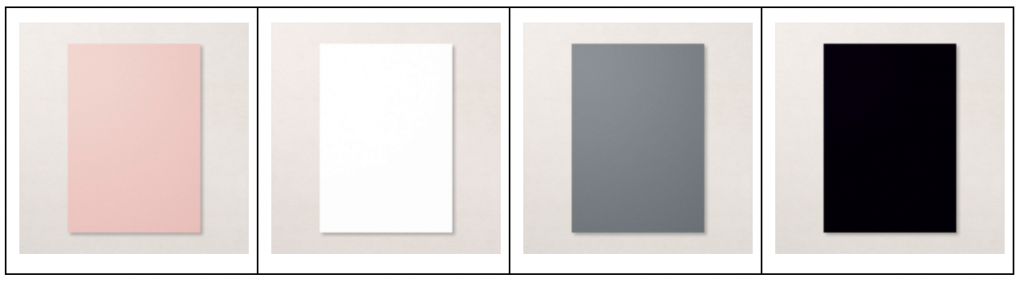
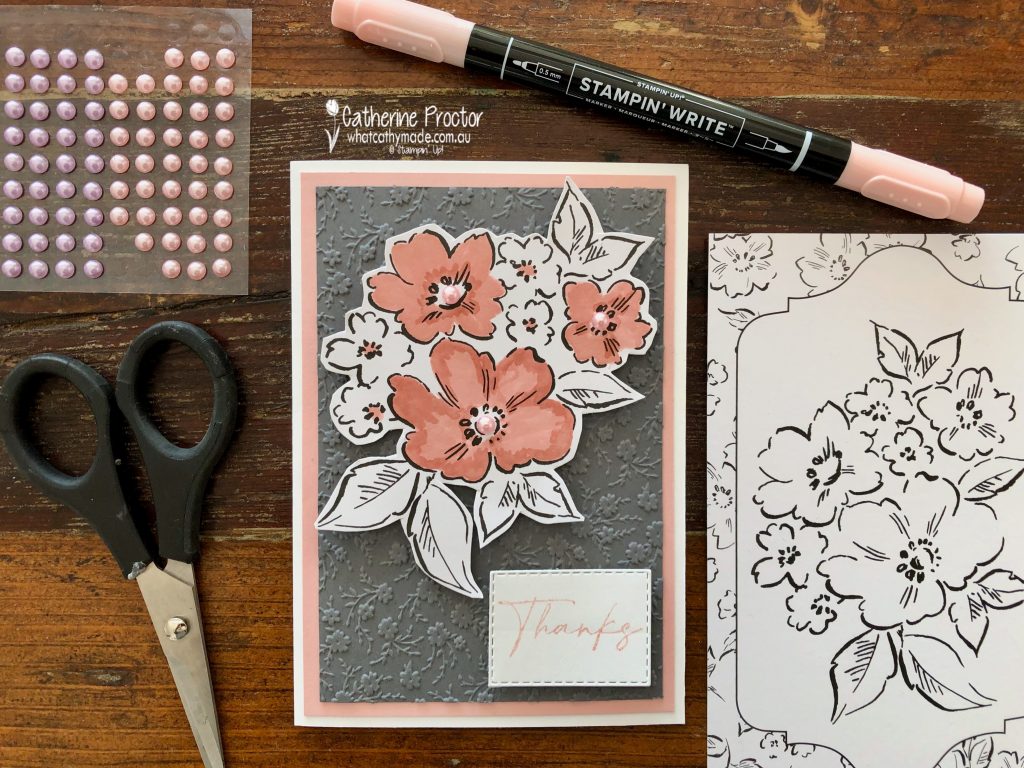
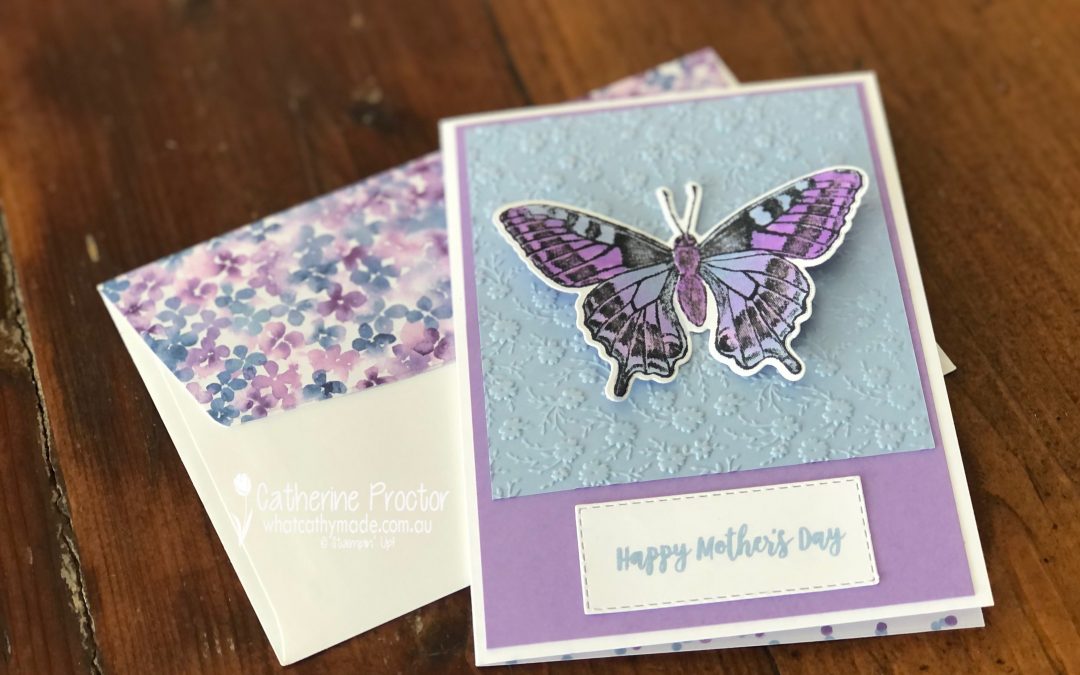
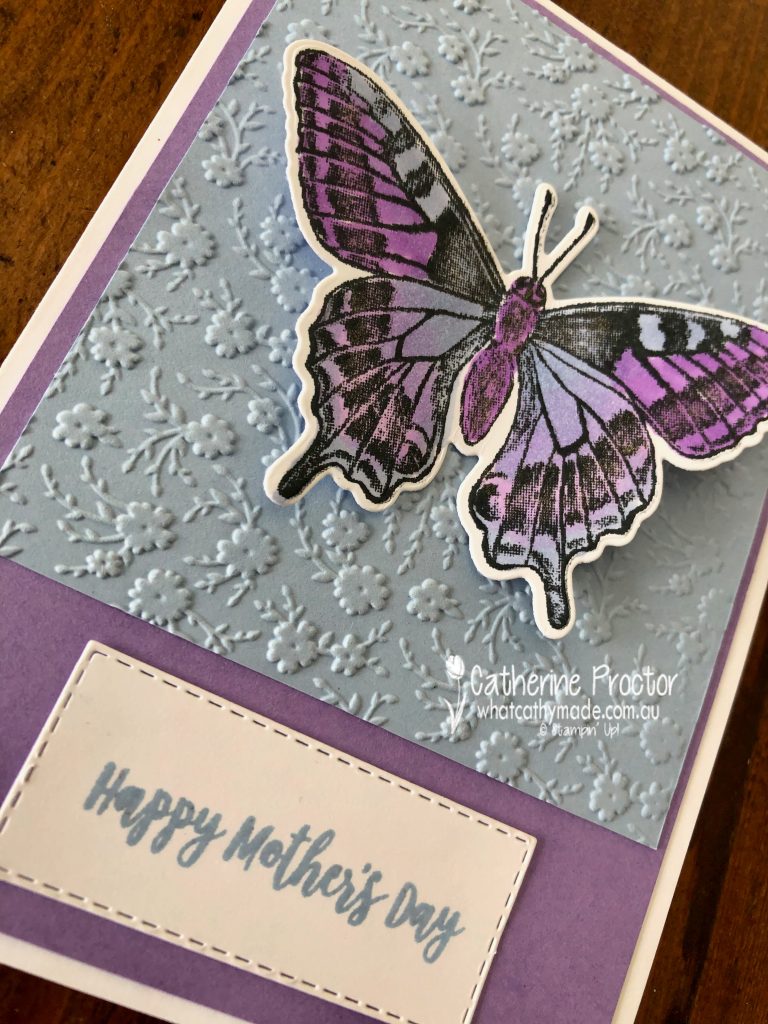
This week I was inspired by the colour combination the lovely Vicki Boucher used for our Basic Gray blog hop. Vicki paired Basic Gray with Blushing Bride and I just loved the way this dark gray made the soft pink really pop, so my colour combination for this week’s hop is Blushing Bride, Basic Gray and Basic White with a touch of Basic Black.
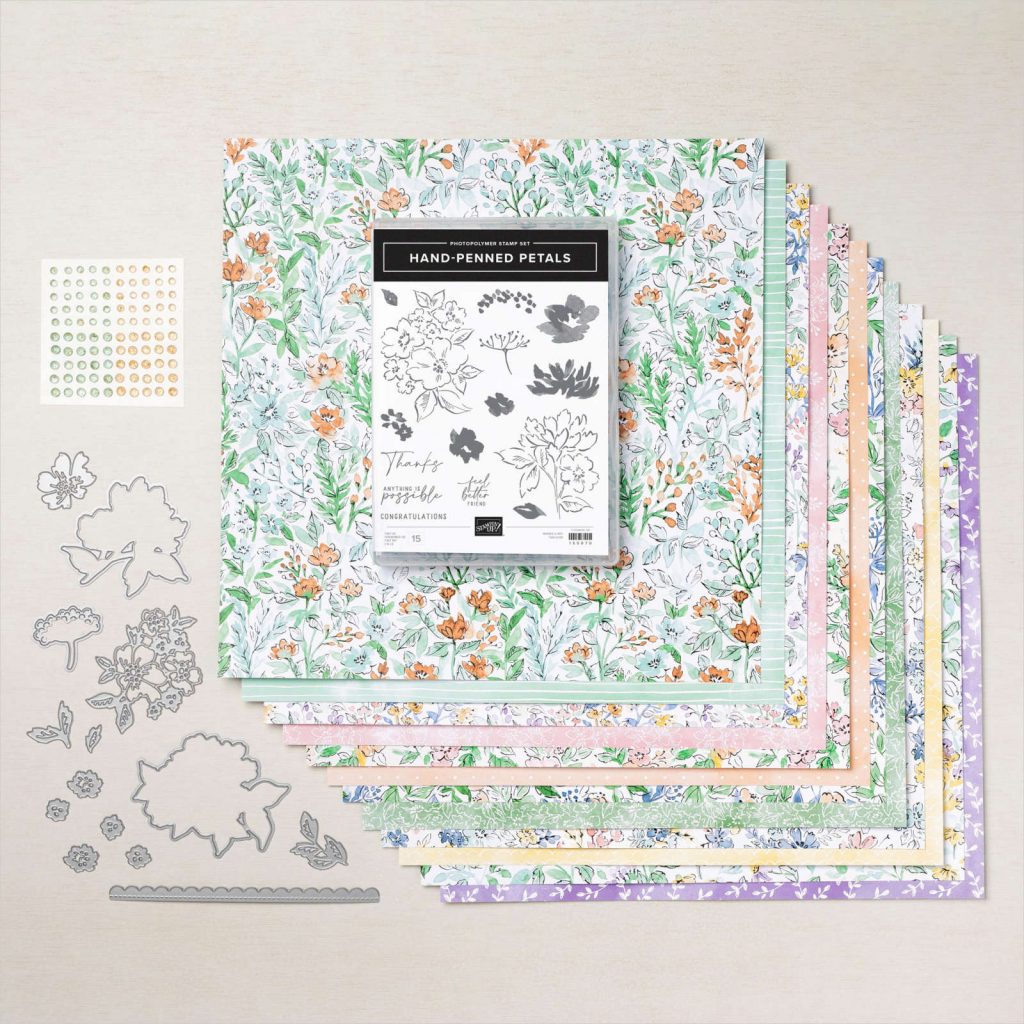
The Hand Penned Petals suite is a very pretty new suite in the Annual Catalogue and it really has something for everyone.
- The DSP is so lovely you don’t have to do much to it to create beautiful cards.
- The Memories and More pack and matching cards make for super easy cards.
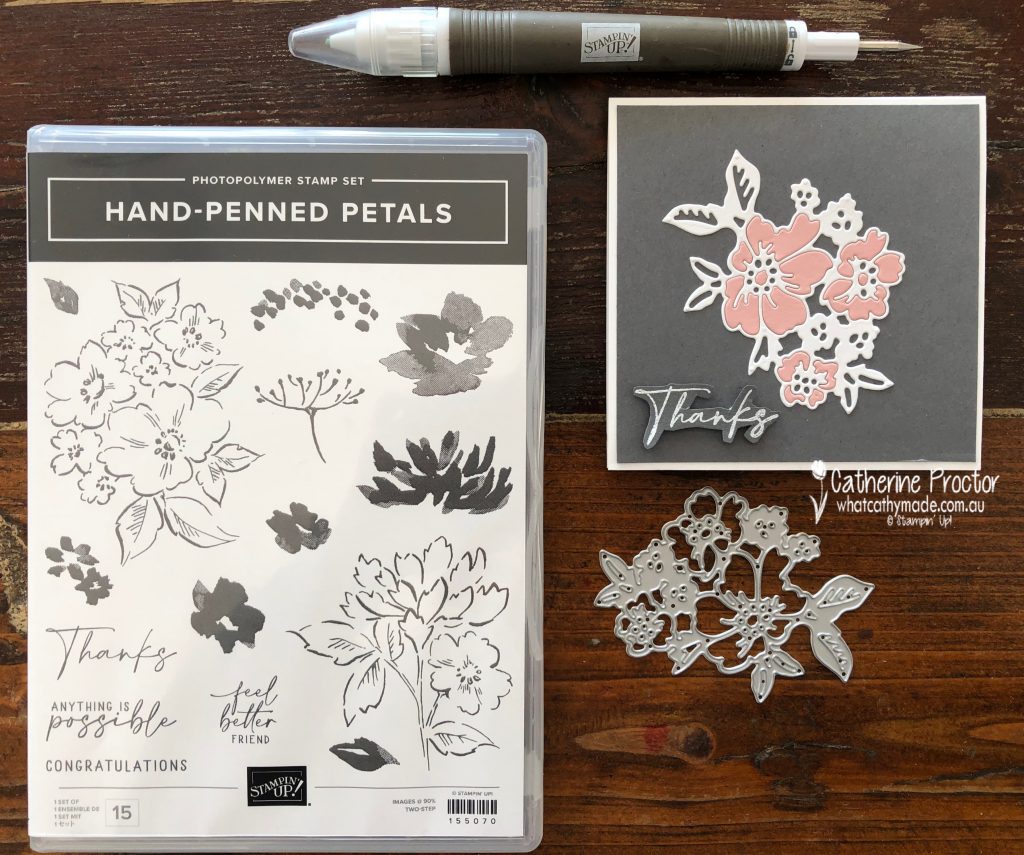
- The Hand Penned stamp set is fabulous if you love colouring — or you can simply use the two step stamping if you prefer not to colour in.
- The dies can be used to cut the stamped images or also on their own for the die inlay technique.
My three cards today show you three different ways to use this suite: a quick and easy card using the Memories and More Cards; a simple but effective die inlay technique; and a card that uses leftovers from the die inlay technique combined with stamped and coloured die cut floral images.
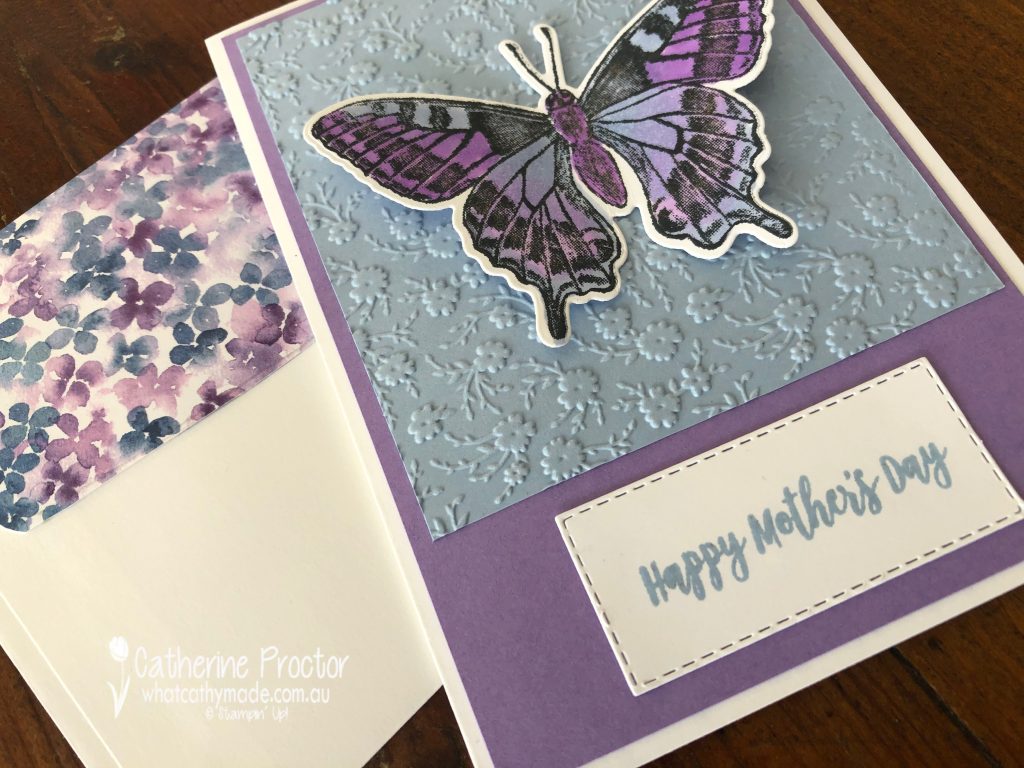
As well as elegant floral designs and pastel hues, the Hand-Penned Memories & More Cards pack contains outline images you can colour in. I chose a large Memories & More card to colour in with my Blushing Bride Marker. You can see the card in the photo below – I simply fussy cut it out after colouring in. So quick and easy!
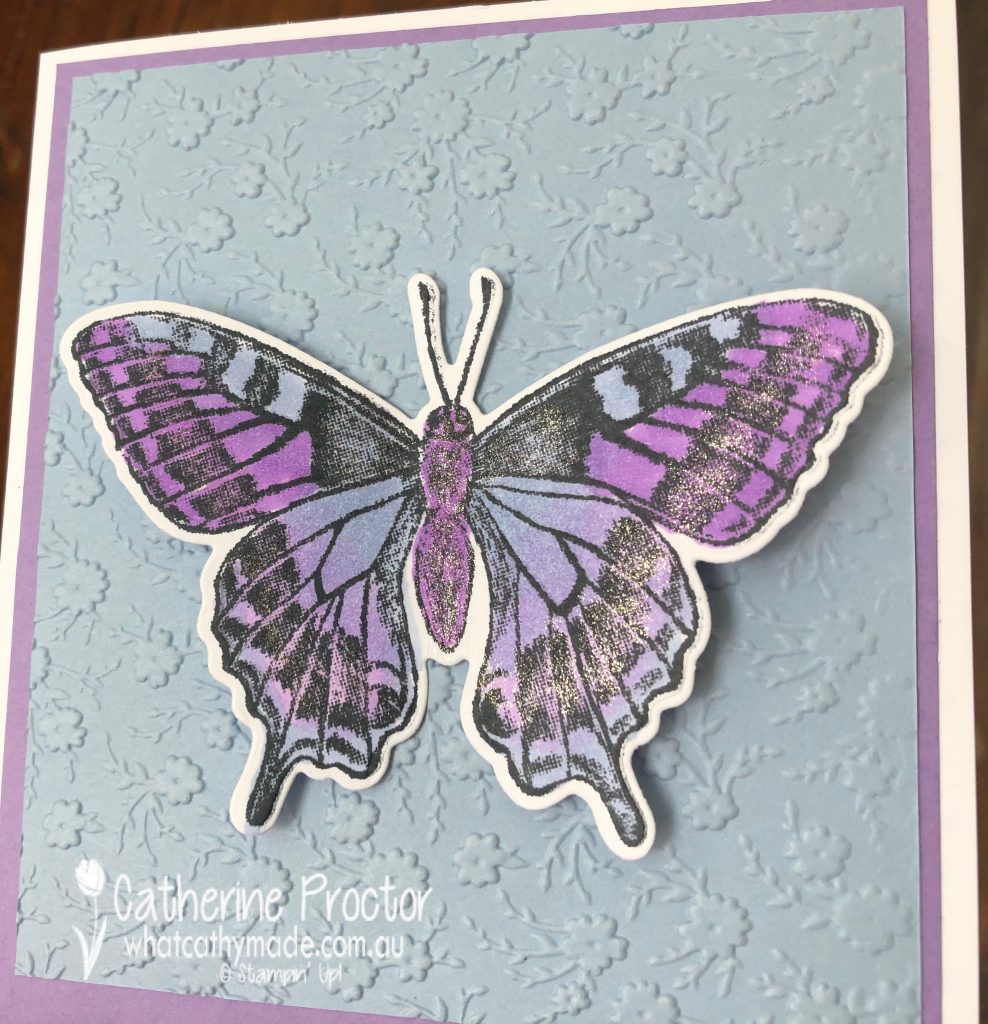
The ornate floral embossing folder was the perfect background layer for this large image and the Pastel Pearls were the finishing touch for my card.
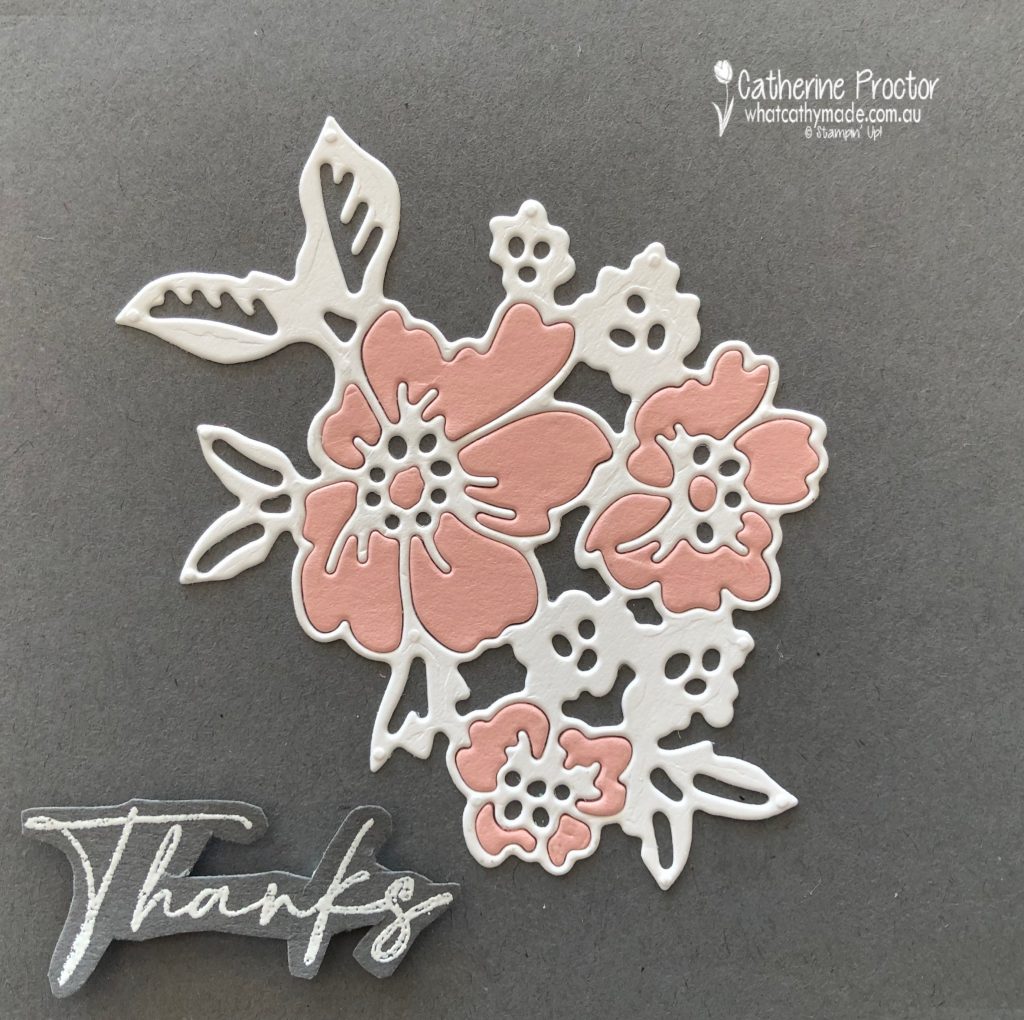
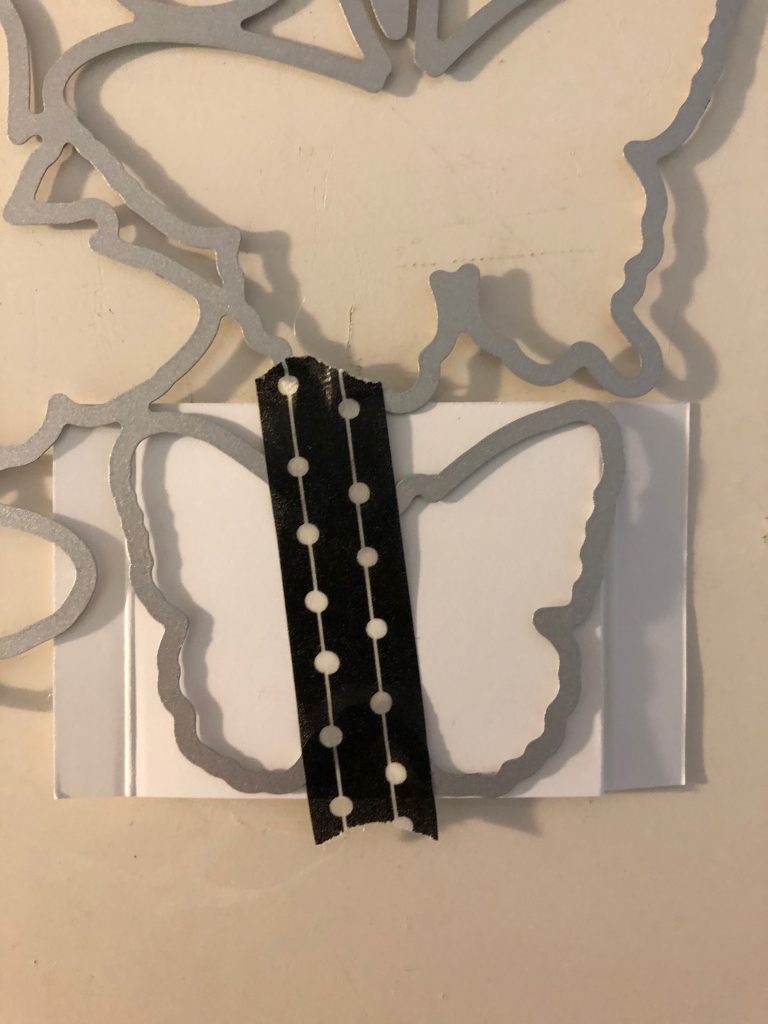
The die inlay technique is a bit fiddly but well worth it. Using Adhesive Sheets makes it a lot easier to adhere the die cut pieces to the card base without getting glue everywhere and the Take-a-Pick Tool is essential for picking up and inserting the die cut pieces.
You can also use multipurpose glue for this technique. Simply squirt some onto a silicon sheet and use a cotton bud to apply very sparingly to the die pieces. Use the die shape in the photo above to cut one piece out of Whisper White and one piece out of Blushing Bride card stock – don’t forget to adhere the adhesive sheet to the back of the card stock before die cutting.
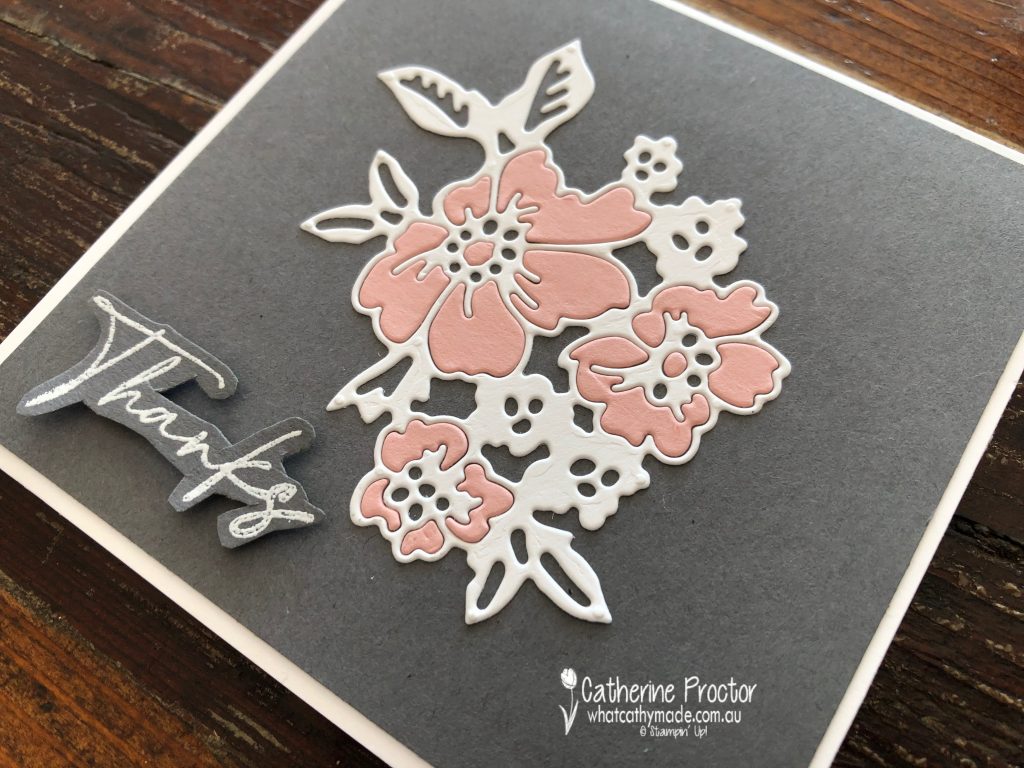
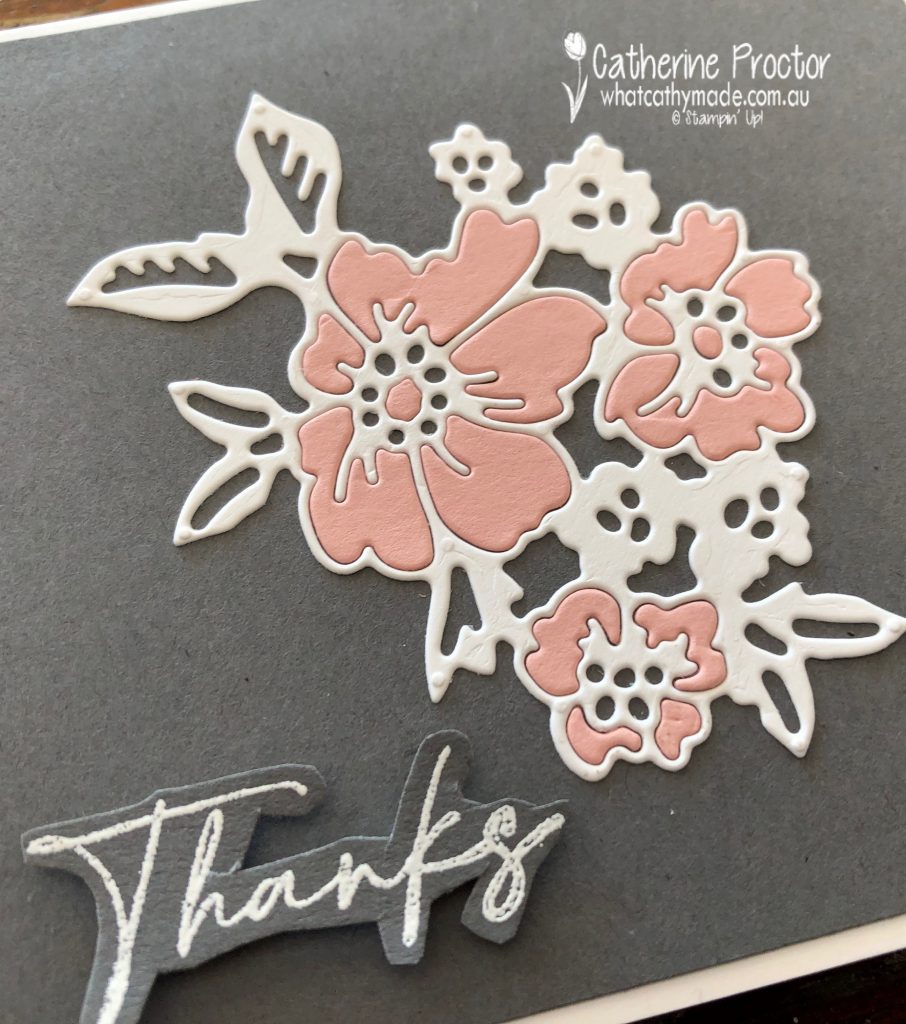
Then it’s simply a matter of adhering the white die piece to your background layer (save the leftover pieces) and using your Take-a-Pick tool to insert Blushing Bride pieces to make the flowers.
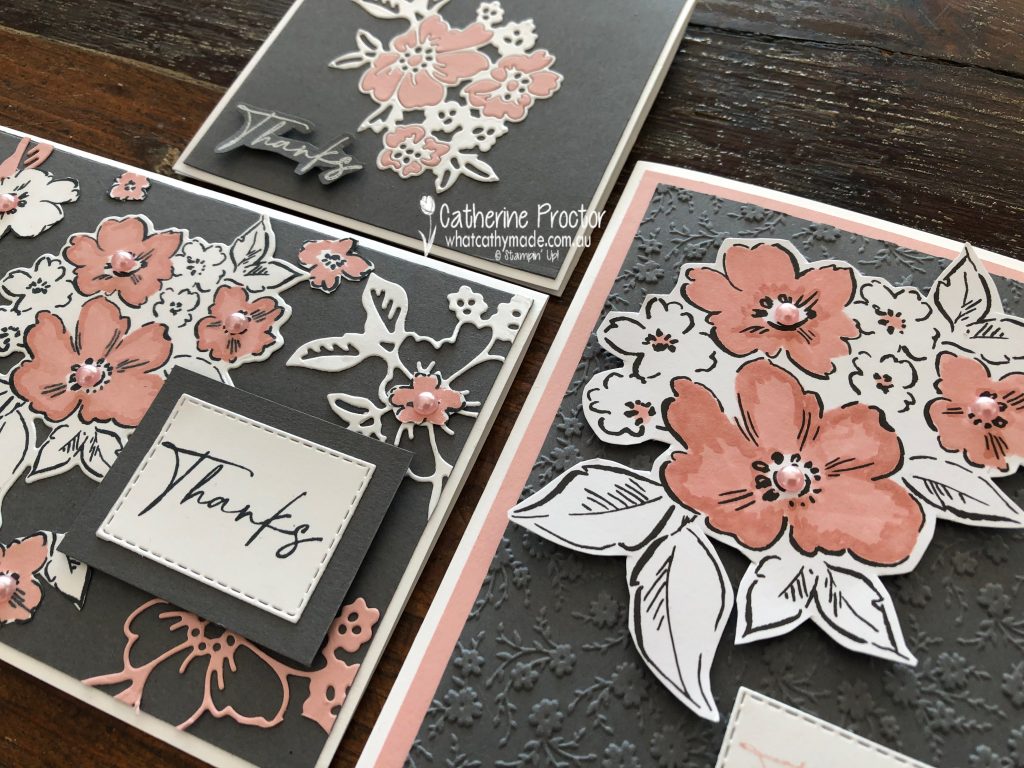
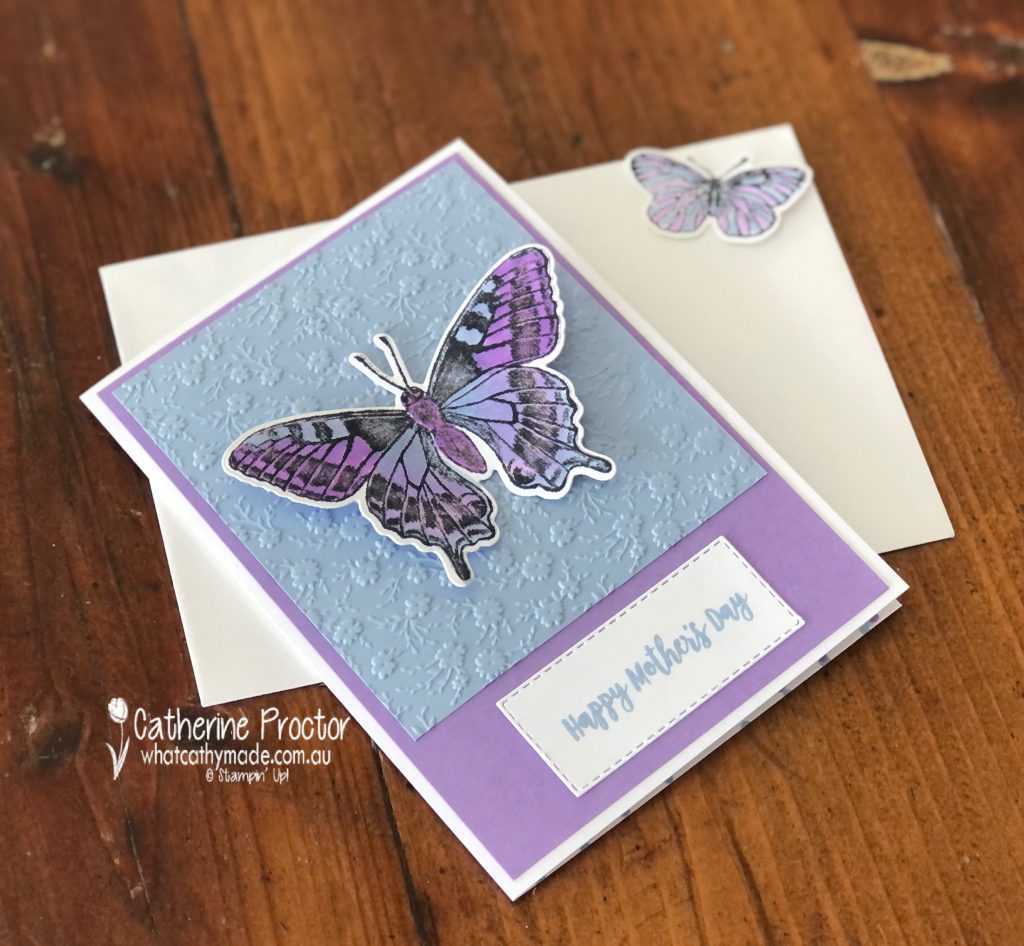
The Thanks sentiment was stamped in Versamark ink, white heat embossed and fussy cut out before applying to the card.
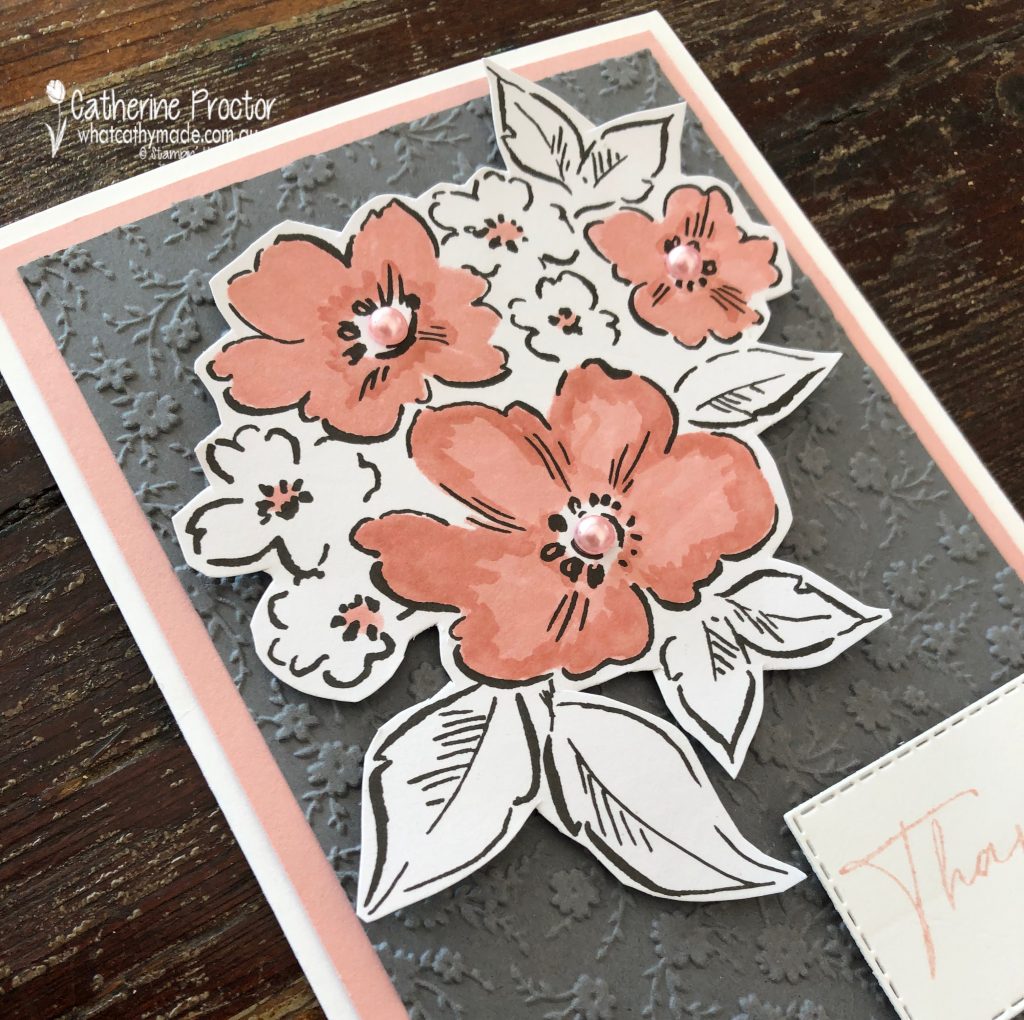
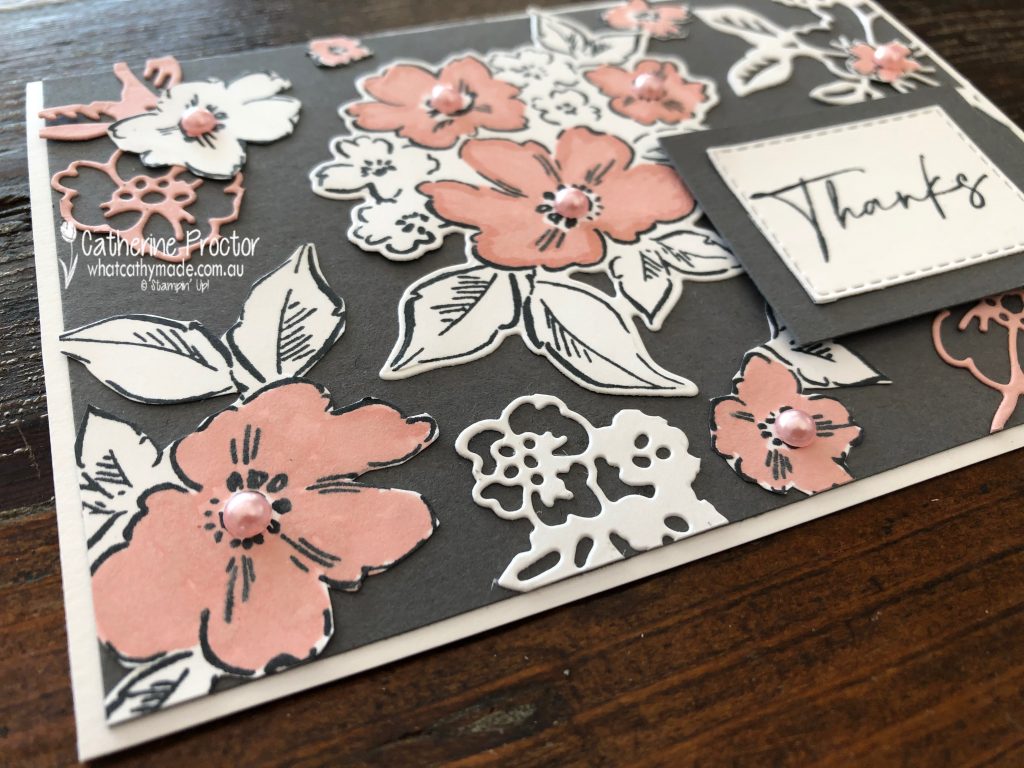
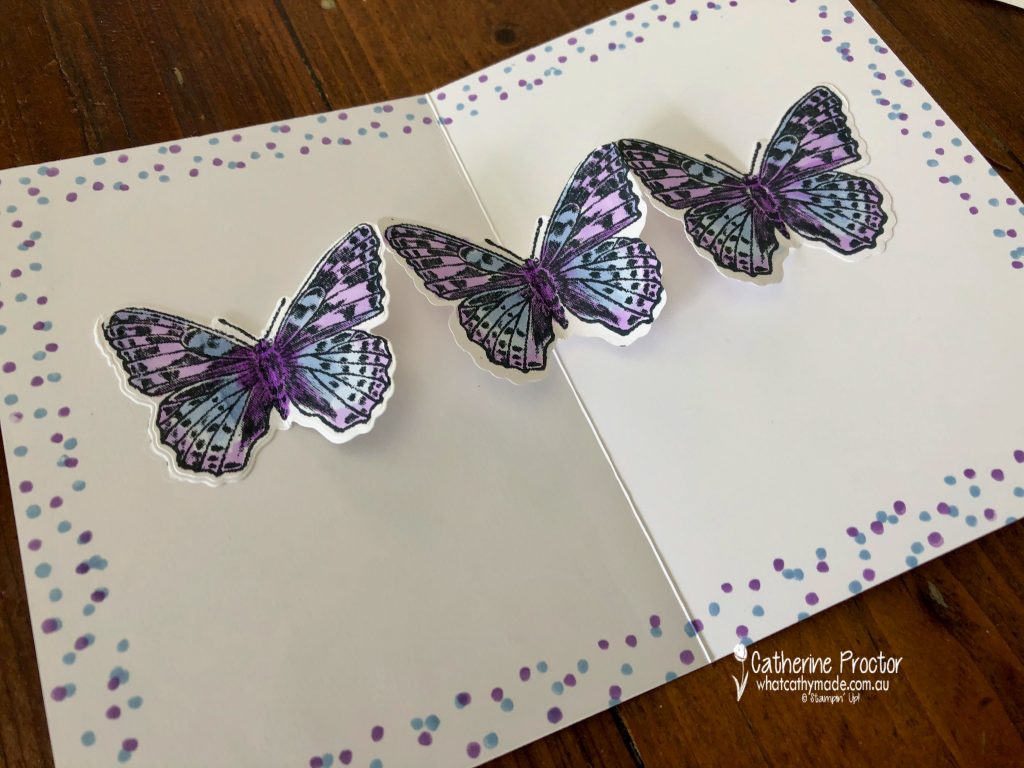
Remember how I said to save the leftover die cuts from the die inlay technique? I’ve used them on my third card, along with a couple of stamped, coloured and die cut images using the Hand-Penned bundle.
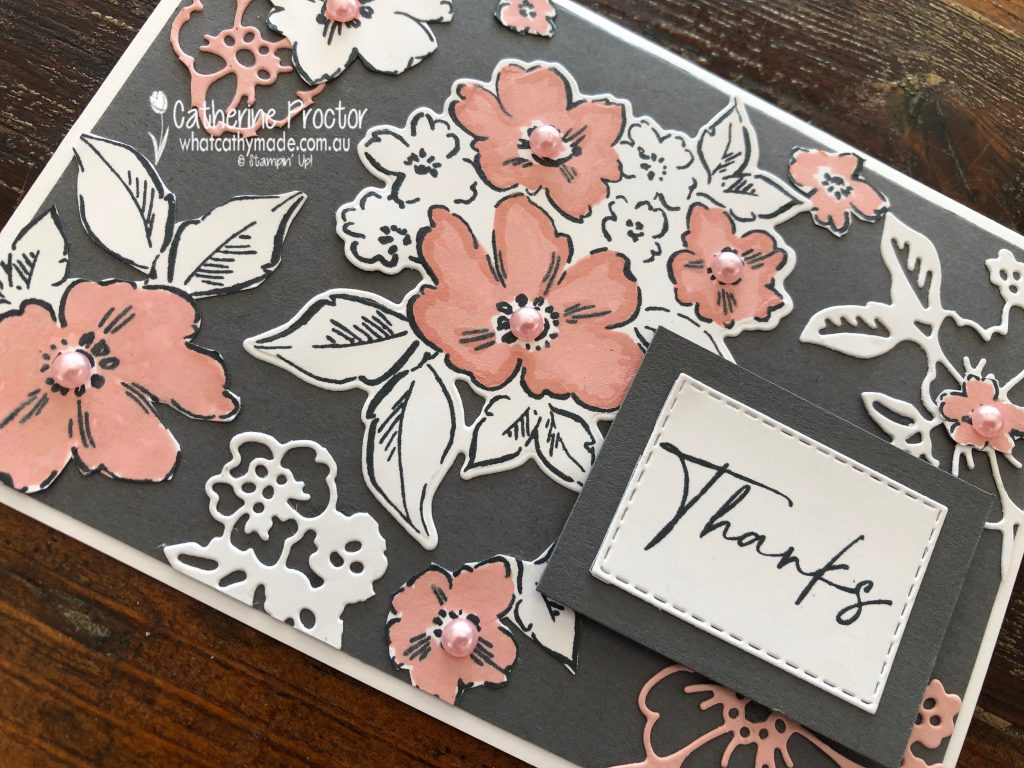
This is such a great way to incorporate your leftover pieces into a card. I cut up my second stamped image and arranged pieces of it and the die cuts around the main stamped image. Once again, the Pastel Pearls were the finishing touch for my card.
One amazing suite of products…three very different cards.
Do you have a favourite?
Now it’s time to hop on over to our next participant, the very talented Caroline Manwaring. I can’t wait to see what she’s made this week!

If you find a broken link or have come to this blog hop from a different entry point, you can view the the full list of participants below:
Catherine Proctor – you are here
To purchase any of the products used in my cards today you can add them to your cart here.


")


