Sale-a-bration Softly Sophisticated Bundle Night of Navy Cards
Welcome to week thirty-five of our Art With Heart 2023-24 Colour Creations blog hop!

Our colour this week is Night of Navy, one of my favourite colours. This Neutral colour works with most other colours and tonight I’ve paired it with Bubble Bath, Basic White and Misty Moonlight, drawing colour inspiration from the colours in the the Delightfully Eclectic 12″ x 12″ (30.5 x 30.5 cm) Designer Series Paper.
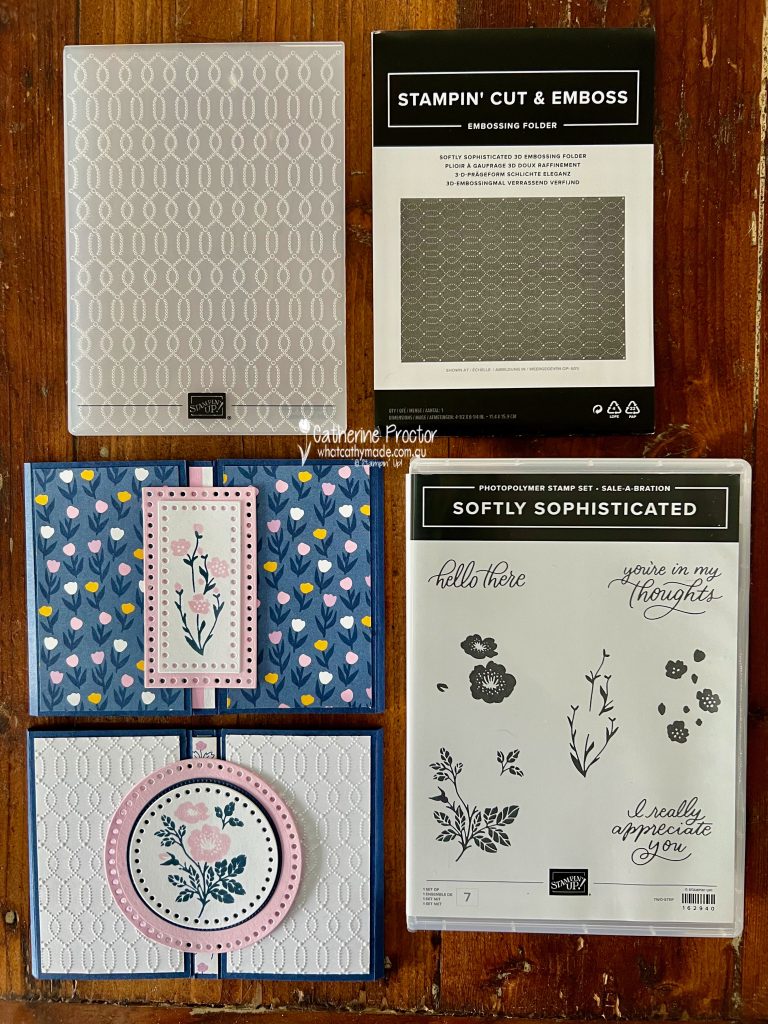
My two sympathy cards use products from the brand new January–April 2024 Mini Catalogue and the Sale-A-Bration catalogue: the Softly Sophisticated bundle (stamps and embossing folder) and the Everyday Details Dies.
The Softly Sophisticated bundle is a Sale-a-bration item that includes a stamp set and an embossing folder. You can earn it for FREE when you place any order over $180AUD.
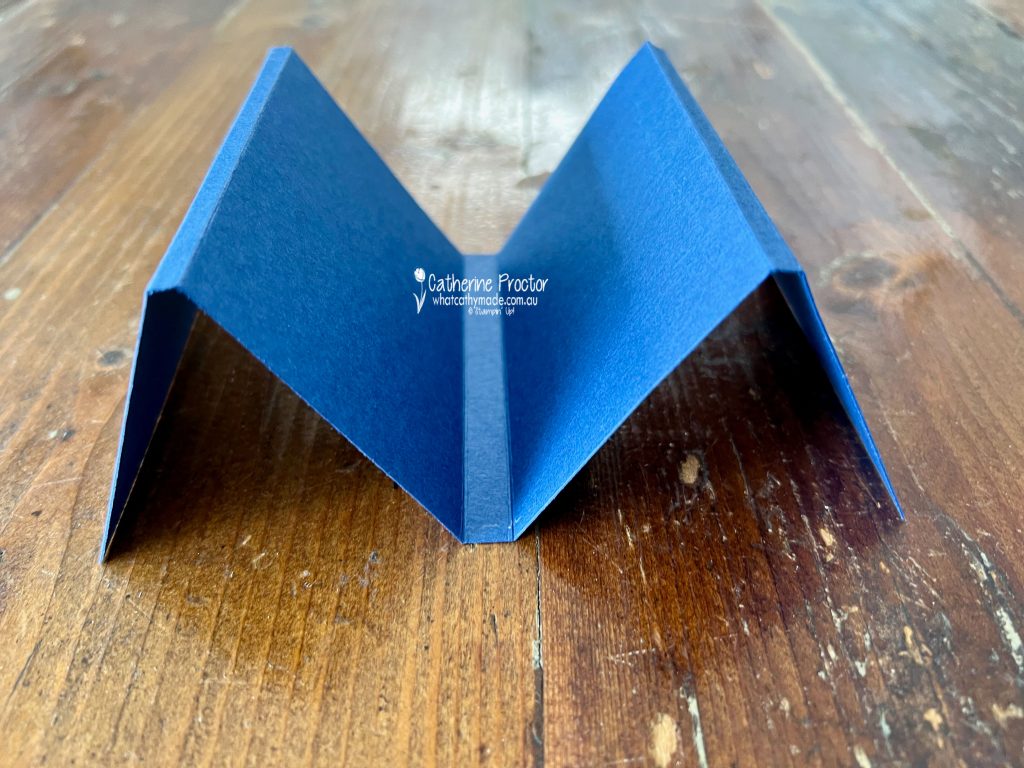
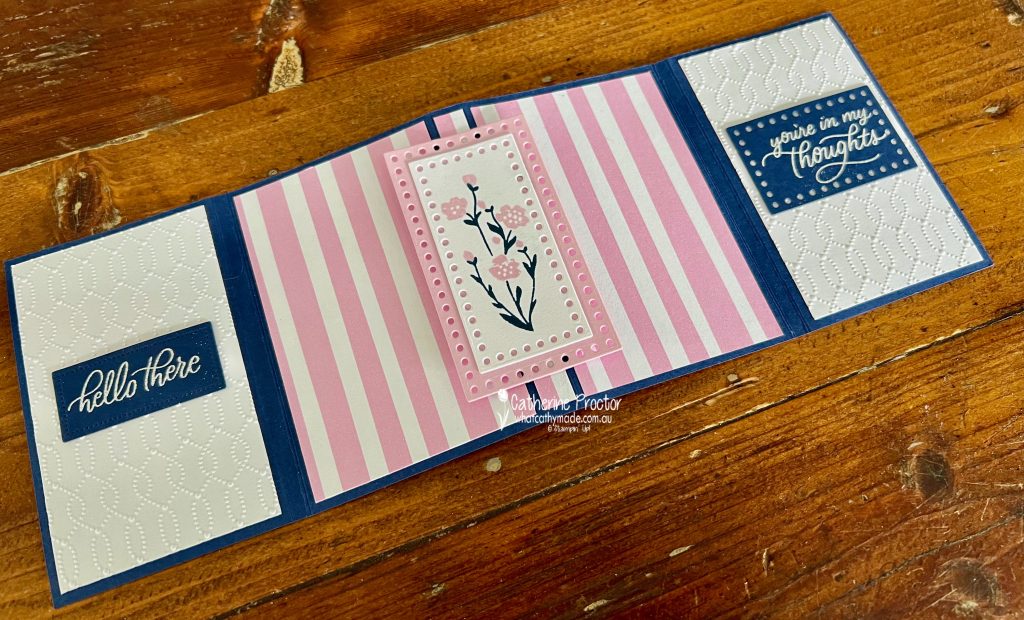
I’ve CASED my cards from a fancy fold created by Susan Campfield, a Stampin’ Up! demonstrator based in the USA. The fancy fold is called “The Marvelous Fun Fold Card”. You can watch her video on how to make the M fold here.
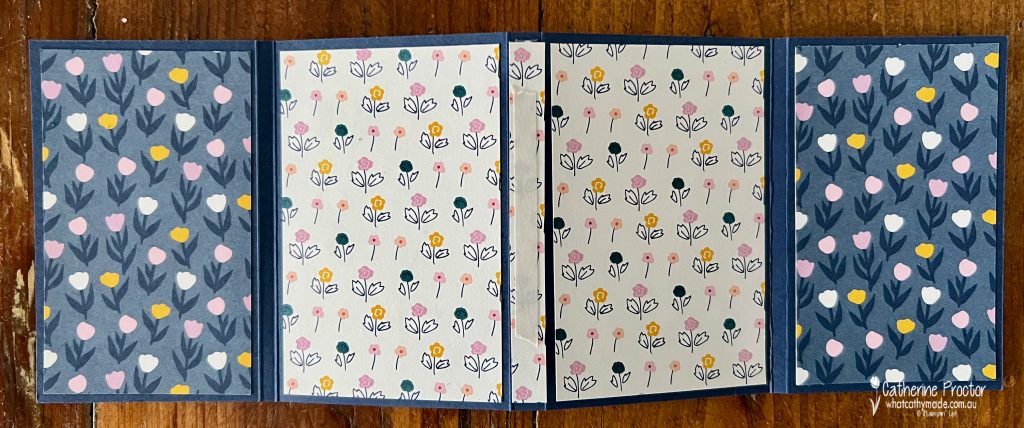
I’ve altered Susan’s measurements to create a slightly different metric template that allows two card bases to be cut from one sheet of A4 cardstock.
Cut the A4 cardstock in half lengthways at 10.5cm to create two card bases. For each card base, score along the long side of the card base at 6.5, 7, 14, 15, 22, 22.5 and then cut the excess off at 29 cm. Then you fold along these lines to form an M shape.
Decorate with Embossed cardstock panels and DSP panels before adhering a strip of Tear & Tape Adhesive to the middle 1cm wide panel – this is to adhere the centre image and make the fancy fold mechanism work.
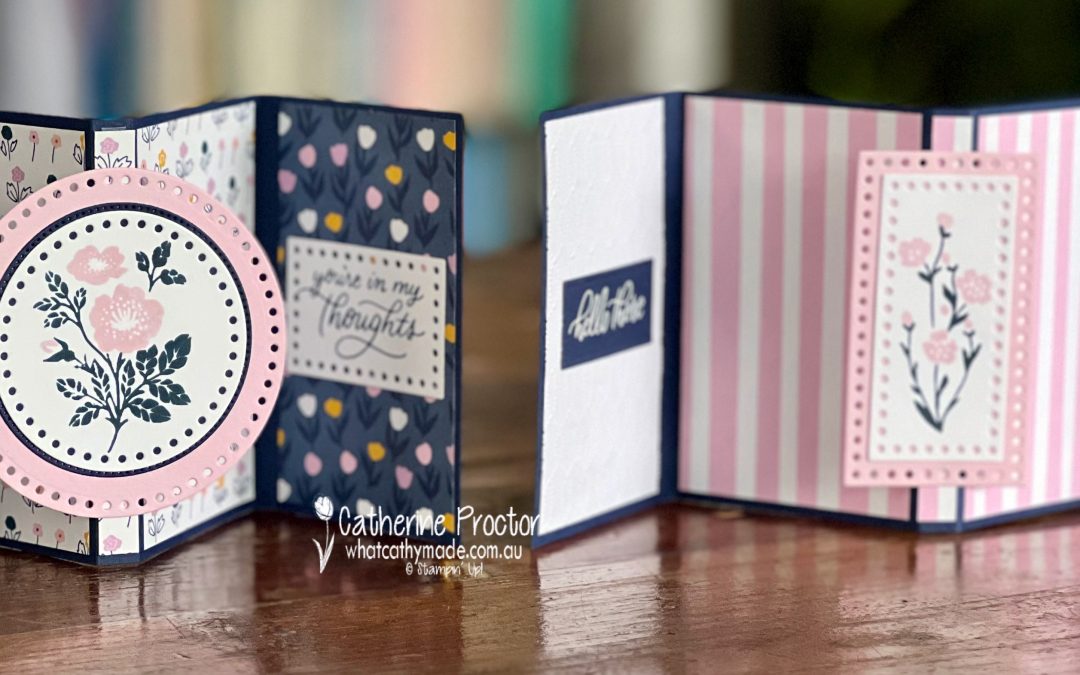
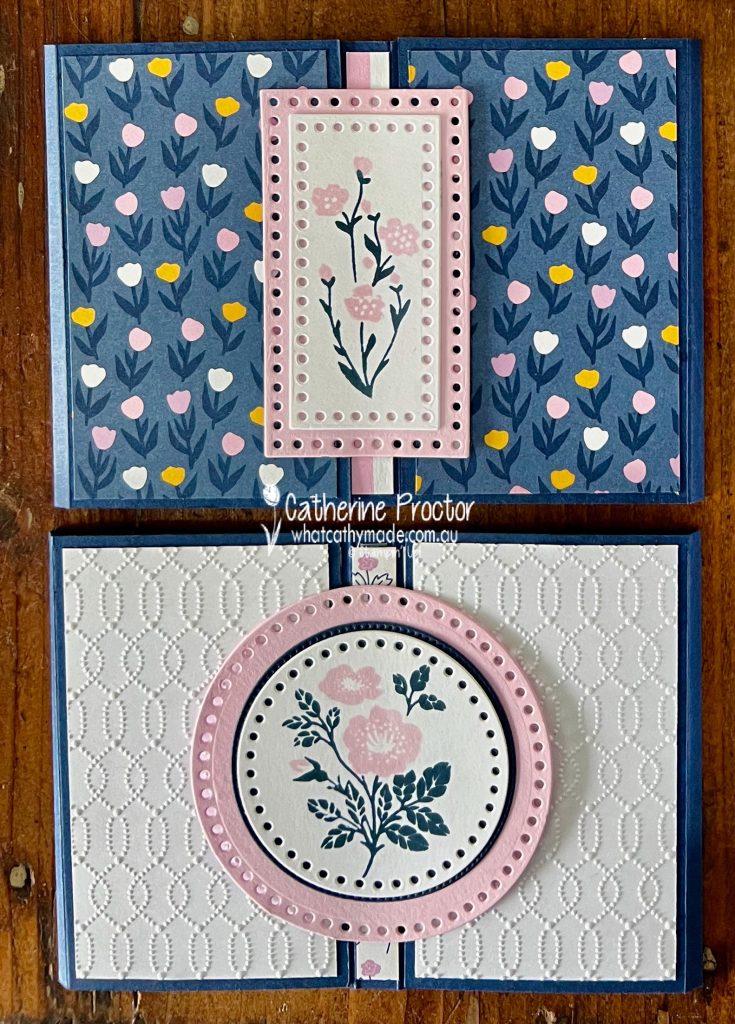
I’ve stamped the centre image in Misty Moonlight and Bubble Bath, using two stamps from the Softly Sophisticated bundle. The image is layered on circle dies from the new Everyday Details dies, as well as a middle circle cut from Night of Navy cardstock using the Stylish Shapes dies.
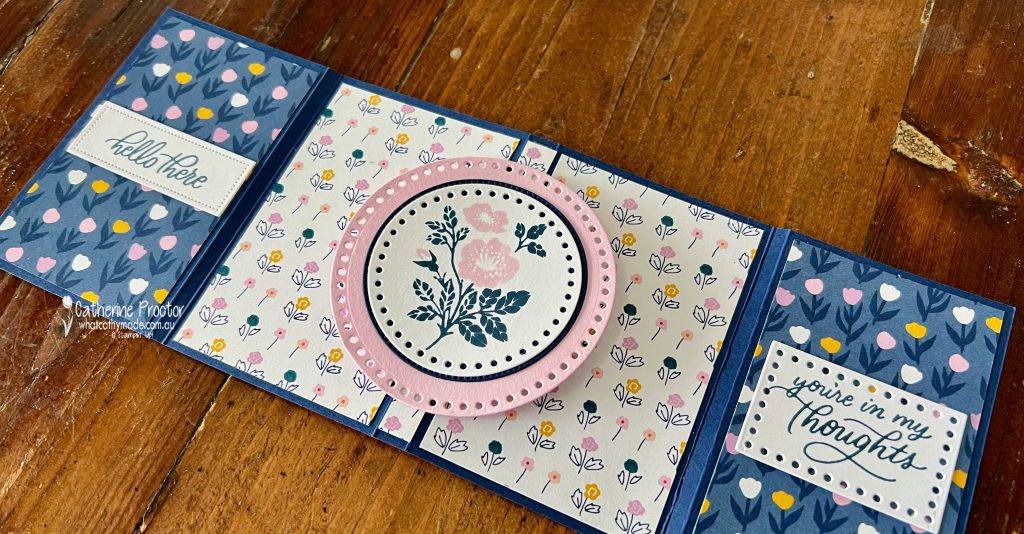
The sentiments on the inner side flaps are die cut using the Everyday Details dies, shortened where necessary.
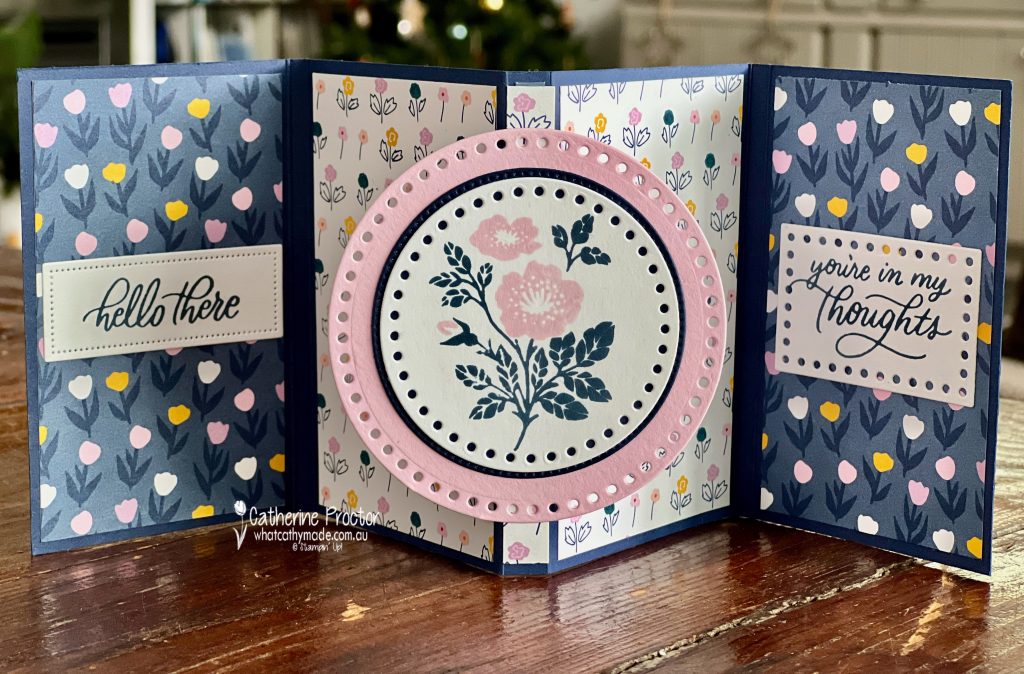
The side flaps tuck in in behind this centre floral image to close the card. You can write your message on Basic White cardstock panels adhered to the back of the card.
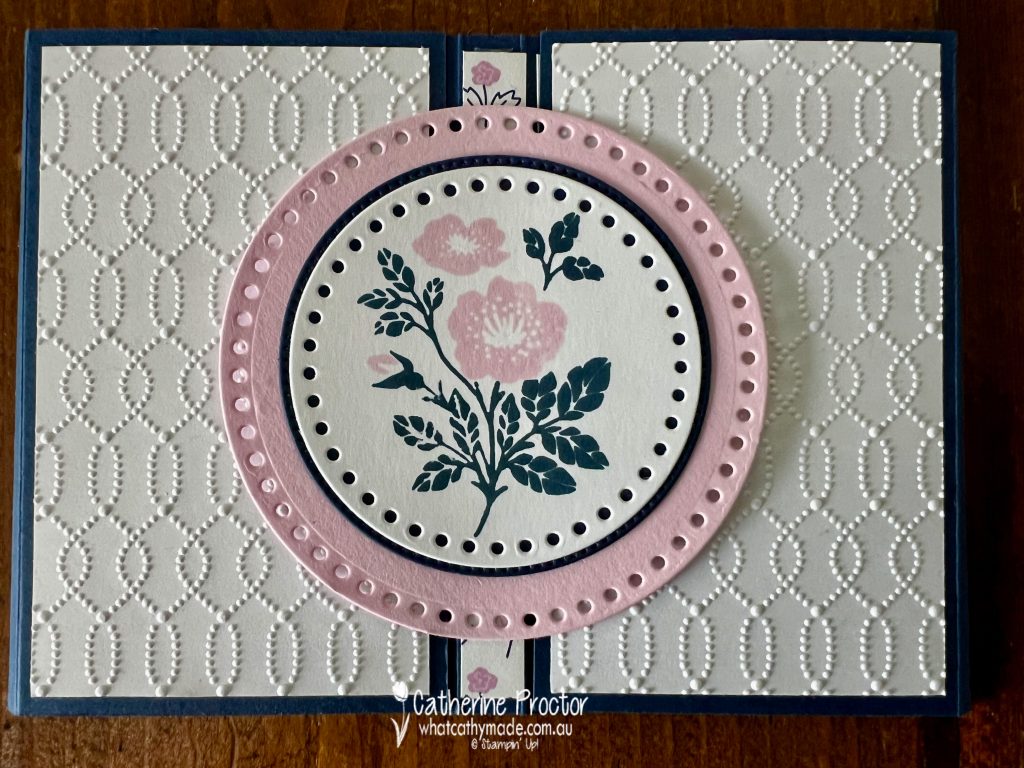
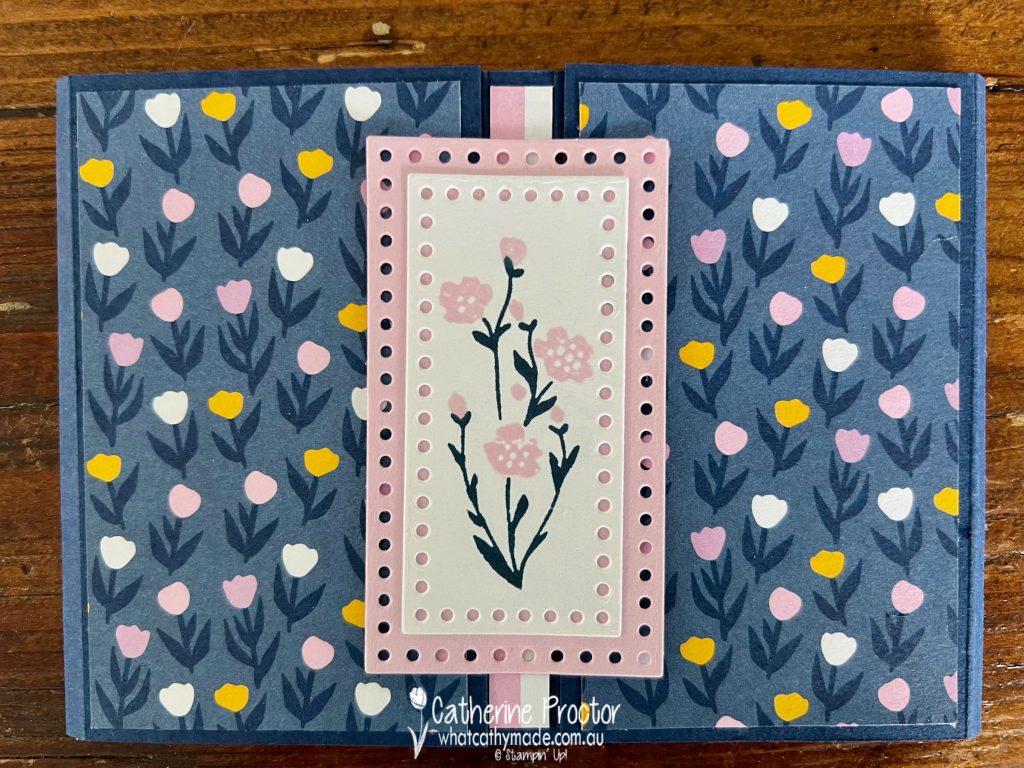
For the second card, the embossed panels are placed inside the card, with the DSP on the front side flaps.
The centre image is stamped in Misty Moonlight and Bubble Bath, using two stamps from the Softly Sophisticated bundle, layered on rectangle dies from the new Everyday Details dies
This is such a cool fancy fold – here’s a short video to show how the card opens and closes.
Now it’s time to hop on over to our next participant, the lovely Kate Morgan – I can’t wait to see what Kate has made this week!

If at any time you find a broken link, you can find the complete list of all participants below.
We’ll be back showcasing Old Olive next Wednesday, 17th January. I hope you can join us then.