Welcome to week thirteen of our Art With Heart 2023-24 Colour Creations blog hop!
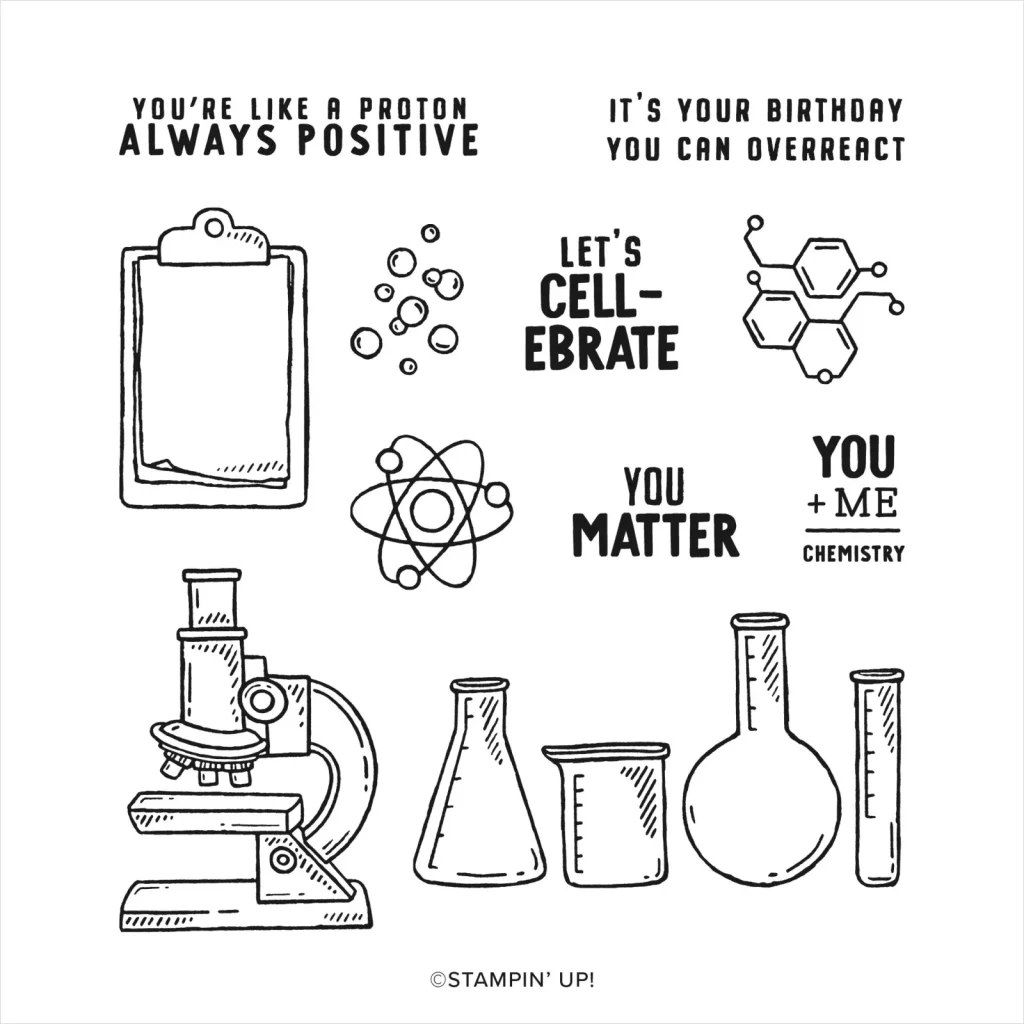
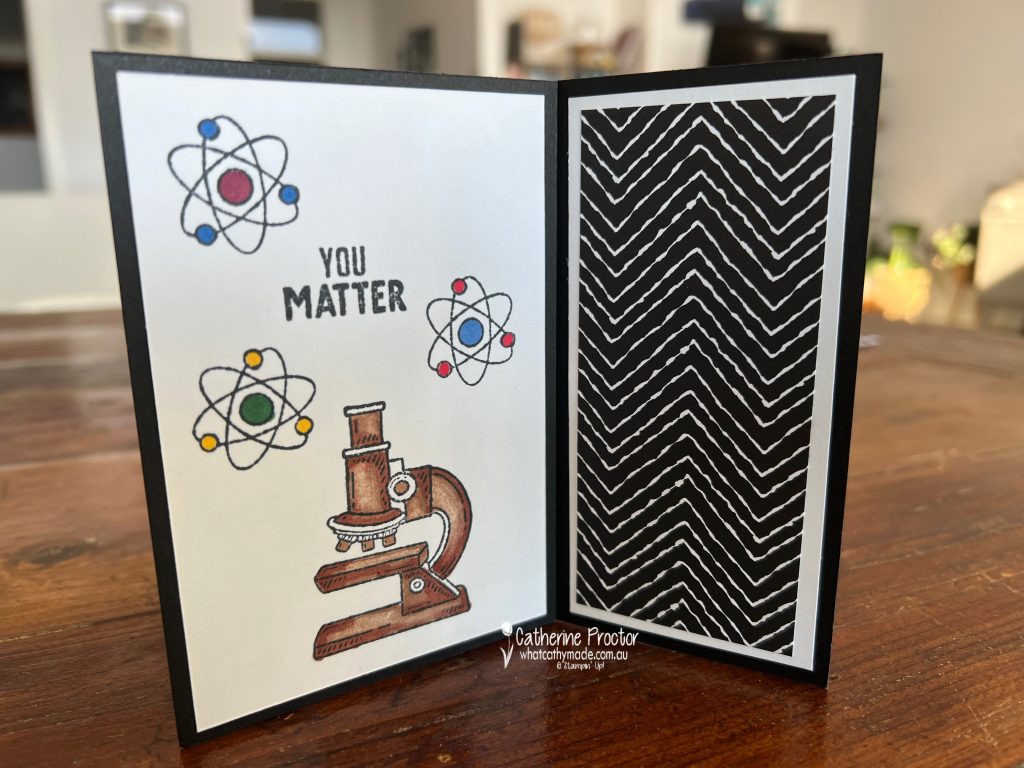
Last week was my dad’s birthday and as I gave him some science books for his birthday it only seemed appropriate to make a science-themed card using the “It’s a Science” stamp set.
I don’t normally buy stamp sets with puns, however the puns in this stamp set are really clever and I love the line art style too. It’s also a really versatile set if you enjoy colouring techniques.
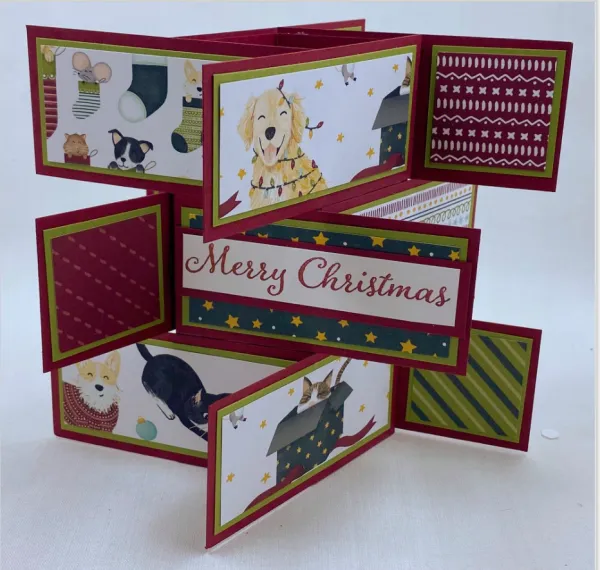
I had originally planned to make a tower flap card, like this one below by US Stampin’ Up! demo, Karen Titus, however the images from the stamp set were too large for the flaps.
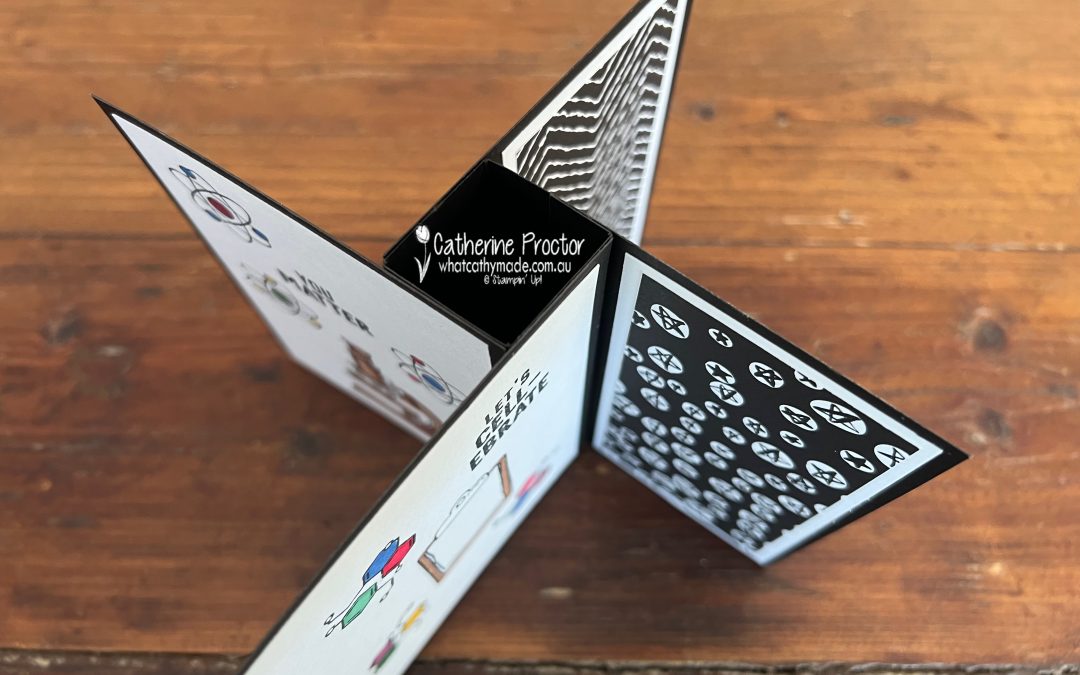
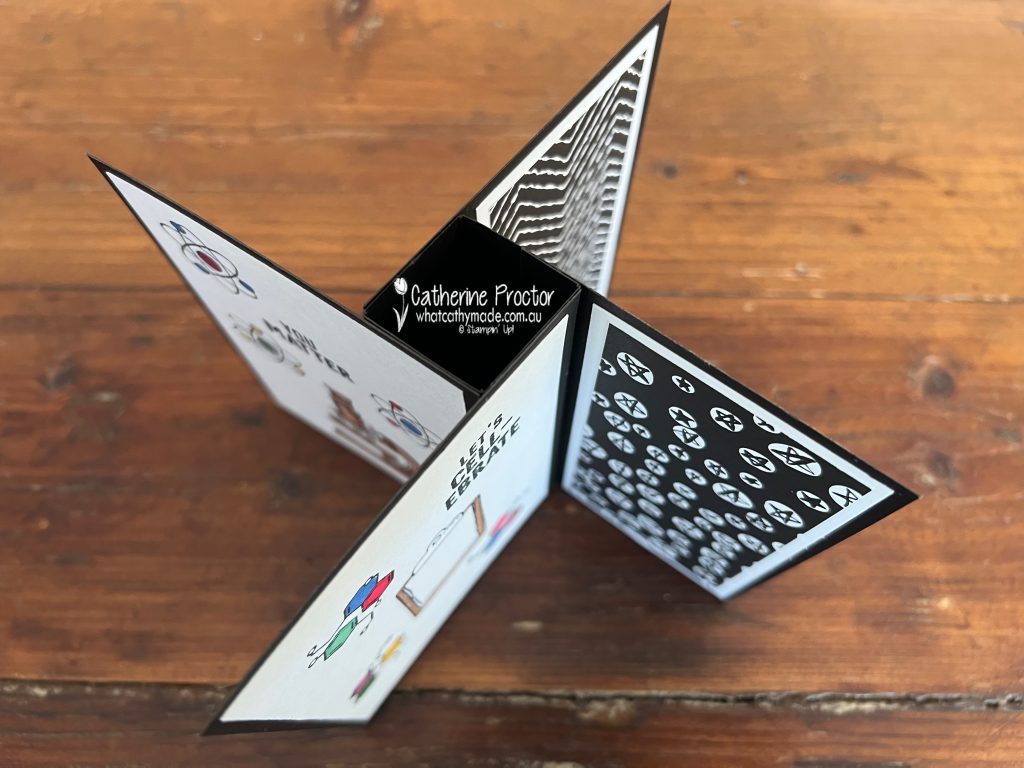
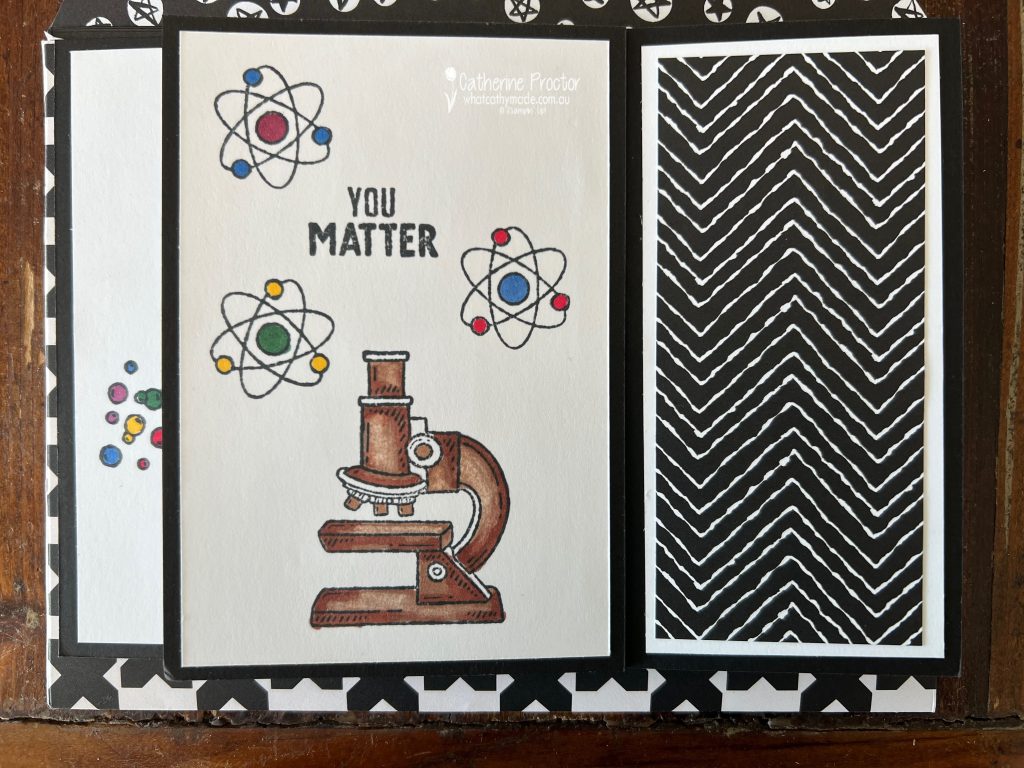
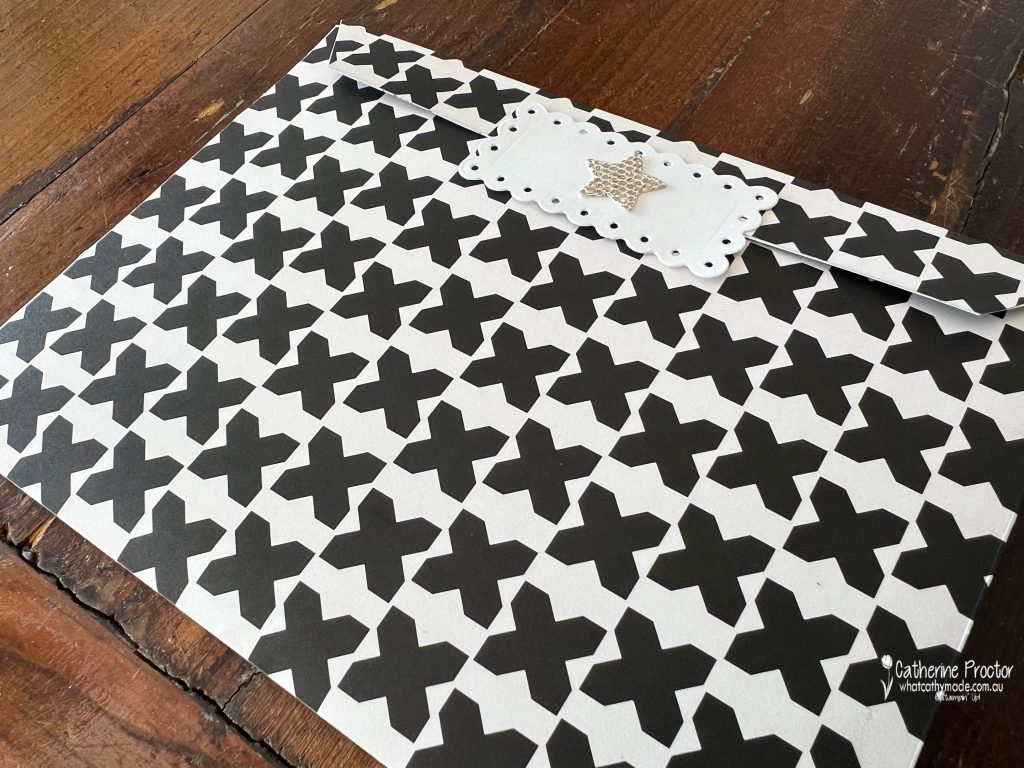
So I made a pinwheel tower card instead. It’s a very easy fancy fold to make and fabulous for display. This is what it looks like from above.
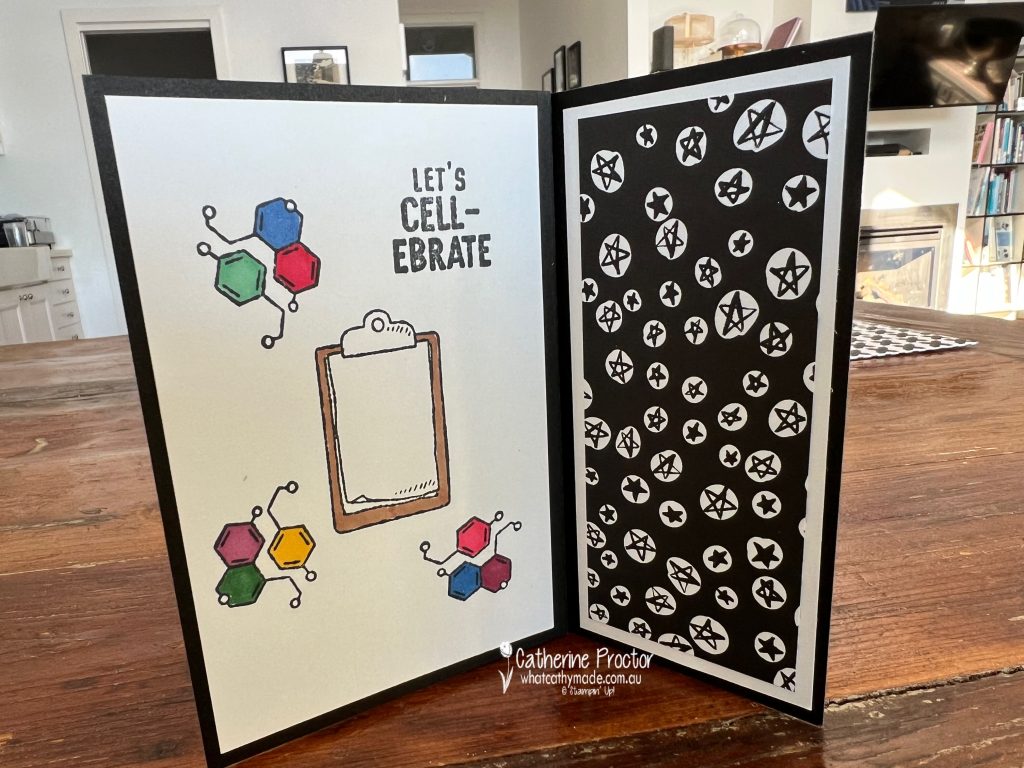
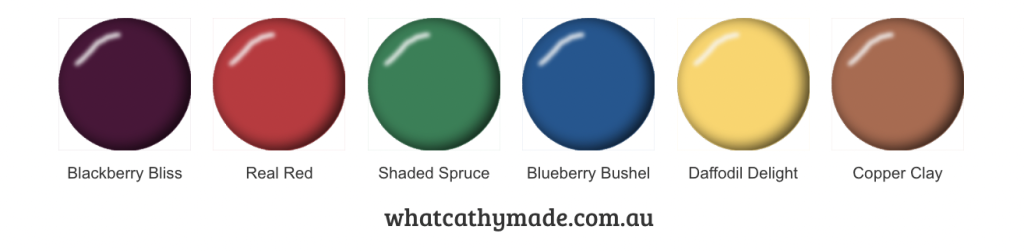
And here are the images on each of the four flaps. I’ve used Stampin’ Up! blends to colour the line art images in Blackberry Bliss, Shaded Spruce, Real Red, Blueberry Bushel and Daffodil Delight.
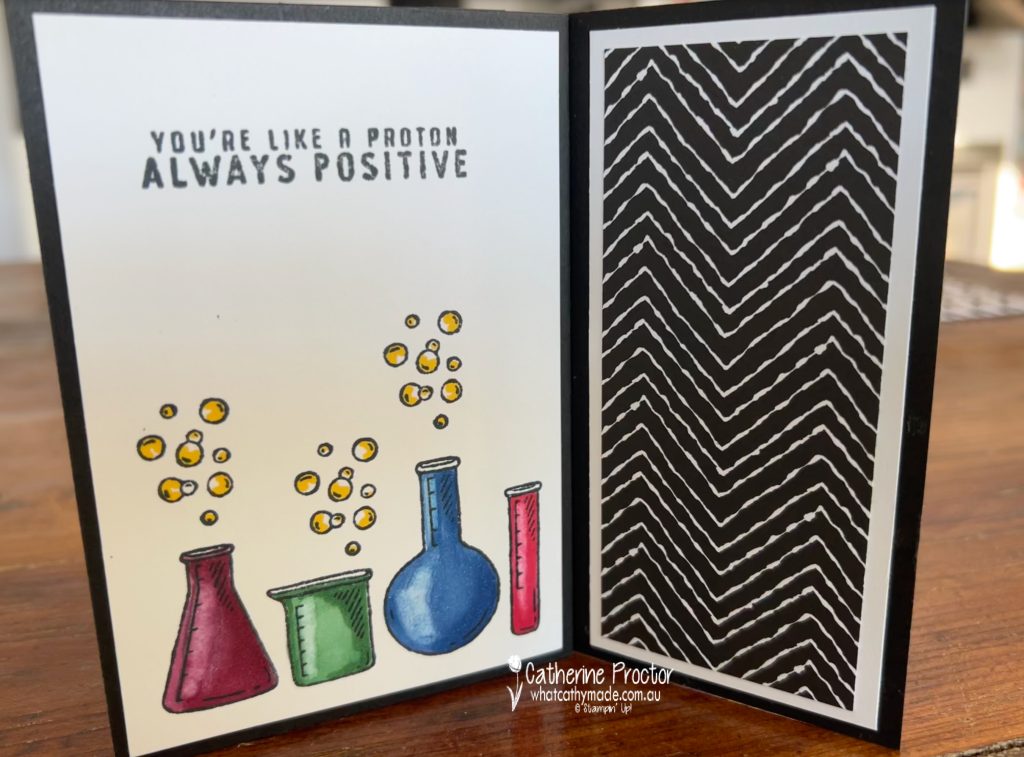
Using the colour lifter on the areas where light would fall gives instant dimension to my beakers. Instead of colouring them to be partially filled with different coloured liquids I’ve coloured them as if they were coloured glass. Dad used to collect blue glass and it gives such a pretty effect.
The microscope is coloured using Copper Clay, with the colour lifter again adding reflection and dimension.
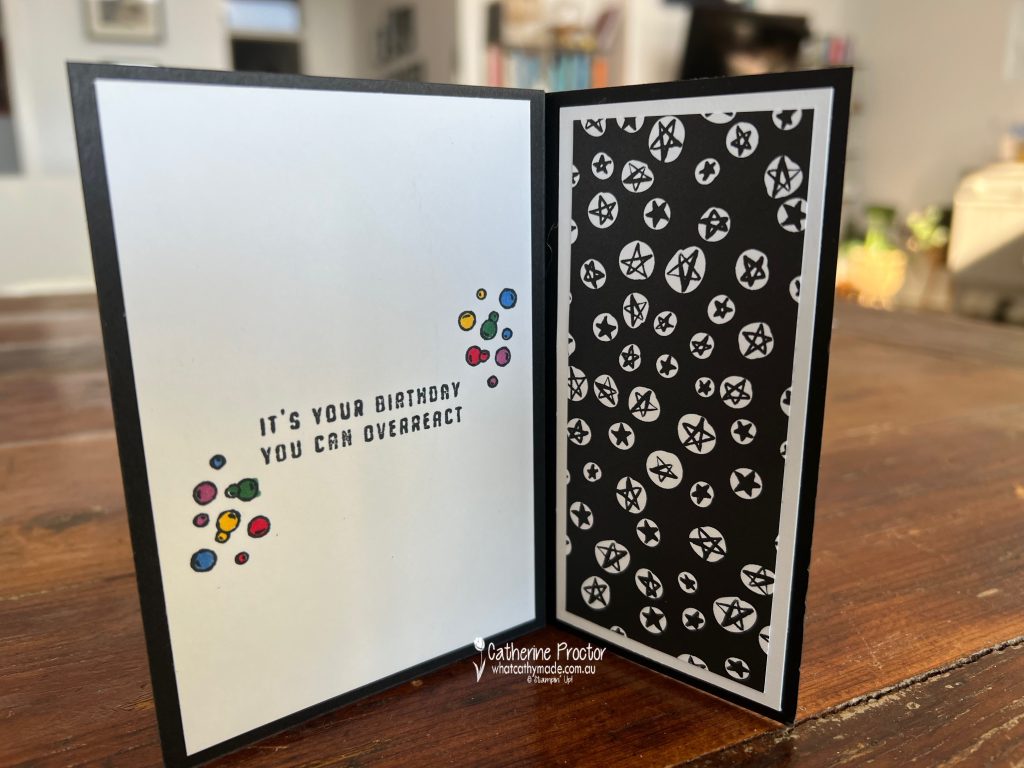
The black and white DSP on the reverse side of the images is from the Zoo Crew 12″ x 12″ Designer Series Paper. I deliberately left space on this final flap to write a birthday greeting.
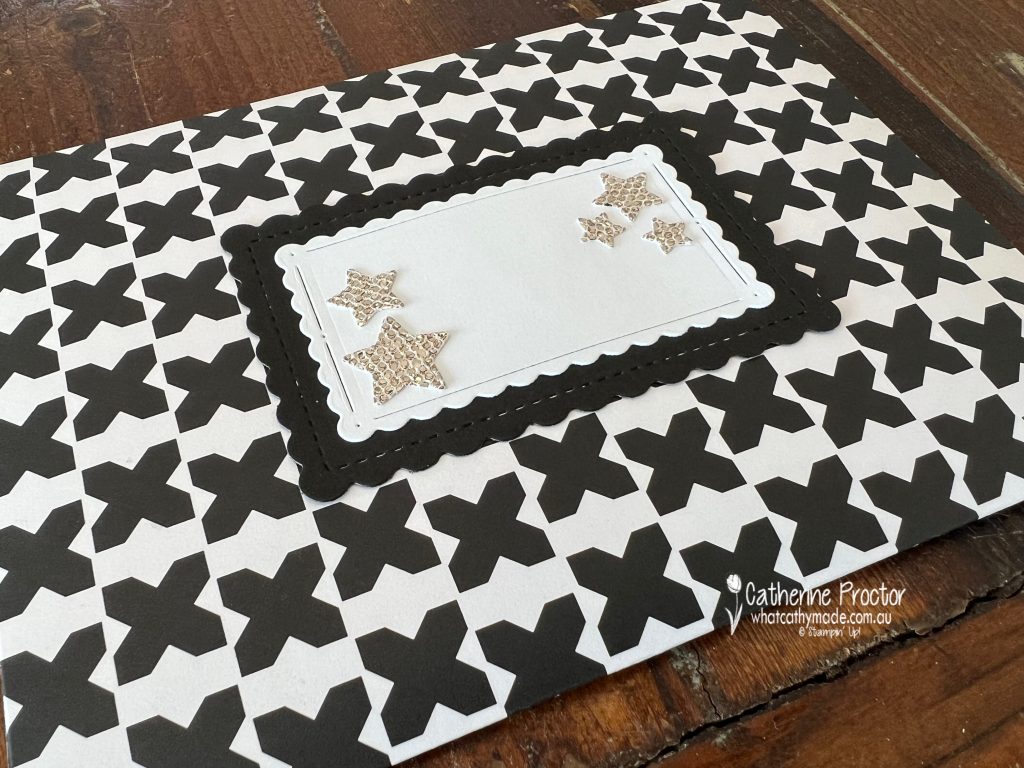
This card folds flat for posting, however because it is oversized a handmade envelope was required.
I used the Delightfully Eclectic DSP to make a black and white envelope to match the card. The name label for the front of the card was die cut using the Scalloped Contours Dies, with More Dazzle stars die cut using the Give It a Whirl Dies.
The envelope flap is also adhered using a Scalloped Contours Die, attached with glue dots to make sealing and resealing possible.
I really haven’t showcased Blackberry Bliss as the main colour this week, however hopefully I’ve shown how well it can work with colours from different colour families. I guess that’s why Stampin’ Up! have moved it to the neutrals family now!
Now it’s time to hop on over to our next participant, the lovely Di Furniss – I can’t wait to see what Di has made this week!
If at any time you find a broken link, you can find the complete list of all participants below.
Welcome to Bronwyn’s sixth Birthday Blog hop! You might have come to my blog from Vicki Arrowsmith.
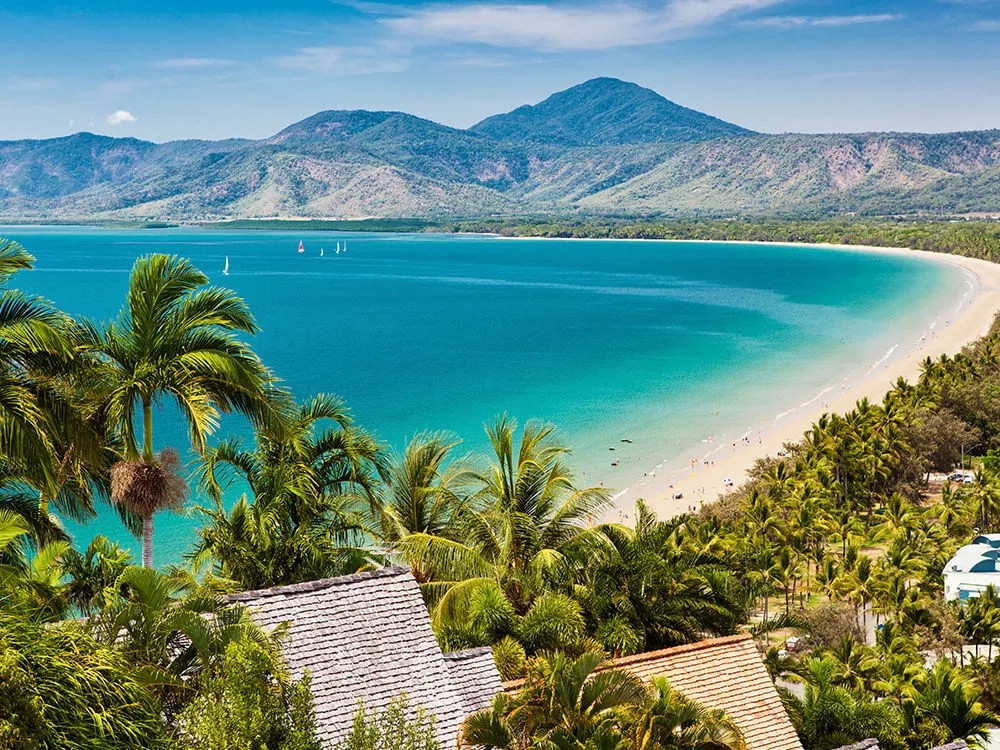
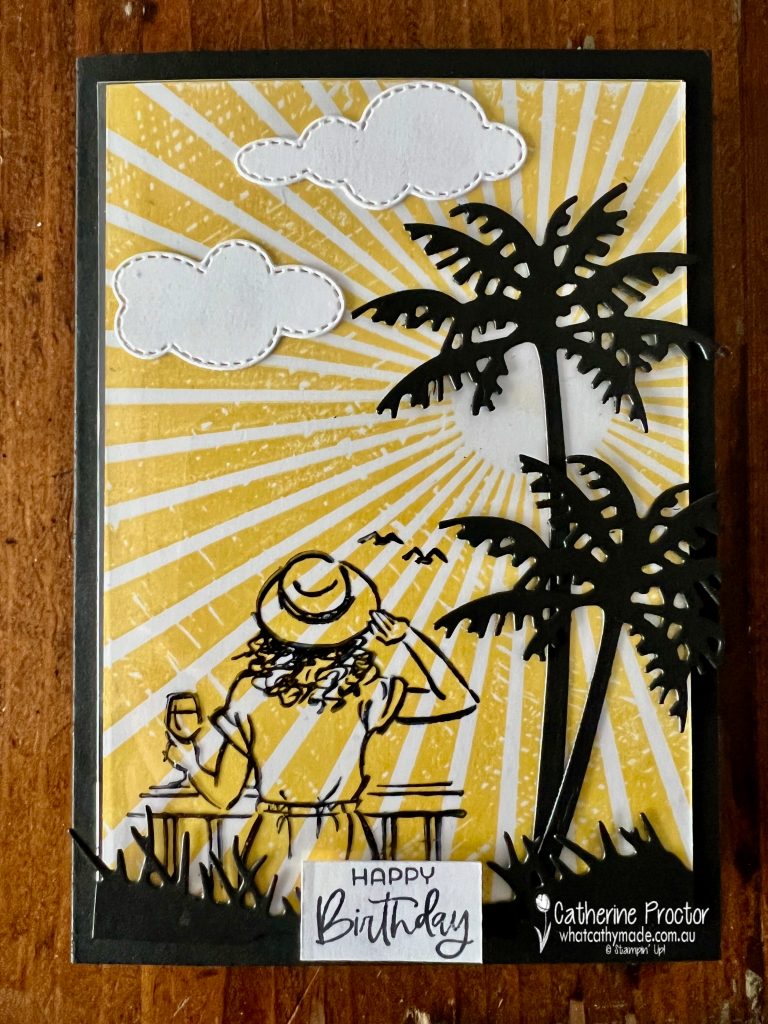
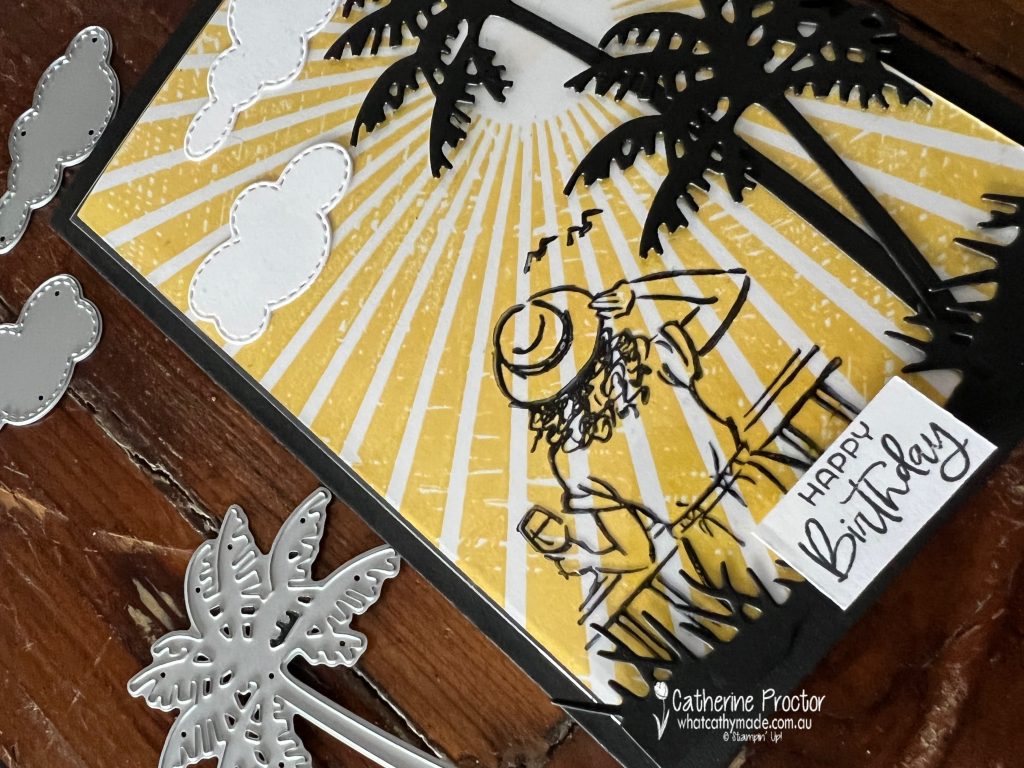
We’re a group of stamping friends who are celebrating Bron’s 60th Birthday in 2022 with six blog hops, over six months, with six fun themes! Tonight is our final blog hop and it’s also Bronwyn’s actual birthday. The theme for our cards is “Tropical Holiday” because Bronwyn is relaxing right now on a tropical holiday in the location of our header image below – Port Douglas!
I intended to create a lush card full of greens and vibrant pinks but ended up with a totally different colour scheme. Hopefully it still conveys the relaxing feel of a tropical holiday even though there is not a single green leaf on the card!
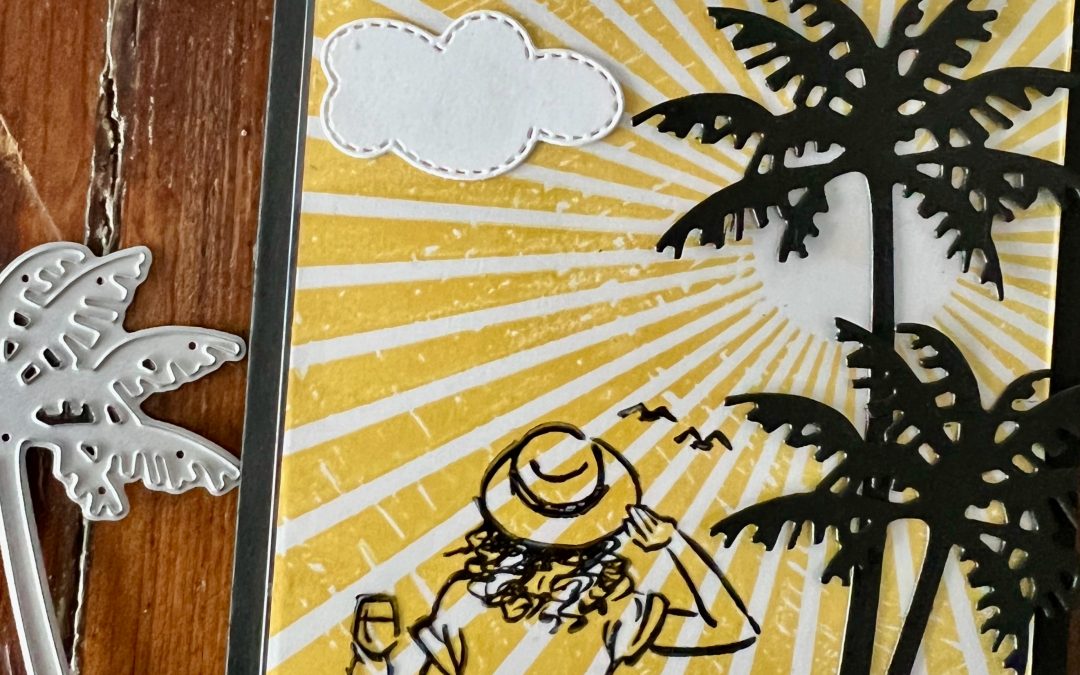
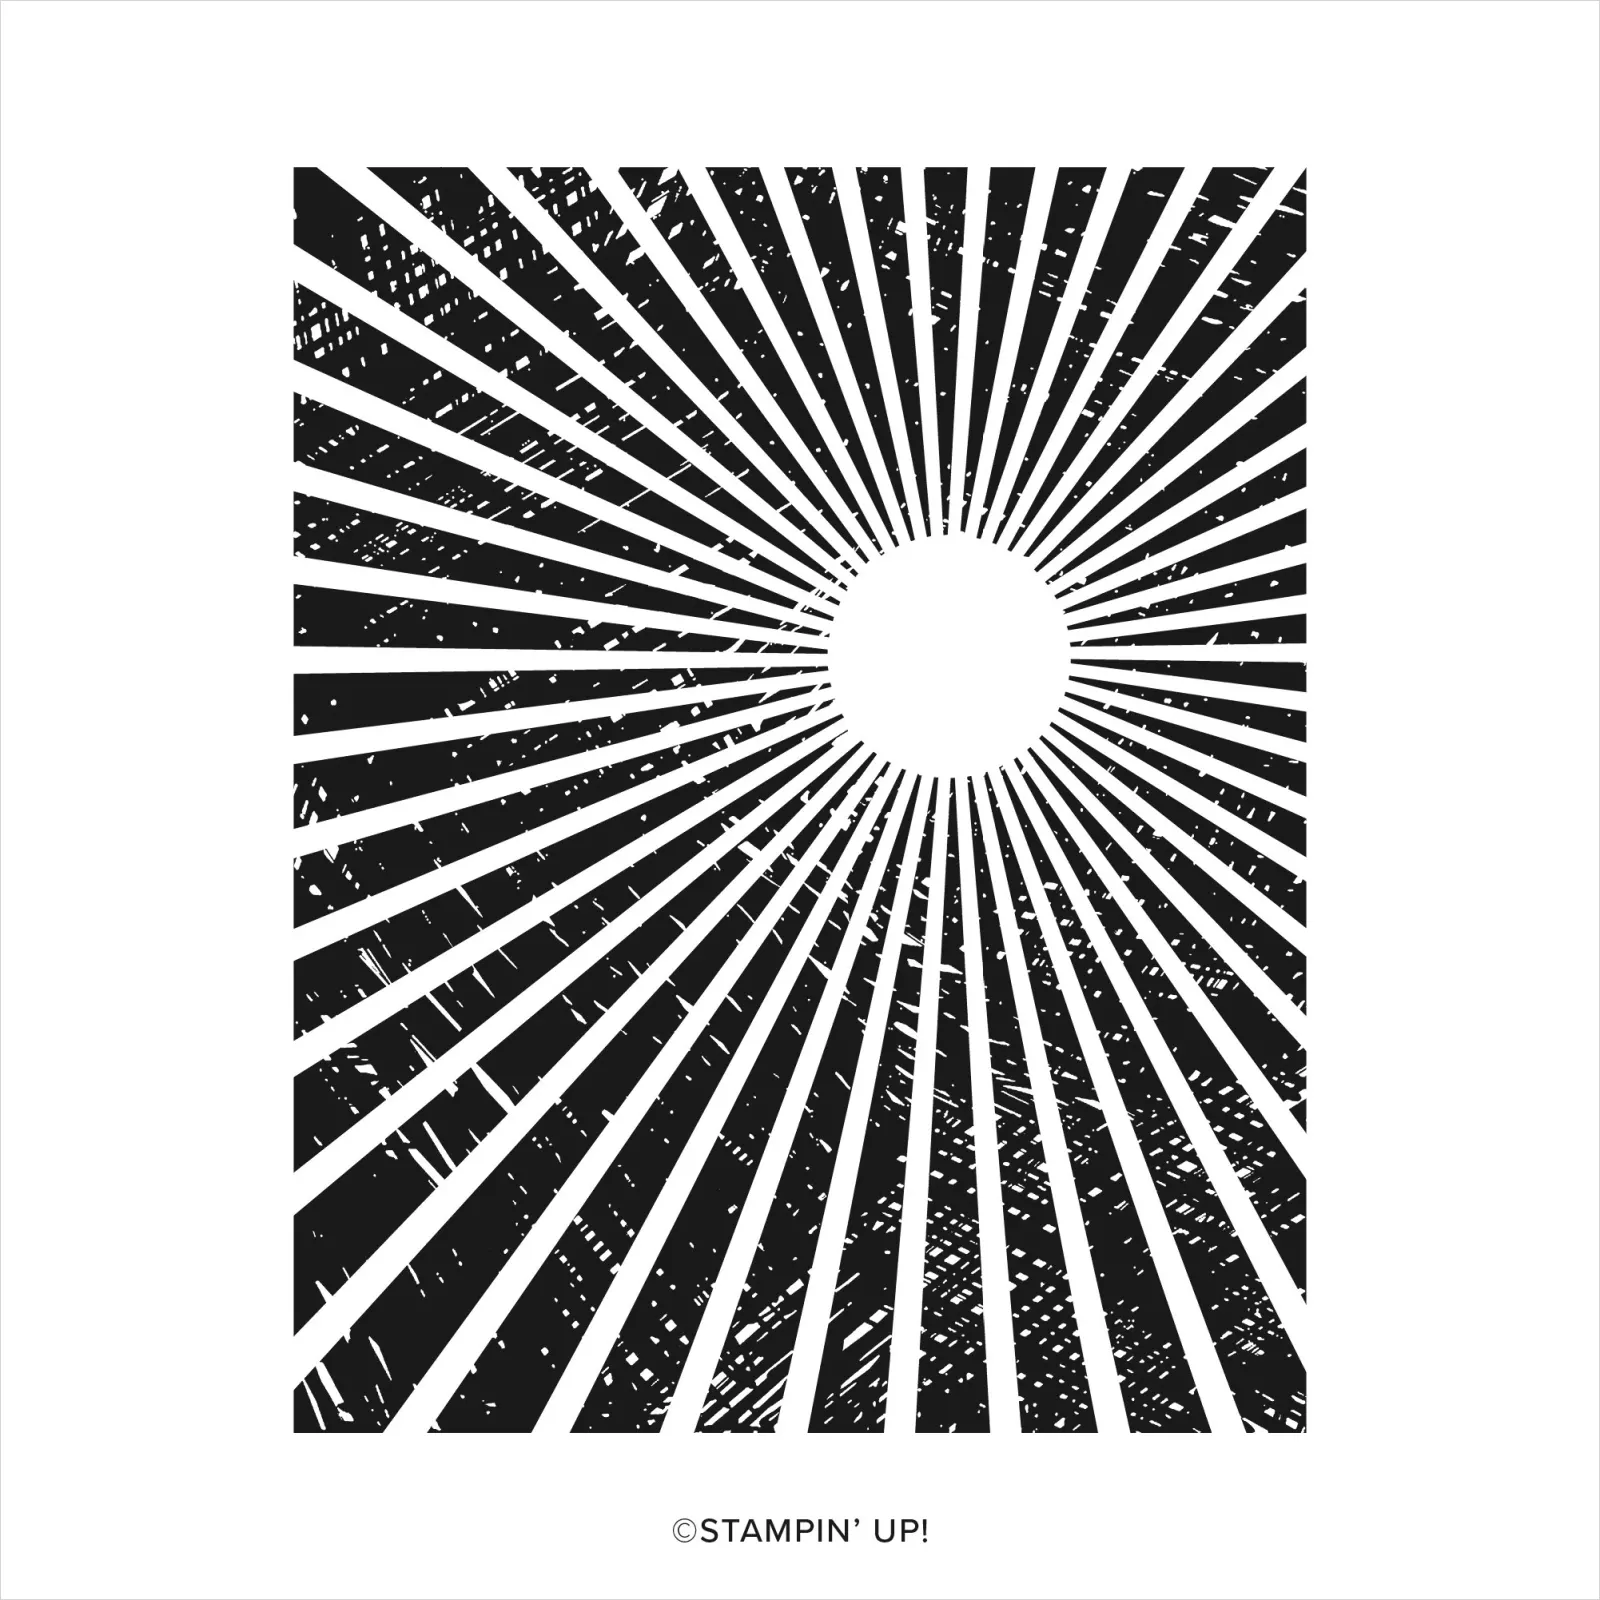
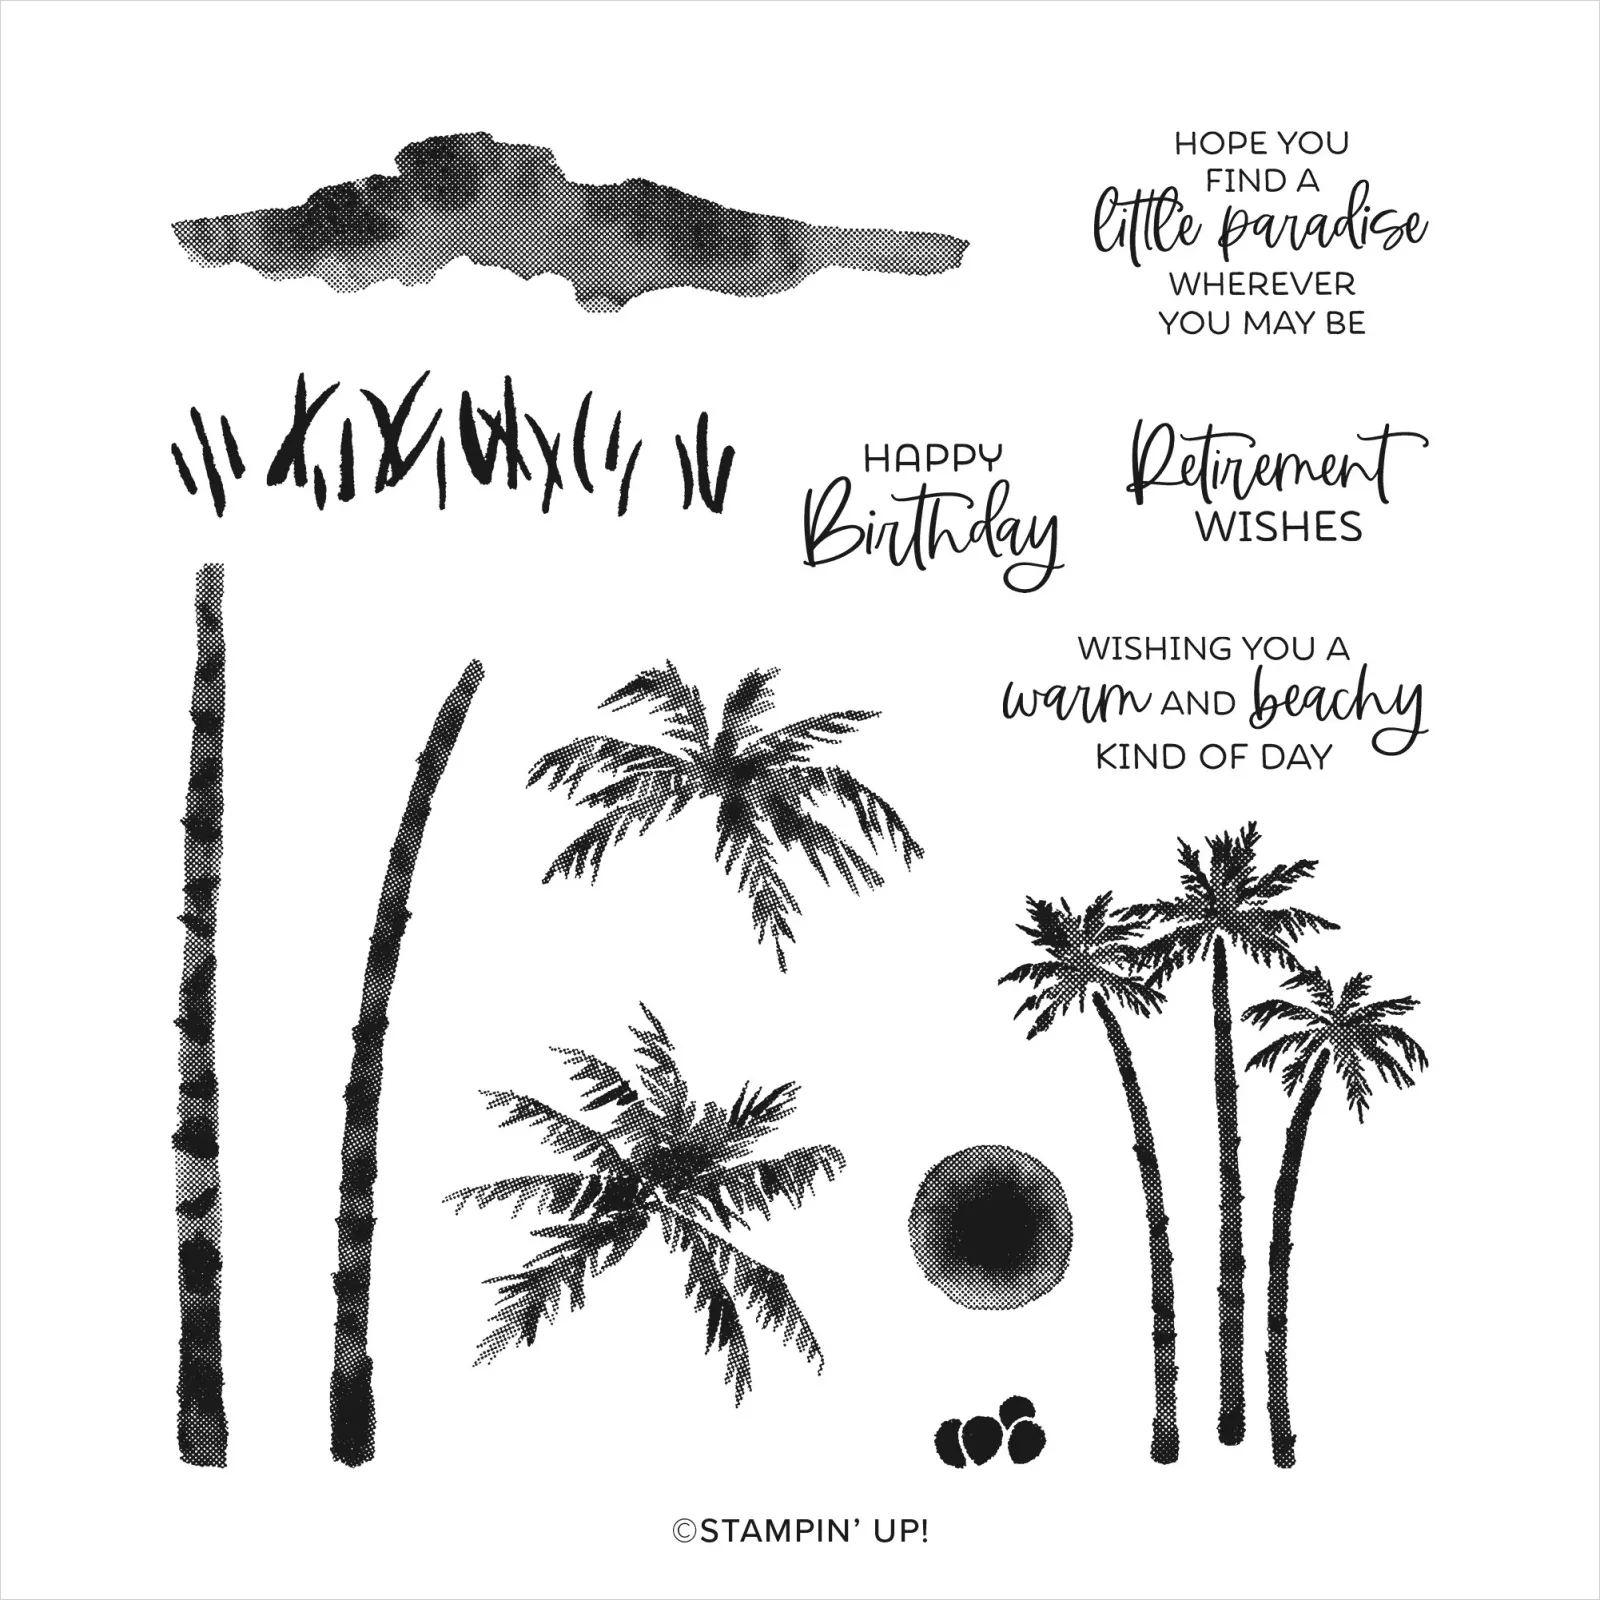
For the vibrant tropical sky I’ve used the amazing “Rays of Light” background stamp – I love this stamp and I seem to be reaching for it all the time at the moment. The image of the woman with the sun hat and glass of wine is from the “In The Moment” stamp set. I’ve also used the Paradise Palms stamp set.
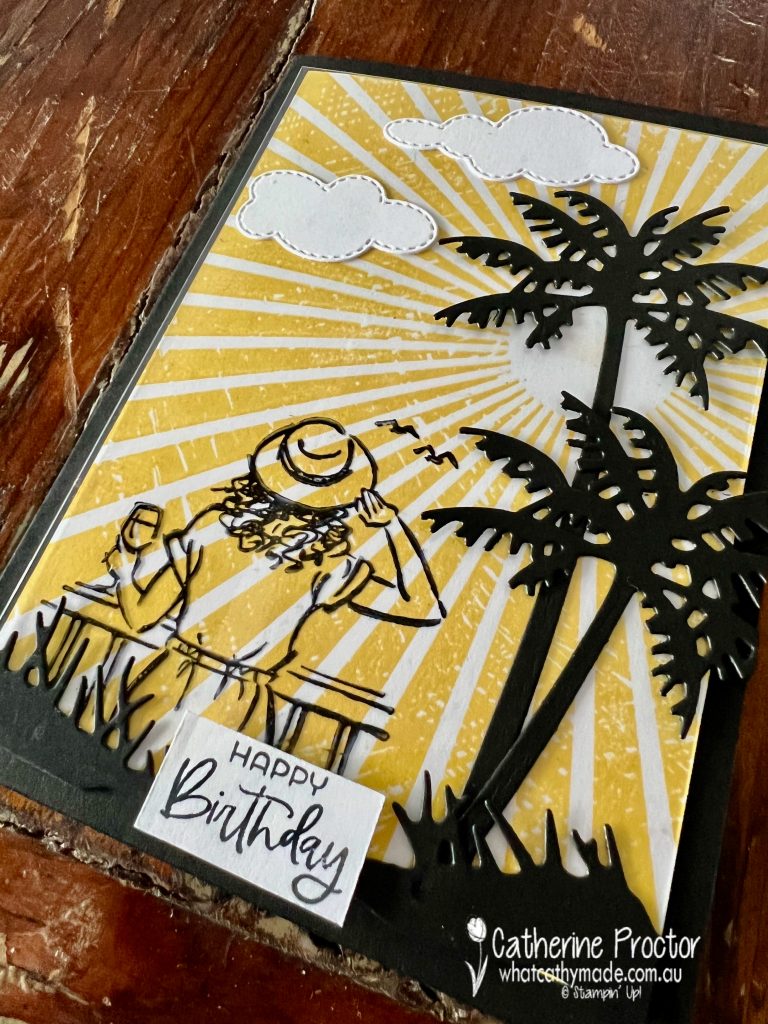
To layer the woman with the sun hat and glass of wine over the top, I stamped in Stazon onto a window sheet. You could just as easily stamp directly onto the stamped background as well. I was going to colour in the stamped image of the woman, but in the end I decided to go with a monochrome colour scheme instead.
The palm trees and grass are die cut using the Palms dies and the clouds are die cut using the Give it a Whirl dies. I love combining different Stampin’ Up! products to create scenes.
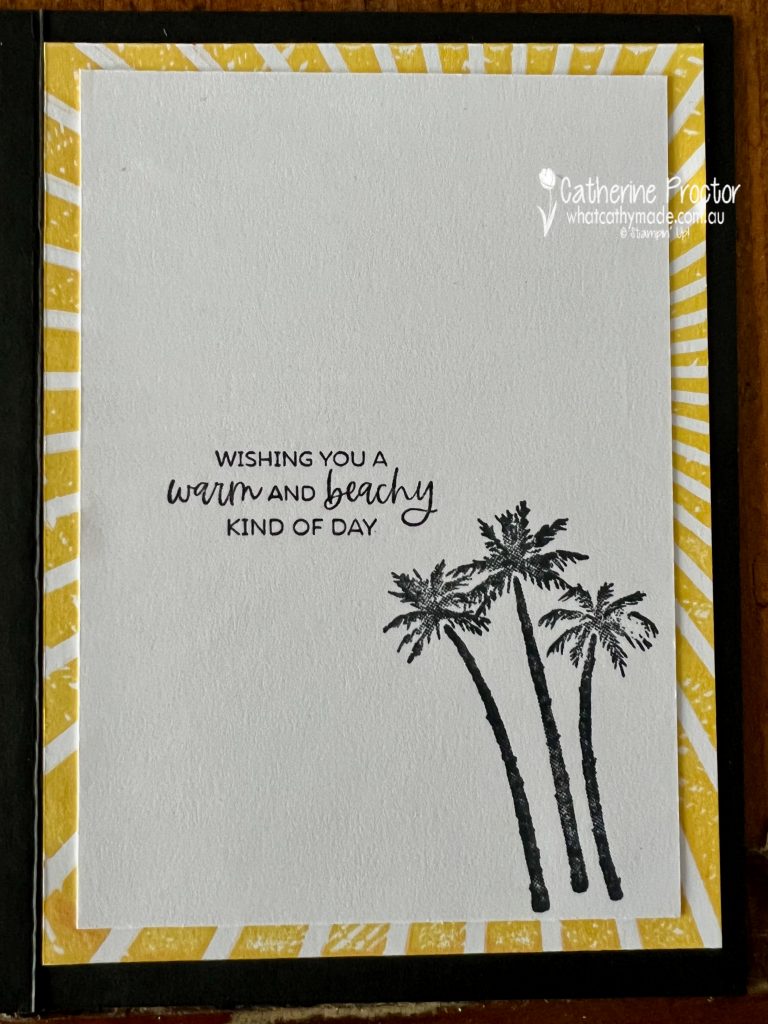
The sentiments on the front and the inside of the card and the palm trees on the inside are from Paradise Palms Stamp Set that coordinates with the Palms Dies.
Next up on Bronwyn’s Birthday Blog hop is Jan McQueen. I can’t wait to see what Jan has created today!
Here’s the full list of participants in the Blog Hop – hop along to be inspired by what everyone has created.
I’ll be back tomorrow night with a Christmas project and again on Wednesday with the AWH Colour Creations blog hop where we will be showcasing Evening Evergreen.
Until then, wherever you are in the world, stay safe, stay calm … and keep on crafting xxx
Welcome to week fourteen of our Art With Heart 2022-23 Colour Creations blog hop! This is a weekly blog hop where we showcase the stunning range of Stampin’ Up! colours in alphabetical order over 12 months and this week we are featuring Coastal Cabana.
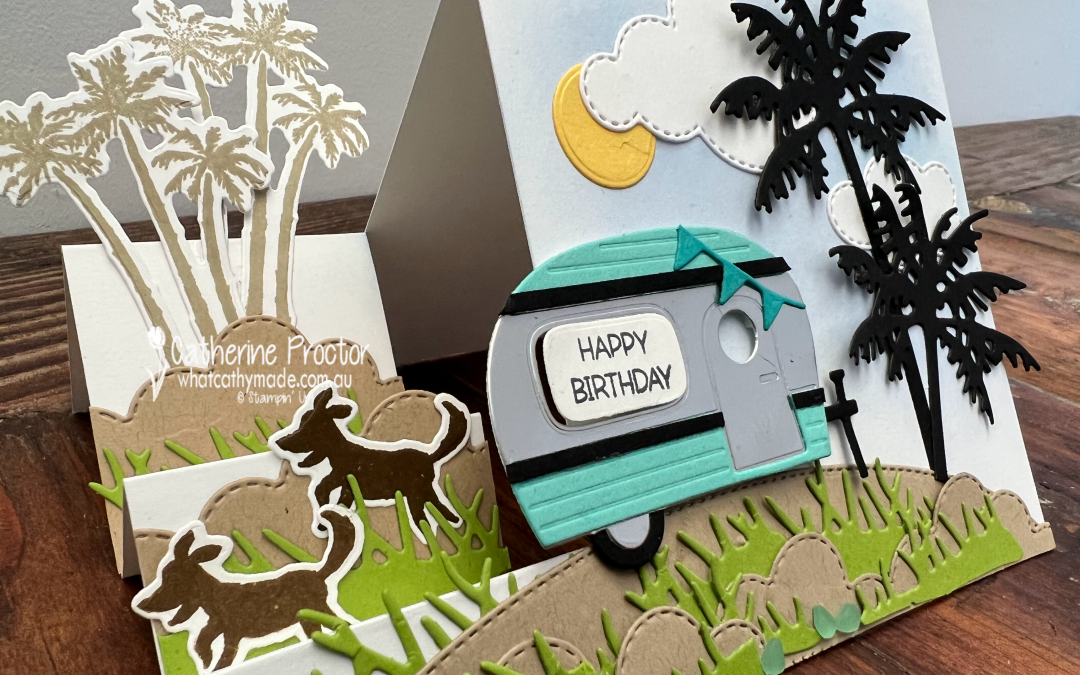
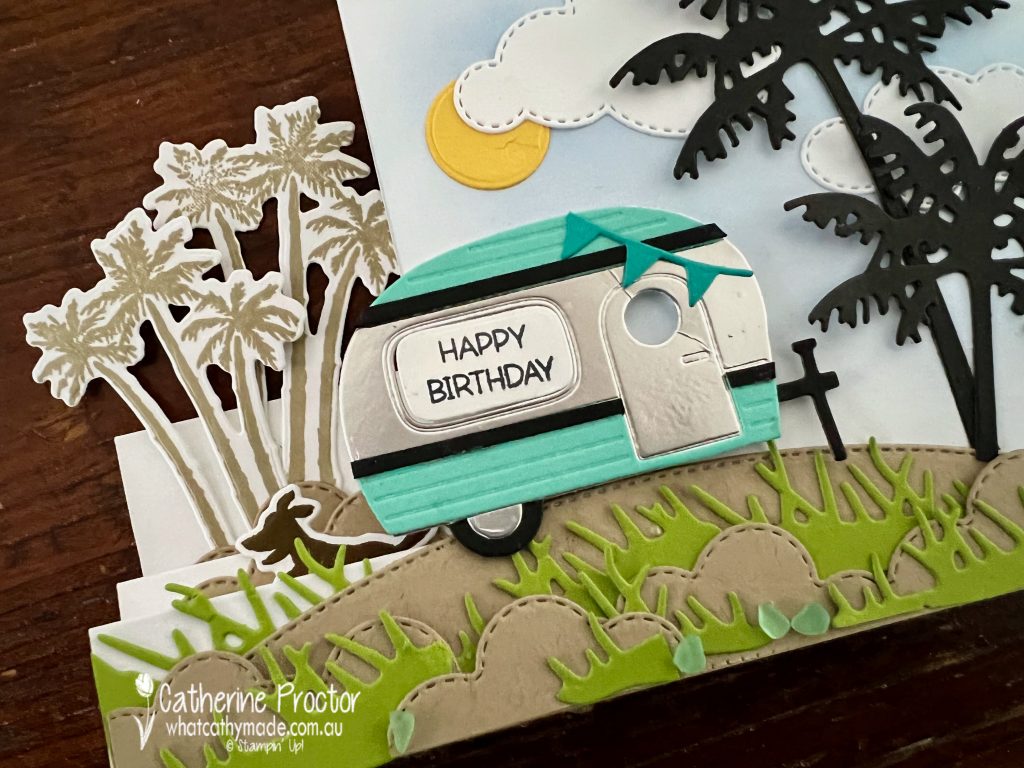
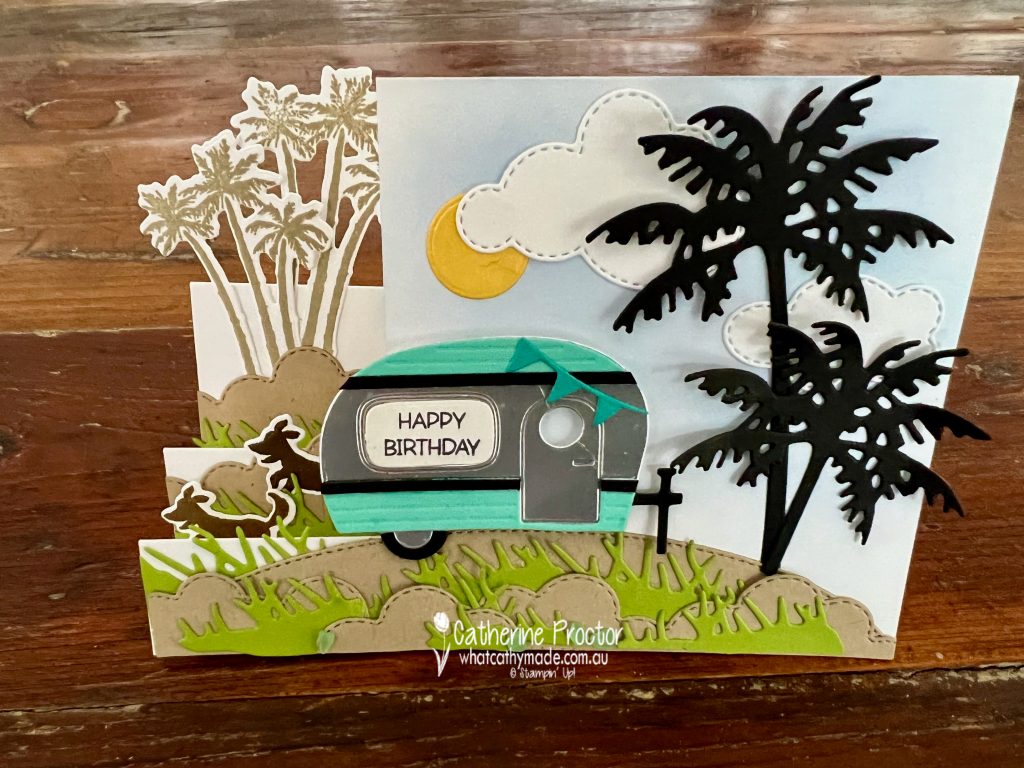
A special friend deserves a special card, especially if they are a crafter. My special friend, Jenny, celebrates her birthday this week and guess what? She owns a vintage caravan, has two dogs and lives by the sea.
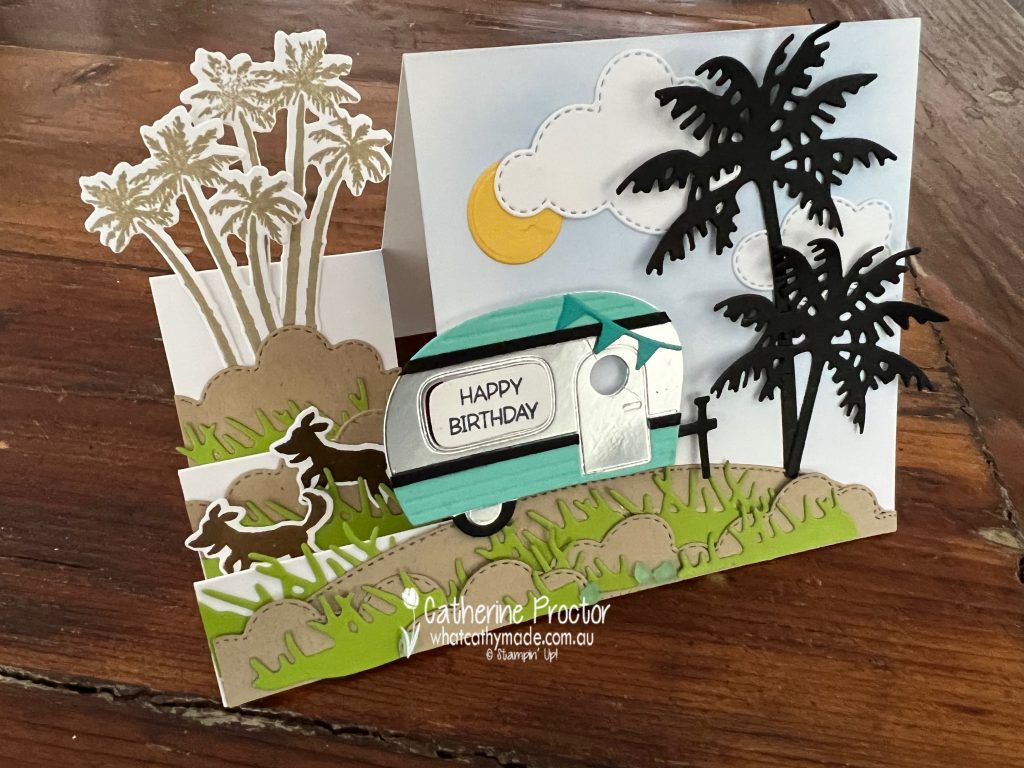
Sadly, her corporate job does not allow much time for Jen to craft anymore, but I know she will enjoy receiving this side step birthday card that includes and celebrates many of her favourite things!
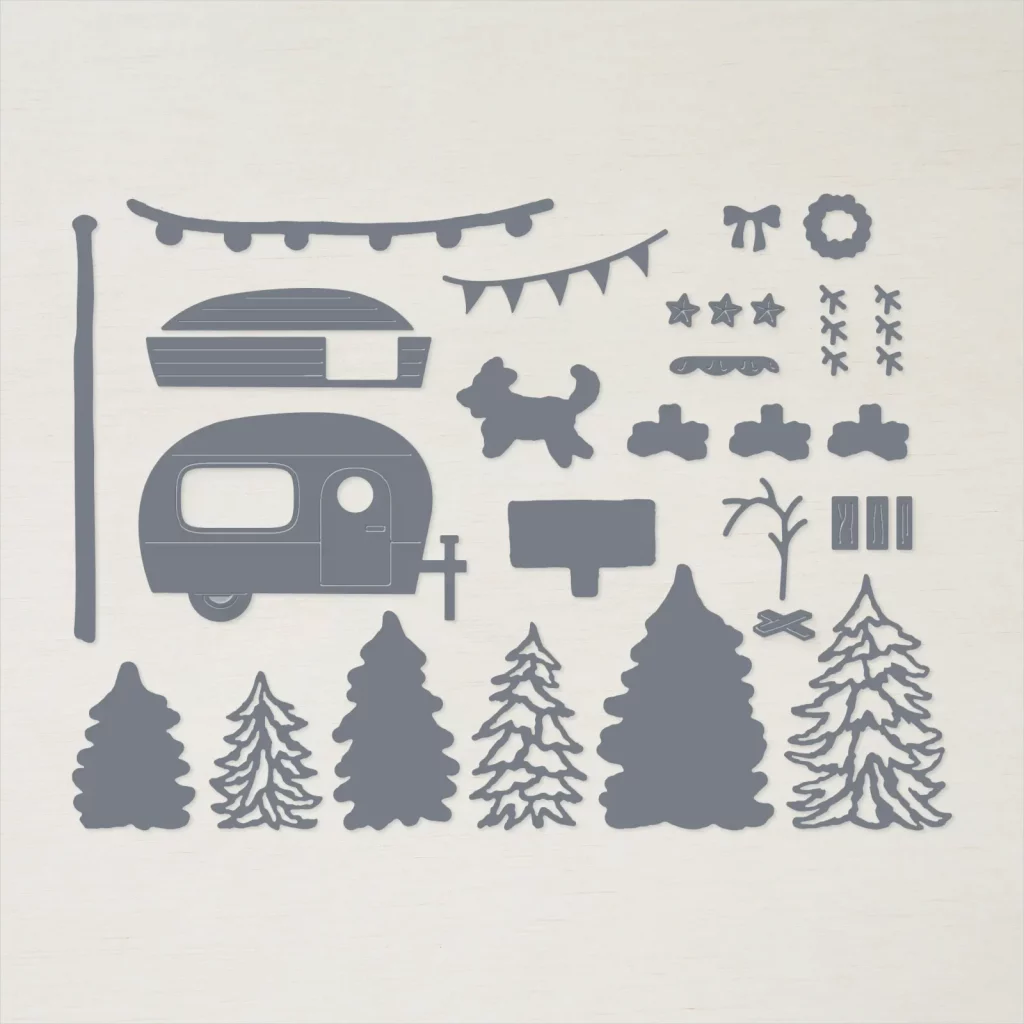
Coastal Cabana is also one of Jenny’s favourite colours and it features on her caravan, so I used the Tree Lot Dies to recreate Sylvia, her vintage caravan, in silver foil, Coastal Cabana and Basic Black, decorated with a Bermuda Bay bunting!
If you’re still thinking about getting these free (with any order over $180), adorable Sale-a-bration dies, run, don’t walk! They have already sold out in other countries and there’s only 4 weeks left of sale-a-bration!
There are 24 dies in total in the Tree Lots Die set, and yes, I’m including a set of these dies as part of Jen’s birthday present. Hopefully they will inspire her to craft again as I really miss crafting with her!
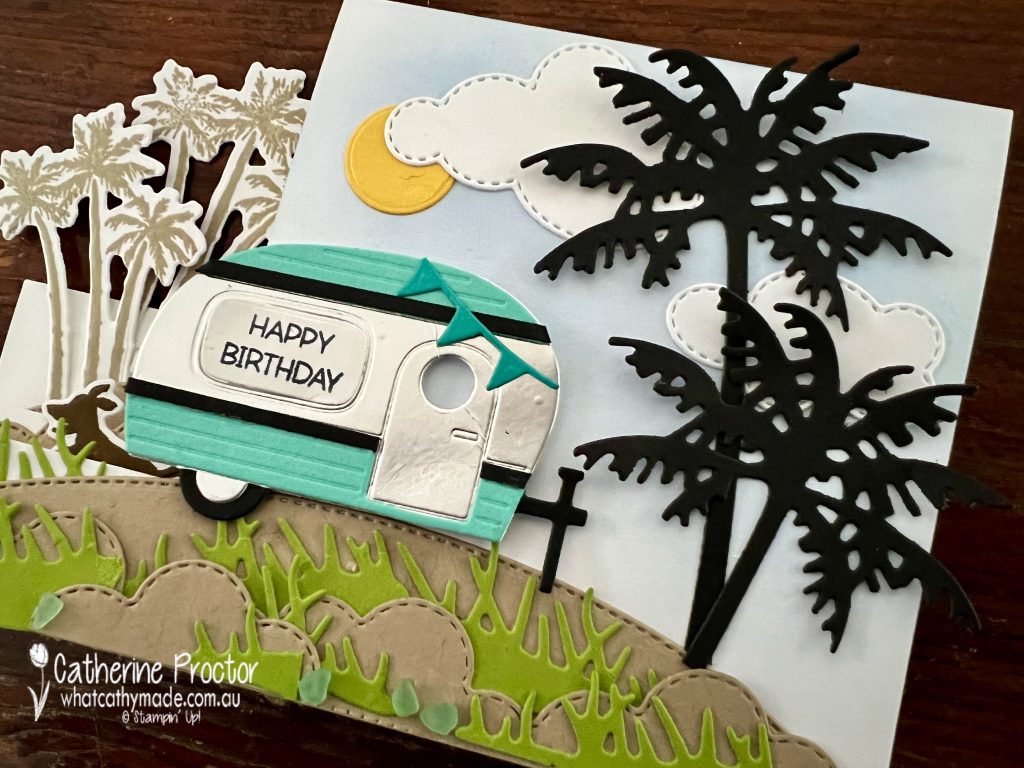
The sky background has been created using Tahitian Tide ink applied with a blending brush – the clouds are from the “Give it a Whirl” Dies.
The sand hills are cut with the Basic Borders dies, while the palm trees, grass and the sun are all die cut using the Palms Dies.
Why didn’t I use Sahara Sand for the sandhills? Fun fact – the beach where Jenny lives actually has a dark and coarse sand that it is closer in colour to Crumb Cake than it is to Sahara Sand.
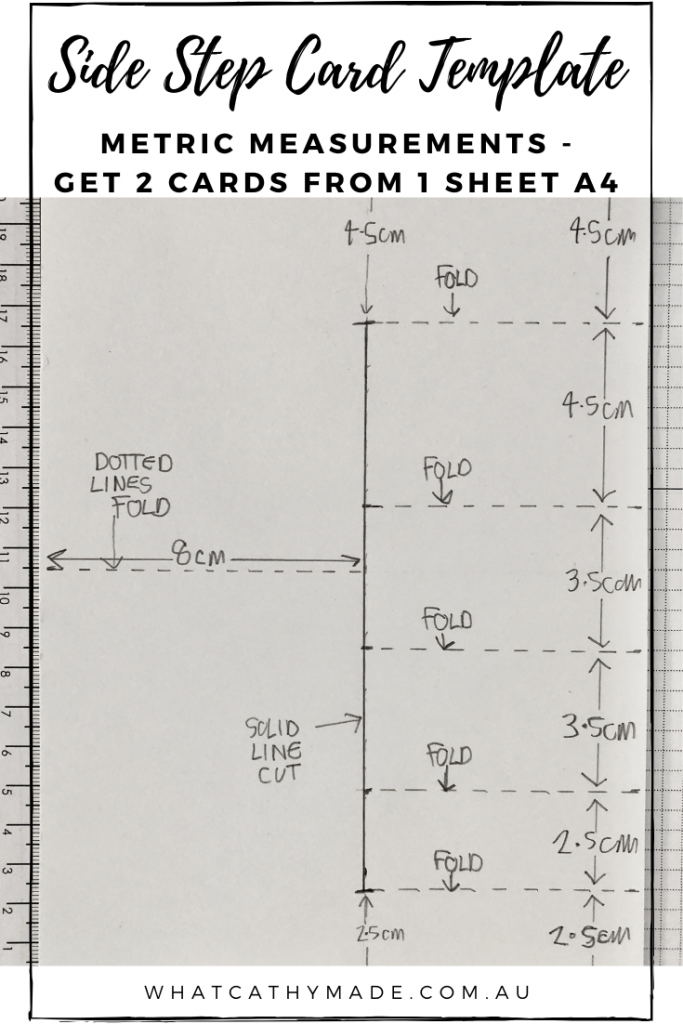
If you’d like to create a side step card yourself, here is the step-by-step metric template I designed last year to minimise waste so you can make two side step cards per A4 sheet of cardstock.
Side Step card template
Please note – for tonight’s card I have changed one of the measurements on my template below.
Instead of measuring in 8 cm from one side, I measured in 10 cm to allow enough room for my caravan and palm trees. All of the other measurements are the same as below.
Measure in 10 cm from the left (or 8 cm as per the template above) on the 14.8 cm side of your card base and draw a pencil line from top to bottom.
Along this pencil line, measure down 4.5cm from the top of the card stock and measure up 2.5 cm from the base of the card stock. The solid line in between these 2 measurements is your only cutting line for this card – I’ve marked this as a solid black line in my template.
Cut along this solid line, being very careful not to cut above or below this line.
All the other dotted lines are fold lines – measure and score these with your paper trimmer.
Once you’ve scored these lines, rub out the pencil mark along your cut line and fold the score lines. Your card base is now ready to decorate.
Here’s another look what my vintage caravan side step card looks like from the side. It folds flat to fit into a standard C6 Envelope for posting.
Now it’s time to hop on over to our next participant, the lovely Tina Gillespie – I can’t wait to see what Tina has made this week!
If at any time you find a broken link, you can find the complete list of all participants below.
Welcome to week eight of our Art With Heart 2022-23 Colour Creations blog hop! This is a weekly blog hop where we showcase the stunning range of Stampin’ Up! colours in alphabetical order over 12 months and this week we are featuring Bermuda Bay.
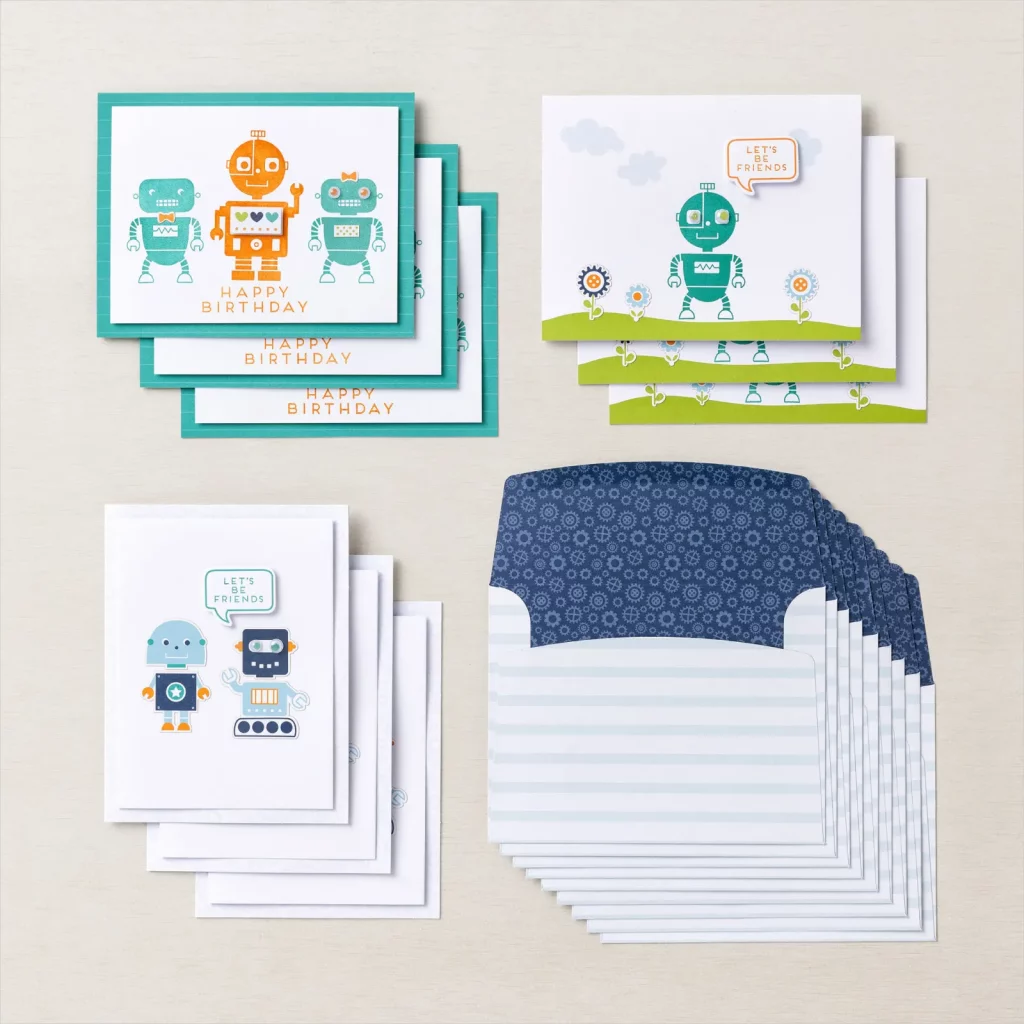
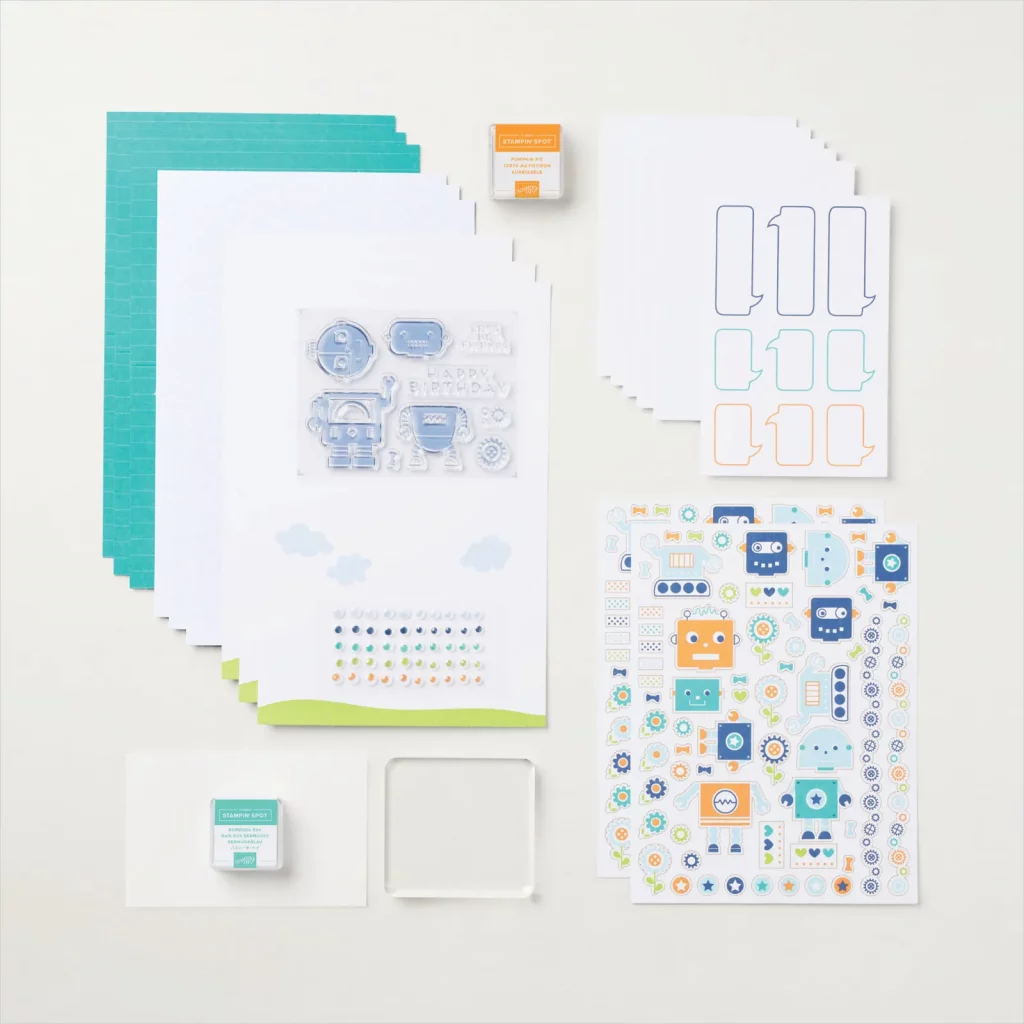
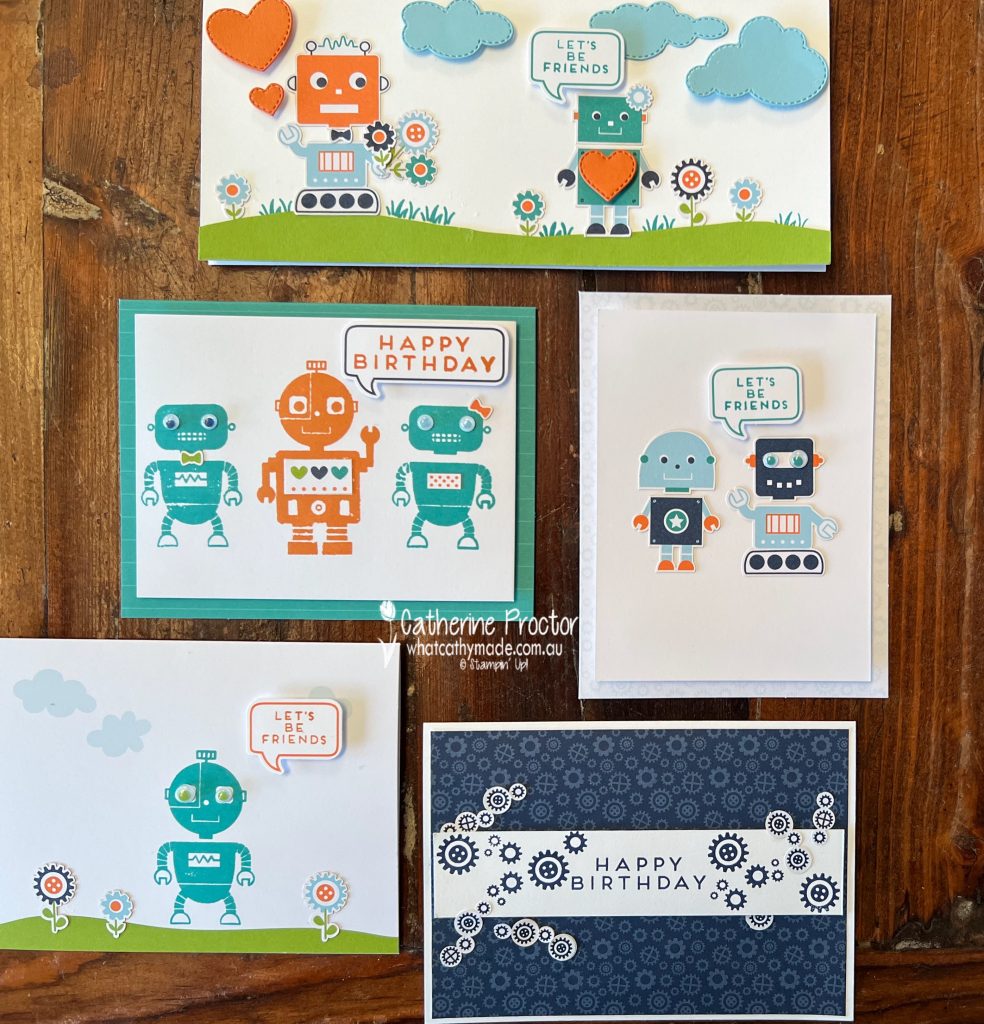
Since there is a “Buy One, Get One 50% Off” sale on all of the Stampin’ Up! Kits until 30 June, I couldn’t resist adding two of the adorable Robot Buddies Kids Card Kit to a recent order. The colours in this kit include Bermuda Bay, along with Balmy Blue, Granny Apple Green, Night of Navy and Pumpkin Pie.
The kit contains step-by-step instructions for nine cards in three different predesigned projects, but there are so many elements that let you make and design your own cards as well.
2 Classic Stampin’ Spots in Bermuda Bay and Pumpkin Pie
9 card bases and 9 envelopes
Robot Buddies Photopolymer Stamp Set
2 printed sticker sheets
1 printed die-cut sheet
1 sheet of adhesive-backed googly eye embellishments
Enough adhesive to complete the projects
A printed box for storage or crafting on the go
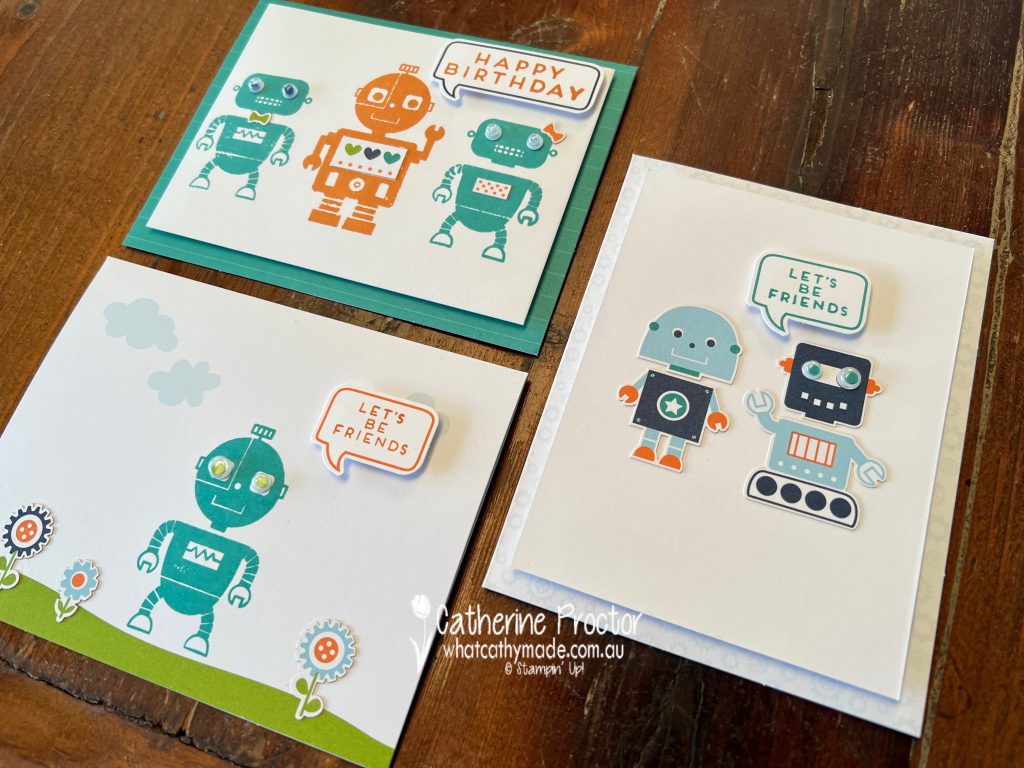
Whenever I receive a kit I always make up one of each of the set designs first before I head “off grid” with my designs!.
Don’t these these robots make you smile! I just love their googly eyes.
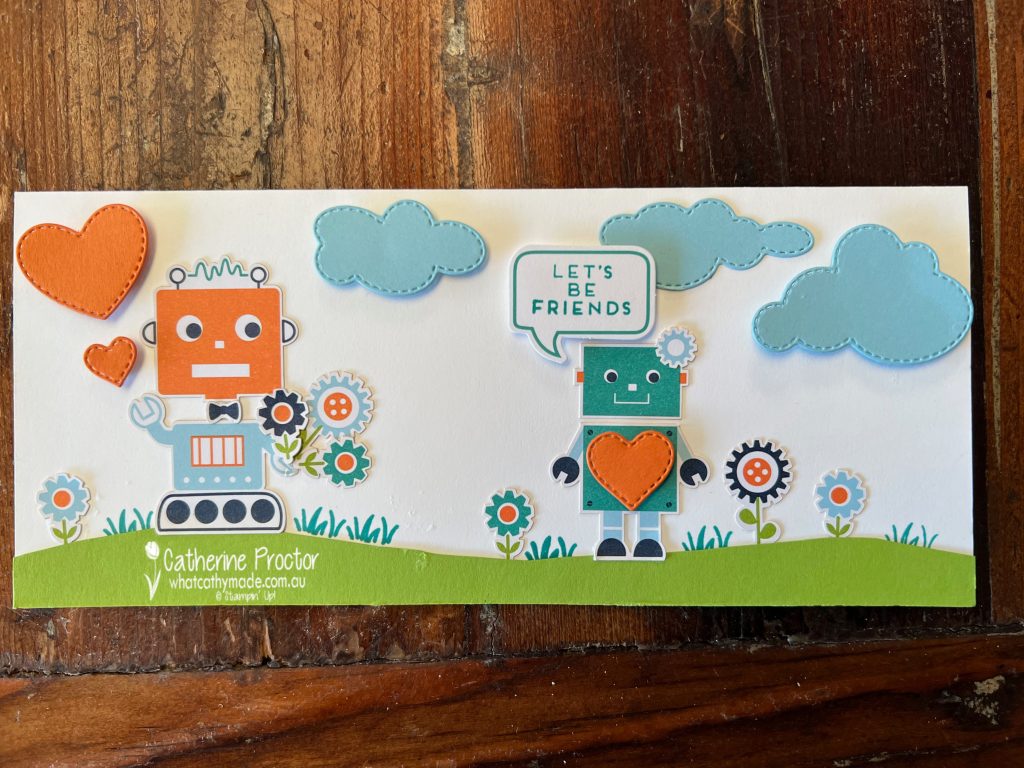
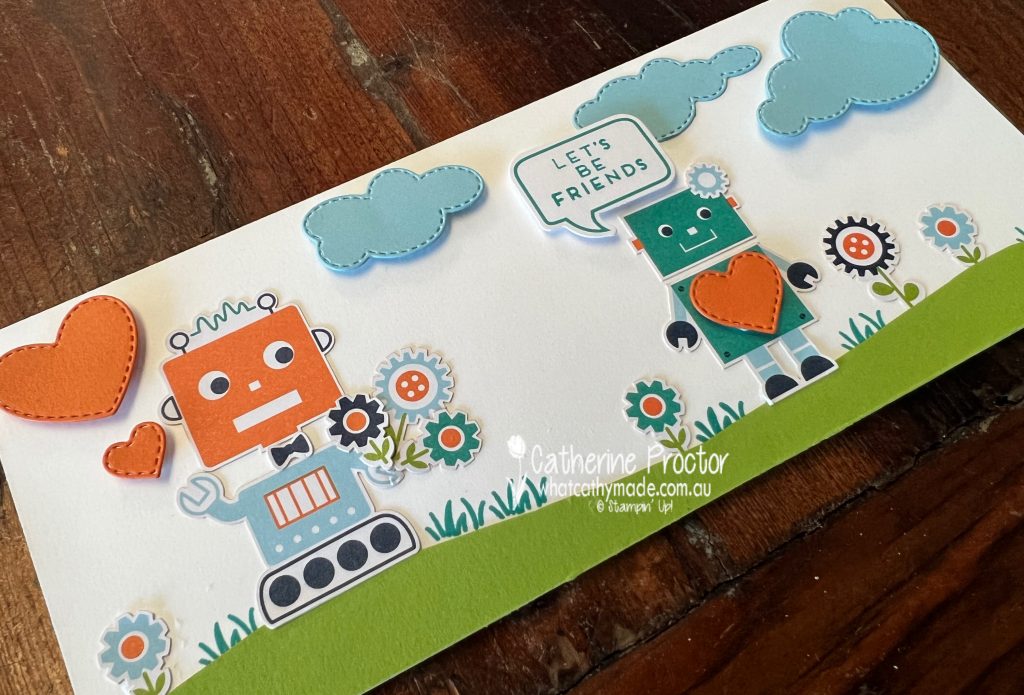
This slimline landscape slimline card was created by adding some clouds and hearts die cut using the “Give It a Whirl” dies in Balmy Blue and Pumpkin Pie.
The Bermuda Bay grass was stamped with the Happy Hedgehogs Stamp Set onto a hand cut Granny Apple Green lawn.
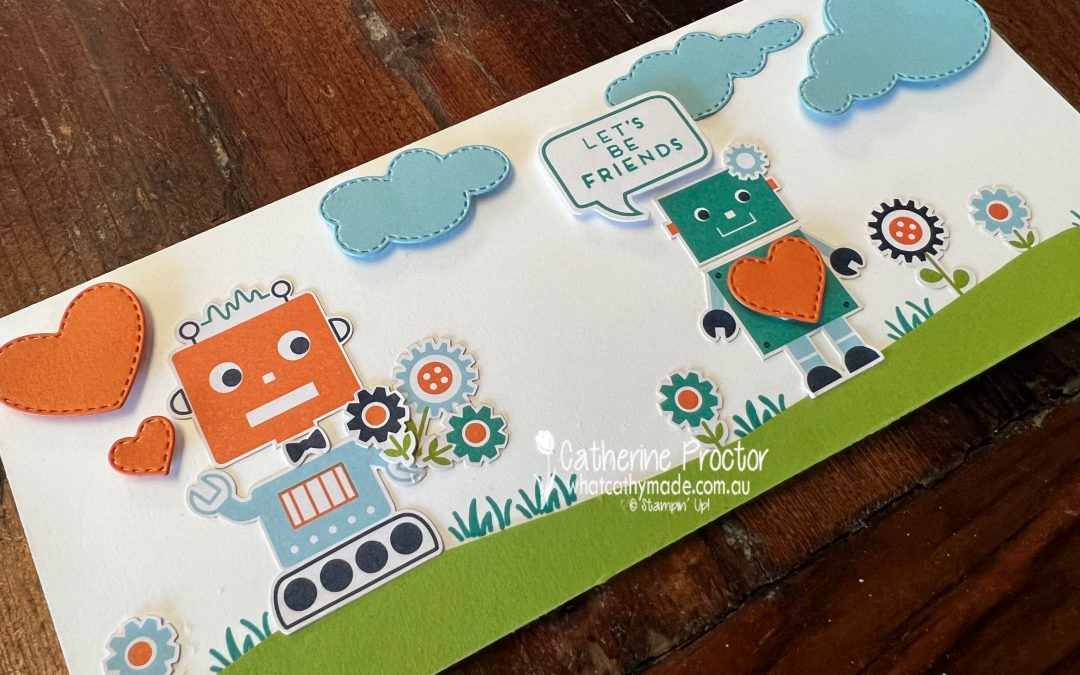
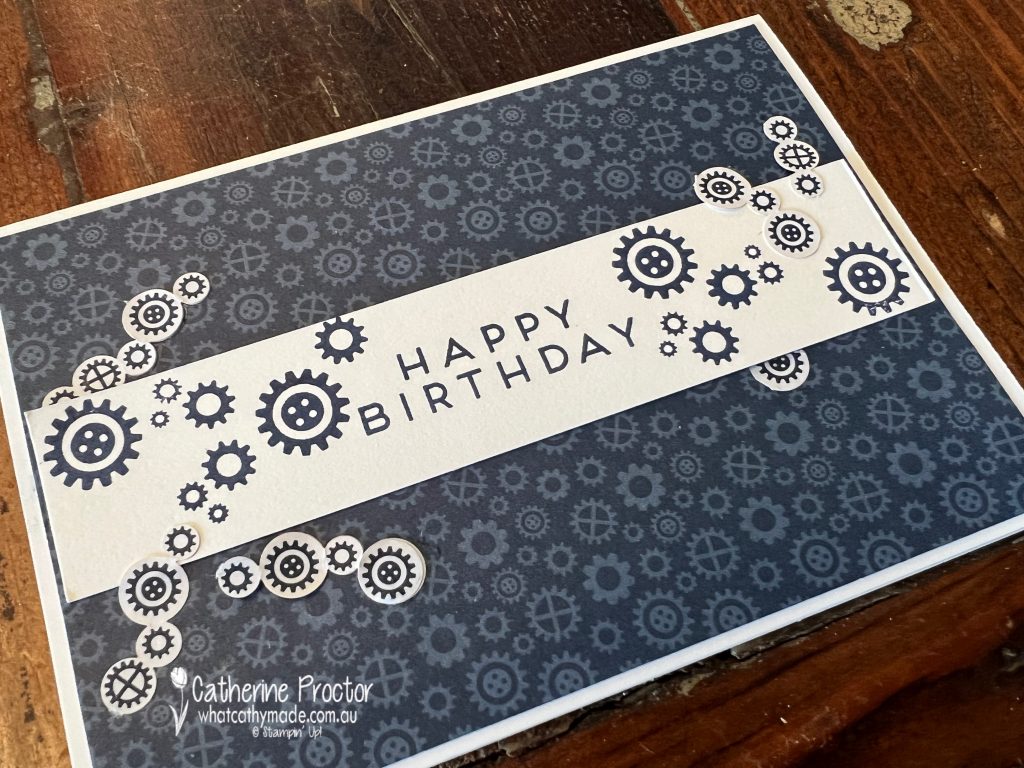
And finally, this quick and easy monochrome masculine birthday card was made using the Night of Navy DSP pattern from the inside of the envelopes, spare stickers from the kit (chopped up) and the gear stamps that are included in the kit’s stamp set.
I had so much fun creating with this kit. I’m giving the second one I purchased in the BOGO 50% off sale to my niece as part of her 6th birthday present and I can’t wait to create with her.
Now it’s time to hop on over to our next participant, the lovely Rosa Leyden – I can’t wait to see what Rosa has made this week!
If at any time you find a broken link, you can find the complete list of all participants below.
I’ll share another card I made with this kit later this week and next Wednesday we will be showcasing one of our regal Stampin’ Up! colours, Blackberry Bliss.
Wherever you are in the world, stay safe, stay calm … and keep on crafting xxx
Hello to all my crafting friends! I’m back with another entry for the “G’day Fri’yay’ Card Making Challenges” Facebook group, a fortnightly Card Making Challenge with Aussie Themes.
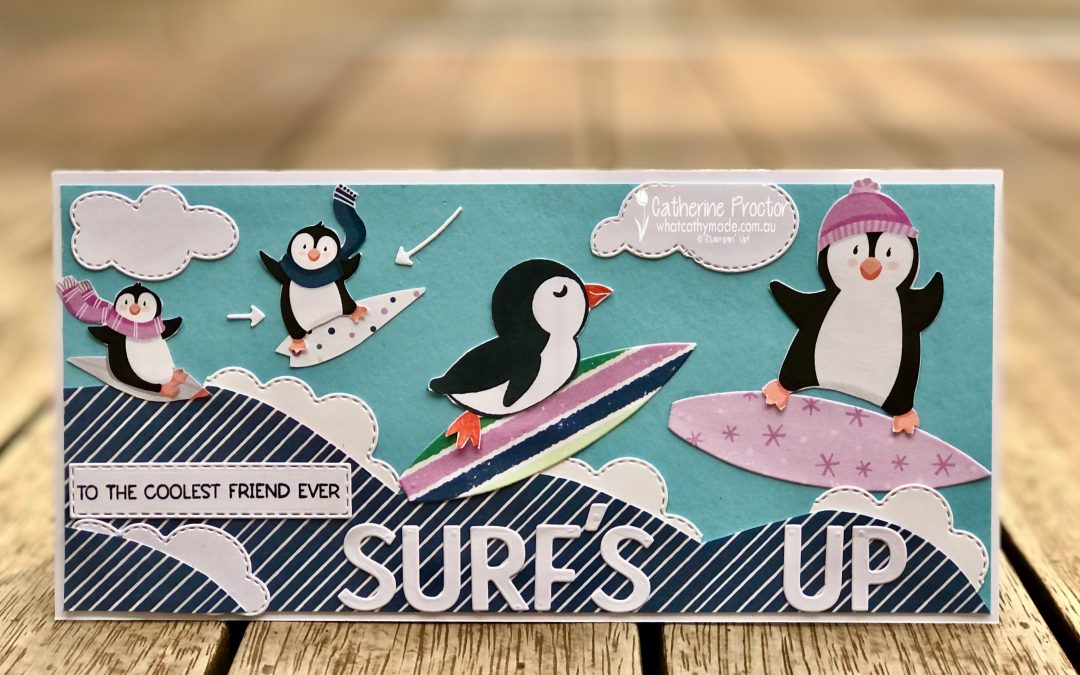
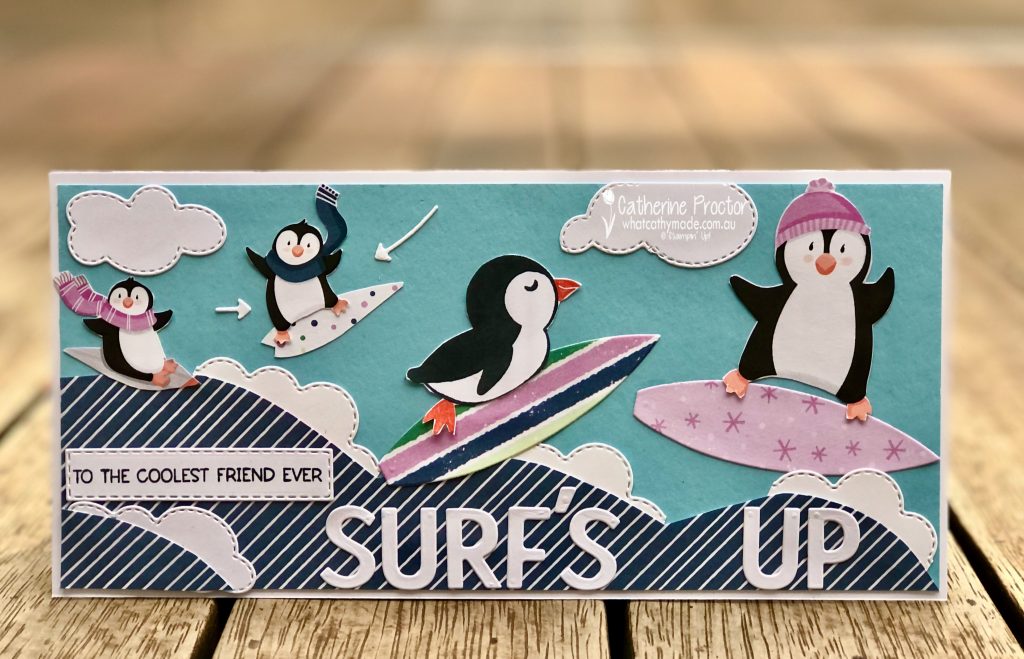
The theme for this challenge is “Surf’s UP!”. My husband and my sons are all obsessive surfers so I have a stack of surfing stamps and have made many a surfing card in my time, however, for this challenge I wanted to create a surfing card using non-surfing craft products.
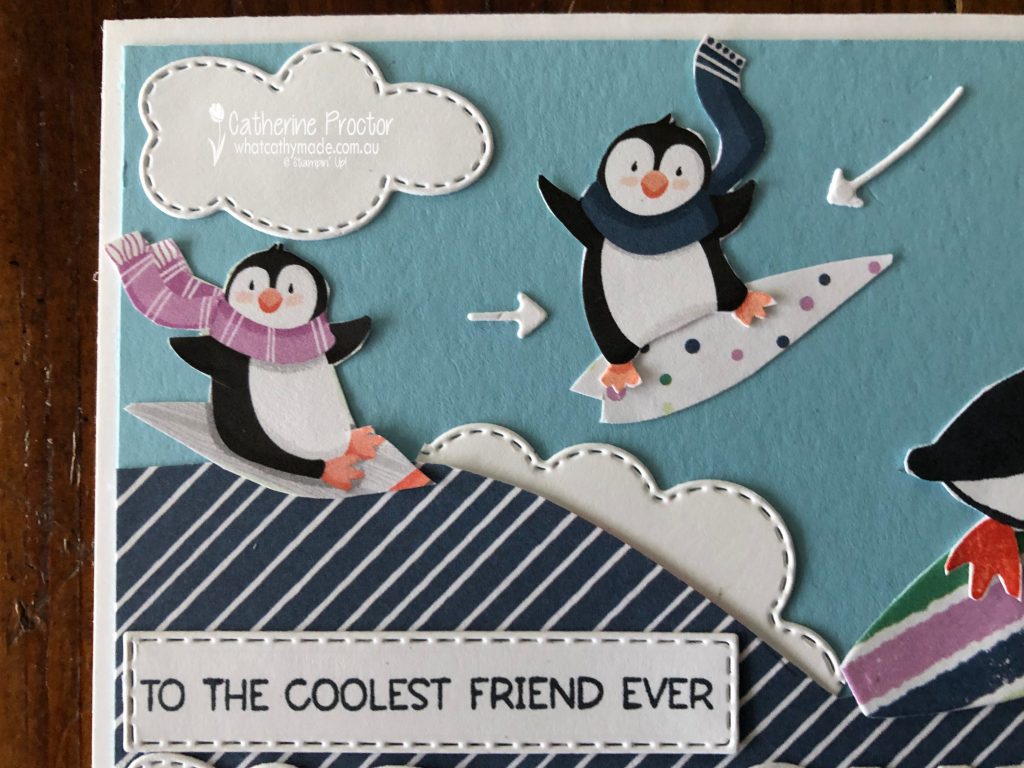
Is it just me who gets a kick out of the idea that you might see penguins dressed in scarves and beanies out in the surf?
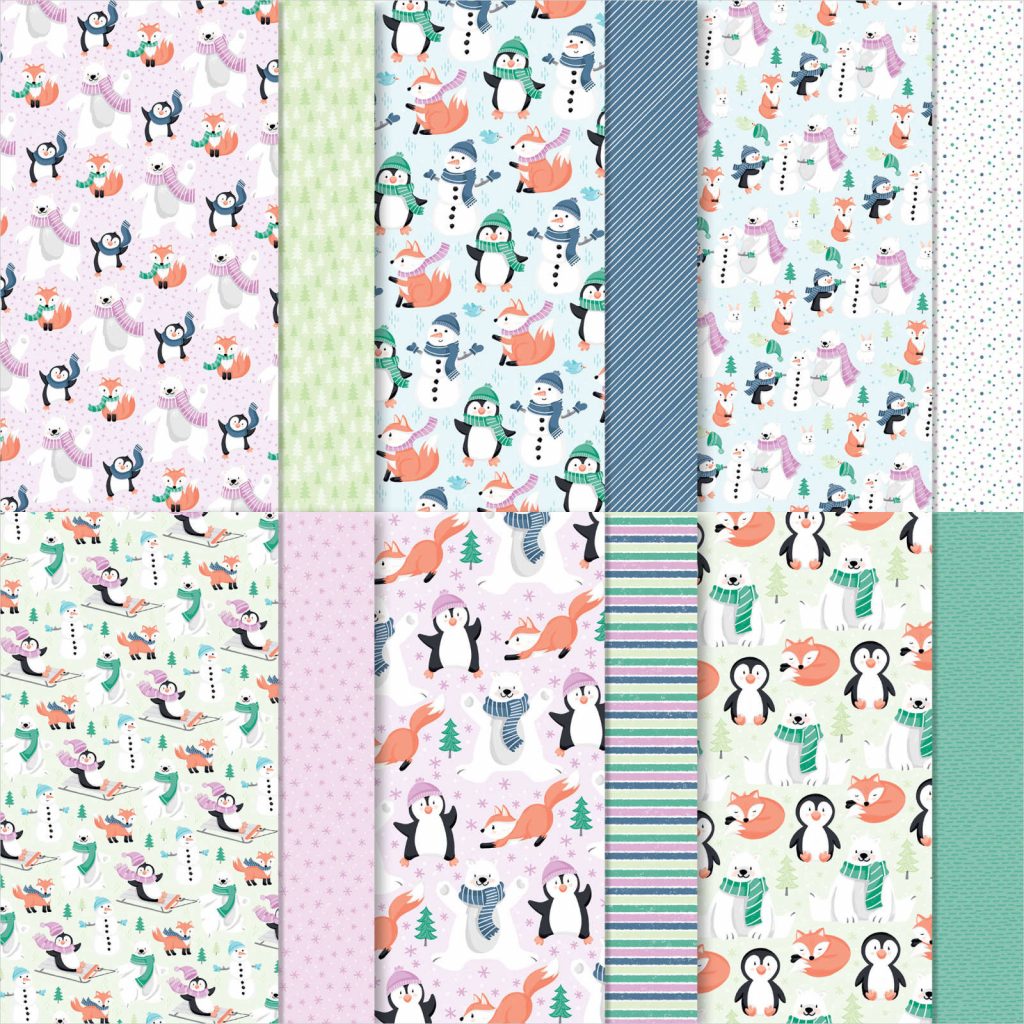
I know surfing is not the first thing that might spring to mind with the FREE SALE-a-bration DSP Penguin Playmates, but the stance and movement of these penguins reminded me of the way surfers hold their bodies while surfing.
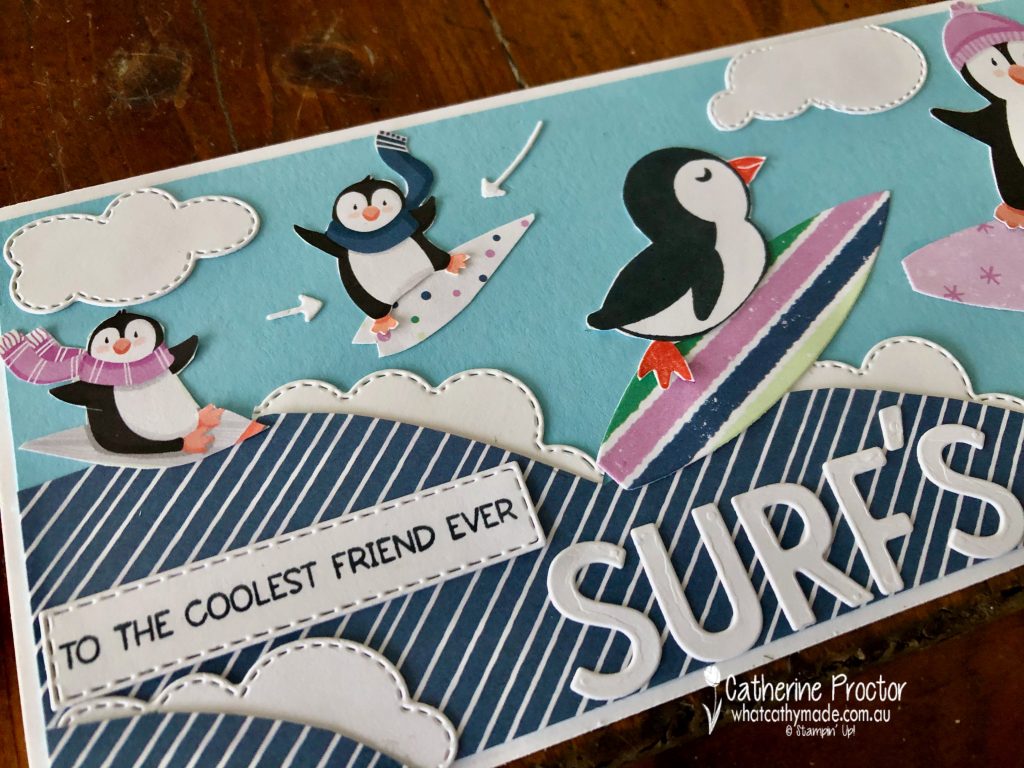
The Misty Moonlight and white striped DSP was used make waves, with one of the Basic Border dies cut into smaller pieces to create whitewash foam on the edge of the waves.
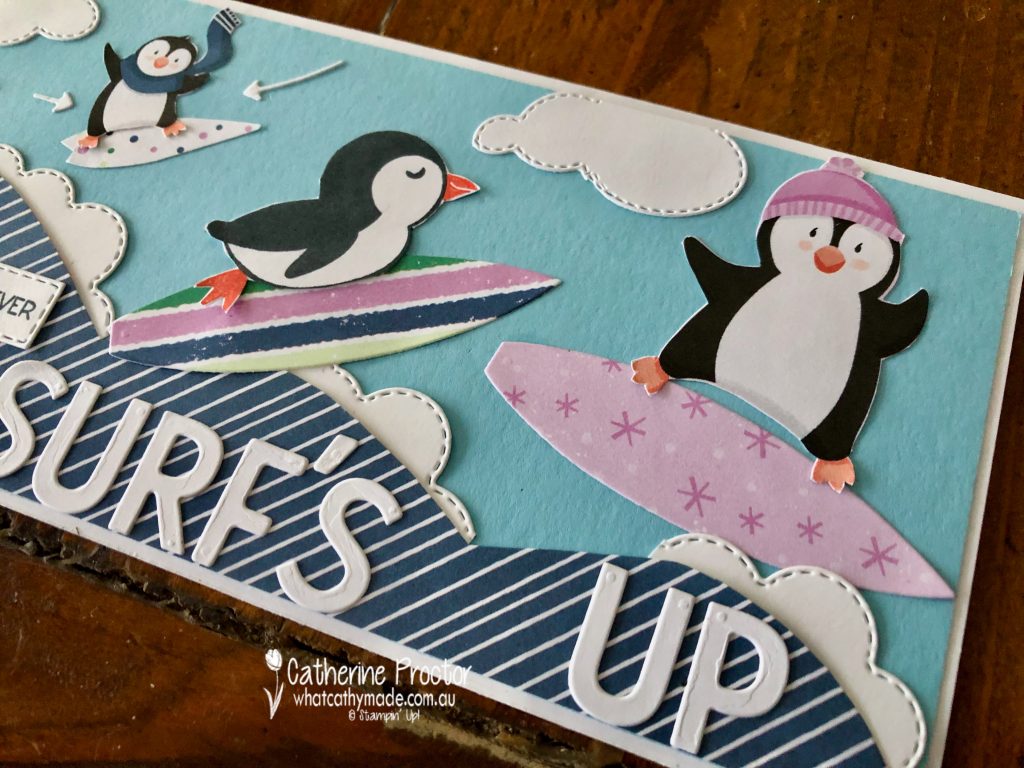
I did use a die from my stash to use some of the Penguin Playmates DSP to create the two larger surfboards. The two smaller surfboards were just hand trimmed from this DSP. The penguin who is bodyboarding was stamped and fussy cut – the others are all fussy cut from the same Penguin Playmates DSP.The little penguin getting air is my fave – let’s just crown him the “Gabriel Medina” of surfing penguins right now! I’ve used the arrow dies from the Give it a Whirl dies to draw attention to him (I’ve also used the cloud dies from the Give it a Whirl dies). This penguin really is the “coolest” of the penguins, hence the matching sentiment!
Playful Alphabet dies form the “Surf’s Up”, leaving you in no doubt that, believe it or not, these penguins are actually surfing, not skiing. I had so much fun making this card and I hope my surfing penguins put a smile on your face too!
Thanks for visiting my blog today. I’ll be back tomorrow with some more Heart of Christmas inspiration and on Wednesday our weekly AWH Colour Creations Showcase – we are creating projects with Crushed Curry this week.
When you shop online in my Stampin’ Up! Online Store don’t forget to use my monthly Host Code (if your order is between $50 – $250) and I will send you a thank you gift the following month. If your order is over $250 don’t use the host code because you will qualify for your own stamping rewards.
My August Host Code is AHQUWNVQ and it is valid until midnight August 31.
In the meantime, wherever you are in the world, stay safe, stay calm … and keep on crafting xxx


")
")


")
")