Welcome back to the Heart of Christmas weekly blog.
After seeing so many beautiful eclipse cards posted on social media I decided to hop on the bandwagon as well. My “deck the halls eclipse card” was CASED from one I saw on Pinterest, however the card that inspired me wasn’t watermarked and it didn’t link to a blog so I have no idea who to attribute the original idea to!
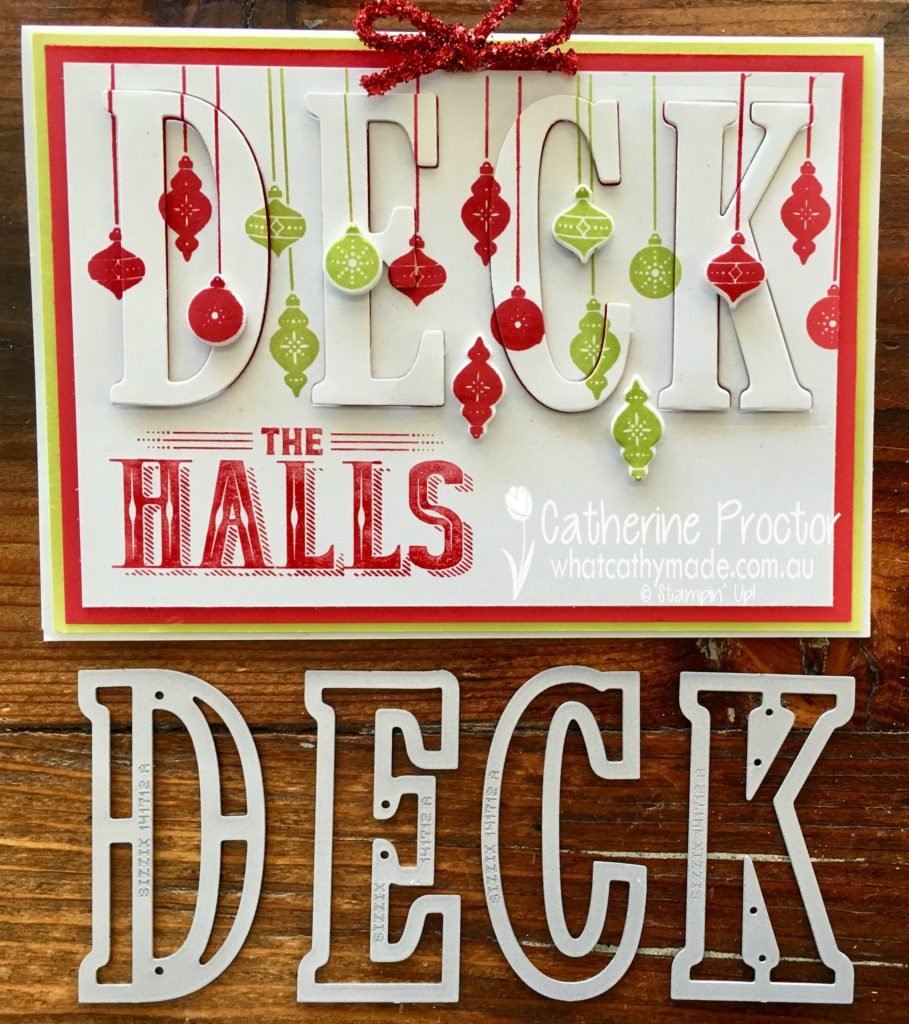
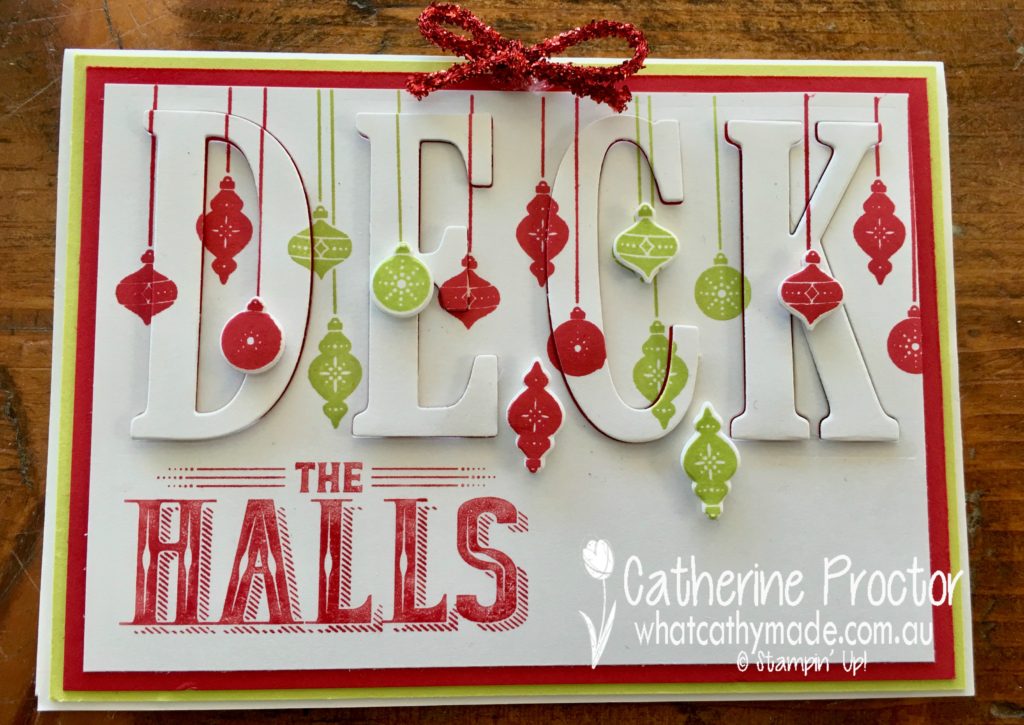
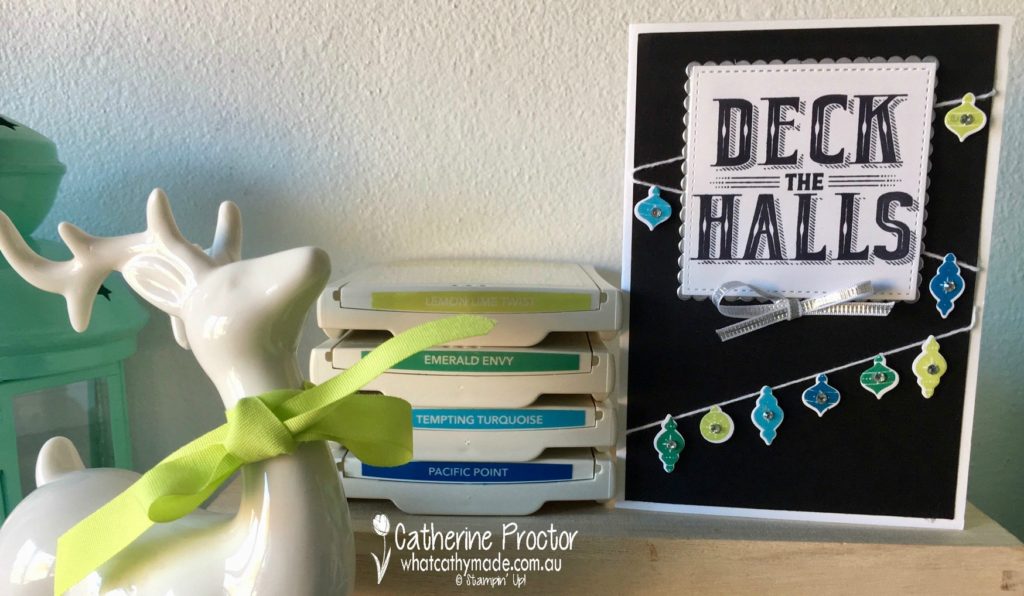
What I loved about the eclipse card I CASED was that it took one word from a Christmas sentiment and used the eclipse technique to create that word, then the rest of the sentiment was stamped. To do this on this first card I used my real red marker to only mark up the section of the Deck the Halls stamp I wanted to use, stamping with lemon lime twist and real red for the rest of the card.
Anyway, here are the two cards I made, inspired by an anonymous stranger on Pinterest!
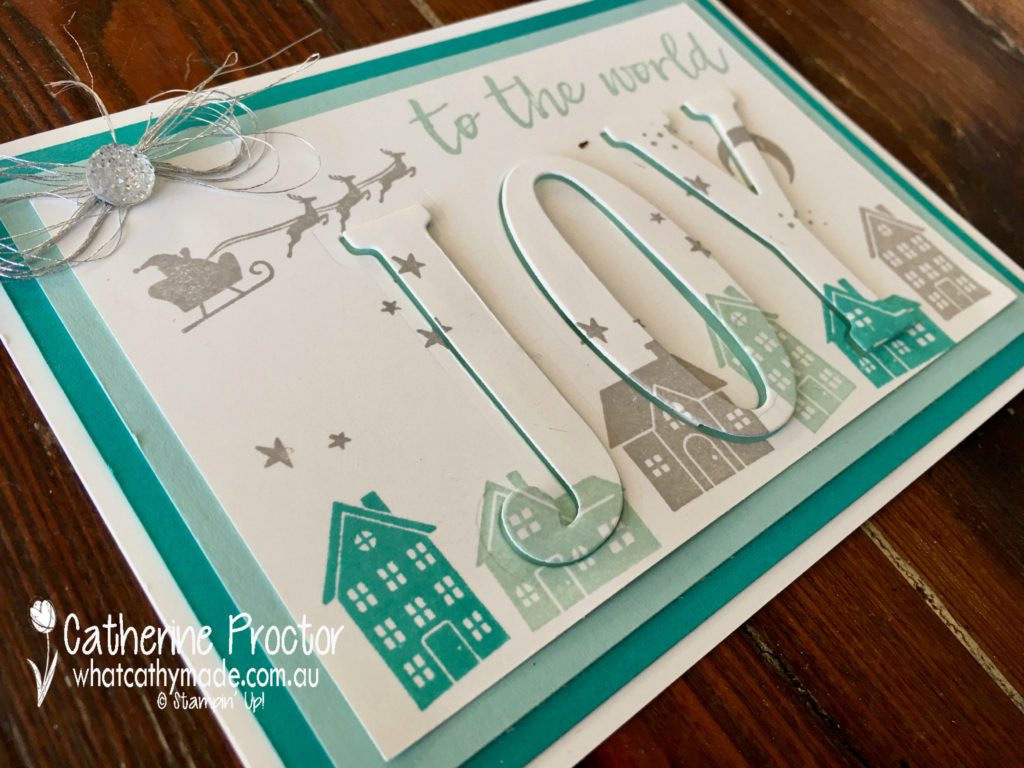
If you’ve never made an eclipse card before, you simply die cut your word with the large letter dies, but before you remove your die cut letters you stamp over them. When you’re done you lift up the letters and then adhere them with dimensionals so you can see the shadow of the coloured card stock below. I just love the dimension this technique adds to the card.
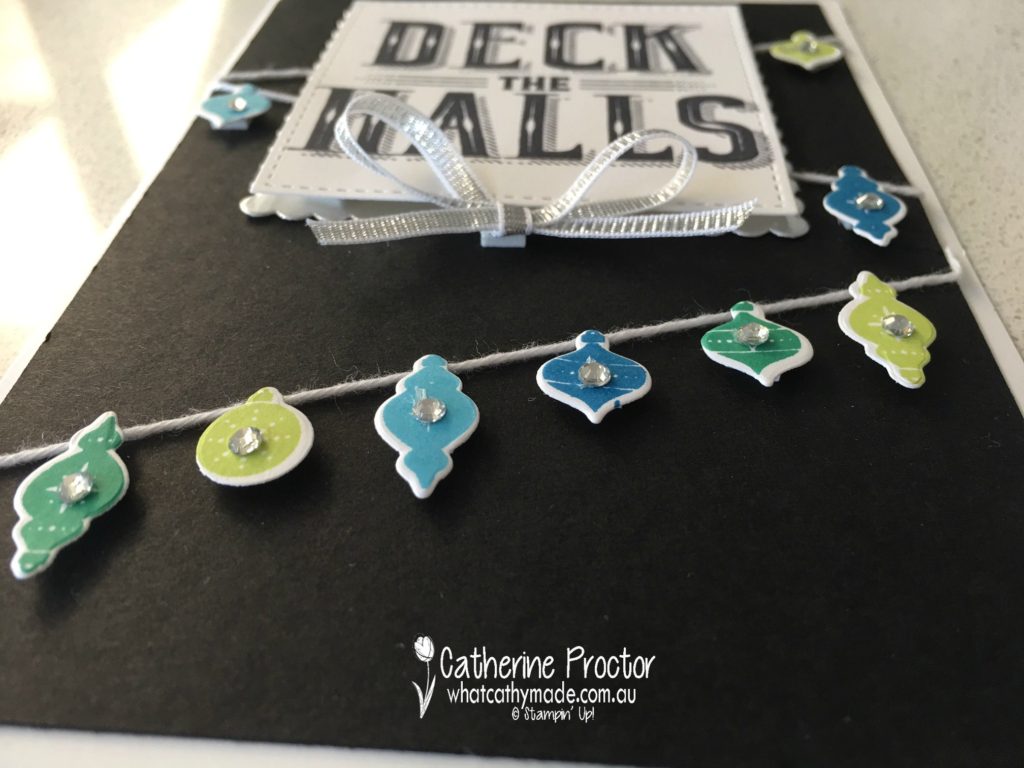
On my first card I stamped and die cut some extra baubles from the Carols of Christmas Stamp set and adhered them on top of the eclipse letters for added dimension. A tiny bow made out of the red tinsel trim completes the card.
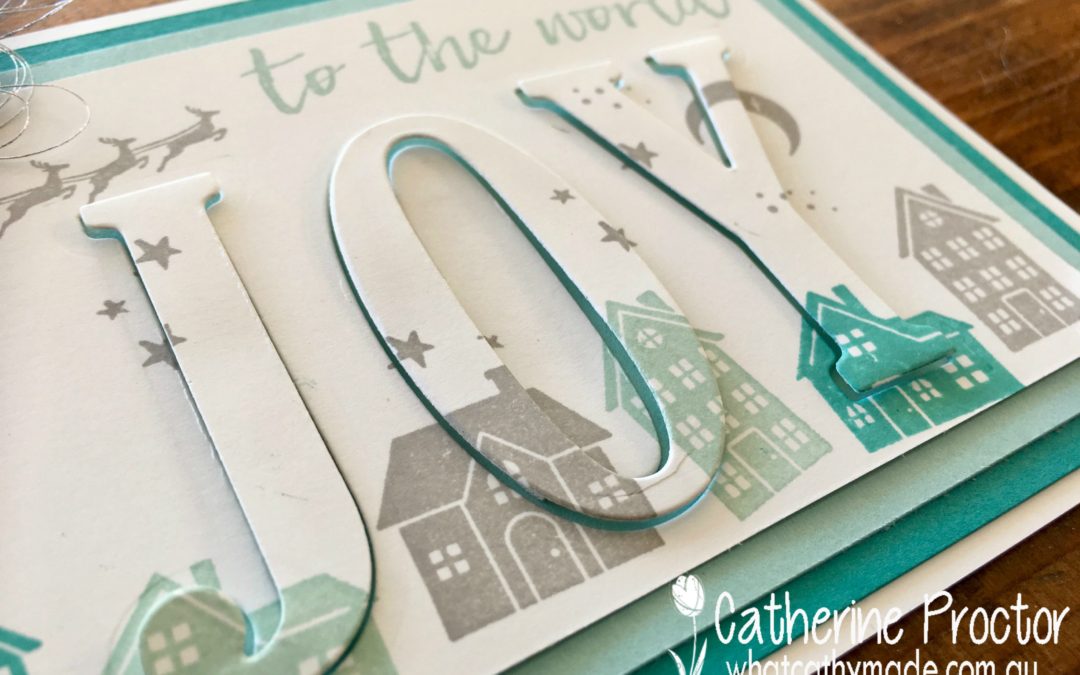
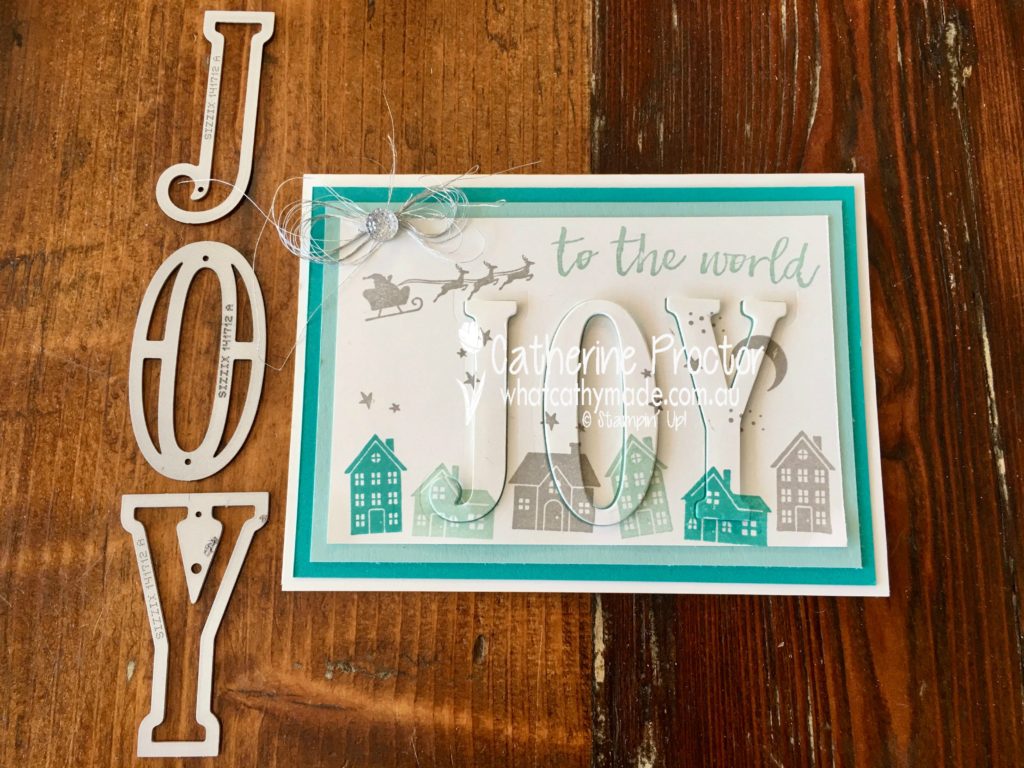
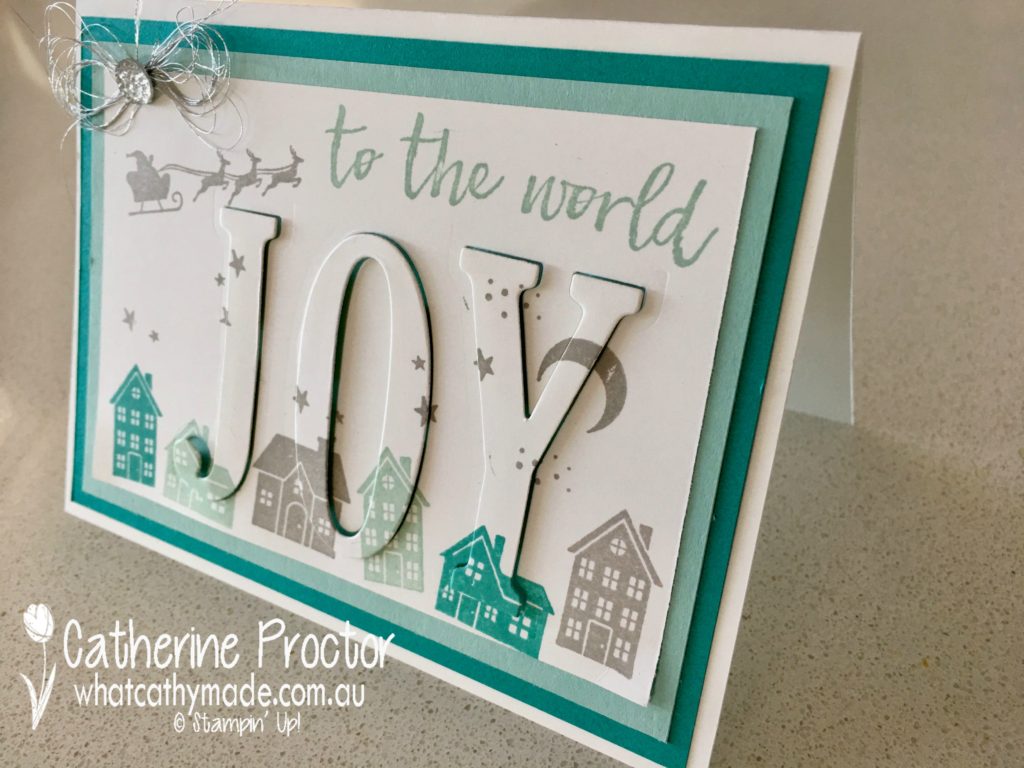
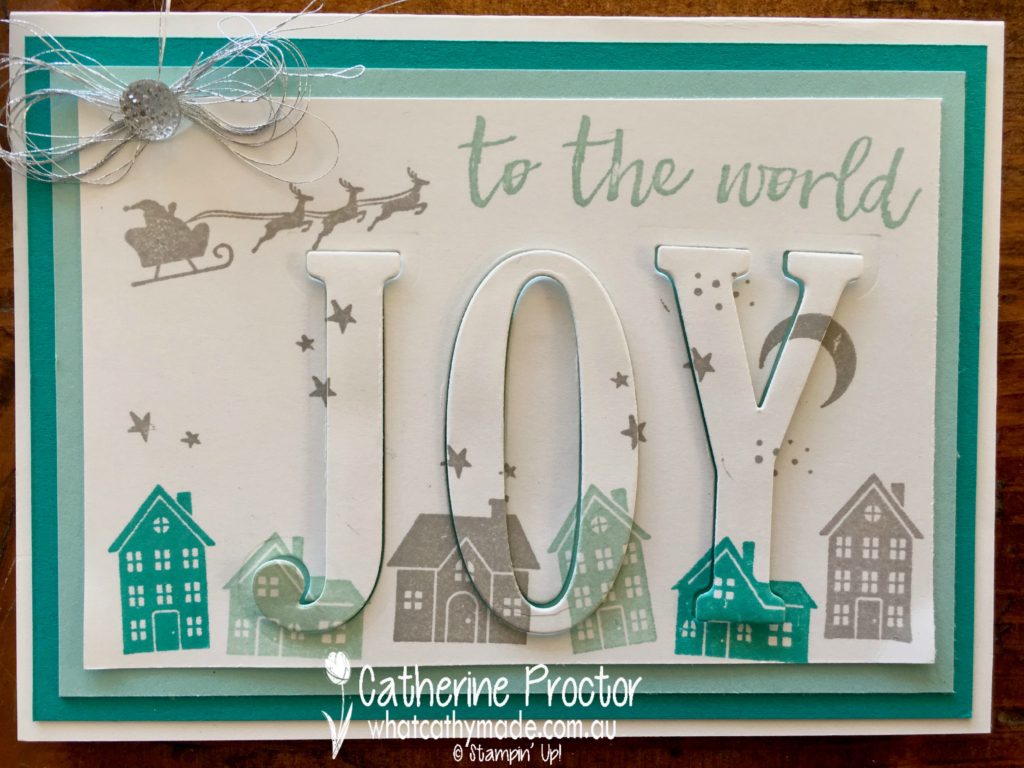
For my second card I went for a cooler palette, using pool party, Bermuda bay and smoky slate ink. I used the same technique I described for the first card, this time making the word joy with the large letter dies and using the Hearts Come Home stamp set.
To complete my second card I made a bow with the silver thread and adhered it to my card with a clear facetted gem.
I hope you’ve enjoyed my eclipse cards today and I’ll be back tomorrow with a fancy fold card for you.
To see what the other members of the Art with Heart team have made for you today, please go back to the very talented Claire Daly’s blog.
And to purchase any of the products I’ve used you can click on the links below.
Oh my goodness me the Holiday Catalogue is quite simply stunning. I’ve just placed a “little” order this morning and hopefully next week I’ll have a new card made from one of the gorgeous suites featured in it.
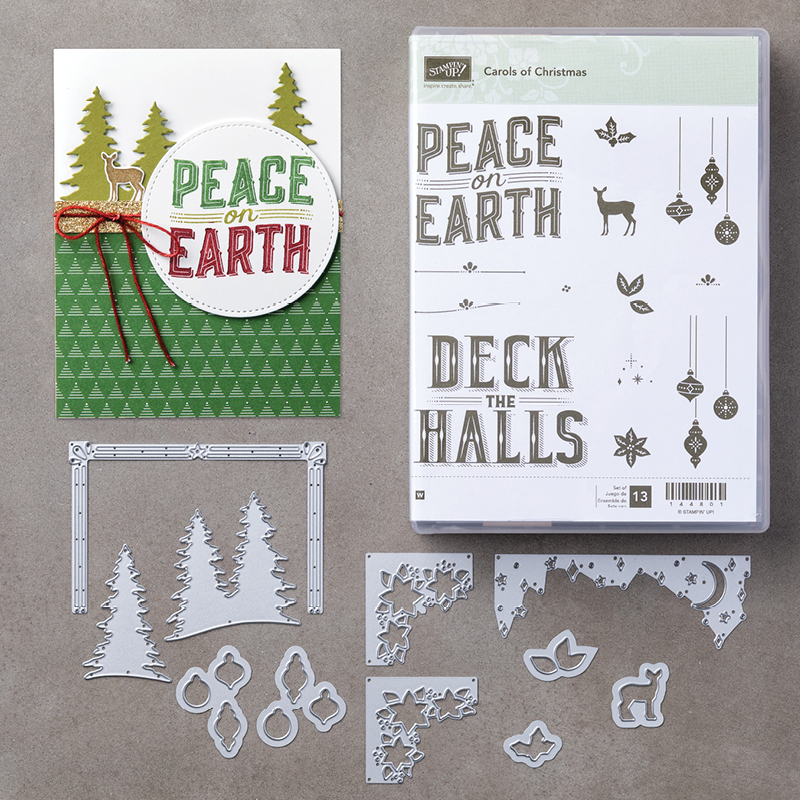
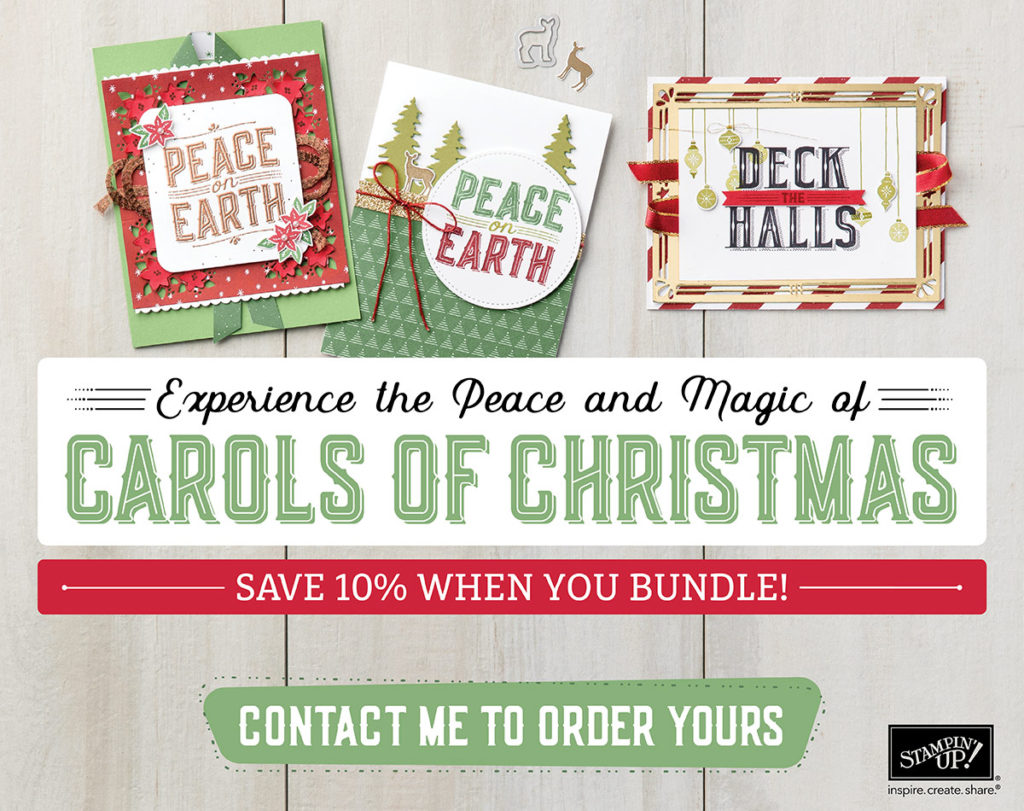
Luckily I was able to place an early pre-order for the beautiful Carols of Christmas bundle and this week’s Christmas card features that set.
I’ve previously used the little deer in cards I’ve made with this set but this week I’m featuring one of the big sentiments in the stamp set, as well as the gorgeous little ornament stamps and dies.
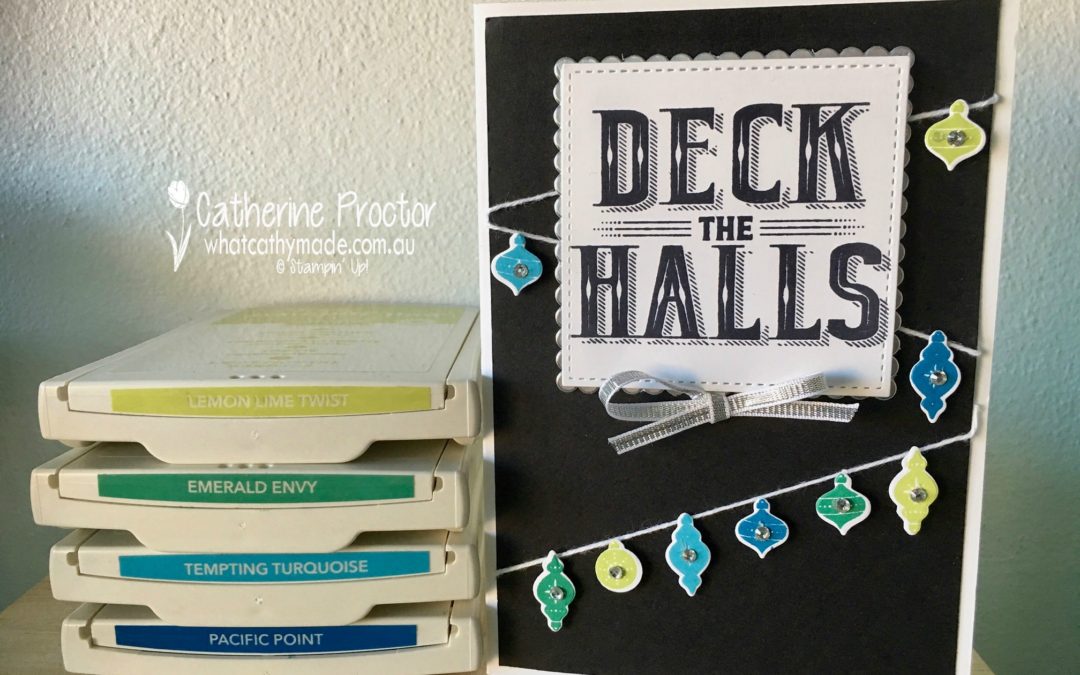
I CASED this card from a lovely one I saw on Pinterest but I forgot to save it and now can’t remember who to attribute this design to! The original card featured Tranquil Tide as the background, but I’ve decided to use black…not very traditional I know, but it does make the other colours really pop.
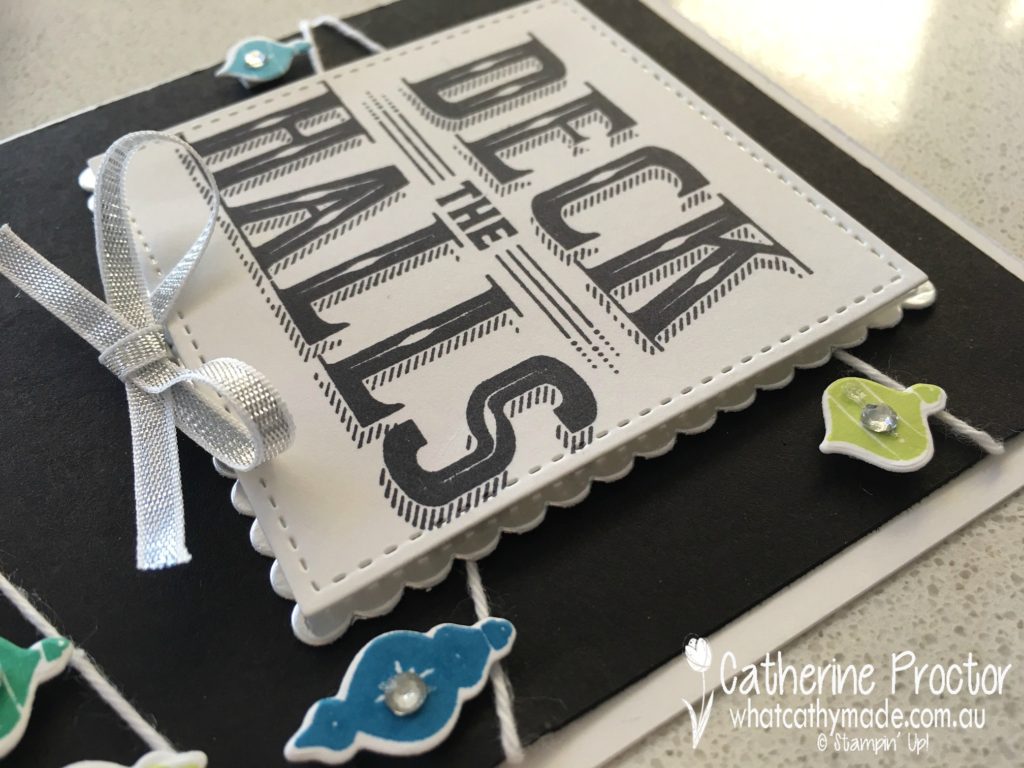
You could use any coloured ink to make the baubles, just make sure you stamp first and then die cut using the magnetic platform. On close inspection I realise I didn’t line my stamp and dies up perfectly–I should have used some washi tape to hold the dies in place, but I still think my little baubles look very pretty. The finishing touch is the tiniest rhinestone basic jewel in the centre of the ornaments.
I love how this sentiment fits perfectly into the layering squares framelits…I’ve used the scalloped layer to cut the silver foil sheet that sits behind the sentiment. The silver theme is continued with the bow made out of 1/8 inch silver ribbon, adhered with a stampin dimensional.
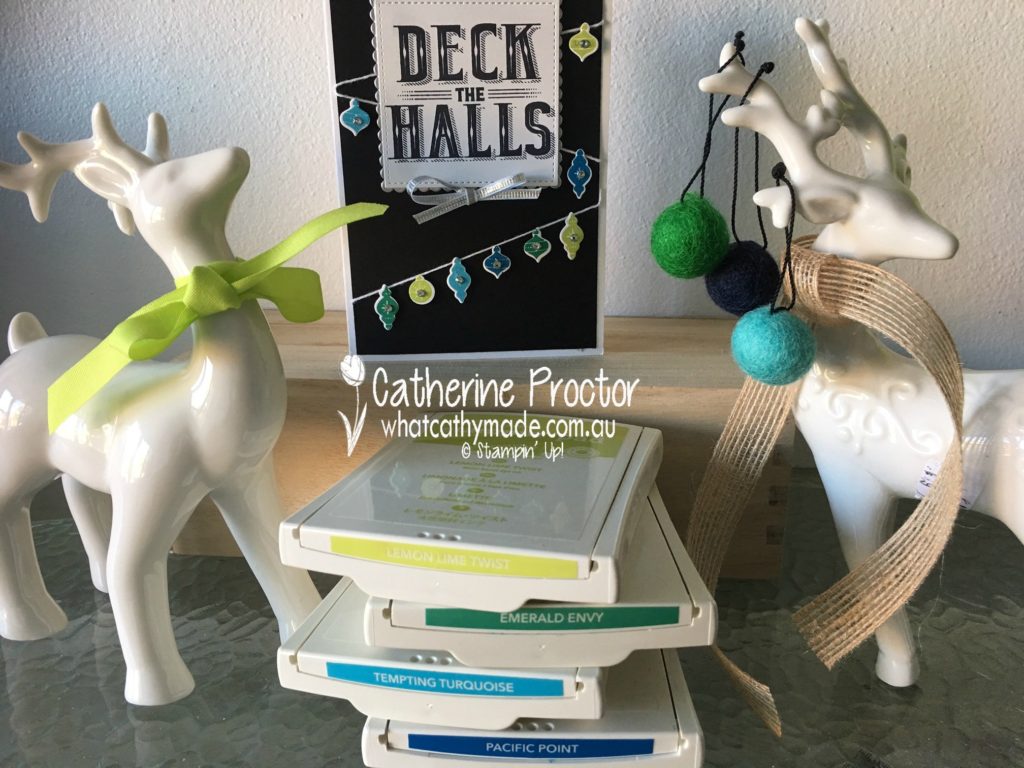
This is such a quick and easy card to make and definitely will be one that I reproduce with a variety of colours.
And my little white reindeer are loving getting dressed up in different ribbons and pom poms to be part of my photo shoot every week!
To see what the rest of the team have made, visit Claire’s blog here. I’ll be back with more Christmas card inspiration next week
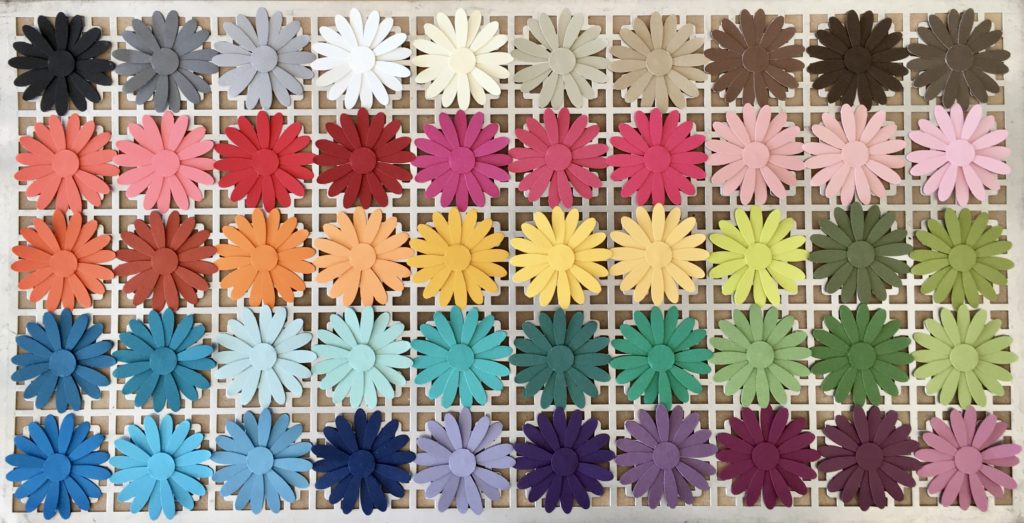
The Art with Heart Team ladies are selecting their favourite colour combinations to share with you tonight. Choosing the right colour scheme can be essential to your design and with Stampin’ Up!’s stunning collection, there are 50 colours to choose from. There’s sure to be some combinations that work really well together and you can take inspiration from.
Now sit back and enjoy some time out of your day to cruise through our blog hop and soak up some colour explosion eye candy!
My Favourite Colour Combination
Just take a look at the beautiful colours we have to chose from. Choosing just one or two of these gorgeous colours feels like choosing a favourite child…I mean it’s just not right, is it!
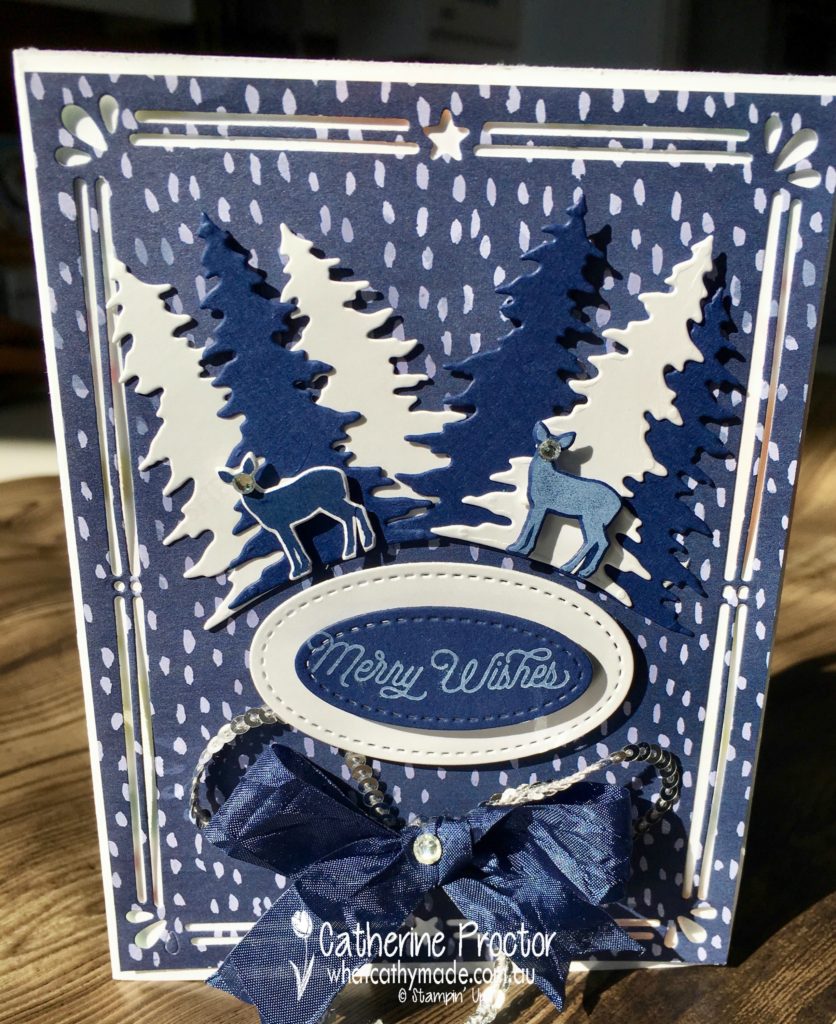
When I tried to decide what my favourite colour combination was I realised I really love monochrome cards that use just 2 colours together, usually a neutral colour (such as whisper white, very vanilla, crumb cake, smoky slate, basic black or one of the metallic papers) with one other colour. I mainly use a lot of crumb cake and whisper white (and I really do love using these 2 colours together on their own) but today I’ve decided to make a card that uses another of my all time favourite colour combinations: navy and white.
Navy and white always looks classic, crisp, cool, clean and elegant. It is a timeless colour combination that works well for both male and female cards and I’ve used it today to make a Christmas card with the new Carols of Christmas bundle.
You can order the “Carols for Christmas” bundle from the 1st August, one month ahead of the Holiday catalogue release date…or you can order it right now if you are a demonstrator or decide to join up as a demonstrator.
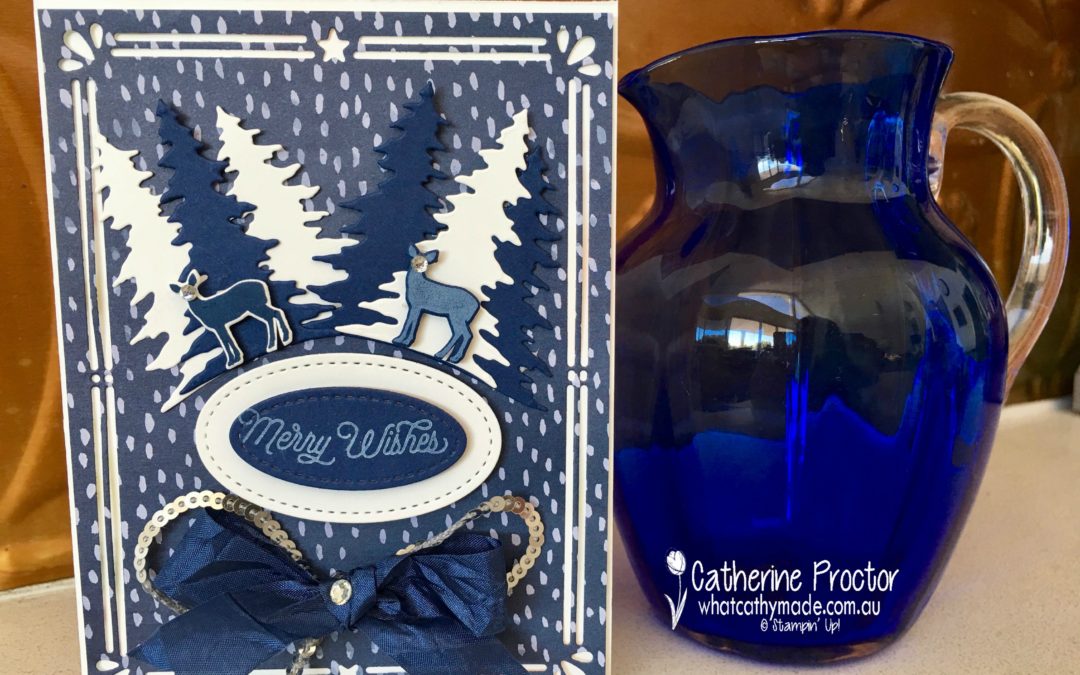
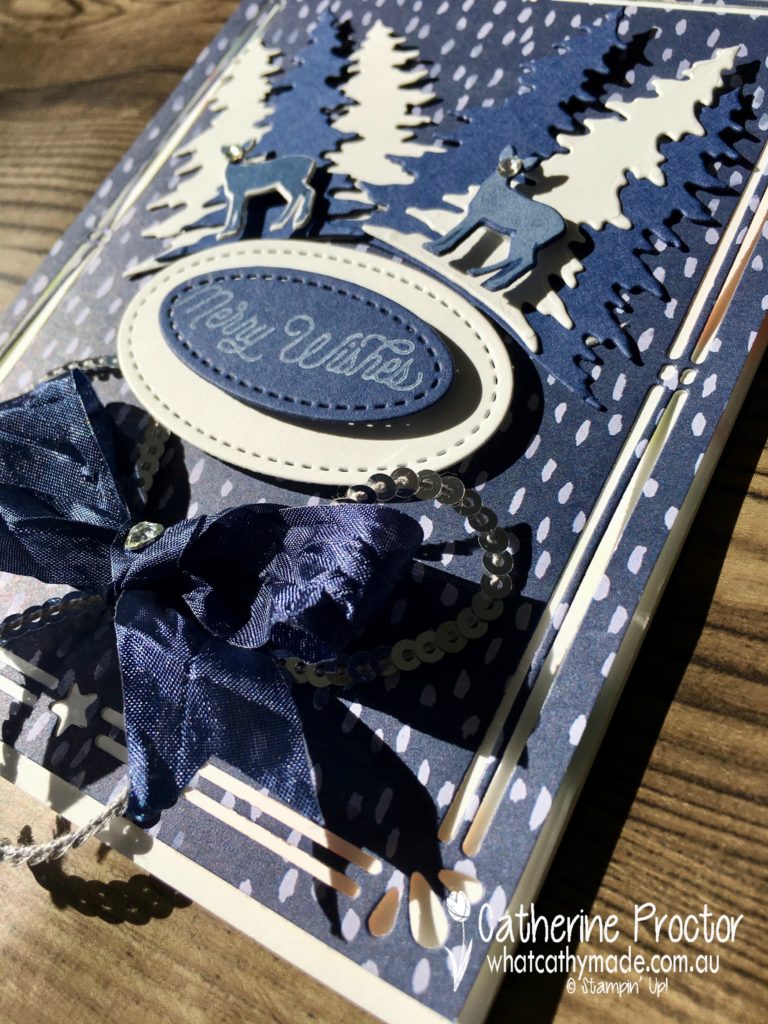
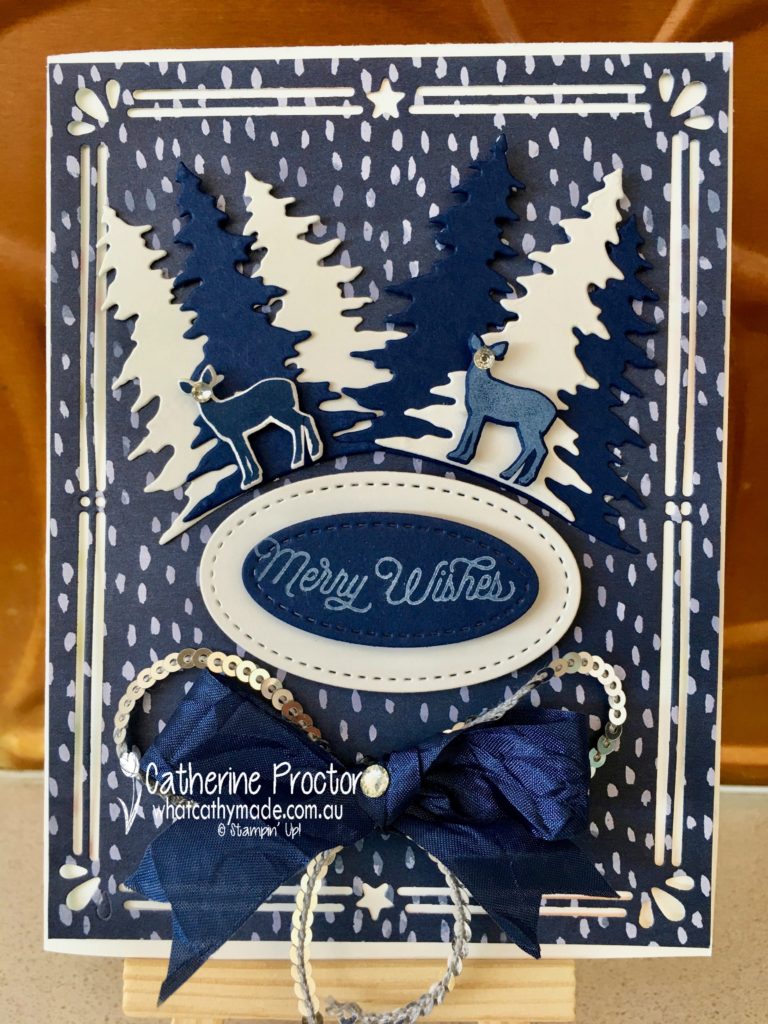
The beautiful background DSP in this card is from a non-christmas set, Naturally Eclectic, but it works perfectly with this Christmas card and looks to me like gently falling snow. The frame is cut using card builder framelits that are part of the Carols of Christmas bundle.
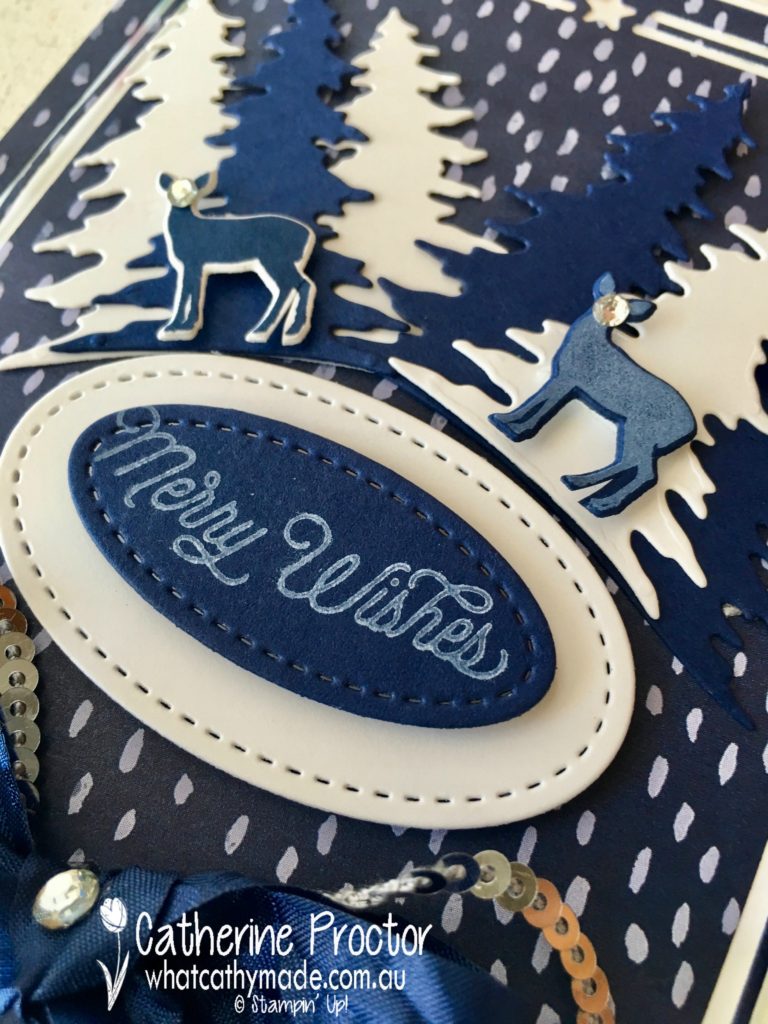
The sentiment is from “Oh, What Fun” stamp set and stamped onto whisper white and night of navy card stock, then cut out using the oval stitched shape framelits. The die cut trees and reindeer fitted perfectly around the curve of the stitched shape oval and I layered the deer on top of the trees with Stampin’ dimensionals to provide depth and contrast.
This gorgeous Night of Navy crinkled seam binding ribbon makes the softest bows…here I layered it to the card on top of a bow made out of mini sequin trim in sliver, topped with a rhinestone basic jewel.
For Christmas I’d like to also make a version of this card using some of my other favourite colour combinations, such as real red and whisper white, soft sky and whisper white, and of course my other very favourite colour combination…crumb cake, whisper white and gold or copper foil paper!
Thanks for stopping by.
I hope you has as much fun reading my blog as I had creating it.
Now it’s time to hop on over to our next participant, the very talented Sharon Davern.
If you find a broken link or have come to this blog hop from a different entry point, you can view the participants below:
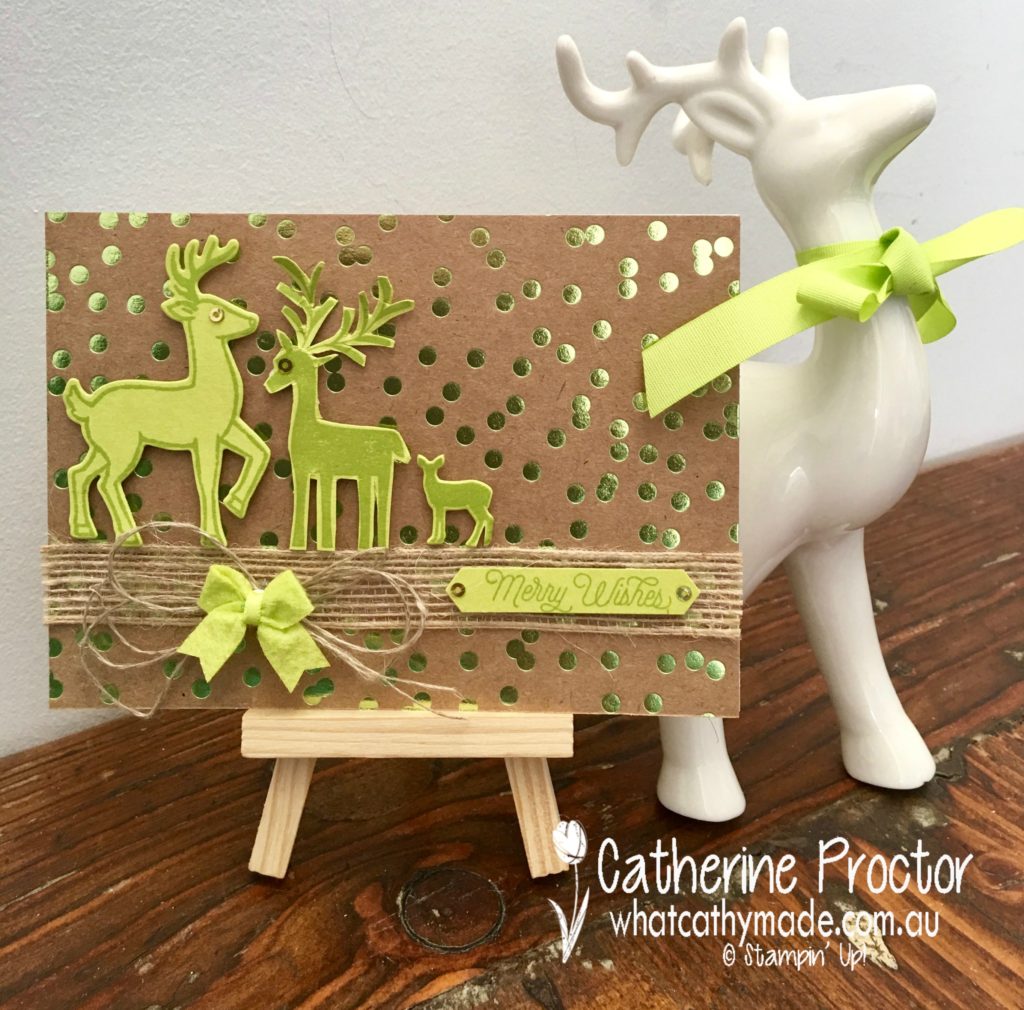
“Deer”y me I just adore this little deer stamp and matching die in the new Carols for Christmas bundle. You can see the little deer at the very top of the photograph below.
This tiny deer stamp and die is part of a new Christmas bundle called “Carols for Christmas”, which you can order from the 1st August, one month ahead of the Holiday catalogue release date…or you can order it right now if you are a demonstrator or decide to join up as a demonstrator.
This little deer is so very little I decided he needed a mum and a dad to look after him and luckily I had just the right stamps and dies in my other Stampin’ Up! sets!
Don’t they just make the cutest little family?
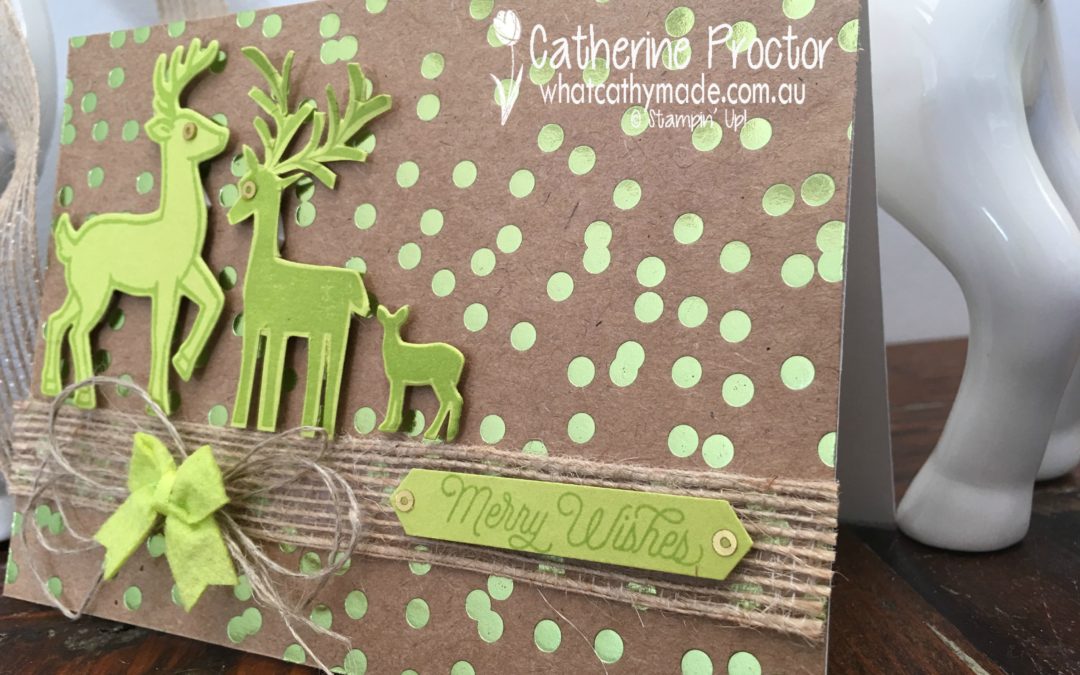
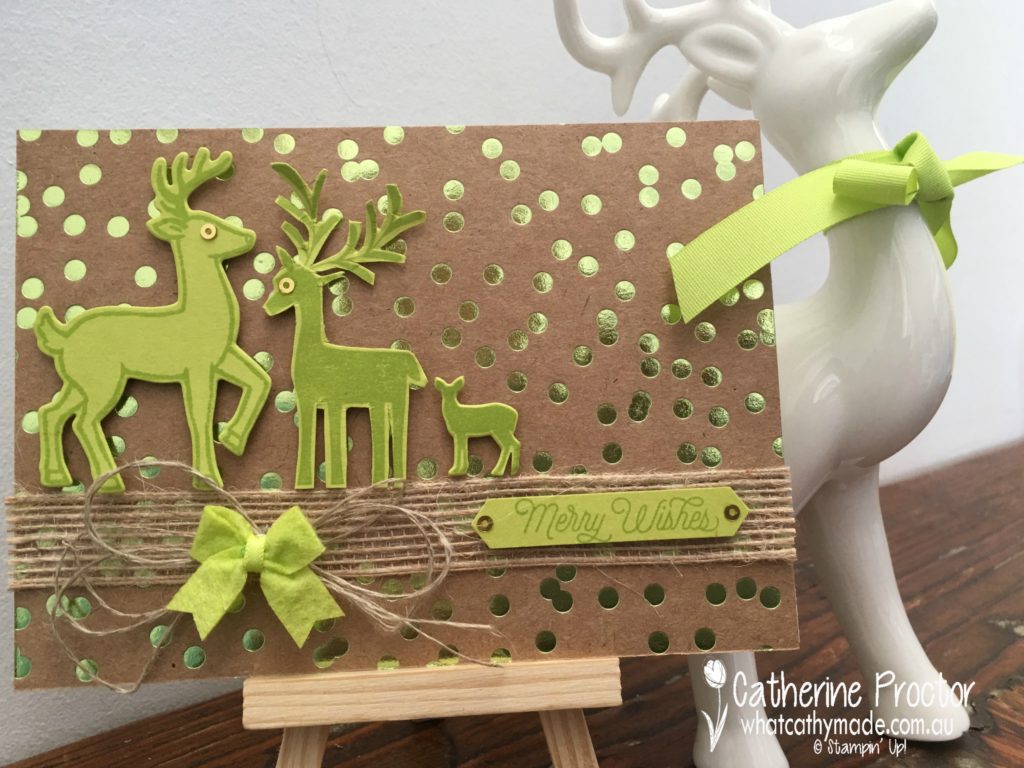
The daddy deer (far left) is from the Santa’s Sleigh stamp set and is then cut out with the Santa’s Sleigh thinlits. The mummy deer (in the middle) is from the Merry Mistletoe stamp set and then I fussy cut her out (don’t look too closely as fussy cutting isn’t my strong suite!) and the baby deer stamp and die is from Carols for Christmas.
The sentiment is from Oh, What Fun, punched out with the classic label punch. The ends of the sentiment and the deer’s eyes were created by using sequins from the gold mini sequin trim.
I stamped in Lemon Lime Twist ink onto Lemon Lime Twist card stock to pick up the colour of the foil spots on the stunning foil frenzy paper. Burlap ribbon, linen thread and an in colour itty bitty bow finish the card off.
I hope you enjoyed stopped by today. You can see all the other beautiful cards the Art With Heart Team have made by going to Claire’s blog.
You can also click on the links below to purchase any of the supplies I’ve used for this card, apart from the Carols for Christmas bundle.
I’ll be back next week with some more Christmas Card inspiration.
 If you’ve never made an eclipse card before, you simply die cut your word with the large letter dies, but before you remove your die cut letters you stamp over them. When you’re done you lift up the letters and then adhere them with dimensionals so you can see the shadow of the coloured card stock below. I just love the dimension this technique adds to the card.
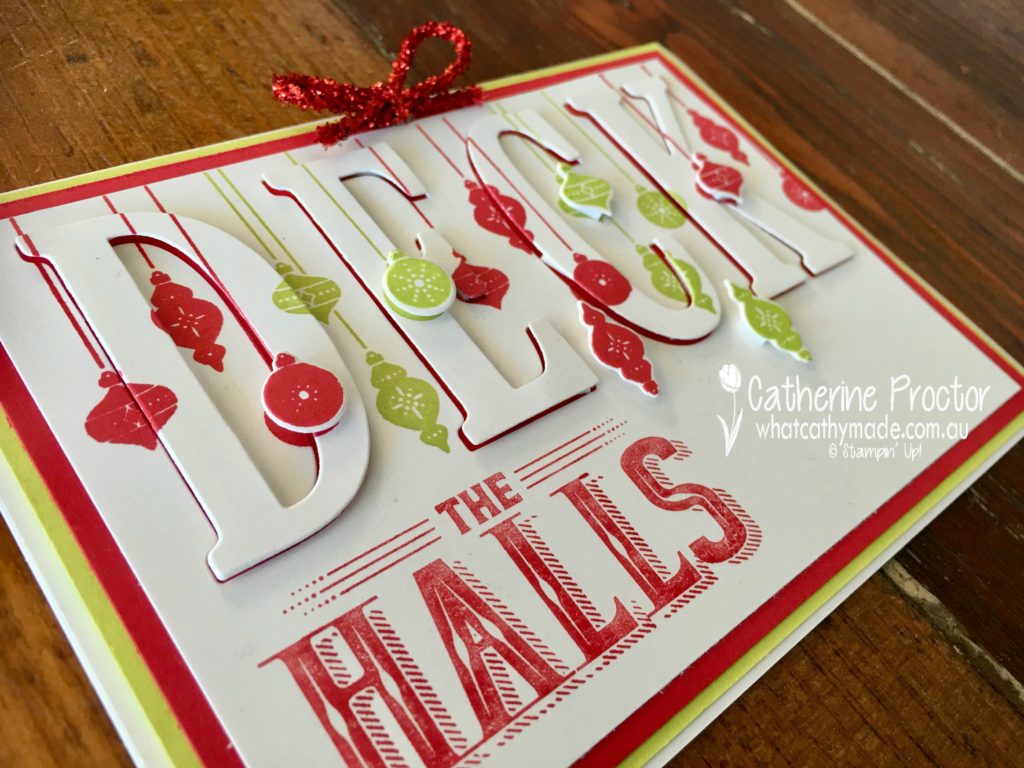


 Burlap Ribbon")


