Art With Heart Blog Hop: 2018 Holiday Catalogue
Tonight the Art with Heart team are sharing creative projects featuring the 2018 Holiday Catalogue.
We hope our blog hop inspires you to get creative and make some fabulous Christmas creations. If you would like a copy of the Holiday Catalogue, contact any of the girls on the blog hop and we will get in touch with you.
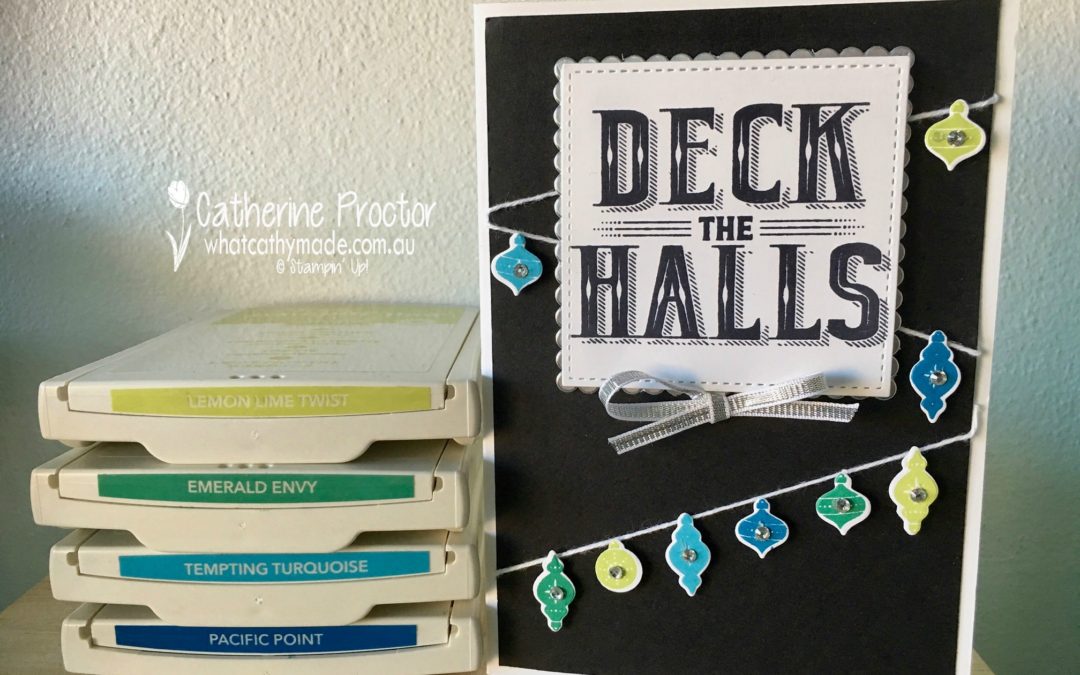
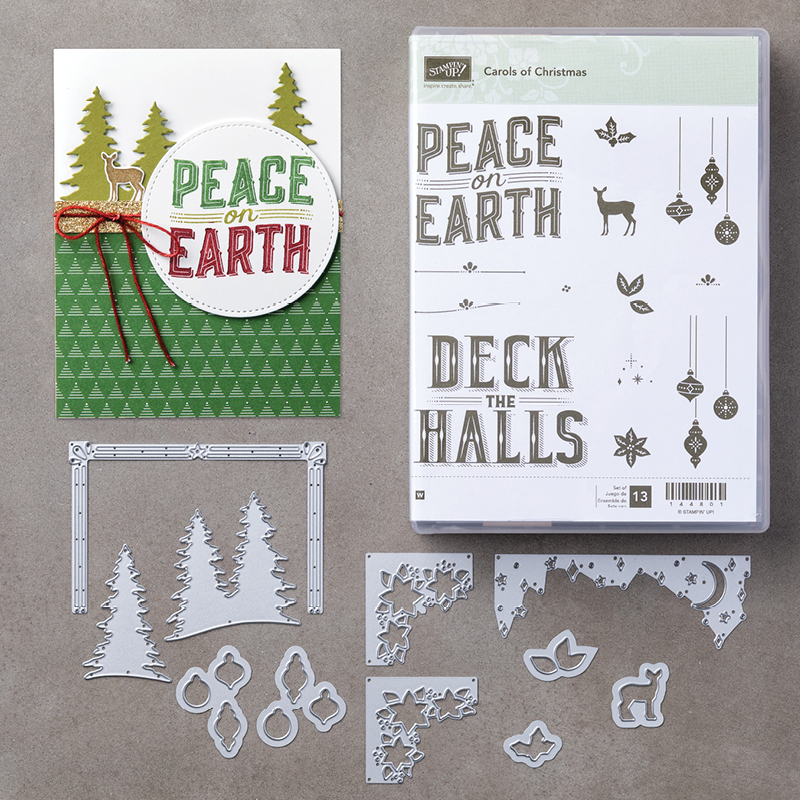
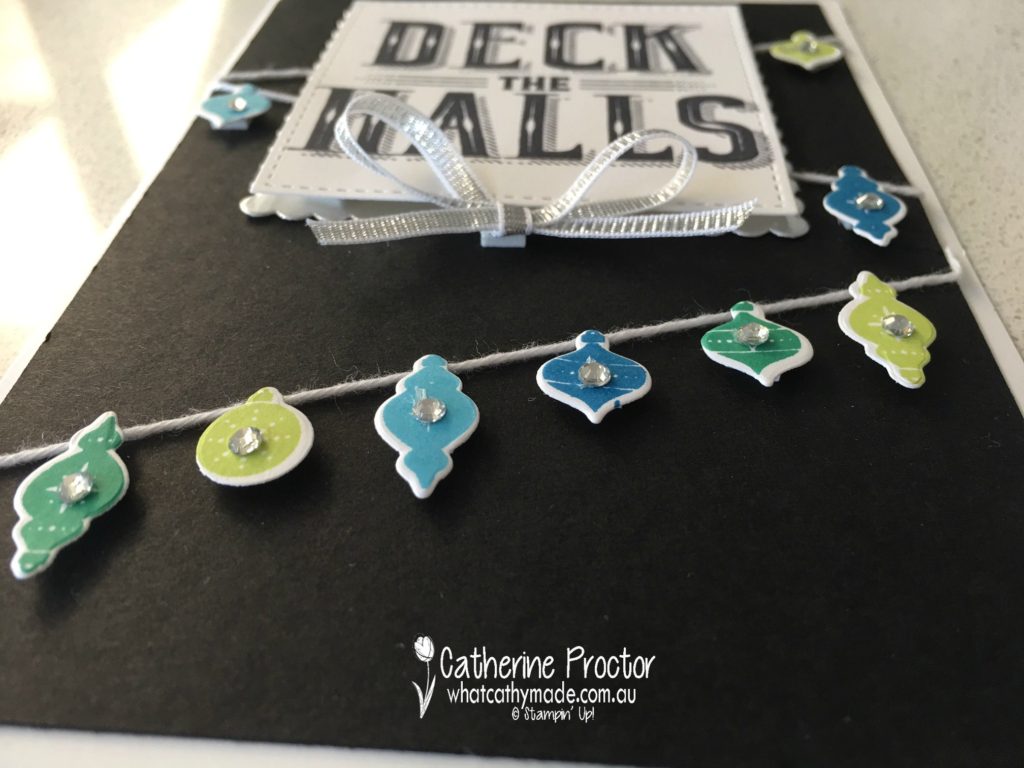
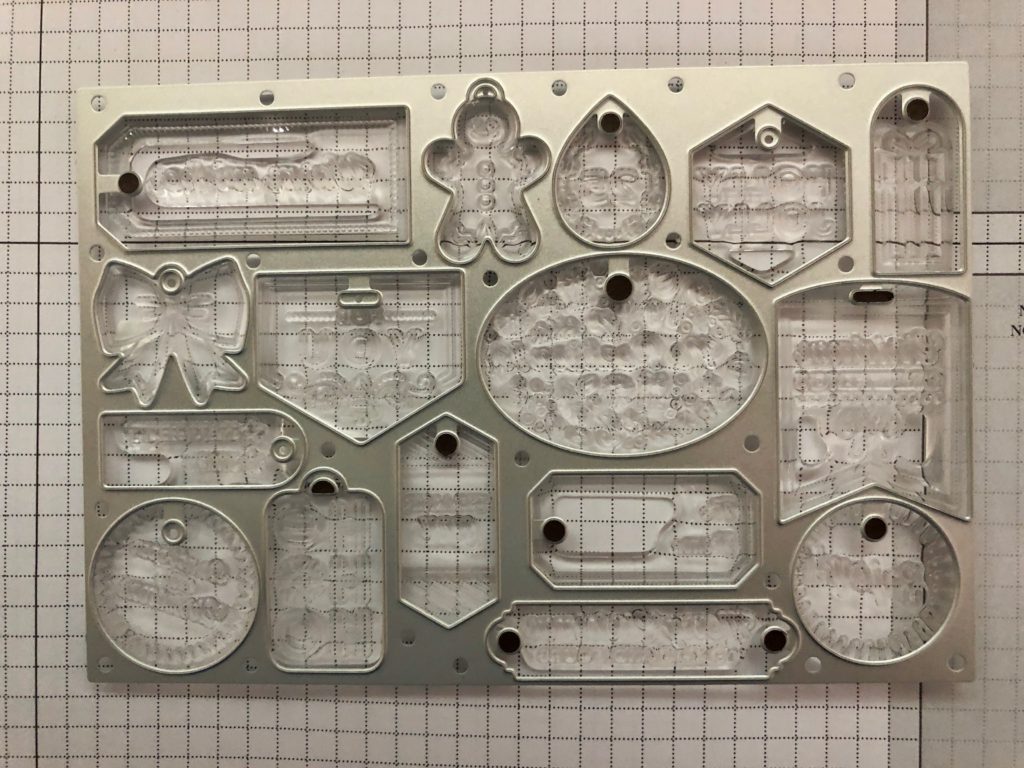
Tonight I’m showcasing the cutest bundle from the Holiday Catalogue: Tags & Tidings. What’s so special about this bundle is that it is one stamp and one die, allowing you to make 16 tags at one time! How clever is that?
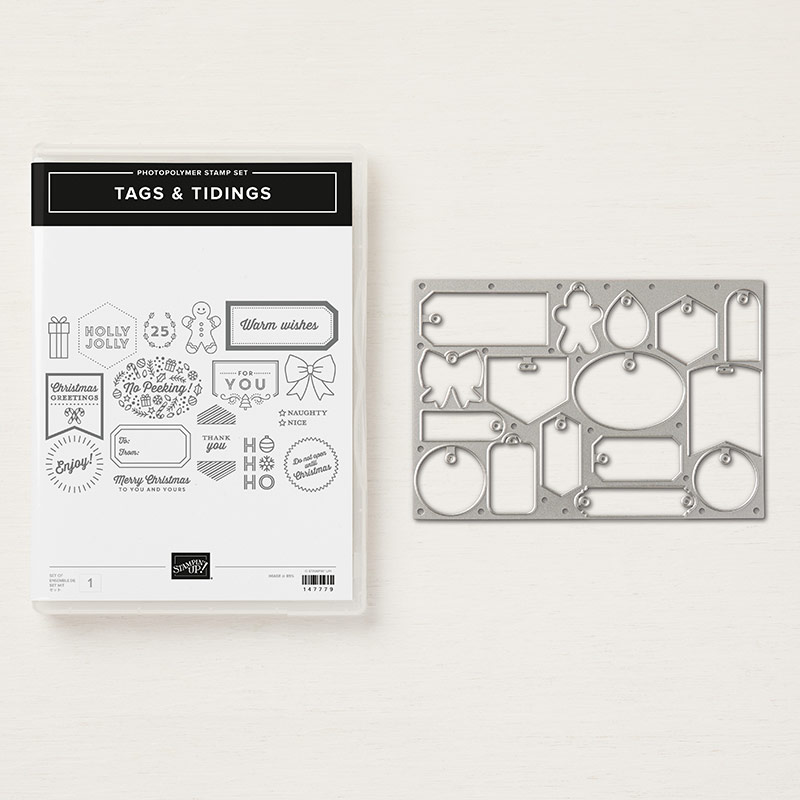
There are a couple of tricks to using this bundle. Firstly, I used the die to ensure my stamp was correctly aligned before I stamped it and secondly, I highly recommend using the Stamparatus when stamping such a large stamp.
Here’s how to use the die to align the stamp. I turned it upside down (so the side you stamp on is facing upwards) and ensure the stamp fits into the die. This ensures that your stamped images will fit exactly into the die shapes when you run it through the Big Shot.
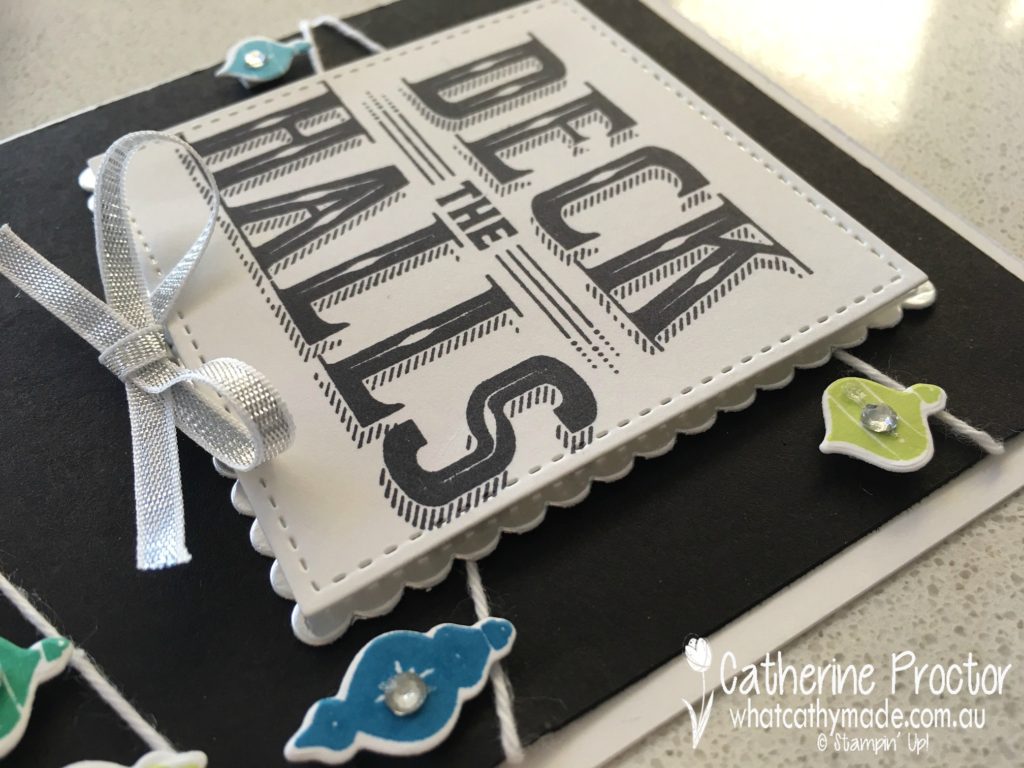
And here’s the perfect image you get when you stamp with the Stamparatus…
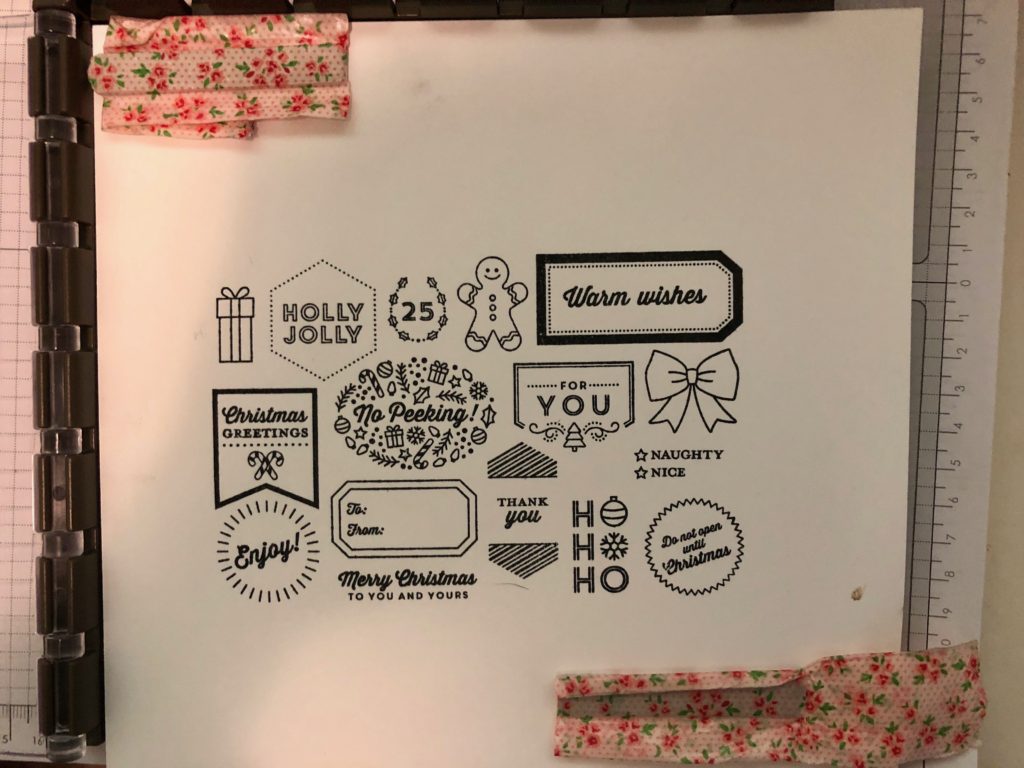
Oh, and one more trick…I use washi tape to cover and protect my Stamparatus magnets (see my photo above), AND to hold the die in place over my stamped image before I cut it with my Big Shot (I forgot to take a photo of this bit).
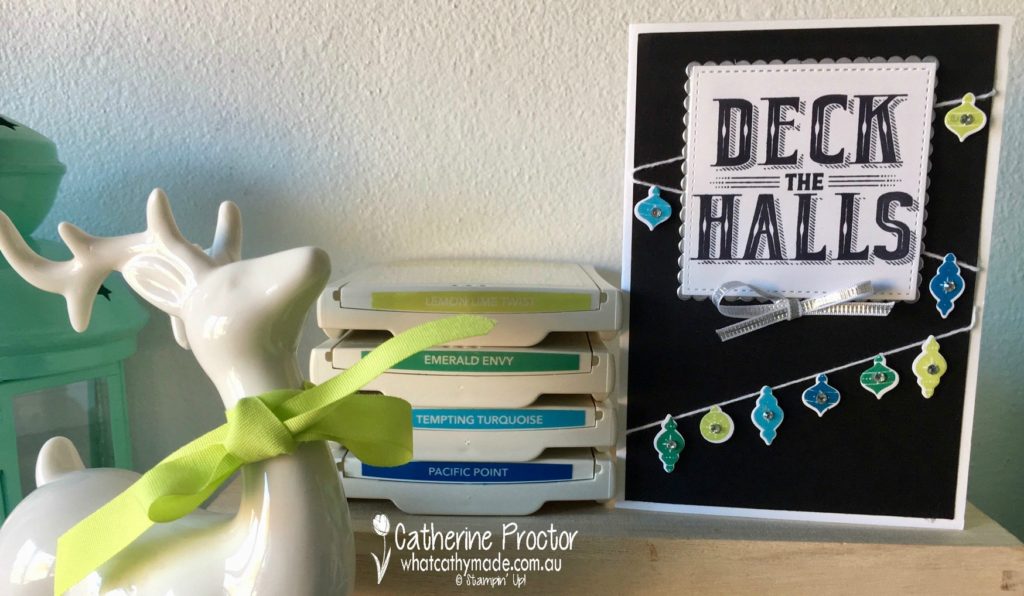
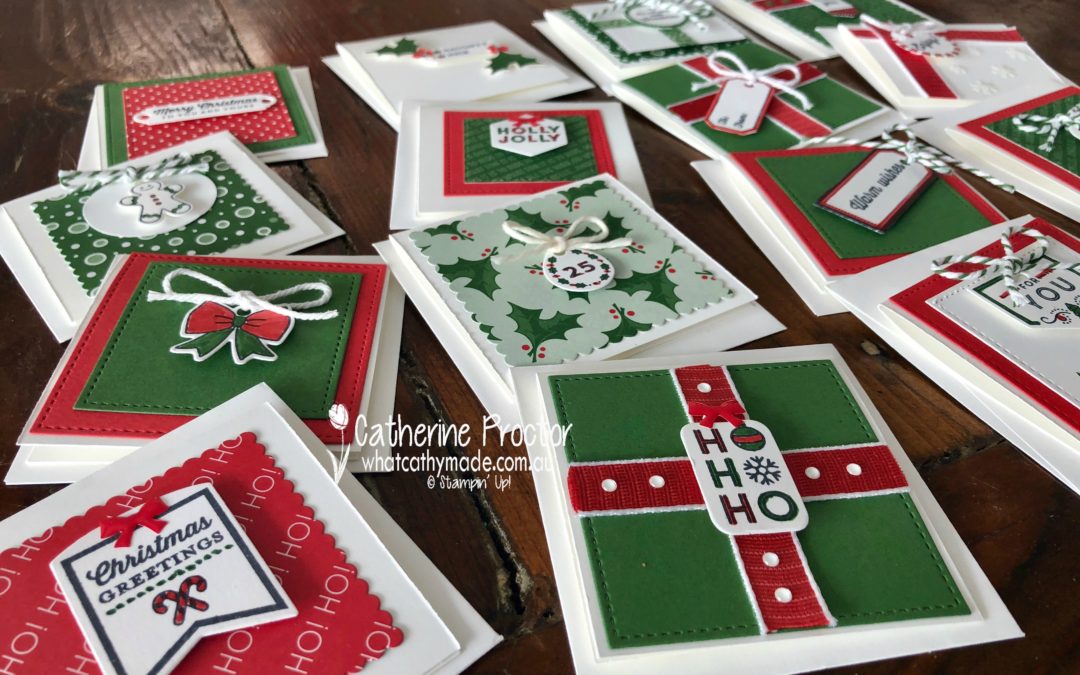
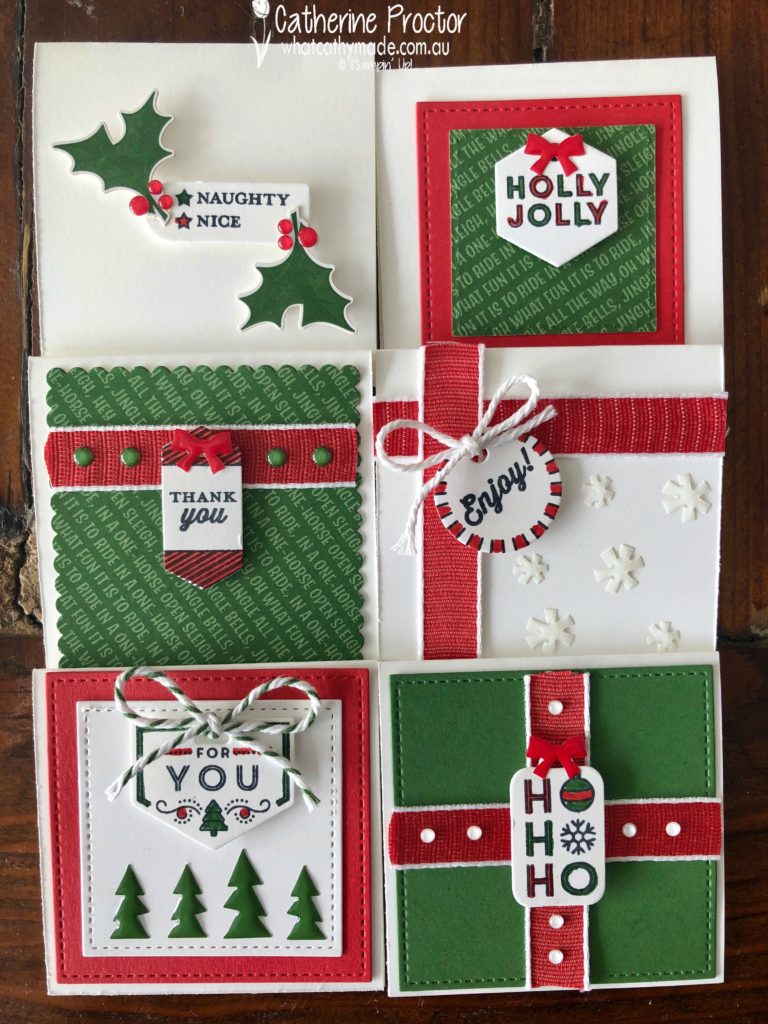
I coloured these images in using my Garden Green and Poppy Parade Markers and then turned them into mini gift cards. Check out all the cards that this one stamp makes…16 of them!!!
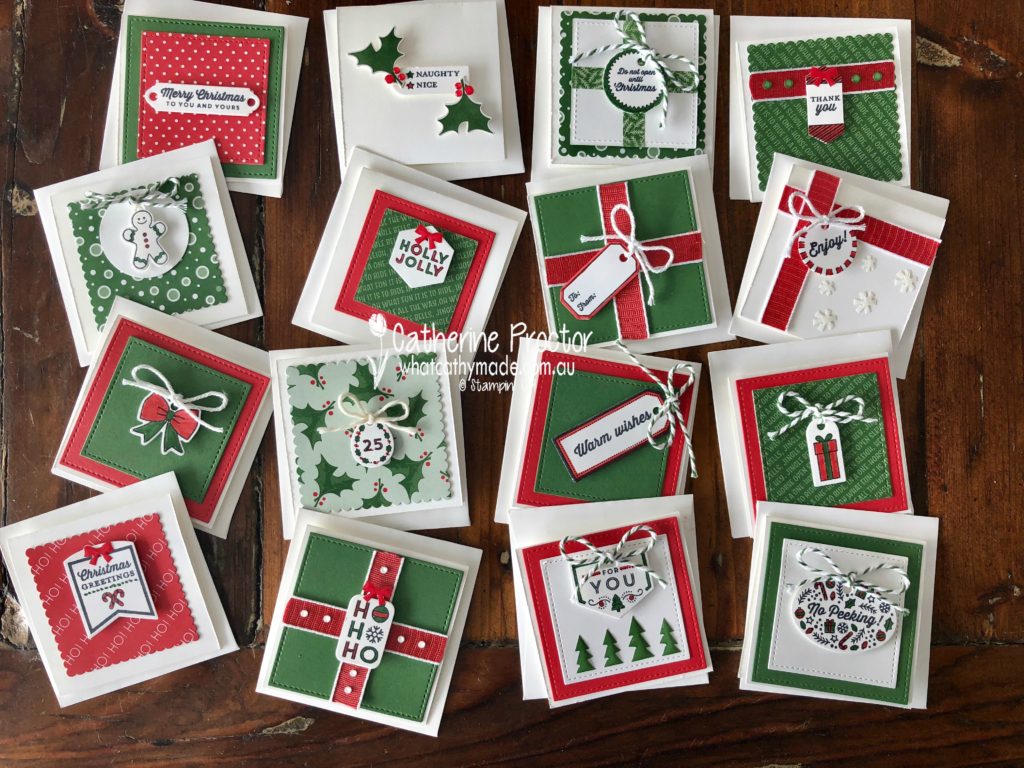
Because these tags are teeny tiny, I decided to turn them into gift cards that would fit into Stampin’ Up!’s 3 x3 inches envelopes by firstly making Whisper White card bases slightly smaller than the envelopes.
I used the layering square framelits and the Stitched shape framelits to cut different sized squares of Garden Green and Poppy Parade cardstock with my Big Shot and then I also die cut some squares out of the Santa’s Workshop Memories and More Cards.
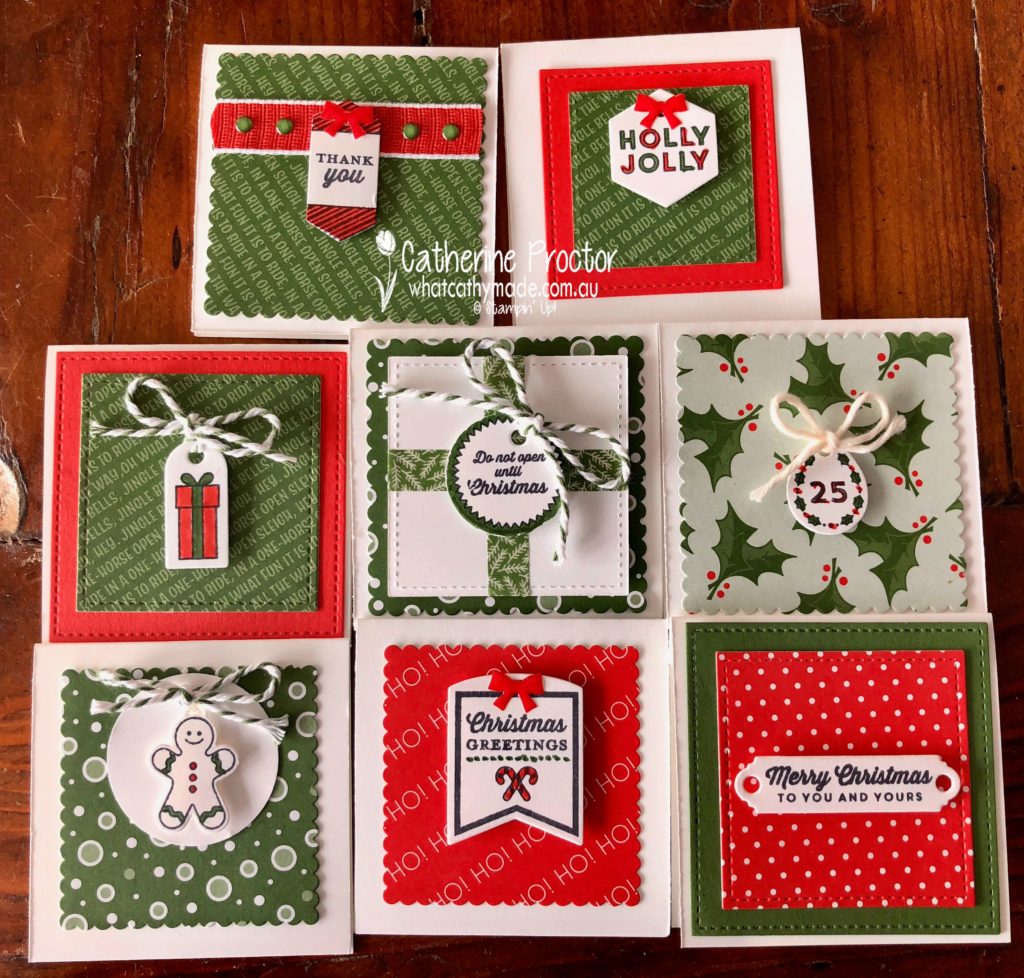
The gift cards below are the ones where I used the Memories and More Cards as DSP. It’s a great way to add some extra pattern and interest to your cards.
To embellish my cards I used Garden Green bakers twine, Whisper White bakers twine (although looking at my photos above I can see I accidentally used Very Vanilla bakers twine on one of the cards, Whoops!!!), Poppy Parade 1/2″ Textured Weave Ribbon, stickers from the Santa’s Workshop Memories and More Cards and the darling little Santa’s Workshop Enamel Shapes.
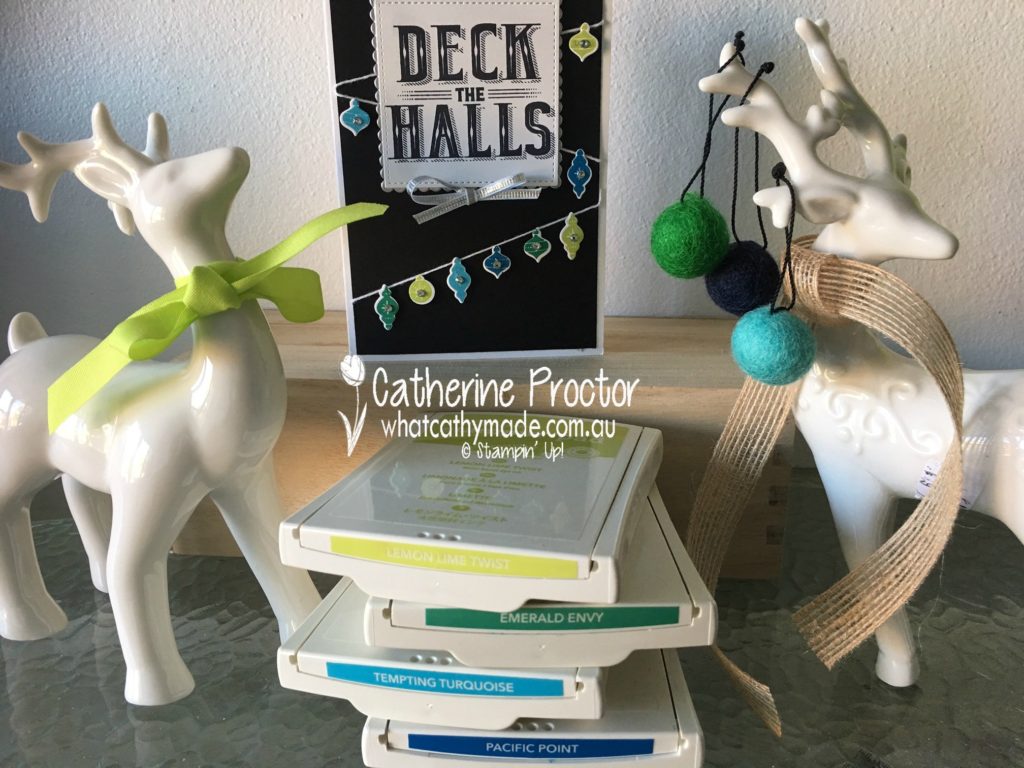
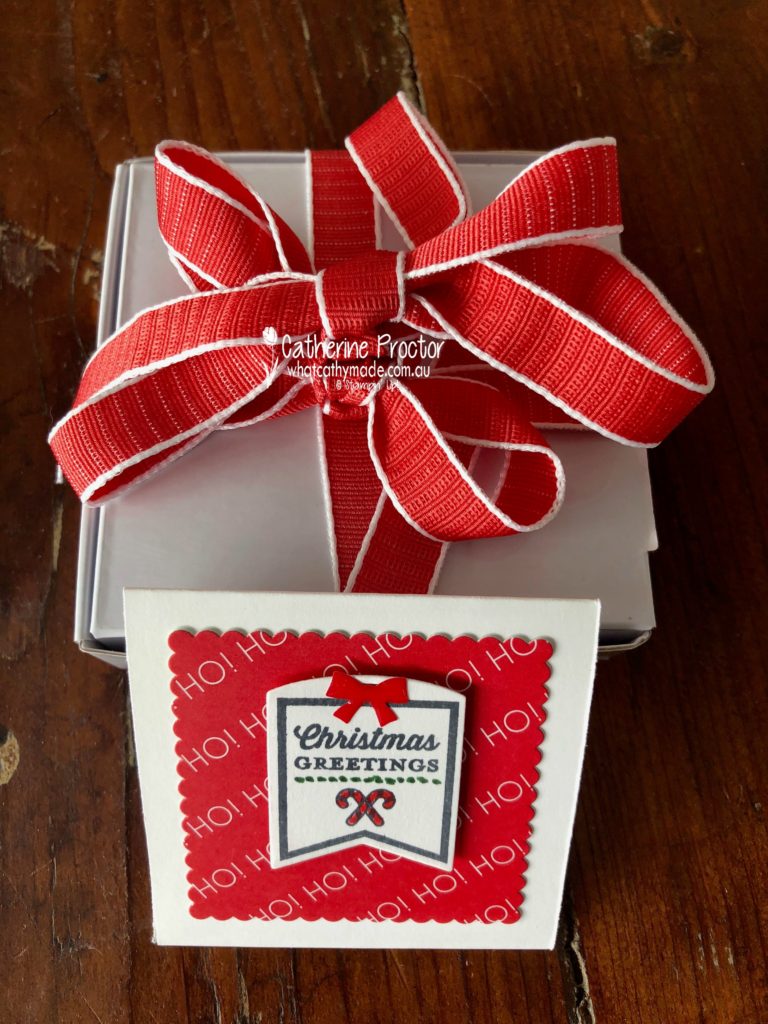
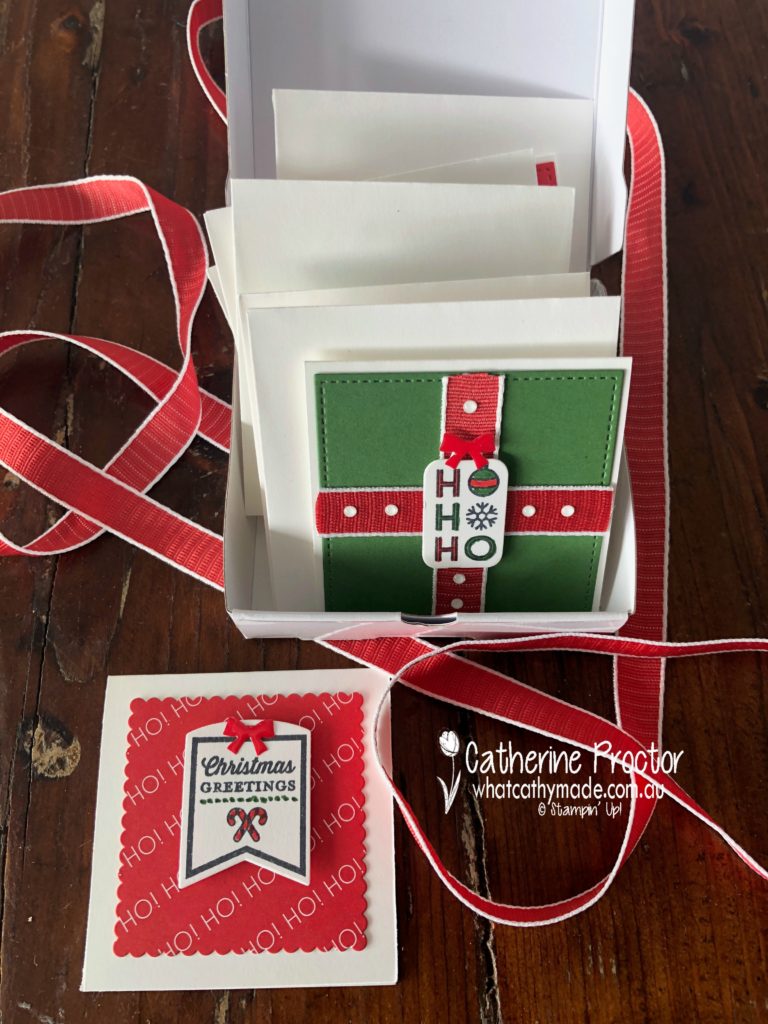
I’ll present these gift cards as little gifts, packaged up six at a time (with their matching envelopes), in our Stampin’ Up! pizza boxes…all tied up with a bow and using one of the gift cards as the card to go with the box of cards.
Now it’s time to hop on over to our next participant, the very talented, Rachel Woollard.
If you find a broken link or have come to this blog hop from a different entry point, you can view the participants below:
Caroline Manwaring
Sharon Davern
Tina Gillespie
Ros Davidson