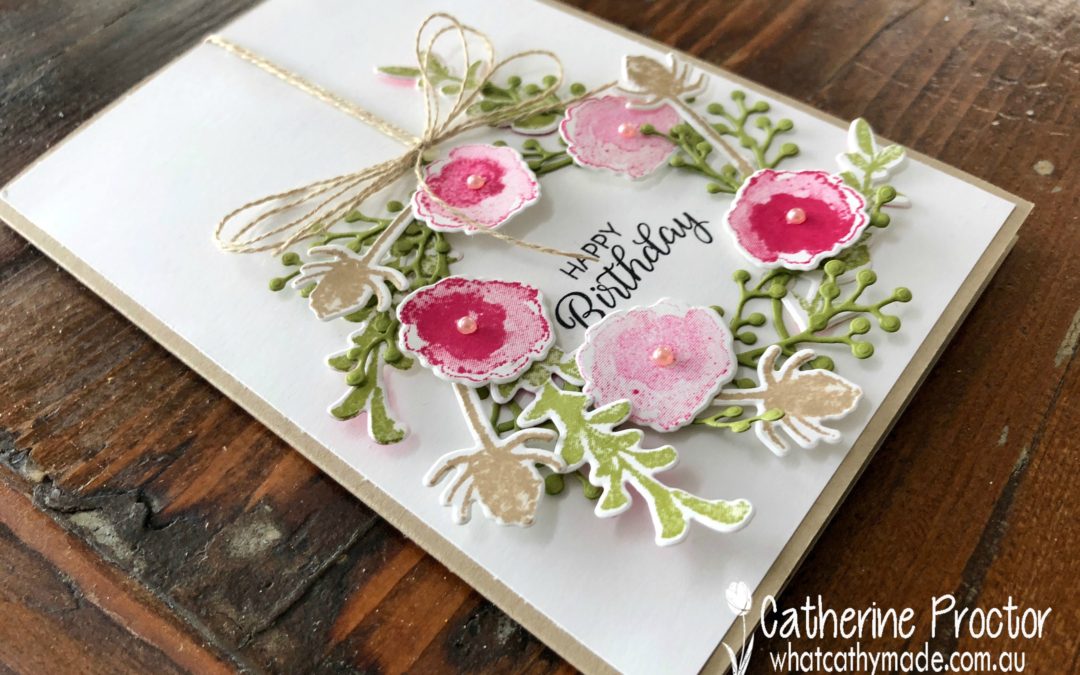
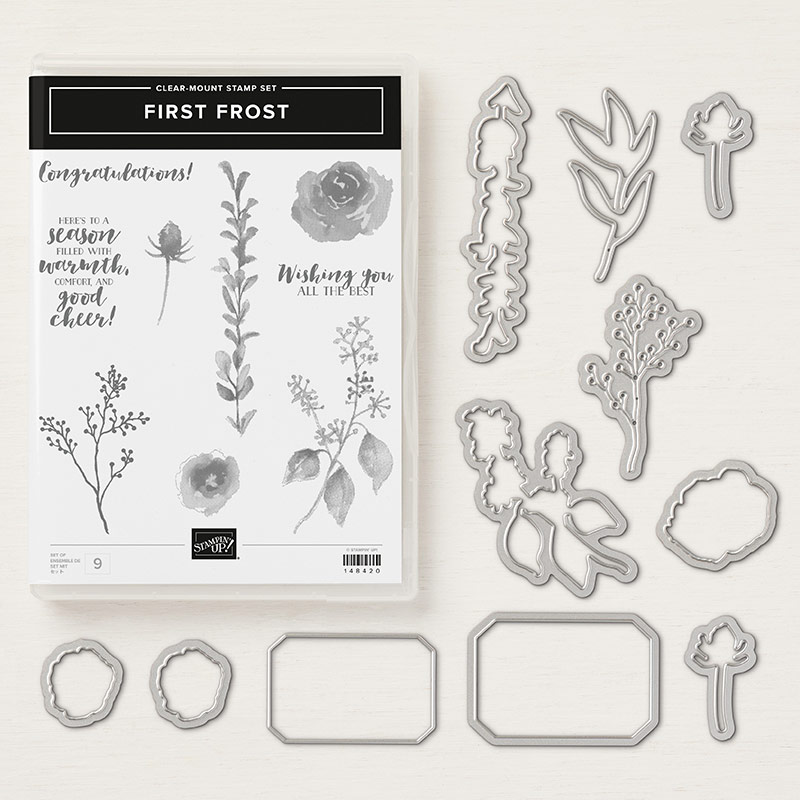
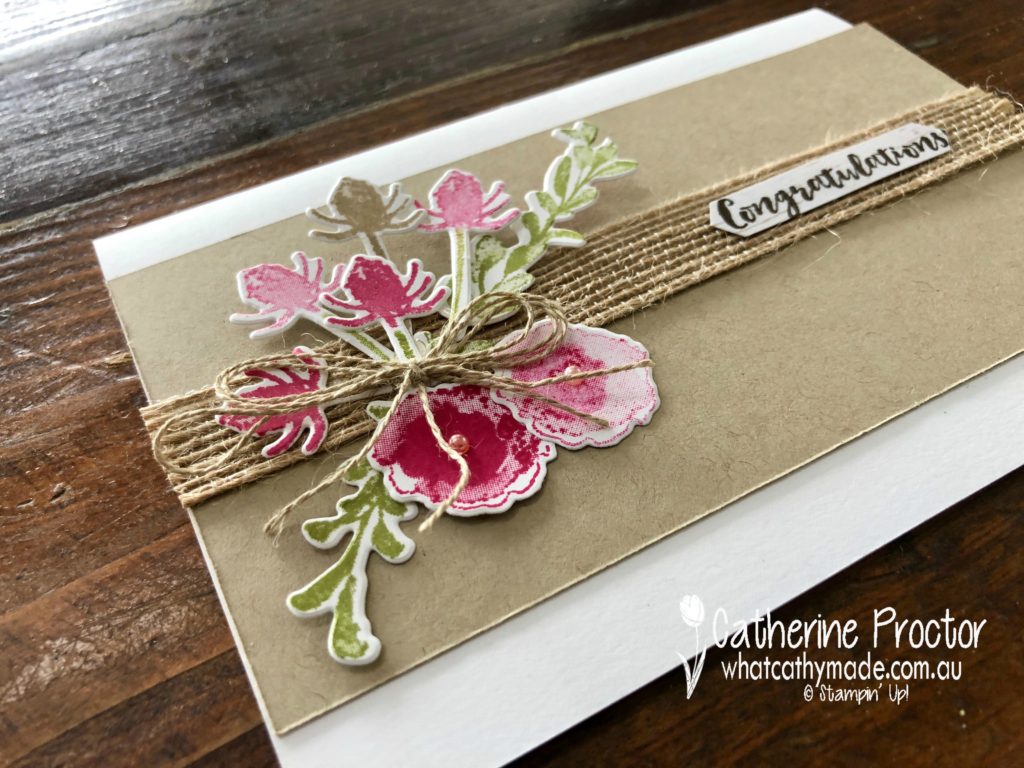
Day three of my “Marie Condo” farewell to retiring products brings me to one of my absolutes faves…First Frost and its matching dies, the Frosted Bouquet Framelits Dies.
This set is just so incredibly feminine and beautiful and even though it is a Christmas set it’s also perfect for birthday cards and congratualtions cards.
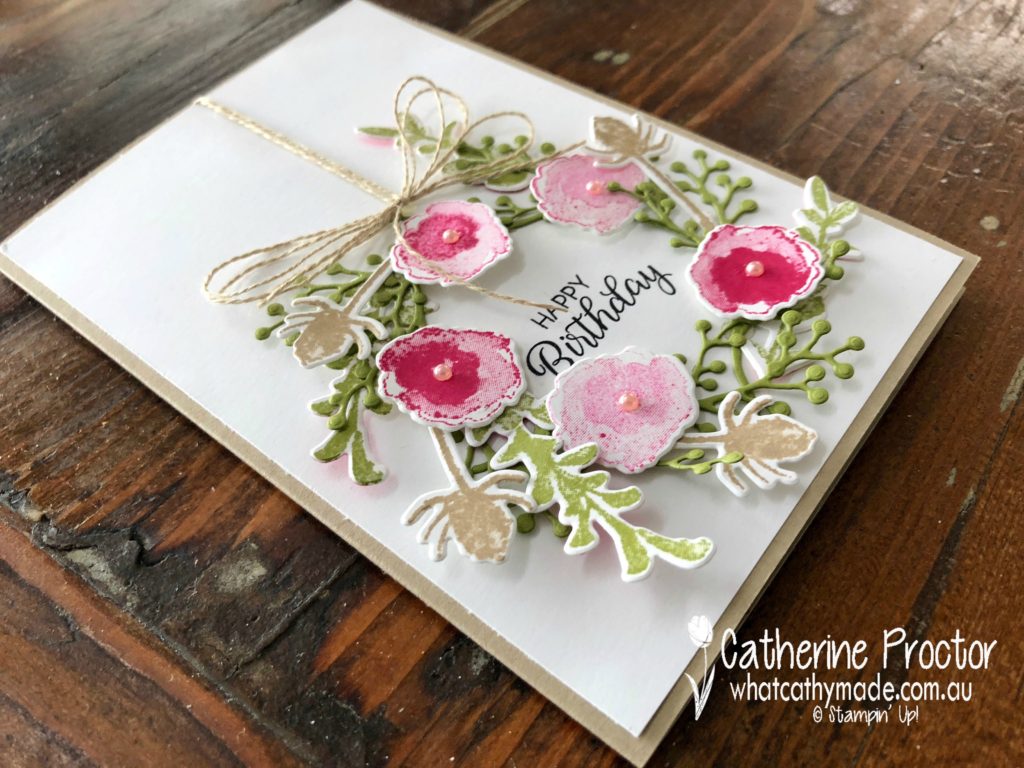
I’ve only used the one pink for these cards: Melon Mambo. The variations in the depth of pink colour you see on my cards are due partly to the watercolour effect of the stamp set I used and partly by simply stamping off once for every second flower.
In addition to Melon Mambo, the other colours I’ve used are Crumb Cake, Old Olive and Pear Pizzaz. I really love this colour combination.
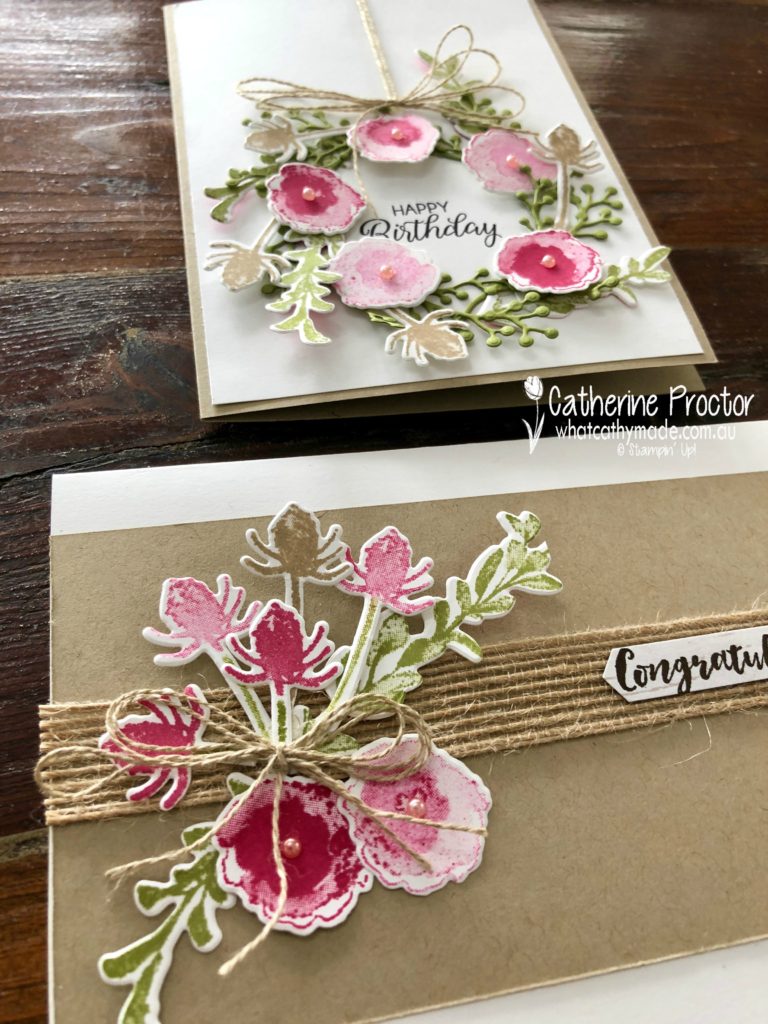
This second card was made with the pieces left over from making my first card – so I literally threw it all together in under a minute. And with the addition of a strip of the gorgeous burlap ribbon (which is also retiring) a second card was quickly created!
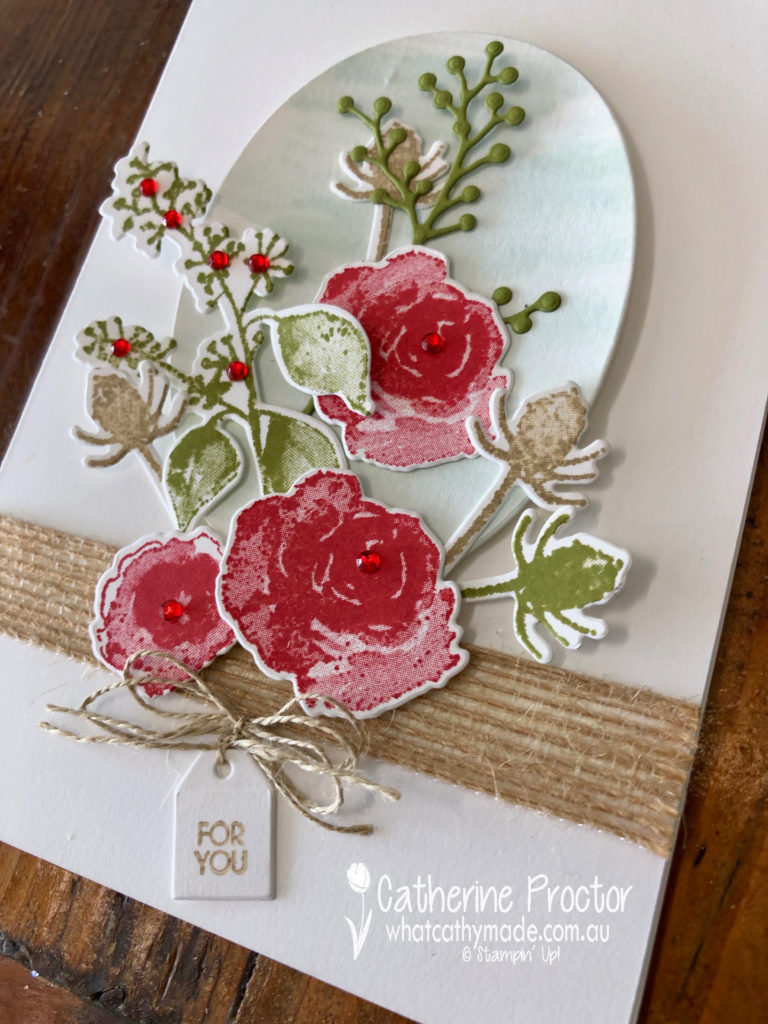
First Frost “For You” Card
Here’s another card I made using First Frost – this time with Real Red, Crumb Cake and Old Olive. I just love the watercolour effect this stamp gives.
Every day I will be featuring a stamp set that is retiring from the 2019 Annual Catalogue and the 2020 January to June Mini Catalogue and thank it for its service by showcasing a card (or two) that I’ve made with the stamp set.
You can view all the retiring products in my online shop.
Would you like me to send you your very own Stampin’ Up! 2020-21 Annual Catalogue?
If you’d like me to post you your very own copy of the 2020-21 Stampin Up! Mini Catalogue, the 2019-20 Stampin Up! annual catalogue, or to simply find out about more about Stampin’ Up! contact me.
I’ll be back tomorrow with another card or two to farewell another retiring stamp set.
In the meantime, wherever you are in the world, stay safe, stay calm…and keep on crafting xxx
Welcome to week five of the 2019 Heart of Christmas blog hop!
This week I’ve decided to challenge myself to use three different embossing folders to create my Christmas cards. I often to forget to use my folders because I’m so focussed on DSP, stamps and dies, which is really silly because embossing folders are so quick and easy to use.
With so many beautiful designs to chose from, can you guess which three I chose?
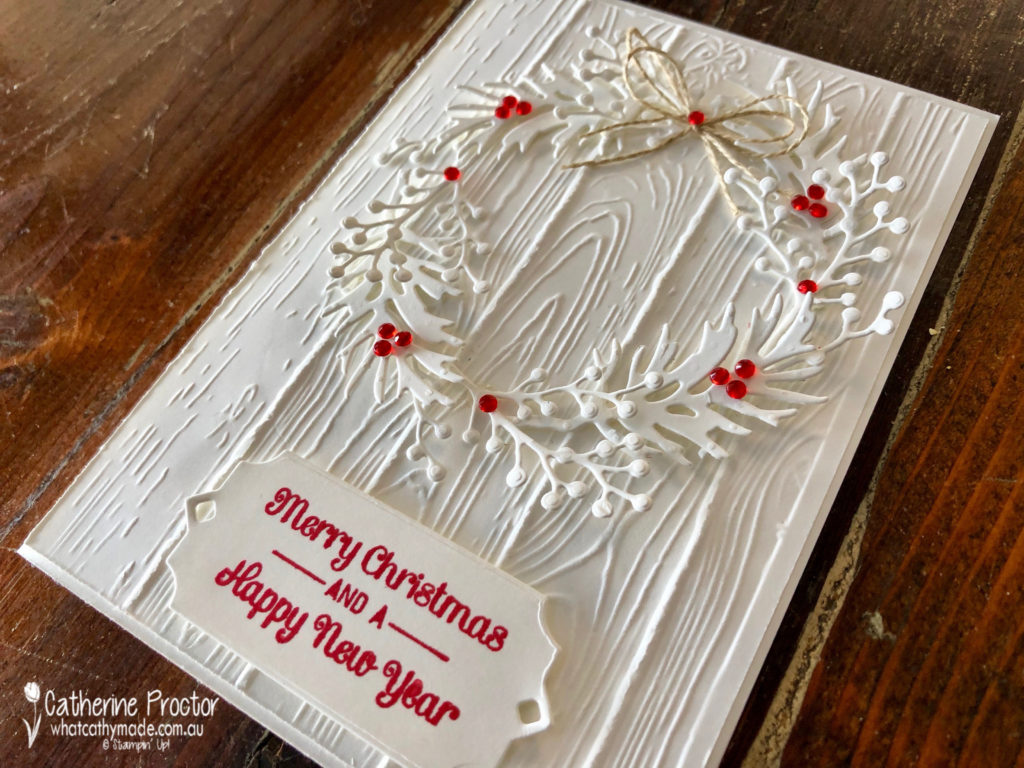
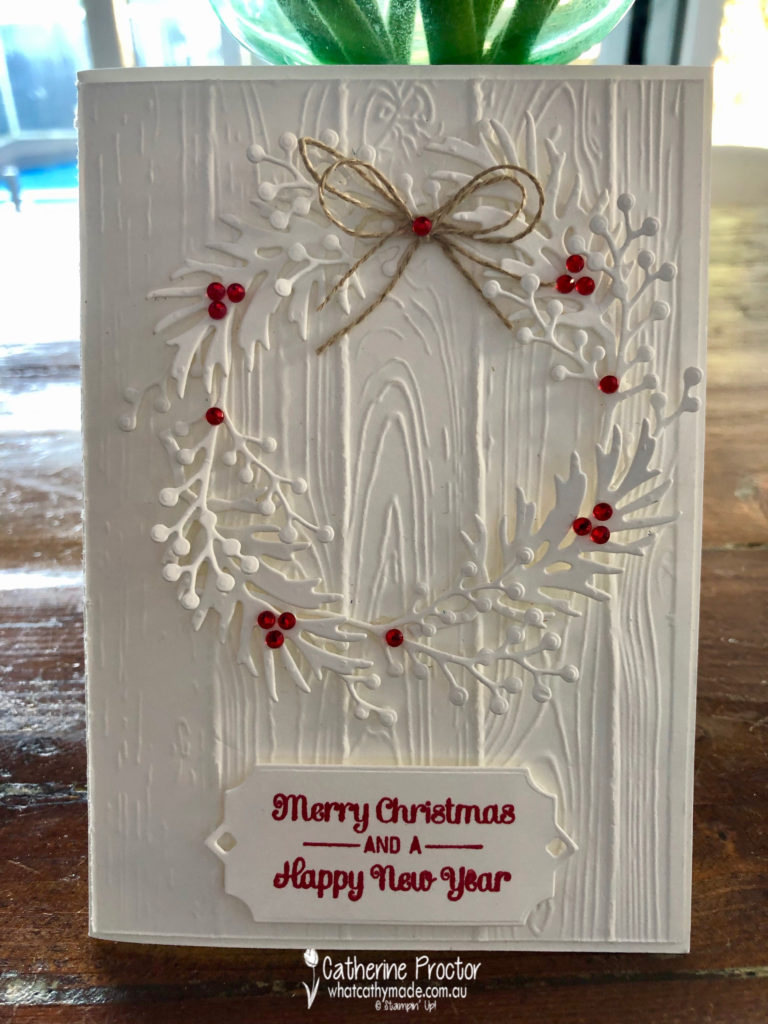
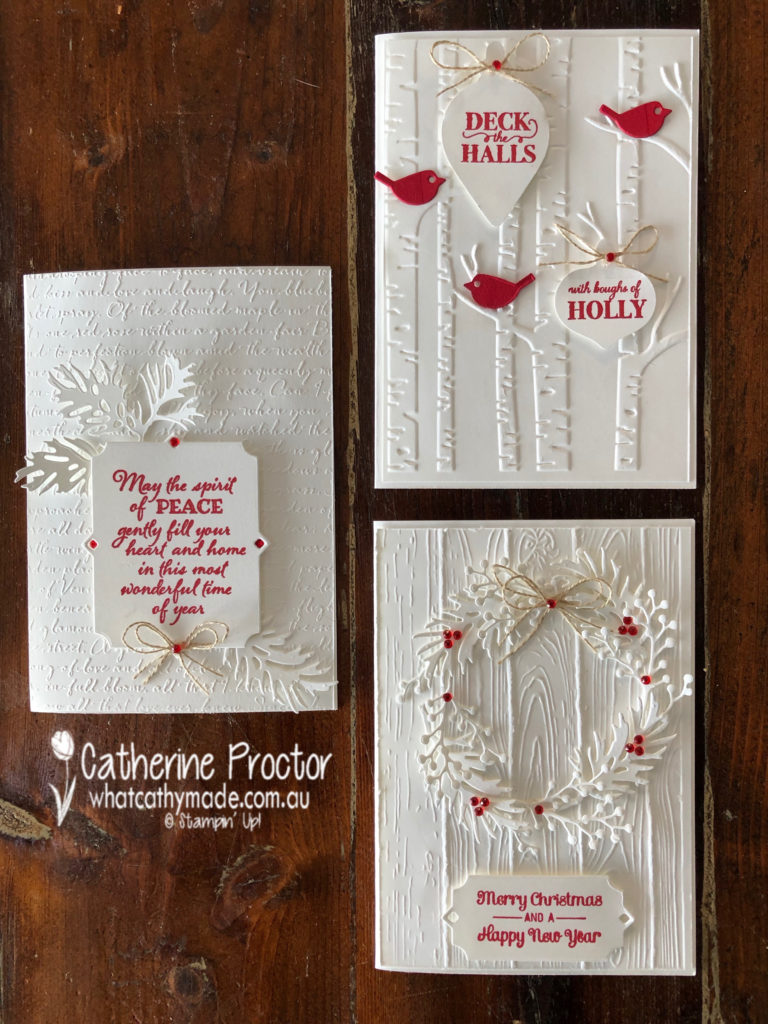
For my first card I used the Pinewood Planks embossing folder, which can be used either way up.
The wreath is made using a combination of dies from the Frosted Bouquet Dies and the Beautiful Boughs Dies.
How cute is that sentiment? It’s from the Itty Bitty Christmas Stamp set – I’m so glad I got this set. It has been die cut with the stunning frame from the Beautiful Boughs Dies.
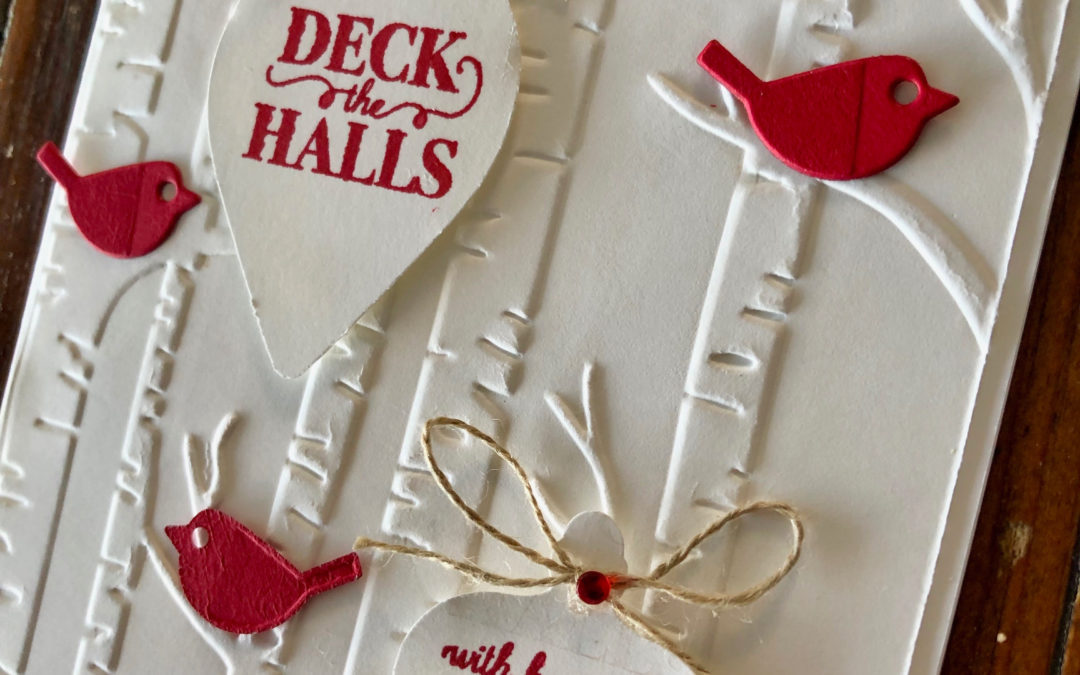
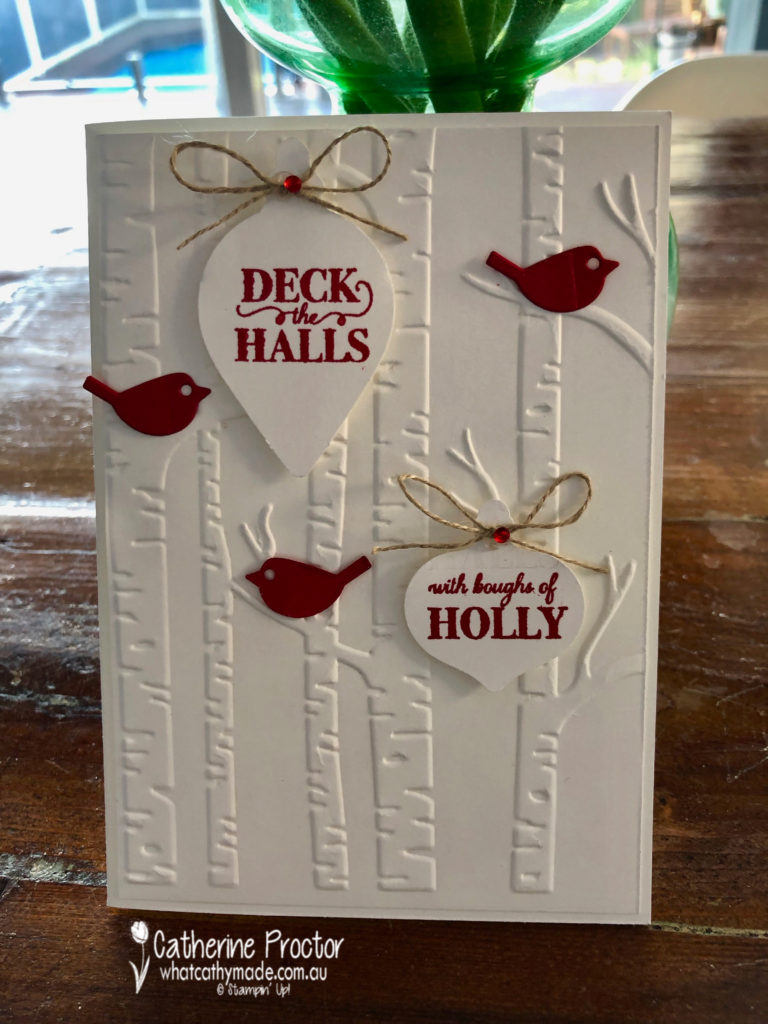
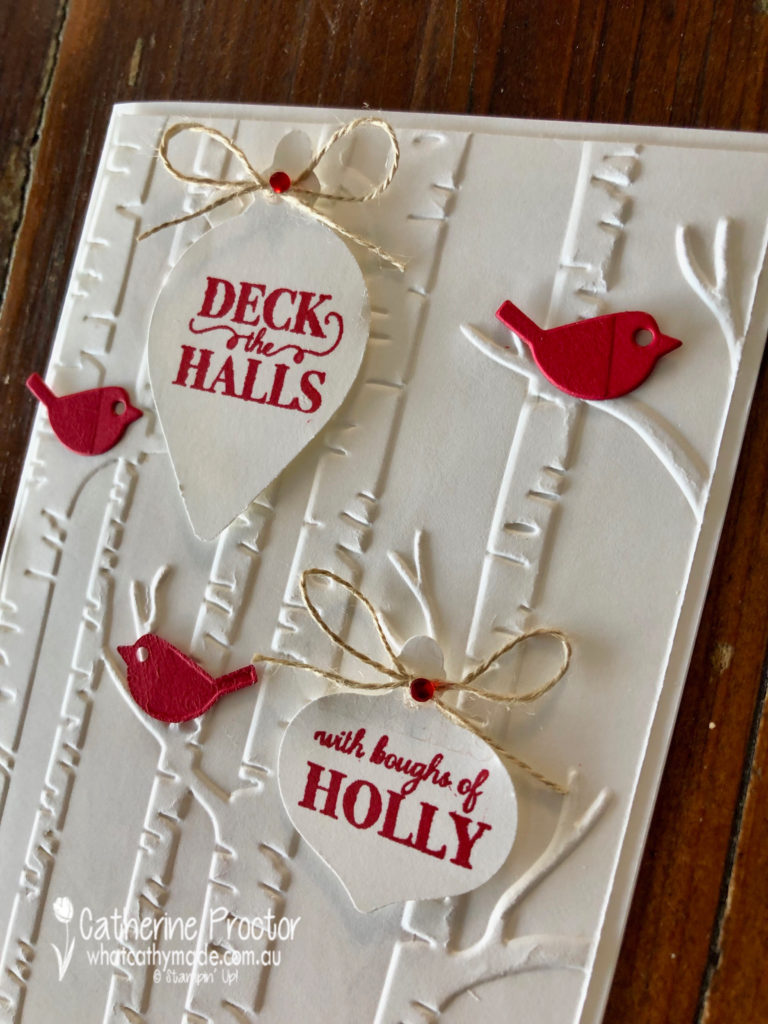
Card two continues the red and white theme, this time with the Woodland Embossing folder. Those branches were just crying out for some little birds – you might have overlooked these, they are in the Well Written die set.
The two baubles were punched out using the Gleaming Ornaments punches and then stamped with a stamp from the coordinatiing Christmas Gleaming stamp set.
To split the sentiment in half you can cut your stamp with scissors or do what I did and mask one side of your stamp with washi tape before inking up. Before you stamp, remove the washi tape and then stamp your image. Mask up the other side of your stamp with washi tape, ink your stamp, remove the washi and then stamp the other bauble.
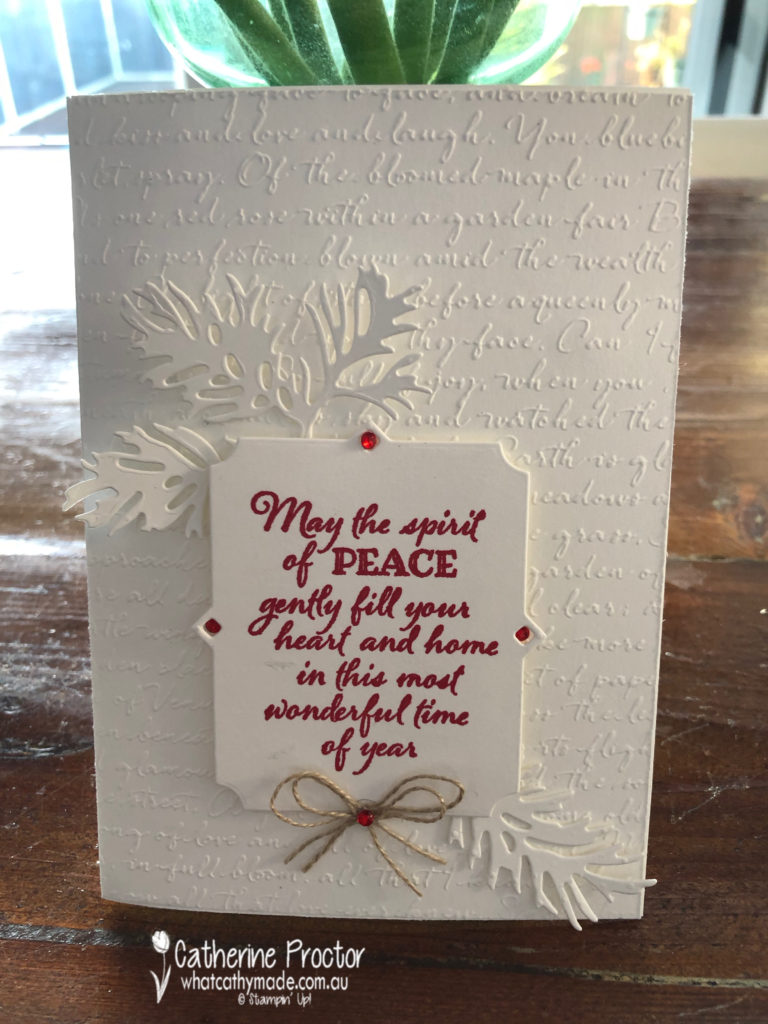
My final card uses the Scripty 3D embossing folder, topped with a sentiment from the Peaceful Boughs stamp set, die cut with the largest frame from the Beautiful Boughs Die set.
Here’s a close up of this gorgeous frame and the boughs I’ve die cut with the Peaceful Boughs Dies set. Can you see the lovely script effect this embossing folder gives?
All my cards this week are finished off with a bow (or two) of linen thread and some red rhinestones.
These cards were quick and easy to make and I really love how the embossing folders add so much dimension and texture while also allowing me to make very clean and simple cards.
I will definitely be reaching for my embossing folders more often!
The lovely Claire Daly is hosting our Heart of Christmas blog hop this week – to see what the rest of the team have made this week you can visit Claire’s page here.
To purchase any of the products I used in this project you can shop with me here.
If you’d like me to post you your very own copy of the brand new 2019 Stampin Up! Holiday Catalogue, the 2019-20 Stampin Up! annual catalogue or to simply find out about more about Stampin’ Up! contact me.
Welcome to week 44 of the Art With Heart Colour Creations Blog Hop!
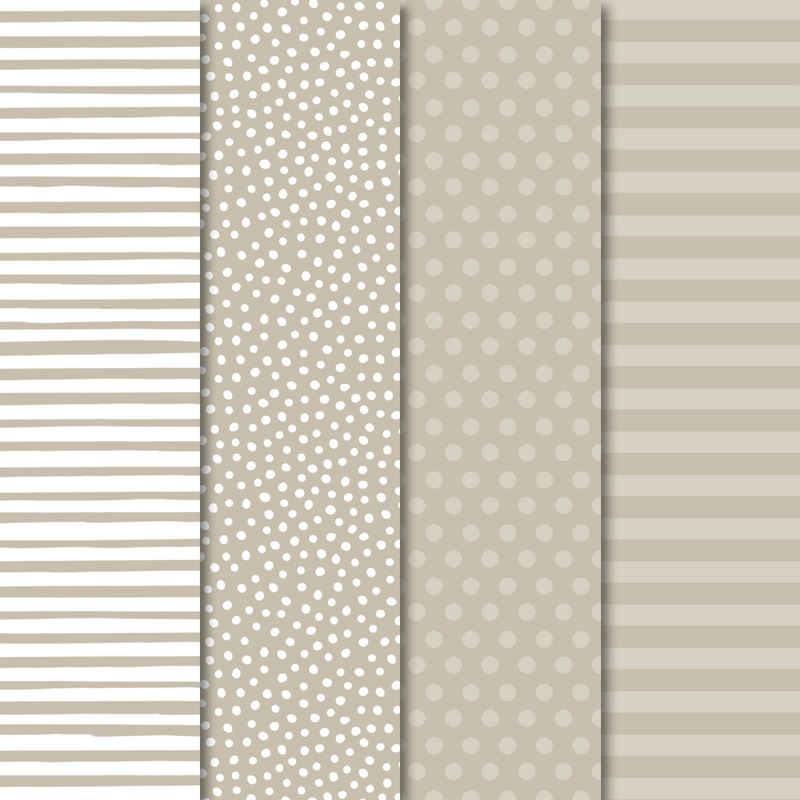
Our colour this week is one of the lightest neutral colours: Sahara Sand.
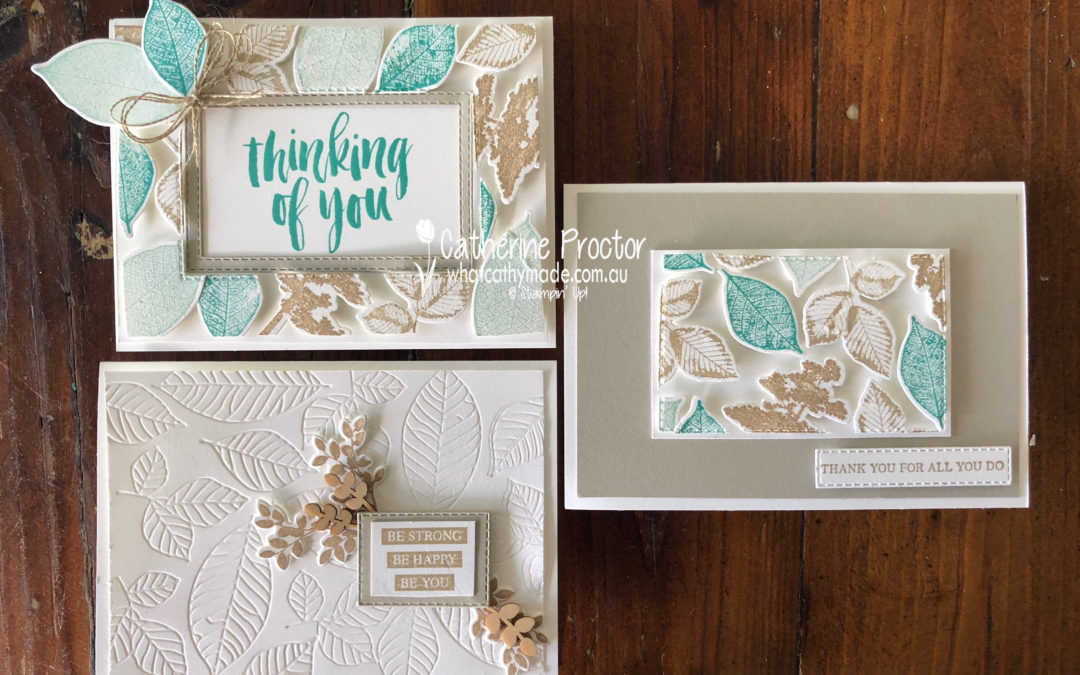
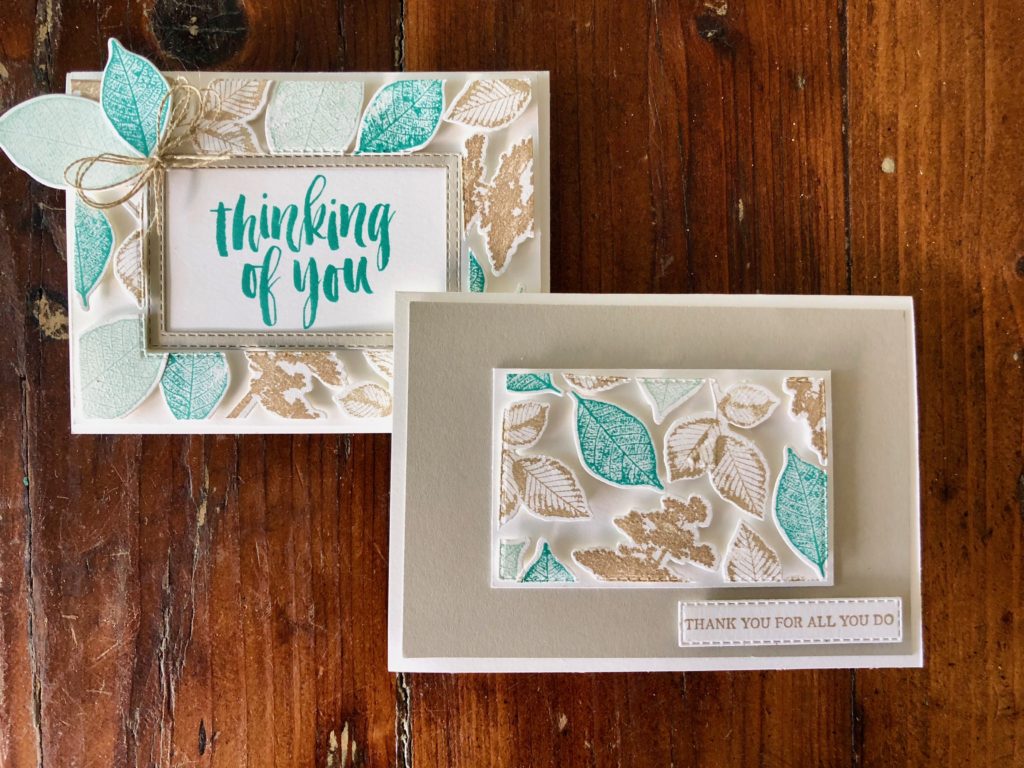
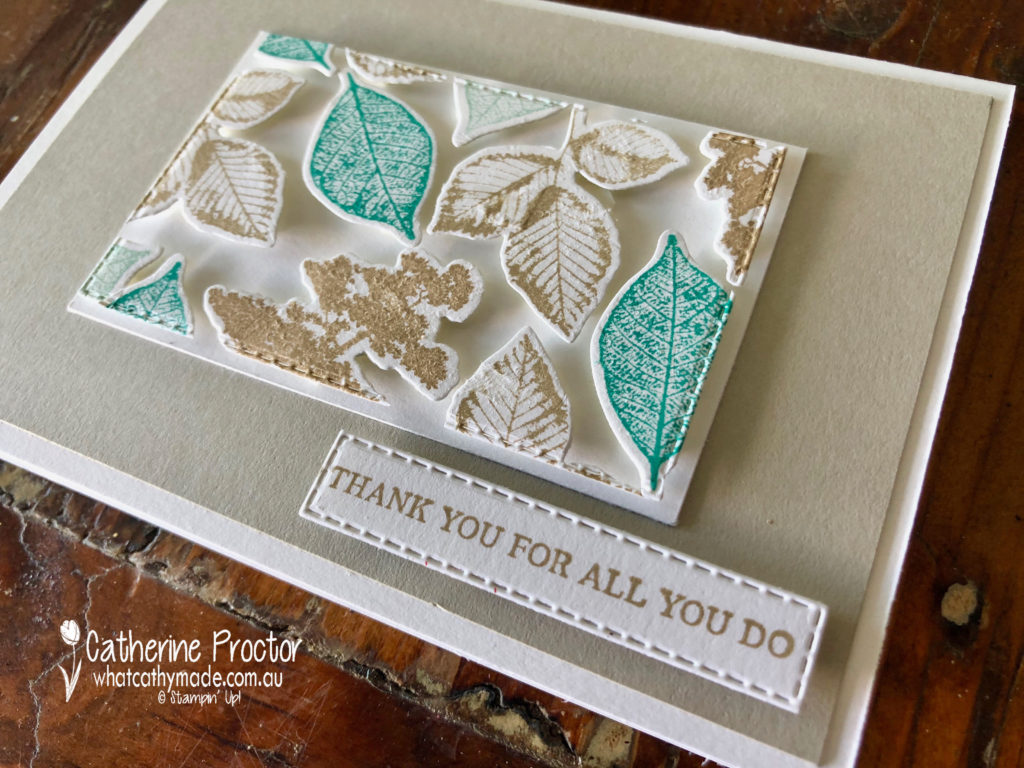
There’s a new technique around called the floating frame technique and I decided to try it out for my project this week, using the Rooted in Nature stamp set and the matching Nature’s Root Framelits.
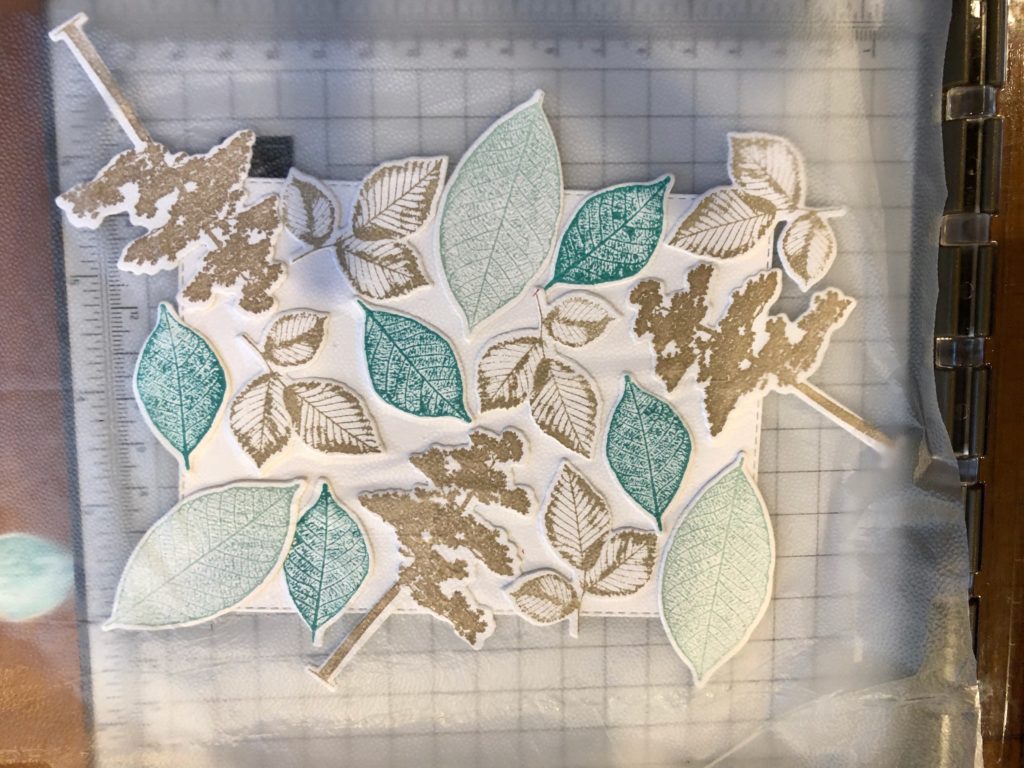
The technique is quite similar to making your own DSP. I began by stamping the leaves and trees and die cutting them out before I arranged them onto a rectangle. Once I was happy with my layout I laid a sheet of Glad Press and Seal over the top of my die cut pieces, turned everything upside down and trimmed off the overlap.
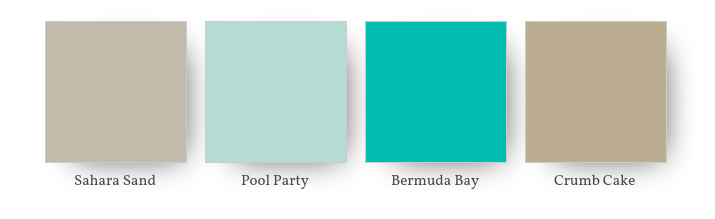
My colour combination is Sahara Sand, Pool Party, Bermuda Bay and Crumb Cake.
Once I’d trimmed off the excess, I die cut a rectangle out of the middle before removing the Whisper White cardstock from behind the die cuts. The Glad Press and Seal keeps your die cut pieces in place while you do this.
The final step is to use a lot of dimensionals behind the die cut pieces to adhere them to your card base. When your frame is in place you gently peel off the Glad Press and Seal. If you look closely at my card you can see where I’ve stuck the Press and Seal down too hard and it’s lifted some of my ink off.
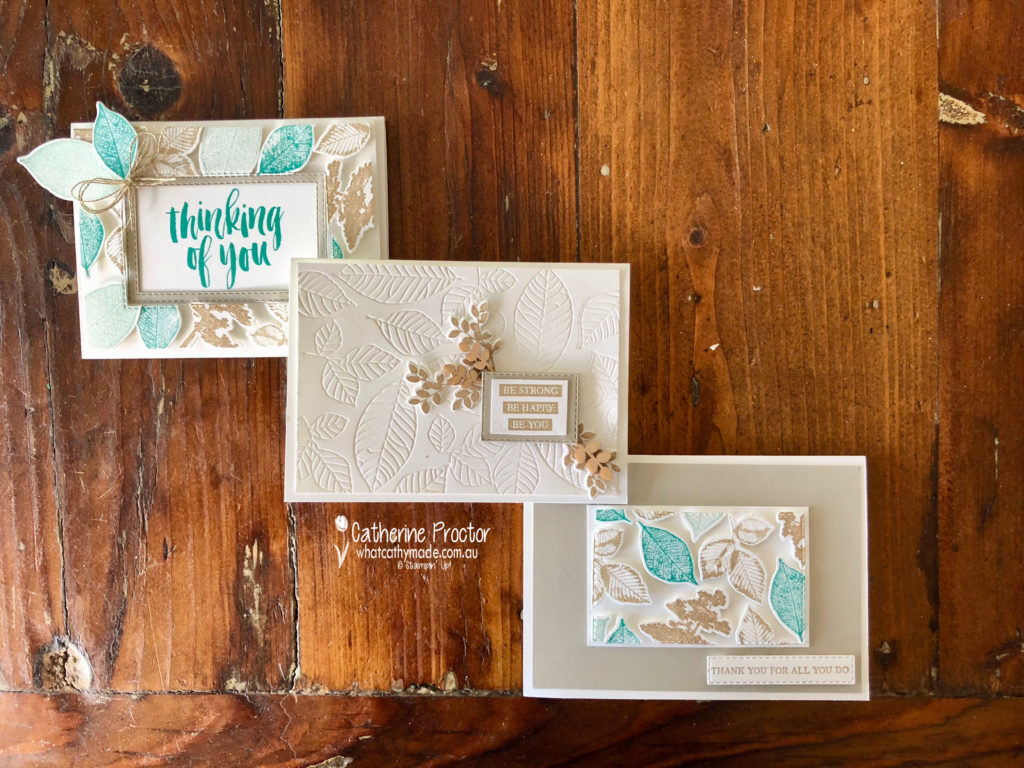
One of my favourite things about this technique is that you get 2 cards from it. Here’s the second card, made from the inside piece.
I decided to make a third card to showcase the lovely embossing dies in the Nature’s Root Framelits, as well as showing how elegant Sahara Sand looks on its own when paired with Whisper White.
To see what the rest of the team have made click on the links below.
To purchase any of the products I used in this project you can shop with me here. Or if you’d like me to post you your very own copy of any of the Stampin Up! catalogues or find out about more about Stampin’ Up! contact me .
We will be back again next week showcasing a regal colour: Shaded Spruce! We hope you can along with us then.
Welcome to week 42 of the Art With Heart Colour Creations Blog Hop!
Our colour this week is a regal colour: Real Red.
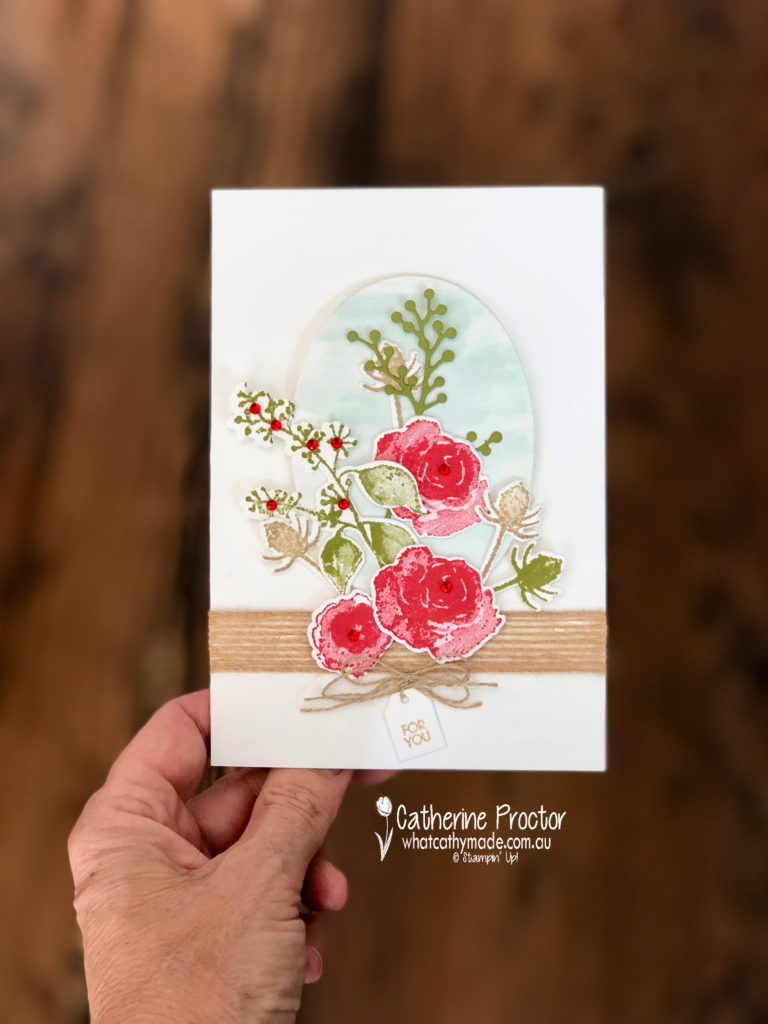
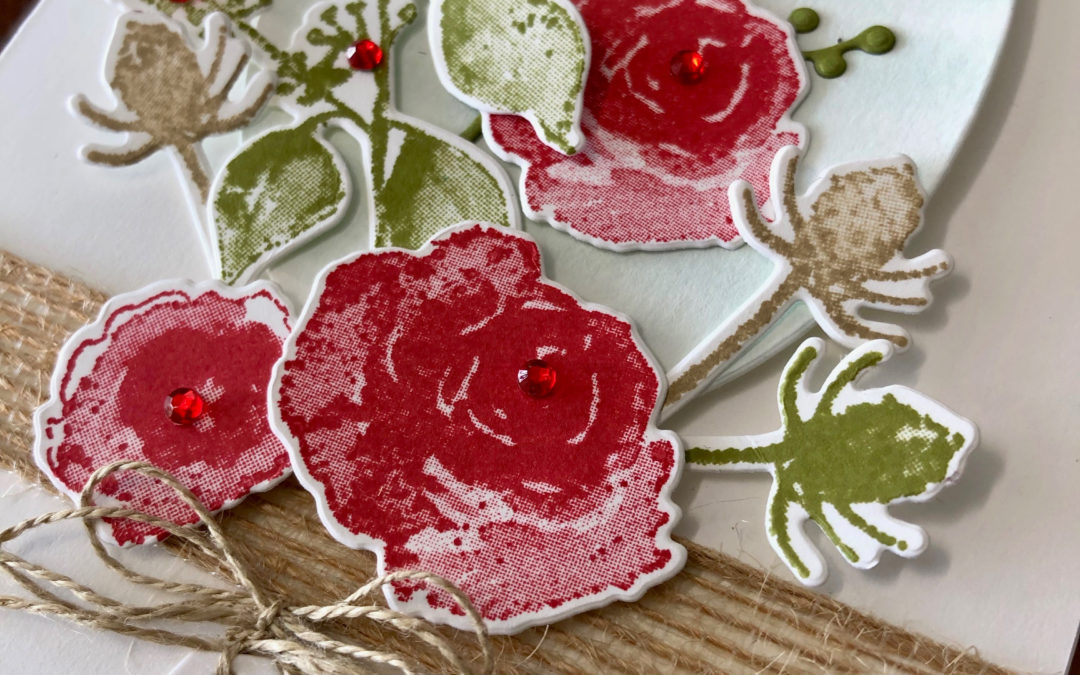
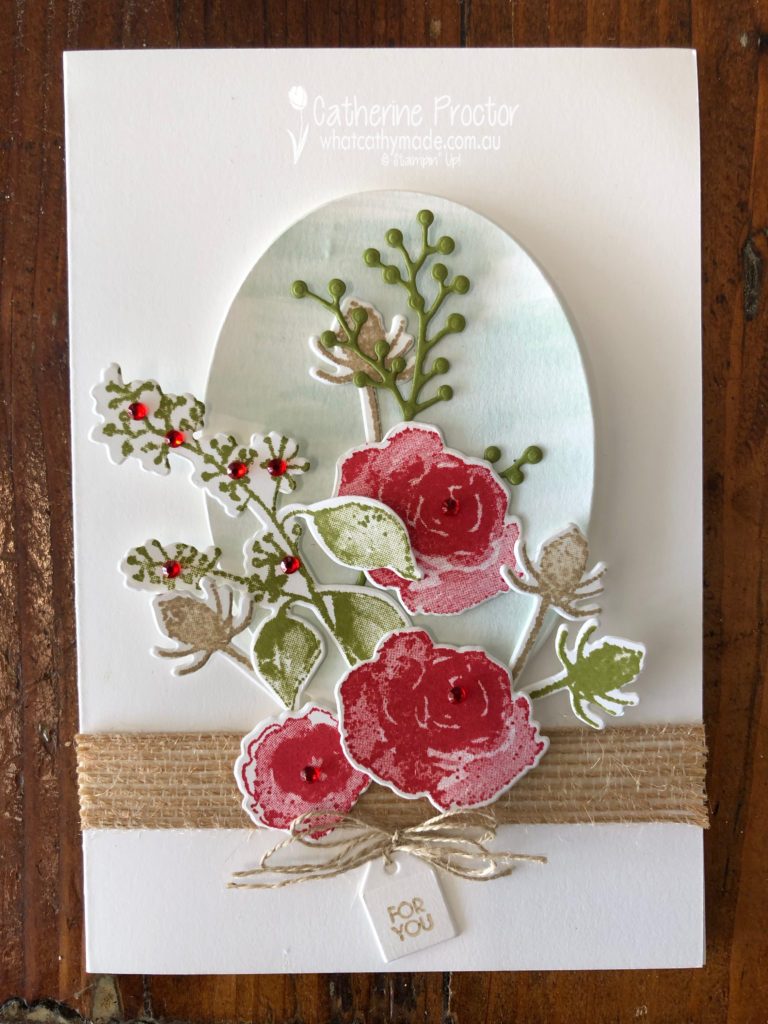
Real red is such a classic, stunning colour I wanted to pay homage to it with another classic: a bunch of red roses.
I’ve used one of my favourite stamp sets to create my beautiful rose bouquet: the first frost stamp set with its matching dies.
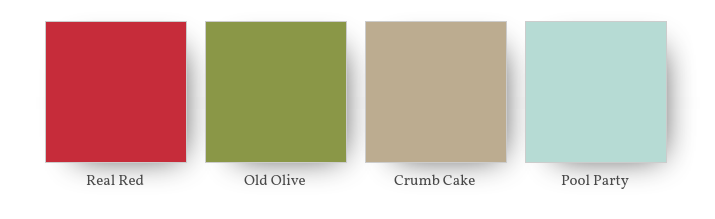
My colour combination is real red, crumb cake and old olive with a touch of pool party in the backgroud.
In my opinion, real red, just like old olive, really is one of those colours you can almost use as a neutral. It looks amazing with virtually any colour and really makes your card pop even if you only use a touch of it.
Last week I also used used real red in this colour combination.
In my project this week I’ve only used real red for my roses and for a touch of bling and dimension with the addition of the red rhinestones, but I still think it is the dominant colour of the card.
At the bottom of my card I used another all-time favourite of mine, the tiny little tag from the Bouquet Bunch Framelits Dies, stamped with the “for you” stamp from the Beautiful Bouquet Photopolymer Stamp Set.
To lift my bouquet off the front of the card I washed some pool party onto some card stock before cutting it out with my largest oval die. I love pool party with any shade of red.
To see what the rest of the team have made click on the links below.
To purchase any of the products I used in this project you can shop with me here. Or if you’d like me to post you your very own copy of any of the Stampin Up! catalogues or find out about more about Stampin’ Up! contact me .
We will be back again next week showcasing another one of the regal colours Rich Razzelberry! We hope you can along with us then.
Welcome to week 41 of the Art With Heart Colour Creations Blog Hop!
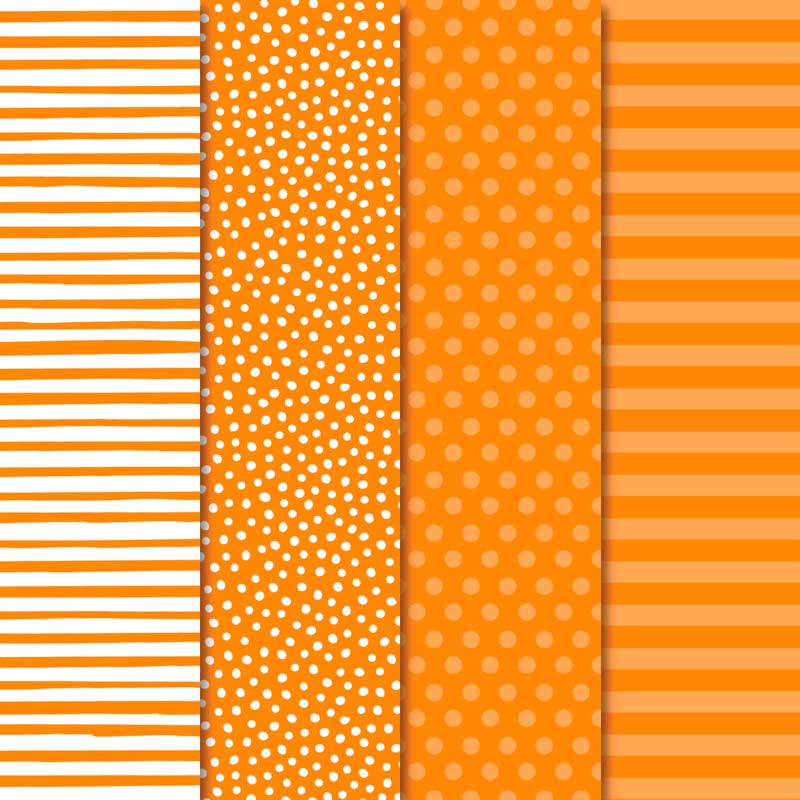
Our colour this week is a regal colour: Pumpkin Pie.
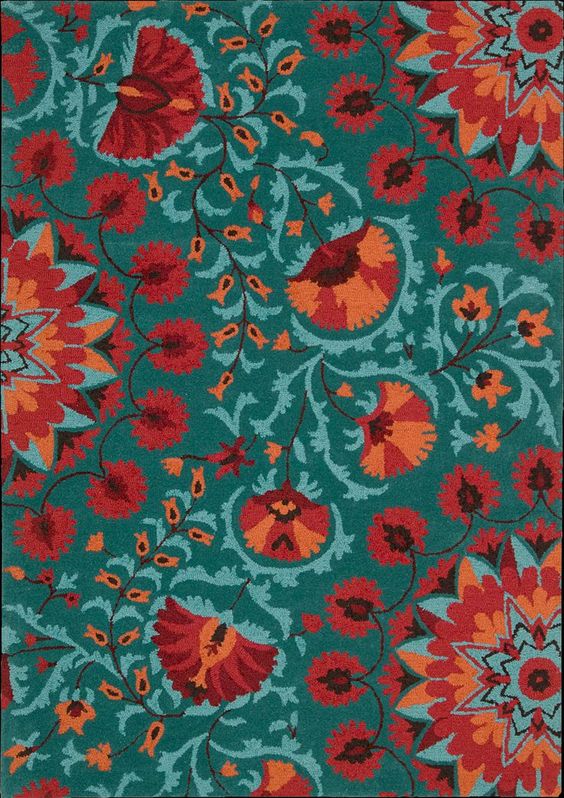
This is a colour I rarely use or wear – so it did prove a bit of a challenge until I saw this stunning rug!
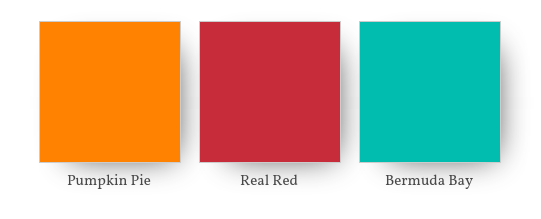
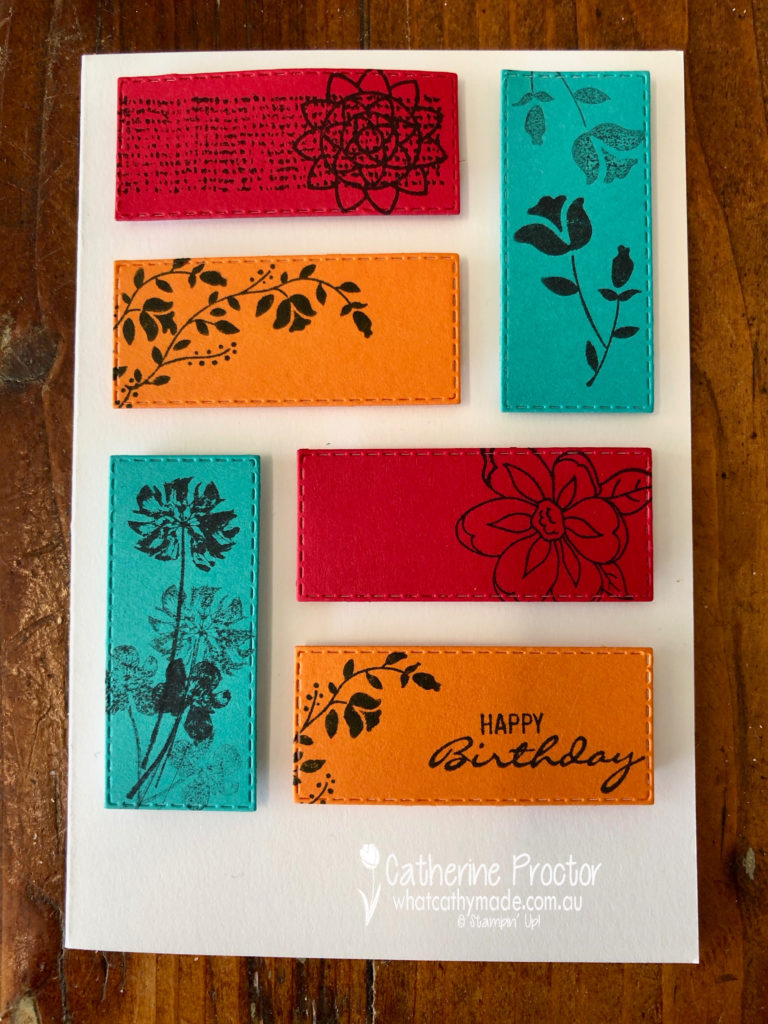
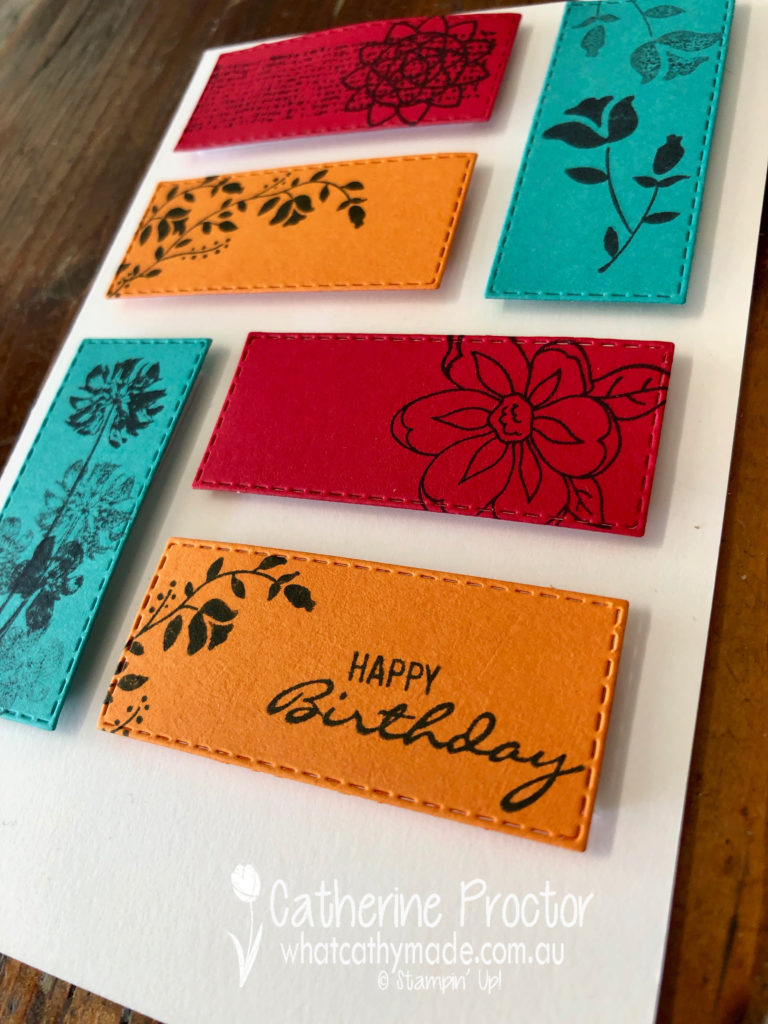
I looked at colour combinations within the regal family but decided I wanted a bluer green to go with the orange so I settled on the following colour combination: Pumpkin Pie, Real Real red (both regals) and Coastal Cabana (from the brights family).
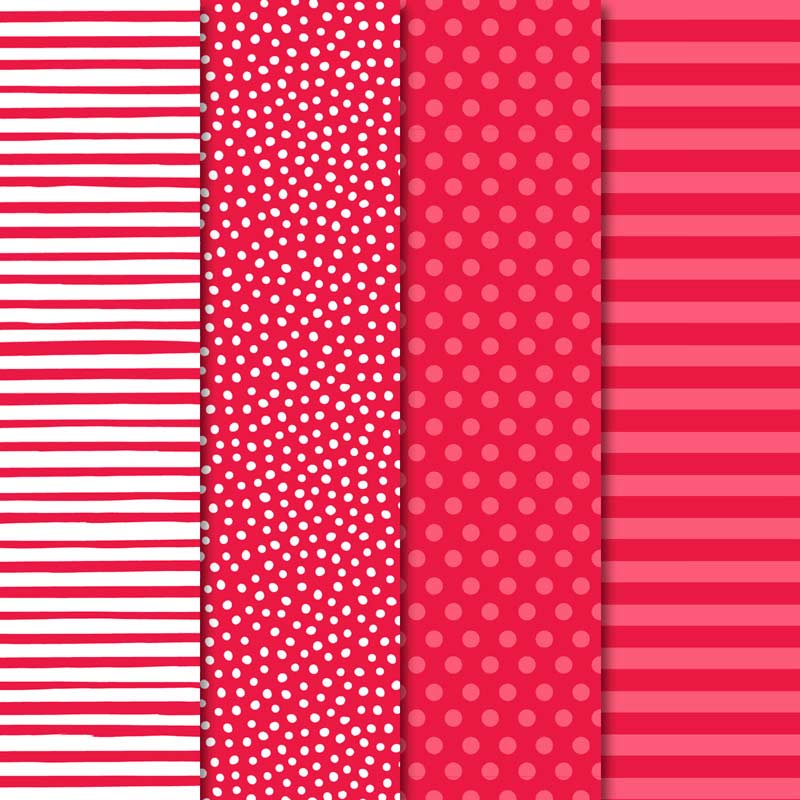
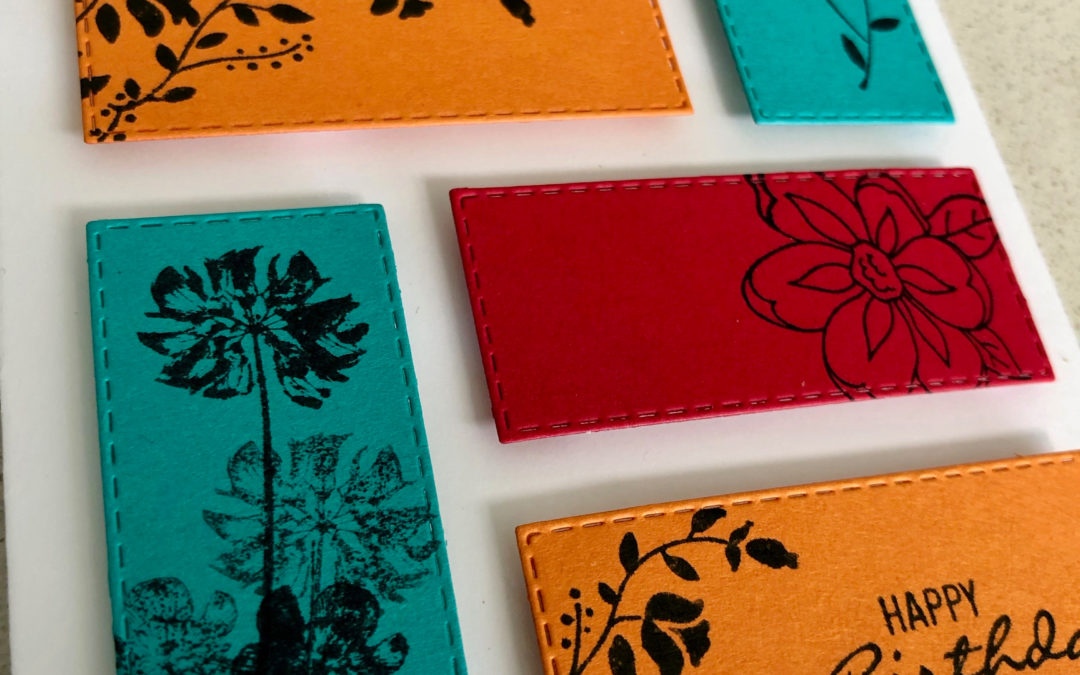
Last week I created a background by stamping all over the powder pink cardstock with powder pink ink – such a simple and effective technique – so this week I did a similar technique, this time stamping in black a variety of floral images onto my three different coloured cardstocks.
I then die cut two rectangles in each of the three colours using my rectangle stitched framelits
I like how this technique lets the vibrant colours of the cardstock shine through, whilst also adding a subtle touch of floral elegance.
Because there are no embellishments on this card (and I was so very tempted to add a bow of linen thread!!!!!) I added dimension by mounting all of my rectangles to the card base using adhesive foam strips.
The stamp sets I used were the botanical bliss stamp set and the pressed flowers stamp set, both from the annual catalogue.
To see what the rest of the team have made click on the links below.
To purchase any of the products I used in this project you can shop with me here. Or if you’d like me to post you your very own copy of any of the Stampin Up! catalogues or find out about more about Stampin’ Up! contact me .
Welcome to week 40 of the Art With Heart Colour Creations Blog Hop!
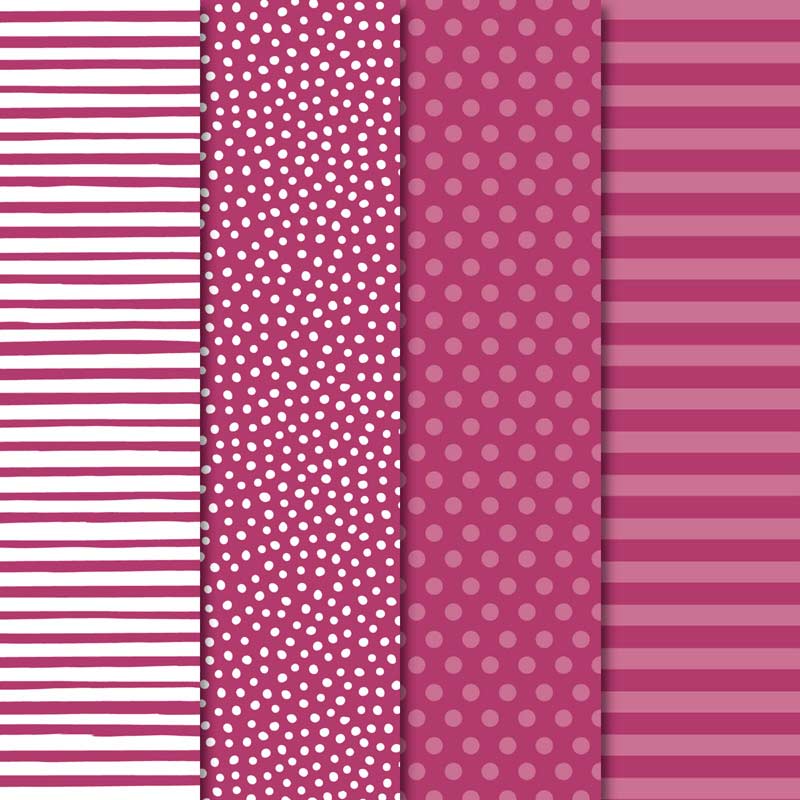
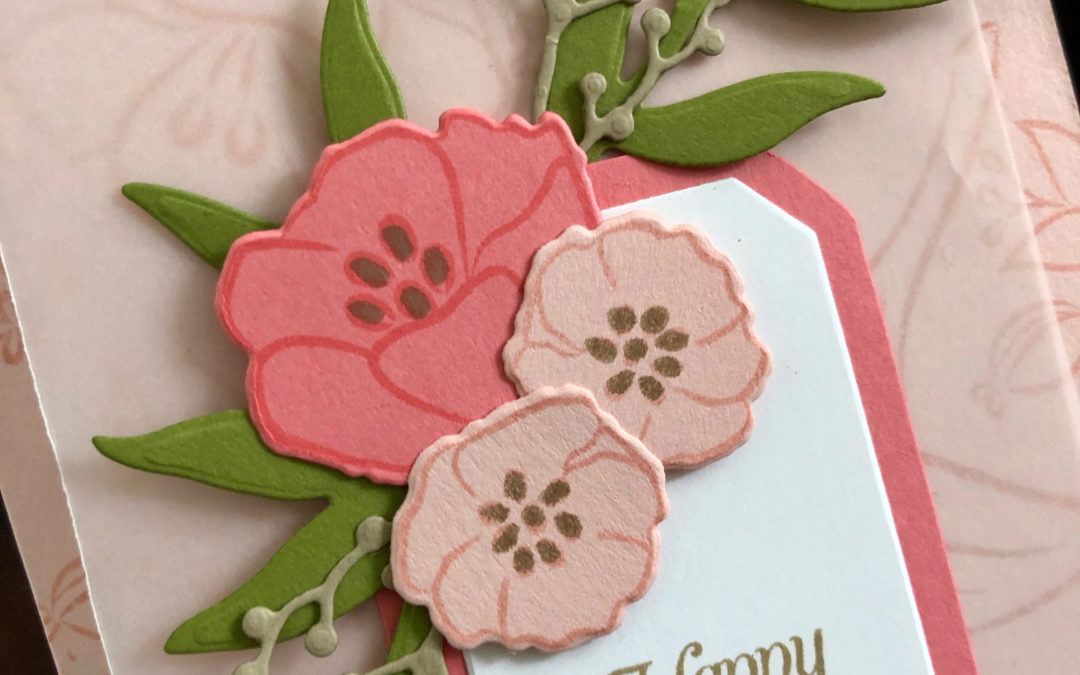
Our colour this week is a 2017-19 in colour: Powder Pink, which retires at the end of May.
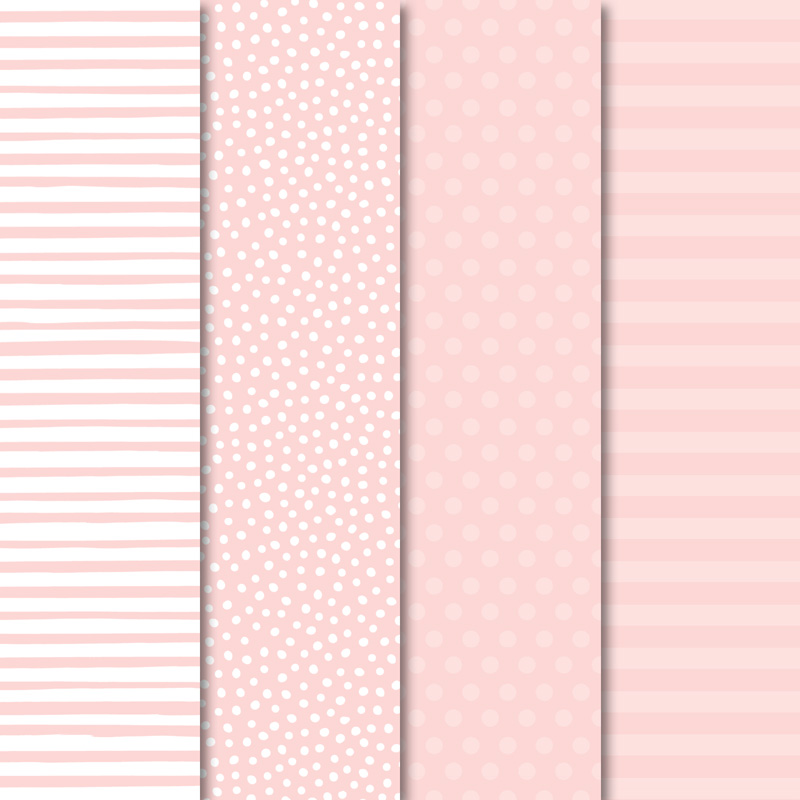
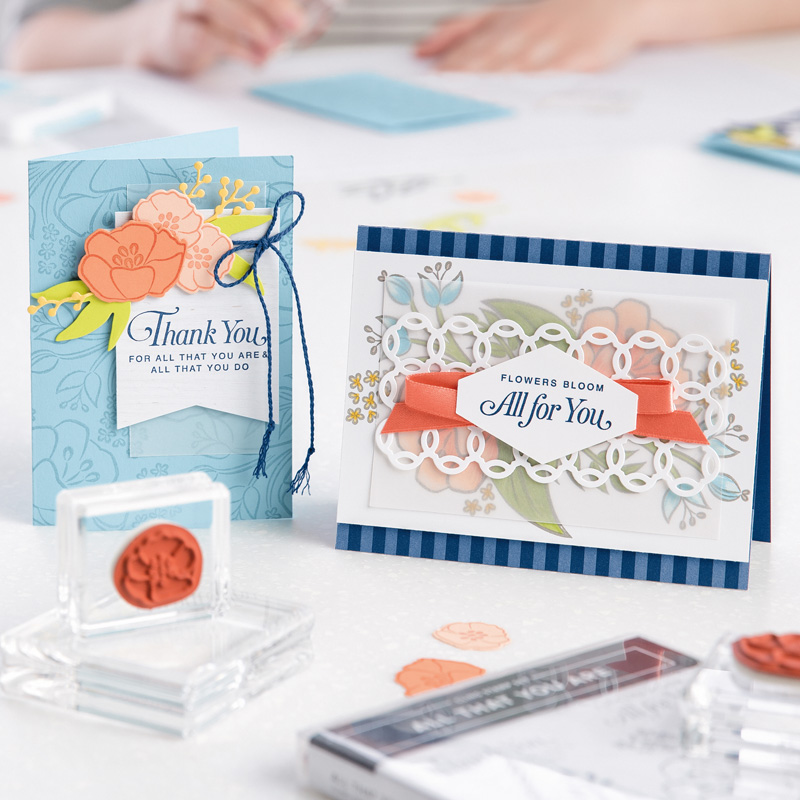
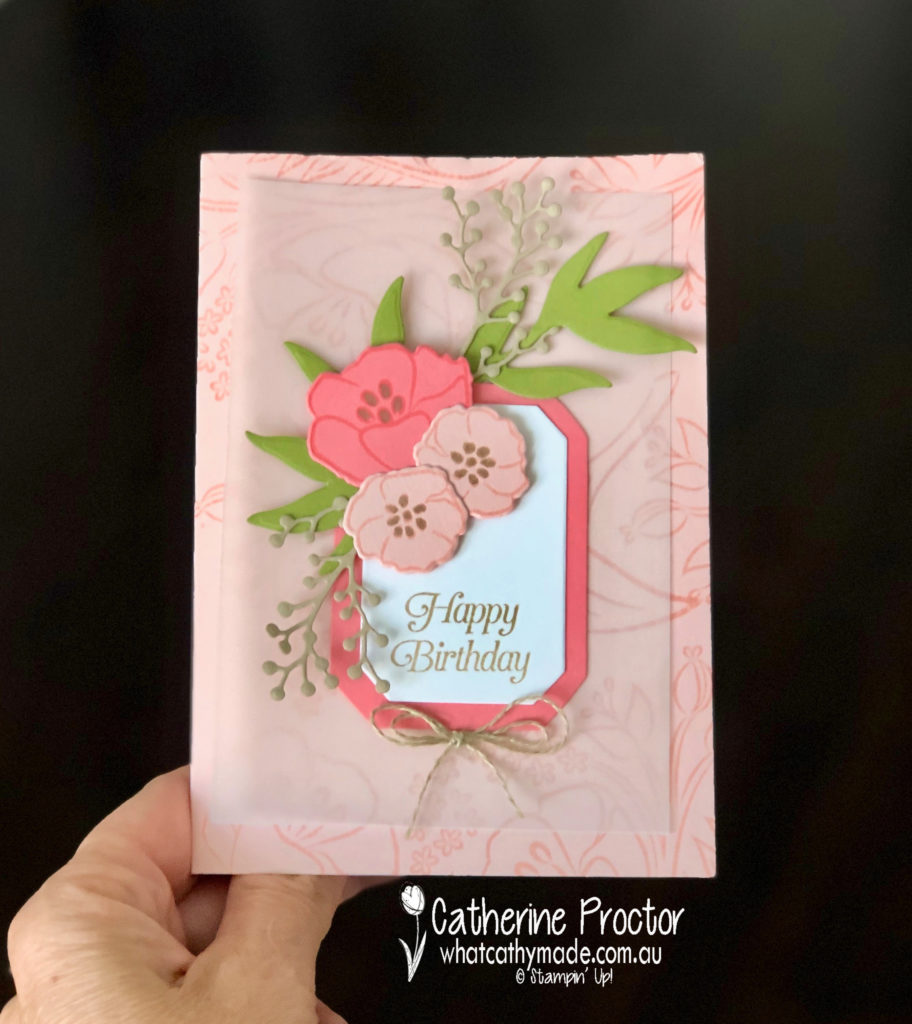
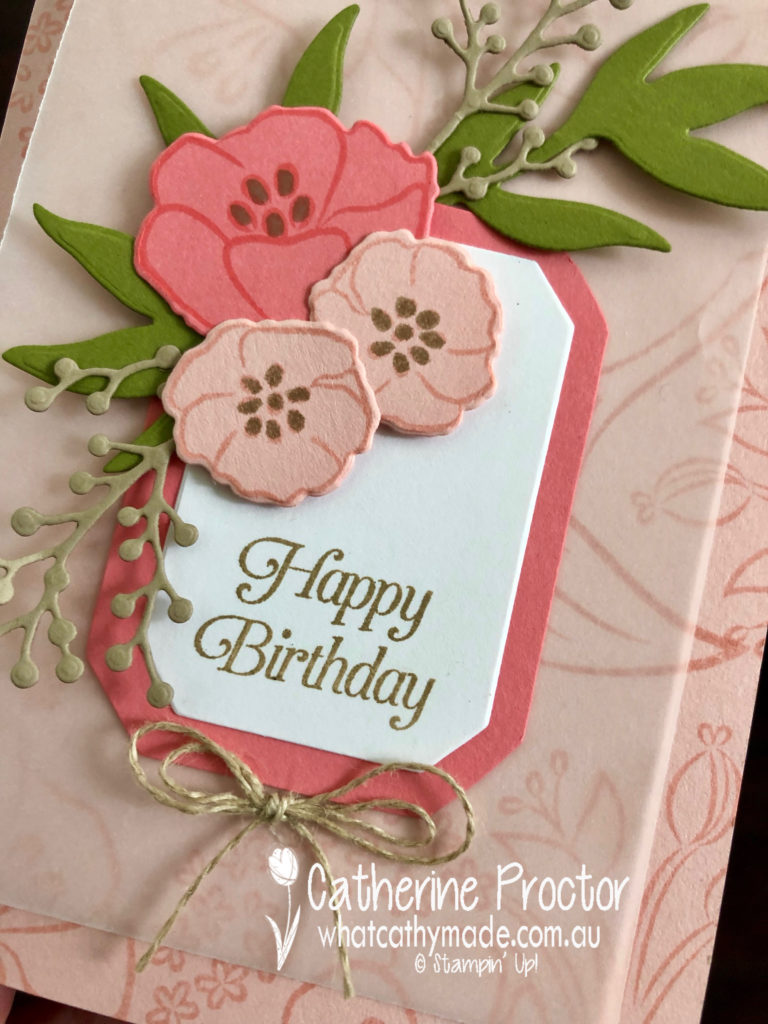
I was quite amazed when I looked at the Designer Series Paper to see which ones contained Powder Pink and I discovered nearly every single range used Petal Pink instead. So I decided instead to CASE a card from the Occasions catalogue that features the “All that you are.” I based my design on the card on the left in the picture below.
What I loved about this card was the background created by stamping all over the powder pink cardstock with powder pink ink. Its such a simple and effective technique and in both my card and the one I CASED the background is softened with a layer of vellum.
The lovely deep pink that co-ordinates with the powder pink is flirty flamingo and I die cut my leaves and foliage from old olive and crumb cake card stock using the co-ordinating frosted bouquet framelits.
The sentiment is also from the “All that you are” stamp set, stamped in crumb cake and then die cut using a die from the frosted bouquet framelits.
F
To see what the rest of the team have made click on the links below.
To purchase any of the products I used in this project you can shop with me here. Or if you’d like me to post you your very own copy of any of the Stampin Up! catalogues or find out about more about Stampin’ Up! contact me.
We will be back again next week showcasing one of the regal colours Pumpkin Pie! We hope you can along with us then.