Welcome to Week 13 of the Heart of Christmas blog hop.
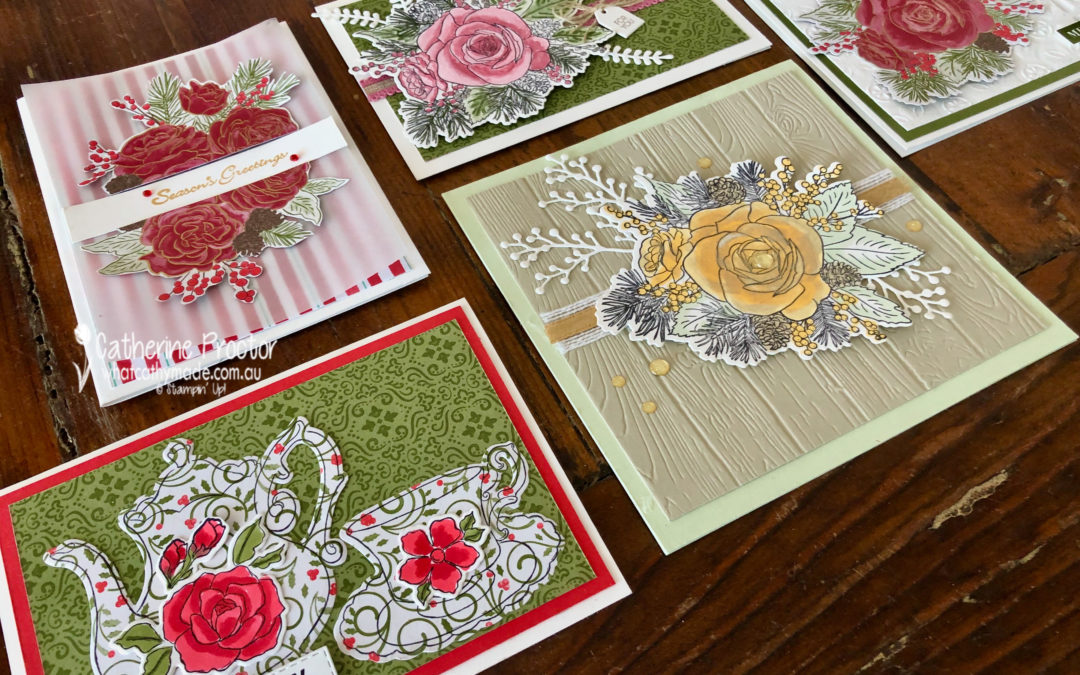
This week I’m sharing with you a variety of cards I’ve made using Stampin’ Up!’s brand new “Christmastime Is Here Suite”.
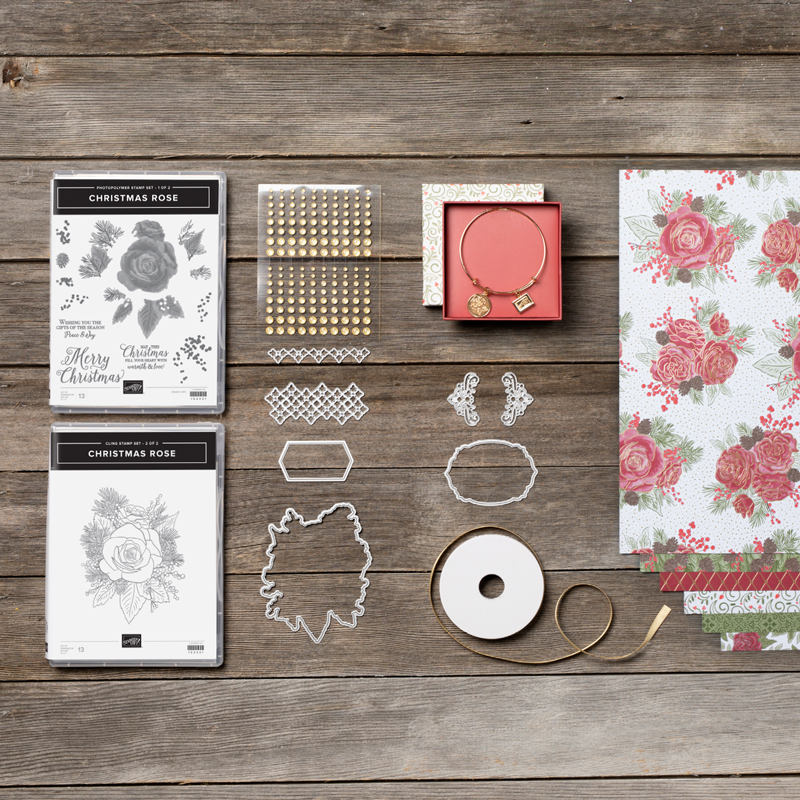
This suite is not in the Holiday Catalogue, but you can order it online here.
All of the products in the suite can either be ordered together or individually. This video gives you closer look.
Yes this is a Christmas suite, but the DSP patterns and the rose themed stamps and dies are also ideal for a variety of cards, including Christmas, birthday, Mother’s Day, thank you and sympathy cards.
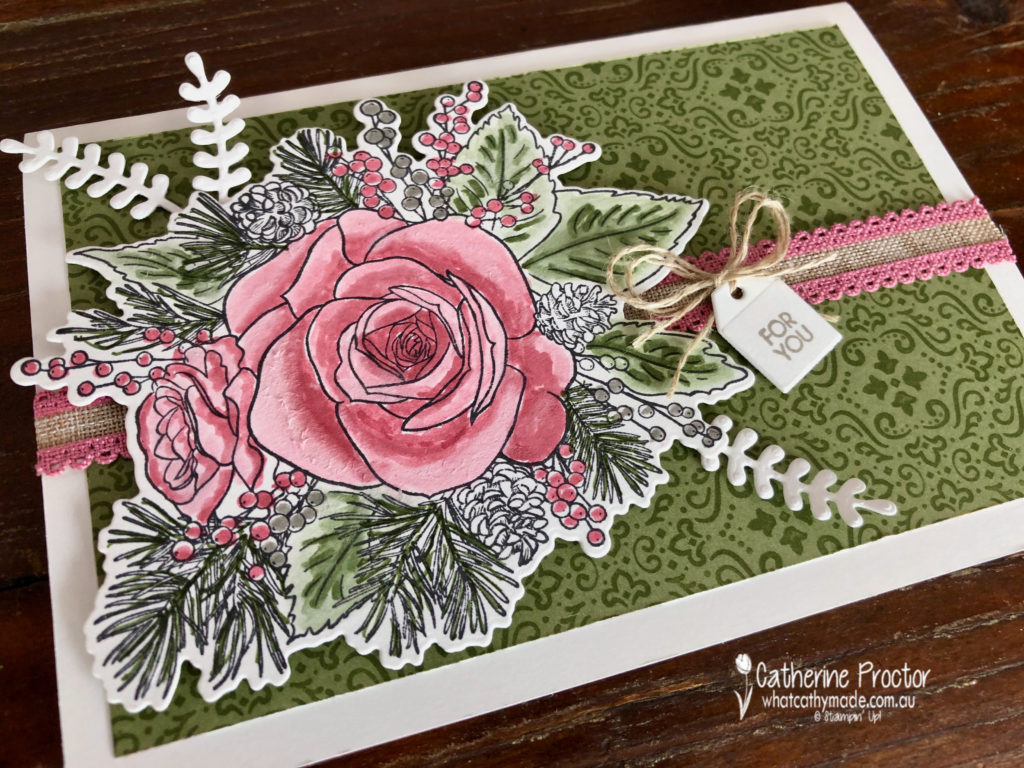
Card one is a “for you” card that I shared in a blog last week. Here it is again in case you missed it.
After stamping the rose image in Memento ink onto Whisper White card stock I used my marker pens in Rococo Rose, Mossy Meadow and Gray Granite to colour directly onto the stamped image and then I blended using the clear blender pen, NOT the stampin blends.
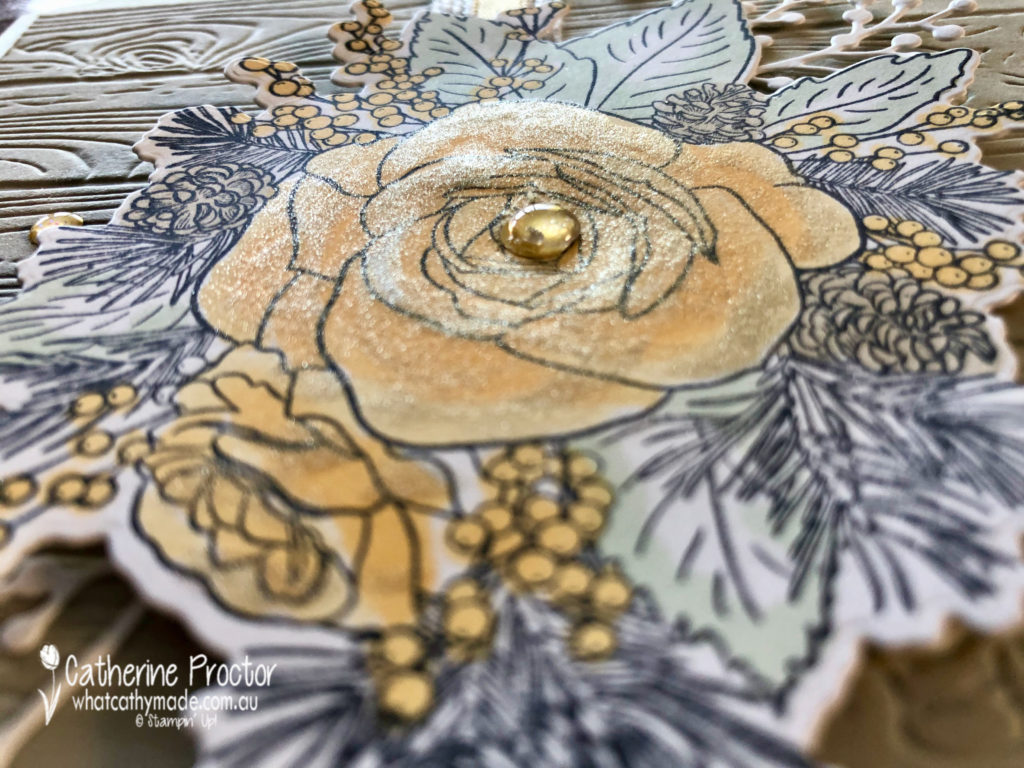
Card two uses exactly the same stamped image but colouring in with soft saffron and soft sea foam it gives it a totally different effect.
This time I made a square card and mounted the image onto a piece of Sahara Sand, embossed with the pinewood embossing folder.
I’ve also used the Gold 1/4″ (6.4 mm) Shimmer Ribbon and Gold Glitter Enamel Dots from the suite as well as branches die cut in Whisper White using the Frosted Bouquet dies.
I finished of with some Wink of Stella but did go a teeny weeny bit overboard, making my card very glittery!
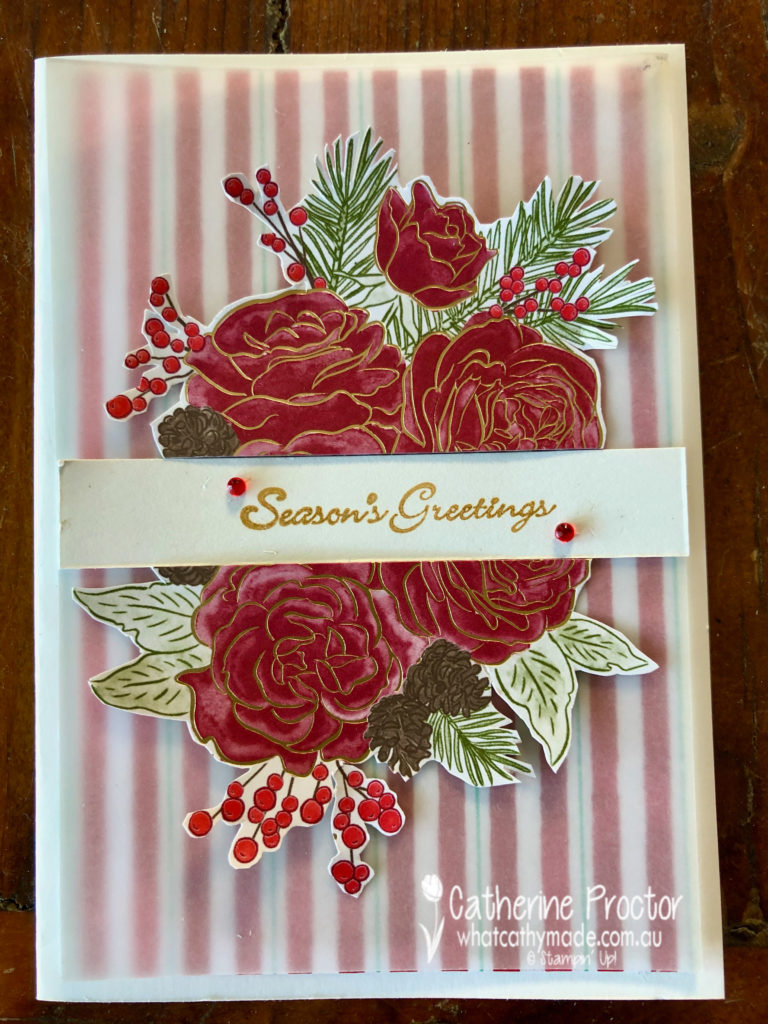
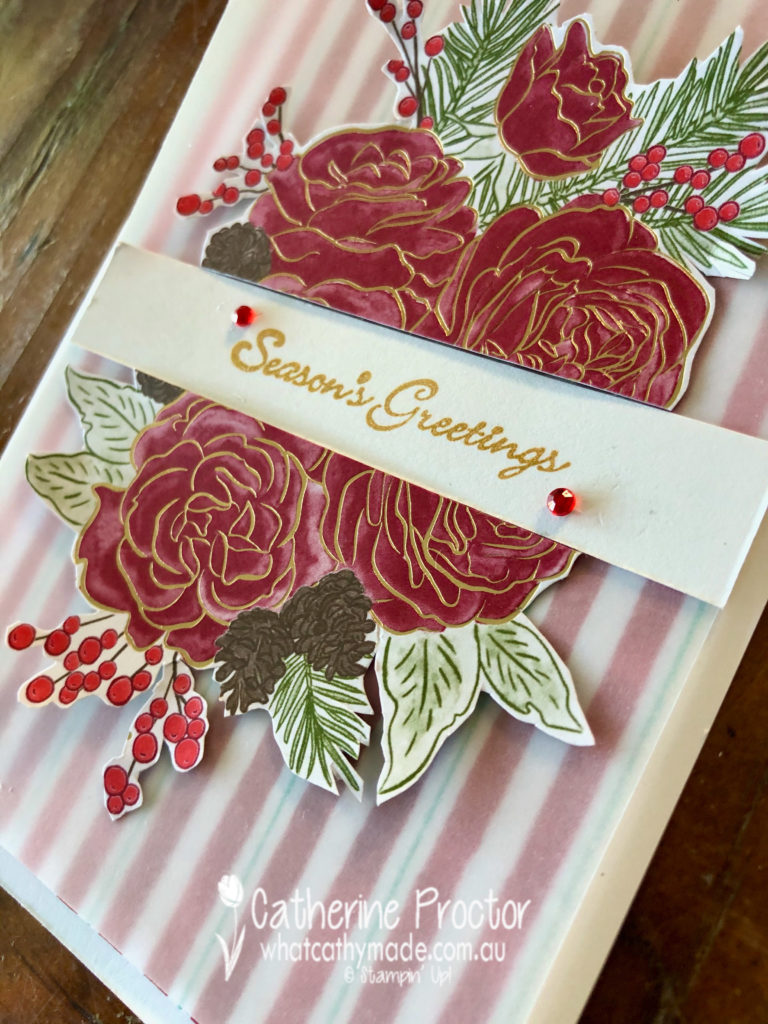
Card three is a Christmas card that uses a piece of Let it Snow DSP, overlaid with vellum. I fussy cut the image from the Christmastime is Here DSP, before cutting it in half to sit either side of the “Seasons Greetings” sentiment from Itty Bitty Christmas stamped in gold.
Red Rhinestones add a touch of bling and cover a smudge of ink!!!!
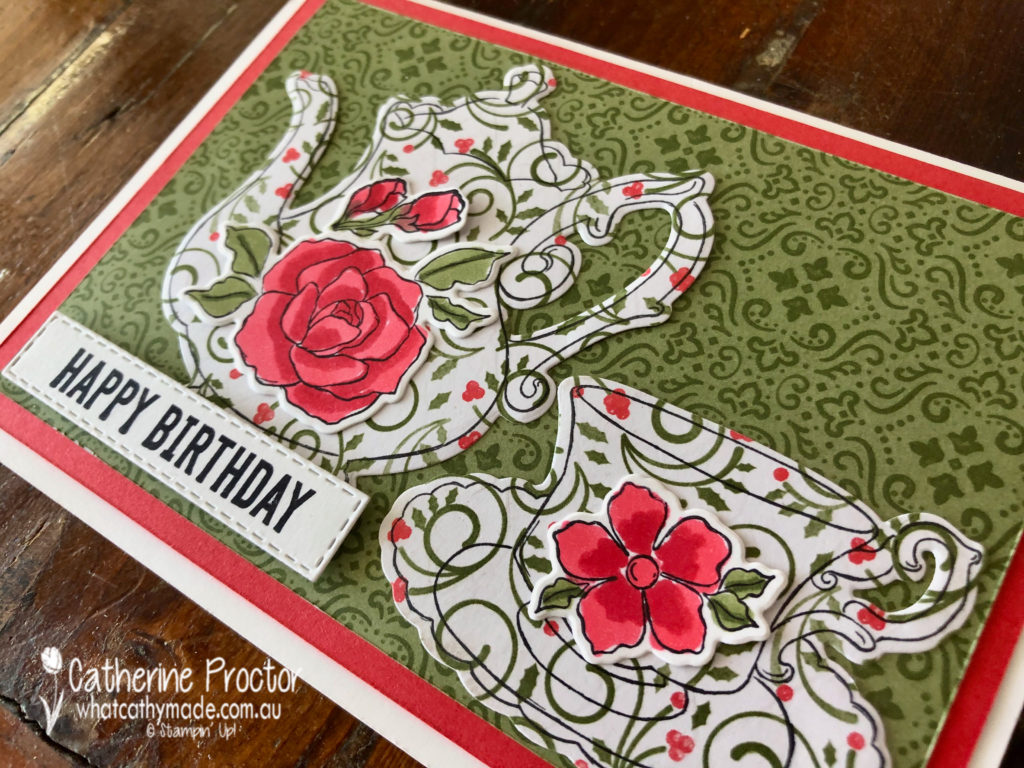
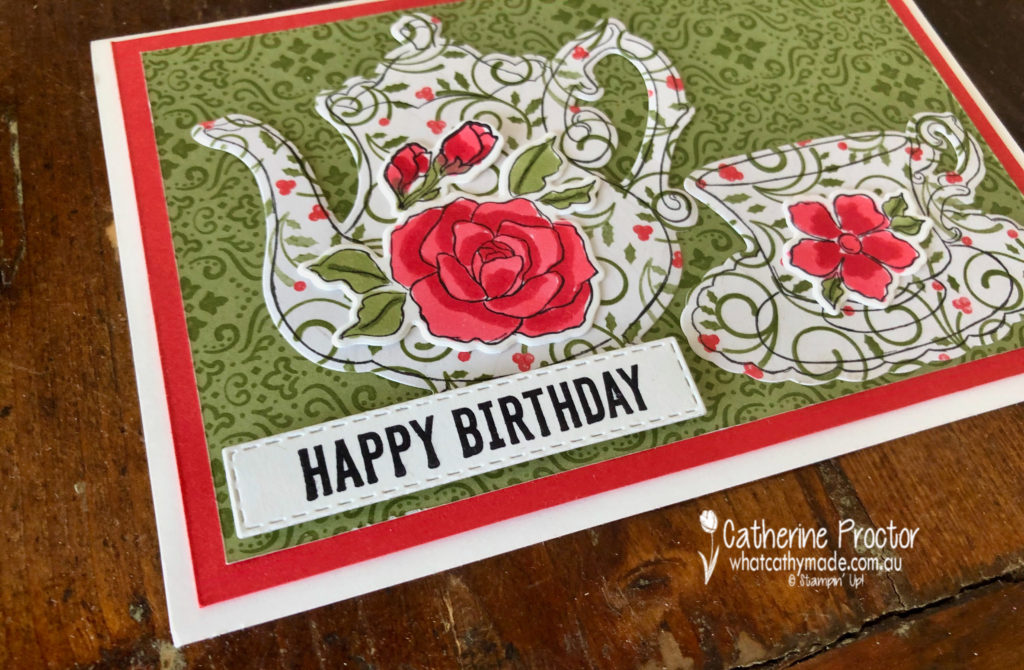
Card four uses two different patterns from the Christmastime Is Here DSP to make a birthday card that could very easily be used as a Mother’s Day card if I changed the sentiment.
I picked up on the Poppy Parade and the Mossy Meadow colours in the DSP and used my blender pens in these colours to colour in stamped flowers from the Tea Together stamp set. The teapot, cup and saucer were also stamped from this set and then all cut out using the matching dies.
The happy birthday sentiment is from the Itty bitty Birthdays stamp set die cut out with my stitched rectangle dies.
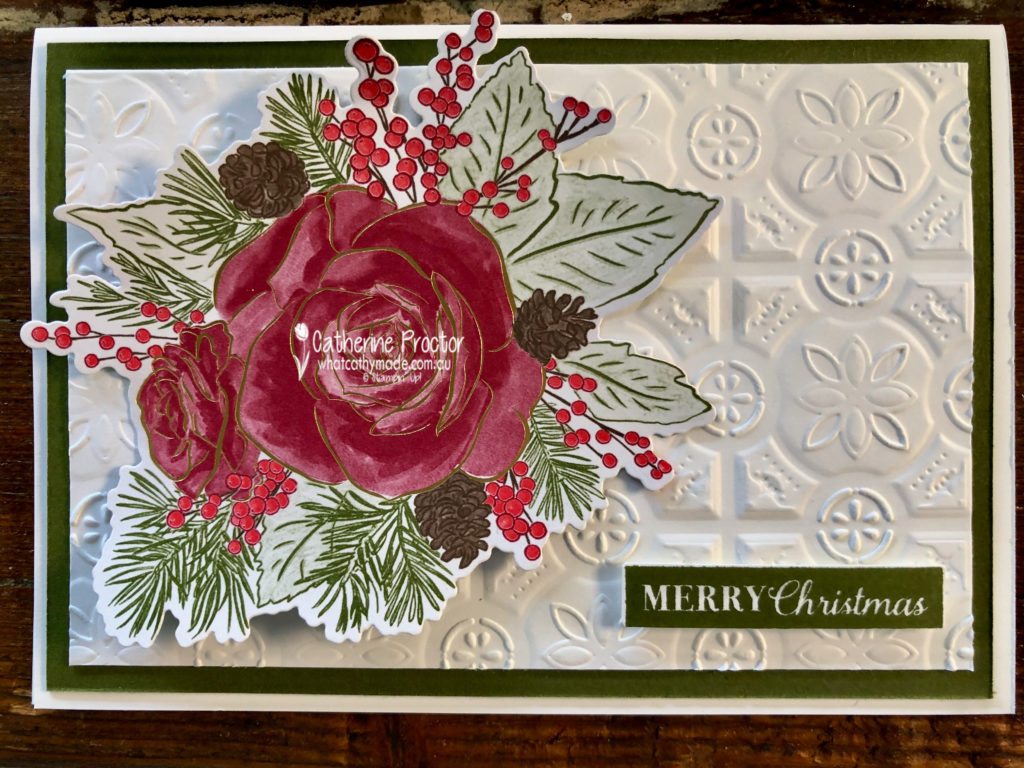
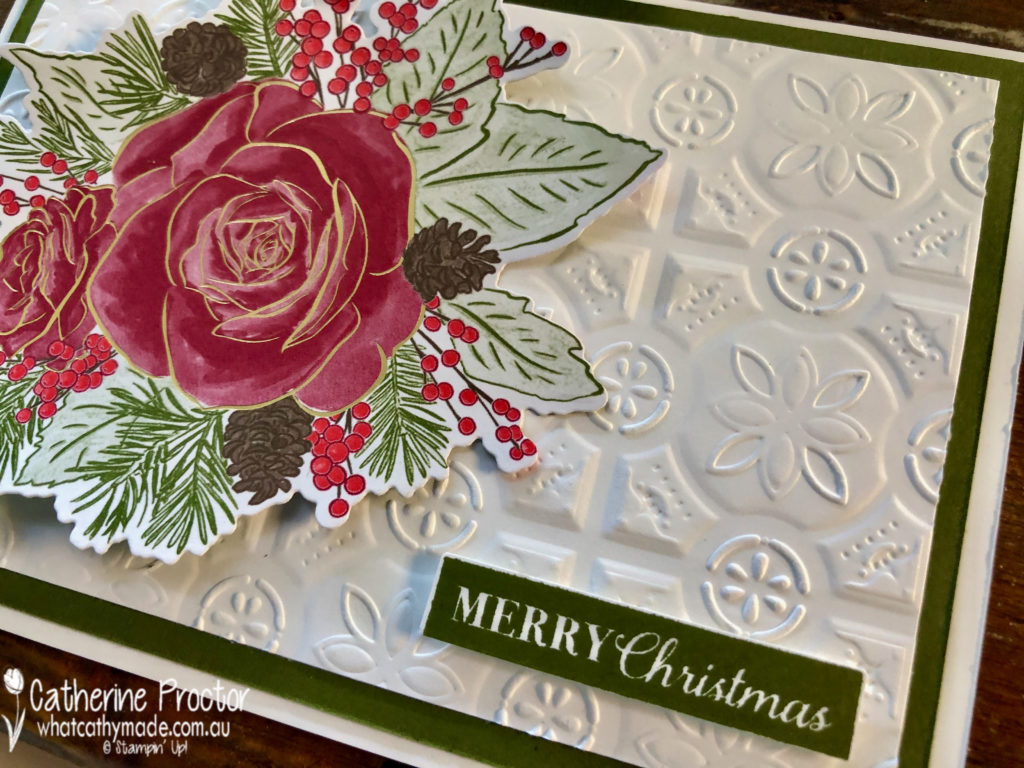
My final card is another one I shared with you last week and perhaps the most traditional of the lot – a Merry Christmas card.
I simply die cut out the image from the DSP , using the same die that I used to cut out my stamped rose in the other cards. Very quick and super easy.
The lovely Judy May is hosting our Heart of Christmas blog hop this week – to see what the rest of the team have made this week you can visit Claire’s page here.
To purchase any of the products I used in this project you can shop with me here.
If you’d like me to post you your very own copy of the brand new 2019 Stampin Up! Holiday Catalogue, the 2019-20 Stampin Up! annual catalogue or to simply find out about more about Stampin’ Up! contact me.
Welcome to week five of the 2019 Heart of Christmas blog hop!
This week I’ve decided to challenge myself to use three different embossing folders to create my Christmas cards. I often to forget to use my folders because I’m so focussed on DSP, stamps and dies, which is really silly because embossing folders are so quick and easy to use.
With so many beautiful designs to chose from, can you guess which three I chose?
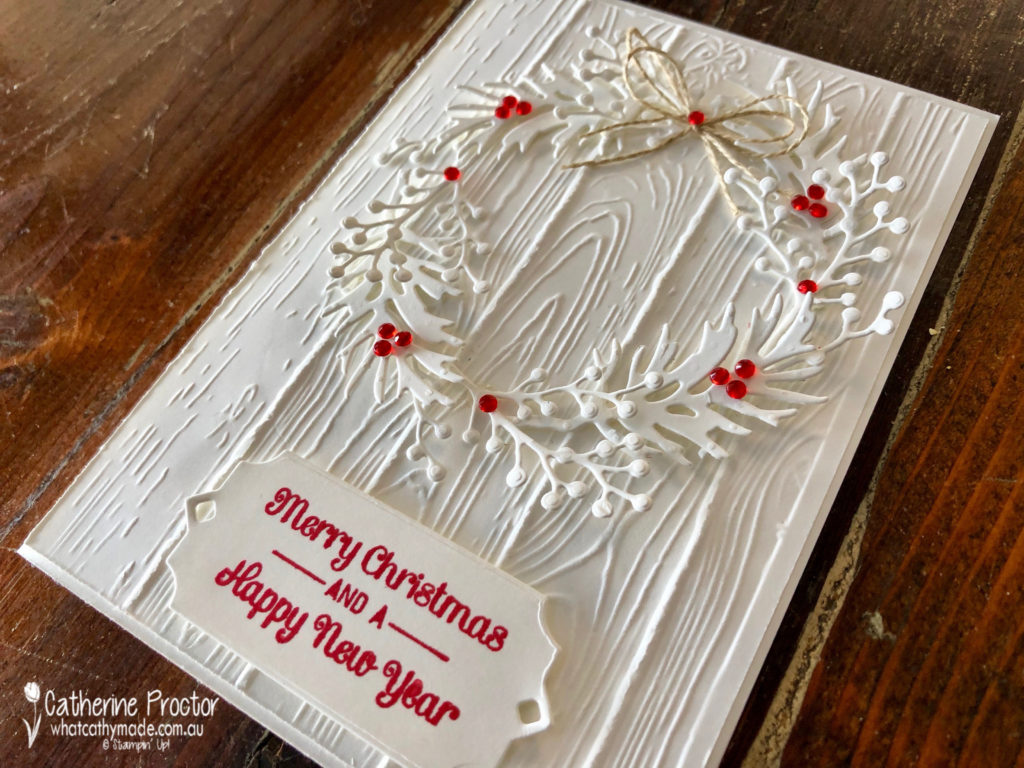
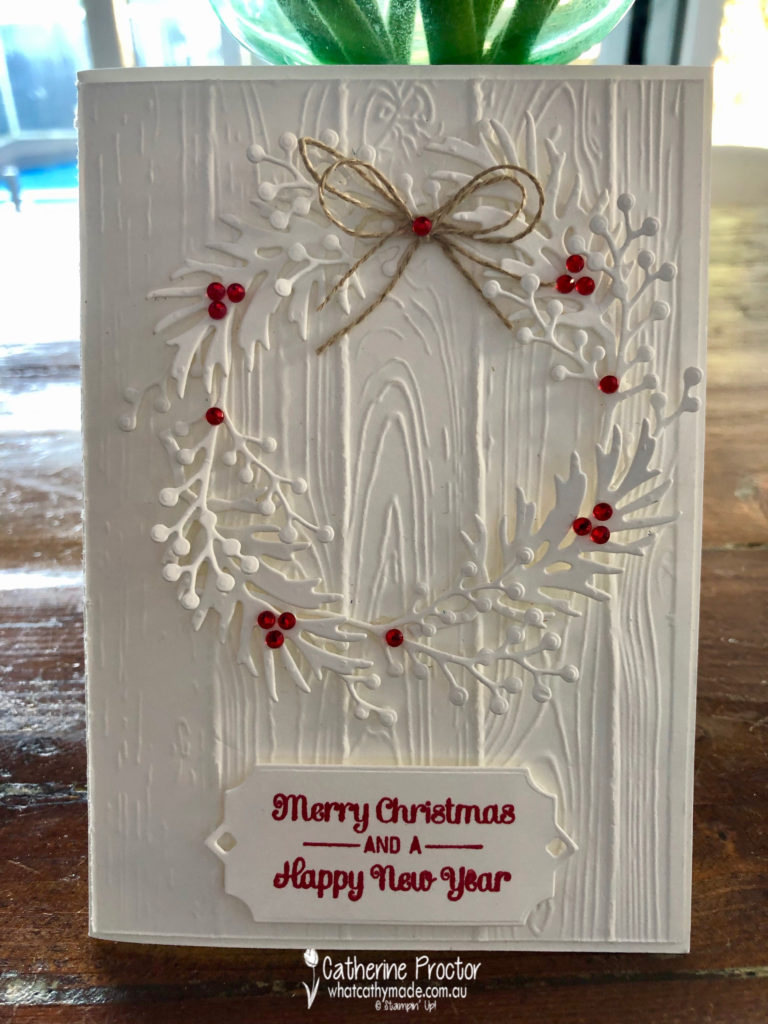
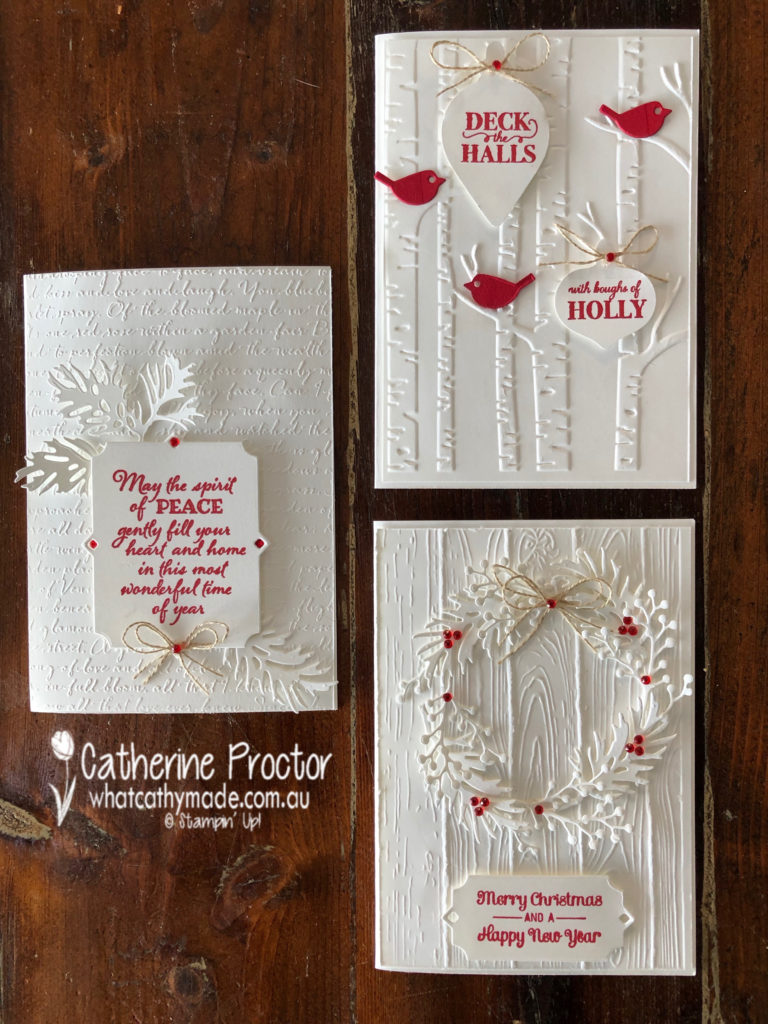
For my first card I used the Pinewood Planks embossing folder, which can be used either way up.
The wreath is made using a combination of dies from the Frosted Bouquet Dies and the Beautiful Boughs Dies.
How cute is that sentiment? It’s from the Itty Bitty Christmas Stamp set – I’m so glad I got this set. It has been die cut with the stunning frame from the Beautiful Boughs Dies.
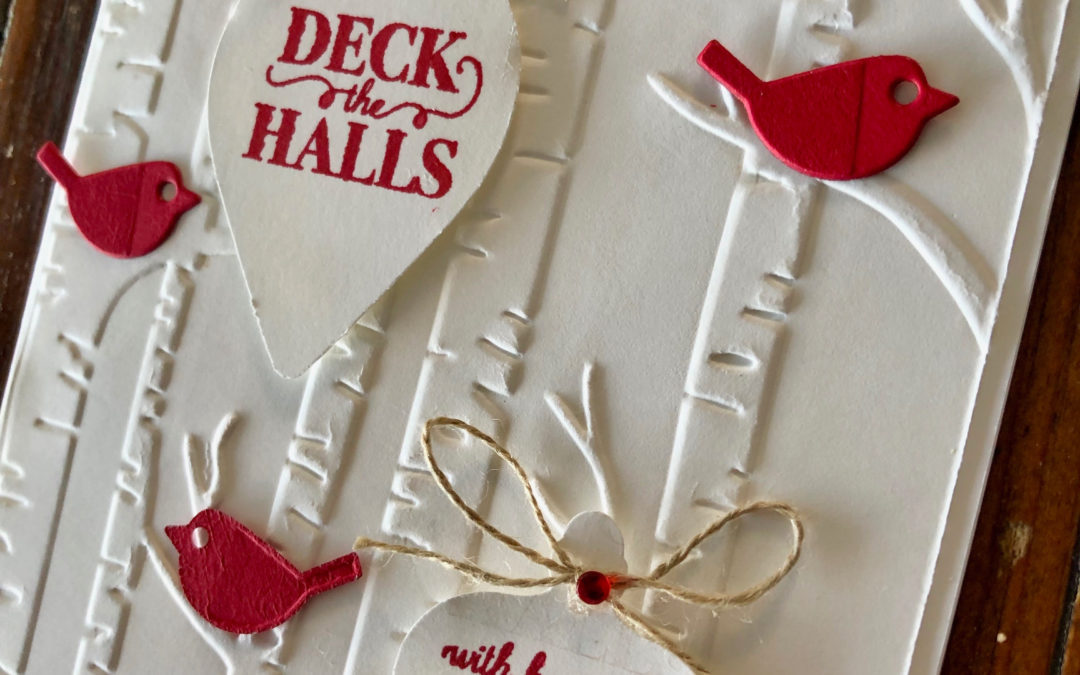
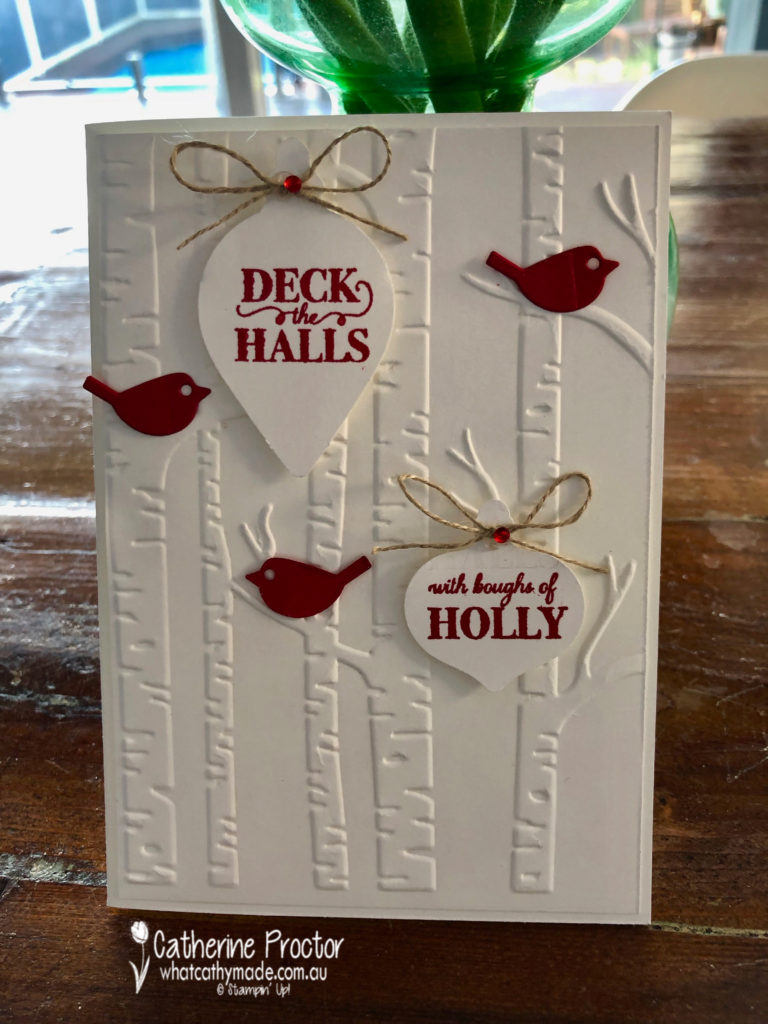
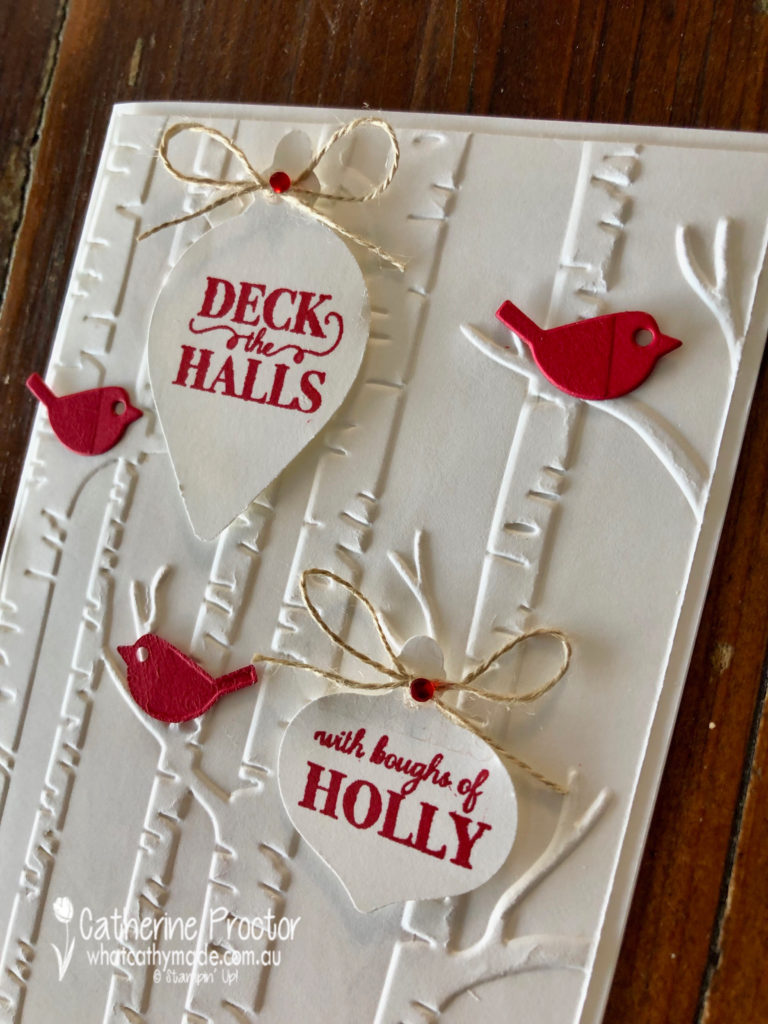
Card two continues the red and white theme, this time with the Woodland Embossing folder. Those branches were just crying out for some little birds – you might have overlooked these, they are in the Well Written die set.
The two baubles were punched out using the Gleaming Ornaments punches and then stamped with a stamp from the coordinatiing Christmas Gleaming stamp set.
To split the sentiment in half you can cut your stamp with scissors or do what I did and mask one side of your stamp with washi tape before inking up. Before you stamp, remove the washi tape and then stamp your image. Mask up the other side of your stamp with washi tape, ink your stamp, remove the washi and then stamp the other bauble.
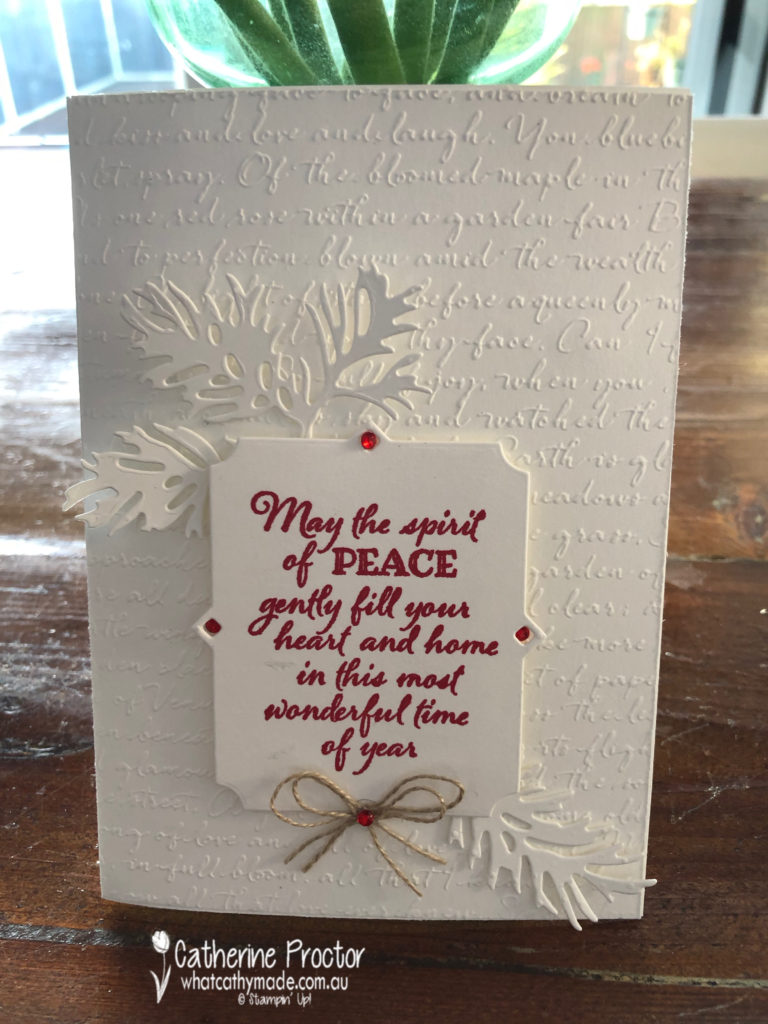
My final card uses the Scripty 3D embossing folder, topped with a sentiment from the Peaceful Boughs stamp set, die cut with the largest frame from the Beautiful Boughs Die set.
Here’s a close up of this gorgeous frame and the boughs I’ve die cut with the Peaceful Boughs Dies set. Can you see the lovely script effect this embossing folder gives?
All my cards this week are finished off with a bow (or two) of linen thread and some red rhinestones.
These cards were quick and easy to make and I really love how the embossing folders add so much dimension and texture while also allowing me to make very clean and simple cards.
I will definitely be reaching for my embossing folders more often!
The lovely Claire Daly is hosting our Heart of Christmas blog hop this week – to see what the rest of the team have made this week you can visit Claire’s page here.
To purchase any of the products I used in this project you can shop with me here.
If you’d like me to post you your very own copy of the brand new 2019 Stampin Up! Holiday Catalogue, the 2019-20 Stampin Up! annual catalogue or to simply find out about more about Stampin’ Up! contact me.