Welcome to week ten of our Art With Heart 2025-26 Colour Creations Insta hop!
This week we’re celebrating Blackberry Bliss, a bold and dramatic, rich, deep purple hue.
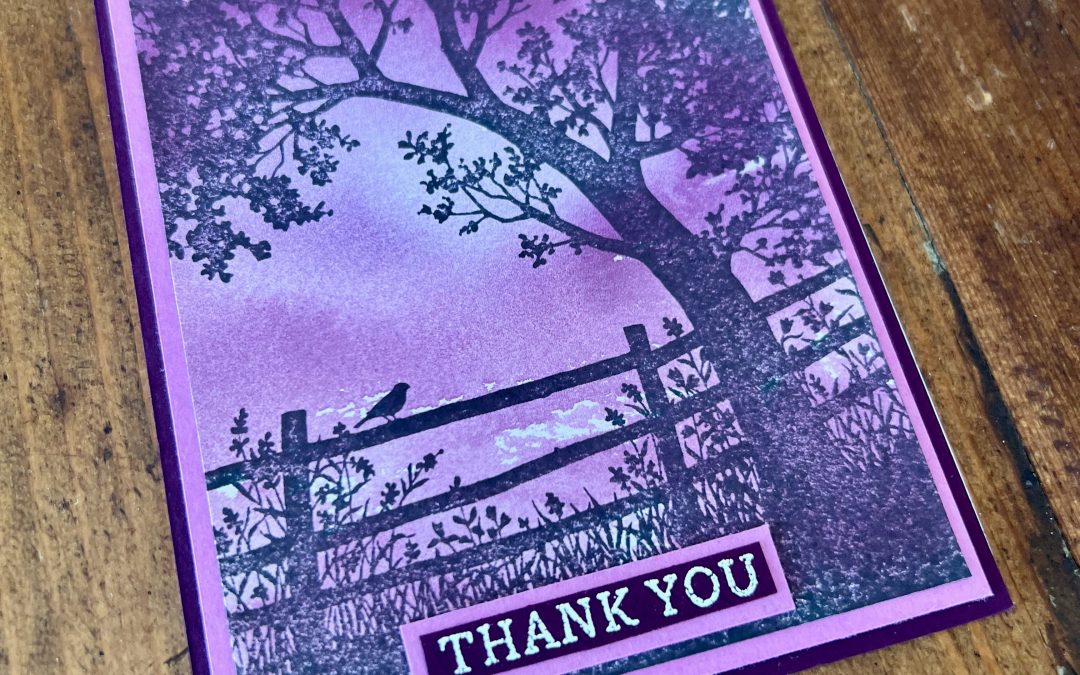
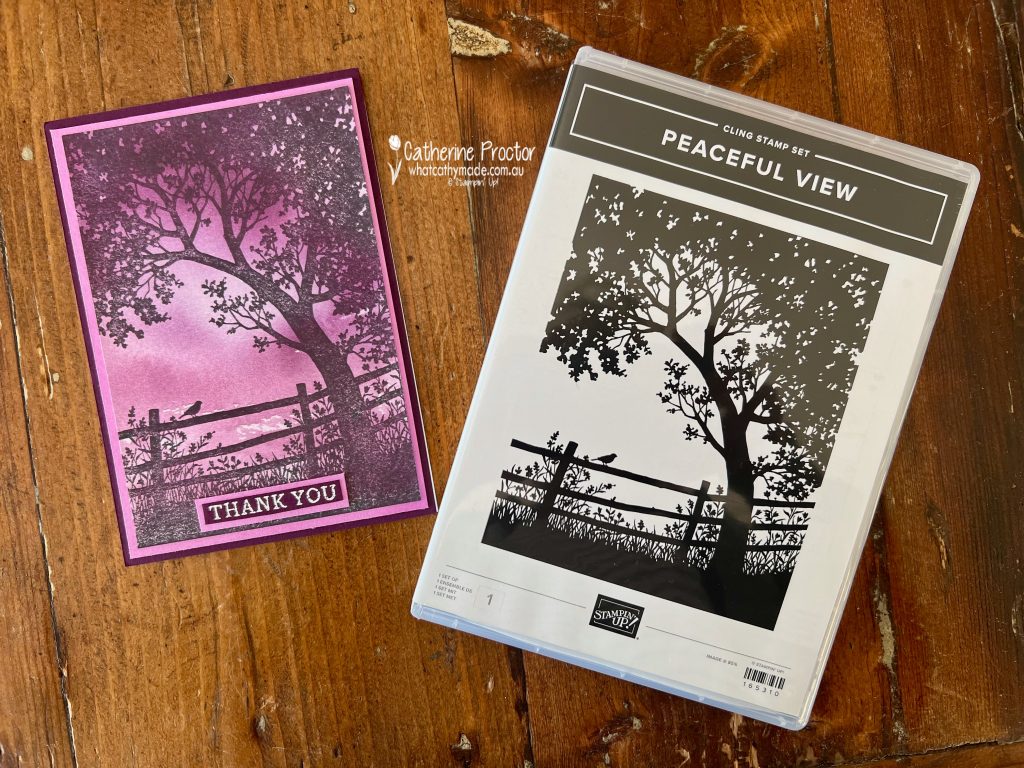
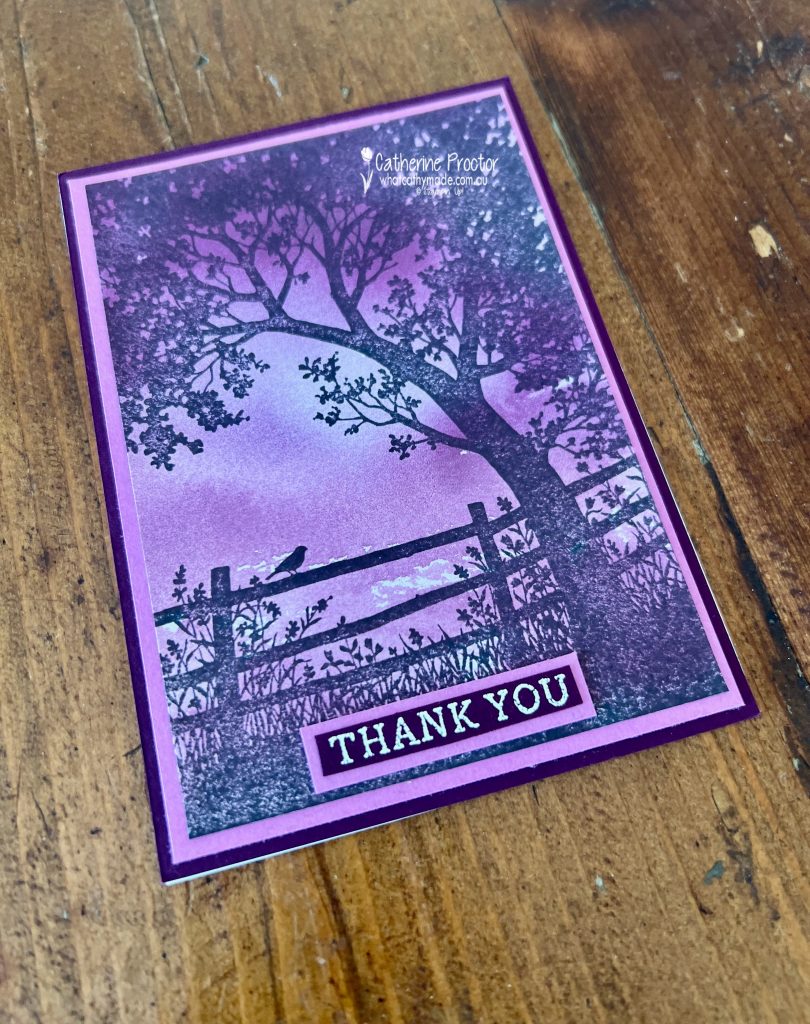
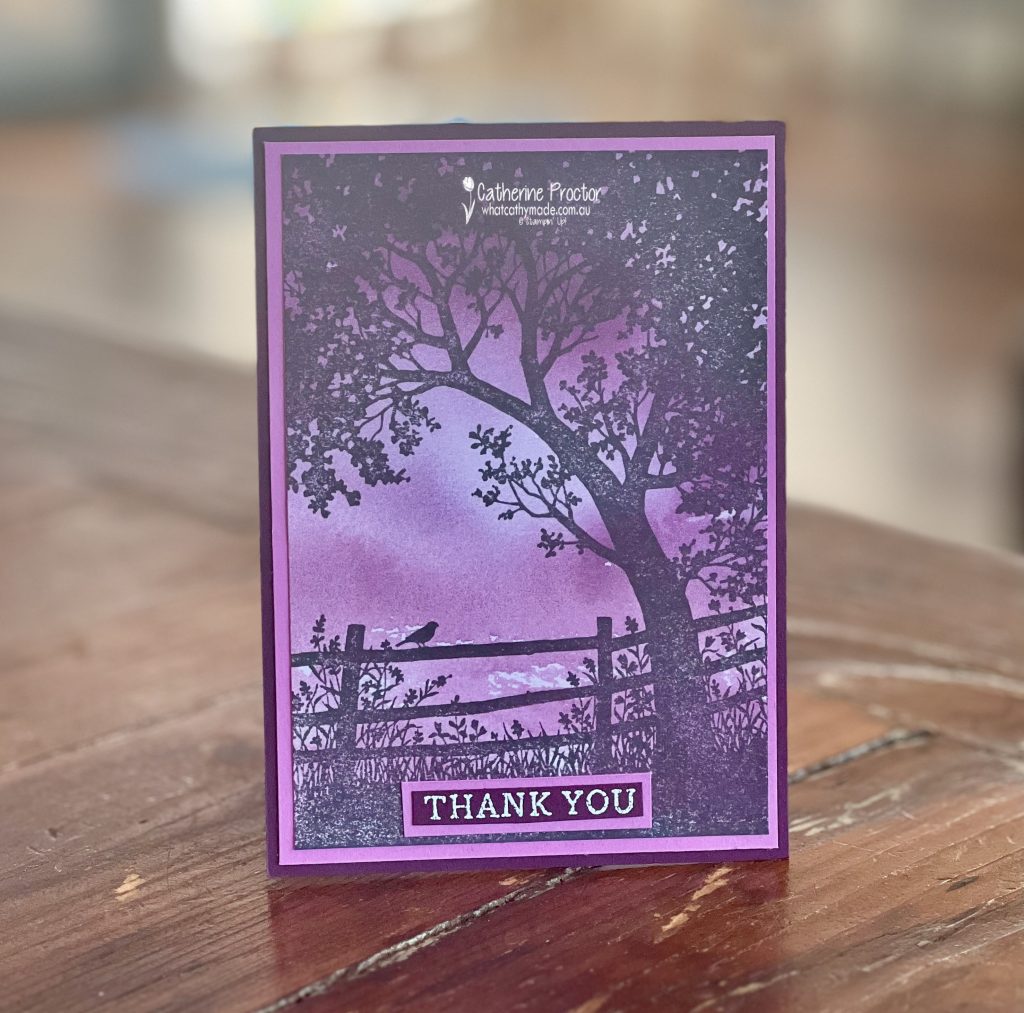
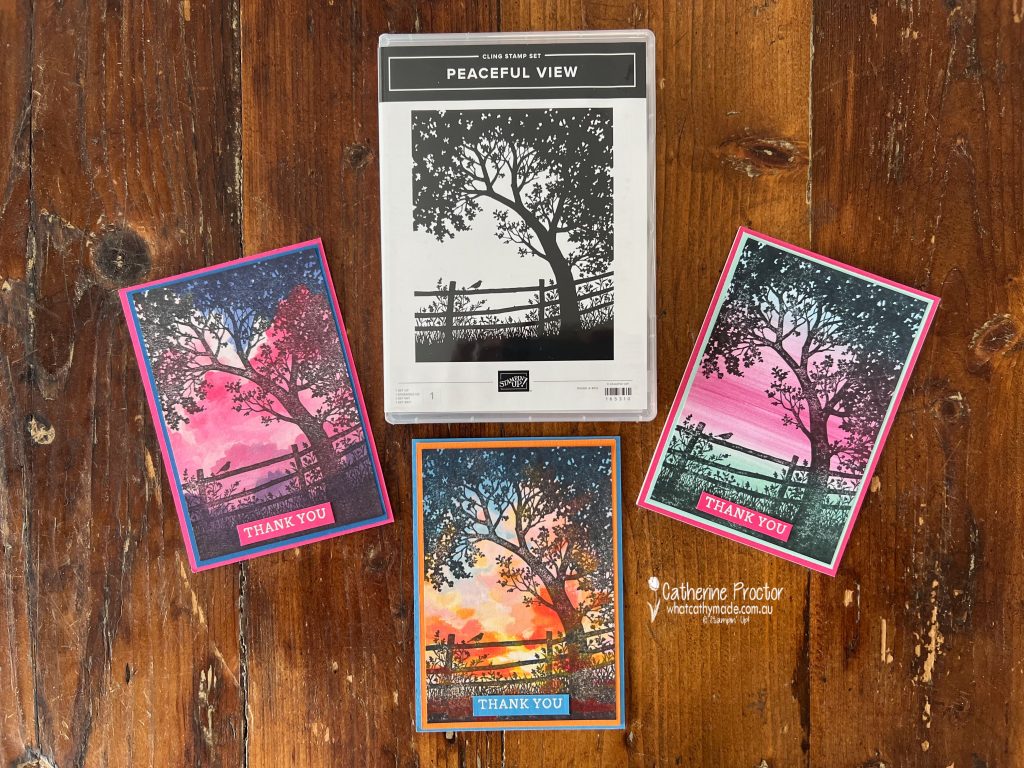
Cardmaking doesn’t get any simpler than my card this week! I’ve used a large background stamp (Peaceful View) to stamp a sheet of DSP to create a peaceful sunrise/sunset scene.
My simple stamping card is so quick and easy to make, showcasing Blackberry Bliss with this stunning sheet of Thoughtful Journey 6″ x 6″ (15.2 x 15.2 cm) Designer Series Paper DSP. It’s simply perfect to use as a background for the Peaceful View Stamp set.
Taking my colour inspiration from the DSP, I’ve combined Blackberry Bliss with Petunia Pop and Basic White. The “Thank you” sentiment is from the Simply Said stamp set, heat embossed in white on a strip of Blackberry Bliss cardstock.
This is a tent fold card with a Basic White card base, so it stand up beautifully for display.
More Peaceful View Inspiration with Everyday Skies DSP
Although these cards don’t feature Blackberry Bliss, I just wanted to show you how lovely the Peaceful View stamp looks when stamped onto various sheets from the Everyday Skies DSP.
Simply chose two of the colours in the DSP to layer behind the DSP and your card will look coordinated every time!
Take a look at some more Blackberry Bliss inspiration on our Insta Hop!
Our blog hop is now an Instagram hop but the good news is that you don’t need to have an Instagram account to view all of the other projects!
Simply copy any of the Insta handles below into a new search window to follow the Instagram hop at any point.
Next in our hop is Andrea @andreaksargent. Be sure to check out her gorgeous project/s.
Here’s the full list of this week’s InstaHop:
Andrea @andreaksargent
Kirsty @crafty.littlemiss
Helen @apaperparadise
Kate @craftwithkate
Leanne @createwithleanne2
Rachel Woollard @handstamped_by_rachel
Vicki @vickiboucher
Sharon @sharondaverncreates
Cathy @whatcathymade – you are here!
We’ll be back next Wednesday when we are showcasing Blueberry Bushel.
I’m finally back with our Wednesday evening AWHT Colour Creations Hop and so glad you are here. In my absence we have made a change to how we are showcasing the full range of 50+ gorgeous Stampin’ Up! colours by moving from a blog hop to an Instagram hop.
I’ll continue to post my cards here as well, however if you want to follow along the blog hop you’ll need to visit my Instagram account 8pm on a Wednesday evening at @whatcathymade (https://www.instagram.com/whatcathymade/).
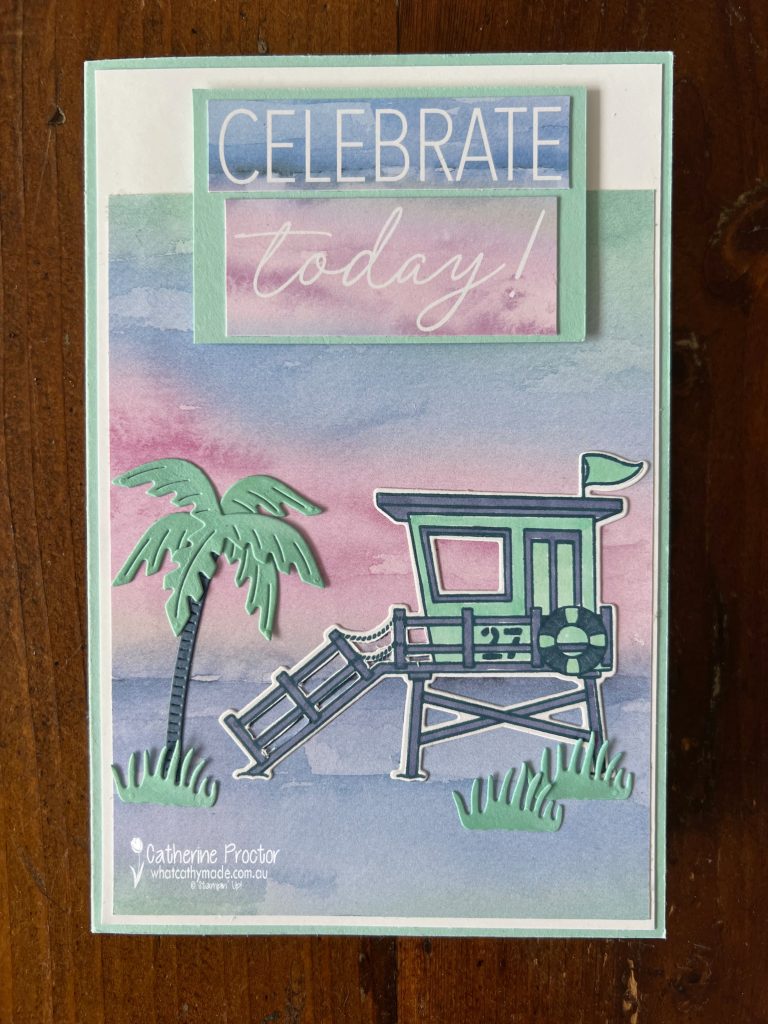
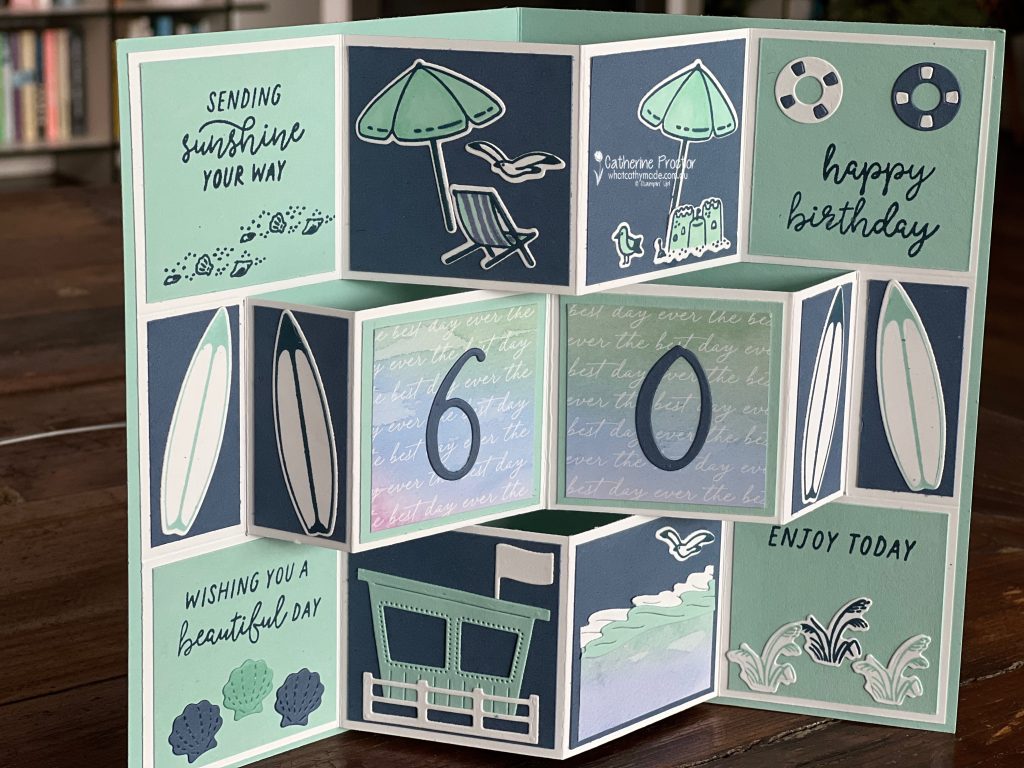
Our colour this week is Pool Party, a favourite colour of mine and just perfect for making a birthday card for my husband who turns 60 this week!
I’ve taken my colour combination from the sheet of gorgeous Thoughtful Journey 6″ x 6″ (15.2 x 15.2 cm) Designer Series Paper I’ve used for the front of the card, combining Pool Party with Misty Moonlight, Basic White and a touch of Petunia Pop.
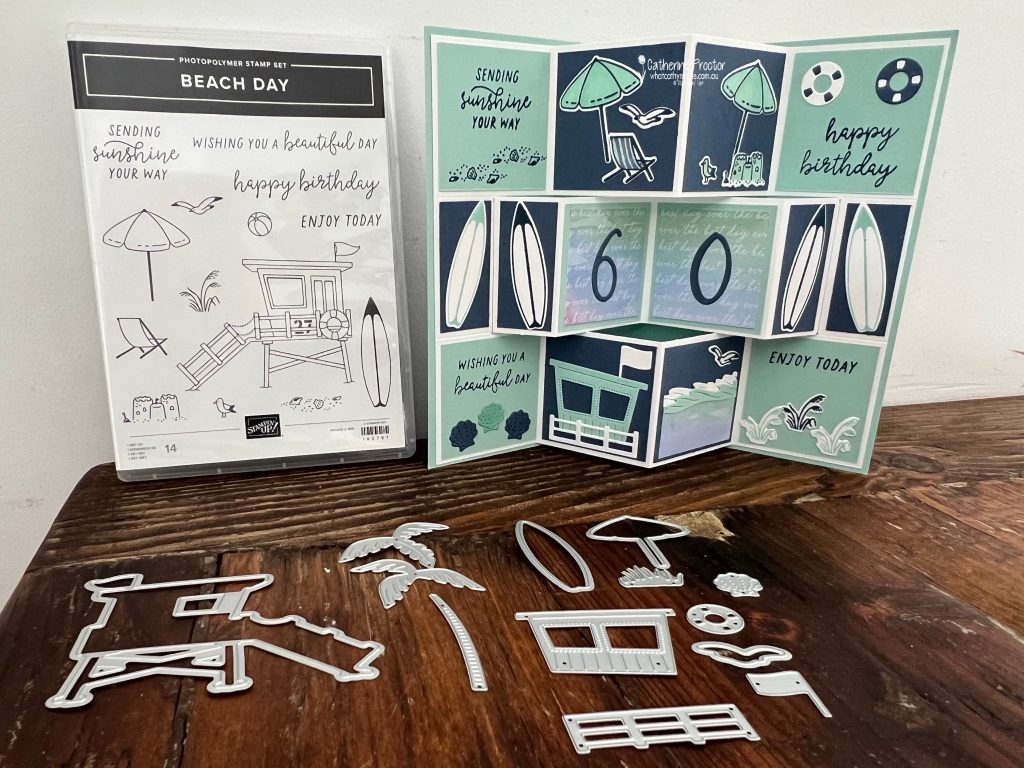
My husband loves to surf so the Beach Days bundle was just perfect for his birthday card. And as it is a special birthday that ends with a zero I decided to make a fancy fold.
This short video shows you the magic that happens when you open up the card!
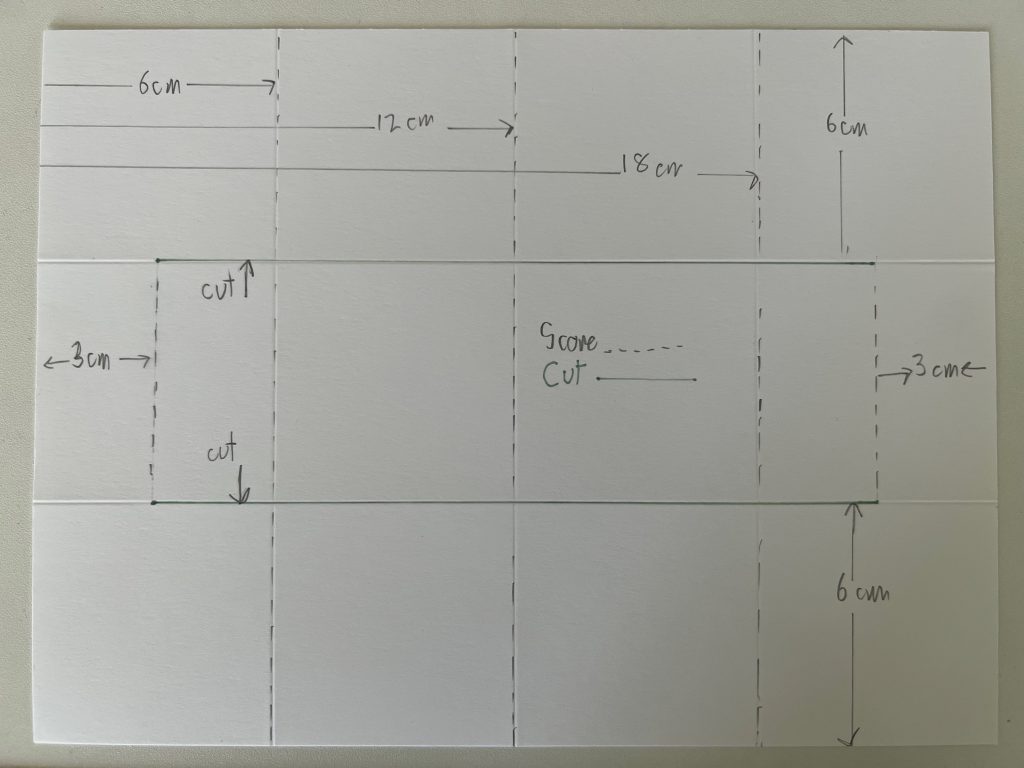
If you’ve never made a Trifold Shutter Card before, here’s a template I’ve created using metric measurements and A4 cardstock.
Trifold Shutter Card Template
Cut a piece of Pool Party cardstock (this is the outside card base) 24.5 cm wide x 18.5 cm high.
Score the outer card base at 12.25 cm along the 24.5 cm side and then fold in half along this score line.
Cut a Basic White inner card base (for the fancy fold) 24 cm wide x 18 cm high.
Score the inner card base at 12 cm and then fold in half along the score line.
Measure and draw with a pencil the cutting lines as per the template diagram below then carefully cut along these cutting lines.
Now measure and score all of the fold lines and then rub out any pencil marks.
Decorate each panel as desired.
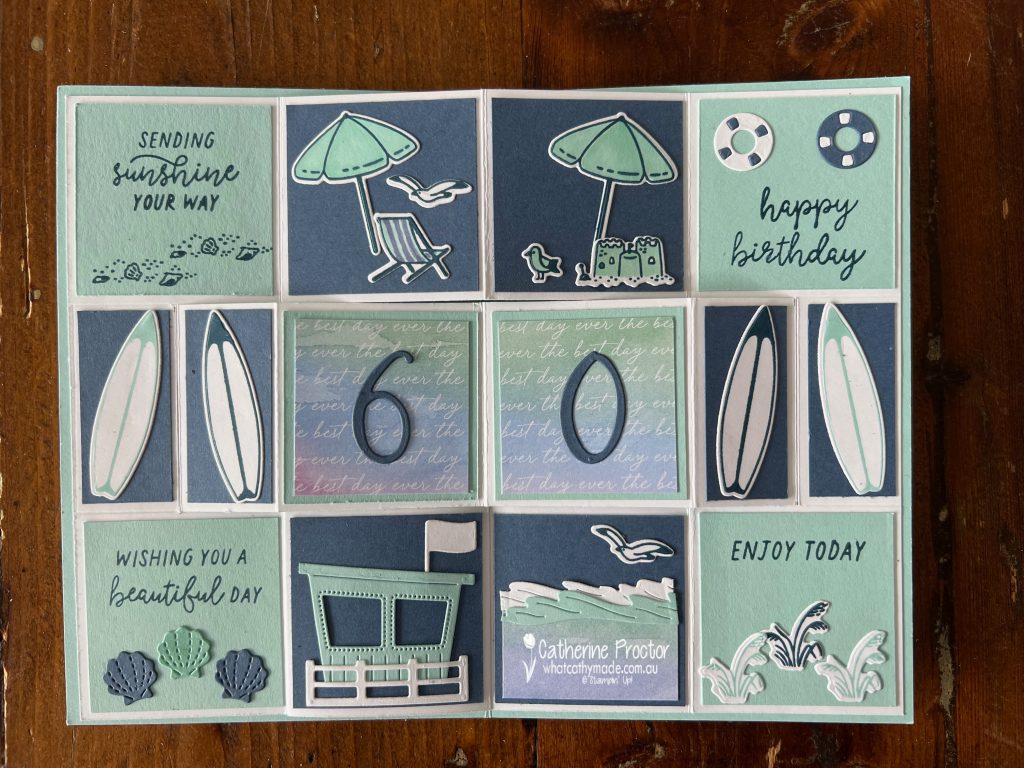
This photo shows the direction to fold the score lines. I cut the larger Pool Party and Misty Moonlight cardstock layers for the panels at 5.5cm square. The smaller cardstock panels behind the surfboards measure 5.5 x 2.5 cm.
I’ve decorated the inside of the card using stamps and dies from the Beach Days bundle.
Using Post It notes to mask off sections of my stamps as I inked them up (you then remove the Post It note before stamping), allowed me to stamp the “happy birthday” sentiment inside the card to fit onto one of the panels.
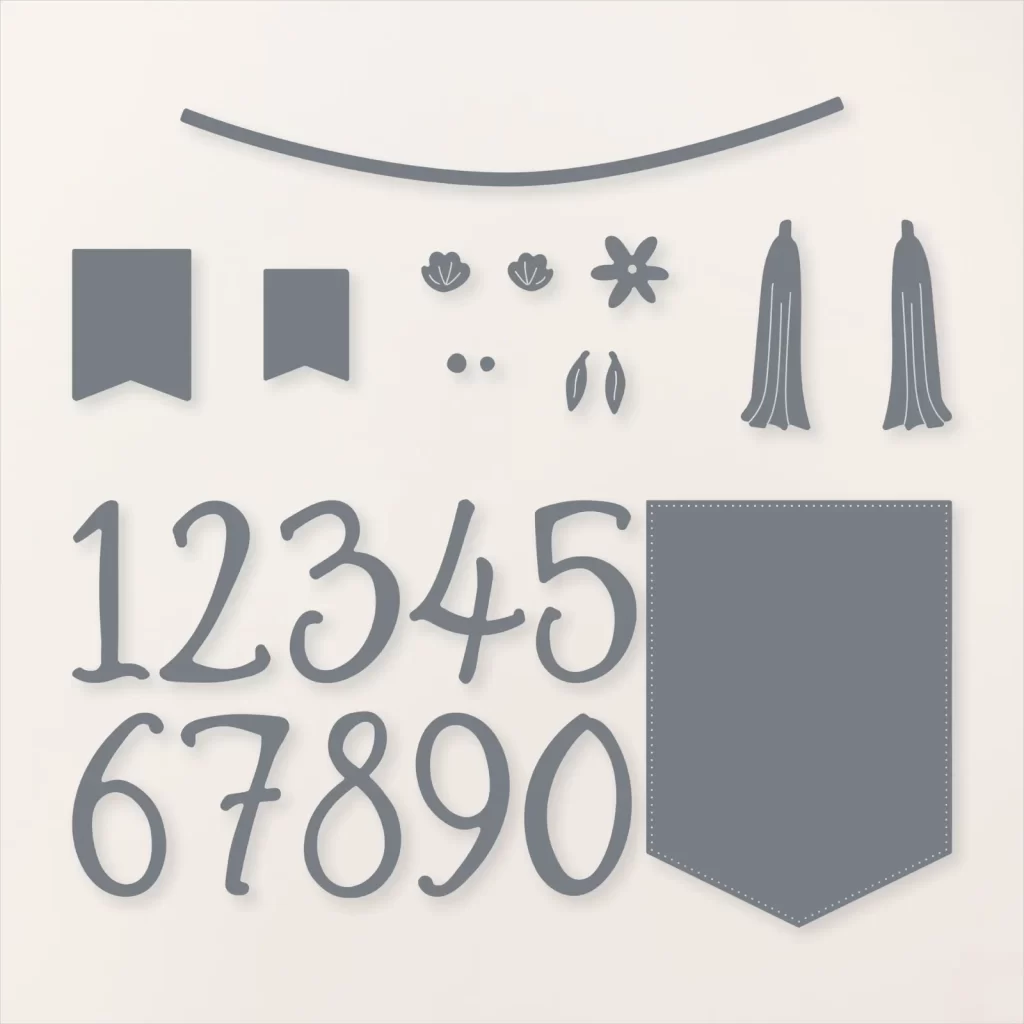
The 60 inside the card has been die cut using the brand new Birthday Celebration Dies.
After decorating the inside of your trifold shutter card, adhere it to the Pool Party card base. Make sure you only adhere the left and right sections of your fancy fold to the inside of your card base so the middle section of your trifold shutter card can open and close.
I’ve also used some of the Thoughtful Journey Memories & More Cards to decorate the front and the inside of the card and the handmade envelope.
The challenge for Day 22 of the 30 Day Christmas Card Making Challenge is a colour combination: Soft Lavender, Midnight Blue and Silver.
I’ve chosen Night of Navy, Fresh Freesia and Silver Foil for my Christmas card.
The Grove Dies were used to die cut night of Navy card stock to create the forest frame and to die cut the two deer from silver foil.
The background DSP with the touch of Fresh Freesia comes from the Thoughtful Journey 6″ x 6″ (15.2 x 15.2 cm) Designer Series Paper. I’ve used this stunning watercolour scene.
The silver heat embossed sentiment comes from the Peaceful Season stamp set. I’ve only used the first half of the sentiment.
To do this I’ve covered the parts of the sentiment I don’t want to use with a Post It note, stamped the sentiment with Versamark ink and then carefully removed the Post It note BEFORE stamping the sentiment onto the Night of Navy cardstock and heat embossing it.
I’ll be back tomorrow with another “30 Days of Christmas” Christmas card and the final AWH Heart of Christmas blog hop for 2024!