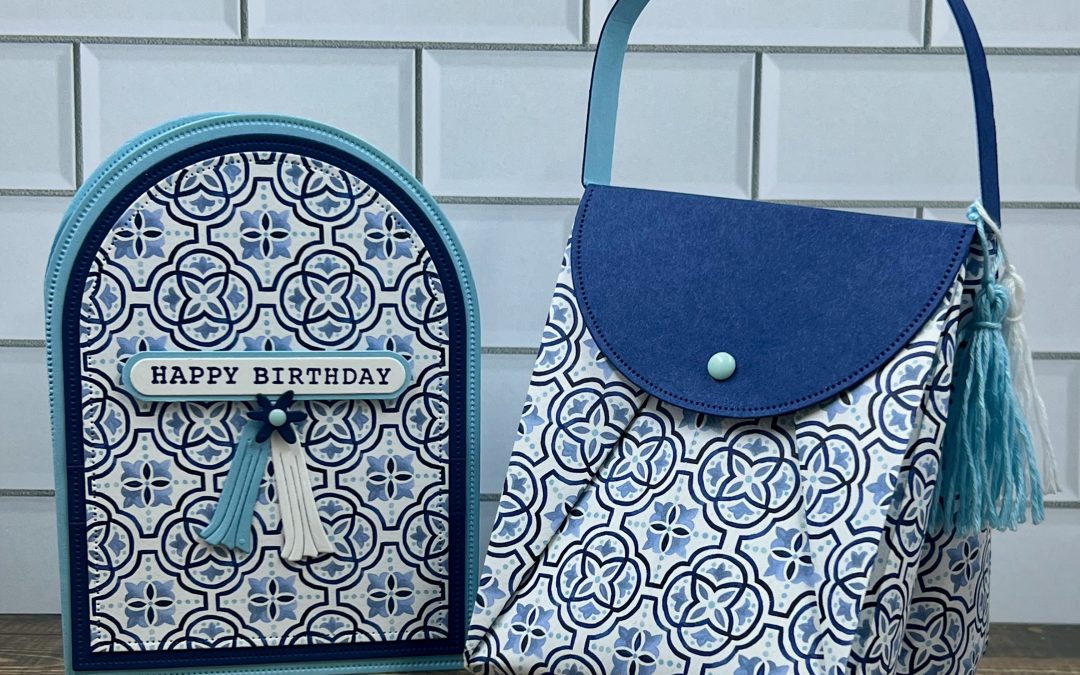
Balmy Blue Gift Bag and Birthday Card
Welcome to week seven of our Art With Heart 2025-26 Colour Creations Insta hop!
This week we’re celebrating another beautiful blue, the soft and dreamy Balmy Blue. My colour combination is very monochromatic, inspired by the beautiful blue tiled patterns in the Mediterranean Blooms DSP.

This is the sheet of DSP I chose to make my gift bag and matching card.

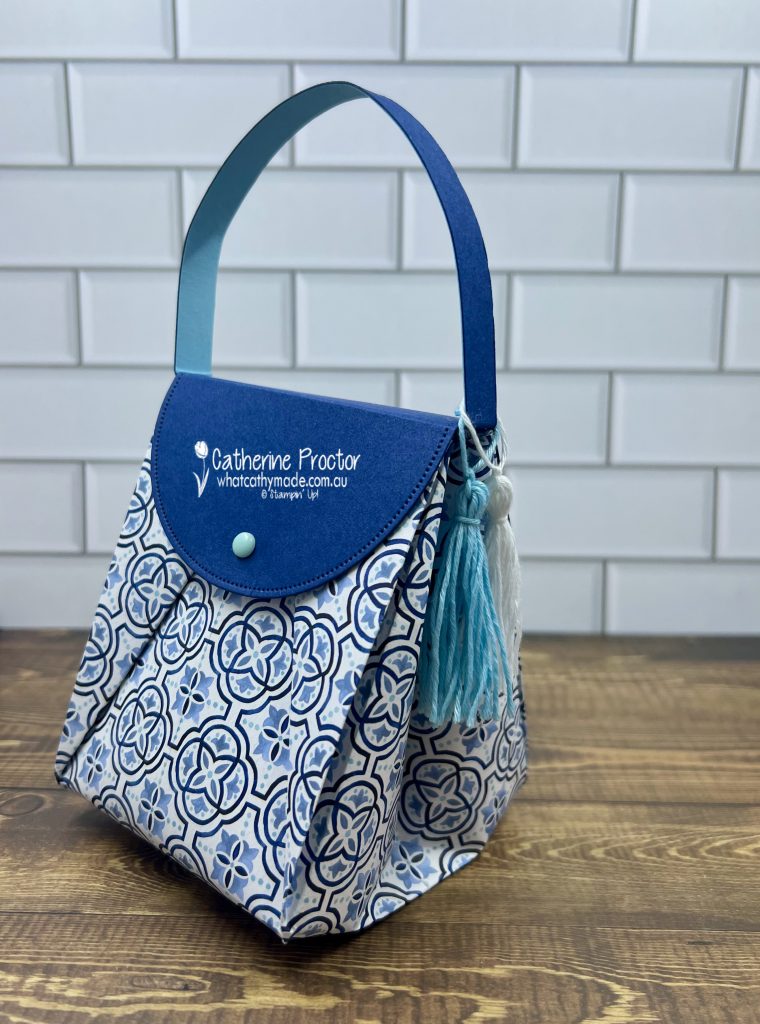
Making an origami folded paper handbag
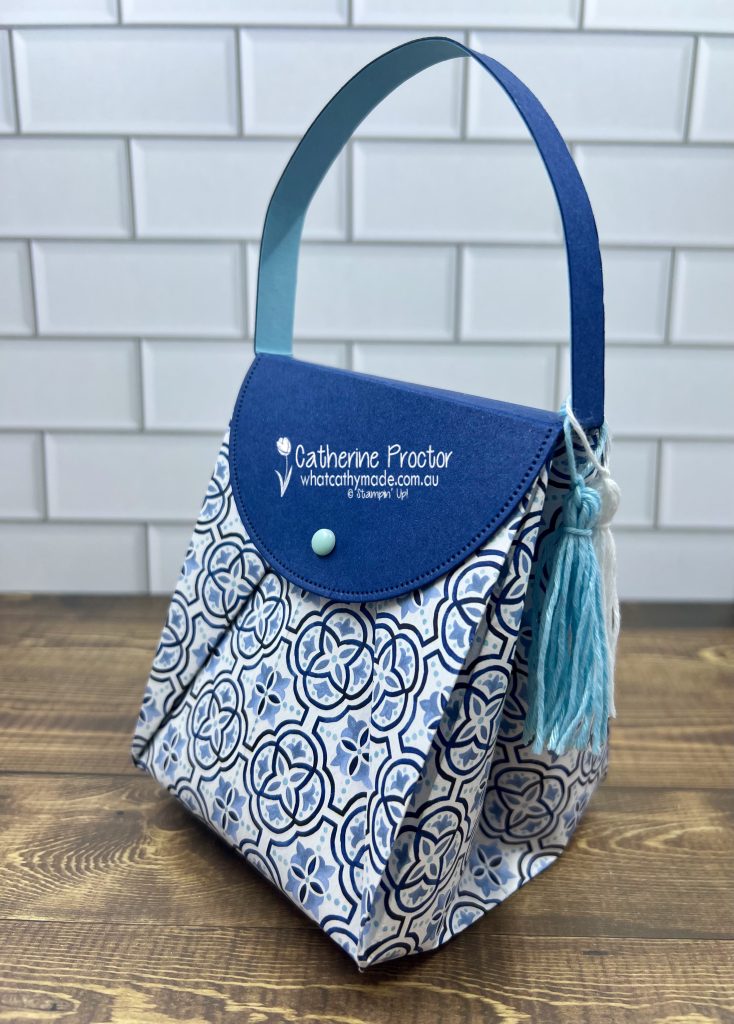
I saw a beautiful origami folded bag online recently created by Mikaela Titheridge @thecraftyoinkpen, however she did not provide any instructions for the folding of the bag. So I searched online and found instructions for making this style of bag using 6×6 inch DSP and I simply sized it up for 12×12 inch DSP. There are plenty of online tutorials to make this particular origami fold, in both written and video format.
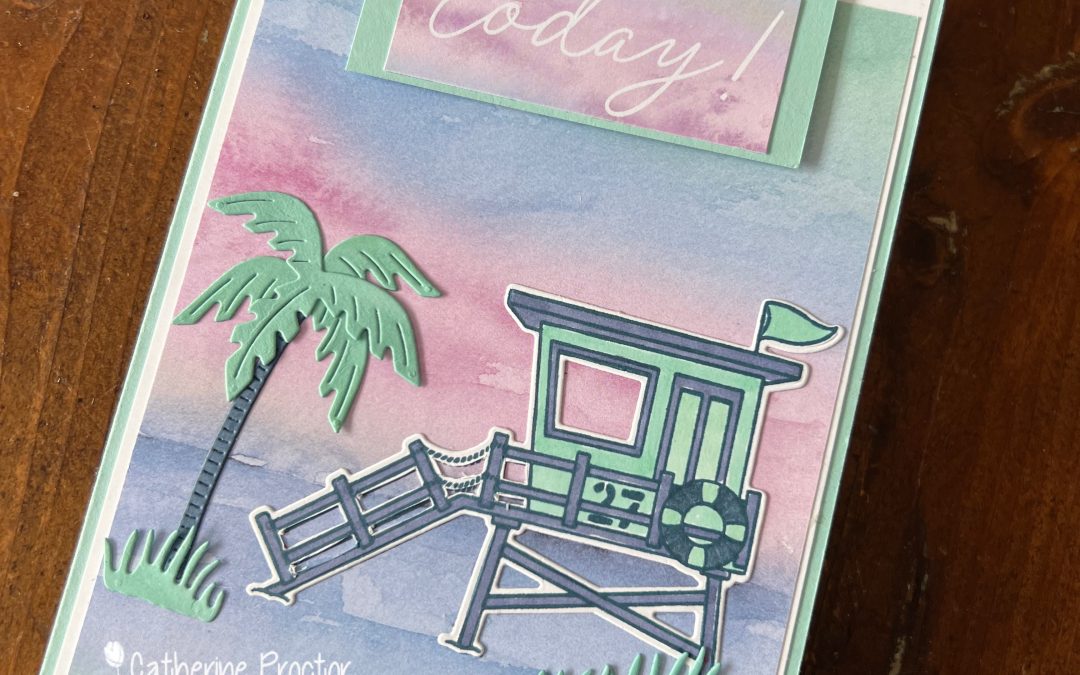
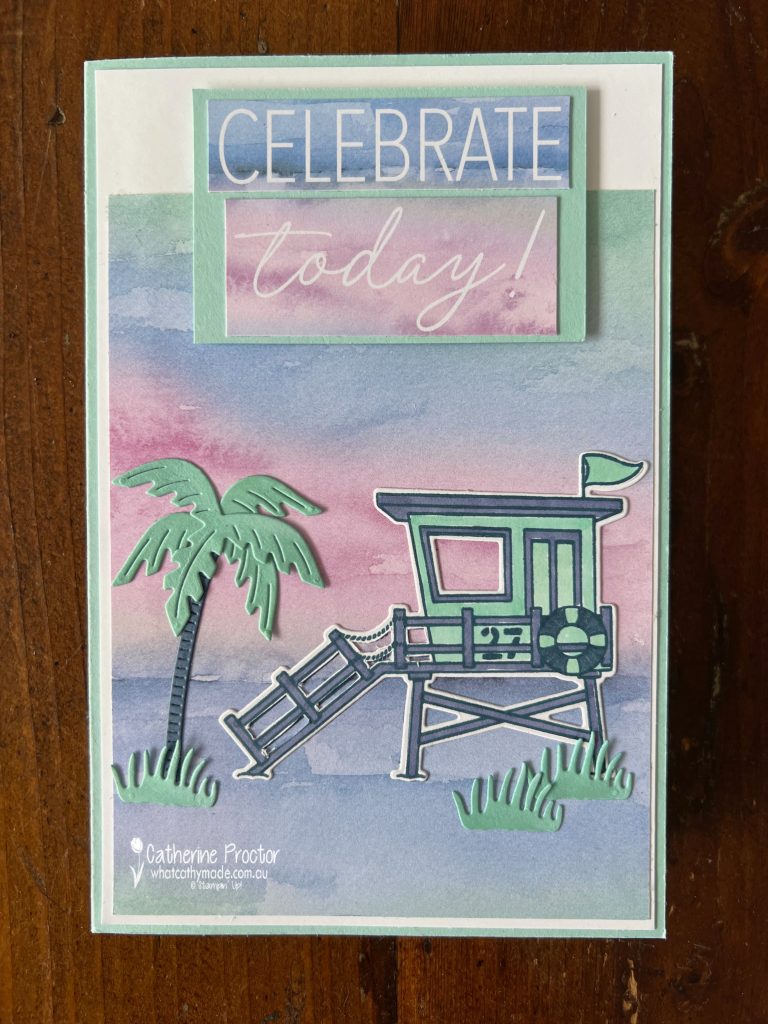
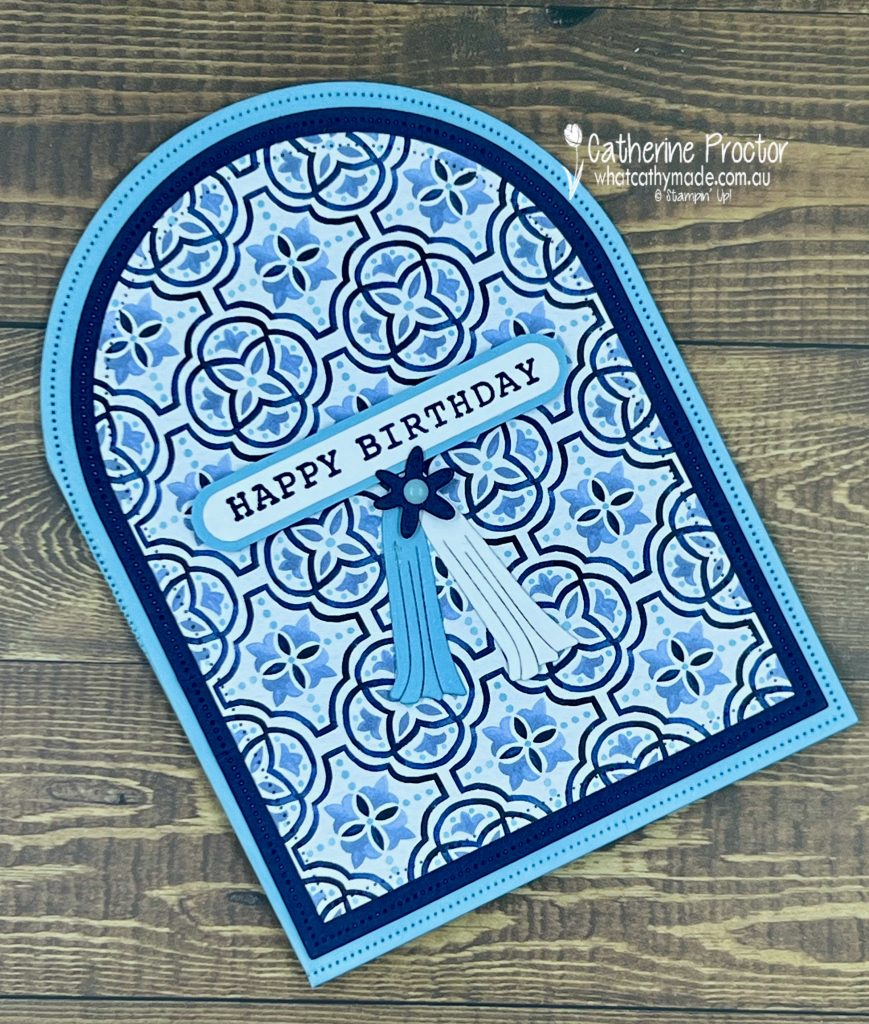
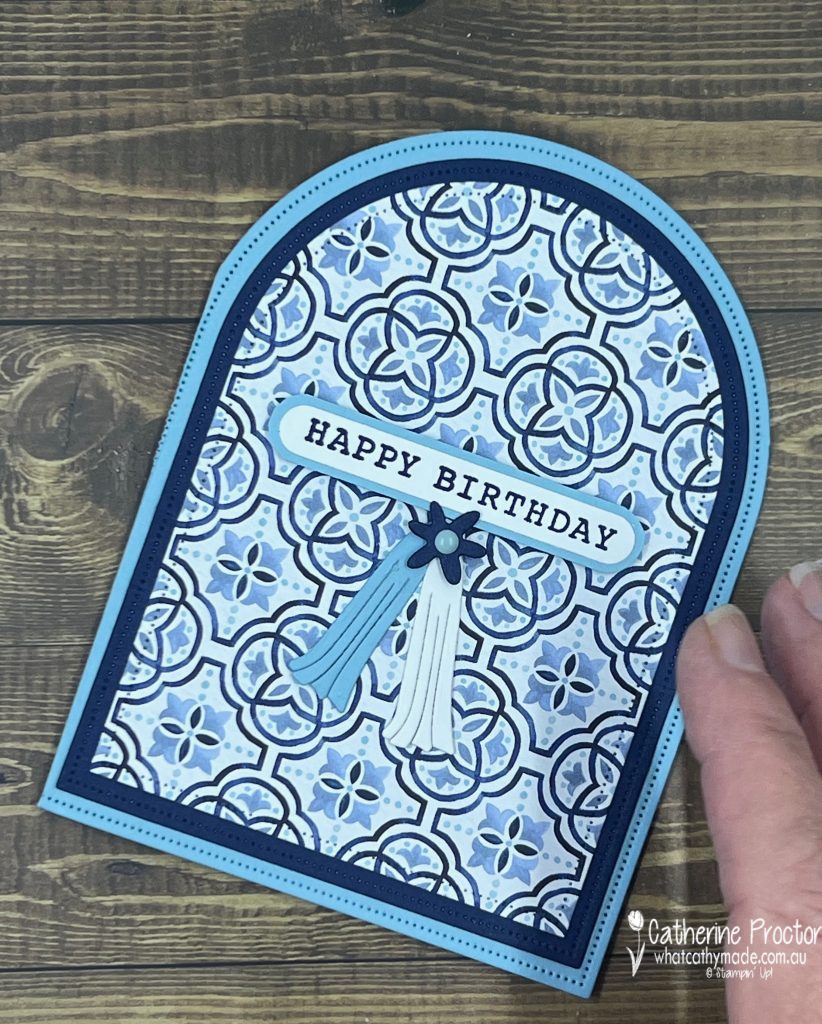
I created this card for a special friend whose birthday we celebrated this week because she loves blue!
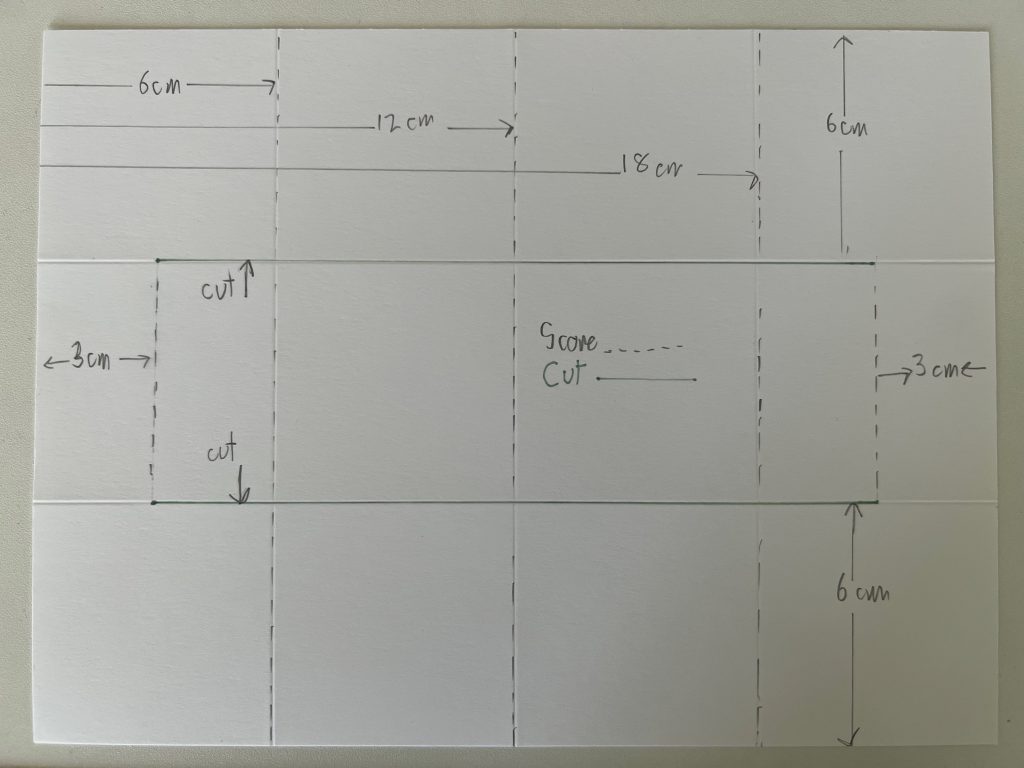
Like Mikaela, I used the Everyday Arches Dies to make the top flap of the handbag. The die was too long for the back of the bag so ran it through my die cutting machine twice, moving the die up to achieve the desired length.
I scored and folded the die to make a 1cm wide top section of the flap and cut a matching 1cm wide handle from night of Navy and Balmy Blue cardstock, glued together.
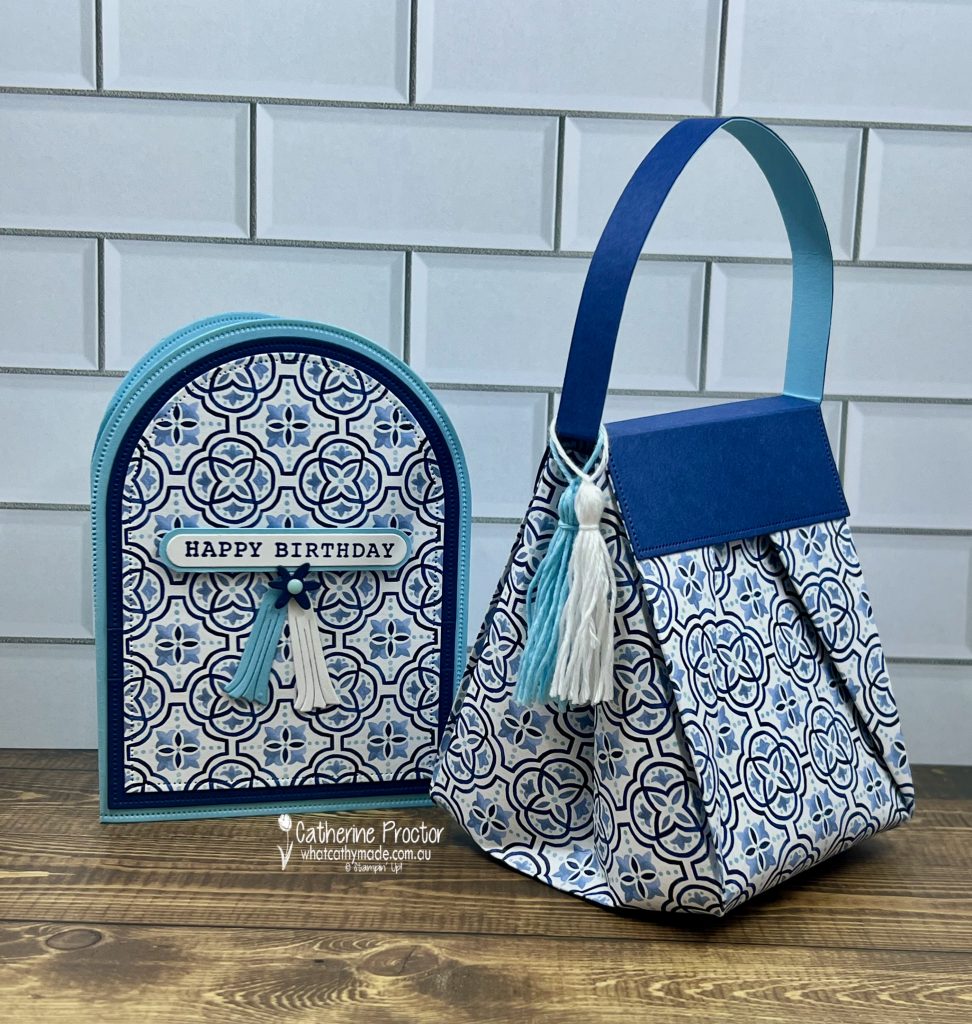
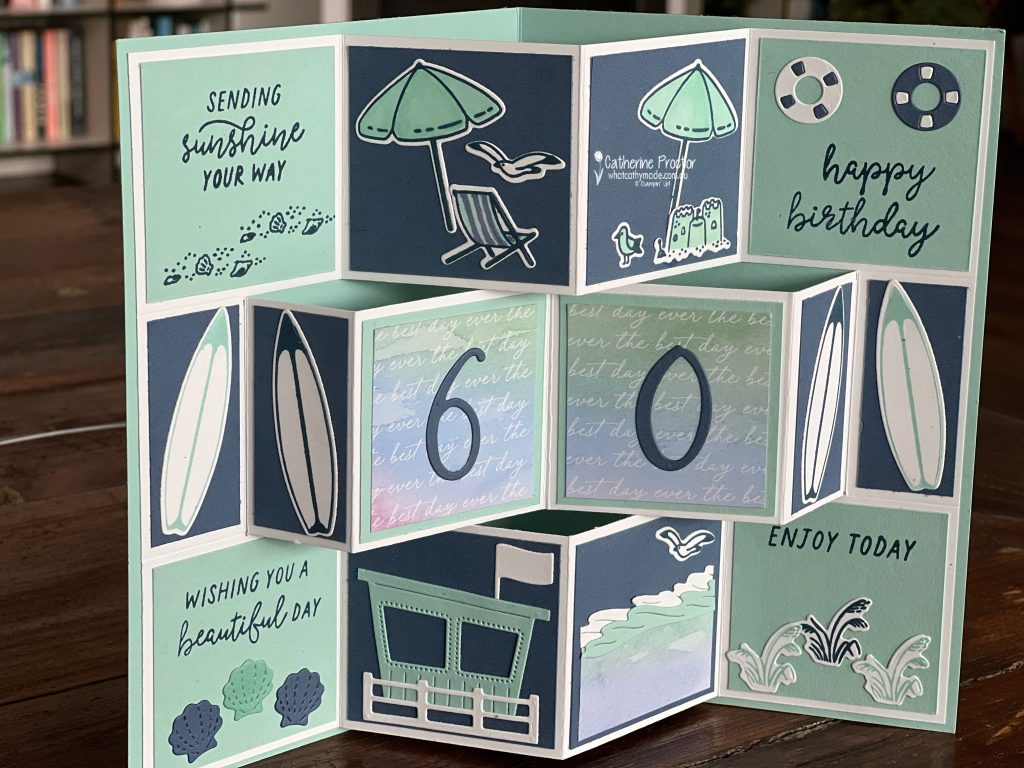
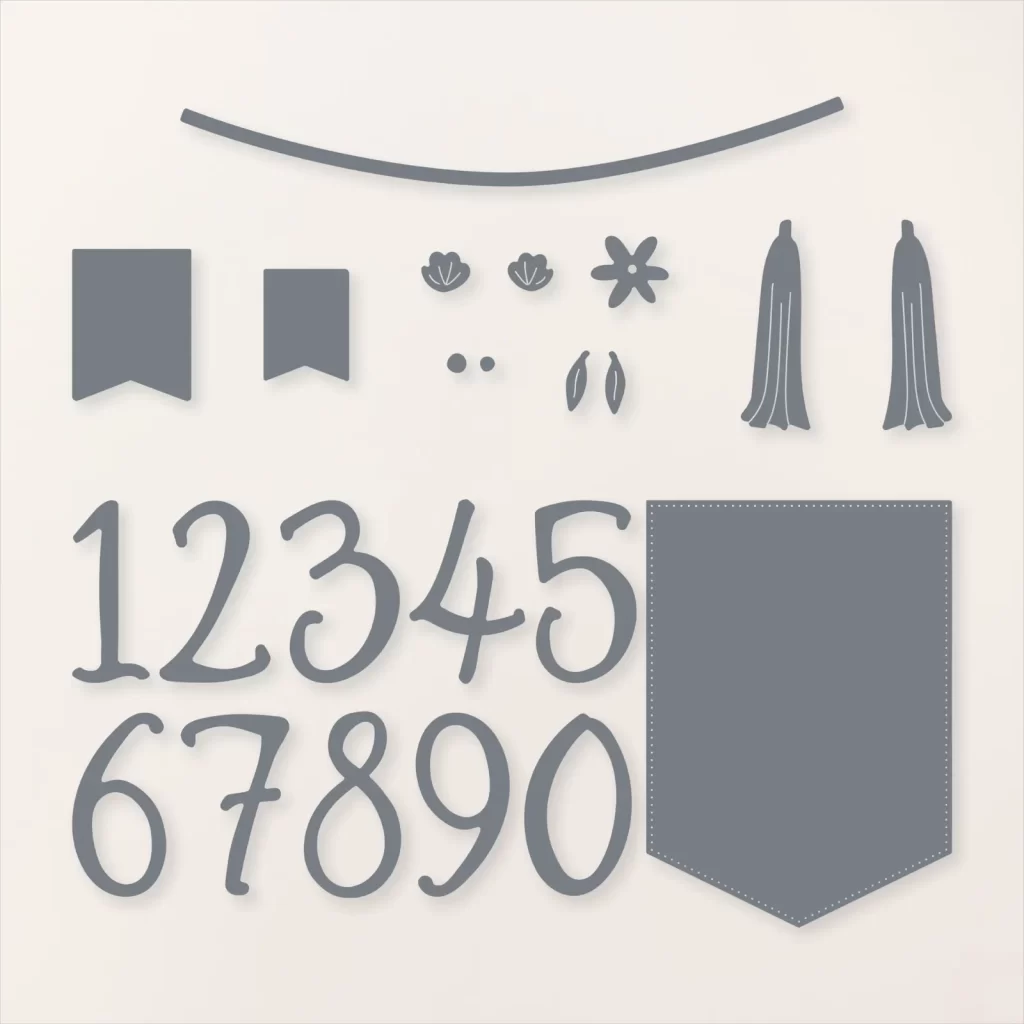
I also used the Everyday Arches dies to make a matching card. The paper tassels on the front of this card (made using the Birthday Celebration Dies) match the bakers twine tassels I’ve made for the origami handbag.
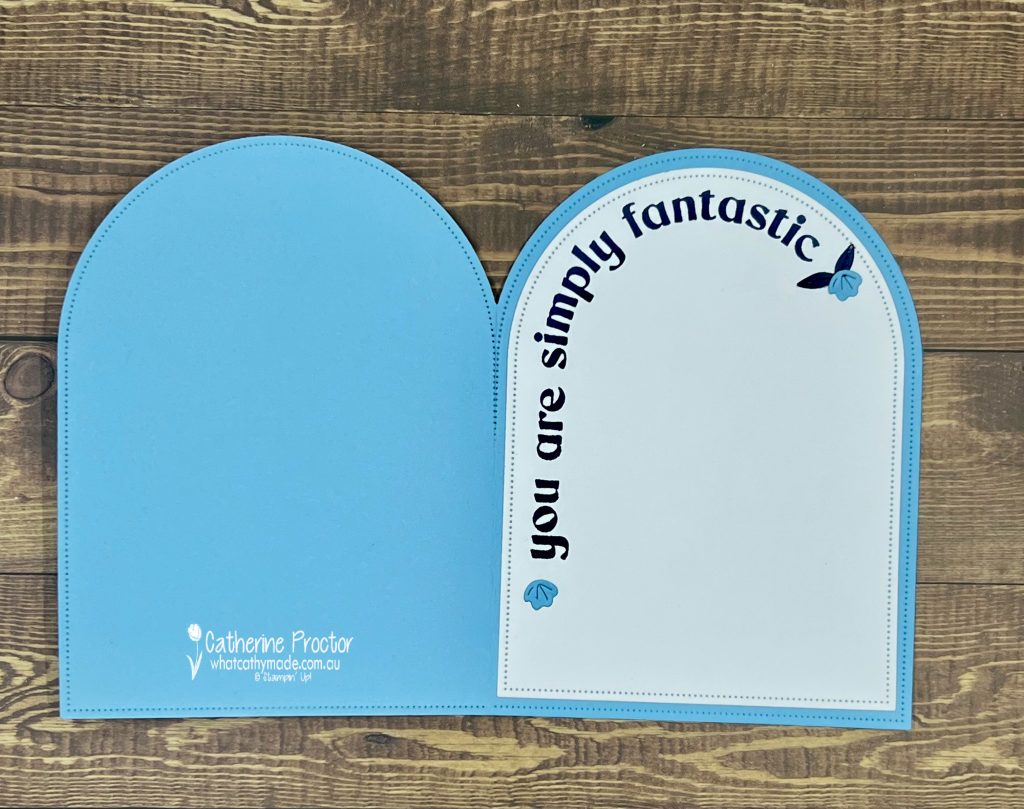
The inside of the card is stamped in Night of Navy ink using a sentiment from the Everyday Arches Stamp Set and floral embellishments die cut using the Birthday Celebration Dies.
The tassels on my handbag are made using Balmy Blue bakers twine from the Baker’s Twine Three Color Pack and White bakers twine from the Baker’s Twine Essentials Pack.
To make your own tassel follow these steps.
- Cut a piece of cardstock roughly 5 cm tall and wrap the baker’s twine around the cardstock about 13 times.
- Slide a separate piece of twine under the looped twine at the top edge of the cardstock and tie it tightly. This will become the loop you can use to hang or attach the tassel.
- Slide the wrapped twine off the cardboard carefully. Cut through the loops at the opposite end from where you tied the top.
- About 1 cm below the top tie, wrap another piece of twine several times around the tassel to form the neck. Tie it off securely and trim any excess. Even out the ends of the tassel by trimming the bottom.
The front flap of the handbag is embellished with a Balmy blue dot from the Rainbow Adhesive-Backed Dots and I used small adhesive magnetic discs to create a resealable closure for the bag.
Supplied needed to make this project yourself
You can make this project with any type of DSP, however if you’d like to make the same bag as me these are the supplied I used.
- Mediterranean Blooms 12″ x 12″ (30.5 x 30.5 cm) Designer Series Paper
- Balmy Blue cardstock
- Night of Navy cardstock
- Everyday Aches Dies
- Everyday Arches Stamp Set
- Night of Navy Classic Stampin Pad
- Rainbow Adhesive-Backed Dots
- Birthday Celebration Dies
- Tear & Tape Adhesive
- Baker’s Twine Three Color Pack
- Baker’s Twine Essentials Pack
Take a look at some more Balmy Blue inspiration on our Insta Hop!
Our blog hop is now an Instagram hop but the good news is that you don’t need to have an Instagram account to view all of the other projects!
Simply copy any of the Insta handles below into a new search window to follow the Instagram hop at any point.
Next in our Hop is Kate @craftwithkate. Be sure to check out her gorgeous project/s.
The full list of this week’s InstaHop are listed below:
Kate @craftwithkate
Kirsty @crafty.littlemiss
Rachel W @handstamped_by_rachel
Leanne @createwithleanne2
Vicki @vickiboucher
Helen @apaperparadise
Cathy @whatcathymade – you are here!
Our AWH Colour Creations team will be back next Wednesday, 25th June, showcasing Basic Gray.
I hope you can join us then!