Is Calypso Coral a colour that makes your heart smile?
A group of the Art With Heart Team is hopping through the Stampin’ Up! colours in alphabetical order and week 14 is all about Calypso Coral.
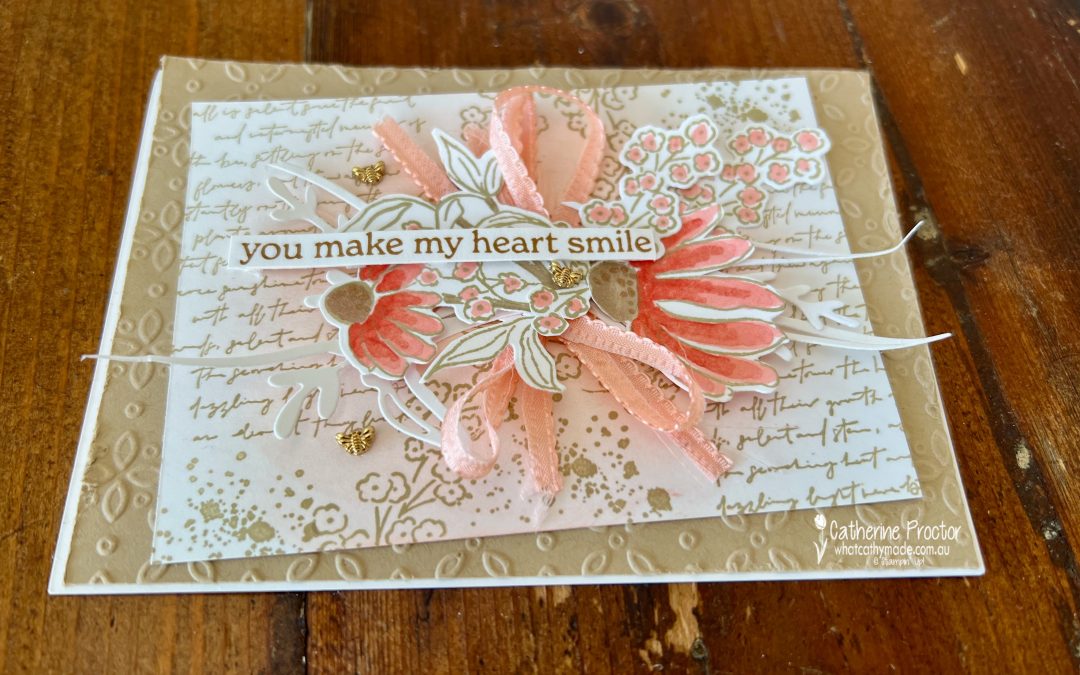
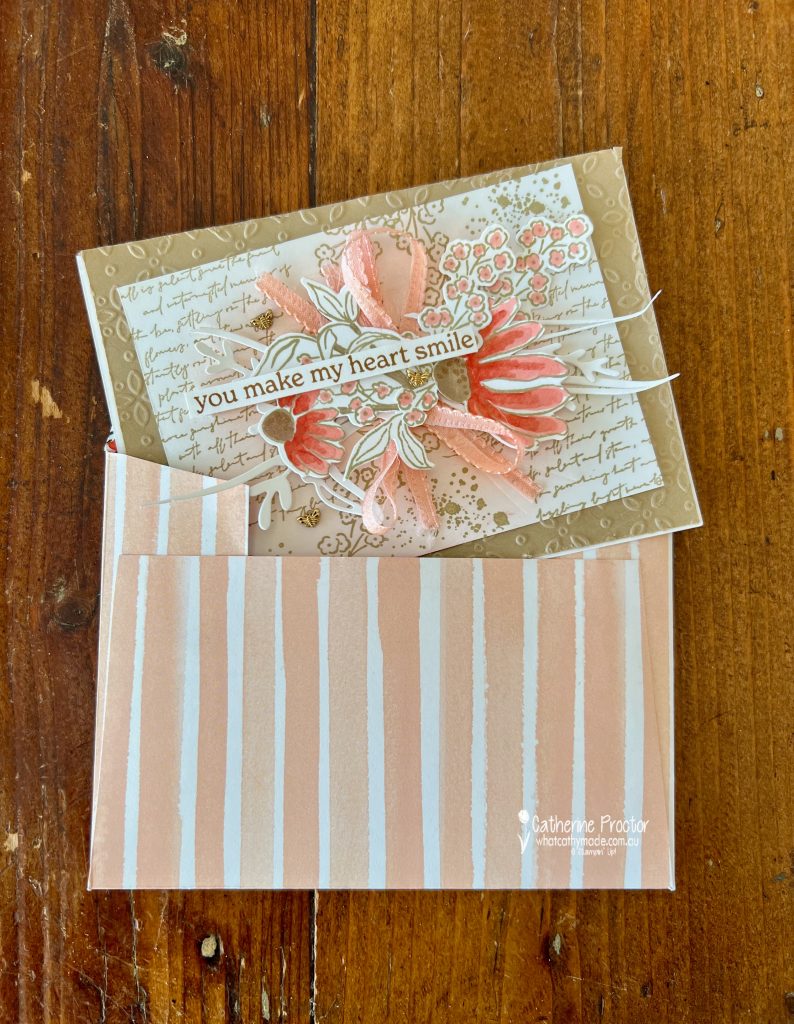
Here is my project, a shabby chic style birthday card (CASED from former Artisan team member, Tammy Wilson) that I specially created for my beautiful friend and longtime partner in crafting crime, Jenny Boffey @jenboff Boffey always makes me smile.
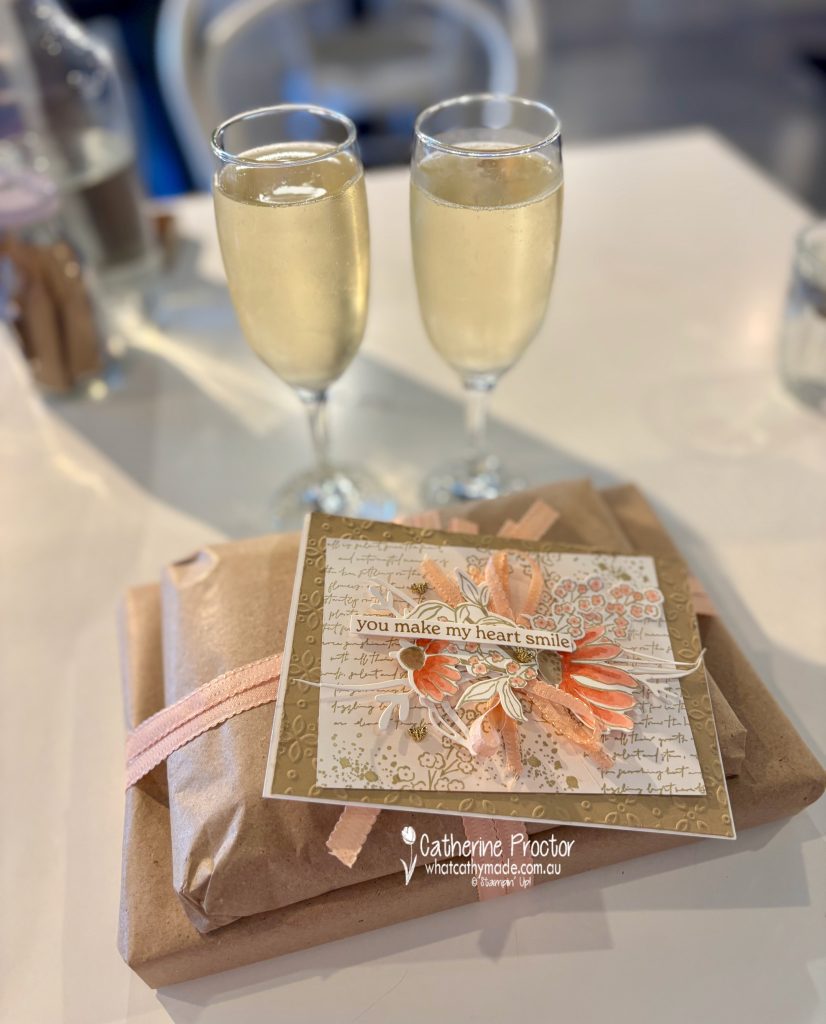
I had so much fun going out of my comfort zone to create this birthday card and I’m happy to say my Calypso Coral card definitely made Jenny smile.
We even managed to enjoy a sneaky lunchtime glass of bubbles together to toast her birthday!
How to make a shabby chic style birthday card
If you love the romantic, layered look of shabby chic cards, you can easily recreate this style using Stampin’ Up! products and a few mixed media techniques.
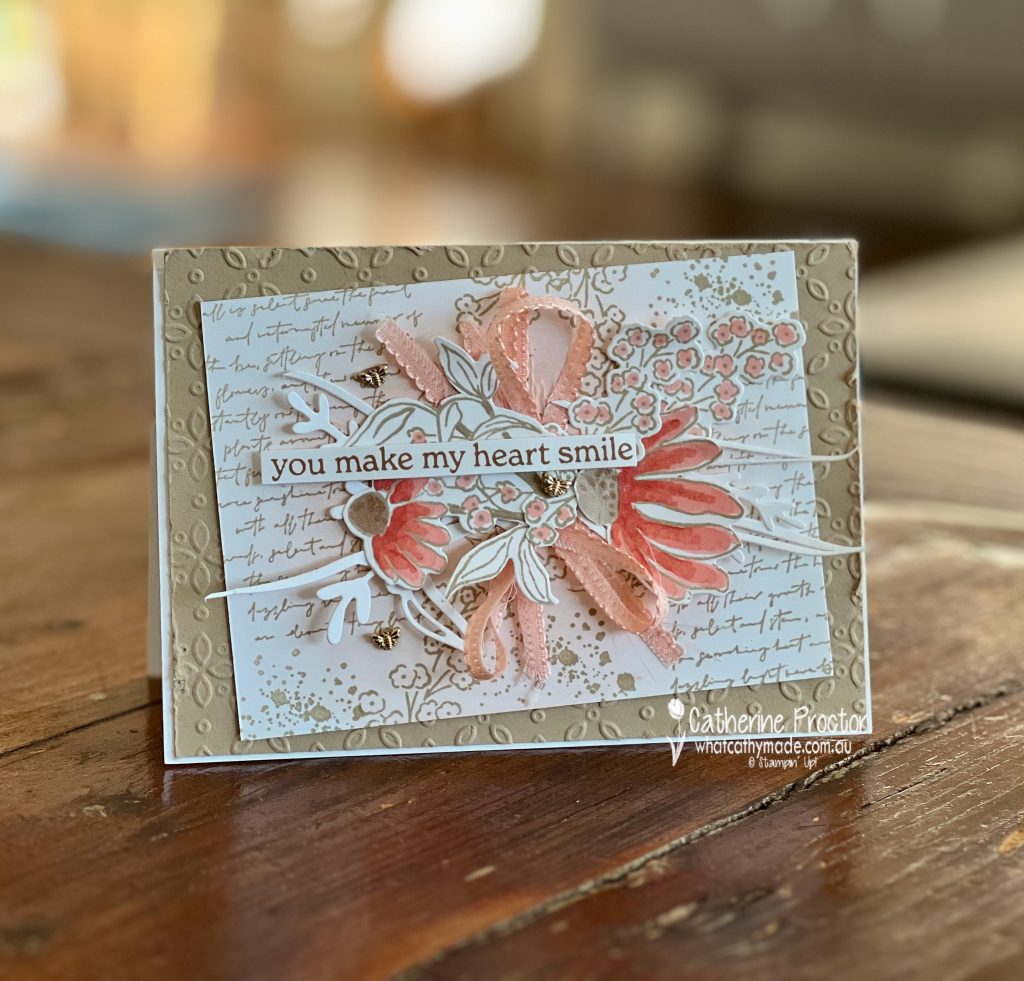
This card uses the Mixed Florals Bundle (Stamp Set and Dies), the Eyelet 3D Embossing Folder, the Elements of Text Stamp Set, the Scalloped Petal Pink Ribbon, Calypso Coral Ink, Blending Brush, Mixed Media Florals Dies, and Crumb Cake Cardstock and Ink to create a soft, vintage effect with plenty of texture.
Start by embossing Crumb Cake cardstock with the Eyelet 3D Embossing Folder to create a textured panel for your background. Layer this onto a Basic White card base for a clean edge.
Use various stamps from the the Elements of Text Stamp Set and the small floral stamp from the Mixed Florals Stamp Set stamped in Crumb Cake ink to add a script-style text pattern across the panel for a faded, old-paper feel. Use a blending brush
For the focal panel, stamp the largest floral image and the small floral stamp from the Mixed Florals Stamp Set in Crumb Cake and colour in with the Calypso Coral Stampin Blends. Die cut some Basic White cardstock using the large grass die.
Cut apart the large floral image and the grass die. Layer the flowers, foliage and ribbon together, to create a textured, “garden-style” arrangement.
Cut a piece of Petal Pink 3/8″ (1 cm) Scalloped Ribbon in half lengthway and add loops of Scalloped Petal Pink Ribbon between the flowers for extra softness and texture.
Finish the card by stamping the sentiment “you make my heart smile” (from the Layers of Beauty Stamp Set) in Pecan Pie ink and layering it across the floral cluster.
A few Tiny Bee Trinkets embellishments add a final touch of elegance.
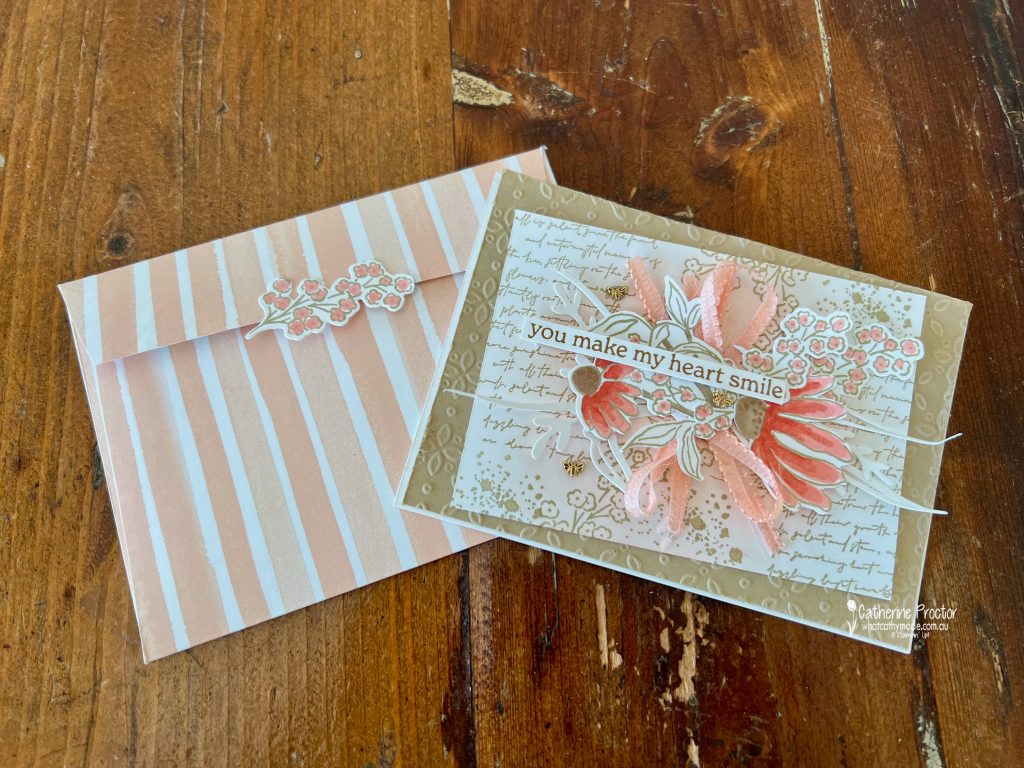
The handmade envelope was created using the Mixed Media Florals Designer Series Paper.
I used another small floral stamp from the Mixed Florals Stamp Set to create the closure on the back of the card. The “Happy Birthday” stamp is from the Birthday Celebration Stamp Set.
Take a look at some more Calypso Coral inspiration on our Insta Hop!
Our blog hop is now an Instagram hop but the good news is that you don’t need to have an Instagram account to view all of the other projects!
Simply copy any of the Insta handles below into a new search window to follow the Instagram hop at any point.
Next in our Hop is Andrea @andreaksargent. Be sure to check out her gorgeous project/s.
The full list of this week’s InstaHop is listed below:
Andrea @andreaksargent
Sharon @sharondaverncreates
Helen @apaperparadise
Rachel Woollard @handstamped_by_rachel
Rosa @hum.and.stamp
Kate @craftwithkate
Kirsty @crafty.littlemiss
Leanne @createwithleanne2
Theresa @teegeeinspirations
Vicki @vickiboucher
We’ll be back next Wednesday when we are showcasing Cherry Cobbler.I hope you can join us then!
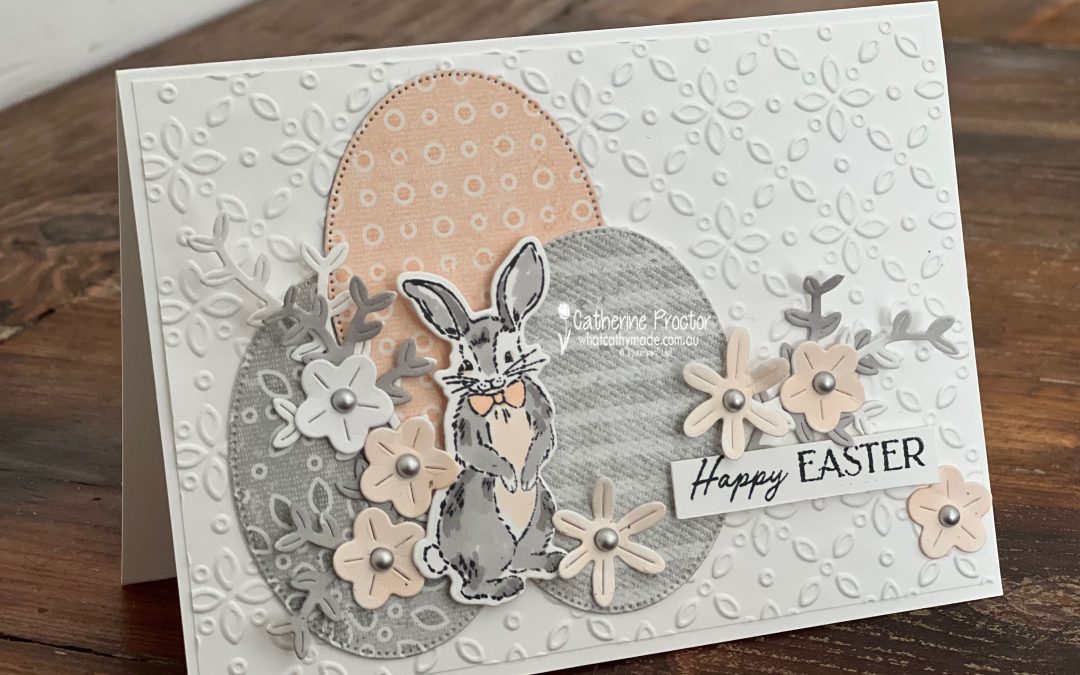
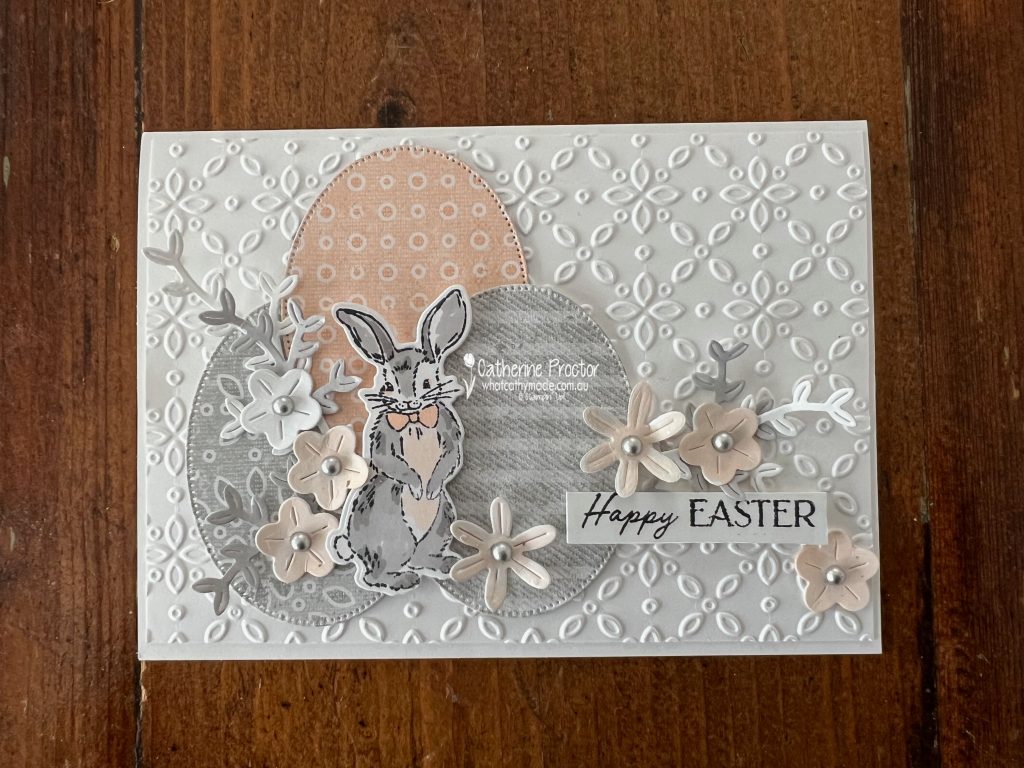
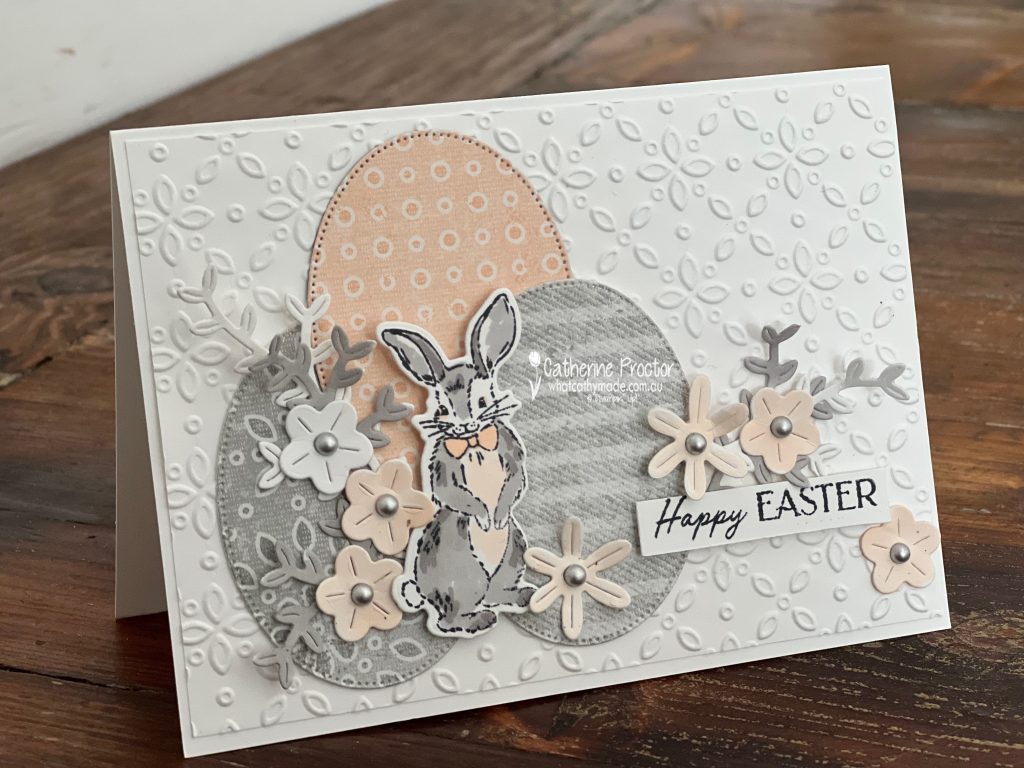
A group of the Art With Heart Team is hopping through the Stampin’ Up! colours in alphabetical order. Week 49 is all about Smoky Slate and as it’s Easter this weekend I decided to make an Easter card to give to my six-year-old niece when we catch up with my husband’s family on Saturday.
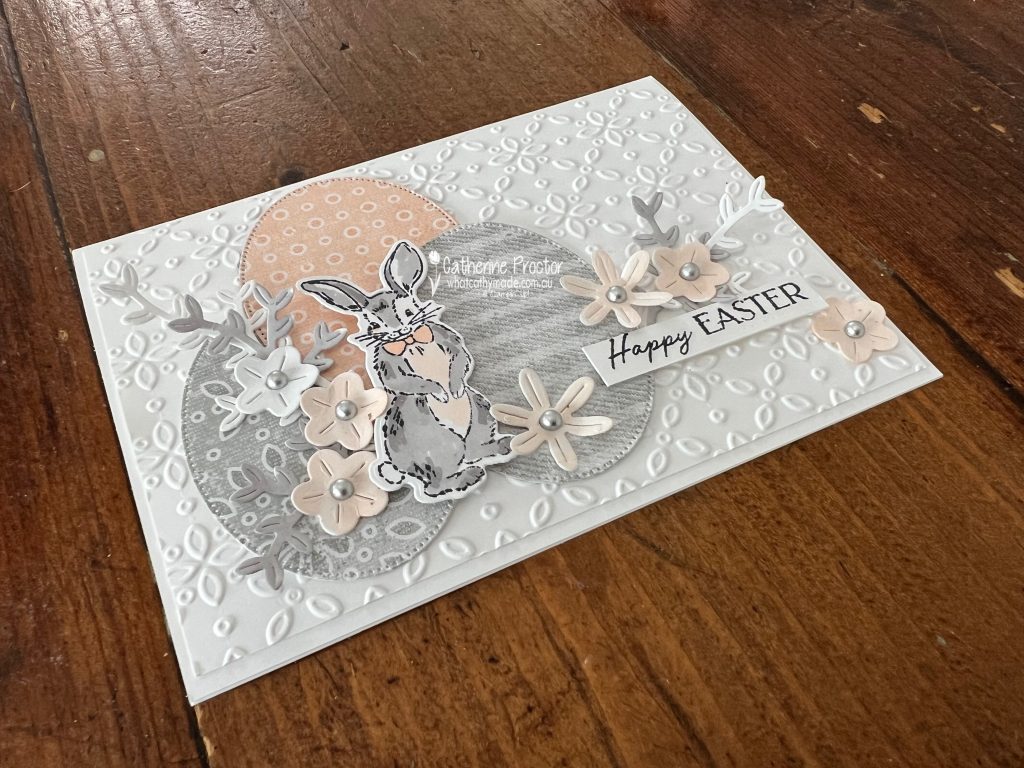
I’m so happy with how my soft Smoky Slate and Petal Pink Easter card card turned out, even though I didn’t have a specific Easter stamp set or dies!
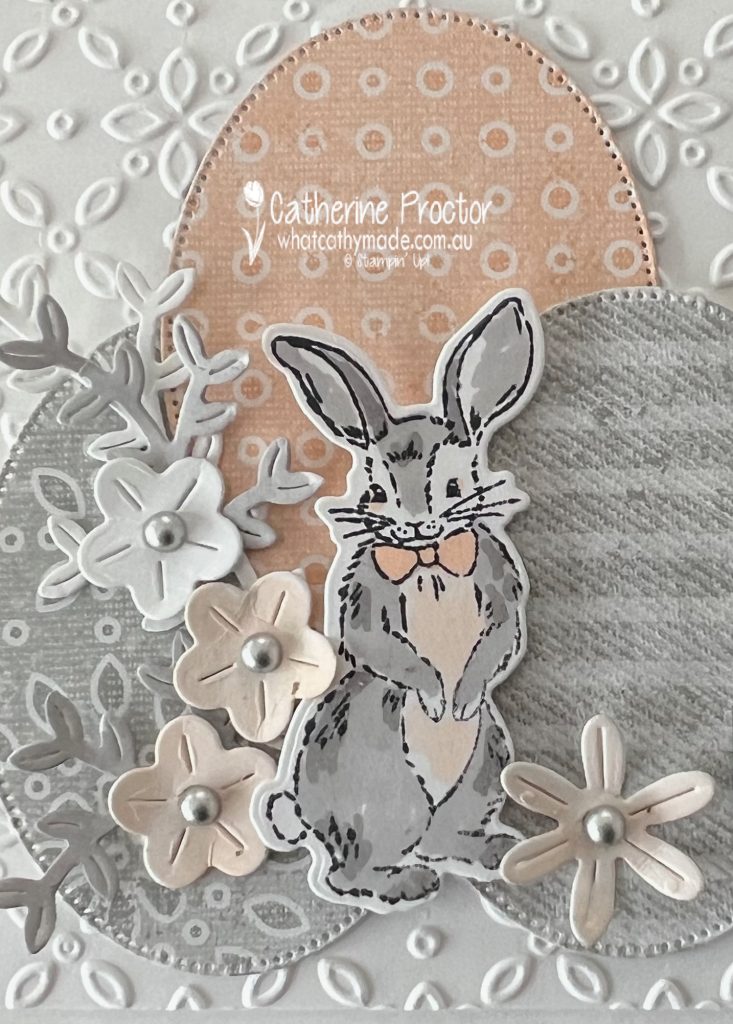
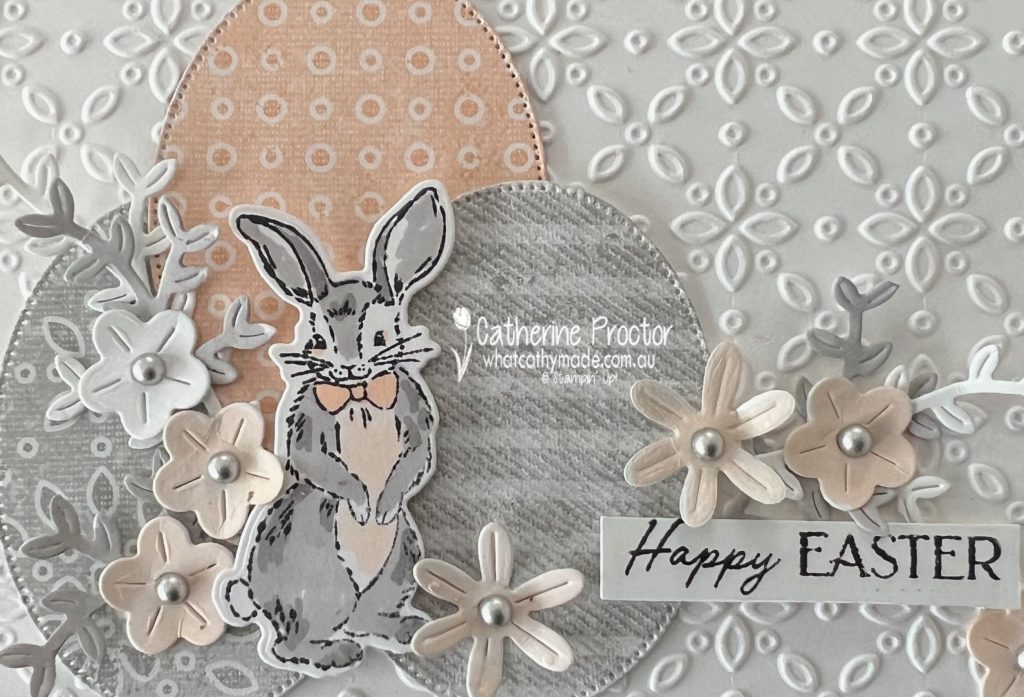
The Easter bunny stamp and die are from the Storybook Friends bundle, coloured using Smoky Slate and Petal Pink Stampin’ Blends
The Easter eggs are die cut using the oval die in the Linked Together Dies, creating Easter eggs from Smoky Slate and Petal Pink DSP in the Country Lace DSP.
The flowers and foliage are die cut using the Linked Together Dies then coloured using Smoky Slate and Petal Pink Stampin’ Blends.
The sentiment is actually created using two different sentiments from the Storybook Friends stamp set and the embossed layer is dry embossed using the Eyelet 3D Embossing Folder.
The embellishments are Smoky Slate Pearls from the Basic Gray & Smoky Slate Pearls embellishment pack.
Our blog hop is now an Instagram hop but the good news is that you don’t need to have an Instagram account to view all of the other projects! Simply copy any of the Insta handles below into a new search window to follow the Instagram hop.
Next in our hop is Kirsty @crafty.littlemiss. Be sure to check out her gorgeous project/s.
The full list of this week’s Insta Hop are listed below:
Rosa @hum.and.stamp
Helen @apaperparadise
Andrea @andreaksargent
Cathy @whatcathymade – you are here!
Kirsty @crafty.littlemiss
Kate @craftwithkate
If you live in Australia, you can find and purchase the products I’ve used for my card in my Stampin’ Up! Online Store.
I’ll be back next Wednesday night with our weekly AWH Colour Creations Insta hop when we will be showcasing Soft Sea Foam.
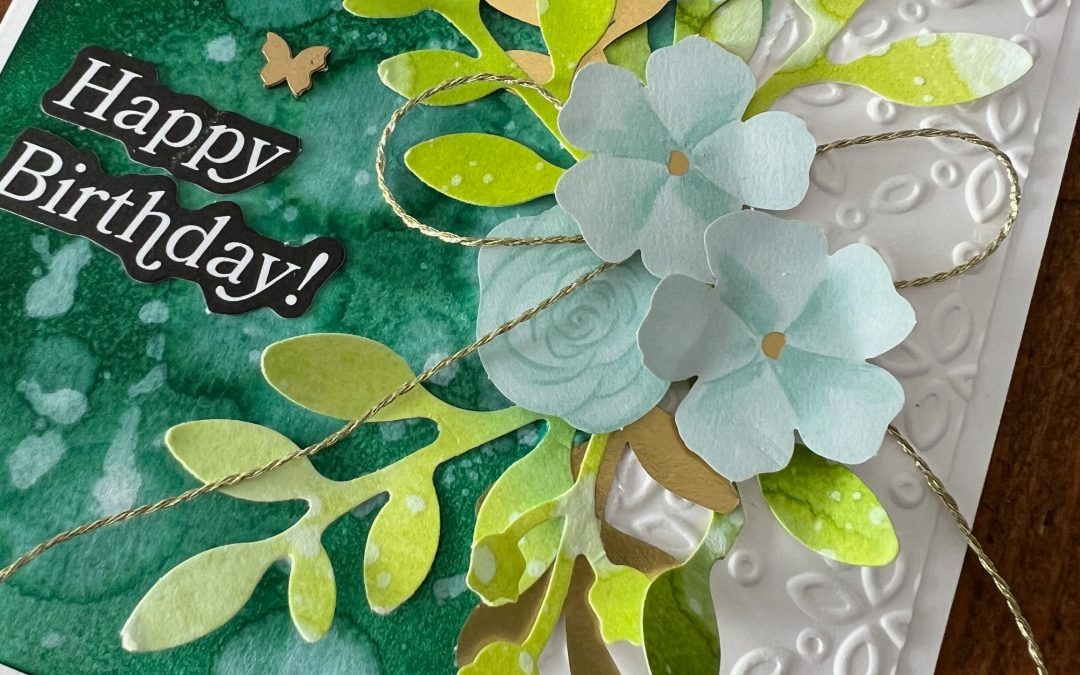
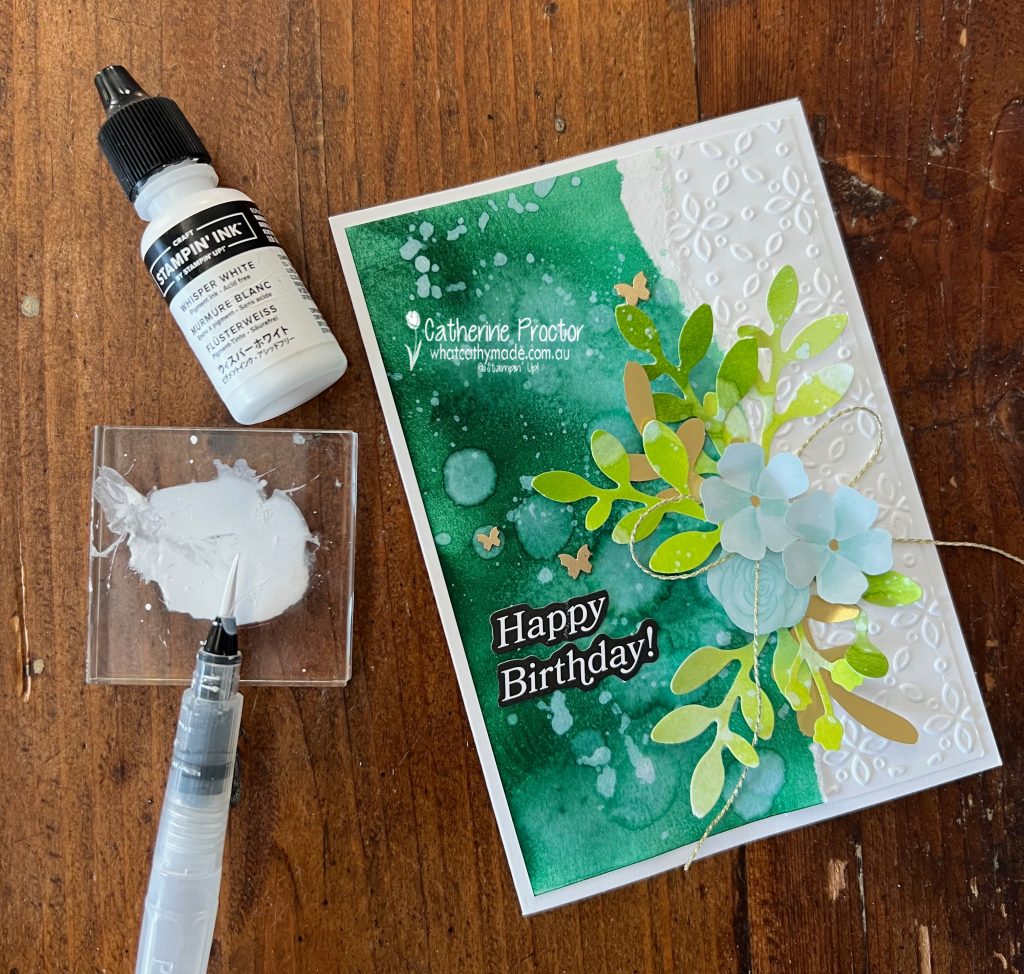
A group of the Art With Heart Team is hopping through the Stampin’ Up! colours in alphabetical order. Week 48 is all about Shaded Spruce and I’ve made a birthday card.
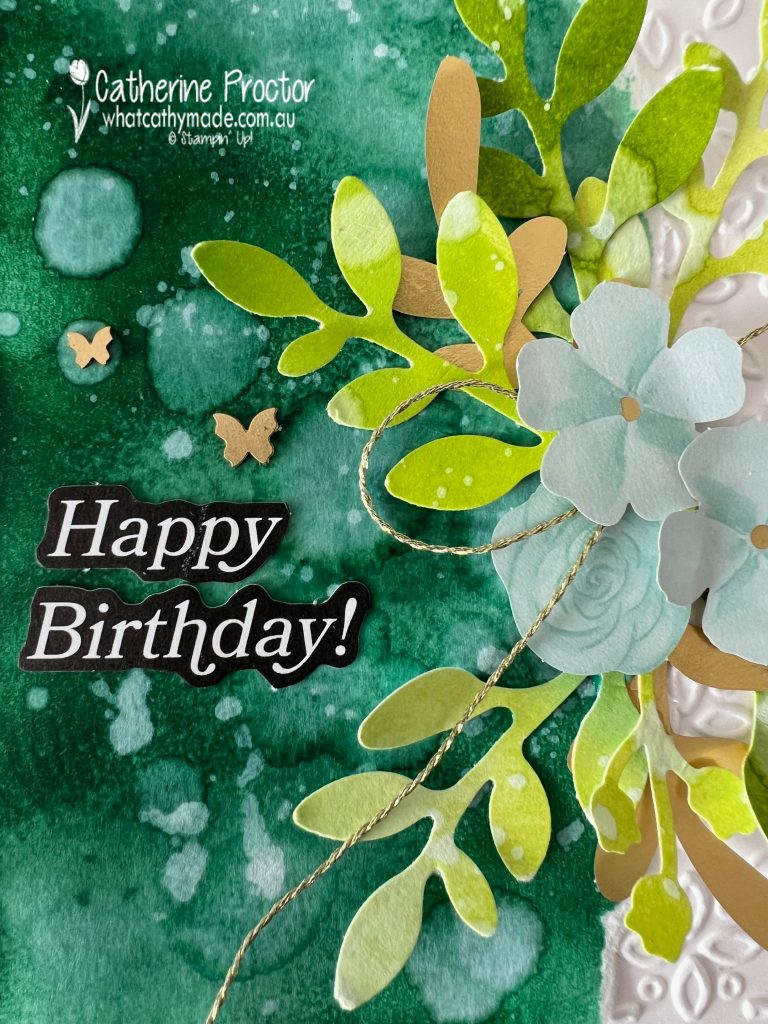
The Shaded Spruce background layer on the left was created using blending Brushes to apply Shaded Spruce, Lemon Lime Twist and Granny Apple Green ink to Basic White cardstock.
I then used a water painter to splatter water and white ink refill diluted with water over the coloured cardstock.
The right hand side of the card front is a layer of Basic White cardstock embossed with the Eyelet Embossing folder. The left hand side of the card is the Shaded Spruce section of the coloured cardstock, torn on the edge.
The leaves are punched from the rest of the coloured cardstock using the Leaf Punch which is in the Last Chance products section of the website (as is the Gold Twisted Thread). The flowers and gold leaves are from the Wildflower Birthday Specialty Designer Series Paper and the “Happy Birthday” sentiment is from the Greetings for All Mix & Match Ephemera Pack.
Our blog hop is now an Instagram hop but the good news is that you don’t need to have an Instagram account to view all of the other projects! Simply copy any of the Insta handles below into a new search window to follow the Instagram hop.
Next in our hop is Vicki @vickiboucher. Be sure to check out her gorgeous project/s.
The full list of this week’s Insta Hop are listed below:
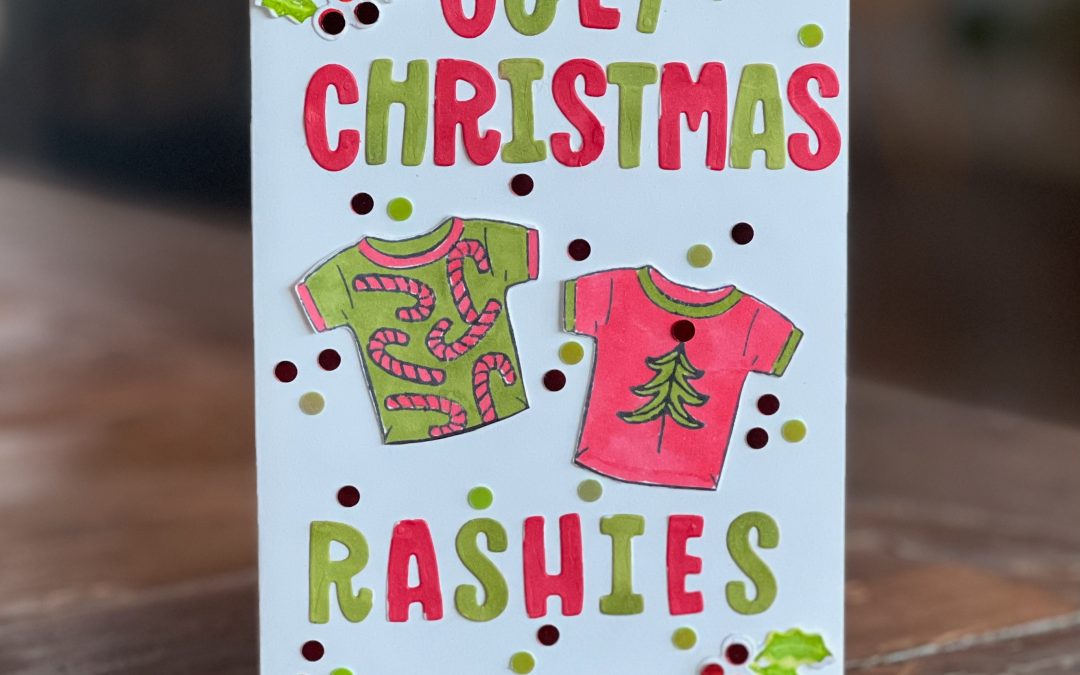
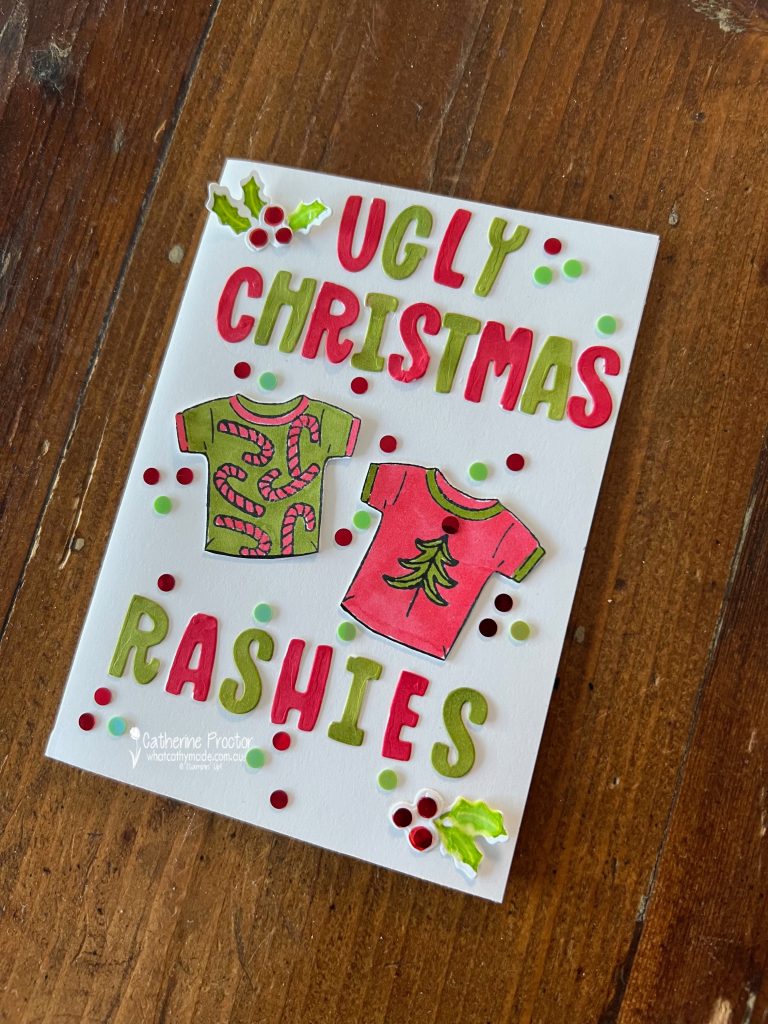
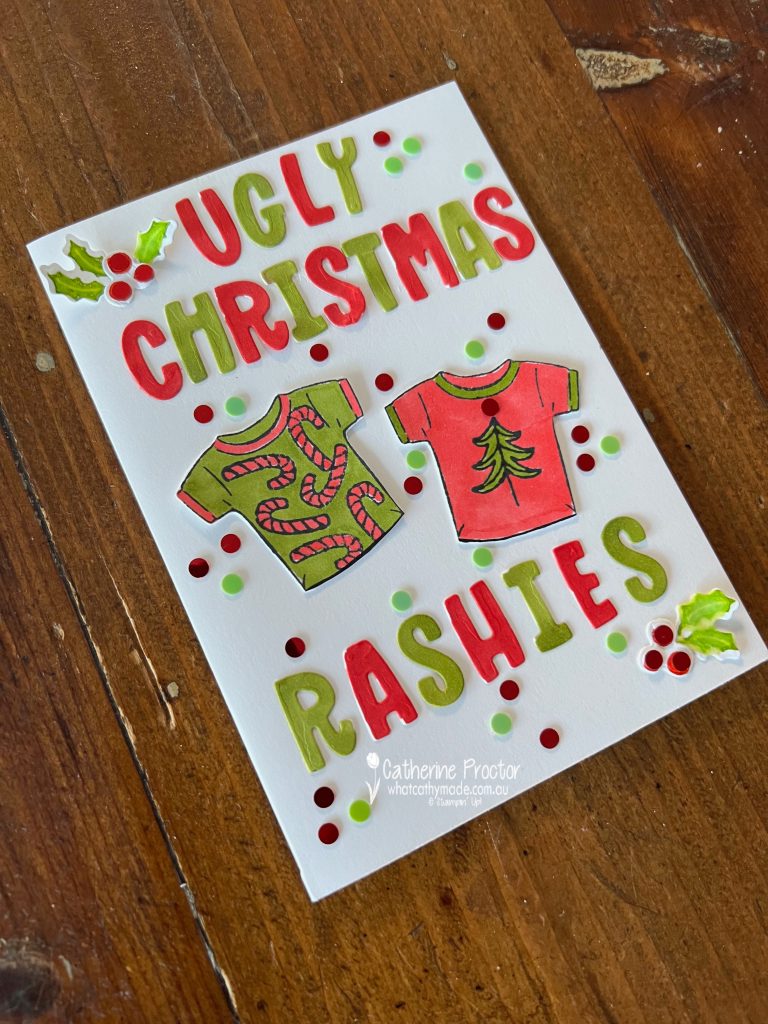
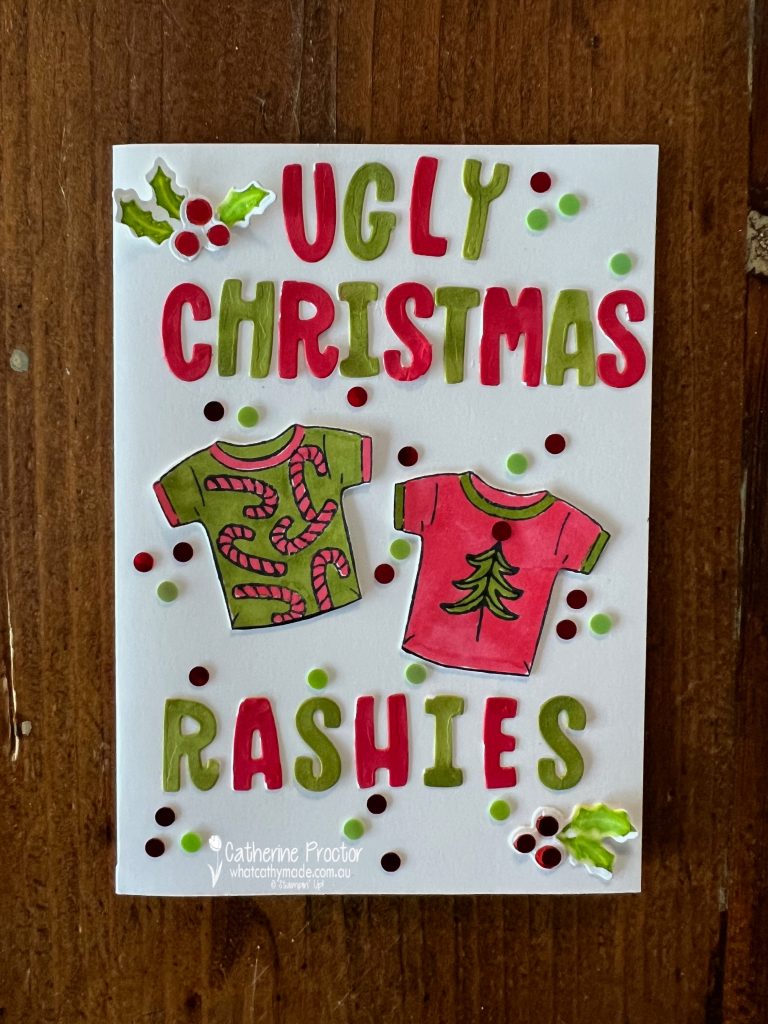
The challenge for Day 20 of the 30 Day Christmas Card Making Challenge is a tricky one: “Ugly Sweater”.
I don’t own a sweater stamp and I live in Australia where it is hot at Christmas time so I decided to make an “Ugly Christmas rashies” card instead!
A rashie is our slang word for a rash vest, a swimming top we wear to protect our skin from the sun or from the rash you get when riding a surfboard. And yes we do wear “ugly rashies” on the beach at Christmas time!
To make my rash vests I used the Cutest Onesie Stamp Set and drew a line across the bottom of the stamp before fussy cutting them out with paper snips.
I then stamped the rashies with stamps from the Snowy Wonder Stamp set and coloured them in using Granny Apple Green and Poppy Parade Stampin’ Blends.
The letters are die cut using the Mini Alphabet dies. These are great for when you want to make your own sentiment.
I’ll be back tomorrow with another “30 Days of Christmas” Christmas card.
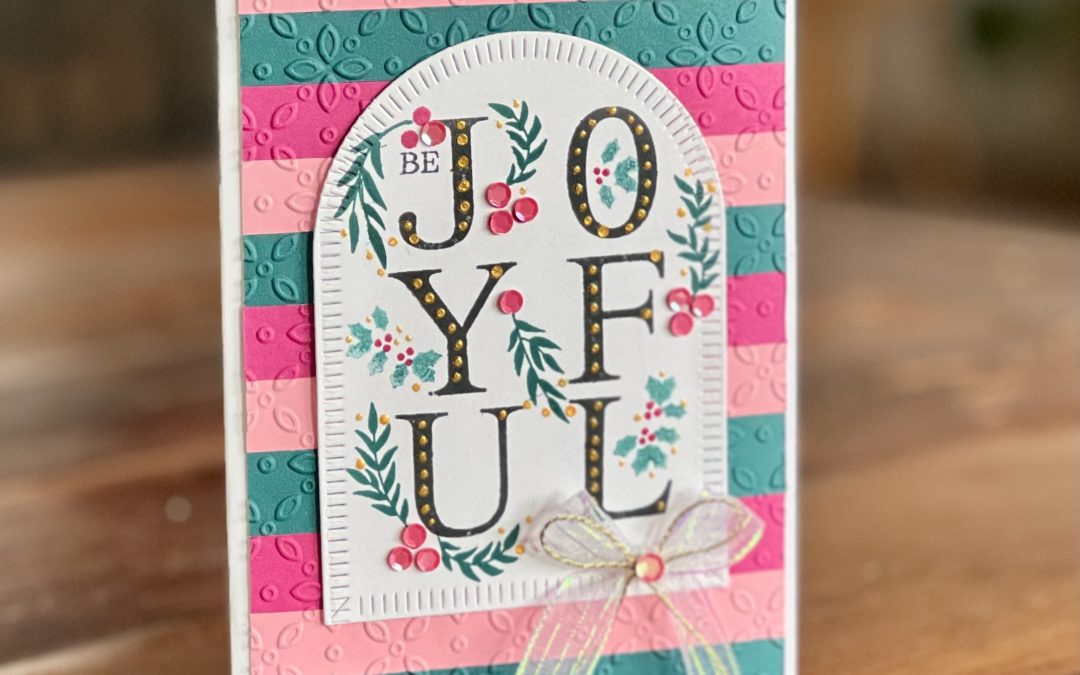
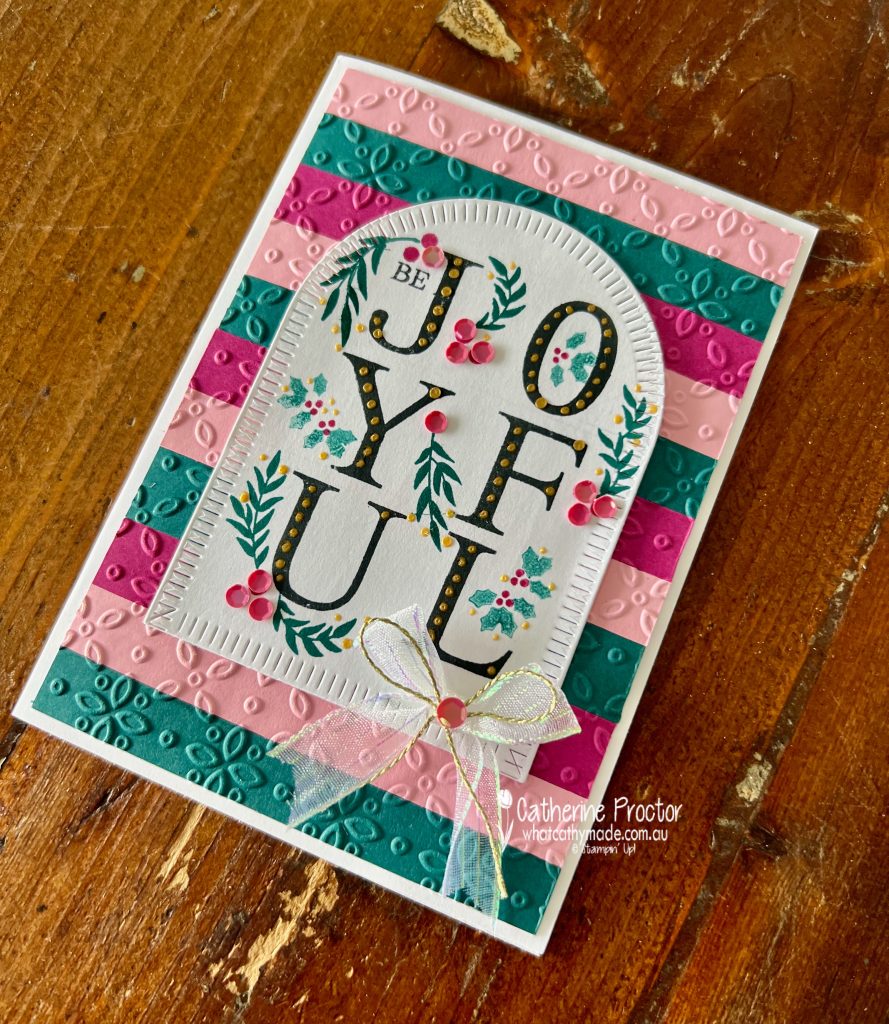
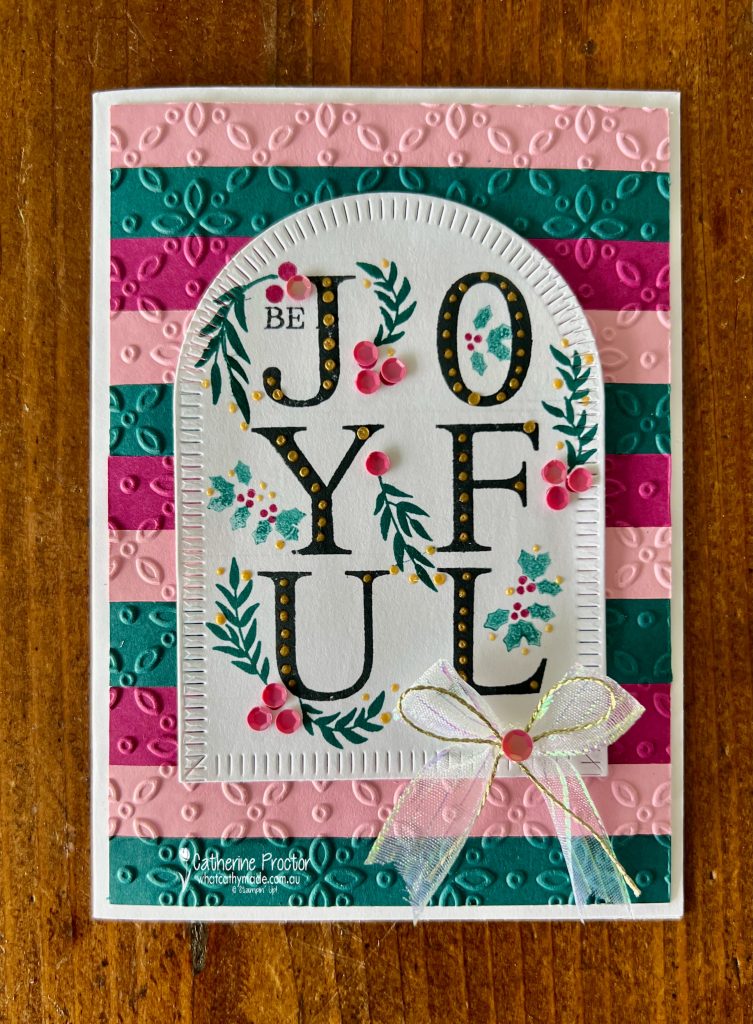
The challenge for Day 17 of the 30 Day Christmas Card Making Challenge is a colour challenge: Powder Pink, Plum and Teal Blue.
The Stampin’ Up! colours I’ve used for this colour challenge are Pretty Peacock, Pretty in Pink and Berry Burst. I’ve adhered strips of cardstock in these colours to a layer of Basic White cardstock before embossing with Eyelet Folder.
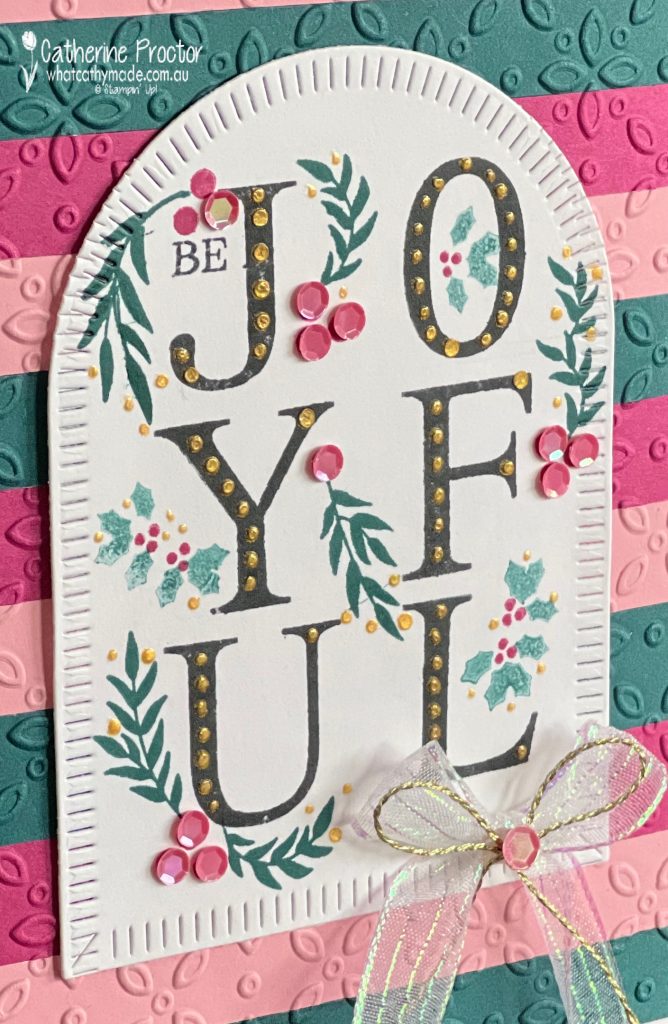
I’ve stamped the word “Joyful” in black using the Classic Letter stamp set, adding dots of Gold Metallic Enamel Effects add a touch of dimension and sparkle.
The curved greenery from the Classic Letters stamp set is stamped in Pretty Peacock and the holly stamp is from the Reindeer Fun stamp set, stamped in Pretty Peacock that has been stamped off once.
Adhesive-Backed Shiny Sequins in Melon Mambo and a double bow of Iridescent Striped Trim and Gold Twisted Thread finish off the card.
I’ll be back tomorrow blog hopping with the AWH Heart “Heart of Christmas” team and another “30 Days of Christmas” Christmas card.