It’s week four of the 2025 Heart of Christmas blog hop and just over 13 weeks until Christmas. Have you started making your Christmas cards yet?
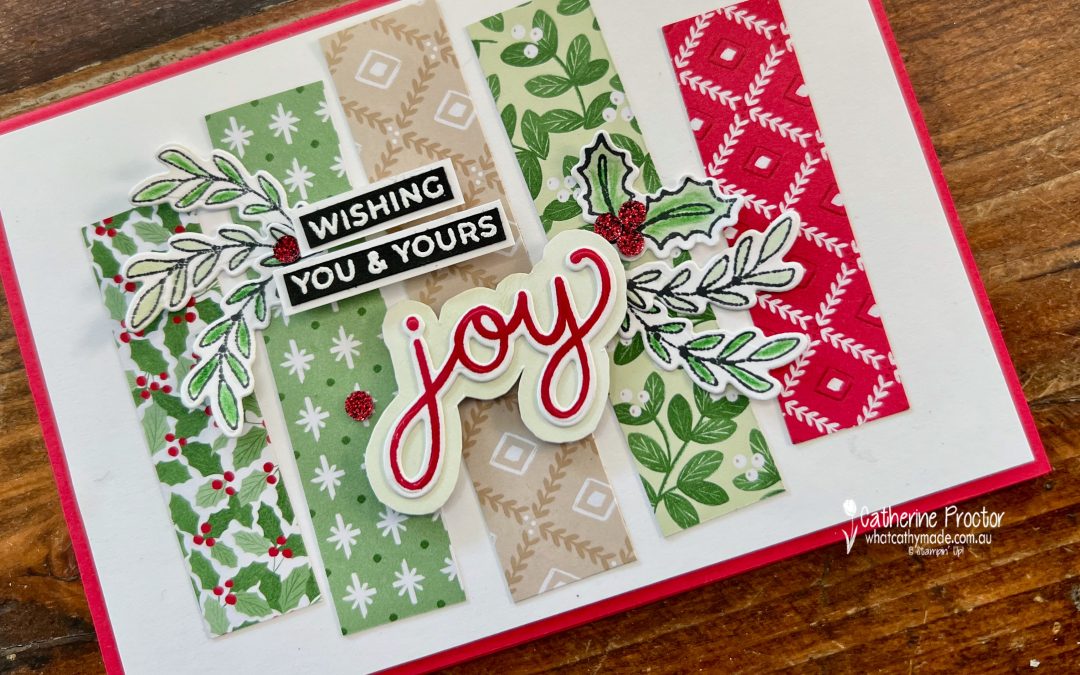
For this week’s card I wanted to create a card that highlighted the gorgeous variety of patterns in the Christmas Tags & More DSP while also making the sentiment as the star of the card.
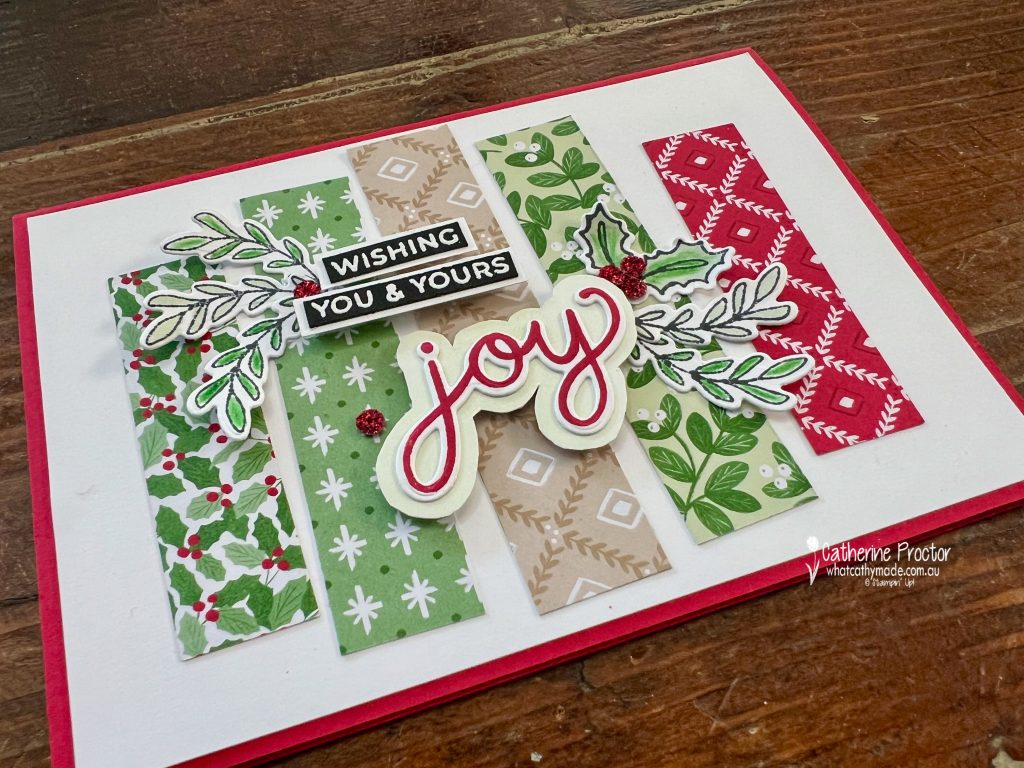
The “strip technique” (I’m not sure of its official name, but this is what I call it!) is great for mass production of cards as it really maximises your DSP and is so quick and easy to create. I cut strips approximately 2 cm wide and lined them up across a panel of Basic White cardstock on a Real Red cardstock base.
The two strips on either end are pre-cut strips from the Christmas Tags & More DSP.
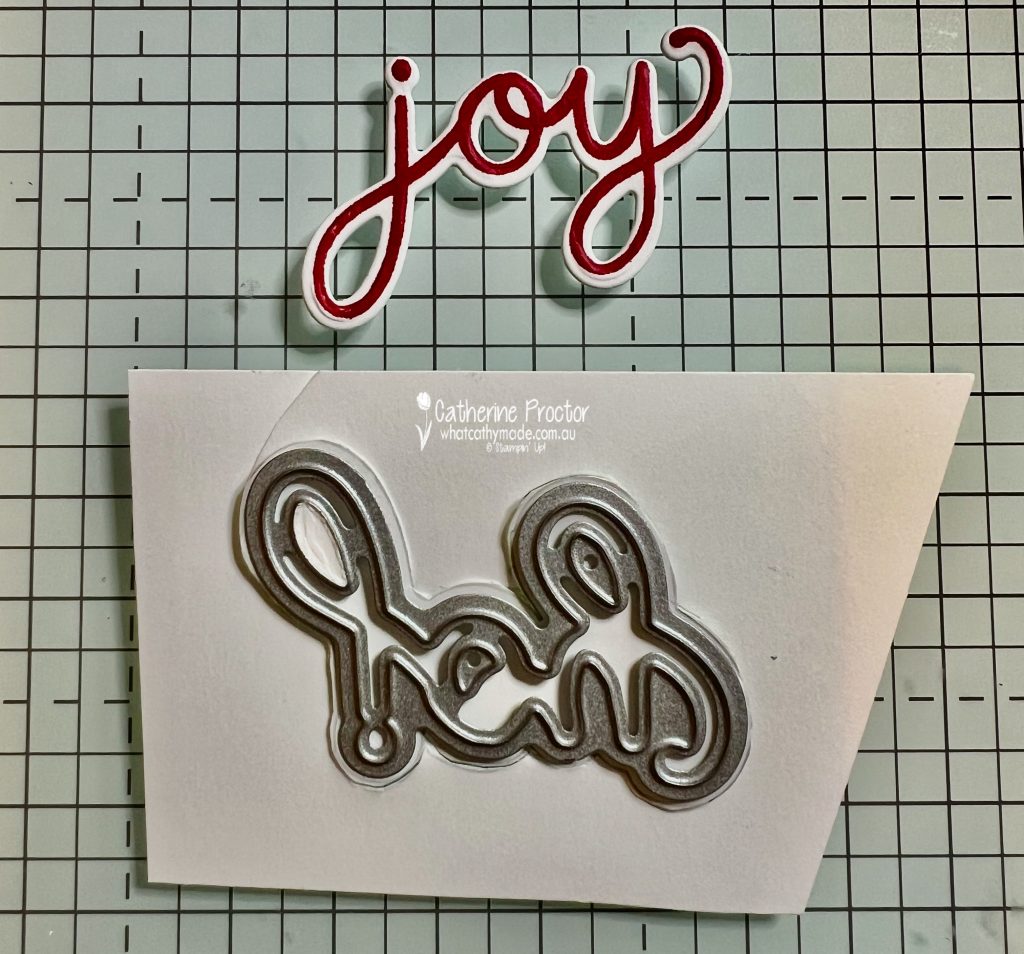
The word joy is stamped in Real Red using the Jolly Holly Bundle and cut out with the matching die.
To give the sentiment extra dimension, I used a blending brush to add Soft Sea Foam ink to a scrap of Basic White cardstock. I then flipped the cardstock over, traced around the joy die on the reverse side of the cardstock, and fussy cut it out by hand. This creates a soft backing layer that makes the word pop against the patterned background.
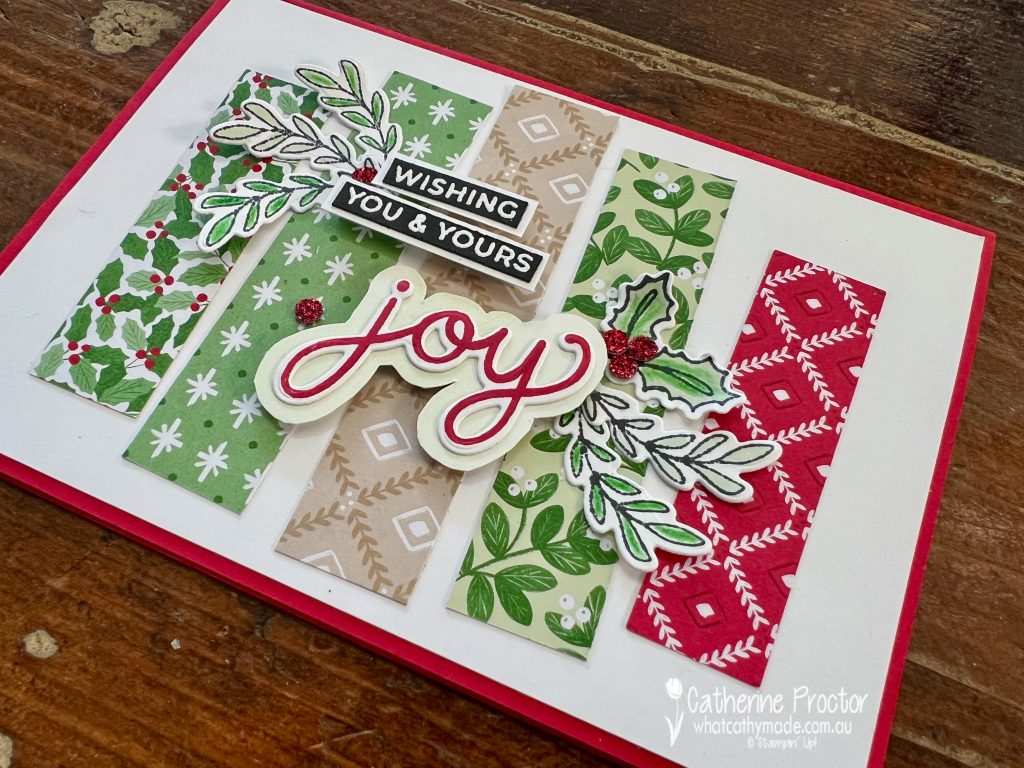
This backing layer makes the word “joy” pop against the patterned background. I also added a white heat embossed greeting “Wishing You & Yours” stamped onto Basic Black cardstock, layered onto a strip of Basic White cardstock for extra detail.
The holly and foliage were stamped in Memento Black Ink and coloured with Stampin’ Blends in Real Red and Soft Sea Foam Stampin’ Blends.
Since there isn’t a Stampin’ Blend in Garden Green, I used a Garden GreenWatercolour Pencil add some of the darker Christmas green. The leaves and berries were then cut with the coordinating Jolly Holly dies and arranged around the sentiment for balance.
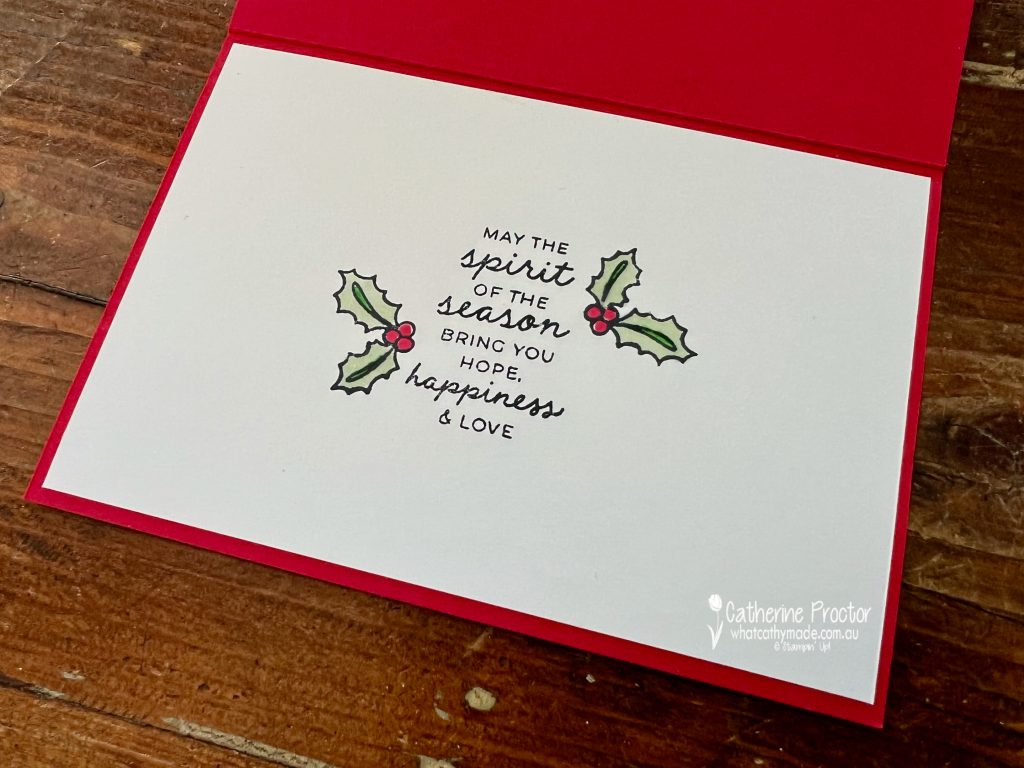
Inside the card I’ve stamped another sentiment from the Jolly Holly stamp set and added two more holly leaves coloured in to match the holly on the front of the card.
To finish the card, I adhered a few red Traditional Sparkling Sequins, the perfect way to add a little shimmer and bling without overwhelming the design.
Take a look at some more Christmas Card inspiration on our Heart of Christmas blog hop!
Now it’s time to hop in over to our next participant, the lovely Sharon Davern. I can’t wait to see what Sharon has made this week!
If the next button link is not working or you’d like to see the entire list of participants go to Sharon Davern‘s blog. Sharon does an amazing job of hosting our Heart of Christmas blog every Monday.
Our AWH team will be back on Wednesday night, showcasing Flirty Flamingo on our Insta Hop. I hope you can join us then!
Is August too early to start making Christmas cards?
I certainly hope not as I’ve made my very first Christmas card of the year for Week 14 of our Art With Heart Instashop, which is showcasing the gorgeous rich red colour, Cherry Cobbler.
Cherry Cobbler always makes me think of Christmas and as my Christmas catty preorder arrived this week it was the perfect opportunity to give you a sneak peek of some of these beautiful new Christmas products.
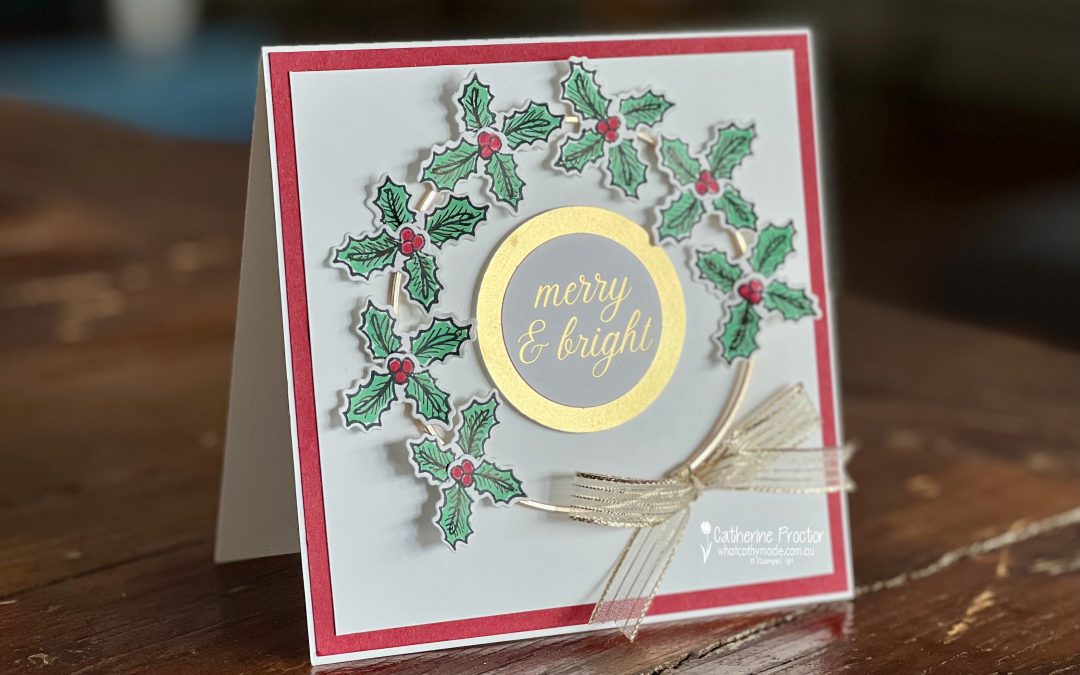
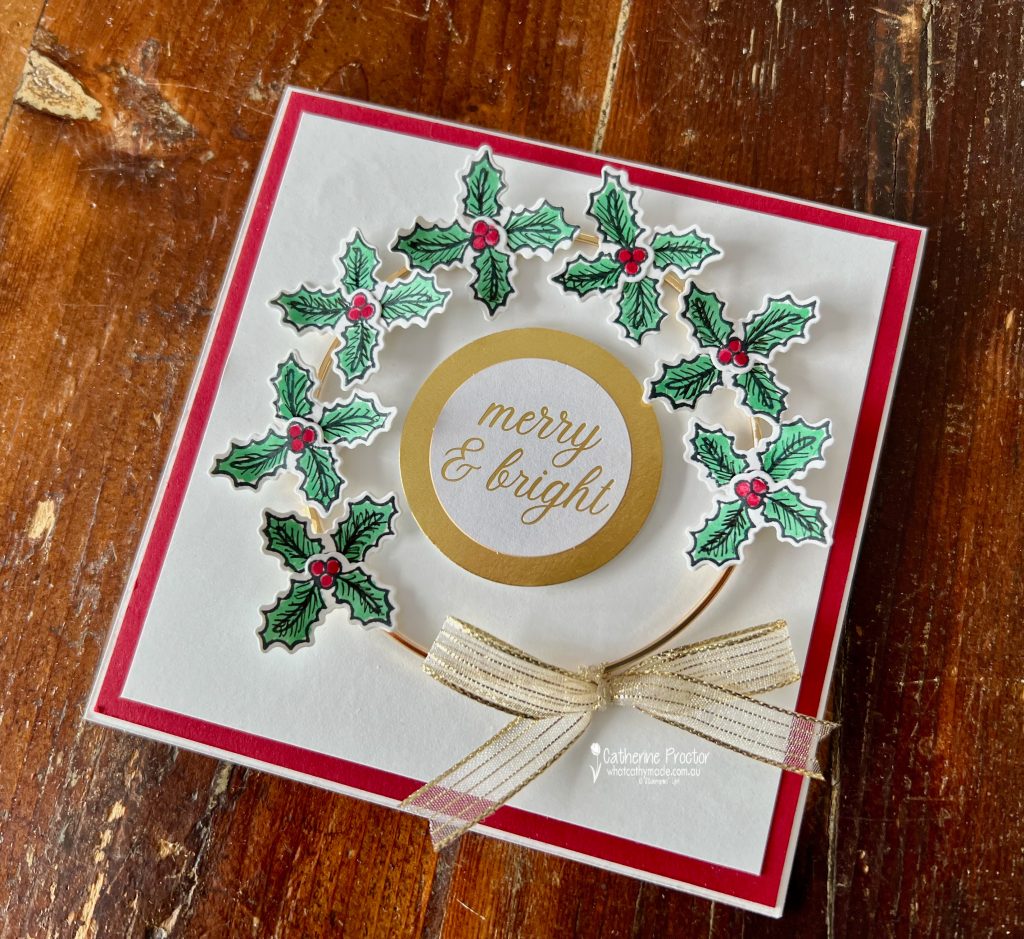
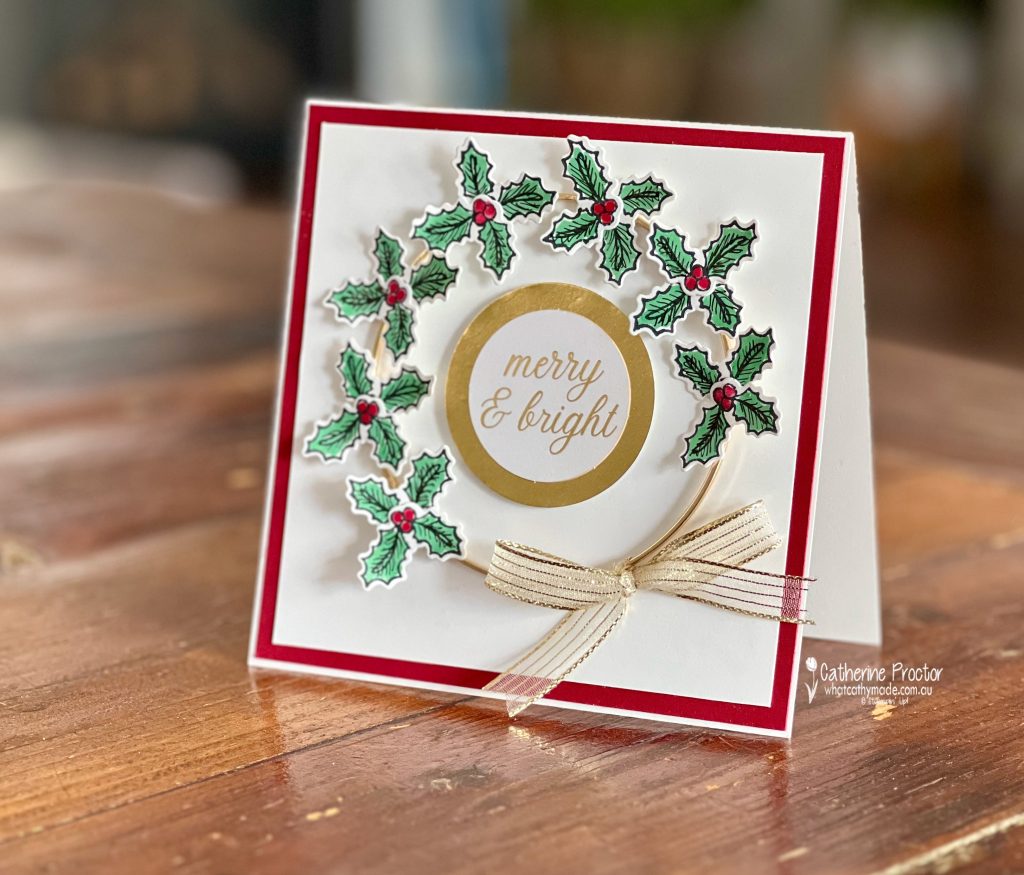
How to make a Jolly Holly Christmas Card using a Large Mellic Hoop
I’ve included a few tips and tricks this week to help you recreate the look of this card.
Tip #1– adding detail to stamps (or to your cardstock) using the 0.4mm Journaling Pens.
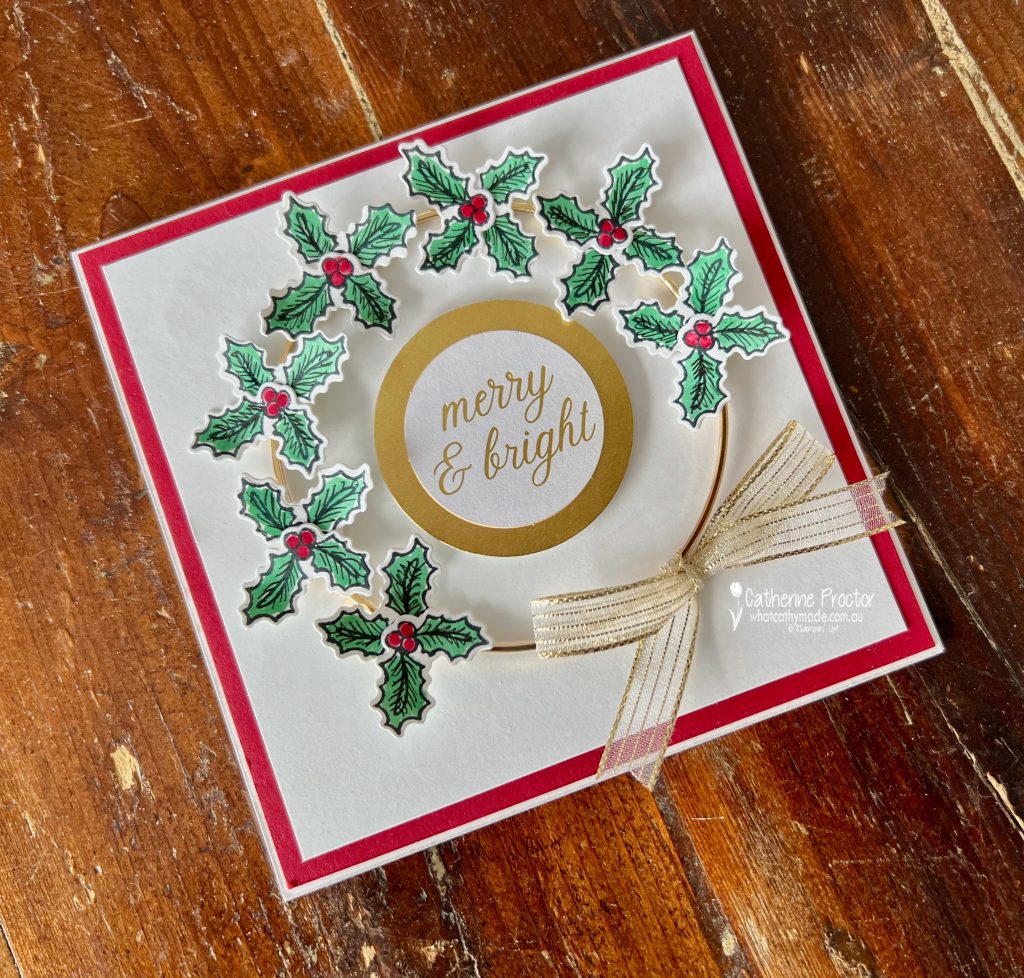
After stamping and die cutting holly leaves from the Jolly Holly bundle I coloured them using the Cherry Cobbler and Shaded Spruce Stampin/’ Blends. I then hand drew extra detail to the holly leaves using the journalling pens.
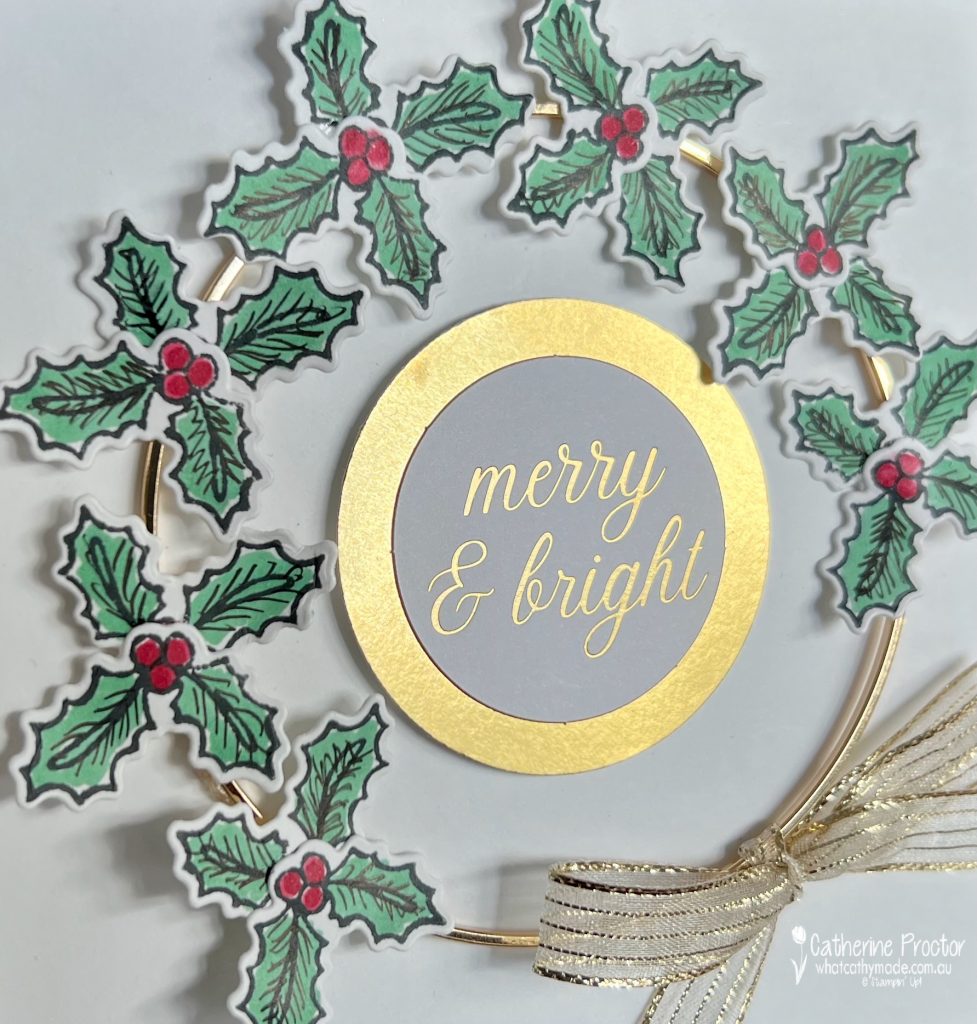
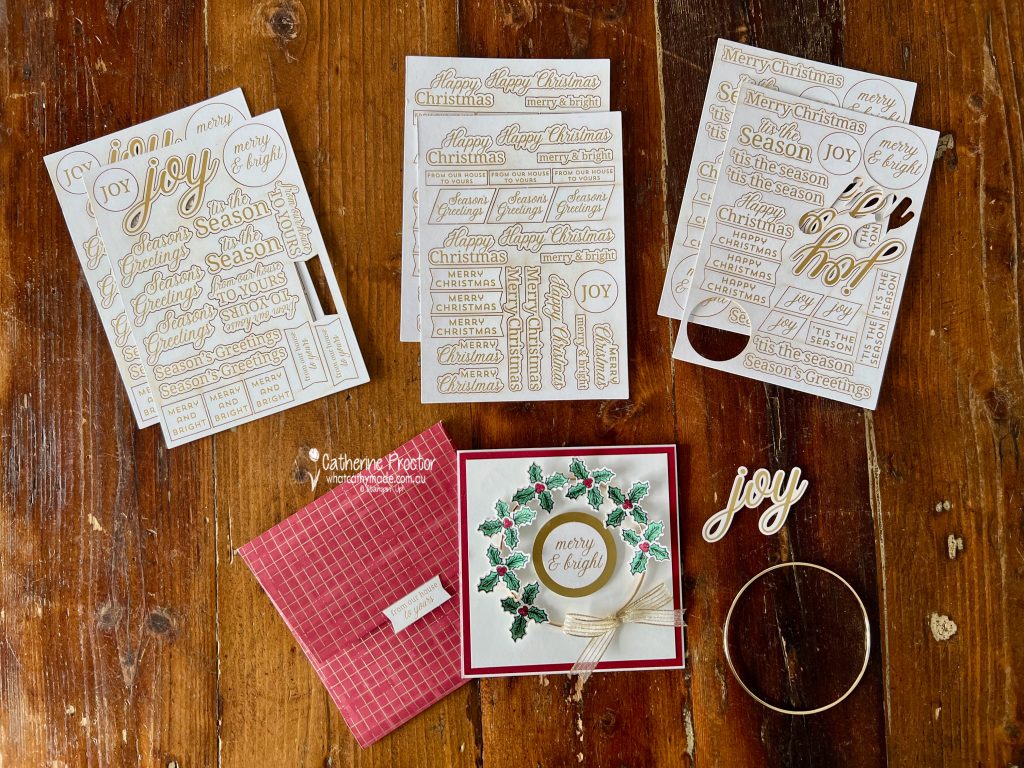
Here’s the first sneak peek of new products from the forthcoming Christmas catty. The Greetings for You Mix & Match Ephemera Pack are peel-and-stick!!!! How exciting is that! These elegant Christmas greetings are printed in gold foil and you get 6 sheets for $15. Such great value!
Tip # 2 The while cardstock used in the ephemera packs is slightly different to Basic White cardstock so if I’m layering white on white i like to add a layer so the difference is not noticeable. I’ve stuck my “Merry & Bright” ephemera sentiment onto a 2 inch punched circle of gold foil.
Sneak peek #2 and tip #3 – Large Gold Hoops. I love these Online Exclusive embellishments for adding dimension and a metallic element to a card. They’re also the prefect base to create a wreath. But what’s the best way to adhere them?
I used four glue dots and made sure they were positioned under the leaves and the metallic bow.
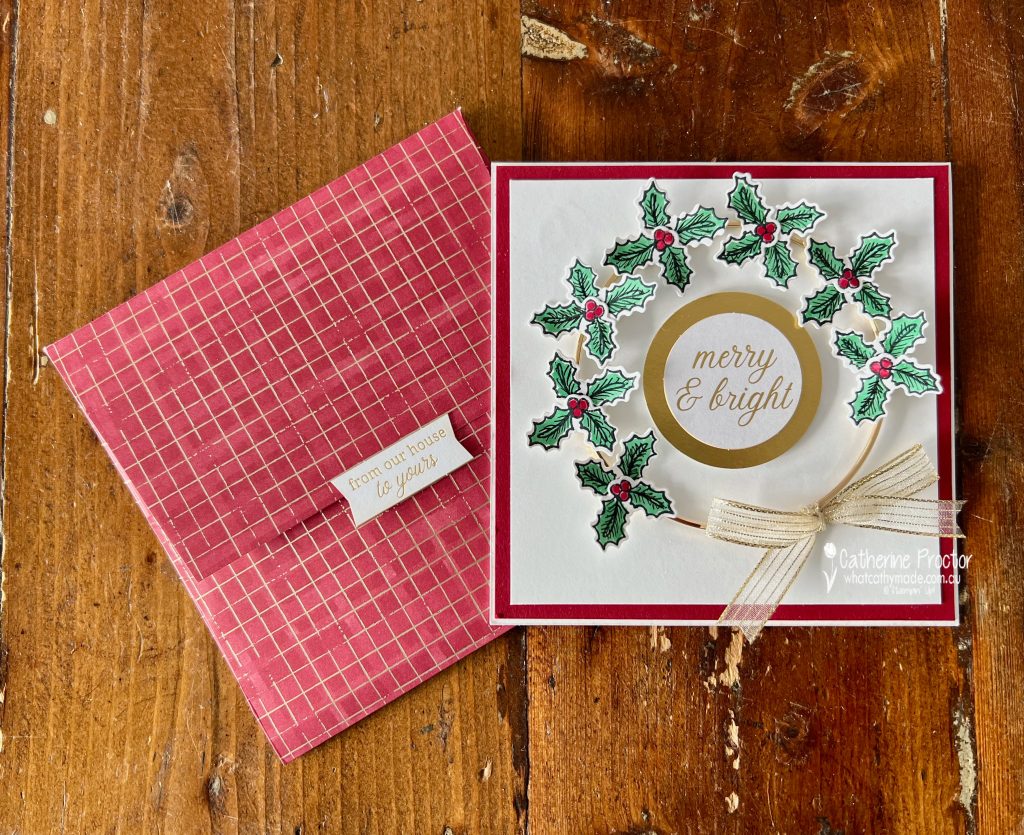
How to make a square envelope from a 6×12 inch sheet of DSP
Tip #4 making a square envelope from a 6×12 sheet of DSP. All I had left of the this stunning Cherry Cobbler DSP from the Regal Distressed Patterns 12″ x 12″ (30.5 x 30.5 cm) Specialty Designer Series Paper was a 6×12 inch strip. To create the square envelope for my 5 1/4 inch square card I score 1/4 inch along both 12 inch sides of the DSP and 3 1/2 inches from the top and bottom of the 6 inch side.
This gave me just enough room to adhere the 1/4 inch side flaps with tear n tape to make a squre envelope.
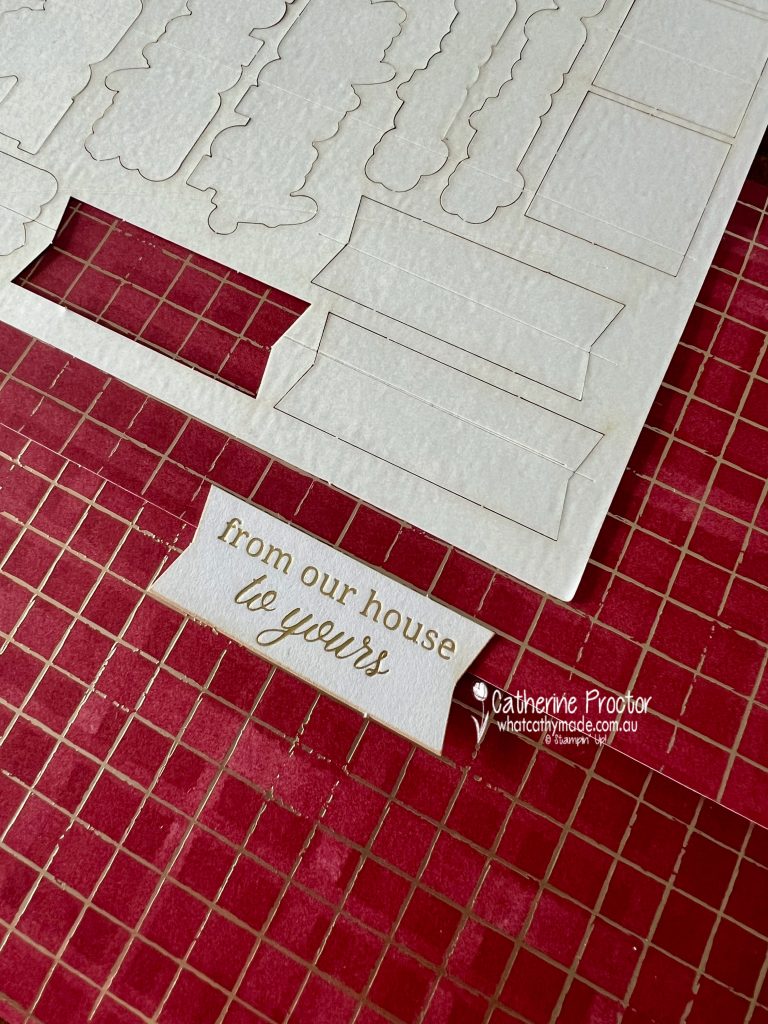
Tip #5 – creating an envelope seal couldn’t be easier using the new Greetings for You Mix & Match Ephemera Pack! I simply removed the top side of the adhesive cover to stick the sentiment to the envelope flap. Once the card is written in and signed and ready to post, remove the lower side of the adhesive cover and press to seal.
Take a look at some more Cherry Cobbler inspiration on our Insta Hop!
Our blog hop is now an Instagram hop but the good news is that you don’t need to have an Instagram account to view all of the other projects!
Simply copy any of the Insta handles below into a new search window to follow the Instagram hop at any point.
Next in our Hop is Helen @apaperparadise. Be sure to check out her gorgeous project/s.
The full list of this week’s InstaHop is listed below: