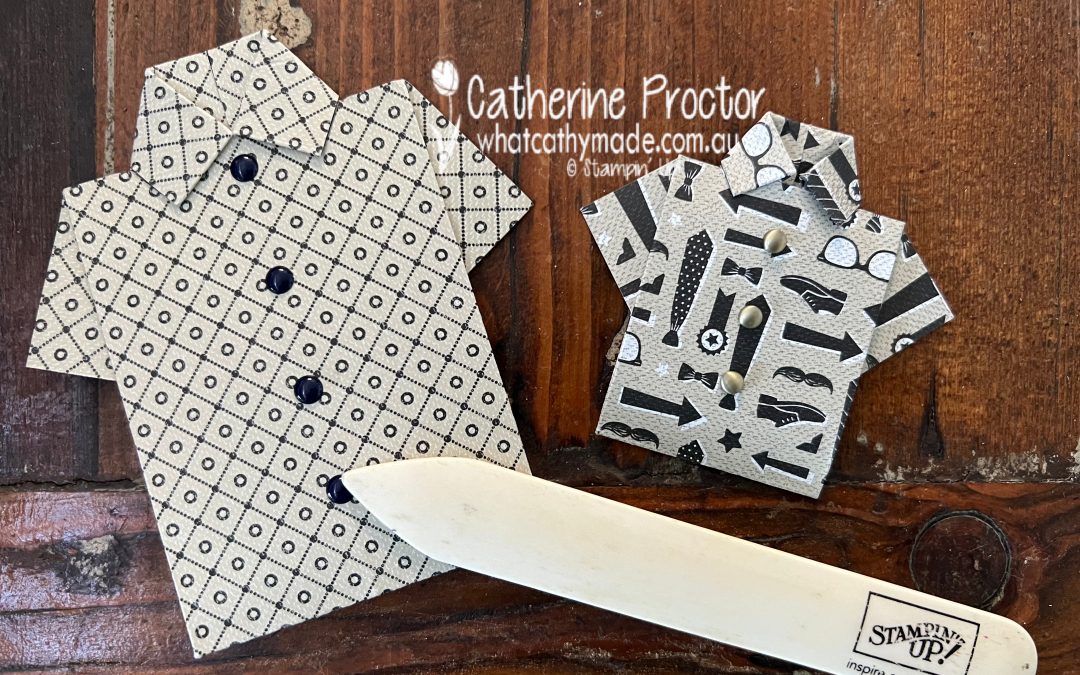
Stampin’ Up! Sahara Sand Origami Men’s Shirt Card
Welcome to week forty four of our Art With Heart 2022-23 Colour Creations blog hop.
This is a weekly blog hop where we showcase the stunning range of Stampin’ Up! colours in alphabetical order over 12 months and this week we are featuring Sahara Sand from the Neutrals family.
Sahara Sand is an extremely versatile neutral that I use all the time, however it is a colour I rarely choose it as the feature colour on a card.
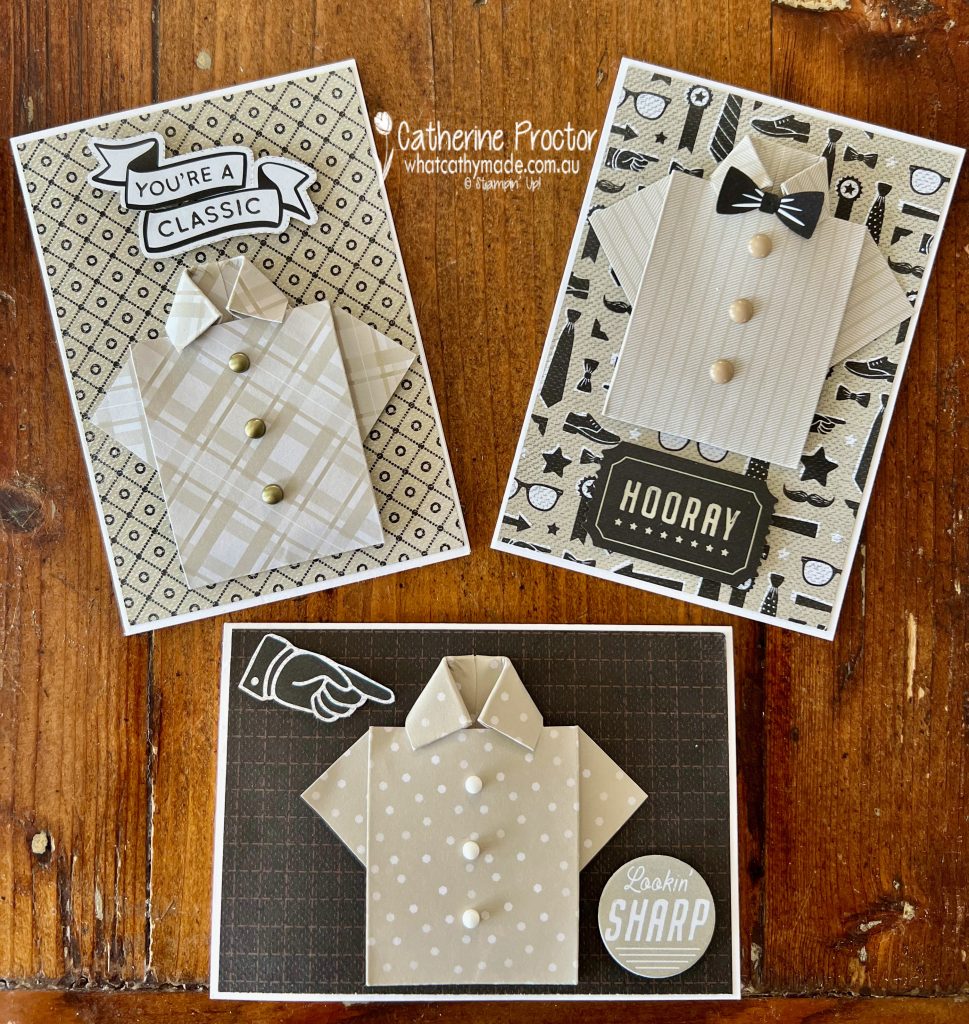
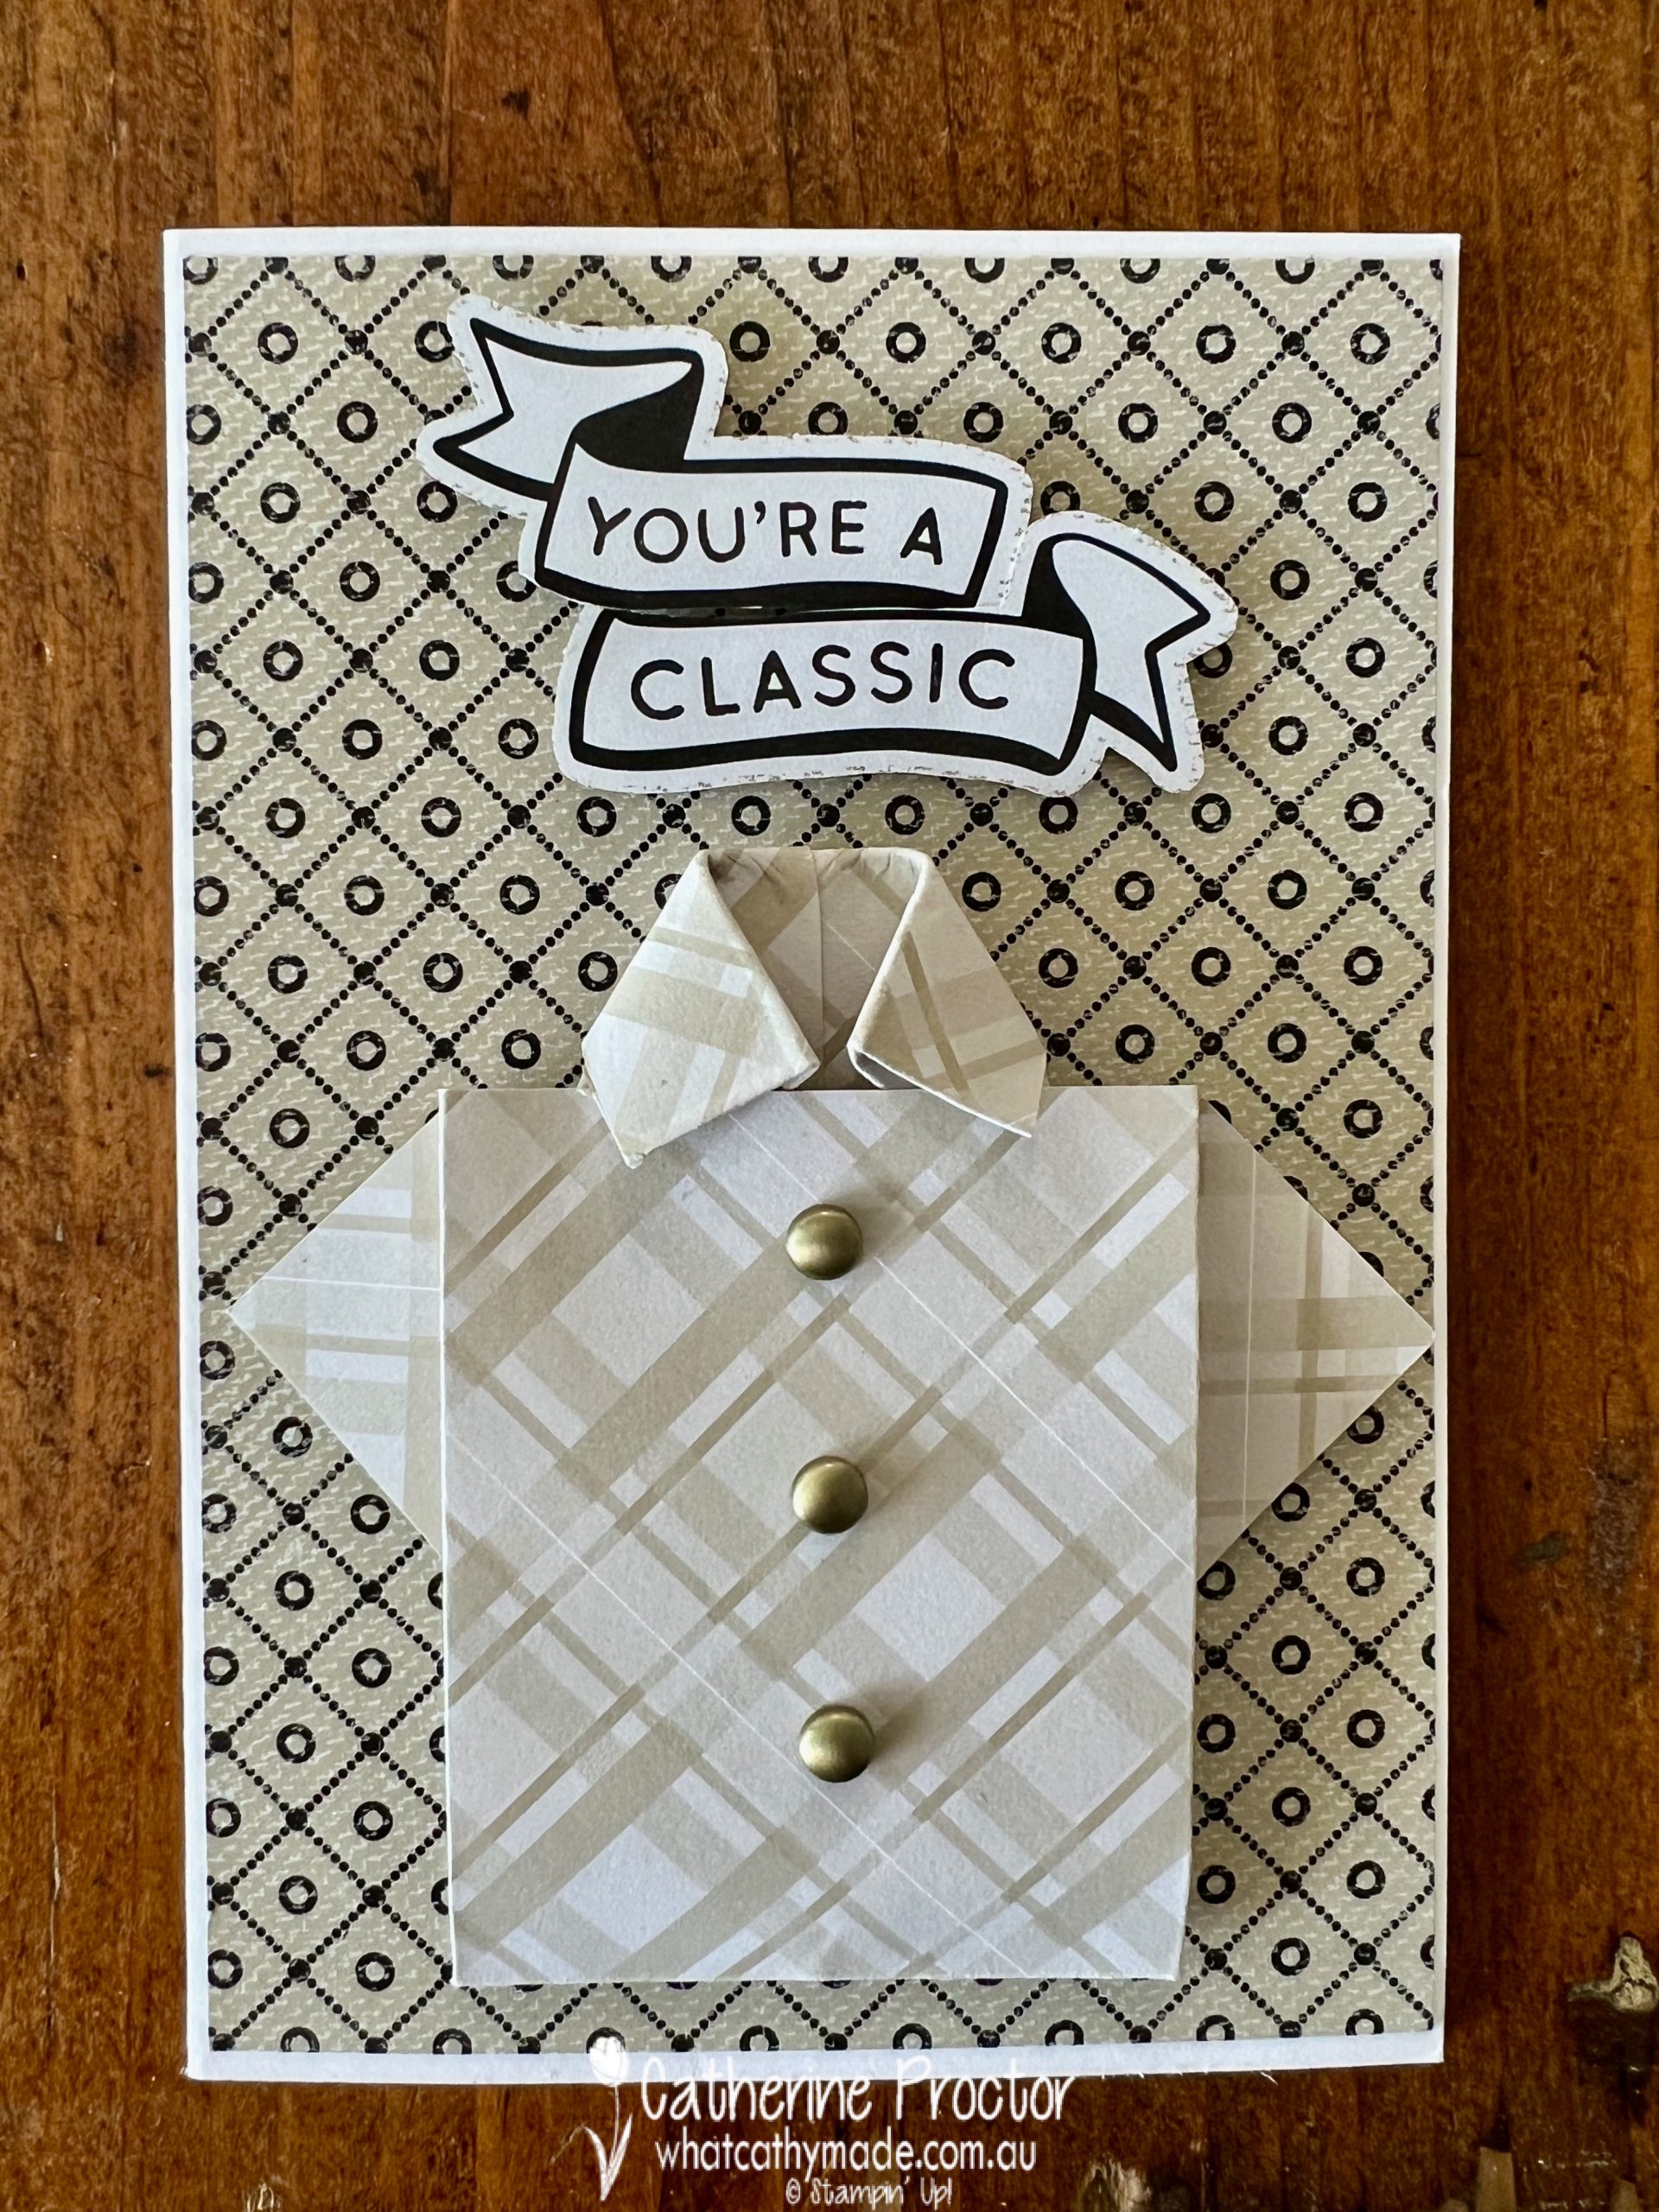
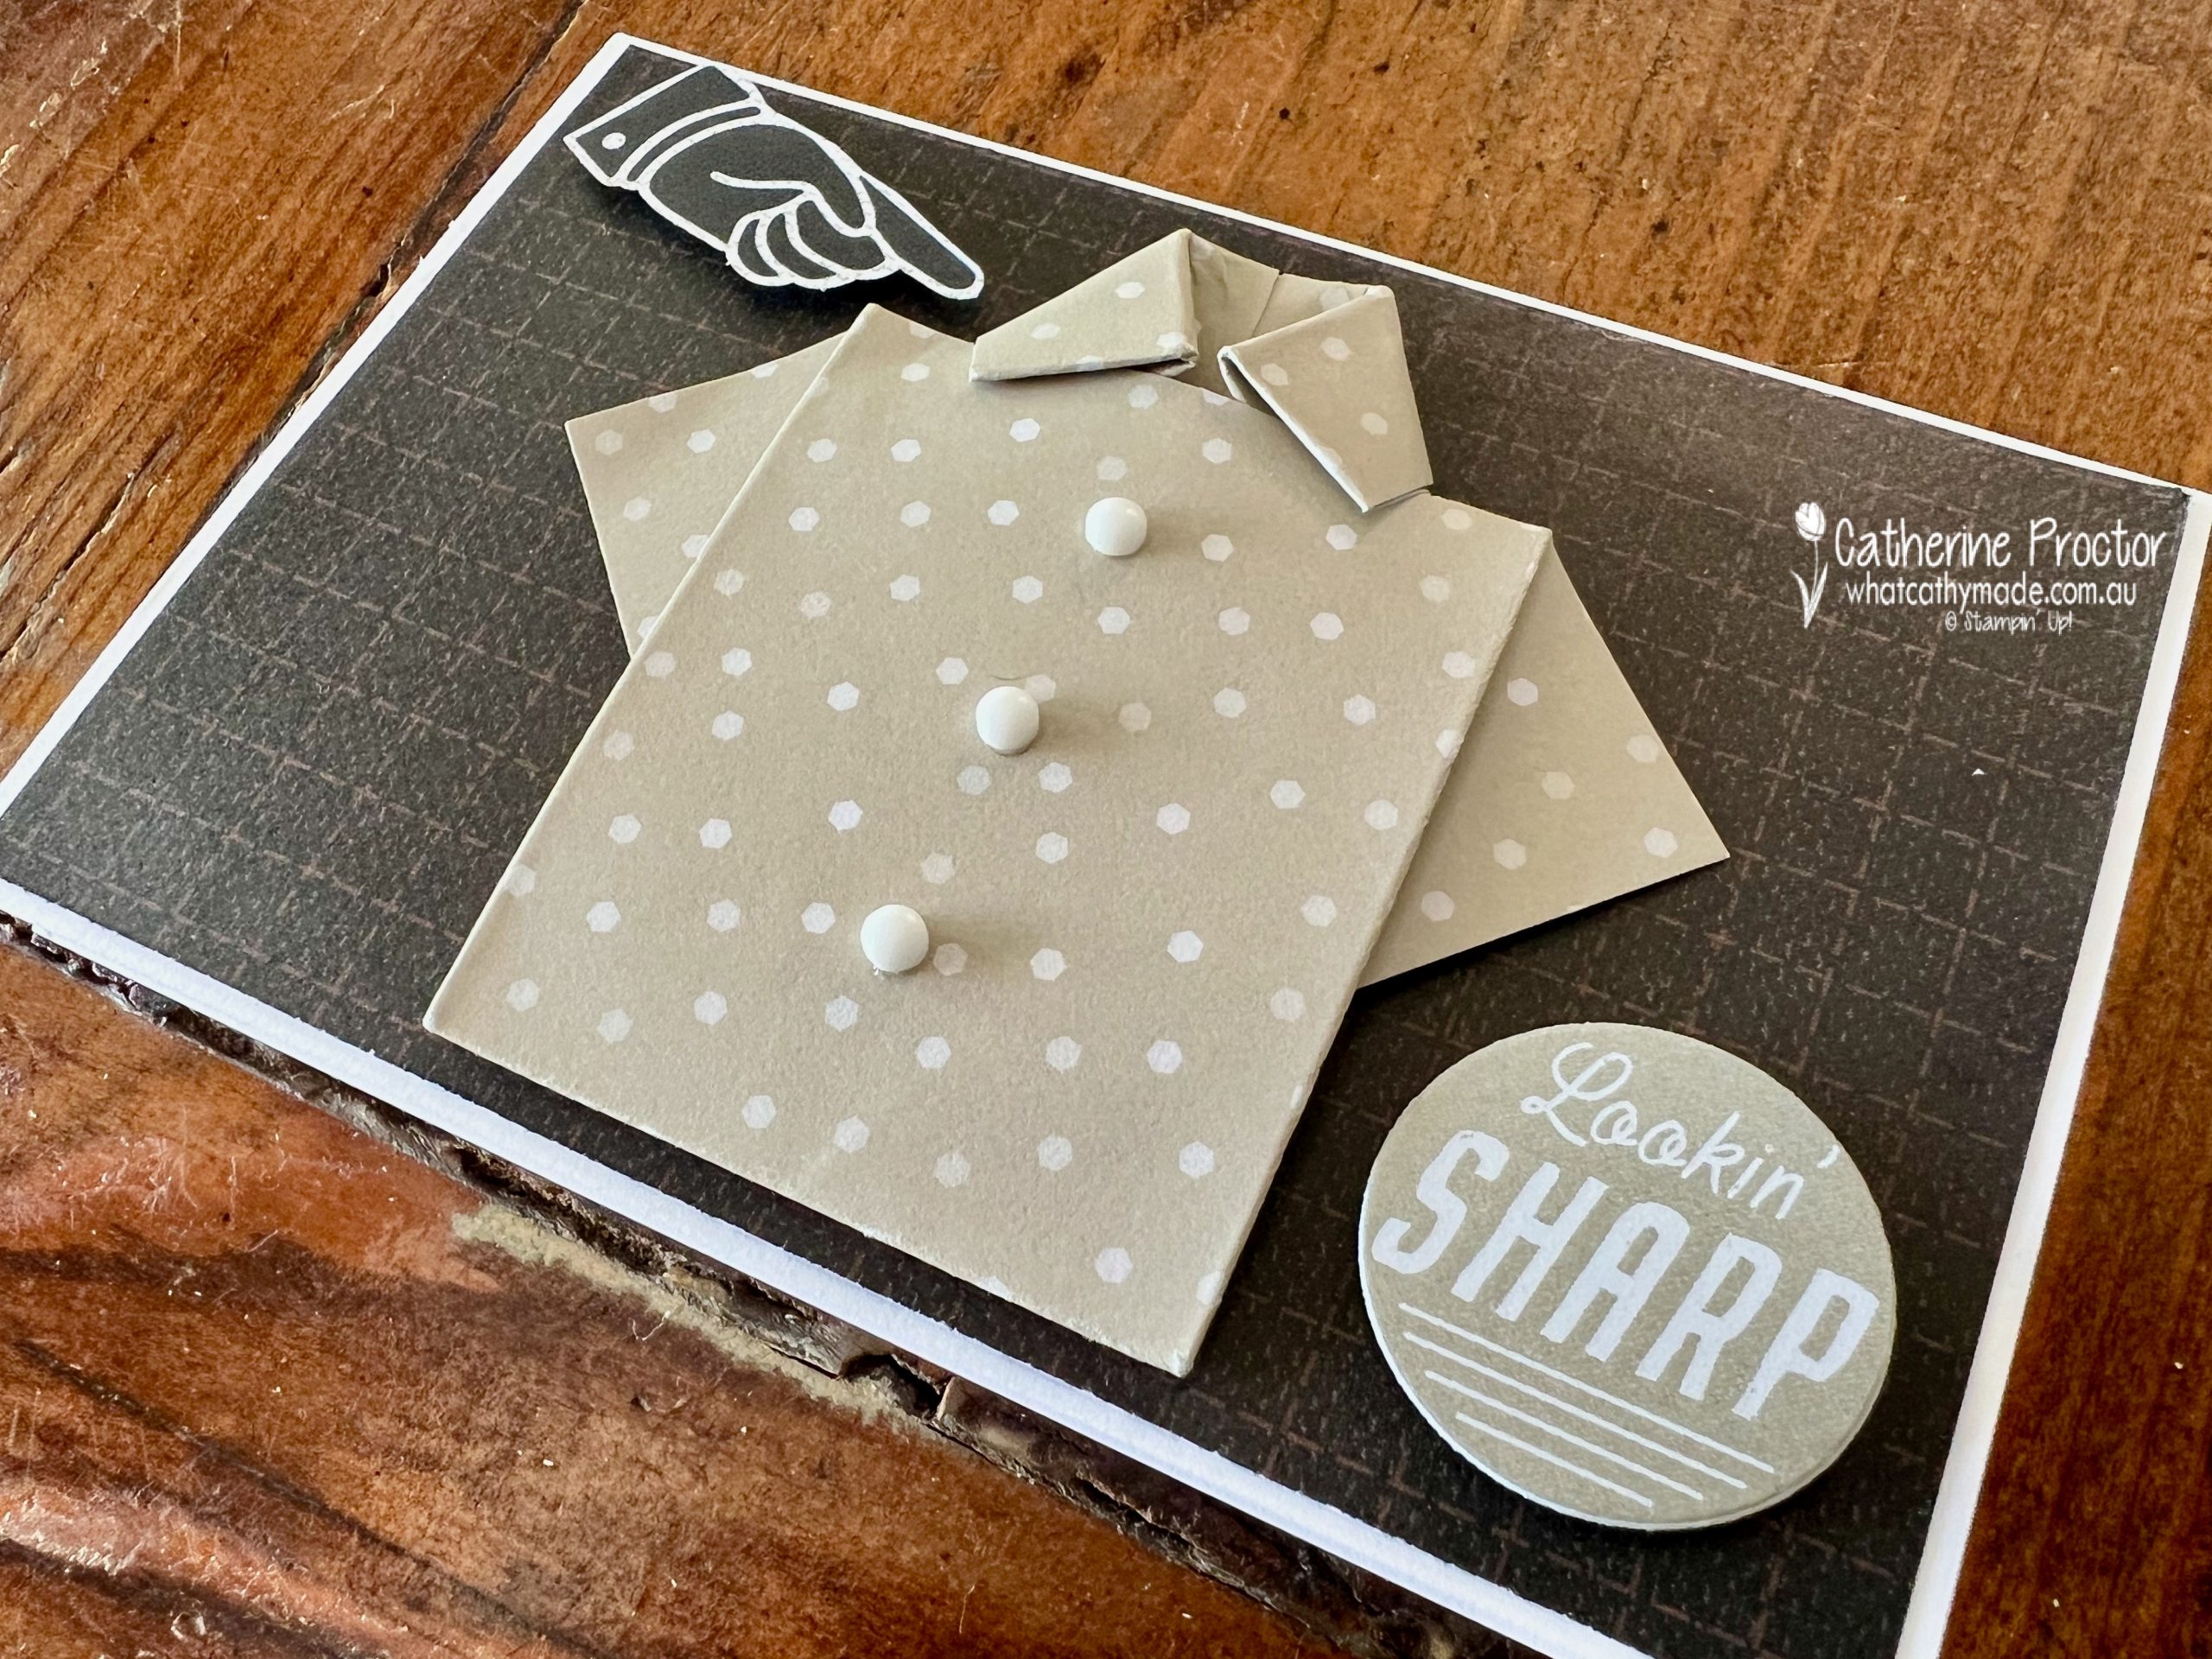
I knew using Designer Series Paper that features Sahara Sand would be a great way to showcase this colour, so I’ve made some origami shirts in two different sizes. These are the three cards I made using the smaller origami shirt.
If you’ve never made these shirts before I urge you to give it a go. Once you have cut your rectangle of DSP to size, here is no die cutting involved – both sizes of origami shirt are made by simply folding the DSP.
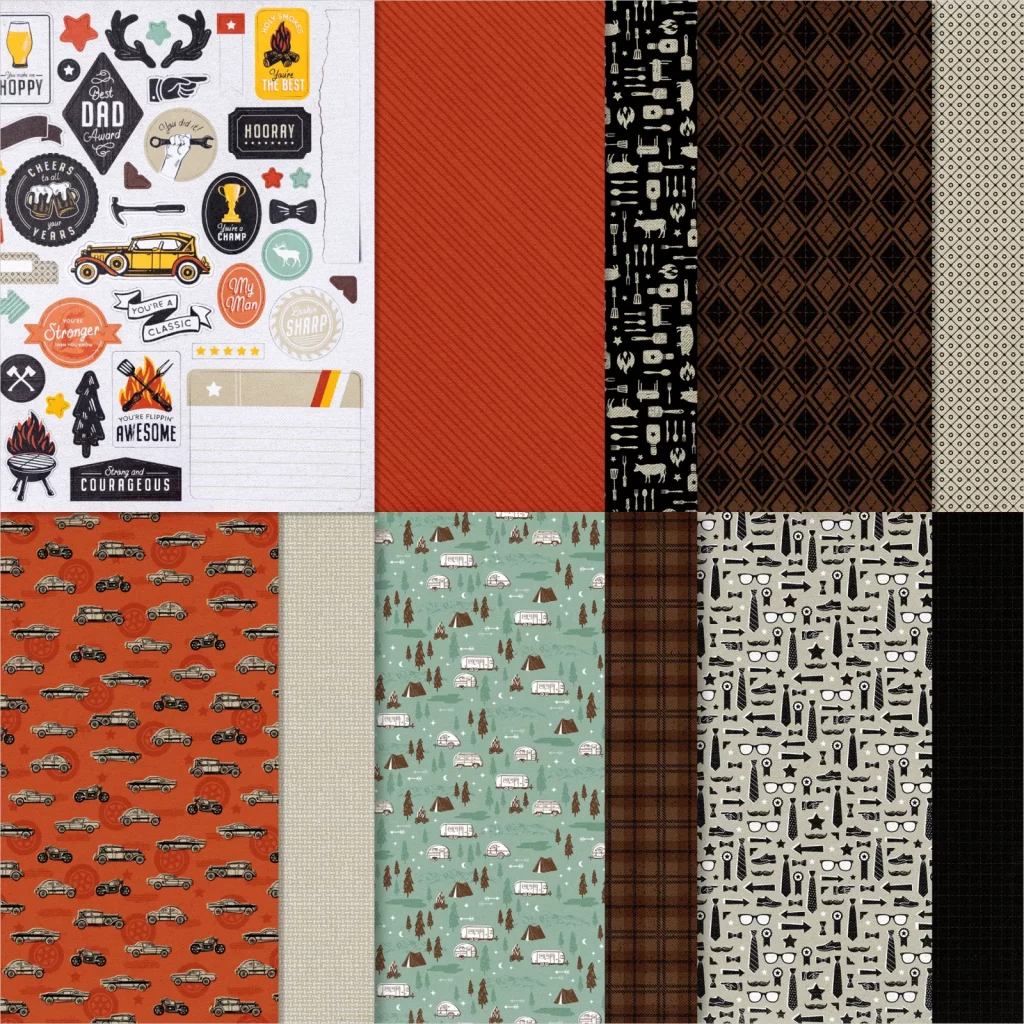
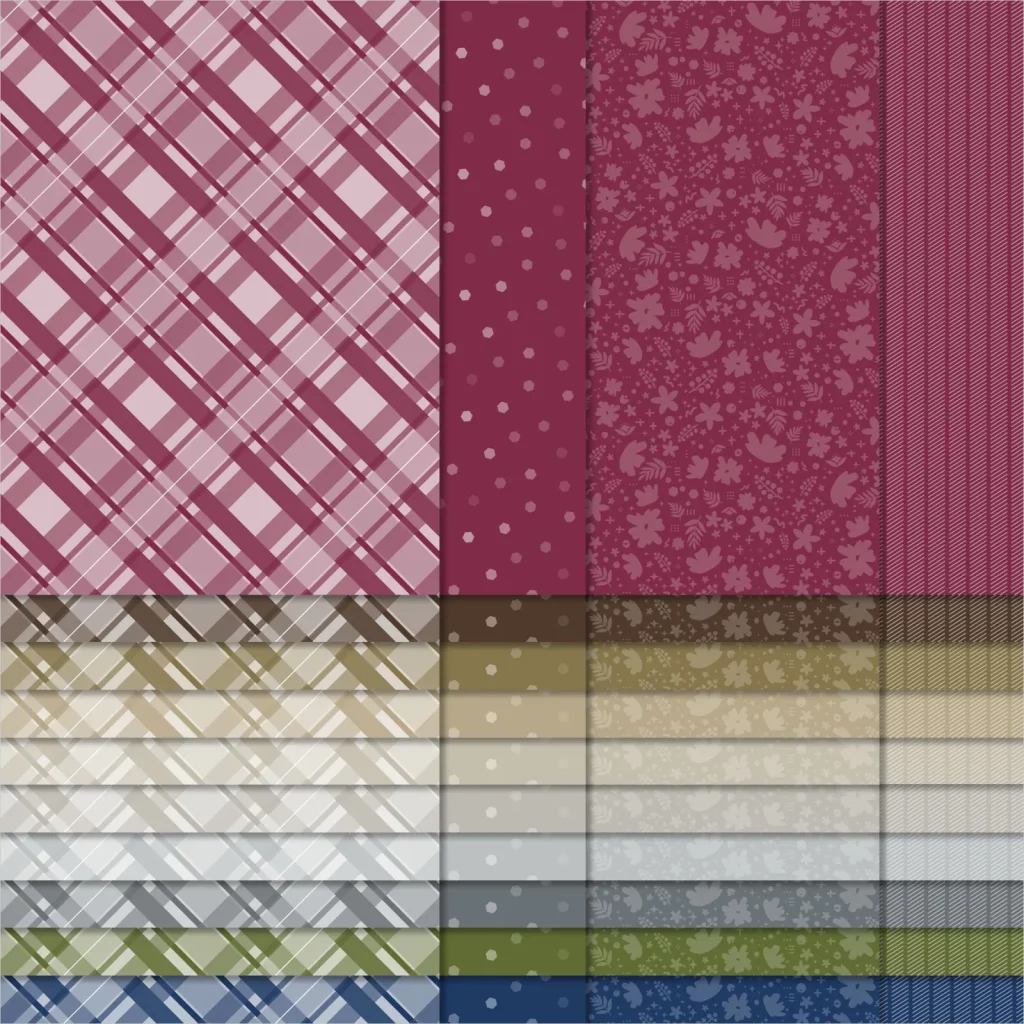
I’ve used a combination of the He’s The Man DSP and the Neutrals 6″ x 6″ (15.2 x 15.2 cm) DSP.
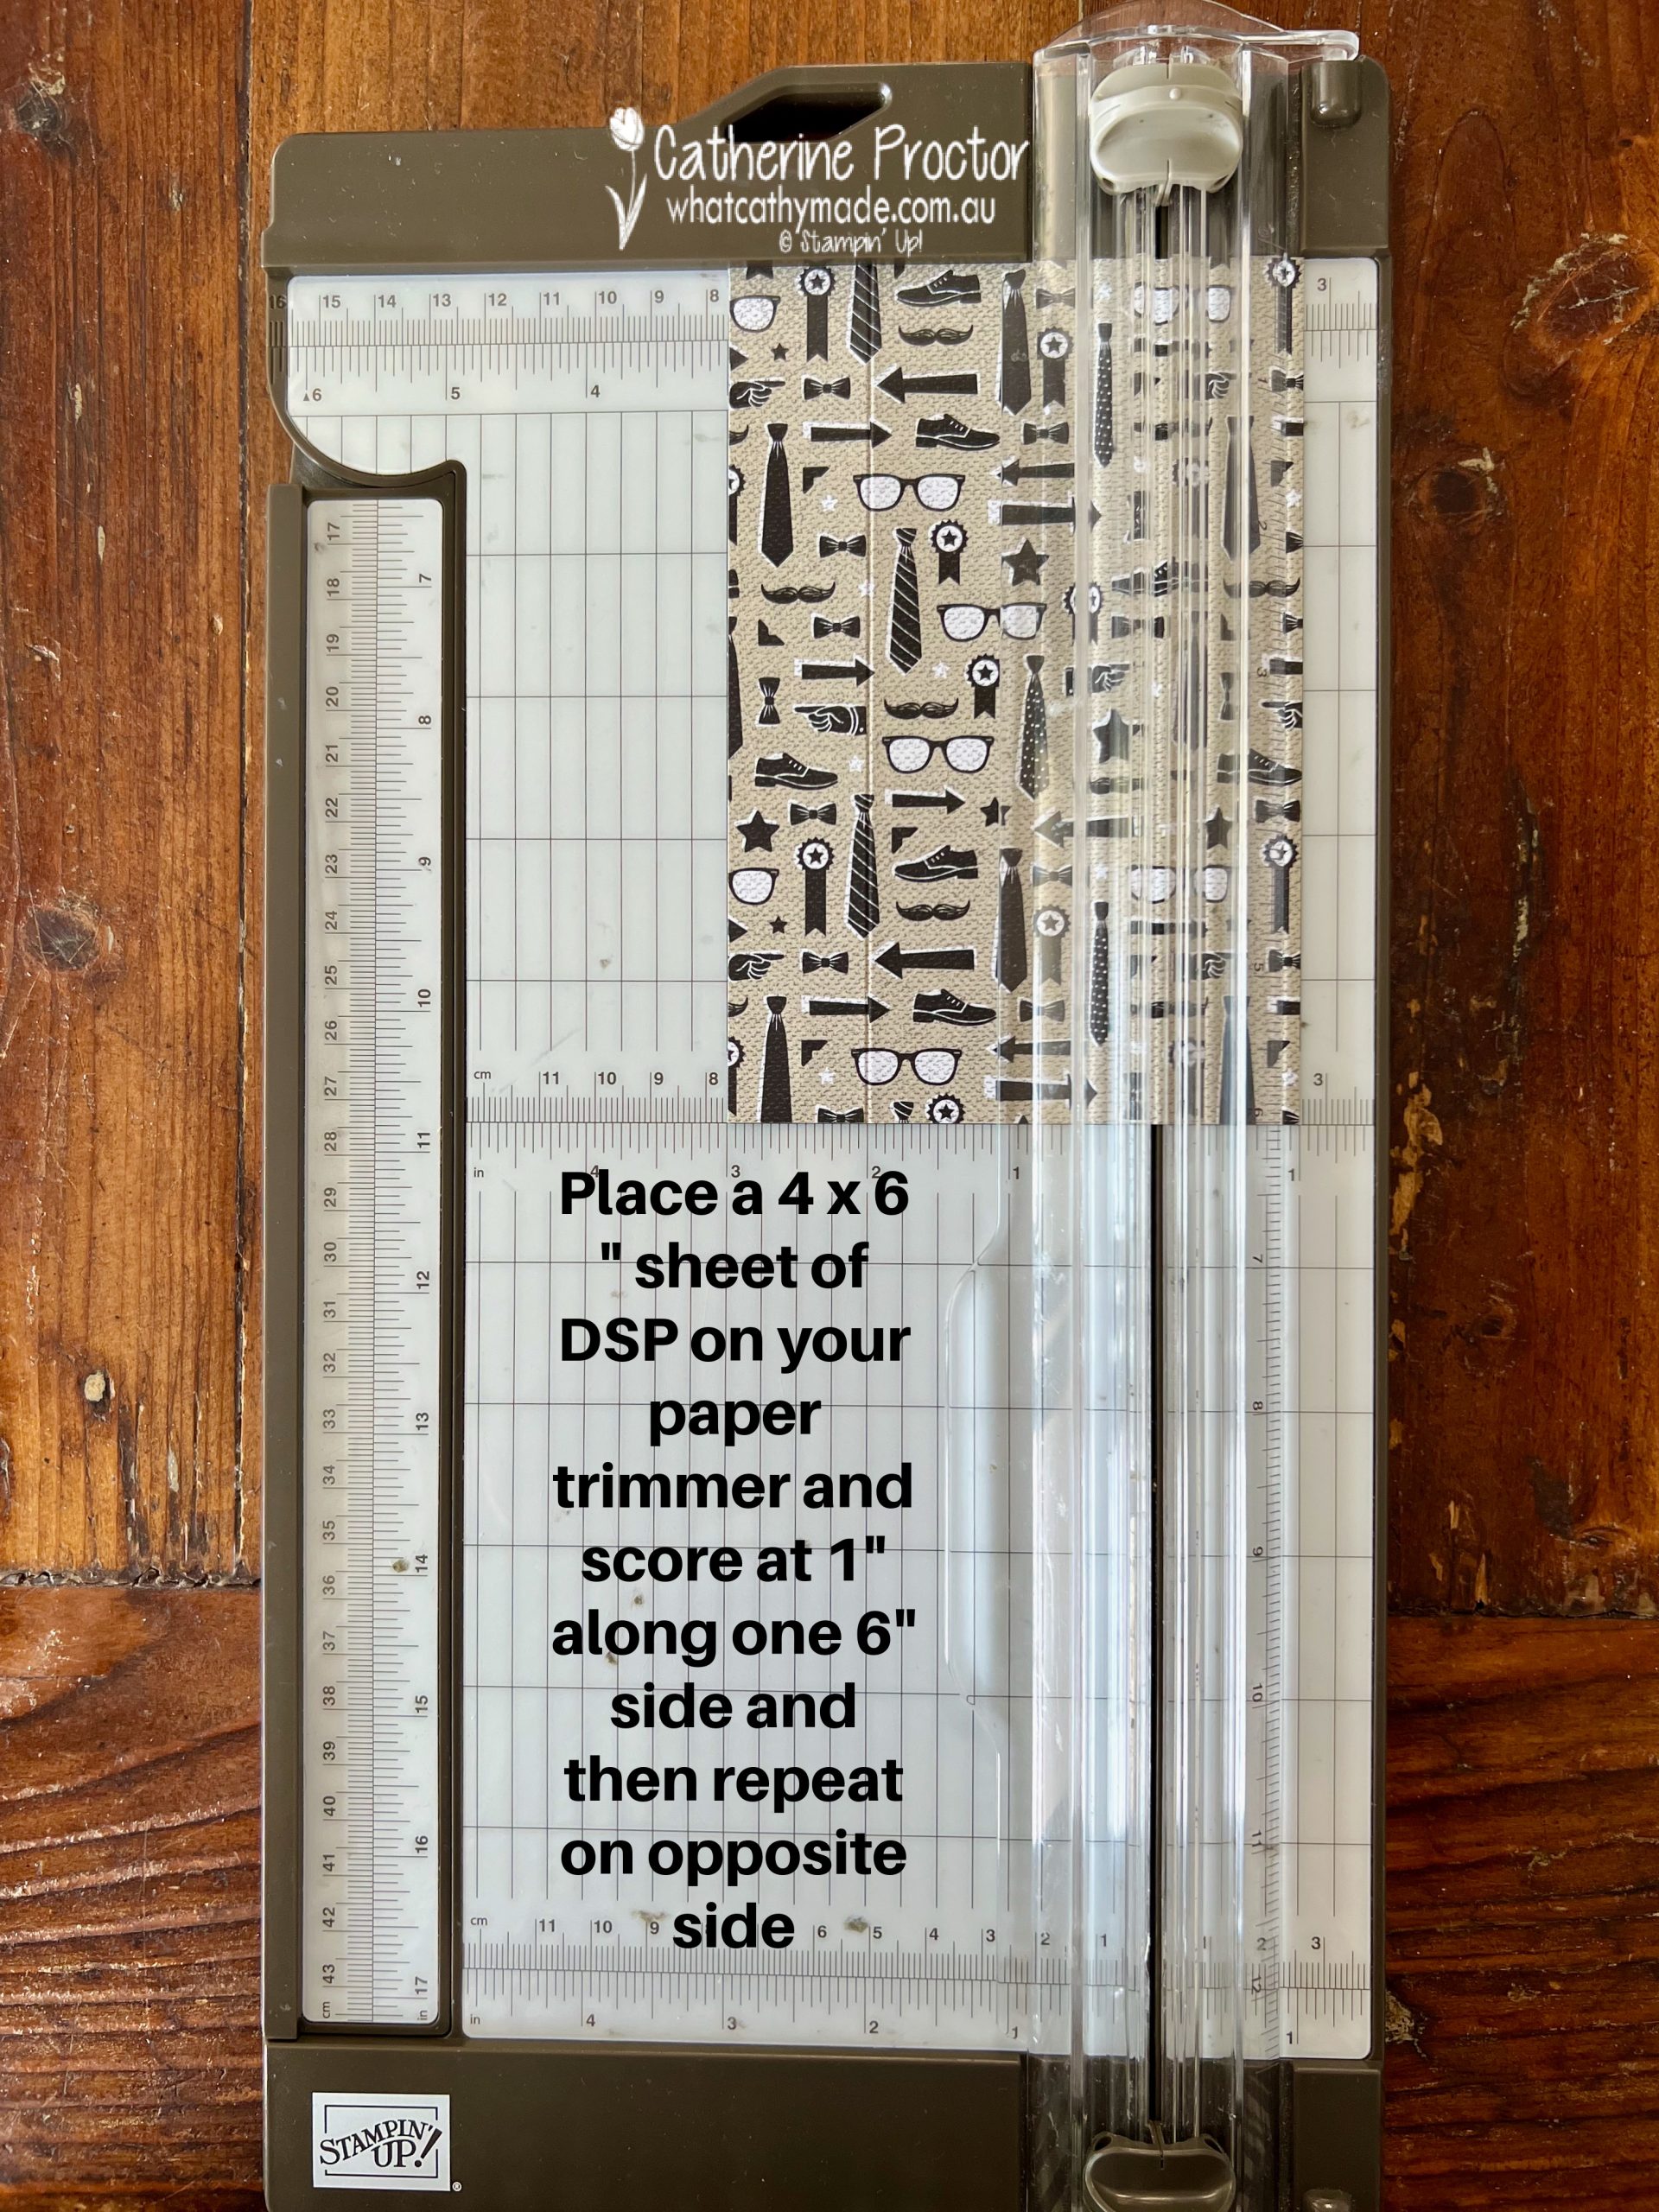
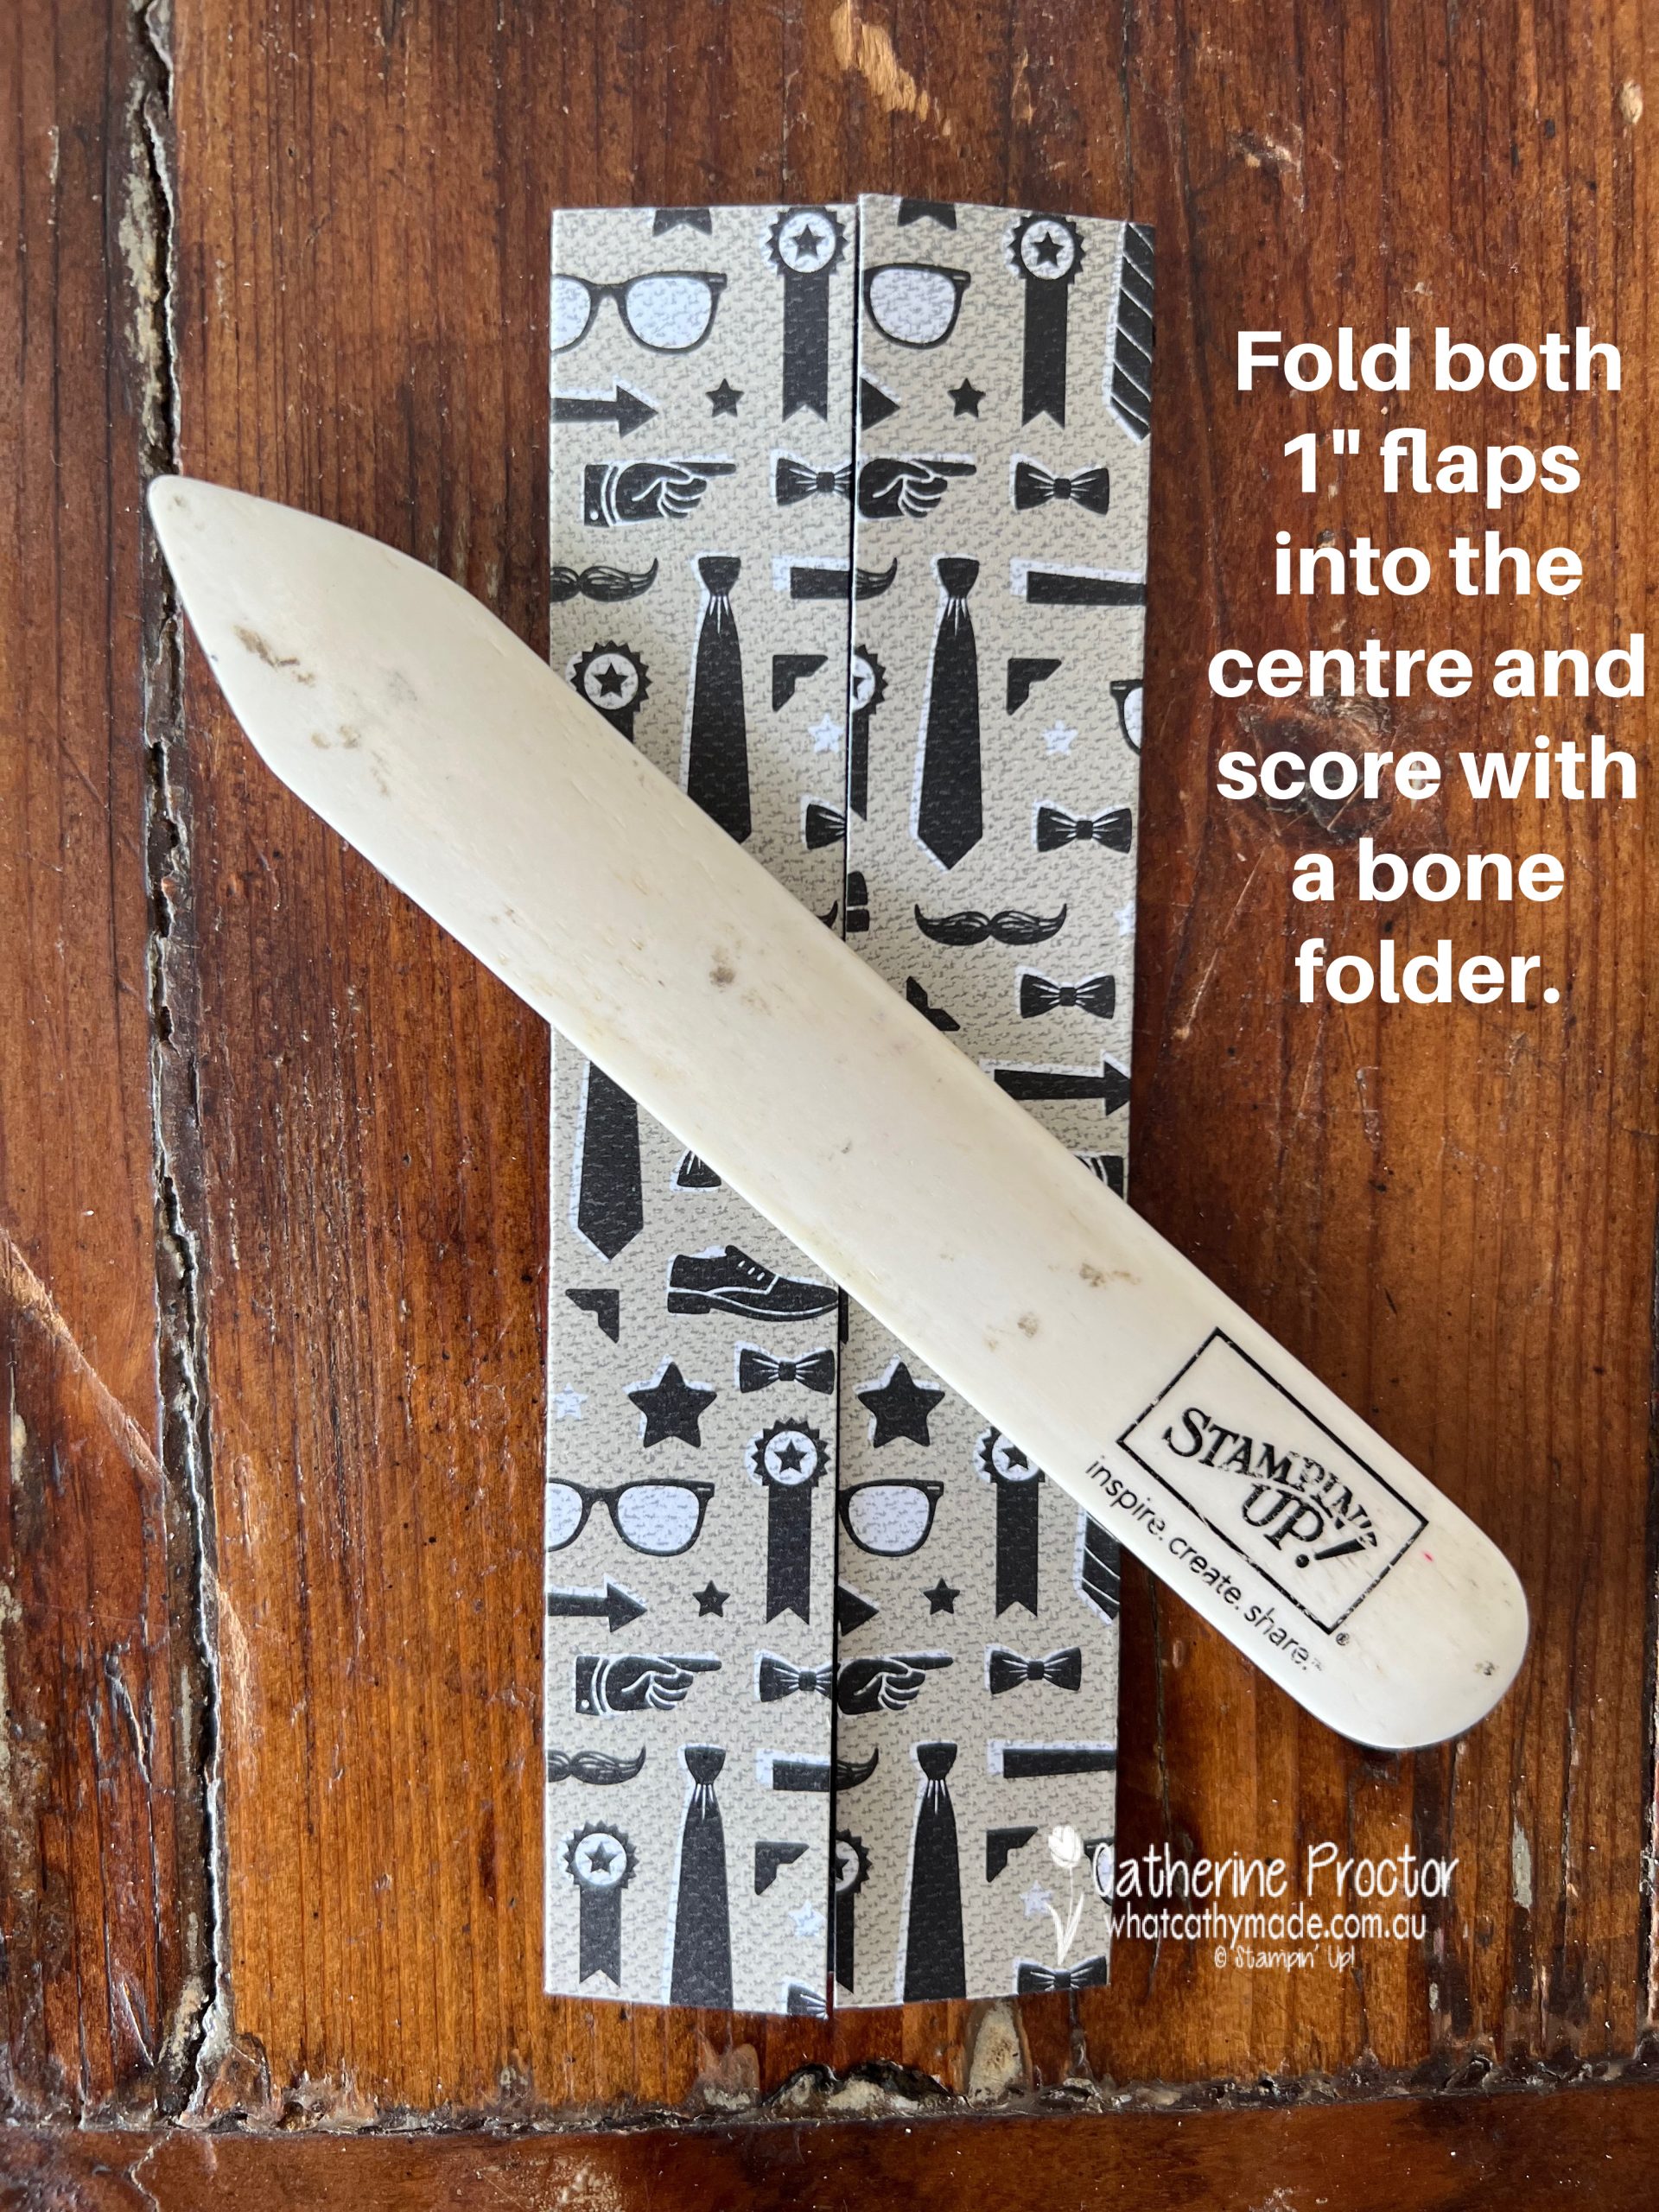
Origami DSP Shirt Card Instructions
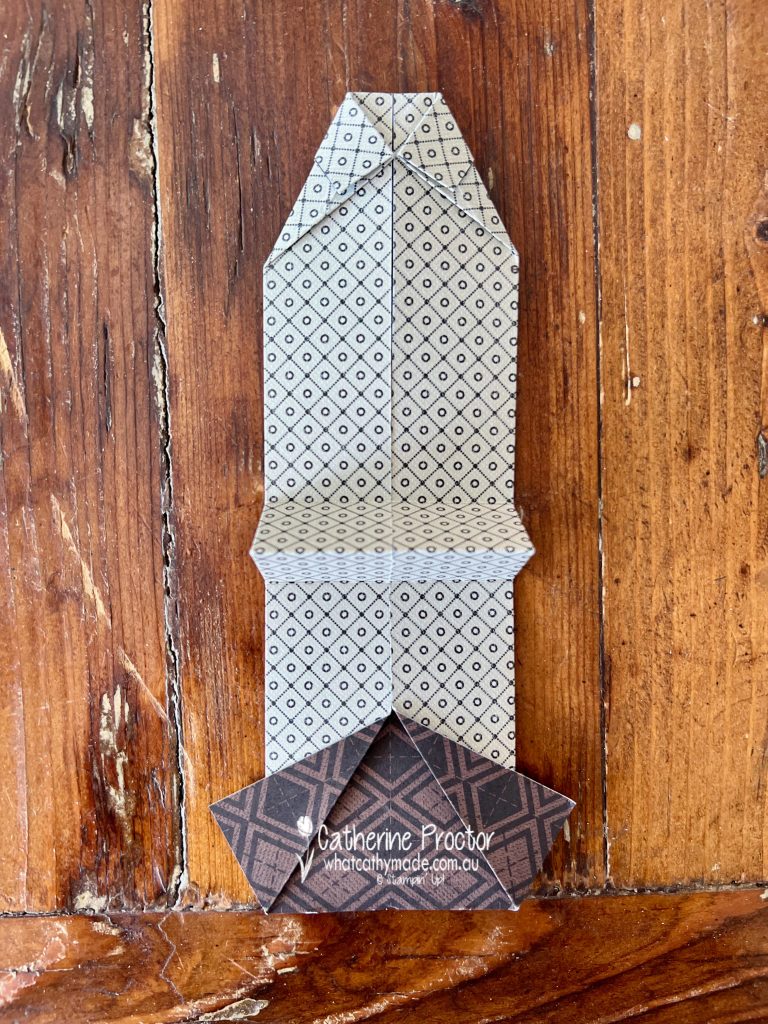
Start with a rectangle of DSP measuring 4×6 inches for your origami shirt. Make sure you DON’T do what I did in the images below. Your DSP pattern has to be upside down while you’re scoring and folding the shirt, not the right way up, as you flip the front of the origami shirt up at the end.
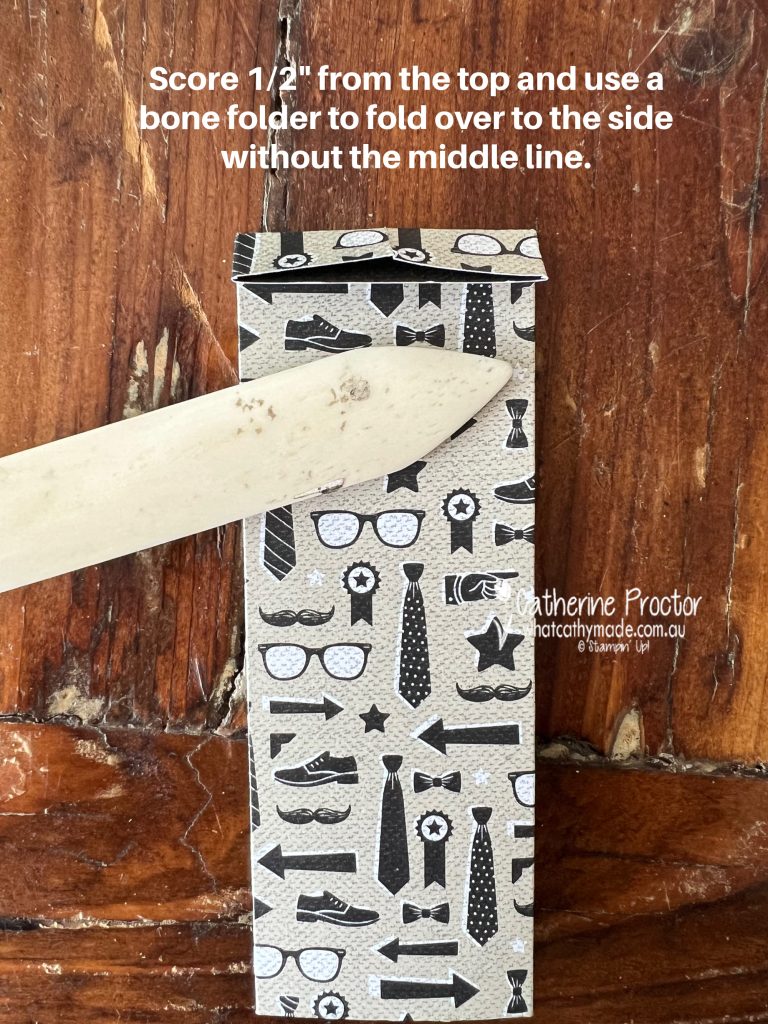
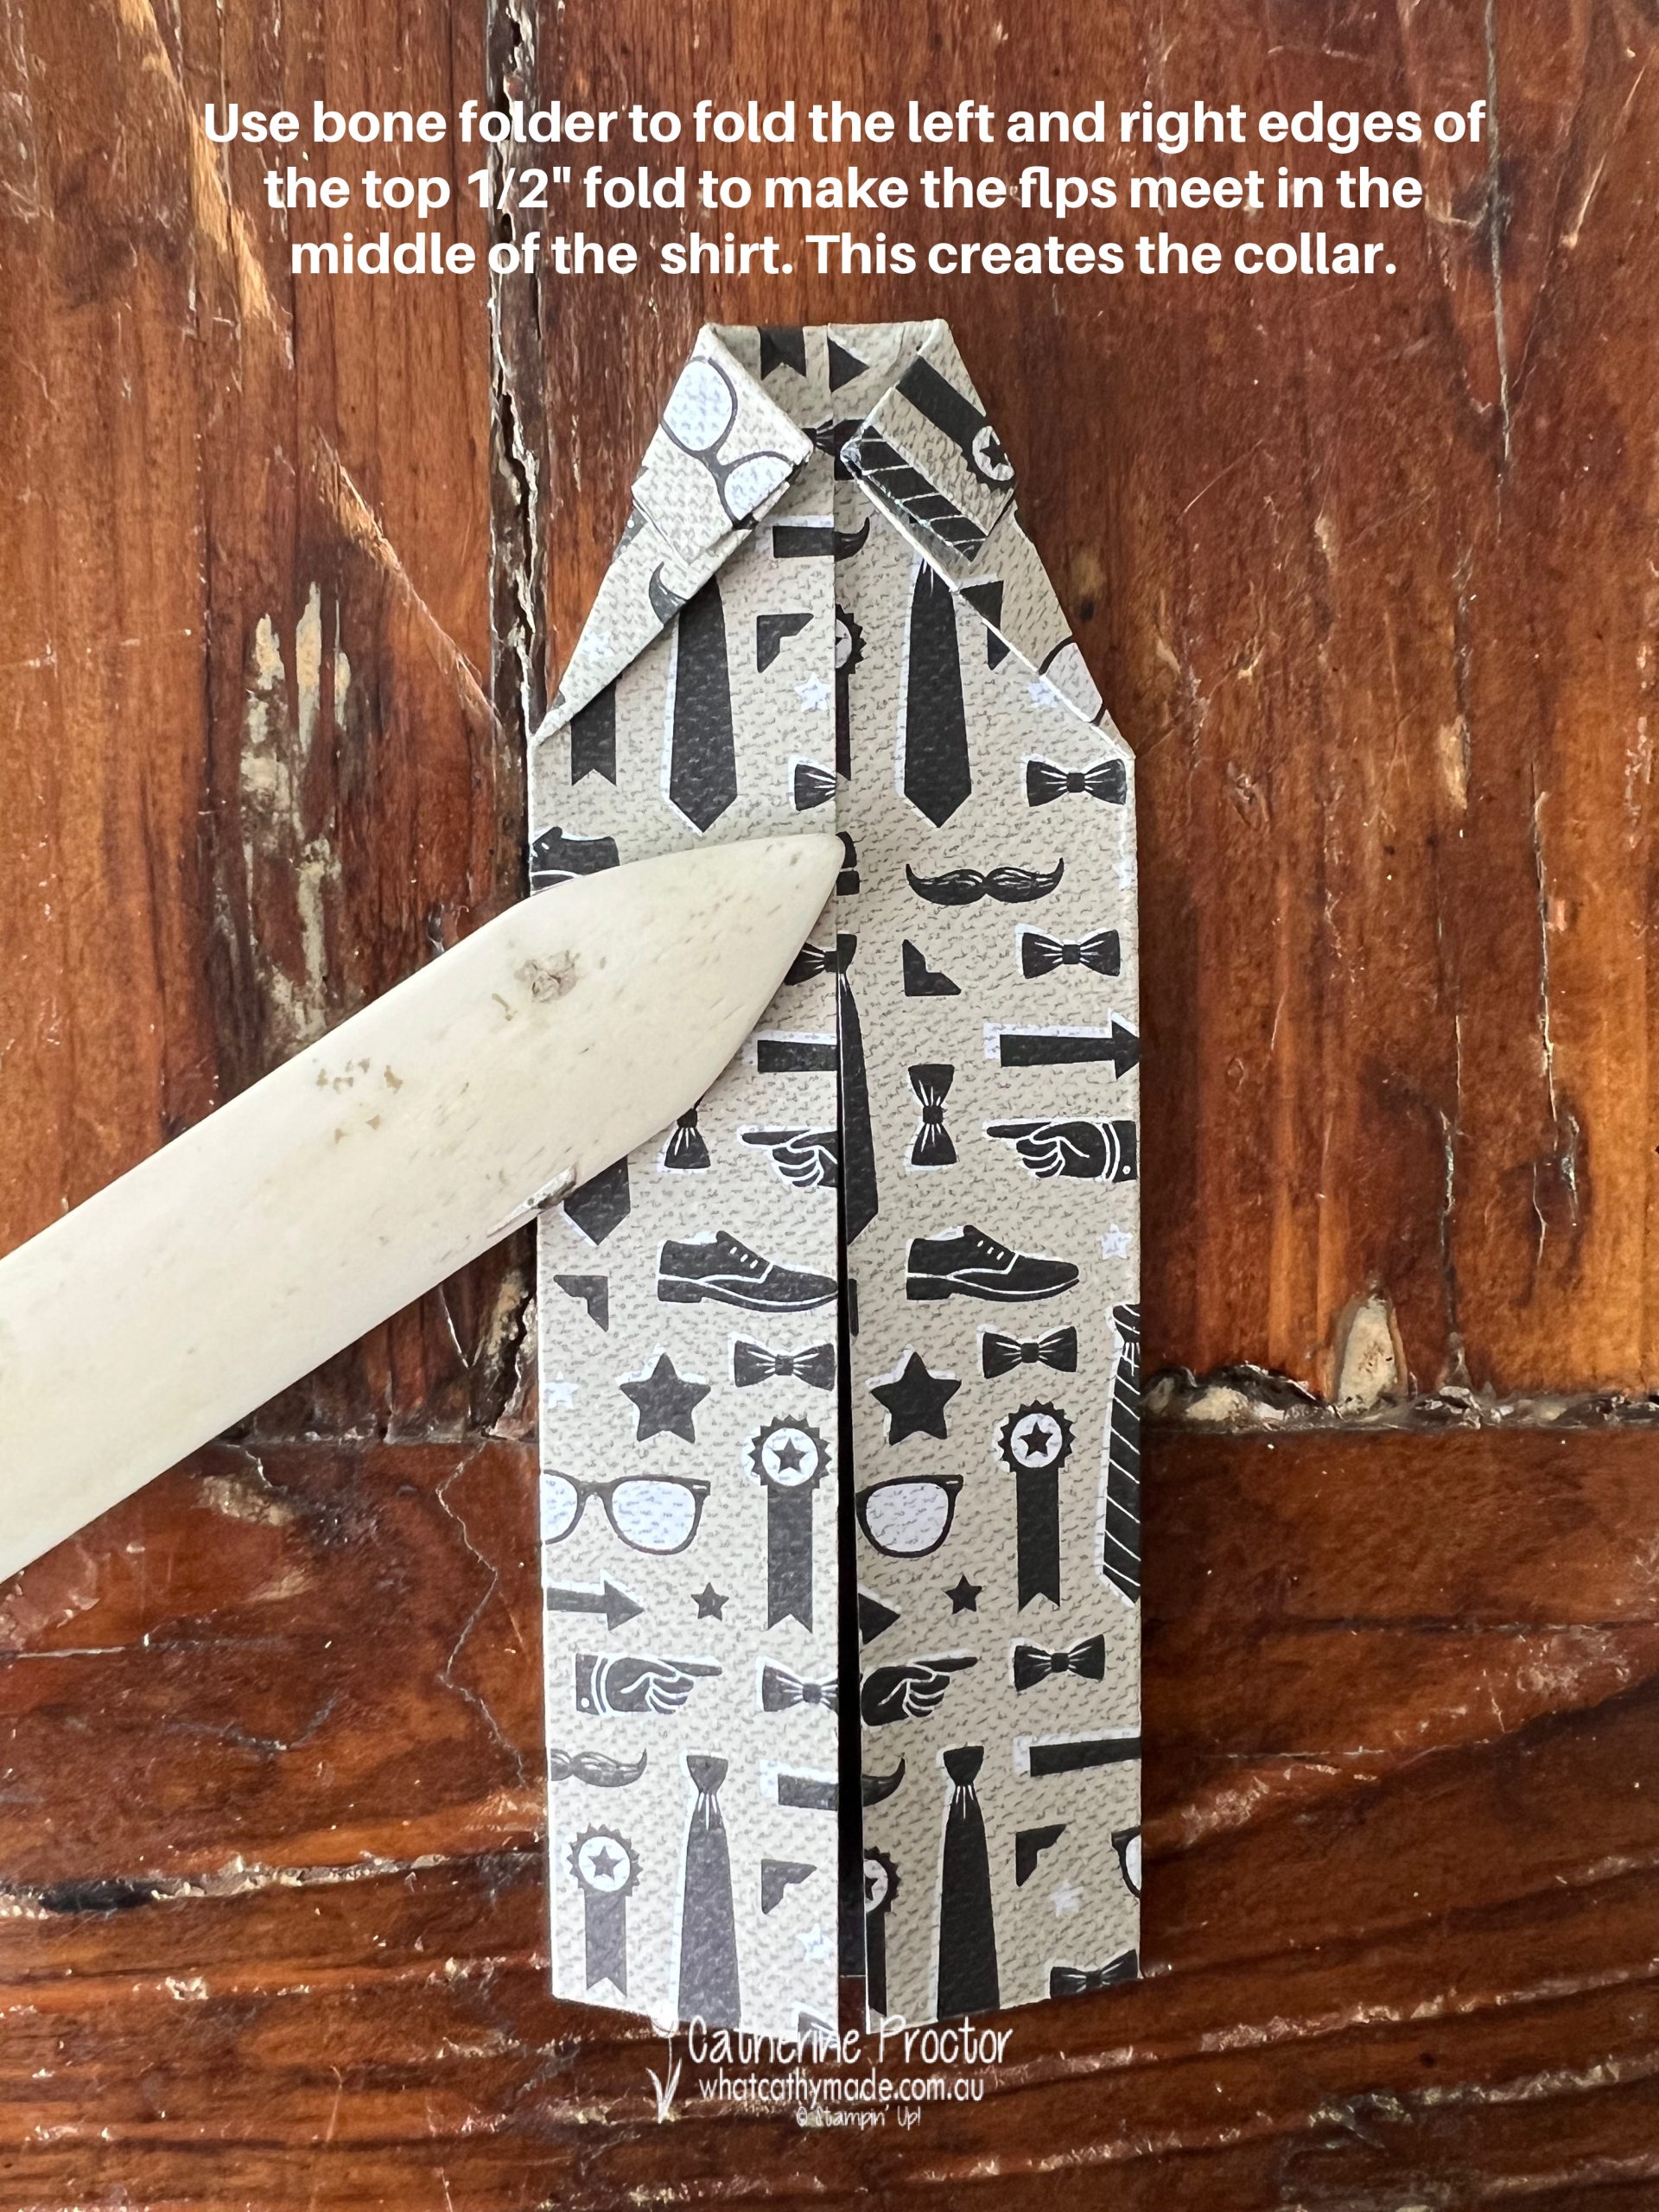
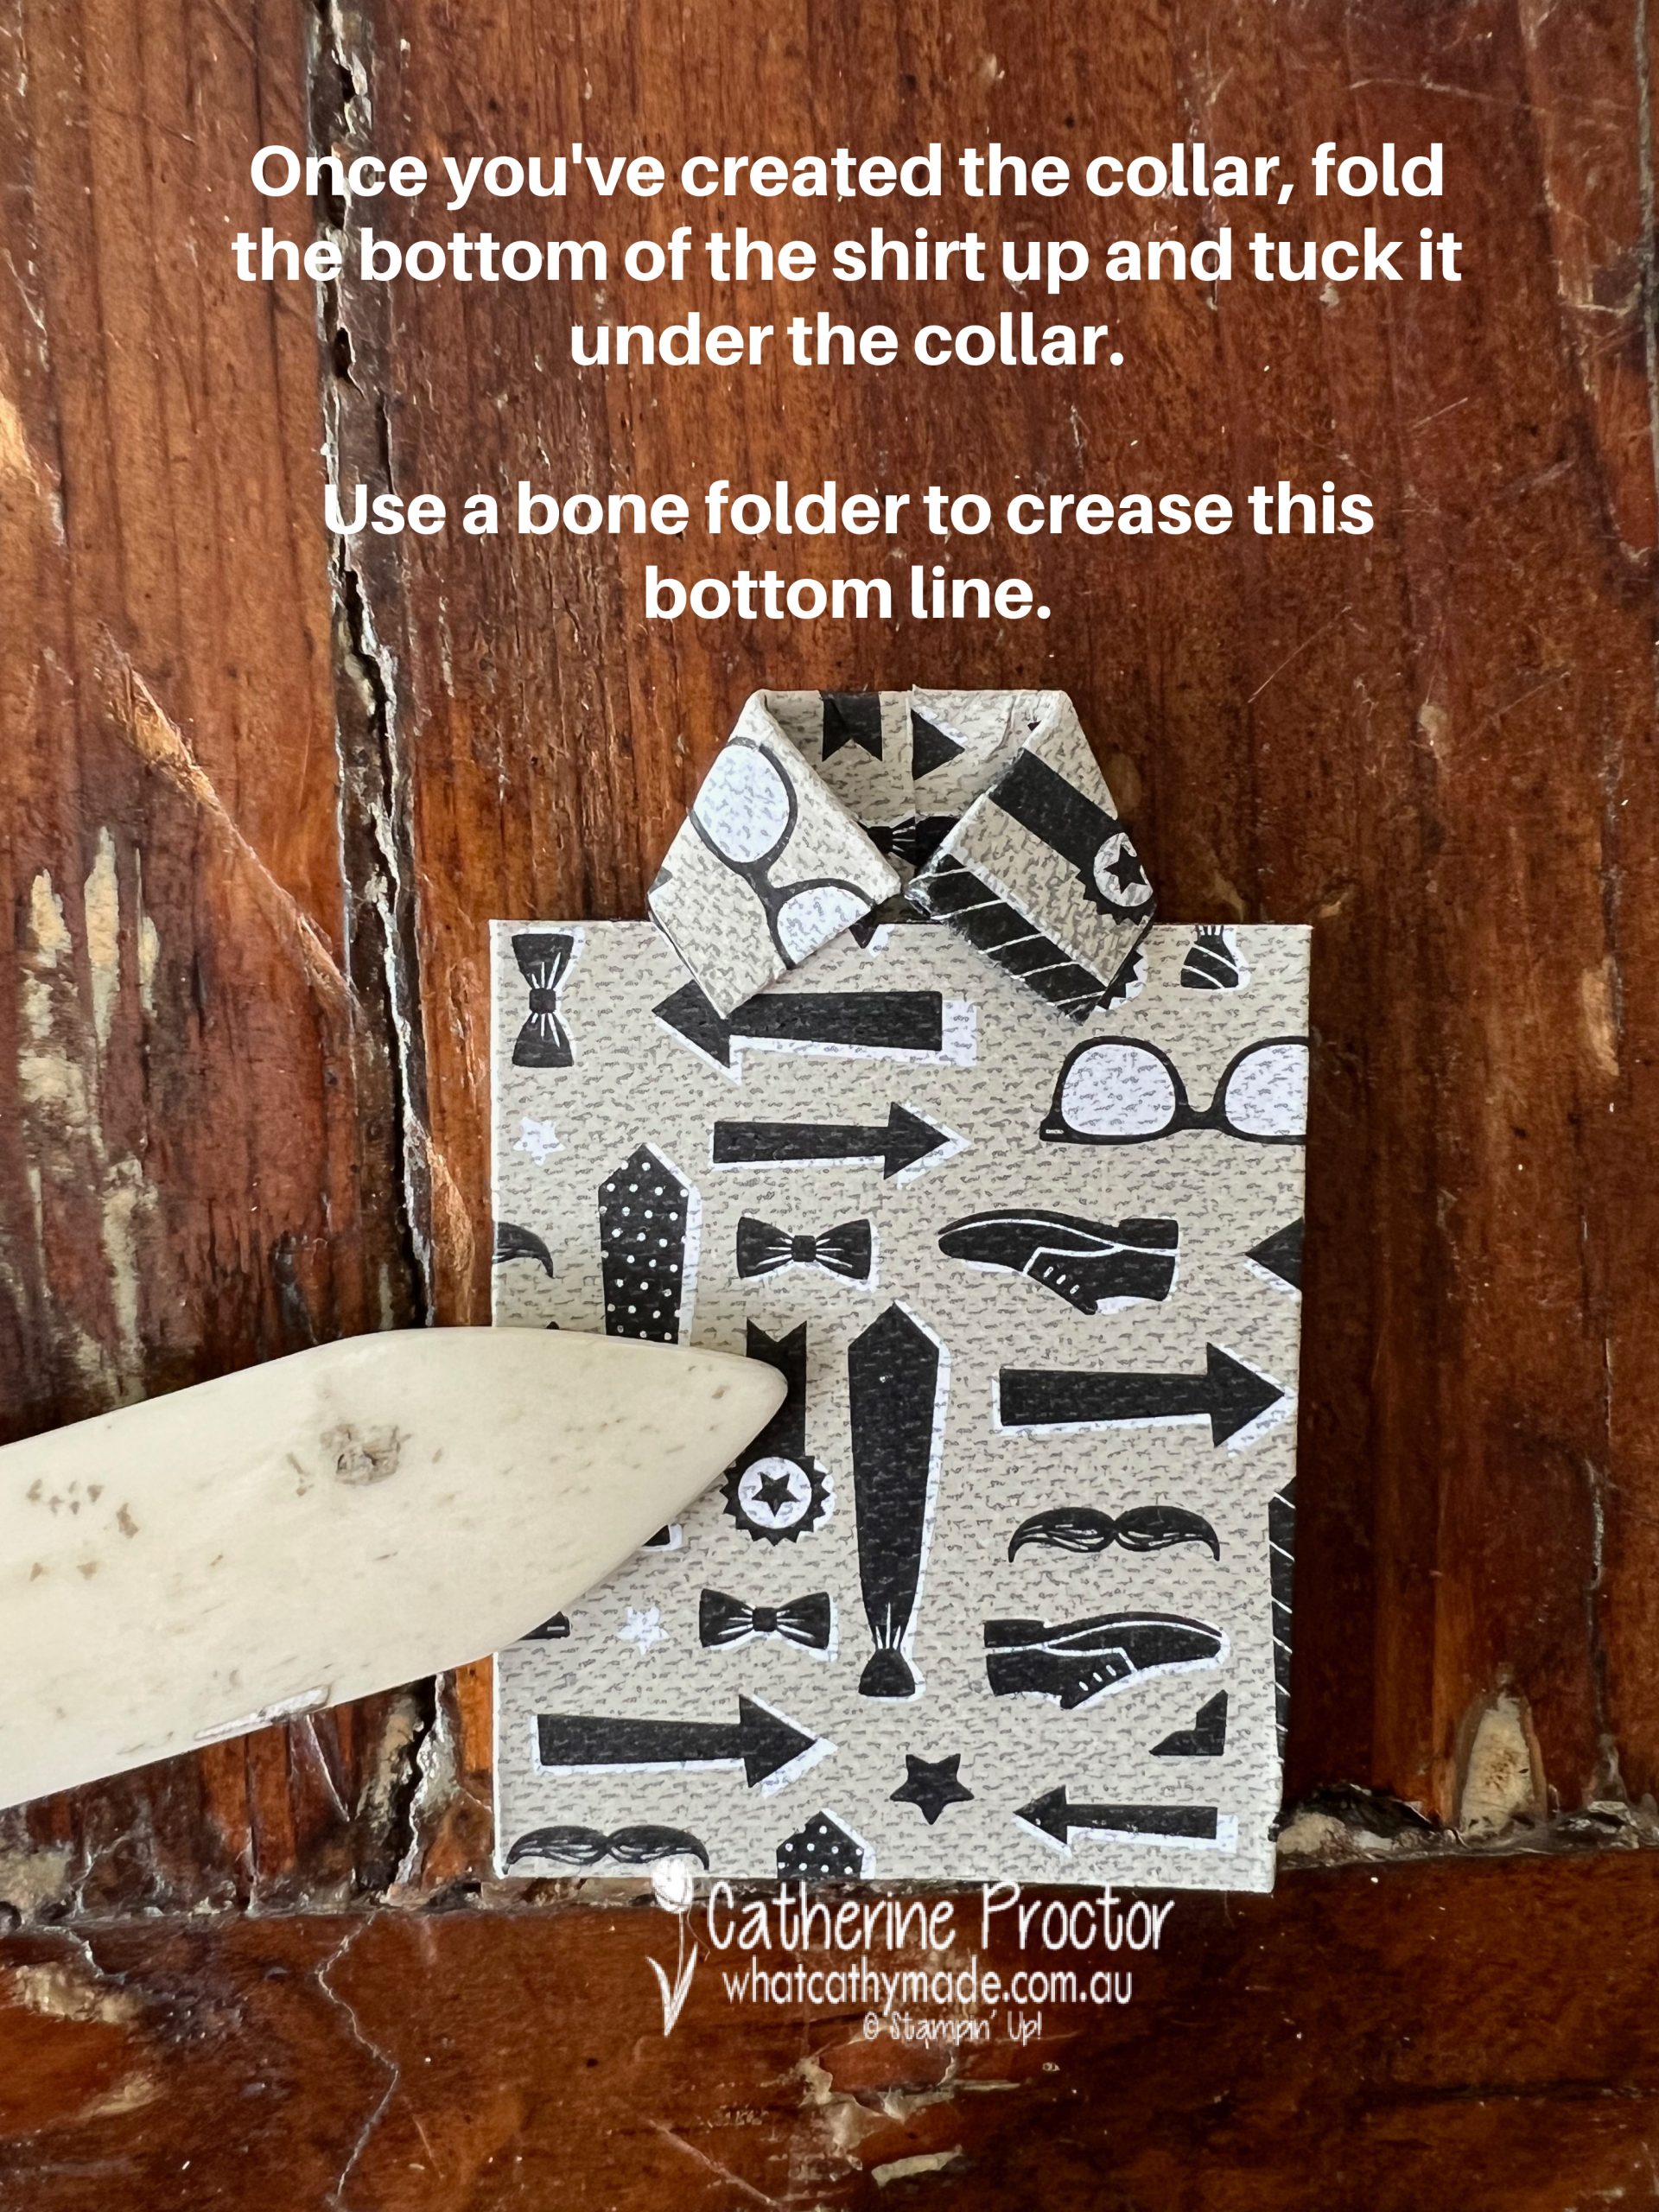
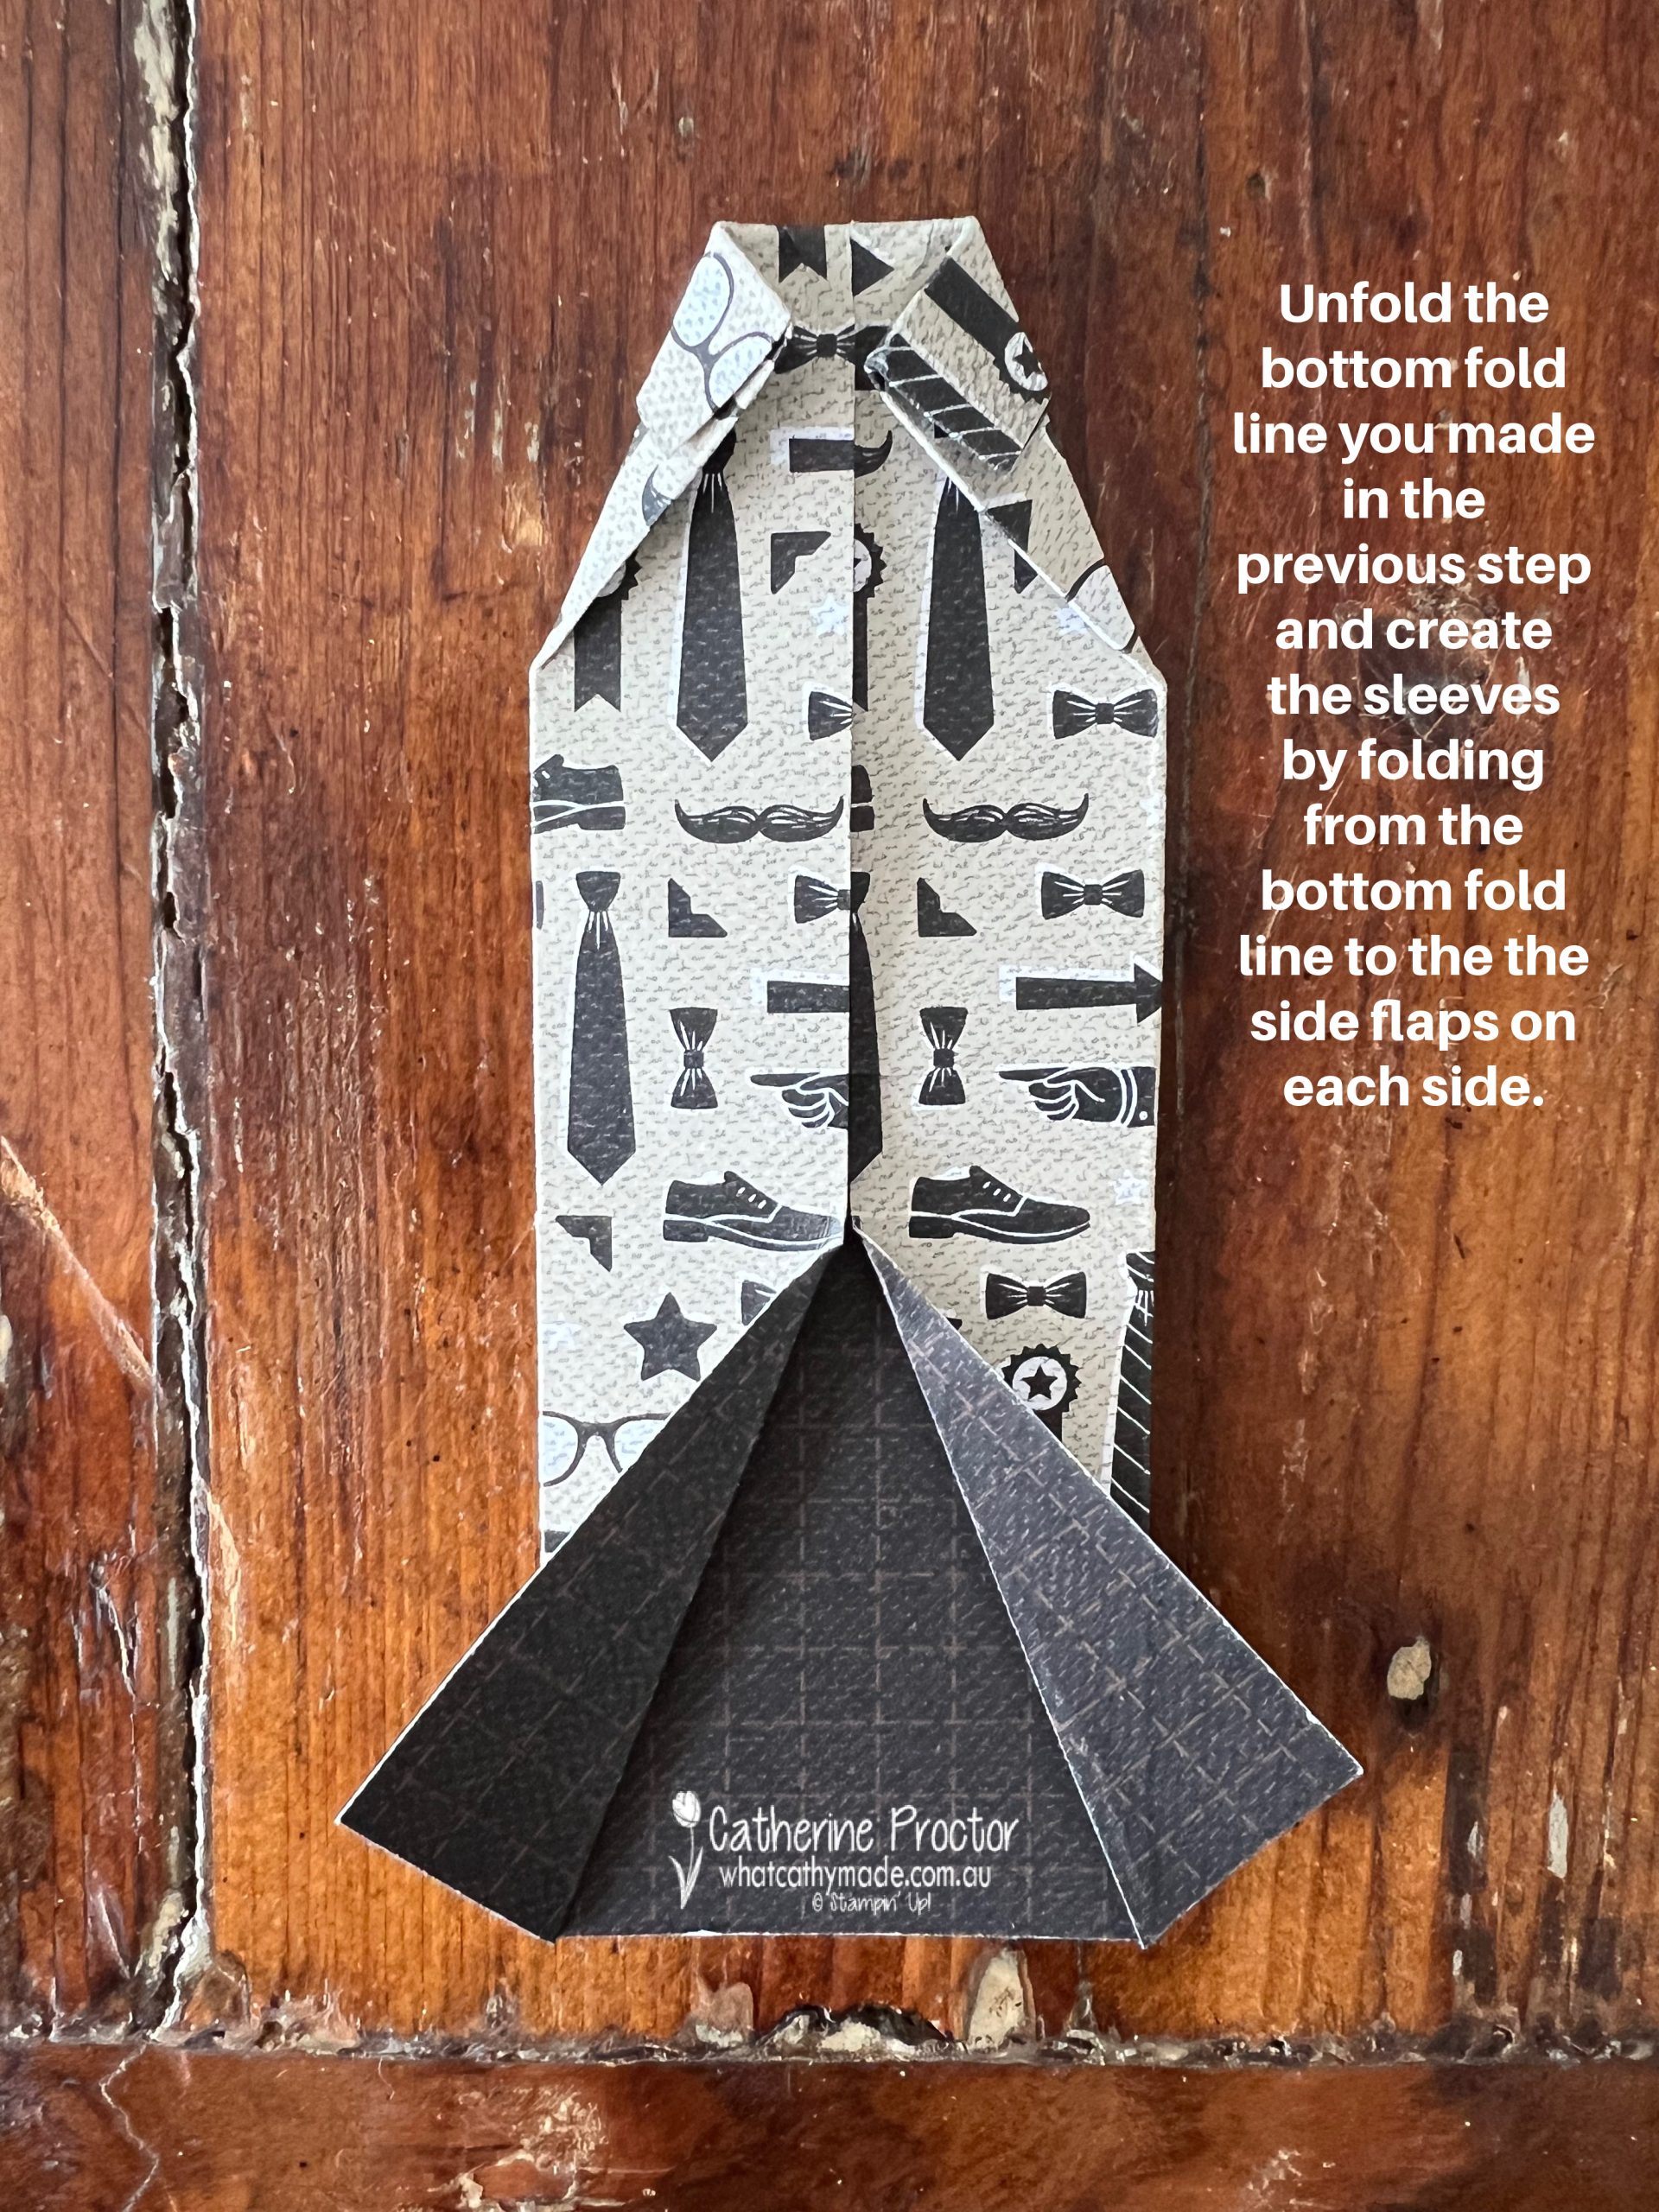
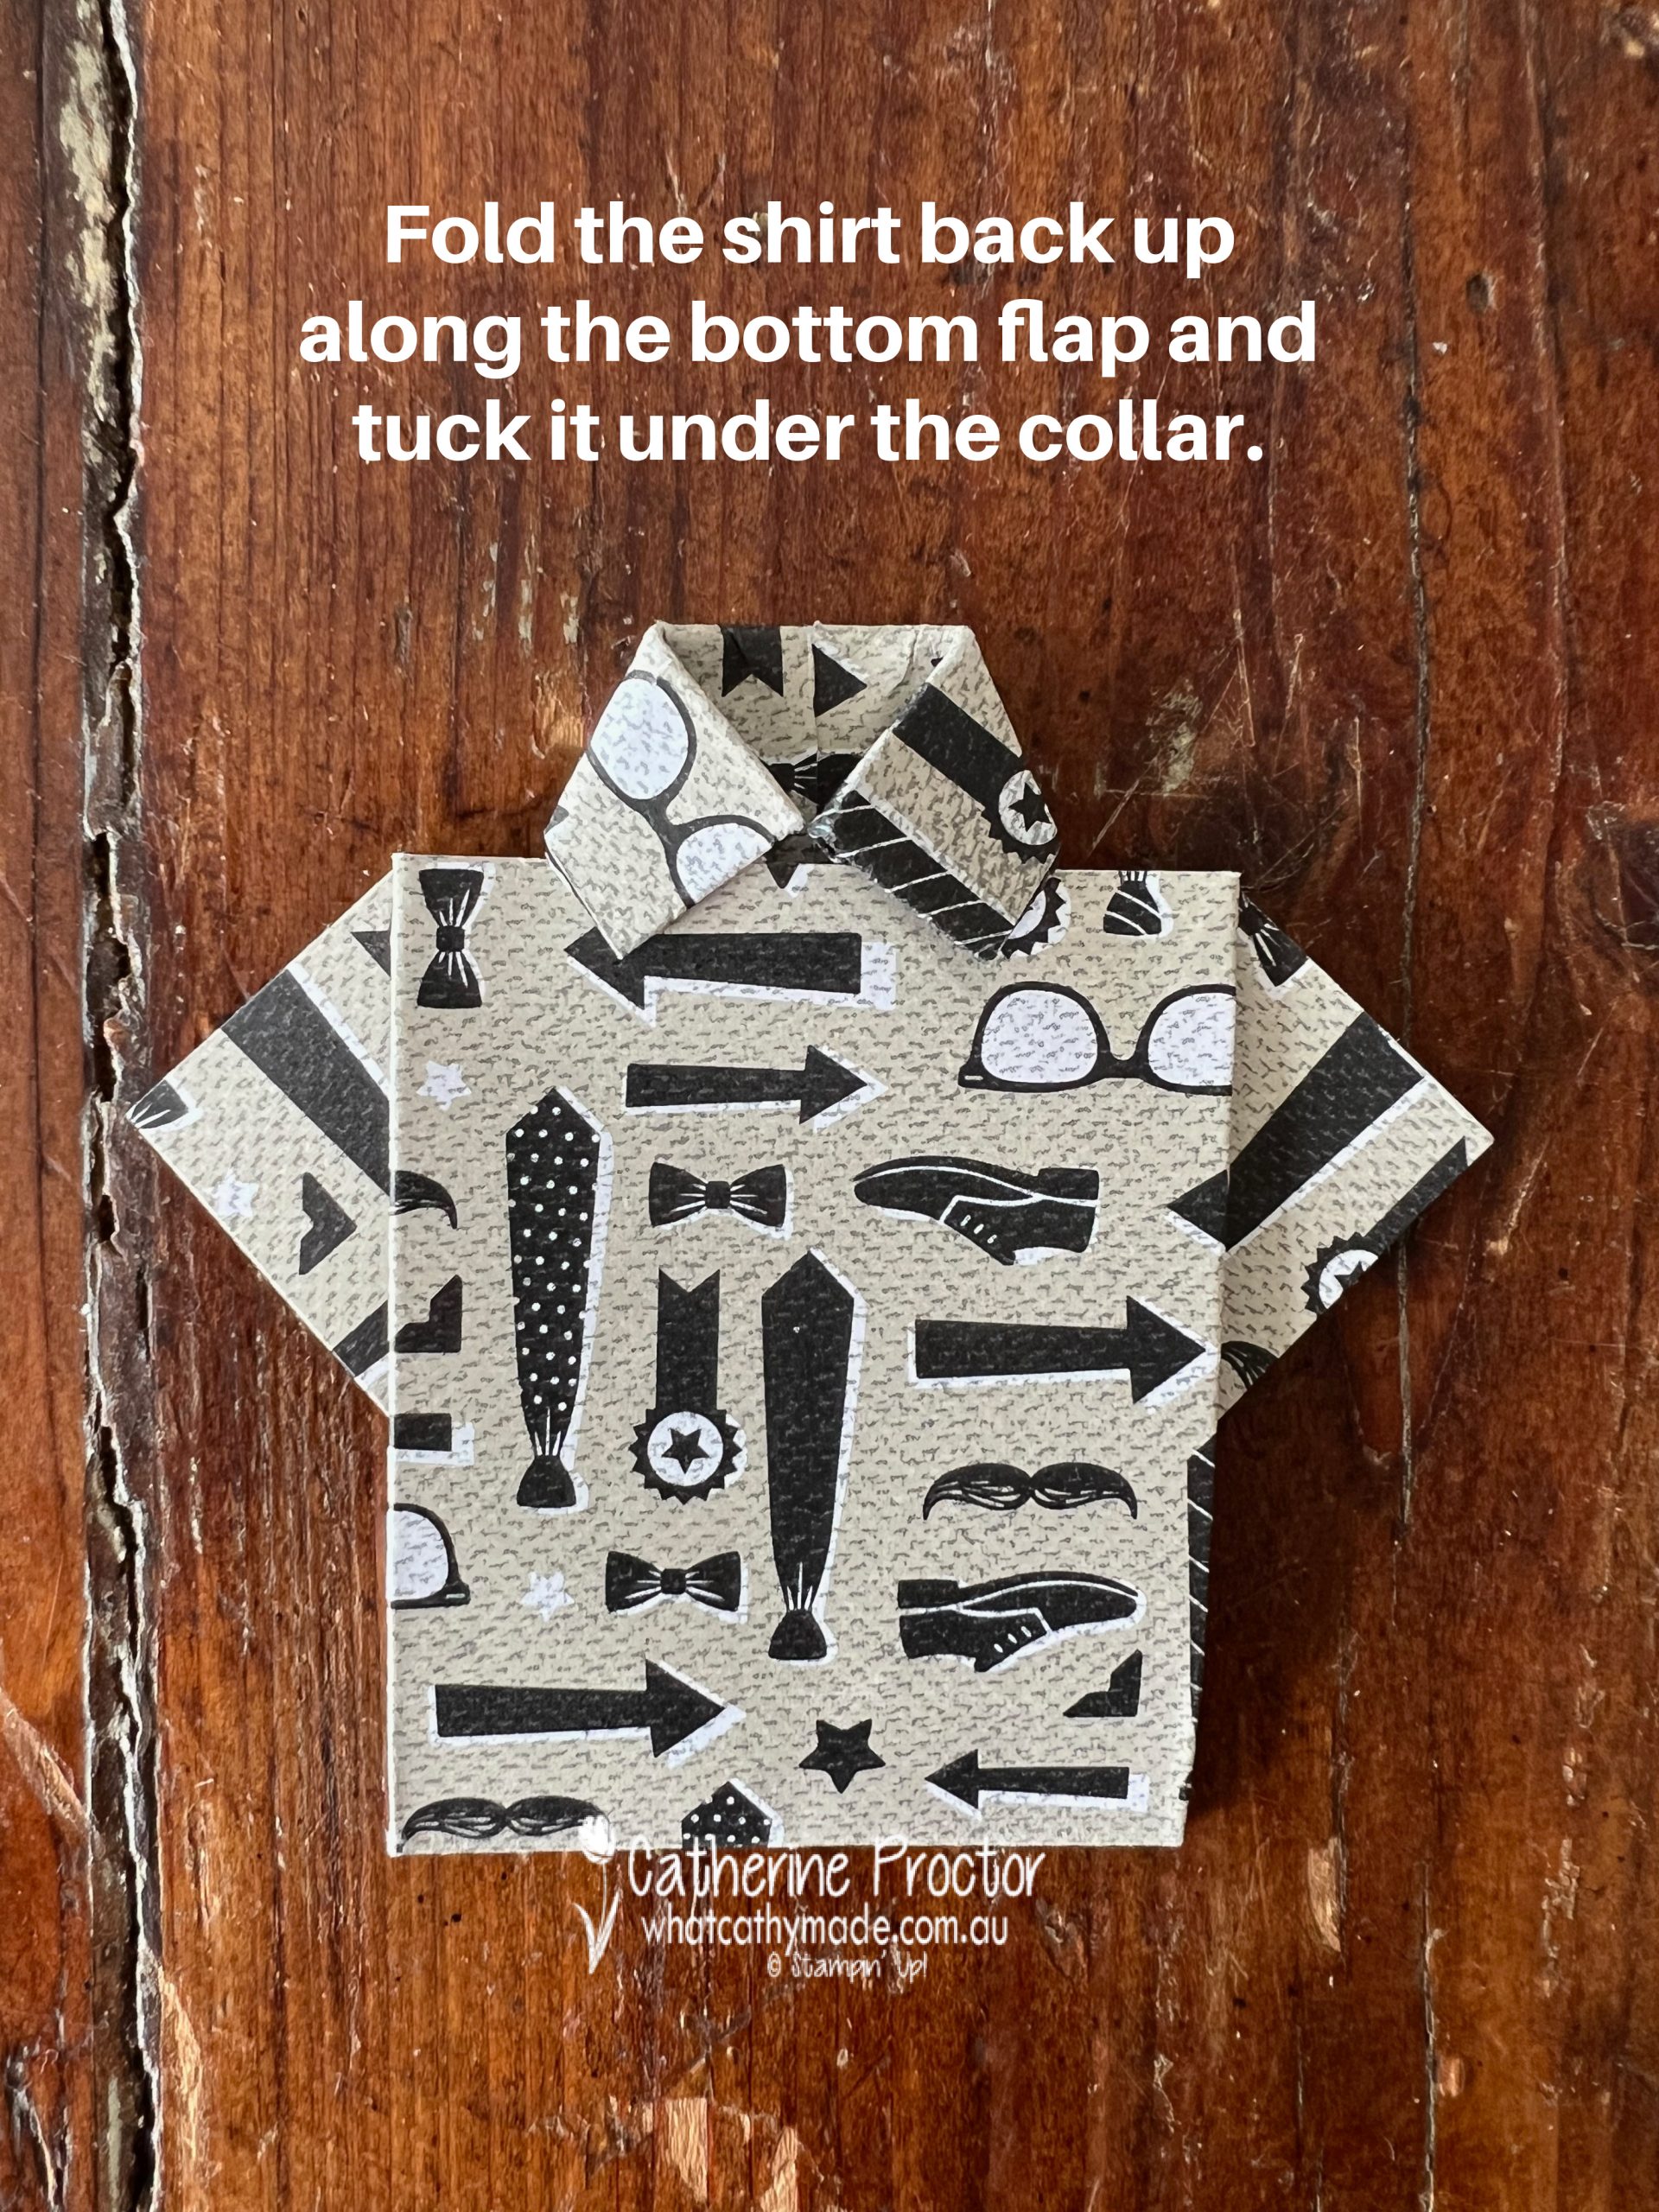
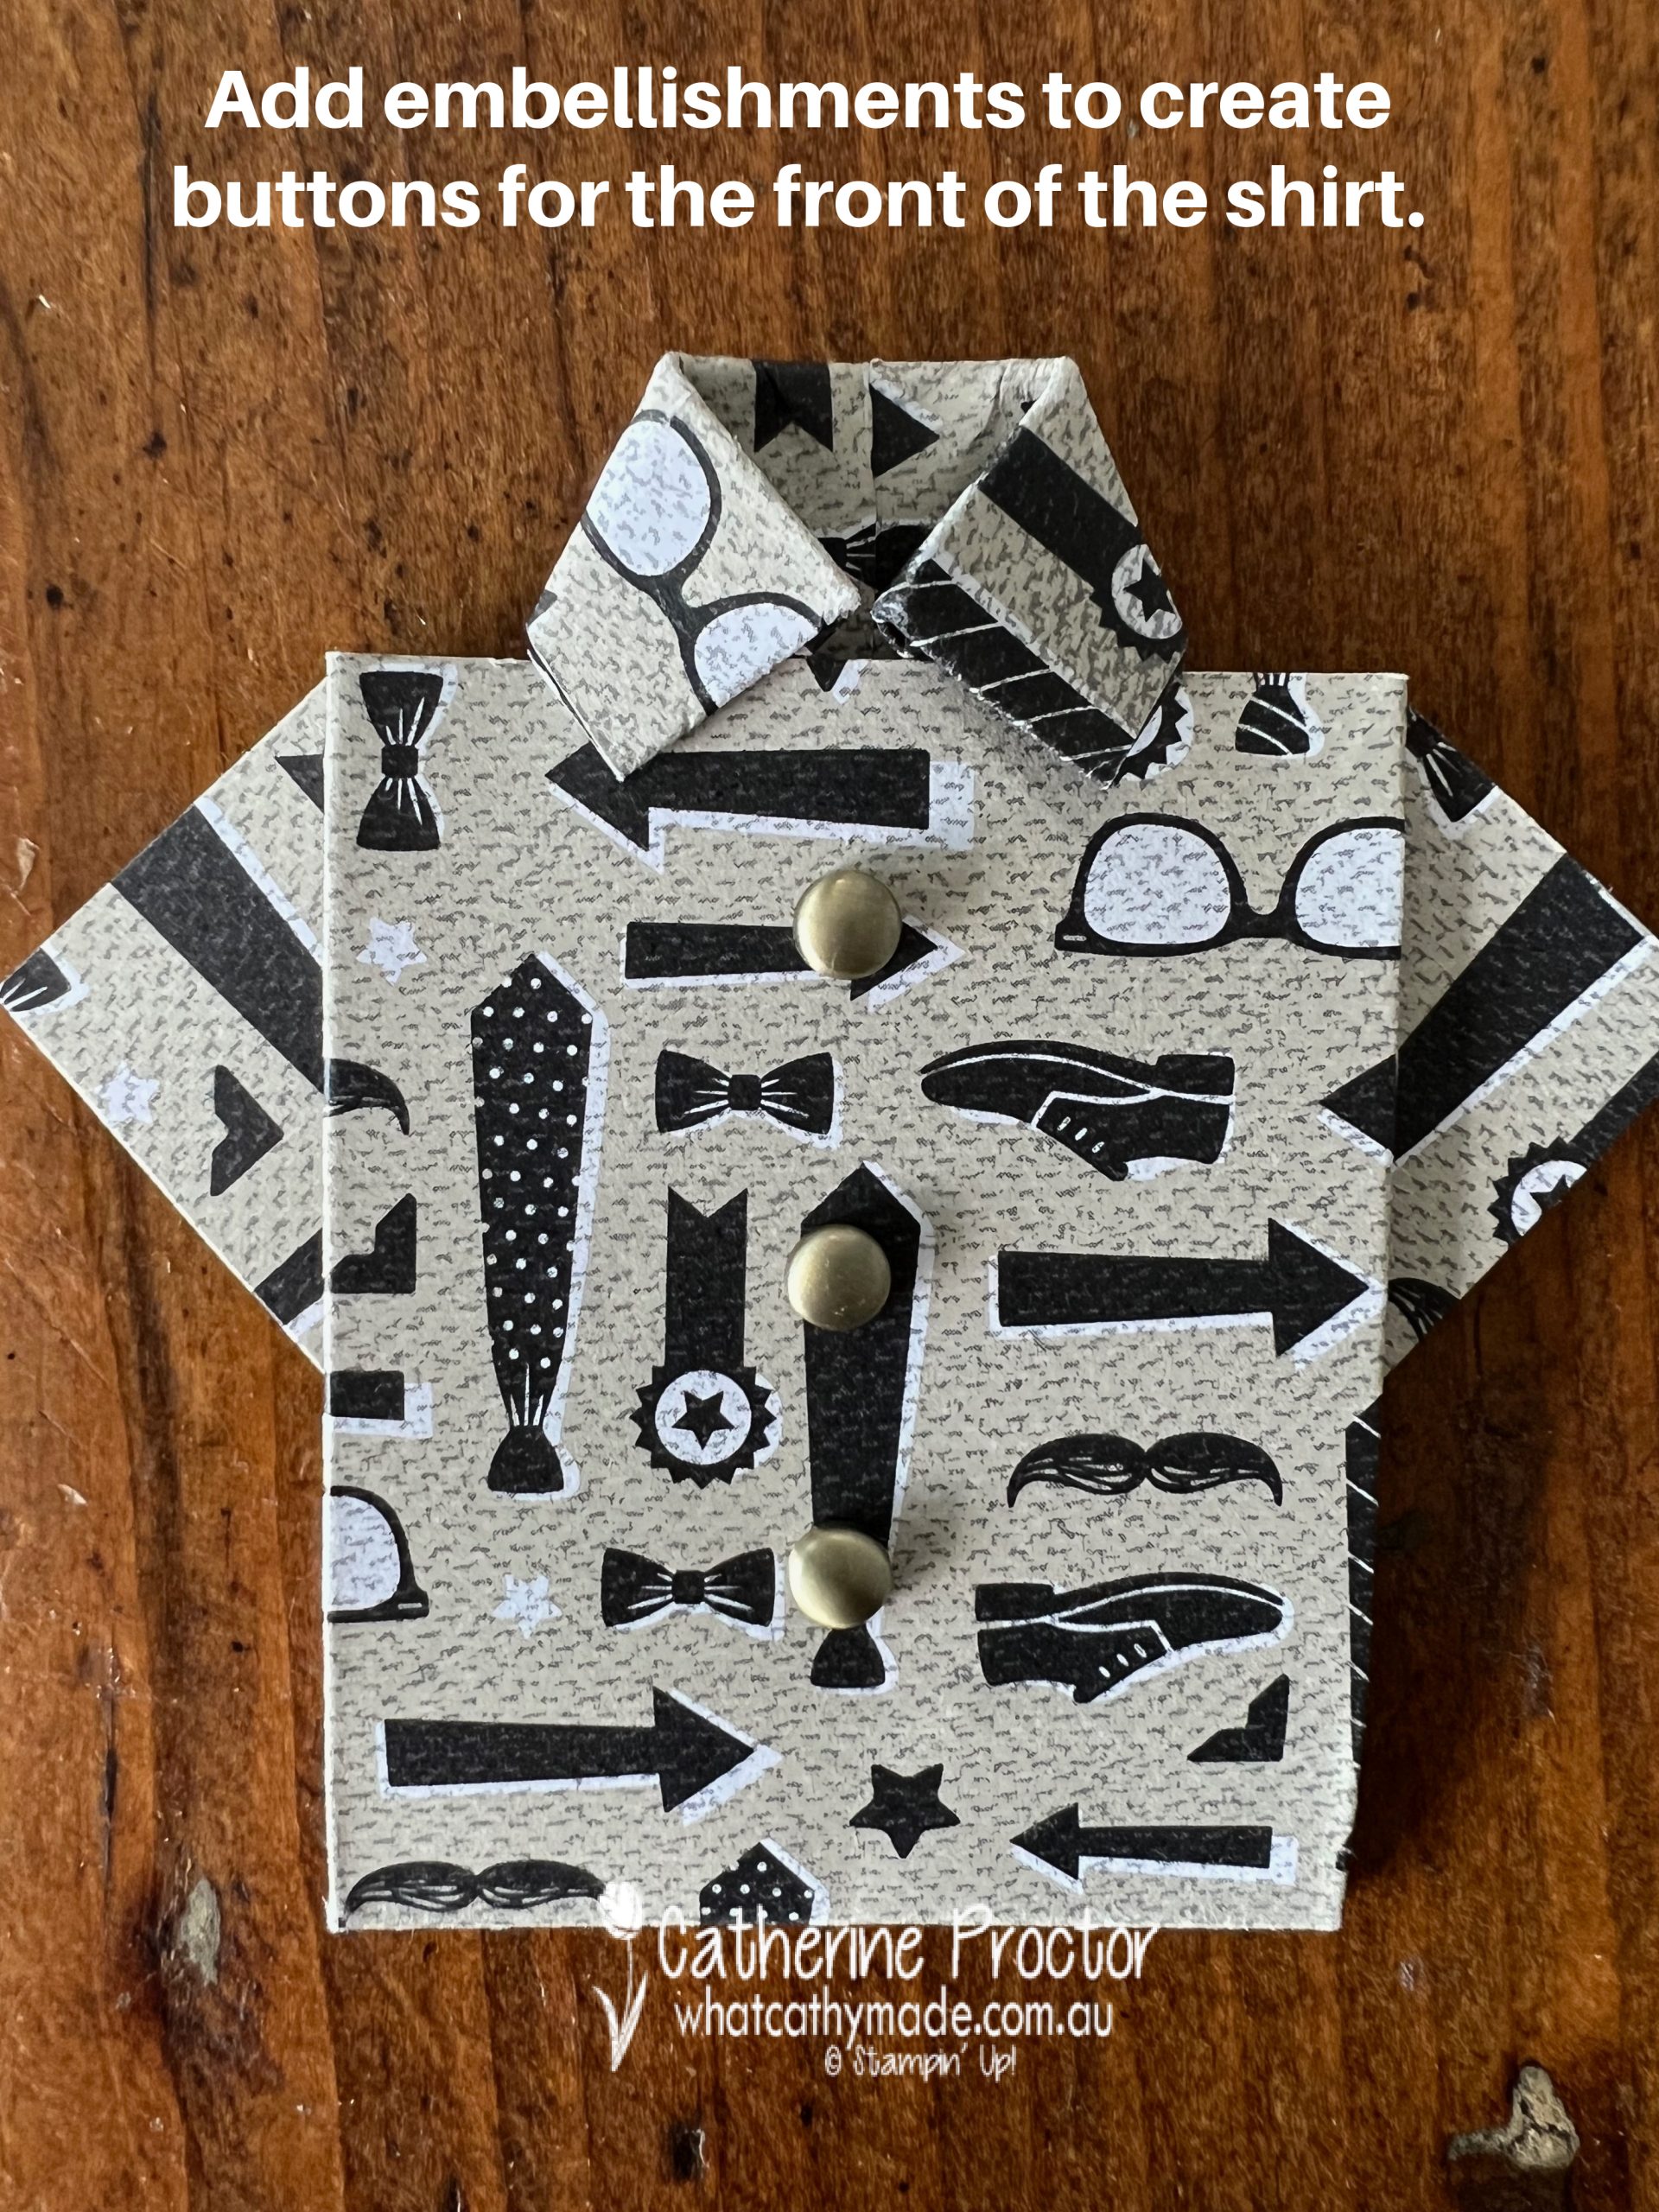
I made three different origami shirts using the Neutrals 6″ x 6″ (15.2 x 15.2 cm) DSP as the patterns looked liked mens shirts. They were then attached to Stampin’ Up! Notecards with a layer of the He’s The Man DSP.
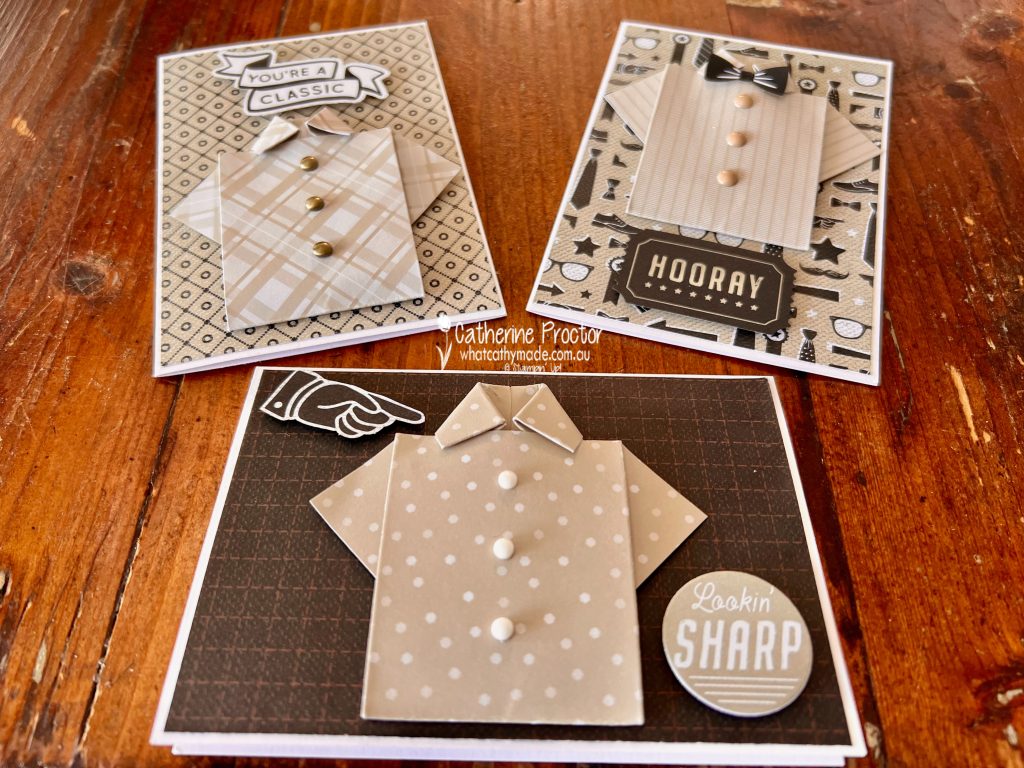
Coordinating die-cut images from the He’s The Man DSP were used for the sentiments on each card. Brushed Metallic Adhesive-Backed Dots and Enamel Dot Essentials were perfect to use a buttons. The little bow tie is also one of the Coordinating die-cut images from the He’s The Man DSP.

I also made this larger origami shirt that is actually a card and gift holder in one. It uses a 6 x 12 ” piece of DSP and I CASED it from Stampin Savvy, Tammy Beard, following her instructions in a blog and video on her website.
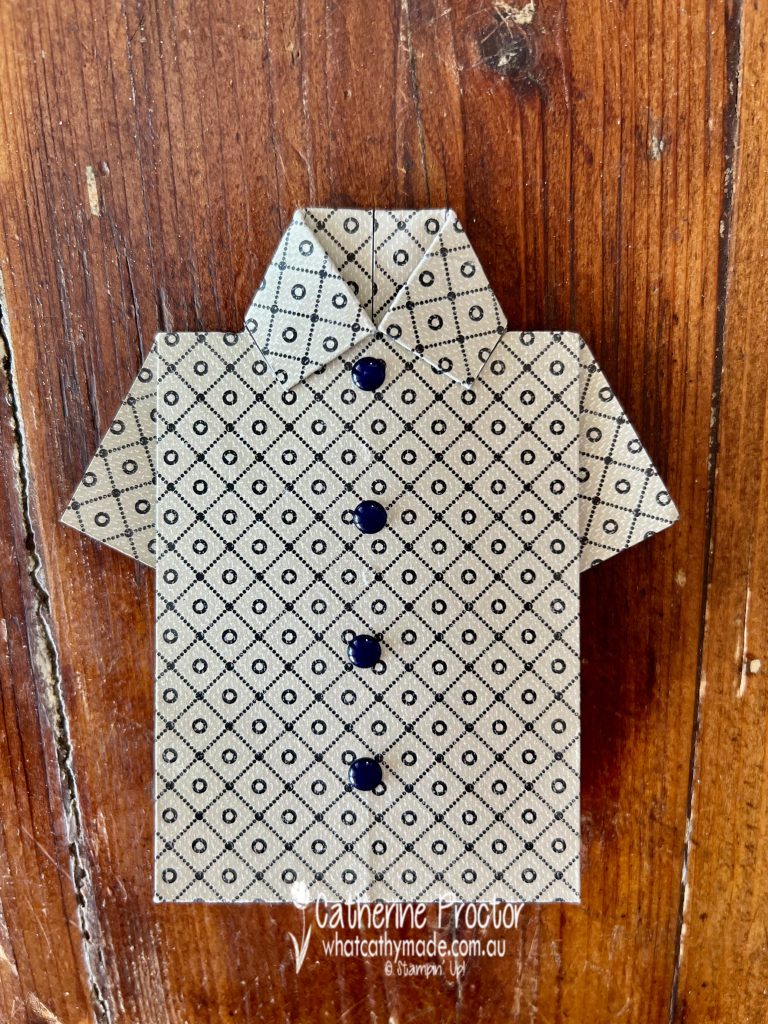
The steps to make the larger origami shirt are basically the same as the smaller origami shirt, however she adds two extra folds at the bottom of the card, allowing it to stand up for display and providing enough room inside the card for a gift card and a handwritten message.
Now it’s time to hop on over to our next participant, the lovely Andrea Sargent – I can’t wait to see what has made this week!
If at any time you find a broken link, you can find the complete list of all participants below.
Catherine Proctor – you are here!
If you live in Australia, you can find and purchase these products in my Stampin’ Up! Online Store.
We’ll be back next Wednesday, March 22, with projects showcasing Shaded Spruce.
I hope you can join us then.
