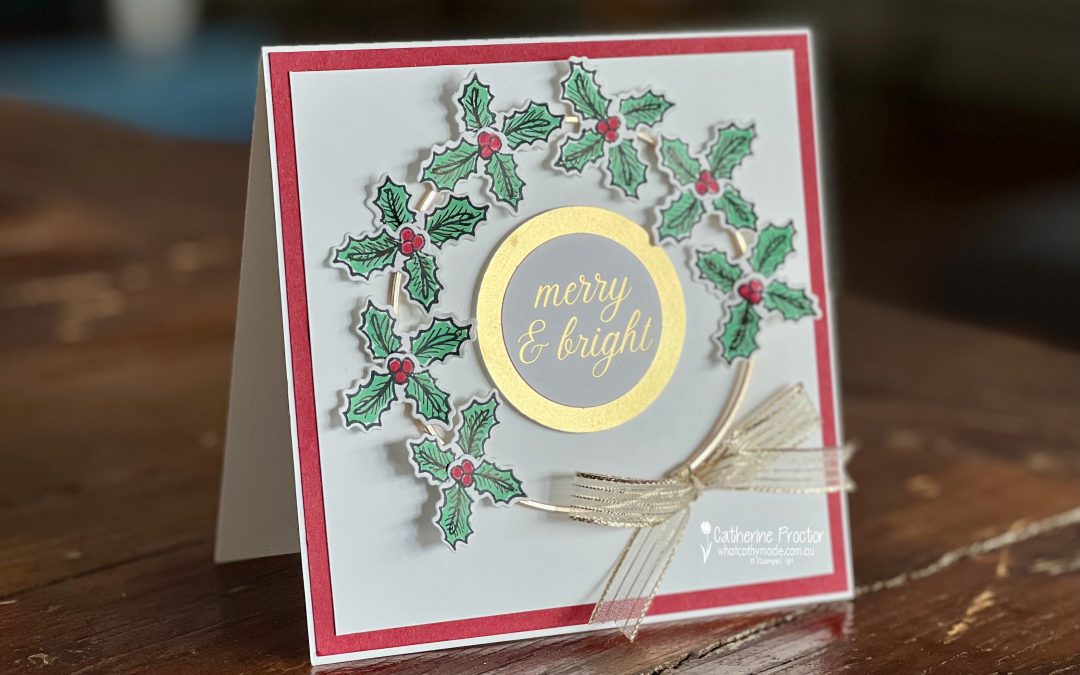
Is August too early to start making Christmas cards?
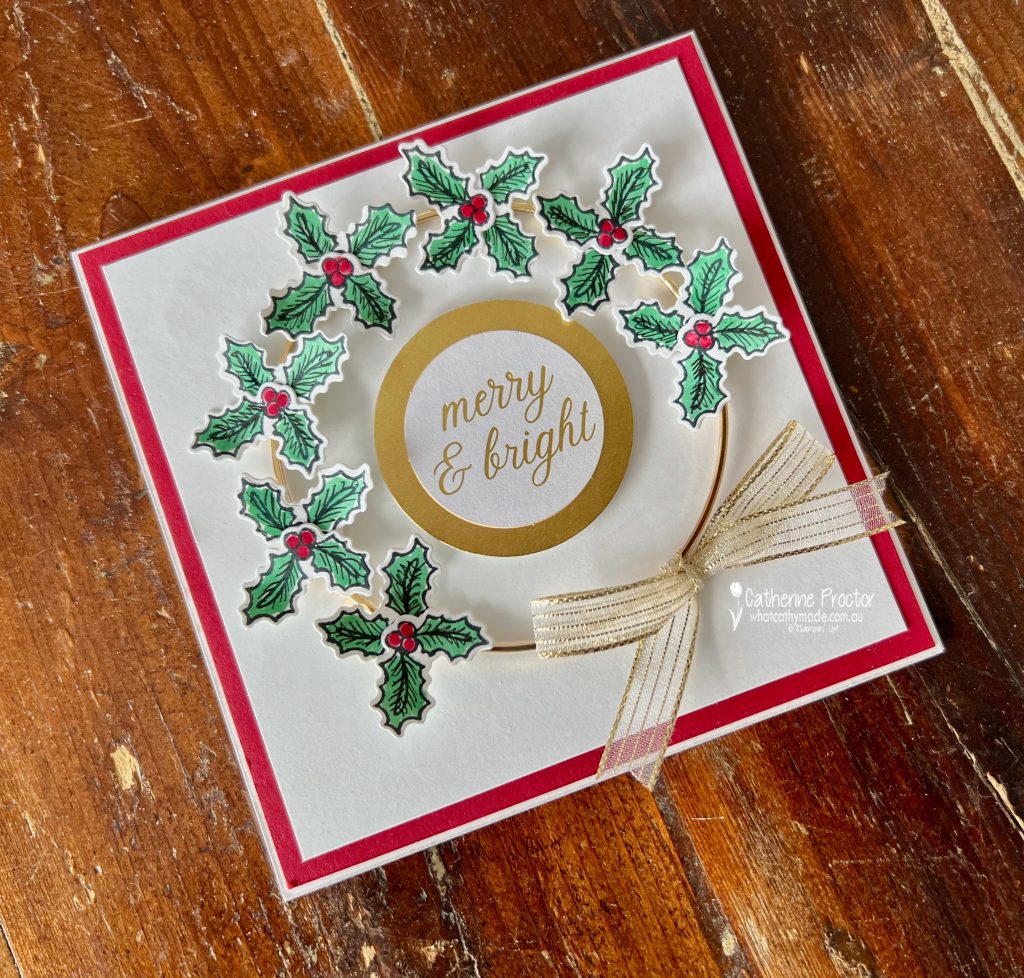
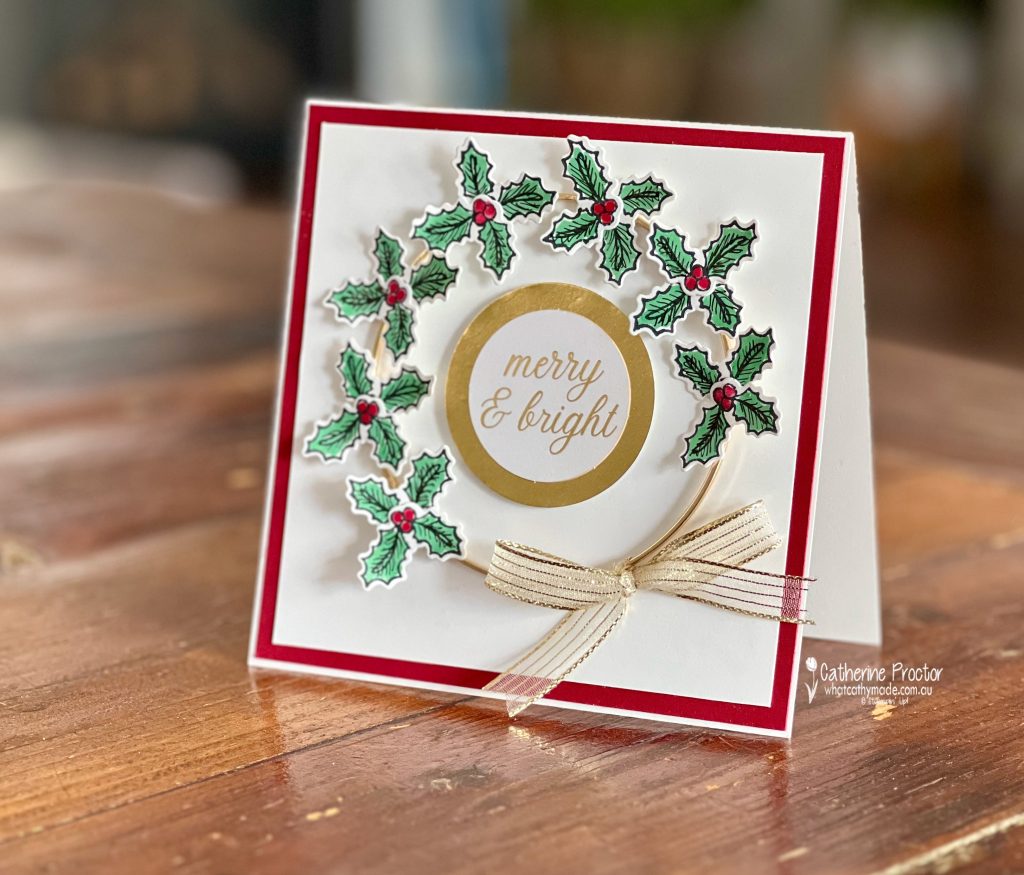
I certainly hope not as I’ve made my very first Christmas card of the year for Week 14 of our Art With Heart Instashop, which is showcasing the gorgeous rich red colour, Cherry Cobbler.
Cherry Cobbler always makes me think of Christmas and as my Christmas catty preorder arrived this week it was the perfect opportunity to give you a sneak peek of some of these beautiful new Christmas products.
How to make a Jolly Holly Christmas Card using a Large Mellic Hoop
I’ve included a few tips and tricks this week to help you recreate the look of this card.
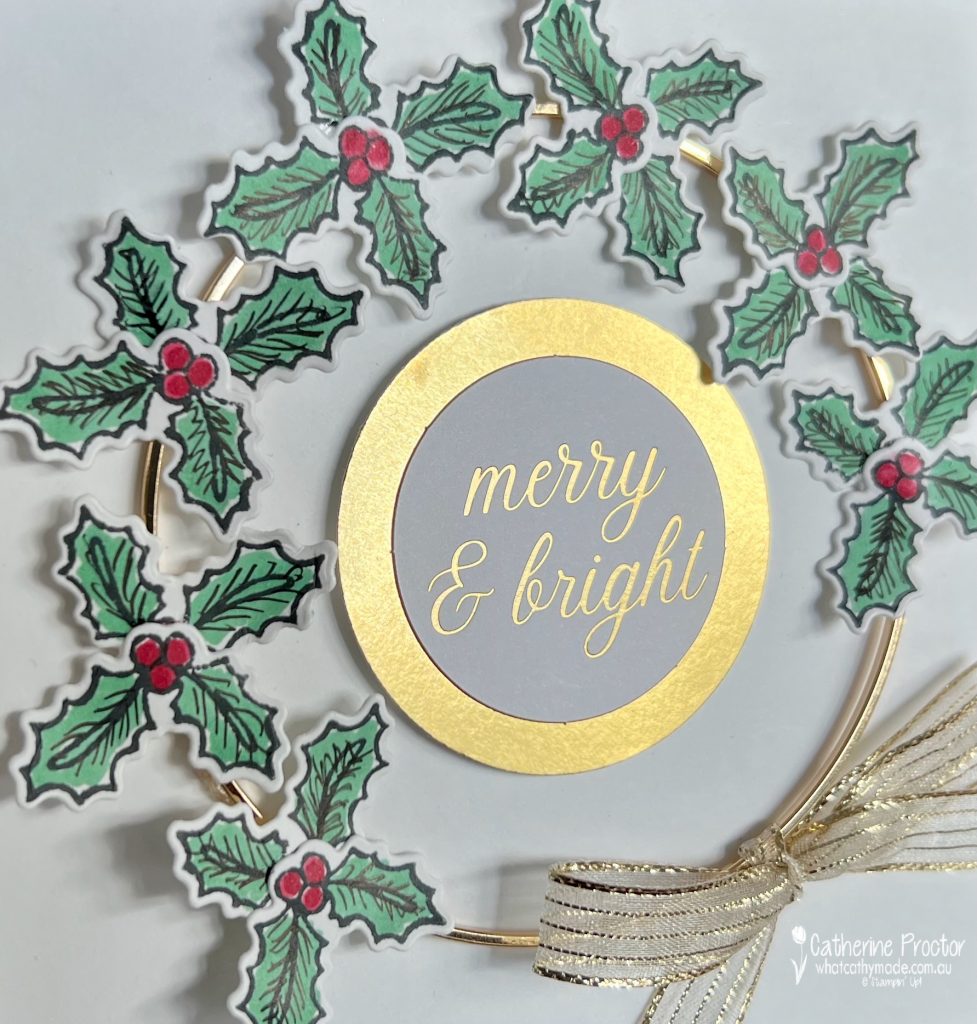
Tip #1– adding detail to stamps (or to your cardstock) using the 0.4mm Journaling Pens.
After stamping and die cutting holly leaves from the Jolly Holly bundle I coloured them using the Cherry Cobbler and Shaded Spruce Stampin/’ Blends. I then hand drew extra detail to the holly leaves using the journalling pens.
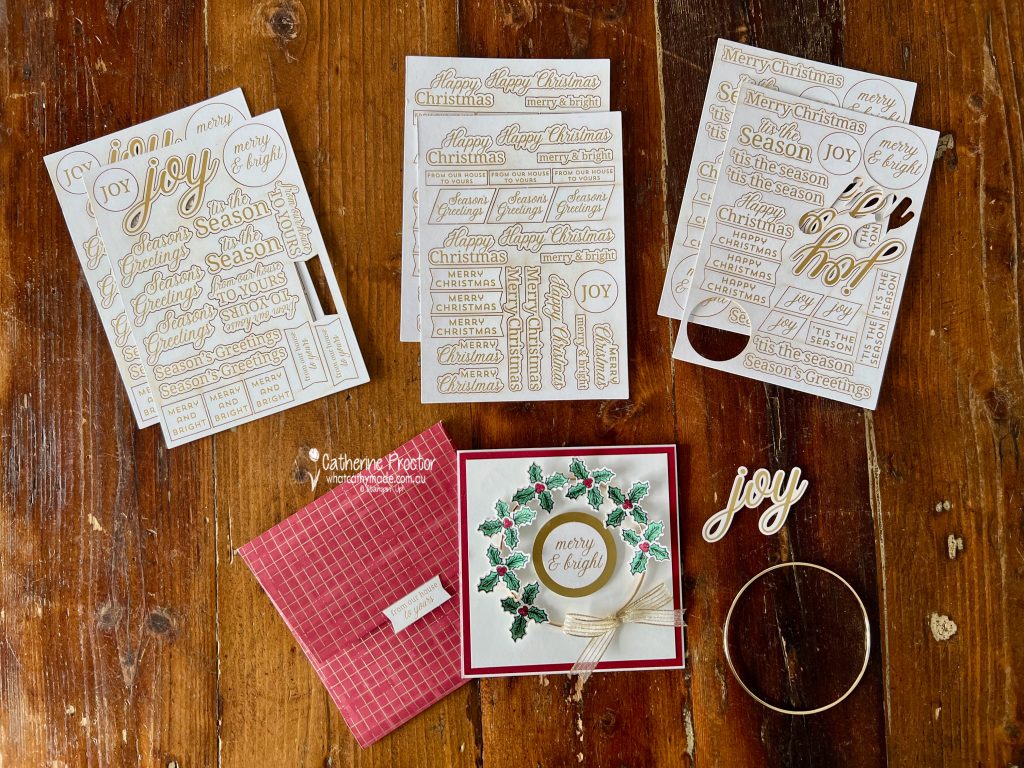
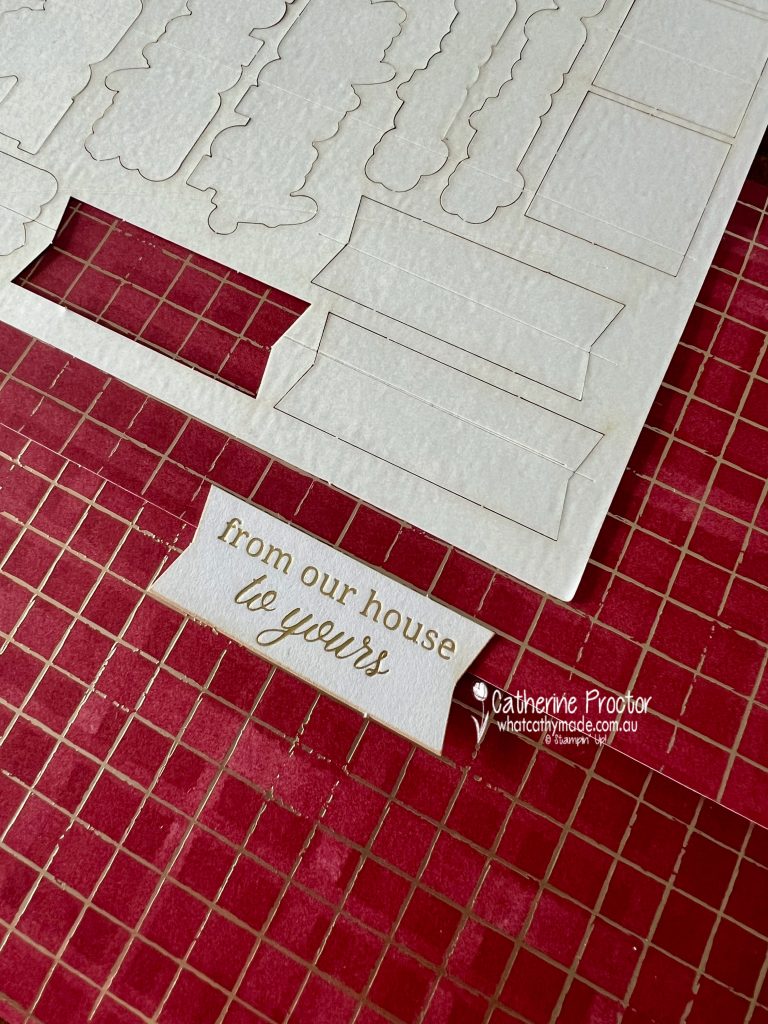
Here’s the first sneak peek of new products from the forthcoming Christmas catty. The Greetings for You Mix & Match Ephemera Pack are peel-and-stick!!!! How exciting is that! These elegant Christmas greetings are printed in gold foil and you get 6 sheets for $15. Such great value!
Tip # 2 The while cardstock used in the ephemera packs is slightly different to Basic White cardstock so if I’m layering white on white i like to add a layer so the difference is not noticeable. I’ve stuck my “Merry & Bright” ephemera sentiment onto a 2 inch punched circle of gold foil.
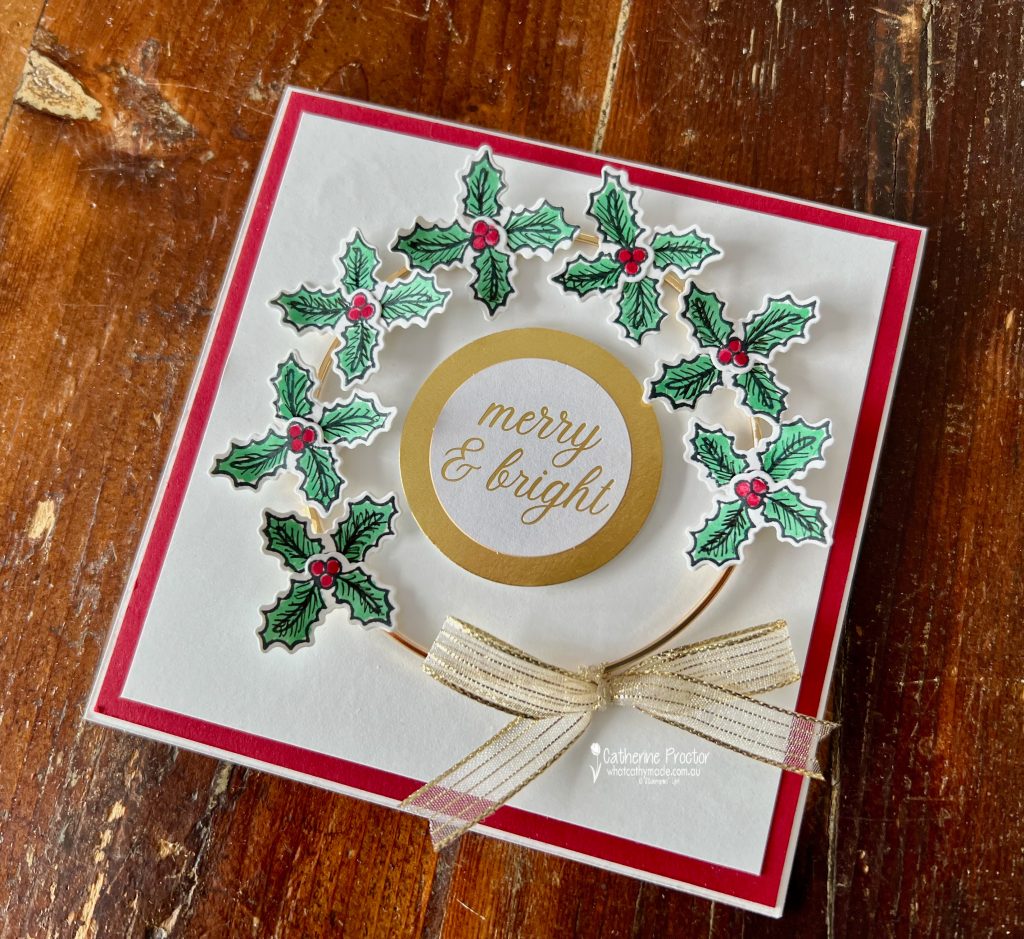
Sneak peek #2 and tip #3 – Large Gold Hoops. I love these Online Exclusive embellishments for adding dimension and a metallic element to a card. They’re also the prefect base to create a wreath. But what’s the best way to adhere them?
I used four glue dots and made sure they were positioned under the leaves and the metallic bow.
How to make a square envelope from a 6×12 inch sheet of DSP
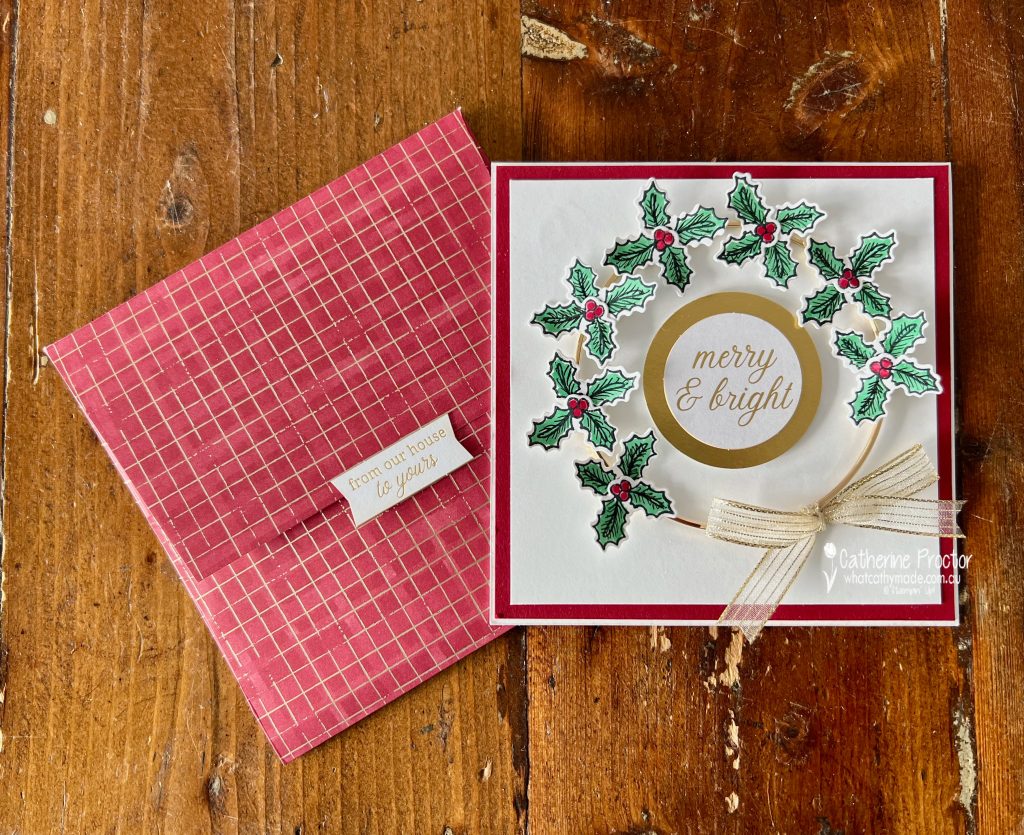
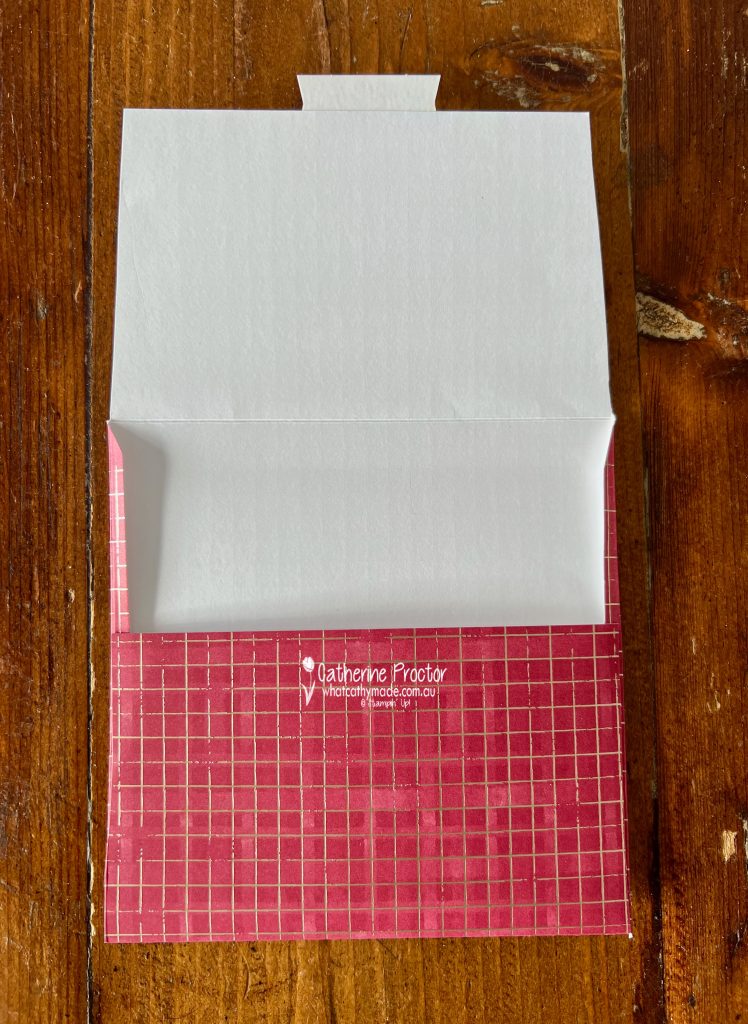
Tip #4 making a square envelope from a 6×12 sheet of DSP. All I had left of the this stunning Cherry Cobbler DSP from the Regal Distressed Patterns 12″ x 12″ (30.5 x 30.5 cm) Specialty Designer Series Paper was a 6×12 inch strip. To create the square envelope for my 5 1/4 inch square card I score 1/4 inch along both 12 inch sides of the DSP and 3 1/2 inches from the top and bottom of the 6 inch side.
This gave me just enough room to adhere the 1/4 inch side flaps with tear n tape to make a squre envelope.
Tip #5 – creating an envelope seal couldn’t be easier using the new Greetings for You Mix & Match Ephemera Pack! I simply removed the top side of the adhesive cover to stick the sentiment to the envelope flap. Once the card is written in and signed and ready to post, remove the lower side of the adhesive cover and press to seal.
Take a look at some more Cherry Cobbler inspiration on our Insta Hop!
Our blog hop is now an Instagram hop but the good news is that you don’t need to have an Instagram account to view all of the other projects!
Simply copy any of the Insta handles below into a new search window to follow the Instagram hop at any point.
Next in our Hop is Helen @apaperparadise. Be sure to check out her gorgeous project/s.
The full list of this week’s InstaHop is listed below:
Helen @apaperparadise
Kate @craftwithkate
Rachel W @handstamped_by_rachel
Kirsty @crafty.littlemiss
Vicki @vickiboucher
Leanne @createwithleanne2
Andrea @andreaksargent
Claire @clairedalycreates
Theresa @teegeeinspirations
Rachel P @rachelpalmieristampin
Sharon @sharondaverncreates
Cathy @whatcathymade
#artwithheartteamSU #stampinupaustralia #cardmakersofinstagram
We’ll be back next Wednesday when we are showcasing Coastal Cabana. I hope you can join us then!
