Do you use your Stampin’ Up! catalogues for inspiration? I find them such a wonderful source of ideas and this week I’ve taken my inspiration from the 2019 Stampin’ Up! Holiday catalogue.
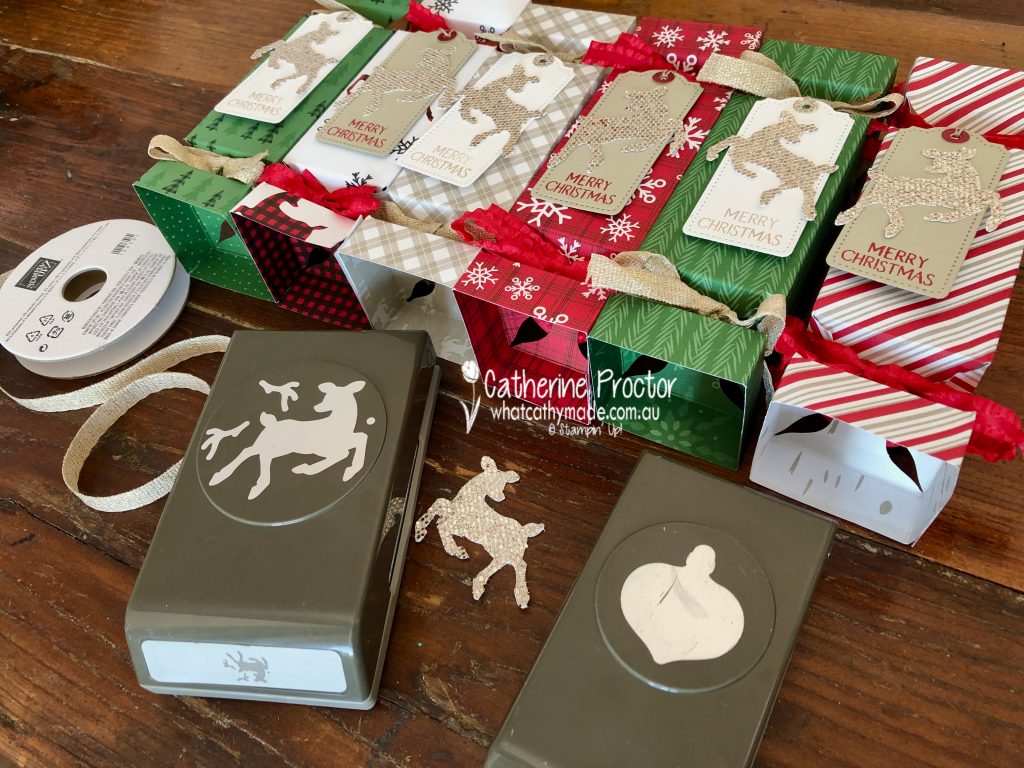
The 2019 Stampin’ Up! Holiday catalogue had very clever instructions on how to use your paper trimmer and the small Gleaming Ornaments Punch to make quick and easy Christmas crackers. As these ornament punches are currently available to purchase in the clearance rack (on sale for $35.40) I thought I would adapt this design and make a set of Christmas Crackers using the FREE SALE-a-bration Peaceful Prints DSP.
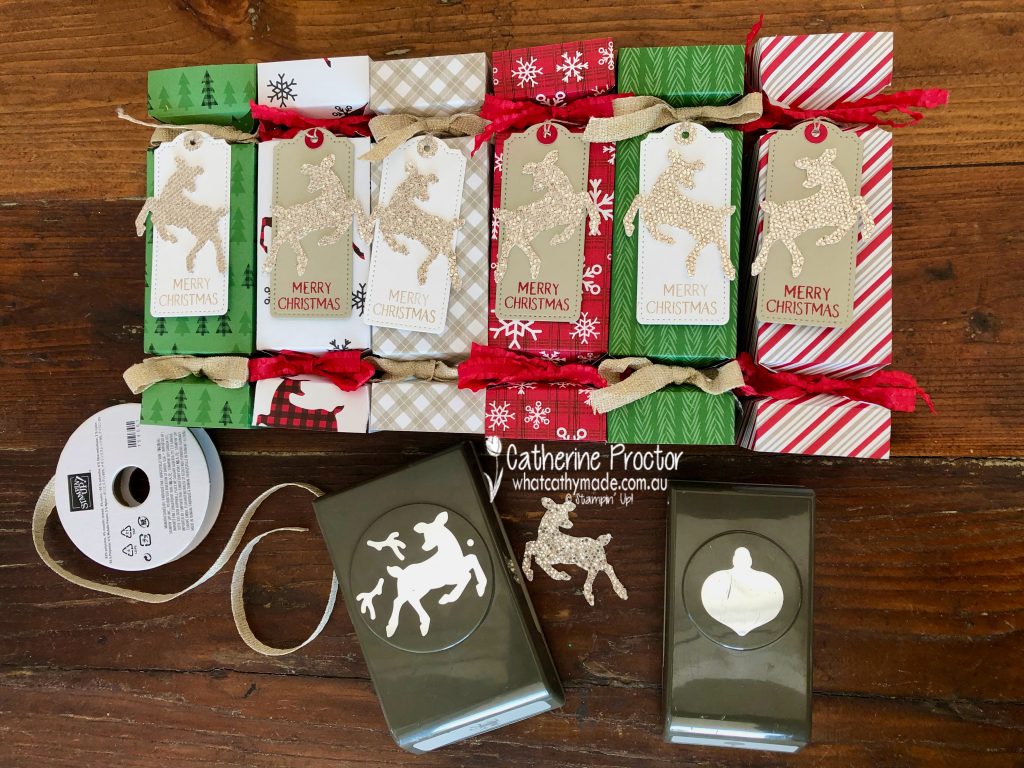
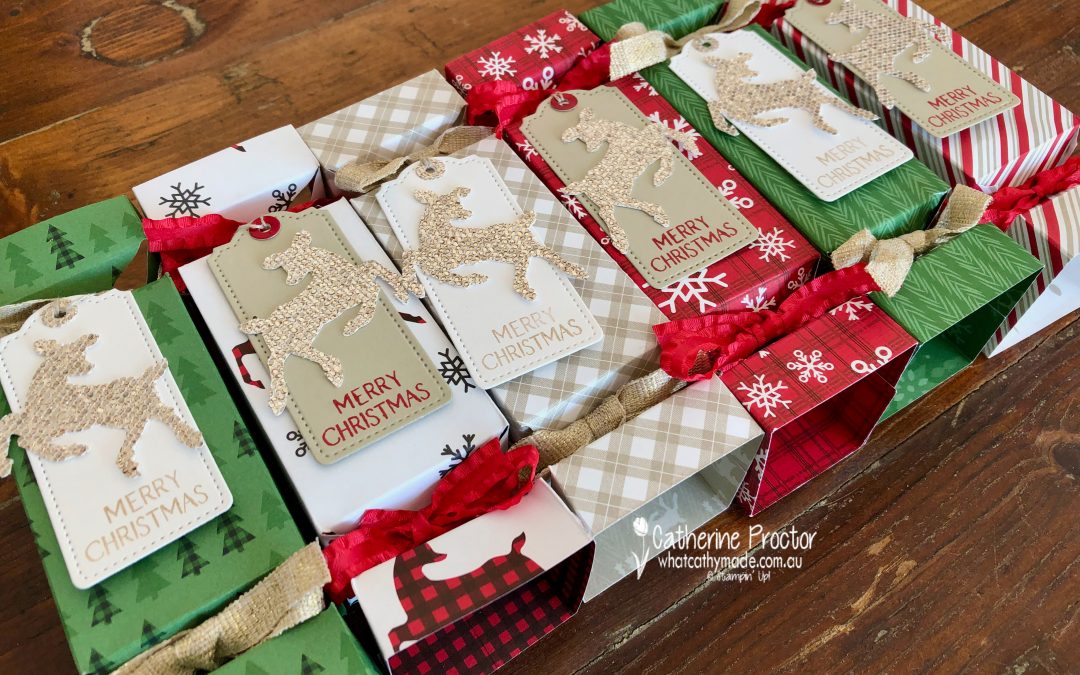
I’ve used 6 of the patterns from the Peaceful Prints DSP to make 6 crackers – I will make another 6 crackers using the reverse sides of this DSP before Christmas.
Here’s my template to make the crackers using the small ornament punch.
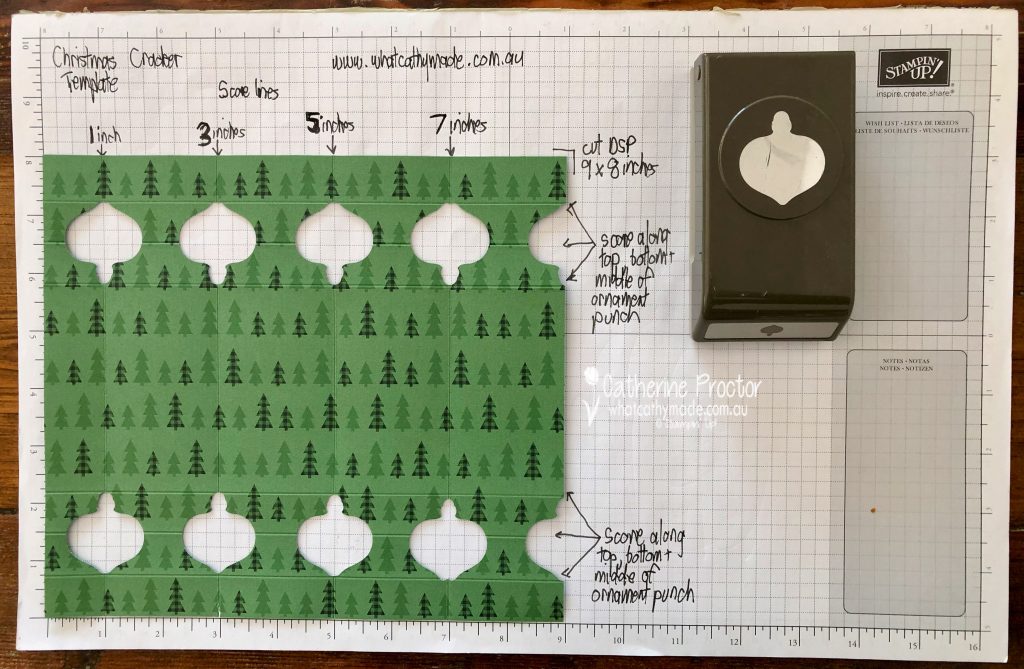
- Trim a sheet of DSP to 9 x 8 inches
- Score along the 8 inch side at 1 inch (this creates the flap for adhering the sides of the cracker together) and score again at 3, 5 and 7 inches
- Fold along all these score lines
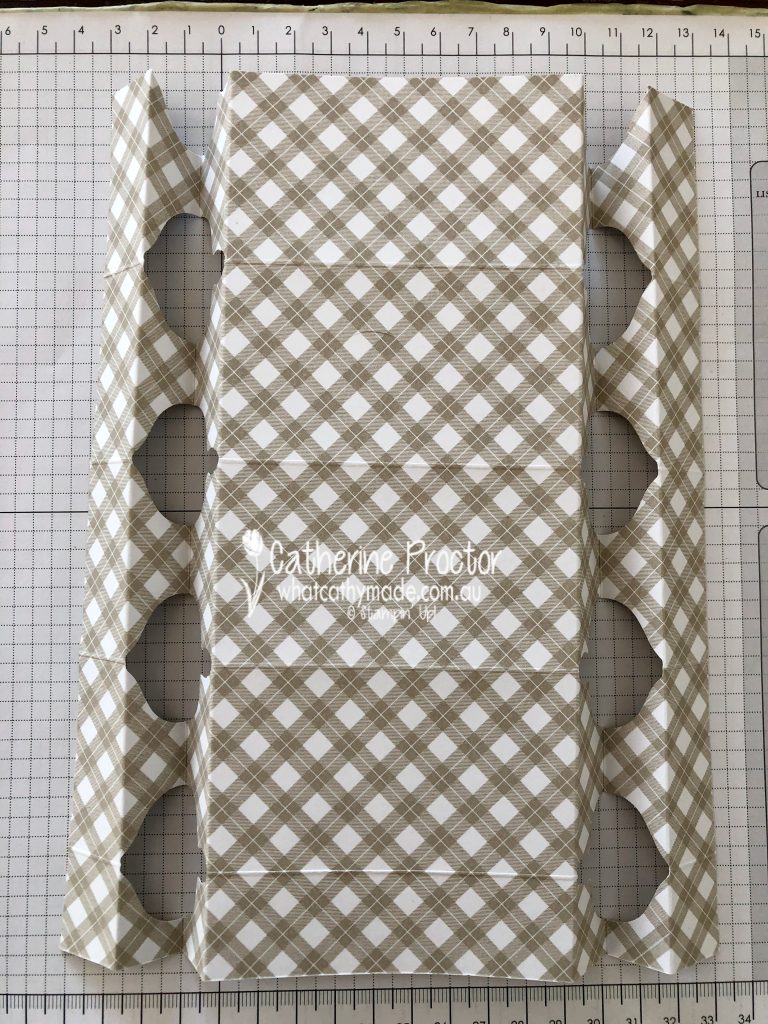
- Fully insert small ornament punch to the edge of the DSP, ensuring the score line is in the centre of the ornament
- Punch every score line at both ends of the DSP
- Also punch at the 9 inch edge, lining up the centre of the punch with the edge of the DSP
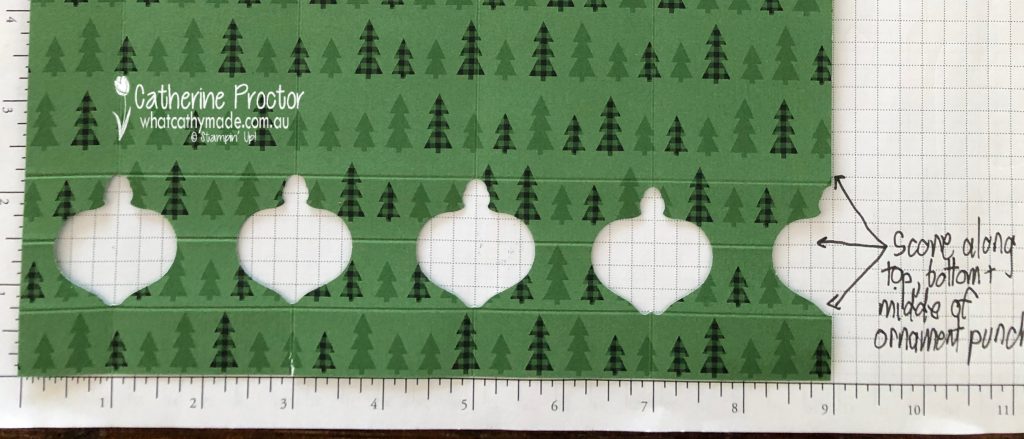
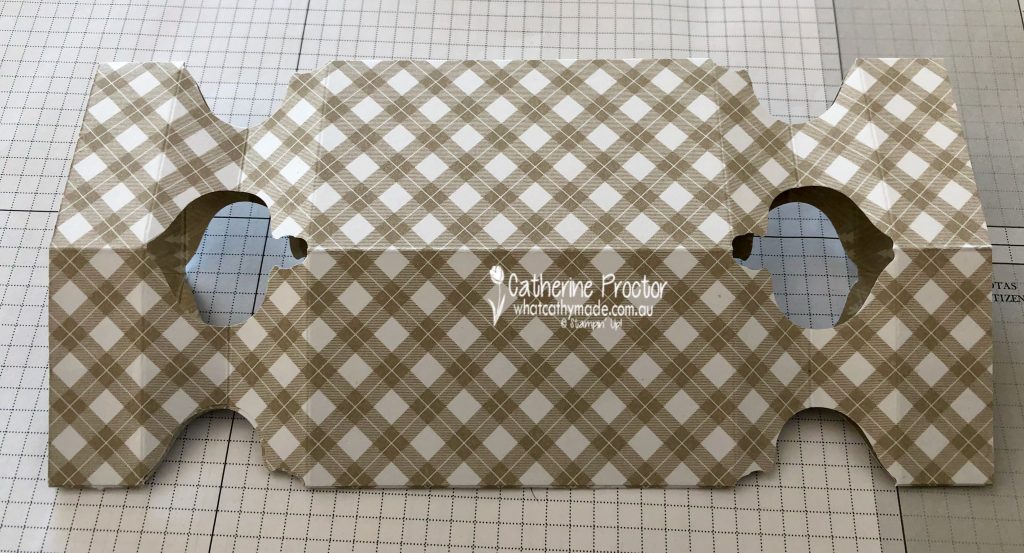
Now score in the opposite direction, along the width of the cracker at the top, bottom and the centre of the punched out areas (see photo above) and then fold these score lines as per the photo below.
To assemble the cracker, fold up the 1 inch fold flap so that the DSP side that will be on the outside of the cracker is facing up.
Place Multipurpose Liquid Glue on this flap and fold over the cracker at the 5 inch fold, lining up the punched out areas. Press together to adhere.
Cut ribbon of choice into 14 inch (36 cm) lengths and tie into a bow at each end.
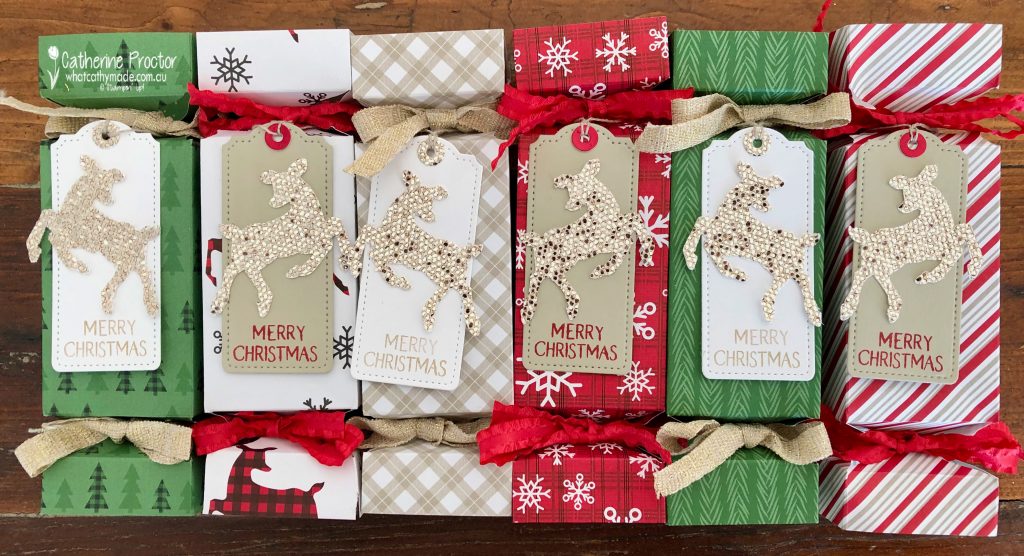
You can decorate the crackers any way you want. I used the Peaceful Deer bundle, the FREE SALE-a-bration Be Dazzling DSP and the Tailored Made Tags Dies to create coordinating deer tags for my crackers. I used some Sahara Sand twine to attach them to one end of the cracker, but you could also simply adhere them to the top of the cracker.
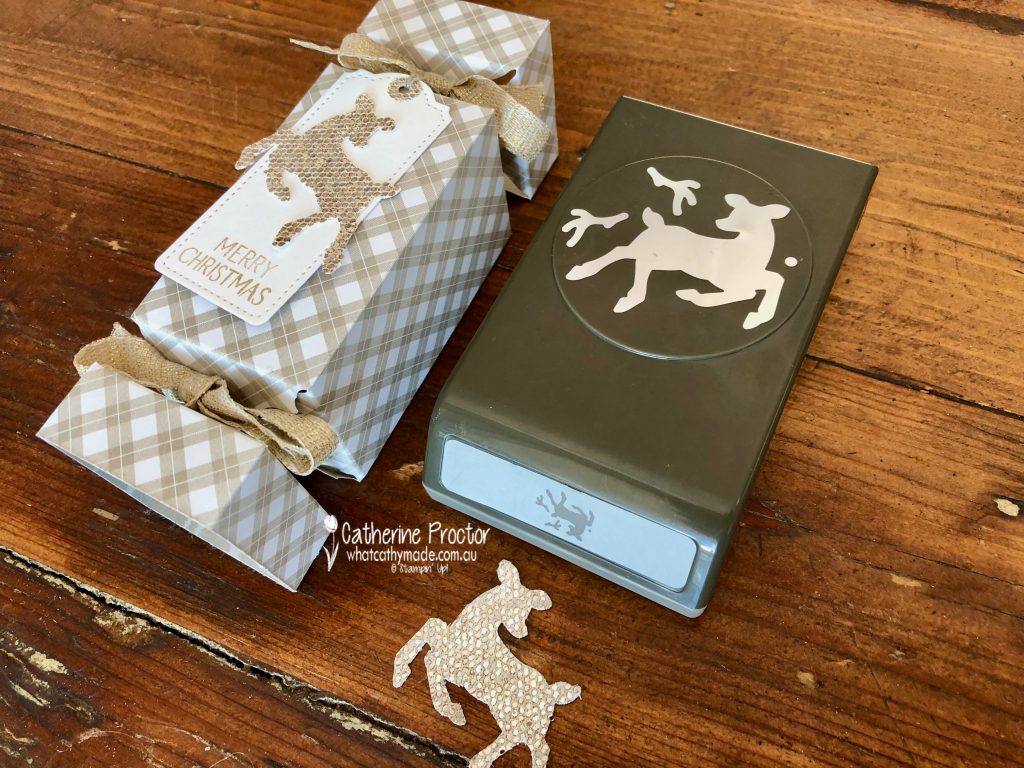
These crackers are empty right now because I am going to fill them with yummy treats closer to Christmas, such a Ferrero Rocher chocolate, Lindt Balls and little jokes. To fill them at a later time, simply untie the bow at one end, pop the treats inside and retie the bow.
You can make these Christmas crackers out of any DSP to match your Christmas table decoration.
Now it’s time to hop on over to our next participant, the incredible talented Michele Taylor. I wait to see what Michele shares with us today!
If at any time you find a broken link please head to the blog of this week’s Host of the Heart of Christmas Blog Hop, Sharon Davern, as she has the full list of links for everyone who is participating.
You can purchase any of the products I’ve used tonight here.
Thanks for visiting my site. I’ll be back with another card on Wednesday.
In the meantime, wherever you are in the world, stay safe, stay calm … and keep on crafting xxx

Oh, I do love a handmade Christmas cracker Catherine and yours are gorgeous! Thanks for sharing the instructions for them. Love those dazzling deers!
Wow!!! Your Christmas bonbons are fabulous Catherine. Terrific idea and thanks so much for sharing such clear instructions.
My goodness, you are super-organised! Your Christmas Crackers look amazing, and will be a fabulous on your Christmas table.
Oh wow can I come to your place for Christmas! What a sensational idea and a great way to use up all of that freebie DSP. Love them Cathy
What a cracking idea!!!! Love these and how good to get some done now ready for the big day, just fantastic!
Love a Christmas Cracker, you have made gorgeous ones and I love this version with the ornament punch, thanks for the instructions. Love your tags on the front they are so cute! I bet your Christmas table will look wonderful with these on them.
Such clever use of the punch, and an ideal project for those papers, Cathy. I love your tags, and choice of ribbons, too. Just lovely!
How cute will your Christmas crackers look on the table at Christmas!
These are gorgeous Cathy and look so easy to make. Love the tags and ribbon.
Great Christmas crackers Cathy, great use of the ornament punch!
Well these are a bit cute! How lovely will they look adorning a Christmas table. Great instructions too.