Hello to all my crafting friends!
I don’t know about you but card kits are one of my favourite craft products. I especially love all inclusive card kits because as it says on the box, you get everything you need.
The Hello Dear Friend All-Inclusive Card Kit is perfect for new crafters, busy crafters, or crafters on the go with enough supplies for at least 12 cards. Both today and this Wednesday I’m going to show you how to make even more cards with this kit by including just a few other basic supplies.
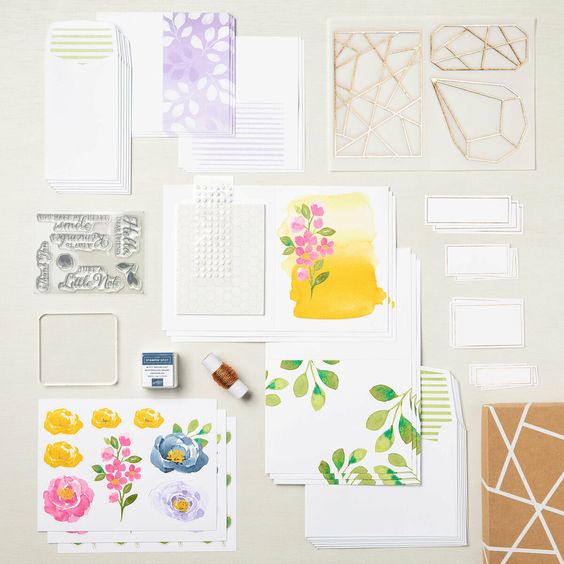
You can see from the picture above that the Hello Dear Friend All-Inclusive Card Kit includes:
• Set of 7 photopolymer stamps
• Misty Moonlight Classic Stampin’ Spot
• Clear stamp block
• 12 printed card bases
• 12 printed envelopes
• Printed die cuts
• Copper foil die-cut labels
• Vellum die cuts with copper foil
• Copper cord
• Stampin’ Dimensionals
• Adhesive dots
• Printed decorative box
I love the bright colours in this kit. It’s a colour combination I would never think of using myself but it looks amazing.

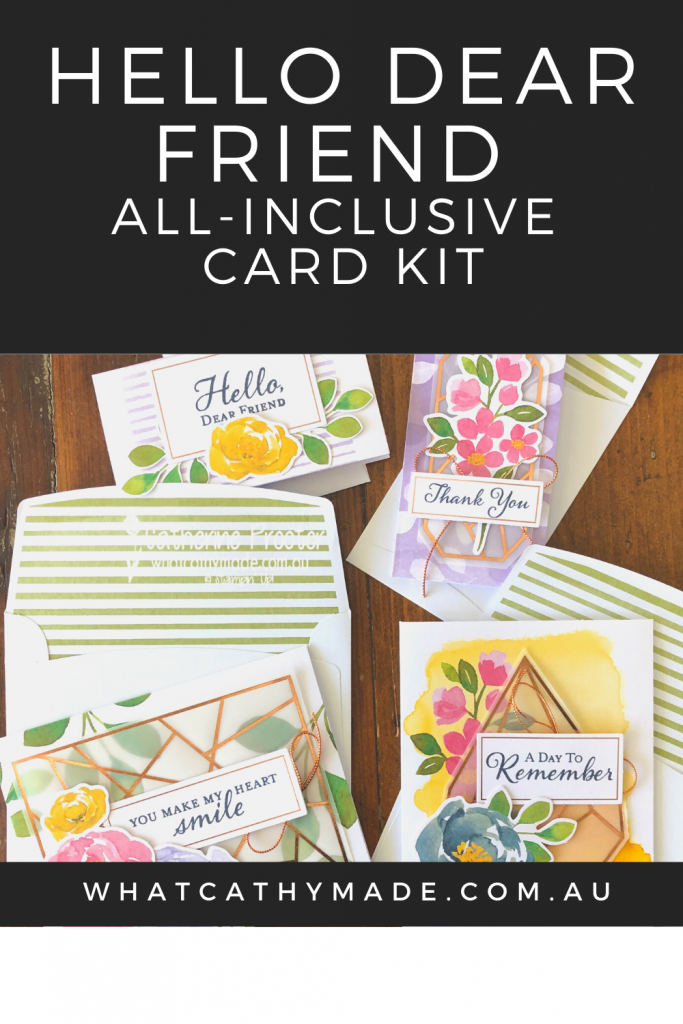
Here are the cards I made up according to the instructions on the kit. You don’t need any extra supplies to make these cards and if you follow the instructions on the kit you will make 12 cards in total.
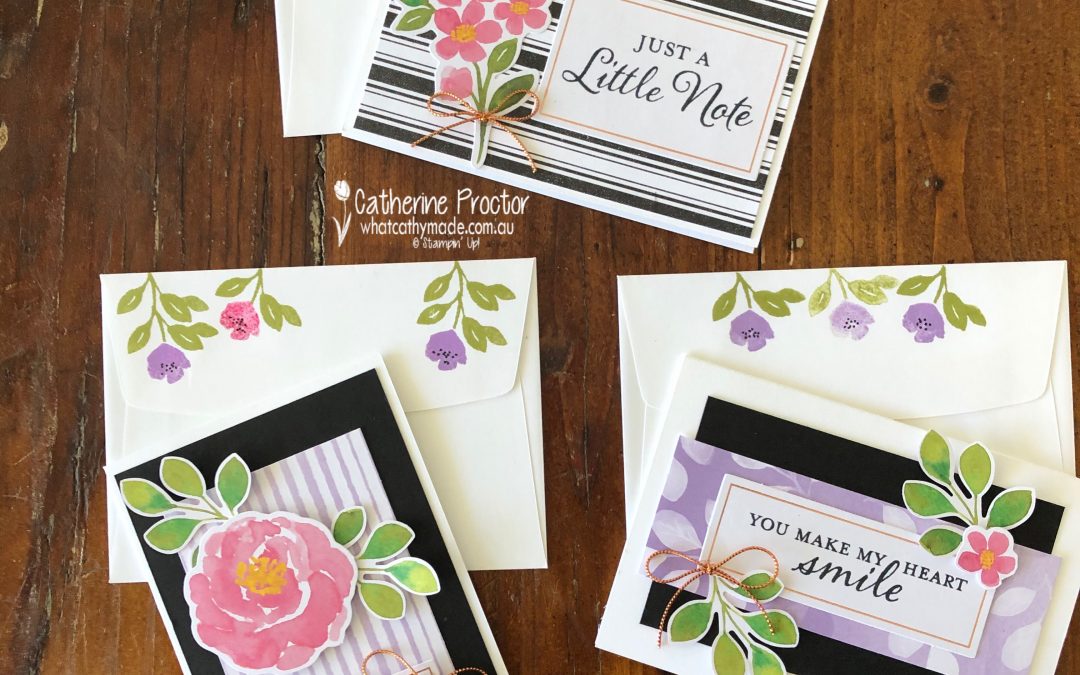
Did you know you can also use the stamp set and the extra die cuts to make many more cards with just a few extra products? The cards I’m sharing with you today are created with some Note Cards and Envelopes and some brand new designer series paper.
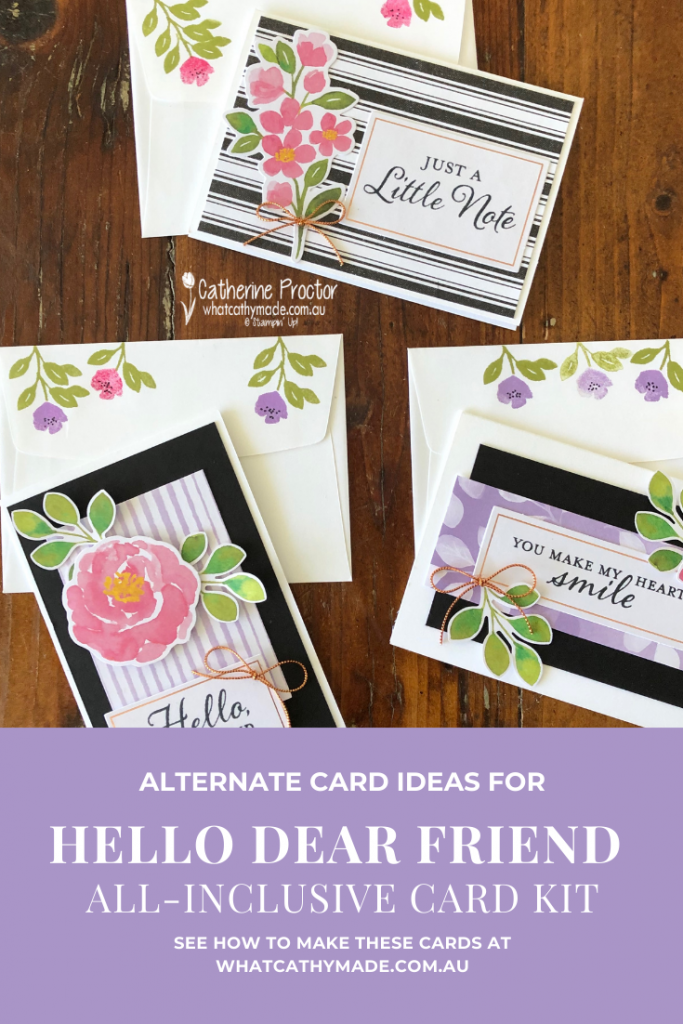
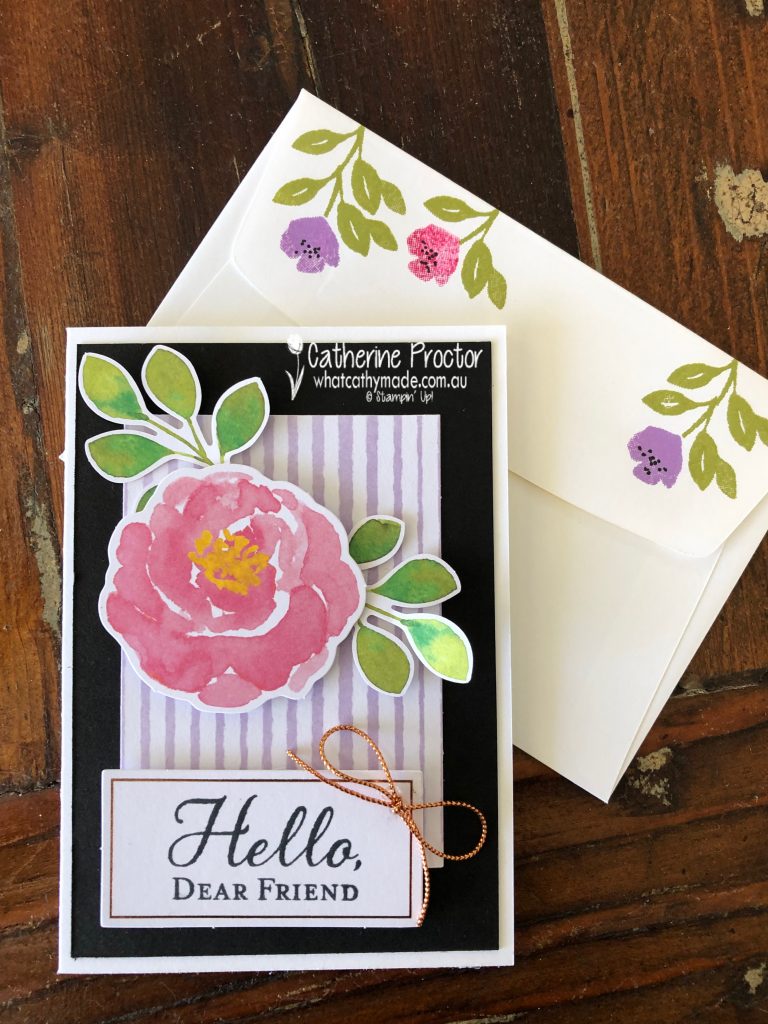
I wanted to make use of all the beautiful stamps in the stamp set that is included in the Hello Dear Friend card kit so I stamped the back of all my envelopes as well.
The little black stippling in the middle of my flowers was added using my Basic Black Stampin’ Write Marker.
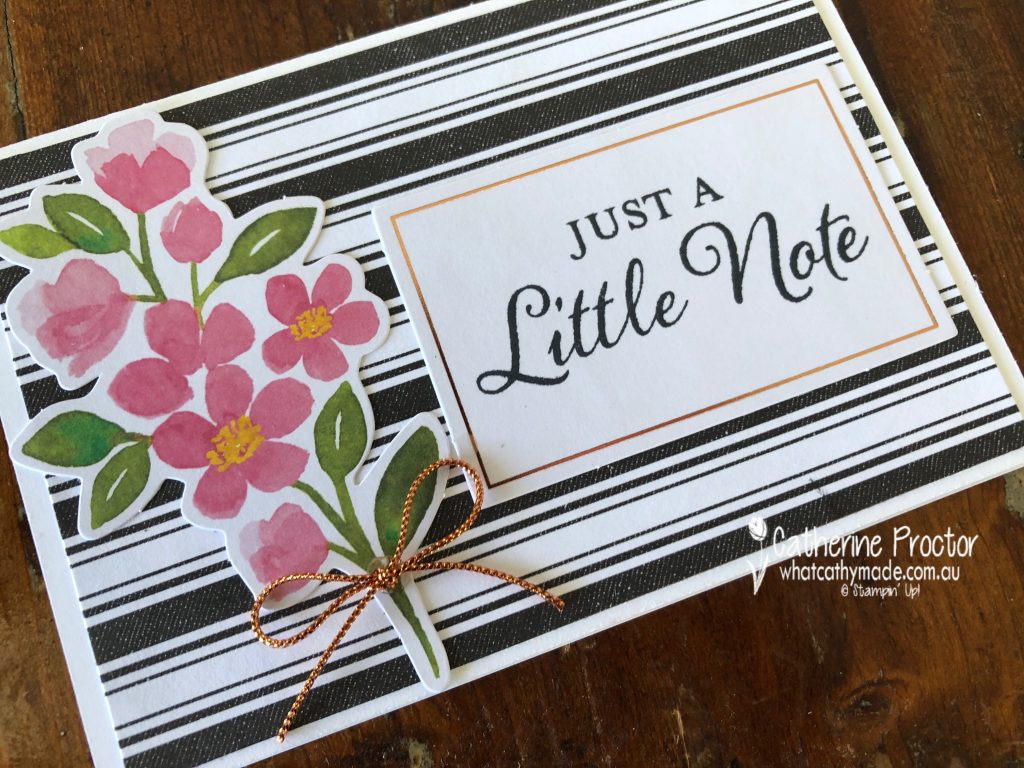
For this card I cut up one of the smaller card bases. I actually find these smaller cards so useful when giving a bunch of flowers, etc, but I also wanted to show you that they can also be used to make larger cards if you prefer.
The die cuts in this kit make these cards so quick and easy card to make – all I had to do was tie a bow of the lovely copper cording that is included in the kit.
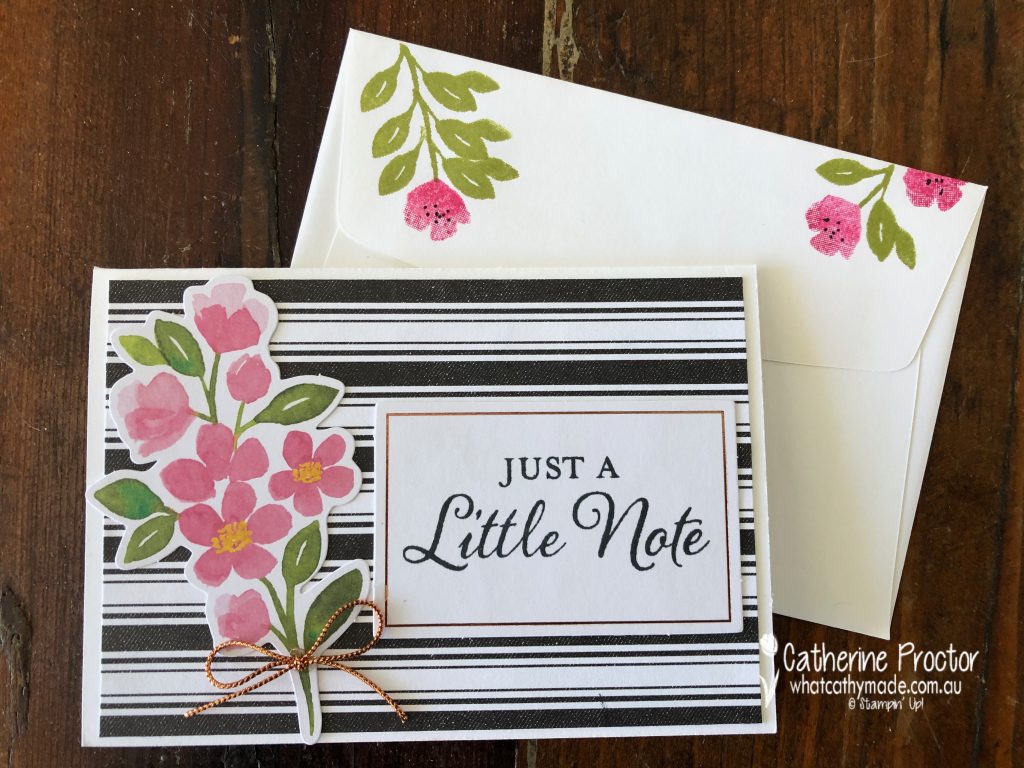
My second card uses the largest floral die cut layered onto some new black and white striped designer series paper.
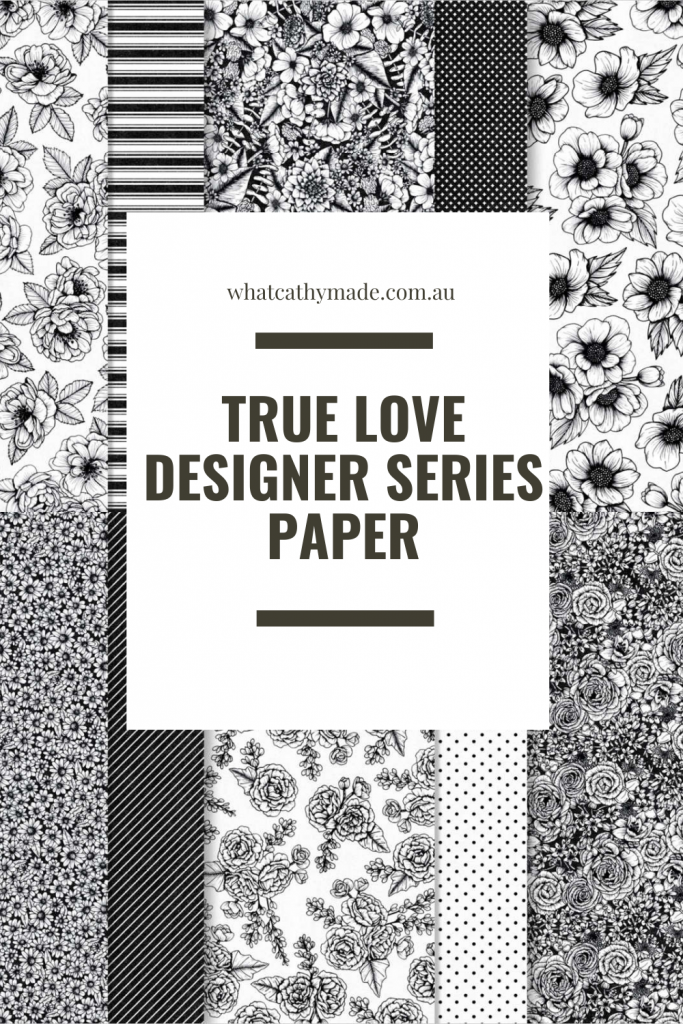
This paper is from the True Love Designer Series Paper. There are so many things you can do with this paper, whether you decide to use it as it is or colour it in!
I’ve decorated my envelope flap to match the main die cut and added a bow of the copper cord to pick up the foiling of the sentiment die cut.
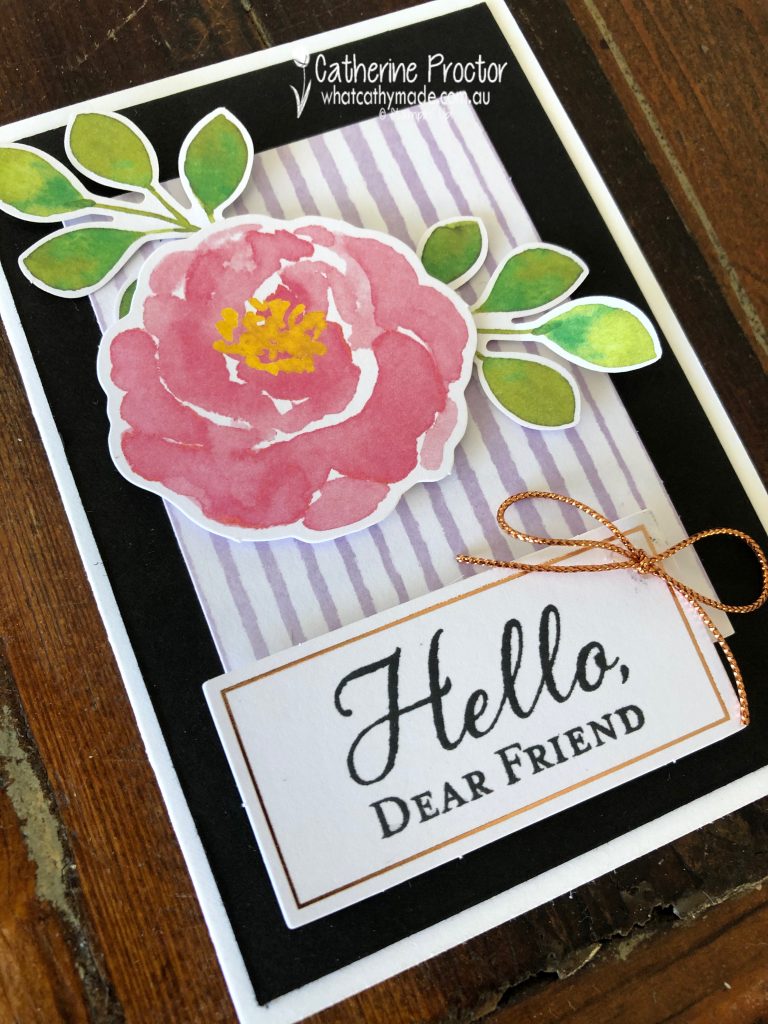
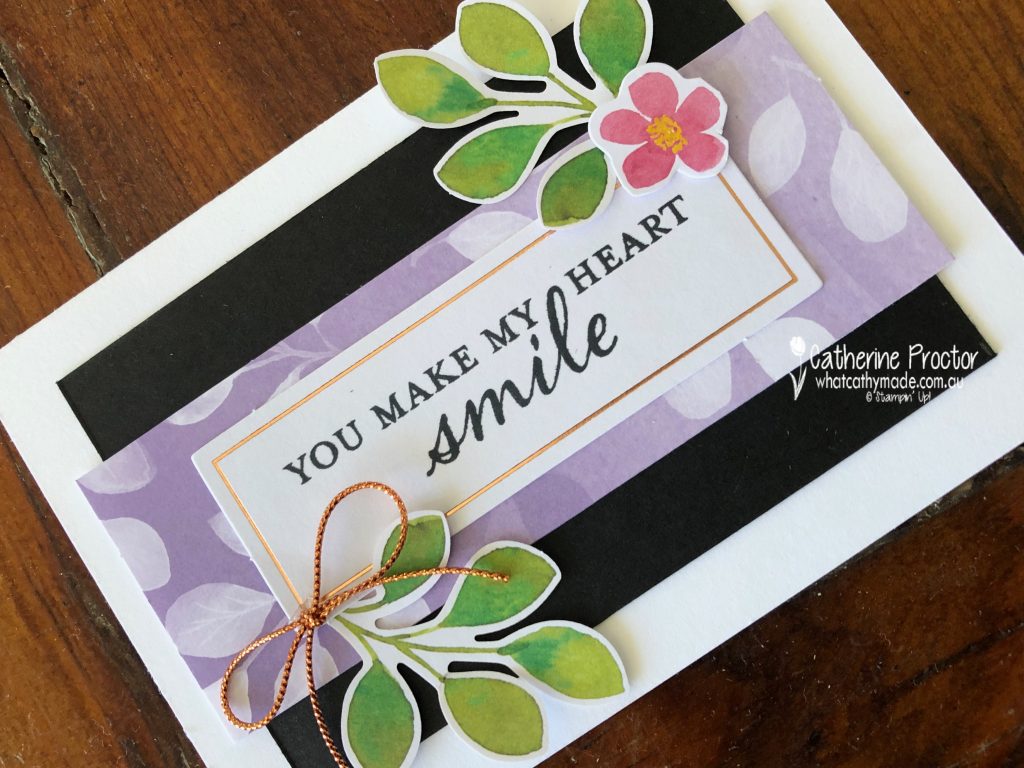
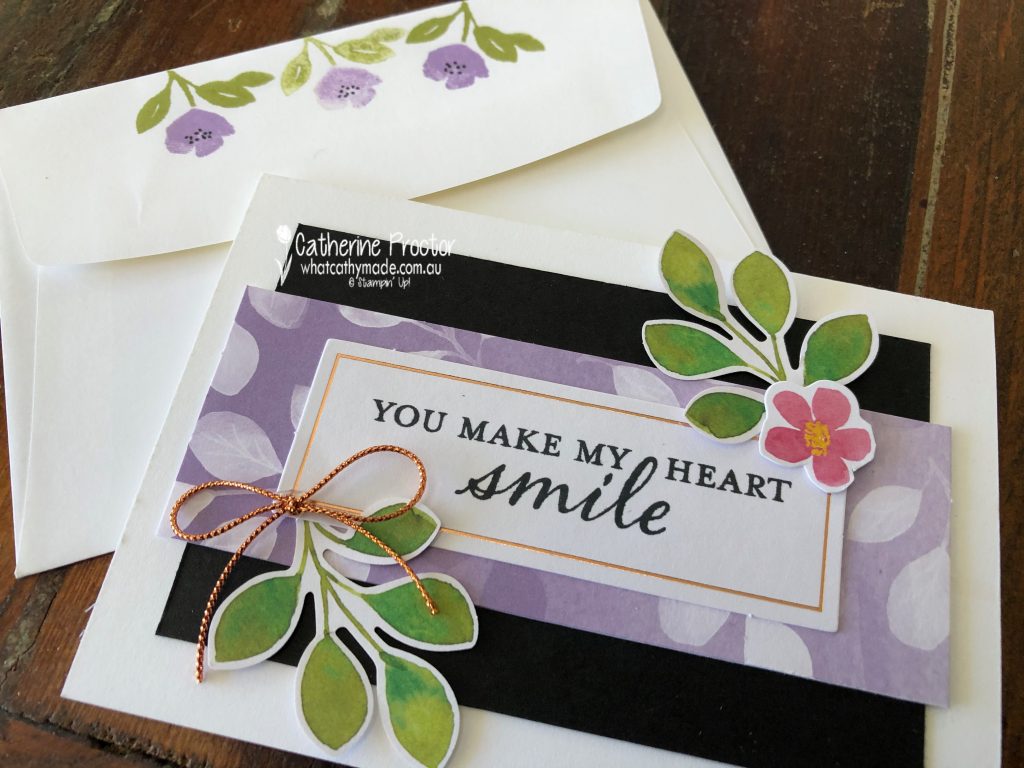
For my final card I’ve fussy cut one of the pink flowers from the largest die cut piece, added some die cut leaves and a copper bow.
The Highland Heather panel was cut using one of the smaller cards in this kit, mounted onto a Basic black layer.
This time the envelope flap was stamped using Old Olive and Highland Heather at both full strength and stamped off.
To purchase any of the products used in my project today, simply click on the links below.
Product ListIf you’d like me to post you your very own copy of the January – June 2020 mini catalogue, the 2020 Sale-a-bration catalogue, the 2020-21 Stampin Up! Annual Catalogue, the 2020-21 Beginners Brochure, or to simply find out about more about Stampin’ Up! contact me.
When you shop online in my Stampin’ Up! Online Store don’t forget to use my monthly Host Code (if your order is between $50 – $250) and I will send you a thank you gift the following month. If your order is over $250 don’t use the host code because you will qualify for your own stamping rewards.
My January 2021 Host code is VWKV2Z69 and it is valid until midnight January 31.
Would you like to get a 20% discount on everything you order? Click here to join my team:

Thanks for visiting my blog today. I’ll be back this Wednesday with some more cards I’ve made with this kit, this time focusing on Old Olive as that is the colour we are showcasing in our AWH Colour Creations Showcase this week.
In the meantime, wherever you are in the world, stay safe, stay calm…and keep on crafting xxx
