Hello crafters – welcome to our last AWH Heart of Christmas blog hop for 2021! I’ve loved being inspired by the incredible creations in our Art with Heart Team.
With less than four weeks to Christmas have you got all your Christmas cards made yet? Have you even started yet?
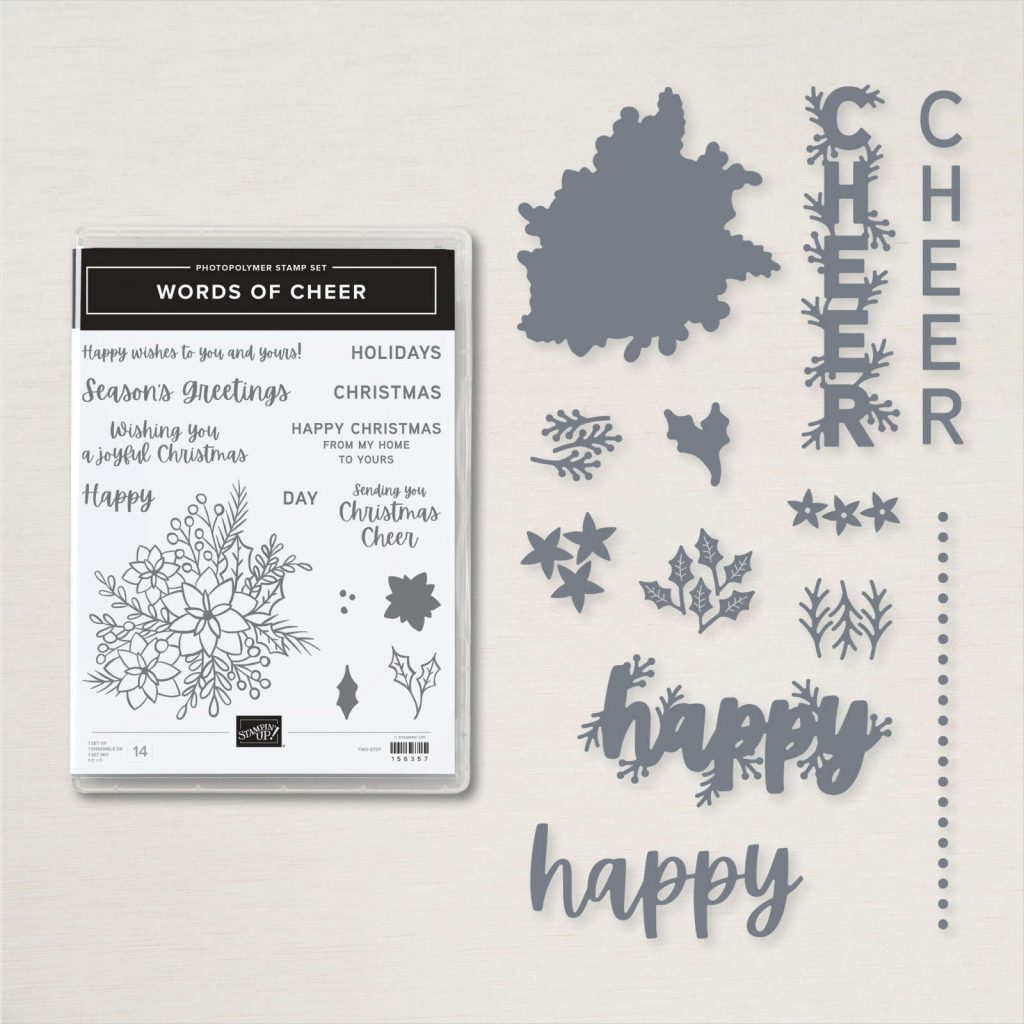
I finally caved in and purchased the Words of Cheer bundle after seeing so many amazing cards made with this bundle. I’ve enjoyed using this bundle so much I’ve also used it for my Merry Merlot card for our AWH Colour creations blog hop this week – come back and visit my blog on Wednesday night to see the other card I’ve made with the Words of Cheer bundle.
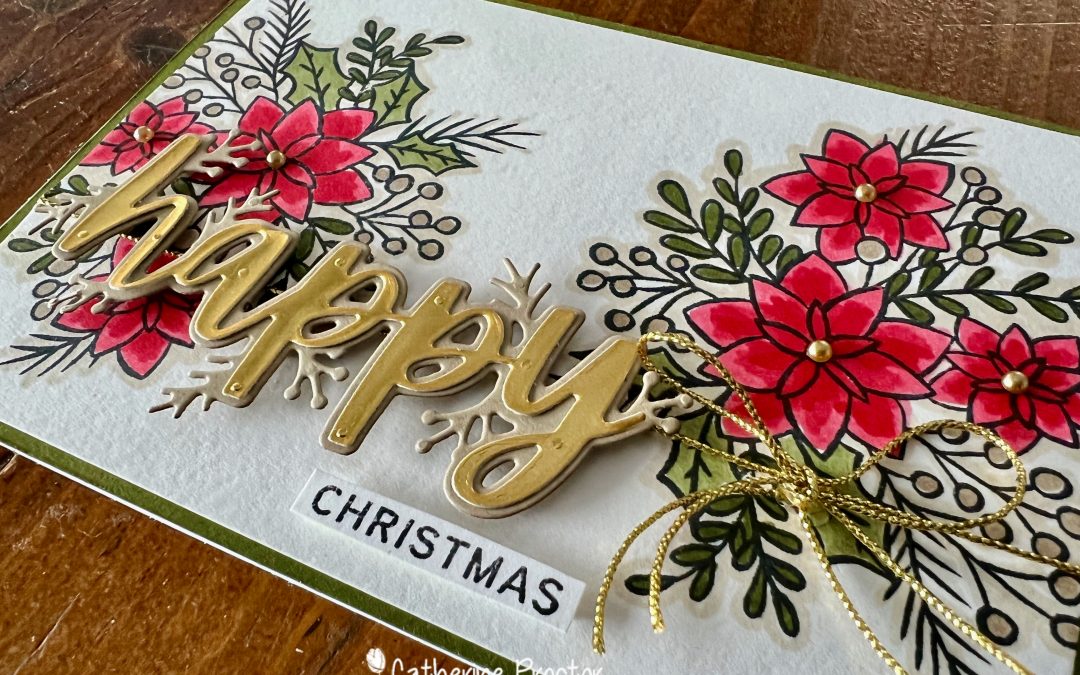
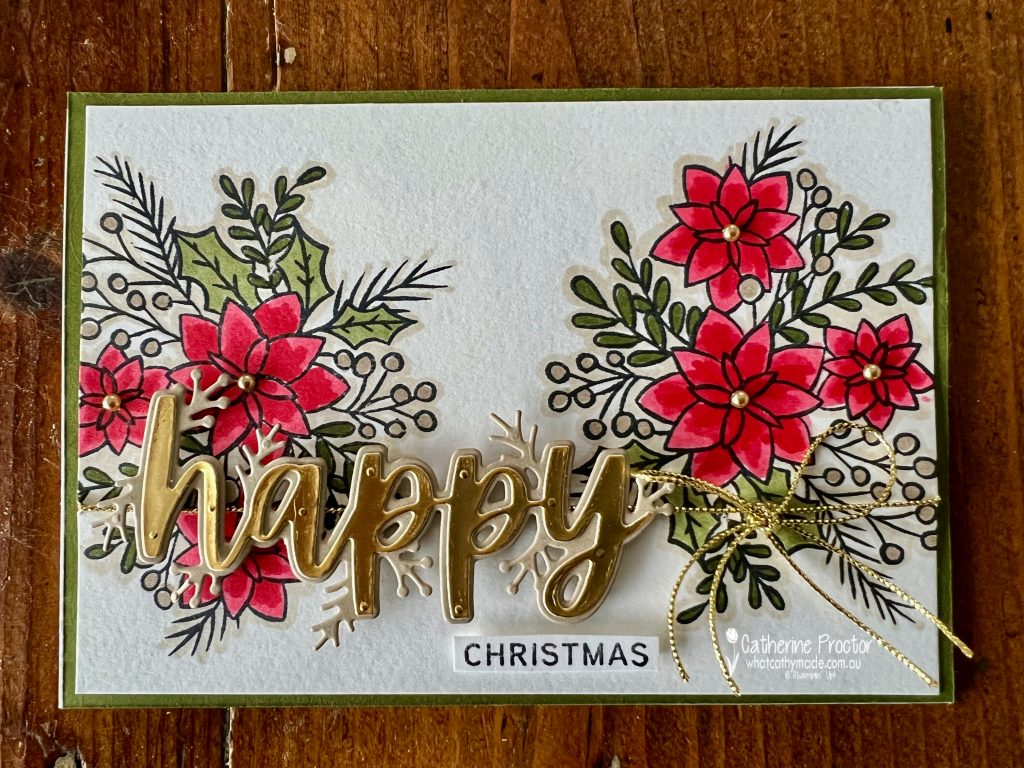
The large floral image gives you a lot of different options for adding colour to your card. I’ve used Poppy Parade, Mossy Meadow and Crumb Cake Stampin Blends, a Basic Black stamped sentiment and image outline, with gold accents in the die cut letters and the twine. I love how all these neutrals work together to make the Poppy Parade really pop!
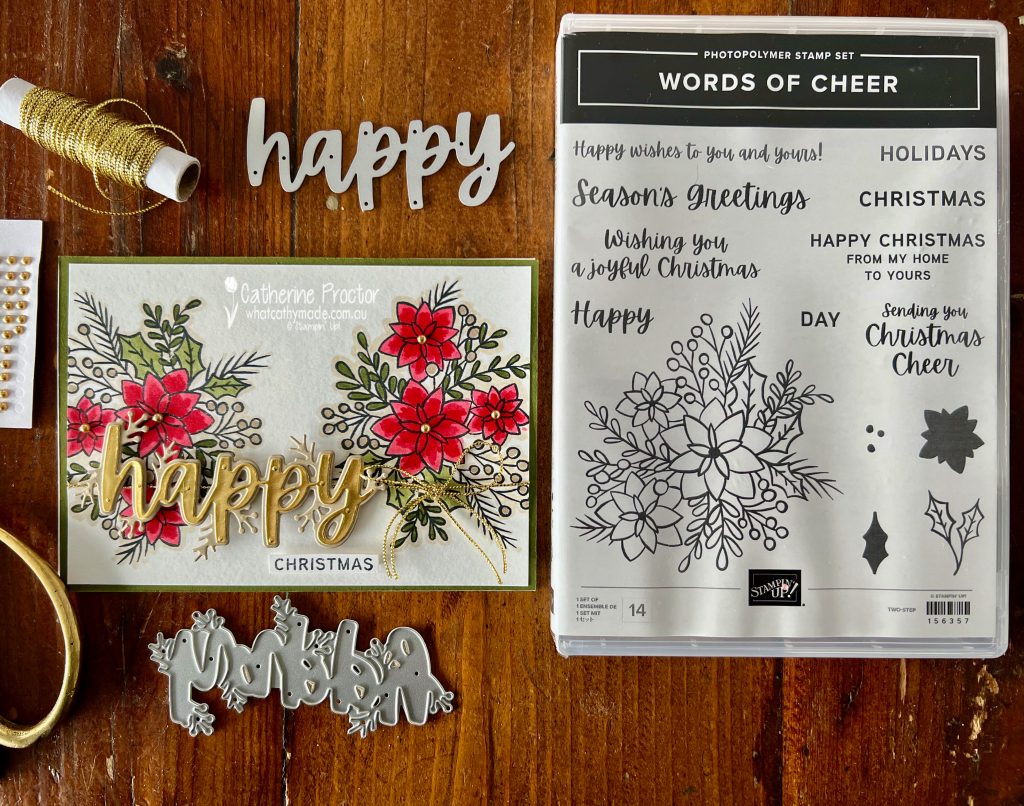
The card design is super simple. Stamp the large floral image on each side of the Basic White card stock layer, colour it in and wrap with some twine or ribbon before adhering to your card base – I used Mossy Meadow.
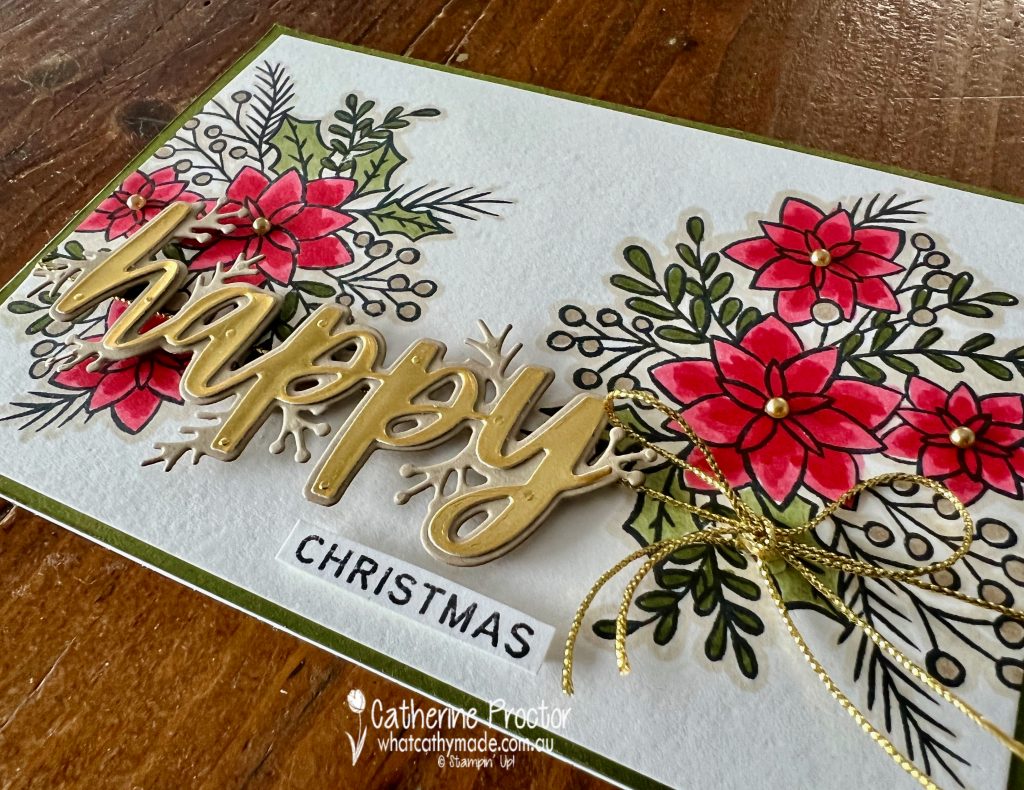
When die cutting with foil I use use adhesive sheets to eliminate the risk of glue on the foil. The top layer of “happy” is gold foil on an adhesive sheet and the bottom layer is die cut in Crumb Cake card stock and then popped onto the card using Stampin Dimensionals.Not only do these large double layer dies look amazing, they are so easy to use!
To match the gold metallic Simply Elegant Trim tied around the base of the card I added Gold adhesive backed Metallic Pearls to the centre of the flowers. TIP – to get the Simply Elegant Trim to stay tied in a bow and sitting on the card I used a double knot and also adhered it to the card using glue dots.
Now it’s time to hop on over to our next participant, the lovely Christine Blain. I can’t wait to see what Christine shares with us today!
If at any time you find a broken link please head to the blog of this week’s host of The Heart Of Christmas Blog Hop, Tina Gillespie, and she will have the list of all those participating.
If you live in Australia, you can find and purchase all these products in my Stampin’ Up! Online Store or by clicking on the images below.
Hello crafters! Welcome to Week 21 of our AWH Heart of Christmas blog hop. It’s hard to believe that it’s less than five weeks until Christmas and after tonight’s blog hop we only have one more Heart of Christmas blog hop left this year!
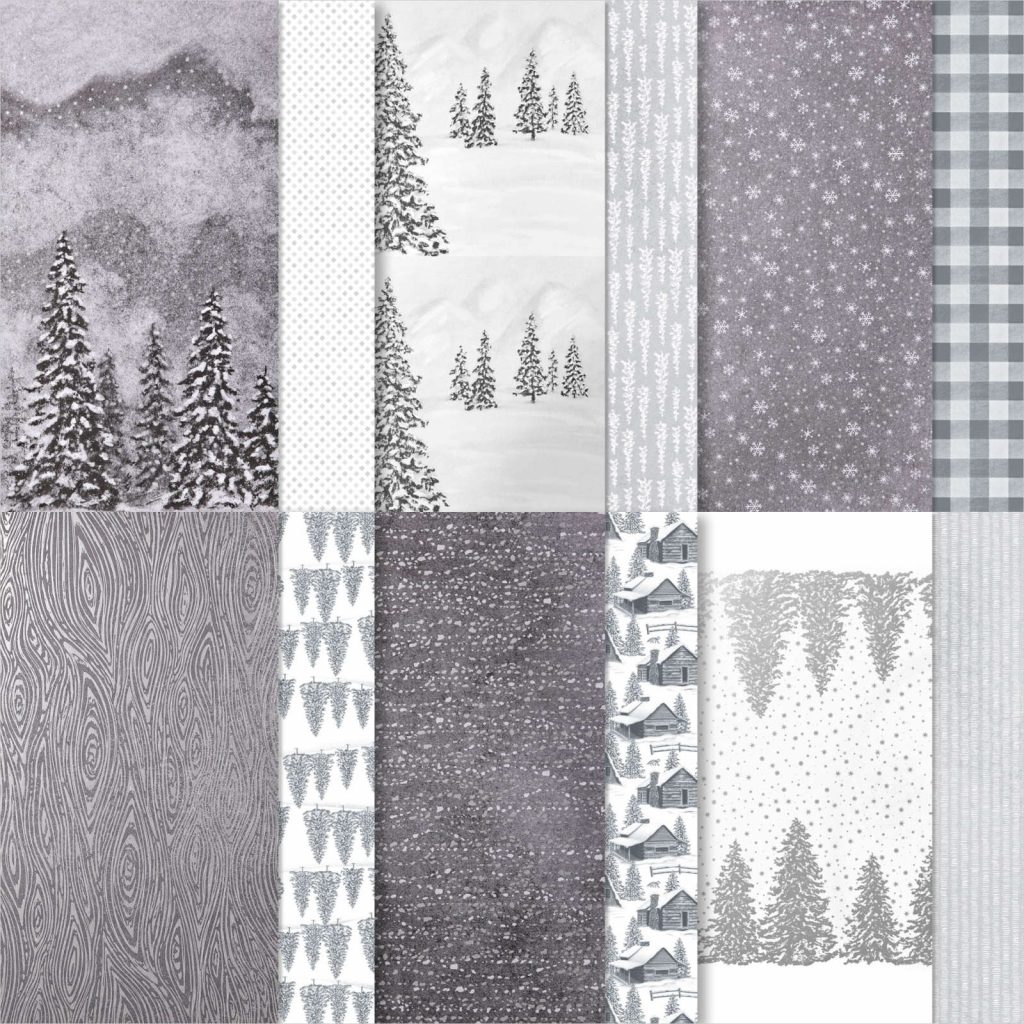
I don’t know about you, but sometimes I don’t use a particular Designer Series Paper because it’s just so beautiful and I don’t want to cut it or cover it. It’s really had to see all the foiling in this photo, but the Peaceful Place is simply stunning and I wasn’t sure exactly how to use it.
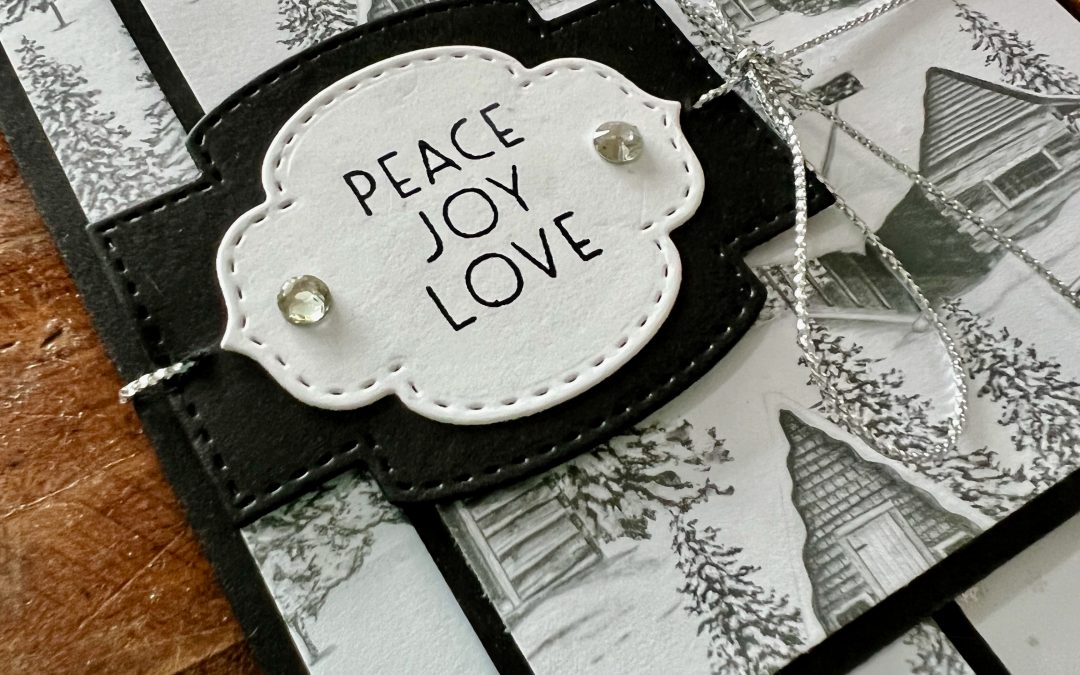
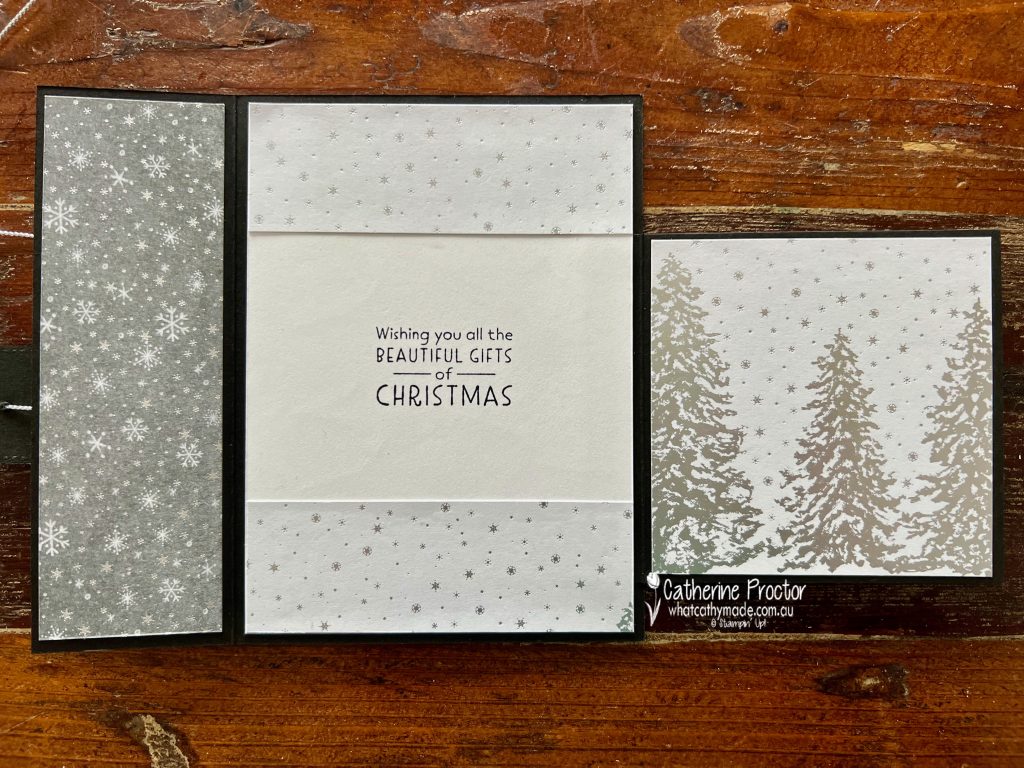
With Designer Series Paper as elegant as this, I think it’s best to keep the card quite simple and let the paper be the star of the show, which is why I decided to create a Christmas latch card.
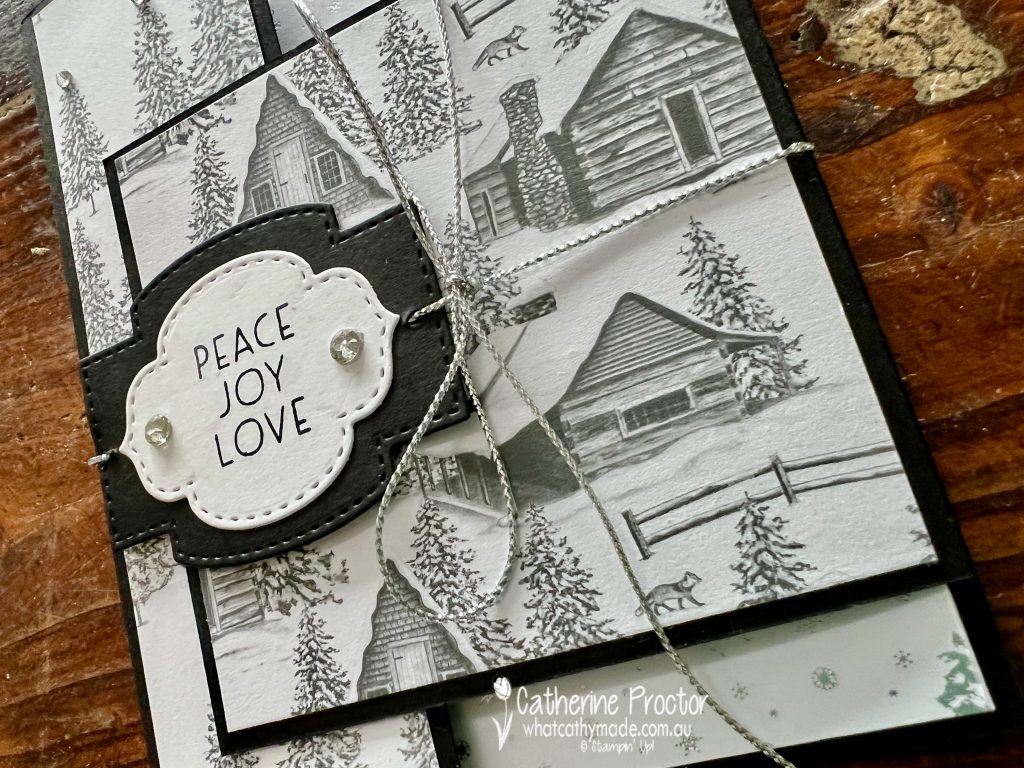
This fancy fold looks pretty fancy, but it is easy peasy to make. The card base is created from two pieces of Basic Black cardstock. The first piece measures 16 x 14.8 cm, scored at 5 cm along the 16 cm side – this is the back of the card and the left flap. The second piece measures 10.5 x 9.5 cm, scored at 1 cm along the 10.5 cm side – this is the right flap and hinge.
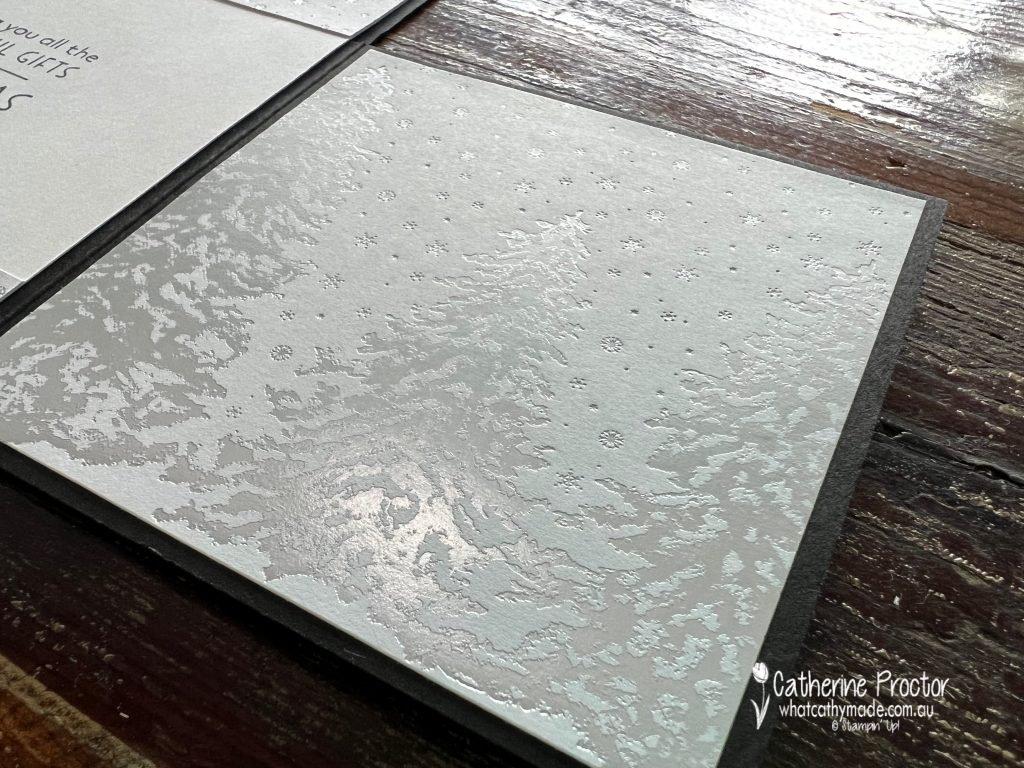
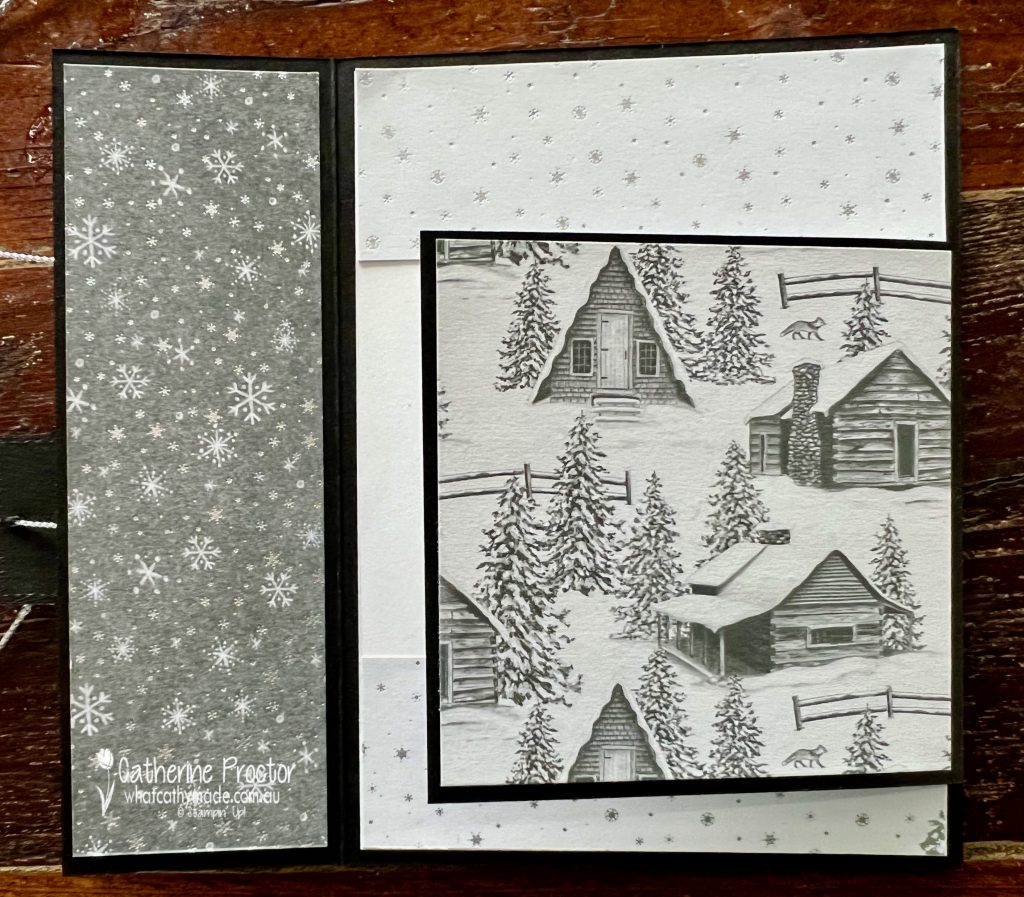
Once you adhere the right hinge to the right hand side of the card, you can then decorate the inside and the outside of the cardstock base and flaps with the DSP. I used this lovely foiled DSP for the inside right flap.
Here’s what all of the card looks like on the inside. Both this sentiment and the sentiment on the front of the card are from the Inspired Thoughts stamp set. Isn’t this a beautiful font?
The photo below shows how the outside of the right flap uses the DSP with the cabin print. There is a coordinating Peaceful Cabin Bundle (it includes the Peaceful Cabin Stamp Set and the Cabin Dies), but I don’t own it. This type of fancy fold is ideal for when you want to showcase DSP but you don’t own the matching bundle – all you need is a sentiment from any stamp set that works with the DSP.
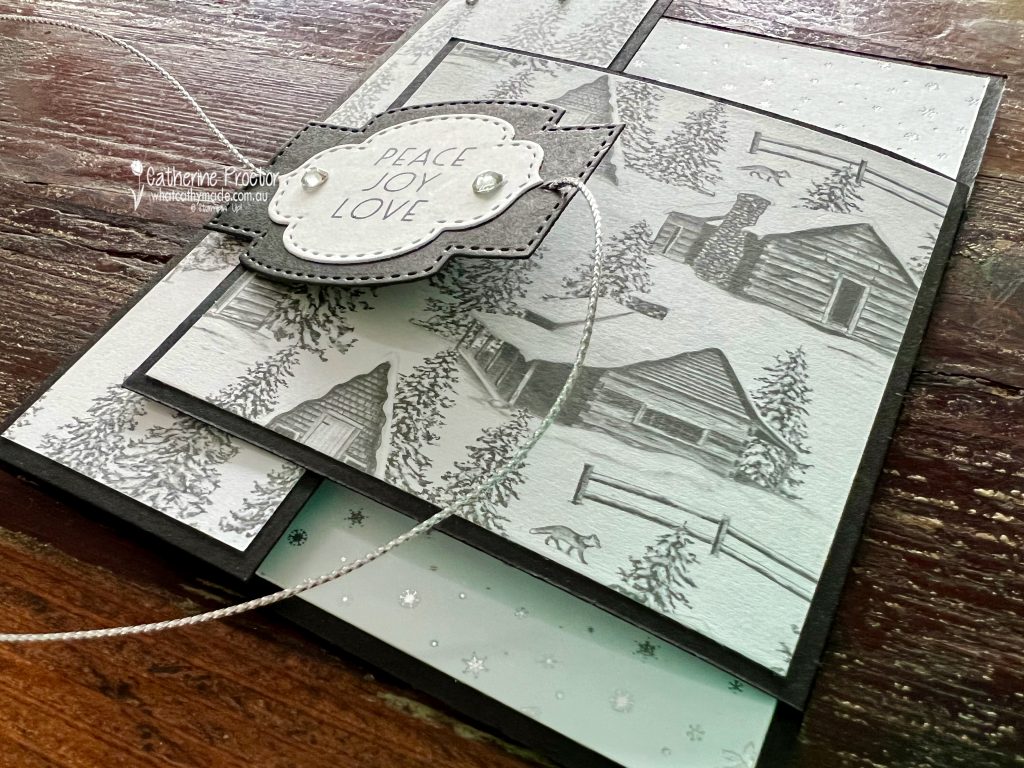
The “Peace, Joy, Love” sentiment has been die cut using the Stitched So Sweetly dies and it forms the latch mechanism. After threading a length of silver simply elegant trim through the sentiment, I used a couple of Stampin’ Dimensionals to attach the LEFT SIDE ONLY of the sentiment to the card – the right flap of the card slips over the left flap and under the right side of the sentiment to create a latch.
The final touch to my card was the addition of some rhinestone jewels and then tying the metallic silver thread into a bow to the right of the sentiment. This thread wrapped around the card is not only decorative … it also helps the card to sit flat.
Now it’s time to hop on over to our next participant, the lovely Ros Davidson. I can’t wait to see what she shares with us today!
If at any time you find a broken link please head to the blog of this week’s host of The Heart Of Christmas Blog Hop, Sharon Davern, and she will have the list of all those participating.
If you live in Australia, you can find and purchase all these products in my Stampin’ Up! Online Store or by clicking on the images below.
Hello crafters! Welcome to Week 20 of our AWH Heart of Christmas blog hop.
This week I’m using a stunning new product, the limited release Ever Eden Cotton Paper. This soft, delicate tissue-like paper offers a unique way to add dimension and visual interest to any paper project, can be used to wrap gifts, or it can be die cut, ripped, wrinkled or folded.
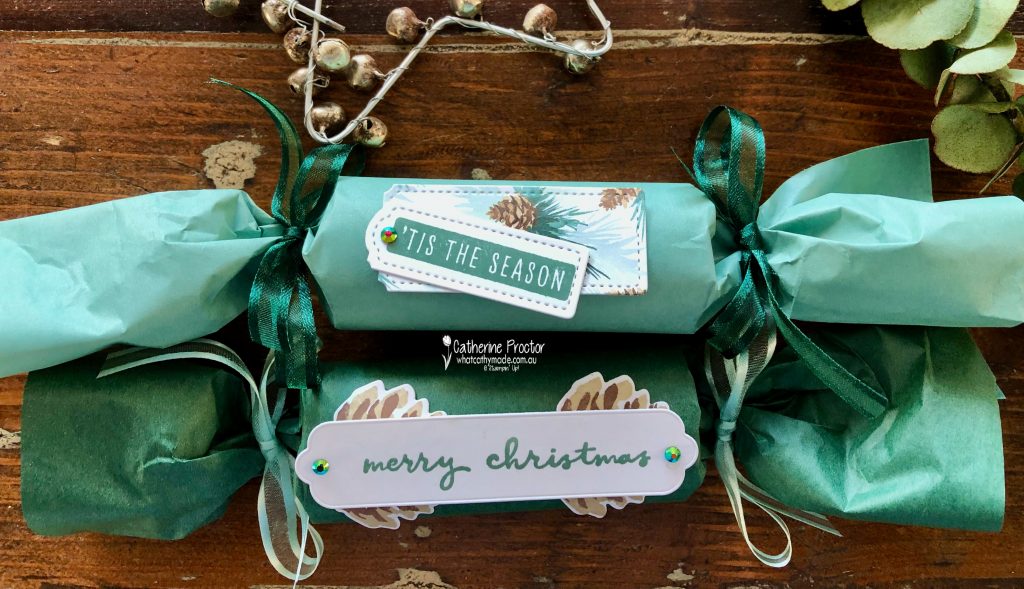
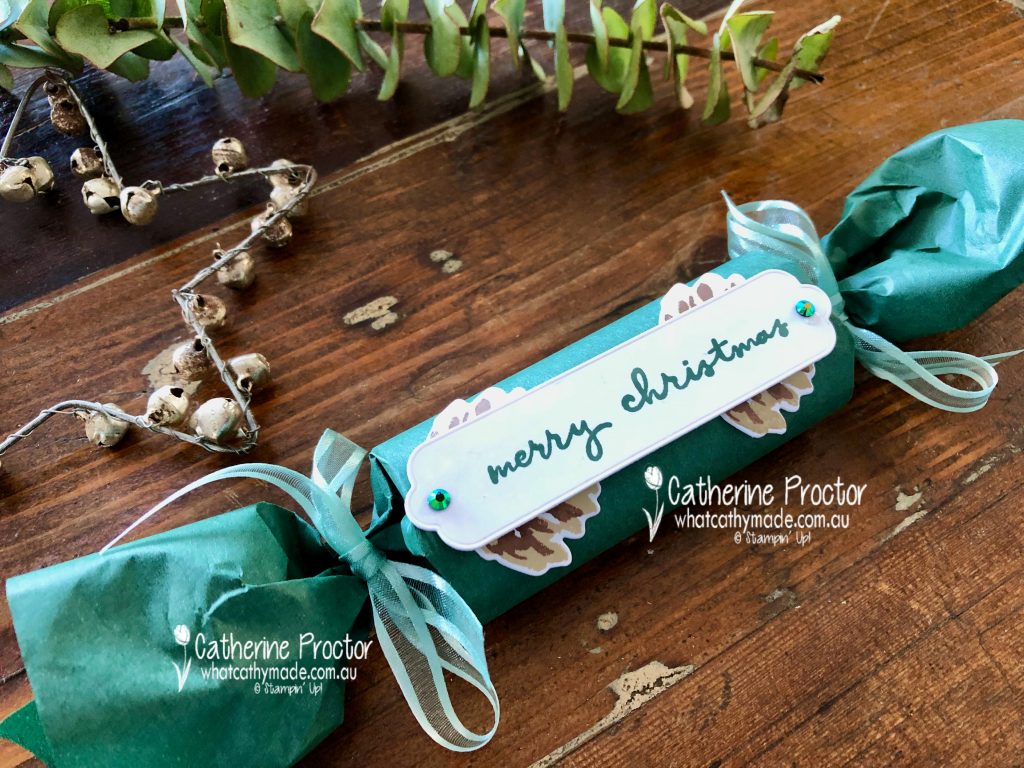
And it’s also the perfect thickness to create your own Christmas crackers!
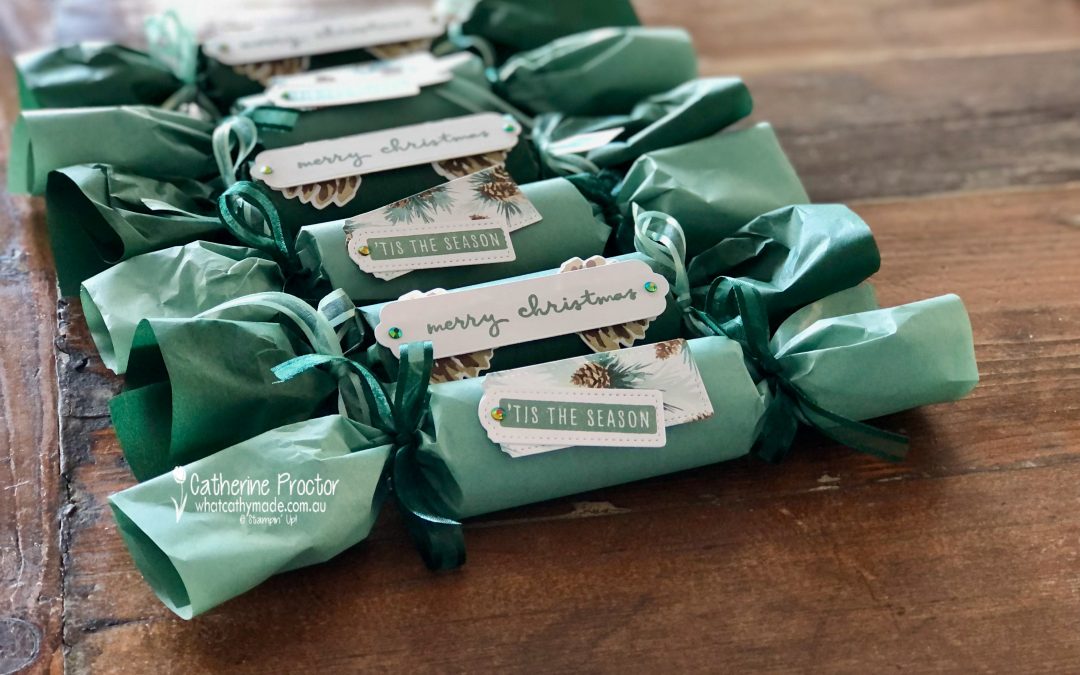
The Ever Eden Cotton Paper comes in two colours: Soft Succulent and Evening Evergreen. For my Evening Evergreen Christmas Crackers I tied each end with the Soft Succulent Open Weave Ribbon and for the Soft Succulent Christmas Crackers I used the Evening Evergreen Open Weave Ribbon.
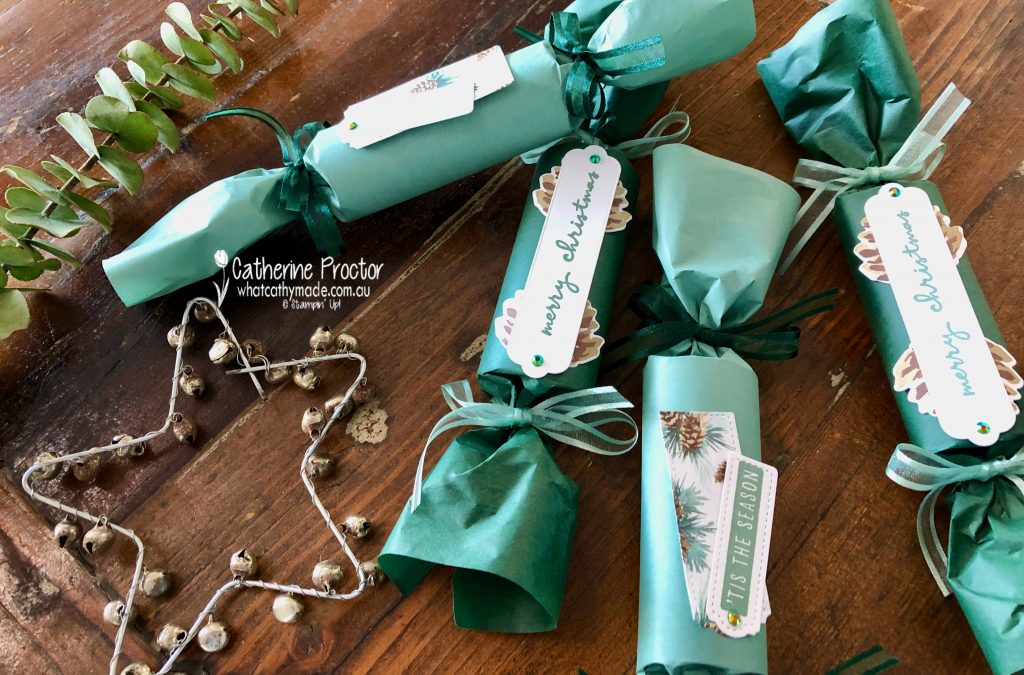
These crackers are super easy to make. You can use the cardboard roll from wrapping paper, loo rolls or make your own inner tube from Crumb Cake or Basic White card stock. Each cracker is wrapped with half a sheet of Ever Eden Cotton Paper, attached to the inner tube with Tear and Tape.
Don’t forget to fill your cracker with a snap, a sweet, a joke or a treat before tying the ends with the ribbon. If you forget, you can gently untie one end and insert these things later.
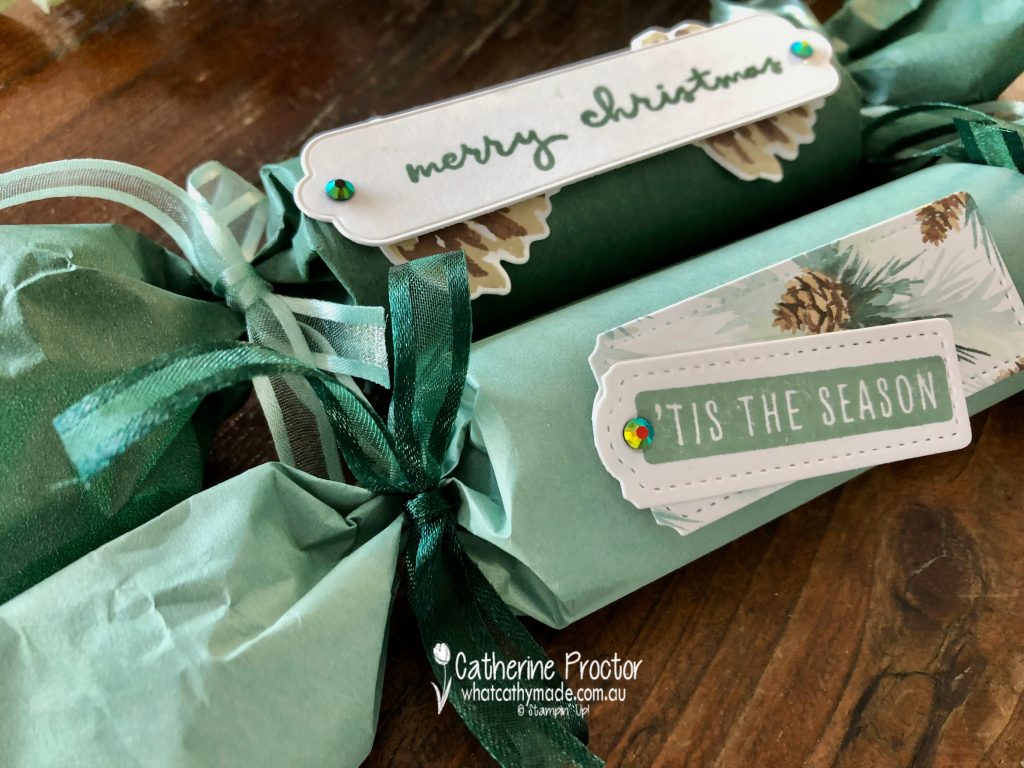
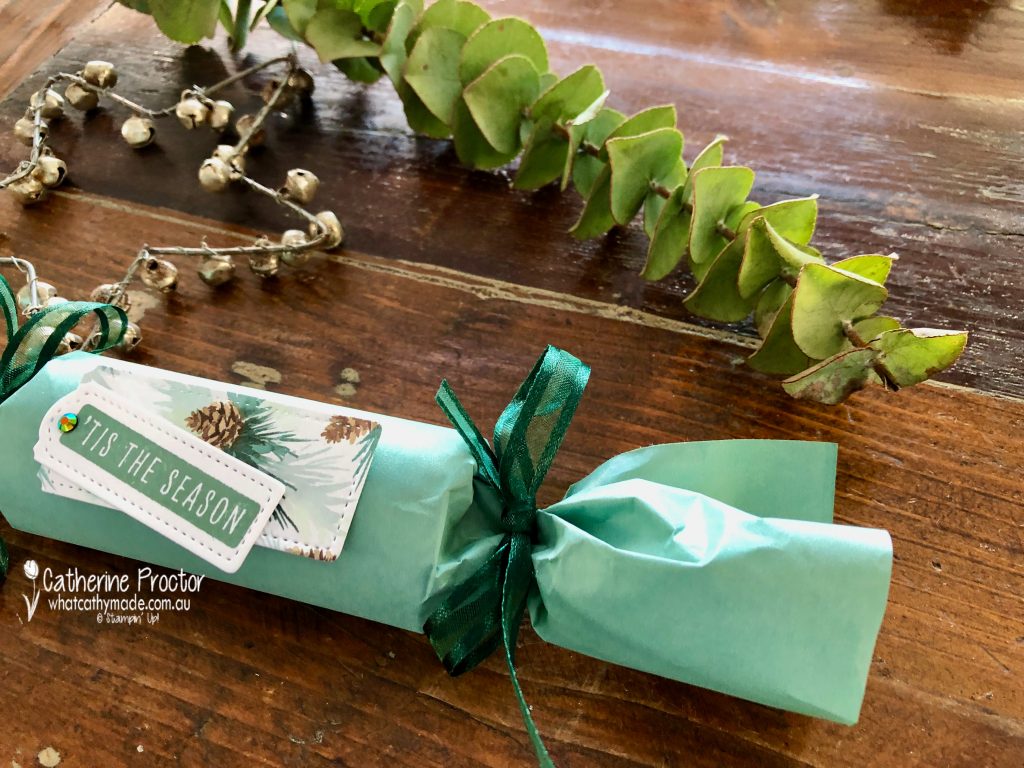
The label on the Soft Succulent “Tis the season” cracker is die cut with the Tailor Made Tag dies and has a second tag cut from this gorgeous Painted Christmas DSP. The sparkly Ever Evergreen In Colour Jewels decorate both crackers.
After I made all my crackers I realised I could have used the Garden Gems from the Eden’s Garden Collection! The label on the Evening Evergreen cracker has the “Merry Christmas” sentiment from the Christmas to Remember stamp set, die cut using one of the label dies from the Seasonal Label dies – I though the shape of this long narrow die perfectly suited the shape of the cracker.
A pinecone stamped in Crumb Cake and Early Espresso was cut in half and adhered under the long die at each end of the cracker.
Now it’s time to hop on over to our next participant, the lovely Rachel Woollard. I can’t wait to see what she shares with us today!
If at any time you find a broken link please head to the blog of this week’s host of The Heart Of Christmas Blog Hop, Tina Gillespie, and she will have the list of all those participating.
If you live in Australia, you can find and purchase all these products in my Stampin’ Up! Online Store or by clicking on the images below.
Welcome to week 25 of the Art With Heart Colour Creations Blog Hop!
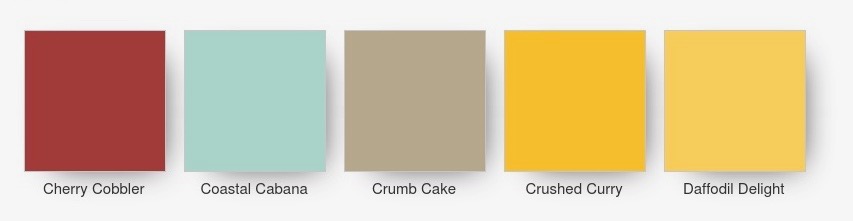
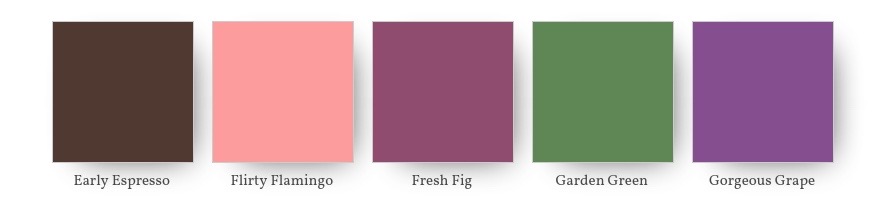
This week we are halfway through our year-long showcase of the entire 50 Stampin Up Colours (there are actually 52 colours if you include white and black). Wow, that’s a lot of colours and a lot of blog posts!
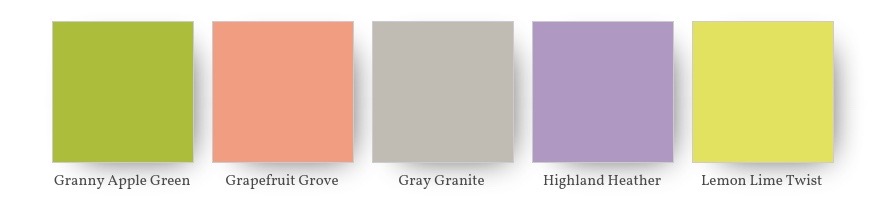
We are doing the colour creations blog hop in alphabetical order, so here are all the colours we’ve done so far (including this week’s colour)!
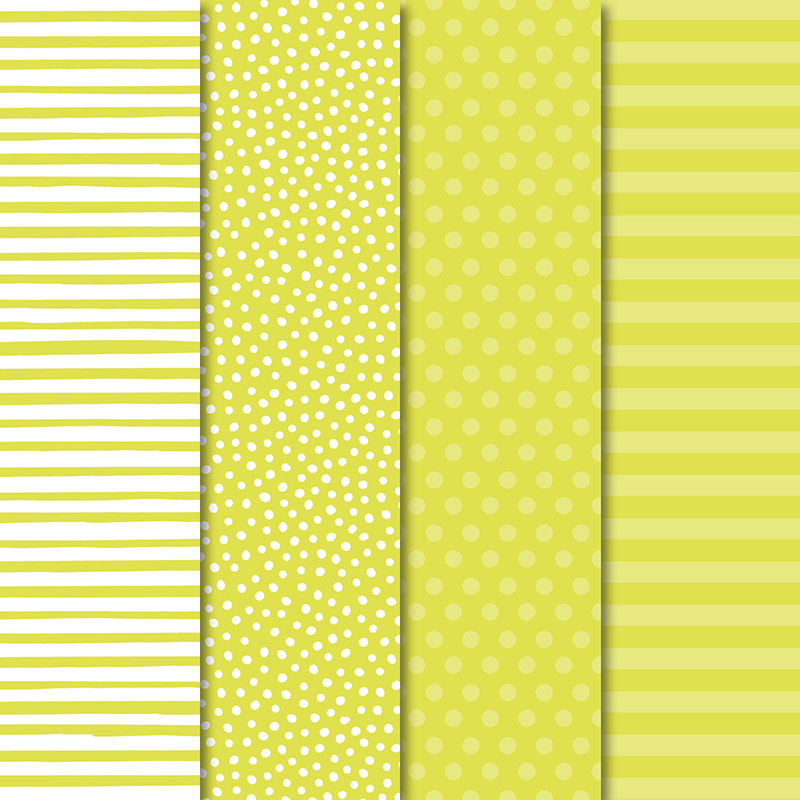
Our colour this week is one of the 2018-19 In Colours: Lemon Lime Twist….and as much as I love this colour, I have to admit I am VERY VERY cross with myself this week.
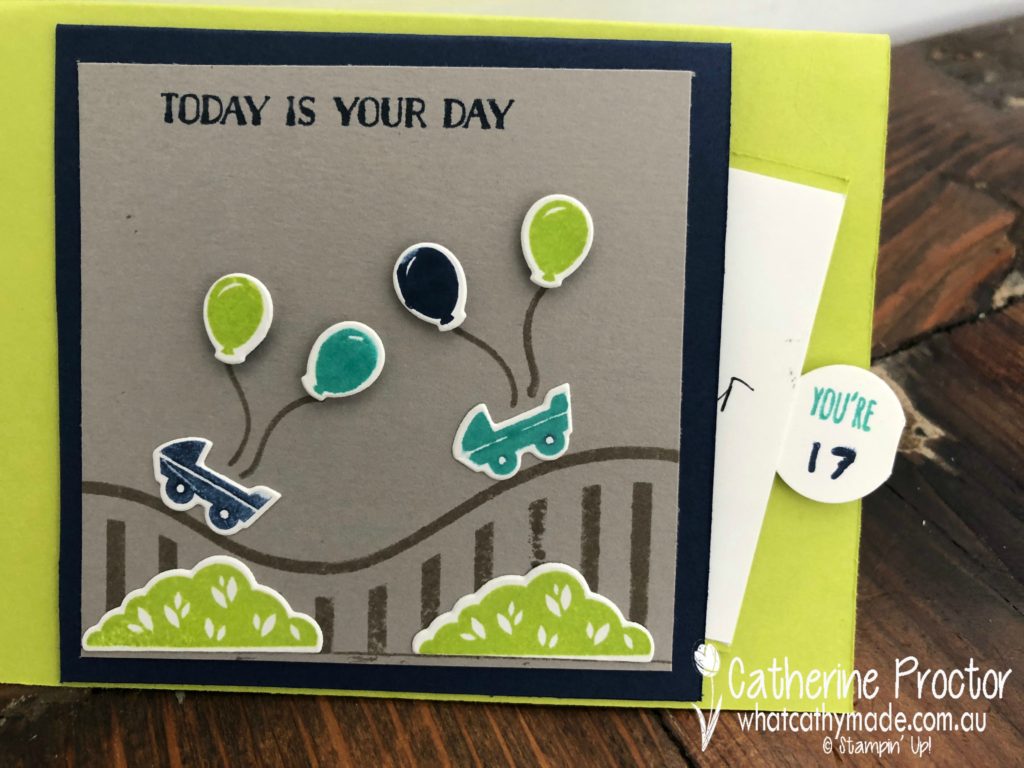
You see, my youngest son turned 17 yesterday and bought his first car and there is a brand new stamp set coming in the Occasions Catalogue called “Geared Up Garage” stamp set that would have been just perfect for his birthday card but I FORGOT to order it!
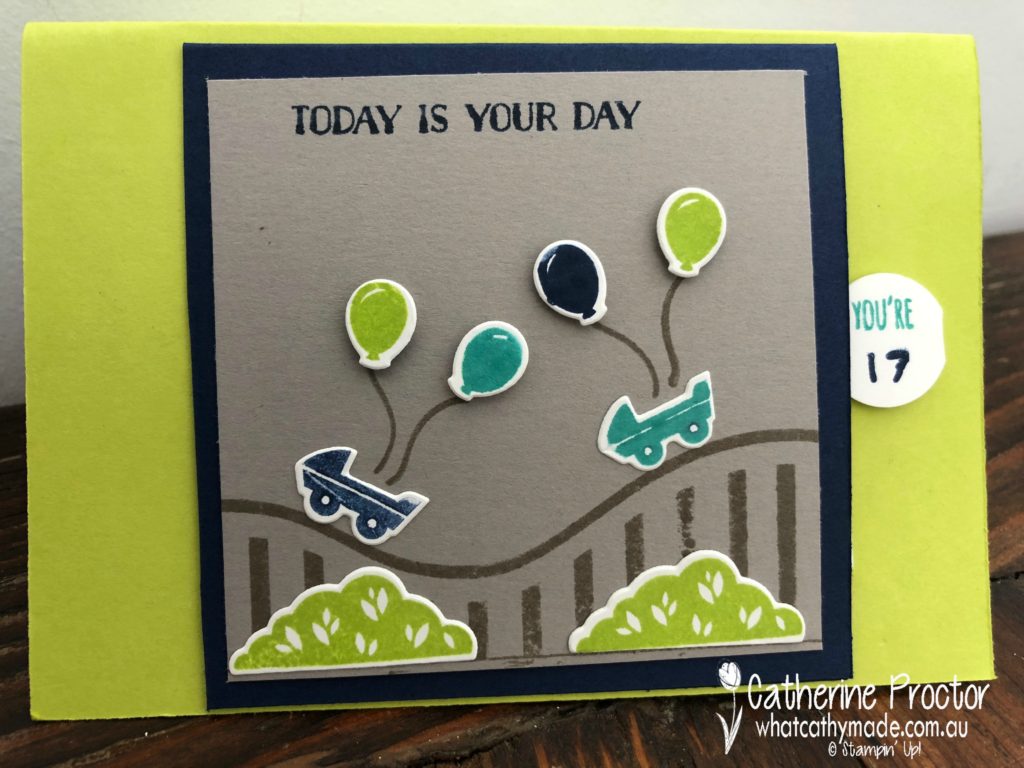
So instead, I had to make his birthday card with the only other set I own that has a car (of sorts) in it: Let the Good Times Roll.
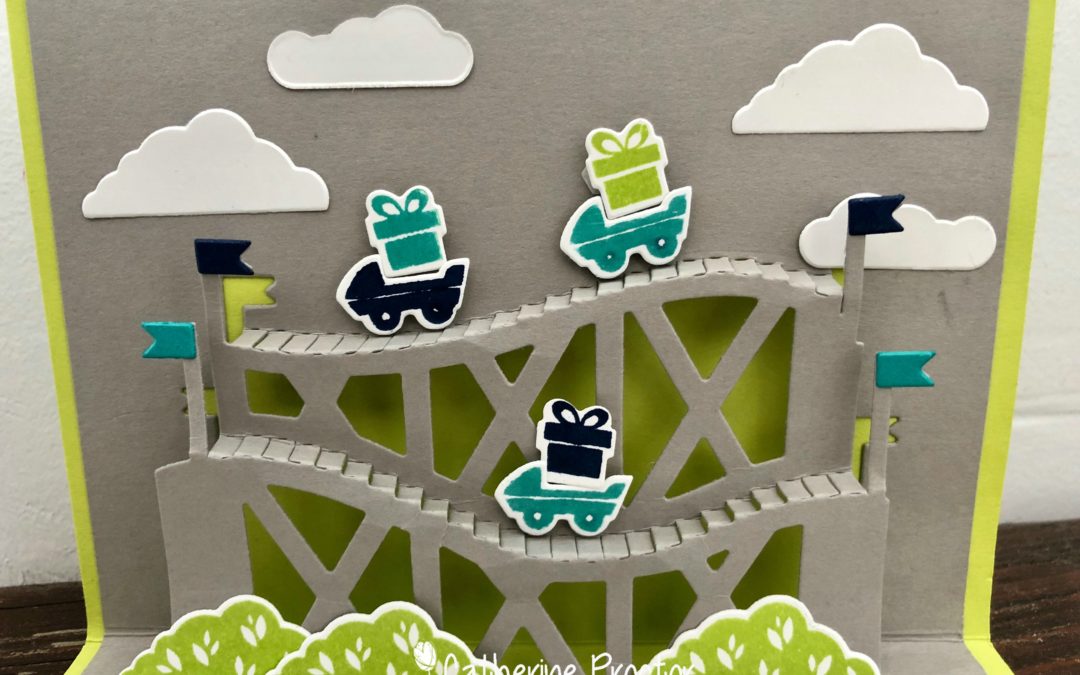
This rollercoaster set is probably a bit too young for a 17-year-old who has just bought his first car, but I love the playful nature of this set and I love the sentiments.
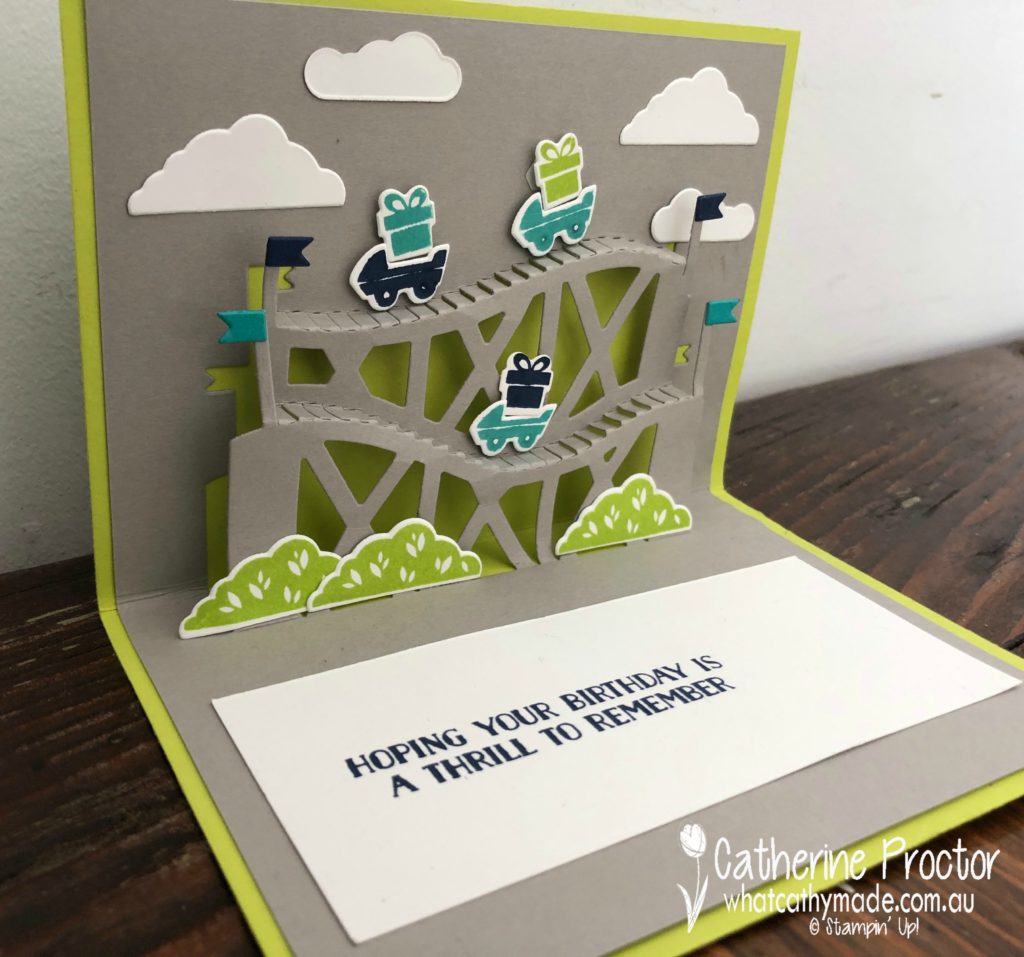
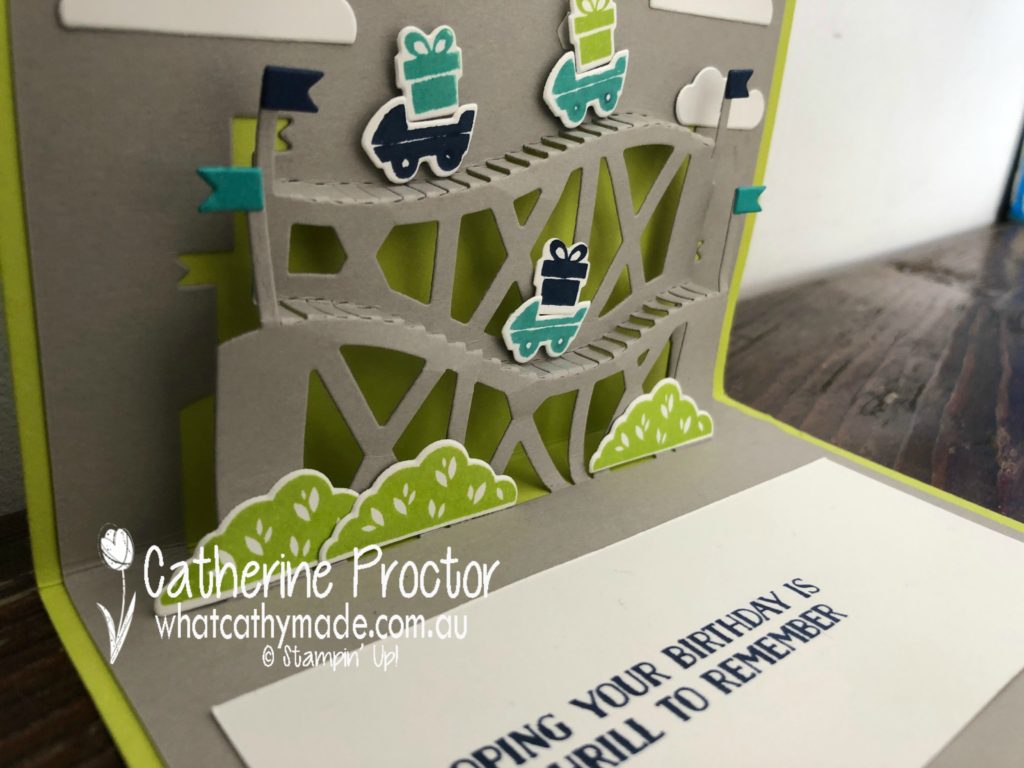
And check out the inside…this is where the magic really happens, using the matching dies for this stamp set. I’ve always loved pop-up cards and this is so super duper cute!
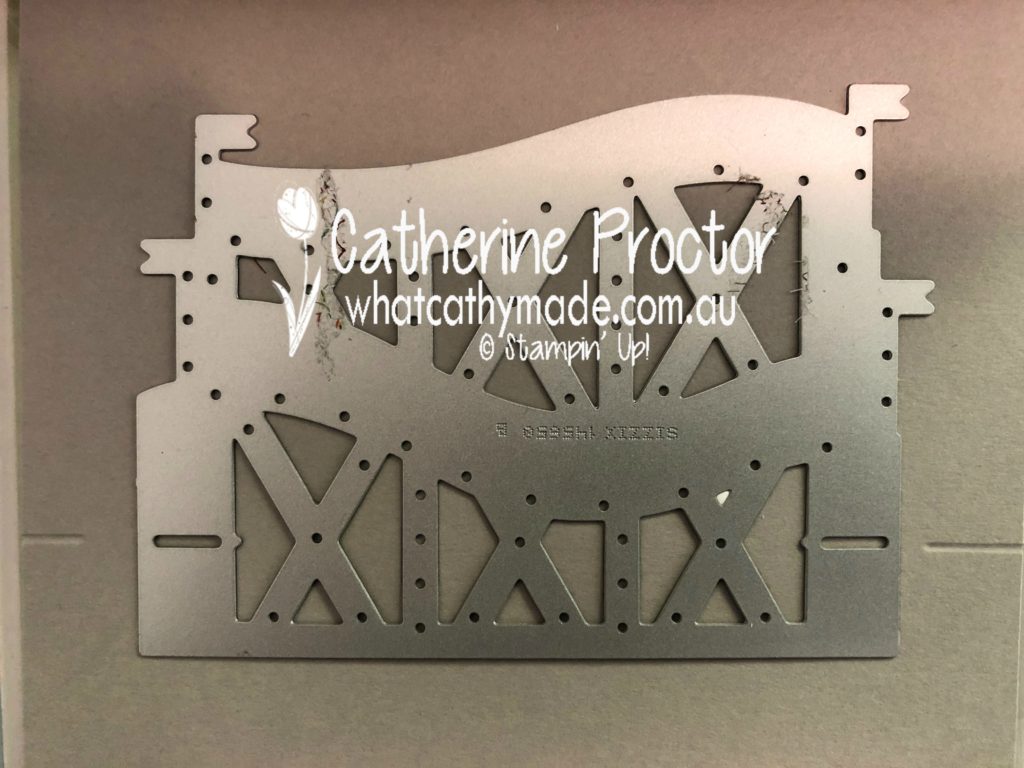
This die can be tricky to use and it’s a bit fiddly to score into the correct position, but it’s definitely worth it for such an amazing pop-up. The secret to success is using your bone folder and fingers to carefully bend out and fold the die cut shape, as well as lining up your die correctly with the fold of your card BEFORE you cut the die out.
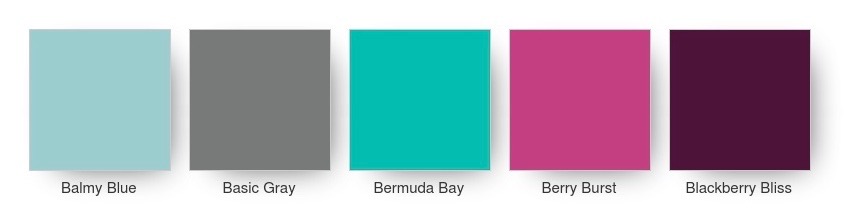
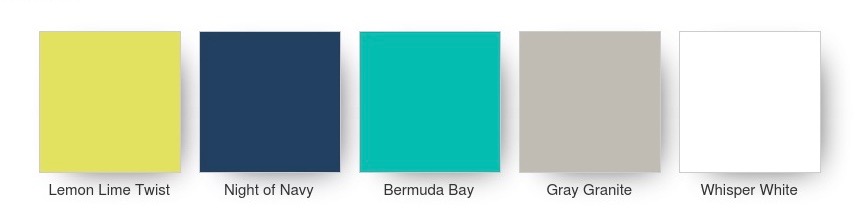
Lemon Lime Twist is one of my favourite colours because it is just so fresh and vibrant. It looks amazing with pinks and all the other greens but I also love it with the colours I’ve used in my card today: Gray Granite, Night of Navy and Bermuda Bay.
I used another stamp set called “Tabs for Everything” with its matching tab punch to make a pull our gift voucher that slips into the front of the card. This was super easy to make … I simply made a smaller card to attach to the front of my Lemon Lime Twist card (sealing 2 of the sides with tear and tape) and made a pull tab on the side of a piece of Whisper White cardstock to pull the gift voucher out.
So what was on the gift voucher? Money towards his new car and dinner out last night at a yummy Thai restaurant.
To see what the rest of the team have made click on the links below.
Welcome to week 24 of the Art With Heart Colour Creations Blog Hop!
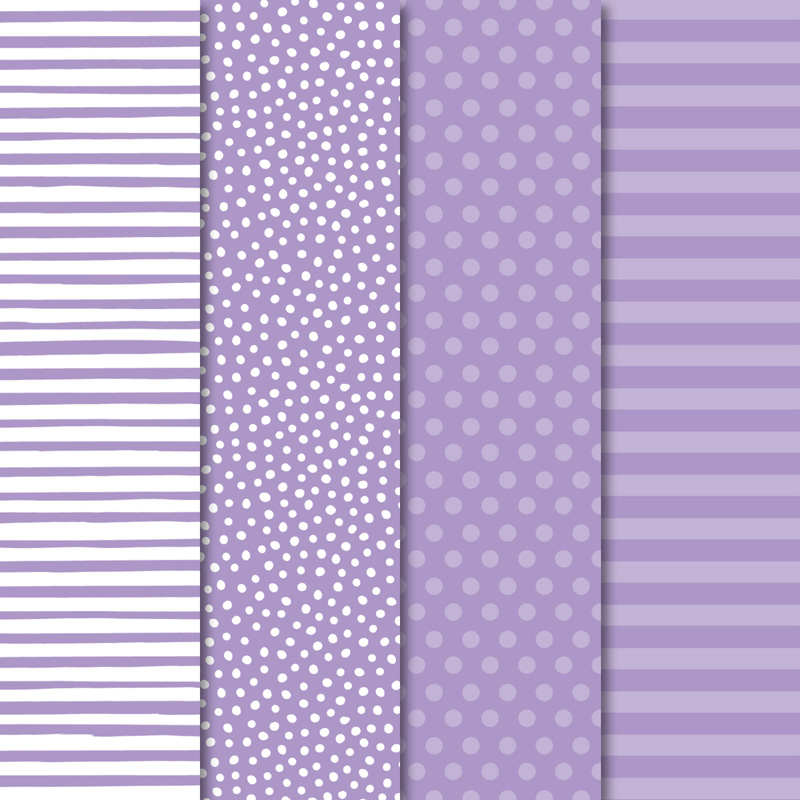
This week we are showcasing one of the Subtles: Highland Heather.
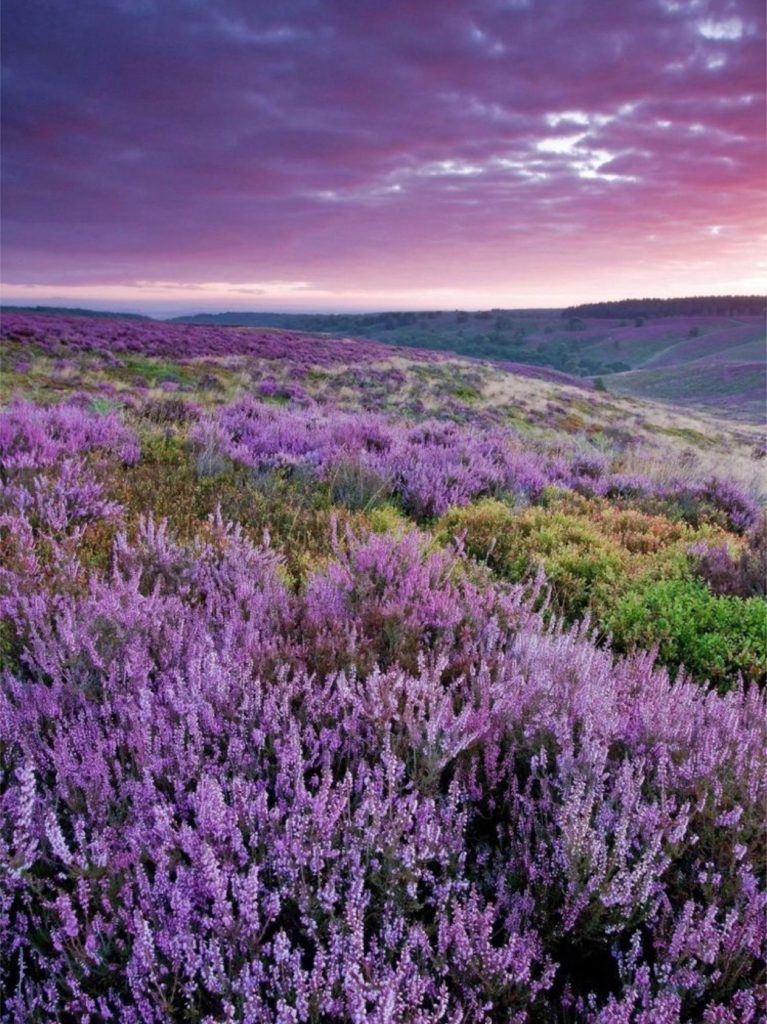
Although I’m not usually a purple kind of a gal, I really love this colour and I have a soft spot for it because of its name. You see my mum’s name is Heather and my grandparents on my dad’s side are Scottish, emigrating from the Scottish Highlands to Australia in the late 1930s.
Here’s a stunning picture I found of the Highland Heather on the Scottish moors. Look at that sky!
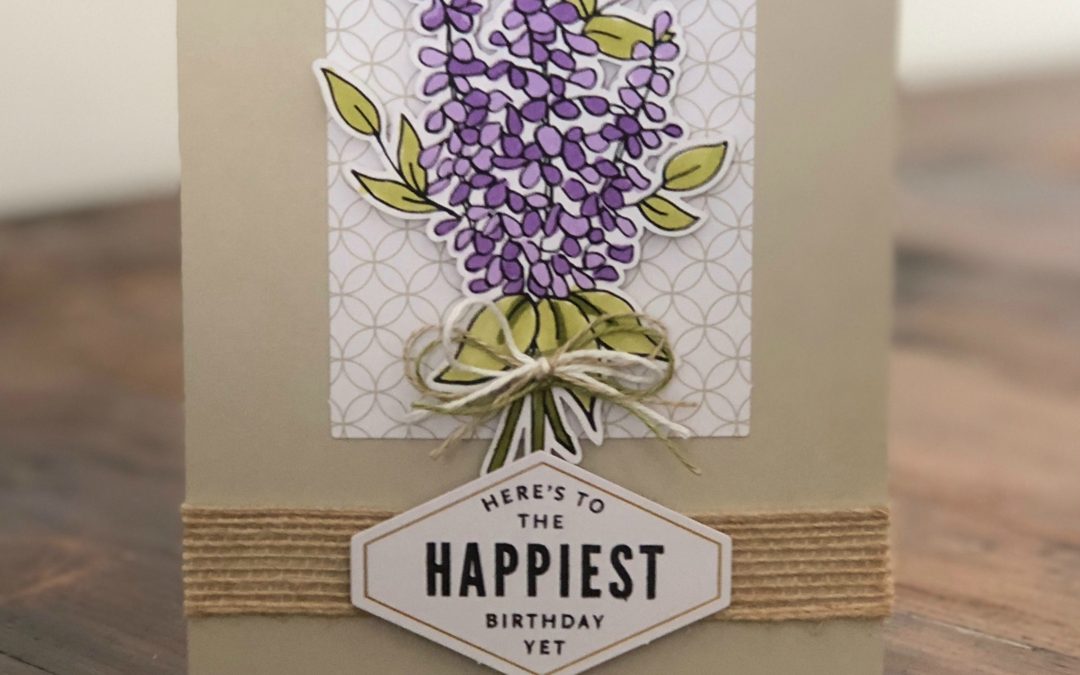
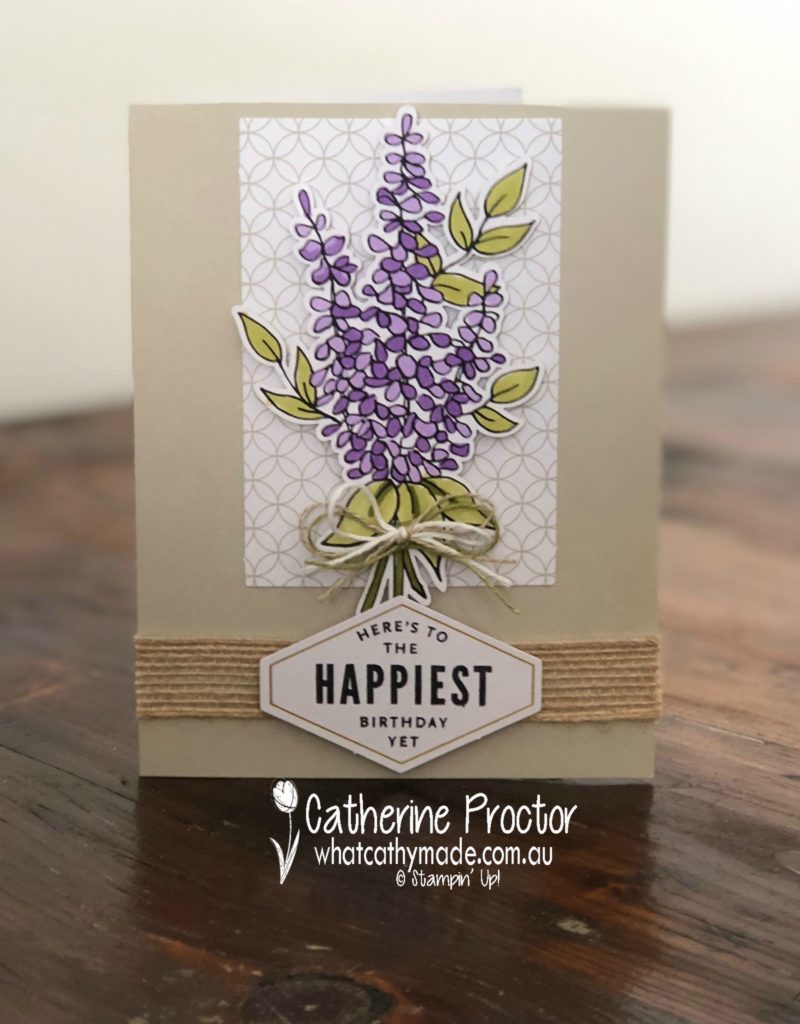
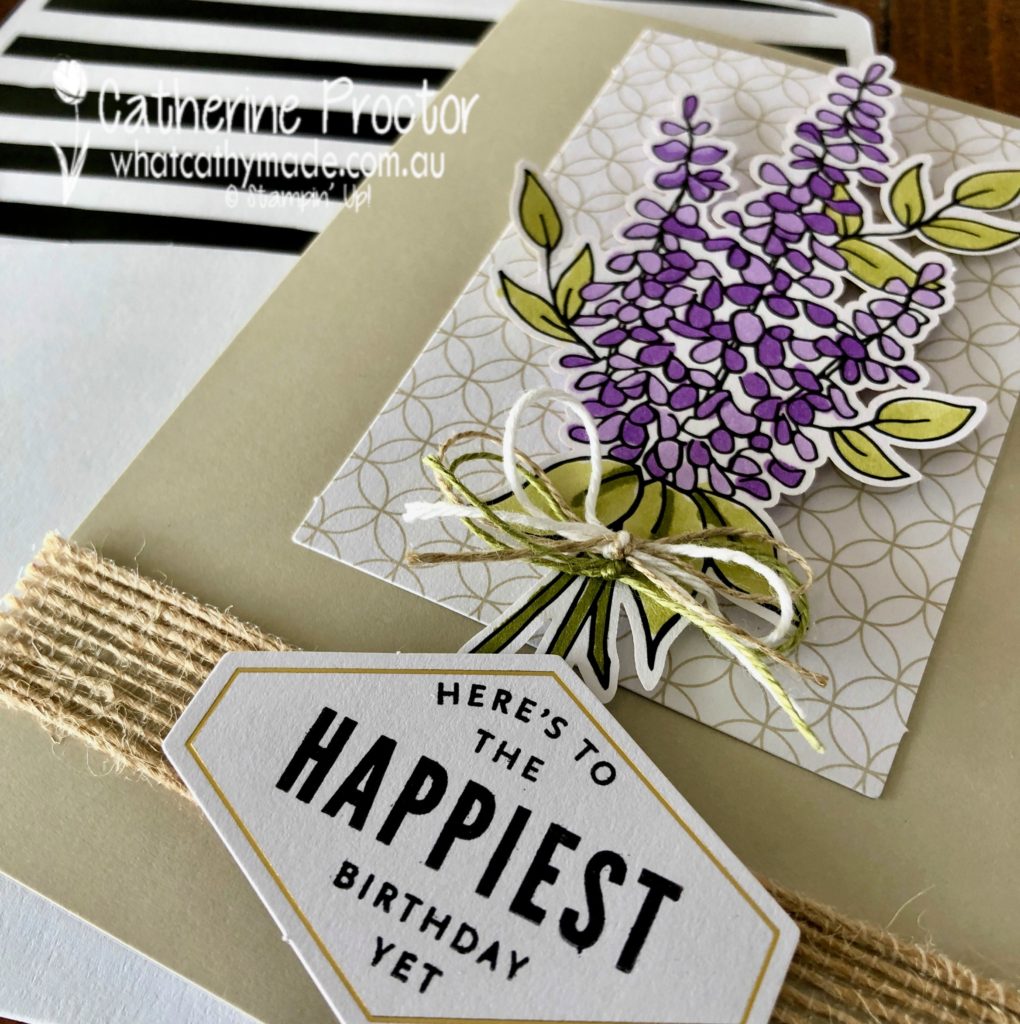
For my card today, I really wanted to recreate a bunch of this gorgeous highland heather and the “Lots of Happy Card Kit” was just perfect for the job.
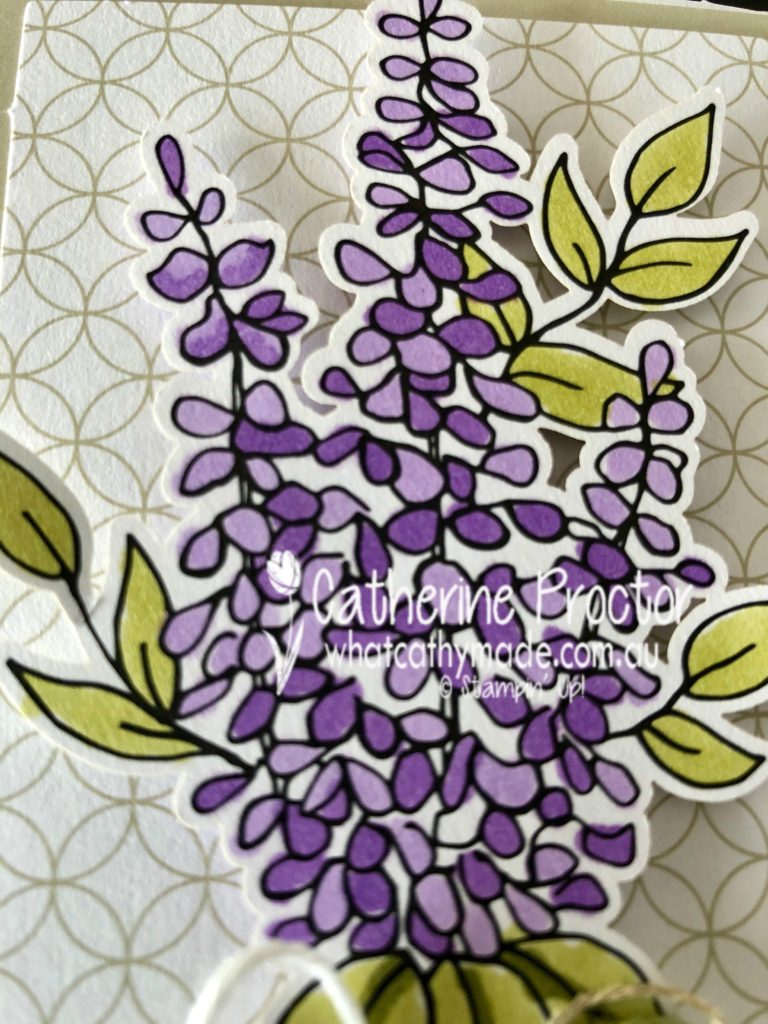
The great thing about this kit (apart from how quick it is to create a stack of cards) is that it’s also easy to make your own variations. I’m pretty sure this gorgeous flower is supposed to be lilac but I think it looks a lot like heather when it is coloured in with the Highland Heather.
Instead of using the watercolour pencils that come with the kit, I coloured the flower in with my light and dark Highland Heather blends. The leaves and stems are coloured in with my light and dark Old Olive blends.
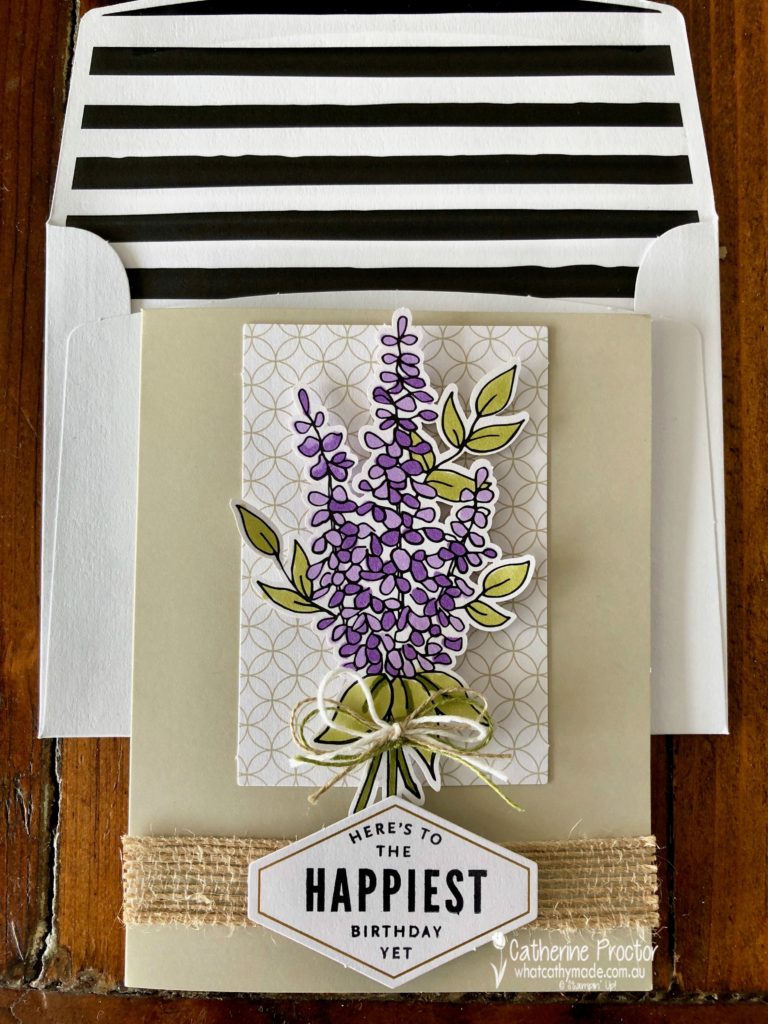
Another variation I made was to add some burlap and, drum roll………
….a sneak peek of a new item from the forthcoming Occasions catalogue – Old Olive linen thread, tied in a bow with some Crumb Cake linen thread and Whisper White bakers twine.
One of my favourite elements in this kit is the matching envelopes with the black and white stripe. So very cute.
To see what the rest of the team have made click on the links below.


 Specialty Designer Series Paper")


")
 Cotton Paper")
 Designer Series Paper")


 Open Weave Ribbon")
 Open Weave Ribbon")