Welcome to the Monthly Art With Heart Creative Showcase.

Tonight we’re sharing projects that use new products from the 2021-22 Stampin’ Up1 Annual Catalogue. If you haven’t seen the new catalogue yet, this 50 second video shows you some of the stunning products inside!
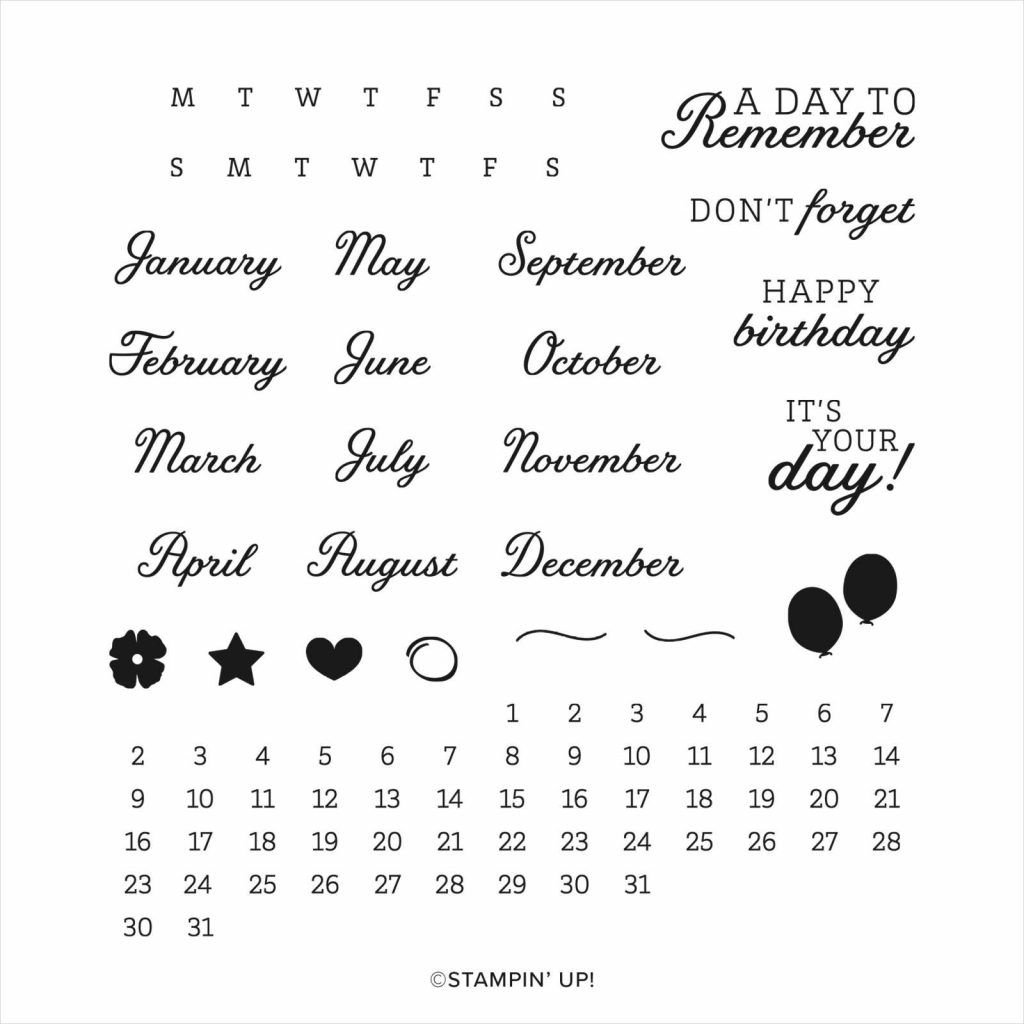
Two of my favourite products from the new 2021-22 Annual Catalogue are the Days to Remember stamp set and the Party Pattern DSP, which is one of the new host products.
The Days to Remember stamp set has everything you need to create calendars and it is also perfect for using on scrapbooking layouts or in a bullet journal.
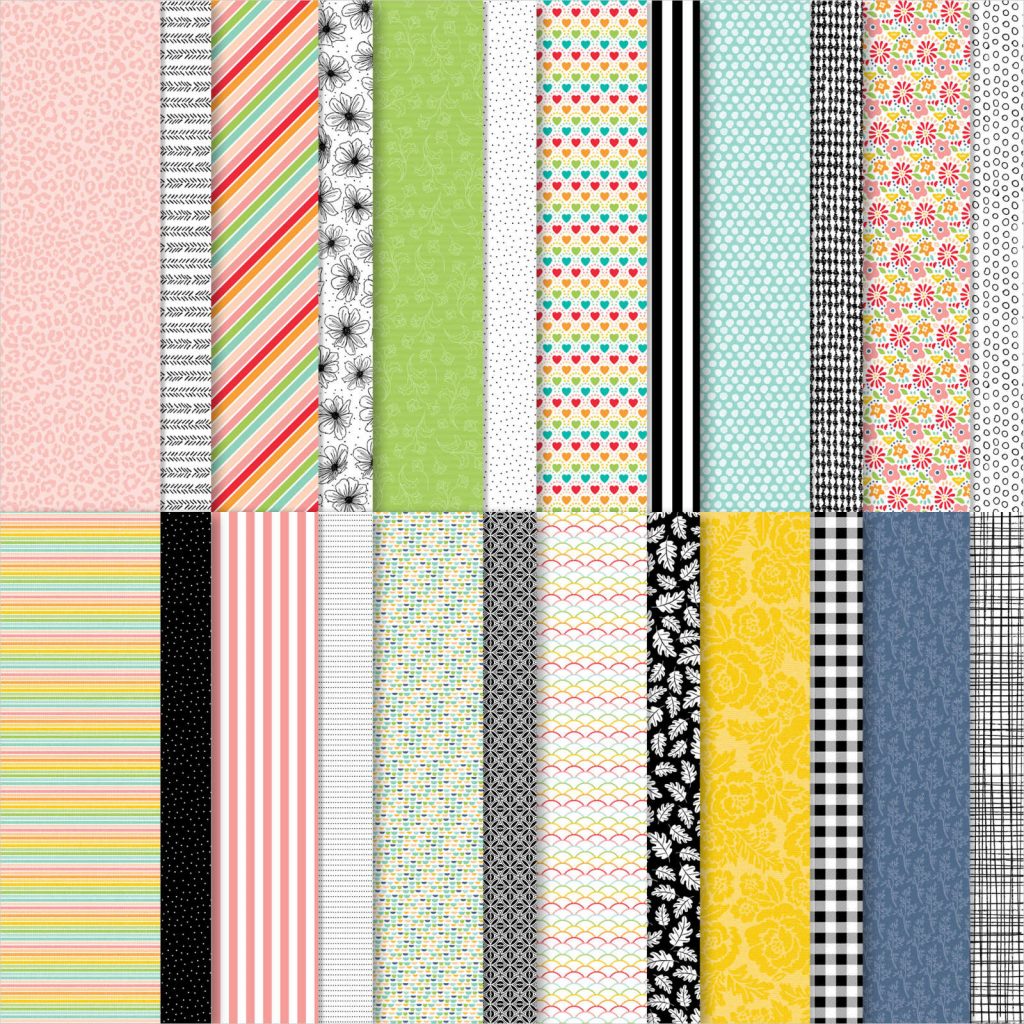
I can’t tell you how much I love this Pattern Party DSP! It has bright graphic patterns on one side and really versatile black and white patterns on the other side. AND you get 48 sheets – 4 each of 12 double-sided designs!
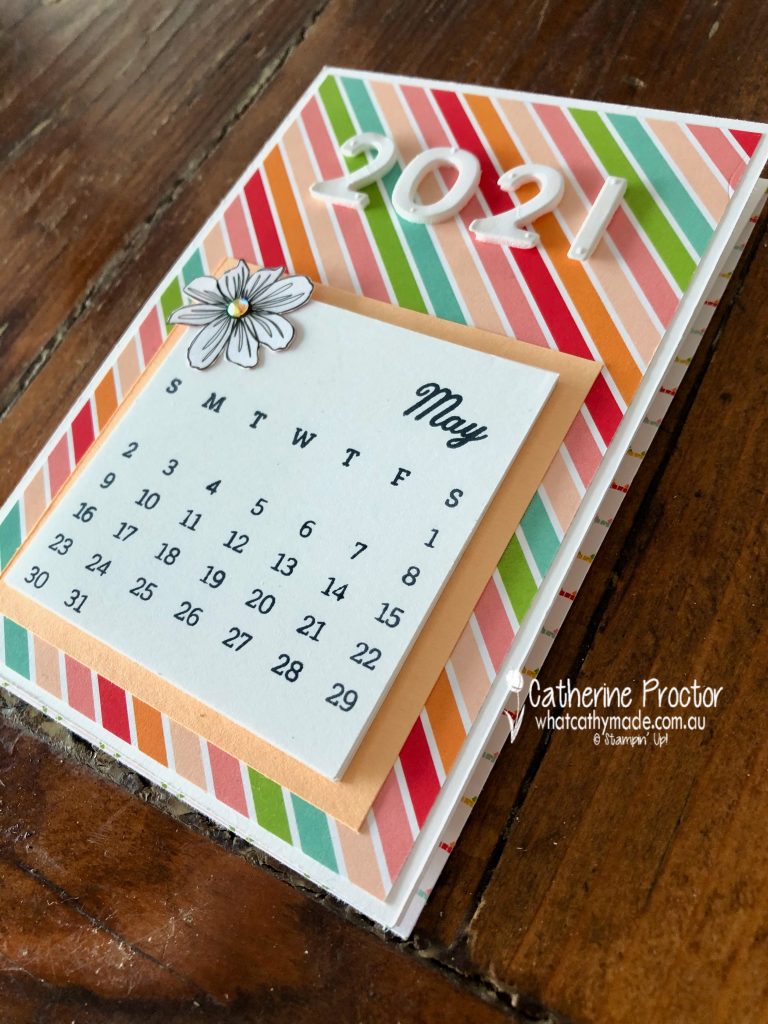
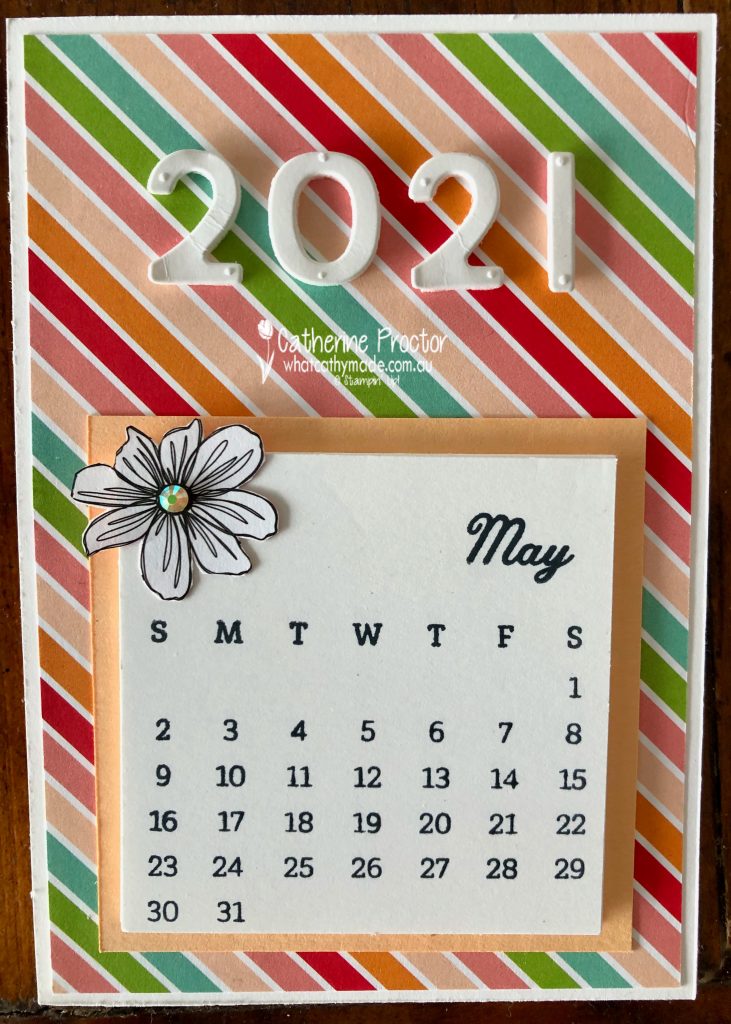
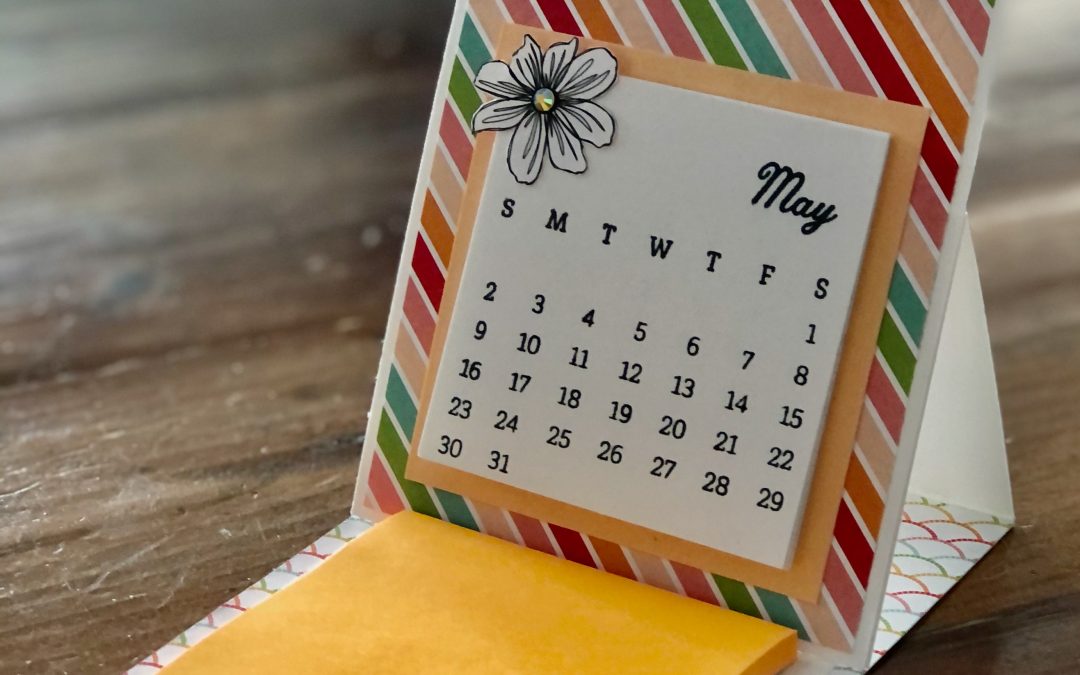
My easel card is a really practical desk accessory that uses two simple folds to create a combined calendar and Post It note holder. You can use any DSP for this project.
This card folds flat for postage but due to its weight and the thickness it will cost slightly more than a standard letter to post. It will fit into a C6 envelope.
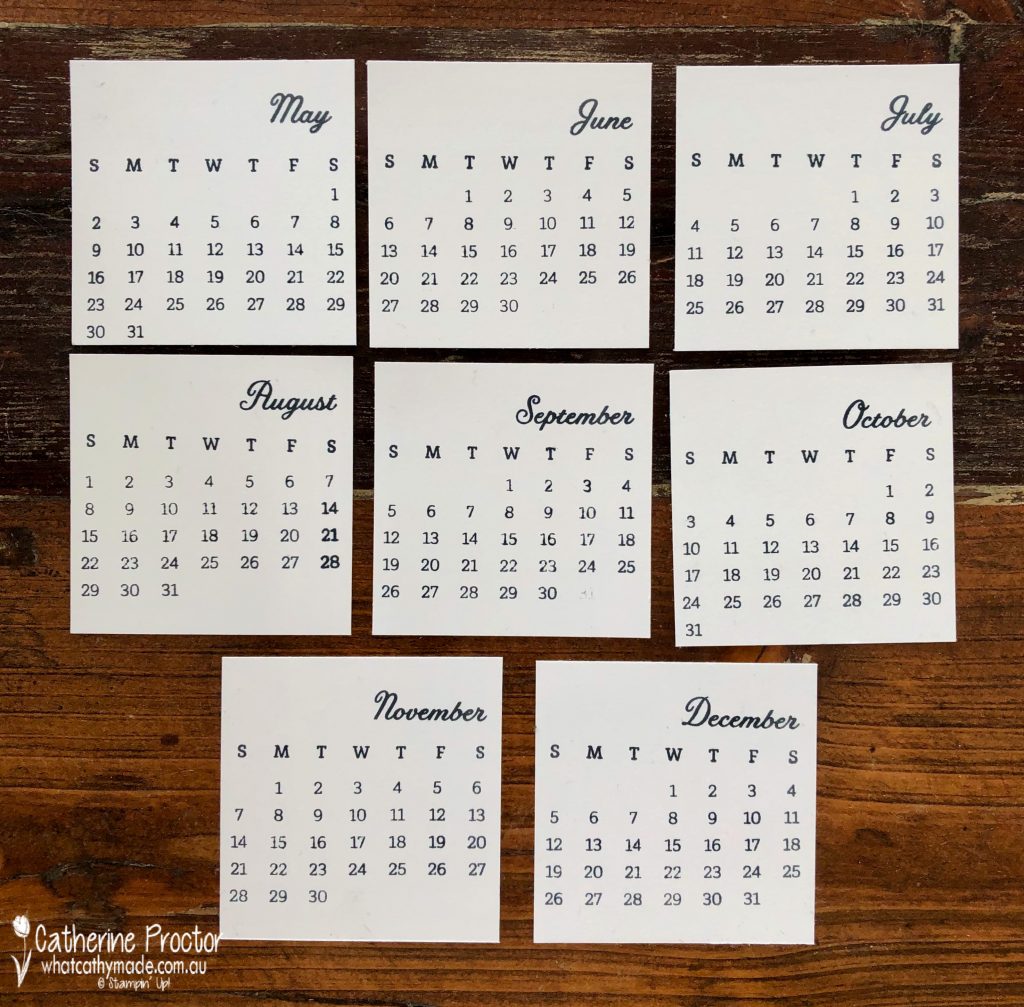
The days to Remember stamp is super easy to line up and stamp because it has been designed to fit the width of an inkpad. My Calendar pages measure 7x7cm – just don’t forget to remove the ink from the number 31 for the months that only have 30 days.
When all months are stamped use a few drops of multipurpose glue along the top of each calendar month to attach them together into a calendar.
For the rest of the card, cut and score as follows:
- Cut base: Thick Basic White card stock at 29 x 10 cm
- Cut card front: Thick Basic White card stock at 14.5 x 10 cm
- Score base: Score and fold card base at 14.5 cm and 27.5 cm
- Card front DSP layer: Cut Pattern Party DSP at 14 x 9.5 cm
- Inside card DSP layer: Cut Pattern Party DSP at 14.5 x 10 cm
- Card stock layer under Post It Note: Basic White card stock 9 x 9 cm
- Card stock layer under calendar: Pale Papaya card stock 8 x 8 cm
I added the 2021 lettering (die cut AFTER mounting onto foam adhesive sheets) to the top of the calendar and finished my card with a flower fussy cut from the reverse side of the striped DSP and a Pale Papaya 2021-2023 In Colour Jewel.
To see the rest of the AWH team’s projects, go back to Rachel’s blog as she is hosting the monthly showcase.
To purchase any of the products used in my card tonight, click on the links below.
Product ListIf you’d like me to post you your very own copy of the brand new 2021-22 Stampin Up! Annual Catalogue, the January – June 2020 mini catalogue, or to simply find out about more about Stampin’ Up! contact me.
In the meantime, wherever you are in the world, stay safe, stay calm…and keep on crafting xxx


Oooh, love it! This stamp set shot straight to the top of my ‘must-have list’ as soon as I saw it! I love how you’ve created a tear-off calendar pad. I was only pondering how to make one today, so you’ve saved me a lot of brain power – thanks!
Great project Cathy, beautifully explained too. I wasn’t sure how this set would work in real life but I’m excited to try it now, thanks
Very clever Cathy! I really like those calendar stamps and it’s great to see some ideas for using them!