Welcome to Week 1 of the brand new 2025-26 AWH Colour Creations Insta Hop!
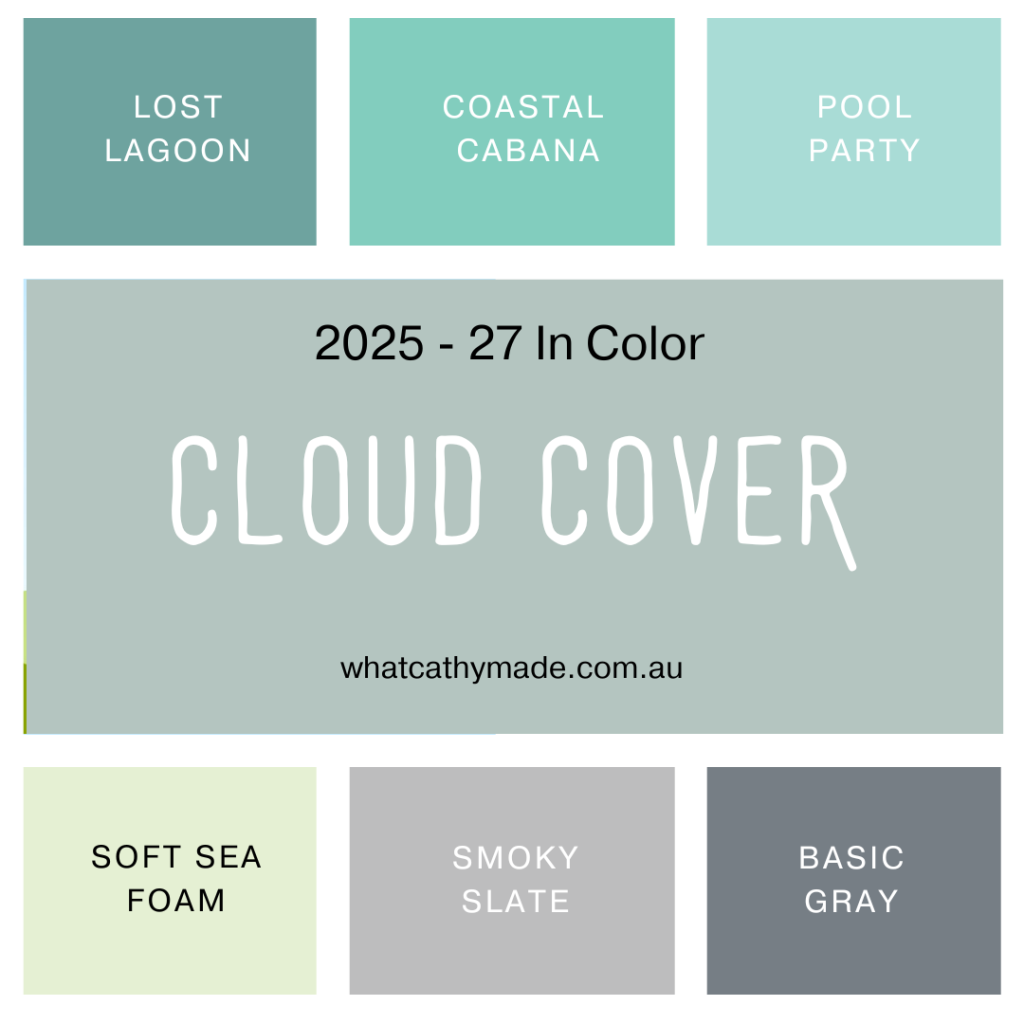
For the first five weeks of our AWH Colour Creations Insta Hop we are introducing the five new 2025-26 In Colors in alphabetical order: Cloud Cover, Darling Ducking, Secret Sea, Strawberry Slush and Timid Tiger.
Here’s a graphic I created to show how Cloud Cover compares to the other light blues, greens, blue/greens and grays in the Stampin’ Up! range.
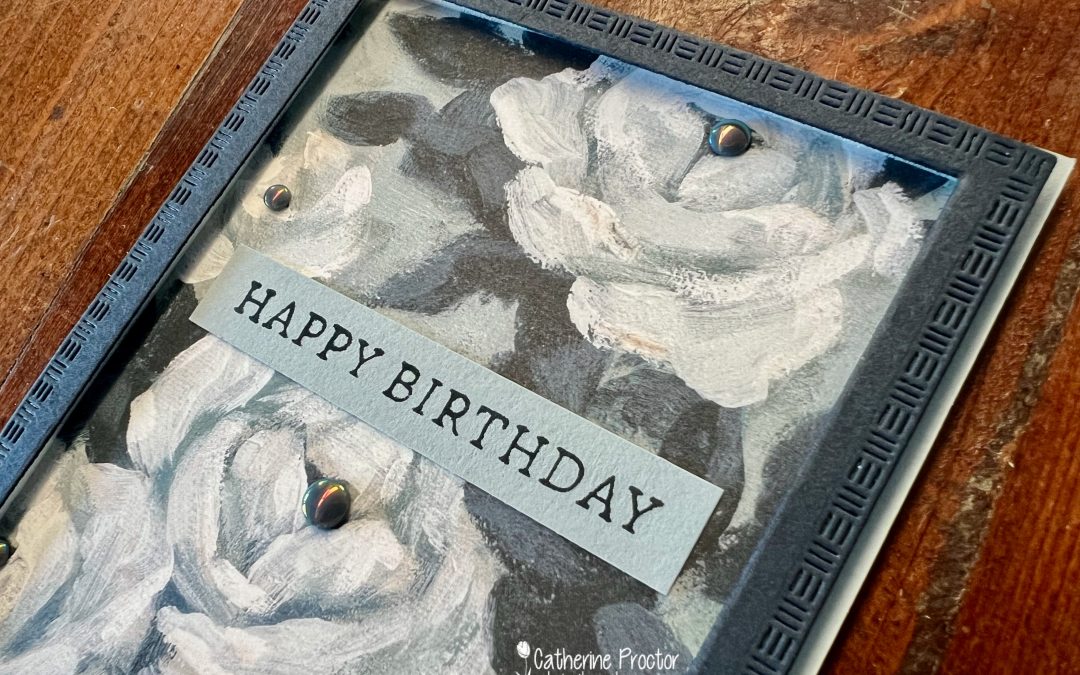
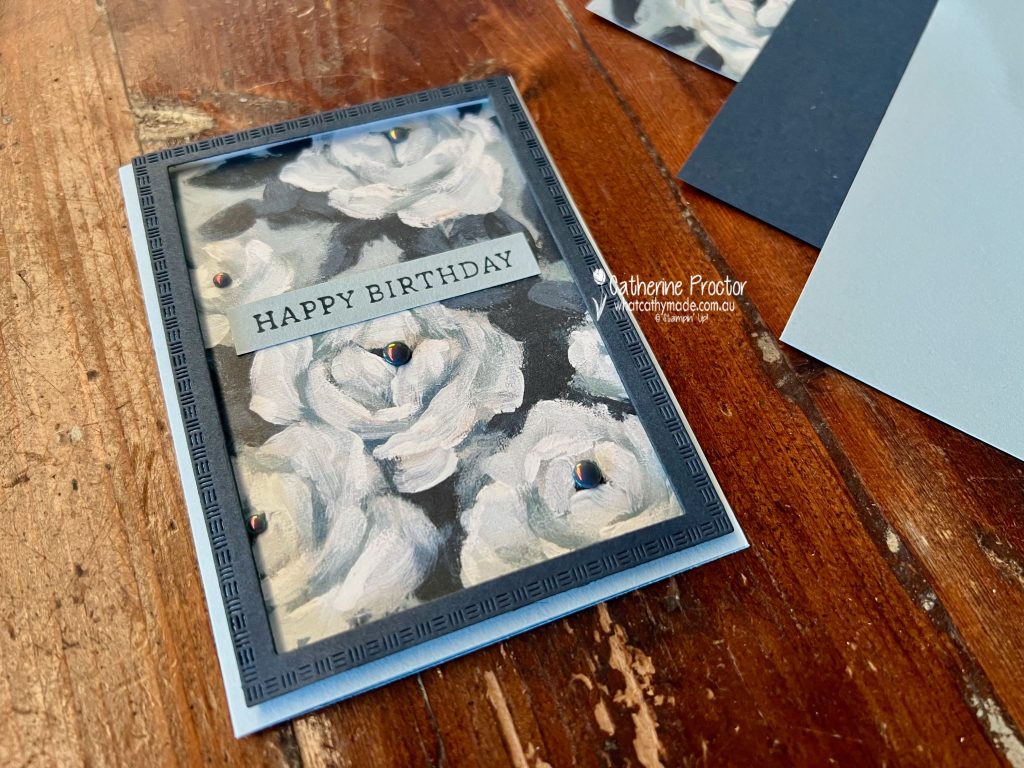
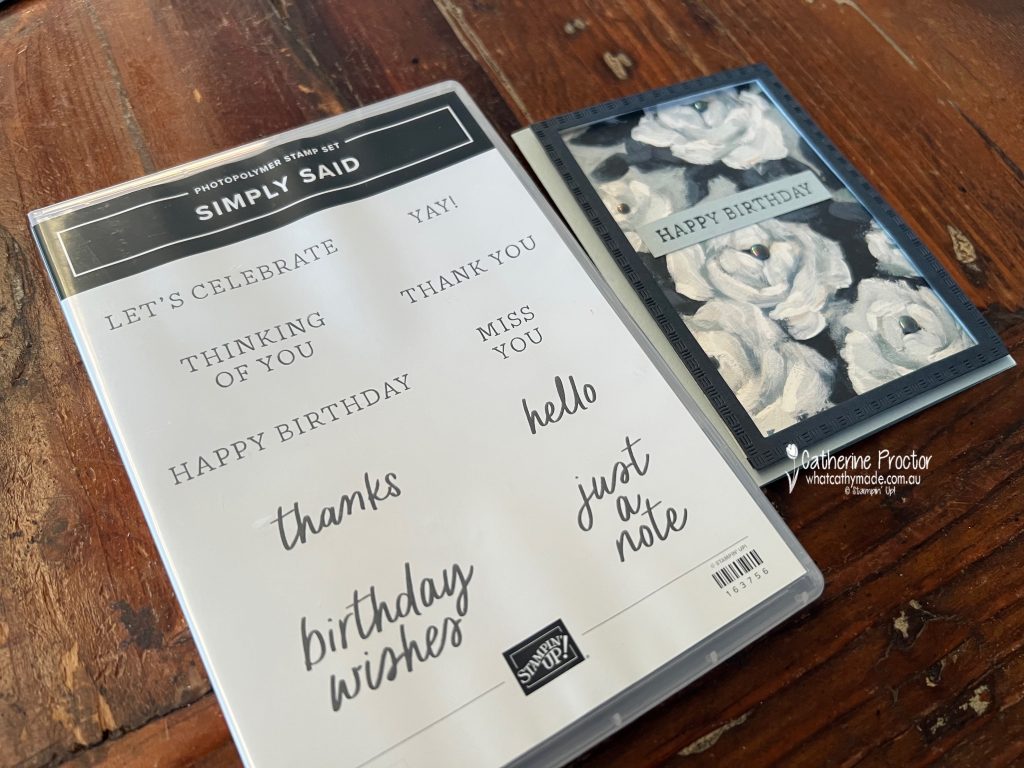
Card one is a birthday card I made for my friend, Liz. It features a piece of the stunning Beautiful Gallery 6″ x 6″ (15.2 x 15.2 cm) Designer Series Paper, Cloud Cover cardstock and Secret Sea cardstock (another 2025-26 In Color).
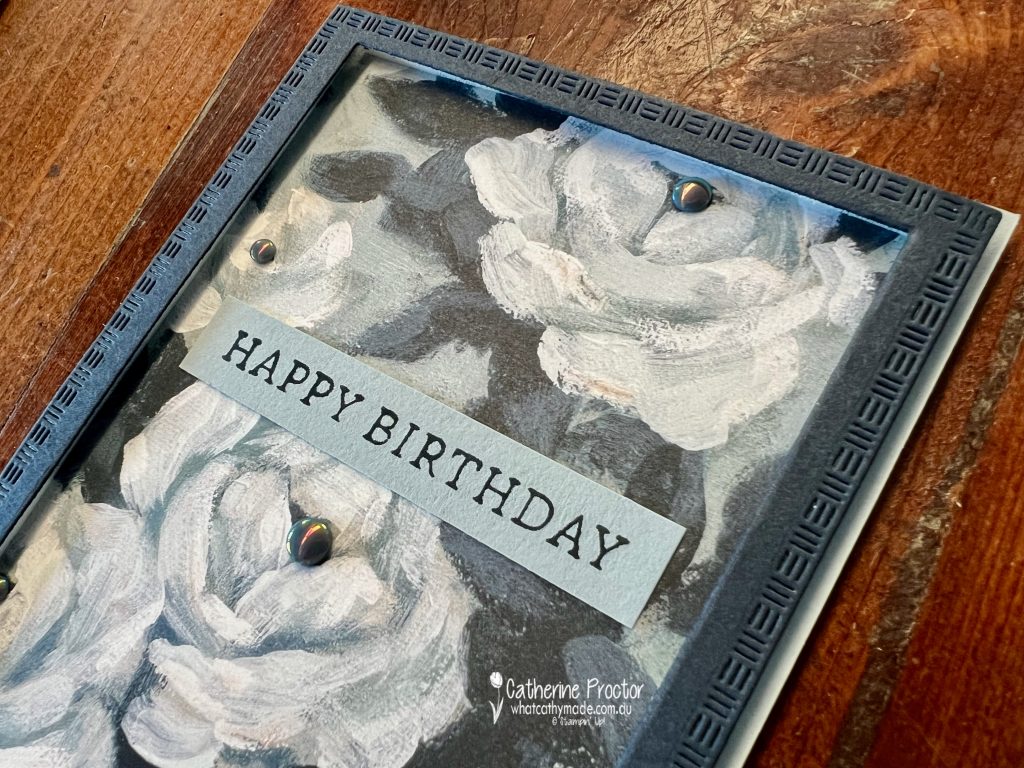
The DSP is so stunning I let it do most of the work and decided to simply frame it like a painting.
The Secret Sea Embellishments come from the 2025–2027 In Color Flat Pearls and the frame was created using the largest and second largest Textured Notes Dies.
Inside the card I’ve stamped a sentiment from the You Are Remarkable Stamp Set and the “HAPPY BIRTHDAY” sentiment is from the Simply Said stamp set.
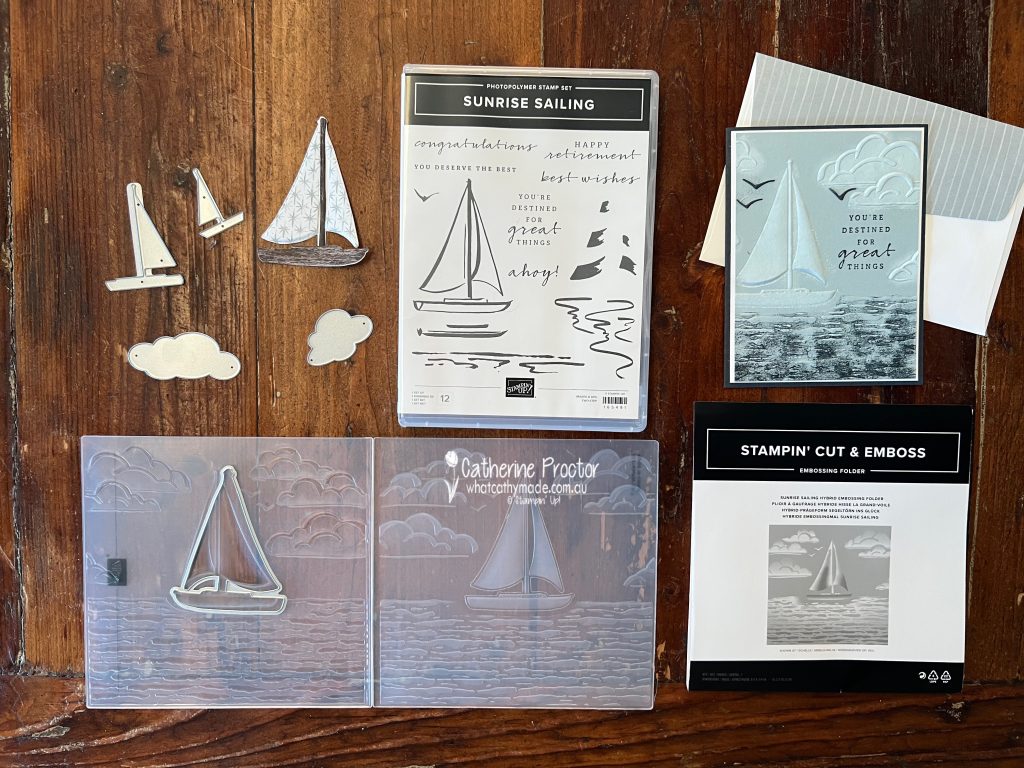
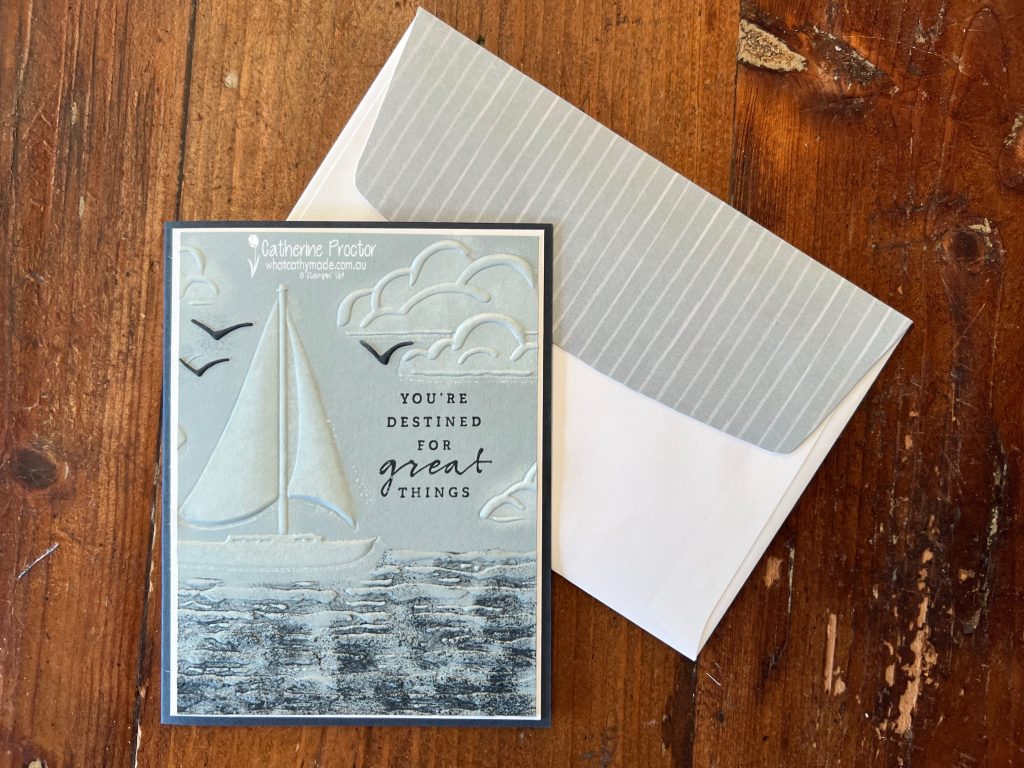
Card two is a CASE of a the sample card Stampin’ Up! have on their website to showcase the brand new Sunrise Sailing Bundle. I’ve used ink on both the inside of my embossing folder as I embossed and sponge daubers on the embossed scene to add White Ink and Secret Sea Ink to the Cloud Cover sailing scene.
This bundle includes a Two-Step Stampin’ set (allowing you to layer two or more images to create one final image with extra texture and dimension in the colours you want) and the Sunrise Sailing Hybrid Embossing Folder.
Hybrid Embossing Folders include dies that fit inside special ridges in the embossing folder for one-step cutouts with dimension that can be used separately or together for a variety of looks and styles.
For both cards I made matching envelopes using a strip of Cloud Cover striped DSP from the brand new Florals in Bloom 12″ x 12″ (30.5 x 30.5 cm) Designer Series Paper on the back of the envelope flap.
Our blog hop is now an Instagram hop but the good news is that you don’t need to have an Instagram account to view all of the other projects!
Simply copy any of the Insta handles below into a new search window to follow the Instagram hop at any point.
Next in our Hop is Andrea @andreaksargent. Be sure to check out her gorgeous project/s.
The full list of this week’s InstaHop are listed below:
Andrea @andreaksargent
Kate @craftwithkate
Kirsty @crafty.littlemiss
Claire @clairedalycreates
Michele @taylormadedesigns58
Helen @apaperparadise
Theresa @teegeeinspirations
Rachel P @rachelpalmieristampin
Rachel W @handstamped_by_rachel
Vicki @vickiboucher
Cathy @whatcathymade
If you live in Australia, you can find and purchase the products I’ve used for my card in my Stampin’ Up! Online Store.
I’ll be back next Wednesday night with Week 2 of our 2025 – 2026 weekly AWH Colour Creations Insta hop when we will be showcasing Darling Ducking one of the 5 brand new InColours.
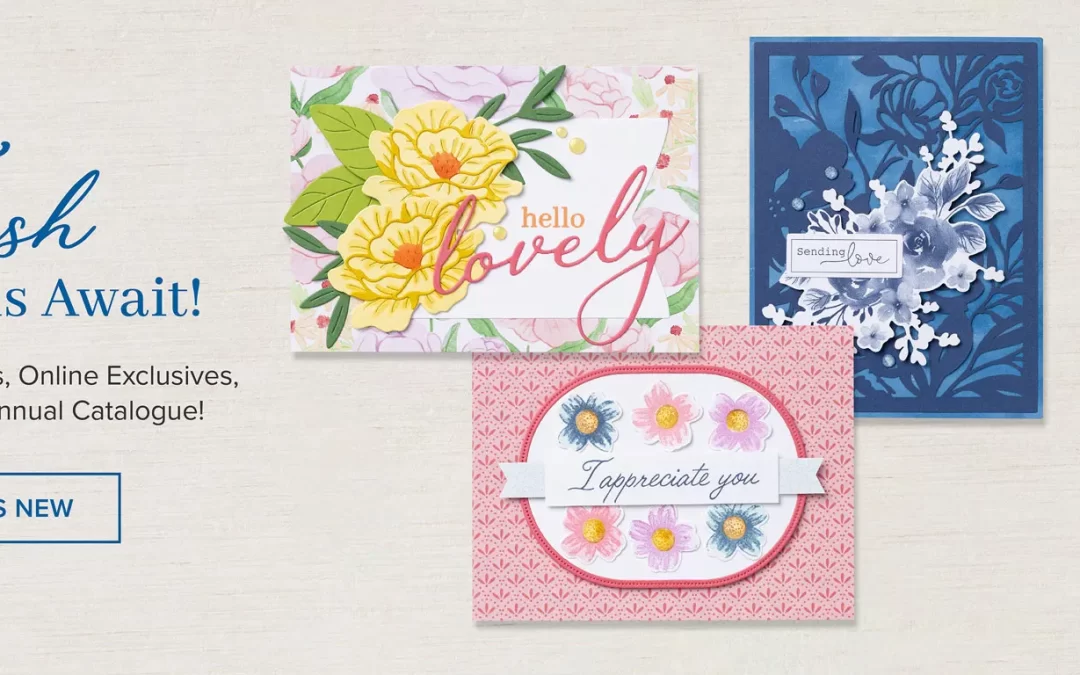
Today is an exciting day at Stampin’ Up! with the new 2025-26 Stampin’ Up! Annual Catalogue going live! There are so many beautiful products in the brand new catalogue.
You can view and download a digital version of the new catalogue here. Or get in touch with me for your very own physical copy of the new catty if I haven’t already sent you one.
May Online Exclusives and Two New Kits
In addition to the new 2025-26 Stampin’ Up! Annual Catalogue going live, there are two new kits and a heap of Online Exclusives added to the store today.
You take take a look at these gorgeous new products in my online store here.
Starter Kit Special
Want more products for free?
The Starter Kit Special includes:
$303 worth of products for only $169!
Your choice of ANY products, including BRAND NEW releases in the 2025–2026 Annual Catalogue and May Online Exclusives
Ongoing 20 – 25% discount on Stampin’ Up! products
Early access to new products
Opportunities to attend Stampin’ Up!’s OnStage and Creativity Now events
To find out more about the starter kit, contact me.
I’ll be back tomorrow with the first of our AWH Colour Creations 2025-2026 Insta hop where we will be showcasing Cloud cover, one of the new 2025-2026 InColours.
Today is National Scrapbooking Day and to celebrate Stampin’ Up! are offering 2x rewards on all purchases for 2 days only (2–3 May).
This offer applies to all orders of $35 AUD or more.
To claim your 2x rewards today and tomorrow you can place an order by visiting my online store here.
I’ll be back next week when the new 2025–2026 ANNUAL CATALOGUE goes live, the May Online Exclusives are released and two new kits will be added to the kit collection.
We’ll also be starting our 2025-25 AWH Colour Creations Insta Hop with one of the brand new Incolours, Cloud Cover.
Can you believe it’s Week 51, our very last week of the 2024 -2025 AWH Colour Creations hop!
After running this hop as a blog hop for many years, we transitioned to an Insta hop at the start of this year and we will continue as an Insta Hop for the 2025-2026 Blog hop which starts next week as the new Stampin’ Up! annual catalogue goes live.
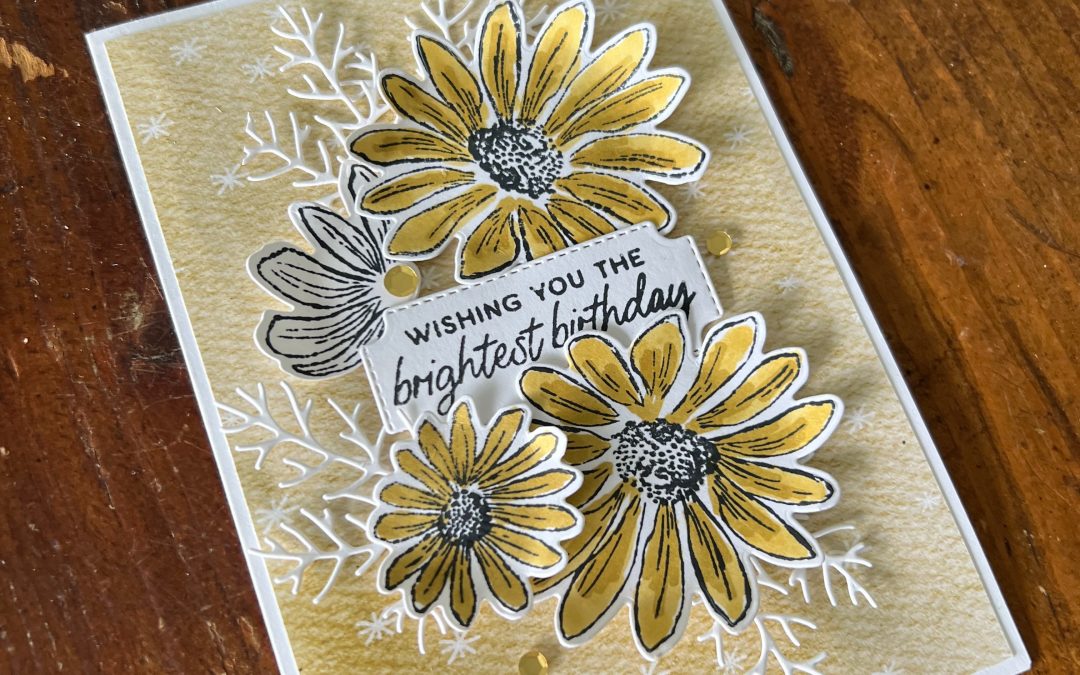
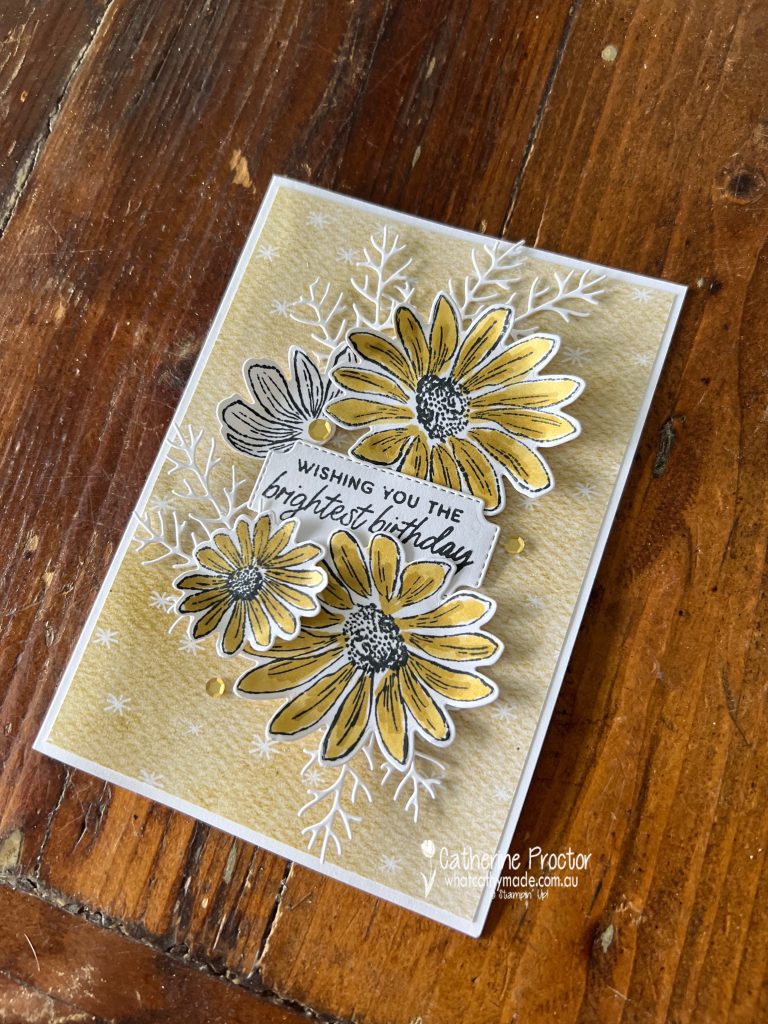
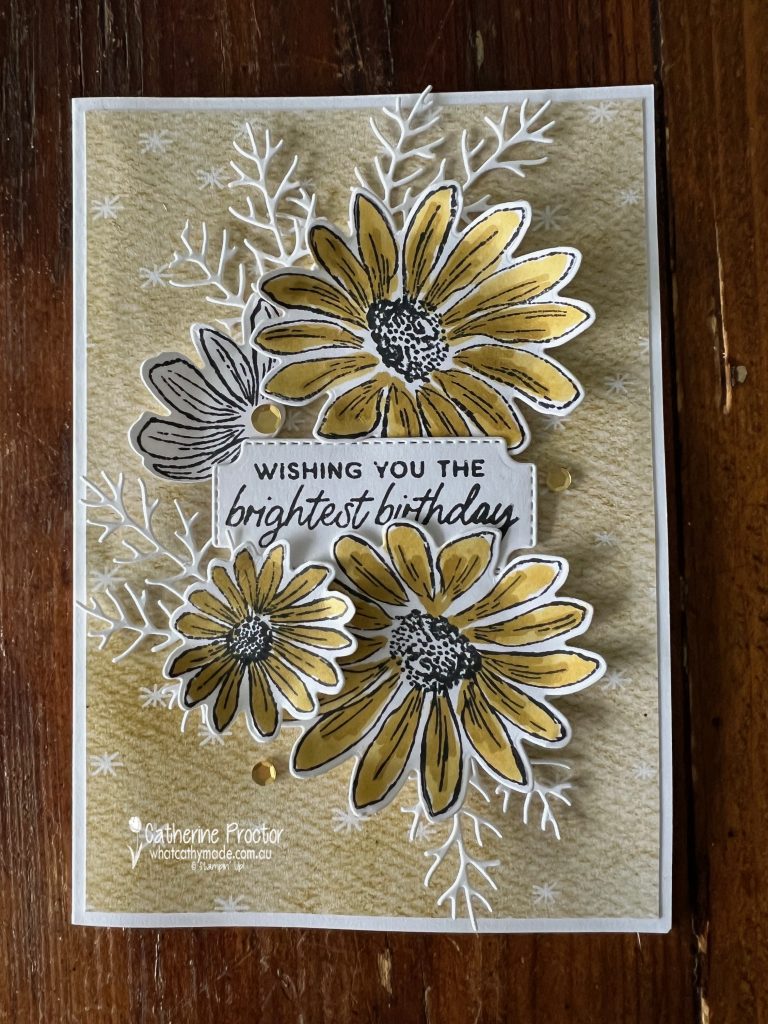
This week we are saying farewell to Wild Wheat, one of the 2023–2025 In Colors that is about to retire and I’ve used the Cheerful Daisies stamp set and dies (also in the Last Chance section of the website) to make a birthday card.
The background DSP is from the Everyday Happiness 12″ x 12″ (30.5 x 30.5 cm) Designer Series Paper — I love its timeless patterns of florals, ginghams, polka dots in the teal and beige colour palette.
The gold embellishments come from the Garden of Thanks Kit or you could use the gold embellishments from the Neutrals Adhesive-Backed Sequins.
I’ve coloured the daisies using Wild Wheat Stampin’ Blends and deliberately kept the colour pallette monochrome to let Wild Wheat take the centre stage!
Our blog hop is now an Instagram hop but the good news is that you don’t need to have an Instagram account to view all of the other projects! Simply copy any of the Insta handles below into a new search window to follow the Instagram hop at any point.
Next in our hop is Vicki @VickiBoucher. Be sure to check out her gorgeous project/s.
If you live in Australia, you can find and purchase the products I’ve used for my card in my Stampin’ Up! Online Store.
I’ll be back next Wednesday night with the start of our new 2025 – 2026 weekly AWH Colour Creations Insta hop when we will be showcasing Cloud Cover, one of the 5 brand new InColours.
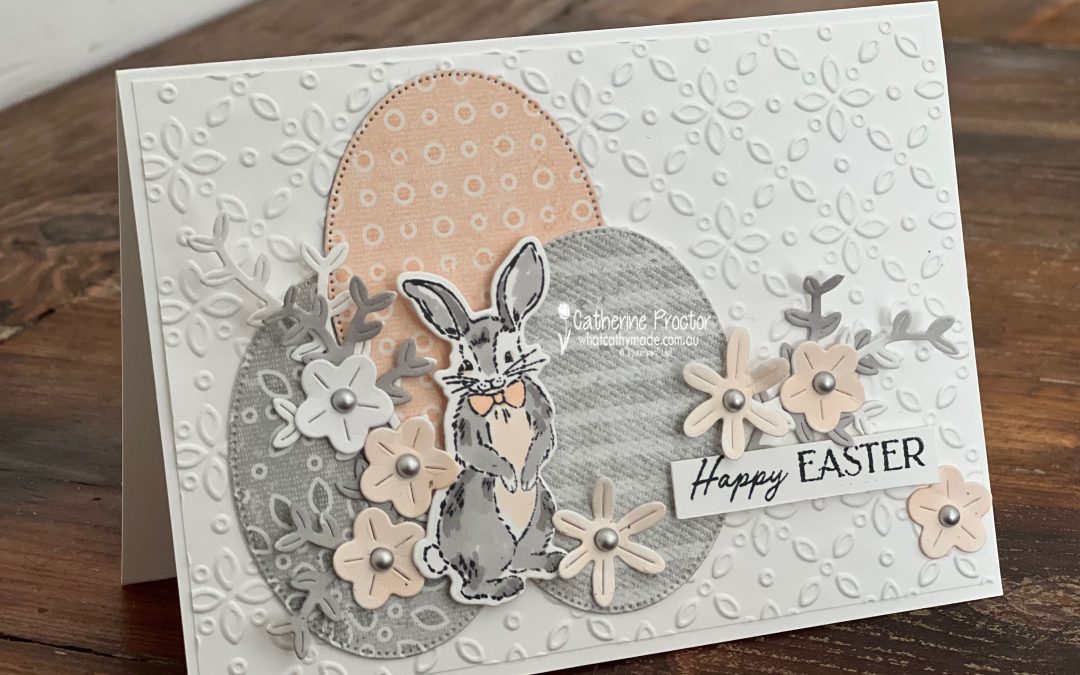
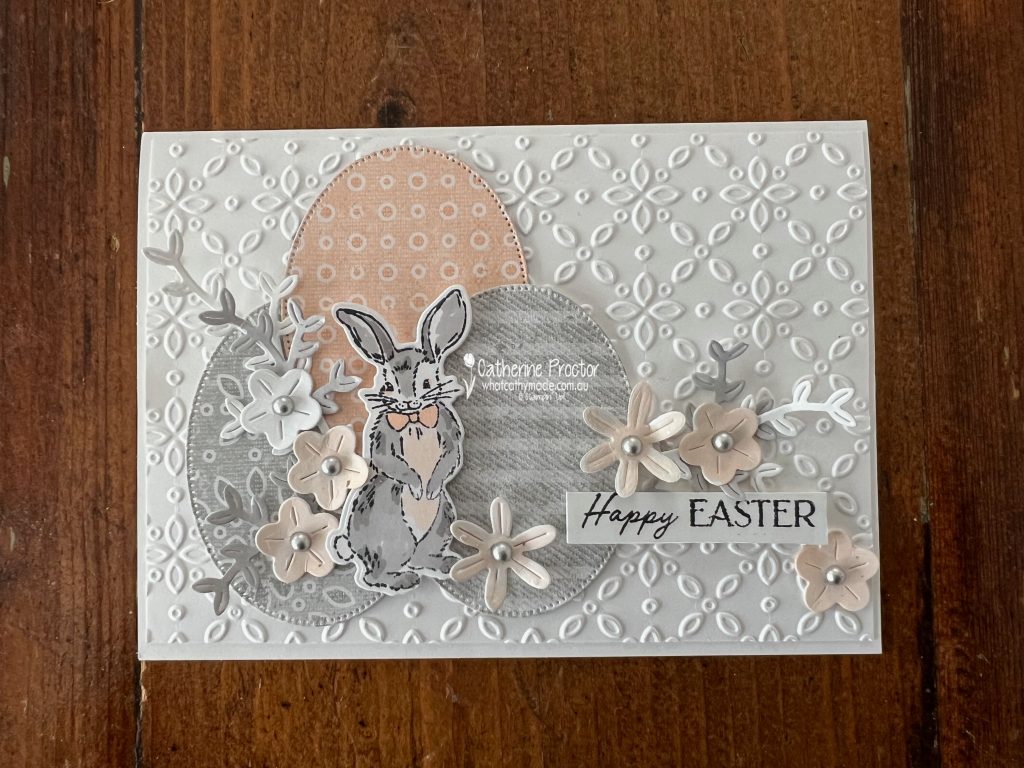
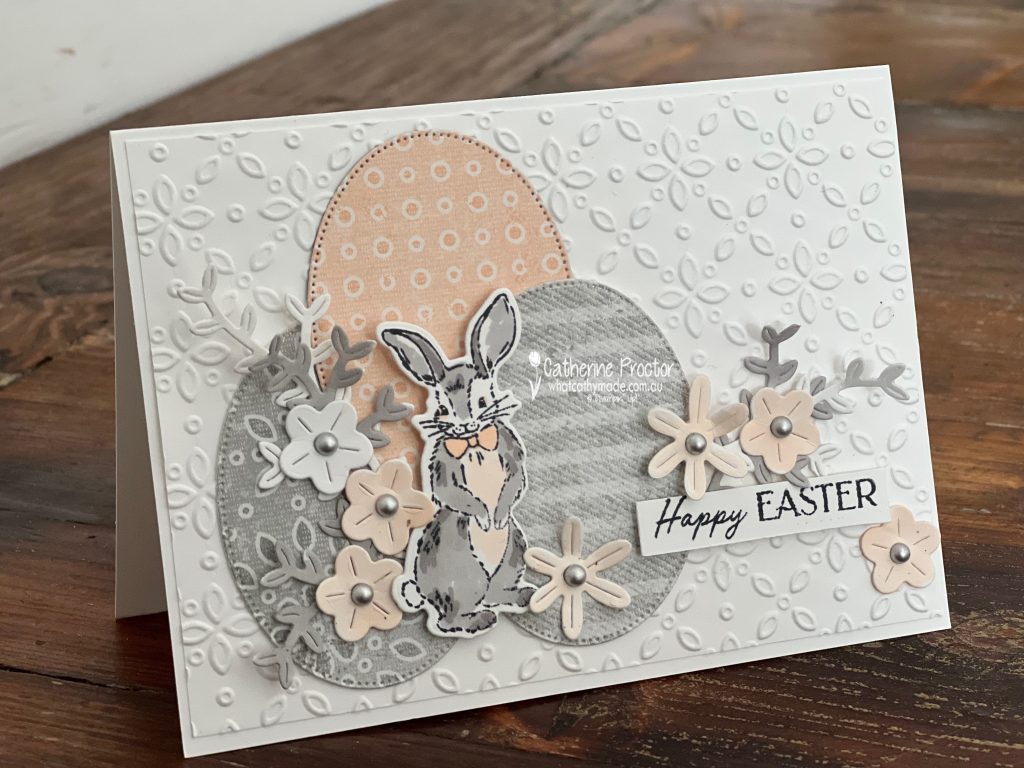
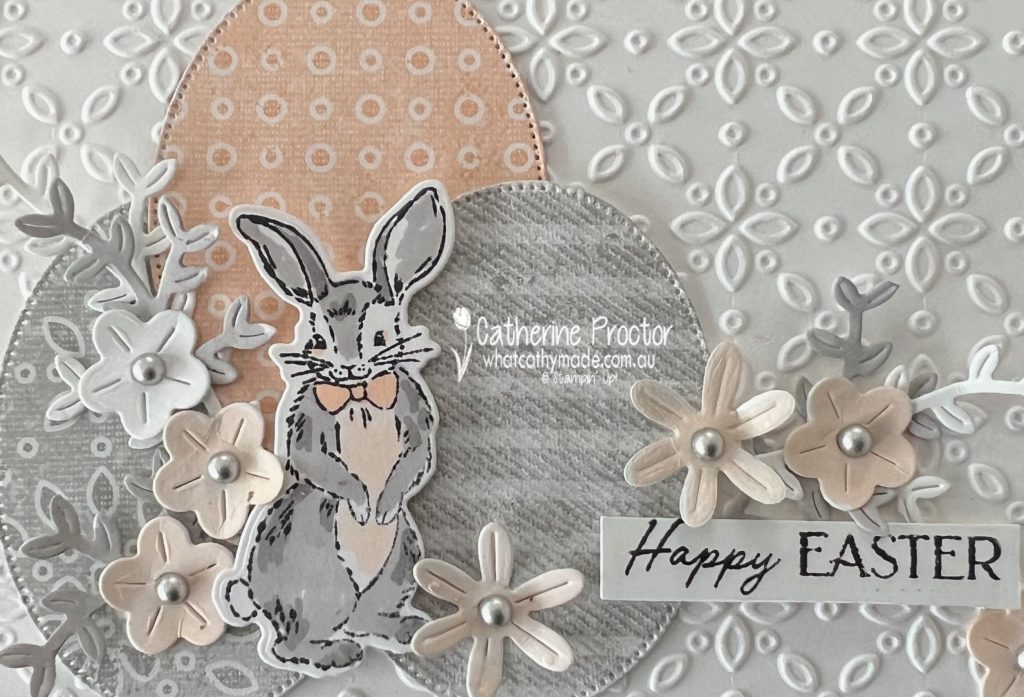
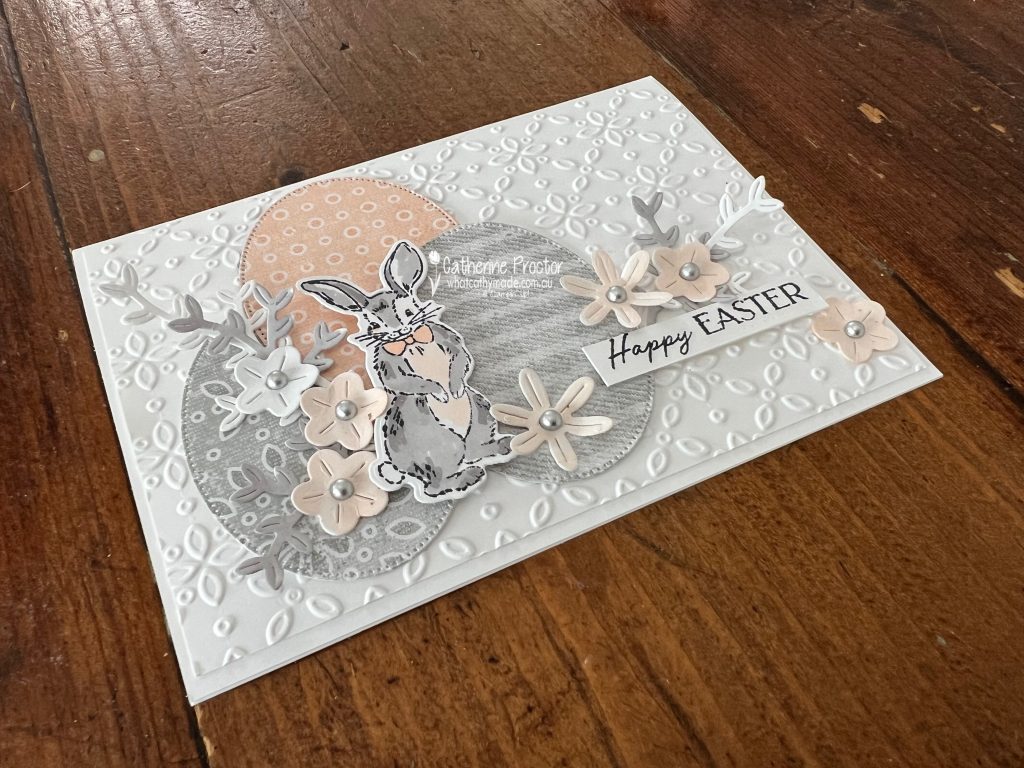
A group of the Art With Heart Team is hopping through the Stampin’ Up! colours in alphabetical order. Week 49 is all about Smoky Slate and as it’s Easter this weekend I decided to make an Easter card to give to my six-year-old niece when we catch up with my husband’s family on Saturday.
I’m so happy with how my soft Smoky Slate and Petal Pink Easter card card turned out, even though I didn’t have a specific Easter stamp set or dies!
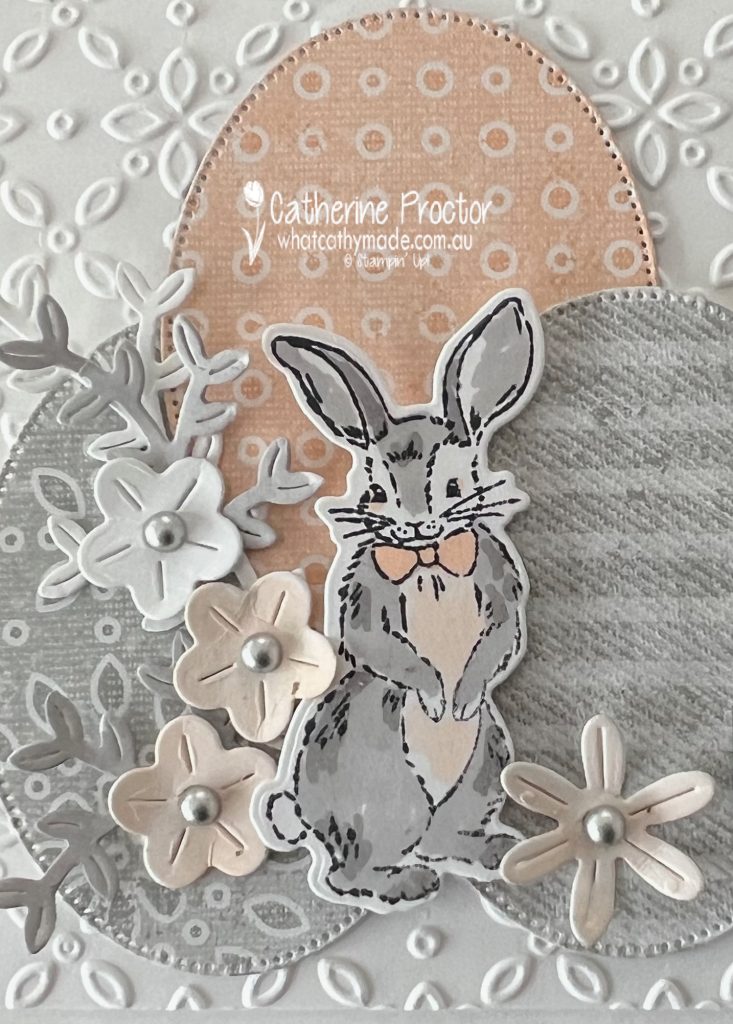
The Easter bunny stamp and die are from the Storybook Friends bundle, coloured using Smoky Slate and Petal Pink Stampin’ Blends
The Easter eggs are die cut using the oval die in the Linked Together Dies, creating Easter eggs from Smoky Slate and Petal Pink DSP in the Country Lace DSP.
The flowers and foliage are die cut using the Linked Together Dies then coloured using Smoky Slate and Petal Pink Stampin’ Blends.
The sentiment is actually created using two different sentiments from the Storybook Friends stamp set and the embossed layer is dry embossed using the Eyelet 3D Embossing Folder.
The embellishments are Smoky Slate Pearls from the Basic Gray & Smoky Slate Pearls embellishment pack.
Our blog hop is now an Instagram hop but the good news is that you don’t need to have an Instagram account to view all of the other projects! Simply copy any of the Insta handles below into a new search window to follow the Instagram hop.
Next in our hop is Kirsty @crafty.littlemiss. Be sure to check out her gorgeous project/s.
The full list of this week’s Insta Hop are listed below:
Rosa @hum.and.stamp
Helen @apaperparadise
Andrea @andreaksargent
Cathy @whatcathymade – you are here!
Kirsty @crafty.littlemiss
Kate @craftwithkate
If you live in Australia, you can find and purchase the products I’ve used for my card in my Stampin’ Up! Online Store.
I’ll be back next Wednesday night with our weekly AWH Colour Creations Insta hop when we will be showcasing Soft Sea Foam.