
Welcome to the first week of the 2019 Heart of Christmas blog hop!
Around this time every year the Art With Heart Stampin’ Up! team begin our annual weekly blog hop, featuring the Christmas products in both the Annual Catalogue and the brand new forthcoming Holiday Catalogue, my ABSOLUTE FAVOURITE!!!! catalogue of the year.
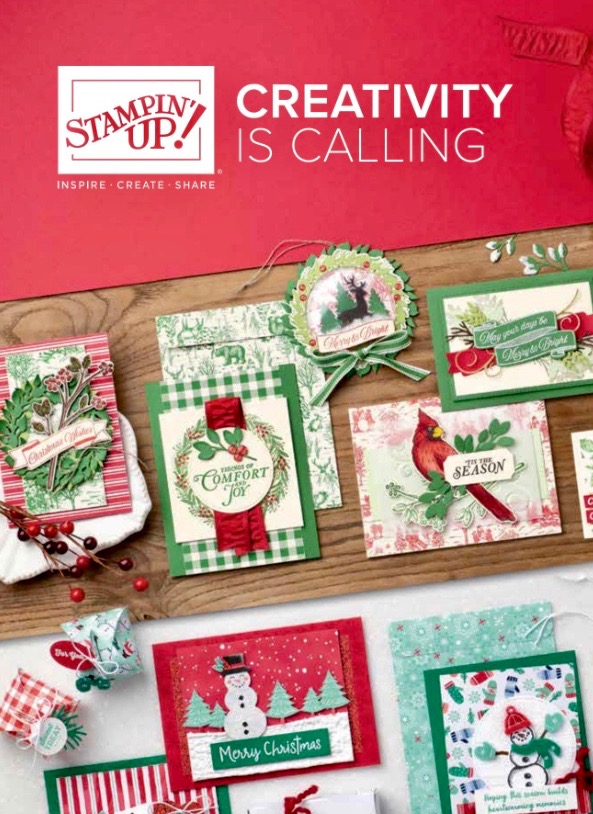
You will be able to view and order from the 2019 Holiday Catalogue from the 4th September, but in the meantime here’s a peek at the cover.
One of the first products to catch my eye in the brand new Stampin’ Up! 2019 Holiday Catalogue is a suite called the Brightly Gleaming Suite.
I love the beautiful blues and greens of the Brightly Gleaming DSP, the Star Designer Elements, the Hammered Metal 3D embossing folder but most of all I love that the Christmas Gleaming Stamp Set has not just one, but two coordinating punches!

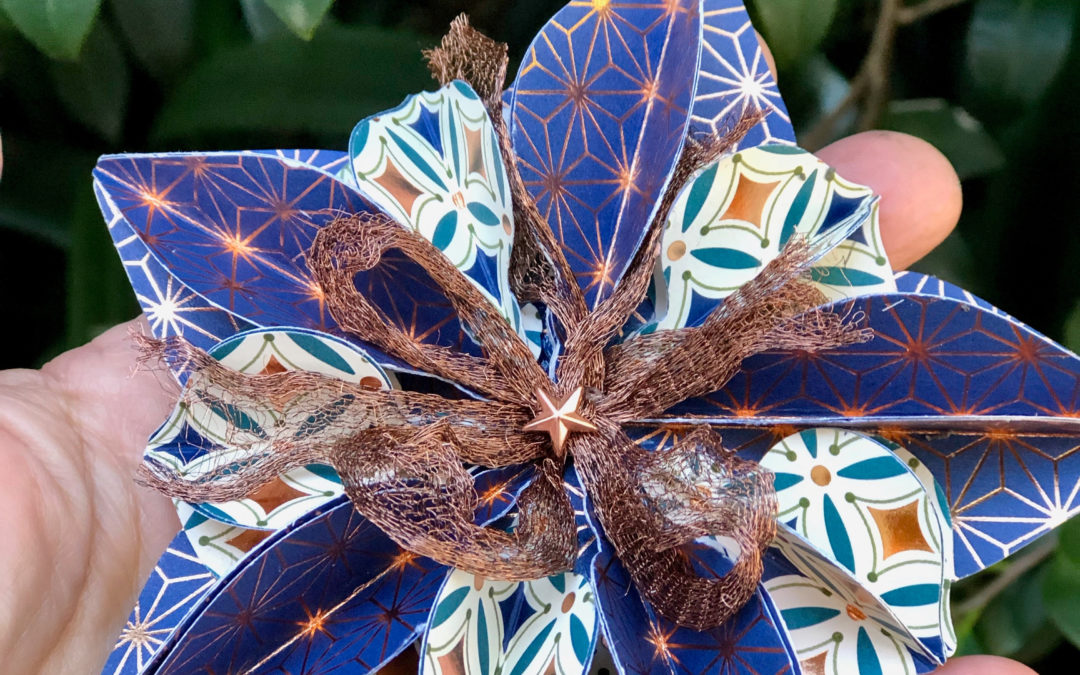
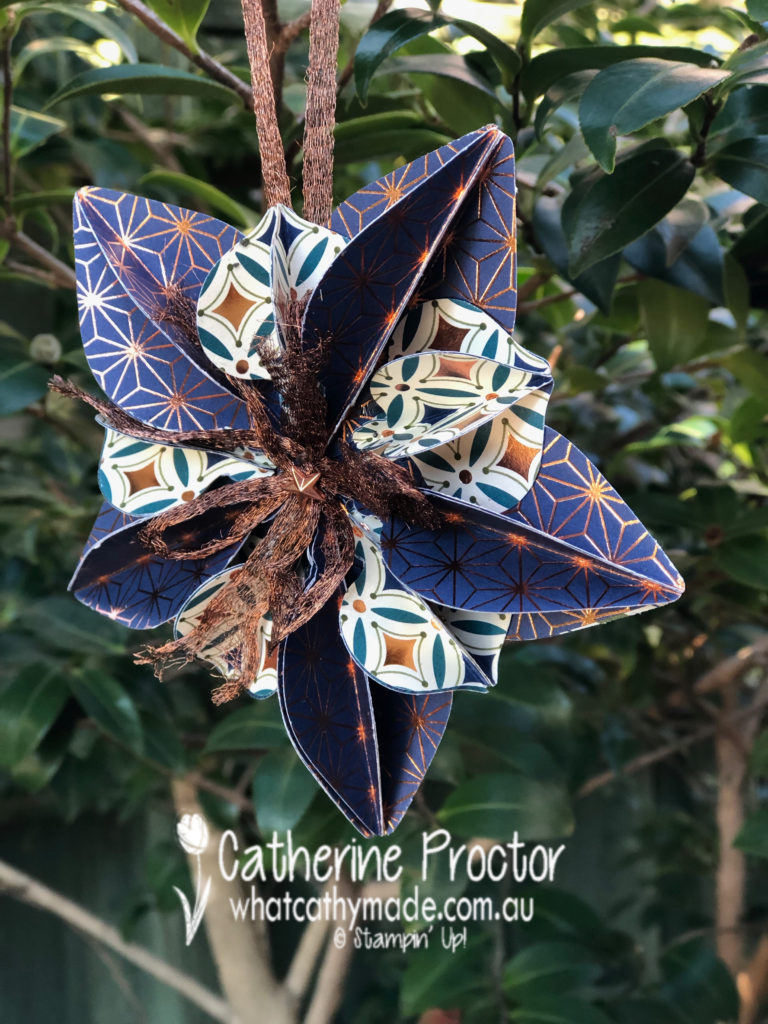
There are so many projects I’m planning to make with these punches but this week I decided to CASE a project I saw another demonstrator CASE from the cover of the 2012 Stampin’ Up! holiday catalogue. Isn’t this ornament simply gorgeous?
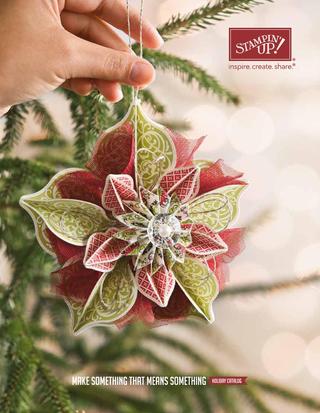
The other Stampin’Up! demonstrator used the Gleaming Ornaments punch to make this ornament by firstly stamping and then punching out the images, but I decided to make things even simpler by simply punching out my shapes from the Brightly Gleaming DSP.
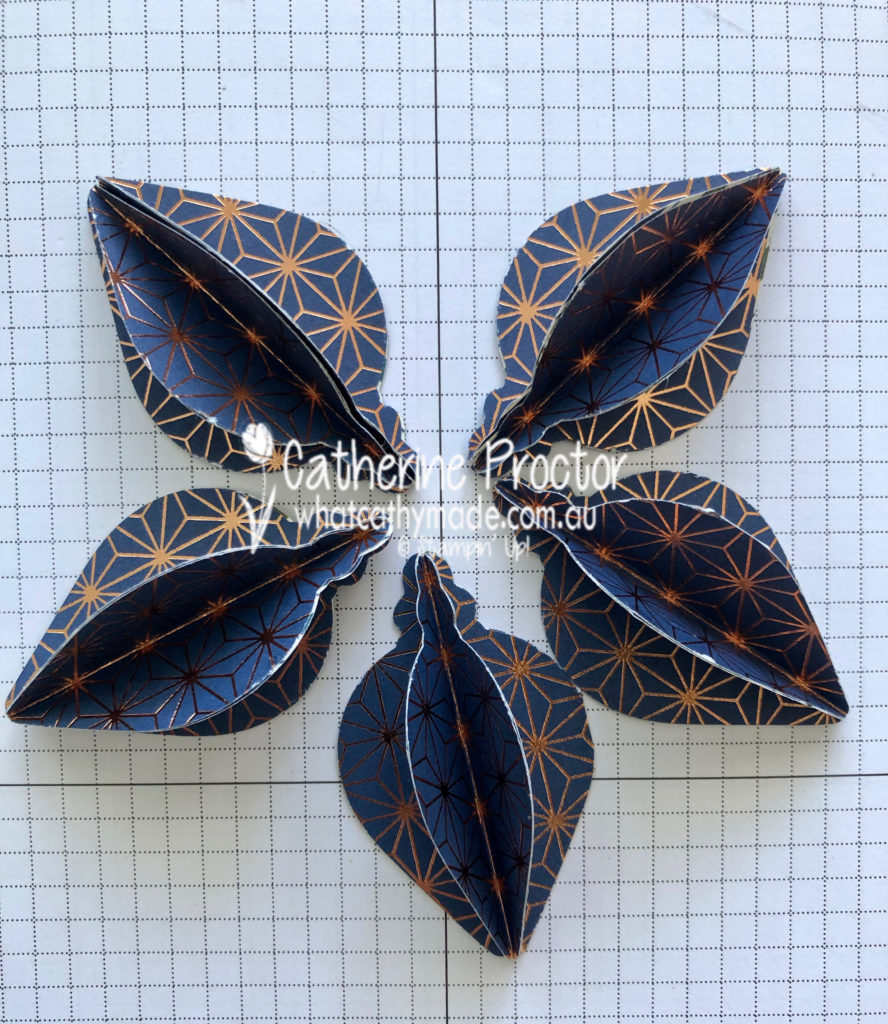
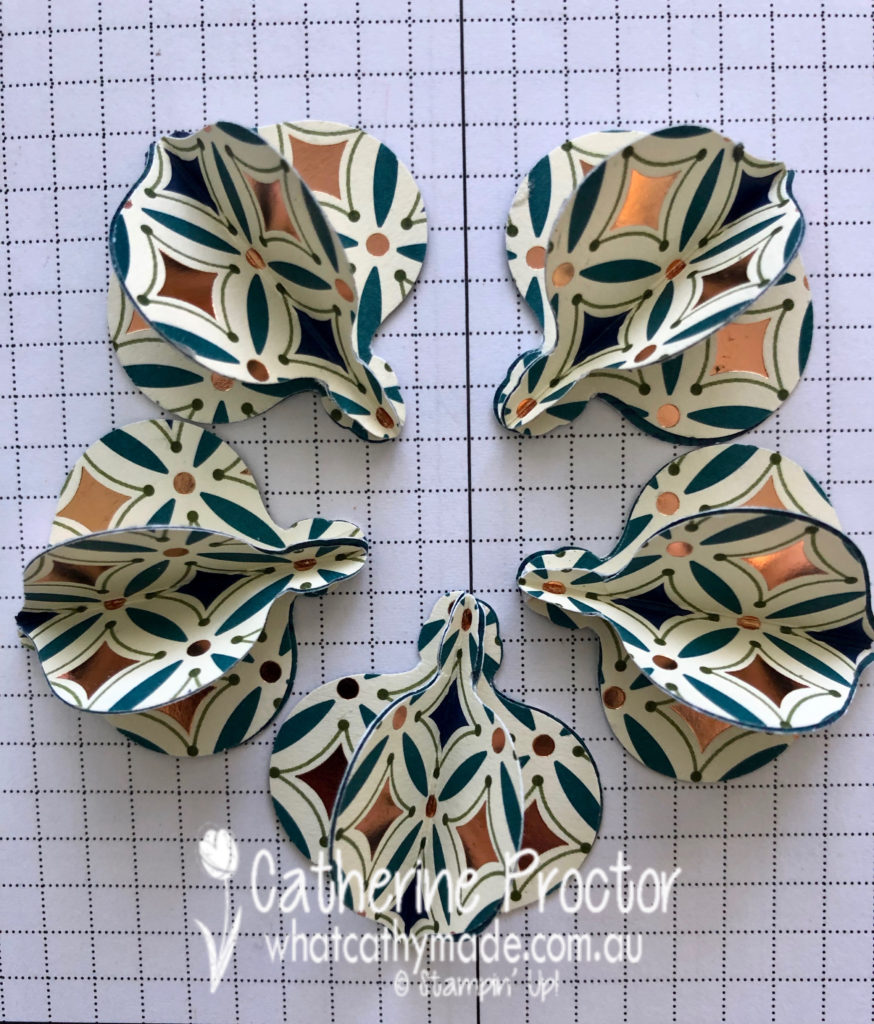
Firstly I punched out 20 of the larger punch ornaments using the Night of Navy and Copper paper from the Brightly Gleaming DSP. The geometric design of this DSP made it very easy to score down the centre of 15 of the ornaments before using multipurpose liquid glue to glue them together.
I simply glued 3 of the scored ornaments together before adhering these to one of the unscored ornaments. Repeat 4 times.
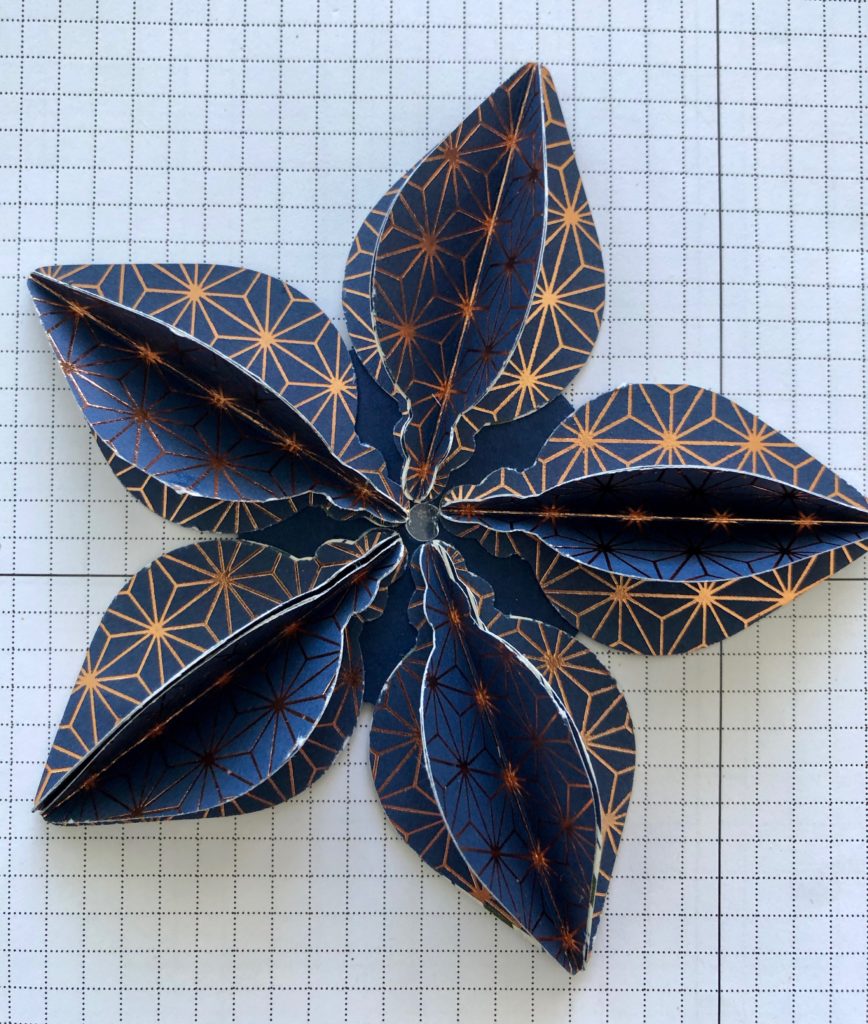
Follow the same steps, this time punching out 20 smaller ornaments from a different coloured DSP, and score and glue together.
Punch a 2 inch circle out of Night of Navy cardstock and place a glue dot in the middle. Use your glue dot to position the larger shapes evenly around the circle and adhere the shapes to the with multipurpose liquid glue
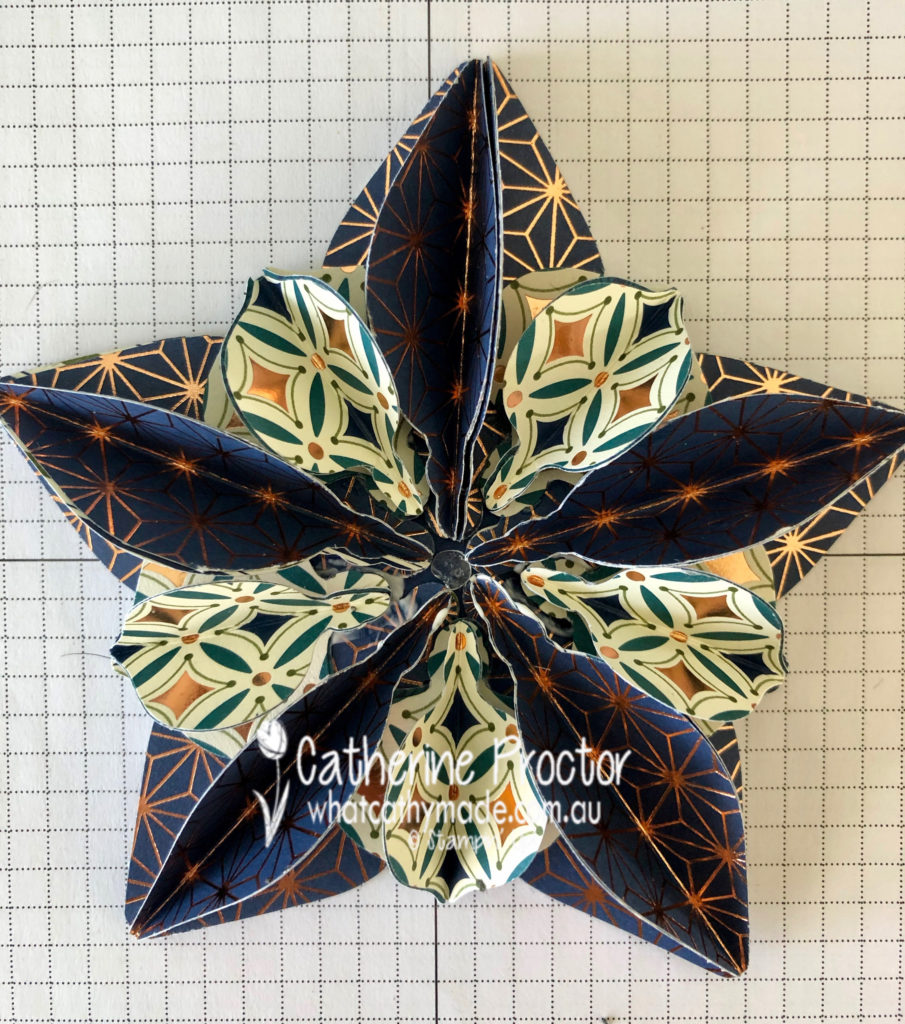
Then glue the smaller shapes between the larger ornament shapes.
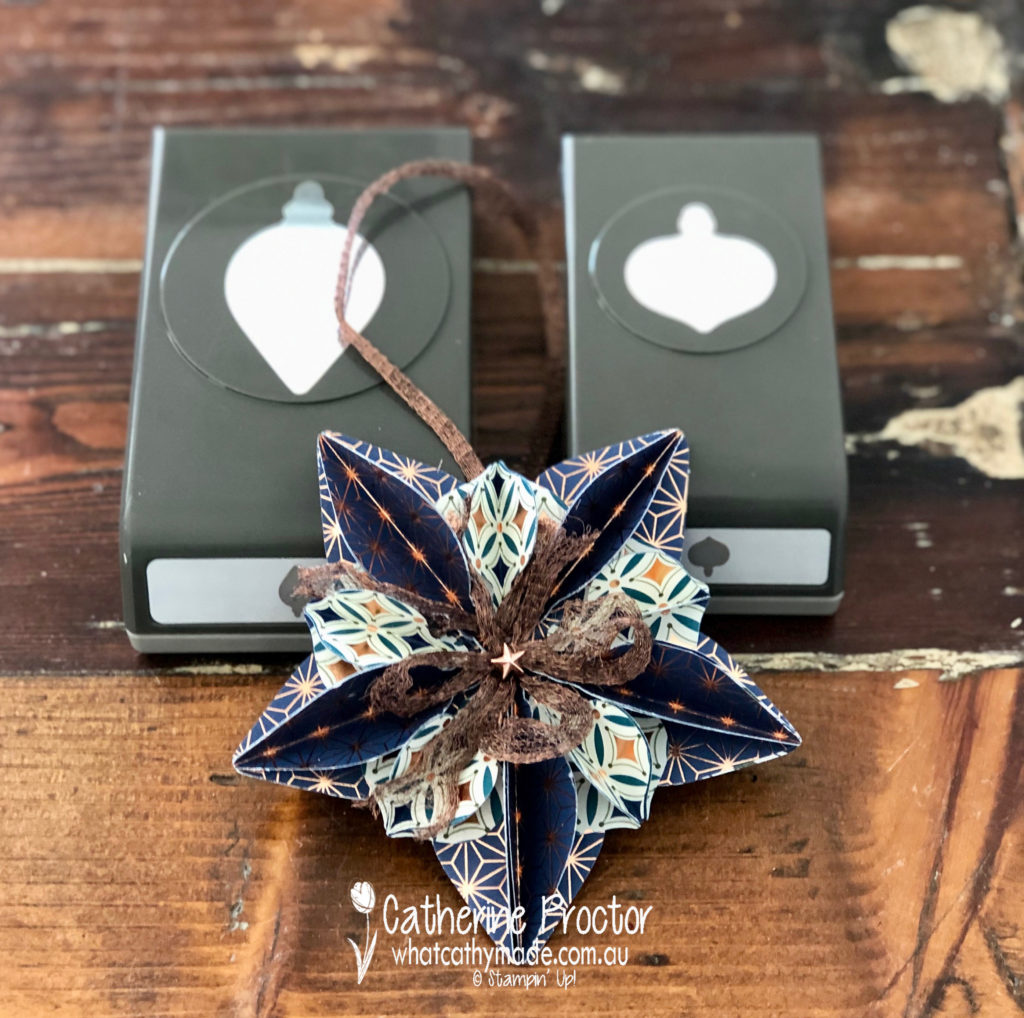
Tie two bows with the copper trim ribbon and then use your fingers to tease the ribbon out. Adhere these bows to the centre of your ornament using glue dots and then top with a copper star designer element.
To finish off the reverse side die cut a snowflake from copper foil using the Seasonal Layers Thinlits dies and adhere to the middle of the Night of Navy circle with multipurpose liquid glue.
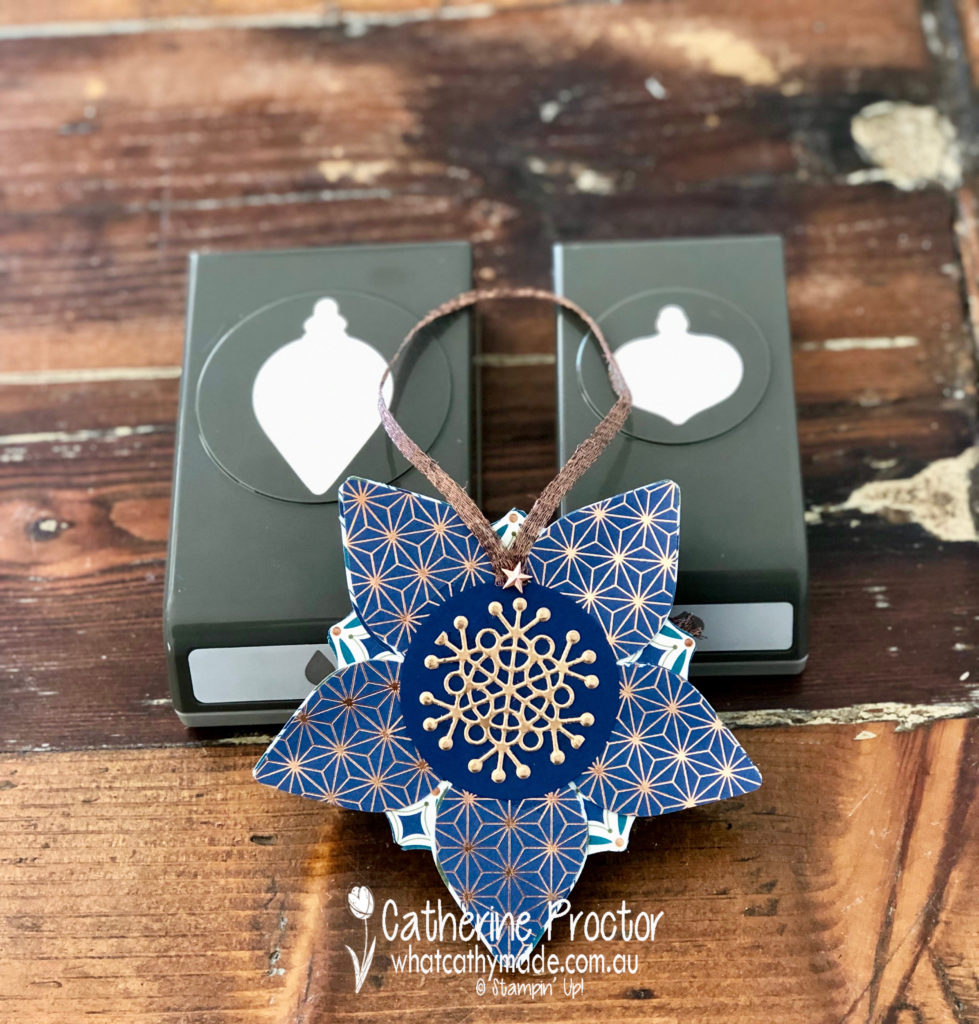
So you can hang your ornament, add a loop of copper trim ribbon to the back as well and adhere using glue dots. Use another copper star designer element to hide the ends of the copper trim ribbon and then hang from a tree!
The lovely Claire Daly is hosting our weekly Heart of Christmas blog hop – to see what the rest of the team have made this week you can visit Claire’s page here.
I’ll be back next week with two more Christmas blog hops. To purchase any of the products I used in this project you can shop with me here.
If you’d like me to post you your very own copy of the brand new 2019 Stampin Up! Holiday Catalogue, the 2019-20 Stampin Up! annual catalogue or to simply find out about more about Stampin’ Up! contact

Thank you for sharing! I remember the older set we had with the bauble punch, I used it for my first workshop as a SU demonstrator. I will make my own version of this ornament for this months workshops.
Wow, I remember making one of these way back when. I think I only ever made one as they were a bit fiddly. Yours looks fabulous, and much easier with punches and DSP than stamps and dies!
Oh my Catherine I just saw this beautiful creation. Stunning!
Catherine, this ornament is just gorgeous! I love this DSP! A stunning creation.
What a great remake in addition to that 2012 SU ornament!!! I definitely WILL set to making 2 dozen – for sale @ 3 different charitable events as well as for gifts & “door prizes” at holiday gatherings.
Thanks for reminding me of these and for the inspiration of your newly created version!
Great colour combination!
Gorgeous Cathy, I too adore this entire suite and was so inspired when I recently saw one of these made with these punches. Yours is stunning xx
Oh Catherine – what a lovely Christmas ornament- so gorgeous. Thank you for your inspiration
I Love it Catherine, I will have to see about making one of these. Thanks for the inspiration and tutorial.
Such a clever way to use the punches Catherine. Thanks for the tutorial.