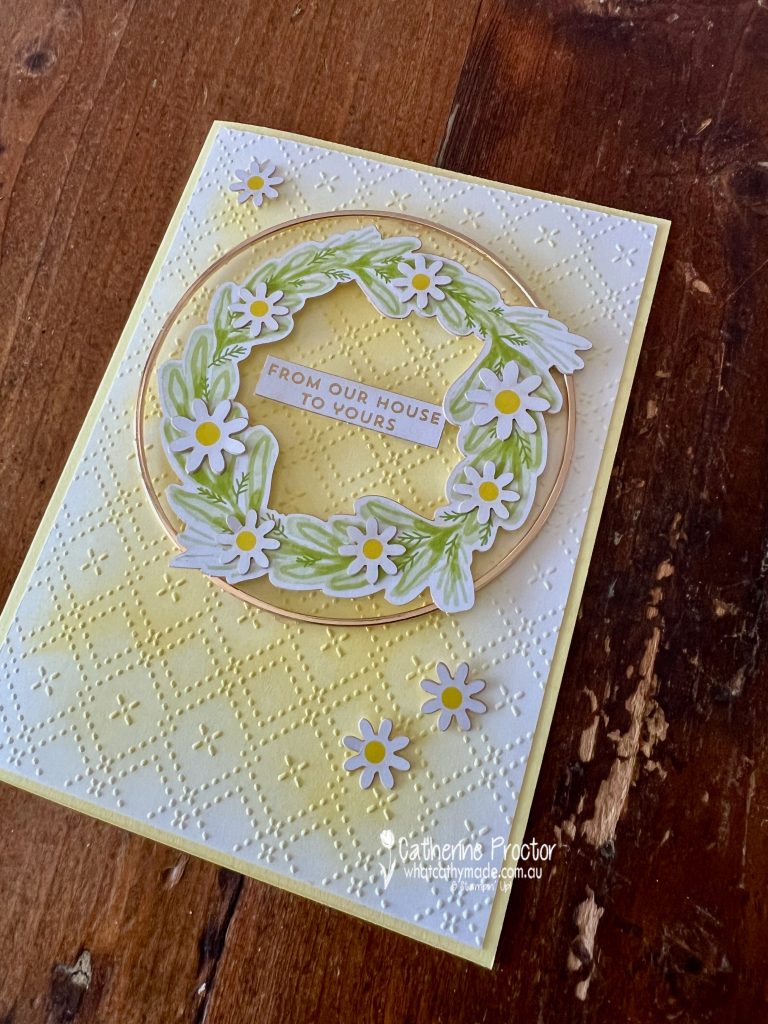
Lemon Lolly is such a soft and gentle shade of yellow, however I must admit I really struggled with my colour combination for Week 29 of our AWH Colour Creations Blog Hop.
I ended up creating a card that looks a little like spring and yet uses a sentiment that works beautifully all year round.
For this Lemon Lolly project I used:
Greetings for You Mix & Match Ephemera Pack (sentiment)
Good Times Mix & Match Ephemera Pack (wreath and flowers)
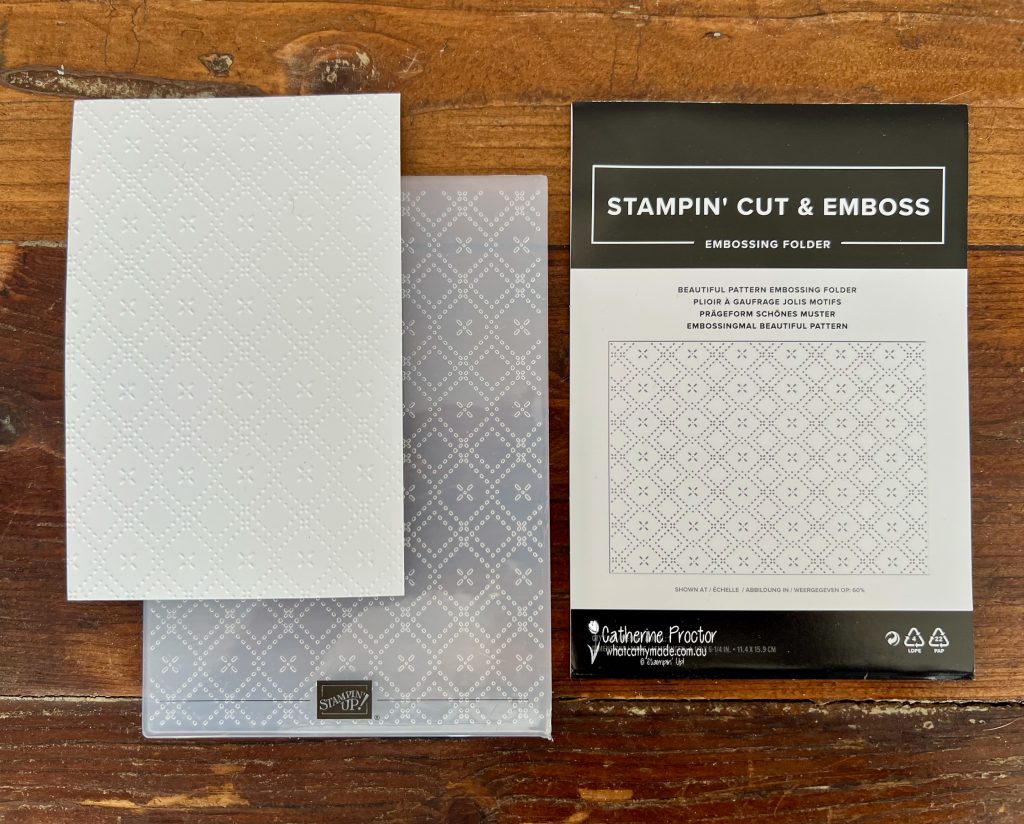
Beautiful Pattern Embossing Folder
Large Gold Hoop from the Modern Christmas Suite
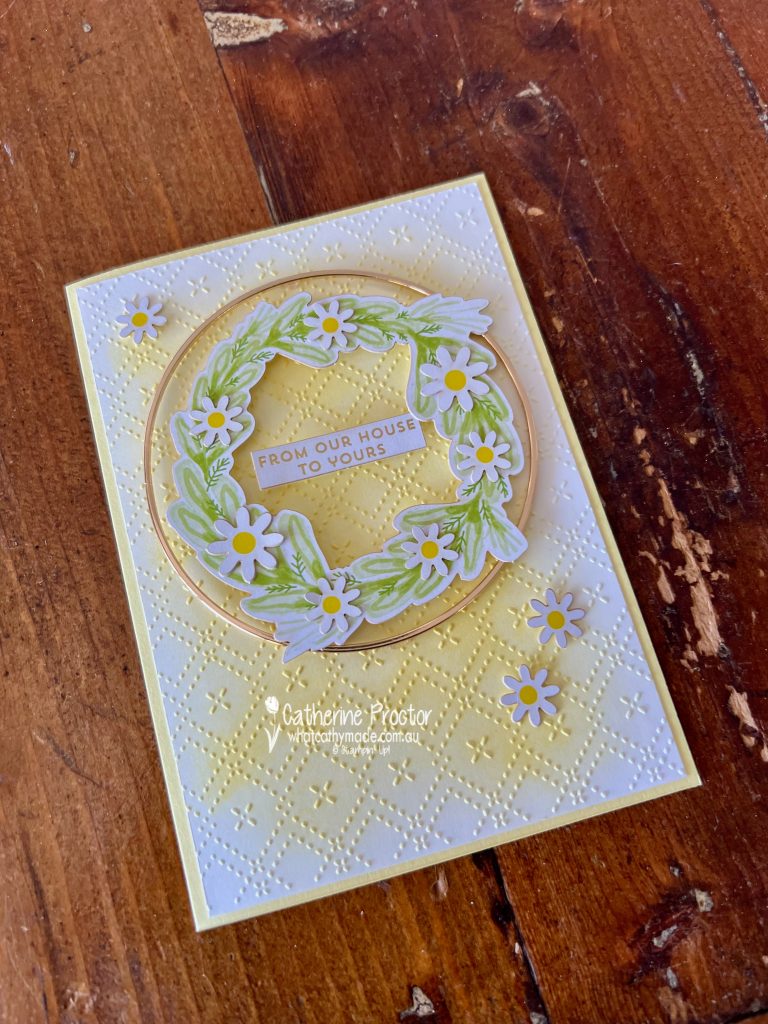
The colour combination is Lemon Lolly (card base and ink blending), Darling Duckling (flower centres), Granny Apple Green (wreath), Basic White (embossed layer) and Gold Foil accents.
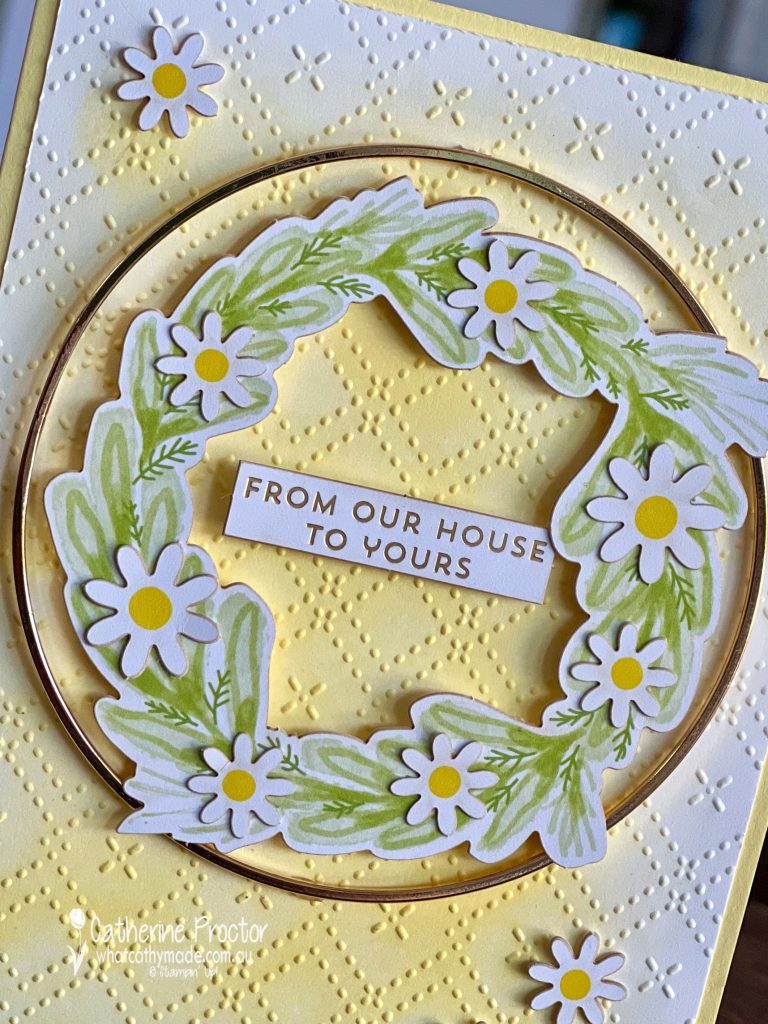
I embossed a Basic White layer with the Beautiful Pattern Embossing Folder and used a blending brush to add shading with Lemon Lolly ink. The ink blended much darker than I expected, however it really highlights the gorgeous texture of the embossed layer behind the wreath.
To bring structure to the wreath, I used the large gold hoop from the Modern Christmas Suite and attached it with glue dots. I then layered the wreath elements with dimensionals so the whole arrangement feels full and lifted.
The sentiment “From Our House to Yours” is from the Greetings for You Mix & Match Ephemera Pack. Even though the greeting could be used for a festive card, it works just as well for a general friendship or “thinking of you” card.
Take a look at some more Lemon Lolly inspiration on our Insta Hop!
Our blog hop is now an Instagram hop but the good news is that you don’t need to have an Instagram account to view all of the other projects!
Simply copy any of the Insta handles below into a new search engine window to follow the Instagram hop at any point.
Next in our Hop is Kate @craftwithkate. Be sure to check out her gorgeous project/s.
The full list of this week’s InstaHop is listed below:
Kate @craftwithkate
Andrea @andreaksargent
Kirsty @crafty.littlemiss
Helen @apaperparadise
Sharon @sharondaverncreates
Rachel @handstamped_by_rachel
Cathy @whatcathymade – you are here!
We’ll be back next Wednesday when we are showcasing Lost Lagoon. I hope you can join us then.
Looking for some Christmas card inspiration?
Our Heart of Christmas blog hop goes live at 8pm (EAST) every Monday night with Christmas card inspiration and next Monday is our final hop for the year. This hop is a traditional blog hop (not an Insta Hop) so you can see all of the team’s creations by reading my blog and clicking through to the next person .
Can you believe this is our penultimate Heart of Christmas blog hop for 2025 AND it’s only five weeks to Christmas today?
If you feel like the silly season is already in full swing and you won’t have time to make your Christmas cards this year, don’t panic as I’ve got the perfect card for you!
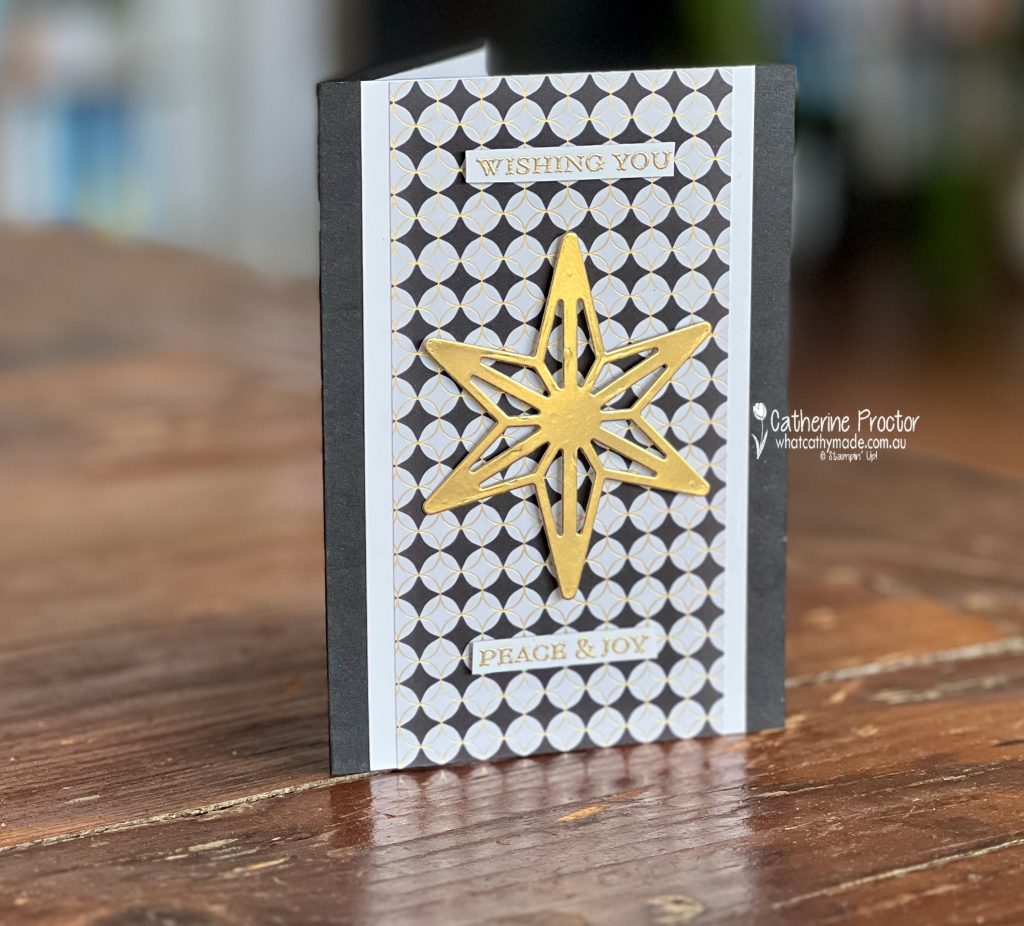
This design is so easy to make (I designed it and made it it under 10 minutes), it’s easy to mass produce and it can be made using any colour combination, DSP or sentiment.
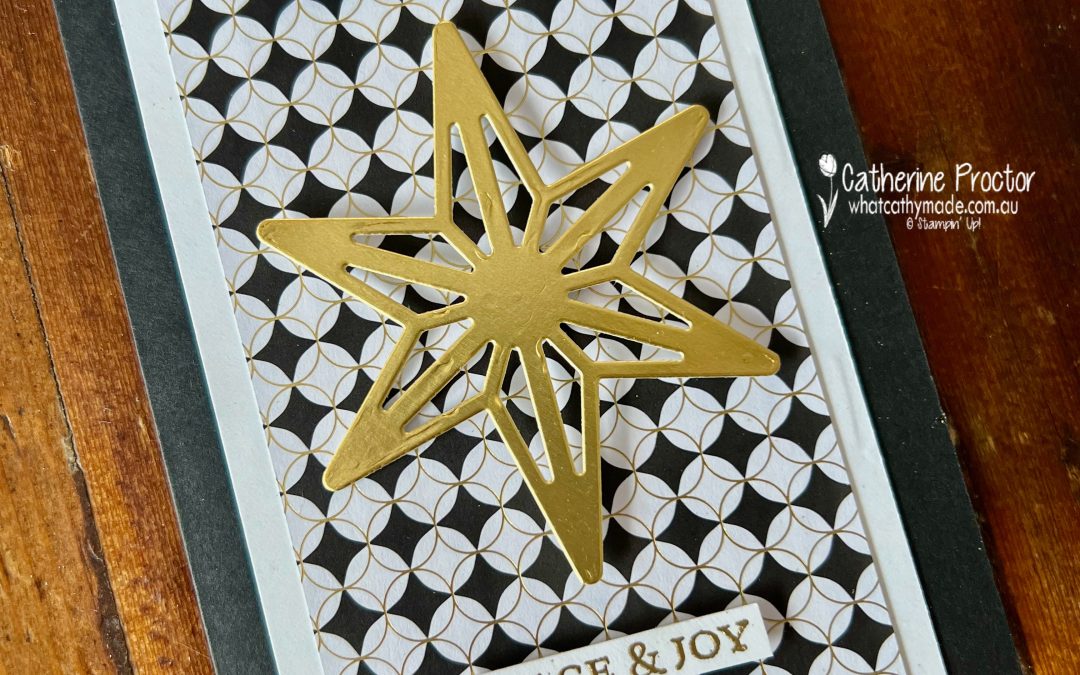
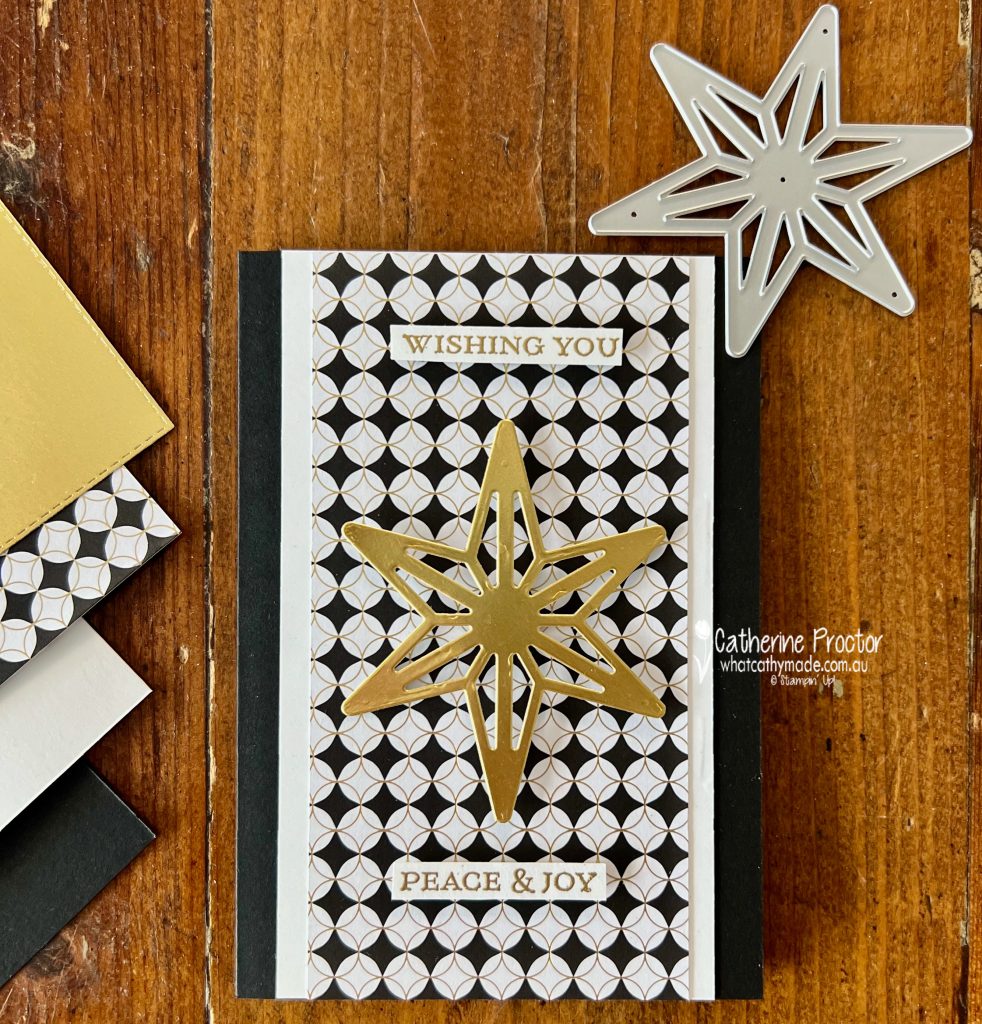
I’ve used products from the the Modern Christmas Suite collection, including the Ornamental Christmas Bundle and the the Modern Christmas 12″ x 12″ (30.5 x 30.5 cm) Specialty Designer Series Paper. I heat embossed the sentiment in gold to match the DSP and the feature star.
This photo shows just how pretty the gold foil star looks on top of the gold foiled paper.
For the inside of the card I’ve stamped the beautiful scripted “Merry Christmas” stamp and added some gold foil embellishments die cut using the Ornamental Christmas dies.
Take a look at some more Christmas Card inspiration!
Now it’s time to hop in over to our next participant, the lovely Judy May I can’t wait to see what Judy has made this week!
If the next button link is not working or you’d like to see the entire list of participants go to Sharon Davern‘s blog. Sharon does an amazing job of hosting our Heart of Christmas blog every Monday.
Our AWH team will be back on Wednesday night, showcasing Lost Lagoon on our Insta Hop. I hope you can join us then!
I’ve been away visiting stunning New Zealand but I’m so excited to be back to blogging with the Art With Heart Team for our Colour Creations Insta Hop.
A big thank you goes to my dear friend, Kate Morgan, who ensured the AWH Colour Creations Insta Hop went smoothly while I was overseas. Thank you, Kate!
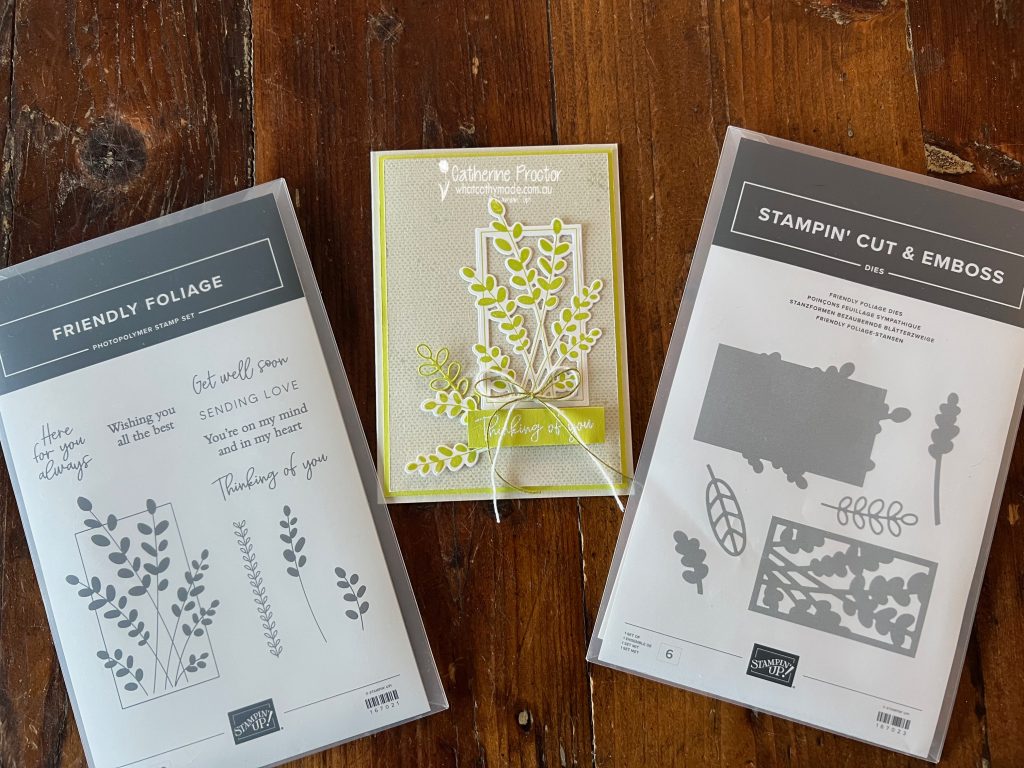
The Lasting Linen stamp set
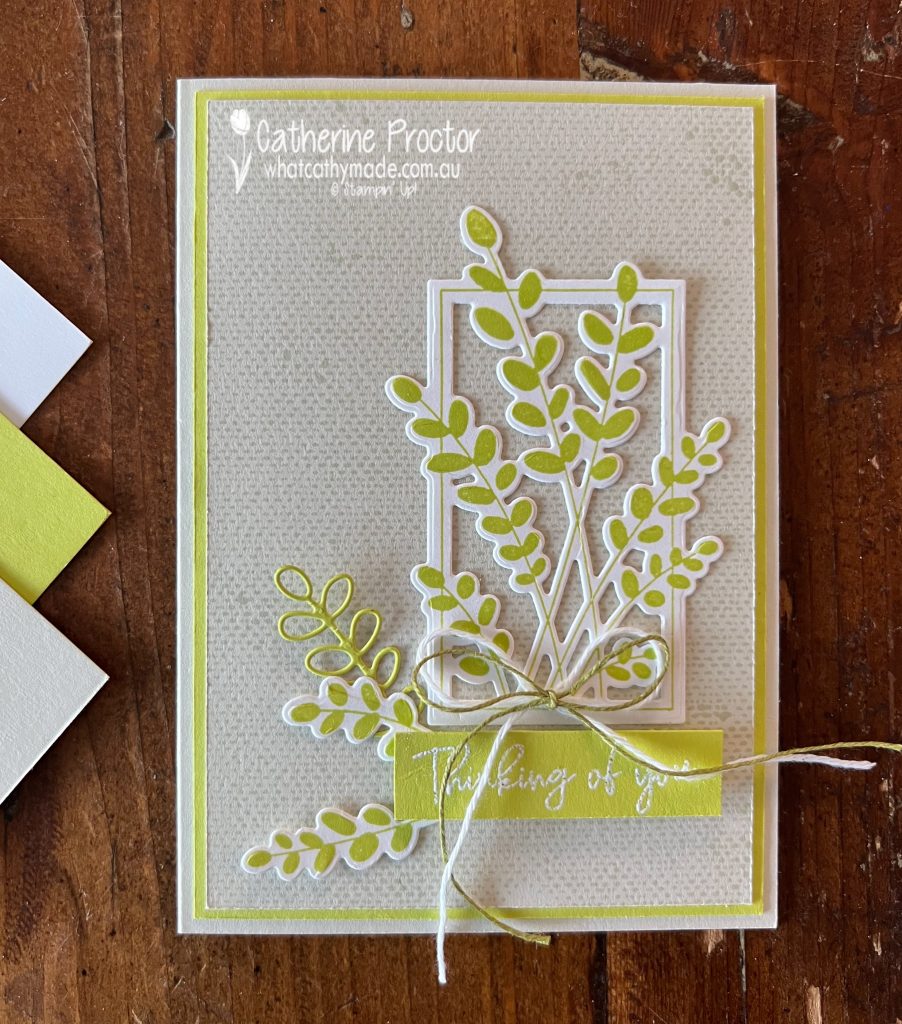
Week 28 is all about Lemon Lime Twist a vibrant, almost “fluro” green and I’ve taken inspiration from this project the Stampin’ Up! design team created to showcase one of the new online products, the Lasting Linen stamp set. This is such a versatile background stamp that will work with any colour!
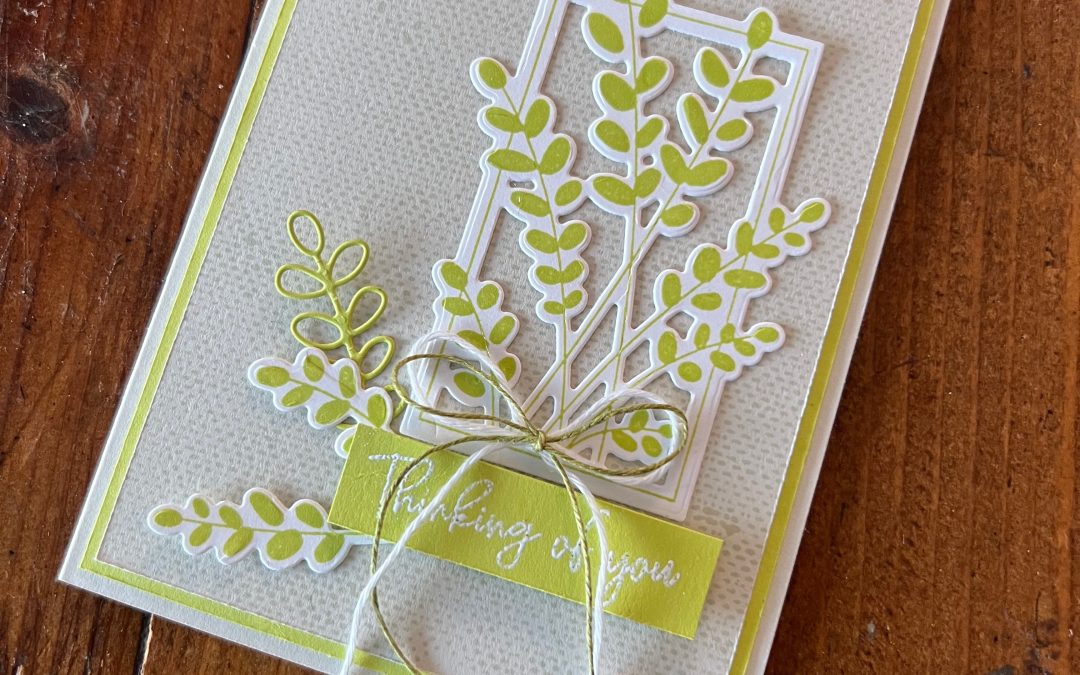
I loved this card so much I also purchased the Friendly Foliage bundle featured on it. Here’s my version of the card.
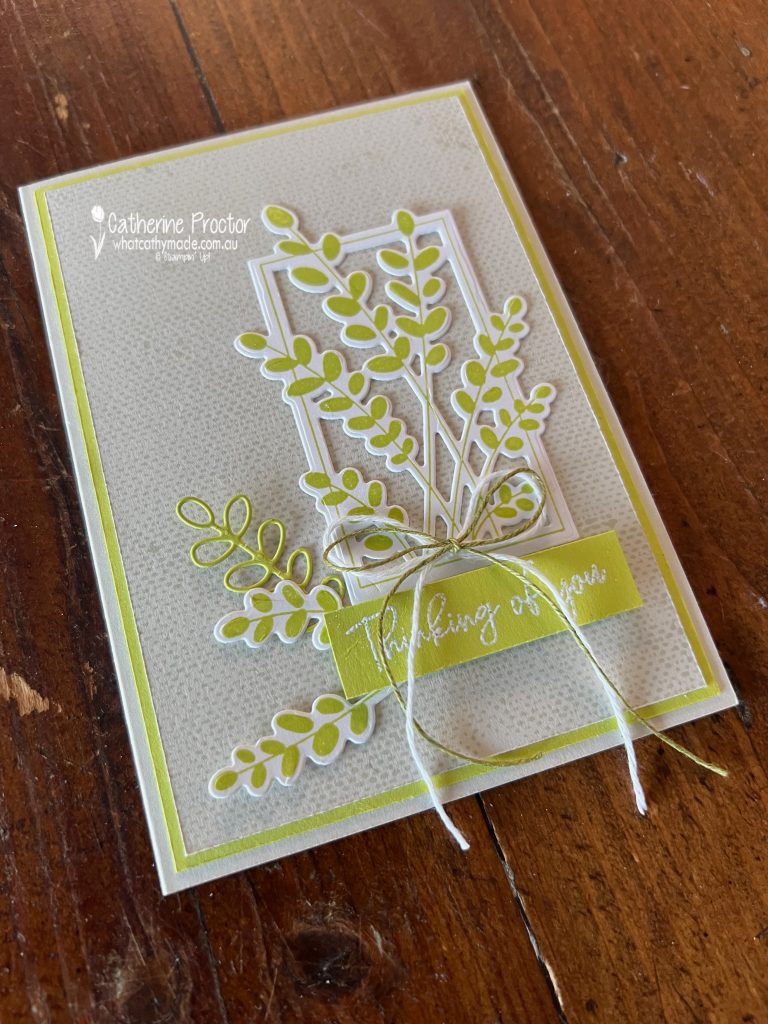
While the original Stampin’ Up! version of this card features Old Olive, my colour combination pairs the vibrant Lemon Lime Twist with the soft neutral, Basic Beige and Basic White. A tiny touch of Old Olive is added via the bow.
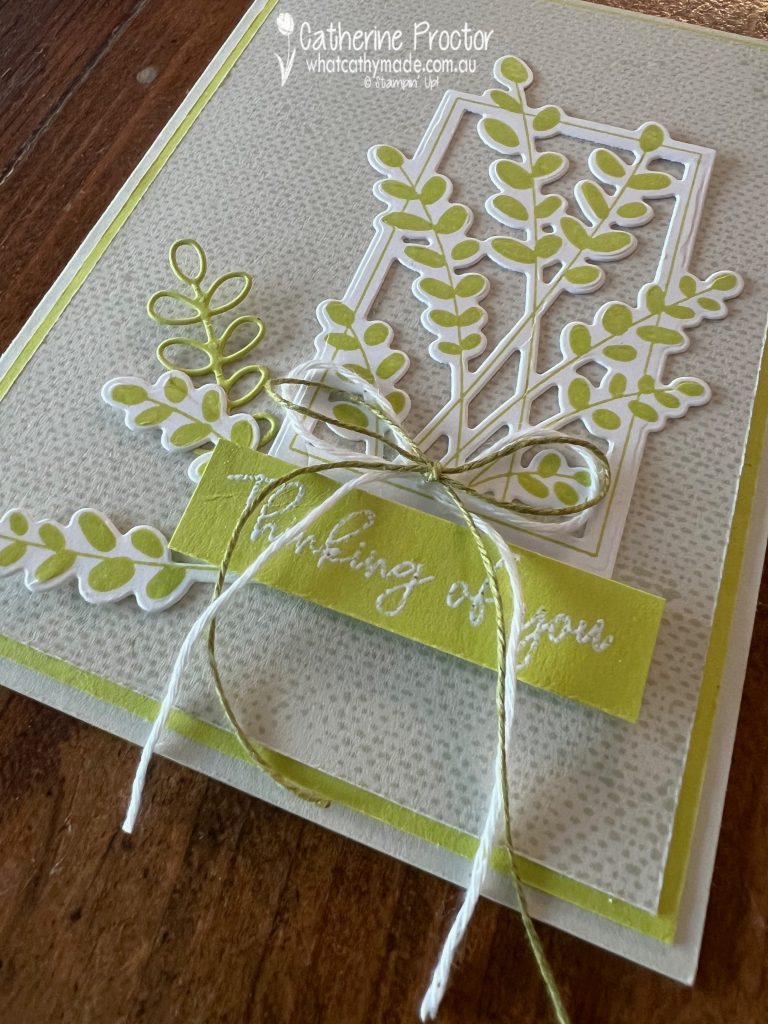
I’ve also added an extra layer of Lemon Lime Twist to the base card, some more of the pretty foliage elements and changed the length and positioning of the “Thinking of you” sentiment.
A double bow of Basic White Bakers Twine from the The Baker’s Twine Essentials Pack and a bow of Old Olive Linen Thread from the Early Espresso & Old Olive Linen Thread Pack are the finishing touch.
Take a look at some more Lemon Lime Twist inspiration on our Insta Hop!
Our blog hop is now an Instagram hop but the good news is that you don’t need to have an Instagram account to view all of the other projects!
Simply copy any of the Insta handles below into a new search engine window to follow the Instagram hop at any point.
Next in our Hop is Kate @craftwithkate. Be sure to check out her gorgeous project/s.
The full list of this week’s InstaHop is listed below:
Kate @craftwithkate
Sharon @sharondaverncreates
Kirsty @crafty.littlemiss
Helen @apaperparadise
Rachel @handstamped_by_rachel
Cathy @whatcathymade – you are here!
We’ll be back next Wednesday when we are showcasing Lemon Lolly. I hope you can join us then.
Looking for some Christmas card inspiration?
Our Heart of Christmas blog hop goes live at 8pm (EAST) every Monday night with Christmas card inspiration. This hop is a traditional blog hop (not an Insta Hop) so you can see all of the team’s creations by reading my blog and clicking through to the next person .
I’ve been away overseas on holidays for the past few weeks, but it feels so good to be back in my craft room again! And can you believe it’s nearly Christmas already? Time is flying, and after tonight there are only three more Heart of Christmas blog hops left for the year.
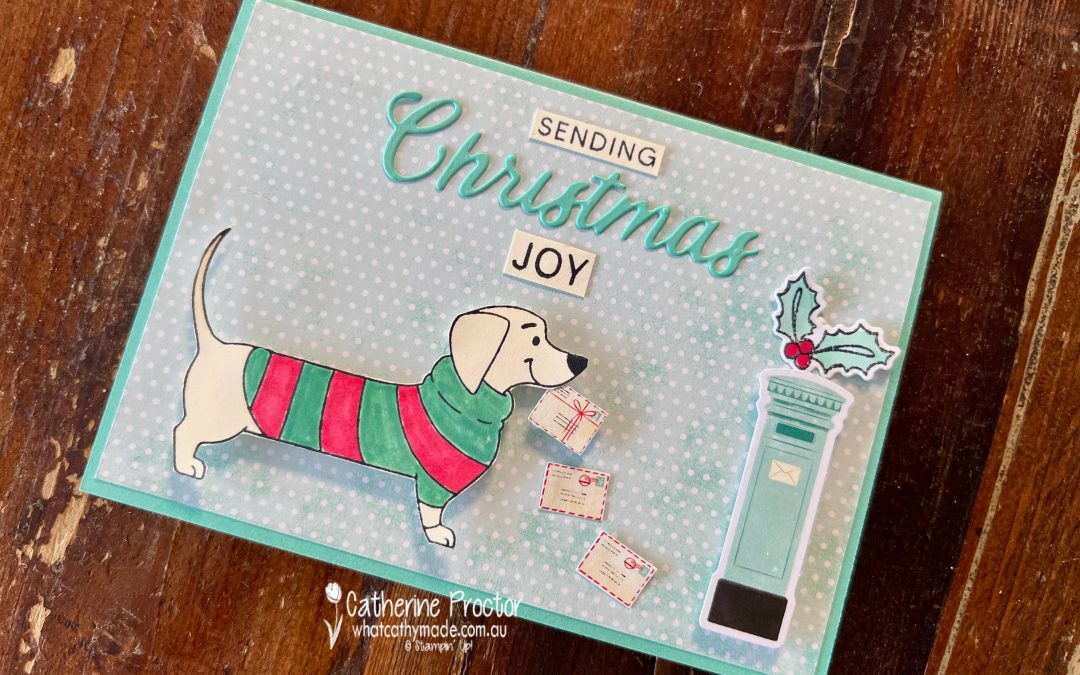
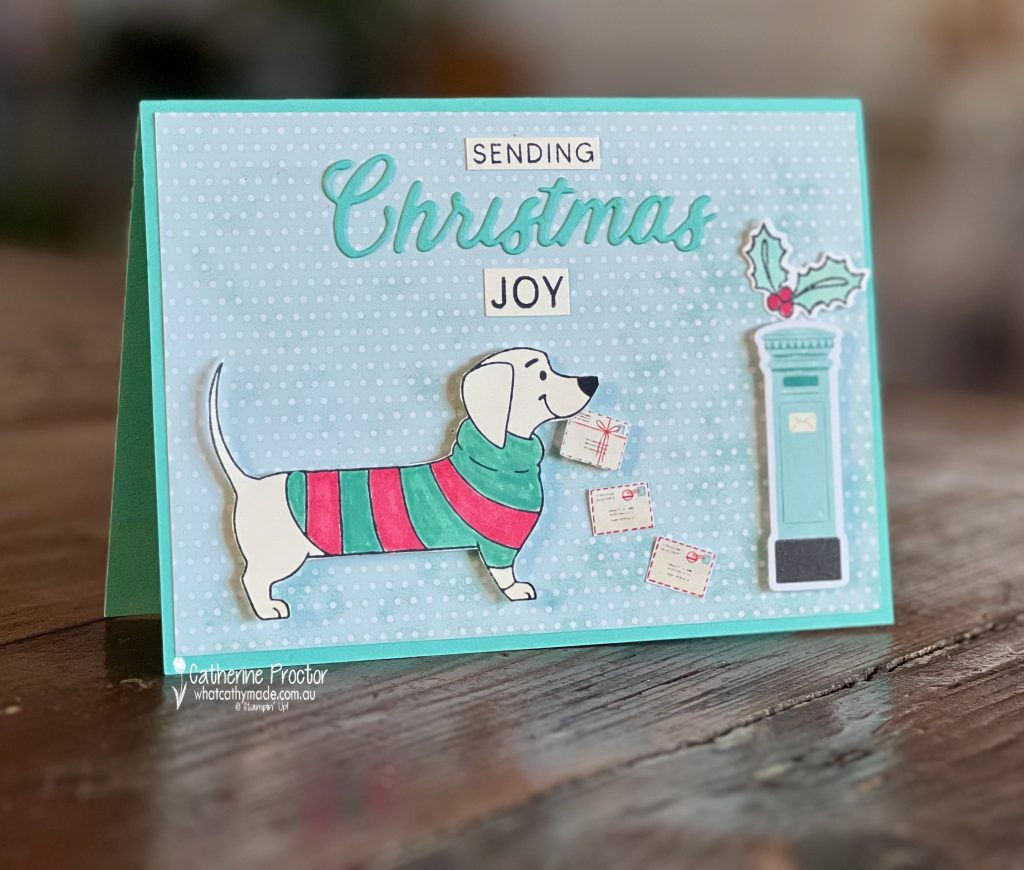
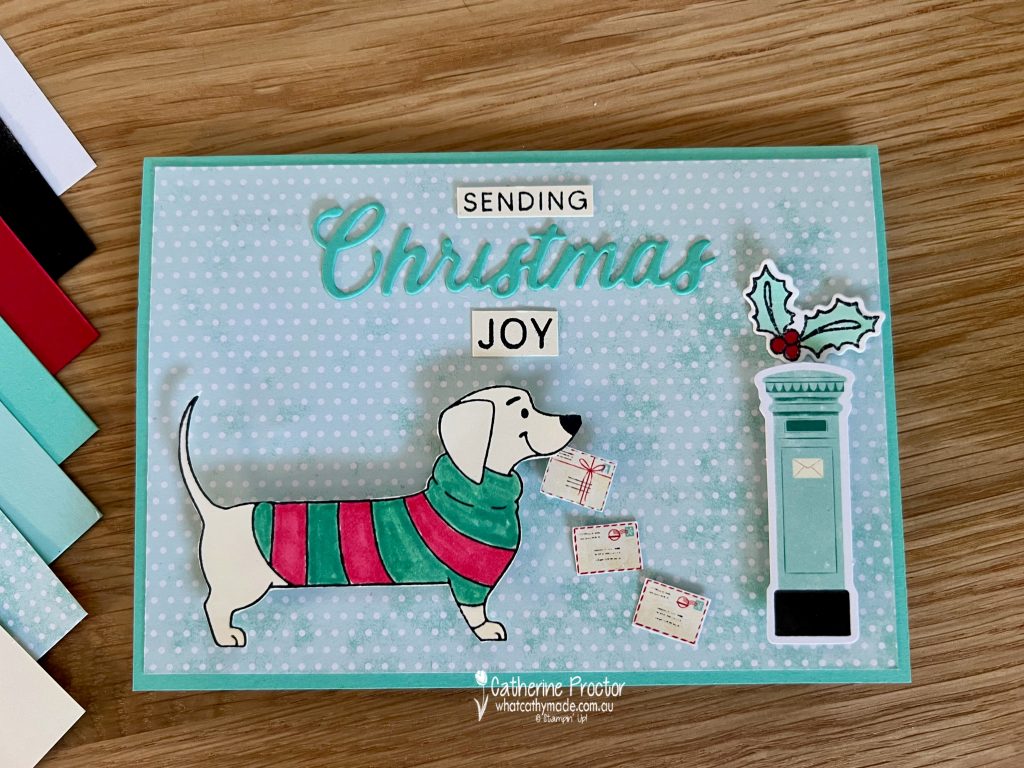
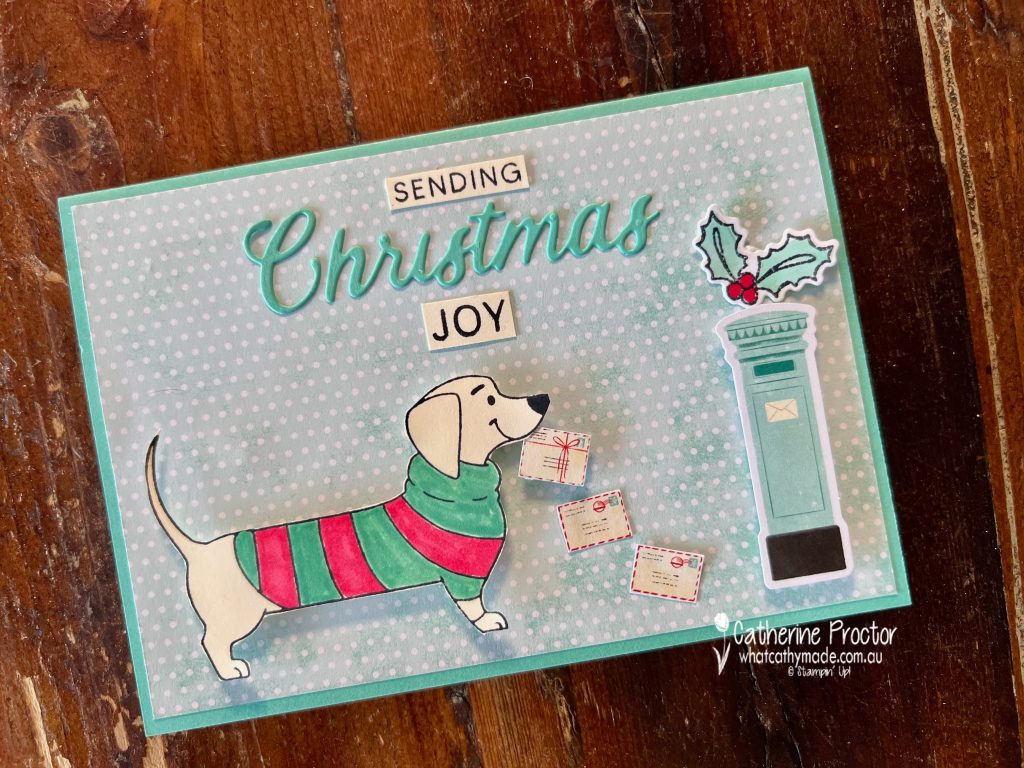
For my card this week, I wanted to create something lighthearted and full of festive cheer. This little dachshund in a Christmas jumper just makes me smile! I’ve paired him with a vintage-style post box and some tiny envelopes, ready to deliver all the Christmas joy.
My dog is a German Shorthaired Pointer (which is basically a sausage dog on steroids with super long legs) so I have a soft spot in my heart for dachshunds.
The colour palette for this card includes Pool Party, Coastal Cabana, Real Red, Basic Black, Very Vanilla, and Basic White as I also created this card for a colour challenge. I don’t usually use Very Vanilla, however this colour combination is a fun and fresh mix that feels both classic and playful.
The background paper and envelopes are from the North Pole Delivery DSP, which adds that perfect snowy touch.
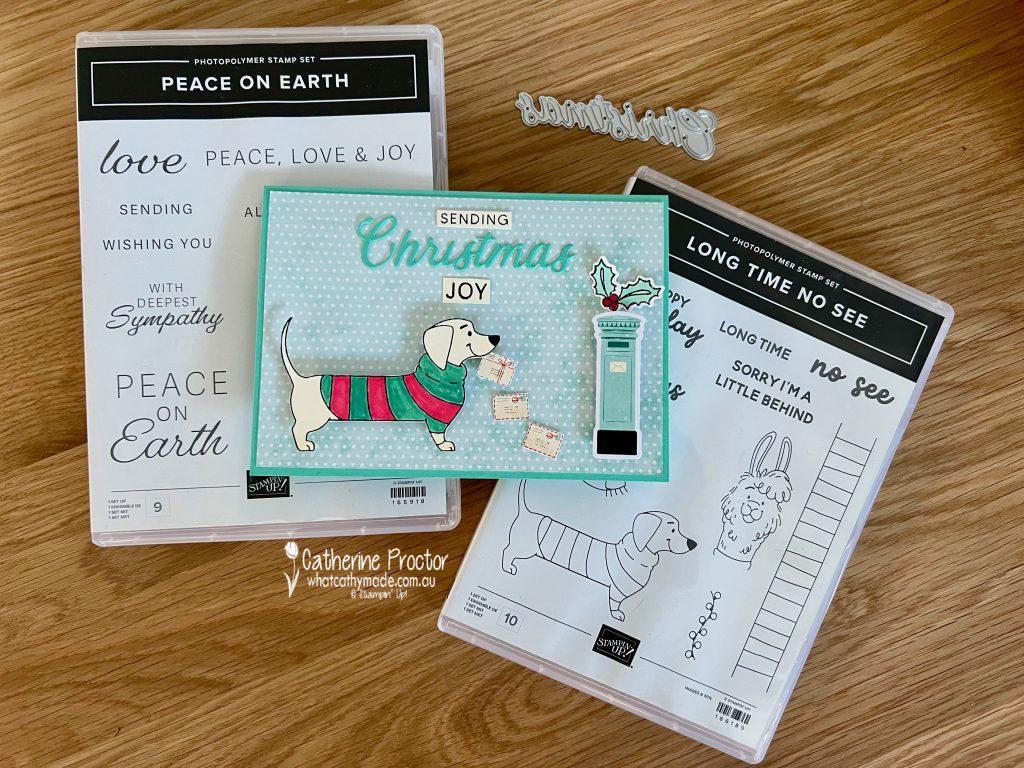
The adorable dog image comes from the Long Time No See stamp set, coloured with Stampin’ Blends to match his festive jumper.
I finished the design with a combination of stamped sentiments from the Peace On Earth stamp set and die-cut “Christmas” from the Words for the Season Dies to create my “Sending Christmas Joy” sentiment.
I love how this card captures the happiness of reconnecting with family and friends at Christmas through the age old tradition of sending Christmas cards.
Take a look at some more Christmas Card inspiration!
Now it’s time to hop in over to our next participant, the lovely Rachel Woollard. I can’t wait to see what Rachel has made this week!
If the next button link is not working or you’d like to see the entire list of participants go to Sharon Davern‘s blog. Sharon does an amazing job of hosting our Heart of Christmas blog every Monday.
Our AWH team will be back on Wednesday night, showcasing Lemon Lime Twist on our Insta Hop. I hope you can join us then!
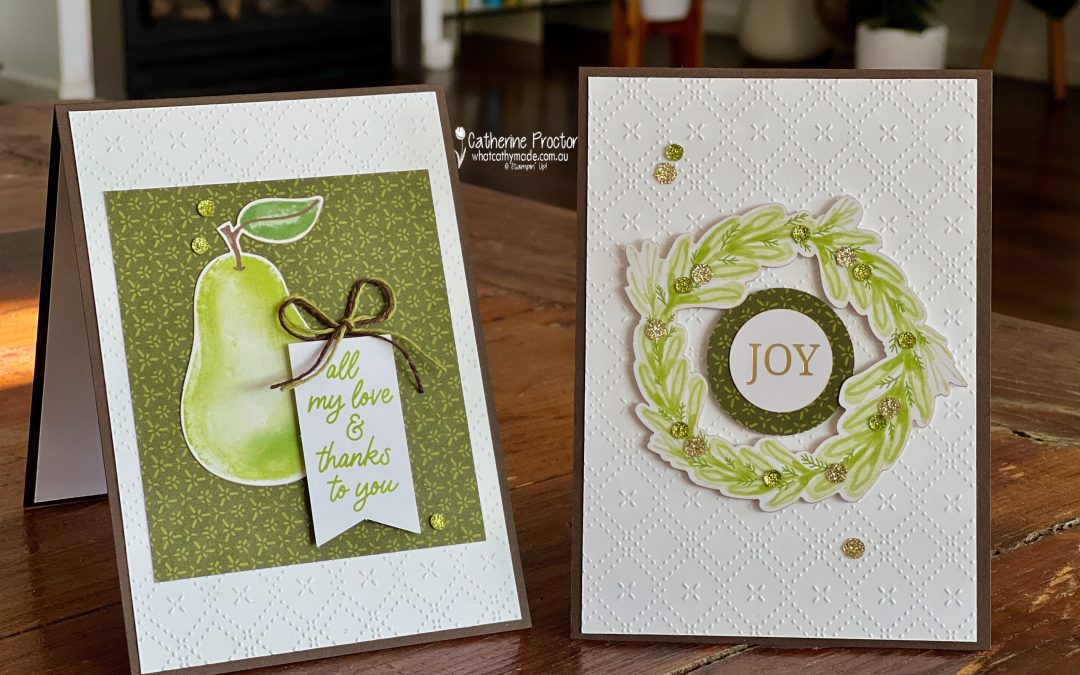
A group of the Art With Heart Team is hopping through the Stampin’ Up! colours in alphabetical order and week 25 is all about Granny Apple Green, a bright green that adds freshness and life to a project.
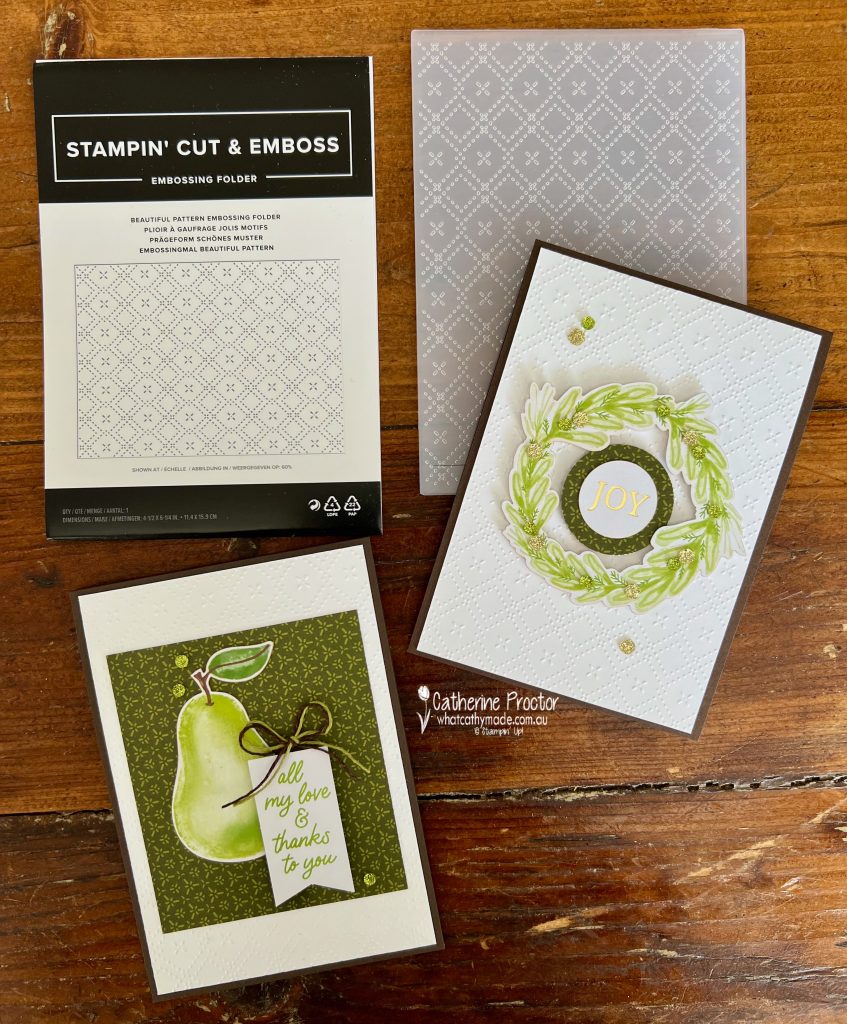
You could say that my “no stamping” cards this week have been bought to you by Stampin Up’s Ephemera packs!
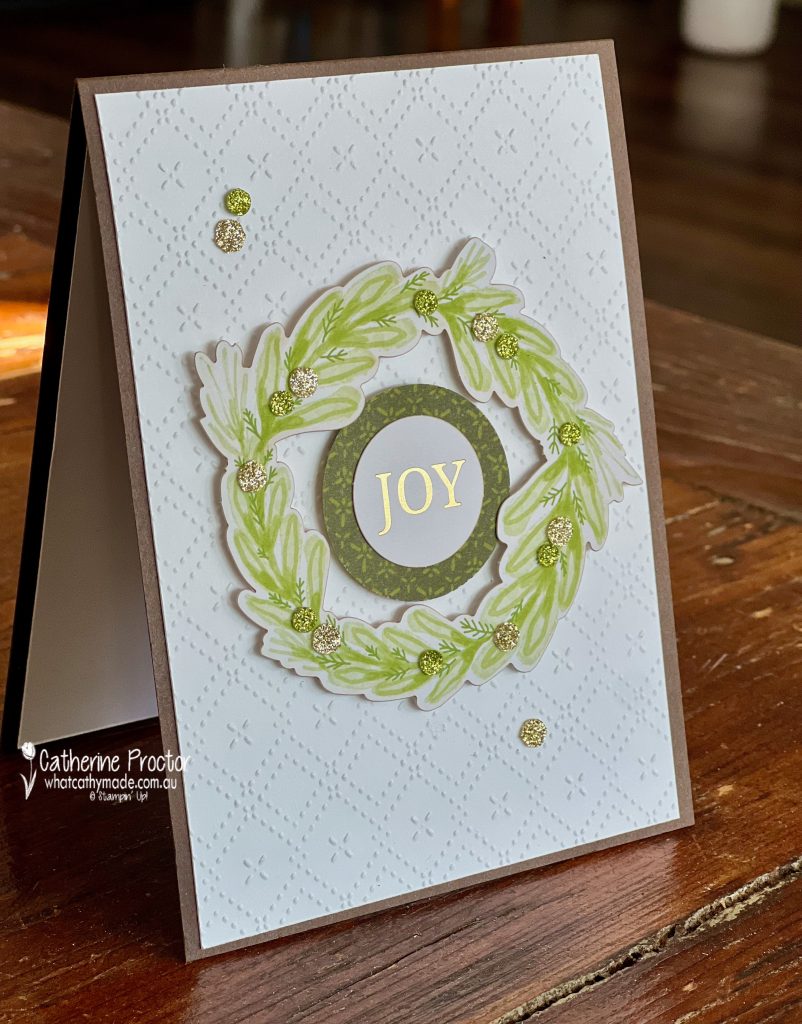
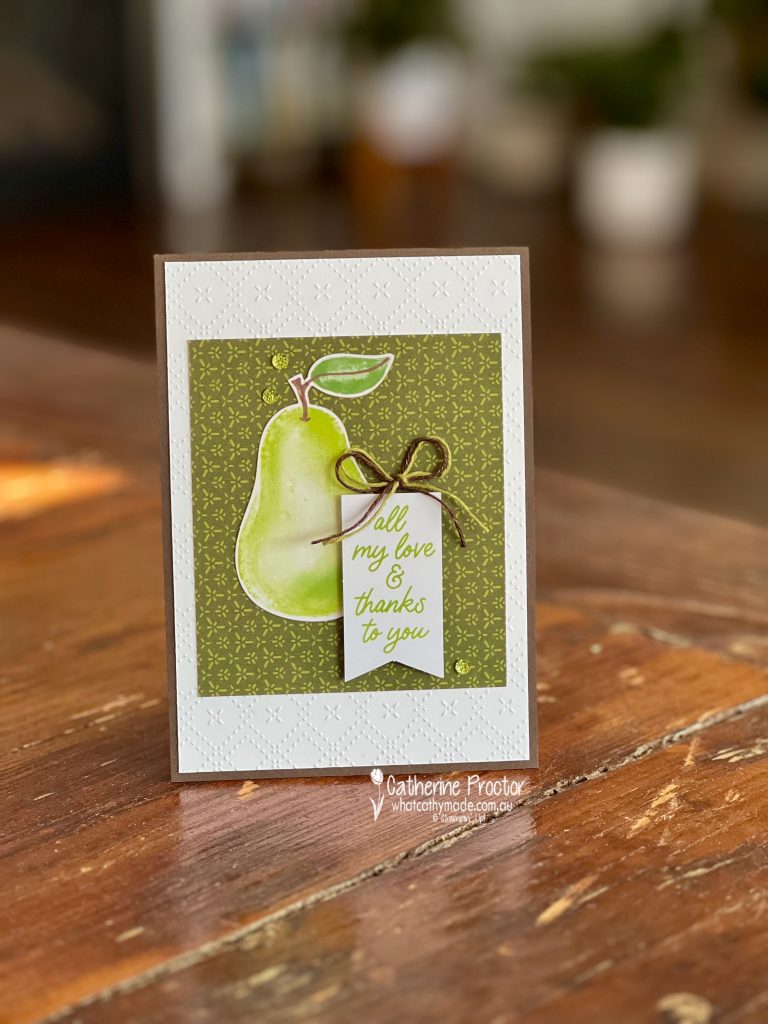
I‘ve used ephemera from the Good Times Mix & Match Ephemera Pack (the wreath and the pear), the Greetings for You Mix & Match Ephemera Pack (the joy sentiment) and the Saying Something Mix & Match Ephemera Pack (the “all my love & thanks to you” sentiment).
Both cards also feature the new Beautiful Pattern Embossing Folder (coming soon in November). I love how its stitched design adds gentle texture without overpowering the focal elements.
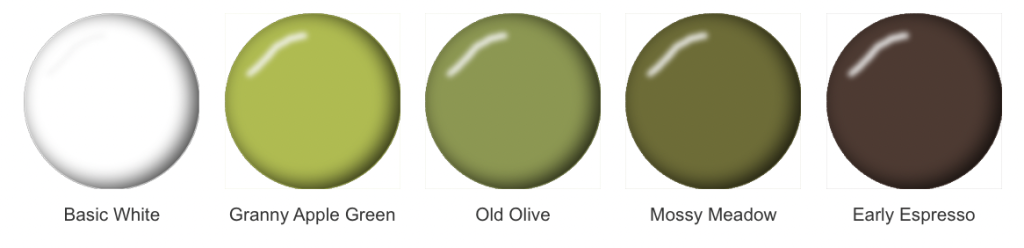
Granny Apple Colour Combination
My colour combination is inspired by the beautiful watercolour pear from the Good Times Mix & Match Ephemera Pack.
The Painterly Pears Designer Series Paper adds touches of Mossy Meadow and Old Olive too.
Granny Apple Green looks so fresh and really pops against the Early Espresso card bases and the embossed Basic White cardstock layer.
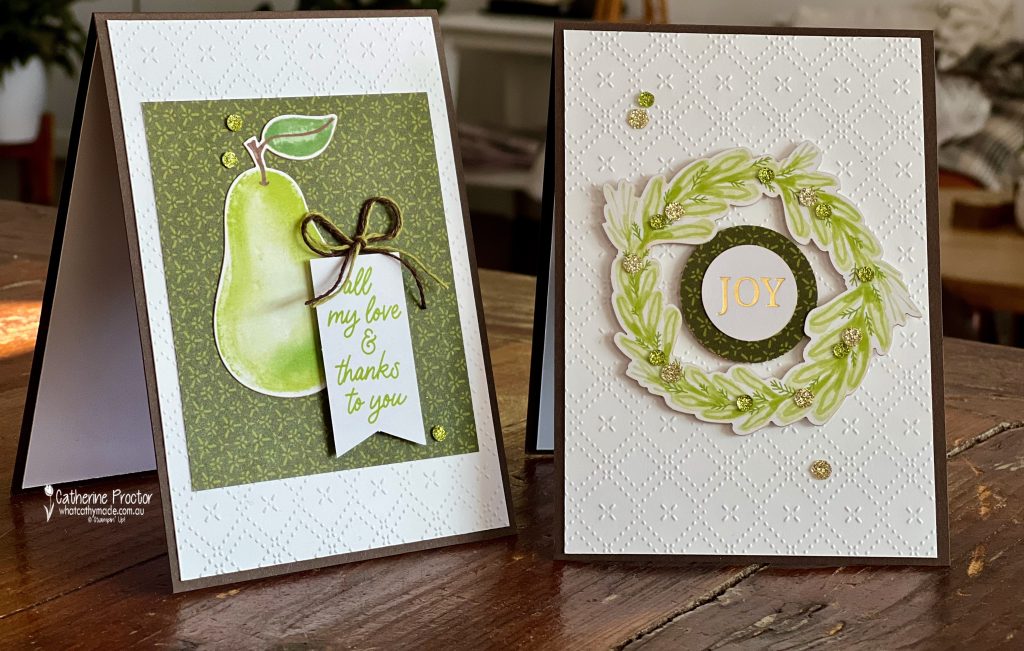
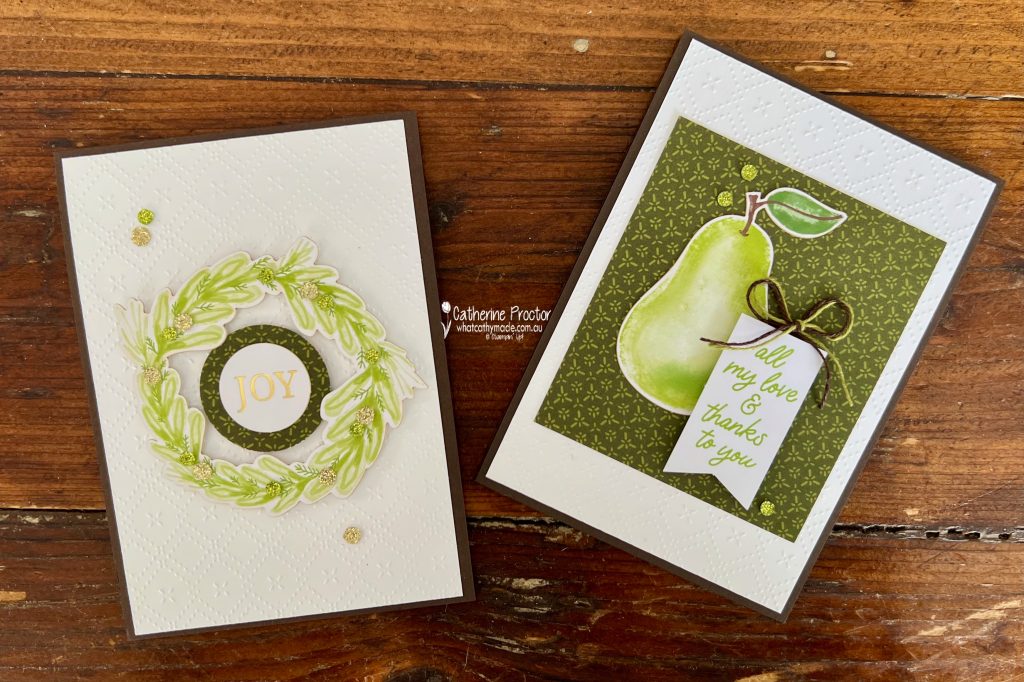
Two “No Stamping” Tent cards
When folded, the card stands upright with the fold along the top edge and the opening at the bottom, making it ideal for display.
A double bow of the Early Espresso & Old Olive Linen Thread bow ties in the organic tones of the pear beautifully. I finished both cards with a few Traditional Sparkling Sequins in gold and green for a touch of shimmer.
Take a look at some more Granny Apple Green inspiration on our Insta Hop!
Our blog hop is now an Instagram hop but the good news is that you don’t need to have an Instagram account to view all of the other projects!
Simply copy any of the Insta handles below into a new search engine window to follow the Instagram hop at any point.
Next in our Hop is Sharon @sharondaverncreates. Be sure to check out her gorgeous project/s.
The full list of this week’s InstaHop is listed below:
Kate @craftwithkate
Kirsty @crafty.littlemiss
Helen @apaperparadise
Andrea @andreaksargent
Vicki @vickiboucher
Cathy @whatcathymade – you are here!
Sharon @sharondaverncreates
We’ll be back next Wednesday when we are showcasing Gray Granite. I hope you can join us then.
Looking for some more Christmas card inspiration?
Our Heart of Christmas blog hop goes live at 8pm (EAST) every Monday night with Christmas card inspiration. This hop is a traditional blog hop (not an Insta Hop) so you can see all of the team’s creations by reading my blog and clicking through to the next person .