Welcome to Week 6 of the Art With Heart Team Colour Creations Blog Hop, featuring Azure Afternoon.
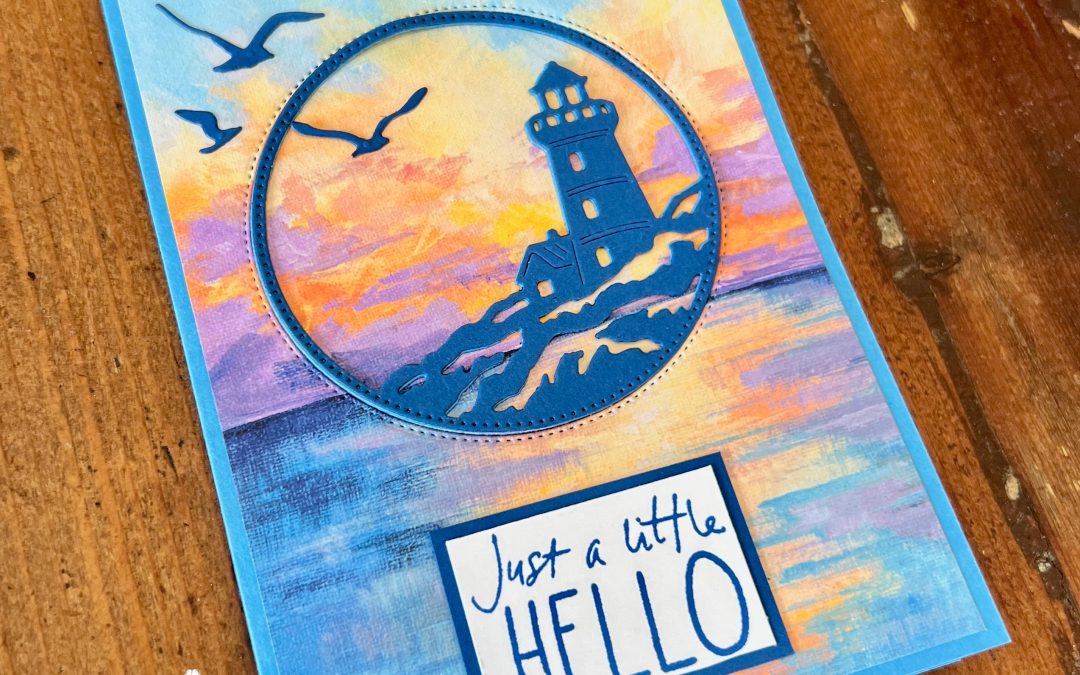
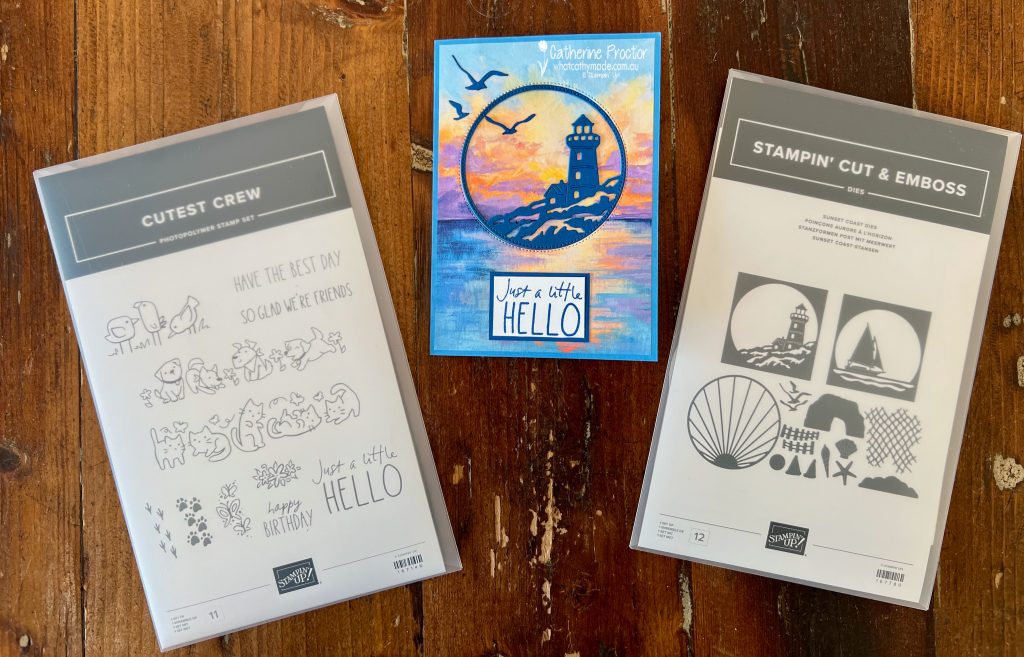
This bright, cheerful blue is one of the colours in the stunning Scenic Coast Designer Series Paper and I’ve also used the lighthouse die from the gorgeous Sunset Coast Dies. These two products are both part of the Scenic Coast Suite Collection.
As I don’t have the matching stamp set from this suite, I used the Cutest Crew Stamp Set for the sentiments, both on the card front and inside the card.
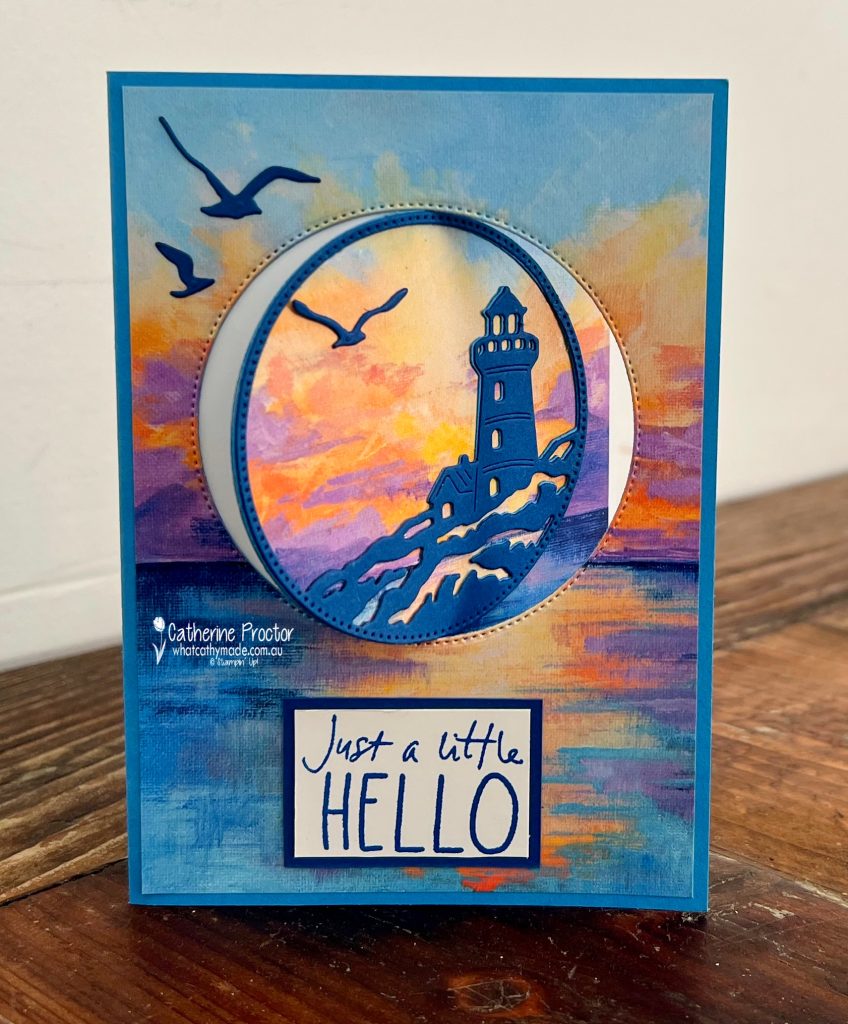
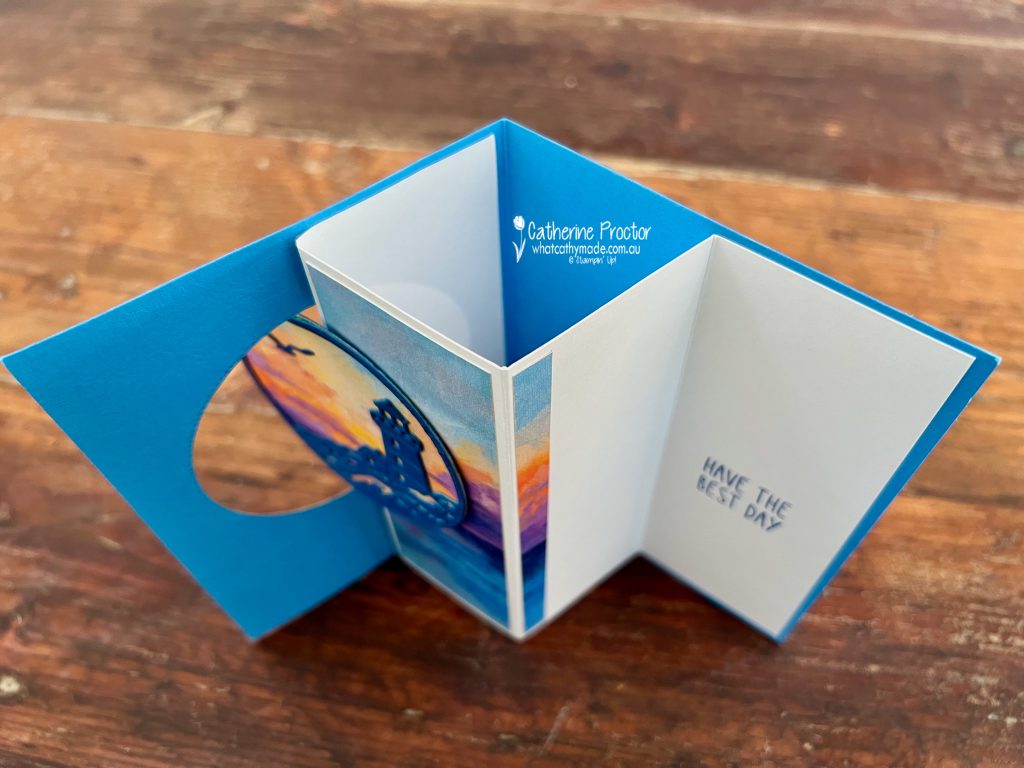
My card is a coastal-inspired Swing Fun Fold featuring a lighthouse framed within a circular aperture and set against the stunning pearlised Scenic Coast Designer Series Paper. The beautiful sunset tones in the paper create the perfect backdrop for this interactive design, while the fun fold mechanism adds an unexpected surprise when the card is opened.
This photo taken from above the card shows how the fun fold works.
The fun fold design is not mine. I was inspired by a wonderful tutorial by Cindy Lee from CindyLeeBeeDesigns. While I loved Cindy’s original concept and we used the same DSP pattern, I have adapted the project to suit the supplies I had on hand and to work with Australian A4 card stock. I changed the card stock colours, selected different stamp sets and sentiments, and converted all of the measurements from imperial to metric.
These are my measurements for the metric version of Cindy’s card.
Card Base
- Azure Afternoon card stock: 14.9 cm x 21 cm
- Score at 10.5 cm
Inside Folded Mechanism
- Basic White card stock: 14.4 cm x 20 cm
- Score at 5 cm, 10 cm and 15 cm
Designer Series Paper
- Front panel: 14.4 cm x 10 cm
- Side strip: 4.5 cm x 13.9 cm
If you’d like to see Cindy’s original tutorial, full of handy tips for assembling this fun fold card, you can watch it here:
https://www.youtube.com/watch?v=wfFefLzXVBY

The inside greeting is the “Have the Best Day” sentiment from the Cutest Crew Stamp Set. To better suit the space available, I stamped the sentiment over two lines by selectively inking only part of the stamp at a time, creating a custom layout that fits perfectly inside the card.
I had a tiny strip of the Designer Series Paper left over so I adhered it to one of the inside panels, opposite the sentiment.
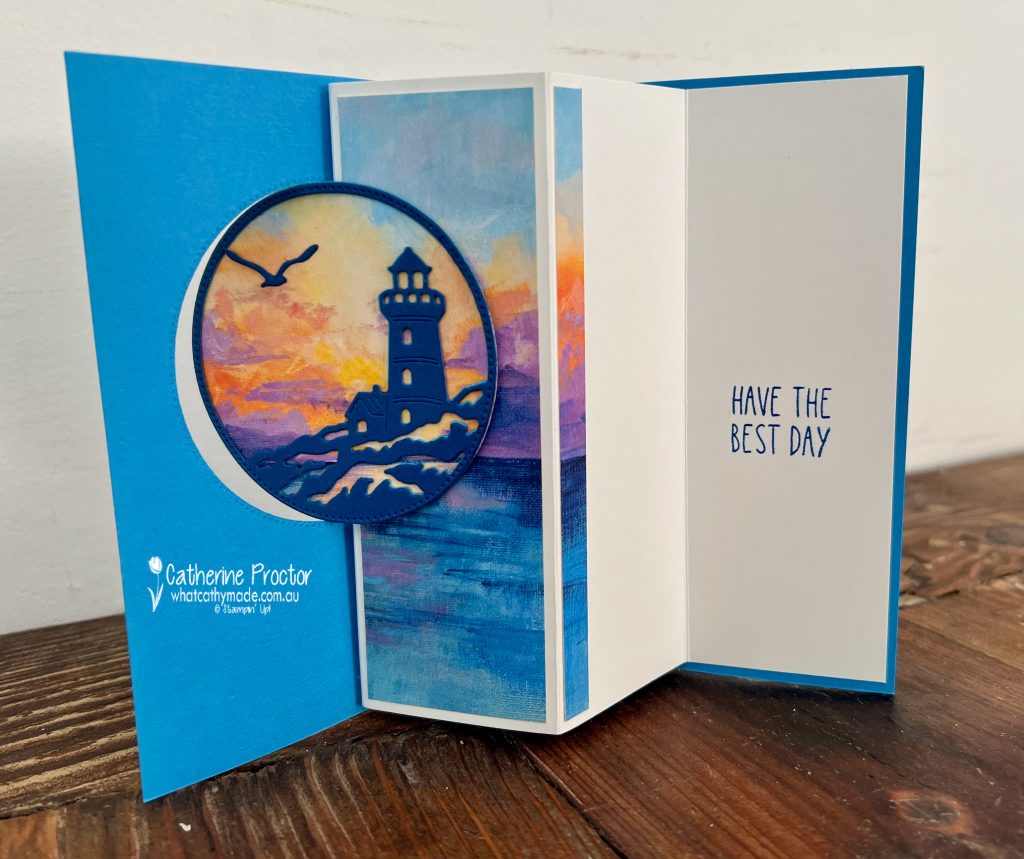
The lighthouse was originally die cut in Azure Afternoon card stock, but it blended a little too much into the background. To create more contrast, I layered a second lighthouse die cut in Blueberry Bushel, which is the colour of the darker blue tones in the Designer Series Paper.
You can just see the original Azure Afternoon card stock under the Blueberry Bushel card stock in this close up below. I love the shadow effect it gives to the card.
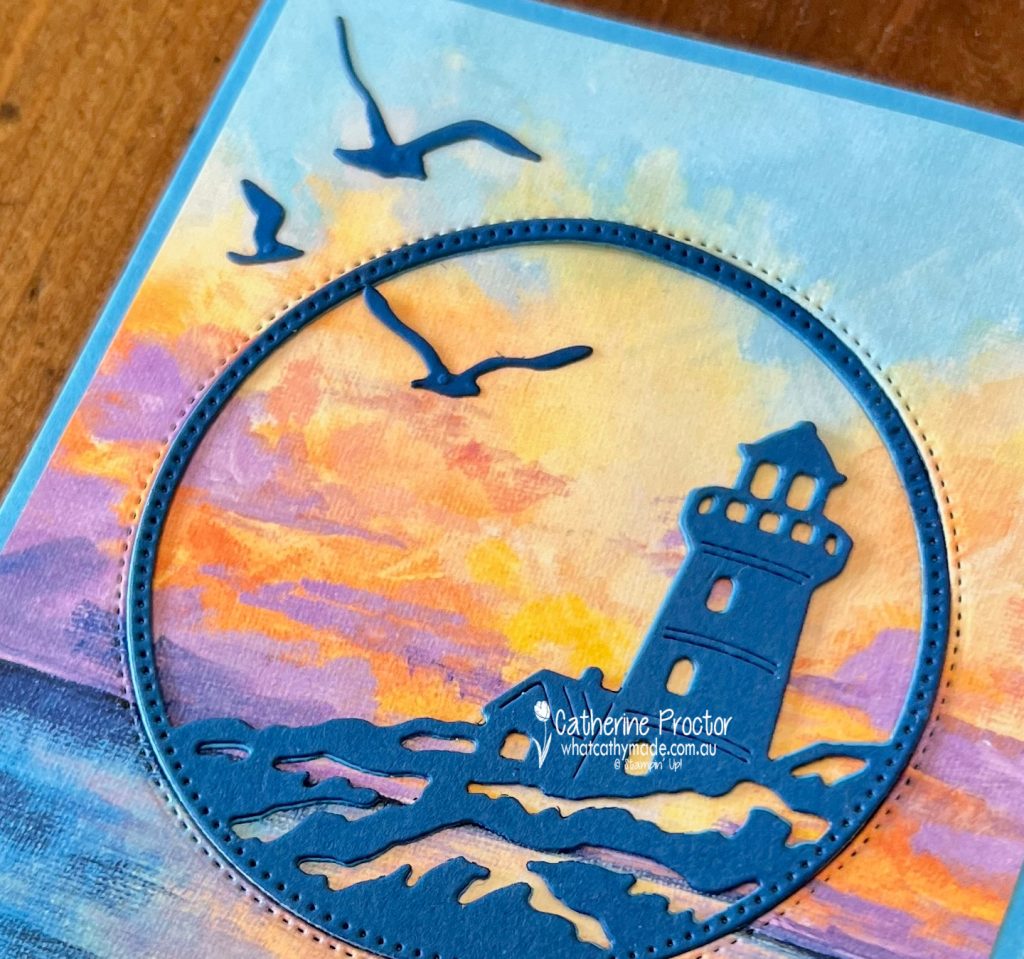
One of my favourite tips from Cindy’s video was using the largest circle from the Stylish Shapes Dies to carefully cut around the lighthouse die cut. This creates the perfect circular frame and gives the card its distinctive focal point.

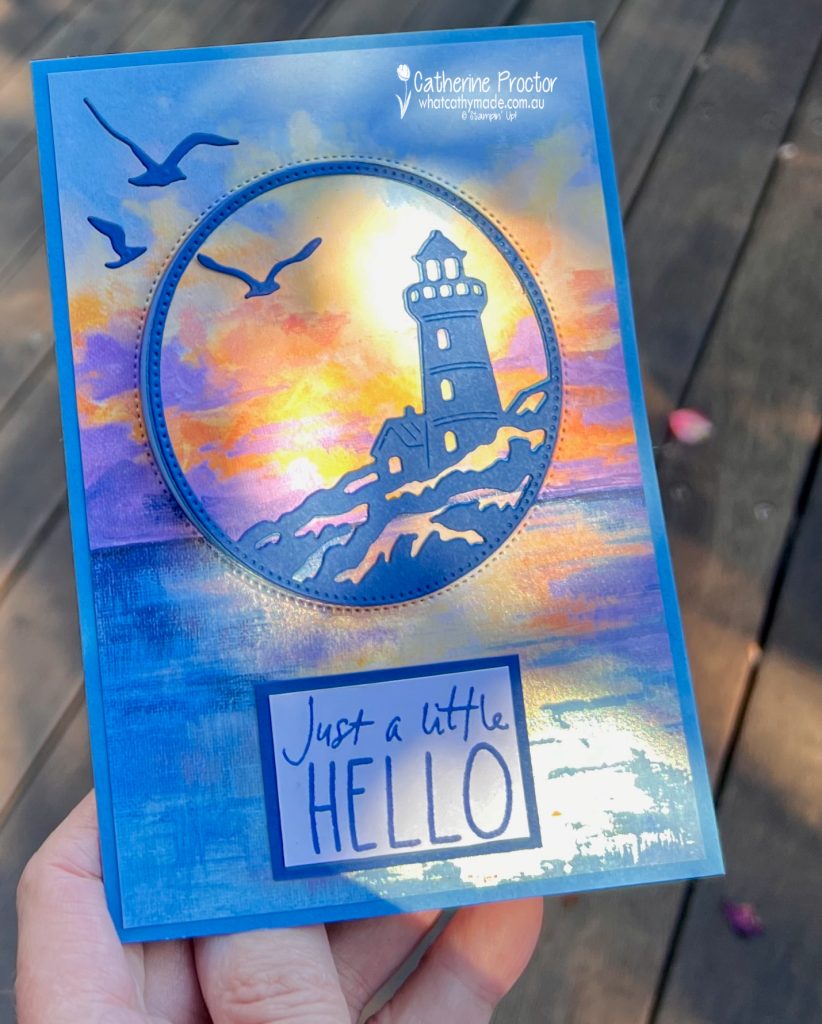
This stunning DSP has a beautiful pearlised effect that is hard to capture in a photo, but this outside photo of my card probably shows it the best.
Take a look at some more Azure Afternoon inspiration on our Insta Hop!
Our blog hop is now an Instagram hop but the good news is that you don’t need to have an Instagram account to view all of the other projects!
Simply go to my Insta handle in a new search engine window to follow the Instagram hop: @whatcathymade.
Next week we are showcasing Balmy Blue.
I hope you can join us then.