Welcome to week 36 of our 2021-22 Colour Creations blog hop! Tonight we are showcasing Pool Party from the Subtles family.
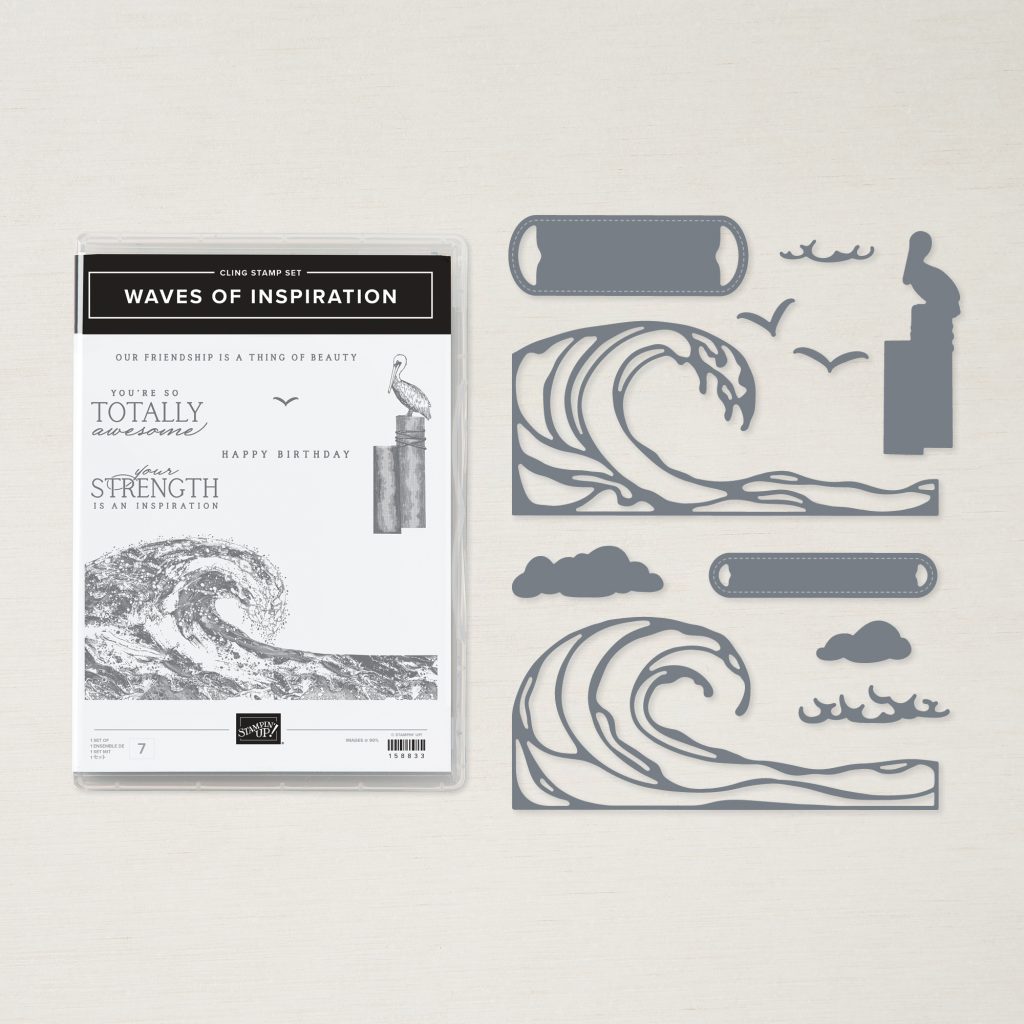
Tonight’s cards bring together the free Simply Marbleous SALE-a-bration DSP with a brand new bundle that I am super excited about. The Waves of Inspiration Cling Stamp Set and Waves Dies are an early-release product from the 2022–2023 Annual Catalogue and will be available to purchase from March 1.
From 1 March – 2 May there will also be a limited release foil pack (two sheets each of Night of Navy, Coastal Cabana and Silver foil), rhinestone embellishments and the most spectacular Waves of the Ocean 12″ x 12″ (30.5 x 30.5 cm) Designer Series Paper. I can’t order the Waves of the Ocean DSP until next week, but this 3 minute video gives you a sneak peek of all of these these stunning products.
My husband and my boys really do live to surf so I know I will get a lot of use from this set! We are lucky enough to live at one of the best surfing beaches in Australia and surfing is such a wonderful activity they enjoy all year round. This Waves of the Ocean collection is definitely one I will keep and use forever.
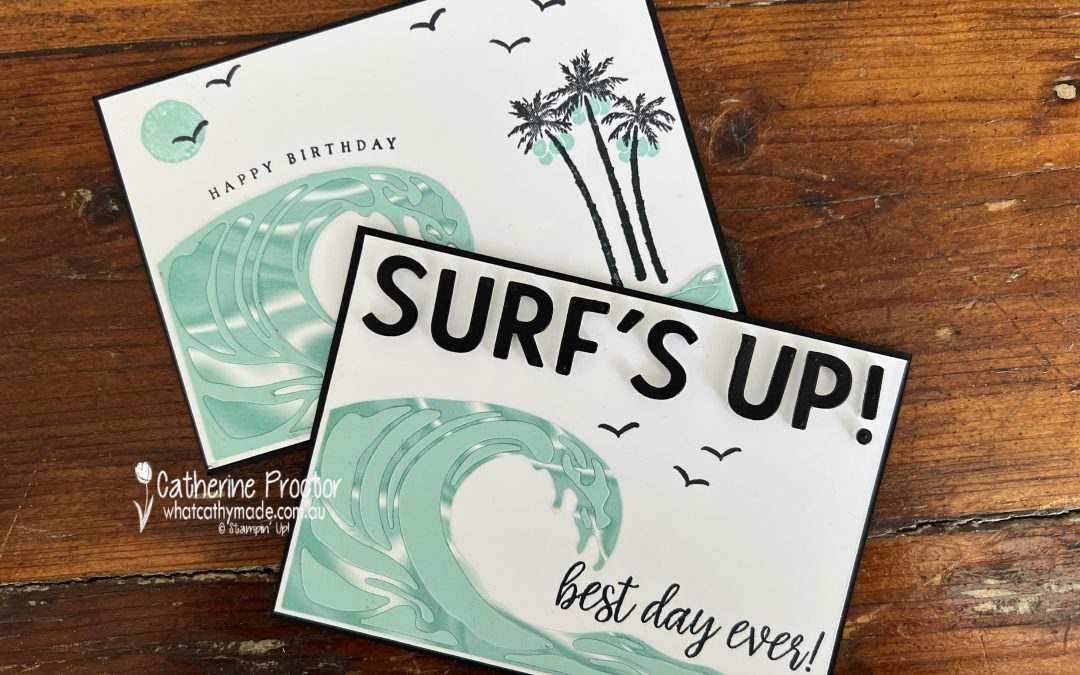
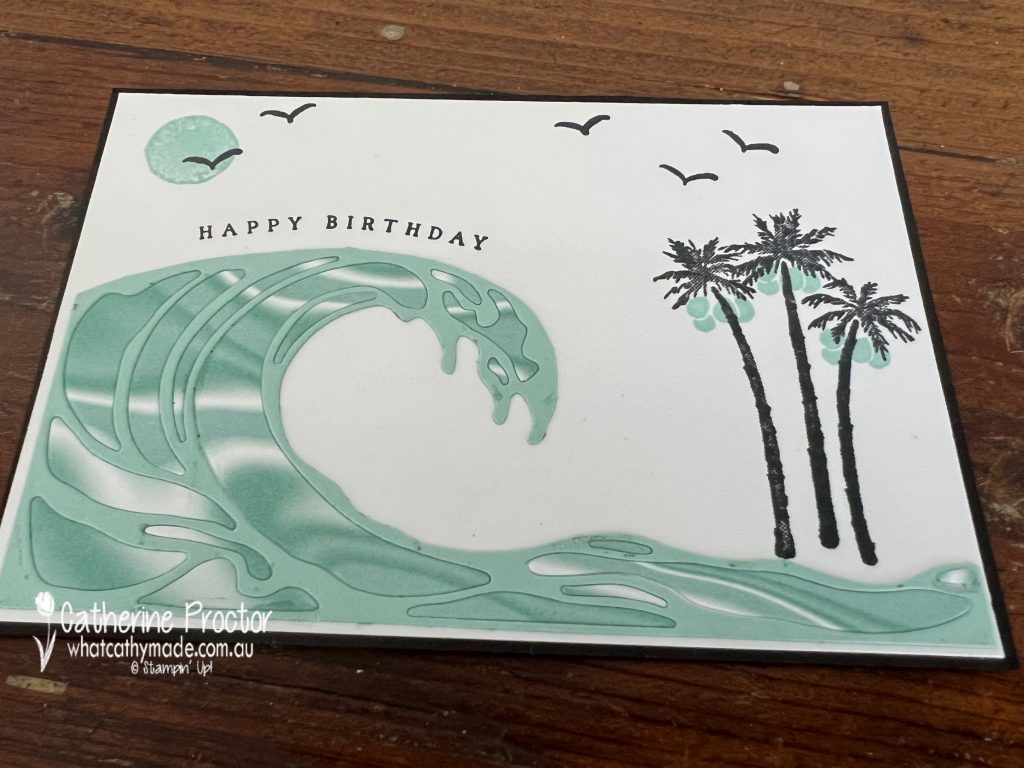
The cards I’ve made for today use a pared back colour palette of Pool Party with Basic Black and Basic White.
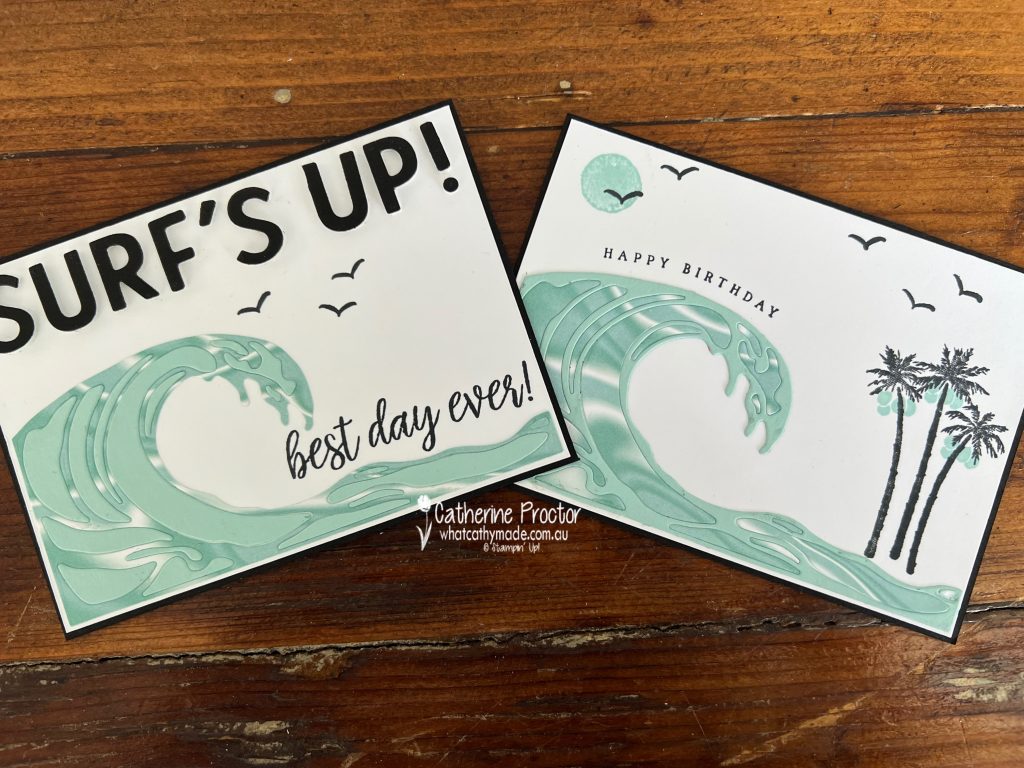
Whenever I use the die inlay technique I always make two cards so as not to waste the negative images from either die cut.
Die Inlay Technique, step by step
Adhere adhesive strip to one side of a 14×7 cm piece of Pool Party card stock and the reverse side of a 14×7 cm piece of Simply Marbleous DSP.
Use one of the large wave dies to cut a wave from the Pool Party card stock – do not throw away any of the negative pieces.
Use the same wave die to cut a wave from the Simply Marbleous DSP, again keeping the negative pieces.
Adhere the wave outline to the card base and then use the negative pieces from the other die cut wave to fill in the wave.
Repeat for the other card, using the cardstock and DSP in reverse.
The “Happy Birthday” sentiment is from the Waves of Inspiration stamp set – I gently curled the sentiment onto the acrylic block to fit around the wave before stamping. The palms and coconuts are from the new Paradise Palms stamp set and the birds and the sun are from the Waves of Inspiration stamp set.
Can you have a Pool Party sun? I hope so, because didn’t want to introduce another colour into the colour palette.
The Simply Marbleous DSP really does look so realistic for waves, capturing the way light falls across a wave, as well as all the froth!
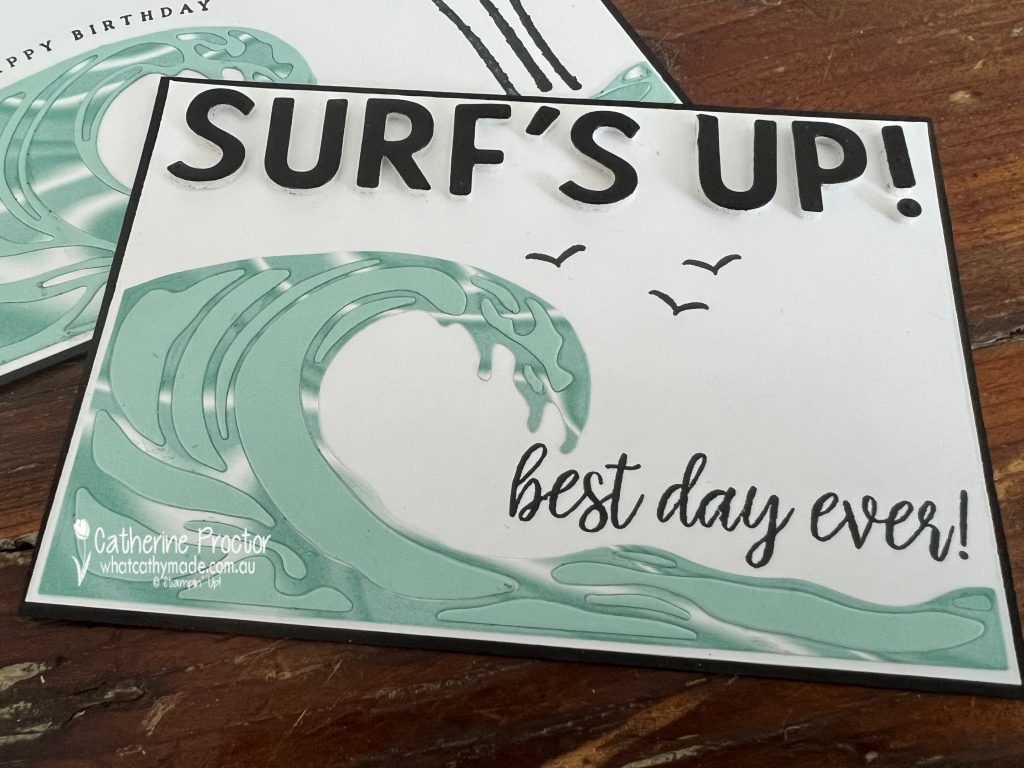
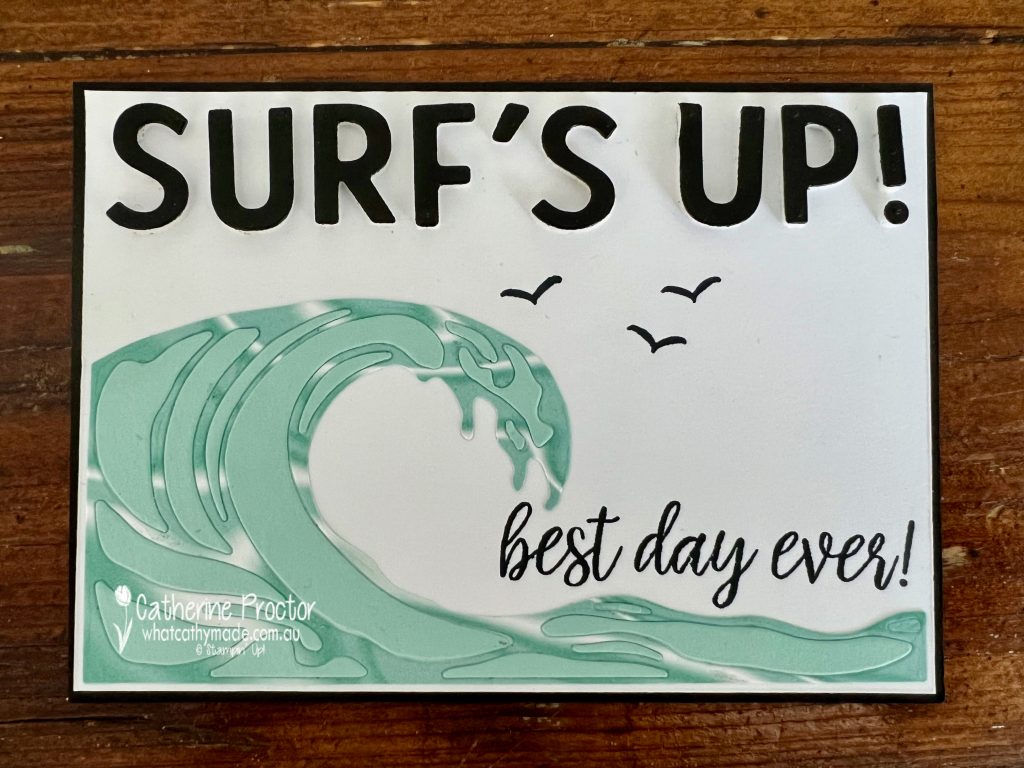
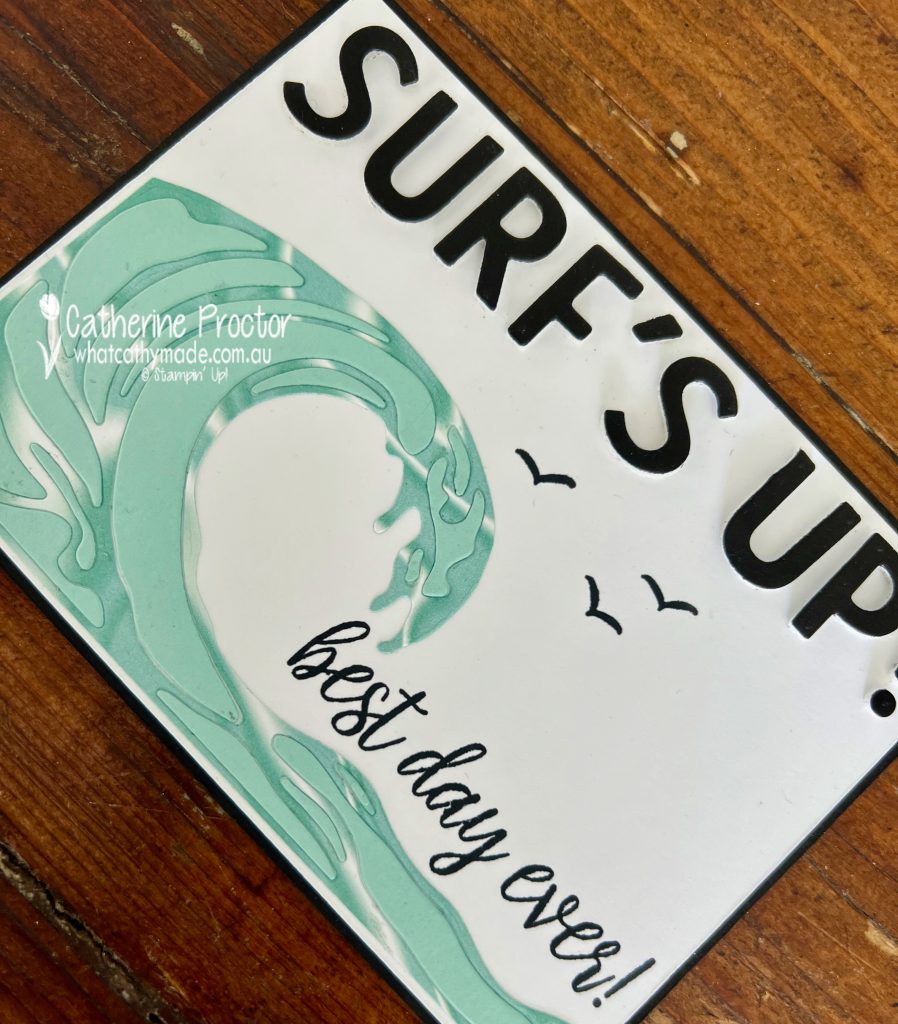
Card two uses the die offcuts from card one and the “best day ever” sentiment from the Sweet Symmetry stamp set. This is exactly what my boys would say if the waves were pumping like this and they got to ride them all day!
The Playful Alphabet dies are perfect for creating a custom word or phrase on a card – in this case it’s “Surf’s Up!”
Now it’s time to hop on over to our next participant, the lovely Kate Morgan– I can’t wait to see what Kate has made this week!
If at any time you find a broken link, you can find the complete list of all participants below.
Love is in the air this week with Valentine’s Day today, but more importantly in my household, it’s my wedding anniversary on Thursday!
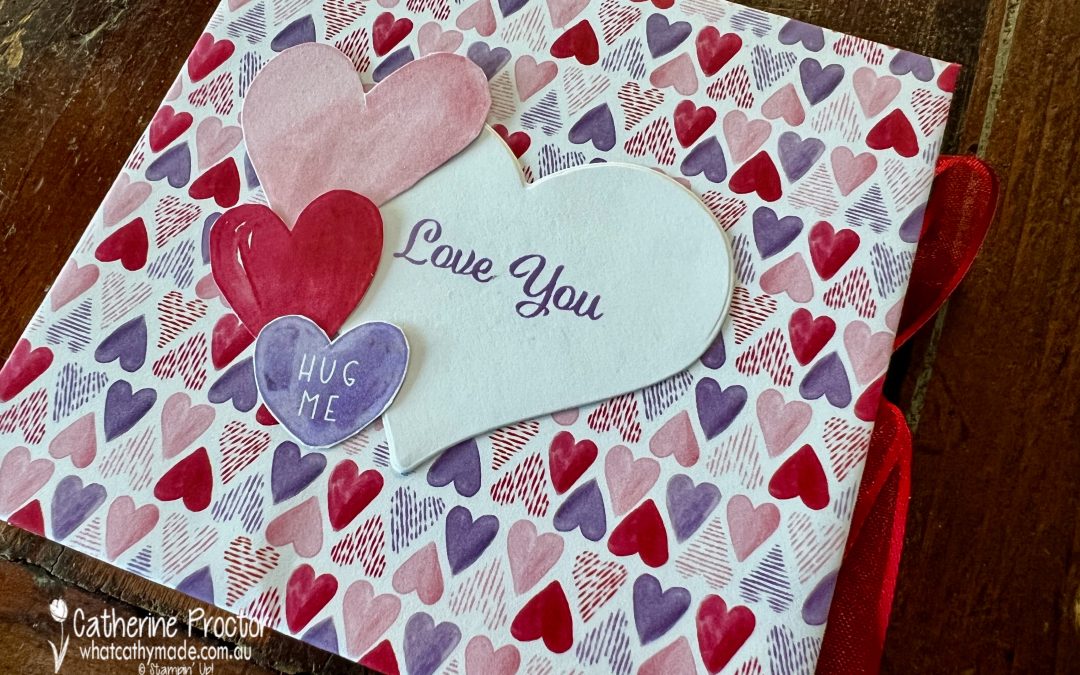
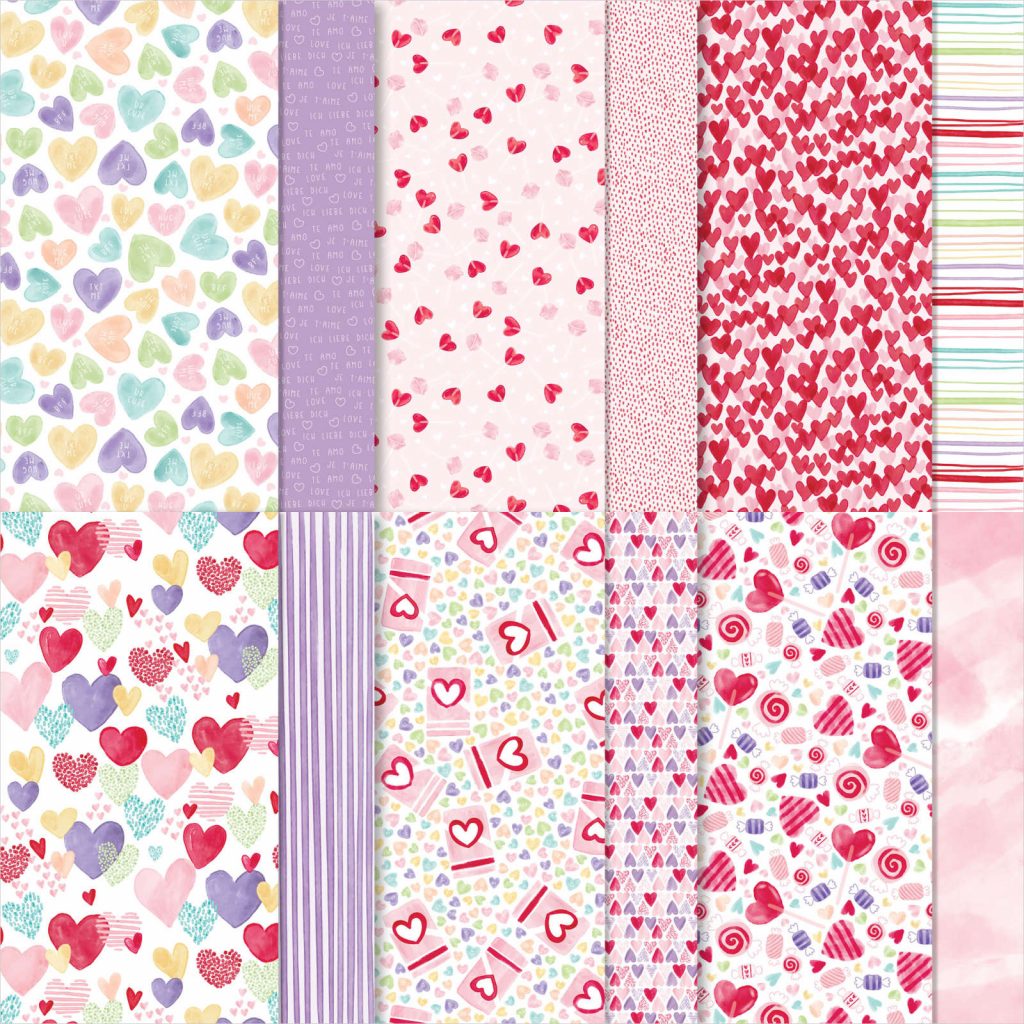
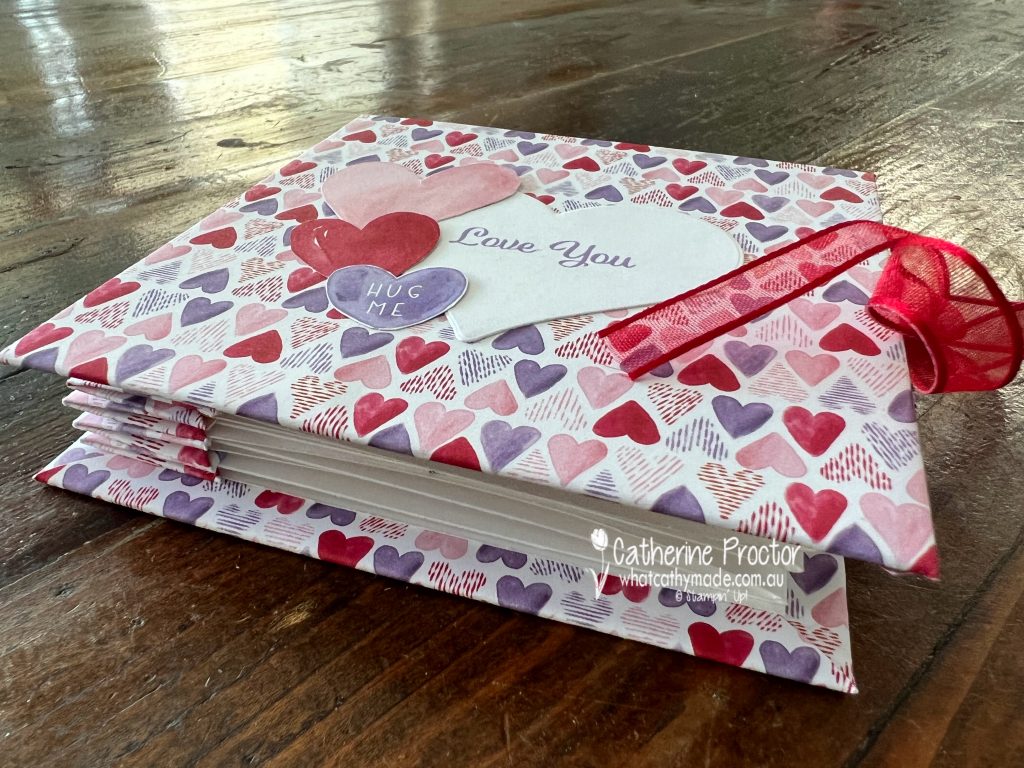
This month, our AWH Creative Wow Tutorial group decided to create projects that celebrate love in all its variations. I decided to create a mini album using the gorgeous Sweet Talk Designer Series paper.
If you’ve never made a mini album before, give this one a try. It’s quick and easy to make and very addictive! Although the Sweet Talk DSP is a 12” x 12” DSP, because of the way the DSP is cut, you can also use a 6×6 DSP to make this album.
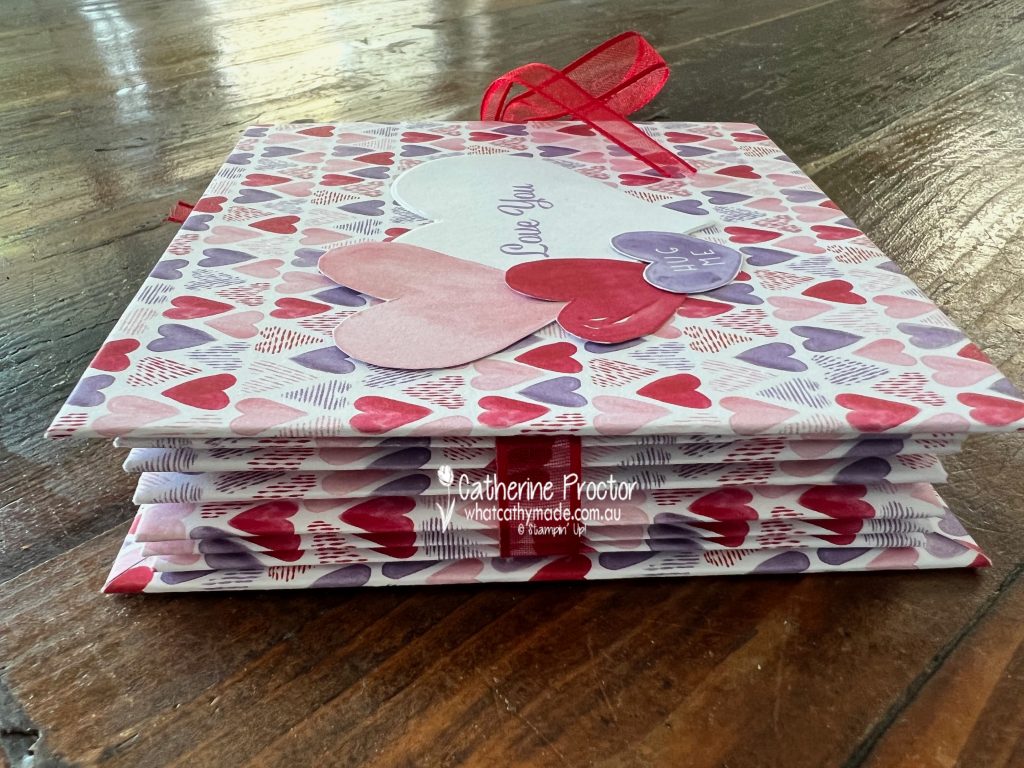
This is what the hinge mechanism looks like from the outside edge of the album.
Once you’ve made this album and understand how the hinging system works, it’s easy to change the size of the album and of course you can make this with any DSP and decorate it any way you like.
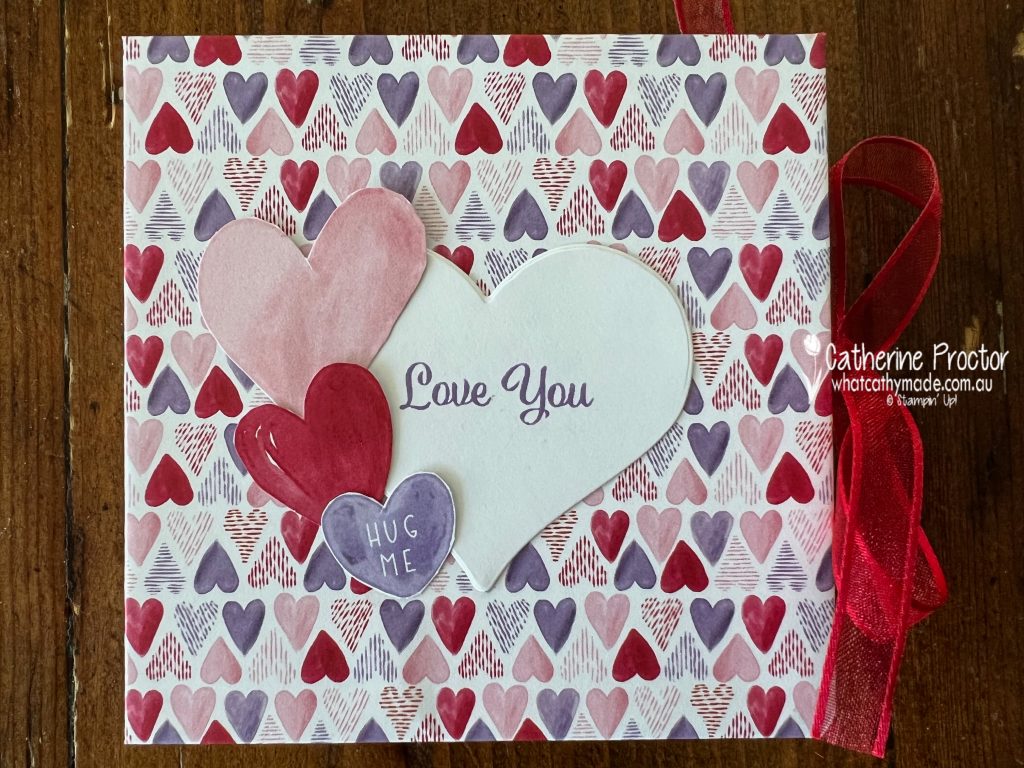
I’ve fussy cut some hearts from another pattern in the Sweet Talk DSP and stamped the “Love You” sentiment from the Plentiful Plants stamp set onto a heart I die cut with the Bouquet of Love Hybrid Embossing Folder.
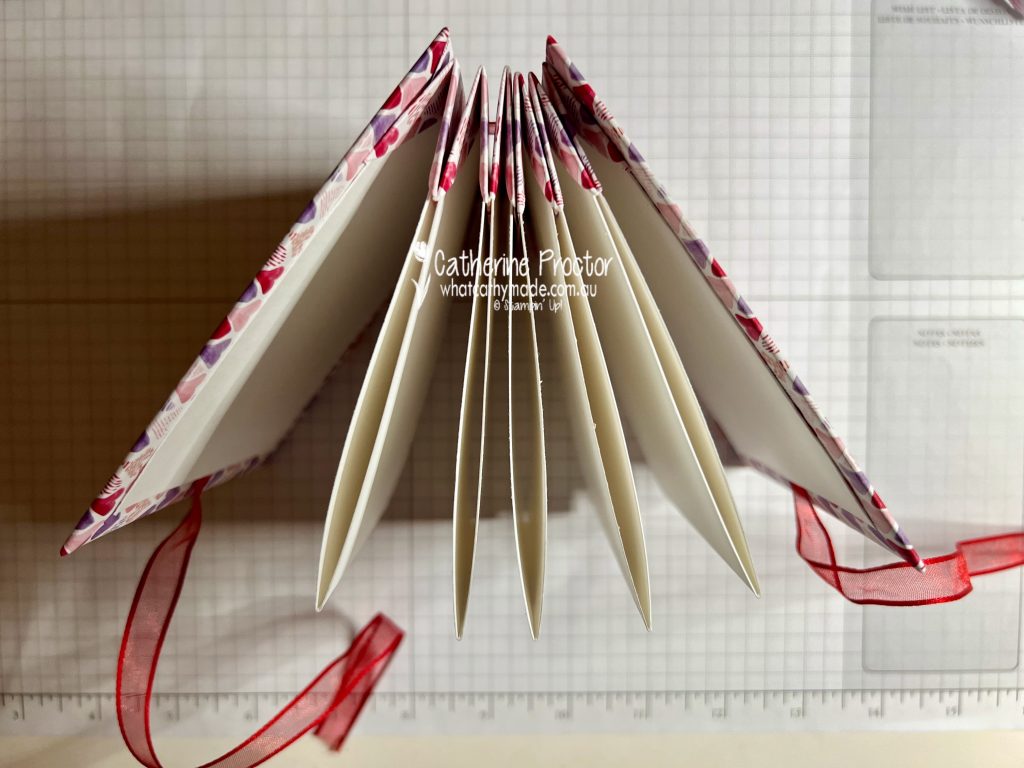
I will scrapbook the inside pages of my mini album later – you might prefer to decorate the inside pages before you insert them into the hinges. This photo gives you a better idea of what the hinges look like.
The album is wrapped with a ribbon and closed with a bow – you can use any ribbon to match the Designer Series Paper you are using.
The February AWH Creative Wow Tutorial bundle has the detailed instructions to make this album, as well as five other projects and is available on my tutorial page. You can purchase all of the products you need to make this project in my Stampin’ Up! Online Store.
If you’d like me to post you your very own copy of the 2022 Sale-a-bration Catalogue, the January – June 2022 Mini Catalogue, the 2021-22 Stampin Up! Annual Catalogue or to simply find out about more about Stampin’ Up! contact me.
I’ll be back on Wednesday night with the AWH Colour Creations team and we will be showcasing Pool Party.
In the meantime, wherever you are in the world, stay safe, stay calm…and keep on crafting xxx
Welcome to week 35 of our 2021-22 Colour Creations blog hop! Tonight we are showcasing Petal Pink from the Subtles family.
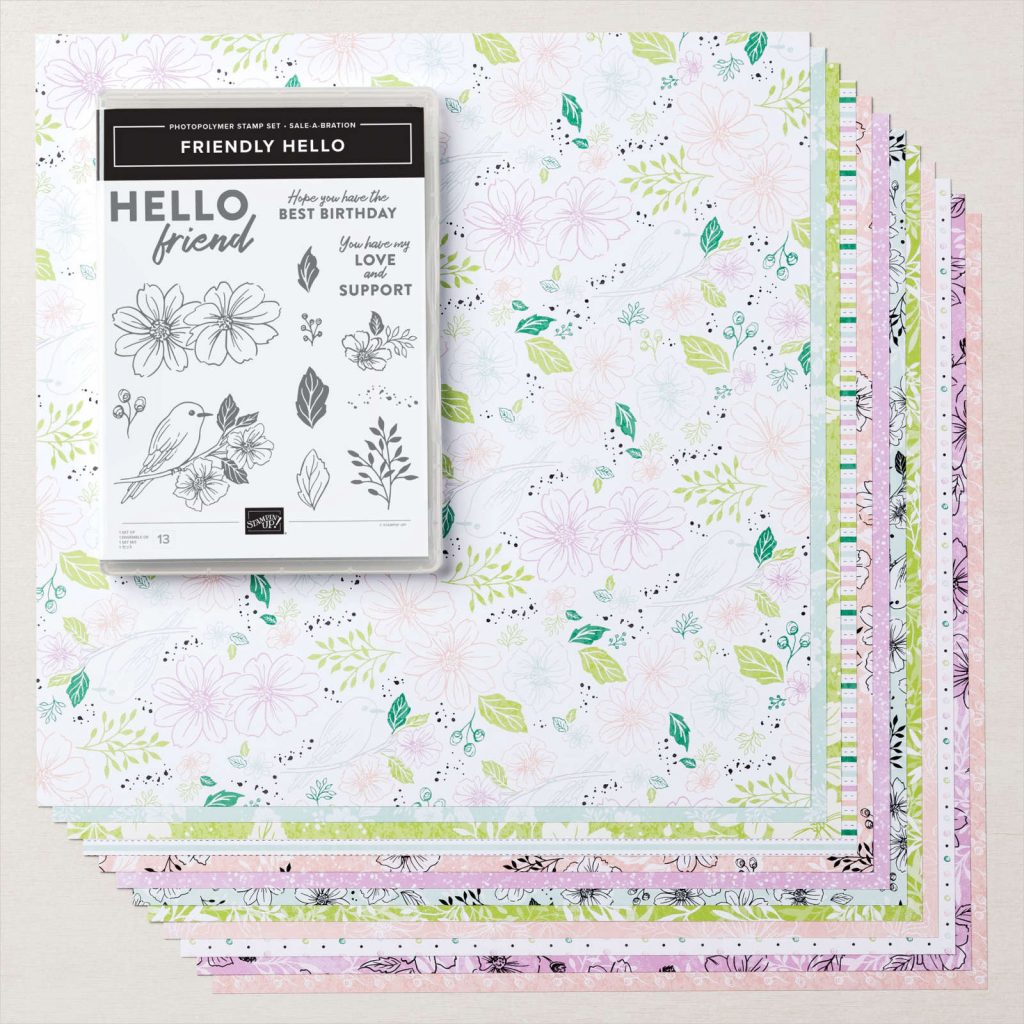
My cards tonight use the stunning Friendly Hello Designer Series Paper and the Friendly Hello Stamp Set from the The Friendly Hello Bundle, which is one of the free SALE-a-bration products.
The Friendly Hello DSP is so versatile. Some images from the stamp set are designed to be stamped directly onto the paper, some of the papers are printed to look like they have already been stamped on and all the designs can just be used as they are.
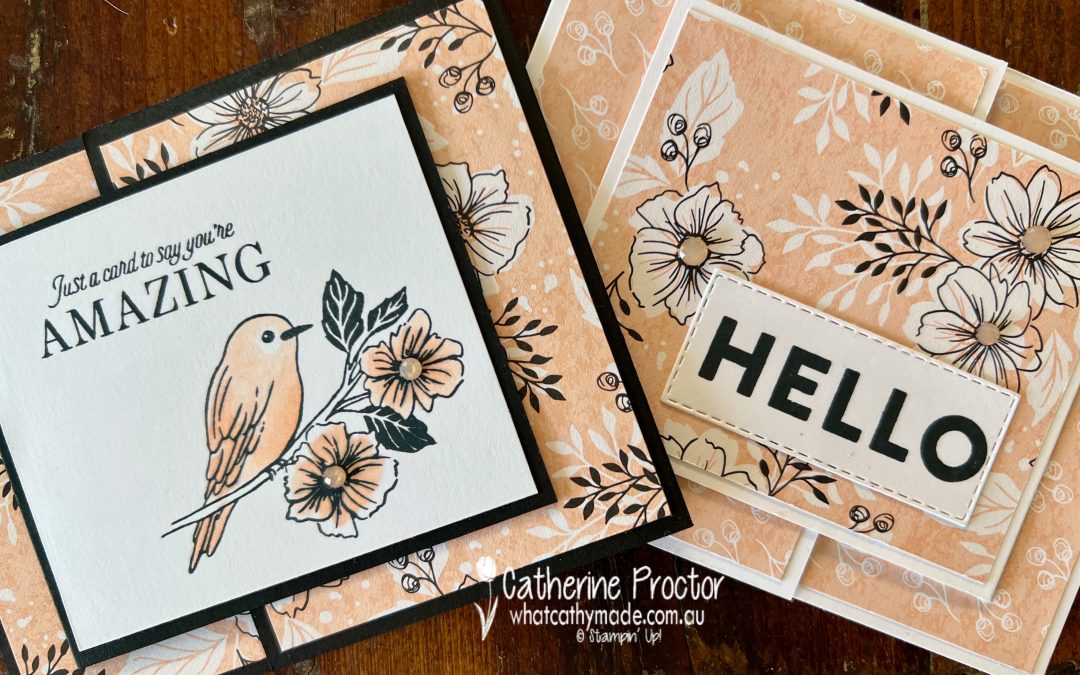
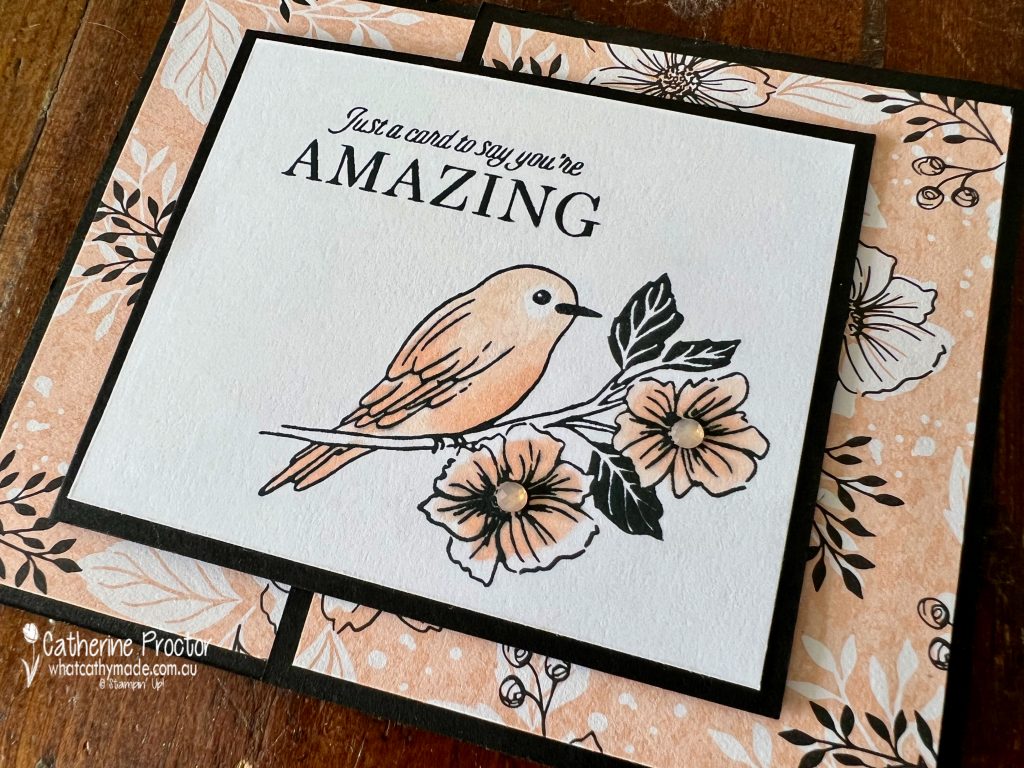
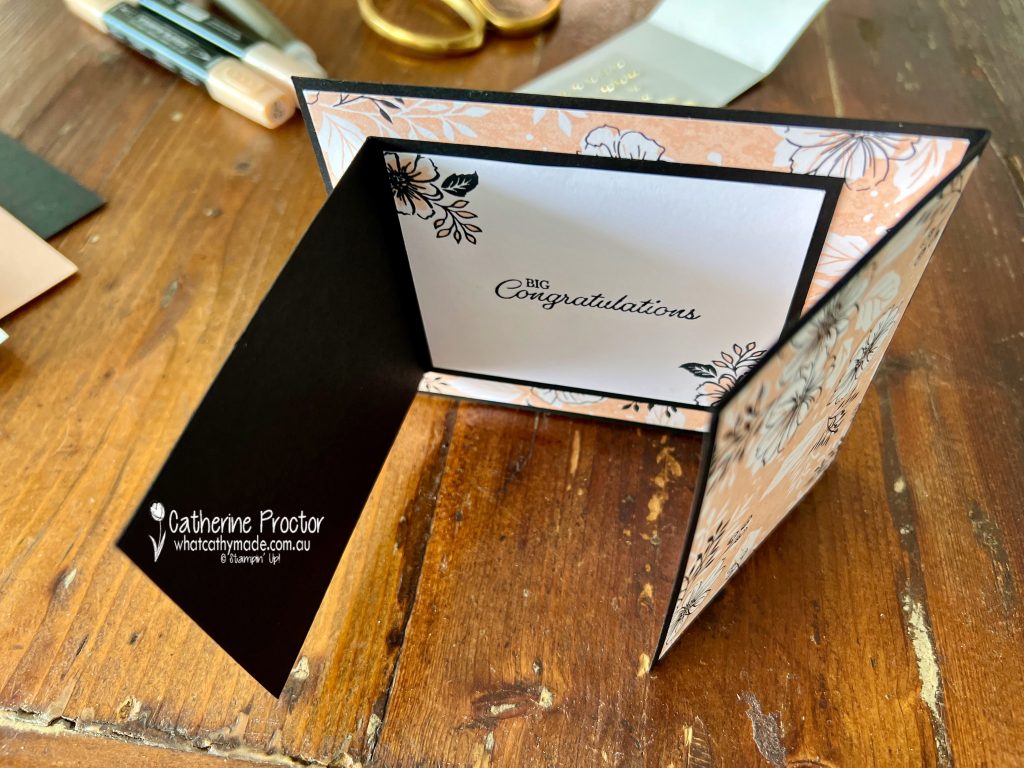
To showcase this beautiful DSP I’ve made a couple of “joy fold” fancy fold cards. This simple fancy fold is a “smaller card within a card”, with the front flaps overlapping and it is a great fancy fold for using beautiful DSP.
This 30 second video shows you how this fancy fold works.
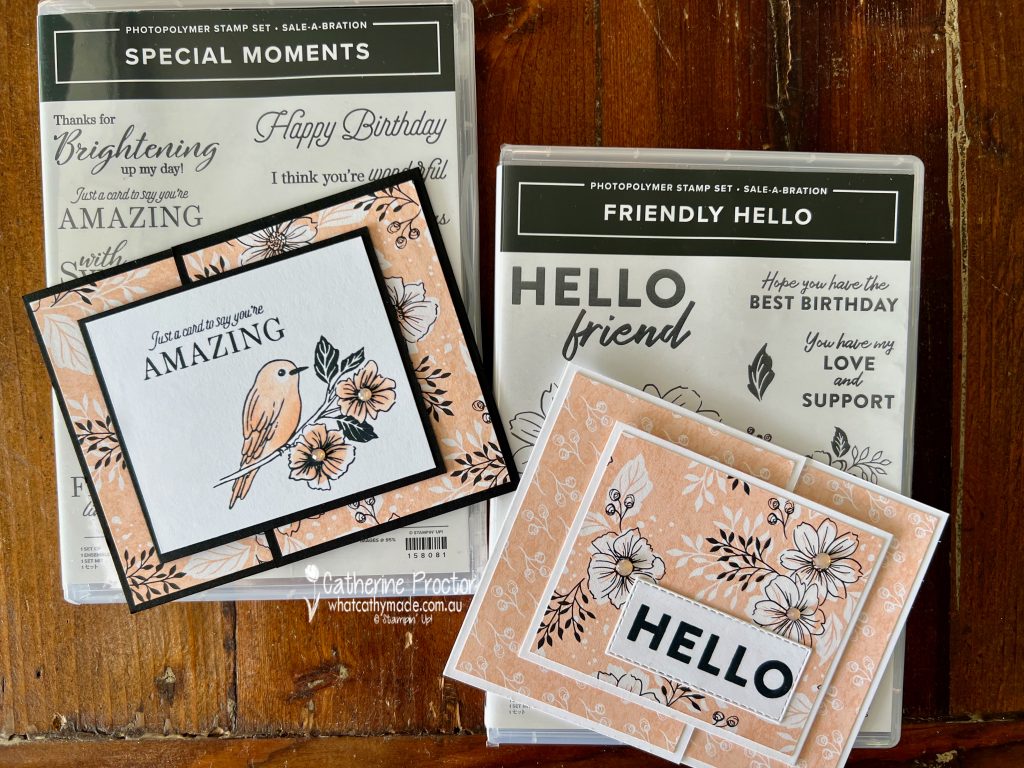
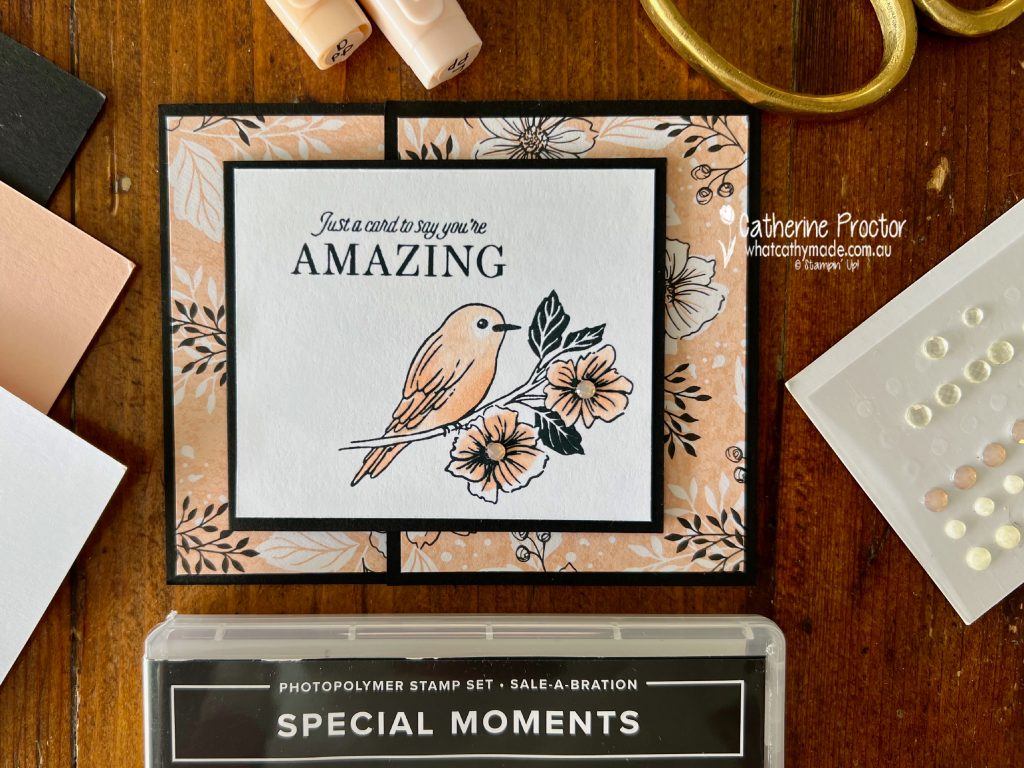
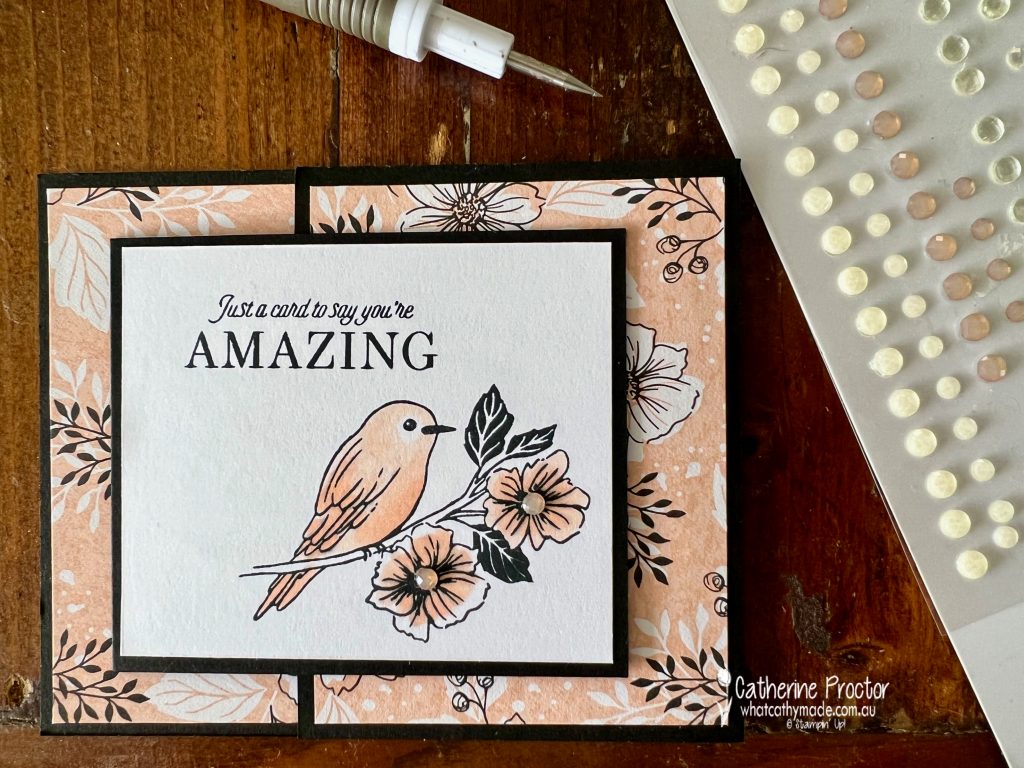
Card one is on a Basic Black card base with the top card opening to the left and the base card opening to the right. Instead of using DSP on the front of the top card, I stamped the bird from the Friendly Hello stamp set and the sentiment from the Special Moments stamp set, another free SALE-a-bration stamp set.
I quickly coloured the bird and the flowers using light and dark Petal Pink Stampin’ Blends.
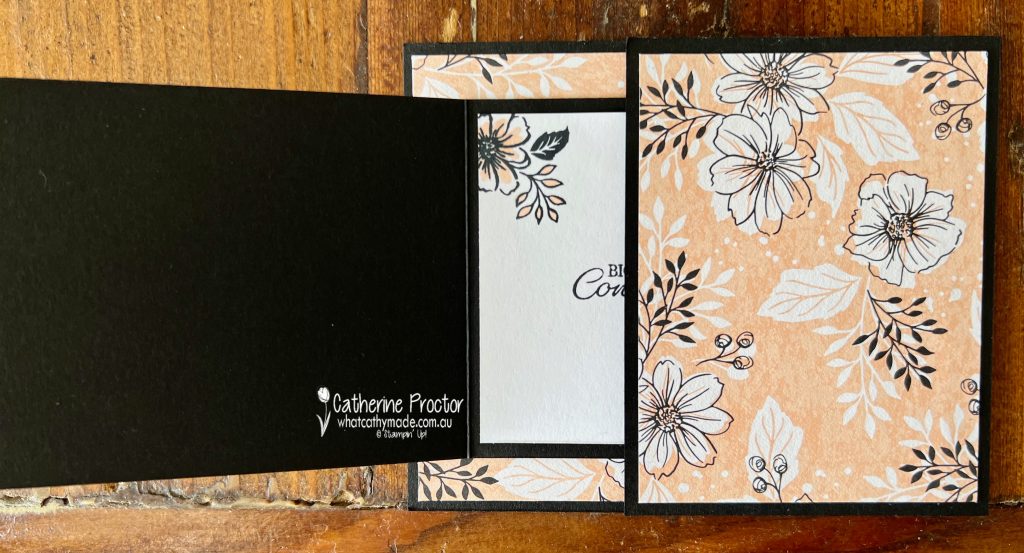
Here is how my joy cards look as you open up the front flap…
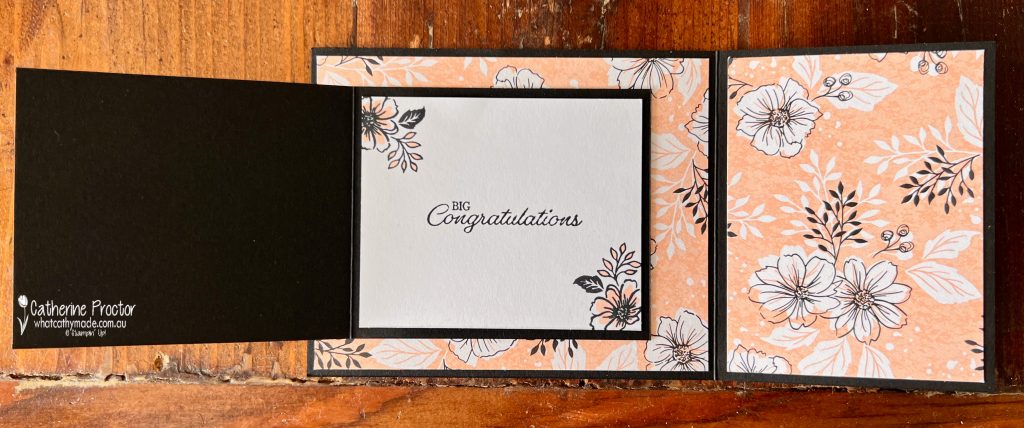
…And the middle flap. This inside sentiment is also from the Special Moments stamp set.
And from above!
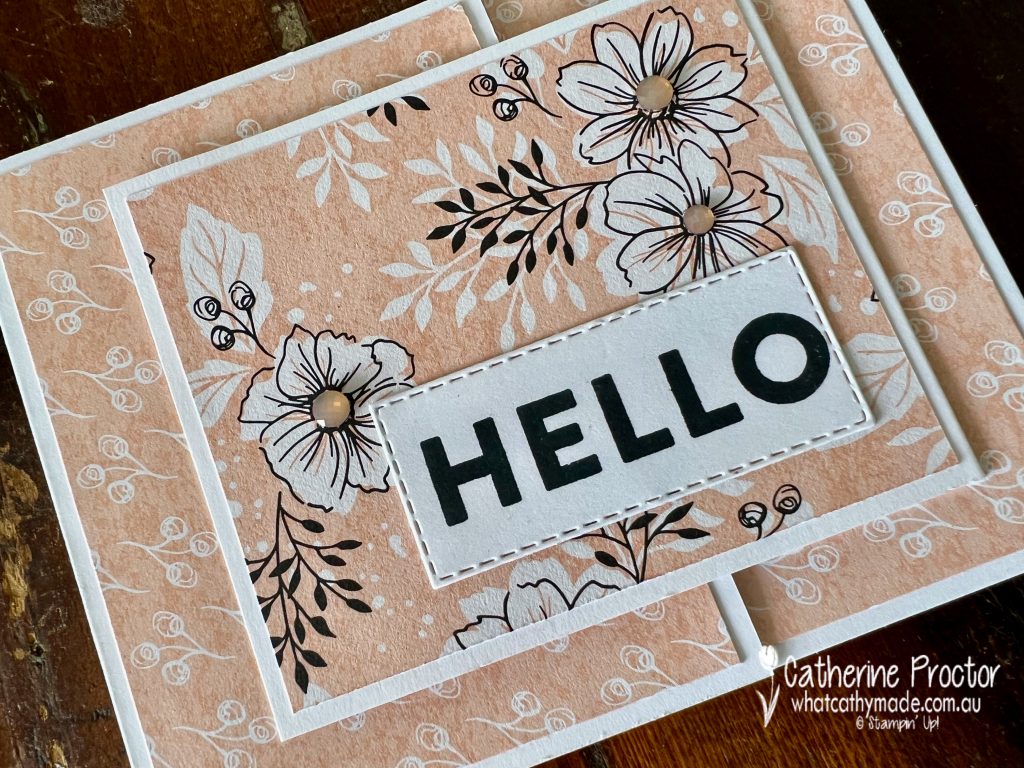
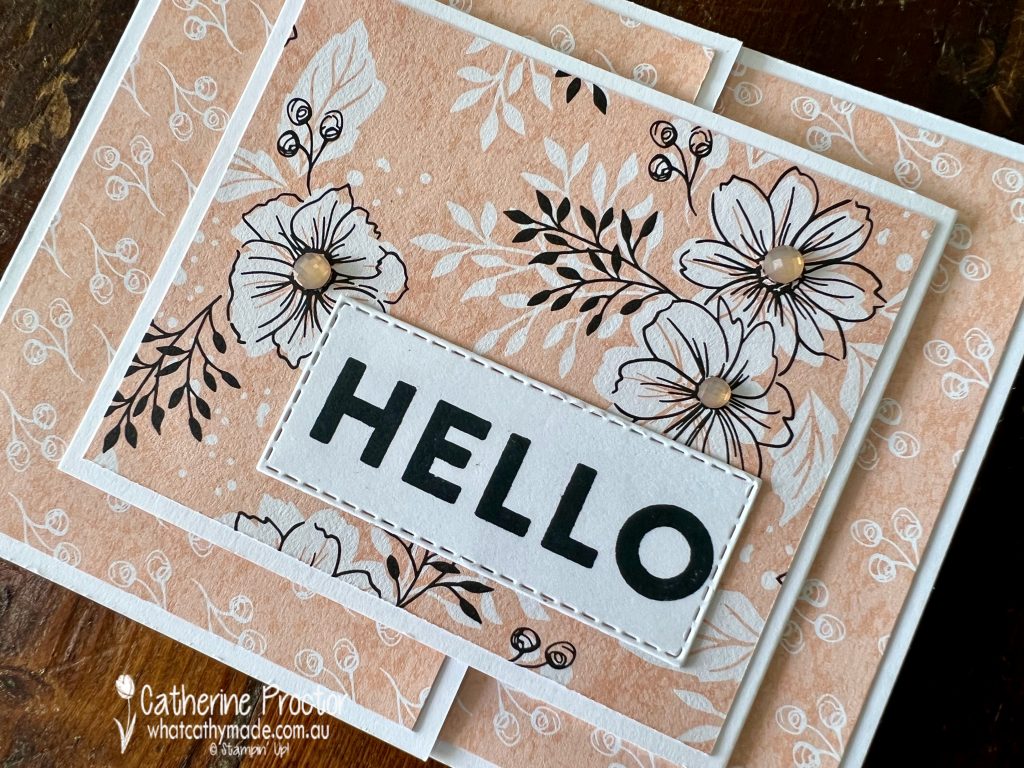
My second card is on a Basic White card base with the top card opening to the right, the base card opening to the left and DSP on the front flap.
To create the “Hello” sentiment I used a Post It note to mask off the word “friend” from one of the Friendly Hello stamps, inked up the stamp and them removed the post it note BEFORE stamping the sentiment onto Basic White card stock.
Both cards are embellished with the Petal Pink Elegant Faceted Gems.
Now it’s time to hop on over to our next participant, the lovely Christine Blain– I can’t wait to see what Christine has made this week!
If at any time you find a broken link, you can find the complete list of all participants below.
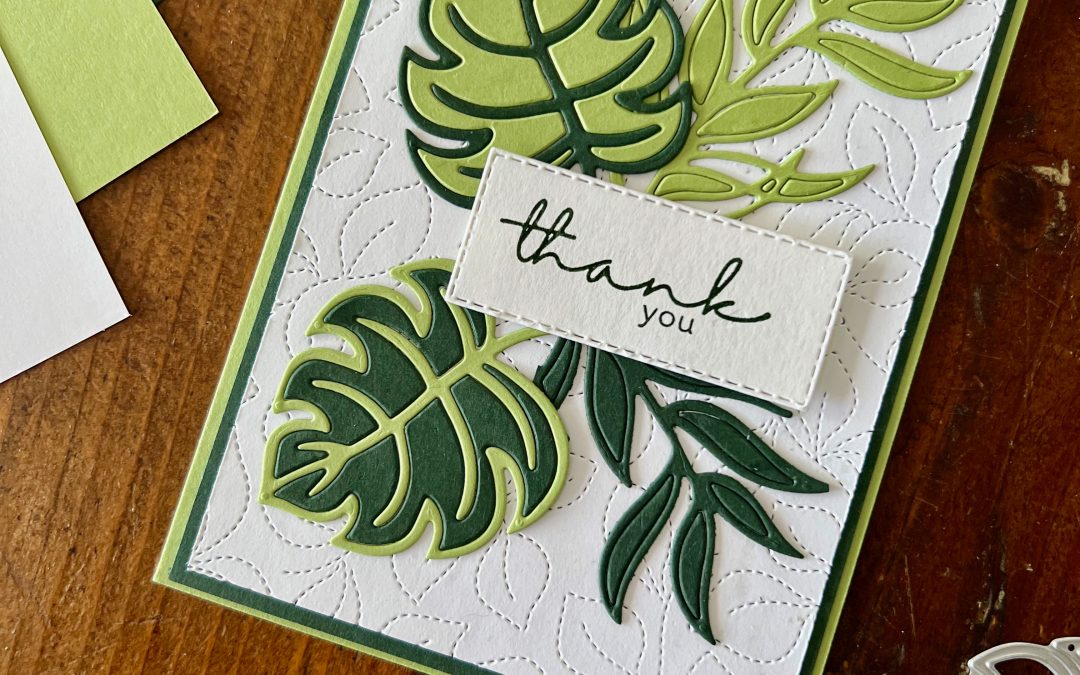
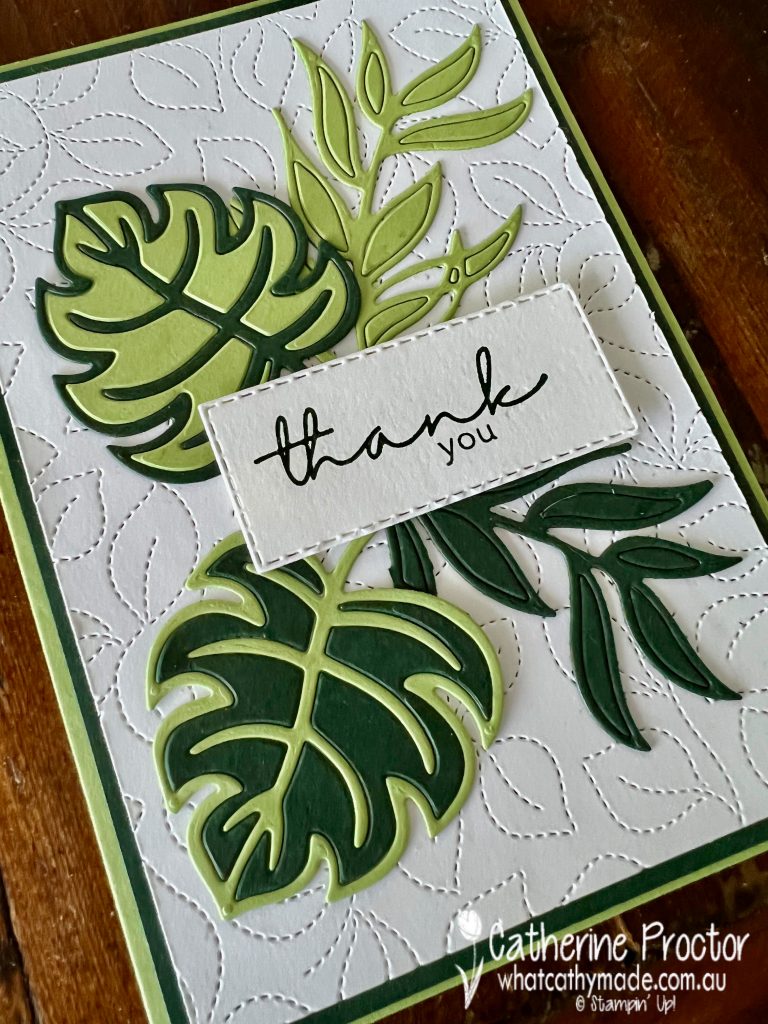
Welcome to week 34 of our 2021-22 Colour Creations blog hop! Tonight we are showcasing Pear Pizzazz from the Subtles family and I’ve created a card using the die inlay technique.
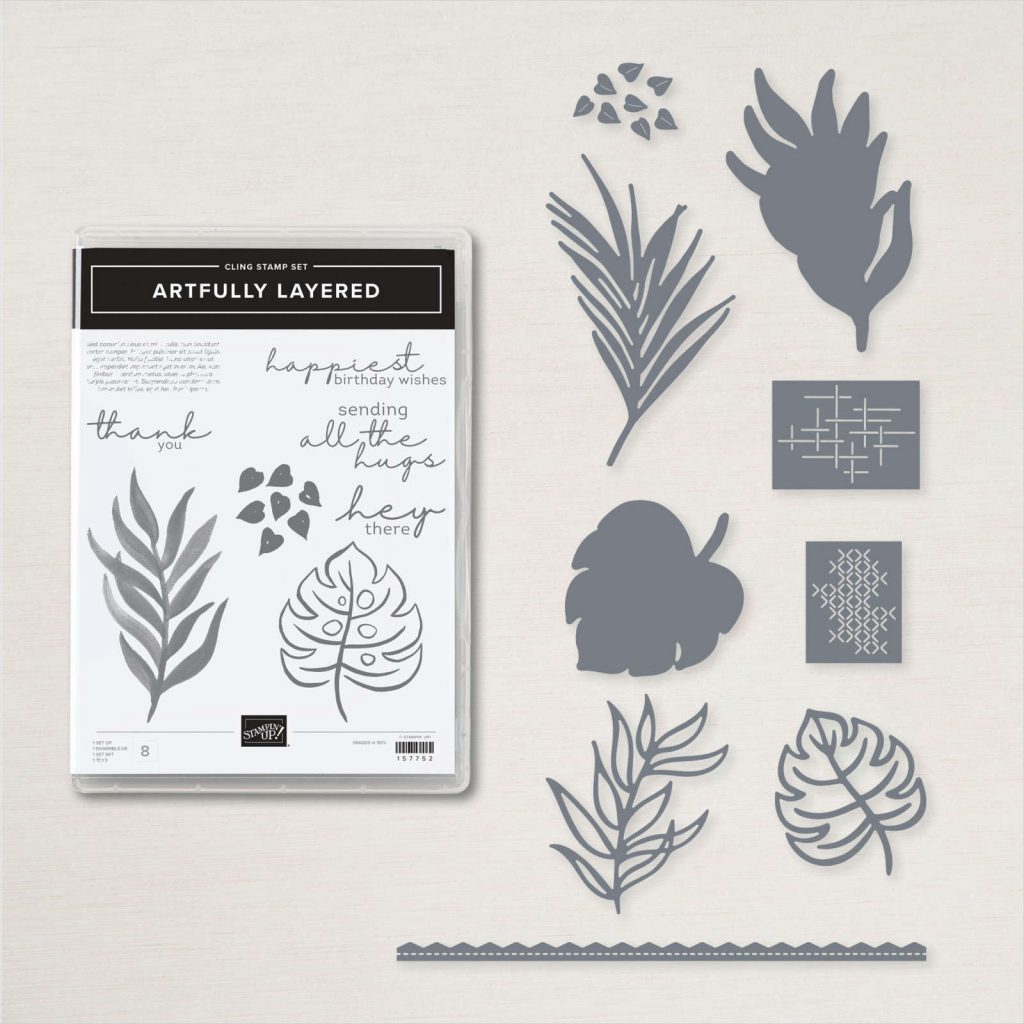
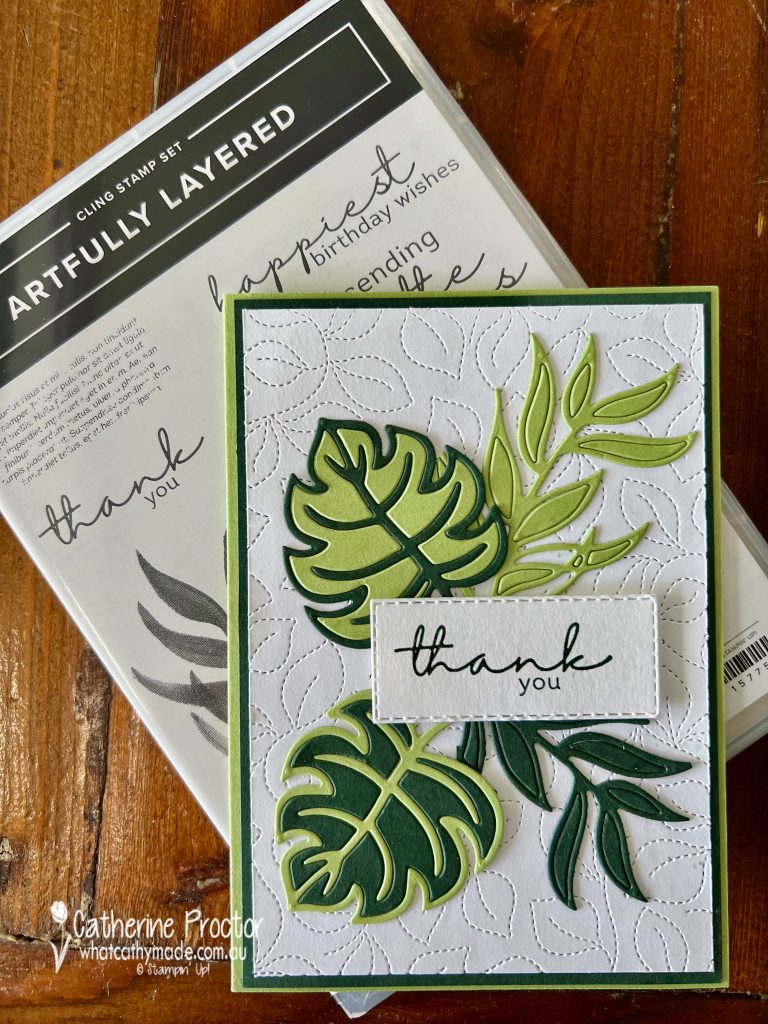
The Artfully Layered Bundle includes the Artfully Layered Stamp Set and the Tropical Layers Dies. The two bottom dies in this photo below are ideal for the die inlay technique because they are large outline die piece with many negative pieces.
I paired Pear Pizzazz with Evening Evergreen for my die inlay card which was inspired by another die inlay card I saw on Pinterest that used these same dies with contrasting bright purples and pinks against a black background.
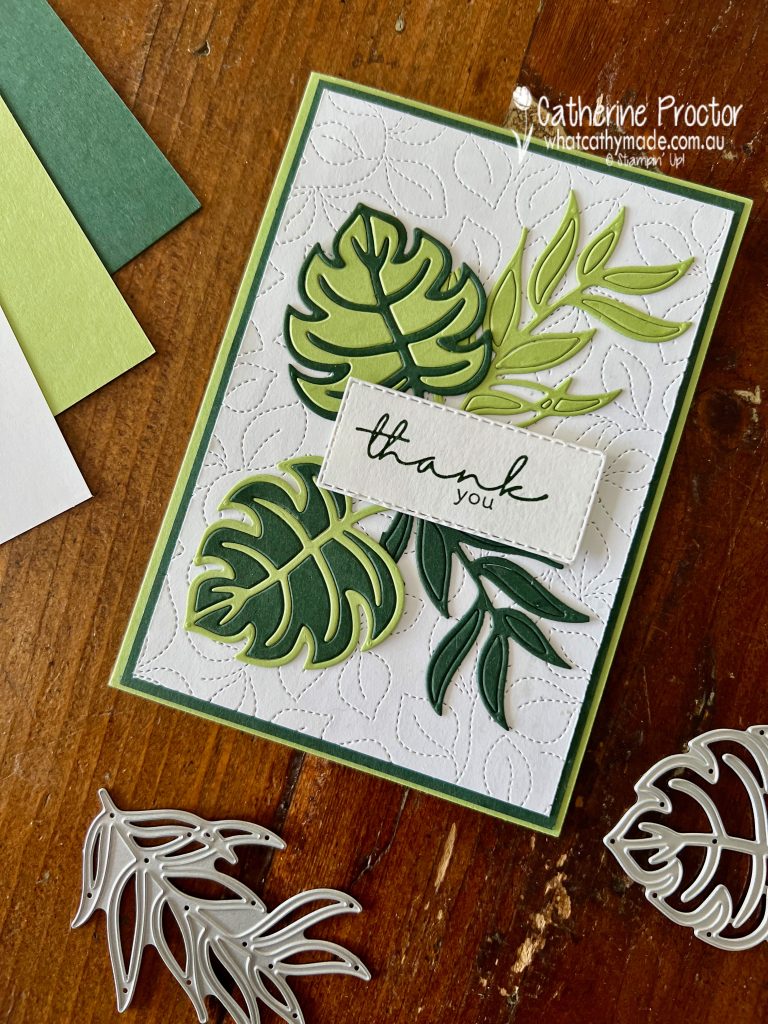
Any contrasting colours work really well for the die inlay technique – by pairing a soft green like Pear Pizzazz with a dark green like Evening Evergreen, both these colours really pop!
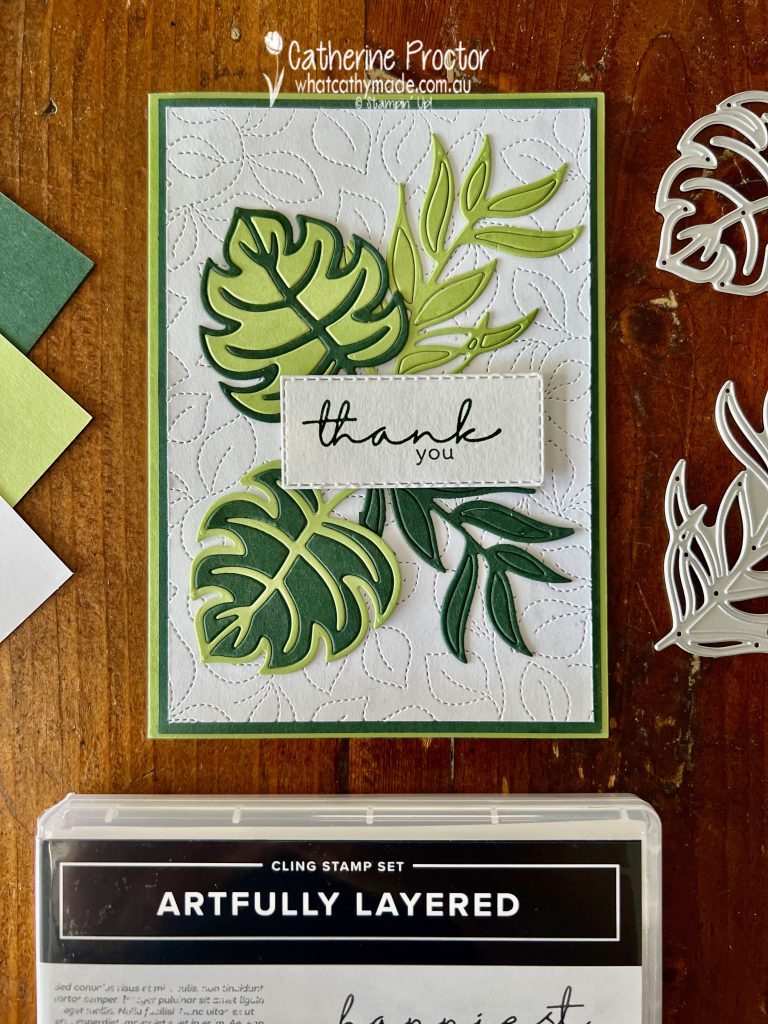
The easiest way to do die inlay is to first adhere your cardstock to an adhesive sheet before die cutting – this turns every piece into a sticker! Or you can use multipurpose liquid glue like I did today because I temporarily misplaced my adhesive sheets!
I’m so glad I finally purchased the Stitched Greenery Die – it creates such a gorgeous stitched background, just perfect for cards that feature any sort of plant or flower.
This sentiment is from the Artfully Layered Stamp Set in the Artfully Layered Bundle, stamped in Evening Evergreen and die cut using one of the Stitched Rectangle dies.
Now it’s time to hop on over to our next participant, the lovely Tina Gillespie– I can’t wait to see what Tina has made this week!
If at any time you find a broken link, you can find the complete list of all participants below.
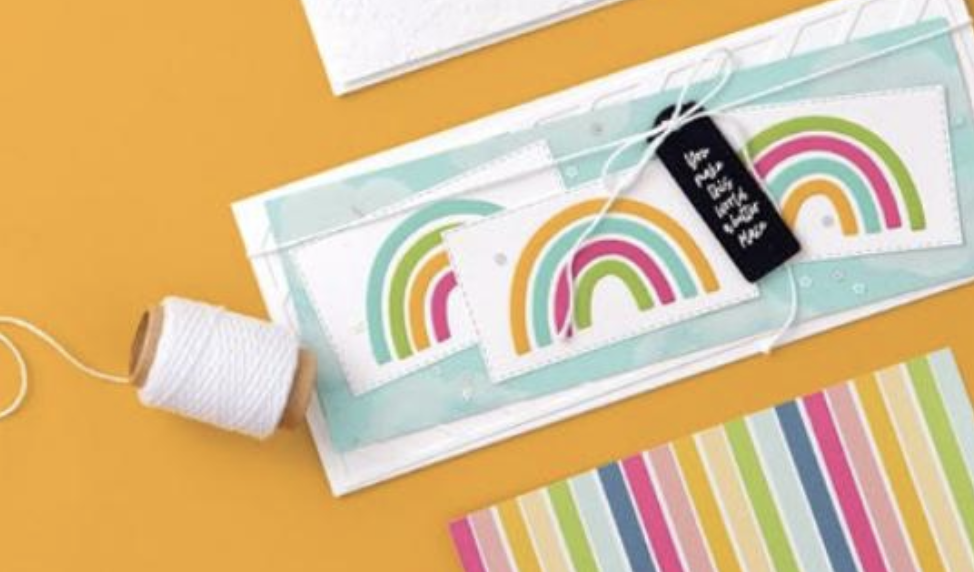
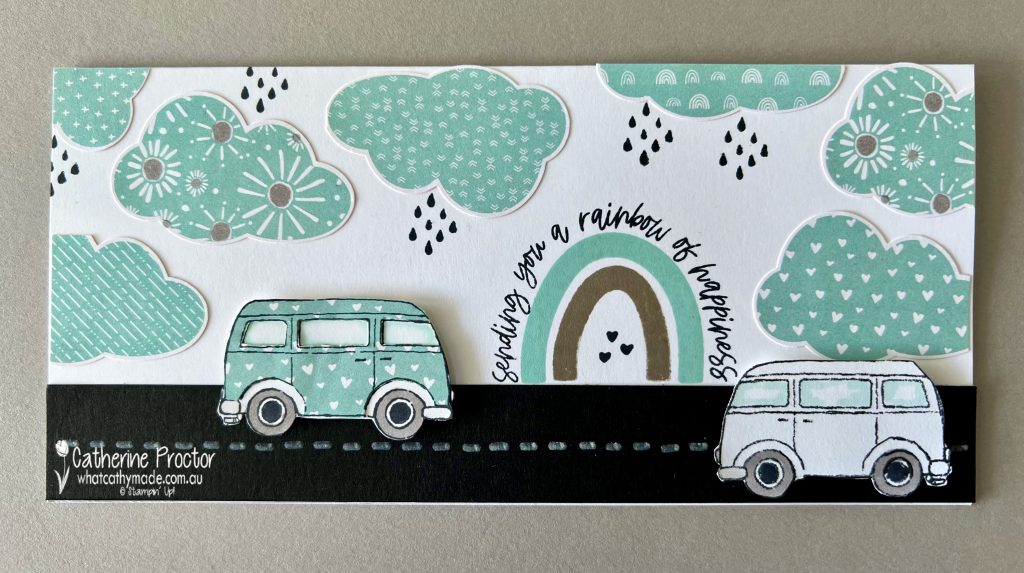
Today I’m joining in the #CTC353 challenge, which is to CASE (Copy And Share Everything) the 2022 Sale-a-bration Catalogue. I decided to CASE this card on page 2 of the 2022 Sale-a-bration Catalogue.
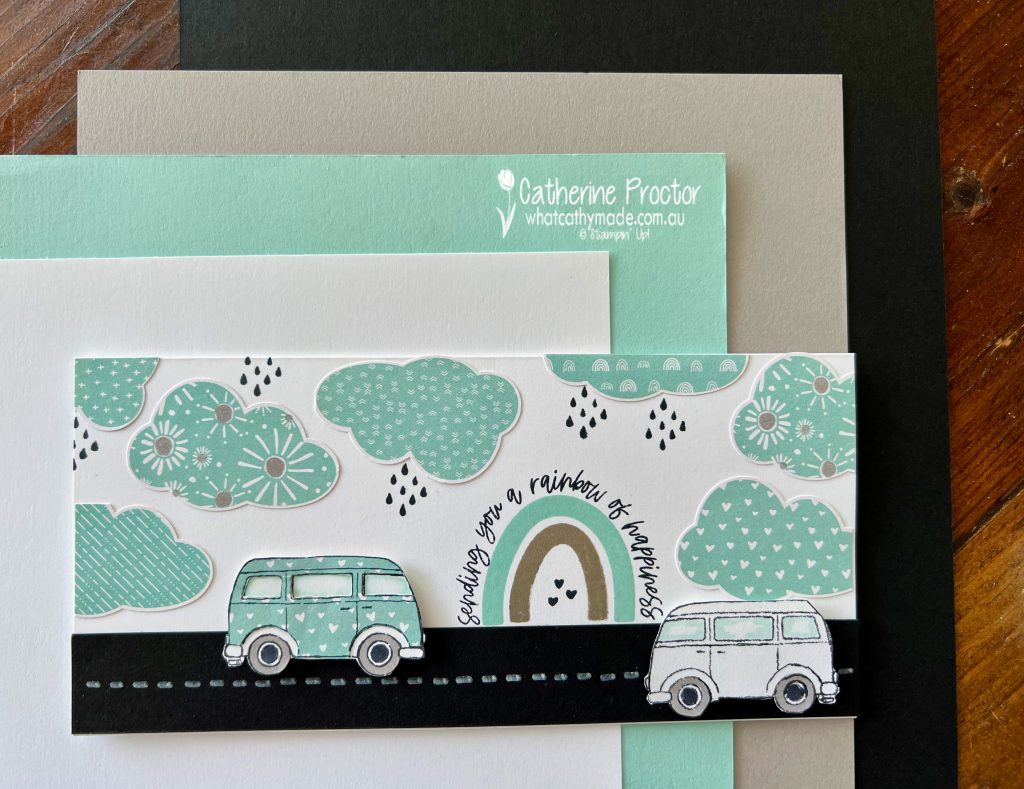
Although I CASED the slimline format, the rainbows and the Pool Party/Basic Black/Basic White colour combination, my card ended up looking very different to the card I CASED!
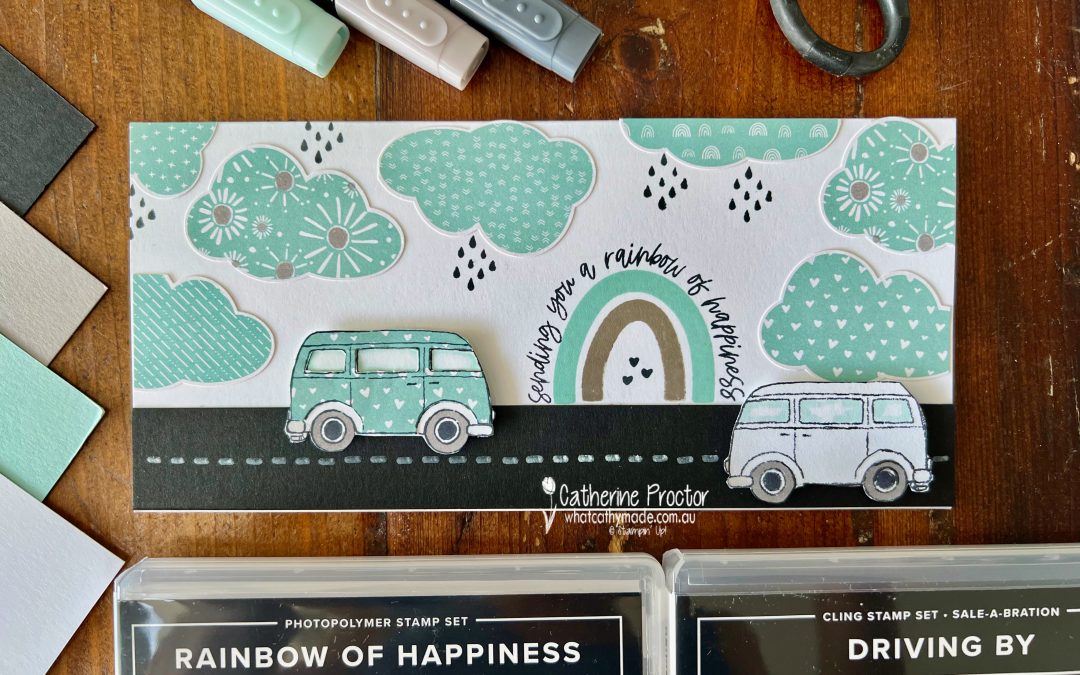
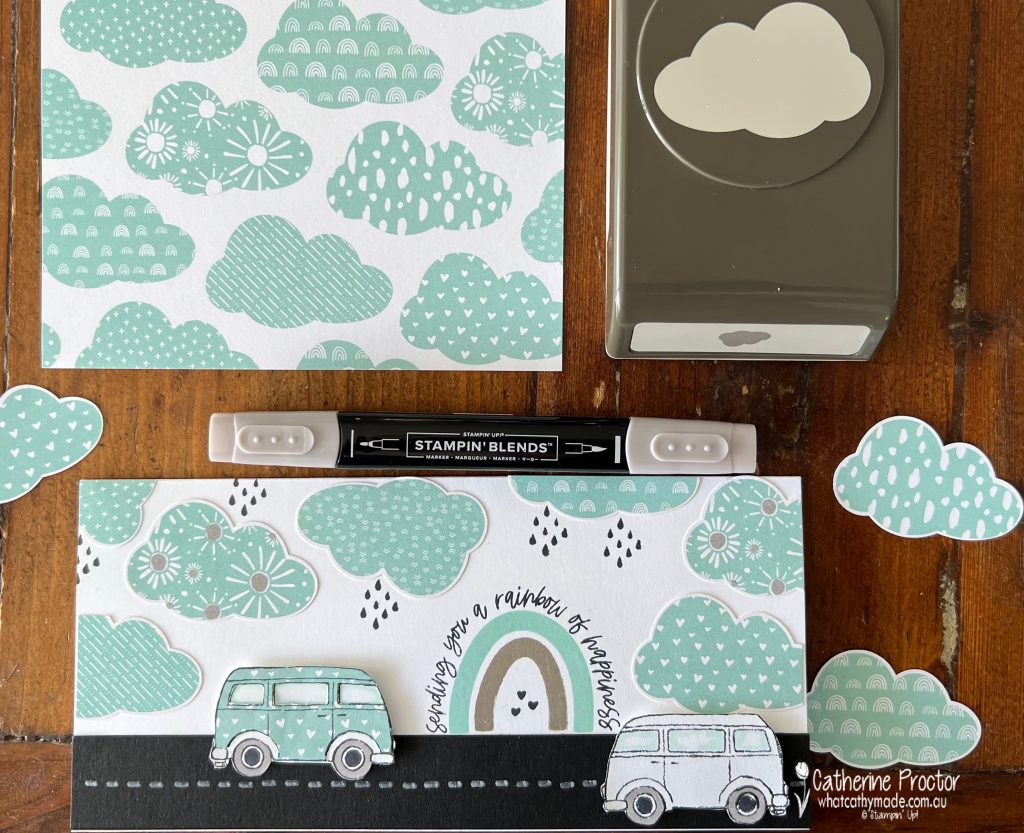
When my order arrived this week I realised that this FREE Sunshine and Rainbows SALE-a-bration DSP has a DSP design that co-ordinates with the new Cloud punch – how cool is that!
I wanted to use as many of these gorgeous clouds as possible on my card so I didn’t waste the partial clouds on the edges of the DSP. I punched these clouds out too and used them on the sides and the top of my card. I also used my Gray Granite Stampin’ Blend! to colour in some of the clouds.
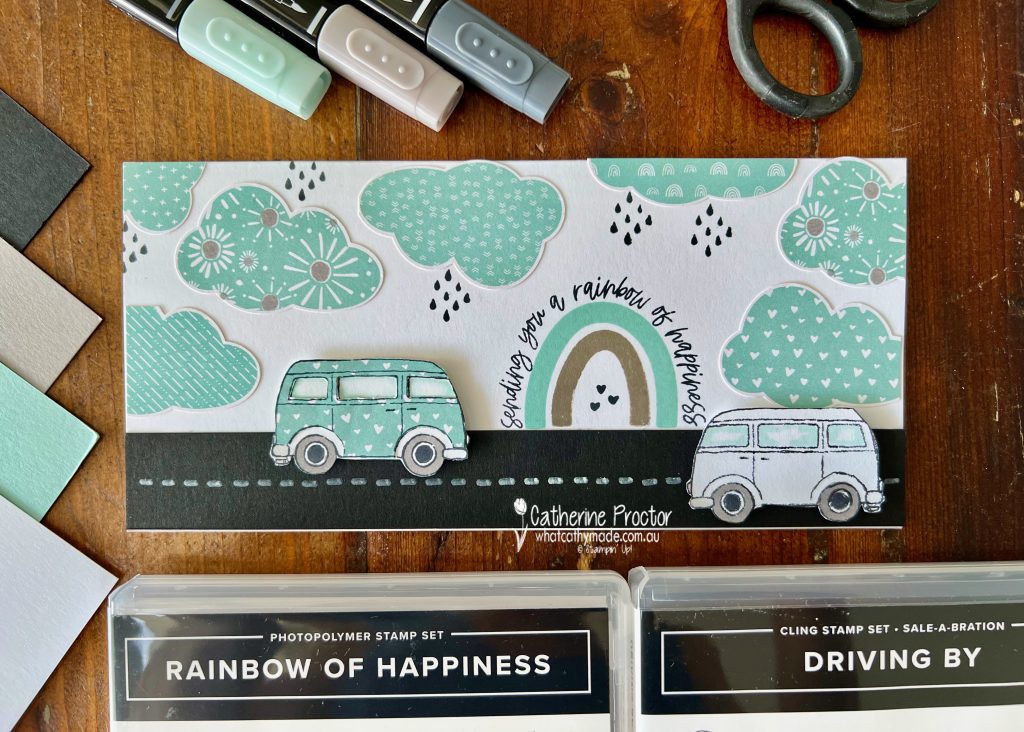
As well as the FREE Sunshine and Rainbows SALE-a-bration DSP I used another SALE-a-bration product on this card – the adorable “Driving By” Stamp set.
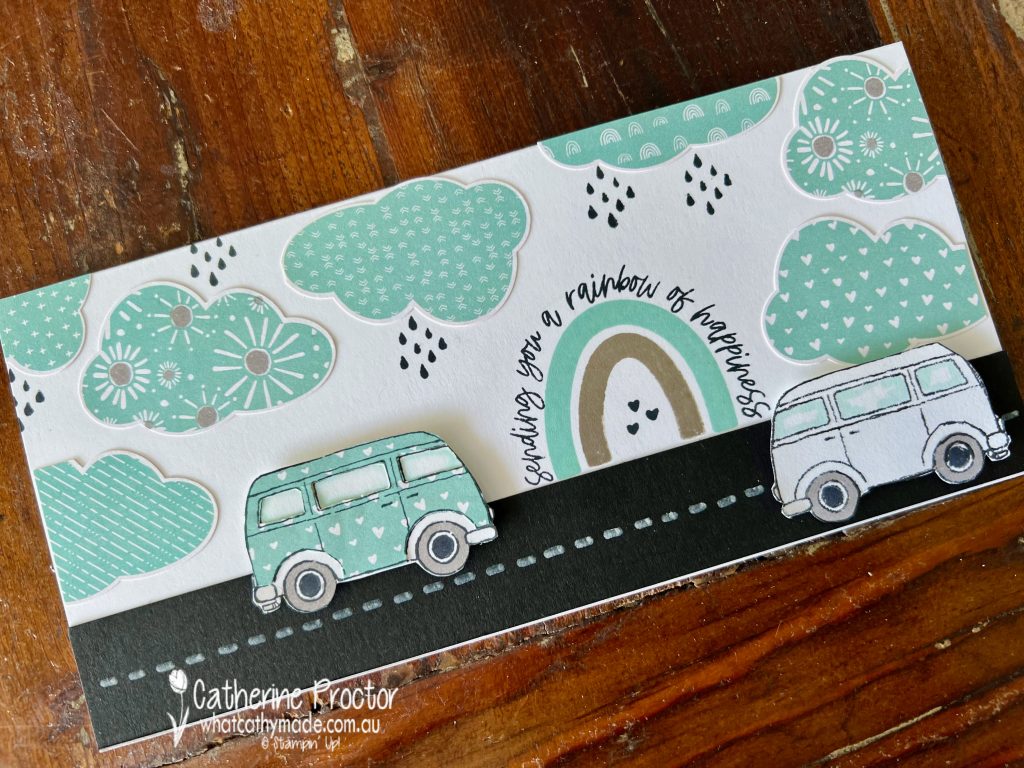
This FREE stamp set is the perfect set to try two awesome stampin’ techniques: reverse stamping and paper piecing. I’ve paper pieced the combi van on the left using a different Pool Party DSP from the Sunshine and Rainbows DSP and then I used my silicone mat to the reverse the combi image so I could have the other combi travelling in the other direction on the other side of the road.
The road is a 1″ strip of Basic Black cardstock – the road lines are hand drawn using the Chalk Marker.
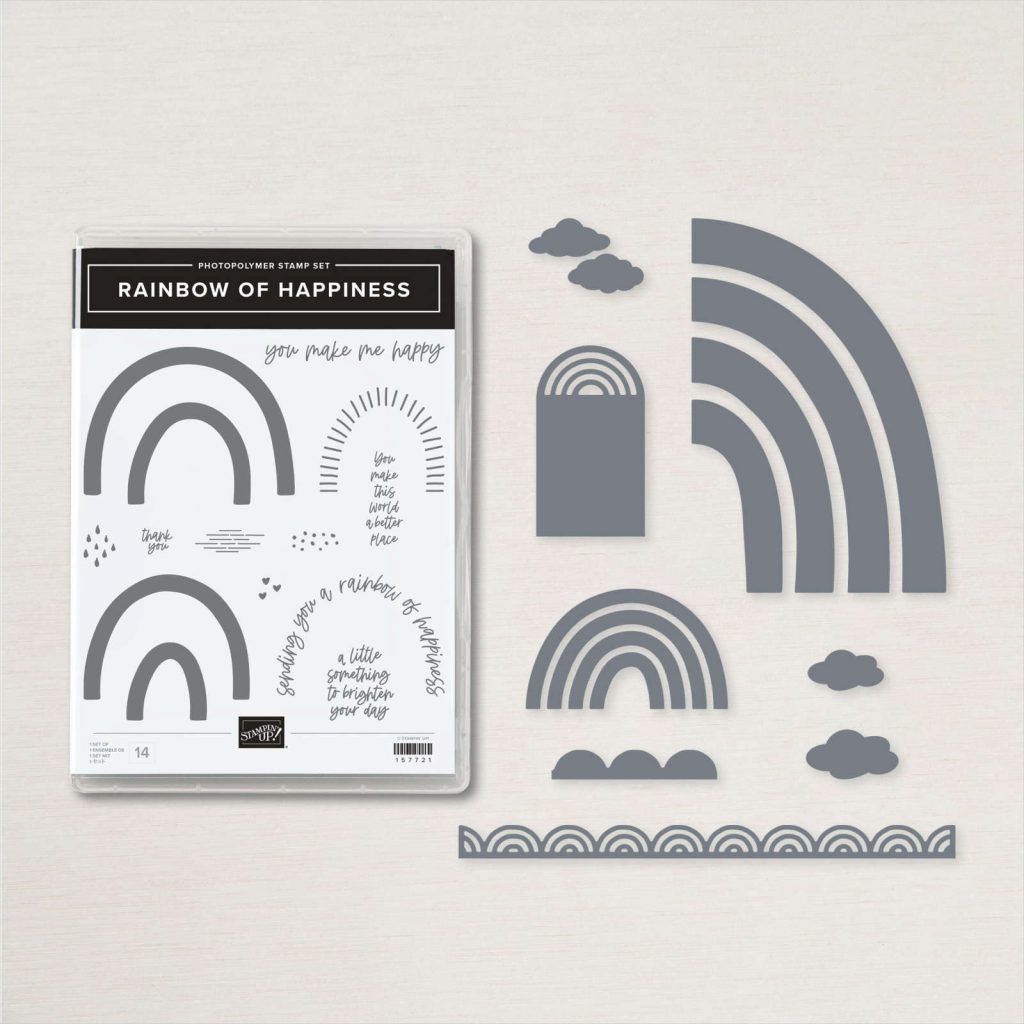
The Sunshine and Rainbows DSP coordinates with the Rainbow of Happiness bundle.
I’ve used the “Rainbow of Happiness” stamp set from this bundle to stamp my rainbow in non-traditional colours to match the DSP clouds and the road: Basic Black, Pool Party and Gray Granite.
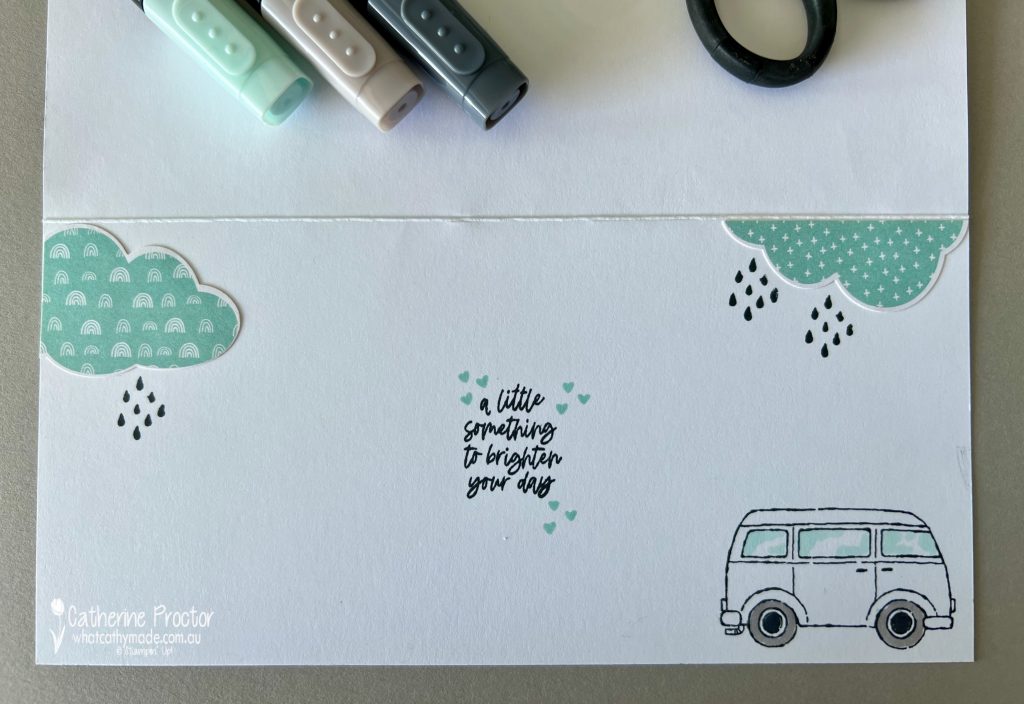
I used some more of the partial clouds to decorate the inside of the card and couldn’t resist adding another little combi van, this time stamped directly onto my card.
To purchase any of the products featured in today’s post, click on the links below or go to my Stampin’ Up! Online Store
If you’d like me to post you your very own copy of the 2022 Sale-a-bration Catalogue, the January – June 2022 Mini Catalogue, the 2021-22 Stampin Up! Annual Catalogue or to simply find out about more about Stampin’ Up! contact me.
I’ll be back on Wednesday night with the AWH Colour Creations team and we will be showcasing Pear Pizzazz.
In the meantime, wherever you are in the world, stay safe, stay calm…and keep on crafting xxx


")
 Designer Series Paper")
")


")


")
")
 Designer Series Paper")


