Welcome to week six of the Heart Of Christmas Blog Hop!
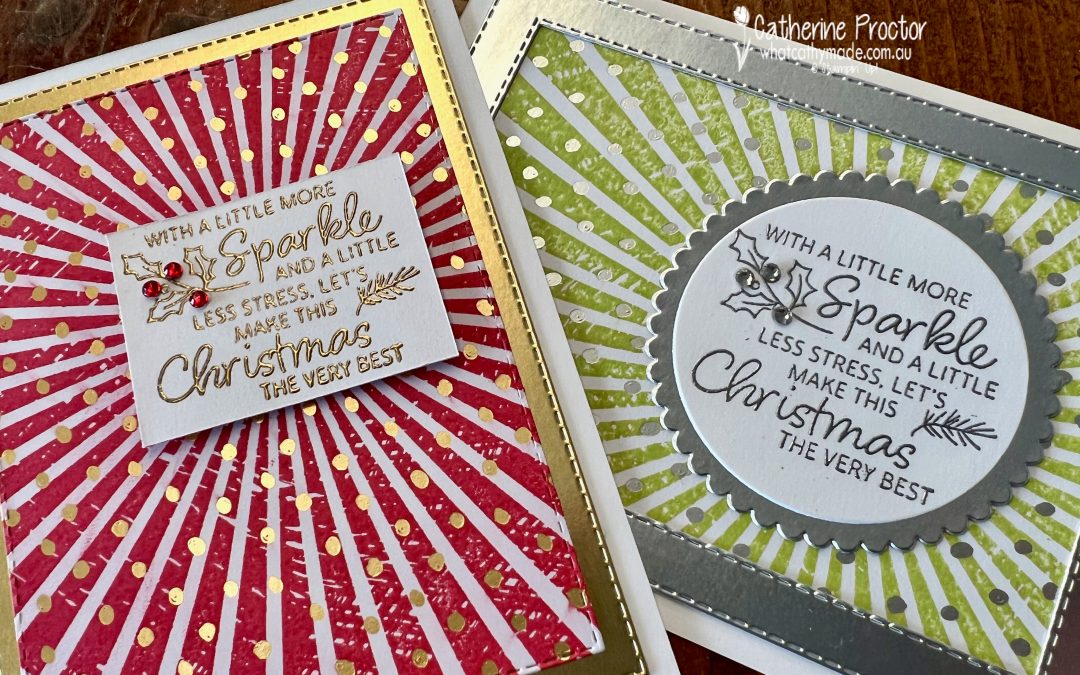
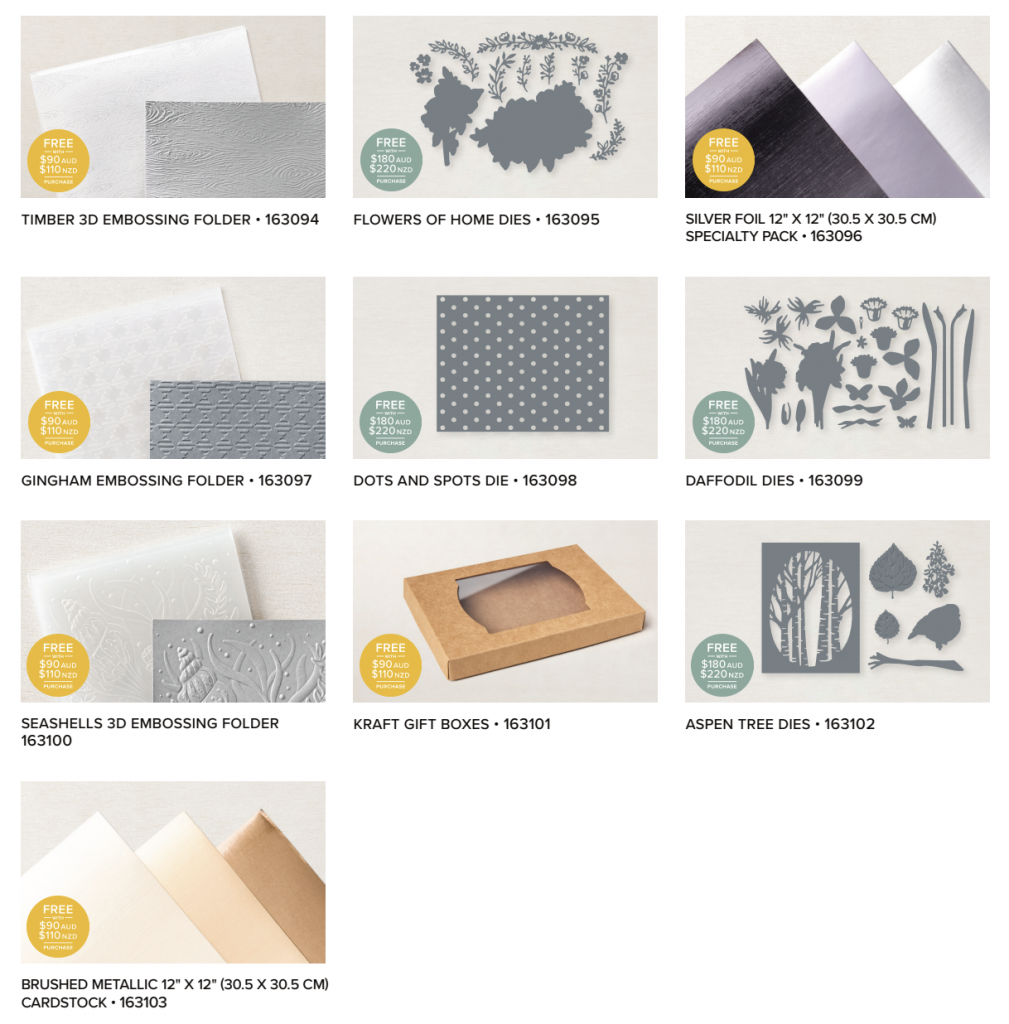
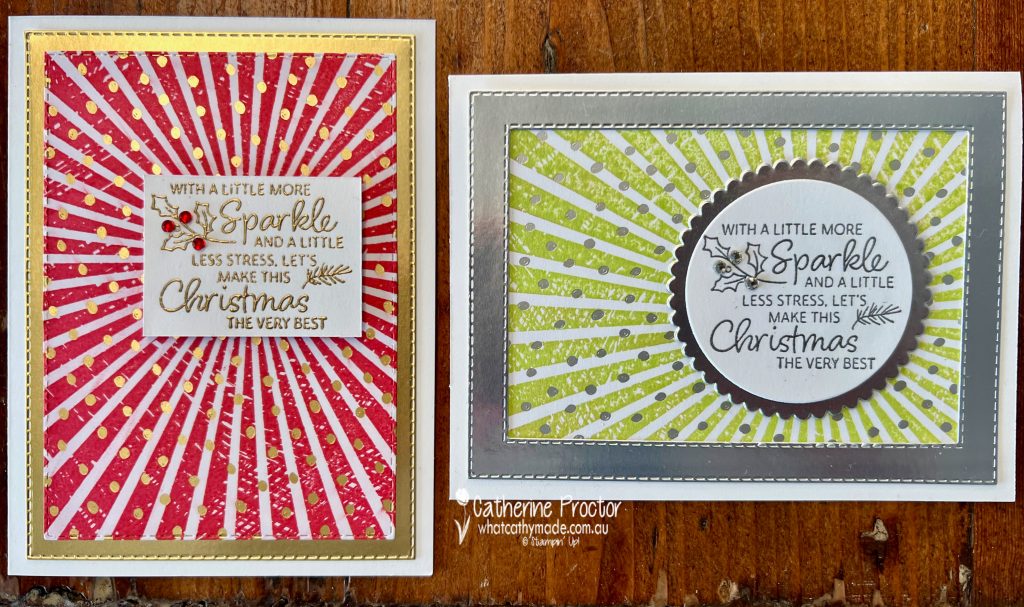
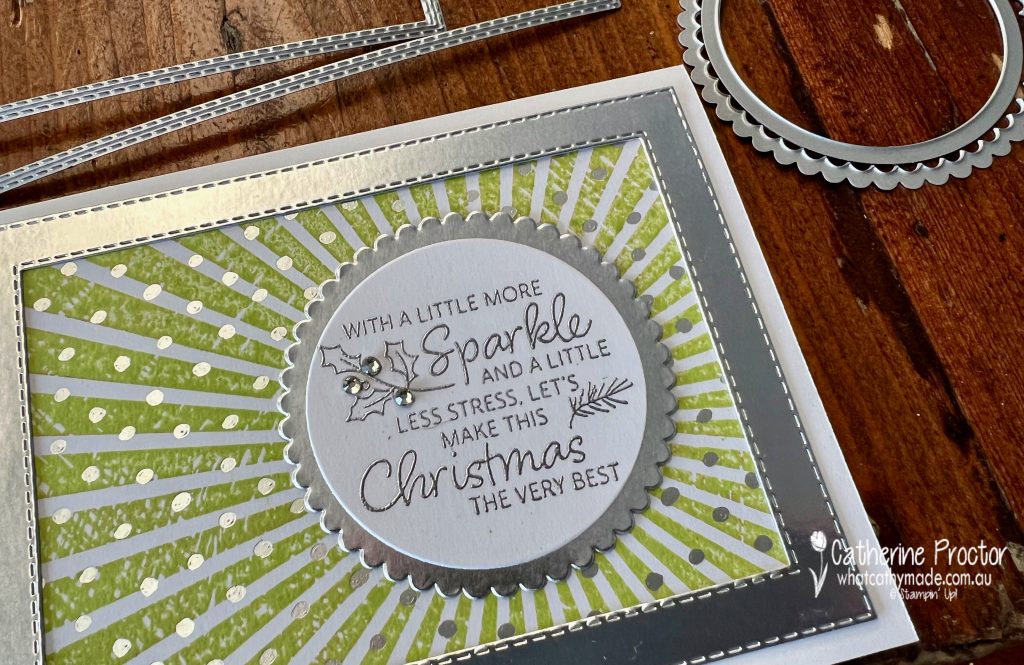
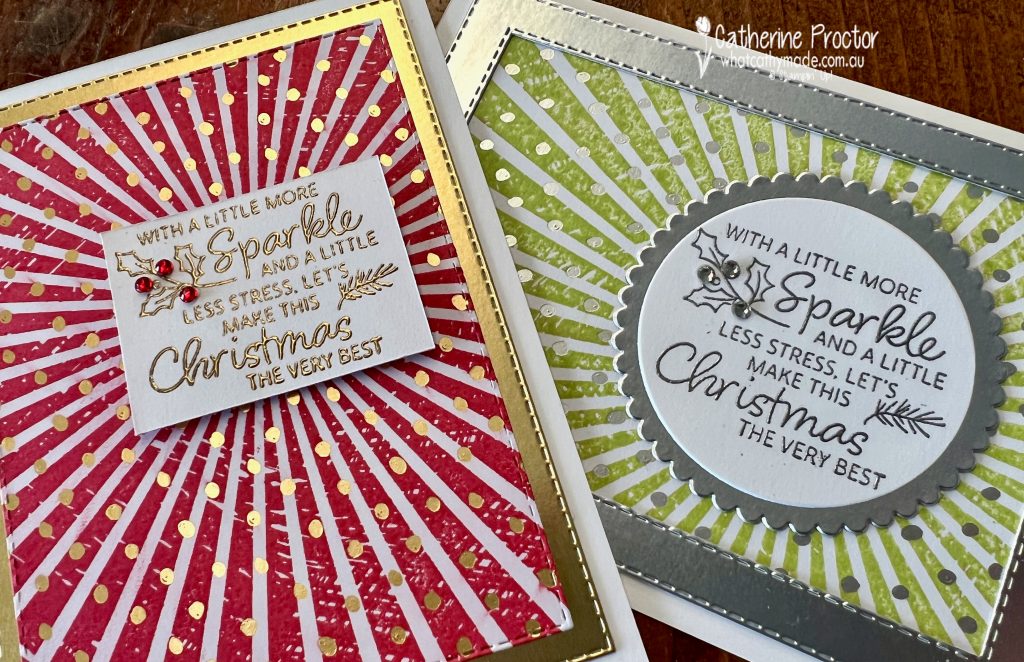
Ten more products have just been added to Sale-a-bration, so I’ve paired two of these new Sale-a-bration items – the gold foil from the Brushed Metallic cardstock pack and silver foil from the Silver Foil Specialty pack – with the existing Sale-a-bration Gold and Silver DSP for my two modern Christmas cards.
NOTE: If you would like to redeem your Sale-a-bration credits for these new items, make sure you use the codes below, instead of the original product codes they have in the catalogue they appear in.
My “non-traditional” Christmas cards were inspired by a video where Stampin’ Up used the Rays of Light Stamp set to stamp on the Silver & Gold DSP.
TOP TIP – use your Stamparatus to stamp large background stamps like this one.
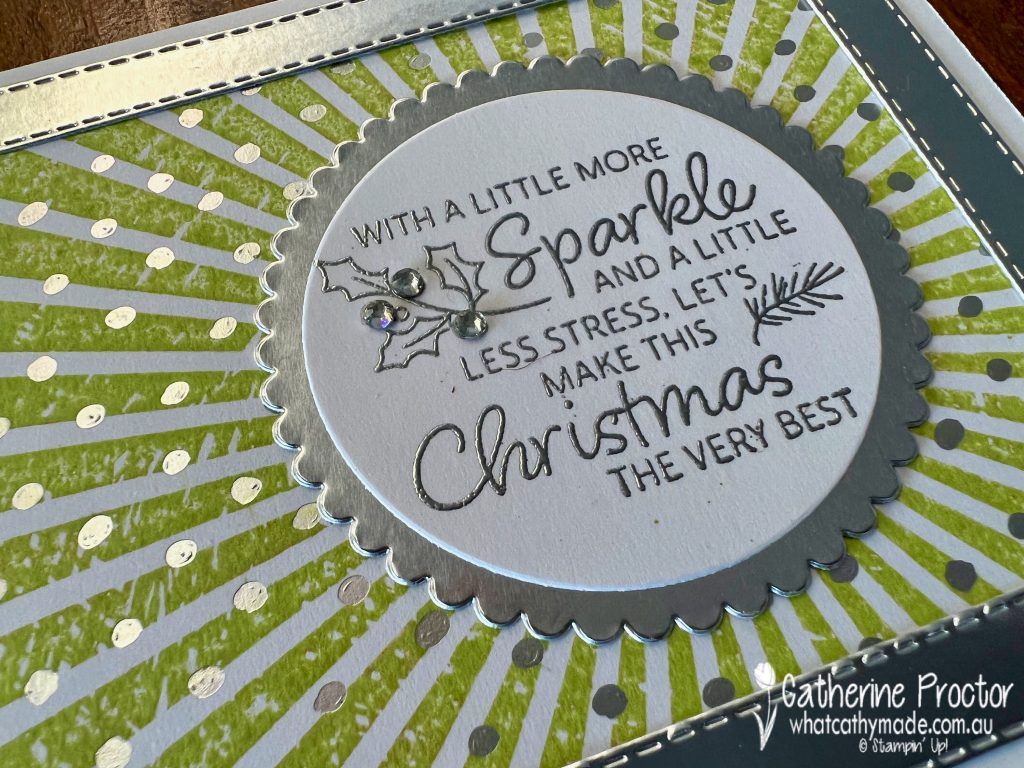
This sparkly Silver & Gold DSP works really well with the gorgeous sentiment stamp I’ve used from the “Very Best Occasions” stamp set. I love this sentiment – bring on the sparkle and banish the stress of Christmas, I say!
I’ve used two of the new 2022-24 In Colours for my cards today – Parakeet Party paired with silver foil and Sweet Sorbet paired with gold foil.
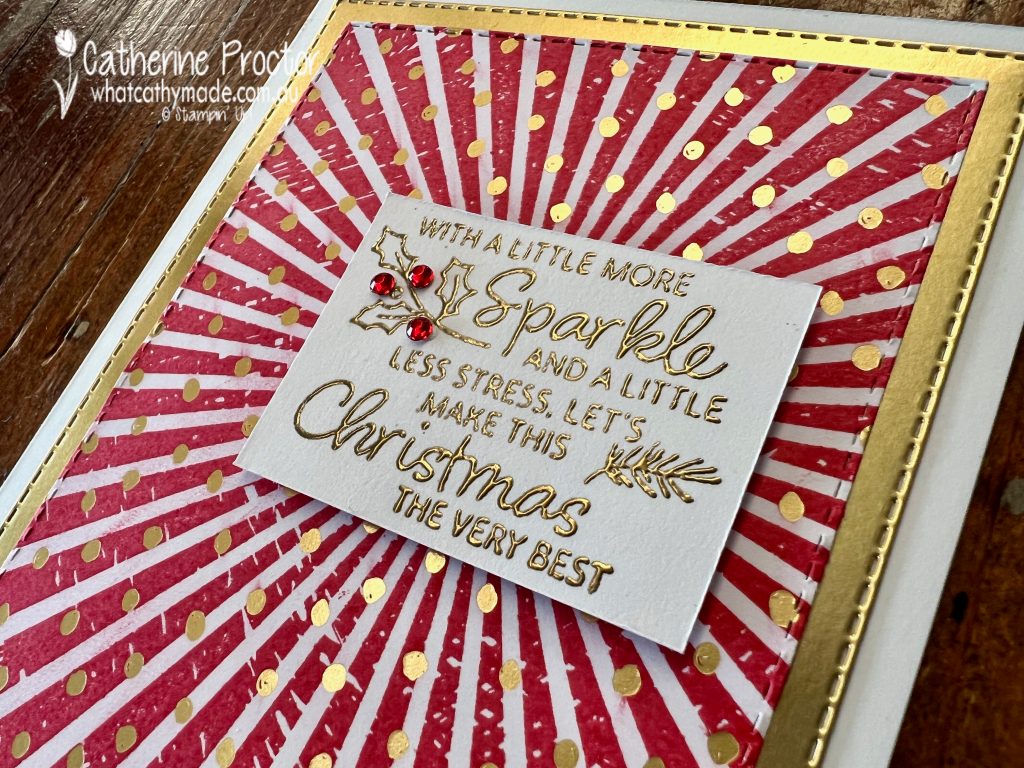
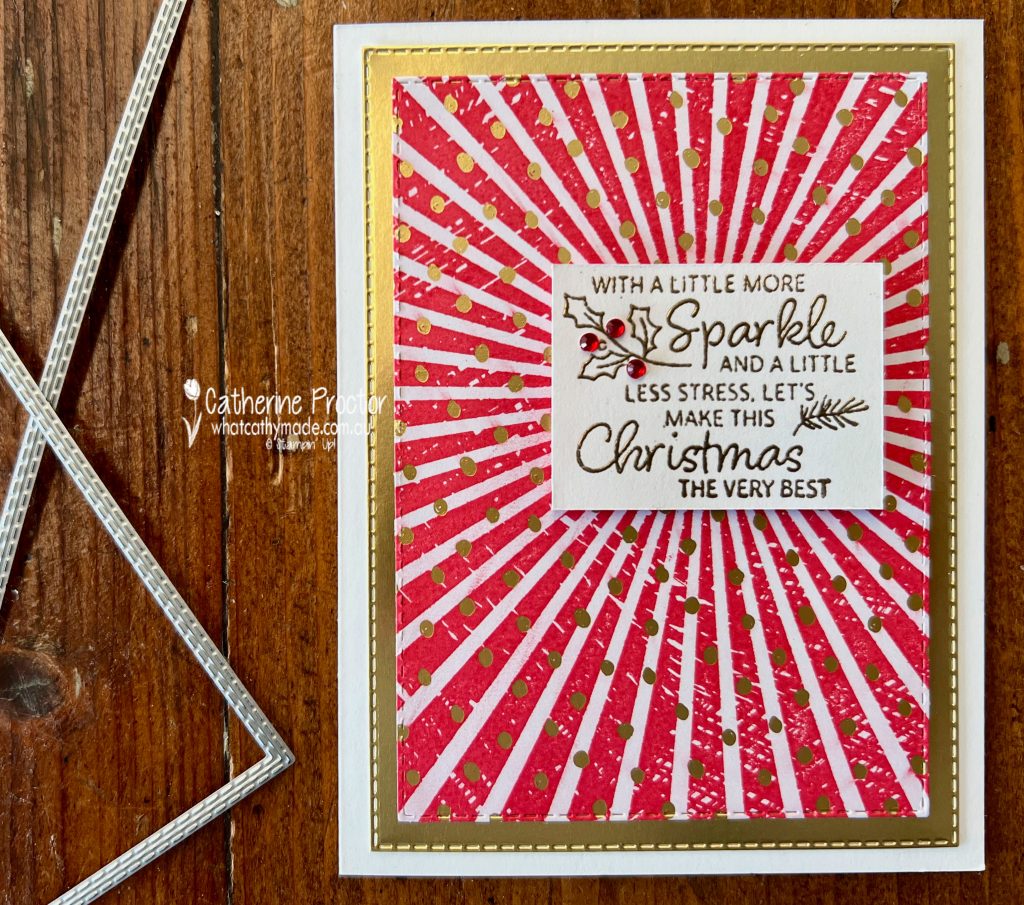
I used a paper trimmer to cut out the gold embossed sentiment, adding red rhinestones as holly berries to the sentiment.
The gold frame is created using the largest and third largest stitched rectangle dies, with the stamped DSP die cut out with the second largest stitched rectangle die.
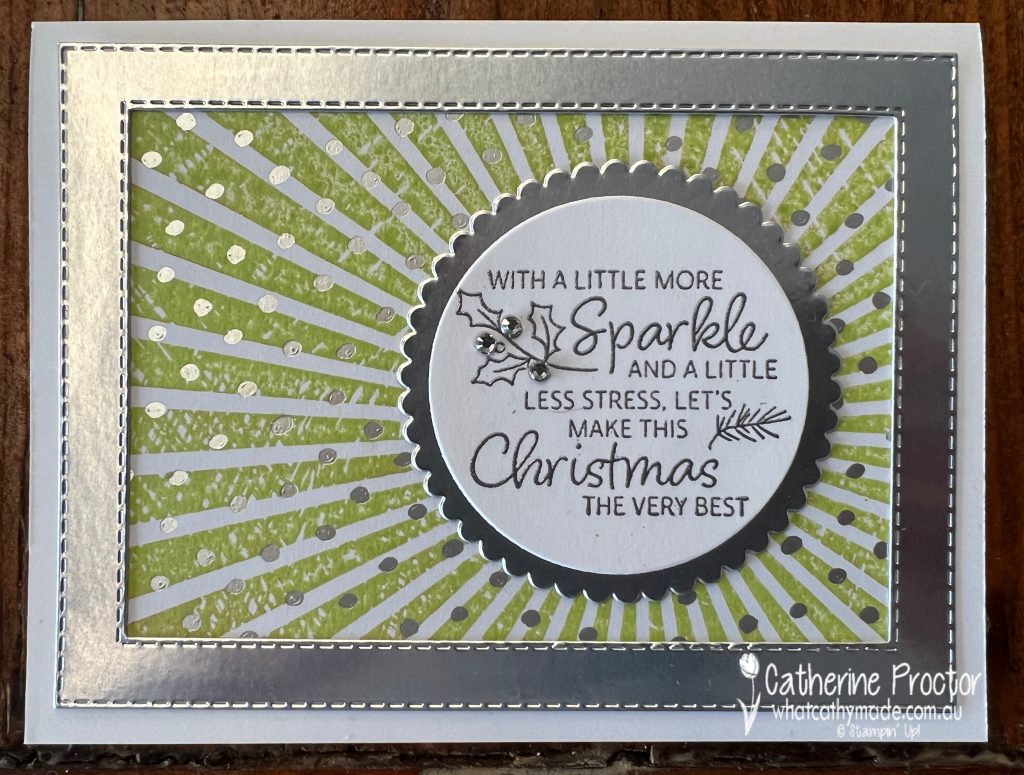
While I layered the gold frame behind the DSP for the Sweet Sorbet card, I decided to place the silver frame over the top of the stamped DSP for the Parakeet Party card.
The sentiment for the Parakeet Party card was die cut using layering circle dies and Rhinestone Basic Jewels embellish the sentiment.
I know which card I like the best, but I’m curious to find out which variation you prefer? Do you think this design is too modern and graphic for Christmas cards?
Now it’s time to hop on over to our next participant, the lovely Rachel Woollard – I can’t wait to see what Rachel has made this week!
If at any time you find a broken link, you can find the complete list of all participants on Sharon‘s blog. Sharon Davern is the host of our Heart of Christmas blog hop this year – thank you so much Sharon!!
Welcome to week fourteen of our Art With Heart 2022-23 Colour Creations blog hop! This is a weekly blog hop where we showcase the stunning range of Stampin’ Up! colours in alphabetical order over 12 months and this week we are featuring Coastal Cabana.
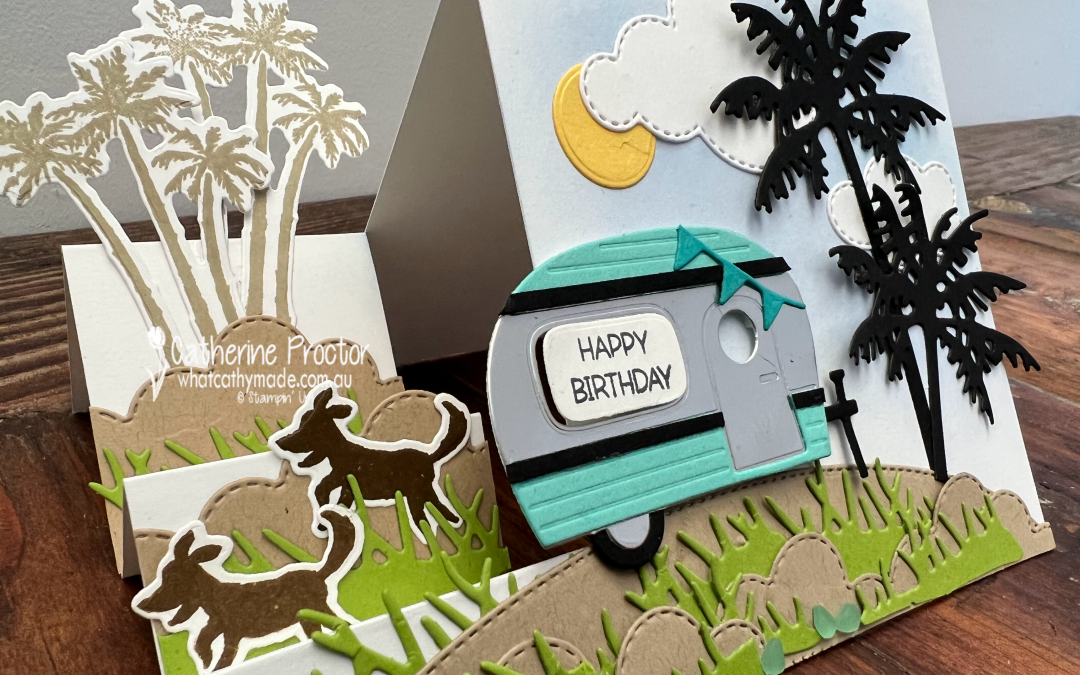
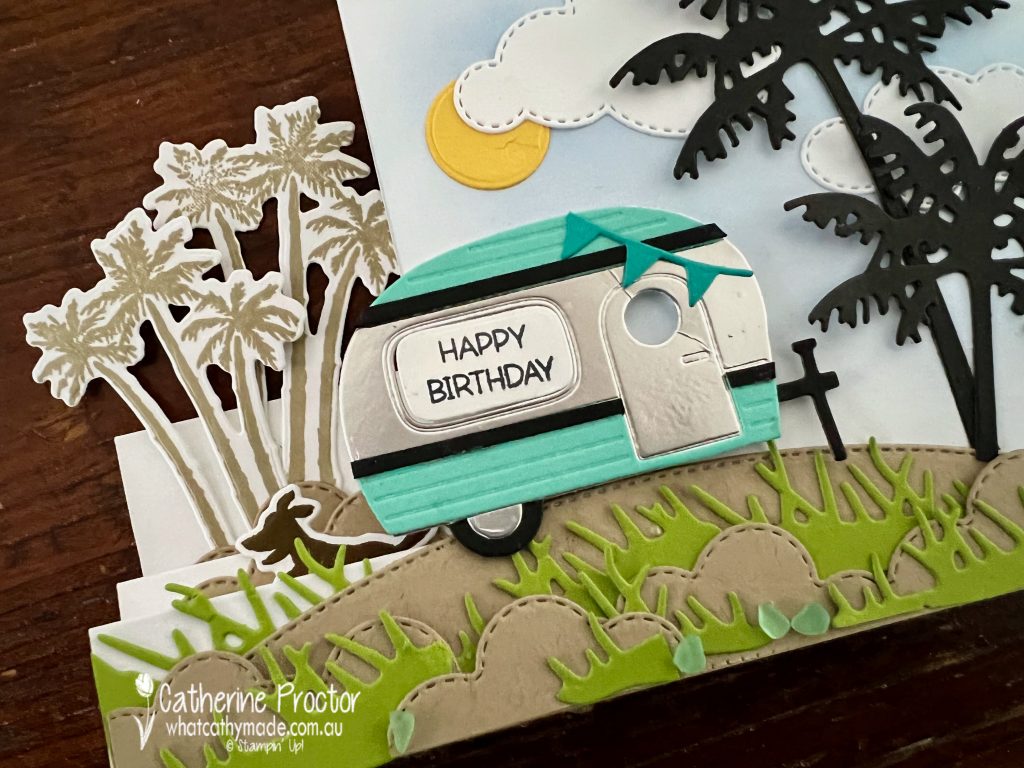
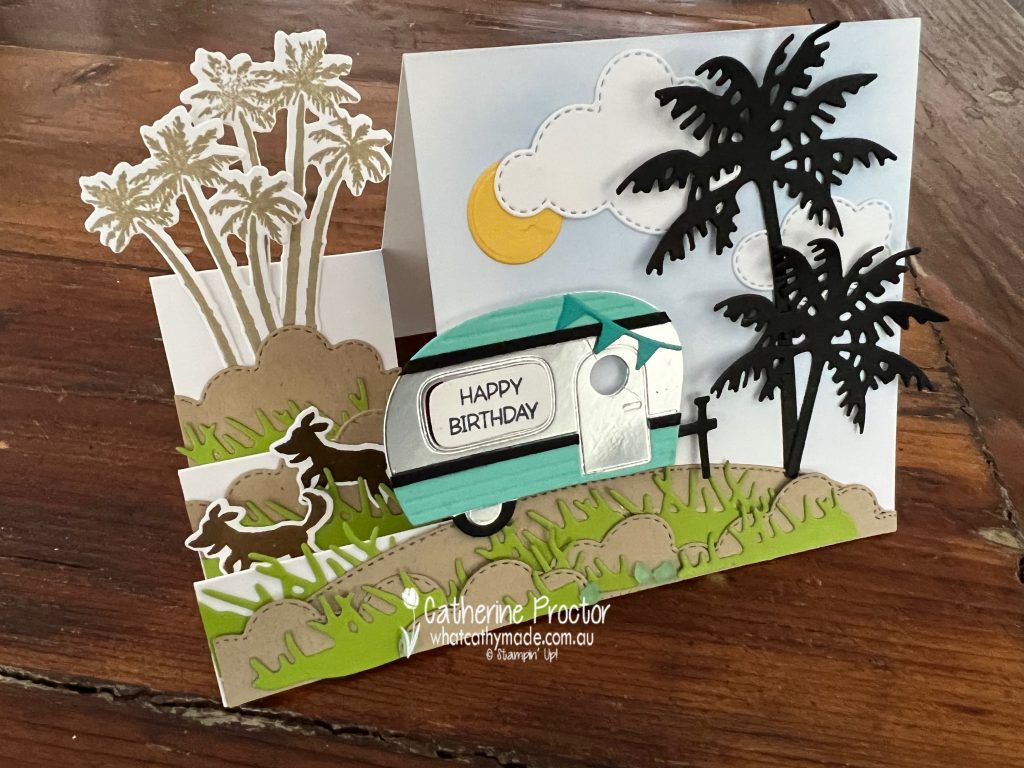
A special friend deserves a special card, especially if they are a crafter. My special friend, Jenny, celebrates her birthday this week and guess what? She owns a vintage caravan, has two dogs and lives by the sea.
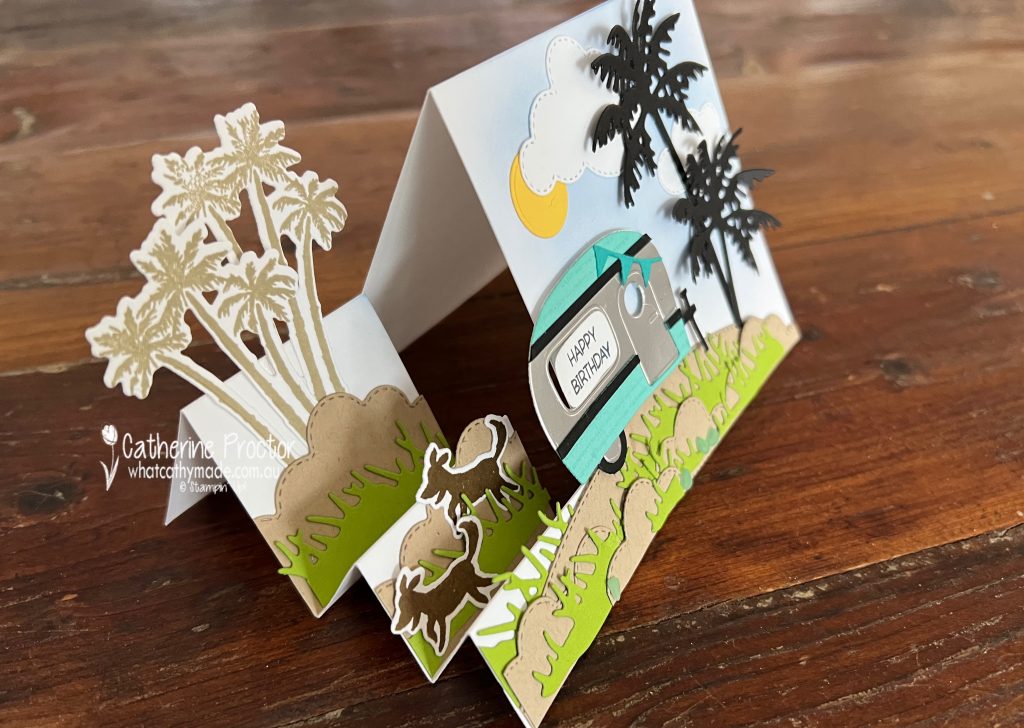
Sadly, her corporate job does not allow much time for Jen to craft anymore, but I know she will enjoy receiving this side step birthday card that includes and celebrates many of her favourite things!
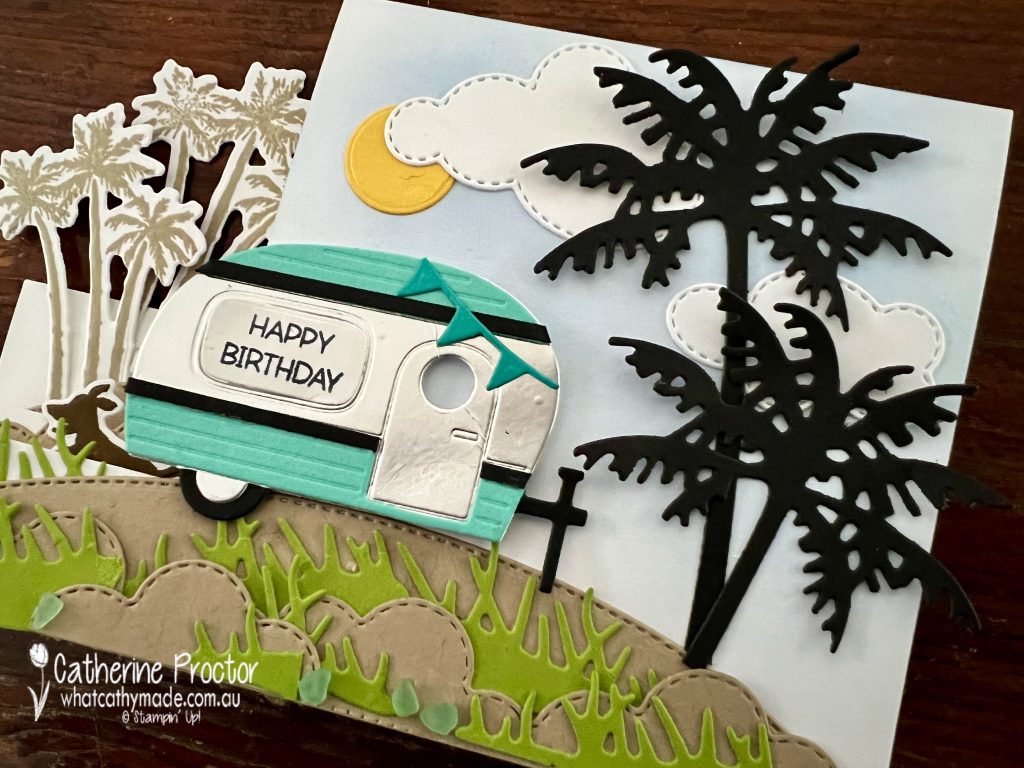
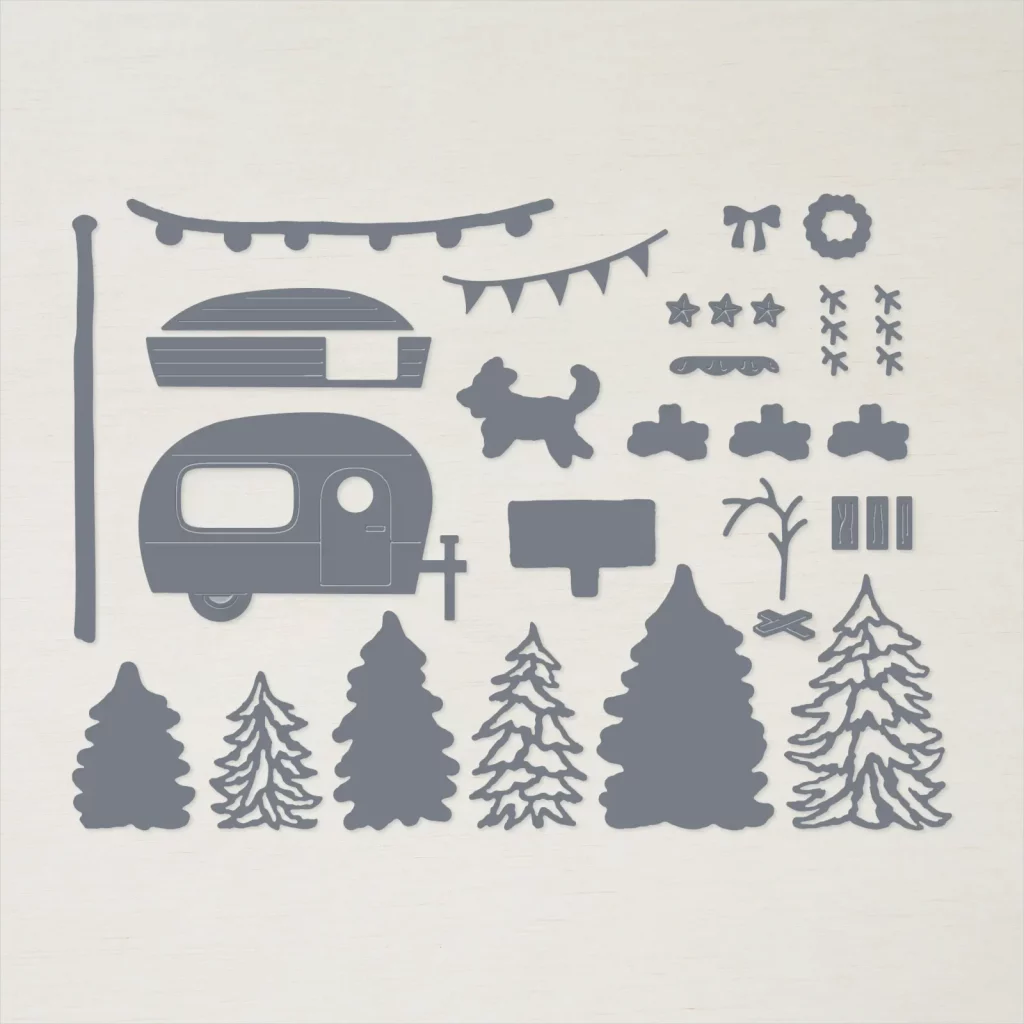
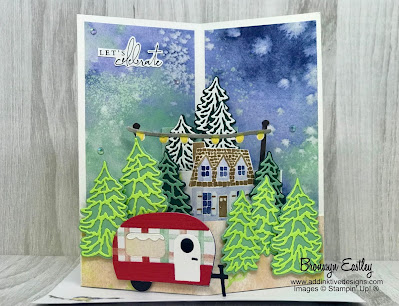
Coastal Cabana is also one of Jenny’s favourite colours and it features on her caravan, so I used the Tree Lot Dies to recreate Sylvia, her vintage caravan, in silver foil, Coastal Cabana and Basic Black, decorated with a Bermuda Bay bunting!
If you’re still thinking about getting these free (with any order over $180), adorable Sale-a-bration dies, run, don’t walk! They have already sold out in other countries and there’s only 4 weeks left of sale-a-bration!
There are 24 dies in total in the Tree Lots Die set, and yes, I’m including a set of these dies as part of Jen’s birthday present. Hopefully they will inspire her to craft again as I really miss crafting with her!
The sky background has been created using Tahitian Tide ink applied with a blending brush – the clouds are from the “Give it a Whirl” Dies.
The sand hills are cut with the Basic Borders dies, while the palm trees, grass and the sun are all die cut using the Palms Dies.
Why didn’t I use Sahara Sand for the sandhills? Fun fact – the beach where Jenny lives actually has a dark and coarse sand that it is closer in colour to Crumb Cake than it is to Sahara Sand.
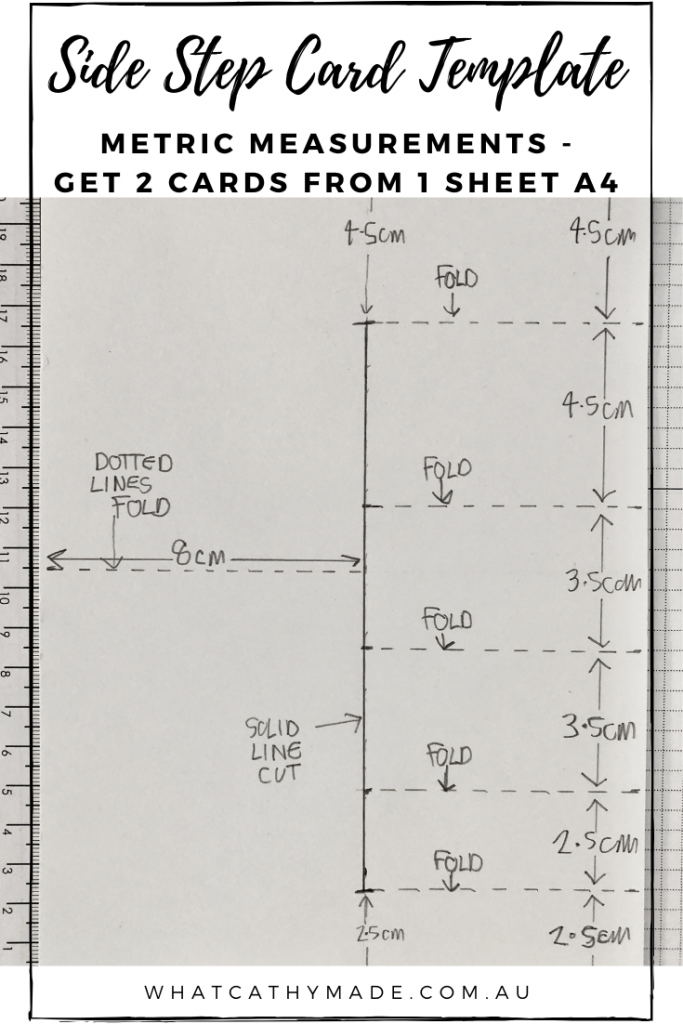
If you’d like to create a side step card yourself, here is the step-by-step metric template I designed last year to minimise waste so you can make two side step cards per A4 sheet of cardstock.
Side Step card template
Please note – for tonight’s card I have changed one of the measurements on my template below.
Instead of measuring in 8 cm from one side, I measured in 10 cm to allow enough room for my caravan and palm trees. All of the other measurements are the same as below.
Measure in 10 cm from the left (or 8 cm as per the template above) on the 14.8 cm side of your card base and draw a pencil line from top to bottom.
Along this pencil line, measure down 4.5cm from the top of the card stock and measure up 2.5 cm from the base of the card stock. The solid line in between these 2 measurements is your only cutting line for this card – I’ve marked this as a solid black line in my template.
Cut along this solid line, being very careful not to cut above or below this line.
All the other dotted lines are fold lines – measure and score these with your paper trimmer.
Once you’ve scored these lines, rub out the pencil mark along your cut line and fold the score lines. Your card base is now ready to decorate.
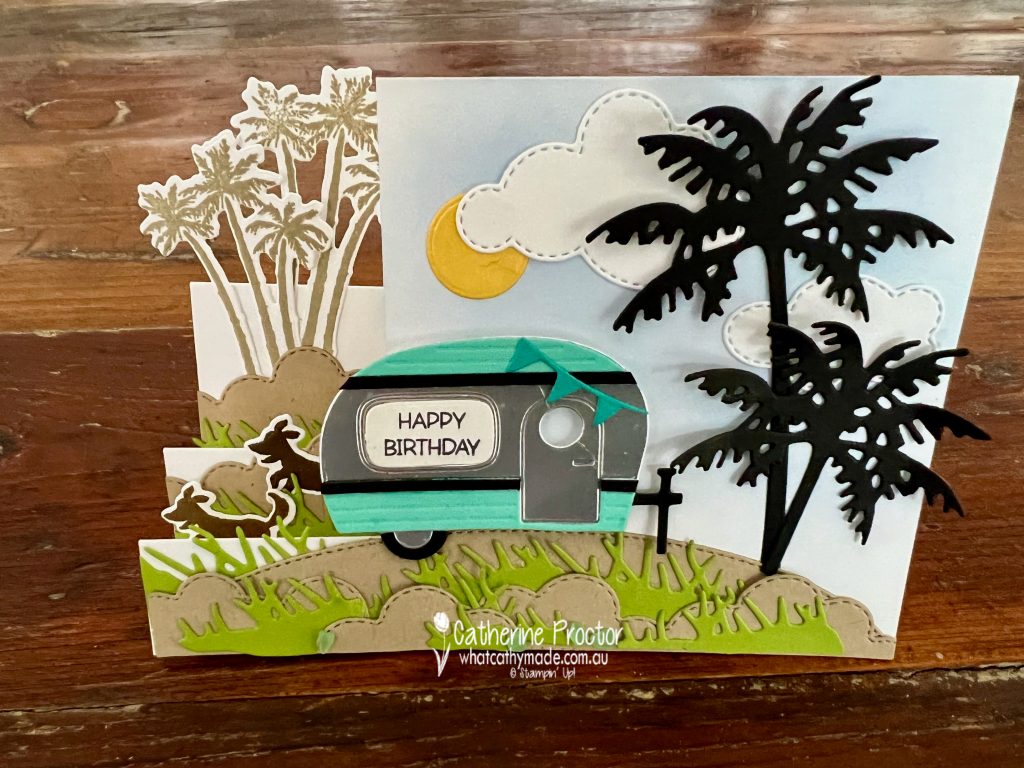
Here’s another look what my vintage caravan side step card looks like from the side. It folds flat to fit into a standard C6 Envelope for posting.
Now it’s time to hop on over to our next participant, the lovely Tina Gillespie – I can’t wait to see what Tina has made this week!
If at any time you find a broken link, you can find the complete list of all participants below.
Welcome to Bronwyn’s fifth Birthday Blog hop! You might have come to my blog from Nikki Spencer.
We’re a group of stamping friends who are celebrating Bron’s 60th Birthday in 2022 with six blog hops, over six months, with six fun themes! Tonight we are sharing fancy folds, a style of cardamking which Bronwyn specialises in!
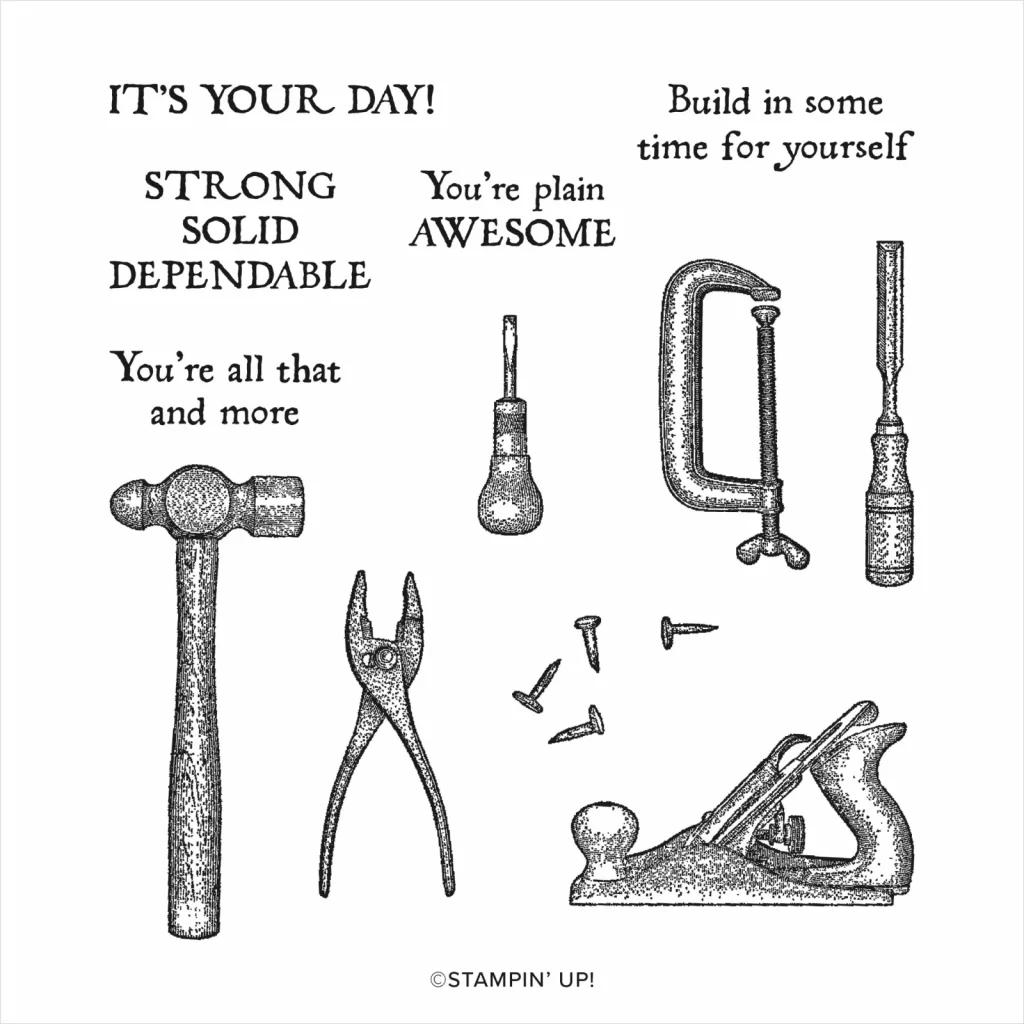
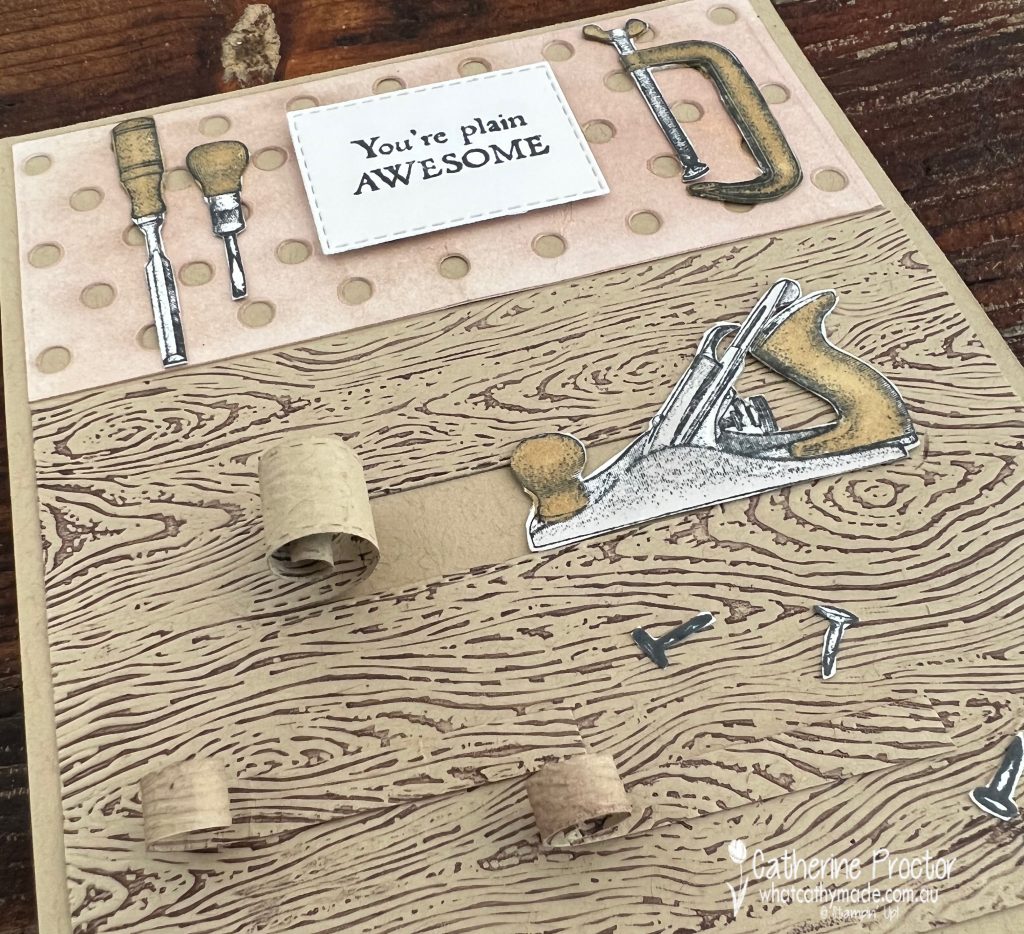
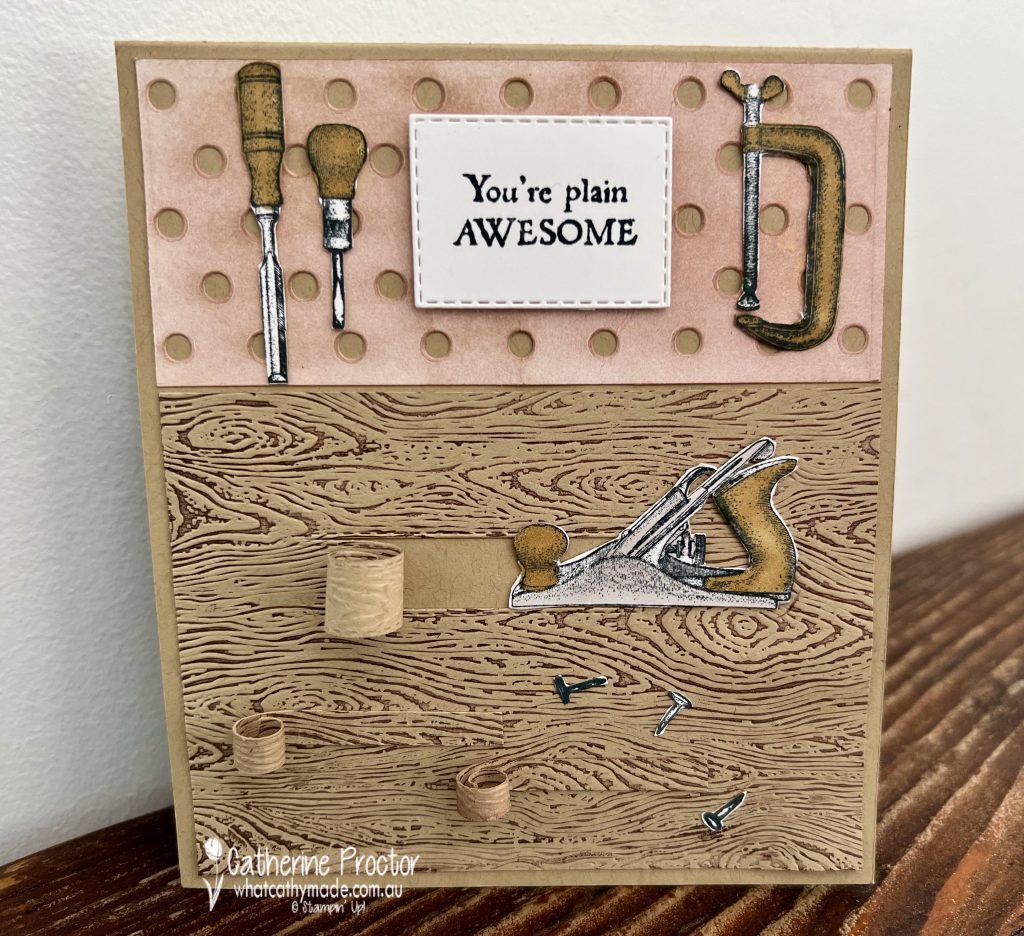
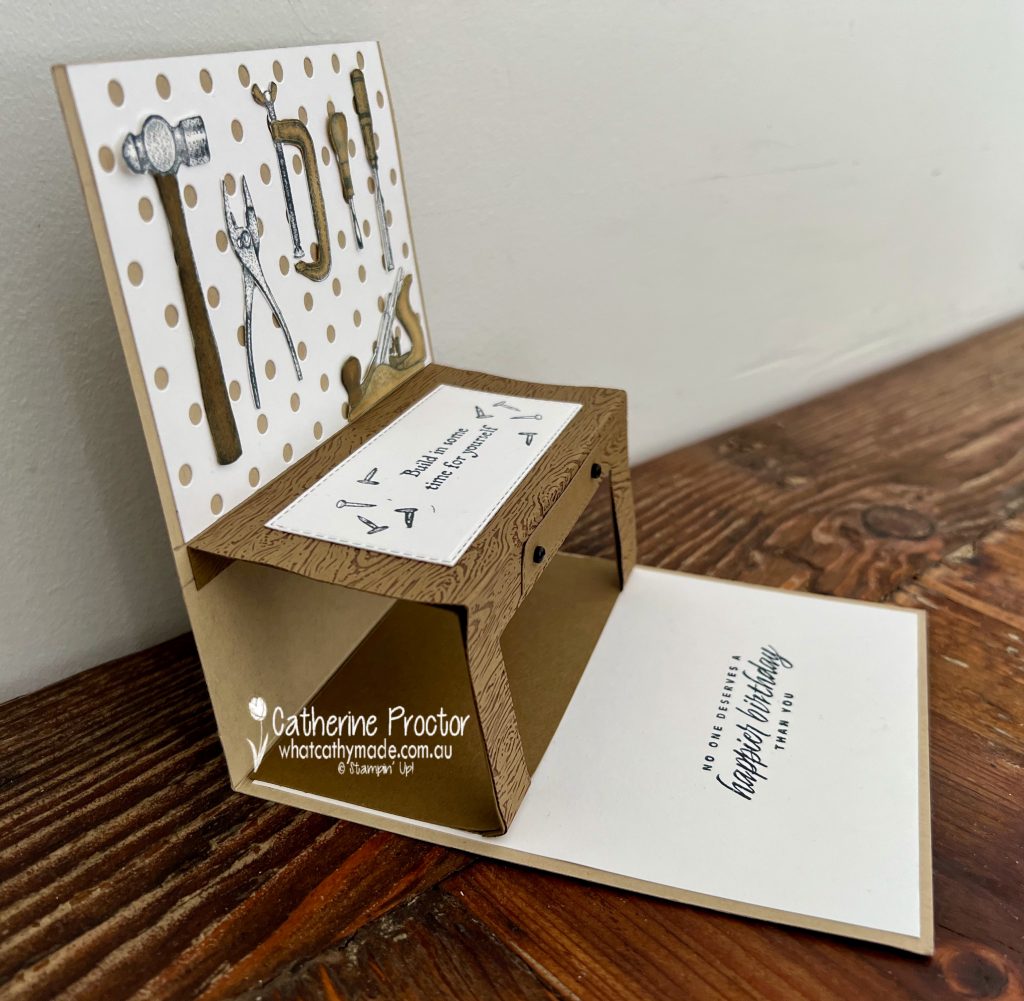
My card tonight is a very simple fancy fold, but it was just perfect for the stamp set I am using – the “Vintage Tools” stamp set. I made this card for my father’s birthday last month.
My dad is an incredible woodworker and craftsman and when my parents downsized homes I was lucky enough to inherit some of his vintage tools – many of these tools originally belonged to my grandfather.
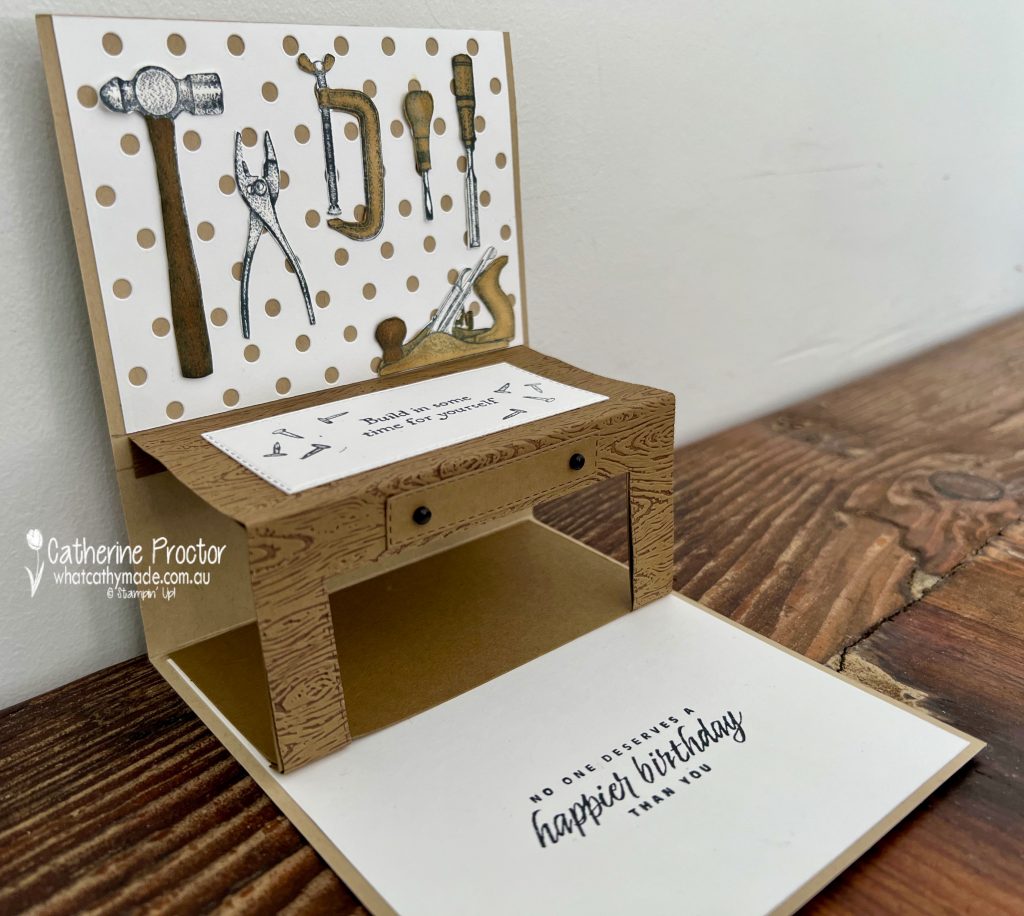
So you can see why I decided to make a pop-up tool bench.
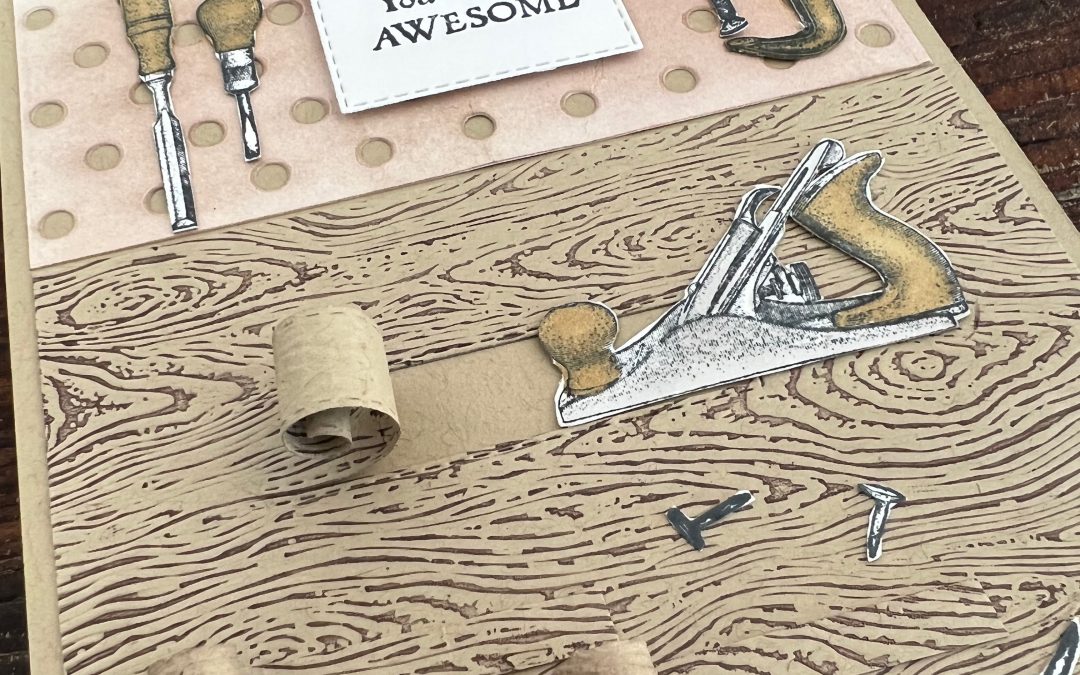
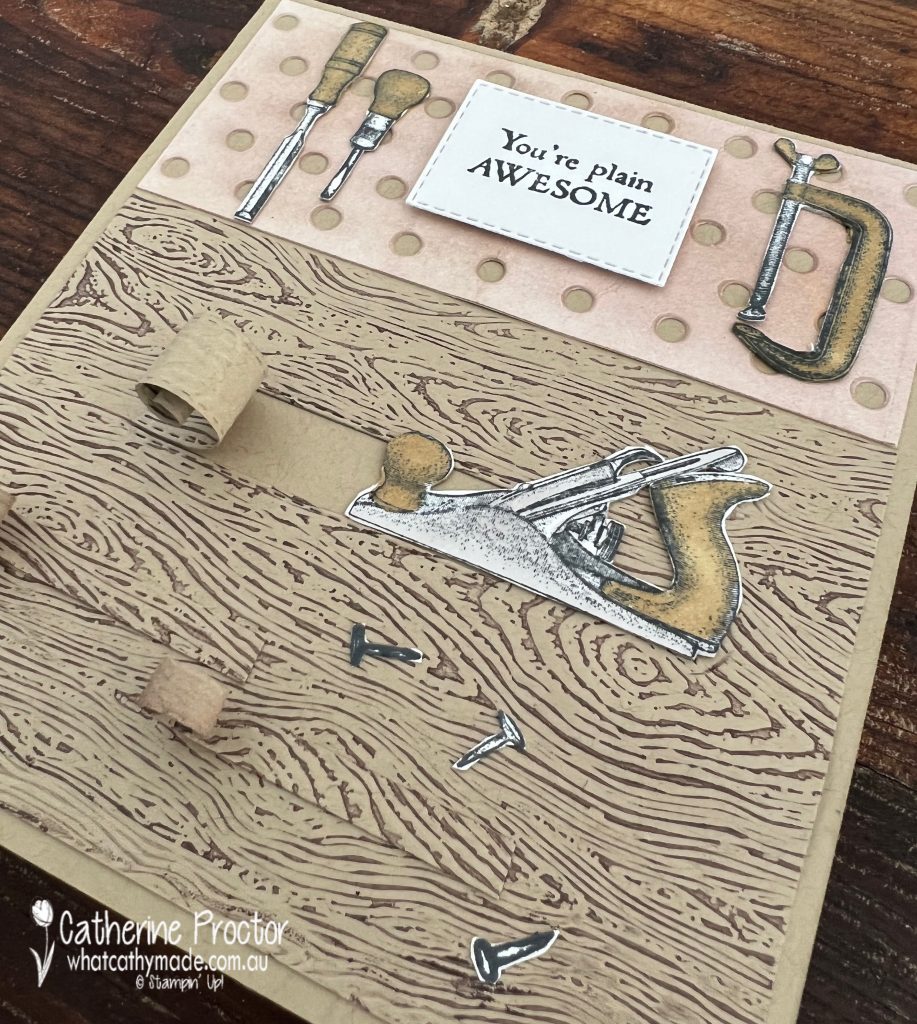
I got the idea for the paper shavings on the front of the card from an overseas Stampin ‘Up Demonstrator called Robin Broome, whose husband is a professional woodworker.
These paper curls are so cool and I love how they make the front of the card 3D too!
The textured wood on the front of the card is created by wiping the top inside section of the Timber Embossing Folder with Early Espresso ink before using it to emboss Crumb Cake cardstock. Once the cardstock is embossed, run the embossing folder under water to clean.
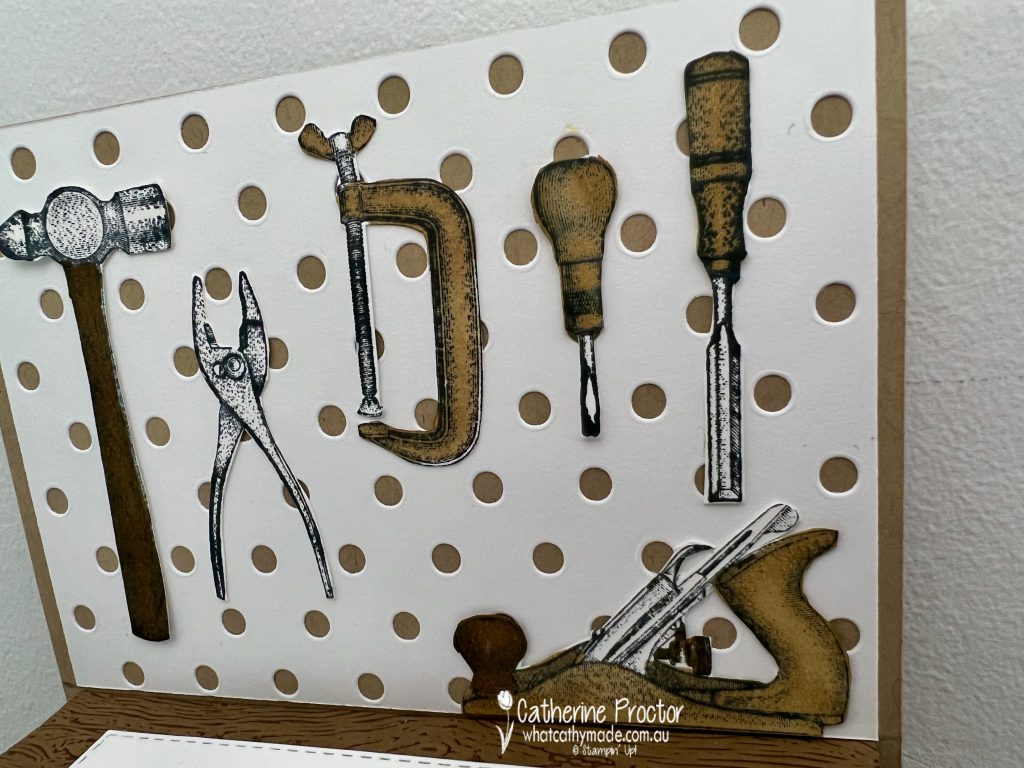
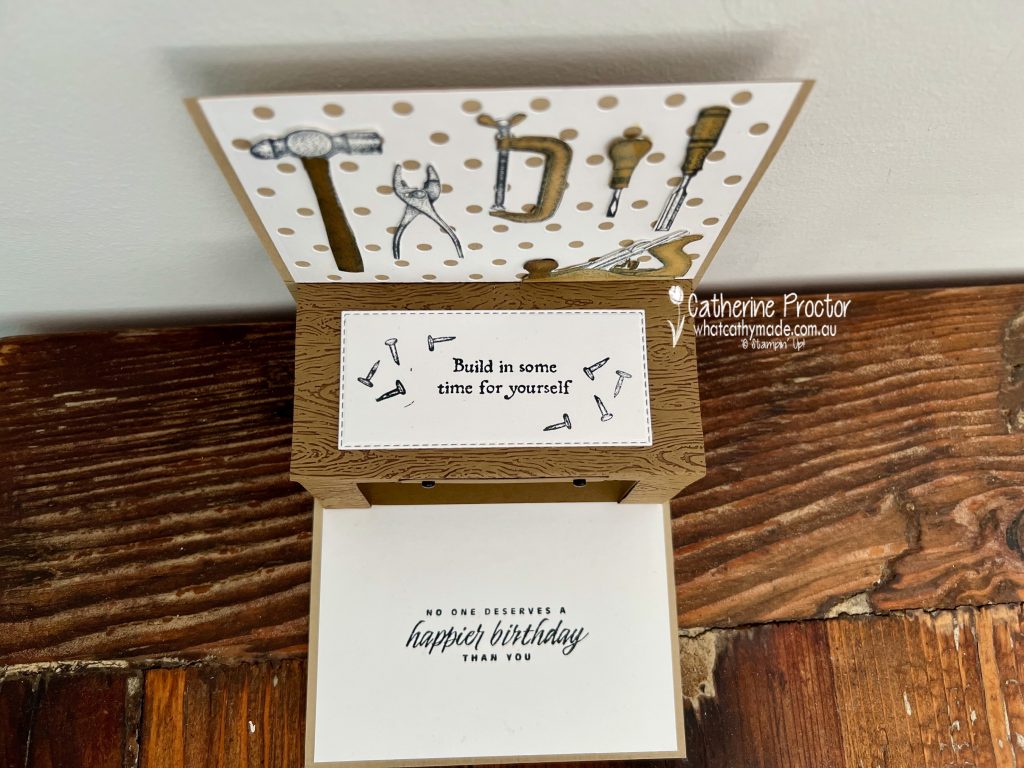
The pegboard is created using the Dots & Spots Die, aged with some Soft Suede ink blended onto the Basic White card stock with a blending brush.
All of the tools, both inside and out, have been coloured using Soft Suede Stampin’ Blends and then fussy cut with paper snips.
To reinforce the legs of the tool bench I added an extra strip of cardstock under the legs.
The tool bench drawer is die cut with the Stitched Rectangle die and the handles are Matte Black dots.
Here’s what it looks like from above when popped up!
I love creating very personalised cards for my family and friends.
Next up on Bronwyn’s Birthday Blog hop is my friend Andrea Sargent. I can’t wait to see what Andrea has created today! If you get lost or a link is broken, the birthday girl, Bronwyn, has a list of all the participants on her blog.
Welcome to week five of the Heart Of Christmas Blog Hop!
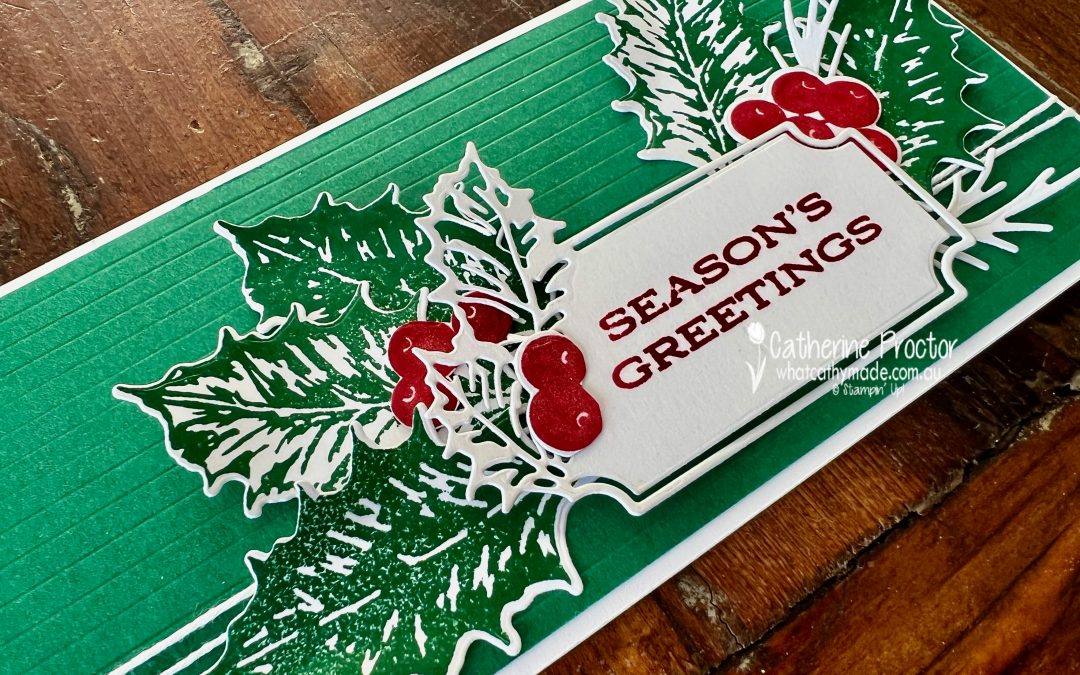
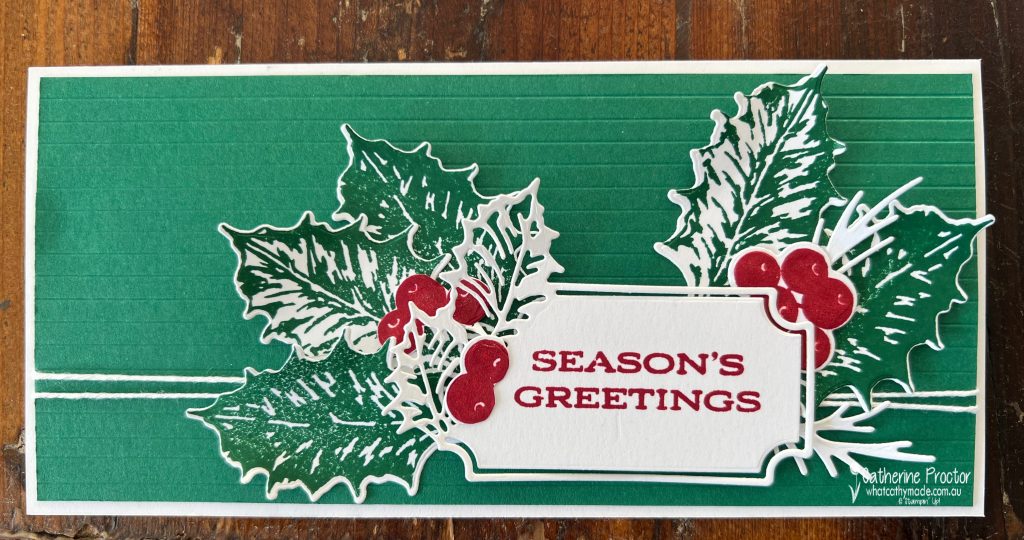
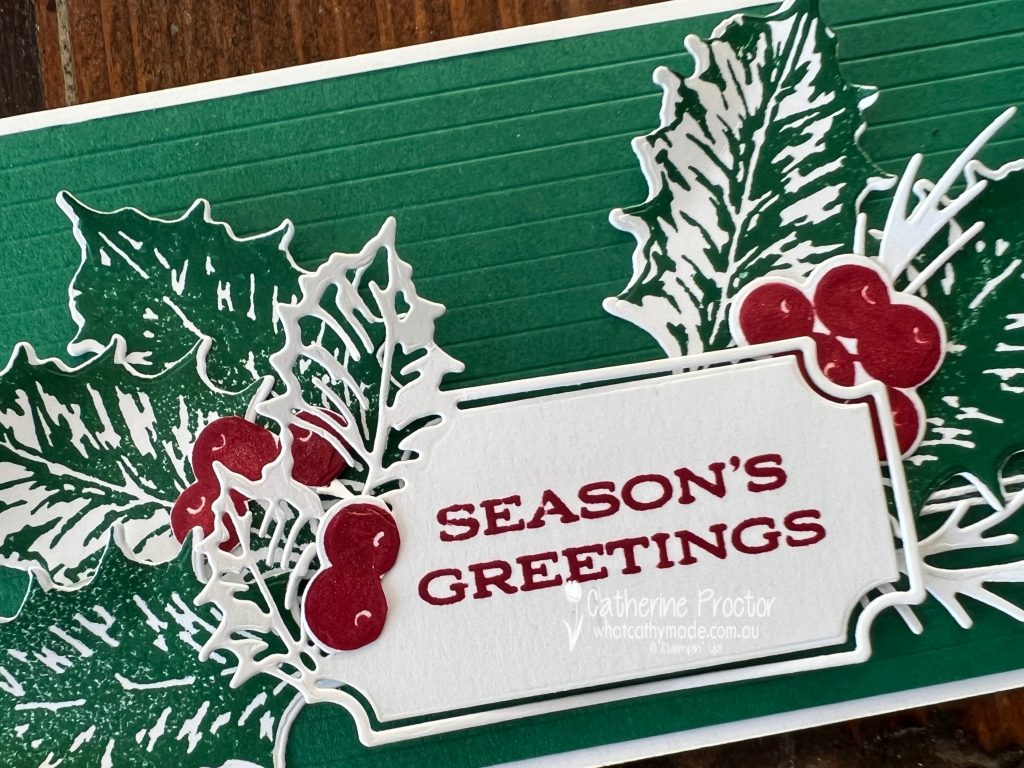
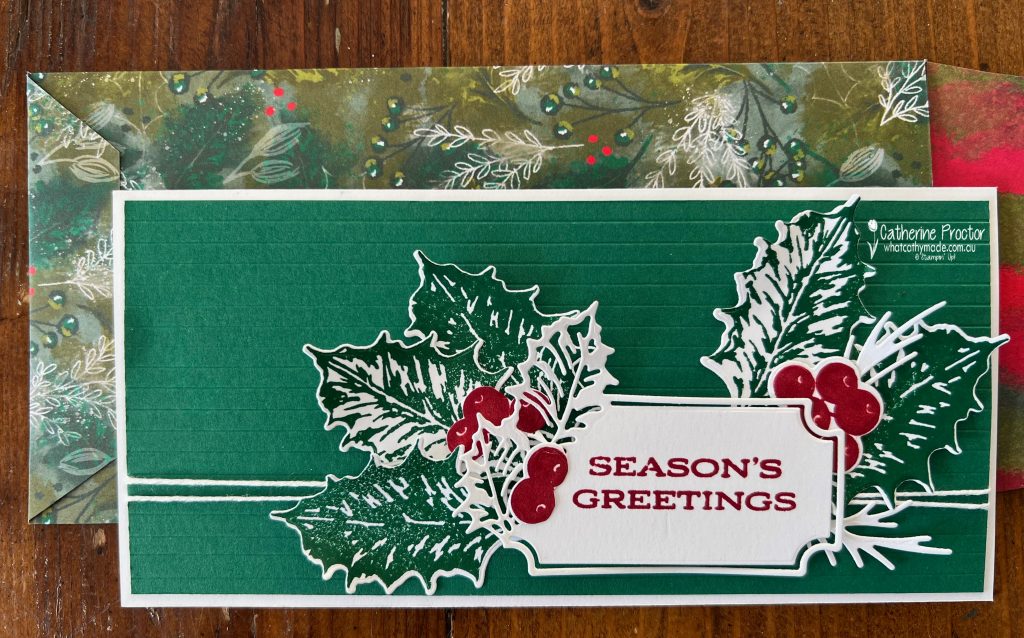
My card this week is brought to you by the stamped and die cut pieces I rejected from my Cherry Cobbler card last week, repurposed this week to make a slimline Christmas card!
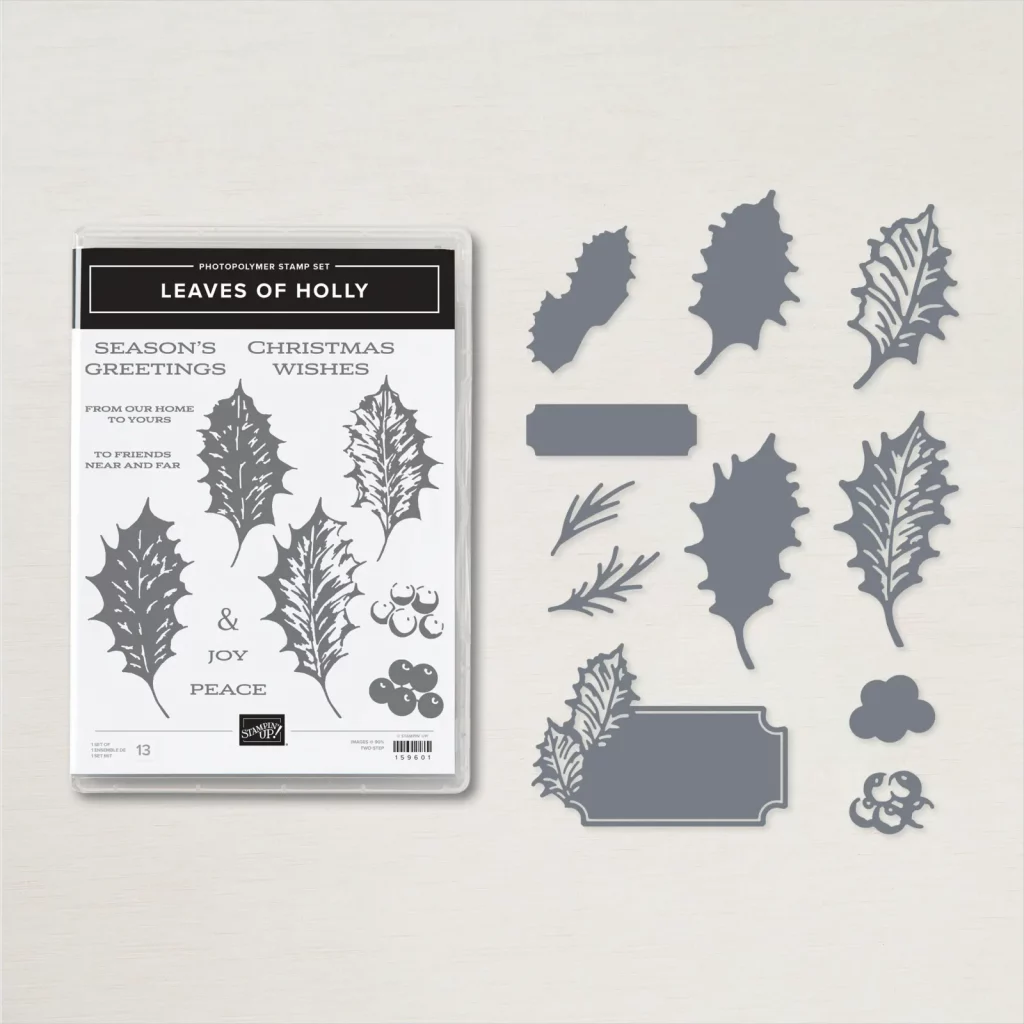
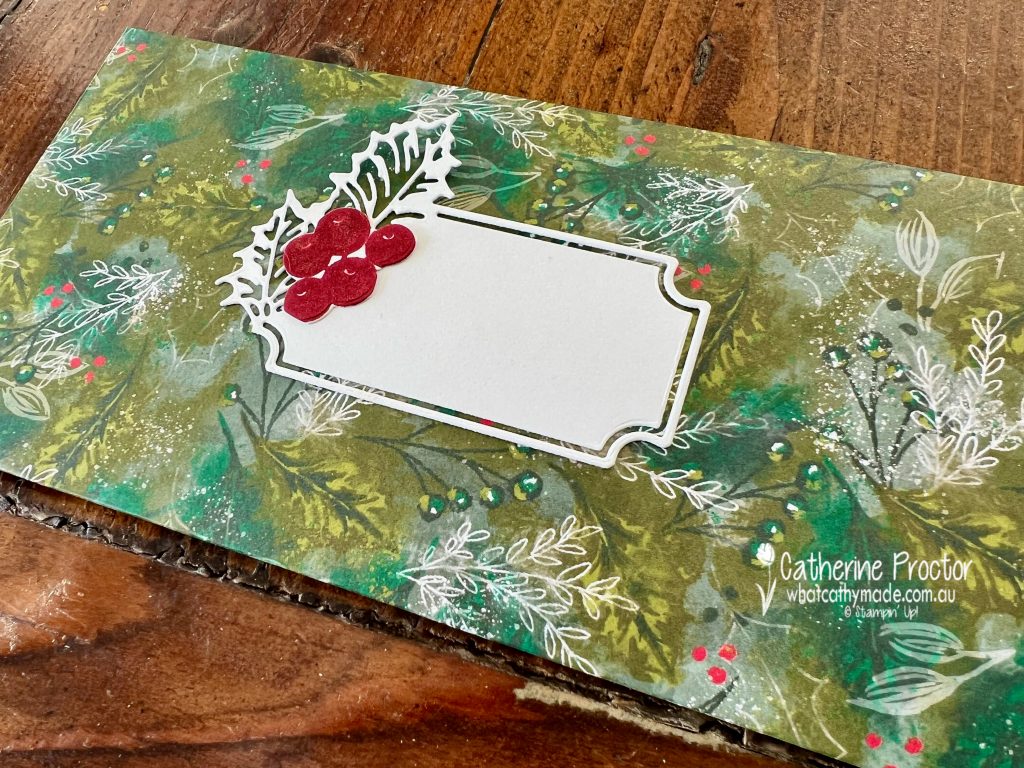
I have to confess I bought the Leaves of Holly Bundle (the Leaves of Holly Stamp Set and the Holly Berry Dies) mainly because I love this sentiment die with its holly frame!
I was worried about how to use the holly leaves and berries on a card as they are quite large, so I decided to leave the background layer quite plain, using cardstock instead of DSP and extending the length of the card to a slimline card.
I used the scoring blade on my paper trimmer to score the Shaded Spruce cardstock at 5 mm intervals, creating a clean and modern embossed layer that lets the oversized holly berries and leaves take centre stage.
A length of white bakers twine was wrapped twice around the Shaded Spruce layer before the stamped “Seasons Greetings” sentiment and holly leaves and berries were adhered to the front of the card.
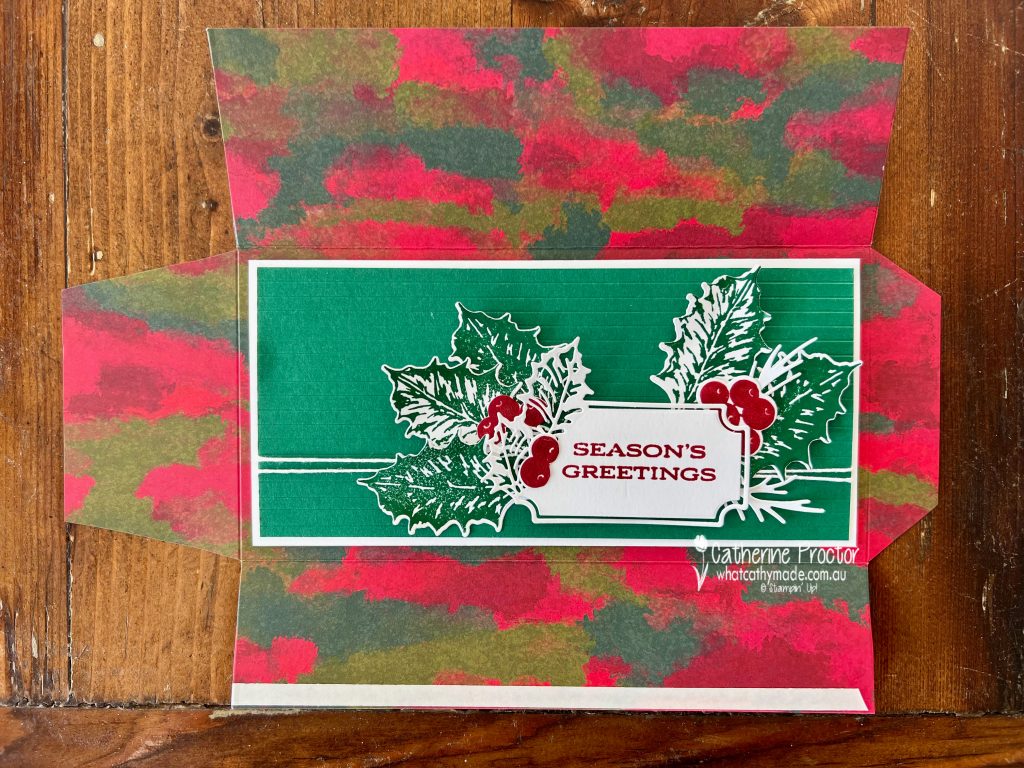
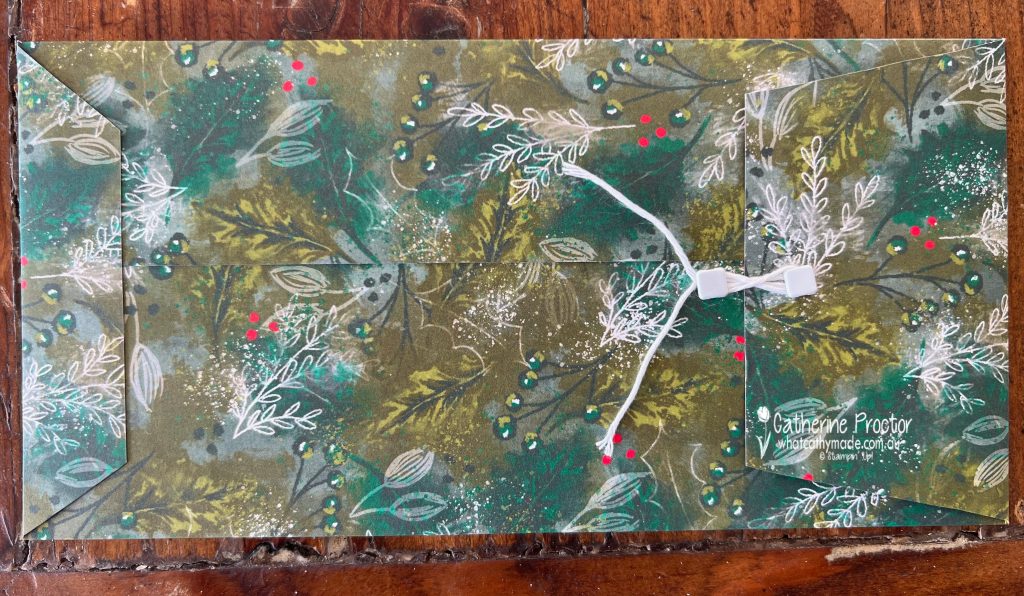
To make an envelope for my 20 x 10 cm slimline card I used the coordinating Boughs of Holly 12″ x 12″ (30.5 x 30.5 cm) Designer Series Paper.
It’s very simple to make a matching envelope for any sized card. All you need is a paper trimmer, tear’n’tape adhesive and some brads and bakers twine for the closing mechanism.
To work out the size of the envelope add 1 cm to the length and the height of the card so it has enough room to easily slide in and out. Then work out how much overlap is needed in the middle of the card to adhere the sides of the envelope together.
Slimline Envelope instructions for a 20×10 slimline card
Using 12×12 DSP, score at 7 cm and 18 cm and then cut at 23 cm
Rotate the DSP once and score at 2.5 cm and 24.5cm
Cut away the 4 corner pieces away
Add a strip of tear’n’tape to the length of the 5 cm side flap
Cut an angle in to both sides the top and the bottom flaps – I eyeball it, but it’s around 1cm at its widest point
Fold the sides in, adhering the 5cm flap over the top of the 7 cm flap.
Add tear’n’tape to the bottom 2.5cm flap and adhere it to form the base of the envelope
Form the closure using two brads and another length of white bakers twine.
For the front of the envelope that gorgeous sentiment die is used as an address label, decorated with holly berries.
Now it’s time to hop on over to our next participant, the lovely Sharon Davern – I can’t wait to see what Sharon has made this week!
If at any time you find a broken link, you can find the complete list of all participants on Sharon‘s blog. Sharon Davern is the host of our Heart of Christmas blog hop this year – thank you so much Sharon!!!
Welcome to week twelve of our Art With Heart 2022-23 Colour Creations blog hop! This is a weekly blog hop where we showcase the stunning range of Stampin’ Up! colours in alphabetical order over 12 months and this week we are featuring Cherry Cobbler.
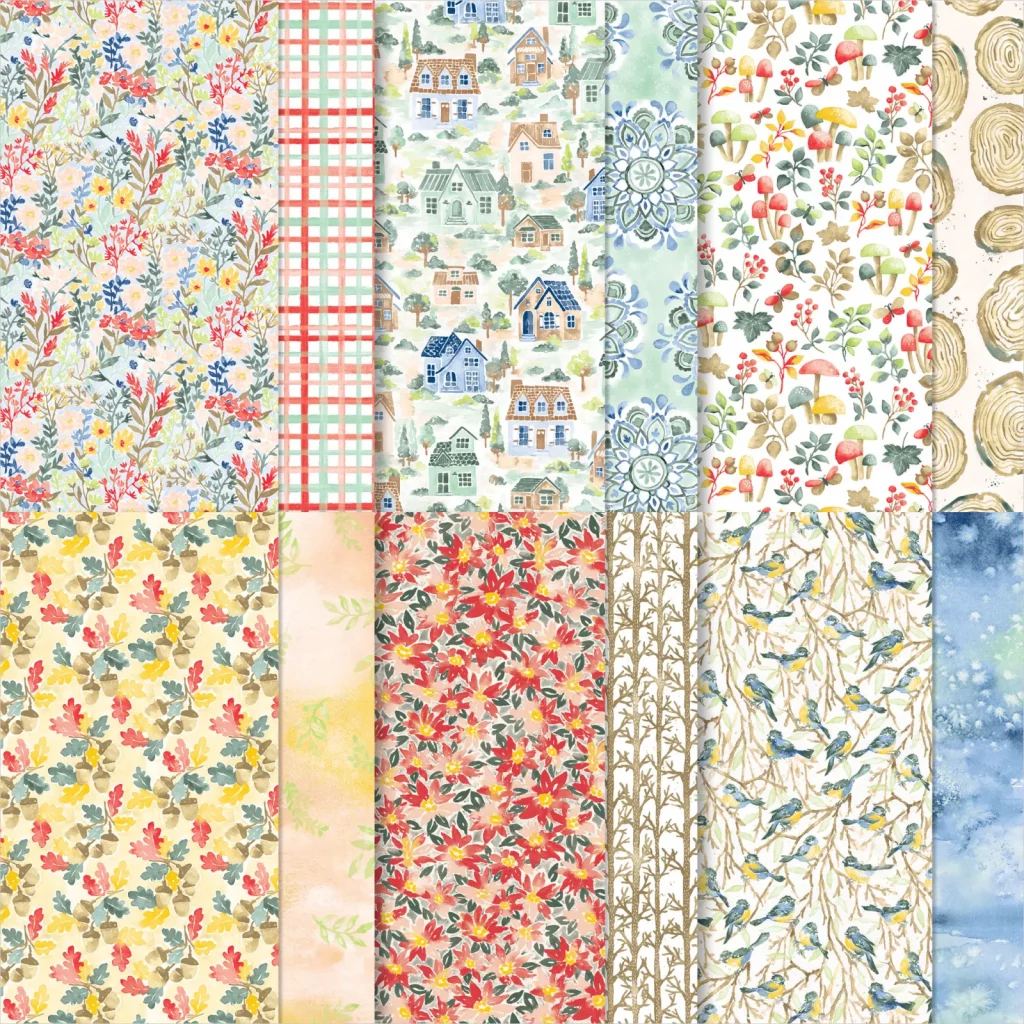
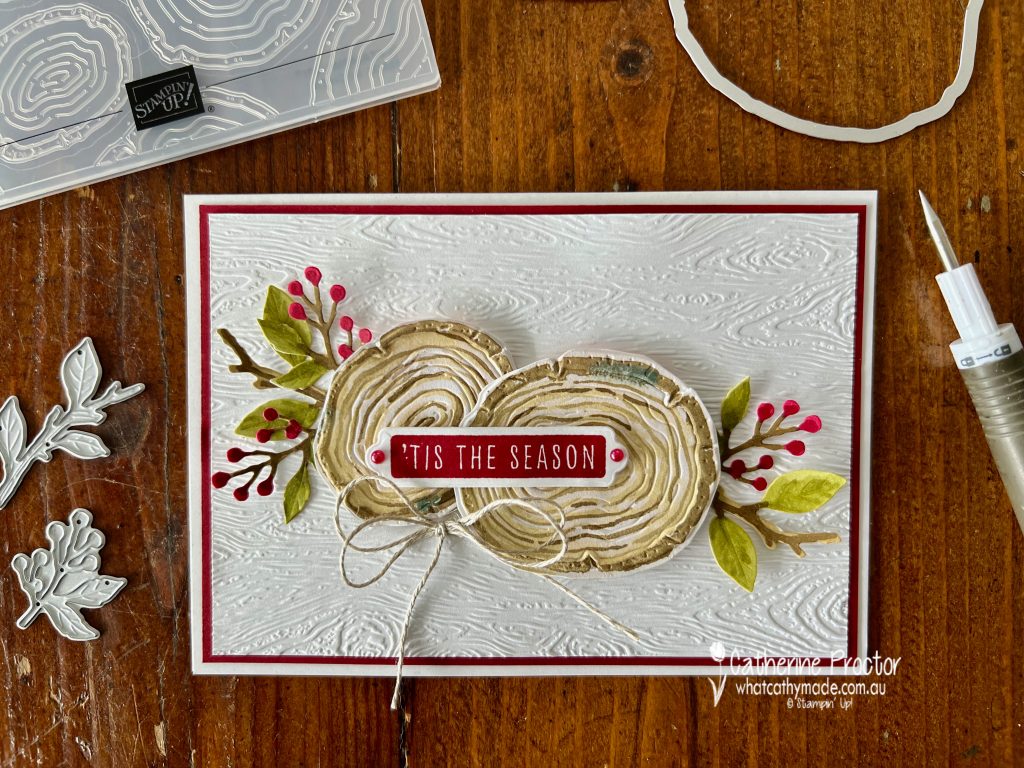
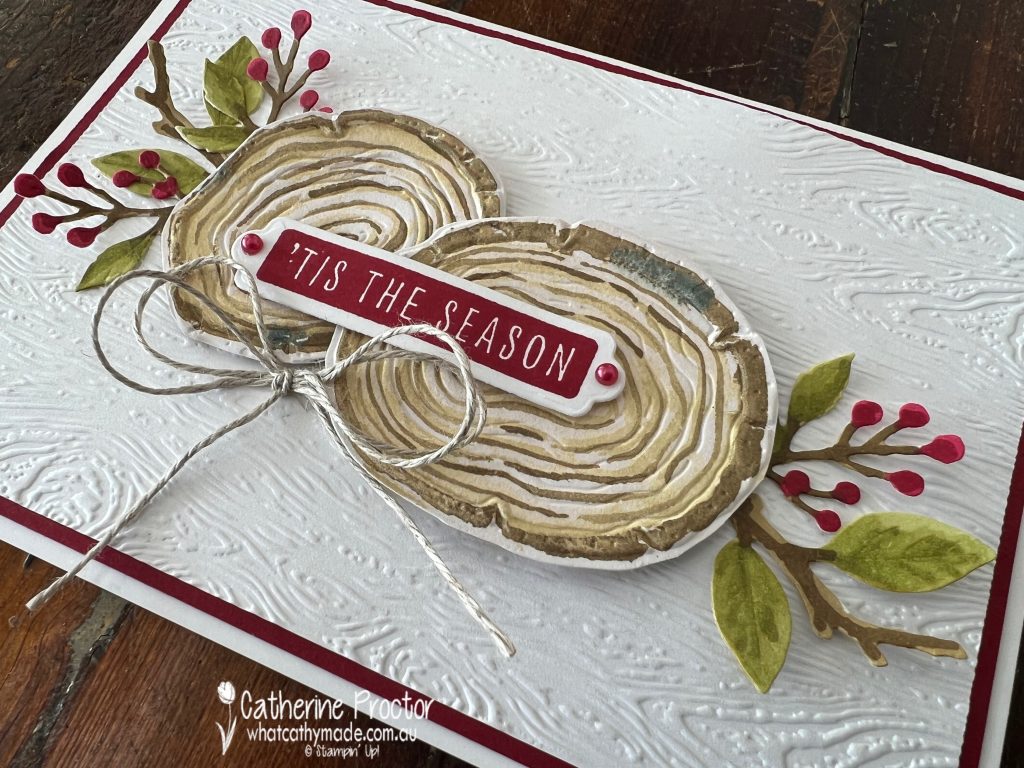
I love Cherry Cobbler on Christmas cards so I’ve paired it with the FREE (with $90 order) Rings of Love DSP to make a Christmas card for this week.
The gorgeous Rings of Love DSP and other Sale-a-bration products are only available until August 31, or when sold out – the Pool Party & Soft Sea Foam Cards & Envelopes have already sold out.
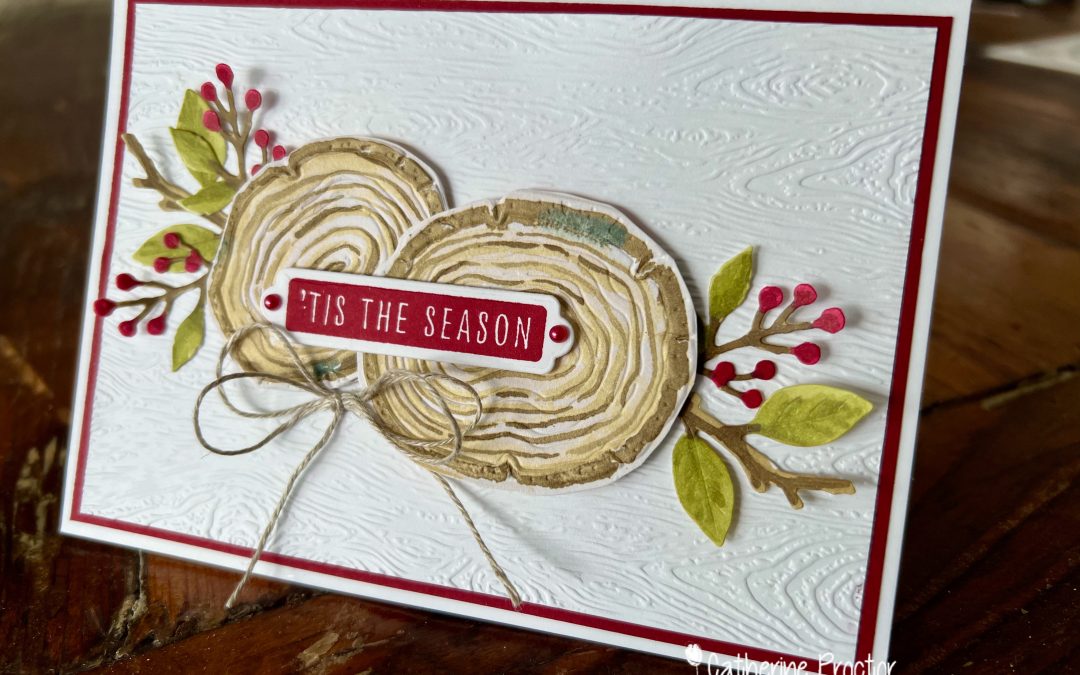
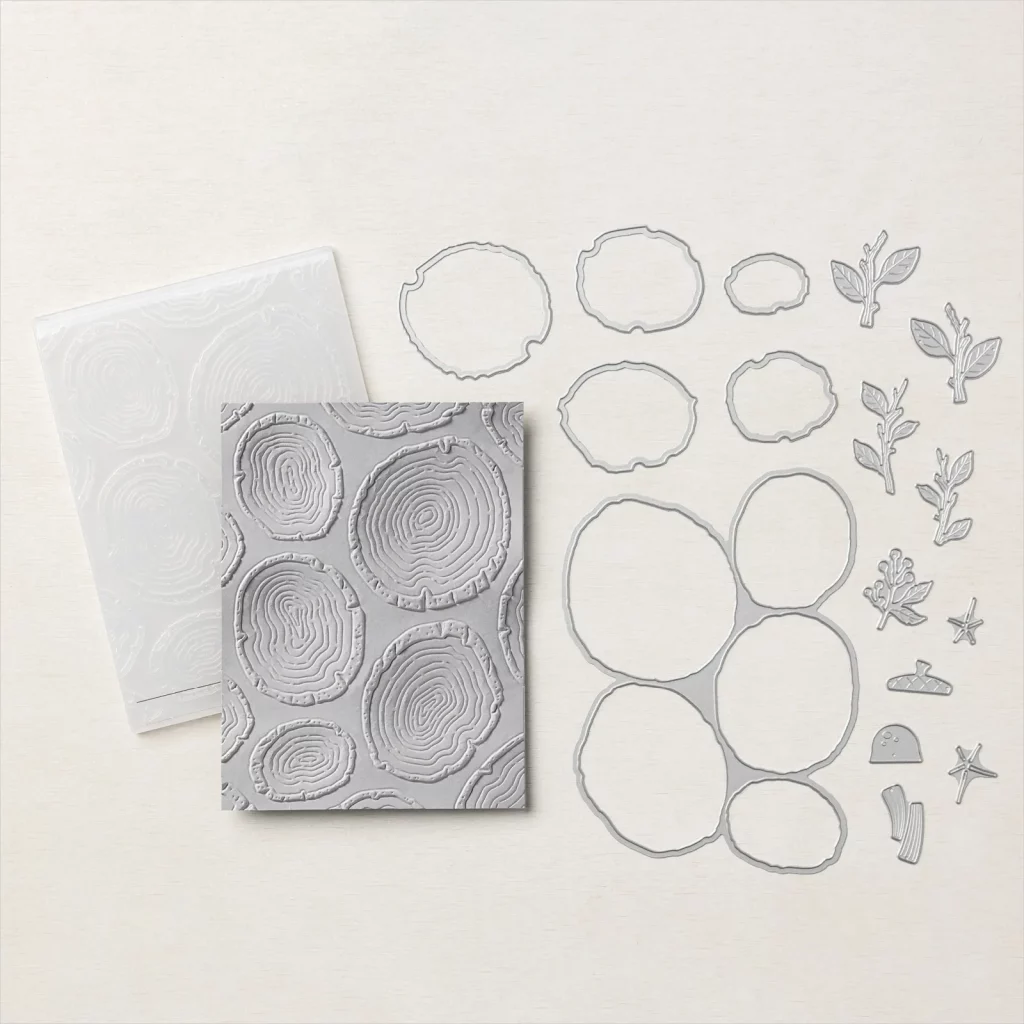
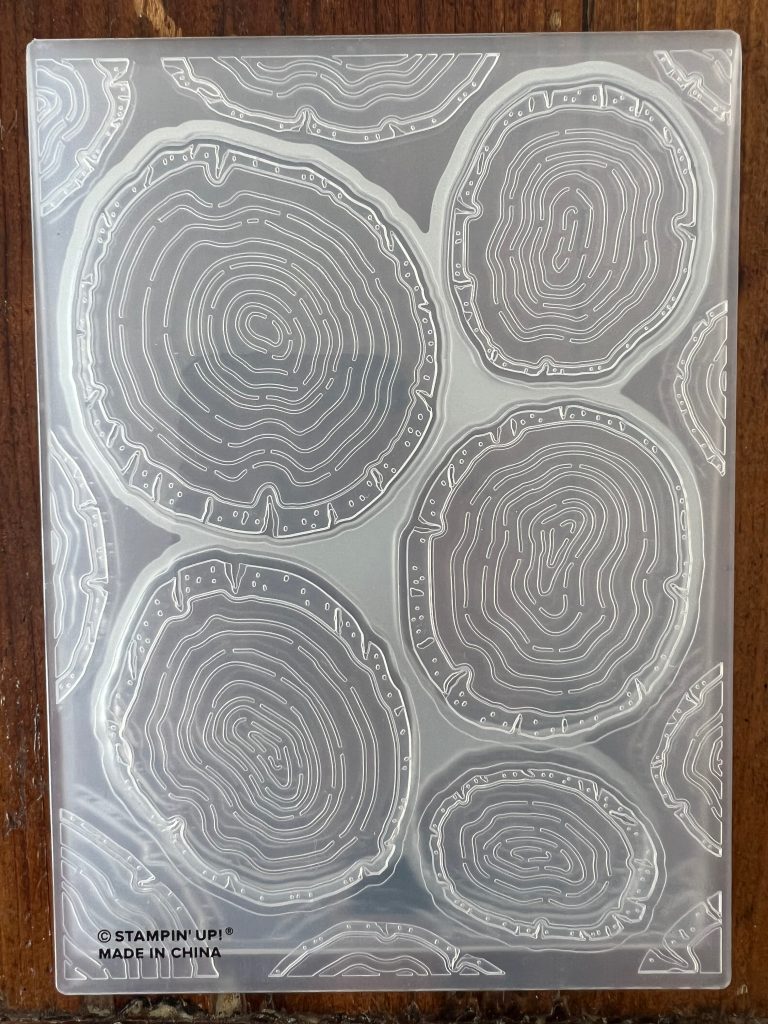
I’ve used the tree ring pattern from the Rings of Love DSP for my card because the tree rings on this patterned paper can be die cut and embossed using the all-in-one Tree Rings Hybrid Embossing Folder.
I love the realistic texture this Hybrid Embossing Folder gives to the tree rings and I don’t have to stamp a thing!
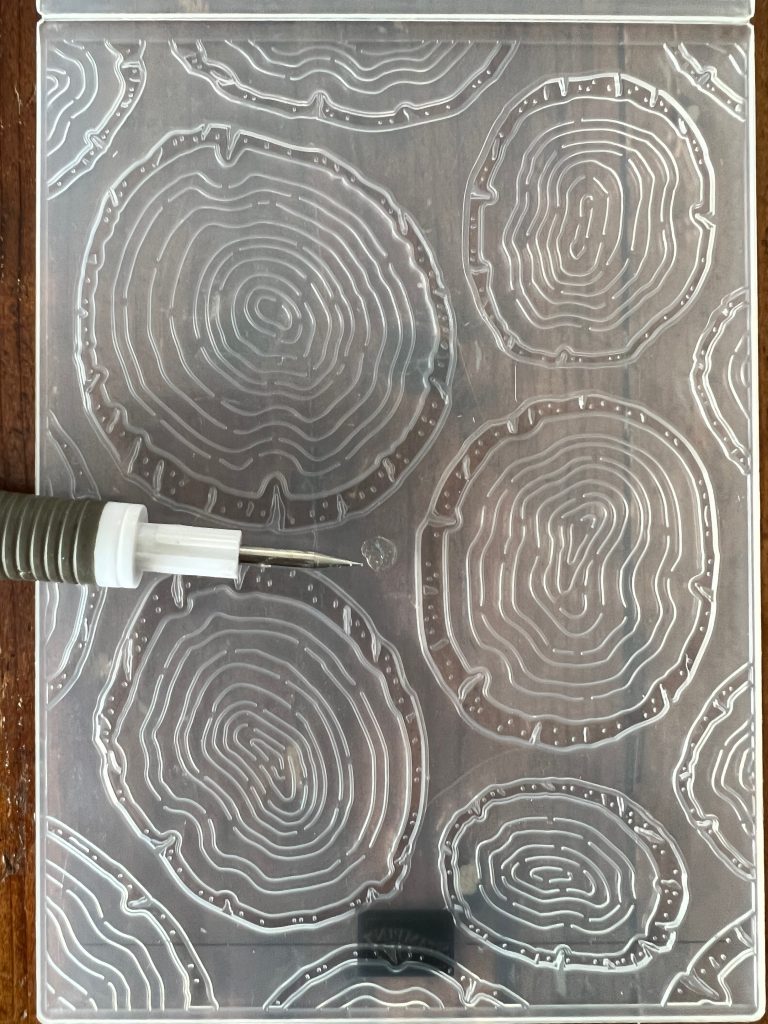
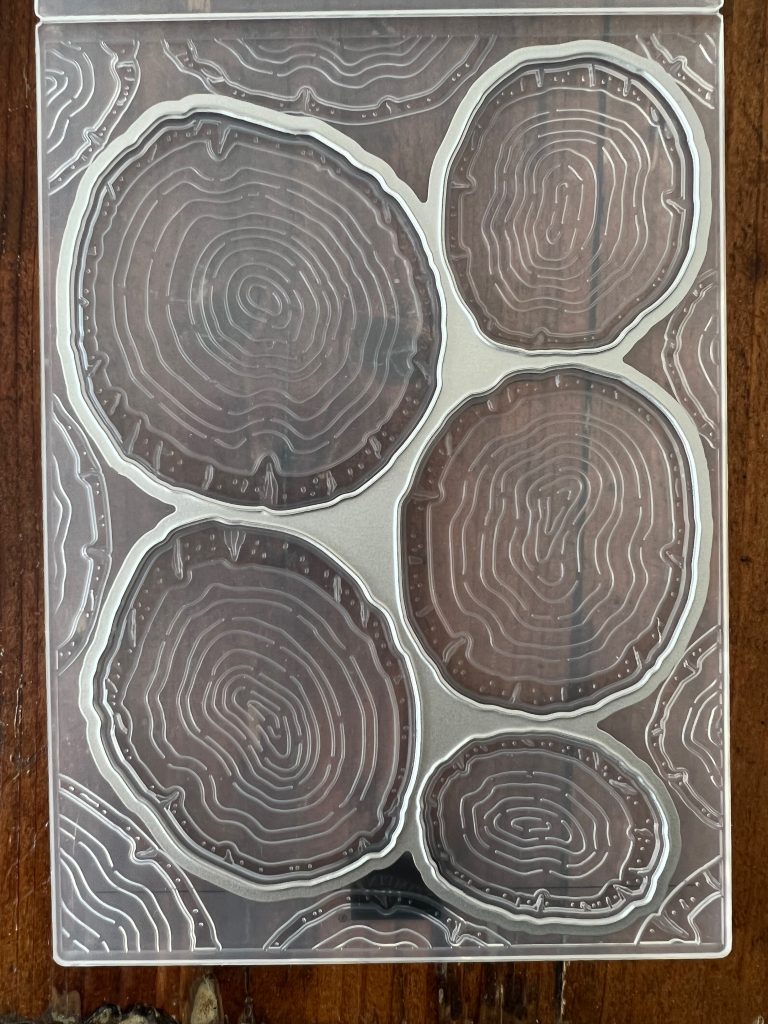
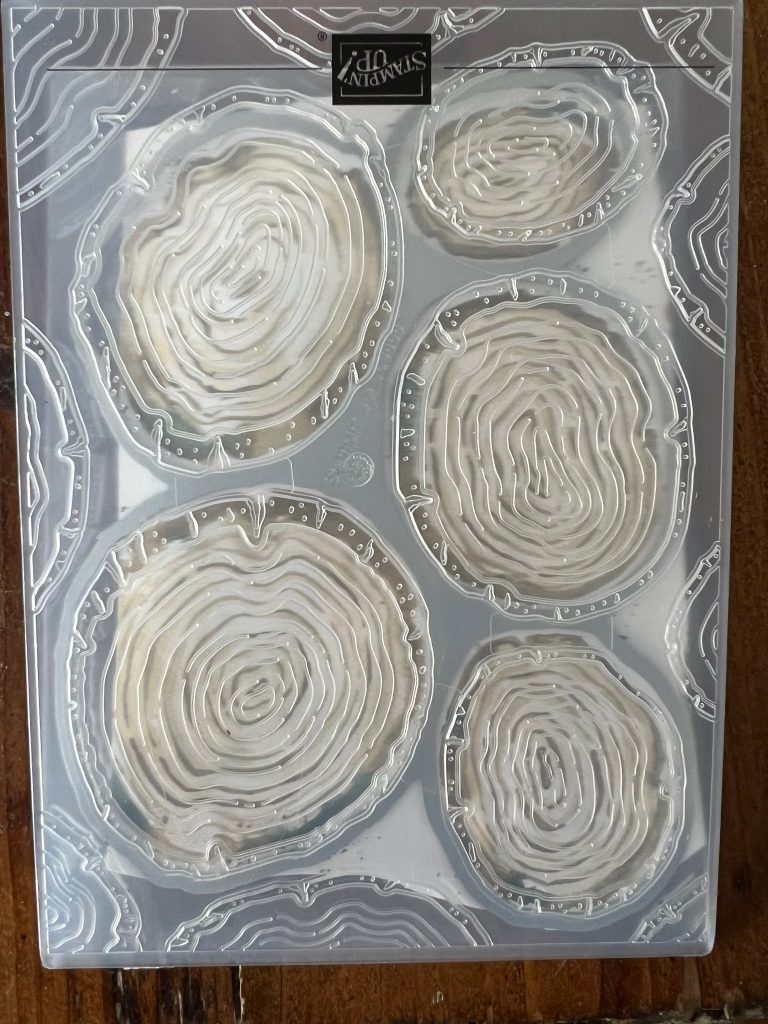
This is how I lined up the tree ring images on the DSP with the all-in-one Tree Rings Hybrid Embossing Folder. Using a glue dot really helps.
Place glue dot in centre of embossing folder on the side that has the Stampin’ Up! logo.
Place the die cutting side up into embossing folder, pressing the die onto glue dot to adhere.
Turn the embossing folder over so that the cutting side of the die is now facing downwards.
Open the embossing folder slightly to slide the DSP under the die, lining up the tree ring images with the die. Run the embossing folder sandwich through the Stampin’ Up! Stampin’ Cut & Emboss Machine to die cut and emboss your tree rings.
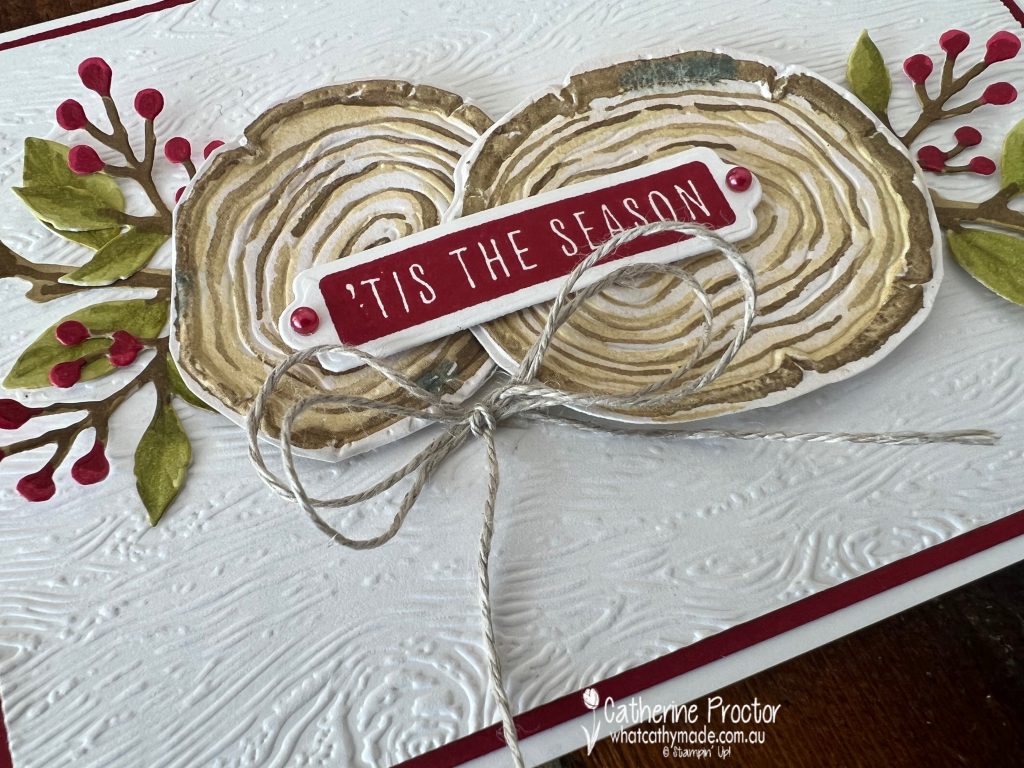
The Timber embossing folder on the Basic white card stock layer was the perfect match for the embossed tree rings.
I used my light and dark Cherry Cobbler, Old Olive and Soft Suede Stampin’ Blends to colour in the twigs, branches and berries, all die cut using the smaller dies from the Tree Rings dies.
The sentiment is from the Christmas to Remember Stamp Set, stamped in Cherry Cobbler and die cut using the Seasonal Labels die.
The Cherry Cobbler pearls come from the Festive Pearls and a linen thread bow completes the card.
Now it’s time to hop on over to our next participant, the lovely Tina Gillespie – I can’t wait to see what Tina has made this week!
If at any time you find a broken link, you can find the complete list of all participants below.