Art With Heart Blog Hop: 2018 Holiday Catalogue
If you find a broken link or have come to this blog hop from a different entry point, you can view the participants below:
Caroline Manwaring
Sharon Davern
Tina Gillespie
Ros Davidson


If you find a broken link or have come to this blog hop from a different entry point, you can view the participants below:
Caroline Manwaring
Sharon Davern
Tina Gillespie
Ros Davidson
Welcome to week 6 of our Art With Heart, Heart of Christmas blog hop.
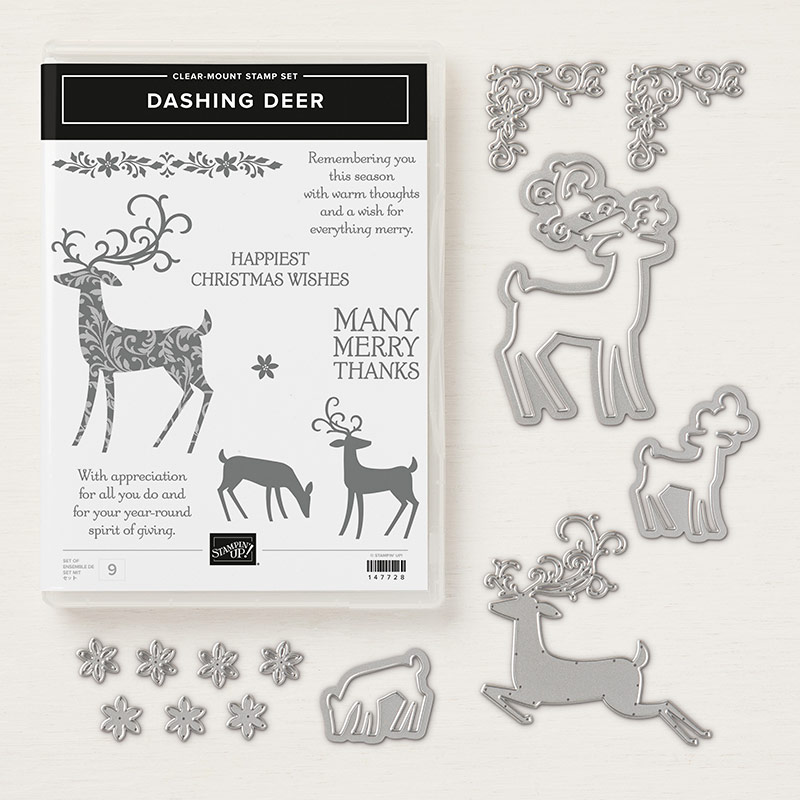
I must admit that I have a bit of a soft spot for reindeer, even though I live in the southern hemisphere, so I was very excited to see this new bundle in the Holiday Catalogue: the Dashing Deer bundle.
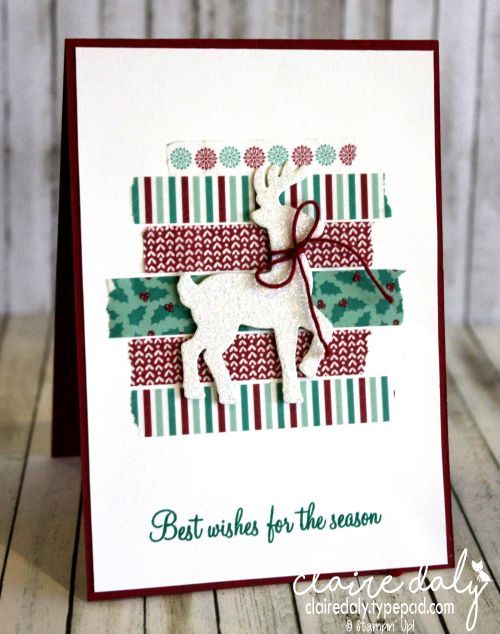
I have so many ideas for cards using this bundle, but this week I thought I’d make a quick and simple card CASEd from a lovely design Claire Daly made last Christmas, using another Stampin Up deer thinlit.
Here’s Claire’s stunning card…this really has to be one of my favourite Christmas card designs of all time so I just couldn’t resist CASEing it for this week’s project. I hope you don’t mind, Claire!
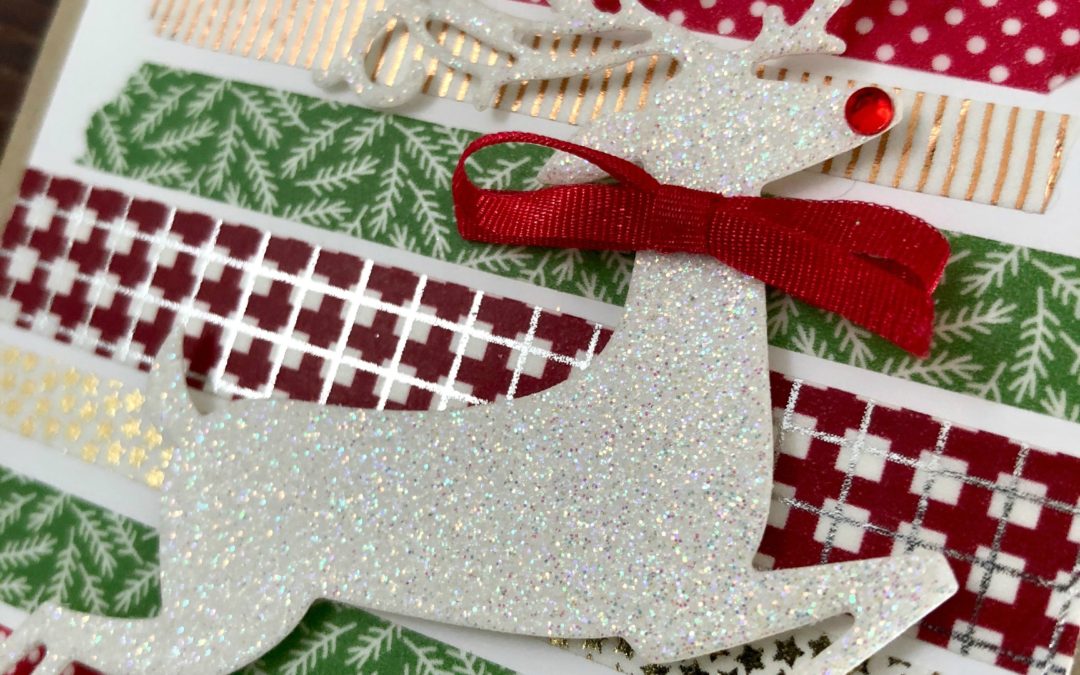
I’ve adapted Claire’s design to suit the new Dashing Deer bundle as well as the gorgeous new Suite Season Specialty Washi Tape. Here’s a closer look at that stunning washi tape and the very elegant Dashing Deer thinlit that I’ve used on today’s card.
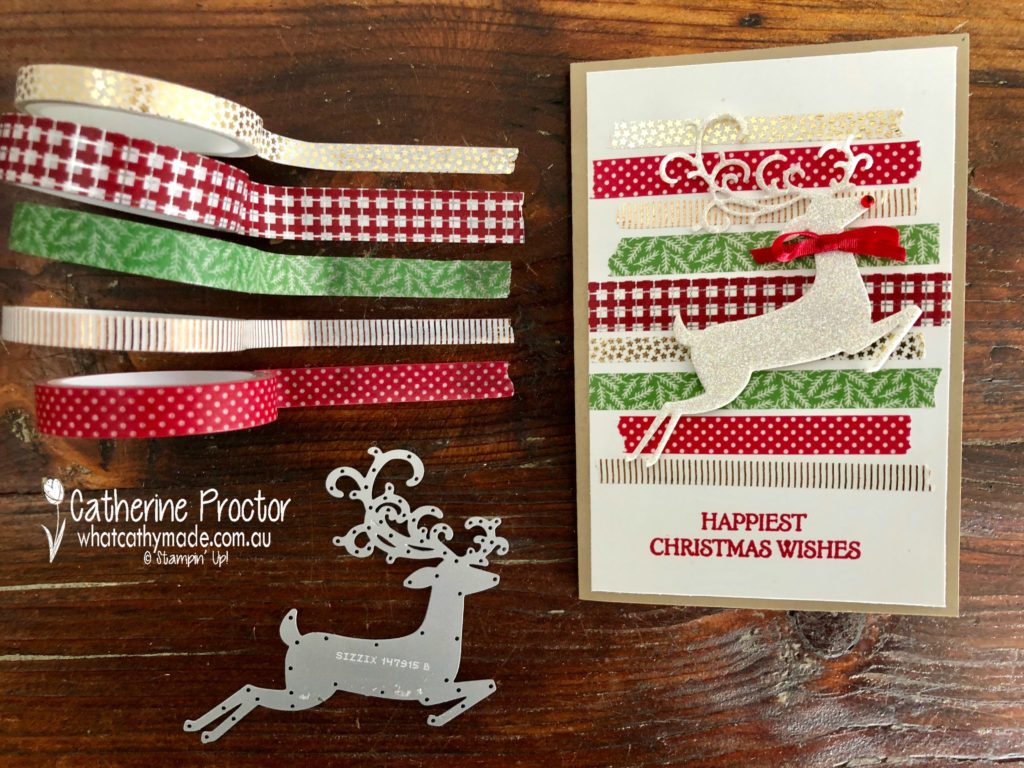
The Suite Season Specialty Washi Tape features the following colours: Cherry Cobbler, copper foil, Garden Green, gold foil, Real Red and silver foil, so you could so make many different variations of this card by simply using different coloured paper for the reindeer, background cardstock and the ribbon.
For today’s card, I decided to keep it quite traditional, cutting my deer out of sparkle glimmer paper, before adding a red rhinestone to his nose and tying a bow of real red ribbon around his neck.
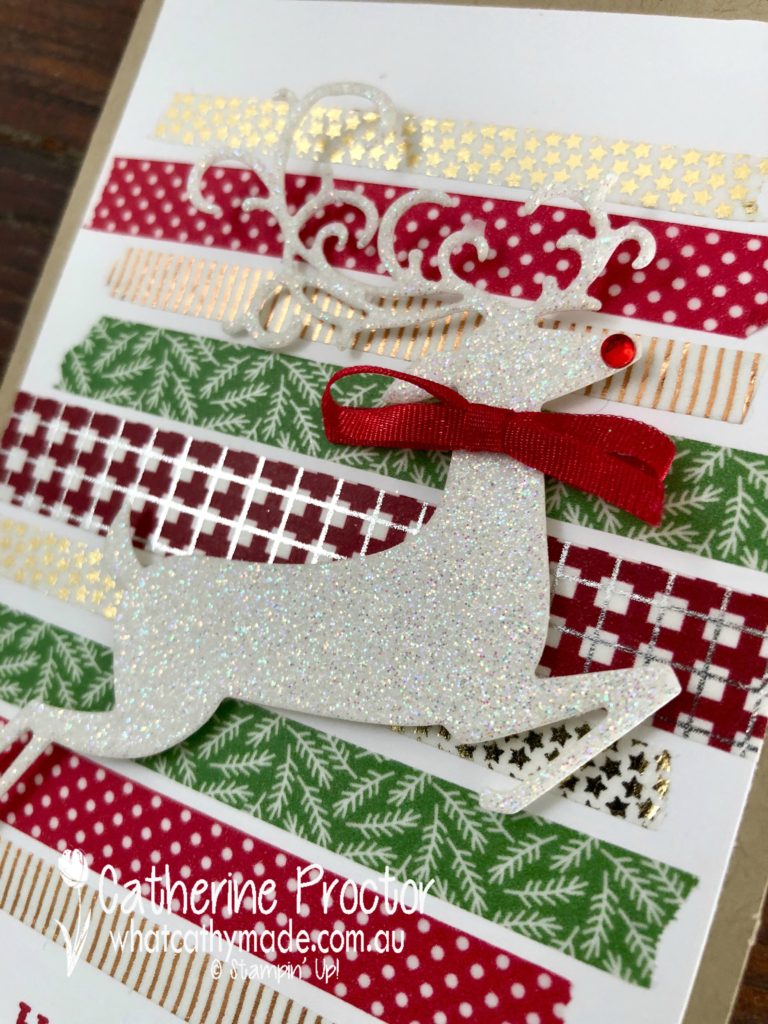
The washi tape makes this card super quick and easy, but you could also adapt this design to use up strips of DSP instead. I really love this new Suite Season Specialty Washi Tape, especially the Garden Green tape with the white sprigs and the Whisper White tape with the little gold stars.
My final touch was the “Happiest Christmas Wishes” sentiment from the Dashing Deer stamp set, stamped in Real Red.
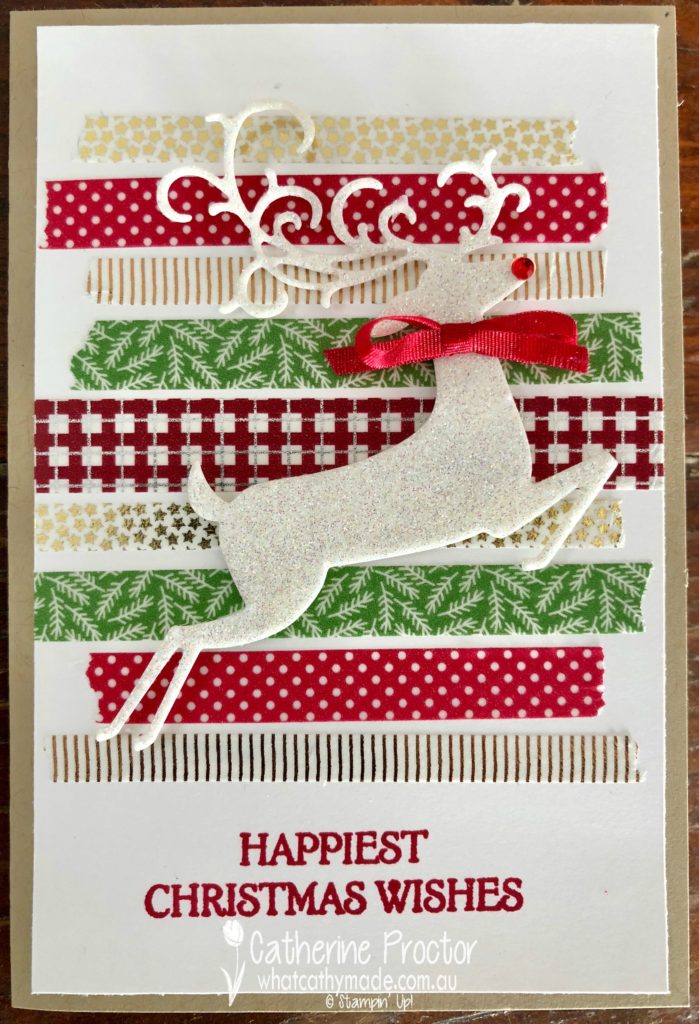
Thank you so much for the inspiration, Claire!
To see what the rest of the team have made this week hop over to the lovely Claire Daly’s blog.
Welcome to week 5 of the Art With Heart “Heart Of Christmas” blog hop.
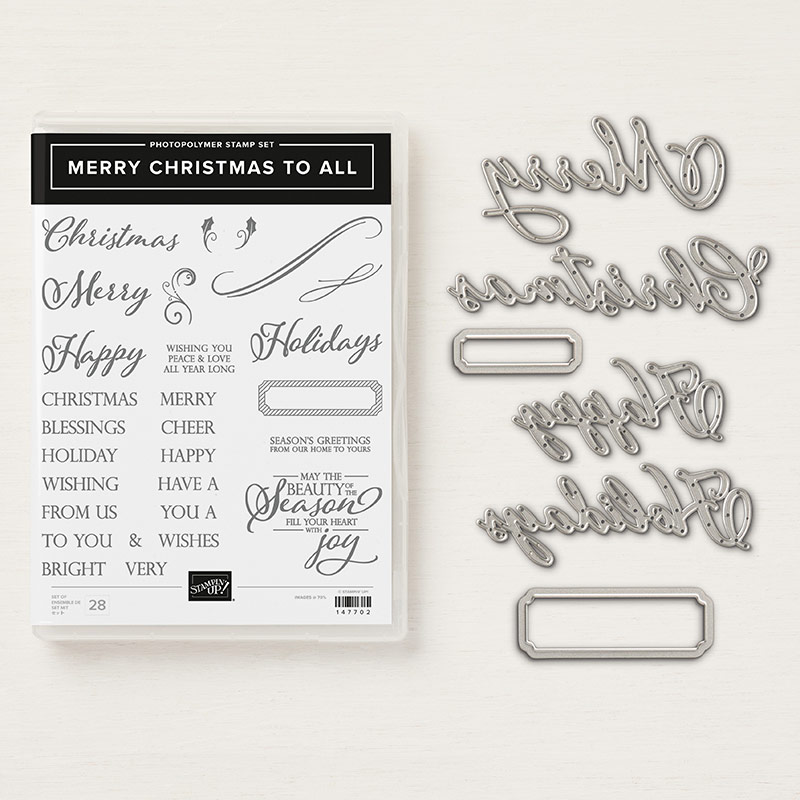
Tonight I’ve used a bundle from the new Holiday Catalogue called “Merry Christmas to All”. This is a great text-heavy set that works really well to feature DSP or can even be used on its own. There are so many possible word combinations with the dies and the stamps in this bundle.
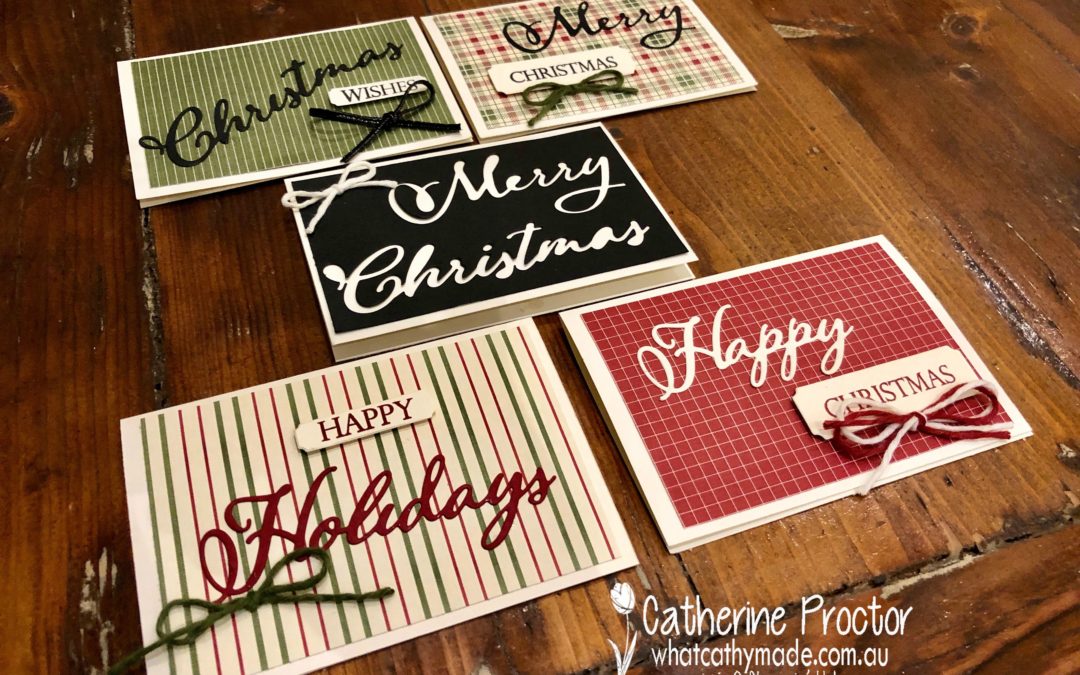
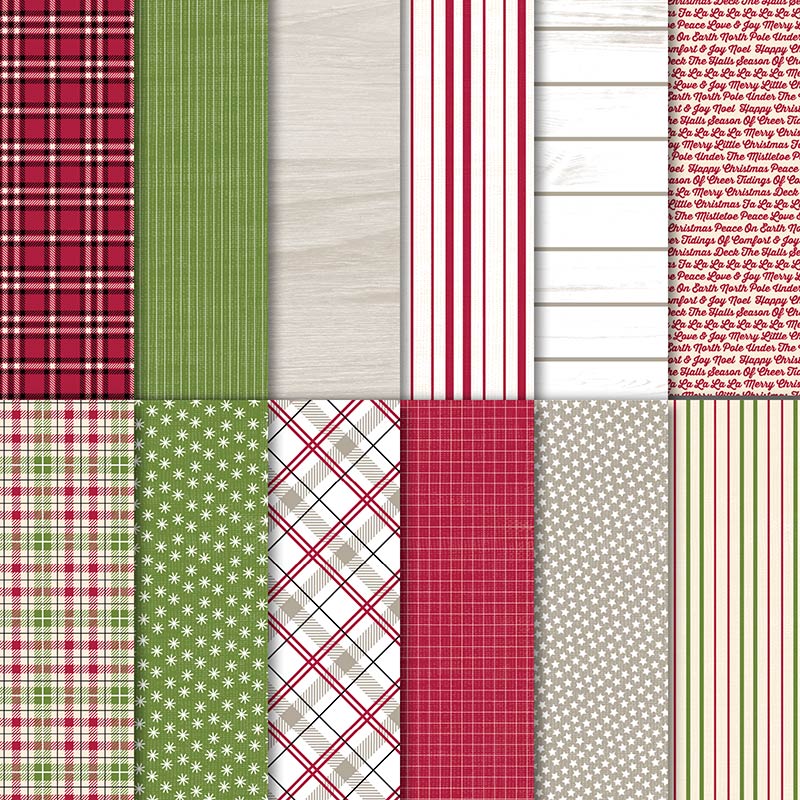
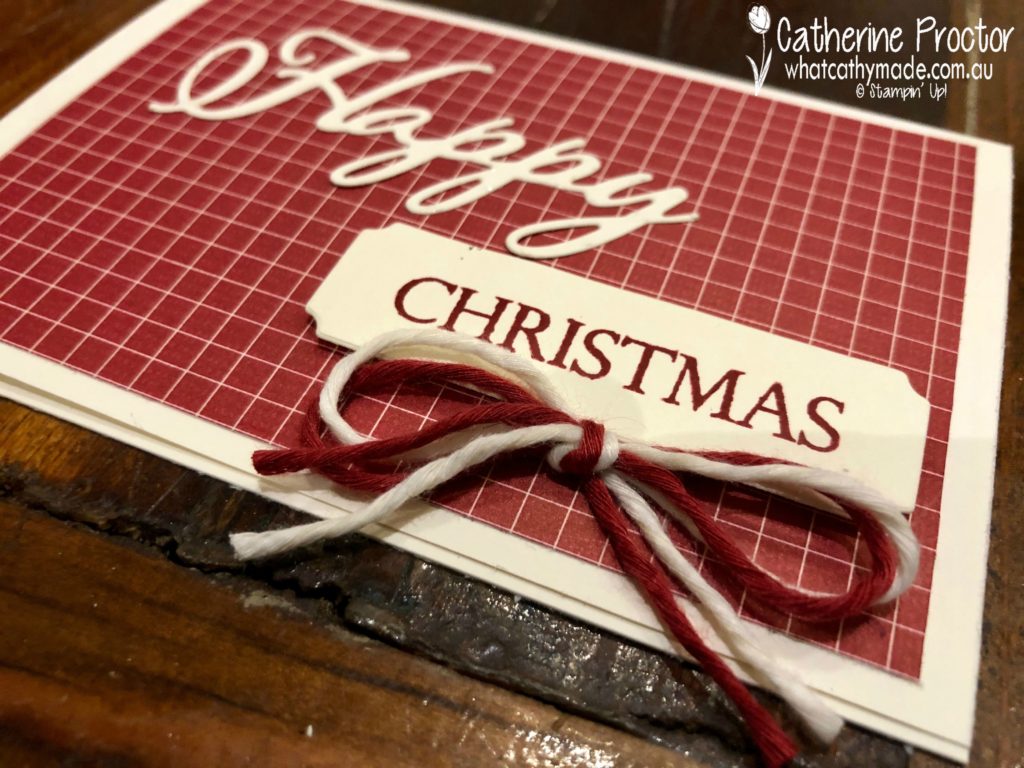
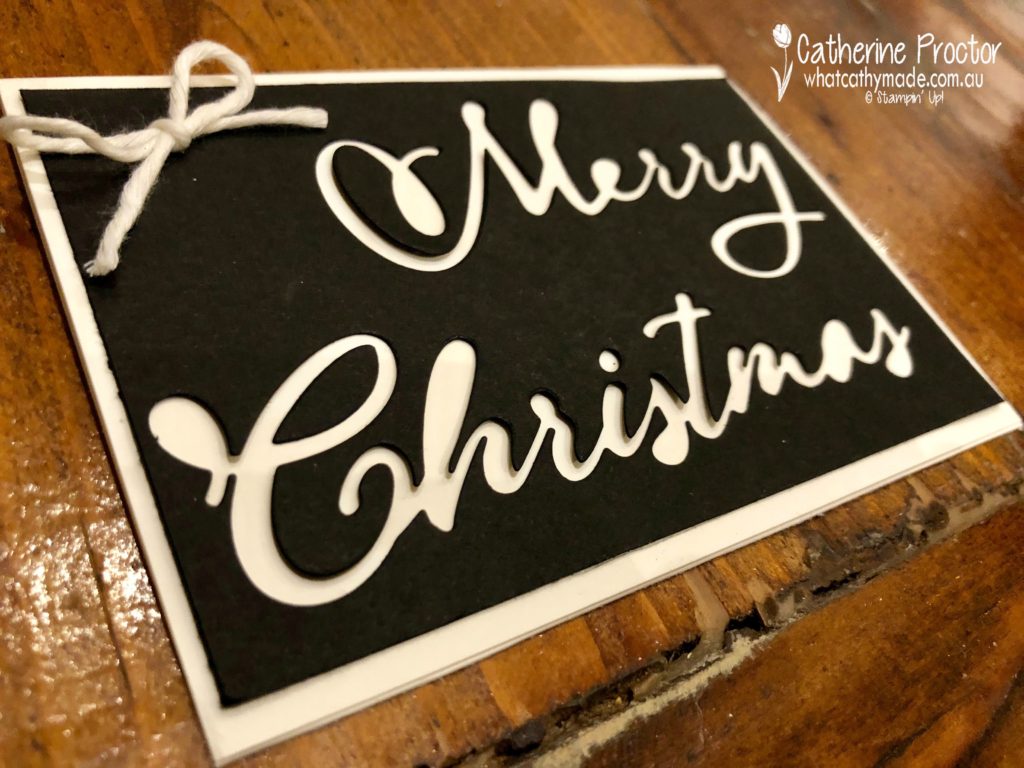
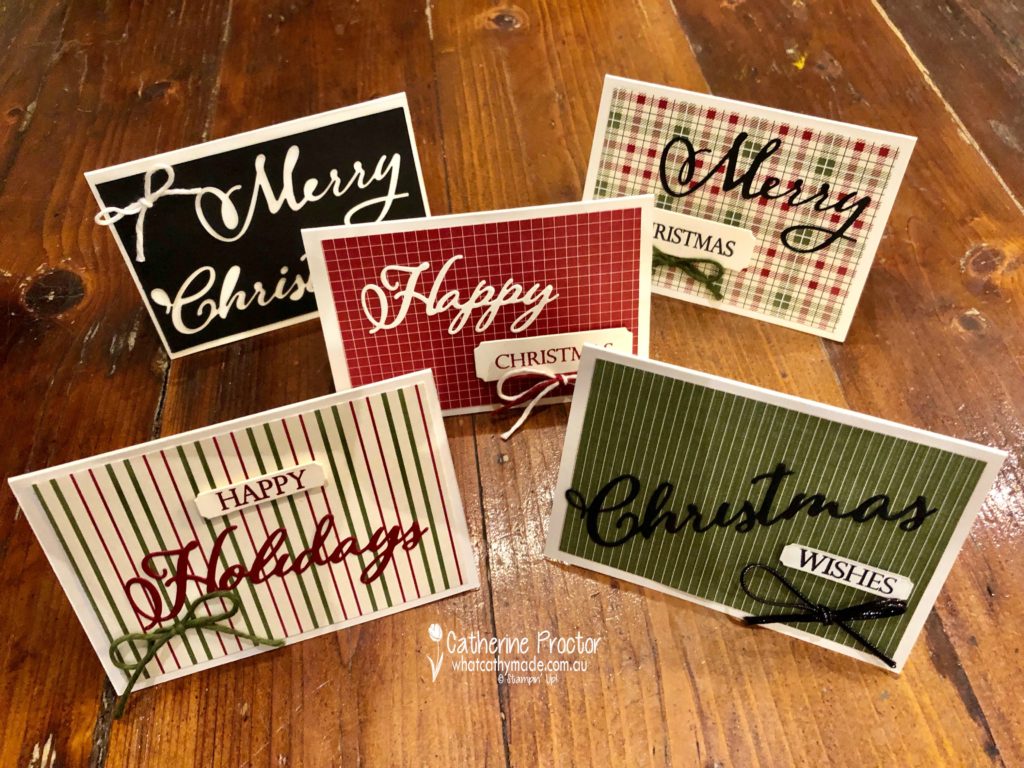
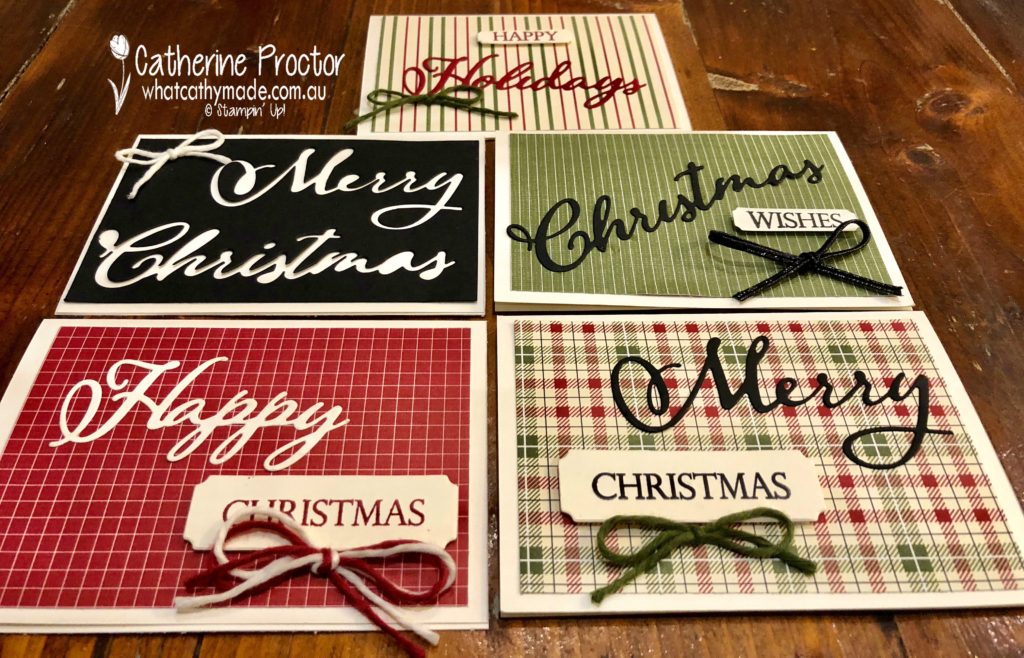
I’ve used this set with the gorgeous Festive Farmhouse DSP to make a set of classic masculine Christmas cards that show just some of the many combinations of words you can make by mixing up these dies and stamps.
Card one features the gorgeous Cherry Cobbler and Very Vanilla together. I love this colour combo.
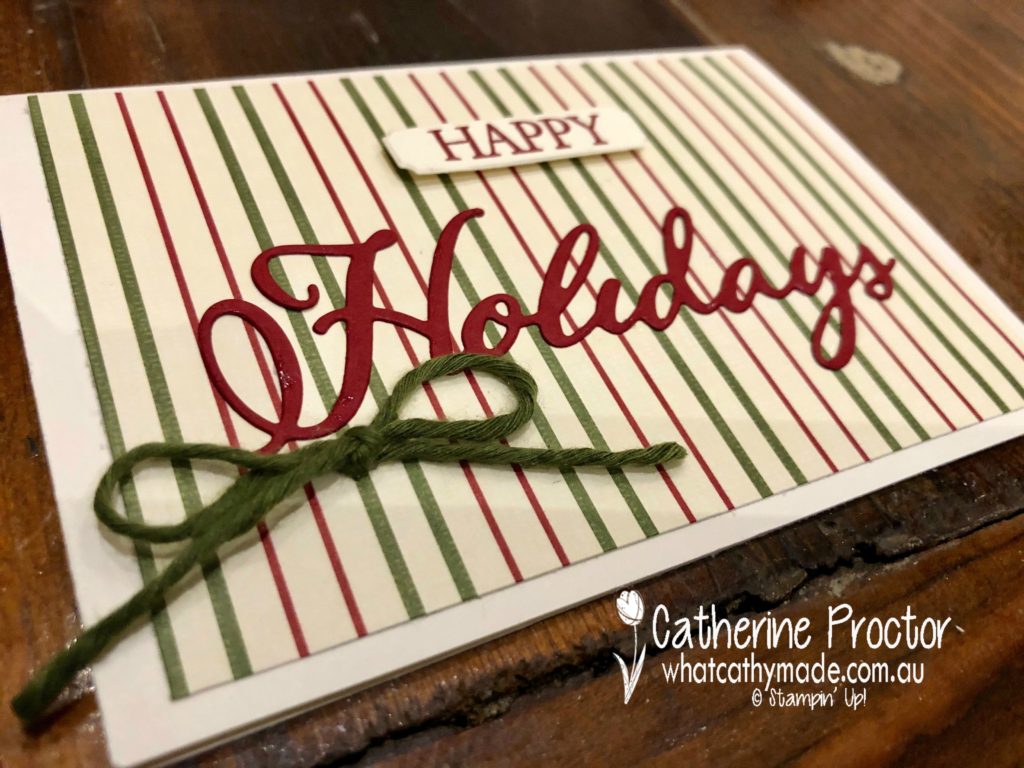
Card two “Happy Holidays” is a lovely striped DSP that also has Mossy Meadow in the colour mix.
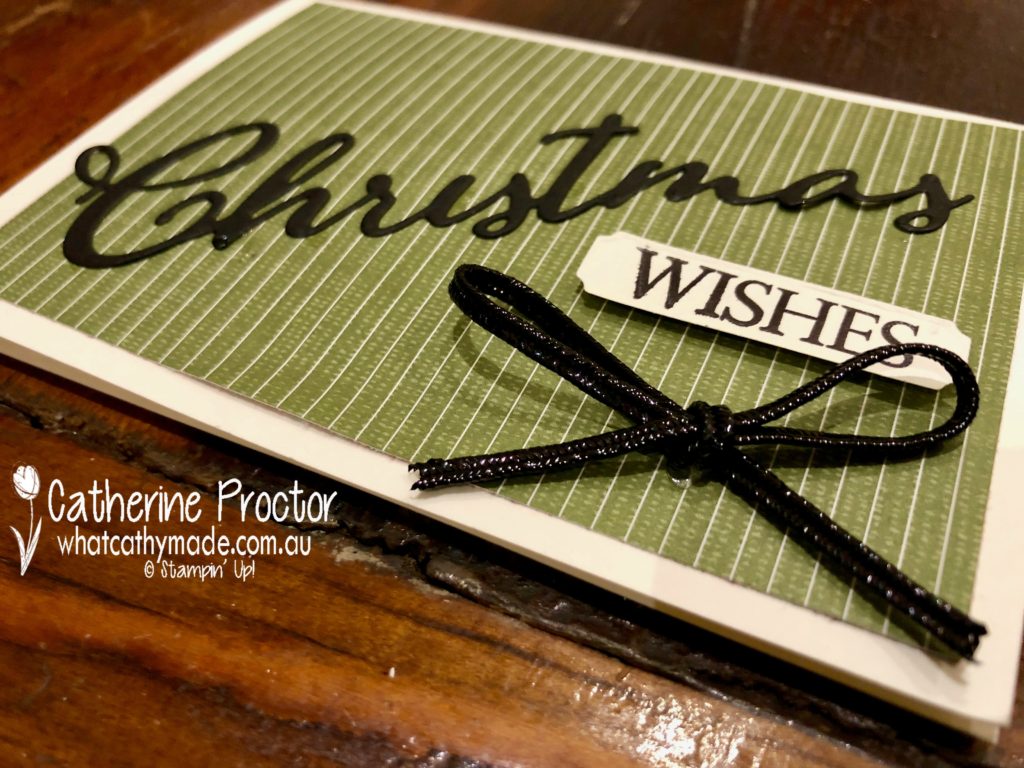
Card three “Christmas Wishes” is another stripe, this time in Mossy Meadow and Whisper White, with black text and a black bow.
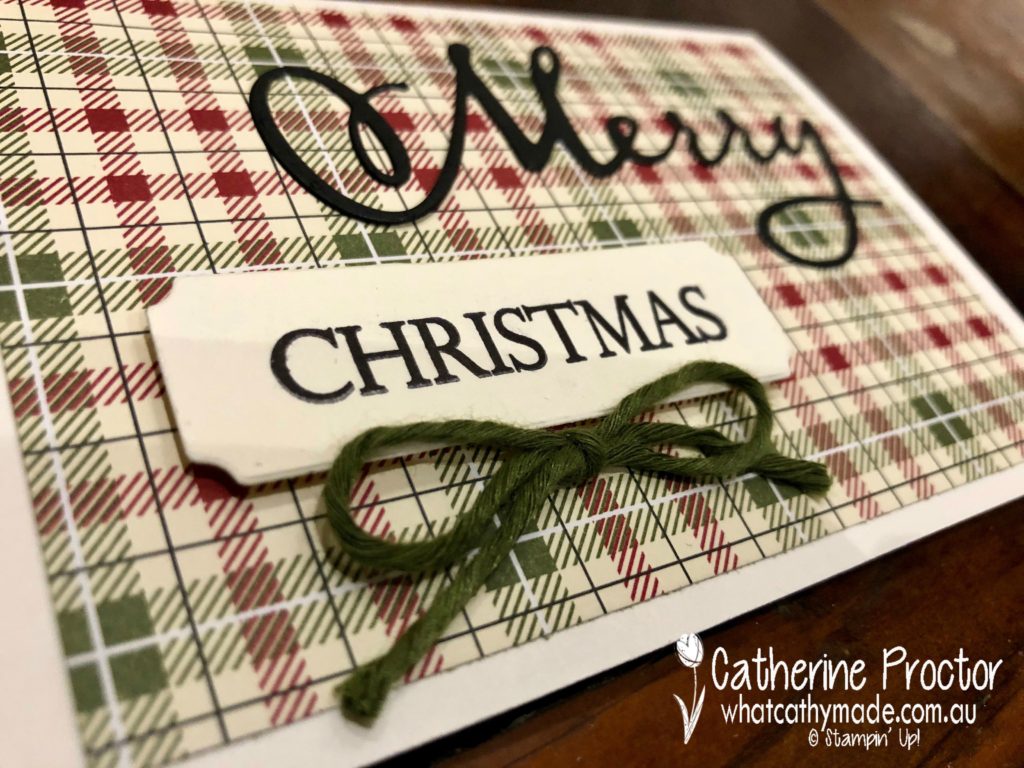
Card four “Mery Christmas” is a lovely traditional Christmas check, topped with a Mossy Meadow bow.
And finally, card five is made from the negative cardstock after I die cut the Basic black cardstock…a very happy accident that reminds me how well Very Vanilla and Basic Black go together.
There are so many more lovely patterns in this DSP pack, I could have made a lot more of these cards, but I decided to just use the DSP patterns that worked better with a Very Vanilla base.
These cards were ridiculously easy to make and I really love their classic, farmhouse feel.
The final touch for my cards were simple bows made from the Cherry Cobbler, Mossy Meadow and Very Vanilla Twine in the Festive Farmhouse Cotton Twine pack. I also used some of the Black 1/8″ (3.2 Mm) Cord.
To see what the rest of the AWH team have made head back to the lovely Claire Daly’s blog.
To purchase any of the products I used in this project you can shop with me here.
You can order the new products from the holiday catalogue NOW!
Contact me if you’d like to receive a free copy of the holiday catalogue.
Welcome to week 4 of the Art With Heart “Heart Of Christmas” blog hop.

Today’s a very exciting day because the Stampin’ Up Holiday Catalogue is released today!
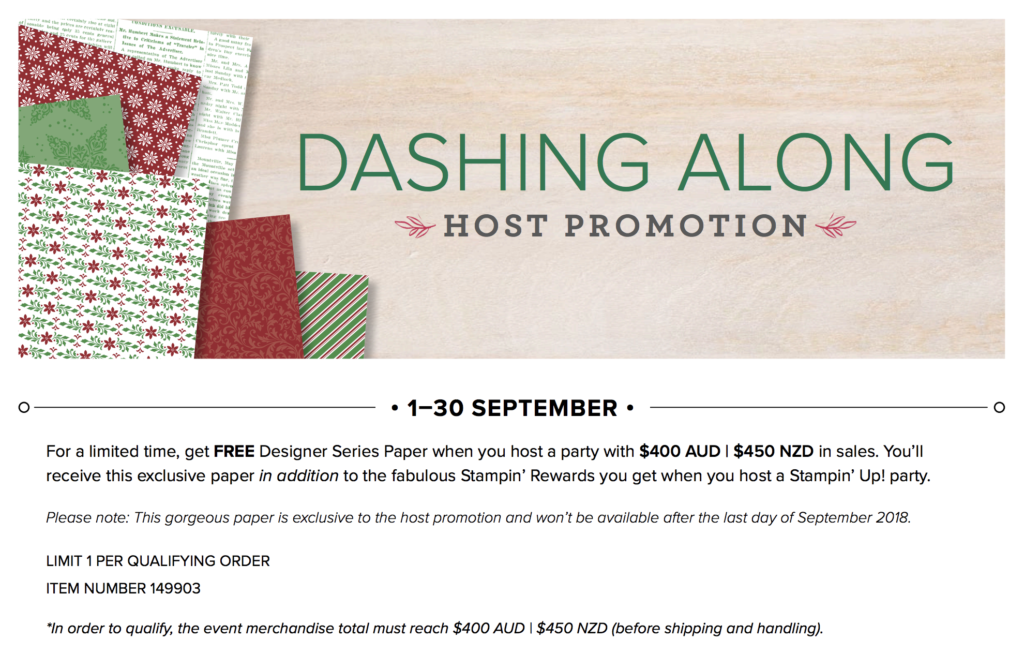
There are some stunning papers in this catalogue but for my project today I’m featuring a new Christmas Designer Series Paper that you might otherwise overlook because it is not in the Holiday Catalogue.
This paper is called the Dashing Along DSP, and it’s a free paper that you can earn when you host a party. Here are the details.
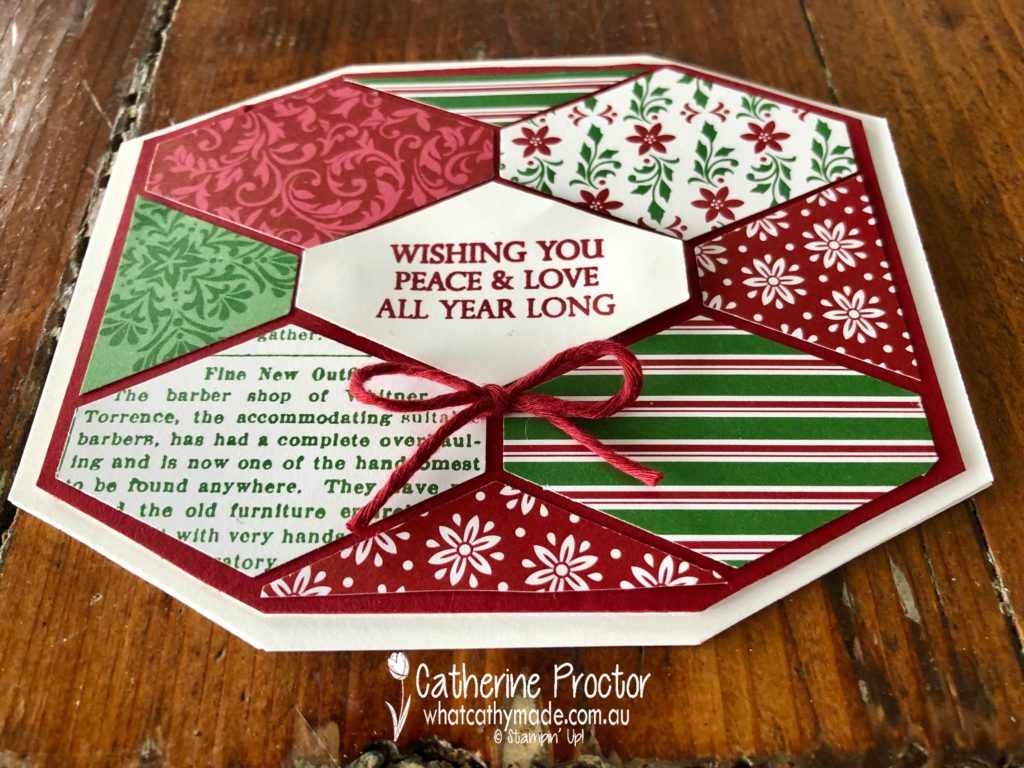
And here’s my card featuring all of the lovely Dashing Along DSP.
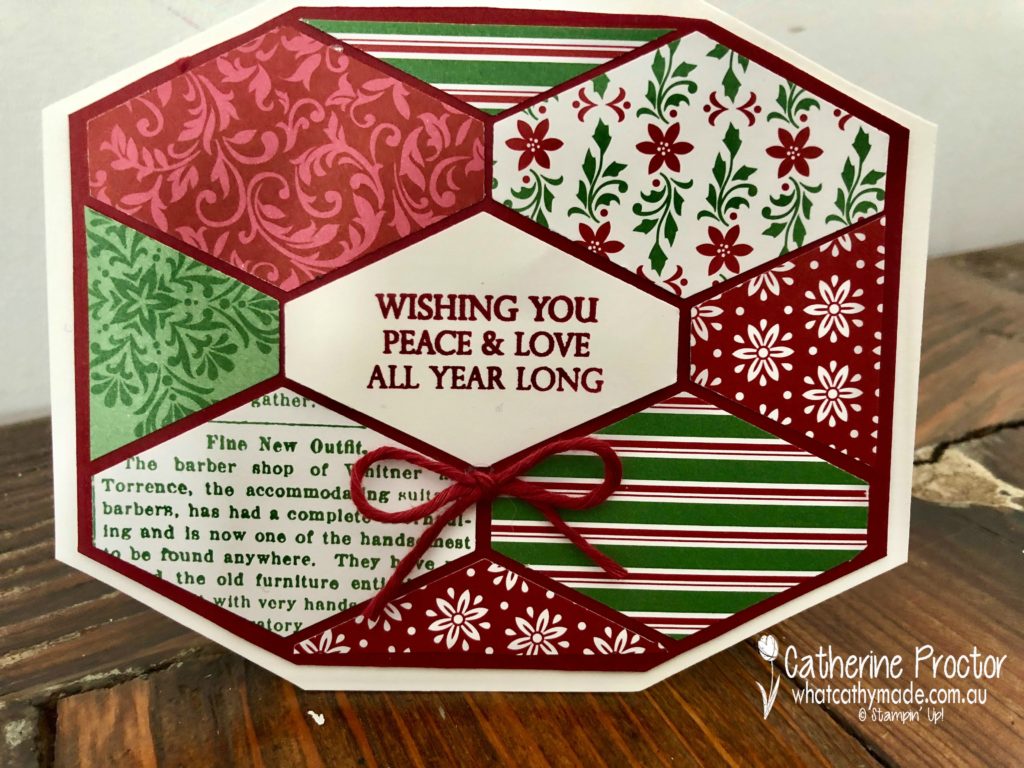
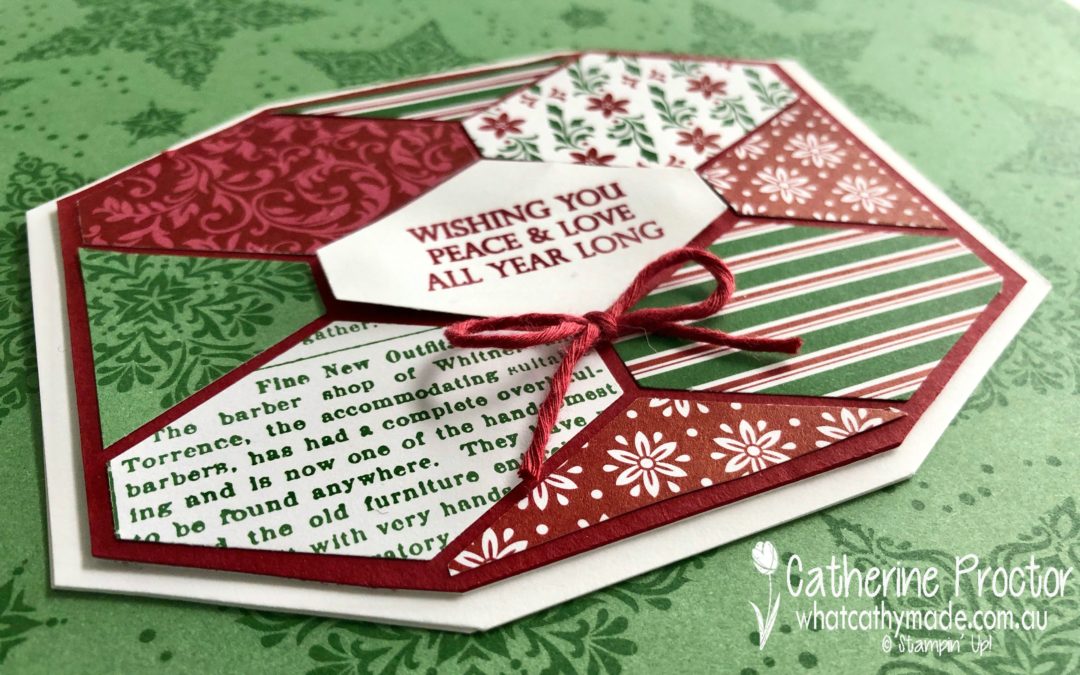
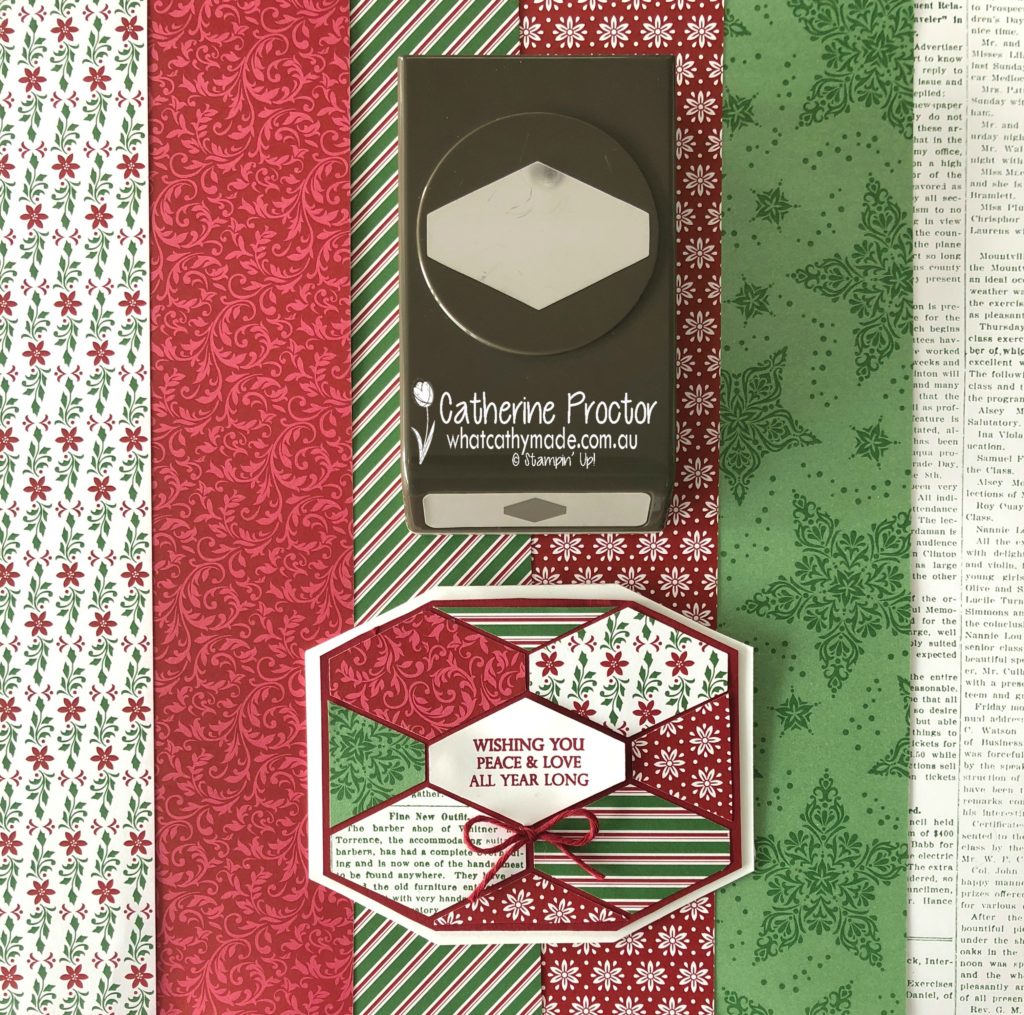
Punches are a quick and easy way to create cards, and today I’ve used the Tailored Tag punch to make a card that shows you all of the patterns in the Dashing Along DSP.
The colours in the DSP are Cherry Cobbler, Garden Green and Whisper White, so I mounted my punched out DSP onto some Cherry Cobbler cardstock, and them onto a Whisper White card base.
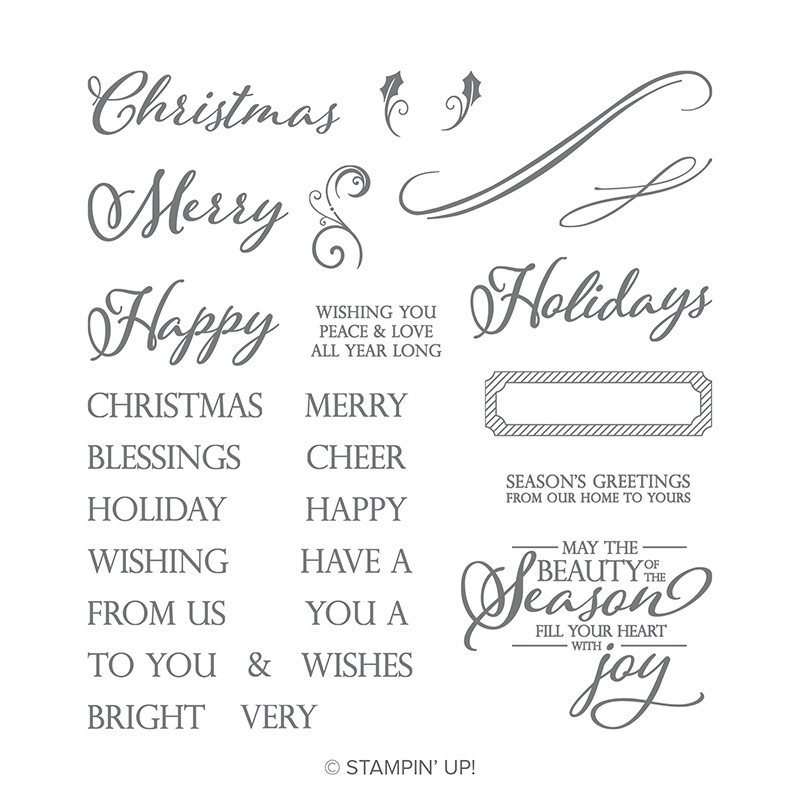
The sentiment in the middle of the card is stamped in Cherry Cobbler from a fabulous new stamp set called Merry Christmas to all. It even comes with a matching set of dies.
The final touch for my card is a simple bow made from the Cherry Cobbler Festive Farmhouse Cotton Twine. You also get a roll of Mossy Meadow and Very Vanilla Twine in this pack.
To see what the rest of the AWH team have made head back to the lovely Claire Daly’s blog.
To purchase any of the products I used in this project from the annual catalogue you can shop with me here.
You can order the new products from the holiday catalogue NOW!
Contact me if you’d like to receive a free copy of the holiday catalogue.
Welcome to week 3 of the Art With Heart “Heart Of Christmas” blog hop.

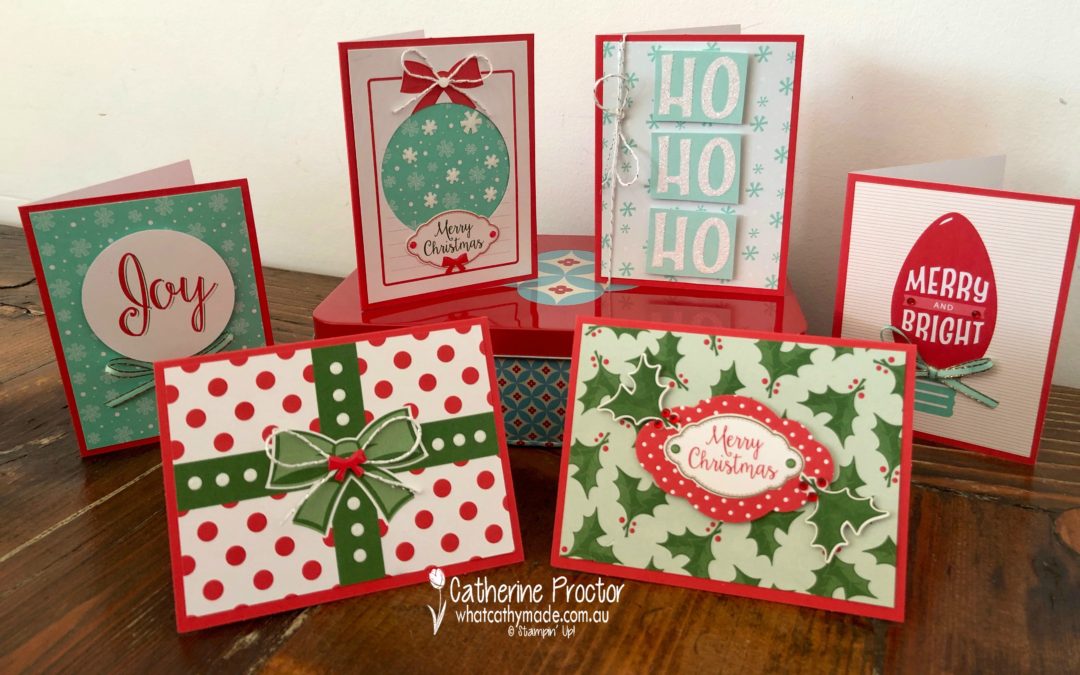
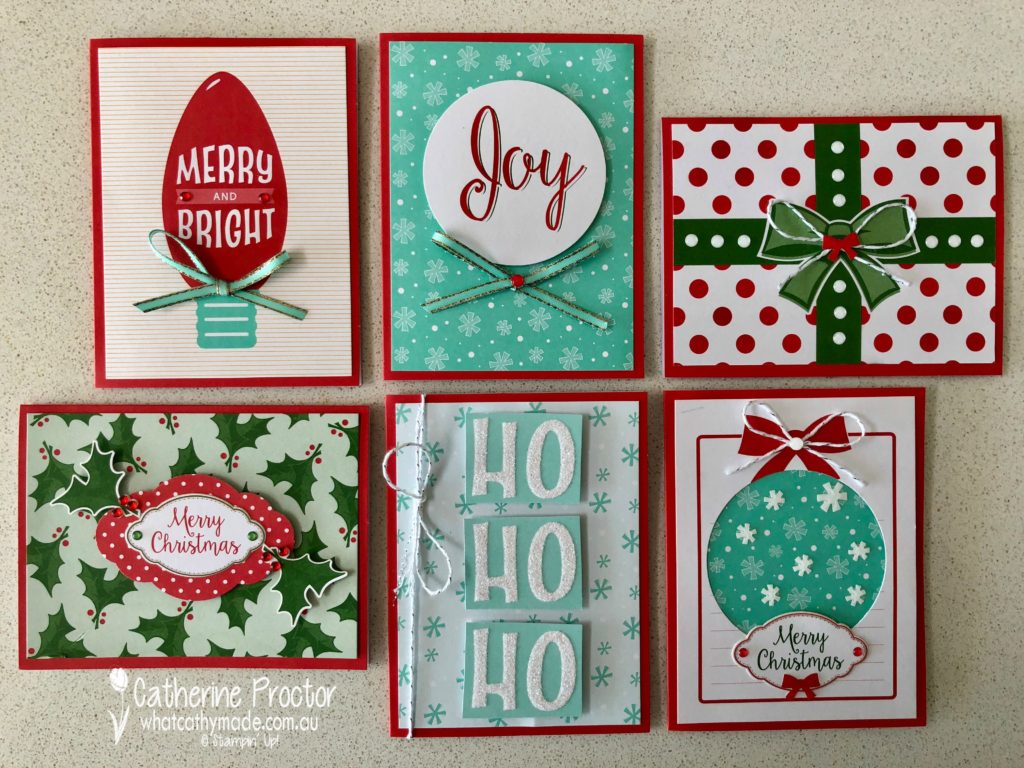
Stampin’ Up!’s Santa’s Workshop Memories & More Card Pack make it so quick and easy to create professional-looking Christmas cards…in fact, it is so easy I’m almost embarrassed to claim creative credit for these cards.
Luckily, I did a little creative cutting and embellishing to make these cards my own design, but even so, I still managed to make 6 cards in less than 30 minutes!
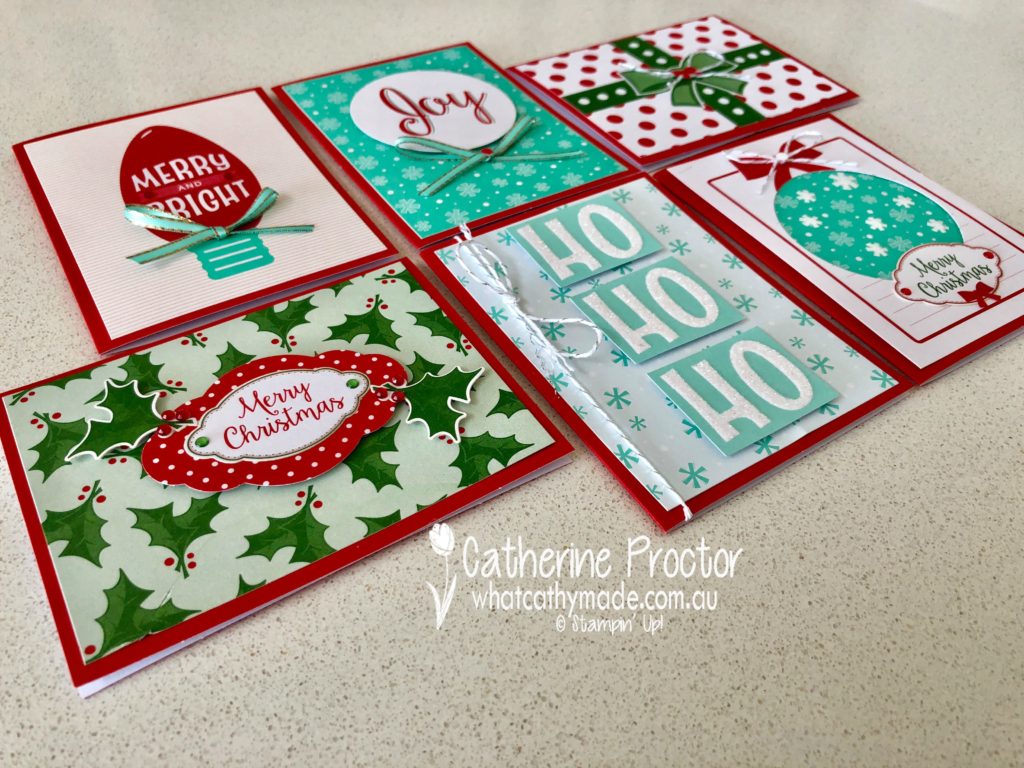
And as if Stampin’ Up haven’t made it easy enough already with 50 pre-printed cards suitable for both scrapbooking and card making, this year they’ve also released the co-ordinating Santa’s Workshop Memories & More 20 cards in two sizes (with matching envelopes) in Poppy Parade, which I’ve used to make my cards this week.
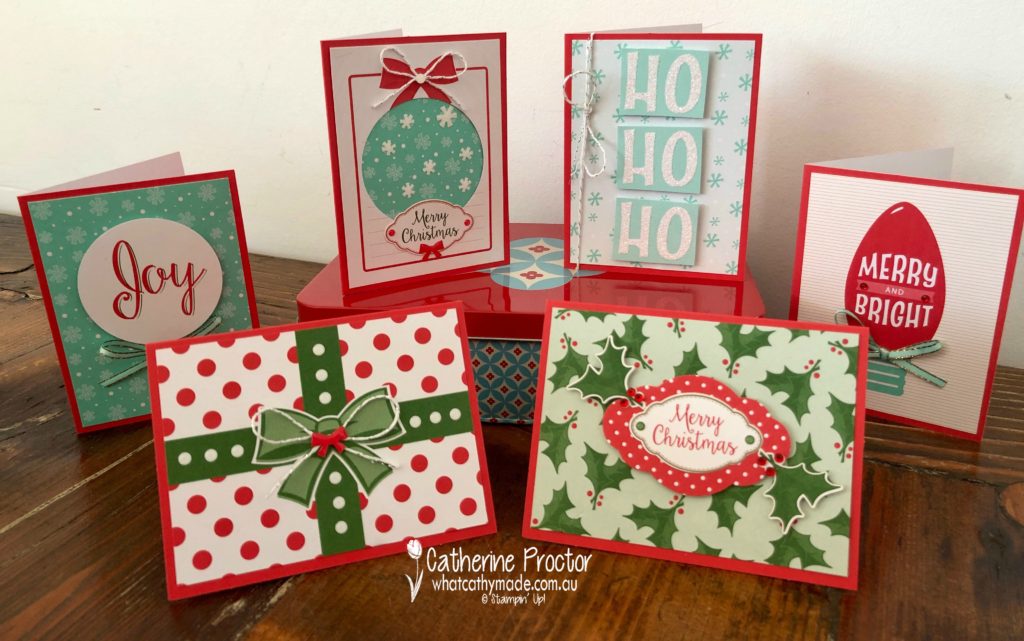
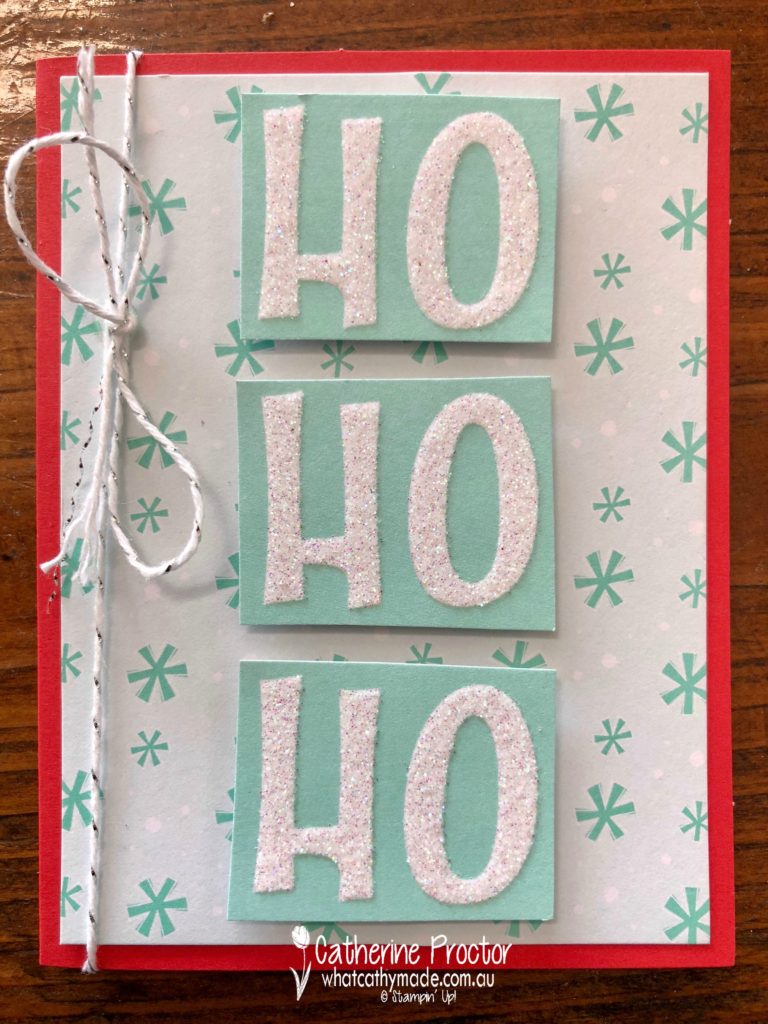
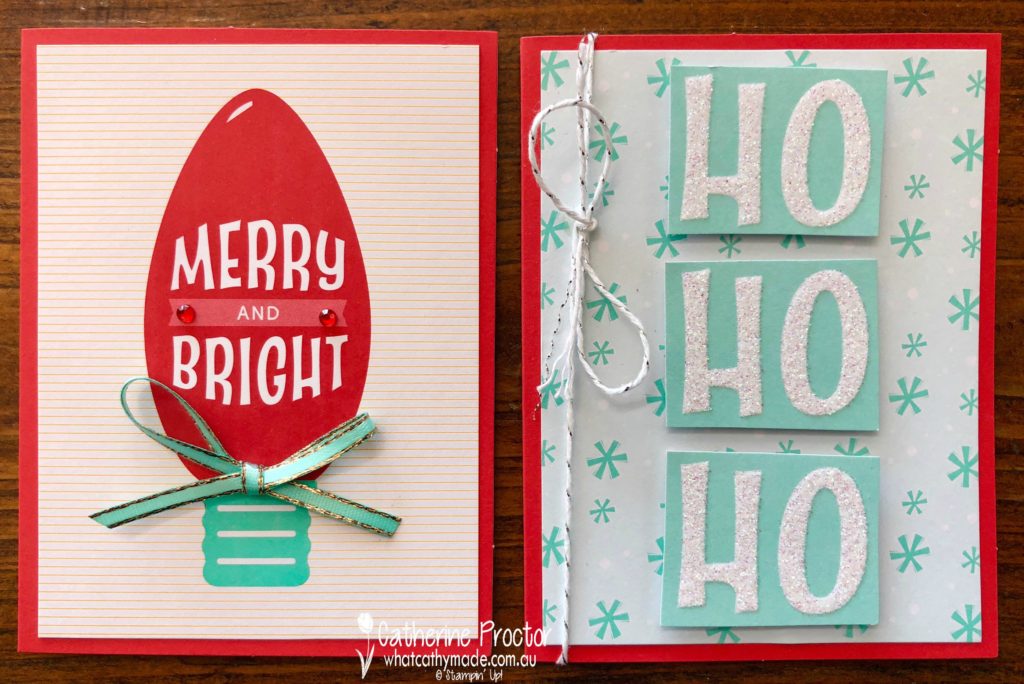
How gorgeous do the colours Poppy Parade and Coastal Cabana look together? For my first card below, I used one of the smaller Memories & More cards as the background and then chopped up the frosted glittery “ho ho ho” from one of the larger Memories & More cards to mount on top. Silver and white bakers twine complete the card.
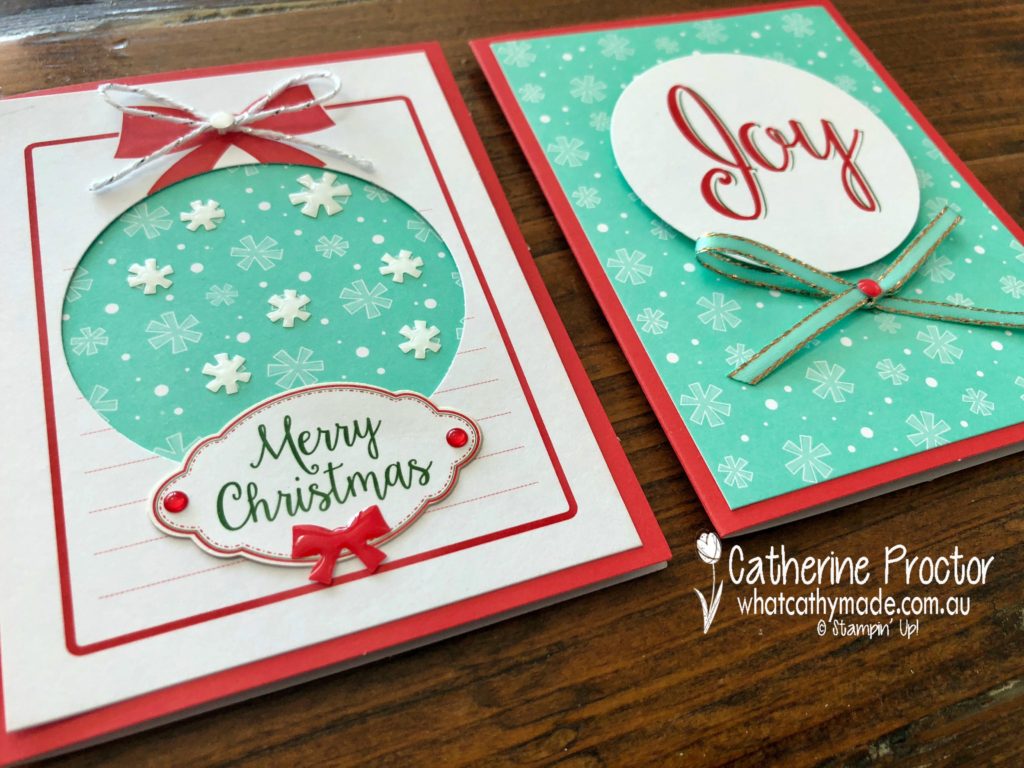
My next 2 cards use a Coastal Cabana background card and the same card on top. I used my largest Stampin’ Up! punch to punch the word joy out of the Memories & More card and mounted it onto the card on the right, then flipped over the card and used the reverse side and negative image for the card on the left, embellished with some Santa’s Workshop enamel shapes and stickers from the Memories & More card pack.
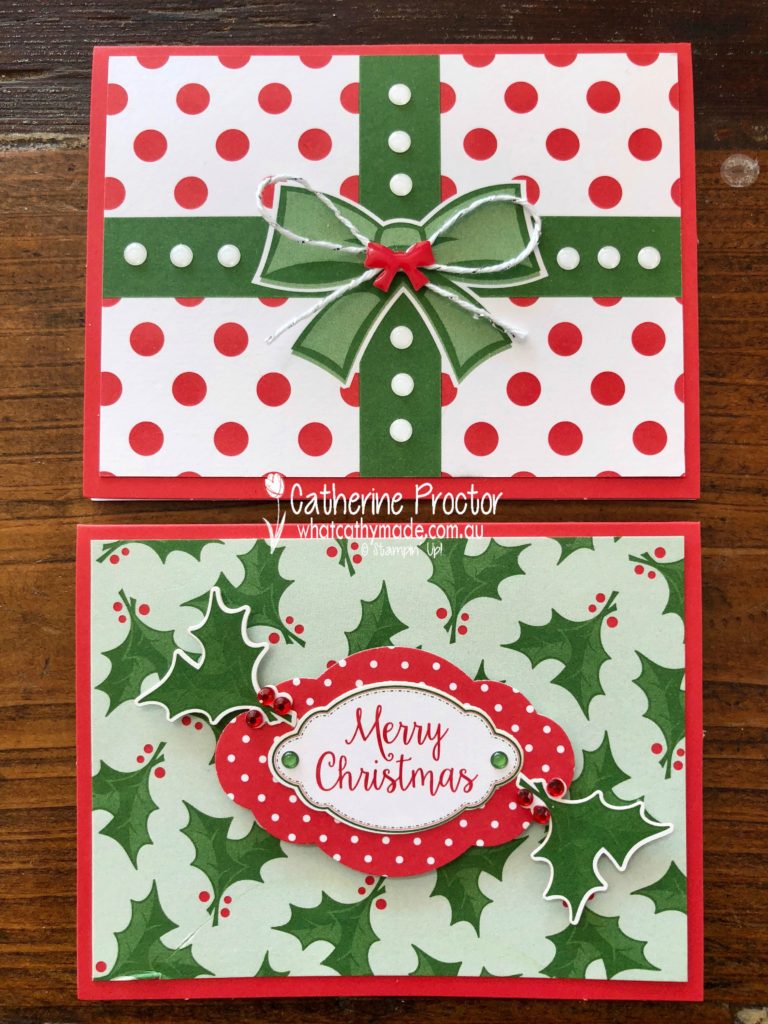
For my “Merry Christmas” card below I used my Pretty Label punch to punch out a red and white spotted memories & more card as an extra layer under the “Merry Christmas” sticker, then I added two holly stickers and some red rhinestone jewels. The top card also features a dotty card to which I added further dots, using white Santa’s Workshop enamel shapes to embellish the green bow.
And finally, how cute is this “Merry and Bright” Memories & More card? All it needed was a couple of red rhinestone jewels and a bow of Coastal Cabana ribbon to add a little extra bling.
To see what the rest of the AWH team have made head back to the lovely Claire Daly’s blog.
To purchase any of the products I used in this project from the annual catalogue you can shop with me here.
You can order the new products from the holiday catalogue from September 5, or if you join as a demonstrator you can order them now…contact me if you’d like to find out more or receive a free copy of the holiday catalogue.
Welcome to week 2 of the Art With Heart “Heart Of Christmas” blog hop.
Claire Daly began this weekly Christmas blog hop for the first time last year, and it was so inspiring for everyone involved she’s decided to do it again this year. Thank you, Claire!

Boy oh boy, I love twinkling lights and lanterns at any time of the year, but especially at Christmas time.
So when I saw this new punch bundle in the upcoming the Holiday Catalogue it went straight to the top of my wishlist!
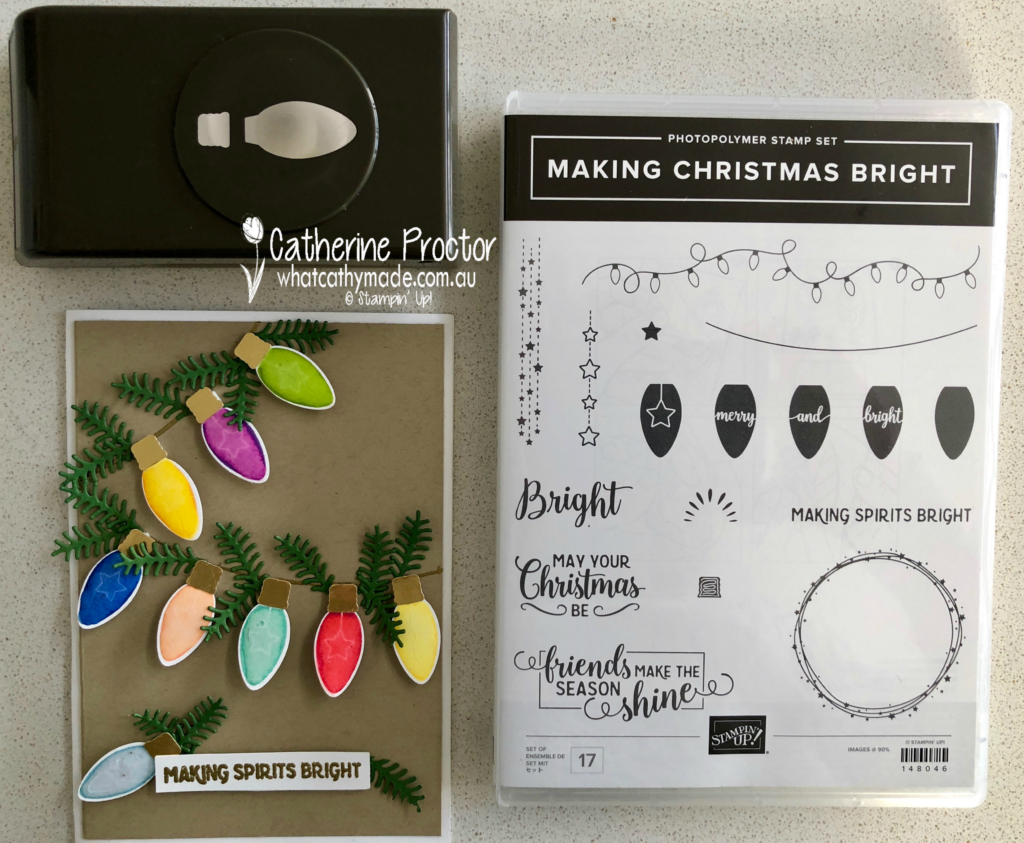
The Making Christmas Bright bundle has so much possibility and versatility…I just know I’ll be making a lot of cards with this set.
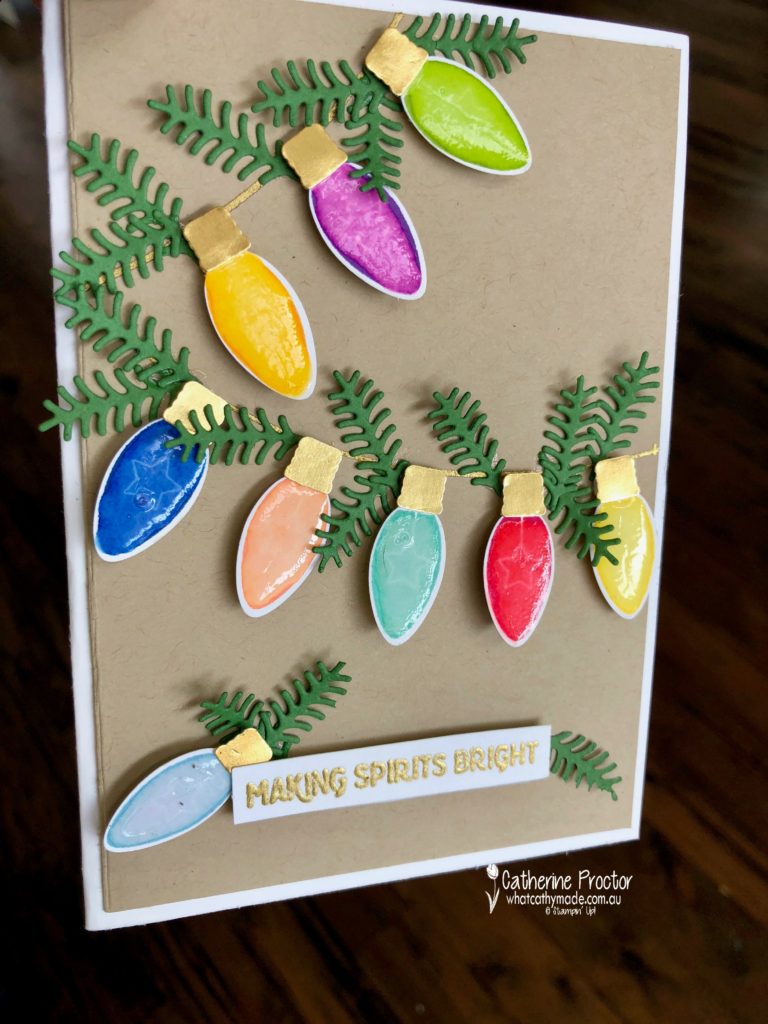
I’m particularly excited about the card I’ve made today because it uses a technique I’ve been wanting to try for a long time, but I have to confess i don’t actually know the name of this technique, LOL!
So, I’ll just call it the fine tip glue technique for want of a better term.
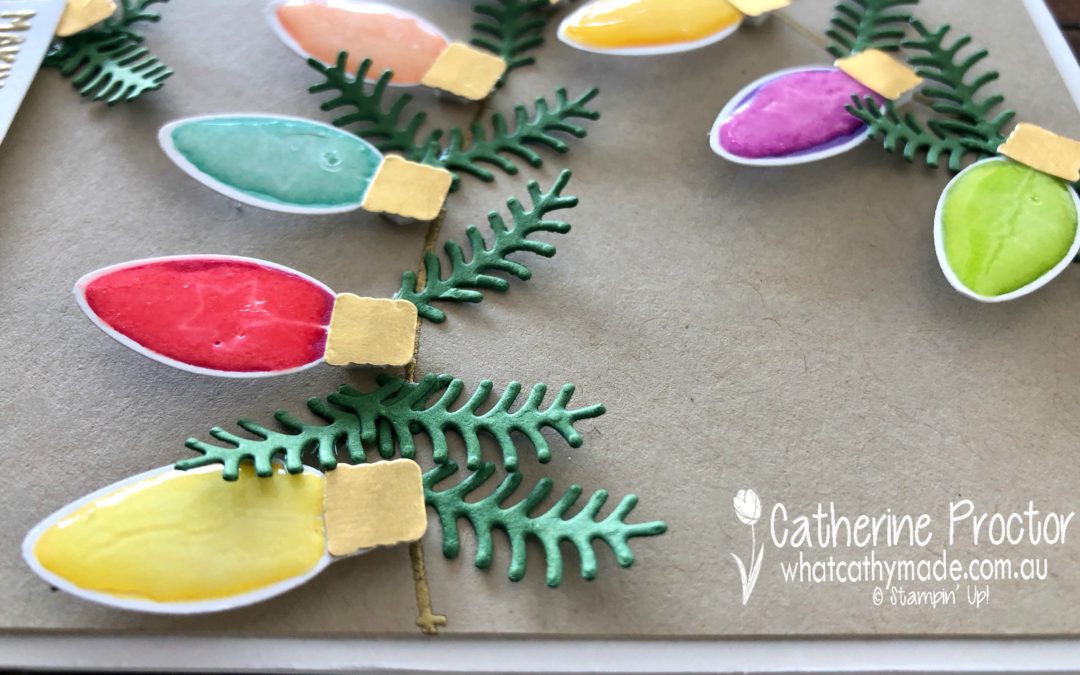
This is such an easy technique and so perfect for this bundle because it really makes the Christmas lights look shiny like glass. Here’s a close-up side angle to give you a better look.
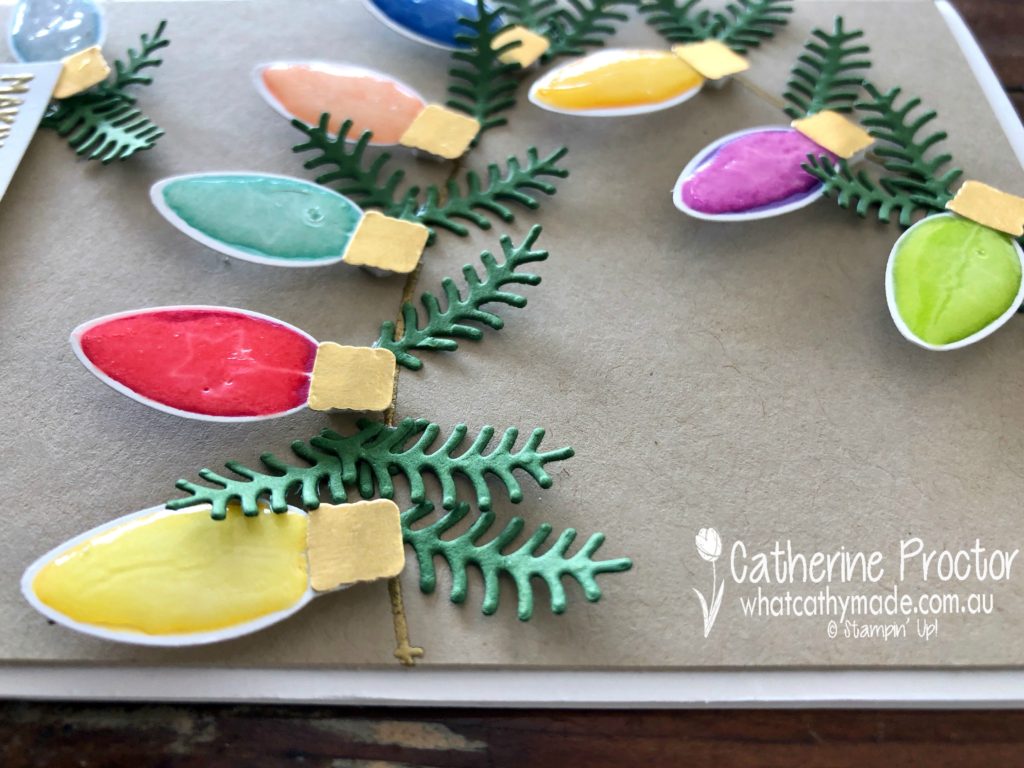
After stamping the light bulbs in assorted colours and punching them out with the Christmas Bulb builder punch I simply covered the images with a thin layer of Stampin’ Up! fine-tipped glue and left them to dry.
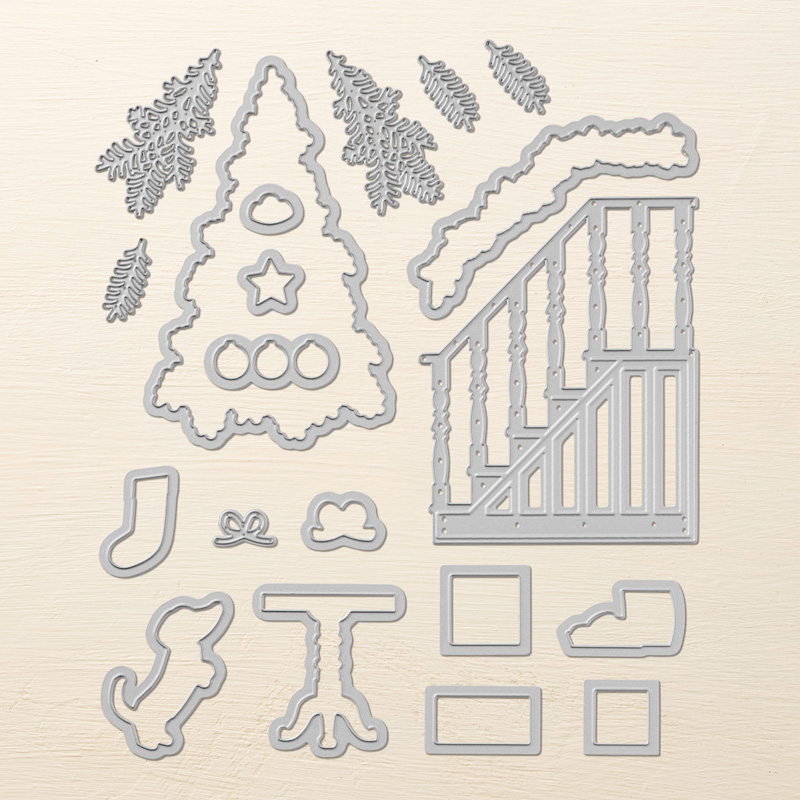
The base of the light bulbs were punched out of gold foil, and the pine needles were die cut from Garden Green cardstock using the Christmas Staircase dies. There are three of these pine needle branches in the set, which makes die cutting them out so quick and easy.
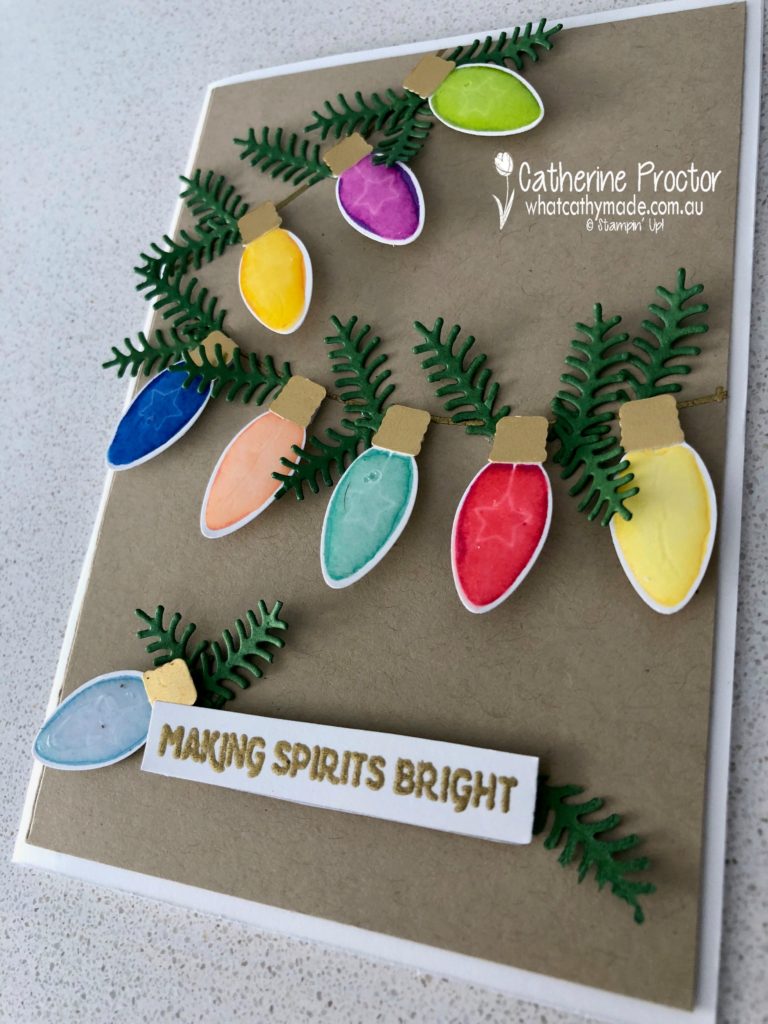
Crumb Cake cardstock was the ideal neutral card base to make all of these colours pop, and I heat embossed the gold strand the lights are hanging from (there’s a stamp for this in the Making Christmas Bright stamp set but it’s hard to see on my card under the pine needles and bulbs) as well as the “Making Spirits Bright” sentiment.
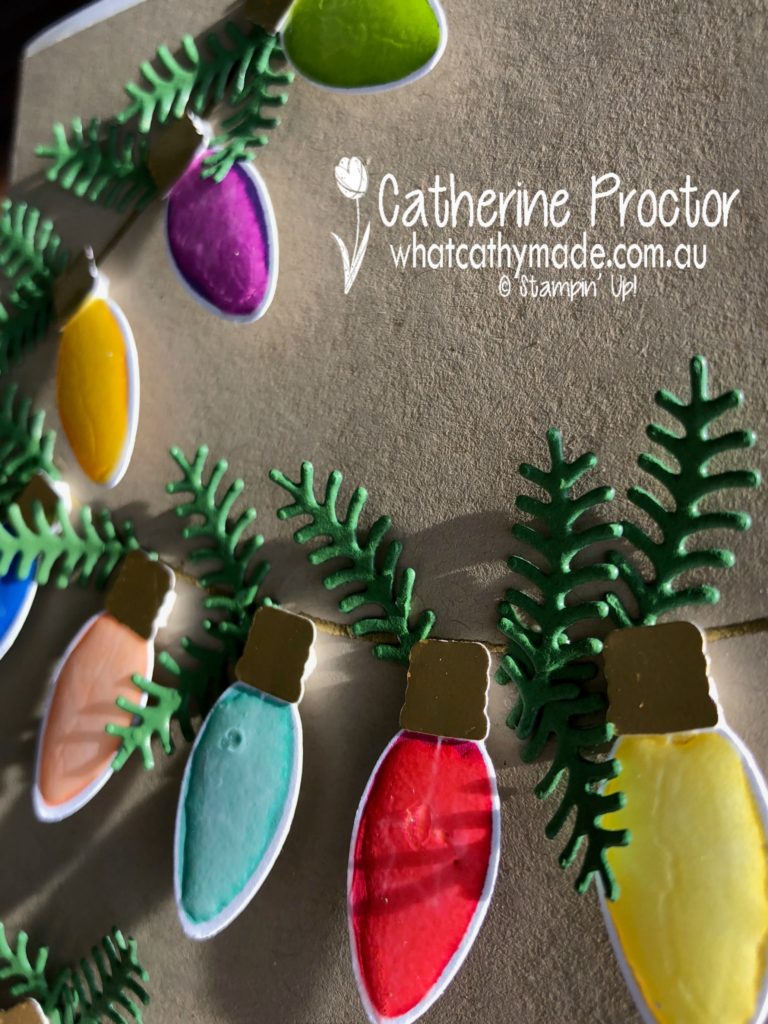
The final touch was to use mini dimensionals to adhere my light bulbs and make them really pop.
To see what the rest of the AWH team have made head back to the lovely Claire Daly’s blog.
To purchase any of the products I used in this project from the annual catalogue you can shop with me here.
You can order the new products from the holiday catalogue from September 5, or if you join as a demonstrator you can order them now…contact me if you’d like to find out more or receive a free copy of the holiday catalogue.
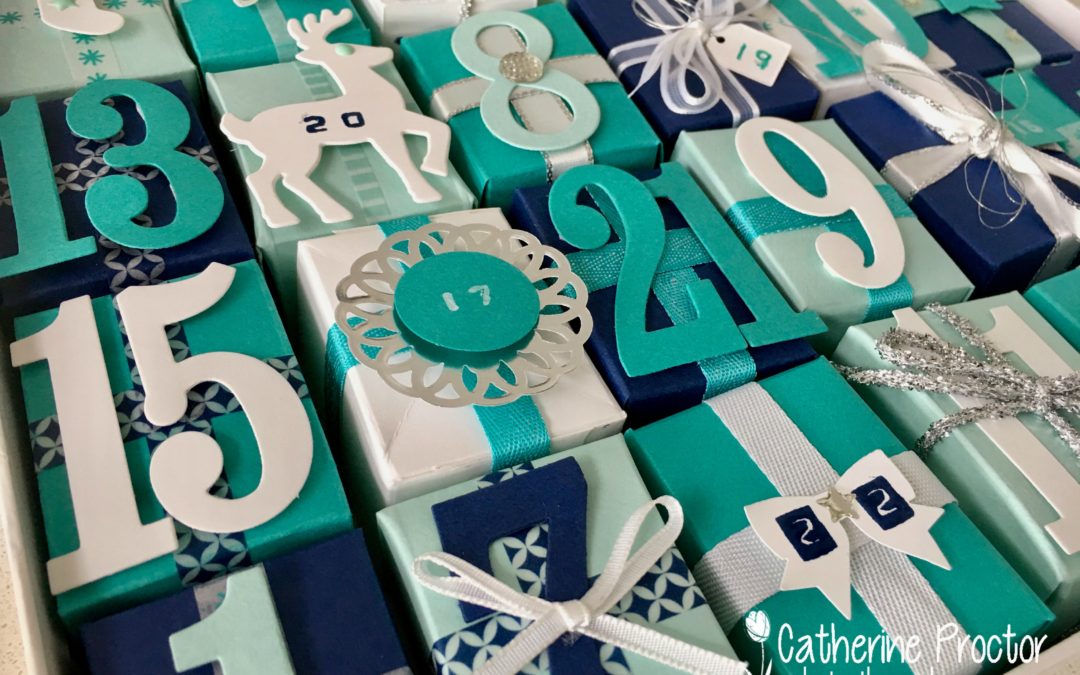
Welcome back to another week of Christmas Inspiration with the Art With Heart team.
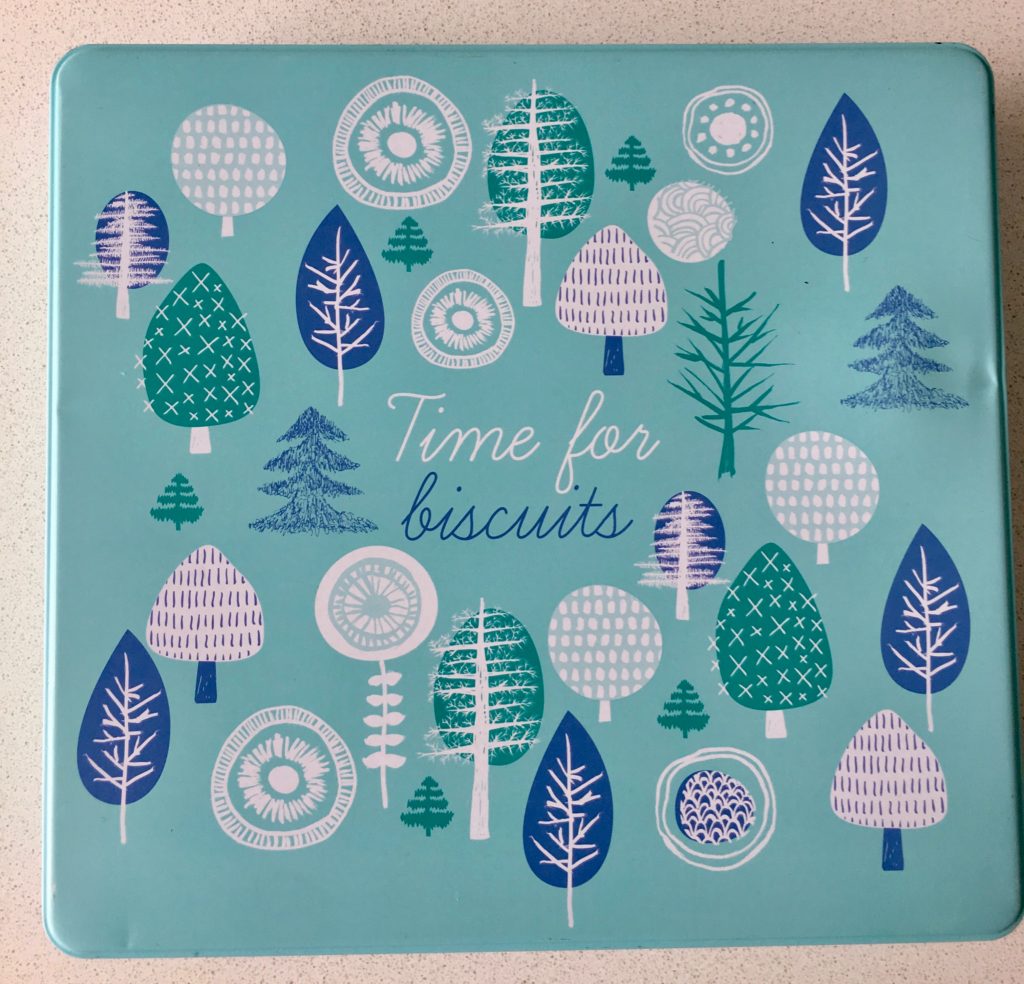
I began this project this time last year, when I was inspired by a biscuit tin that perfectly matched a stamp set from last year’s holiday catalogue…totally trees. The colour scheme also matched our Stampin’ Up! colours (night of navy, pool party, Bermuda bay and whisper white) and I planned to make a card topper to attach to the middle of the lid, covering the words ‘Time for biscuits’.
I ate all the biscuits from the tin (the things we do for crafting!), washed it out, worked out all the measurements, and cut and punched 24 squares of card stock to make the 24 boxes.
Can you guess what happened next? Well, let’s just put it this way, maths never was my best subject! I realised I’d calculated incorrectly…only 15 of my 24 advent boxes fitted into the tin and the whole ‘advent calendar in a tin’ idea was a total flop!
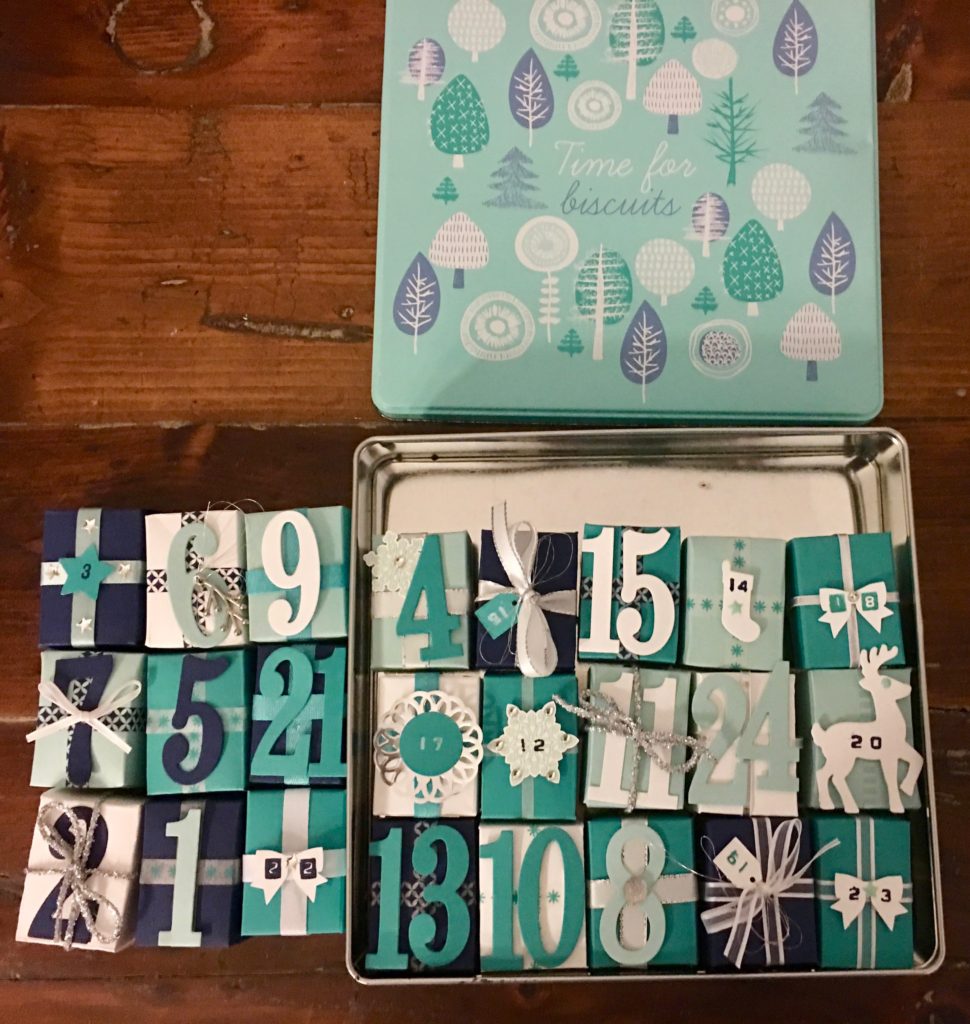
For the past year my mistake has haunted me every time I opened my craft cupboard. I wanted to throw it into the bin but didn’t want to waste all that cardstock. So yesterday I decided it was time to work out how I could save this project.
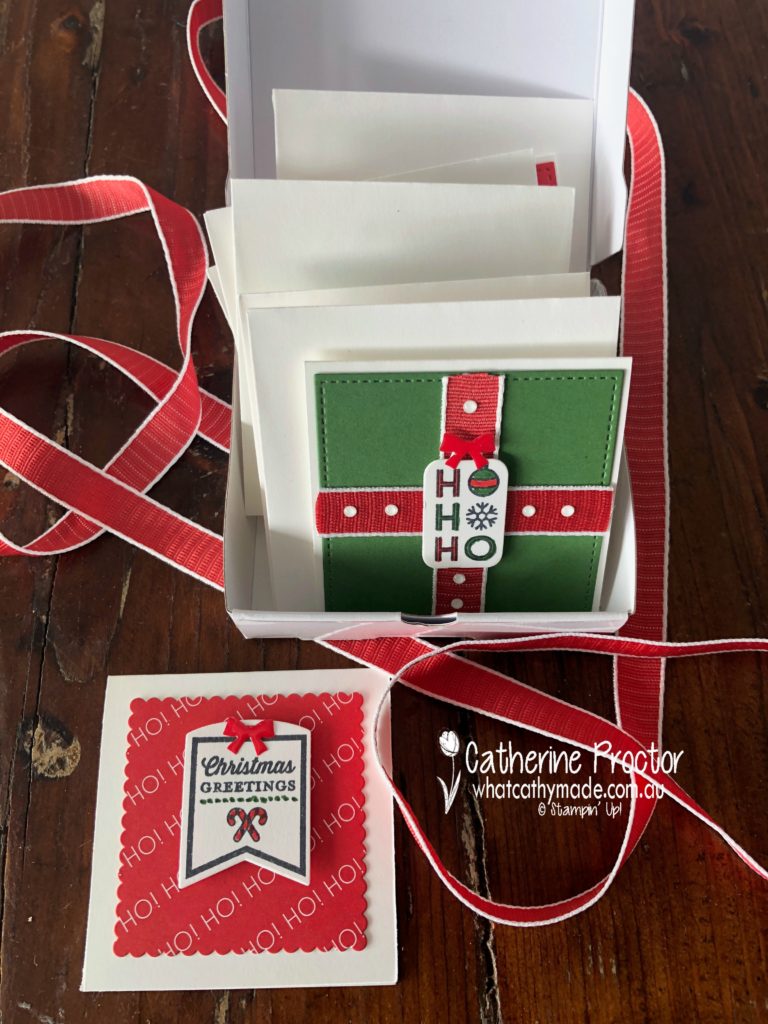
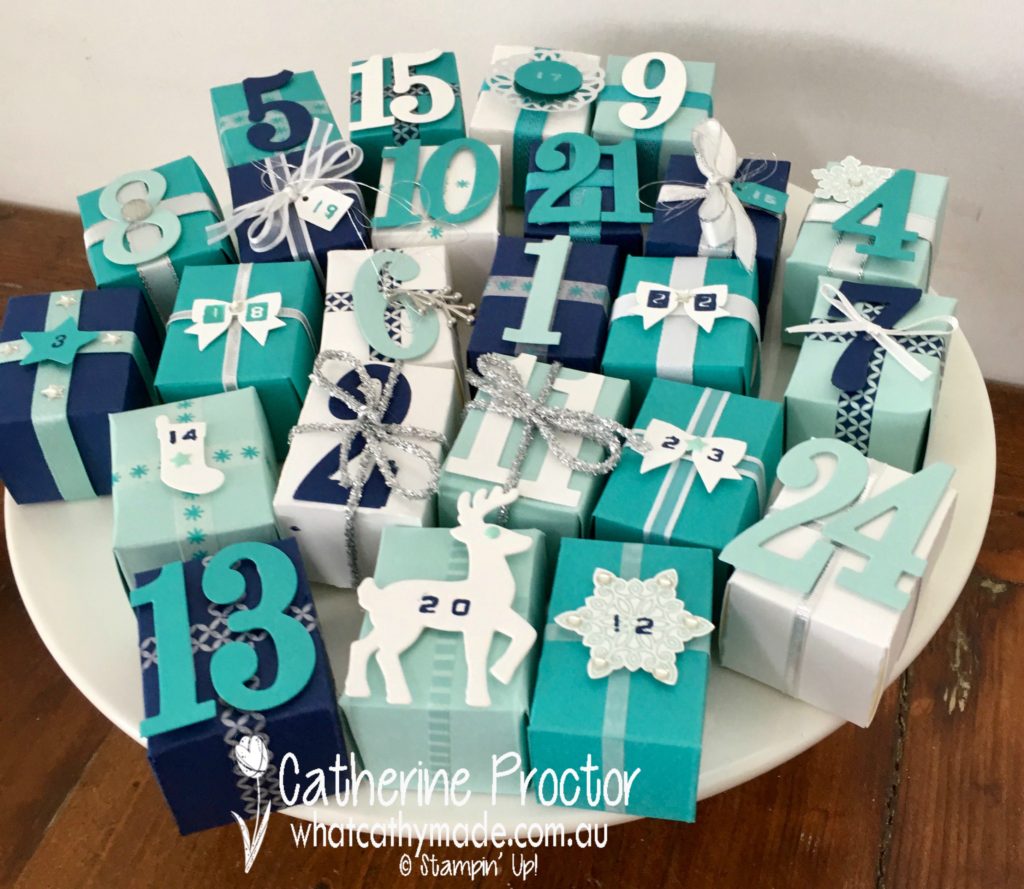
Just because my boxes don’t fit into the biscuit tin they were designed to fit into doesn’t mean I couldn’t still use them as an advent calendar. I just had to think outside the square. For starters, I could display them on my cake stands.
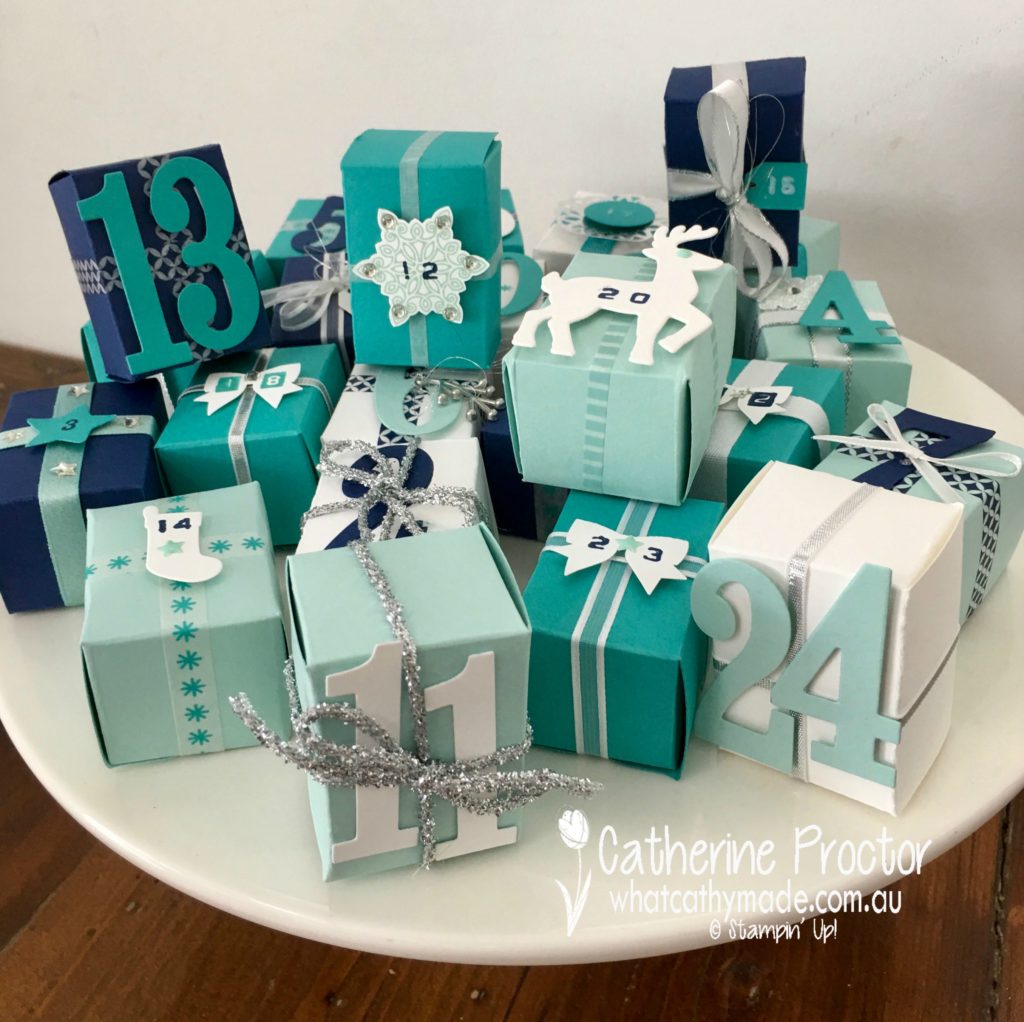
These little boxes can be displayed either horizontally or vertically.
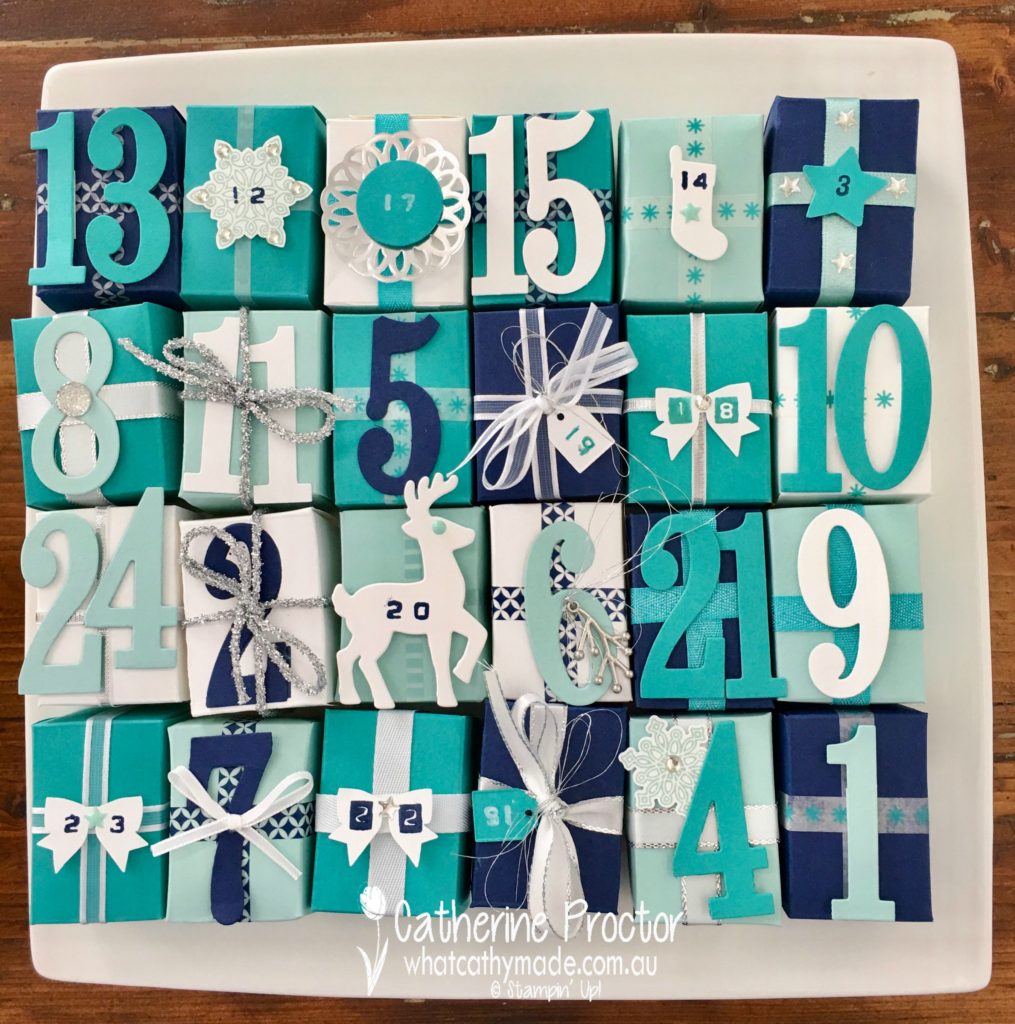
And they also look great all lined up on my square cake stand.
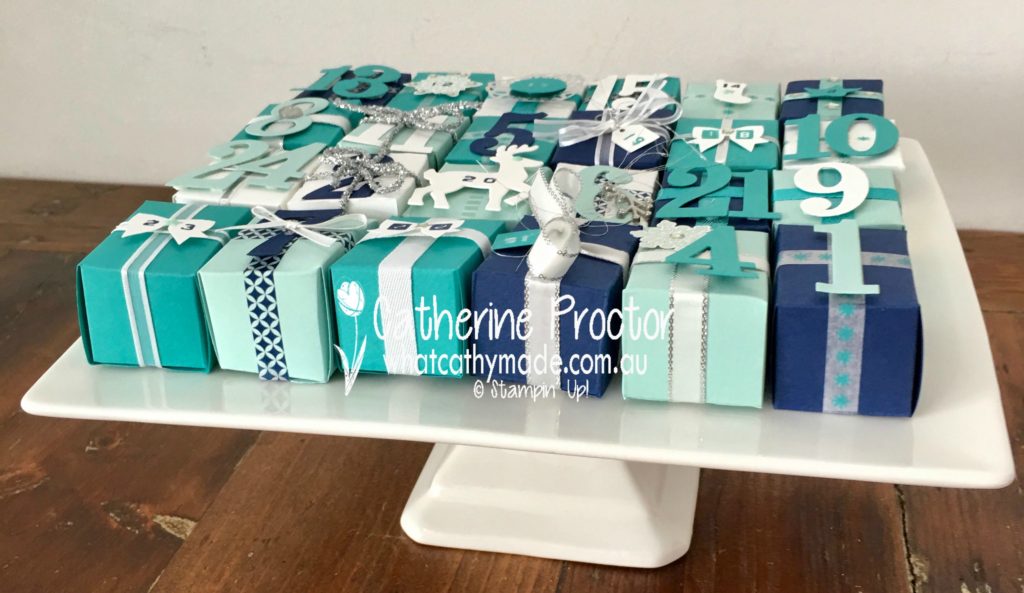
Heres’ the view from the side…it highlights the cute washi tape and the ribbon
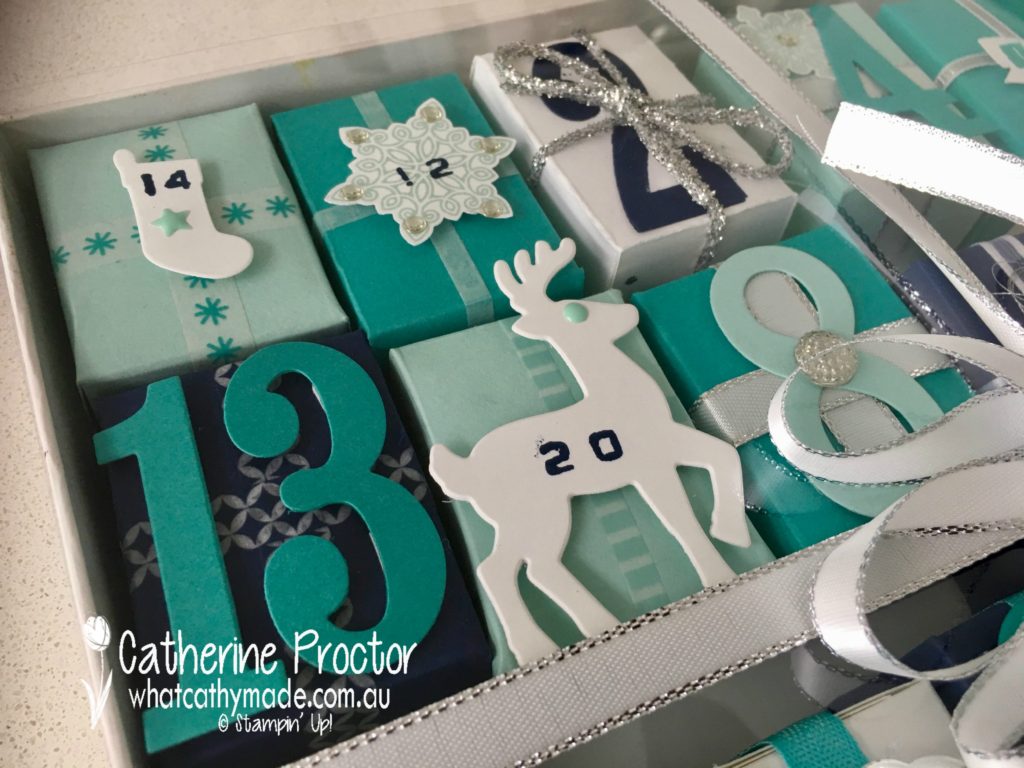
I also popped them into a the lid of a white box I had and layered a sheet of window sheeting over the top, then tied it all up with a bow.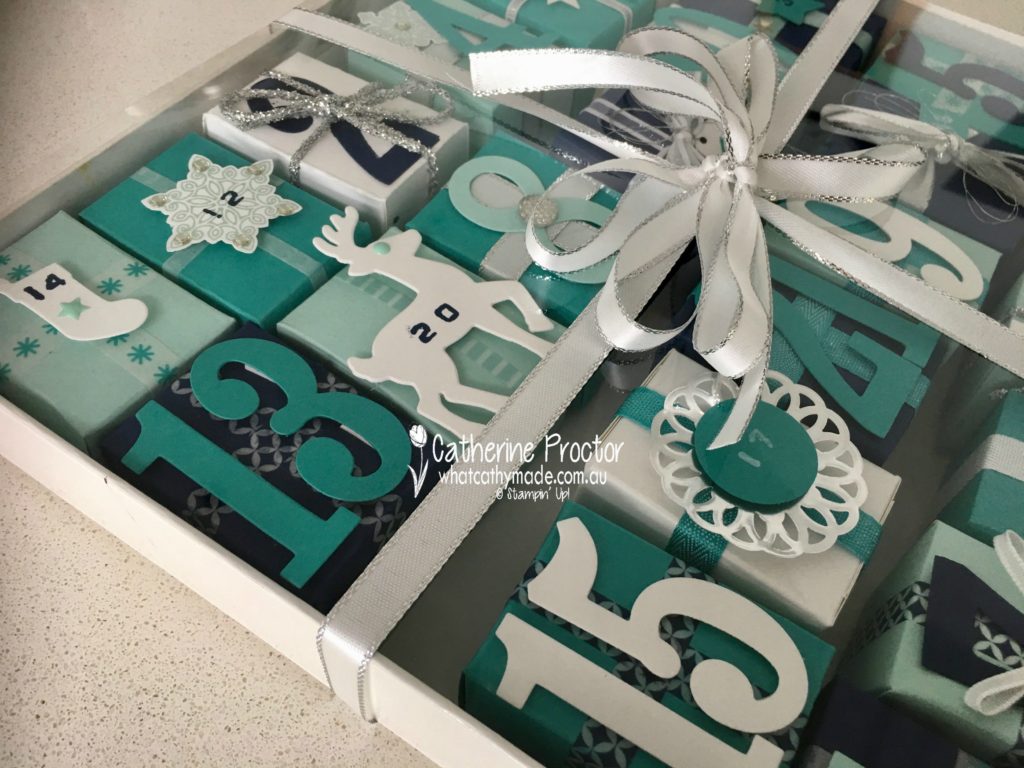
This project is a great way to use a variety of washi tapes, ribbons, silver thread, die cuts and embellishments. I think the more you mix it up, the better it looks.
So how do you make the little boxes? Trust me, you don’t want to follow my measurements, but there’s a great online tool called the ‘box buster’ that lets you type in the finished measurements you want for your box. It then gives you the measurements you need to make that size box. These photos below will give you an idea of how I constructed my boxes using my envelope punch board, paper snips and tear and tape.
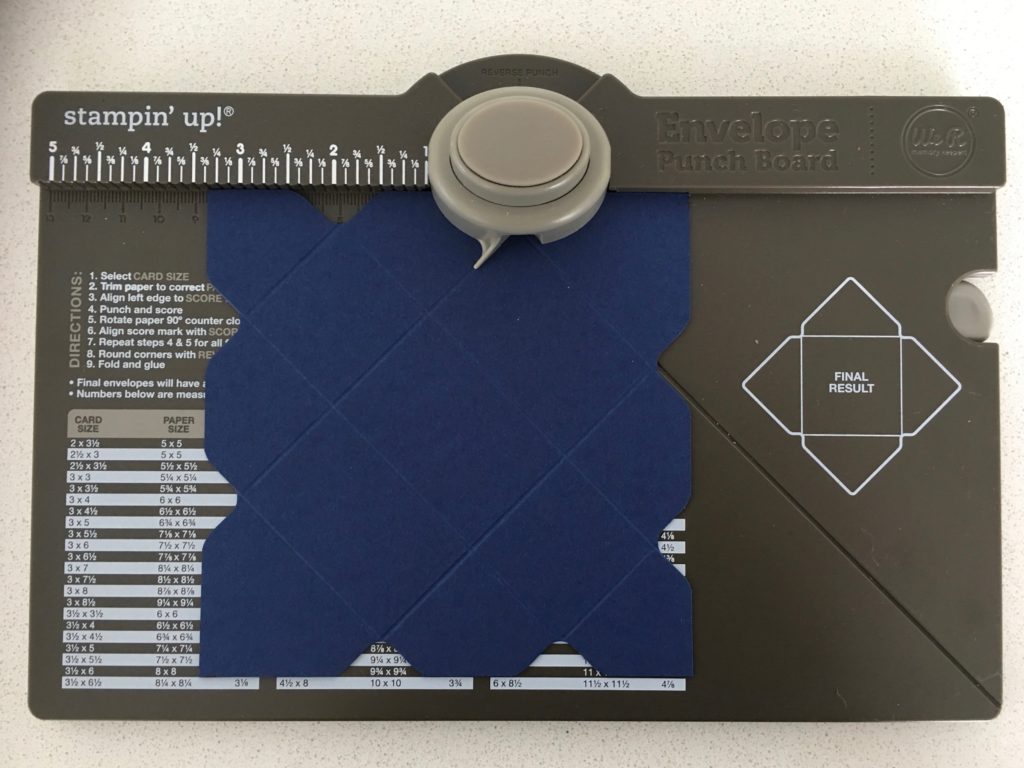
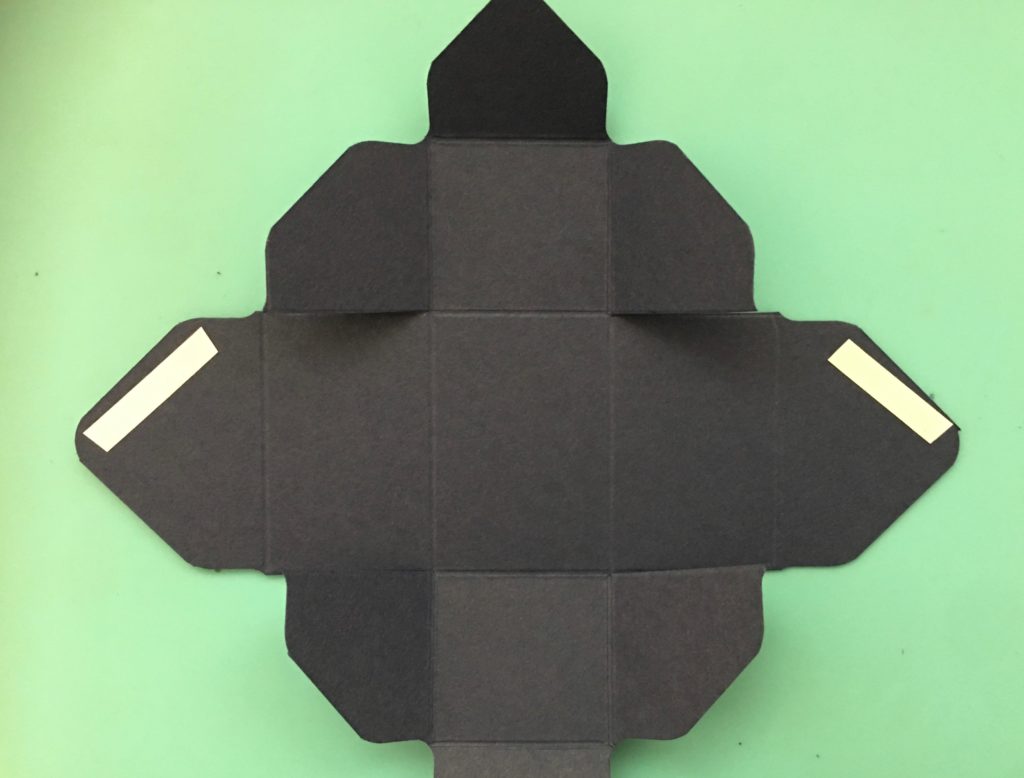
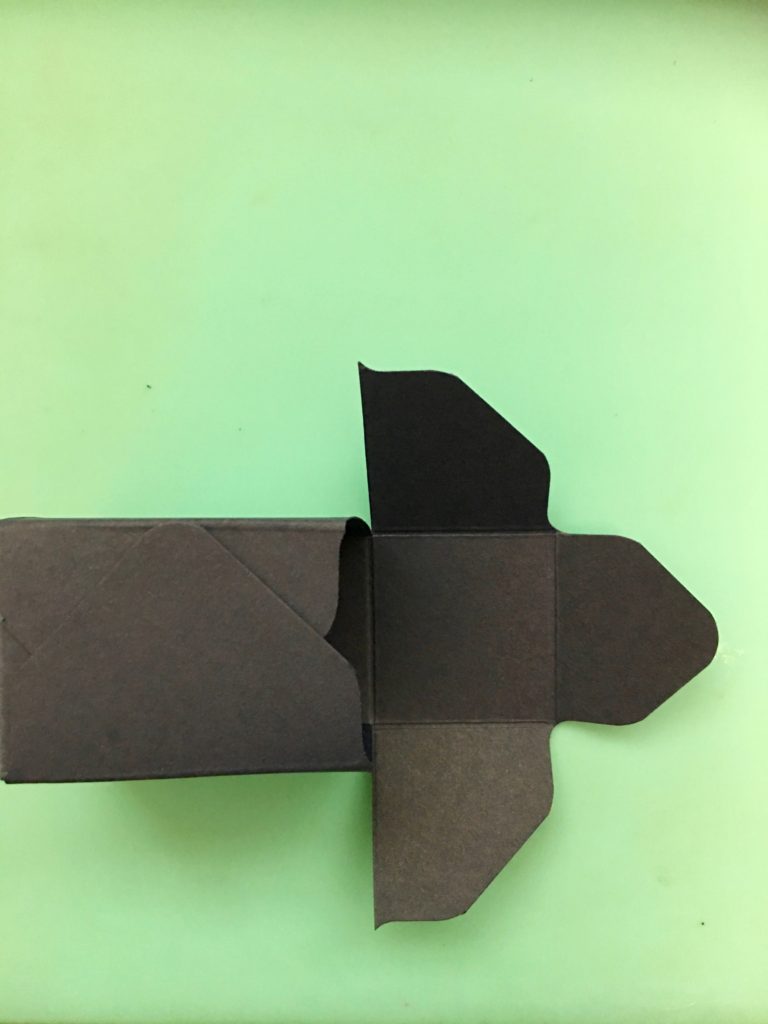
Once you’ve constructed your boxes it’s simply a matter of folding and assembling them, filling them with sweets, toys or a little note, wrapping each box with washi tape or ribbon, decorating with all your coordinating embellishments, and numbering 1-24.
Some of the numbers I created using the large numbers die cuts and some were stamped using the labeller stamp set.
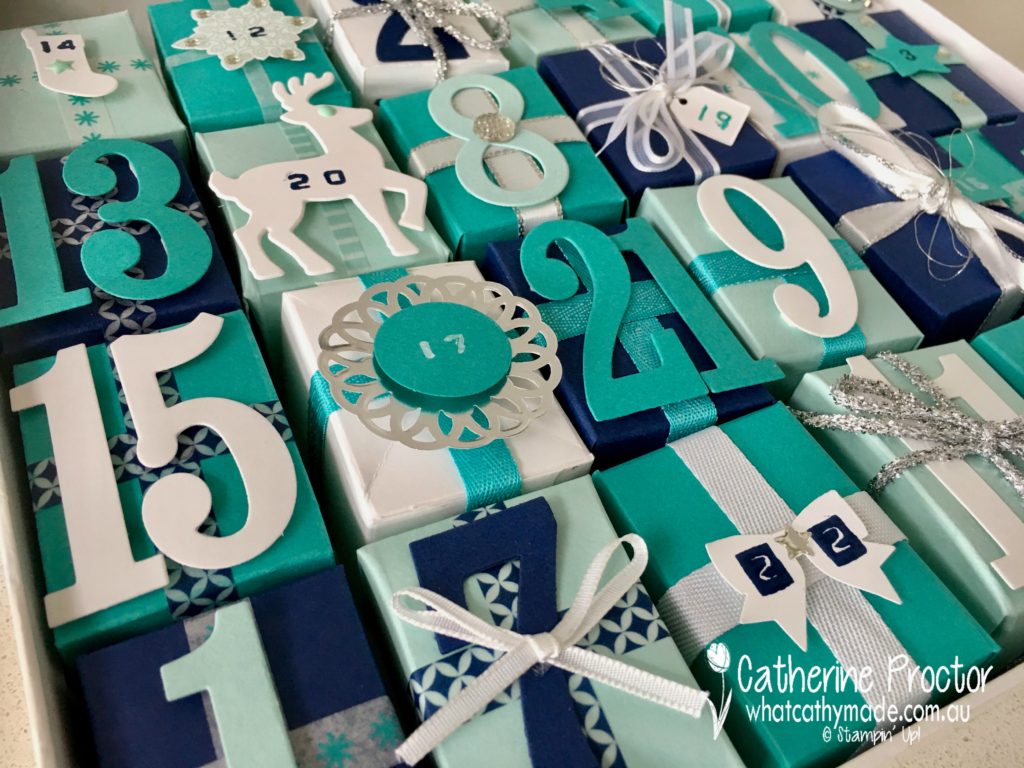
Well that’s another project I’m glad I didn’t throw into the bin when it didn’t work out the way I originally intended it to!
To see what the rest of our lovely Art With Heart Team have made hop on over to Claire’s blog.
I’ll be back with some embossing inspiration tomorrow night and them the following week is our last Heart of Christmas blog hop for the year!
Happy crafting!
Welcome to another week of Christmas inspiration with the Art with Heart team.
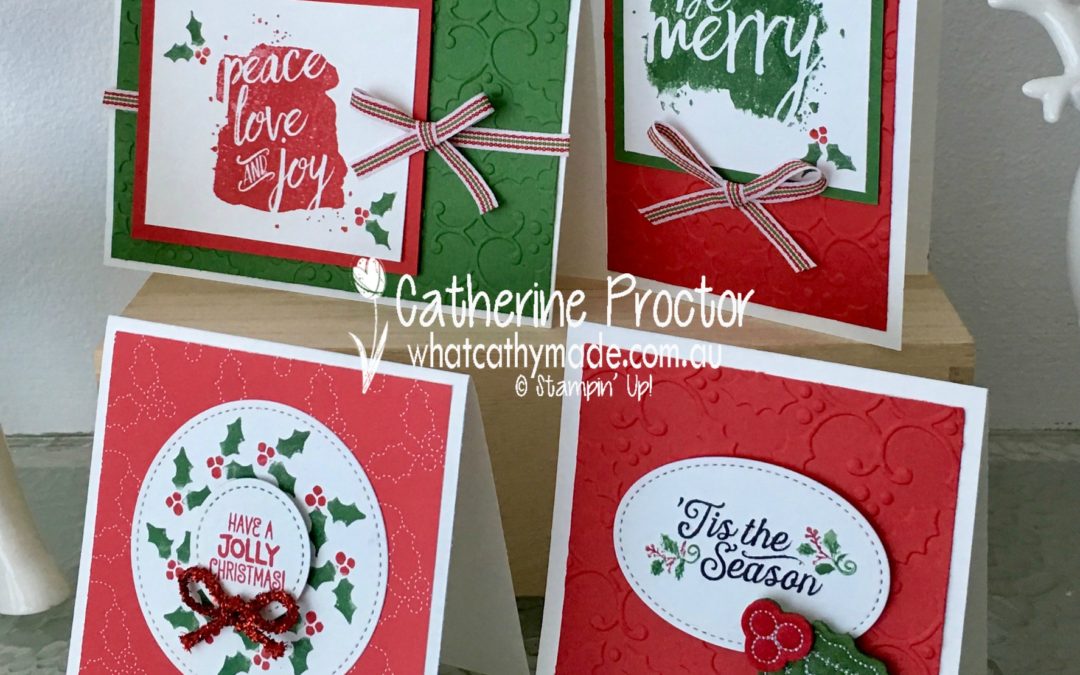
This week I’m playing with holly: holly paper, holly embossing folder, holly embellishments, and holly stamps, including a stamp set I hadn’t inked up yet.
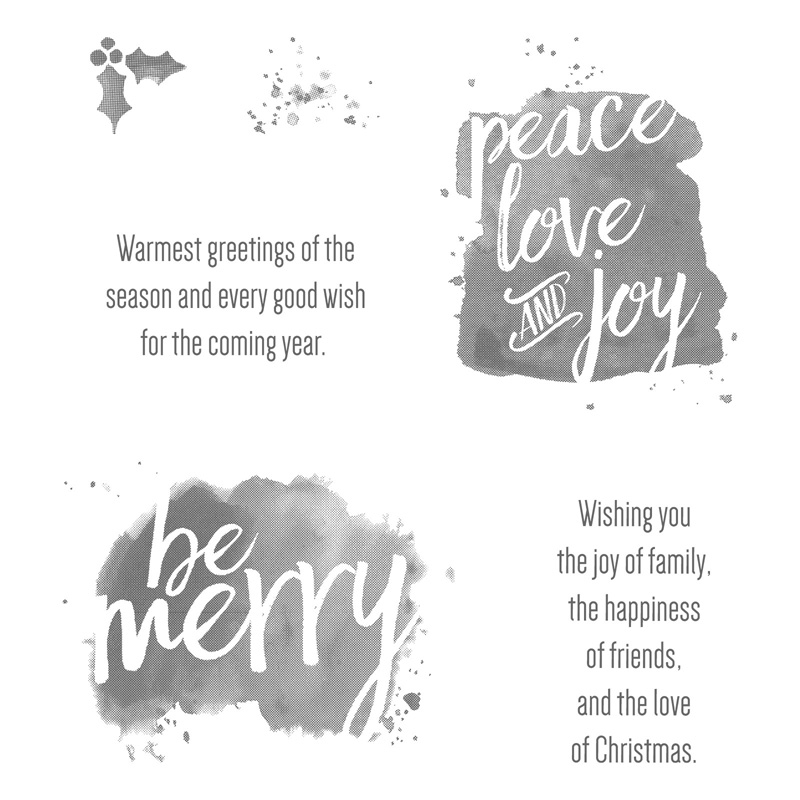
I was really attracted to the Every Good Wish stamp set because I’ve got a soft spot for holly. It’s just so classic and timeless…and so very Christmassy.
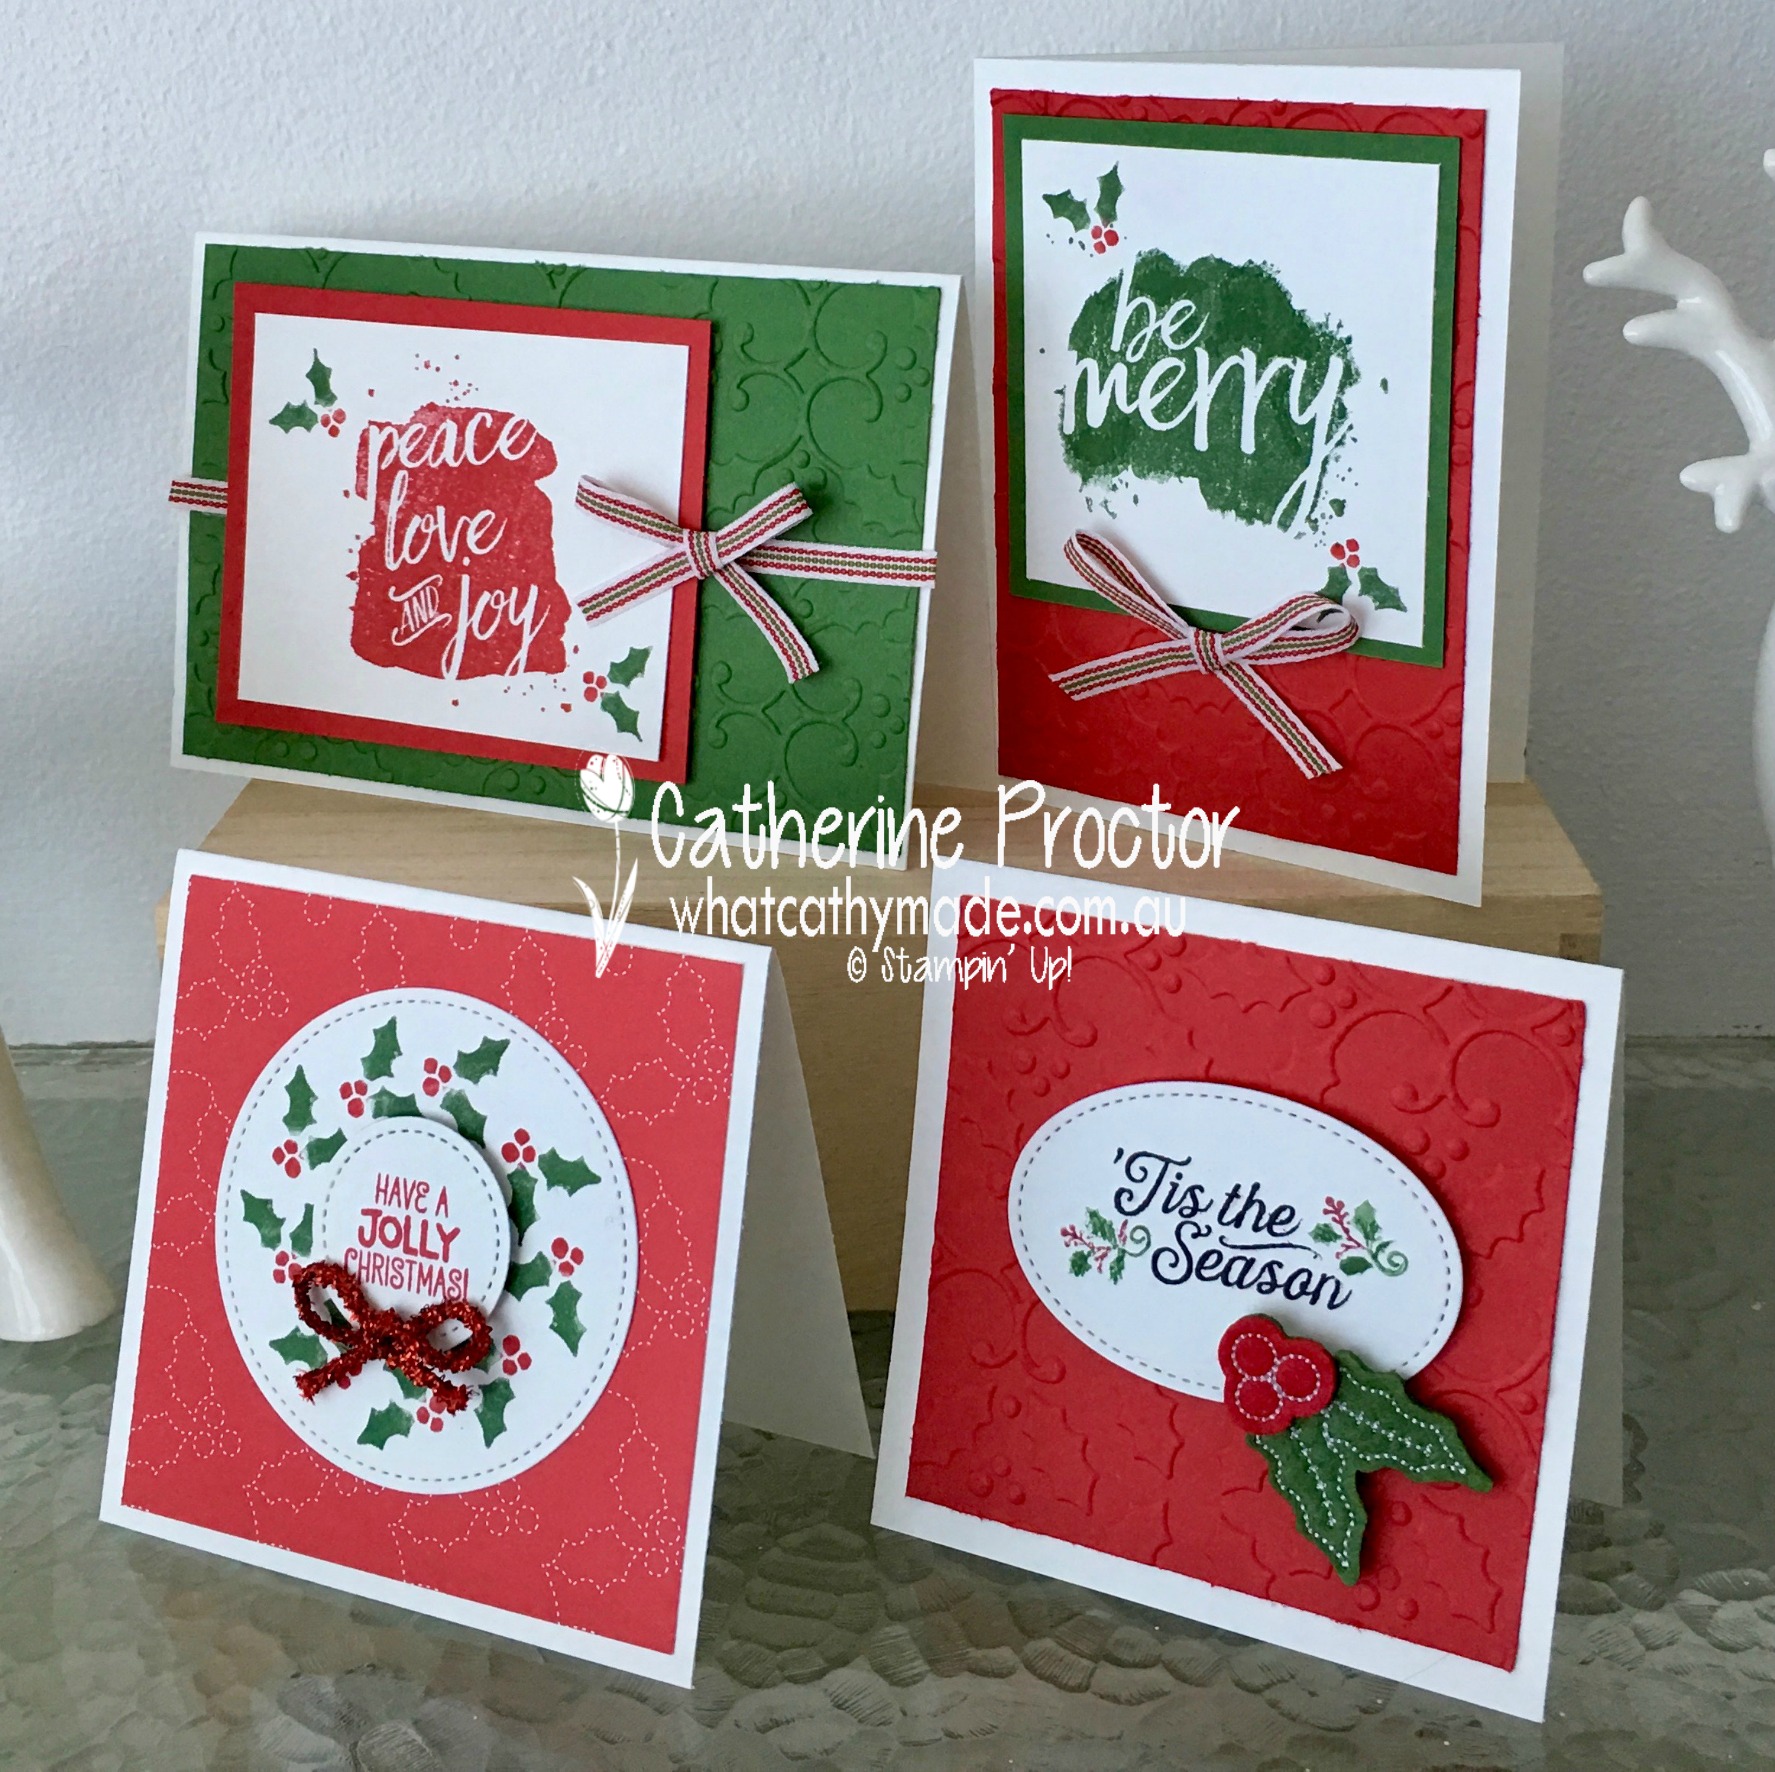
Here’s my first card. I’ve used real red and garden green for all of my holly cards…it’s such a great colour combination, at once both classic and crisp.
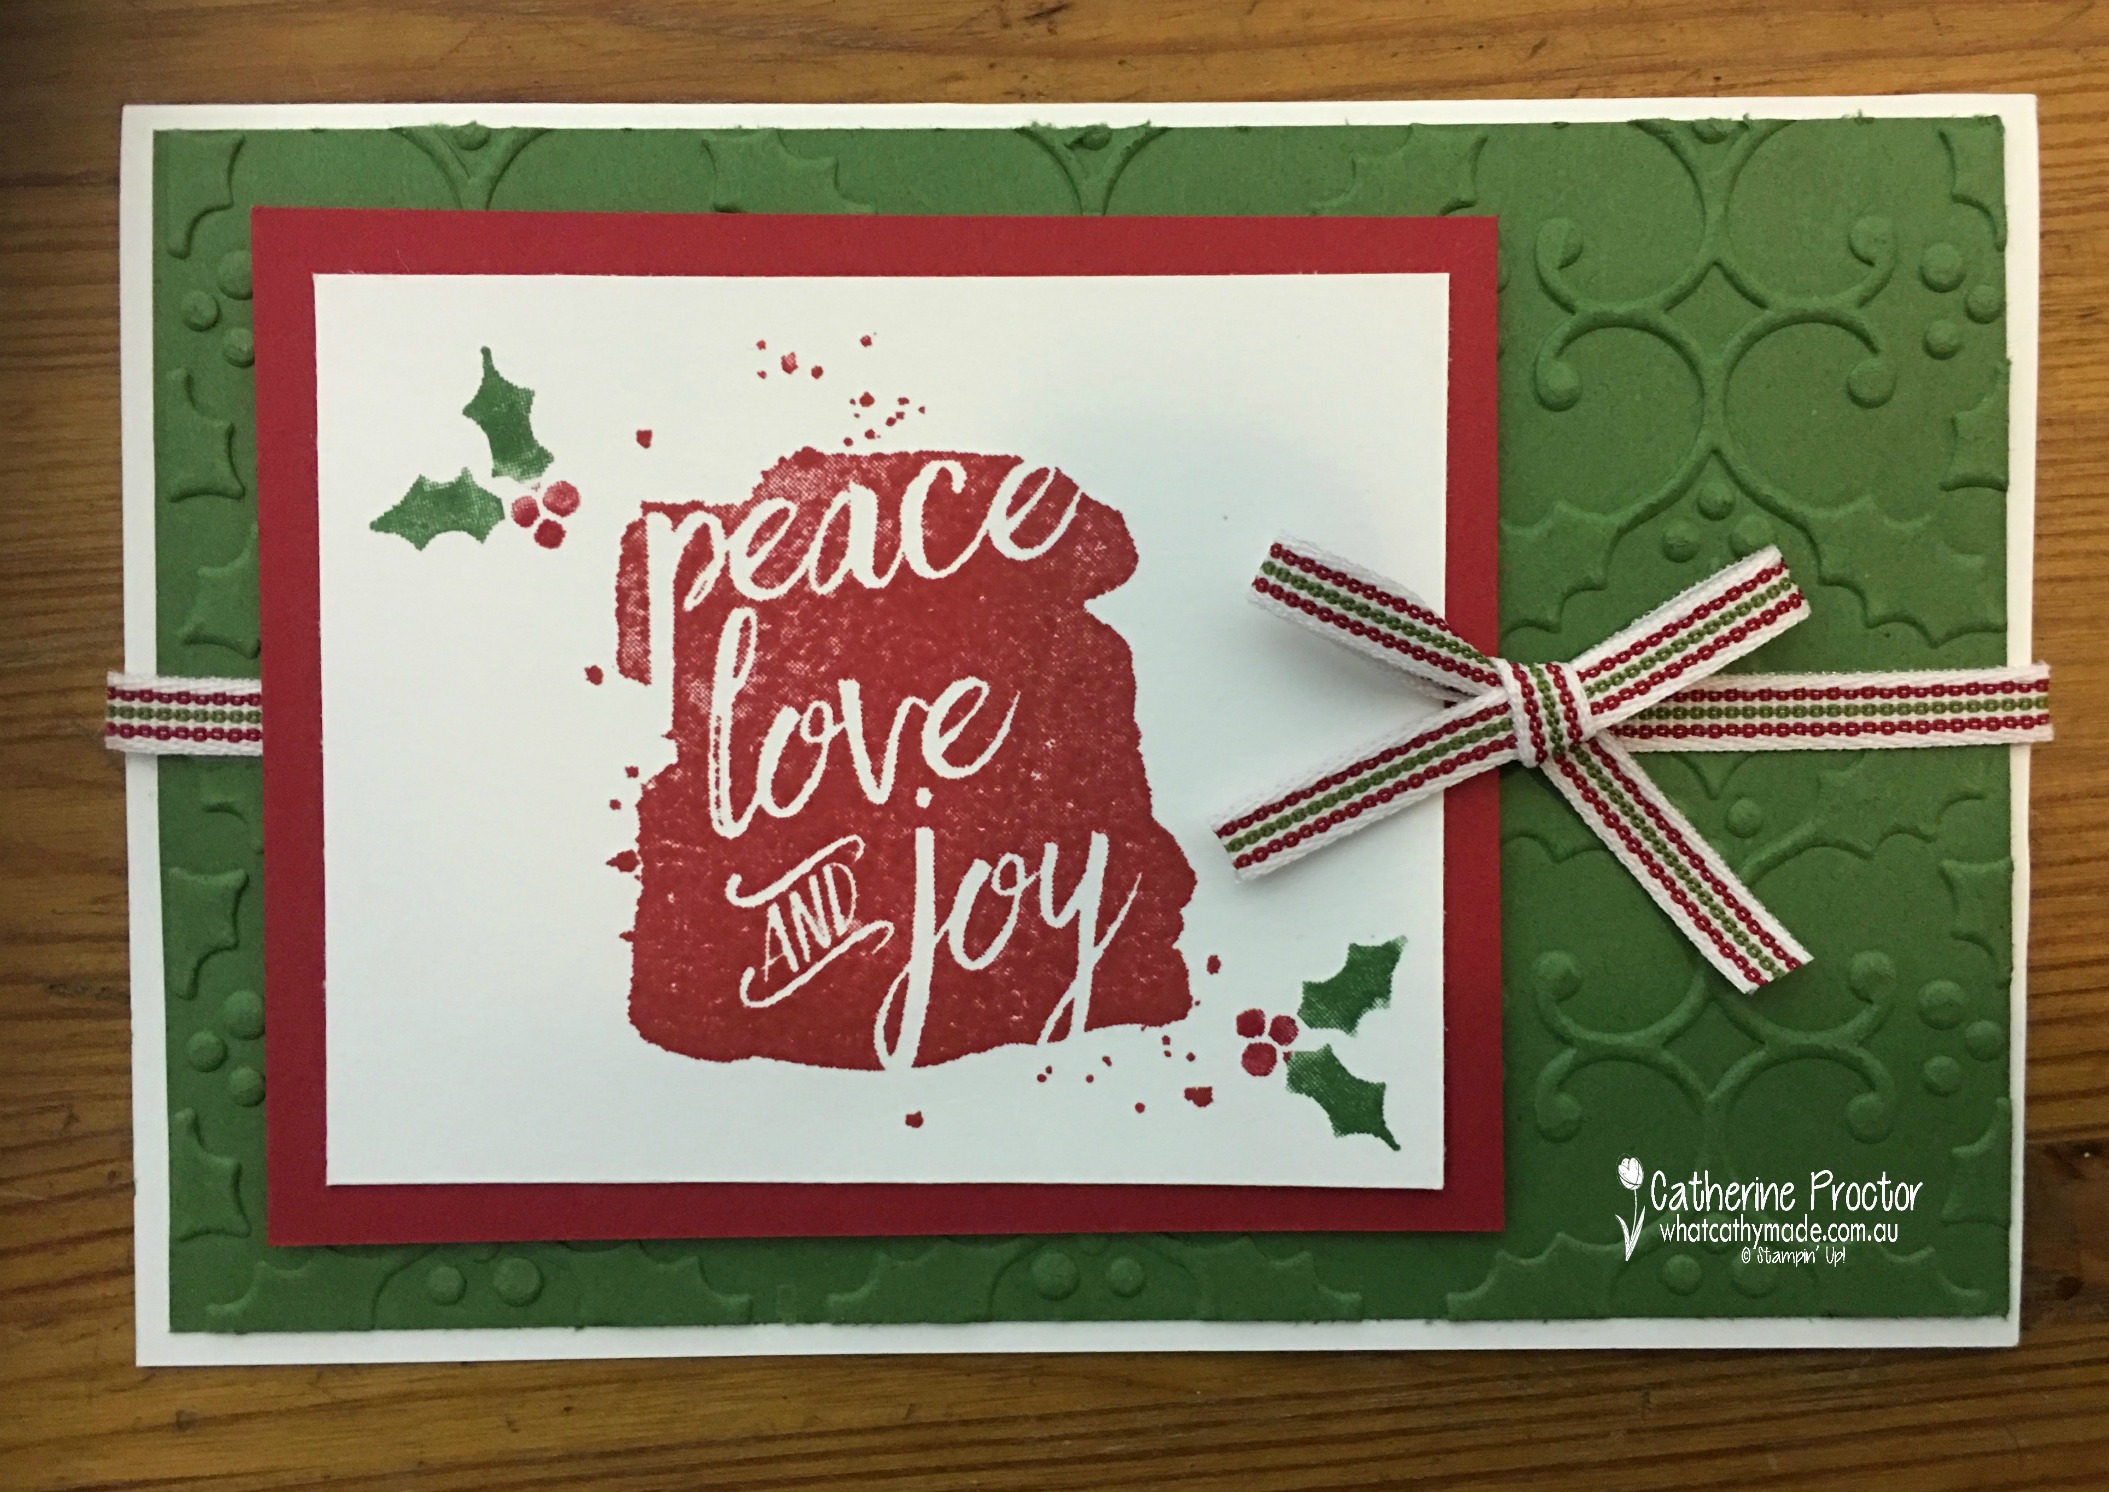 Don’t you just love the texture the Holly textured impressions embossing folder gives to this card?
I love all of the stamps in the Every Good Wish stamp set and the inside sentiments are as lovely as the main images. I don’t usually ink up the inside of my cards but I just had to use these lovely sentiments to decorate the inside of my holly cards.
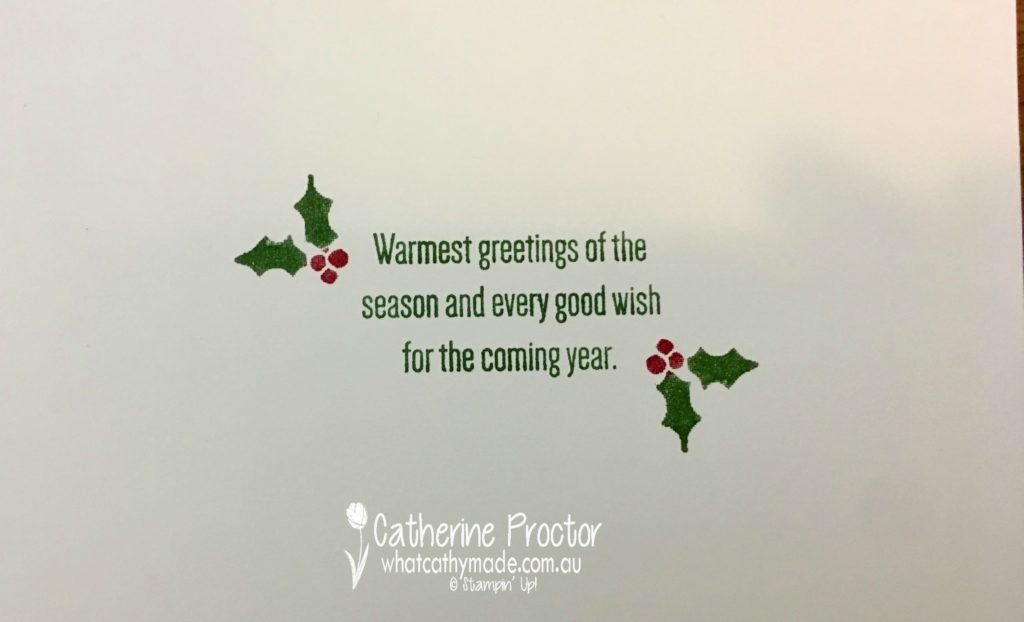
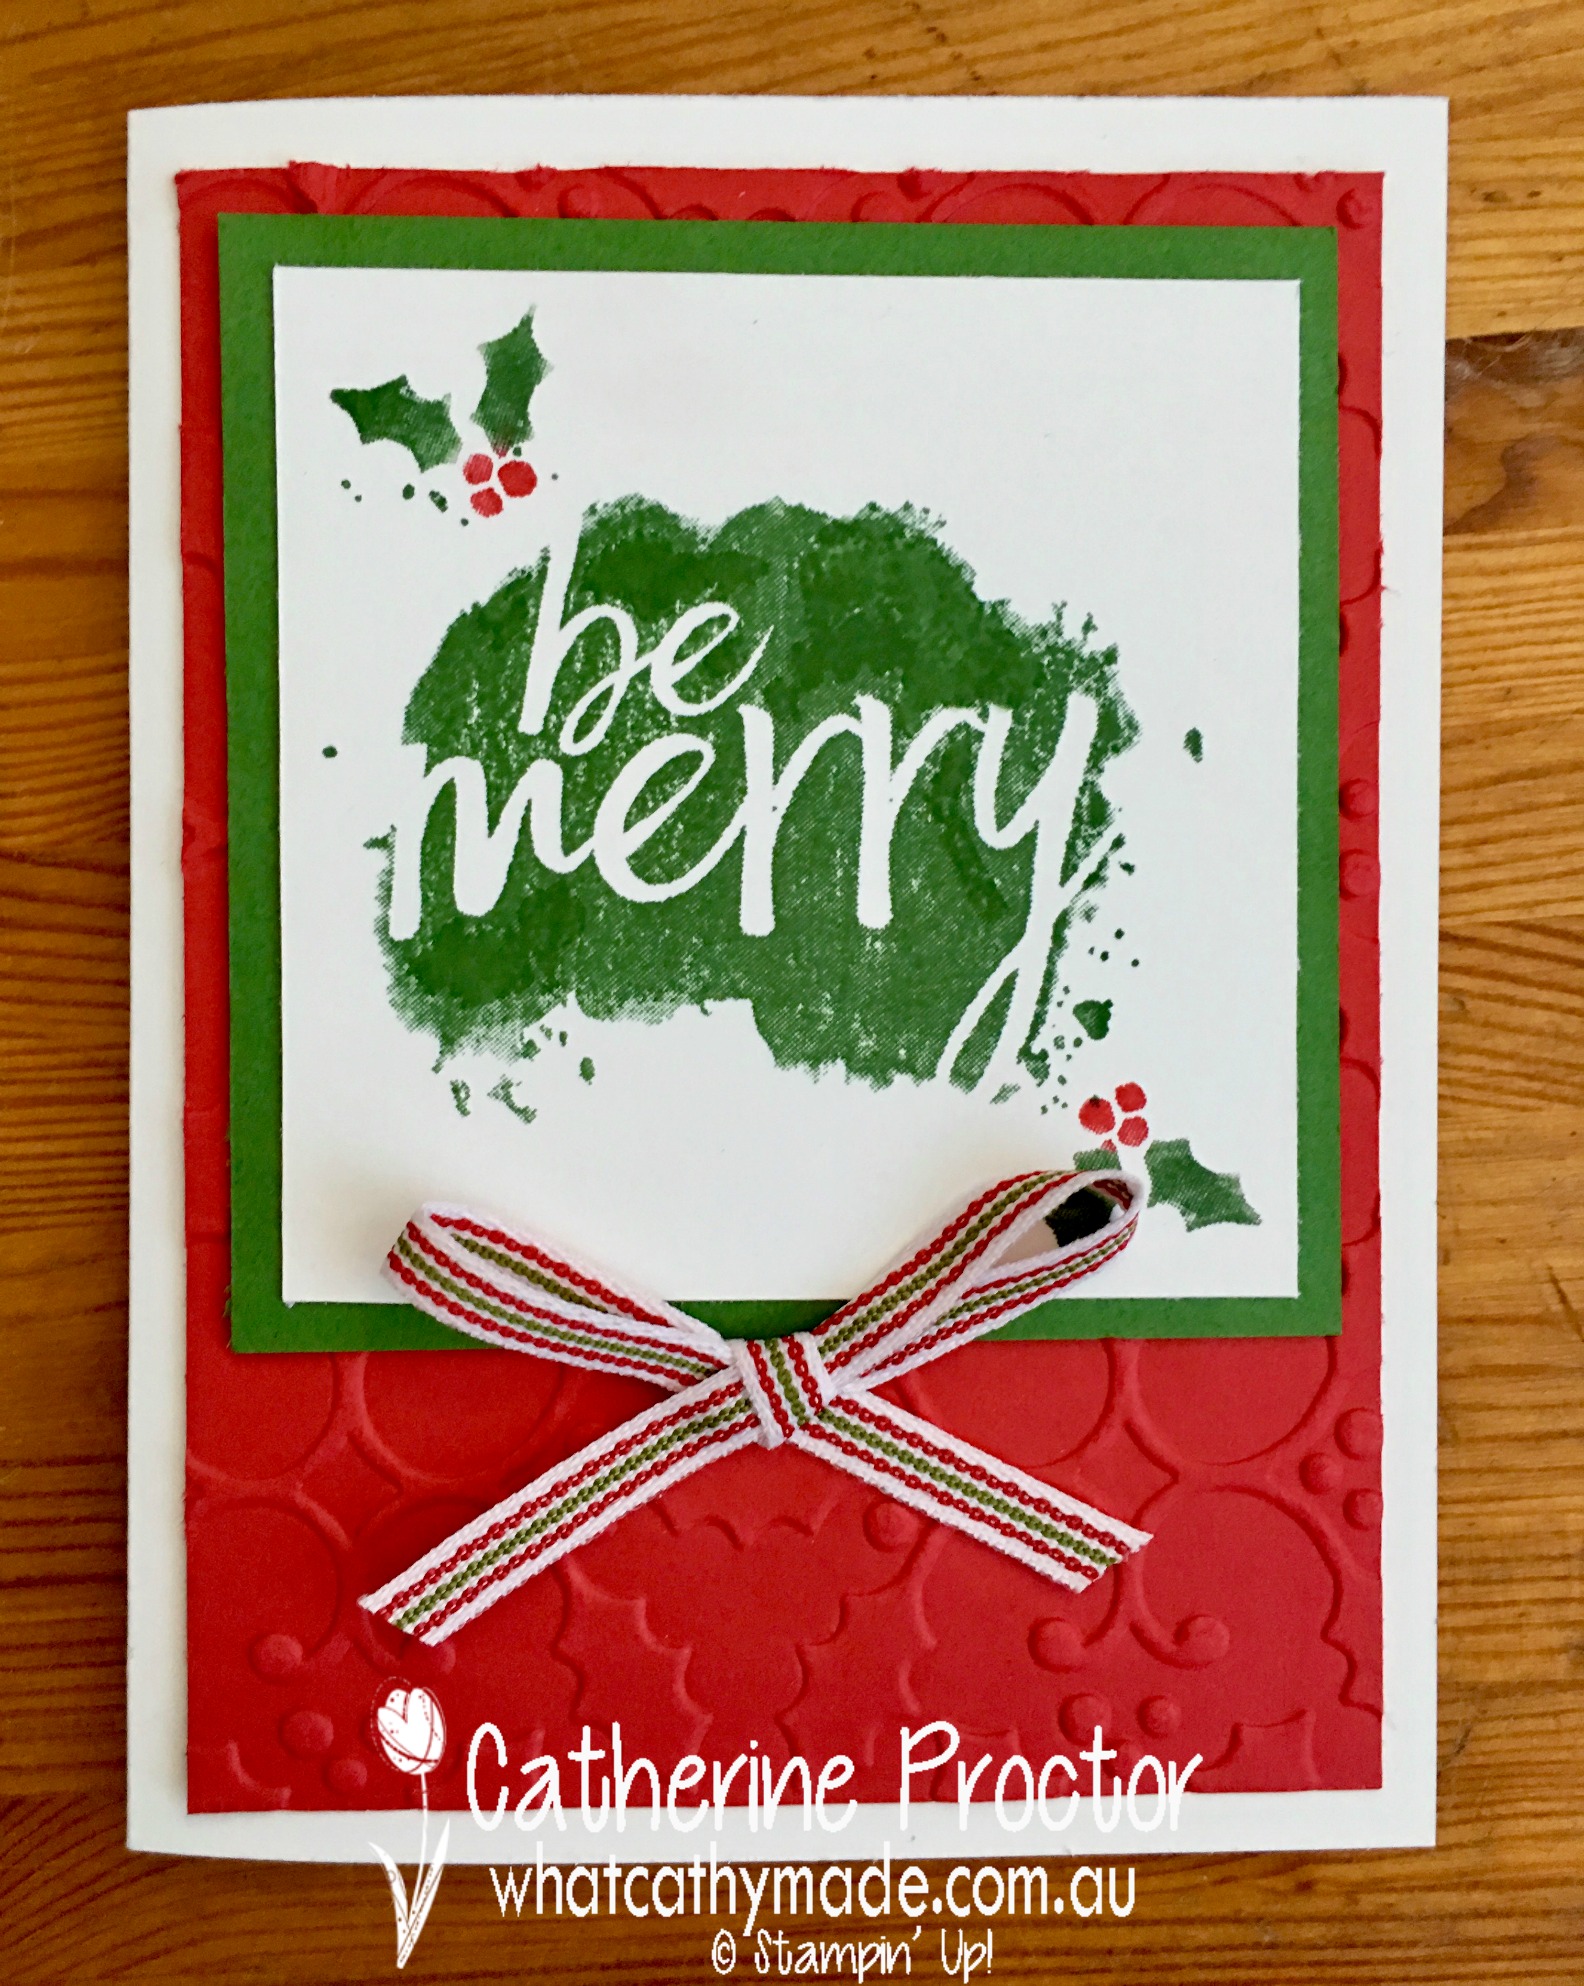
For my second card I made a variation of my first card, altering the colours and the orientation of the first card, and I also stamped a greeting on the inside of this one too. The gorgeous Quilted Christmas ribbon makes the perfect embellishment for this colour combination.
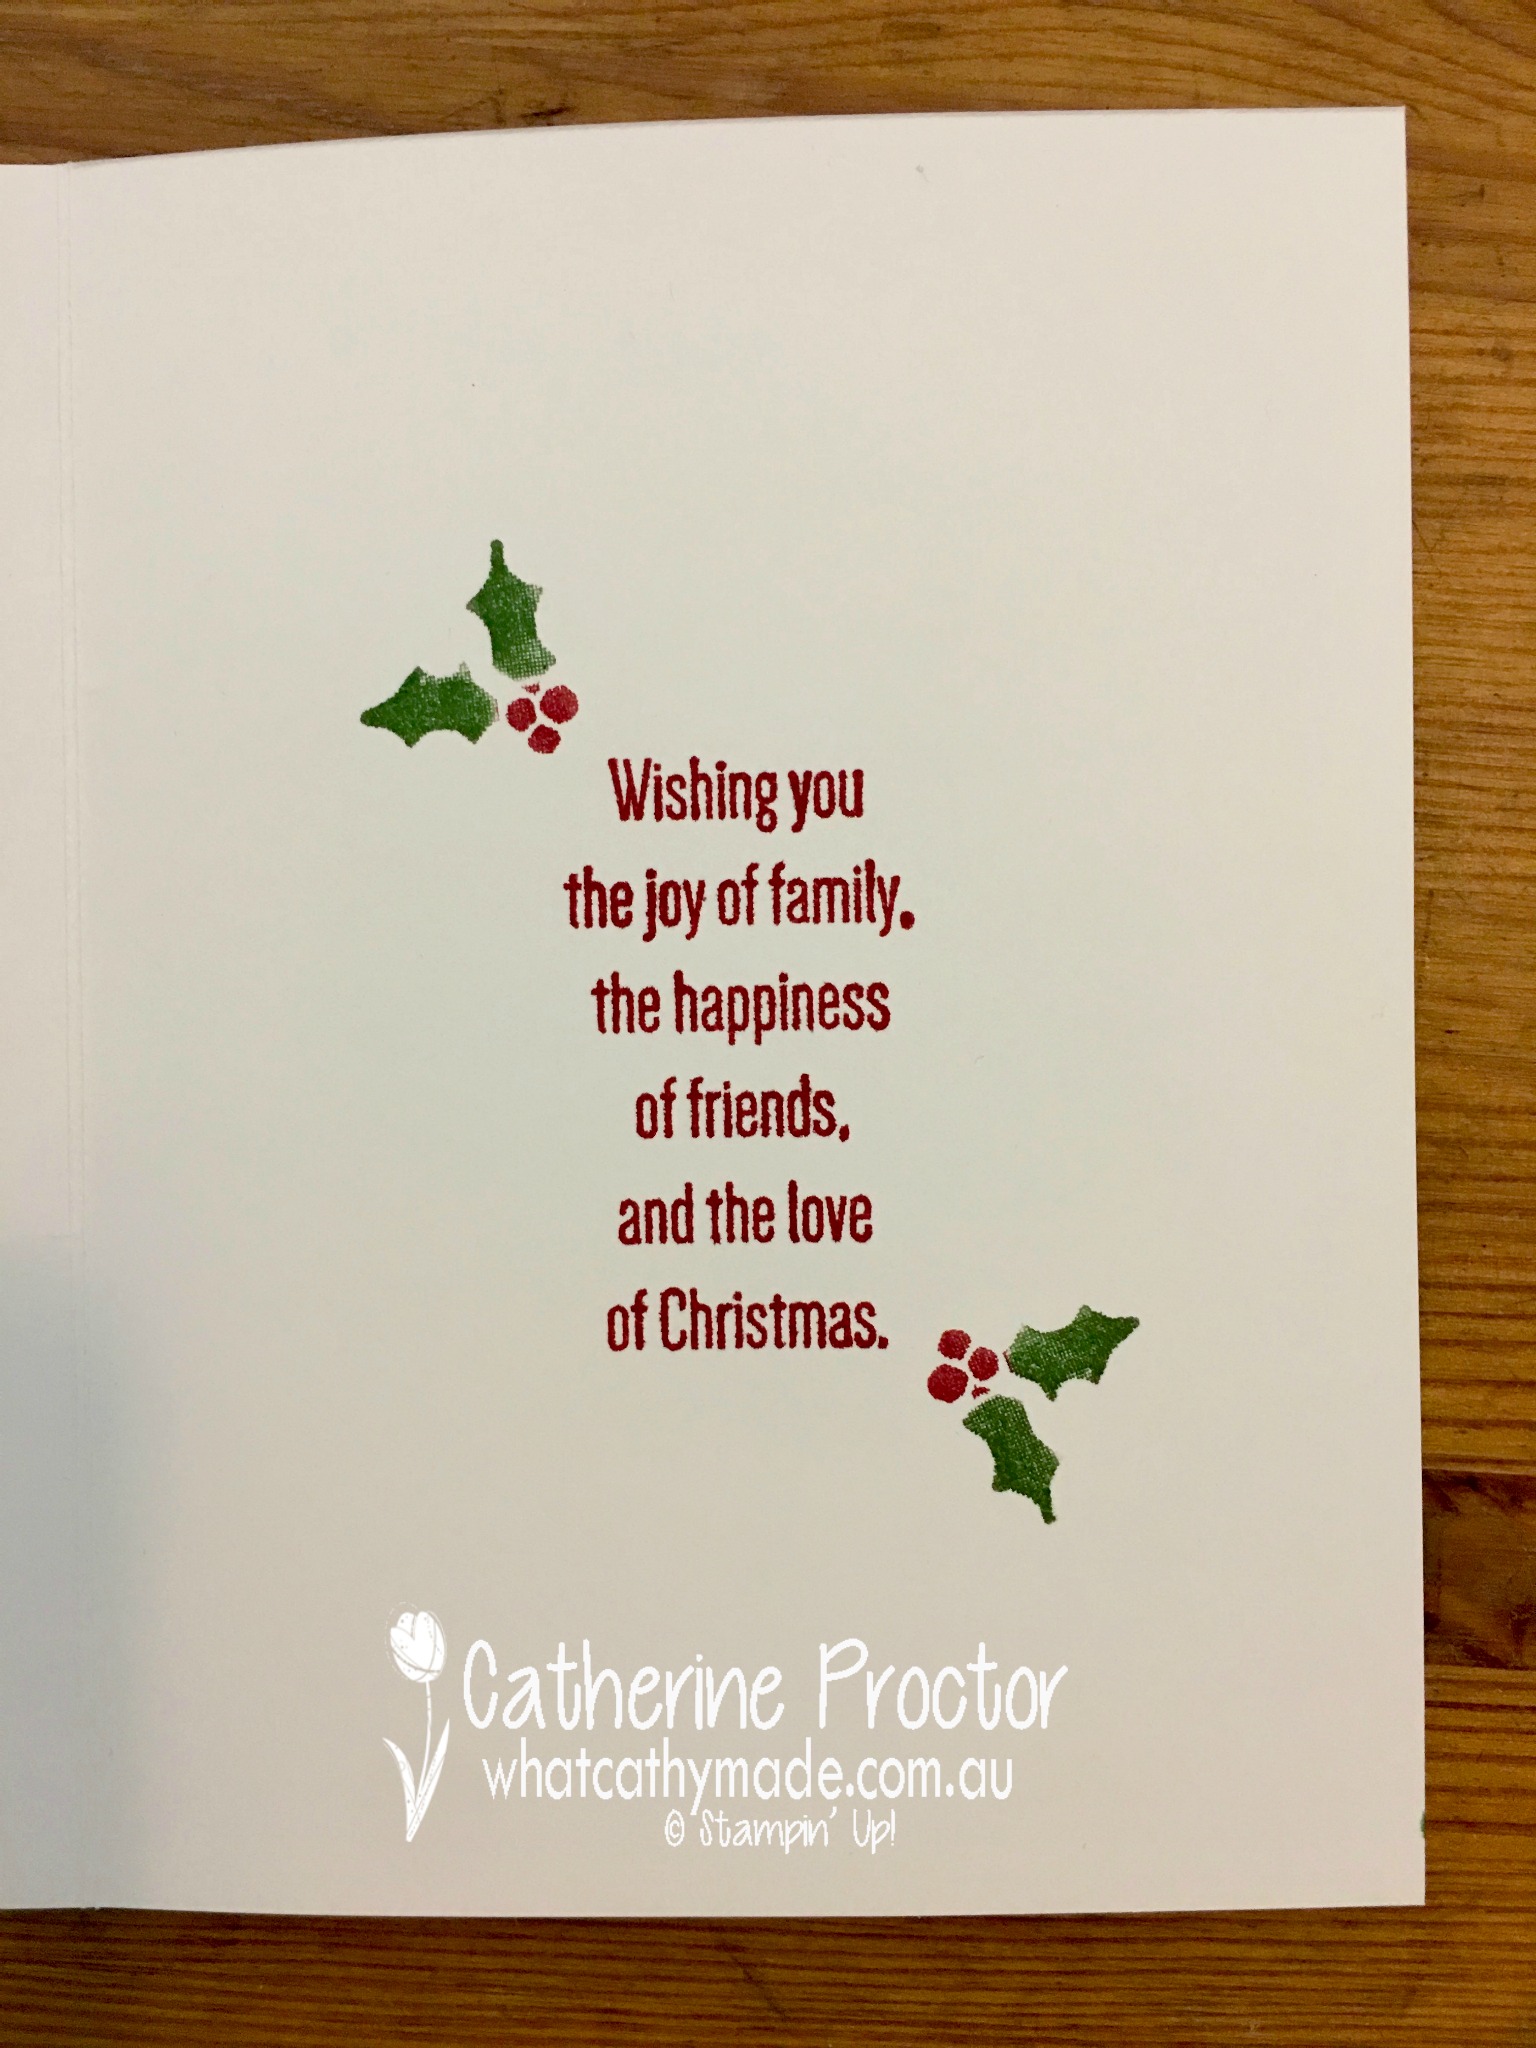
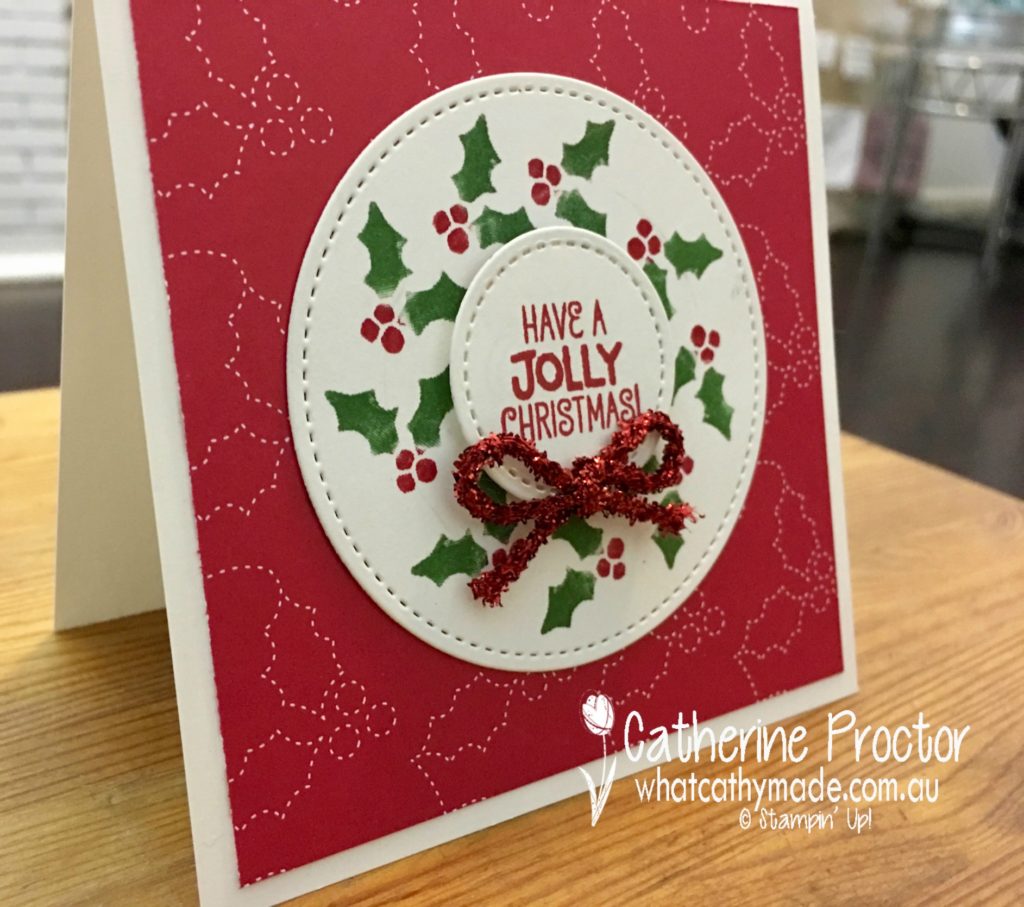
I was on a roll with my holly theme so I made 2 more cards…and I actually think these are my favourites! I used the same little holly stamp to make a wreath, this time mounting it onto holly DSP from the Quilted Christmas DSP.
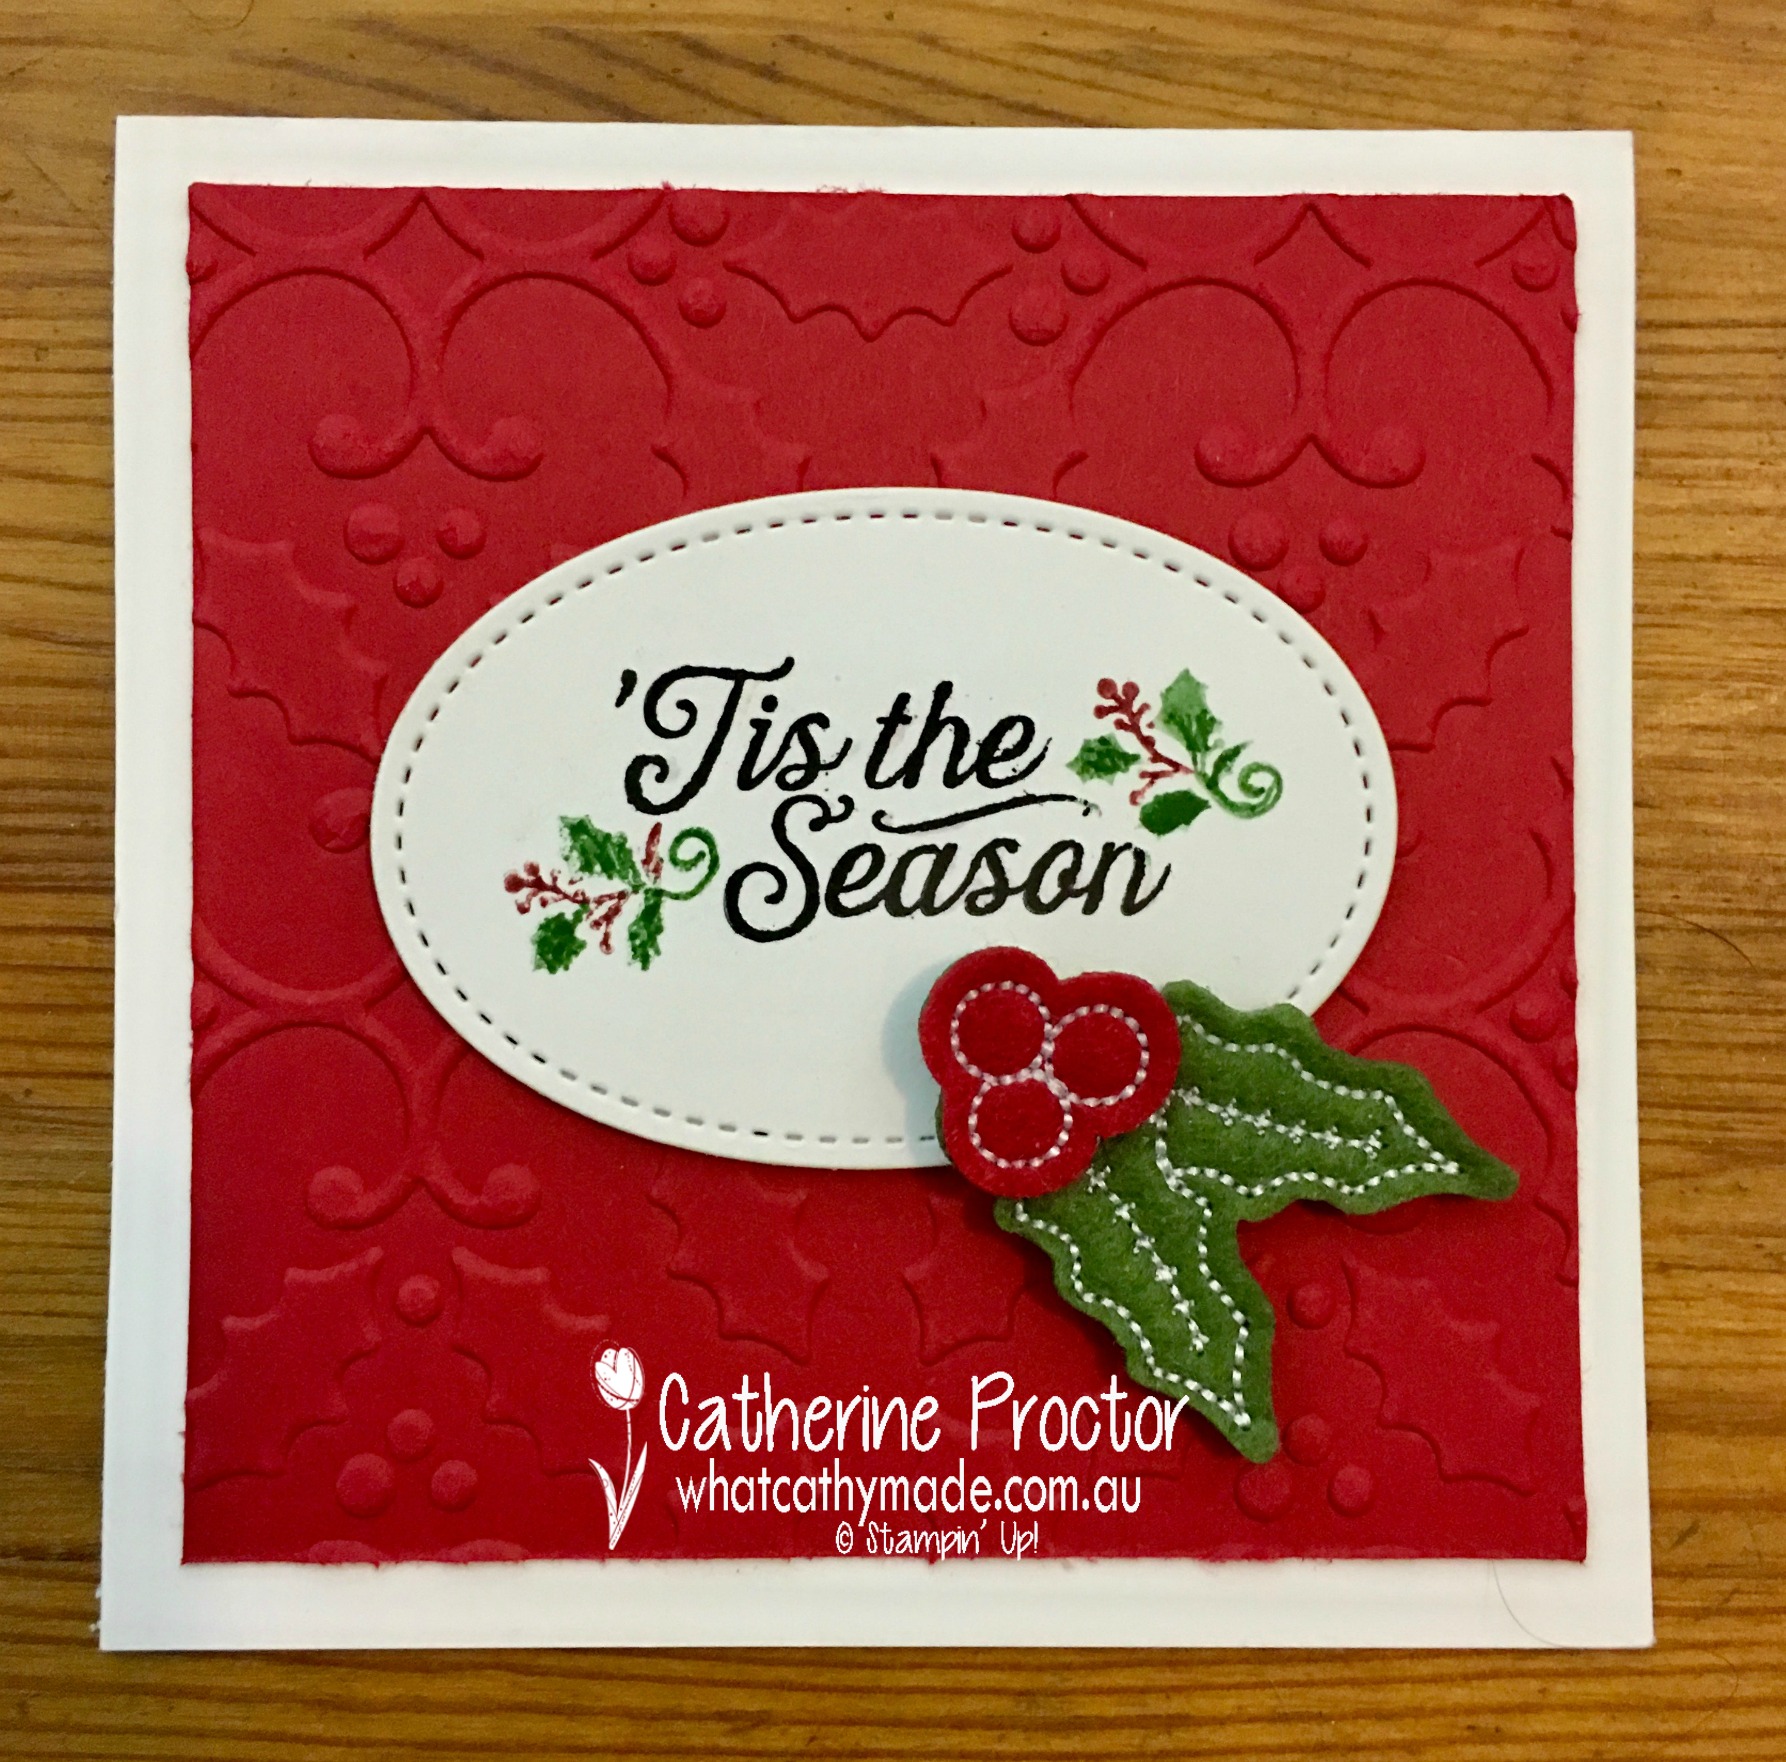
My final card uses the holly embossing folder again, this time with a stamp from the Oh, What Fun stamp set, embellished with a holly stitched felt embellishment.
And here’s all my cards together! Which is your favourite?
To see what the rest of the team have made hop back to Claire’s blog and I’ll be back with some more Christmas inspiration next week.
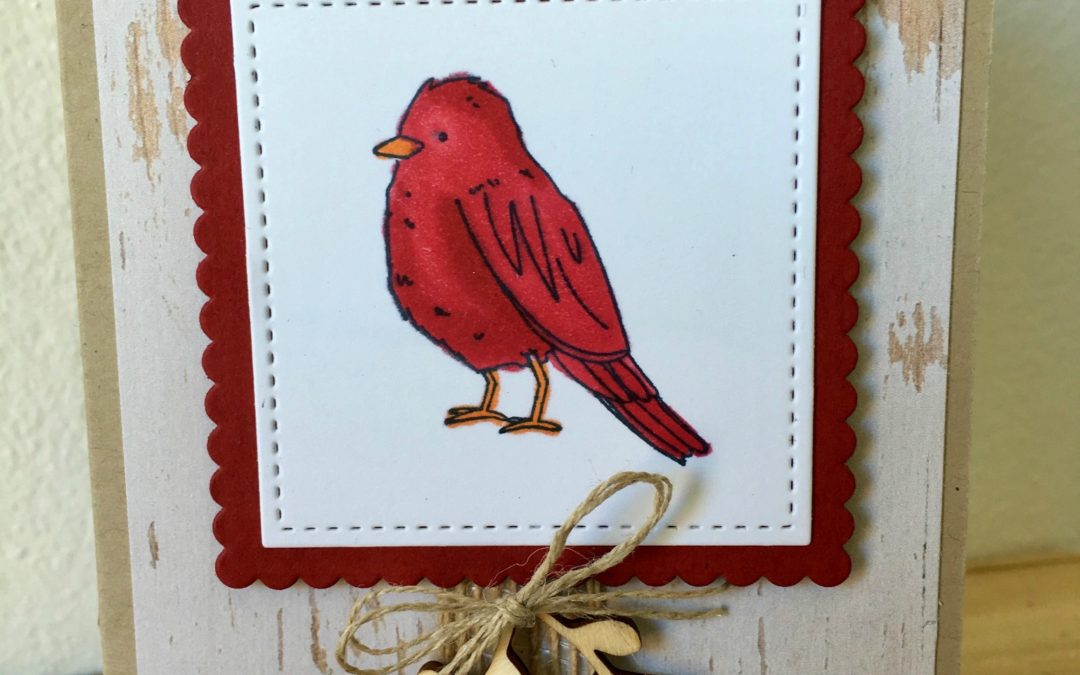
Welcome to another week of Christmas inspiration with the Art with Heart team.

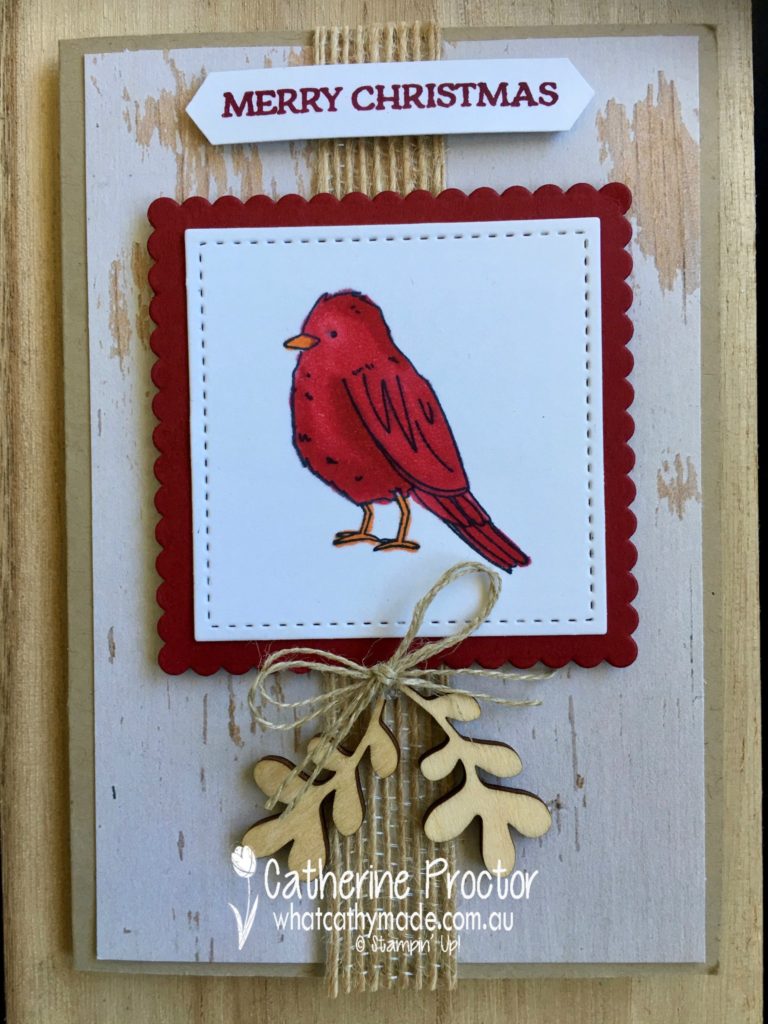
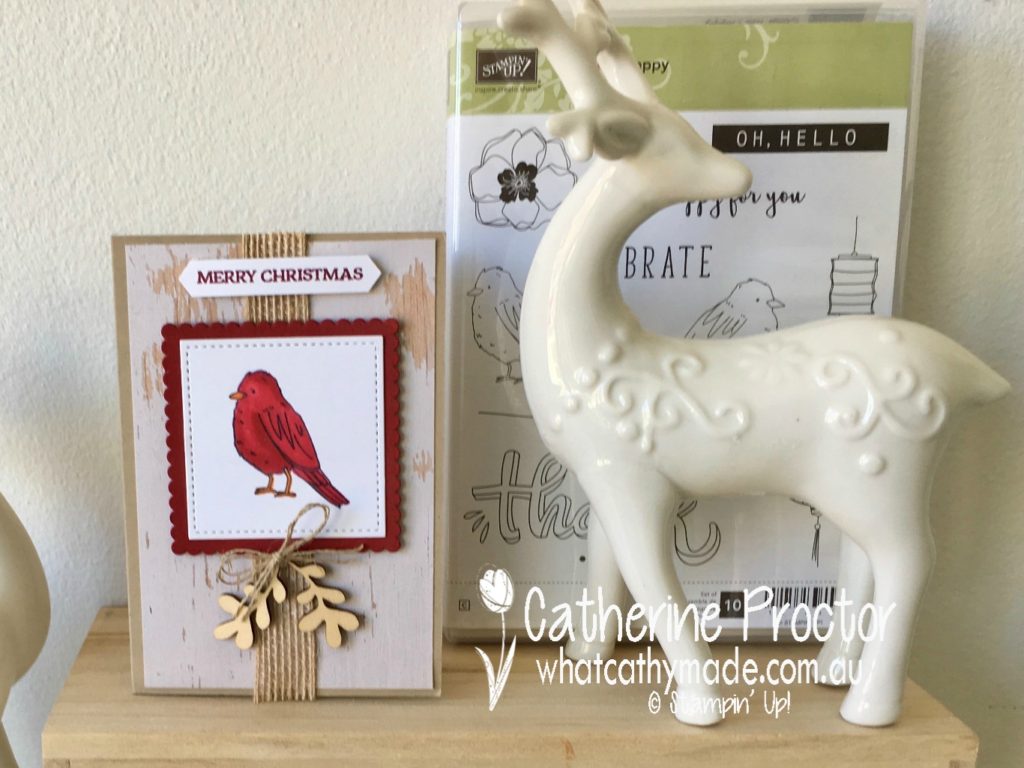
This week I’m playing with the new Stampin Blends and matching stamp set, Color Me Happy, which are available for sale from today. Instead of making one of the designs in the Colour Me Happy Kit (which by the way are all so beautiful) I decided to make a Christmas card using one of the bird stamps from the Colour Me Happy Stamp set.
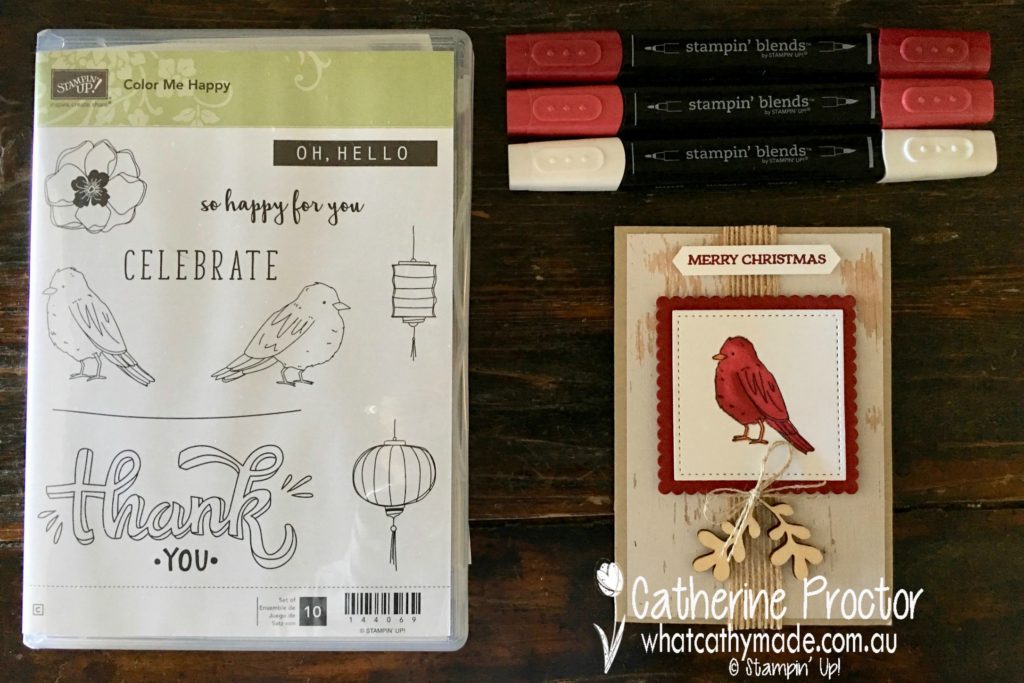
I used four of the Stampin Blends pens: dark cherry cobbler, light cherry cobbler, dark pumpkin pie, and the colour lifter pen to shade my little Christmas bird. The colour lifter pen allows you to remove colour, giving your shading extra depth. Here’s a close-up of my little bird so you can see the shading.
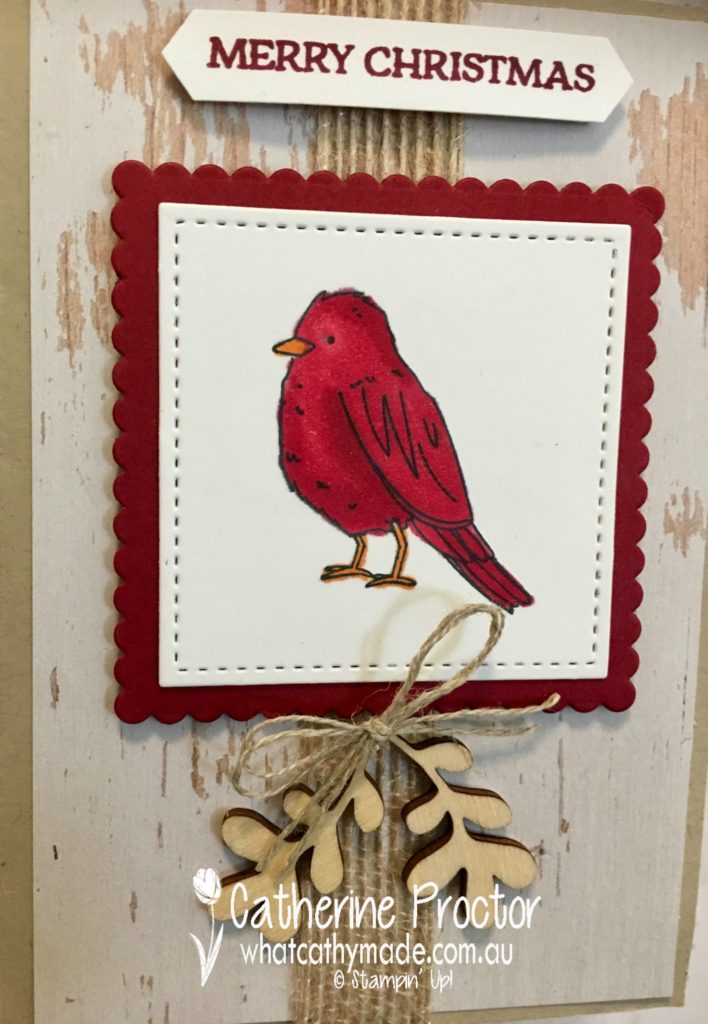
I then cut out my stamped image with a square stitched shapes die and mounted it onto a scalloped square of cherry cobbler, die cut using the layering squares dies. The background DSP is from the wood textures DSP stack, mounted onto a card base made from crumb cake card stock.
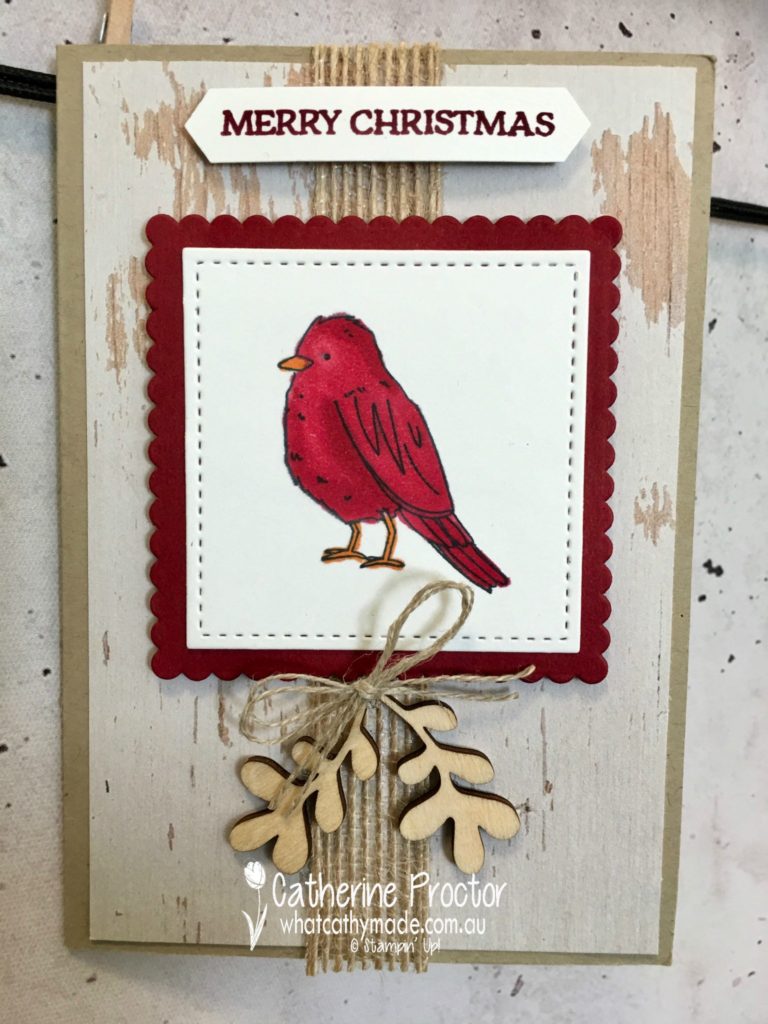
Texture was added with some burlap ribbon, touches of nature elements and a sweet little bow made with linen thread. The sentiment is from the Santa’s Sleigh stamp set, punched out with the classic label punch.
To see what the rest of the team have made hop back to Claire’s blog and I’ll be back with some more Christmas inspiration next week.
Welcome back to the Heart of Christmas weekly blog.

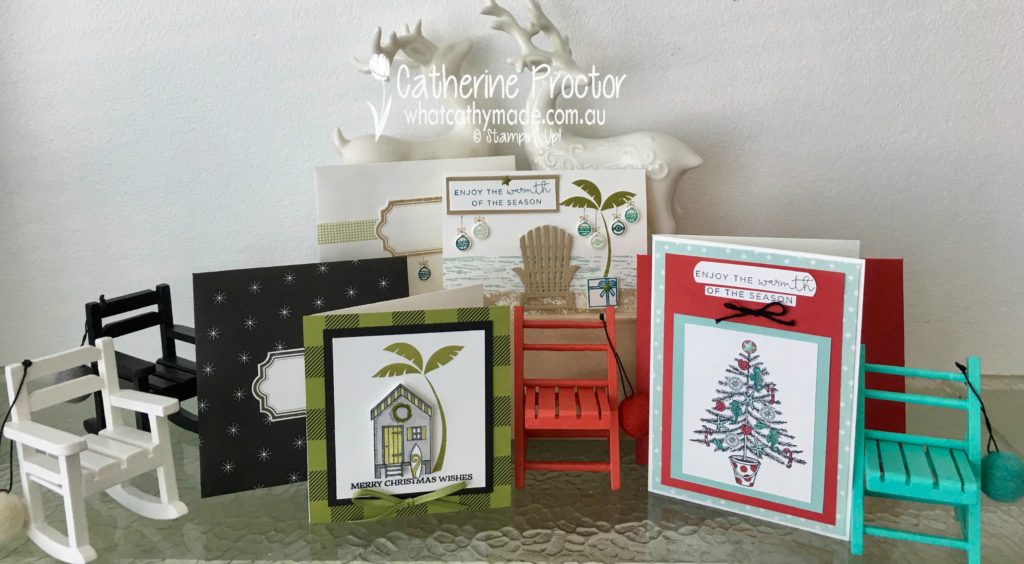
This week I was lucky enough to borrow and have a play with 2 sets I don’t own from the Holiday catalogue: Beachy Little Christmas and Wise Men from Afar. I was inspired by the graphic palm tree in the Wide Men from Afar set to make some Aussie Christmas cards, but I actually ended up using a a whole lot of stamp sets to make 3 quite different cards.
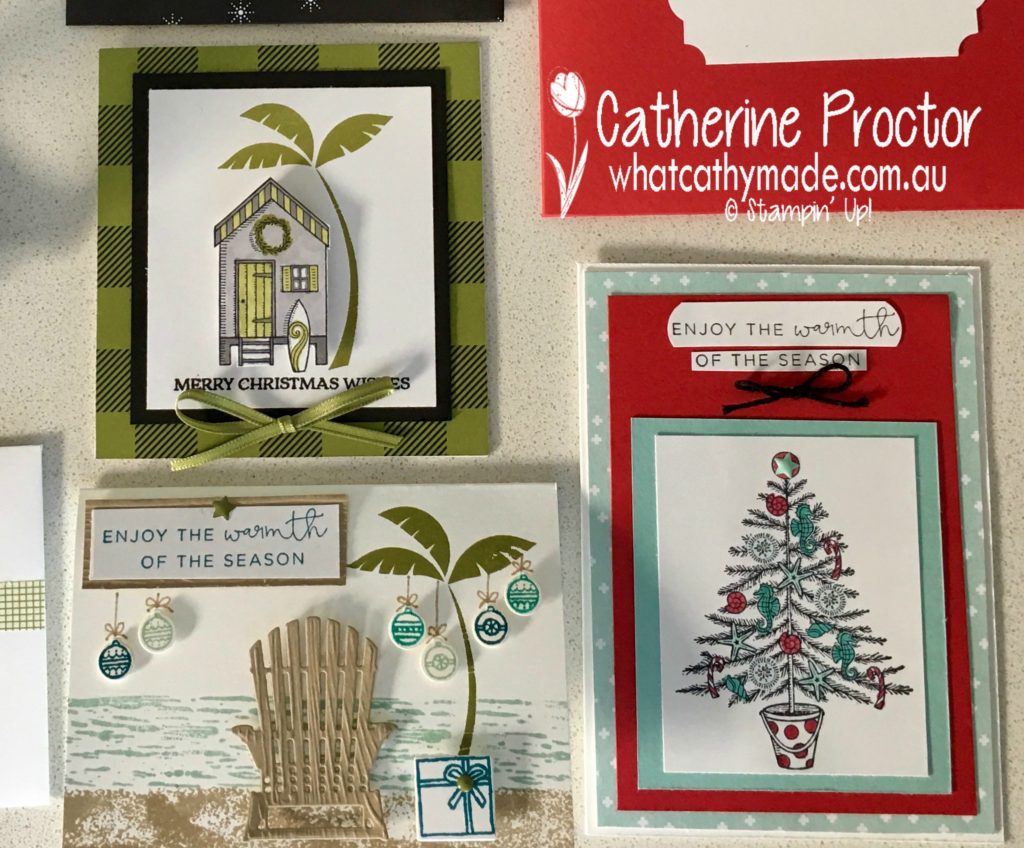
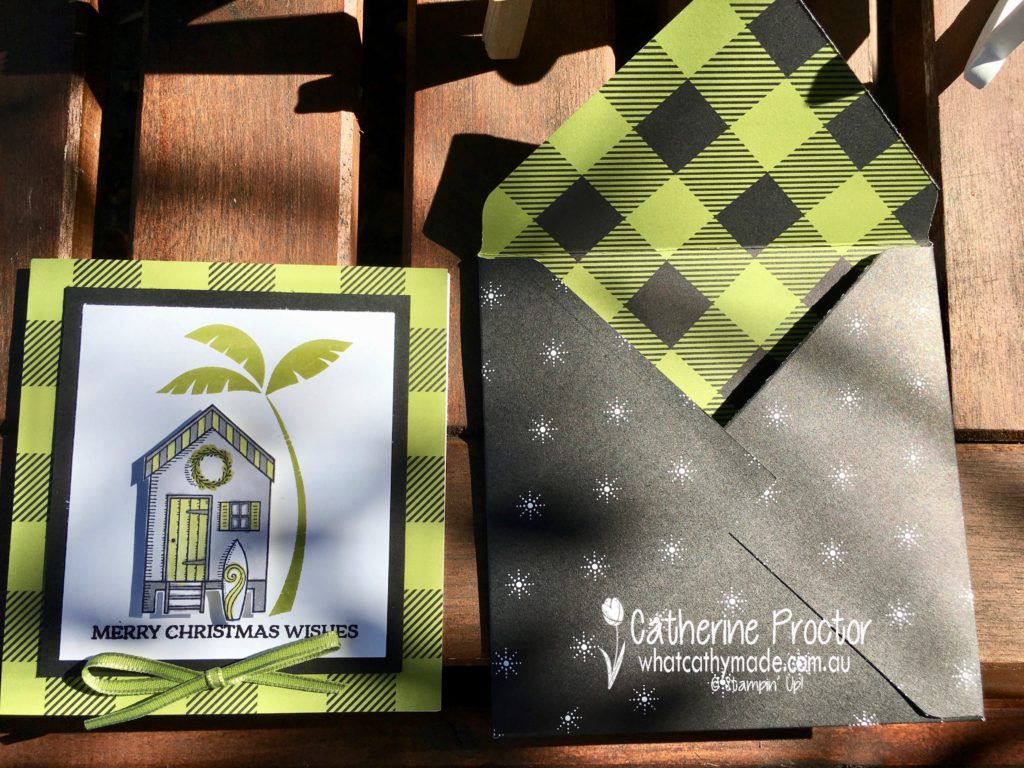
My first card uses the beach hut from Beachy Little Christmas…a perfect card for my family as we live at the beach and all my boys surf. I mounted it to the card with some Stampin’ Dimensionals.
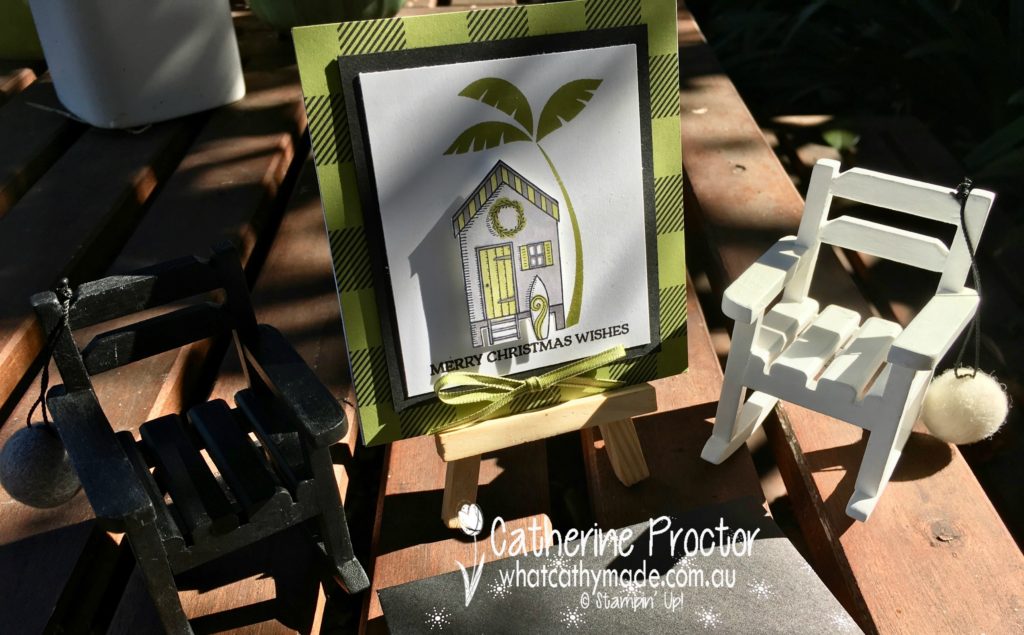
I paired my fussy cut beach hut (coloured in with the new Stampin Blends pens which are available in November) with the palm tree from Wise Men from Afar, and used my envelope punch board to make a matching envelope out of the Merry Little Christmas DSP.
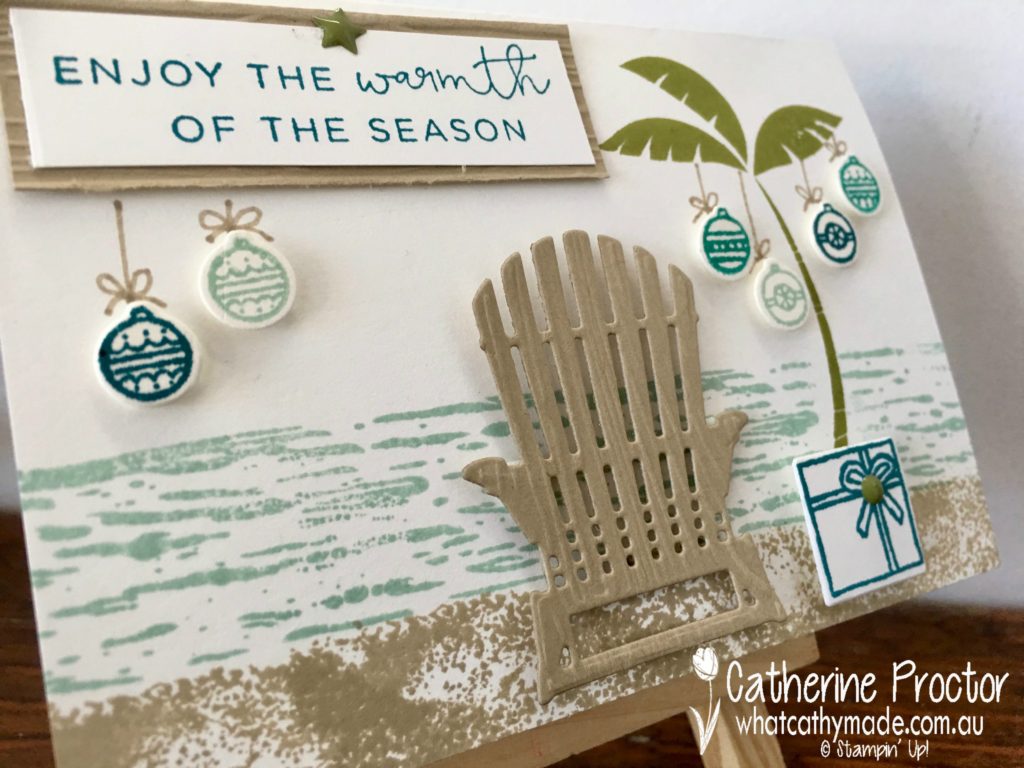
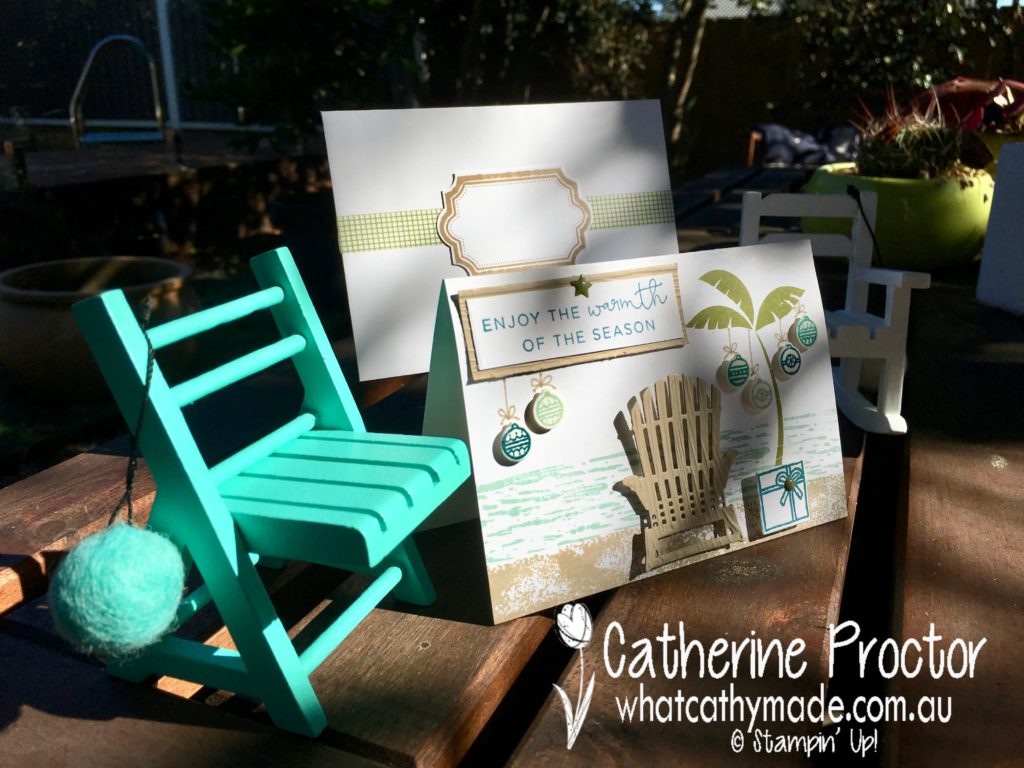
My second card features the palm tree again, this time stamped with the High Tide set to create a beach scene.
The Adirondack chair is a super cute die from the seasonal layer thinlets and the little ornaments and present are cut using the Christmas Staircase thinlets.
The beautiful “enjoy the warmth of the season” sentiment is from the Hearts Come Home stamp set…just perfect for a summer Christmas!
Because I used a whisper white notecard to make this card the matching envelope was already made, so I simply decorated it with Washi tape and a label made using the Labels to Love stamp set and Everyday label punch.
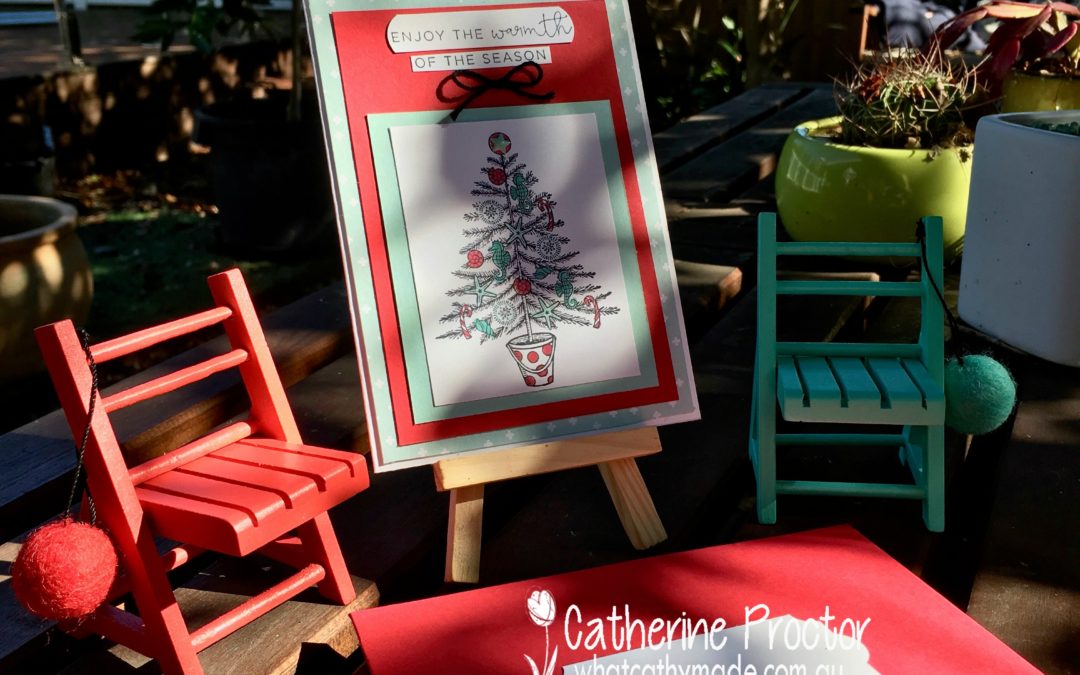
My final card uses the tree stamp from “Beach Little Christmas” coloured in with my blender pens and the “enjoy the warmth of the season” sentiment from the Hearts Come Home stamp set. I love the colours of pool party and real red together so I’ve mounted my tree onto both pool party and real red card stock, with the final layer some of the gorgeous Naturally Eclectic DSP.
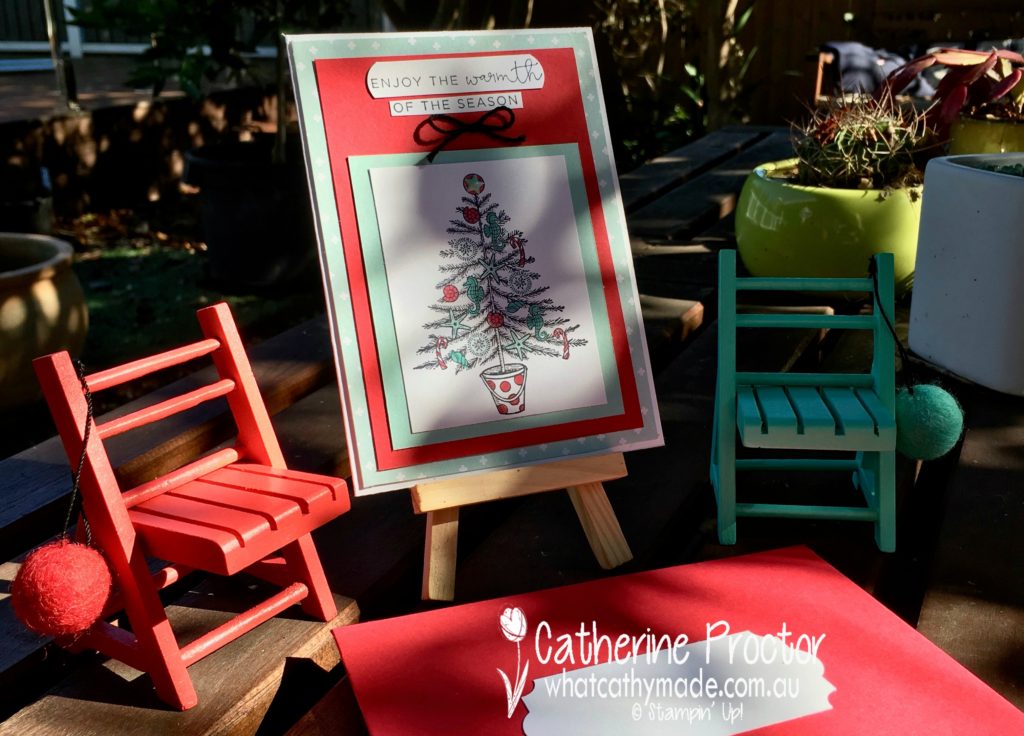
I took most of these photos in my garden as it seemed only right for these cards…so many of our Christmas celebrations occur outdoors in the glorious Sydney summer.
But my reindeers insisted on an indoor photo as well, although I think they might just be upstaged by my darling little chairs…such a bargain at 10 cents each at my local op shop!
You can go back to Claire’s blog to see what the rest of our team have made this week.

And I’ll be back next week with some more Heart of Christmas inspiration.
Product List (NOTE: stampin blends not available until November 1)