Welcome to Week 20 of the Art With Heart Colour Creations Blog Hop for 2026–27. This week, we are sharing projects featuring Daffodil Delight.
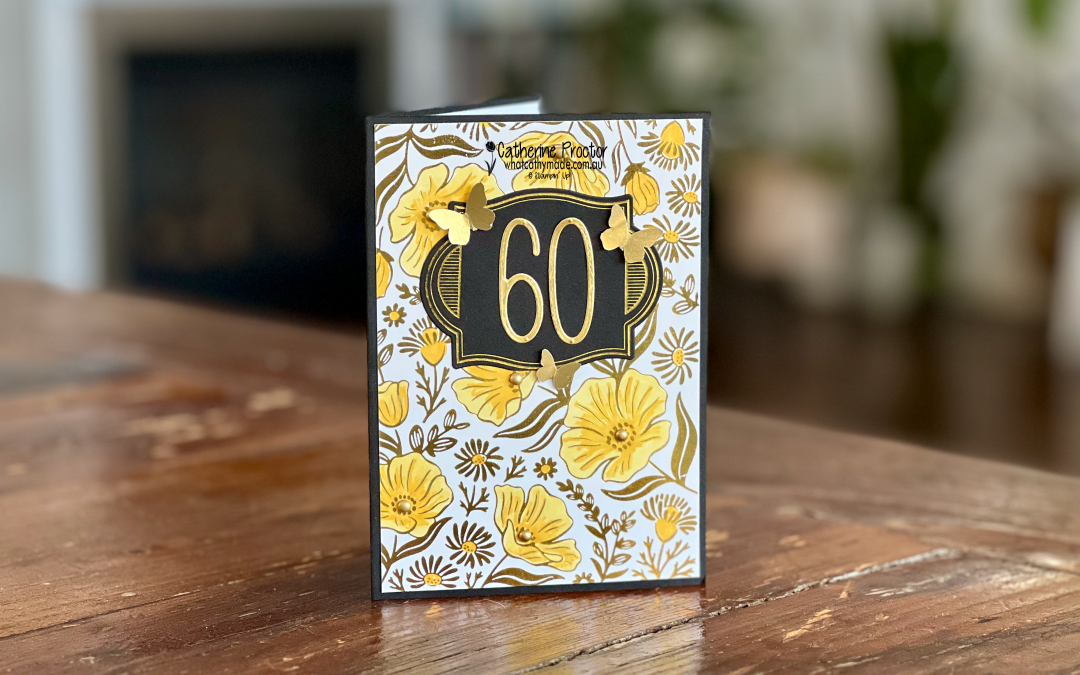
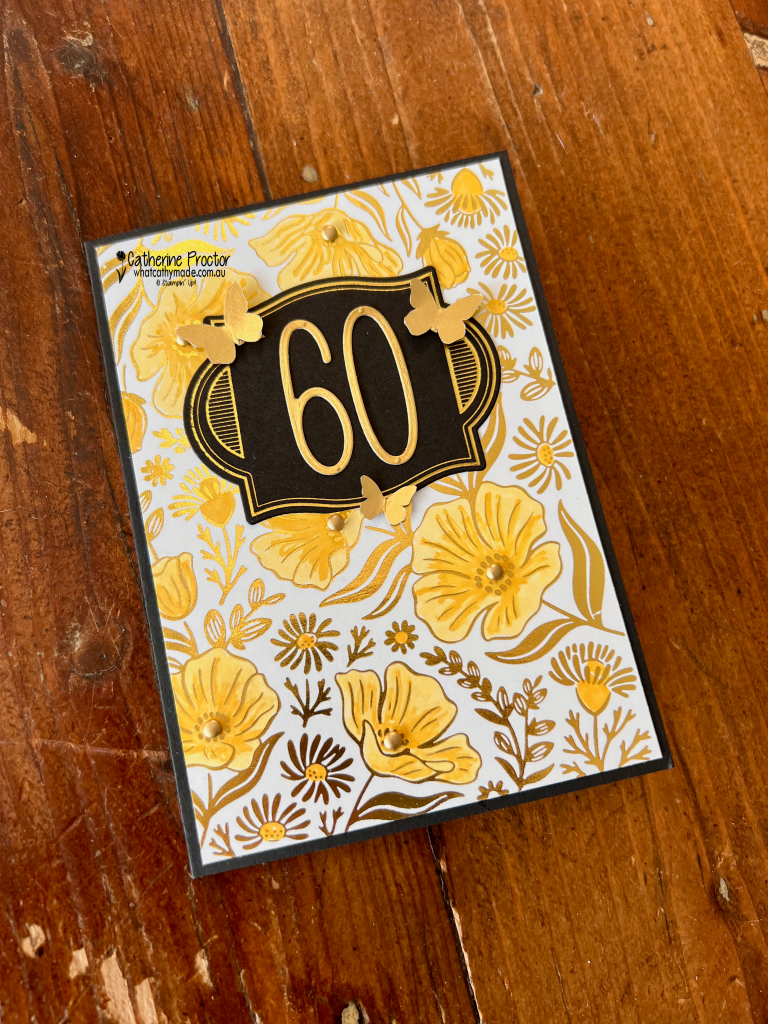
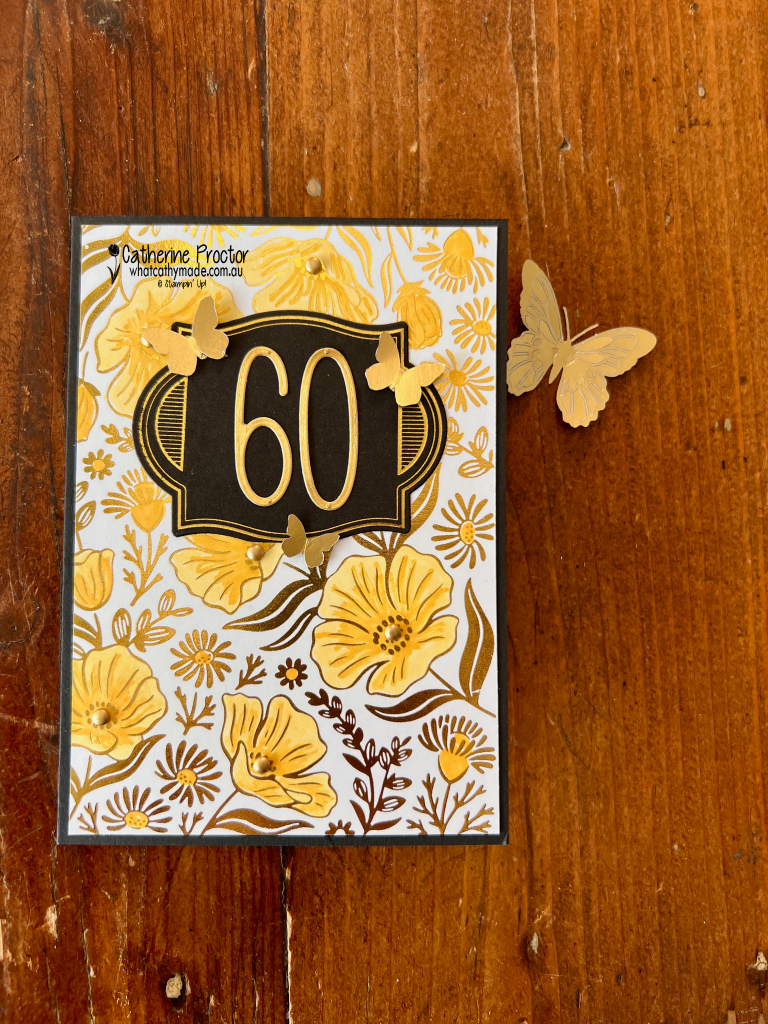
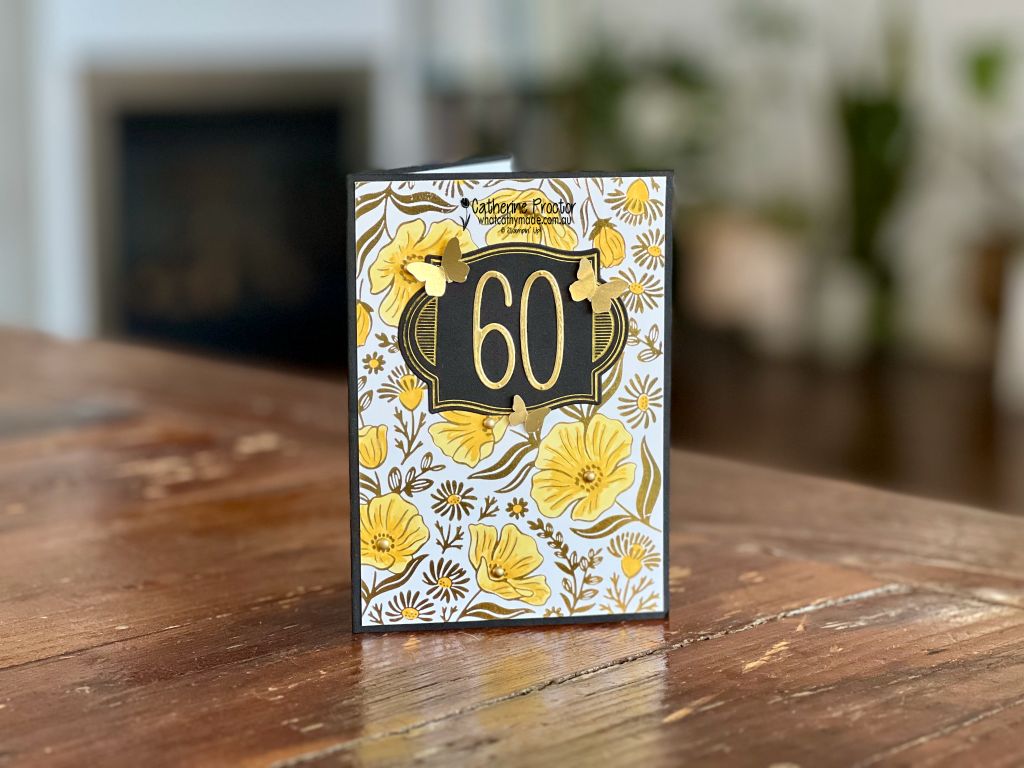
Daffodil Delight is such a bright and cheerful yellow, and tonight I’ve paired it with gleaming gold foil to create a special 60th birthday card.
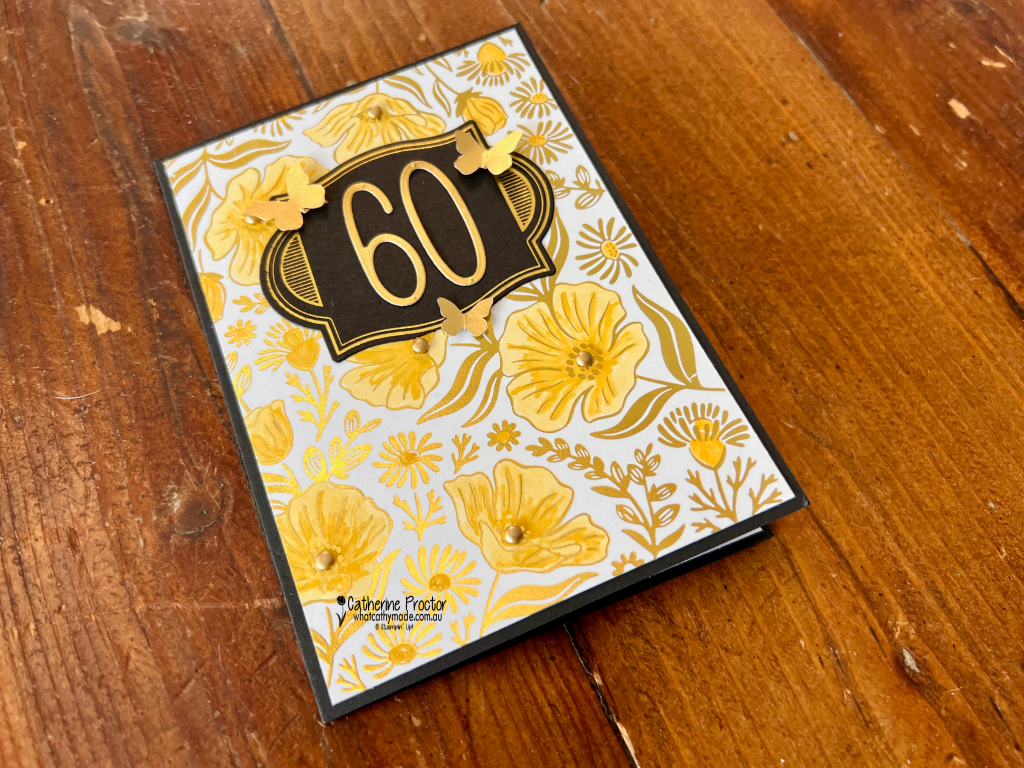
The floral focal point was created with the new Garden Silhouette Hot Foil Die. After foiling the image, I coloured the flowers using Light and Dark Daffodil Delight Stampin’ Blends. The two shades add depth and dimension while allowing the beautiful gold outlines to remain the star of the design.
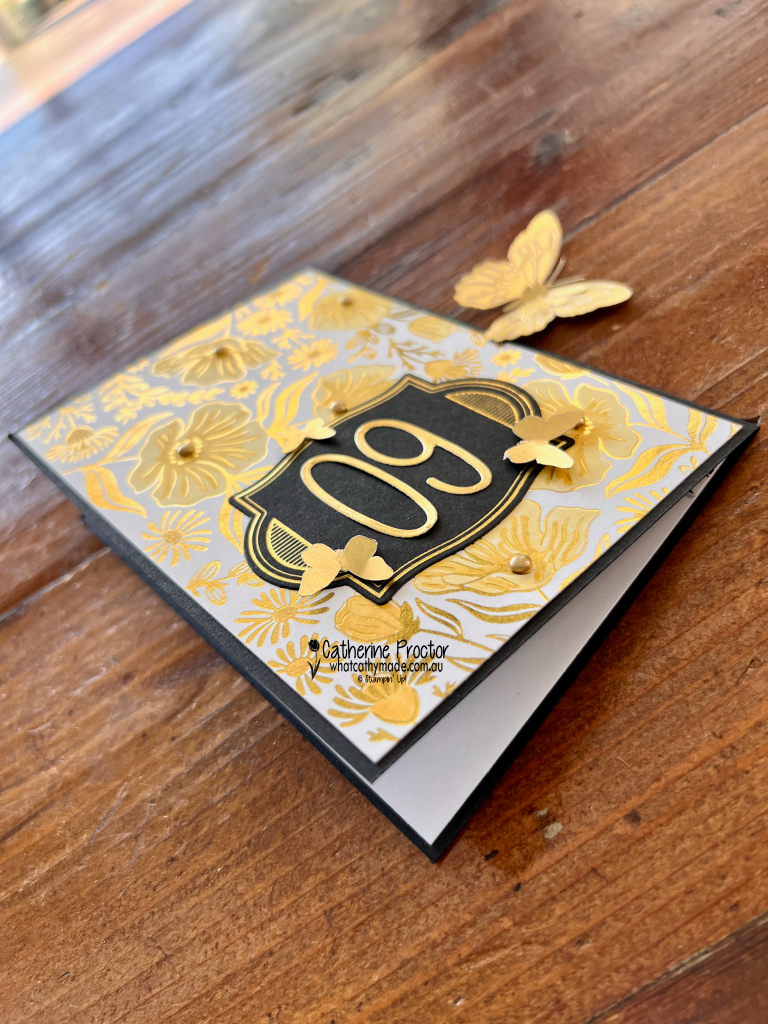
I also used the Flourish & Frames Hot Foil Dies to add more elegant foiled details to the card with a hot foiled gold and Basic black label layer for the feature “60”. It is very hard to capture the amazing shine in photographs, but the gold foil looks spectacular as the card moves and catches the light. The best photo I have of the foil was taken upside down!
To embellish the card, I added Gold Adhesive-Backed Dots and some delicate Gilded Wings Accents. The Gilded Wings Accents are currently on the Last Chance list, so you may want to order them soon if they are on your wish list.
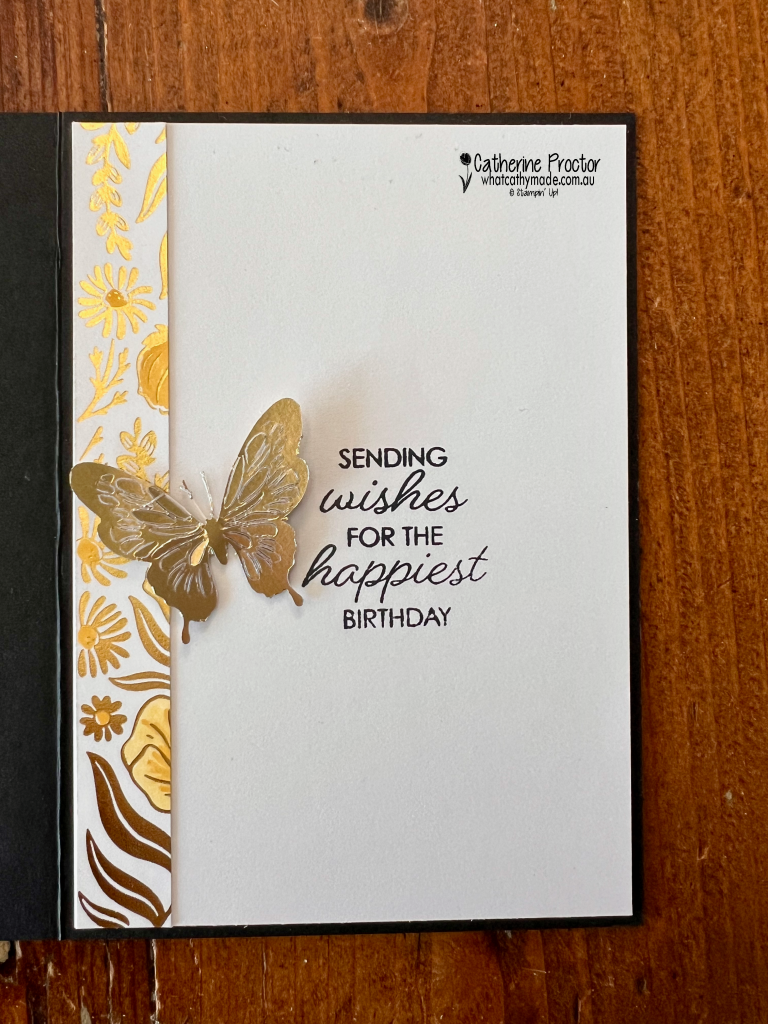
Inside the card, I stamped a sentiment from the Framed All Around Stamp Set, which is also on the Last Chance list. I decorated the inside with a leftover strip of foiled card stock and another butterfly from the Gilded Wings Accents. Using the leftover foil strip was an easy way to carry the design through to the inside while ensuring none of that beautiful foiled card stock went to waste.
I love the combination of Daffodil Delight, Gold Foil, black and white for a milestone birthday. It feels joyful, celebratory and just a little bit glamorous, which is perfect for a 60th birthday card.
Take a look at some more Daffodil Delight inspiration on our Insta Hop!
Our blog hop is now an Instagram hop but the good news is that you don’t need to have an Instagram account to view all of the other projects!
Simply go to my Insta handle in a new search engine window to follow the Instagram hop: @whatcathymade.
Next week we are showcasing another yellow, Darling Ducking.
Welcome to Week 9 of our Art With Heart Team Colour Creations Blog Hop, where we’re working our way through the Stampin’ Up! colour collection in alphabetical order. This week we’re celebrating the rich, vibrant Berry Burst.
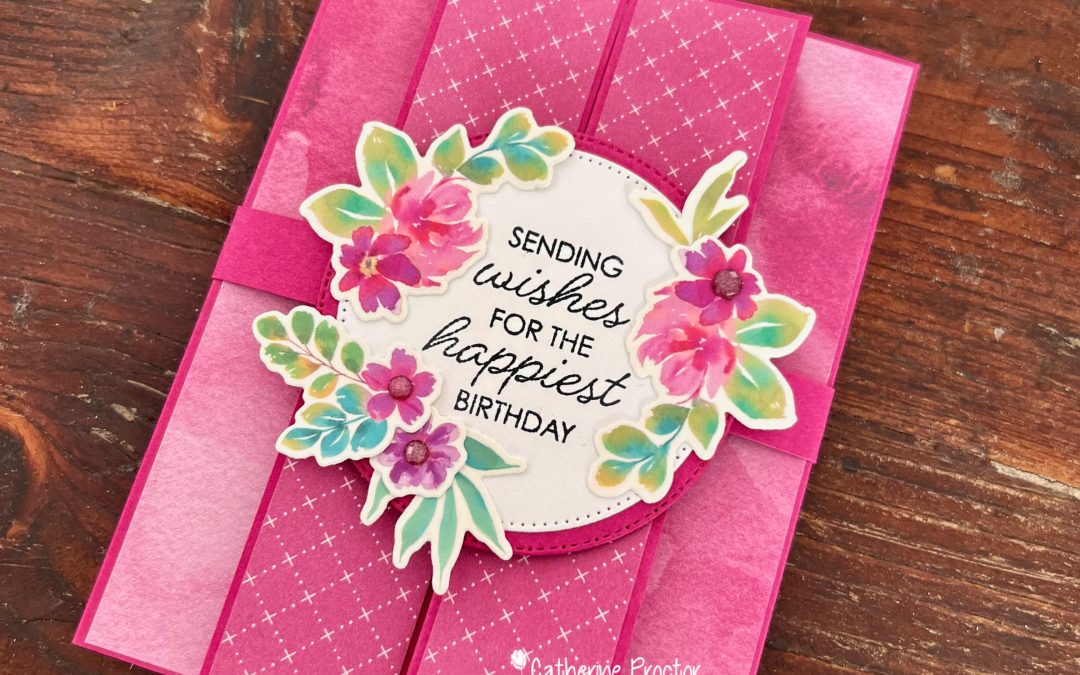
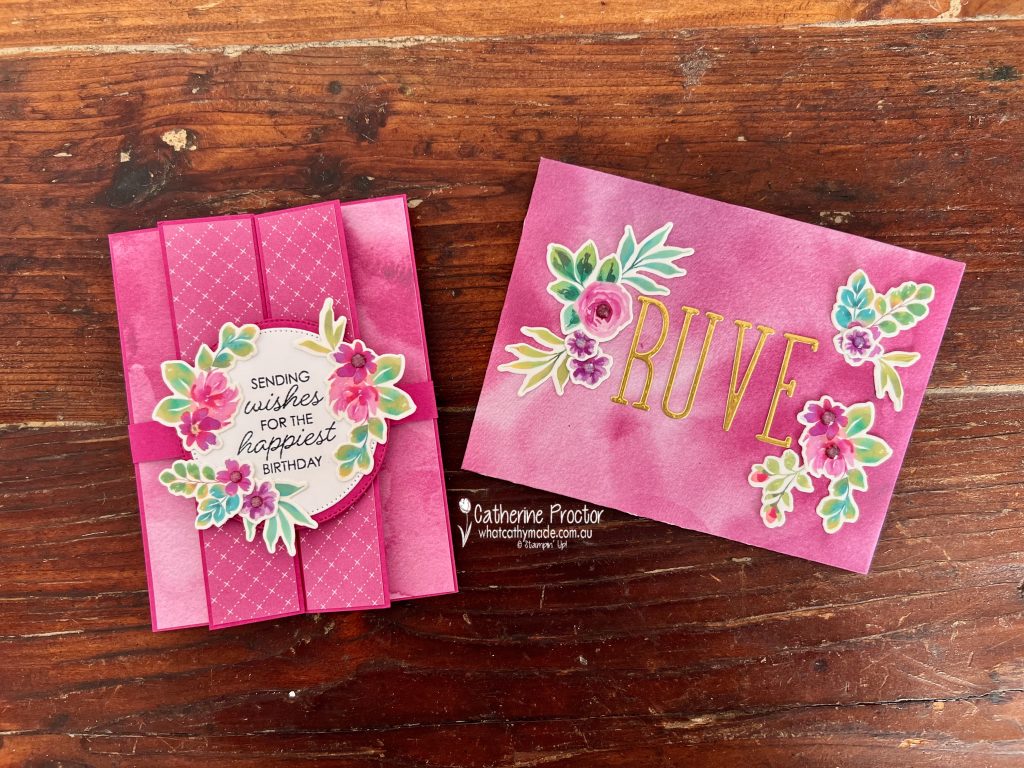
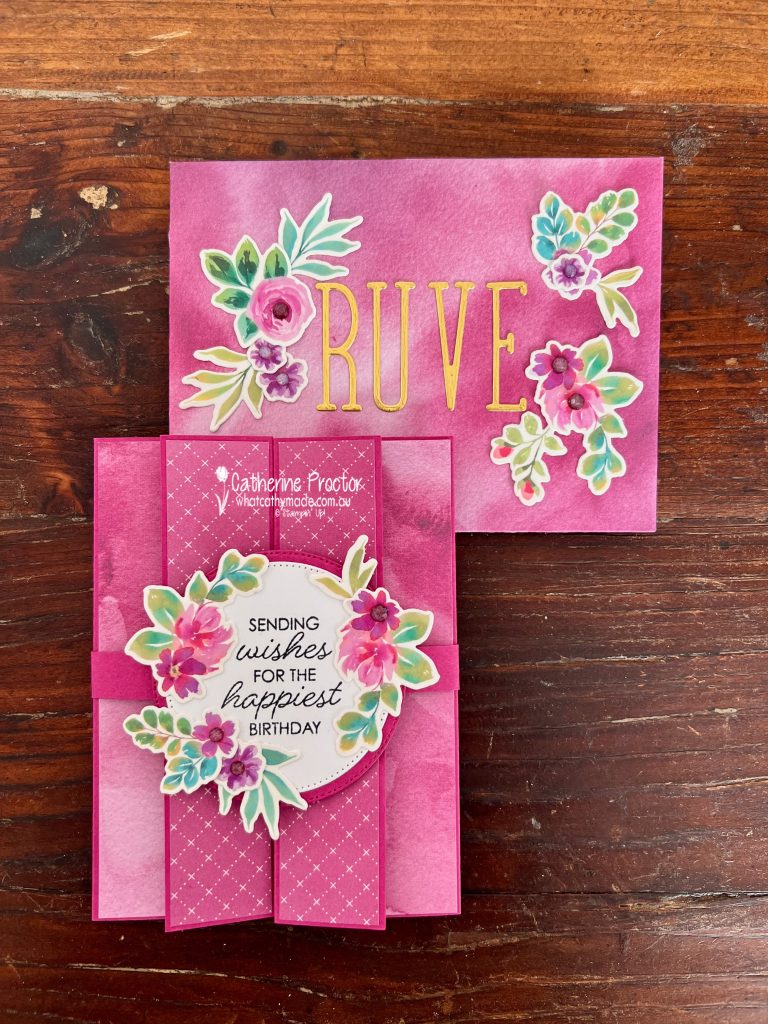
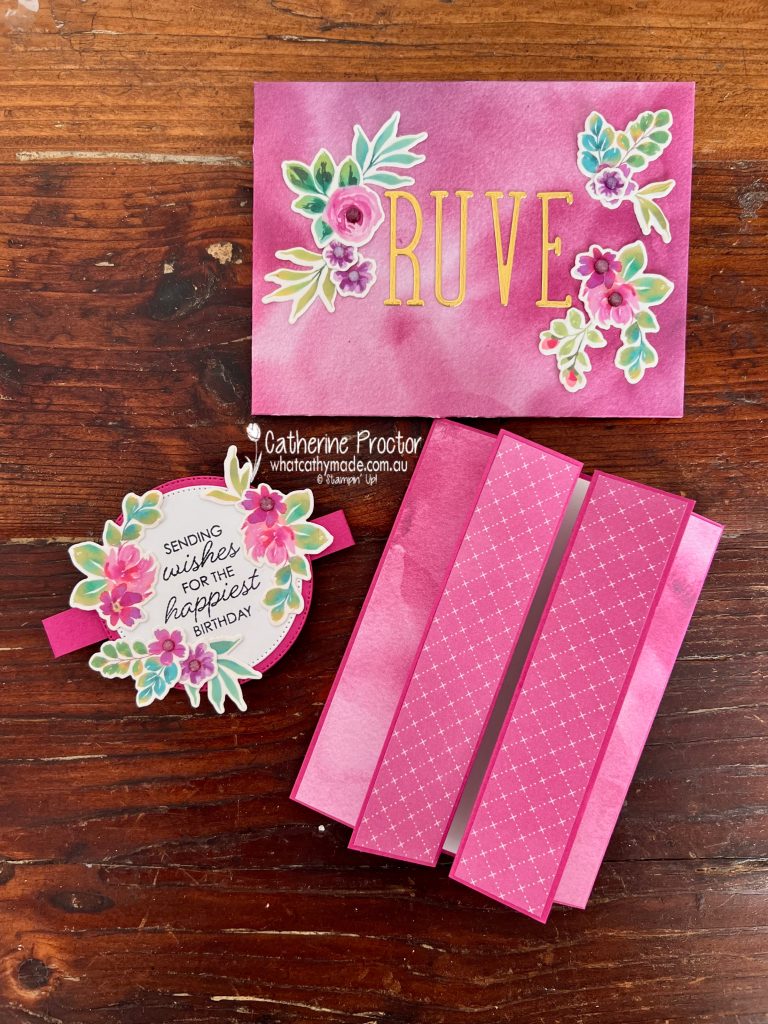
Berry Burst is one of those colours that always makes a statement. Bright, cheerful and full of personality, it pairs beautifully with florals, making it the perfect choice for this feminine birthday card and matching custom envelope.
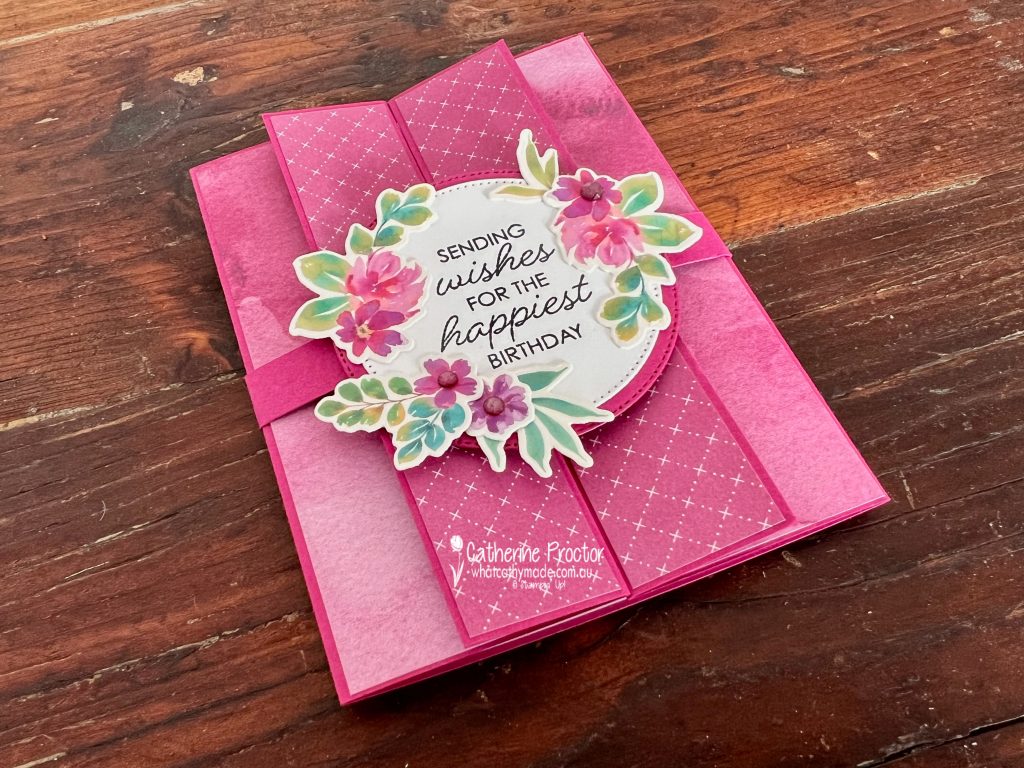
For this project, I created a Double Gatefold Card featuring the gorgeous Extraordinary Flora Washi Tape. If you haven’t tried this washi tape yet, it’s such a fun product to work with. Simply adhere it to Basic White card stock before die cutting with the coordinating Extraordinary Flora Dies, giving you beautifully detailed floral embellishments in minutes.
My card features:
Berry Burst card stock base
Moonlit Flora Designer Series Paper on the front gatefold panels
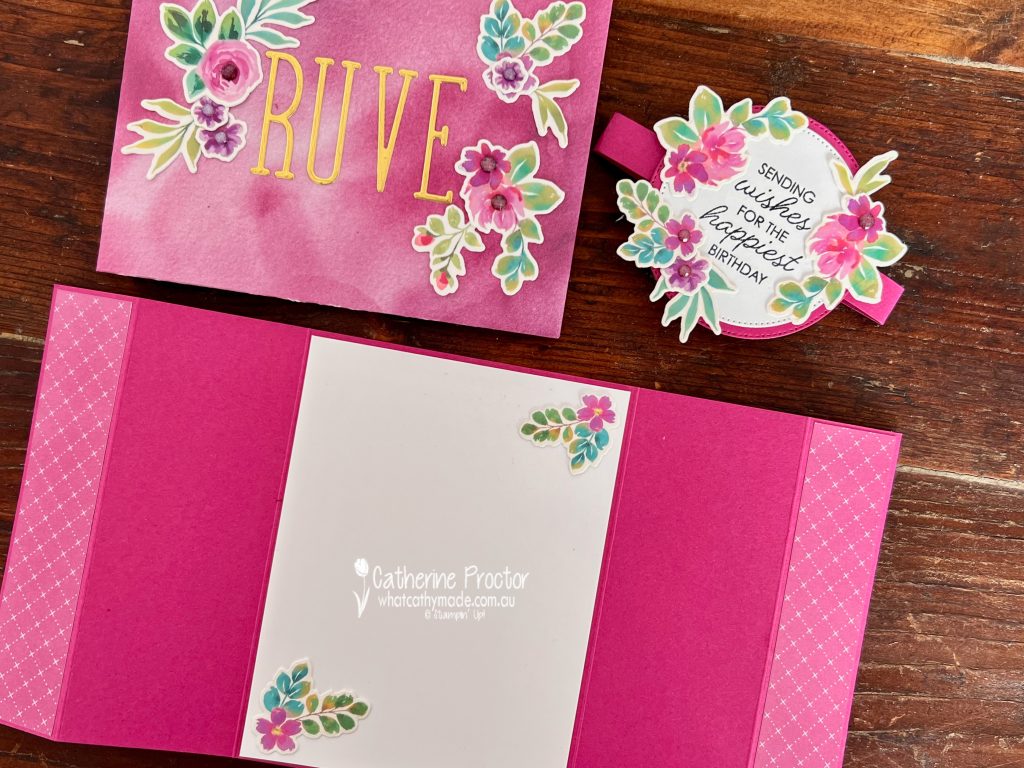
Garden Poetry Designer Series Paper for the inside panels and matching custom envelope
Extraordinary Flora Washi Tape adhered to Basic White card stock and die cut with the coordinating dies
Framed All Around Stamp Set sentiment
Layered Stylish Shapes Dies circles with a Berry Burst mat
Berry Burst embellishments to finish the floral clusters
Normally I make cards in metric measurements to make the most of our Australian A4 card stock bases, but because this design uses more than half a sheet of A4 card stock and because I wanted to make a perfectly fitting custom envelope, I followed a US tutorial using imperial measurements for this project.
Start with an 11″ x 5-1/2″ piece of Berry Burst card stock and score at:
1-1/4″
3-3/8″
7-5/8″
9-3/4″
Cut Designer Series Paper for the four front panels and adhere to the card stock base.
Front panels: 1-1/8″ x 5-3/8″ (Moonlit Flora DSP)
Inside flaps: 2″ x 5-3/8″ (Garden Poetry DSP)
For the inside panel cut a piece of Basic White card stock and adhere to the card base: 4″ x 5-1/4″.
I created a 1″ belly band to hold the card flat, covering the front join with layered stitched circles with a Berry Burst mat. The front sentiment is from the Framed All Around Stamp Set.
This video shows how the card opens up.
Take a look at some more Berry Burst inspiration on our Insta Hop!
Our blog hop is now an Instagram hop but the good news is that you don’t need to have an Instagram account to view all of the other projects!
Simply go to my Insta handle in a new search engine window to follow the Instagram hop: @whatcathymade.