Welcome to week 16 of the Art With Heart Colour Creations Blog Hop!
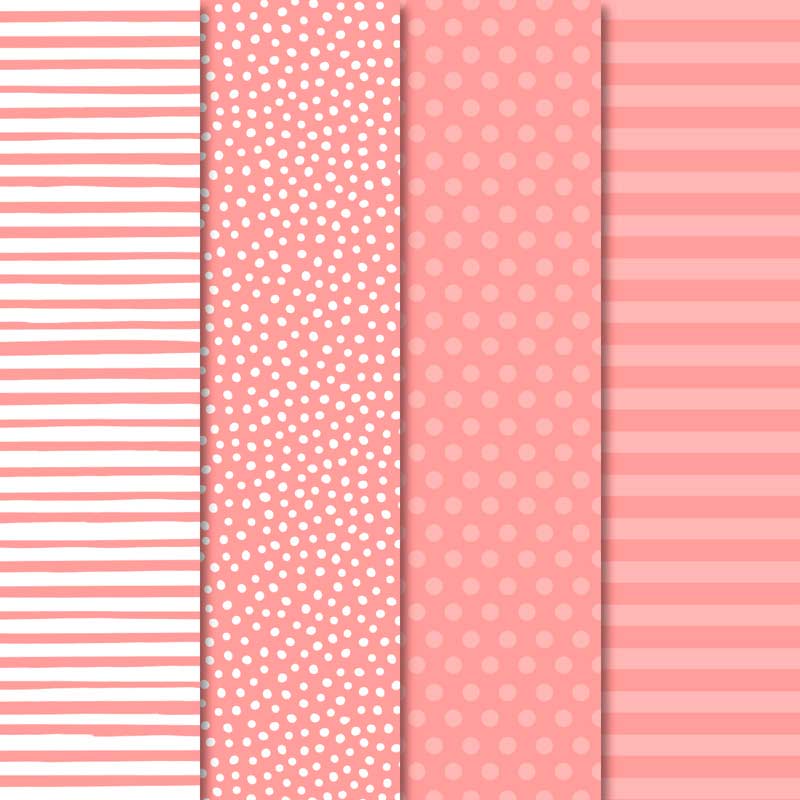
This week we are showcasing one of the brights: Flirty Flamingo!
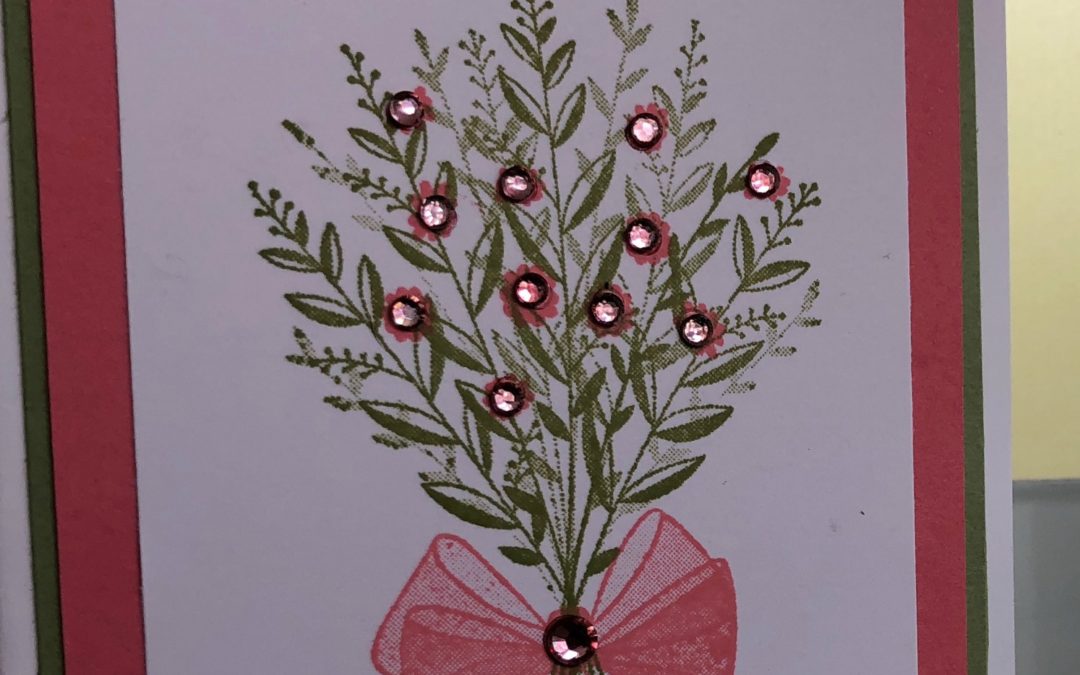
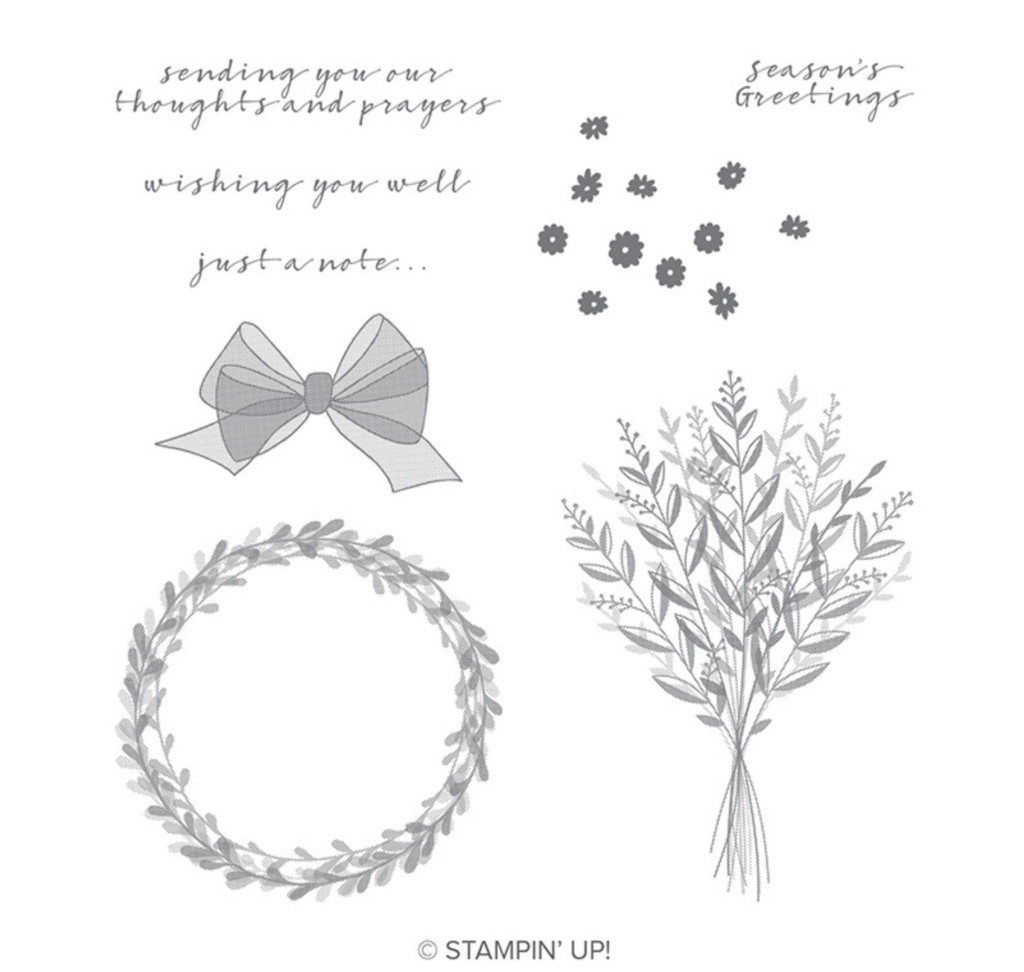
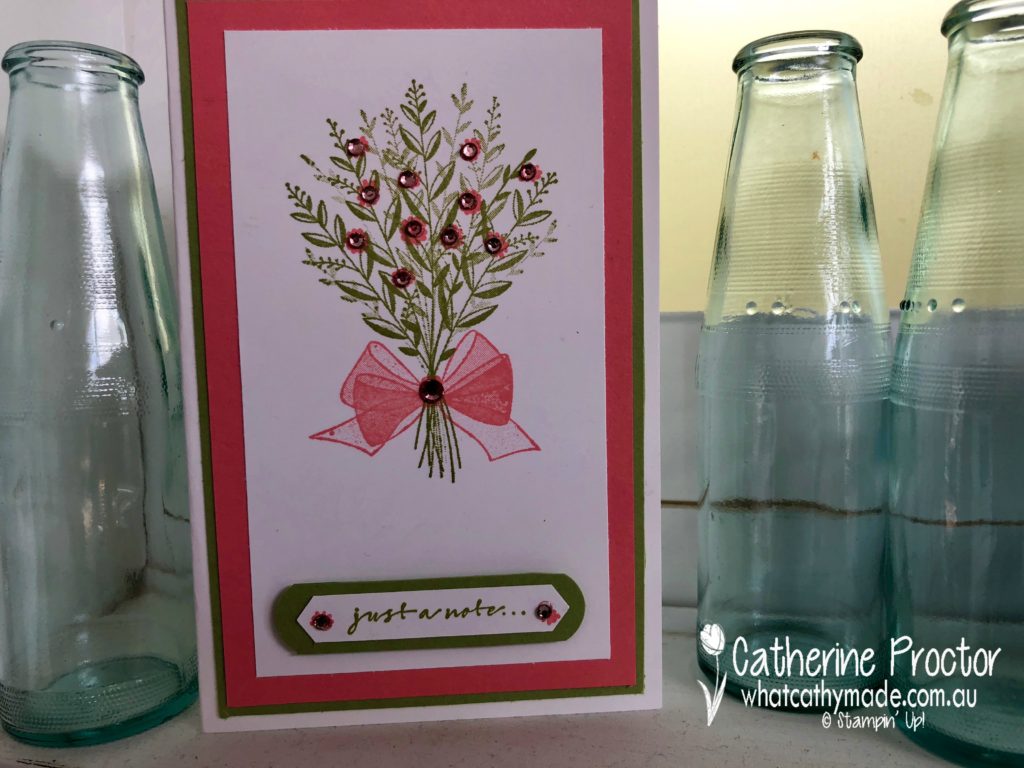
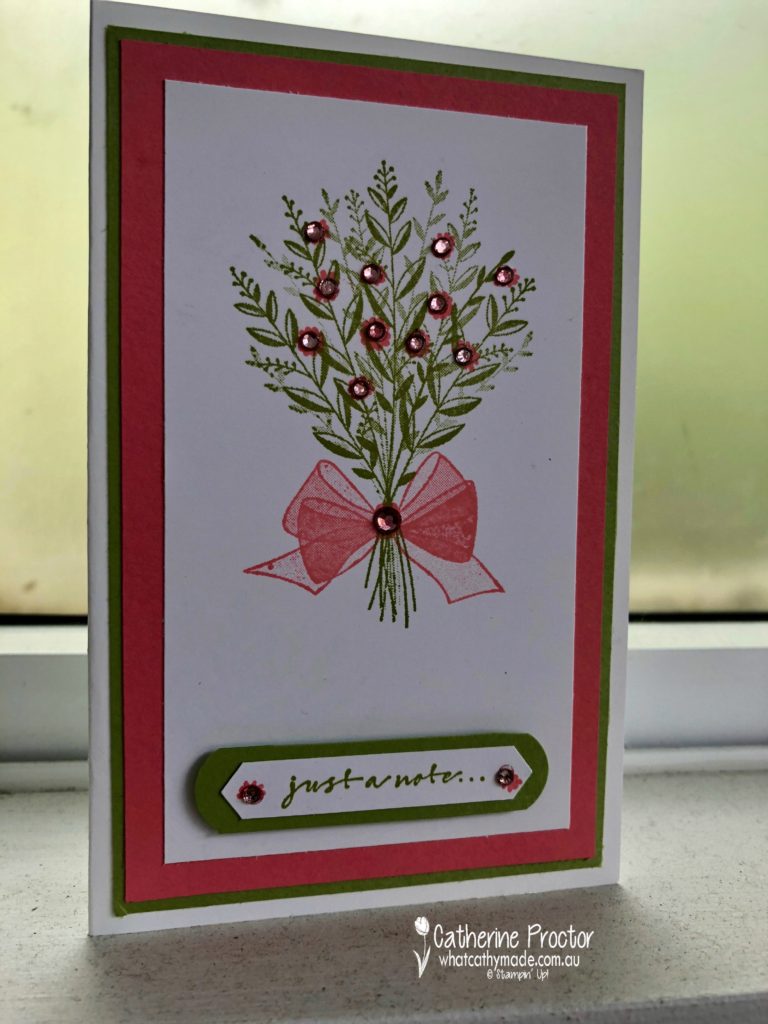
For my Flirty Flamingo card I’m using one of the loveliest stamp sets from the 2018 Holiday Catalogue: Wishing You Well. This stamp set can be used for Christmas cards, sympathy cards or even for “just a note” cards you might want to send to somebody for a variety of reasons.
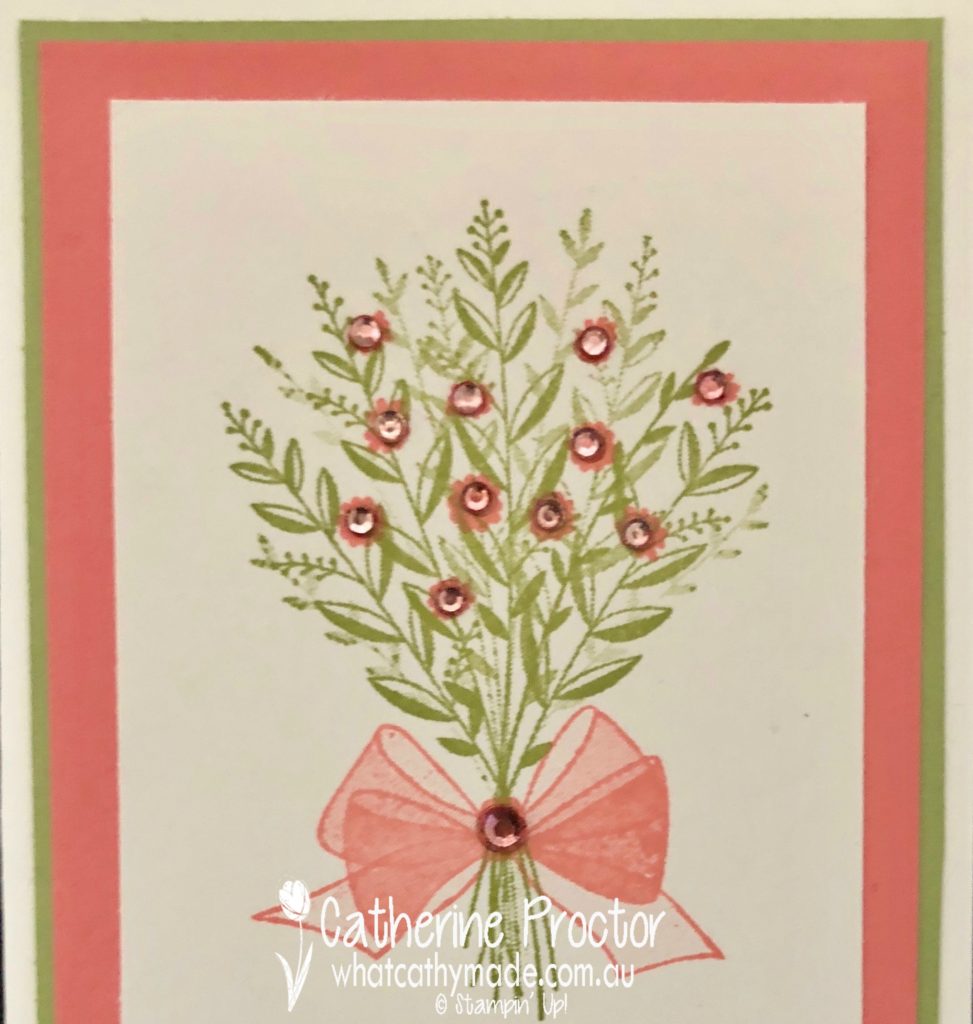
Wishing You Well is a “distinctive” stamp set, which means it adds monochromatic dimension by creating different opacities in a single stamped image. This provides a realistic depth and intensity to the image and gives a lovely watercoloured look…without any of the hard work!
Although Flirty Flamingo is a bright colour, I love the look of it with one of the subtle colours: Pear Pizzaz.
I’ve added some bling to this card by using my Dark Flirty Flamingo Blender Pen to colour in some Clear Rhinestone Jewels.
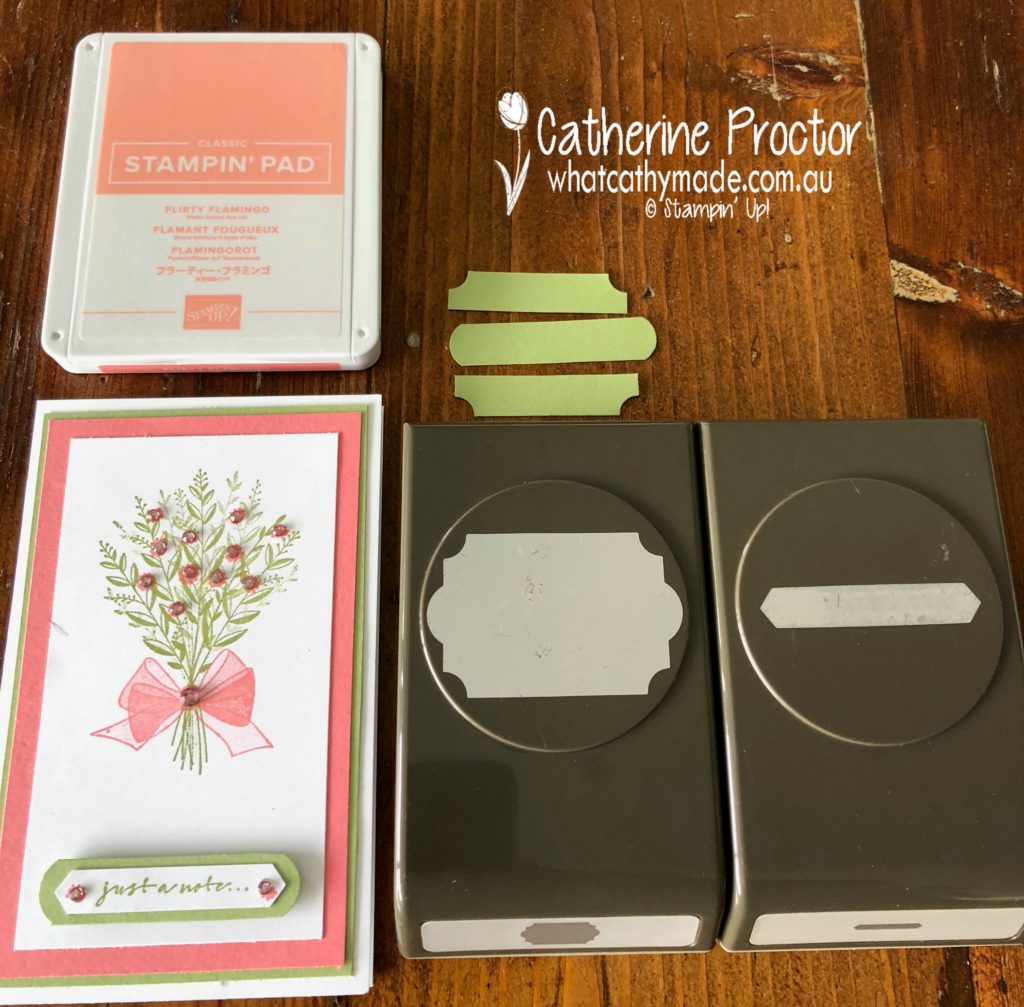
The sentiment has been stamped and then layered using two punches. The Classic Label punch punched out the Whisper White layer onto which the sentiment was stamped onto, then I also punched out some Pear Pizzaz cardstock using the Pretty Label punch to add some more dimension. The photo below shows how I cut off the top and the bottom of the Pretty Label shape to make a long rounded rectangle shape.
I just love the soft watercolour look this distinctive stamp set gives…with very little work on my behalf!
To see what the rest of the team have made click on the links below.
Thanks for hopping along with us today. To purchase any of the products I used in this project you can shop with me here. Or if you’d like me to post you your very own copy of the 2018-2019 annual catalogue or find out about more about Stampin’ Up! contact me.
Next Tuesday we’ll be showcasing one of the 2017-19 In Colours: Fresh Fig!
Tonight the Art with Heart team are sharing creative projects featuring the 2018 Holiday Catalogue.
We hope our blog hop inspires you to get creative and make some fabulous Christmas creations. If you would like a copy of the Holiday Catalogue, contact any of the girls on the blog hop and we will get in touch with you.
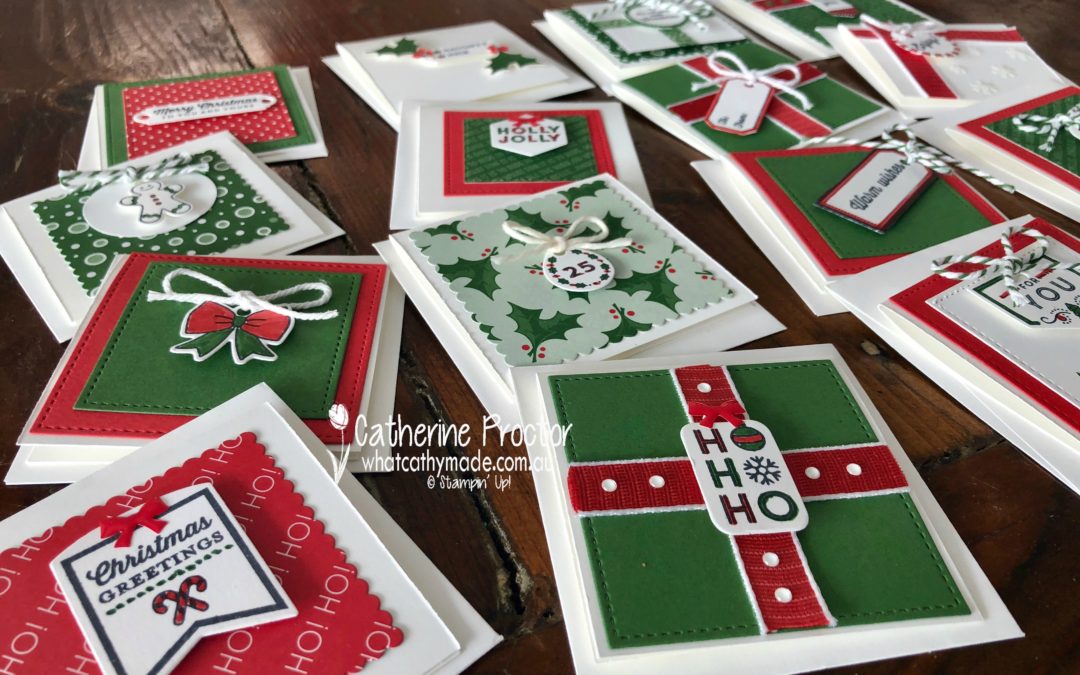
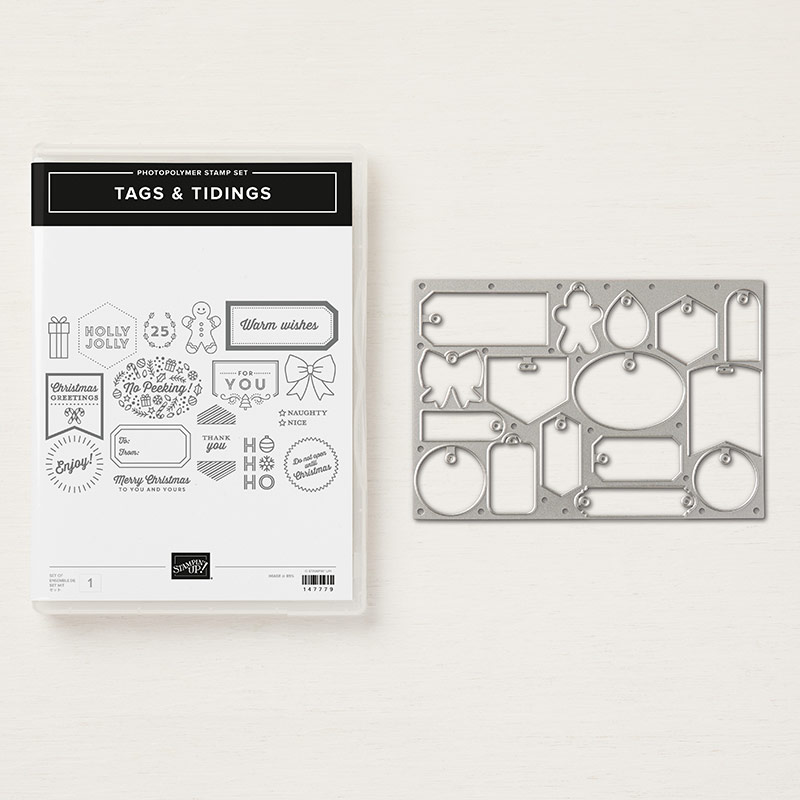
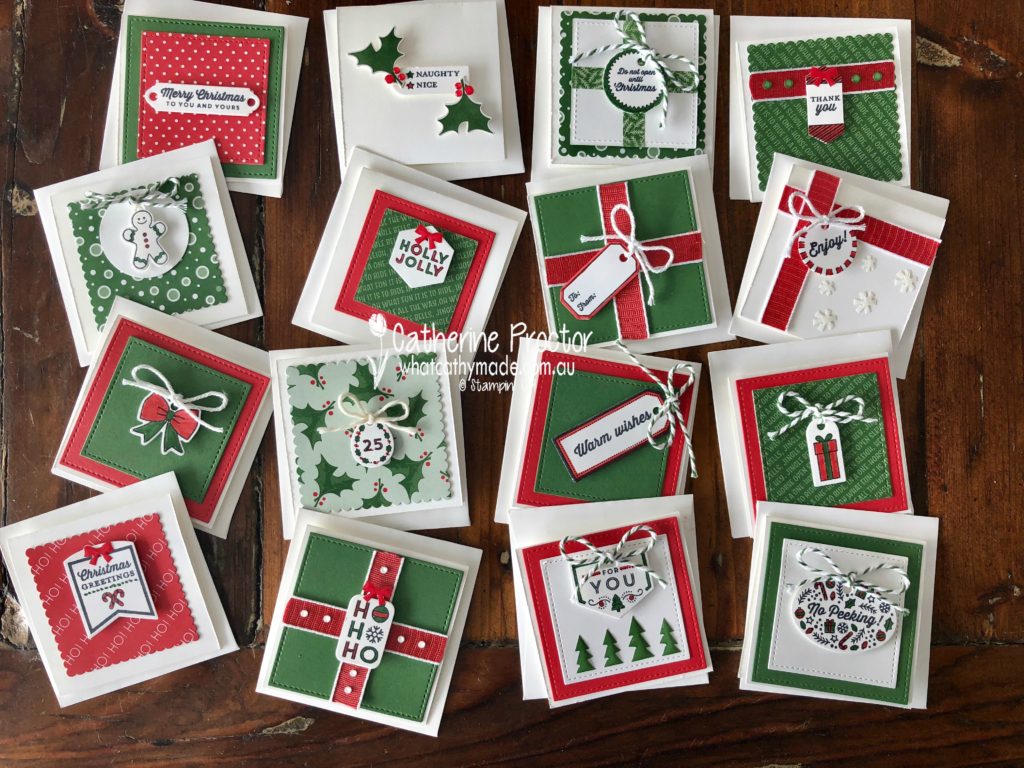
Tonight I’m showcasing the cutest bundle from the Holiday Catalogue: Tags & Tidings. What’s so special about this bundle is that it is one stamp and one die, allowing you to make 16 tags at one time! How clever is that?
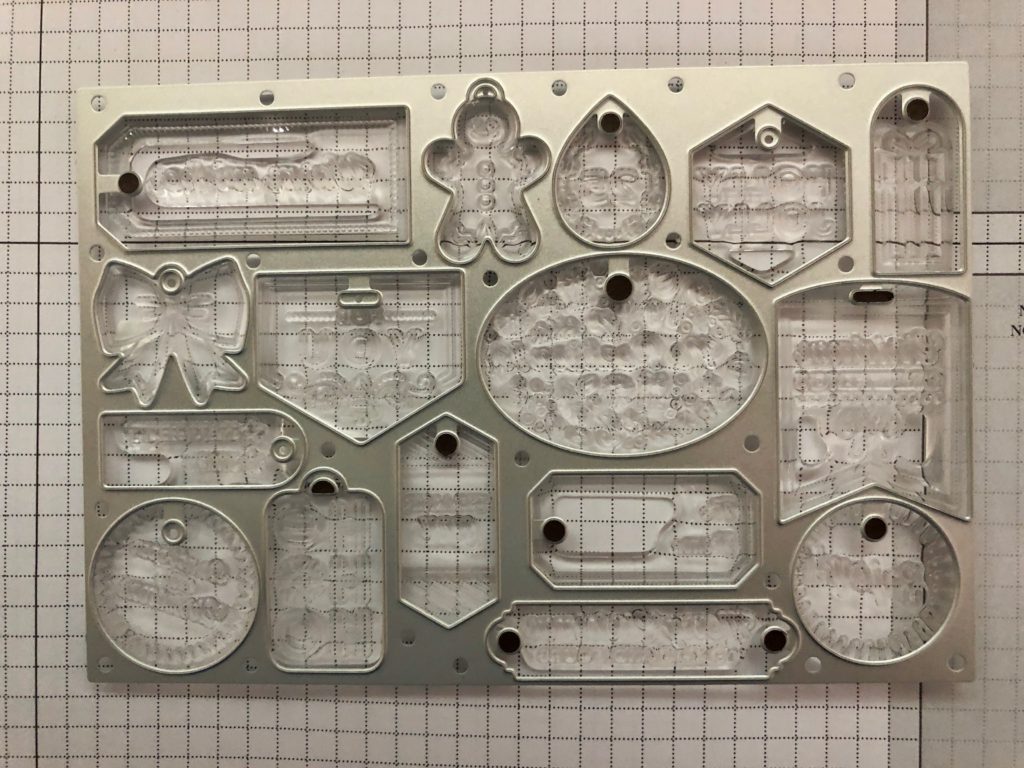
There are a couple of tricks to using this bundle. Firstly, I used the die to ensure my stamp was correctly aligned before I stamped it and secondly, I highly recommend using the Stamparatus when stamping such a large stamp.
Here’s how to use the die to align the stamp. I turned it upside down (so the side you stamp on is facing upwards) and ensure the stamp fits into the die. This ensures that your stamped images will fit exactly into the die shapes when you run it through the Big Shot.
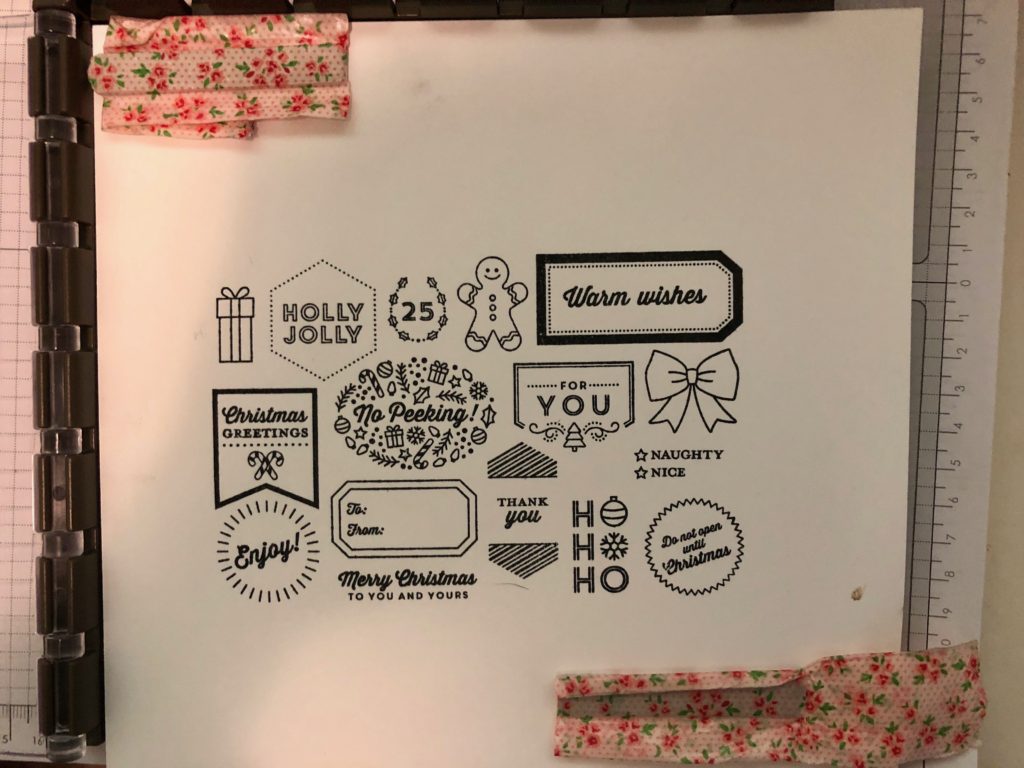
And here’s the perfect image you get when you stamp with the Stamparatus…
Oh, and one more trick…I use washi tape to cover and protect my Stamparatus magnets (see my photo above), AND to hold the die in place over my stamped image before I cut it with my Big Shot (I forgot to take a photo of this bit).
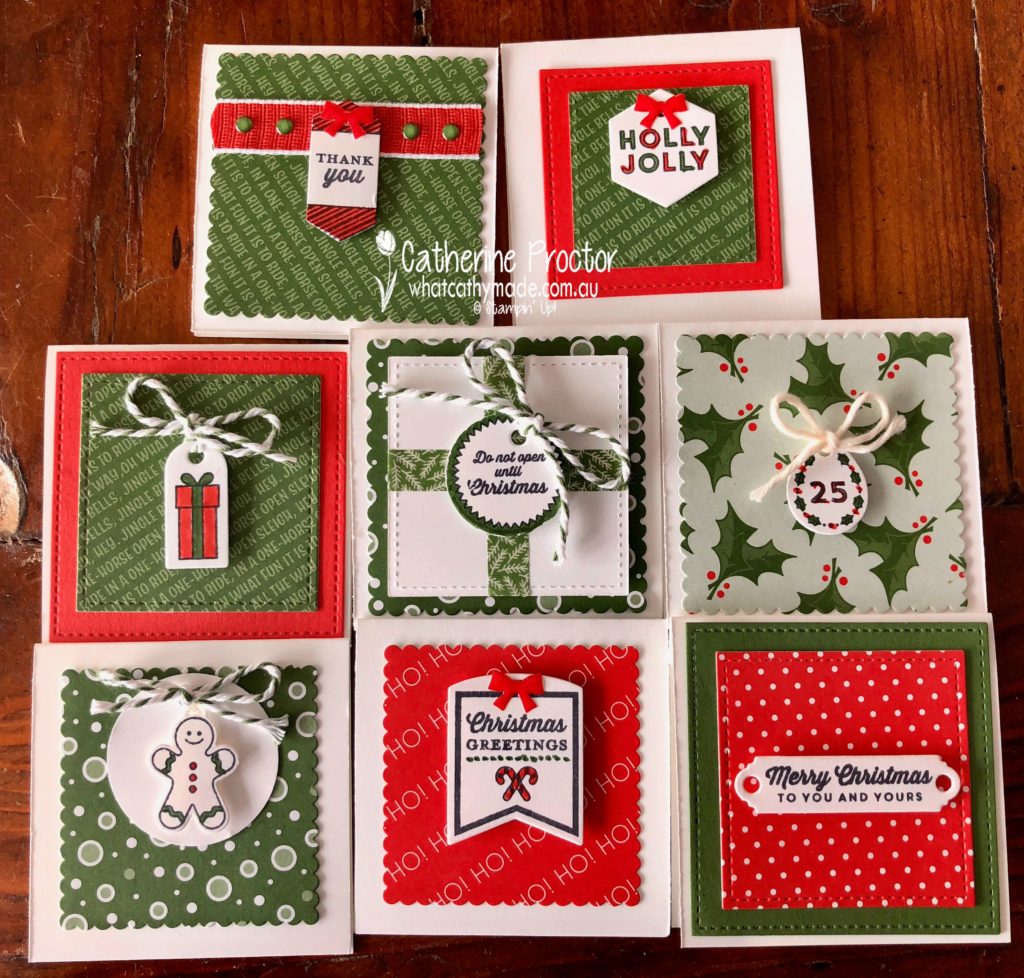
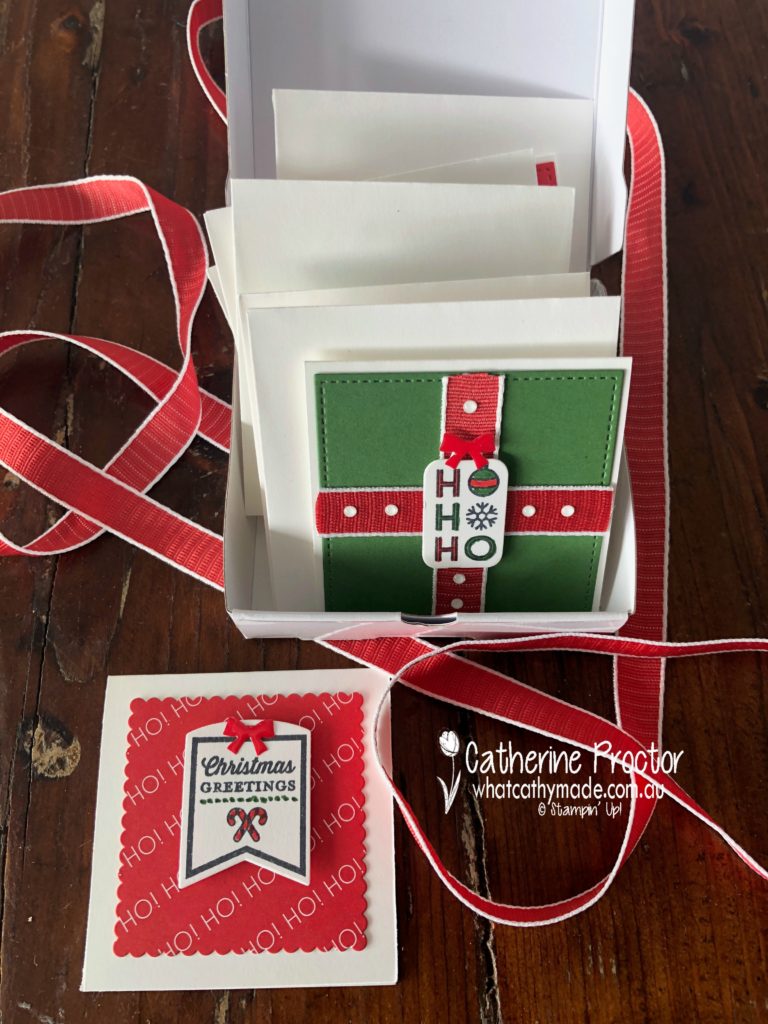
I coloured these images in using myGarden Green and Poppy Parade Markers and then turned them into mini gift cards. Check out all the cards that this one stamp makes…16 of them!!!
Because these tags are teeny tiny, I decided to turn them into gift cards that would fit into Stampin’ Up!’s 3 x3 inches envelopes by firstly making Whisper White card bases slightly smaller than the envelopes.
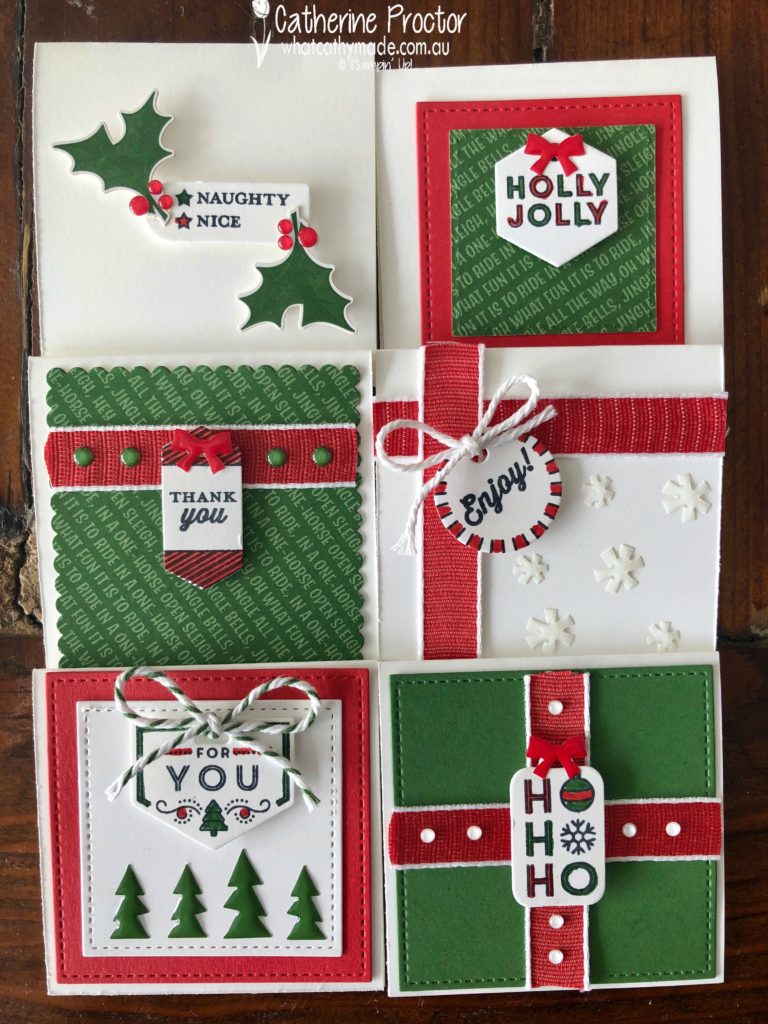
I used the layering square framelits and the Stitched shape framelits to cut different sized squares of Garden Green and Poppy Parade cardstock with my Big Shot and then I also die cut some squares out of the Santa’s Workshop Memories and More Cards.
The gift cards below are the ones where I used the Memories and More Cards as DSP. It’s a great way to add some extra pattern and interest to your cards.
To embellish my cards I used Garden Green bakers twine, Whisper White bakers twine (although looking at my photos above I can see I accidentally used Very Vanilla bakers twine on one of the cards, Whoops!!!), Poppy Parade 1/2″ Textured Weave Ribbon, stickers from the Santa’s Workshop Memories and More Cards and the darling little Santa’s Workshop Enamel Shapes.
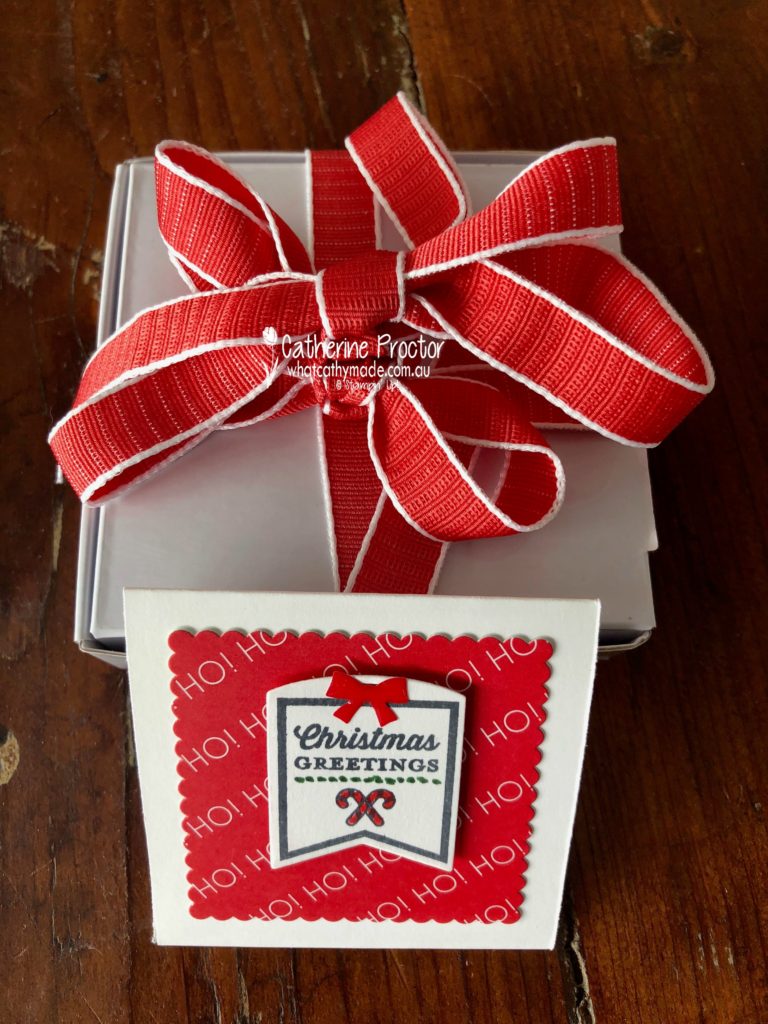
I’ll present these gift cards as little gifts, packaged up six at a time (with their matching envelopes), in our Stampin’ Up! pizza boxes…all tied up with a bow and using one of the gift cards as the card to go with the box of cards.
Now it’s time to hop on over to our next participant, the very talented, Rachel Woollard.
If you find a broken link or have come to this blog hop from a different entry point, you can view the participants below:
Welcome to week 6 of our Art With Heart, Heart of Christmas blog hop.
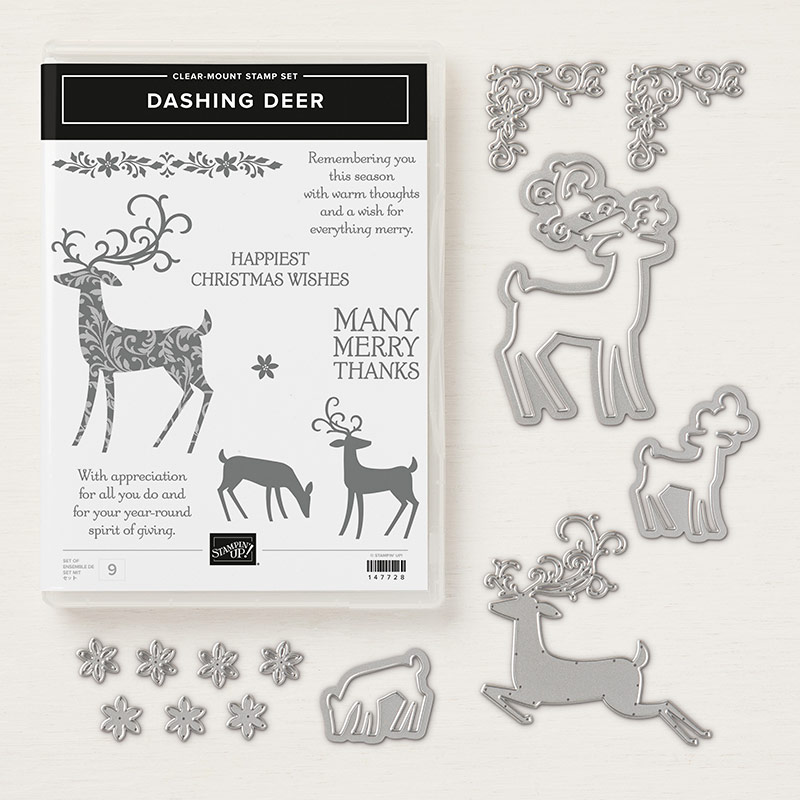
I must admit that I have a bit of a soft spot for reindeer, even though I live in the southern hemisphere, so I was very excited to see this new bundle in the Holiday Catalogue: the Dashing Deer bundle.
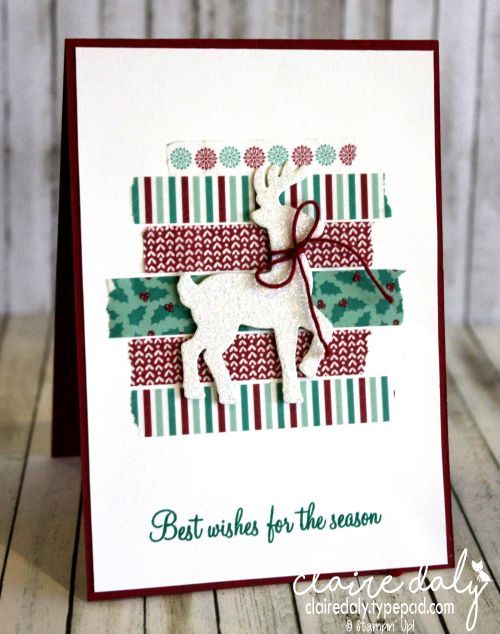
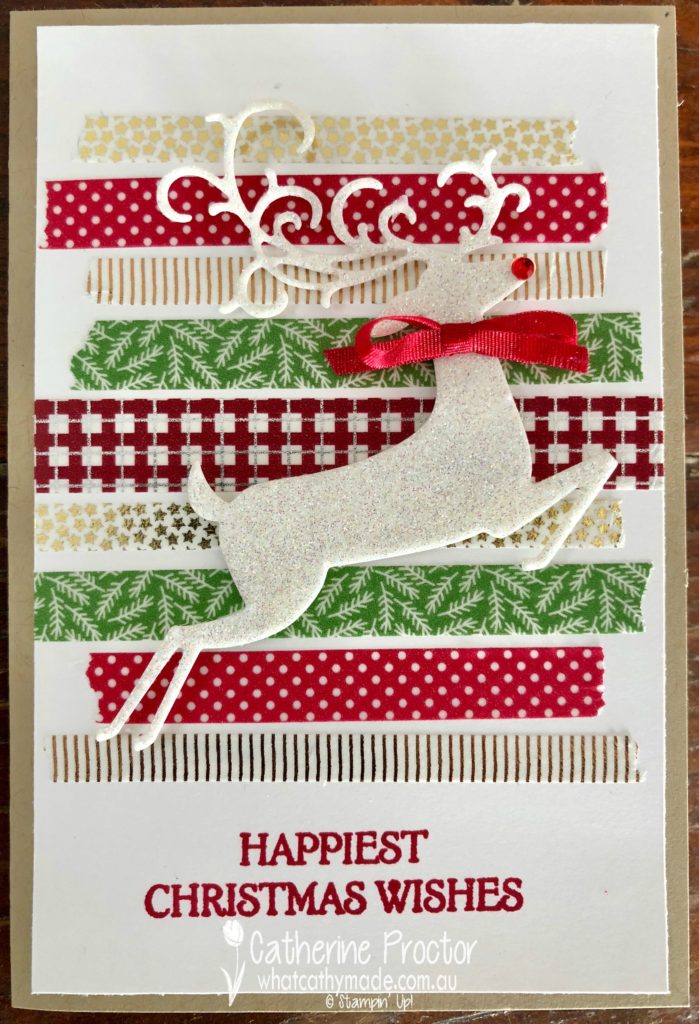
I have so many ideas for cards using this bundle, but this week I thought I’d make a quick and simple card CASEd from a lovely design Claire Daly made last Christmas, using another Stampin Up deer thinlit.
Here’s Claire’s stunning card…this really has to be one of my favourite Christmas card designs of all time so I just couldn’t resist CASEing it for this week’s project. I hope you don’t mind, Claire!
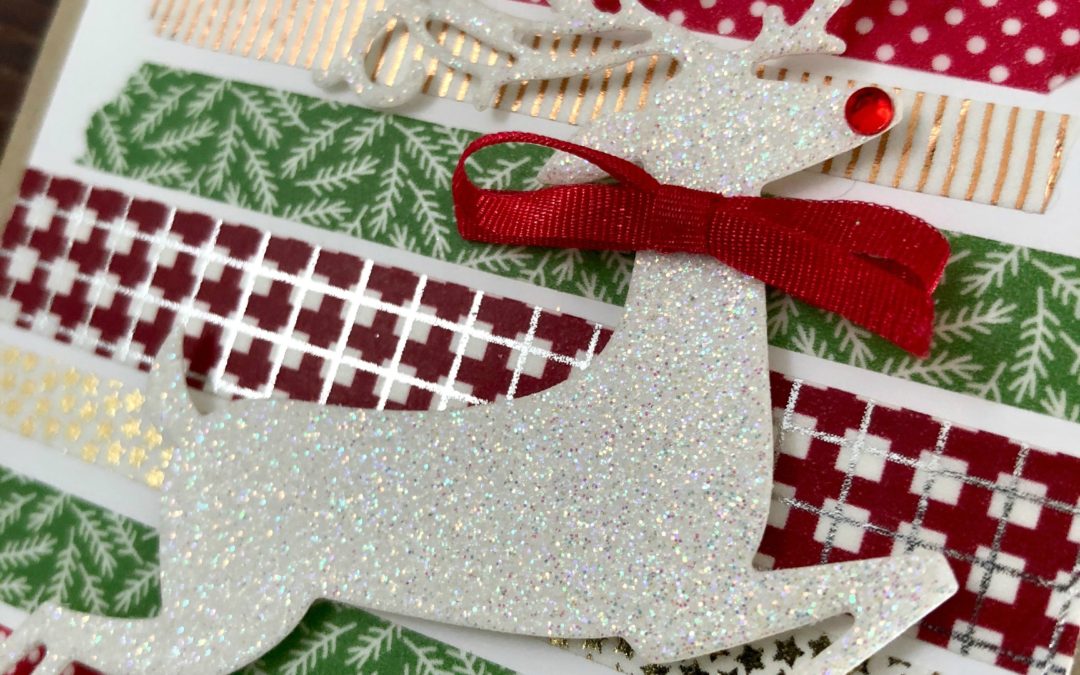
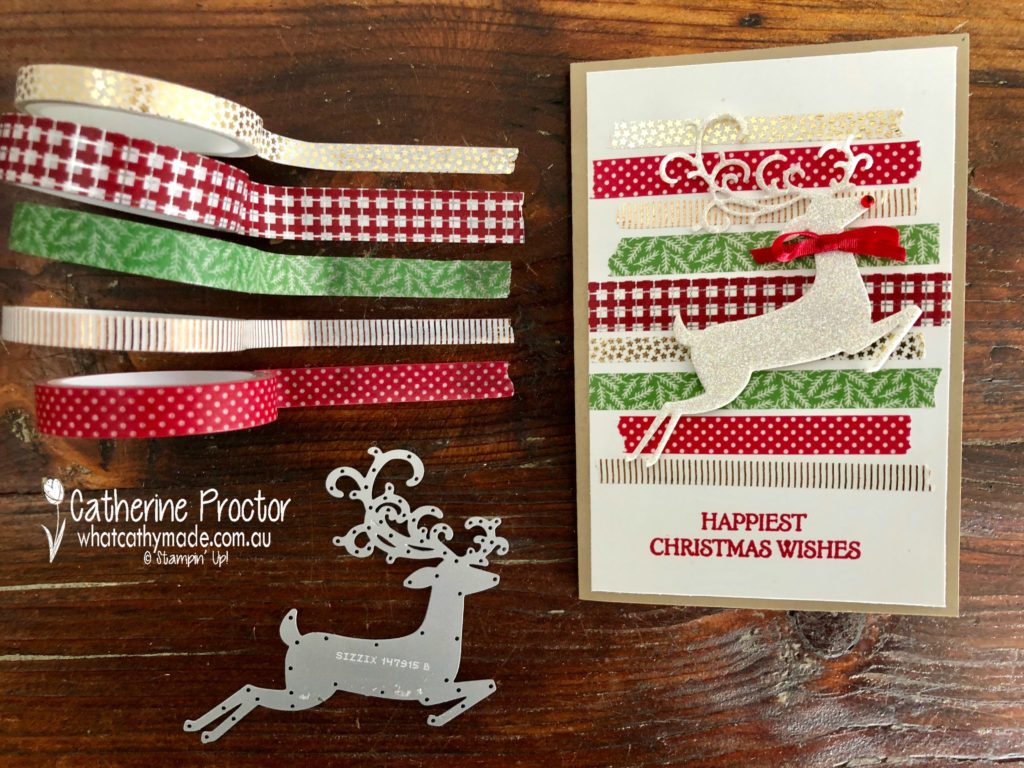
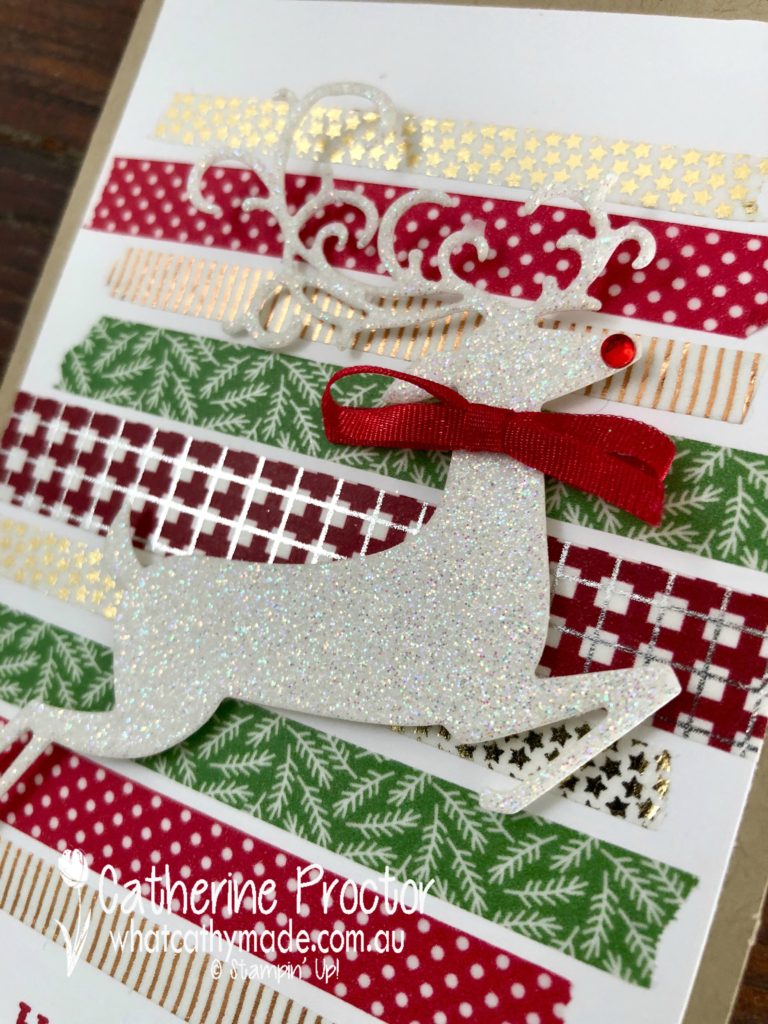
I’ve adapted Claire’s design to suit the new Dashing Deer bundle as well as the gorgeous new Suite Season Specialty Washi Tape. Here’s a closer look at that stunning washi tape and the very elegant Dashing Deer thinlit that I’ve used on today’s card.
The Suite Season Specialty Washi Tape features the following colours: Cherry Cobbler, copper foil, Garden Green, gold foil, Real Red and silver foil, so you could so make many different variations of this card by simply using different coloured paper for the reindeer, background cardstock and the ribbon.
For today’s card, I decided to keep it quite traditional, cutting my deer out of sparkle glimmer paper, before adding a red rhinestone to his nose and tying a bow of real red ribbon around his neck.
The washi tape makes this card super quick and easy, but you could also adapt this design to use up strips of DSP instead. I really love this new Suite Season Specialty Washi Tape, especially the Garden Green tape with the white sprigs and the Whisper White tape with the little gold stars.
My final touch was the “Happiest Christmas Wishes” sentiment from the Dashing Deer stamp set, stamped in Real Red.
Thank you so much for the inspiration, Claire!
To see what the rest of the team have made this week hop over to the lovely Claire Daly’s blog.
Welcome to week 16 of the Art With Heart Colour Creations Blog Hop!
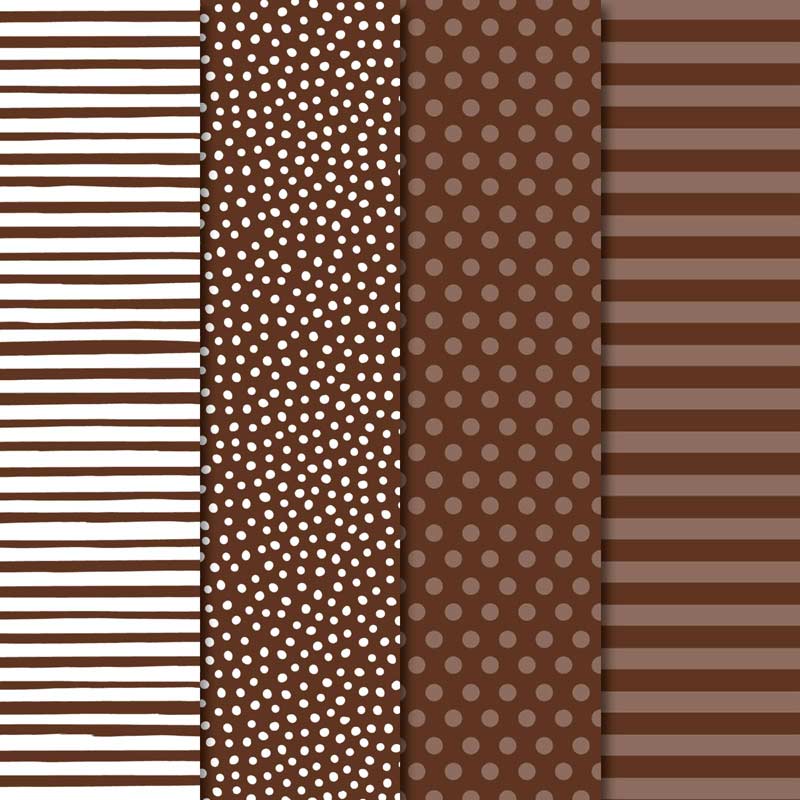
This week we are showcasing one of the neutrals: Early Espresso.
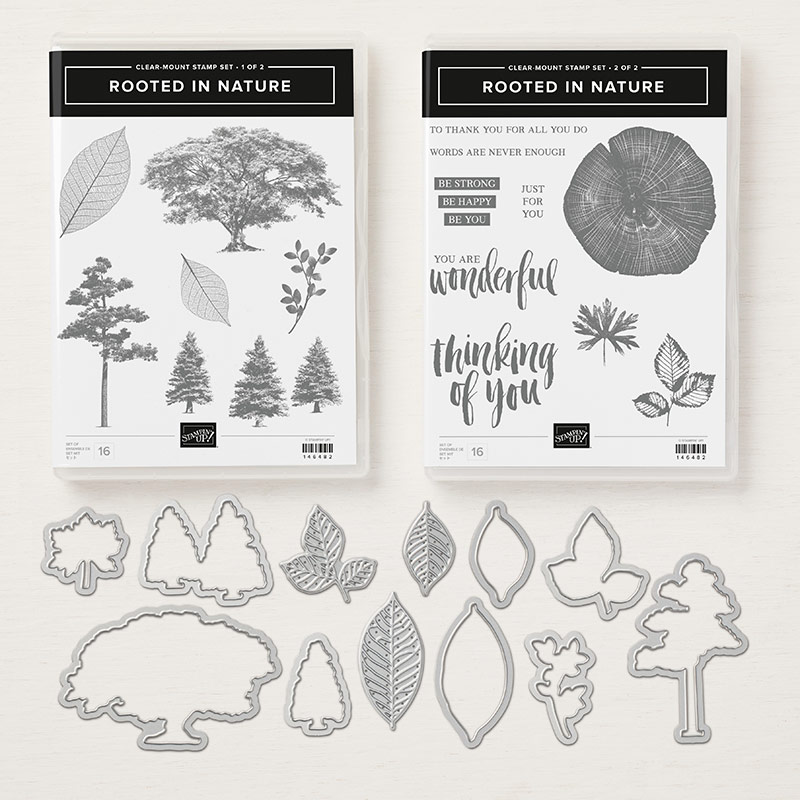
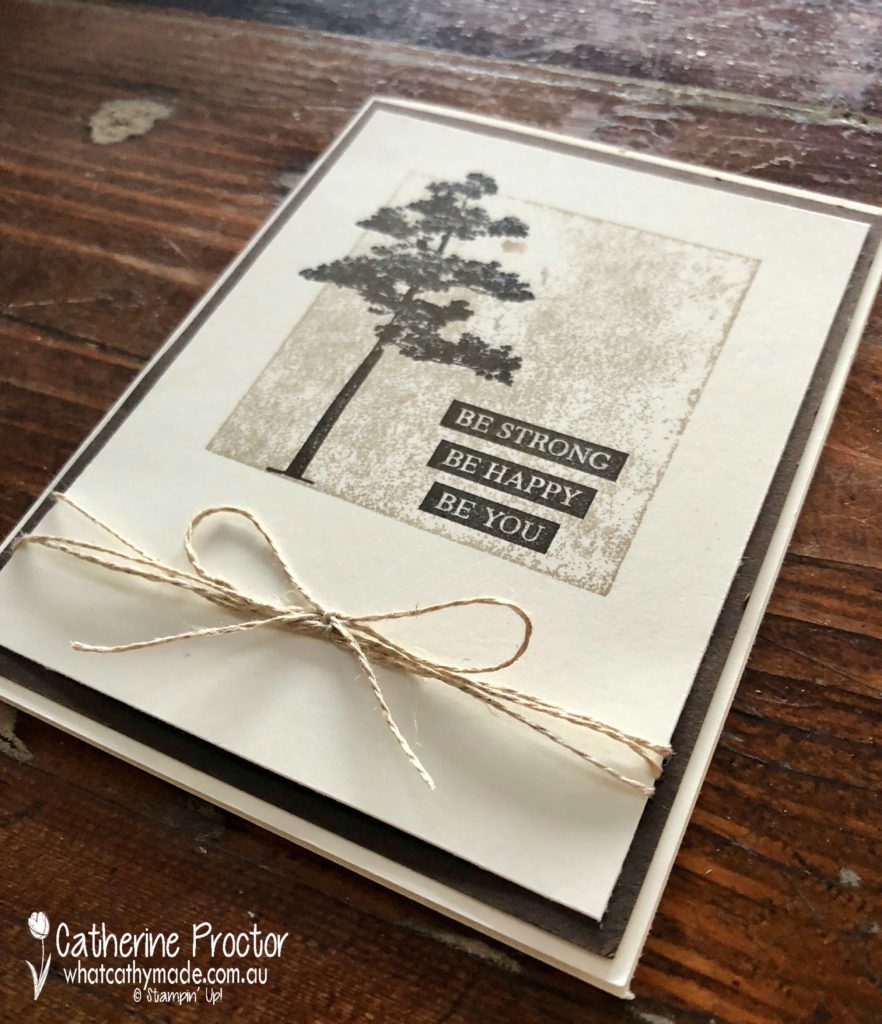
Early Espresso is a colour I don’t use a lot because it is so strong, but it is perfectly suited to one of my favourite stamp set bundles from the annual catalogue, the Rooted in Nature bundle.
For my project today I didn’t use any of the framelits, I just used the stamp set, and my card was made using two other colours that work beautifully with Early Espresso: Crumb Cake and Very Vanilla.
I was inspired to make this card after seeing a similar one on Pinterest, but I didn’t save the image and I can’t find it now to credit the original designer of the card on which I’ve based my design.
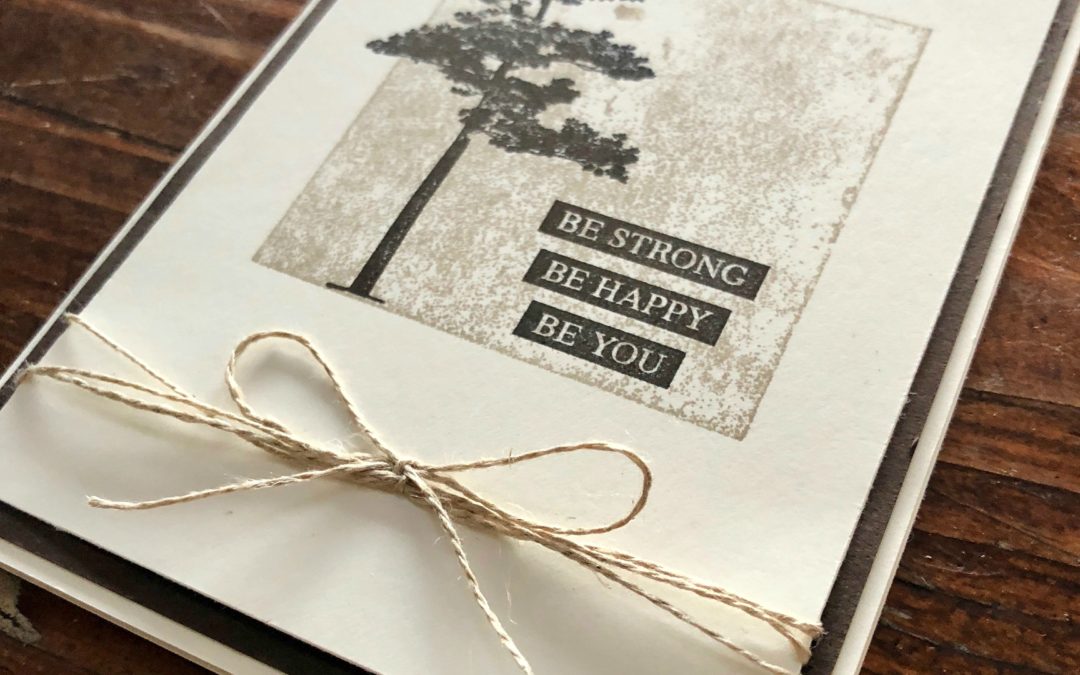
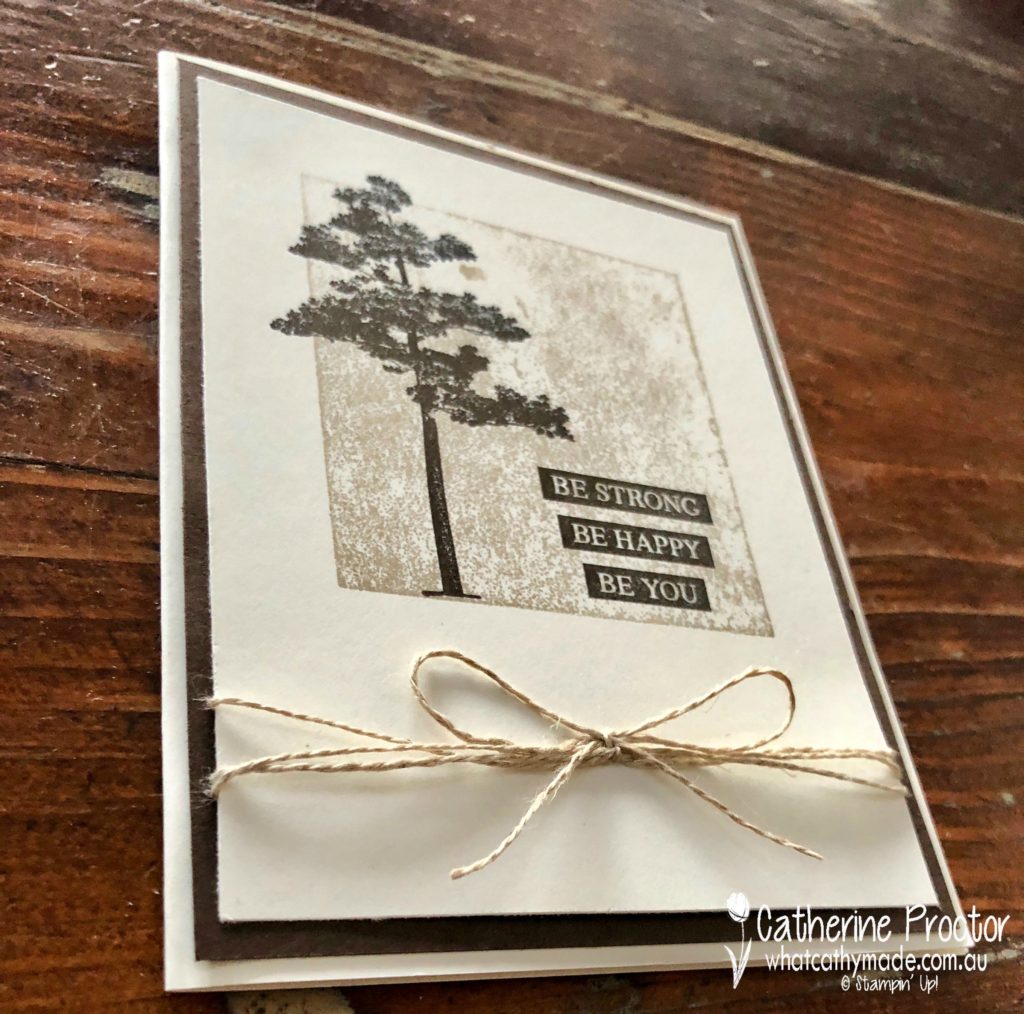
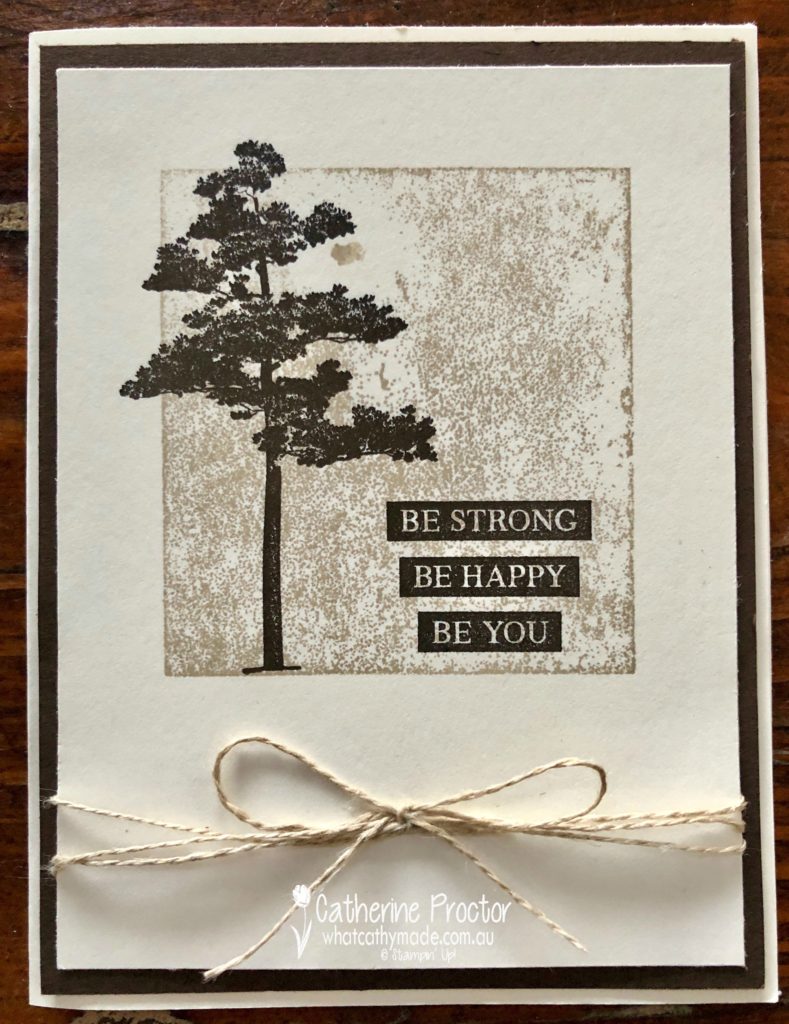
The card base is Very Vanilla cardstock onto which I’ve mounted some Early Espresso cardstock. The tree and sentiment are both from Rooted in Nature, stamped in Early Espresso ink onto Very Vanilla cardstock, but can you guess how I stamped the Crumb Cake ink square that the tree sits inside?
It’s simply one of the Stampin’ Up! acrylic blocks dipped directly onto the Crumb Cake ink pad…I love the cool textured effect this gives to the card. This is definitely a technique I’m going to be using again!
My final touch is some linen thread wrapped around the card and tied into a bow. I deliberately didn’t add any more embellishments because I wanted to keep this card very masculine, simple and clean.
To see what the rest of the team have made click on the links below.
Thanks for hopping along with us today. To purchase any of the products I used in this project you can shop with me here. Or if you’d like me to post you your very own copy of the 2018-2019 annual catalogue or find out about more about Stampin’ Up! contact me.
Next Tuesday we’ll be showcasing a gorgeous bright colour: Flirty Flamingo!
Welcome to week 5 of the Art With Heart “Heart Of Christmas” blog hop.
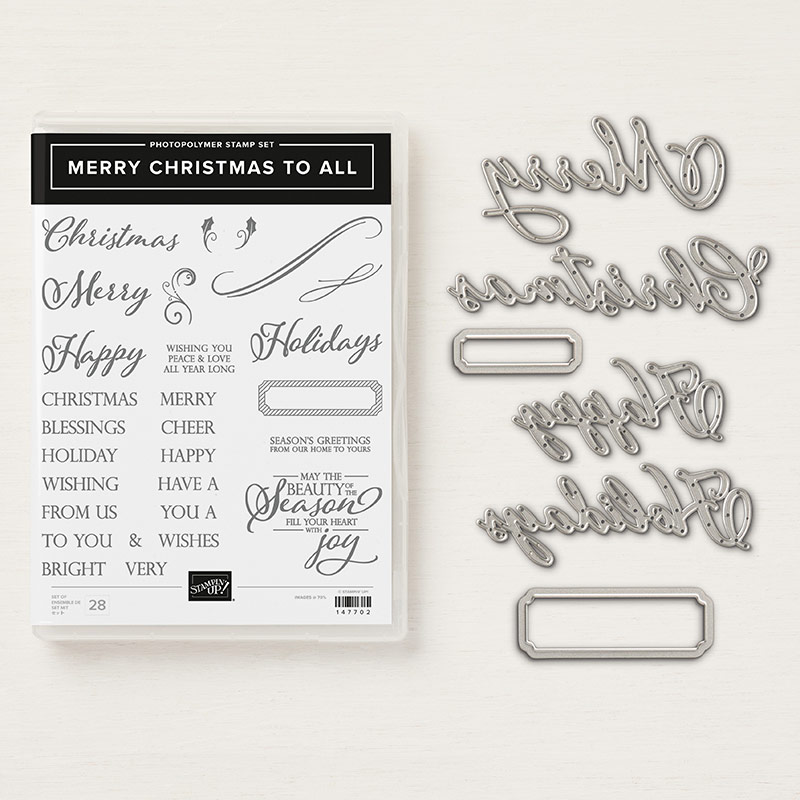
Tonight I’ve used a bundle from the new Holiday Catalogue called “Merry Christmas to All”. This is a great text-heavy set that works really well to feature DSP or can even be used on its own. There are so many possible word combinations with the dies and the stamps in this bundle.
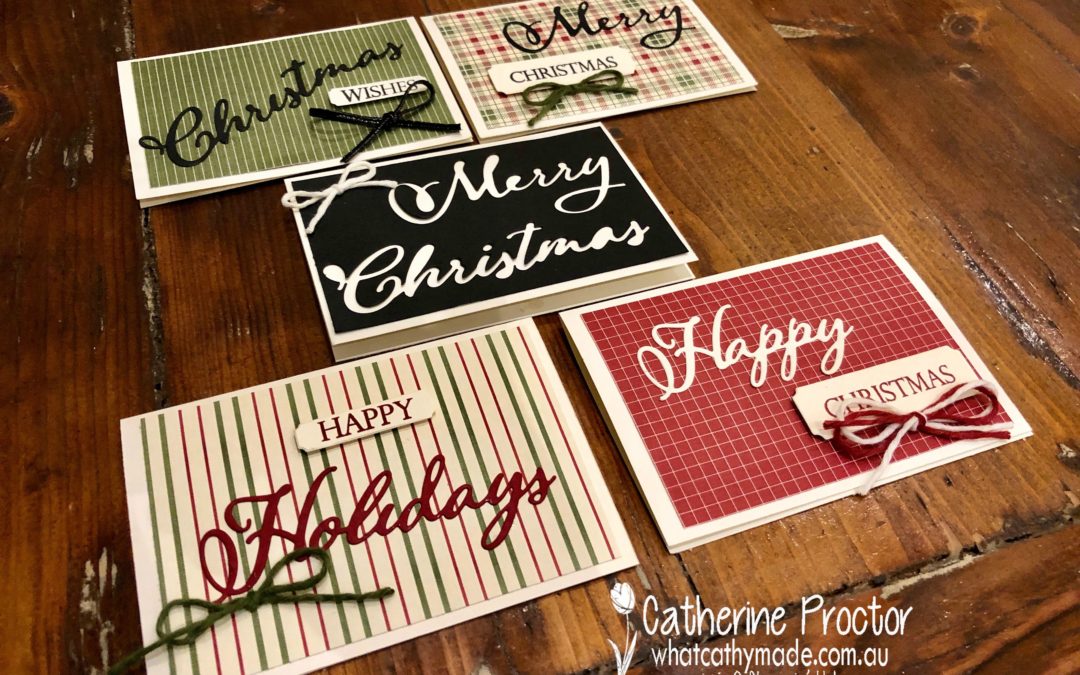
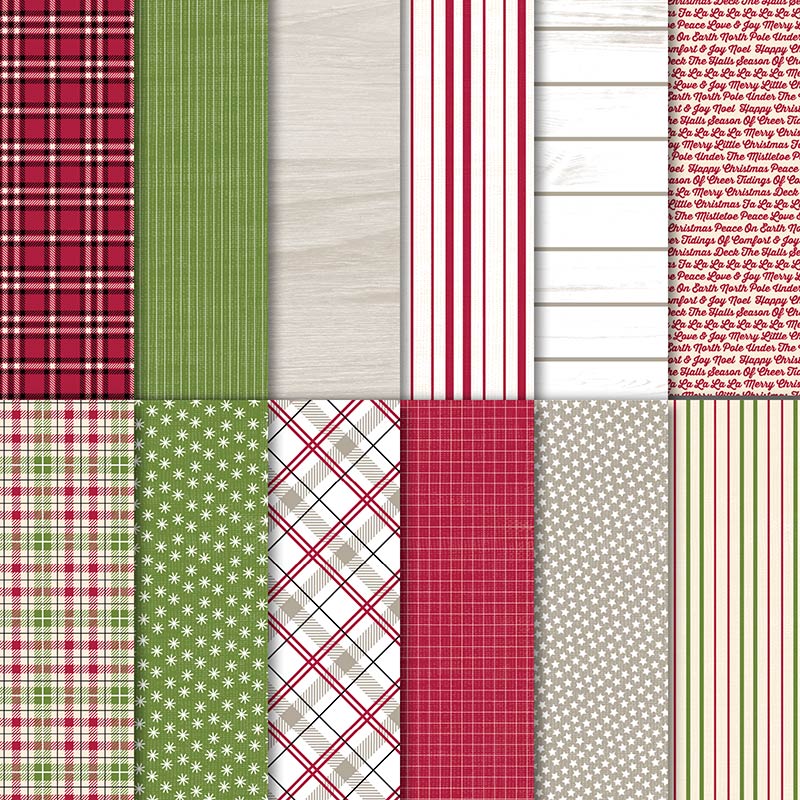
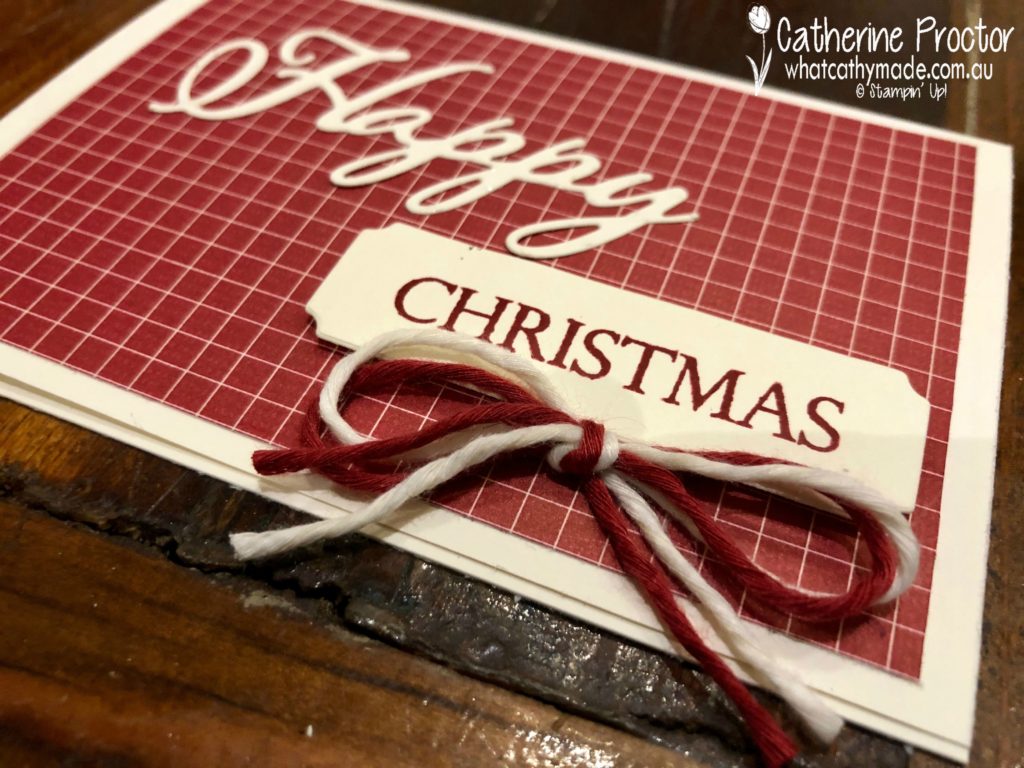
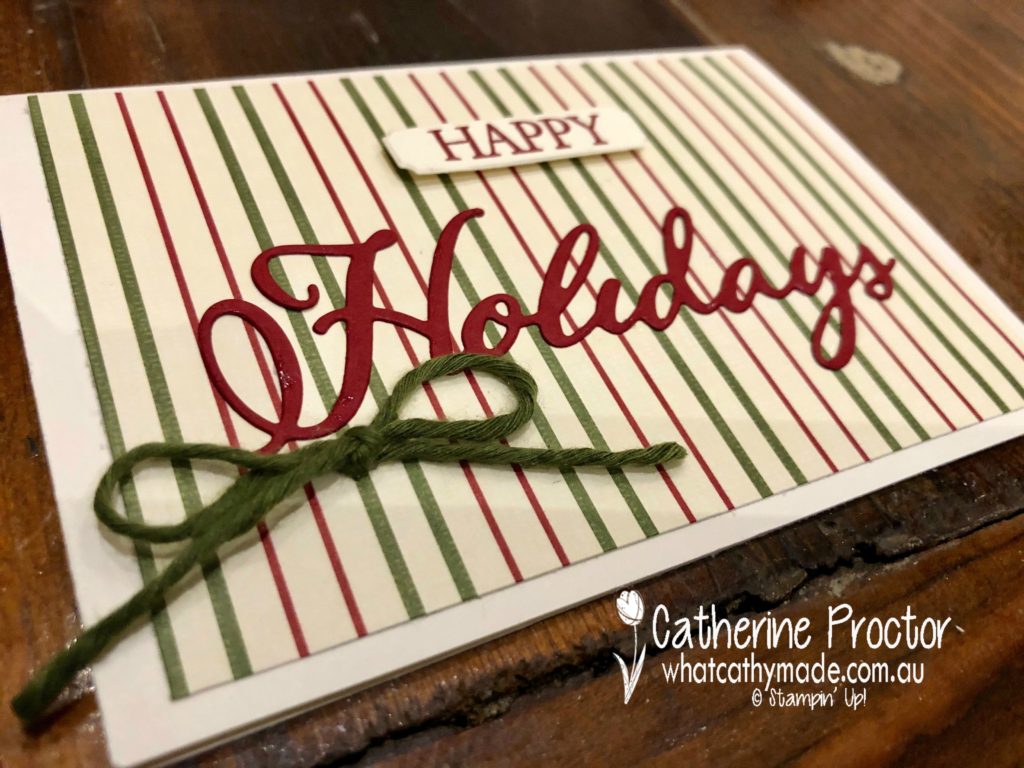
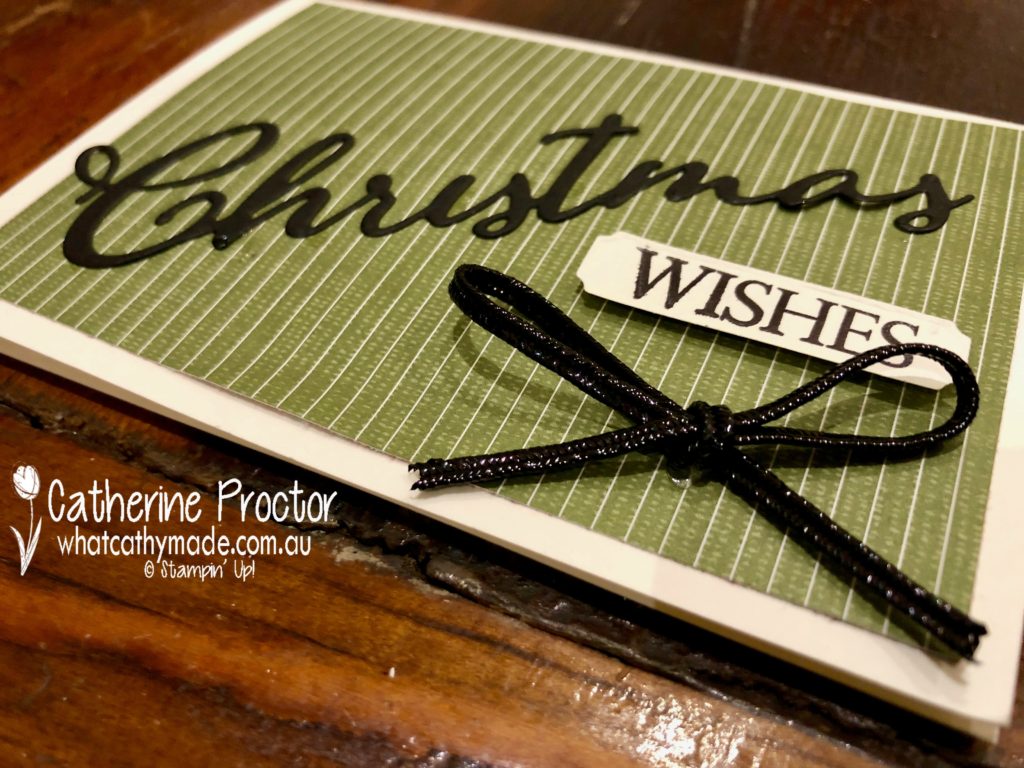
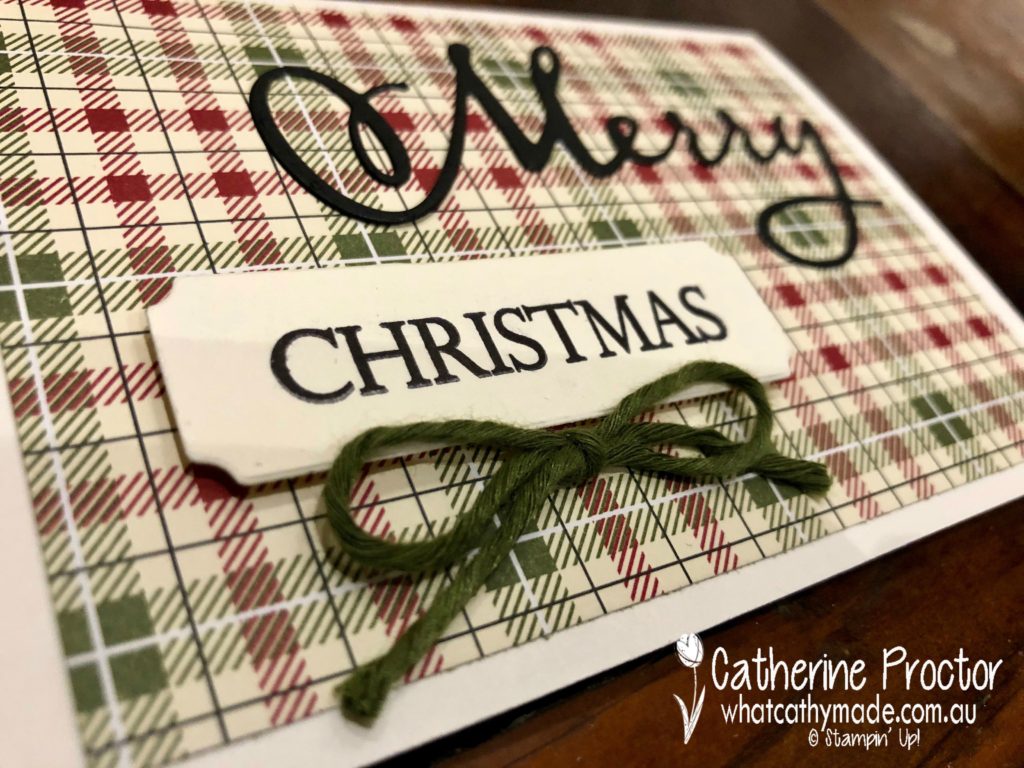
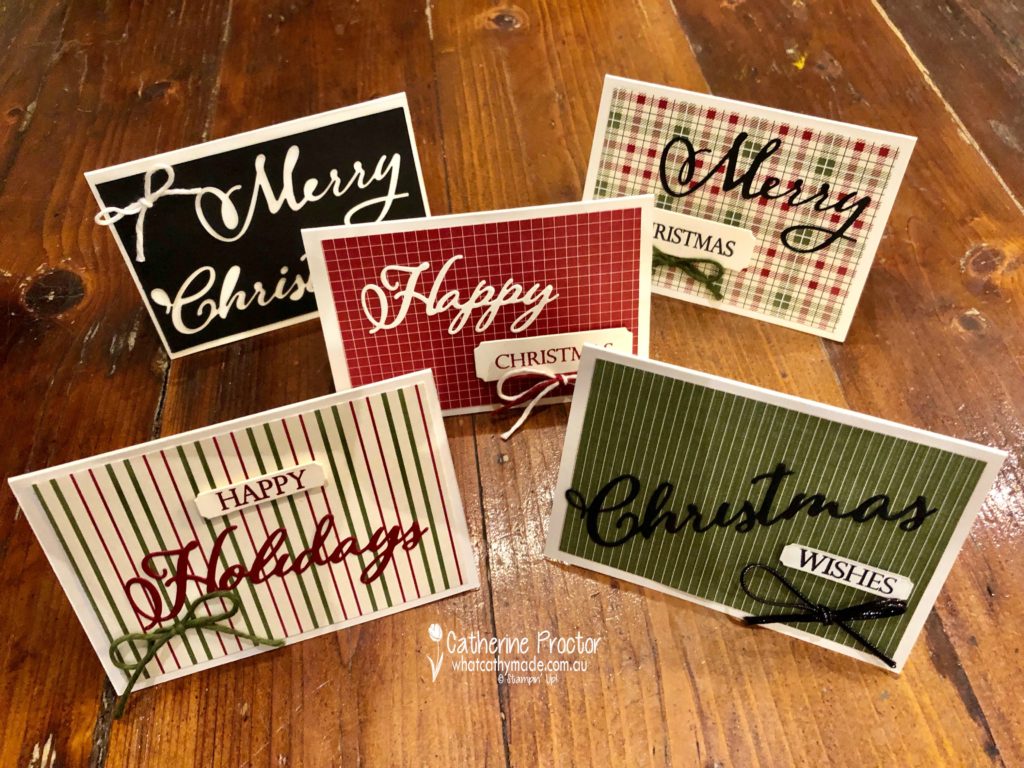
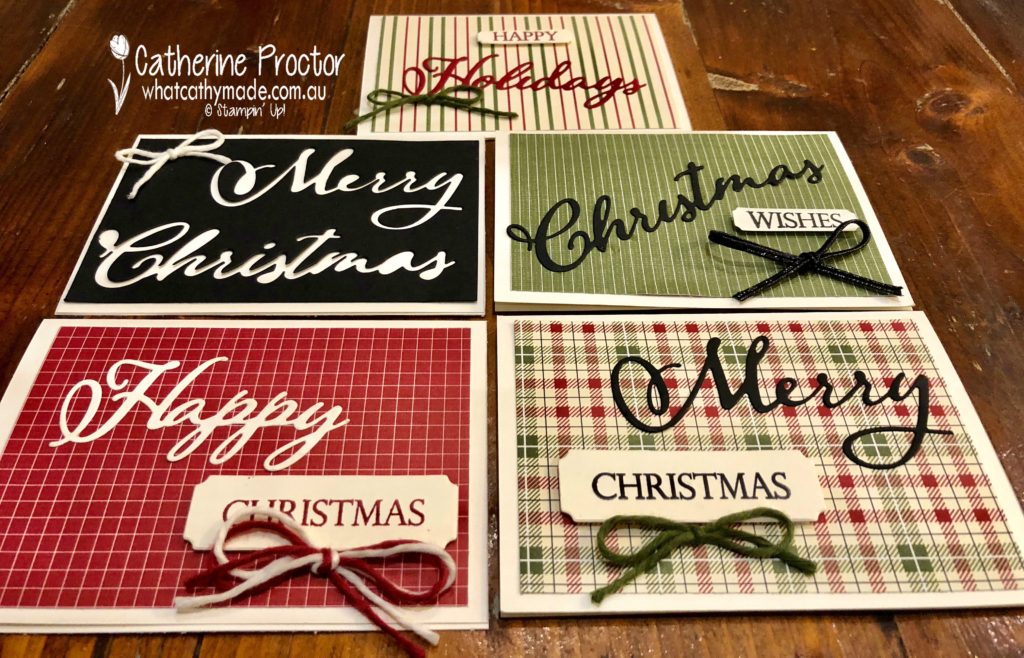
I’ve used this set with the gorgeous Festive Farmhouse DSP to make a set of classic masculine Christmas cards that show just some of the many combinations of words you can make by mixing up these dies and stamps.
Card one features the gorgeous Cherry Cobbler and Very Vanilla together. I love this colour combo.
Card two “Happy Holidays” is a lovely striped DSP that also has Mossy Meadow in the colour mix.
Card three “Christmas Wishes” is another stripe, this time in Mossy Meadow and Whisper White, with black text and a black bow.
Card four “Mery Christmas” is a lovely traditional Christmas check, topped with a Mossy Meadow bow.
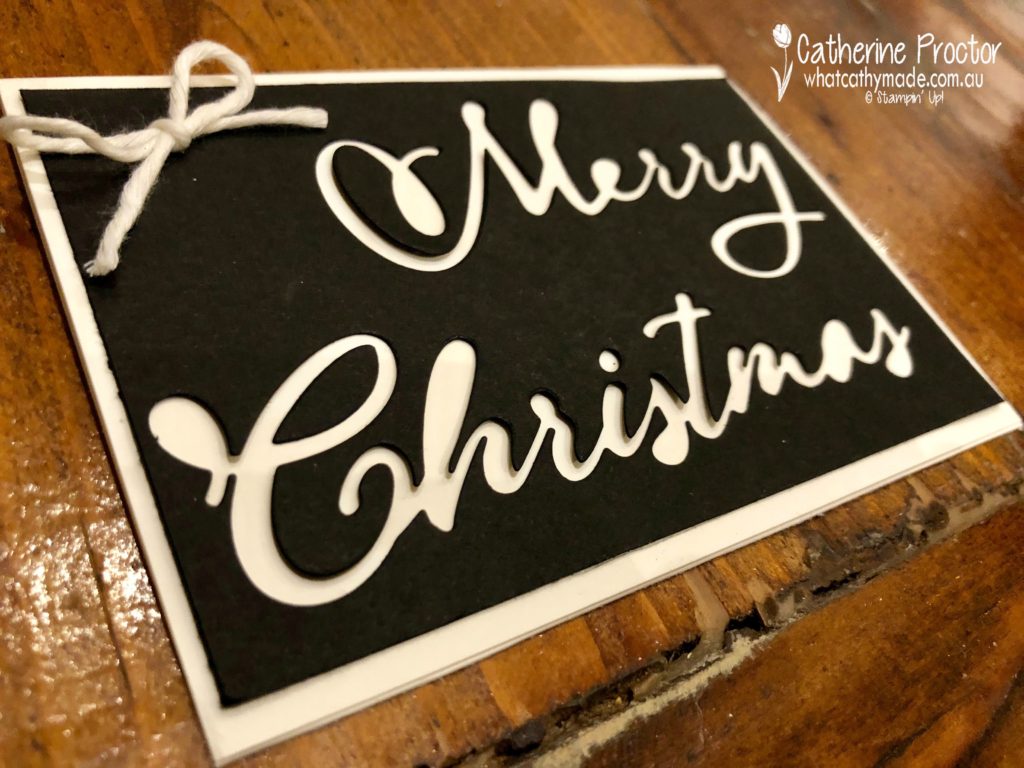
And finally, card five is made from the negative cardstock after I die cut the Basic black cardstock…a very happy accident that reminds me how well Very Vanilla and Basic Black go together.
There are so many more lovely patterns in this DSP pack, I could have made a lot more of these cards, but I decided to just use the DSP patterns that worked better with a Very Vanilla base.
These cards were ridiculously easy to make and I really love their classic, farmhouse feel.
The final touch for my cards were simple bows made from the Cherry Cobbler, Mossy Meadow and Very Vanilla Twine in the Festive Farmhouse Cotton Twine pack. I also used some of the Black 1/8″ (3.2 Mm) Cord.
To see what the rest of the AWH team have made head back to the lovely Claire Daly’s blog.
To purchase any of the products I used in this project you can shop with me here.
You can order the new products from the holiday catalogue NOW!
Contact me if you’d like to receive a free copy of the holiday catalogue.