Welcome to week eleven of our Art With Heart 2023-24 Colour Creations blog hop!
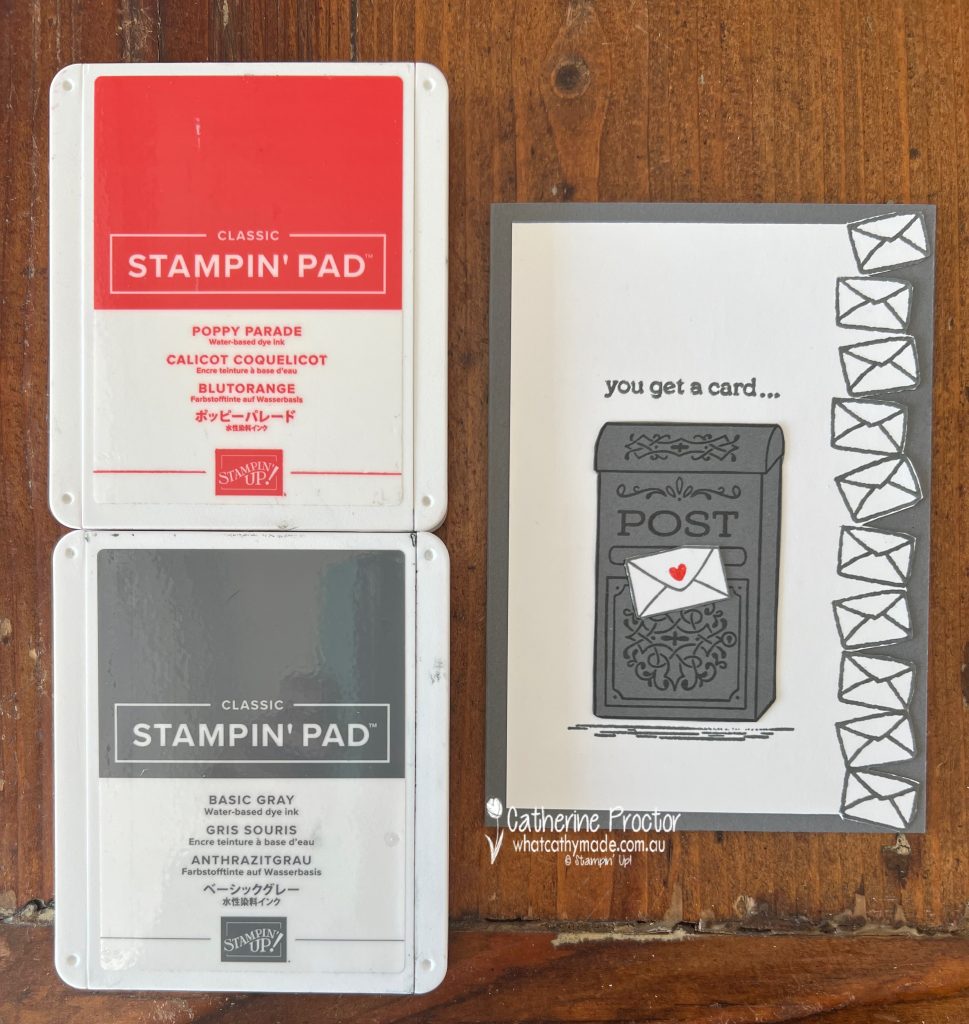
This week we are showcasing Basic Gray, which is a colour I rarely use, so it was a bit of a challenge! The darker gray is a good colour for natural elements such as stone or animal fur/hide or for metallic objects.
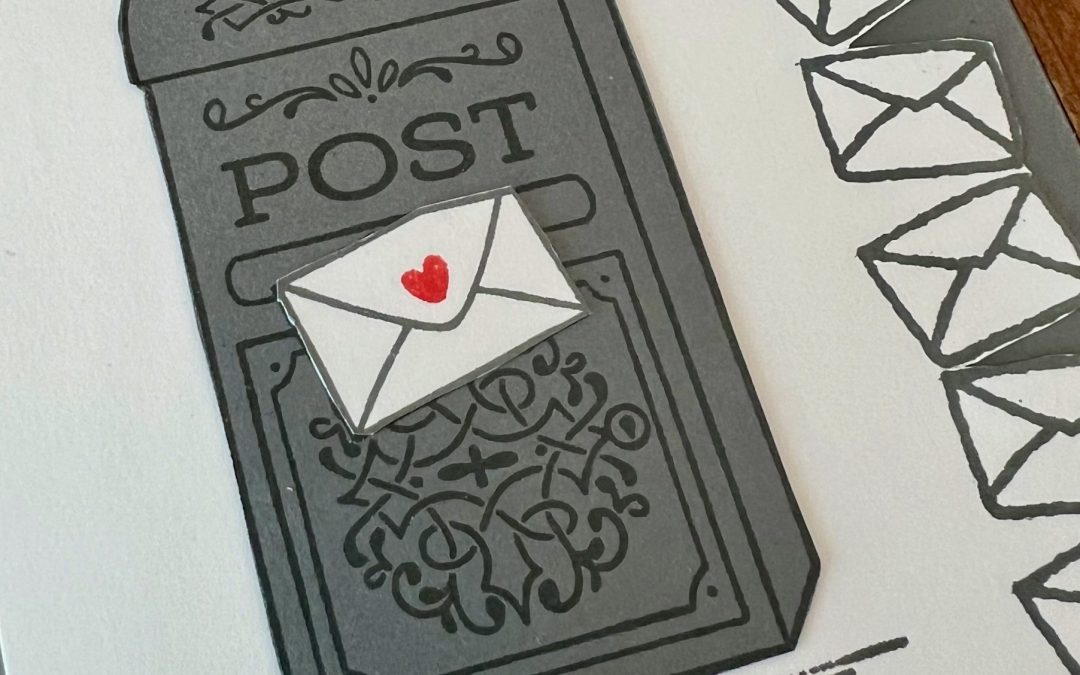
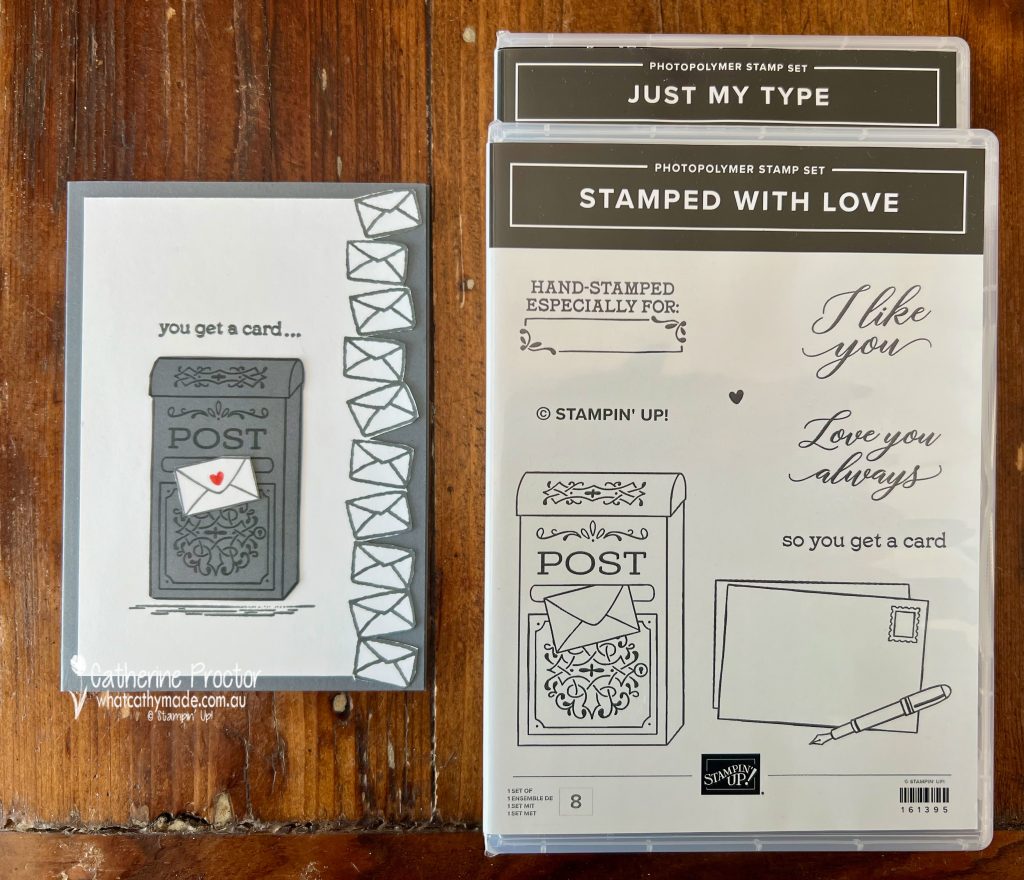
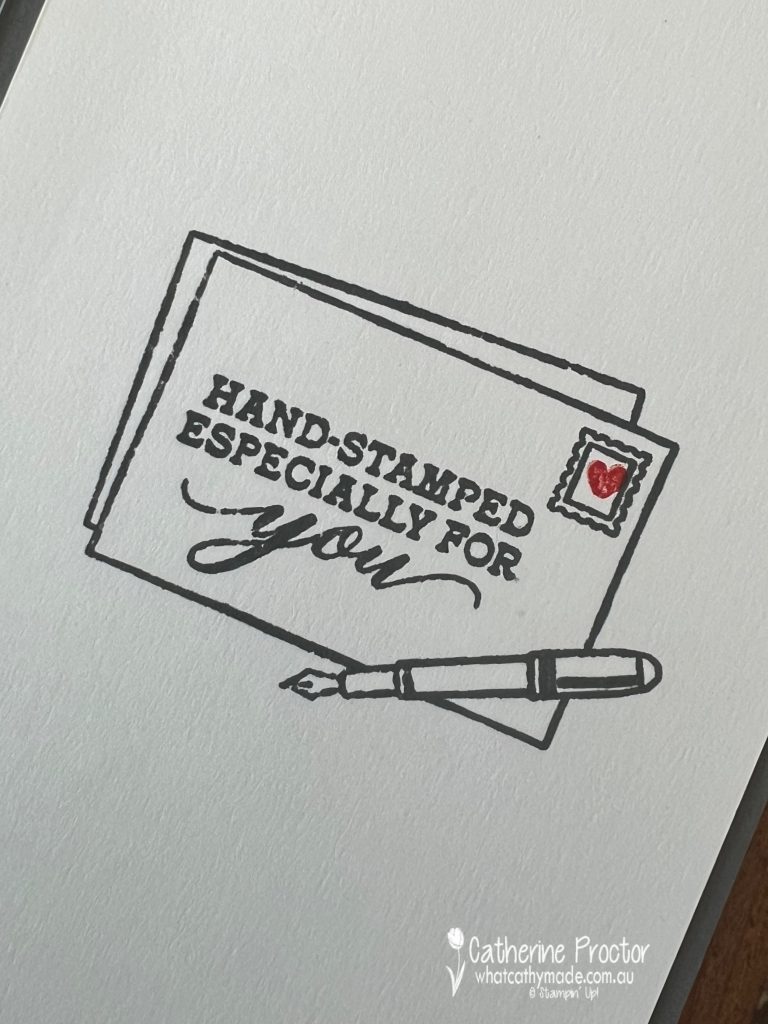
I settled on making a dark gray metal postbox as I wanted to see if I could successfully combine the little envelope stamp from the “Just My Type” stamp set with the “Stamped With Love” stamp set.
To create a border that reveals the Basic Gray card stock card base underneath I’ve stamped a vertical row of the “Just My Type” envelopes in Basic Gray and then fussy cut the right hand edge of the envelopes using paper snips.
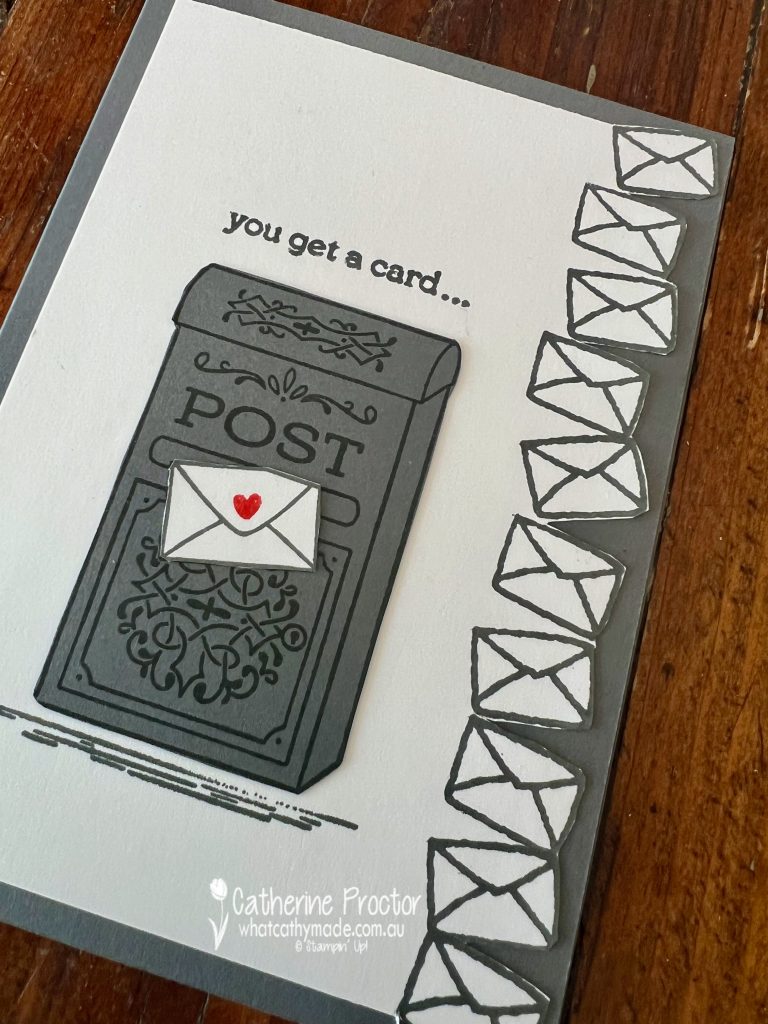
The postal box was stamped in Basic Gray onto both Basic Gray cardstock and Basic White cardstock. The Basic Gray cardstock postal box is fussy cut and adhered to the front of the card, with a white envelope fussy cut out from the Basic White cardstock postal box.
Although I’ve deliberately kept this card very monochrome to showcase Basic Gray, I couldn’t resist using the heart stamp to add a tiny pop of Poppy Parade to the card.
I’ve customised all the sentiments on my card by masking part of them off with washi tape and removing the washi tape after inking the stamp but before stamping.
The Basic Gray Stampin’ Write Marker was used to add an ellipsis after the sentiment on the front of the card, another way to further personalise sentiments.
Inside the card I’ve personalised and mixed together two more of the sentiments from “Stamped With Love” to perfectly fit inside the larger envelope stamp.
Now it’s time to hop on over to our next participant, the lovely Kate Morgan – I can’t wait to see what Kate has made this week!
If at any time you find a broken link, you can find the complete list of all participants below.
Welcome to week ten of our Art With Heart 2023-24 Colour Creations blog hop!
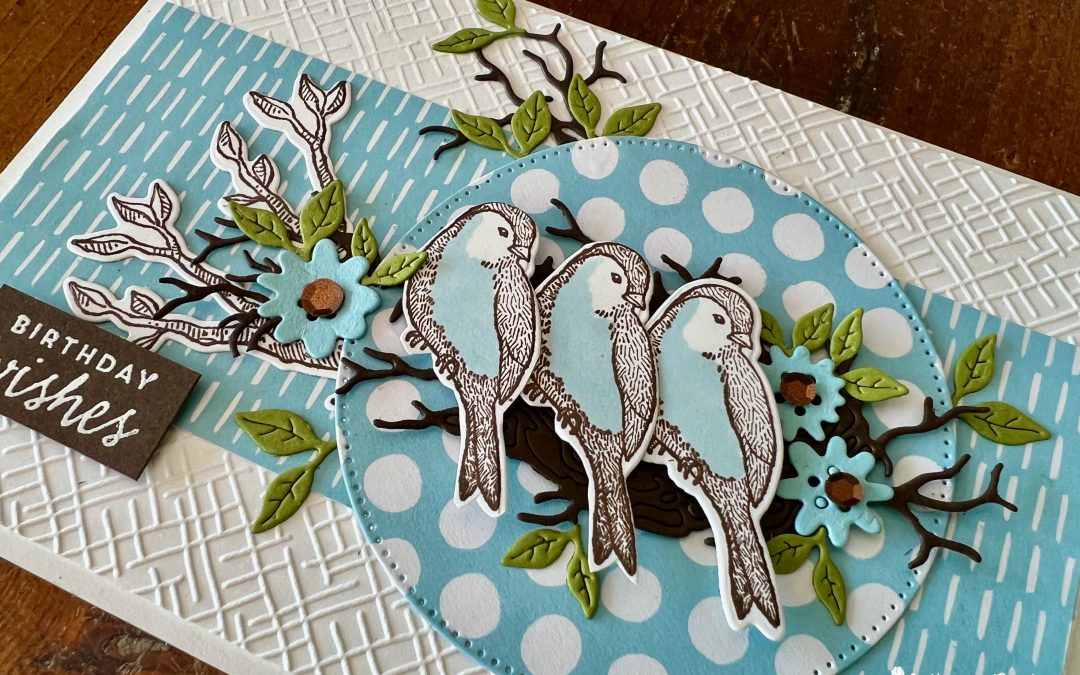
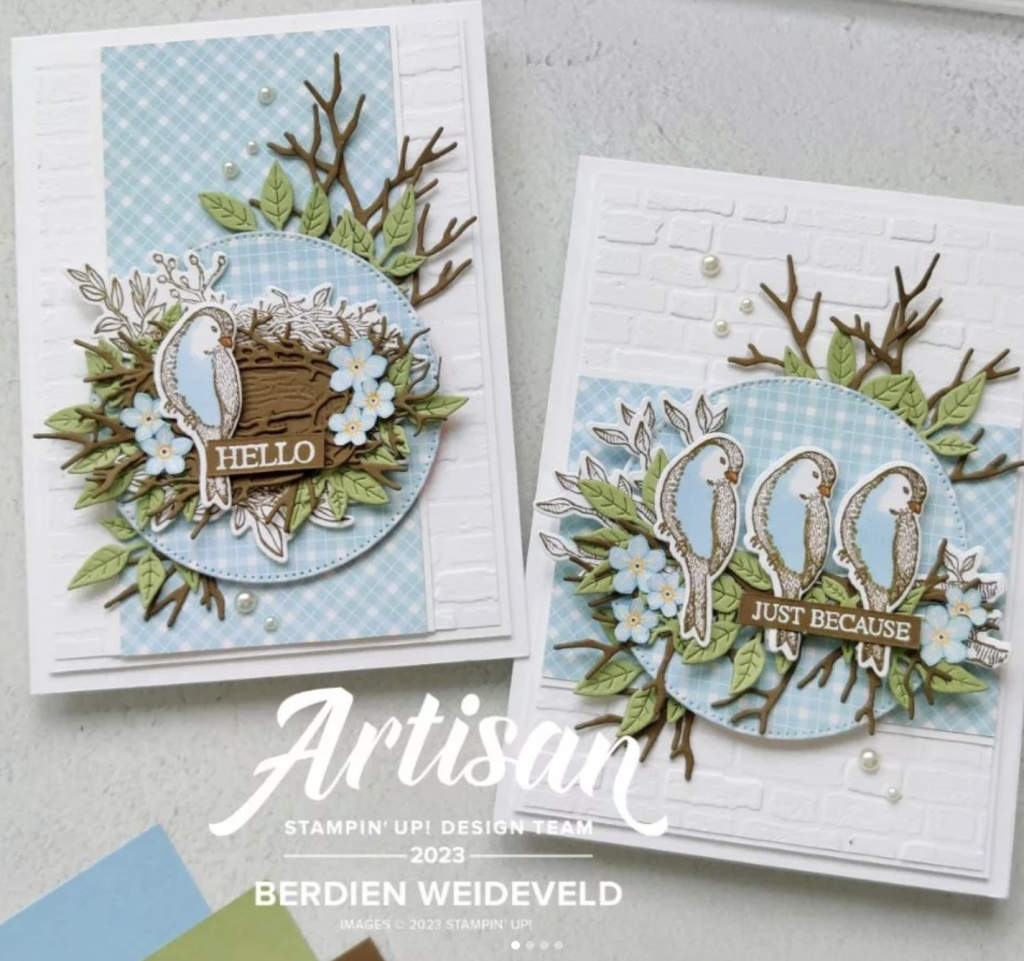
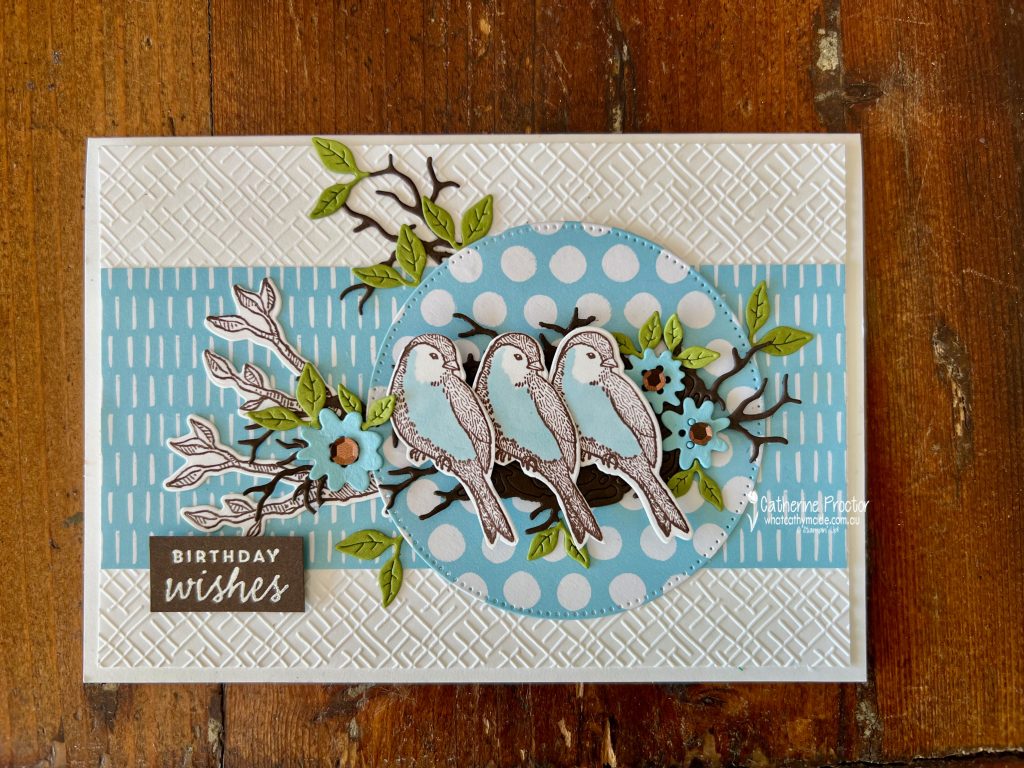
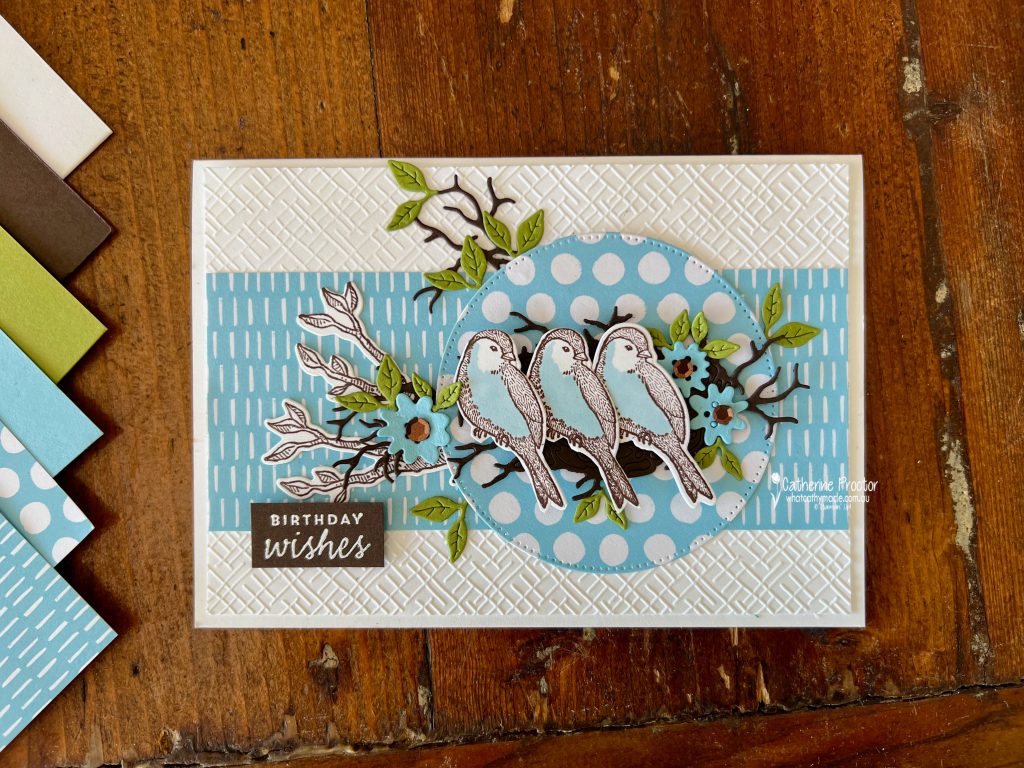
This week we are showcasing Balmy Blue, which is a really lovely soft blue. My card is a CASE (copy and selectively edit) of these gorgeous Nested Friends cards, created by an amazing Dutch Stampin’ Up! Artisan design design team member, Berdien Weideveld.
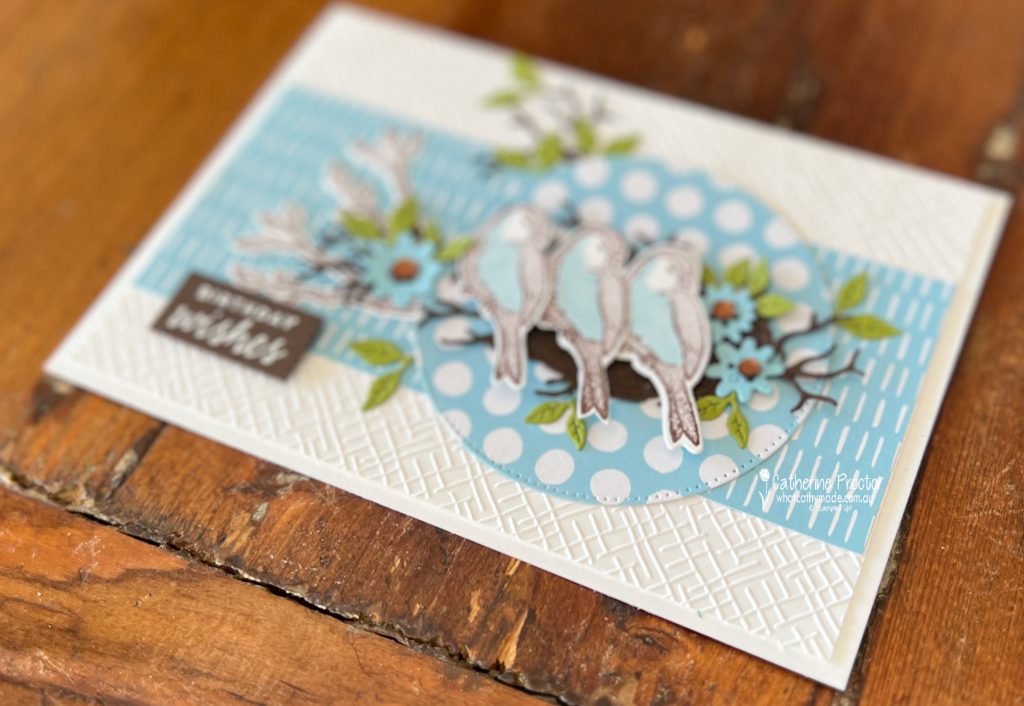
Many of the products Berdien used on these cards have now retired, so I’ve merged the layouts of both the cards, switched the layout from vertical to horizontal and used current products for my Nested Friends card.
Old Olive and Early Espresso cardstock replaces retired colours Pear Pizzazz and Soft Suede. Flower dies from Around the Bend dies replace Berdien’s fussy cut flowers and my Balmy Blue DSP is from the current Subtles DSP 6×6 assortment pack.
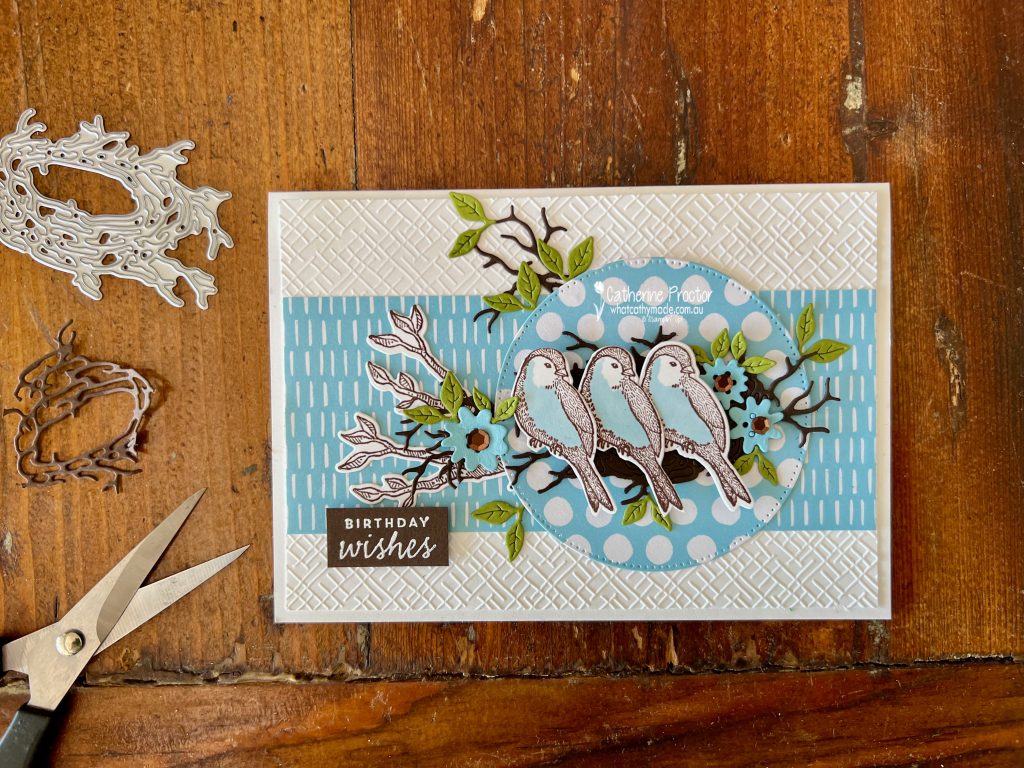
Instead of the now retired frond and branch dies Berdien used, I’ve used the nest and leaf dies included in the Nested Friends dies, using my paper snips to chop up the nest to make branches.
As the brick embossing folder has also retired, I instead used the crosshatch embossing folder from the online exclusive Basics 3D Embossing Folders pack.
At the centre of the flowers I’ve popped a few of the brown Neutrals Adhesive-Backed Sequins for a touch of sparkle.
Now it’s time to hop on over to our next participant, the lovely Andrea Sargent – I can’t wait to see what Andrea has made this week!
If at any time you find a broken link, you can find the complete list of all participants below.
Welcome to week nine of our Art With Heart 2023-24 Colour Creations blog hop!
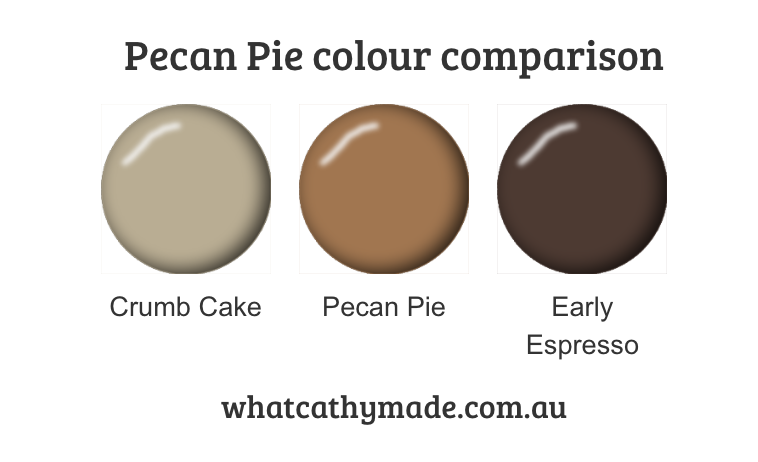
This week we are showcasing another new core colour, Pecan Pie. It’s a soft mid brown, very similar to the recently retired Soft Suede.
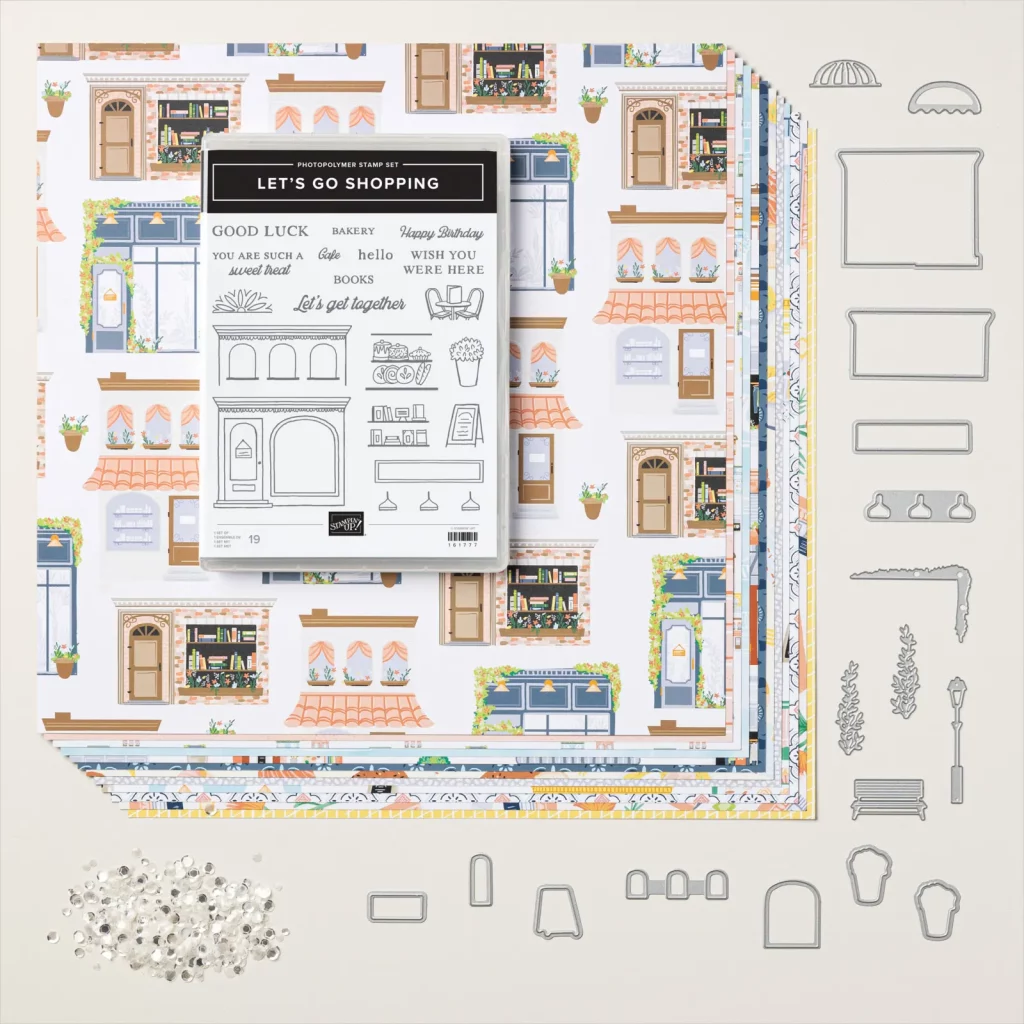
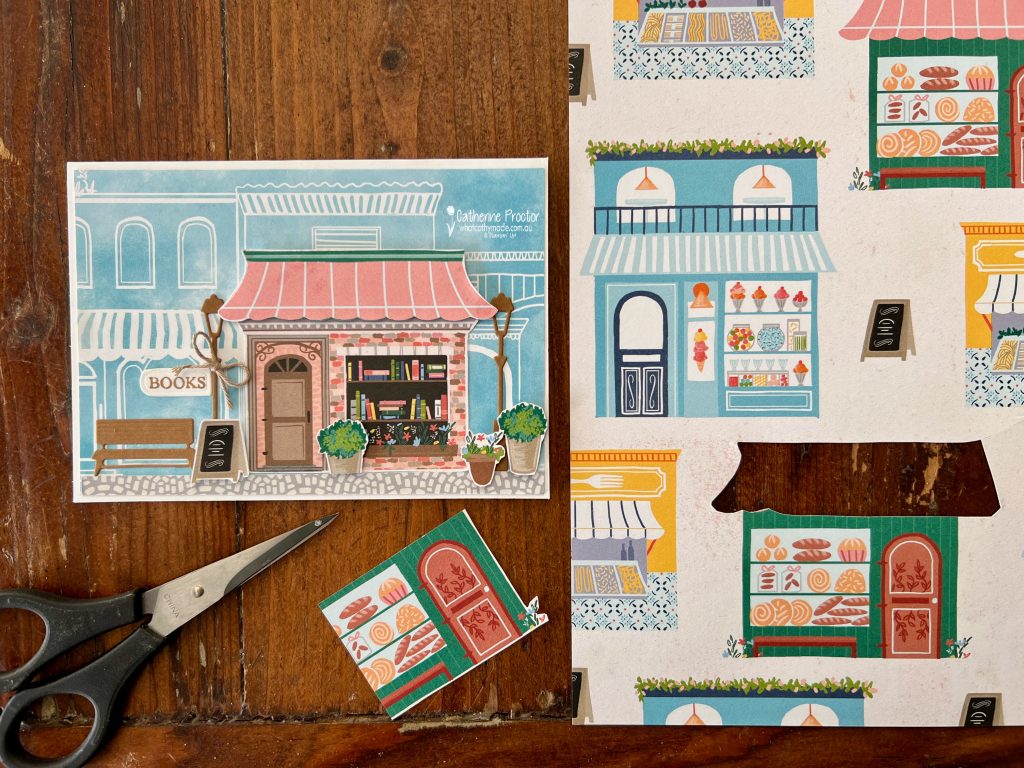
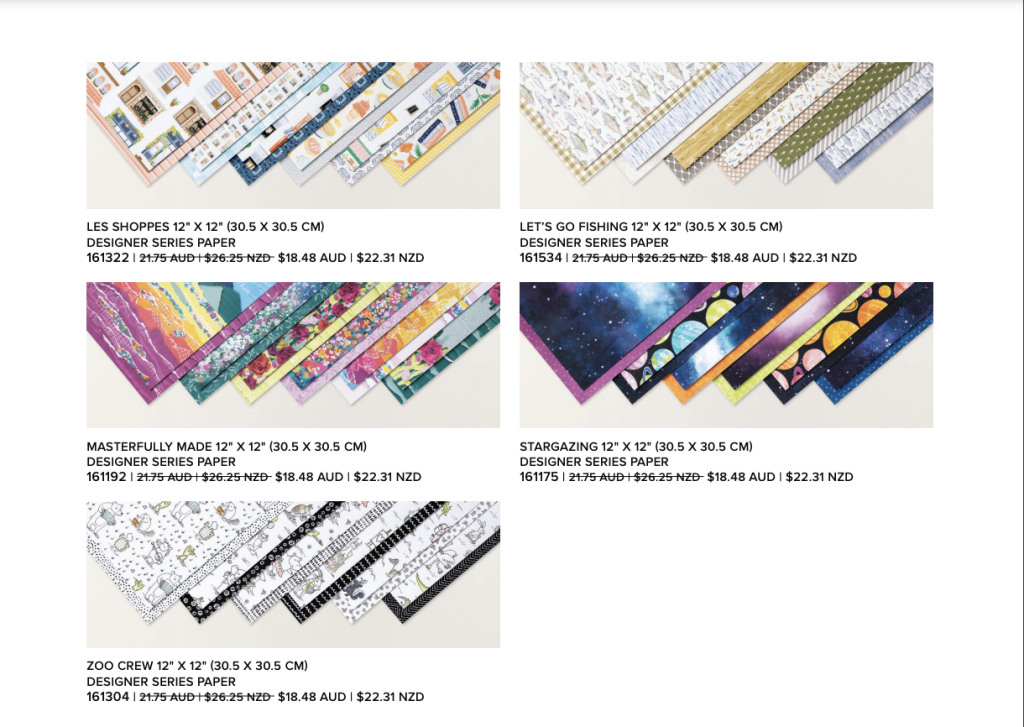
As the Designer Series Paper sale sends this Friday night I’ve used one of the DSPs on sale, the Les Shoppes DSP.
The Les Shoppes 12 x 12 DSP is part of the Les Shoppes Suite Collection, which also includes the Let’s Go Shopping stamp set, the Let’s Go Shopping dies and the Loose silver sequins.
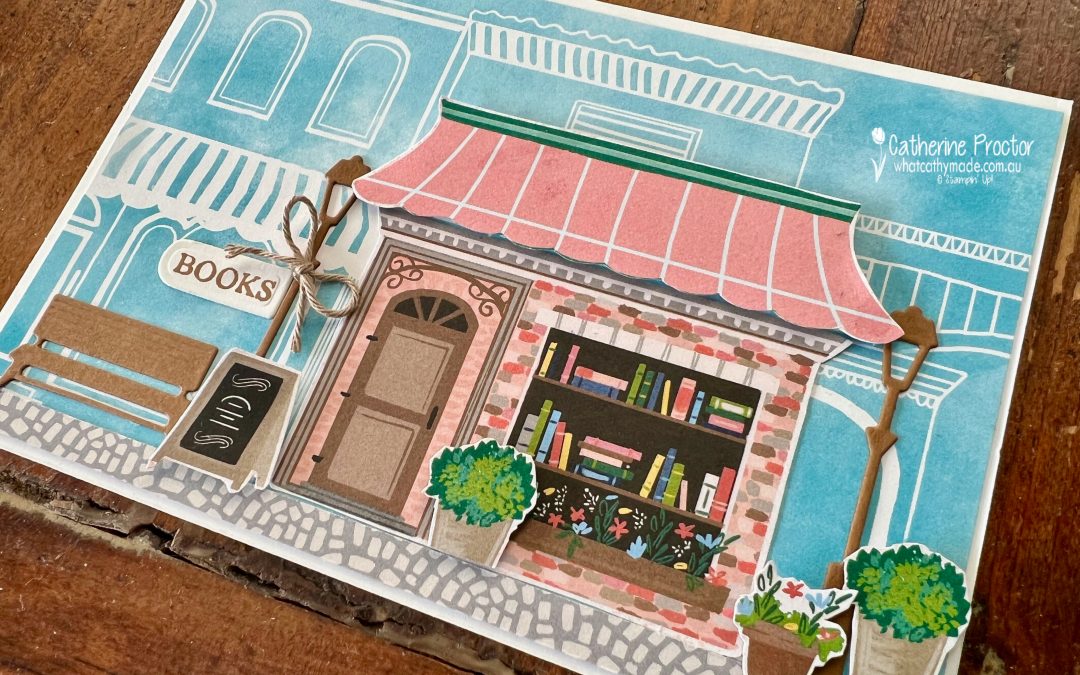
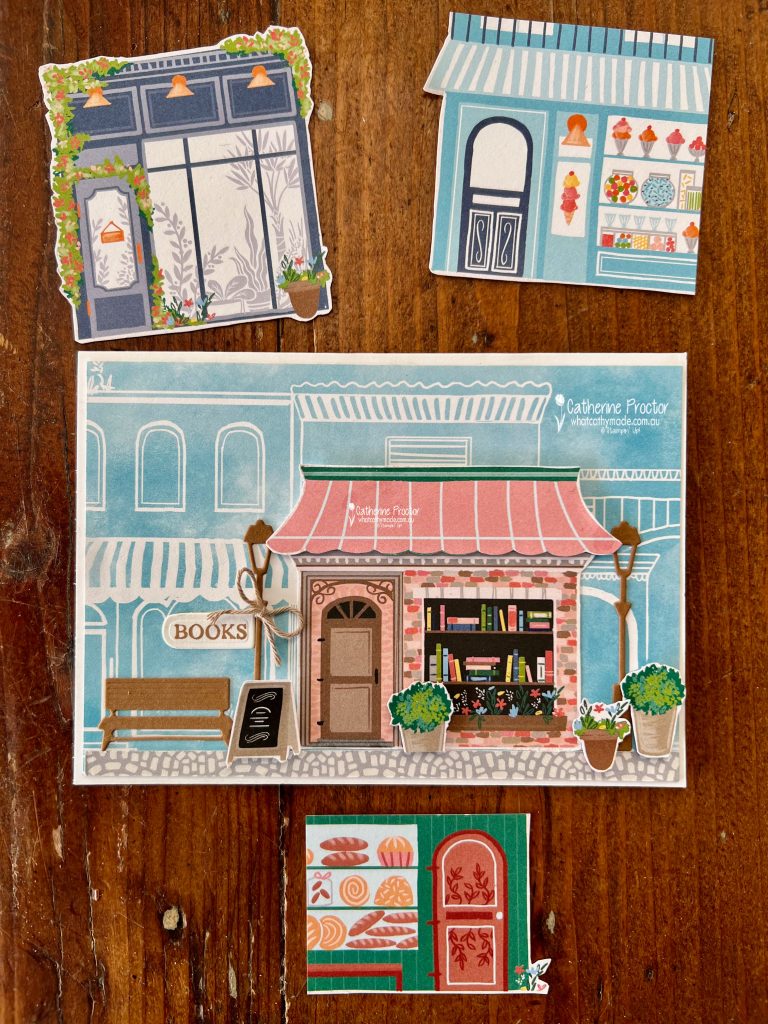
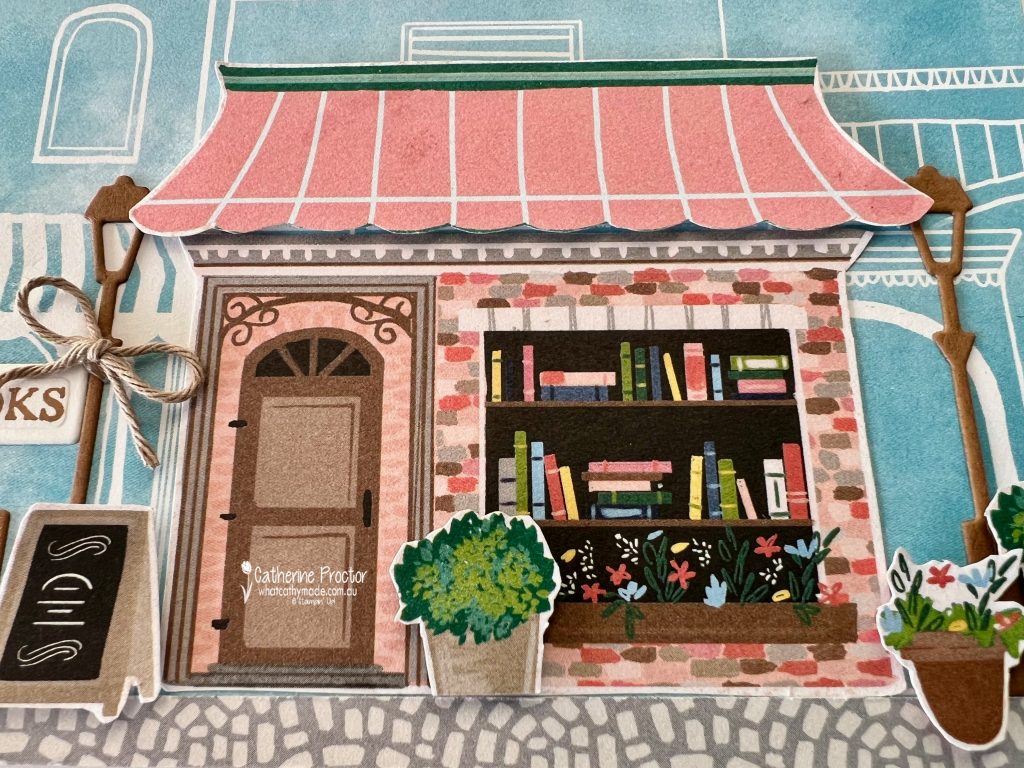
My card mainly uses the Les Shoppes DSP, which is super easy to fussy cut. There are so many cute little shops you can fussy cut out of this DSP, but having worked in publishing all my working life I just couldn’t go past the little book shop!
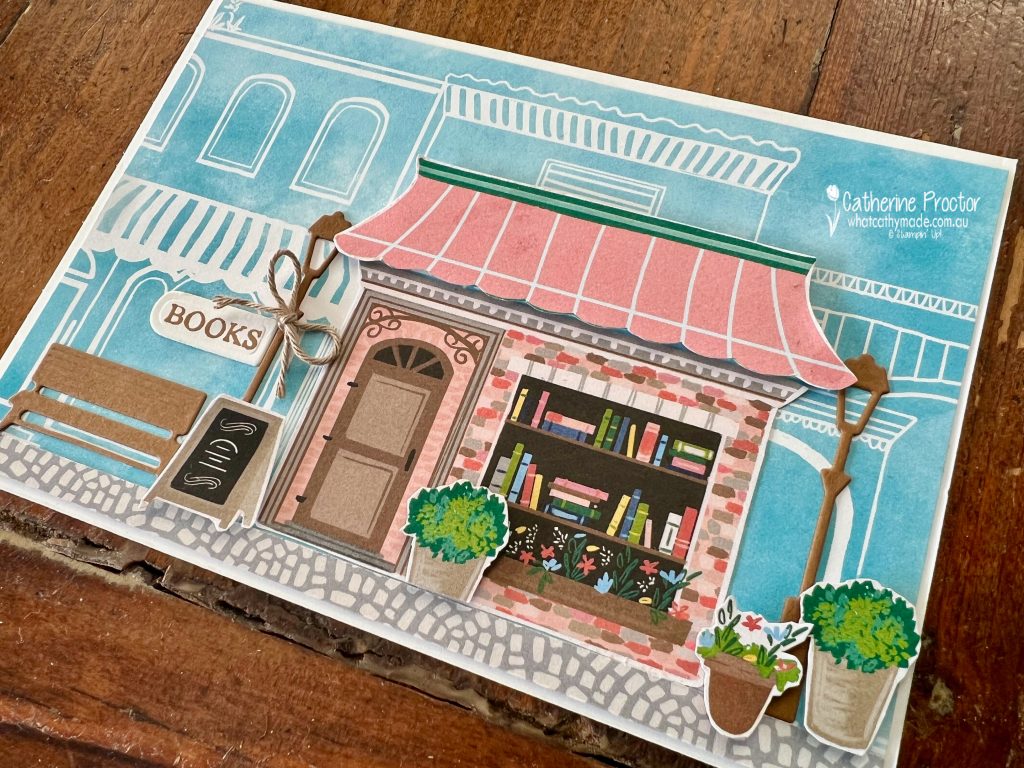
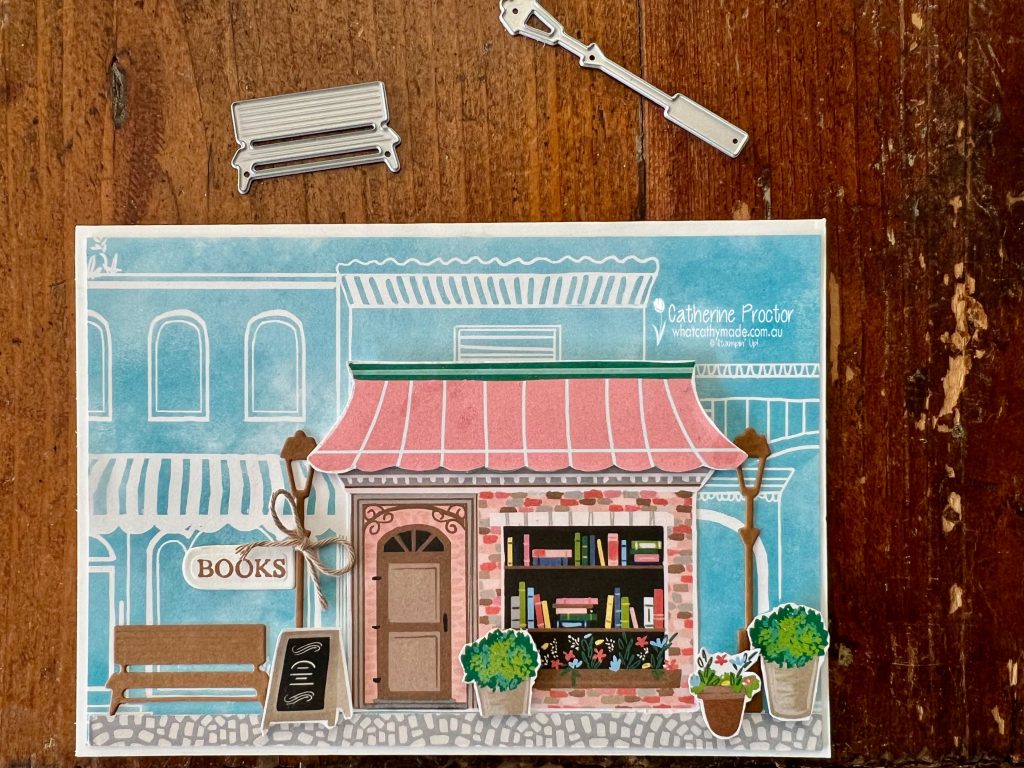
The Balmy Blue background layer helps give the illusion of depth to the scene and using dimensionals to adhere some of the fussy cut pot plants adds another dimension to the foreground of the scene.
You can mix and match parts of the buildings too. I wanted an awning for the bookshop and so I fussy cut the awning from the boulangerie building and adhered it with dimensionals above the roof of the bookshop building.
The only die cut elements were the lampposts and the garden bench, cut from Pecan Pie card stock, as well as the books sign.
I love all of the tiny details in this DSP – it gives the card maximum visual interest without a lot of stamping and colouring in!
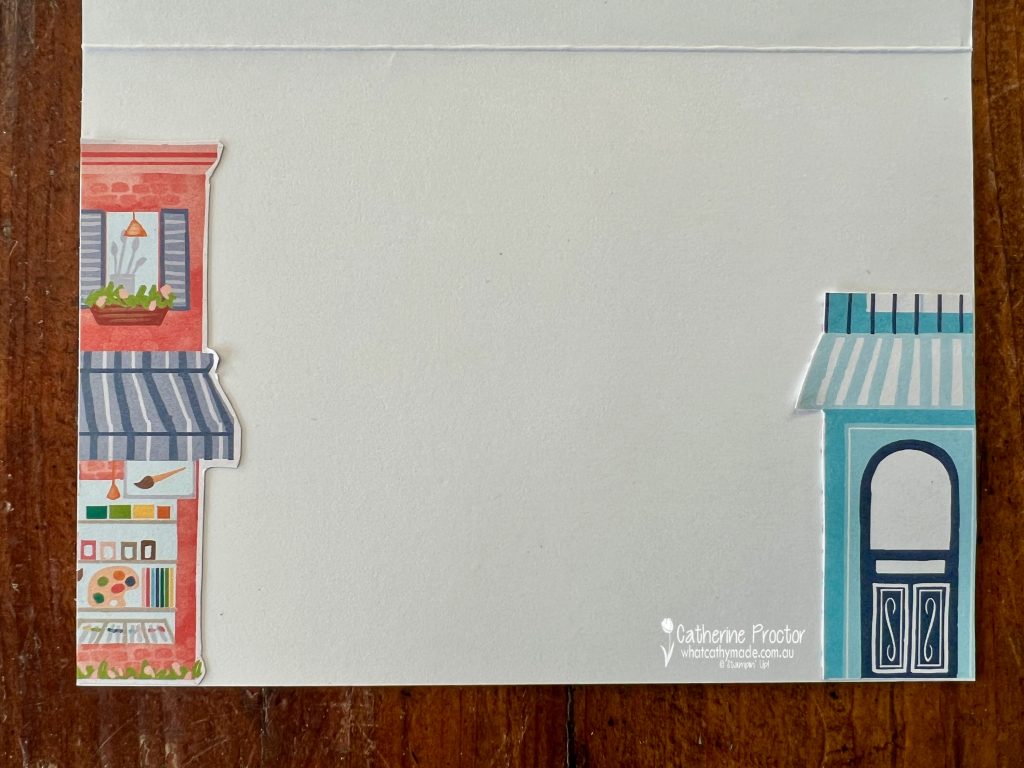
The inside of the card was the perfect place to use some pieces from the edge of the DSP.
Now it’s time to hop on over to our next participant, the lovely Di Furniss – I can’t wait to see what Di has made this week!
If at any time you find a broken link, you can find the complete list of all participants below.
Welcome to week eight of our Art With Heart 2023-24 Colour Creations blog hop!
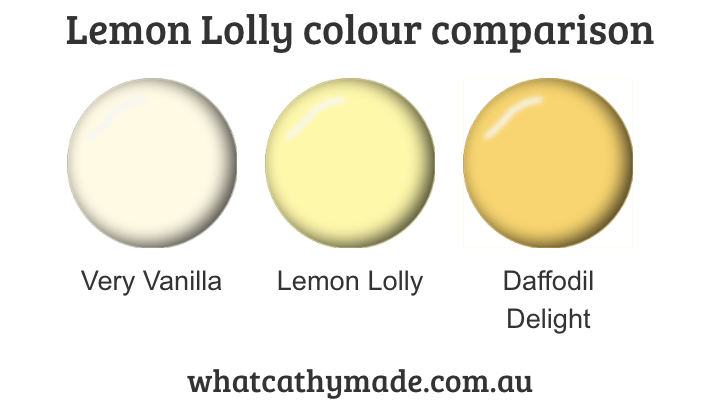
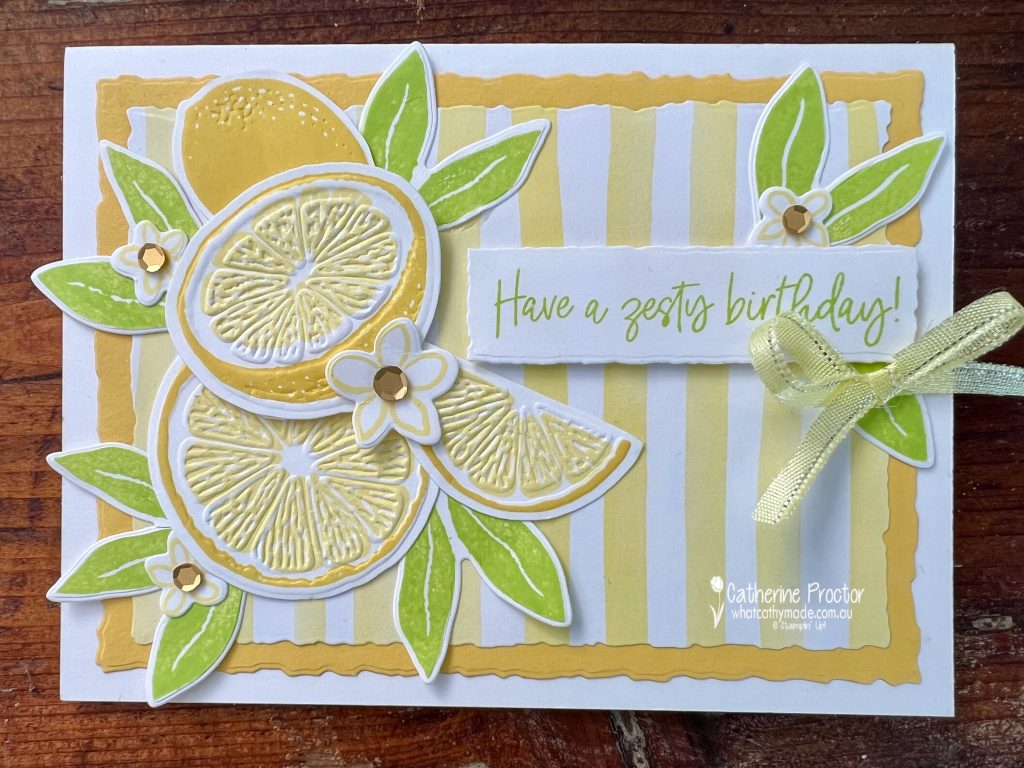
Lemon Lolly is a soft and pale yellow that’s in the Subtles family, sitting somewhere in between Daffodil Delight and Very Vanilla.
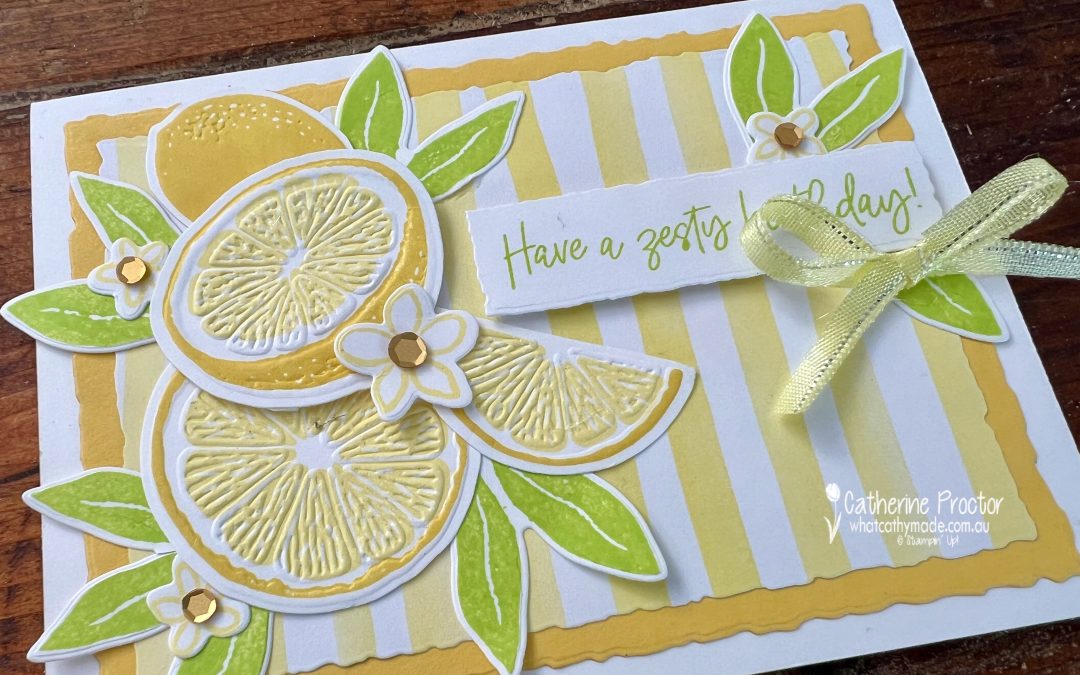
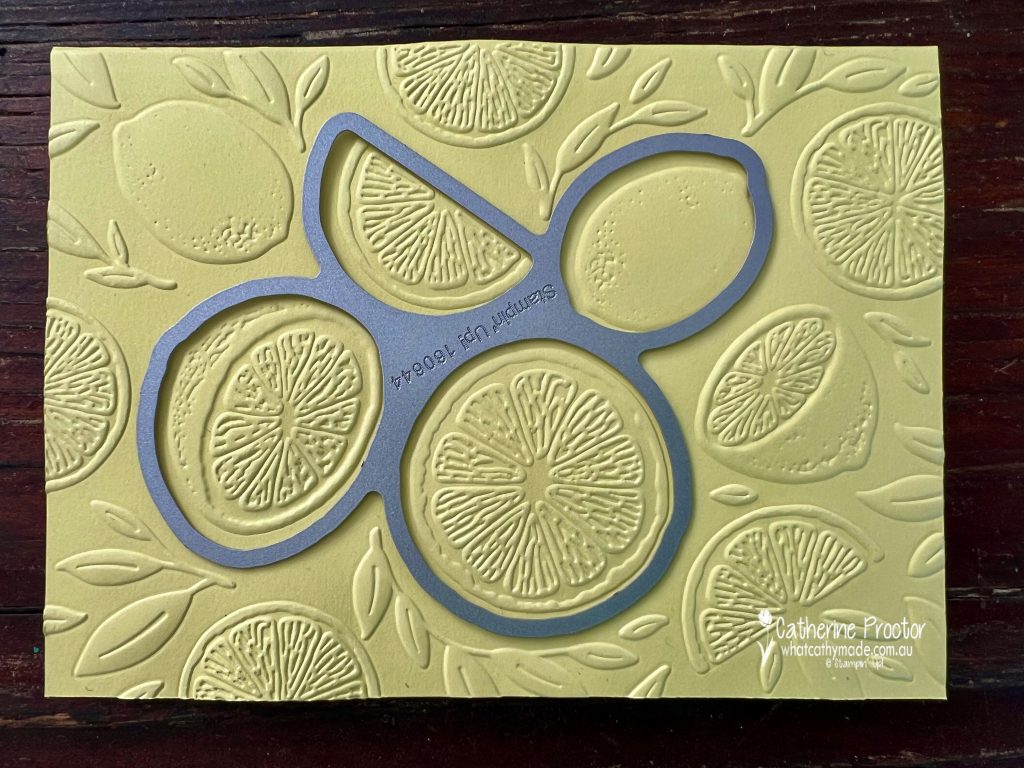
I just had to use the Sweet Citrus bundle for my Lemon Lolly card this week. The Sweet Citrus bundle is a must have if you love dimension on cards because it contains a hybrid embossing folder (embossing folder and matching die) that can be used to emboss, die cut or do both at the same time!
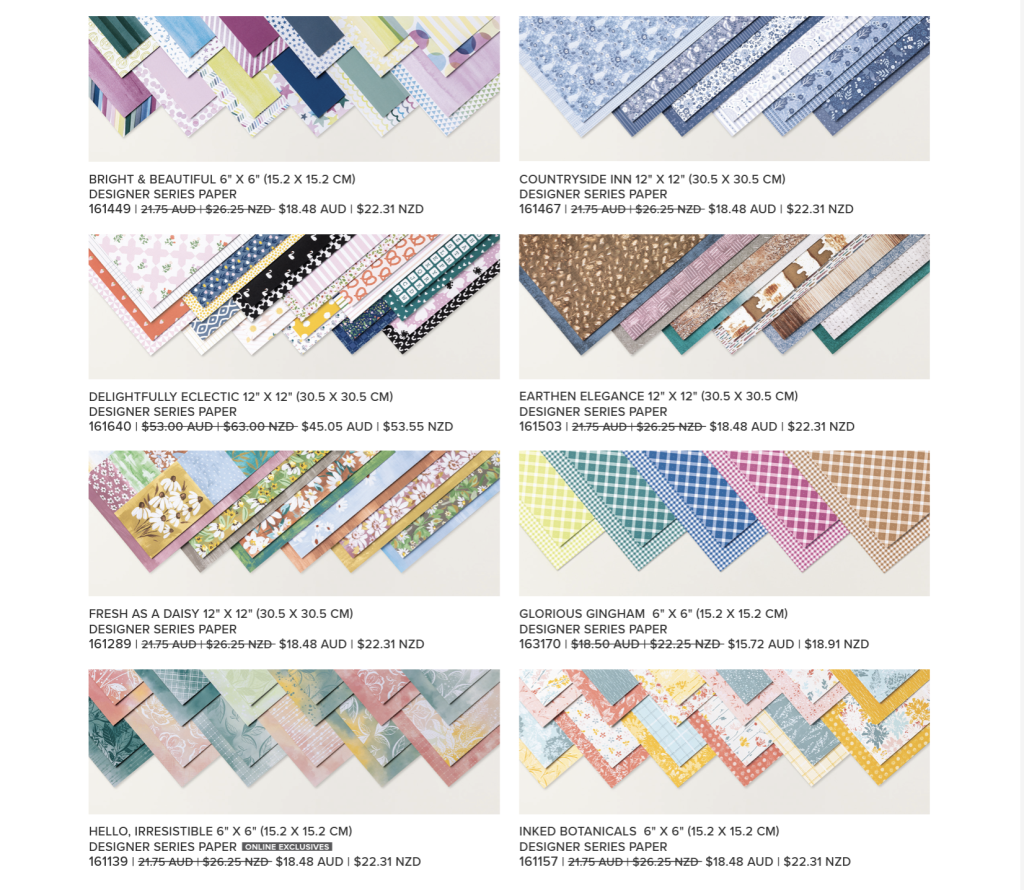
The gorgeous striped Lemon Lolly DSP on the front of the card is from the Bright & Beautiful 6″ x 6″ (15.2 x 15.2 cm) Designer Series Paper, one of the DSPs on sale for the month of June.
All the layers are die cut using the Deckled Rectangle Dies, including the sentiment. There wasn’t a long narrow die that fit the sentiment, however using a larger die and die cutting it twice, the die can be made to fit the sentiment.
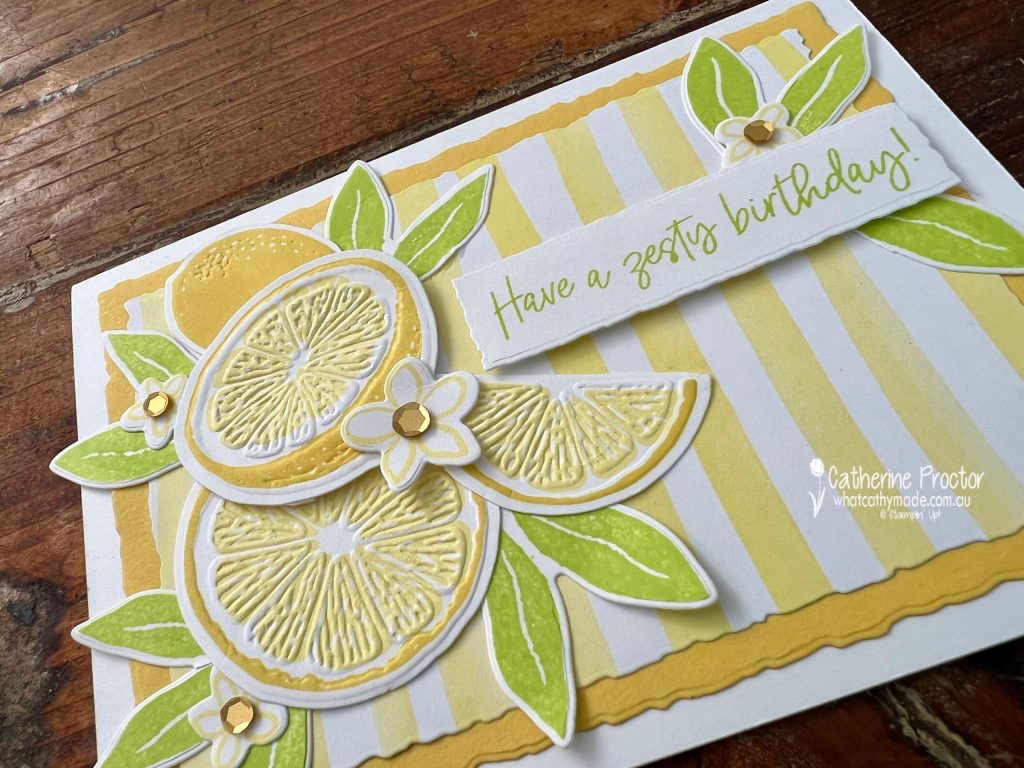
The lemons are stamped in Lemon Lolly, lemon rinds in Daffodil Delight, leaves in Parakeet Party and lemon blossoms in Lemon Lolly.
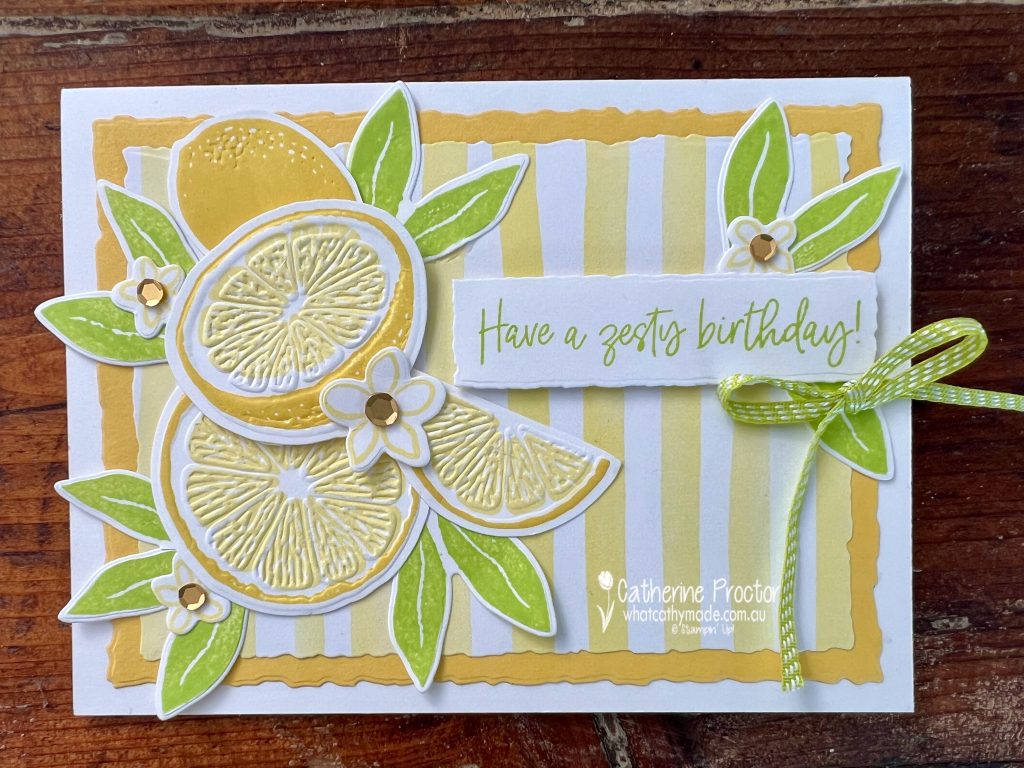
I wasn’t sure which ribbon to use as an embellishment. This is the new 3/8″ (1 cm) Lemon Lolly ribbon from the Sheer Ribbon Combo Pack ribbon, cut in half lengthways.
Or this is a bow of the new Lemon Lime Twist ribbon from the Ribbon Duo Combo Pack. Which do you prefer?
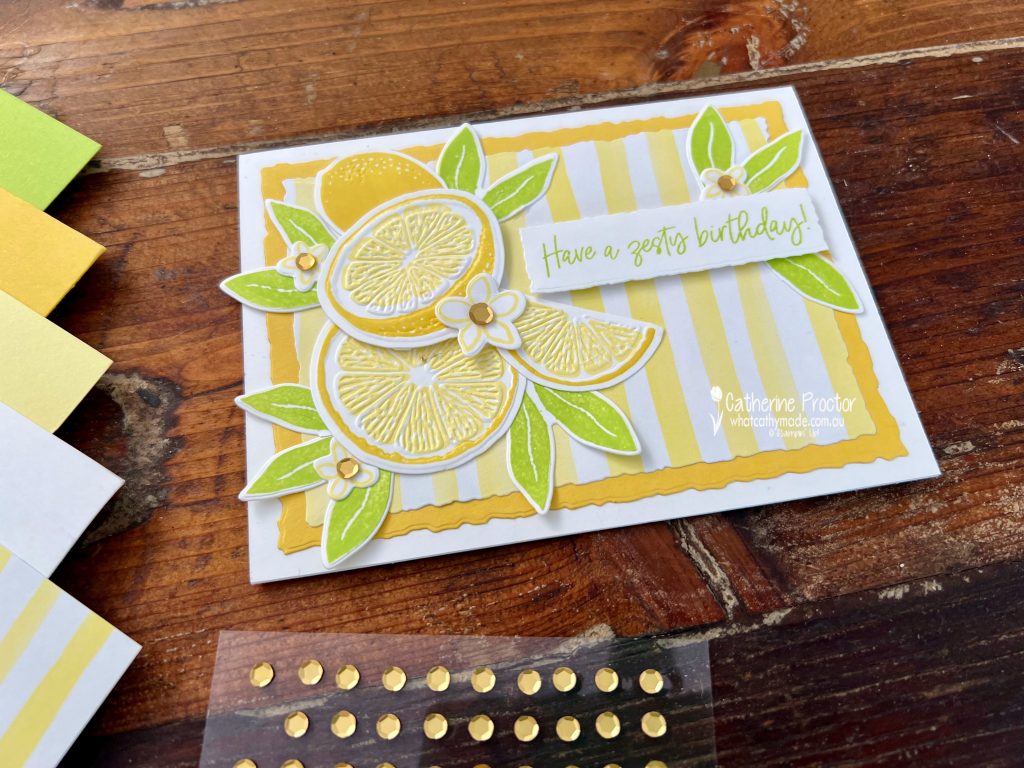
These Pastel Adhesive-Backed Sequins add just the right touch of bling. This week I’ve used the gold sequins, however there is also a soft blue and a light pink in the pack.
Now it’s time to hop on over to our next participant, the lovely Kate Morgan – I can’t wait to see what Kate has made this week!
If at any time you find a broken link, you can find the complete list of all participants below.
Next Wednesday we’ll be back showcasing the last of the new core colours, Pecan Pie, before we return to our other core colours for the rest of the year..
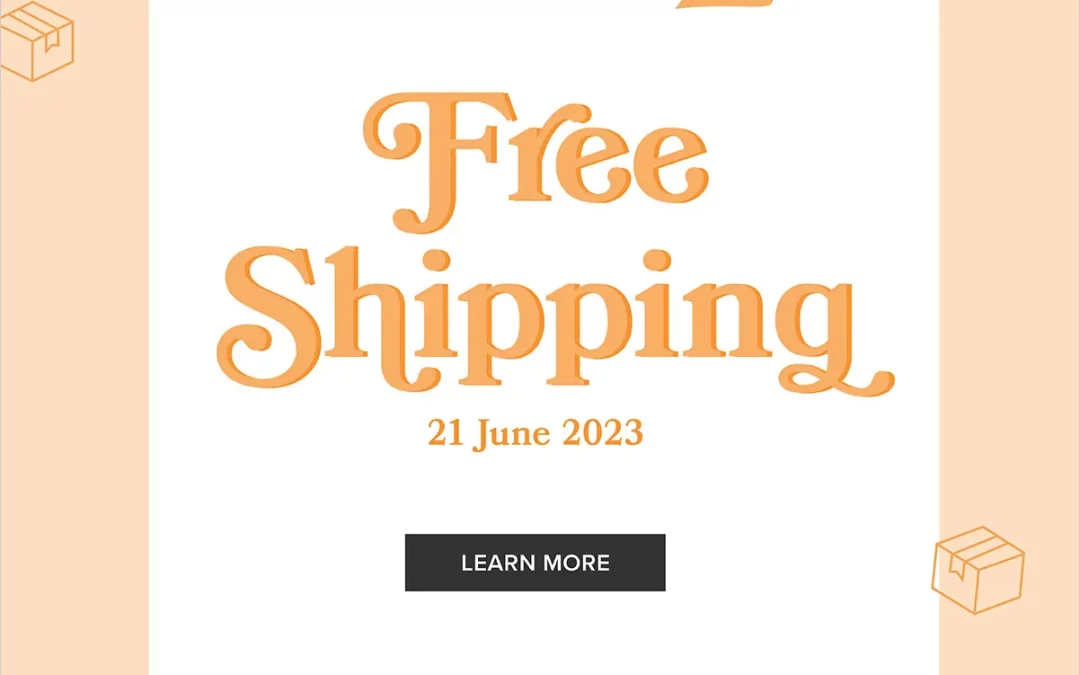
Stampin’ Up! is offering FREE SHIPPING on orders of $65 for ONE DAY ONLY on Wednesday, June 21st (tomorrow)!
The FREE SHIPPING offer is only for 24 hours on June 21 – don’t miss out!
You can order online here and use my current Host Code to receive a little gift: KA3KQRUX.
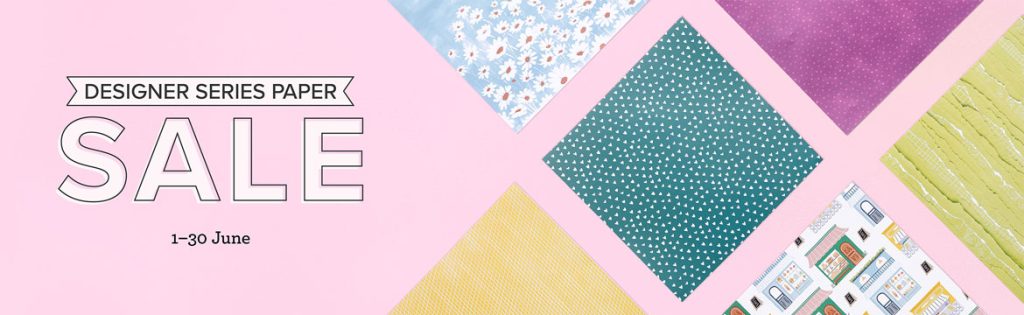
DON’T FORGET YOU CAN ALSO SAVE 15% ON SELECT DESIGNER SERIES PAPERS
Until June 30 you can save 15% off selected designer series papers. Here is the full list of papers on sale. To purchase any of these designer series papers simply click on the images below.
I’ll be back tomorrow night at 8pm, when the Art With Heart Colour Creations team will be showcasing another brand new colour, Lemon Lolly.
I hope you can join me then! Until then, stay safe and keep crafting!