The Christmas countdown continues – it’s 19 weeks today until Christmas Day! Have you started making Christmas cards yet?
Tonight I’m sharing some ideas on ways to use some of the Stampin’ Up! Christmas kits as they are all discounted for the month of August, so now’s the perfect time to purchase a Christmas kit.
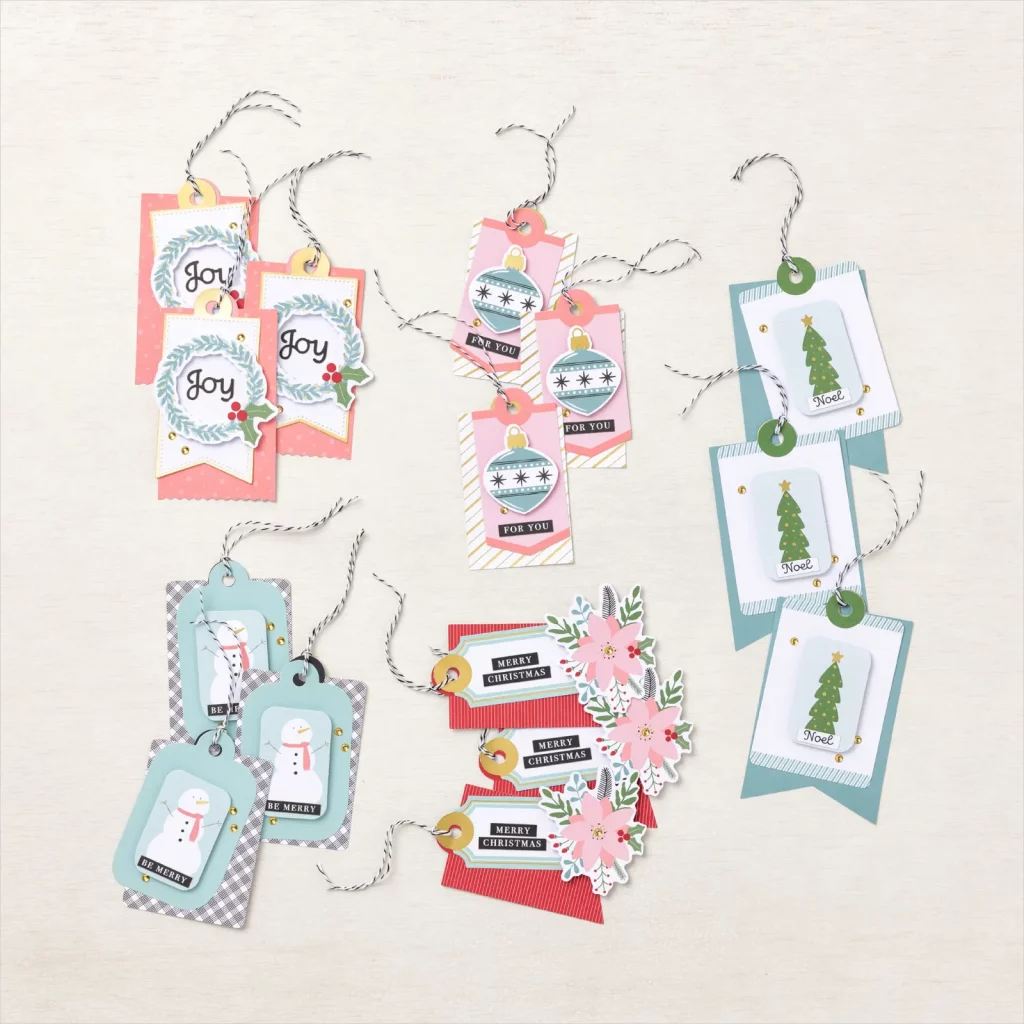
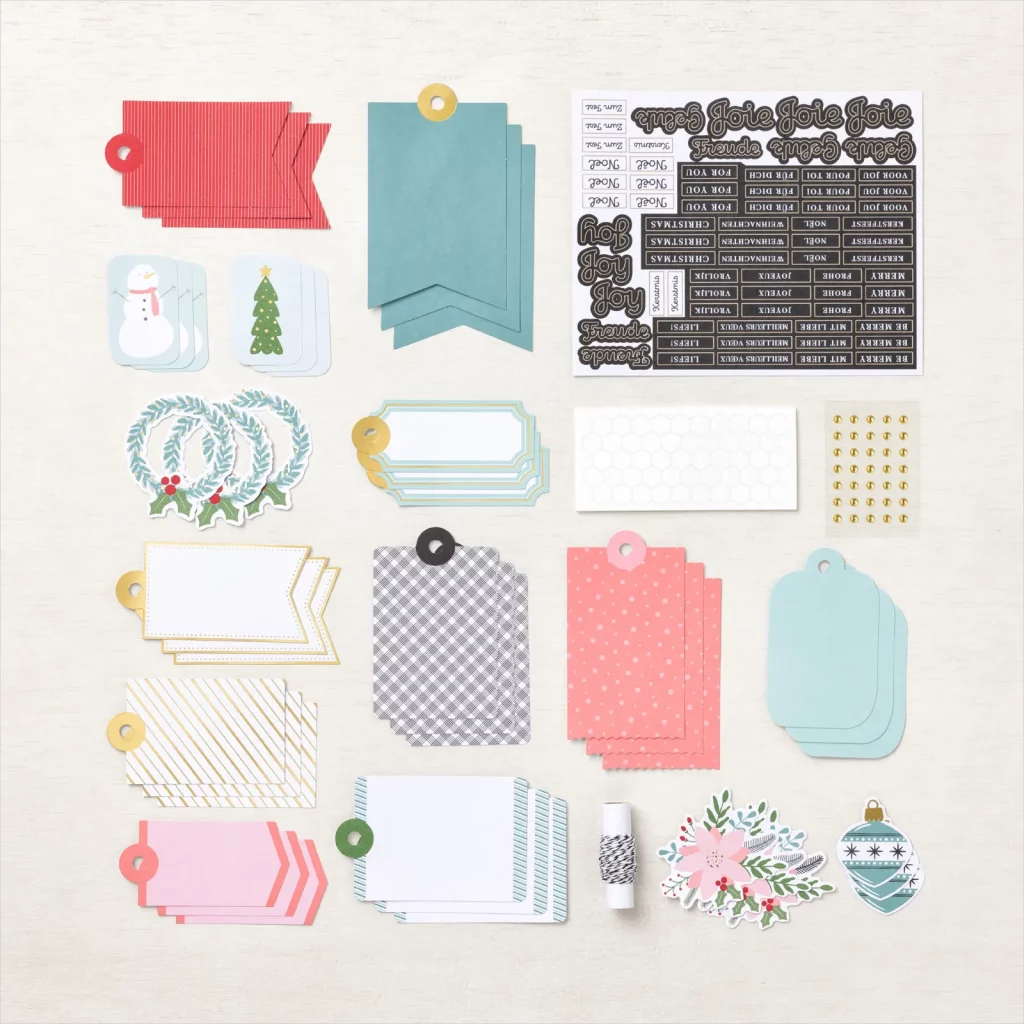
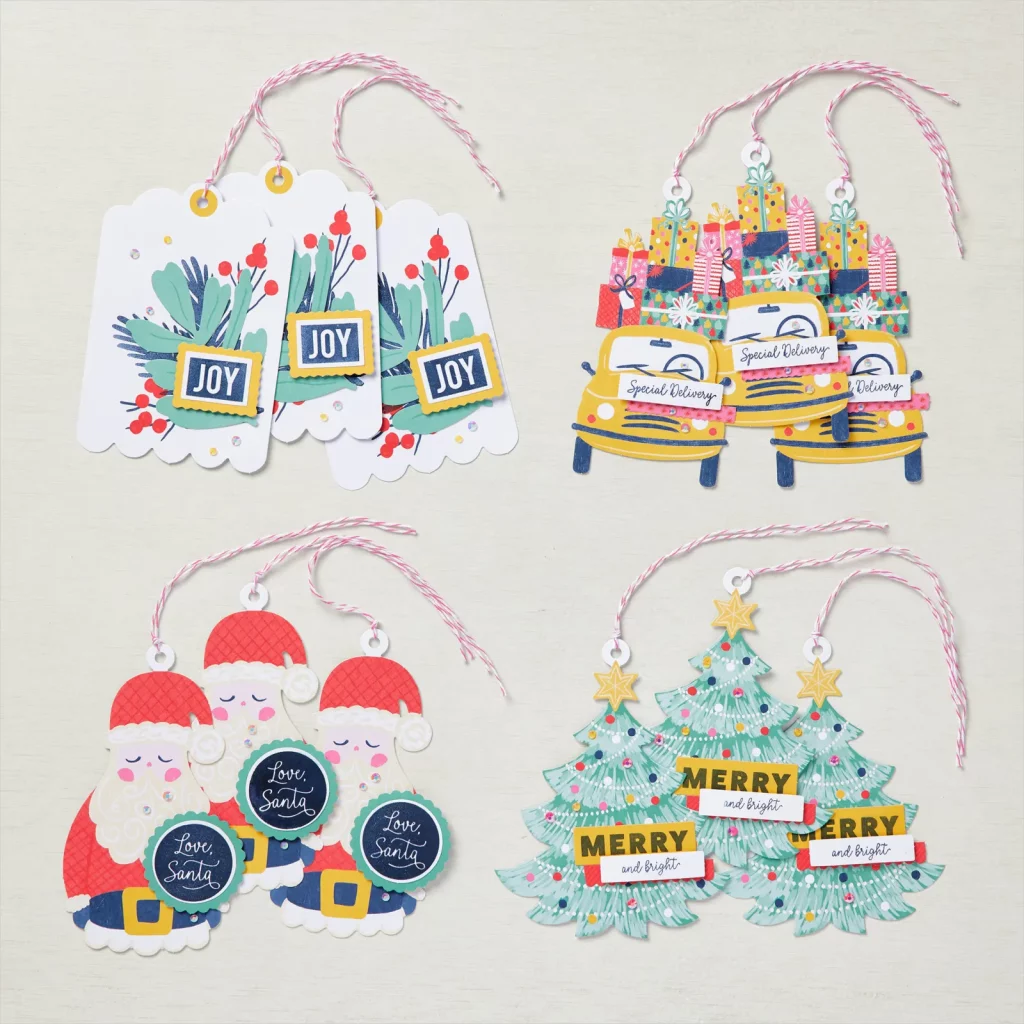
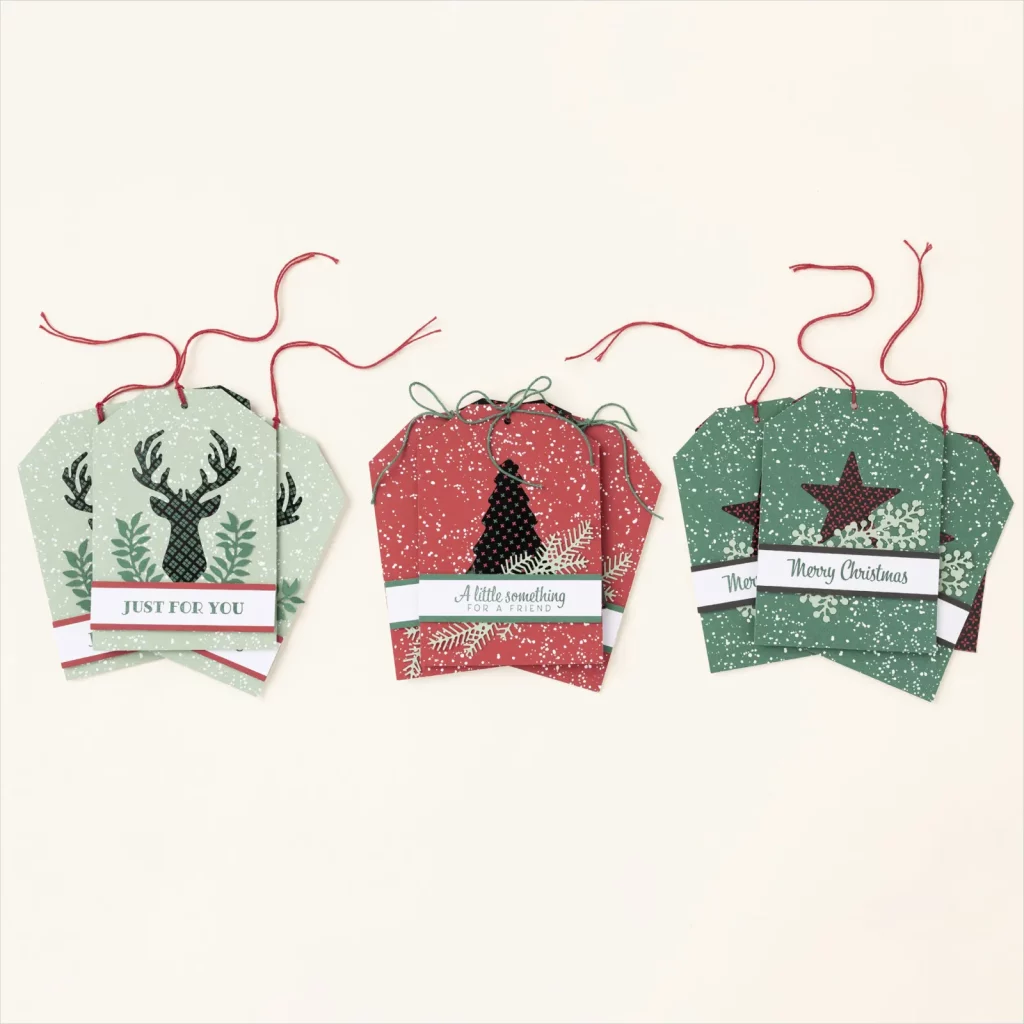
Currently, there are 5 kits to choose from and the kit I’ve used to create my cards today is the latest Stampin’ Up! kit, Festive Tags.
There is no stamping required to makes these tags and the sentiment pieces come in several languages.
I was lucky enough to watch Sara Douglass, Stampin’ Up! CEO, demonstrate this in person at a 35 for 35 event last month and she gave us all some samples to take home.
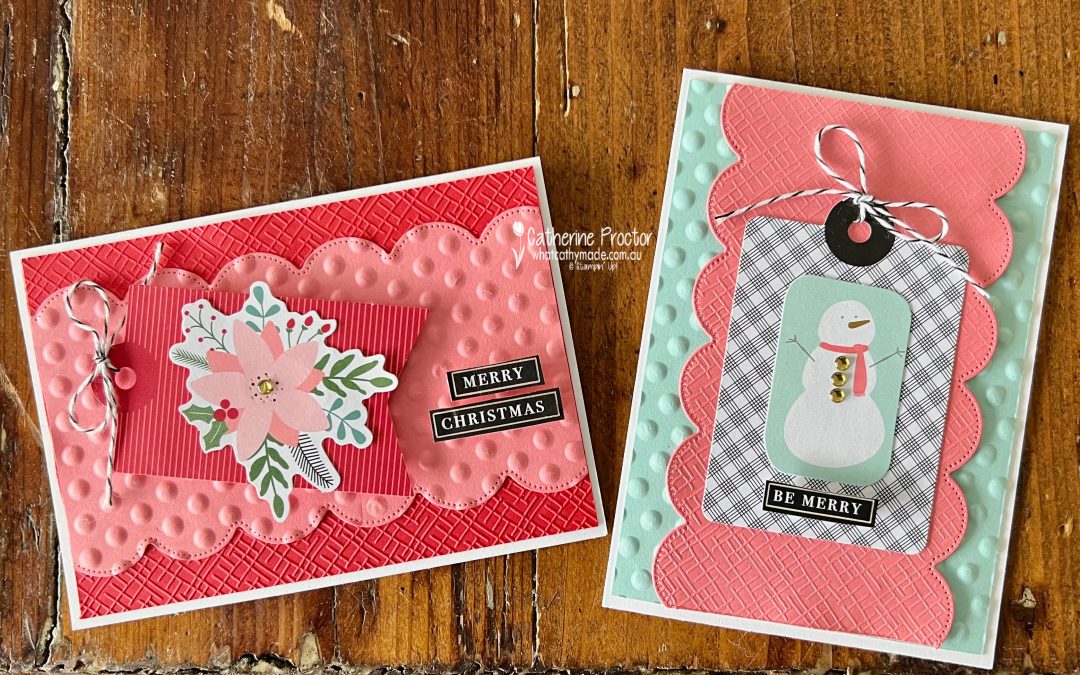
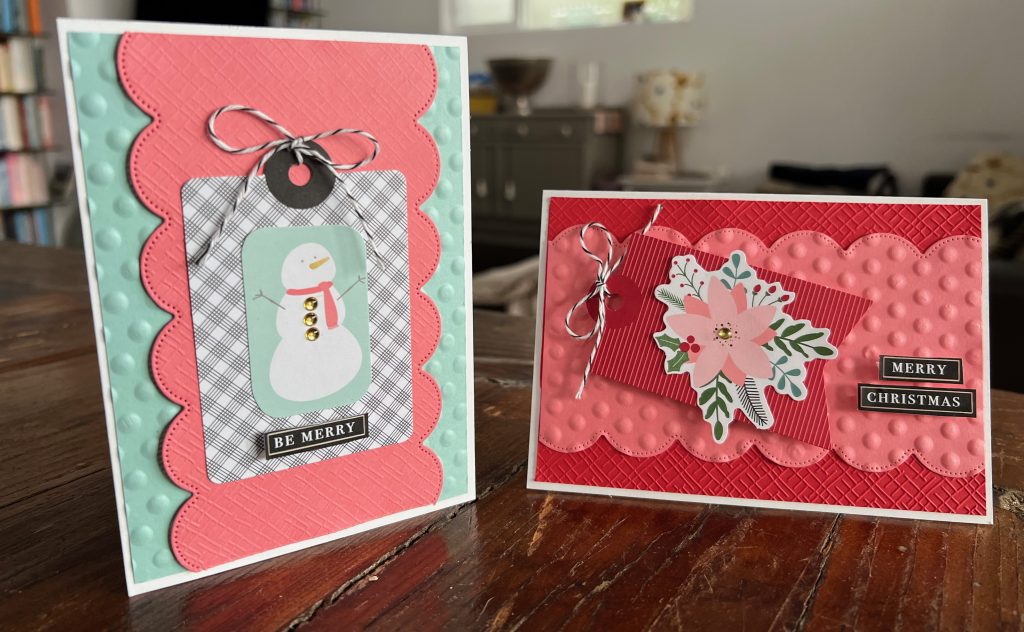
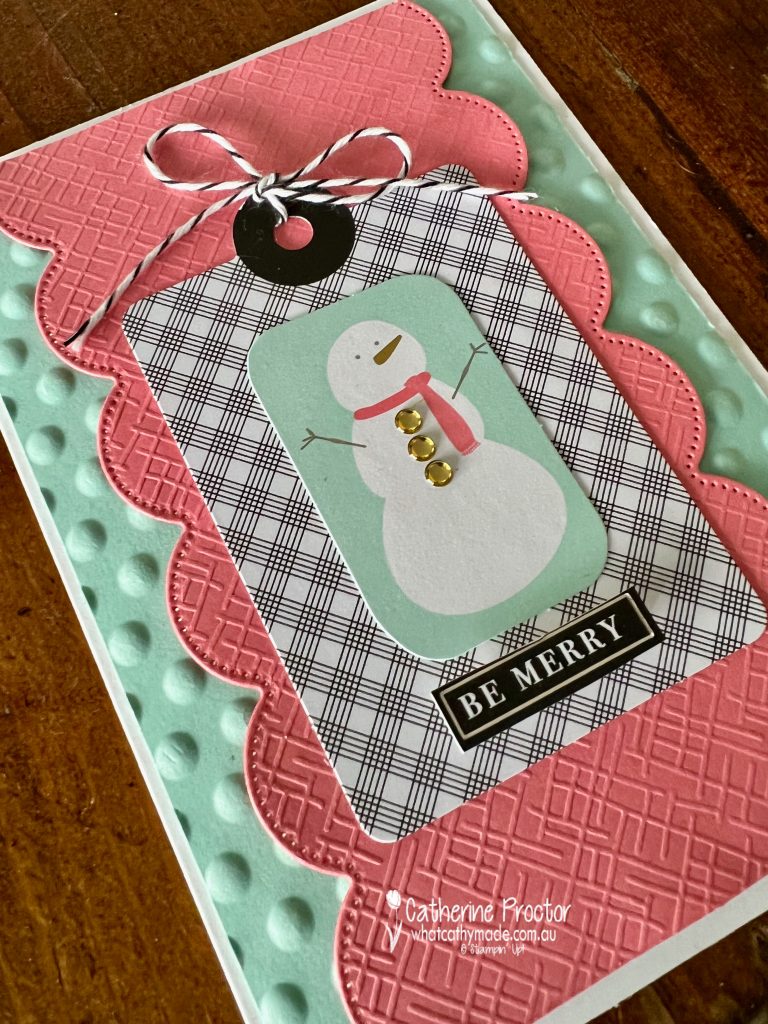
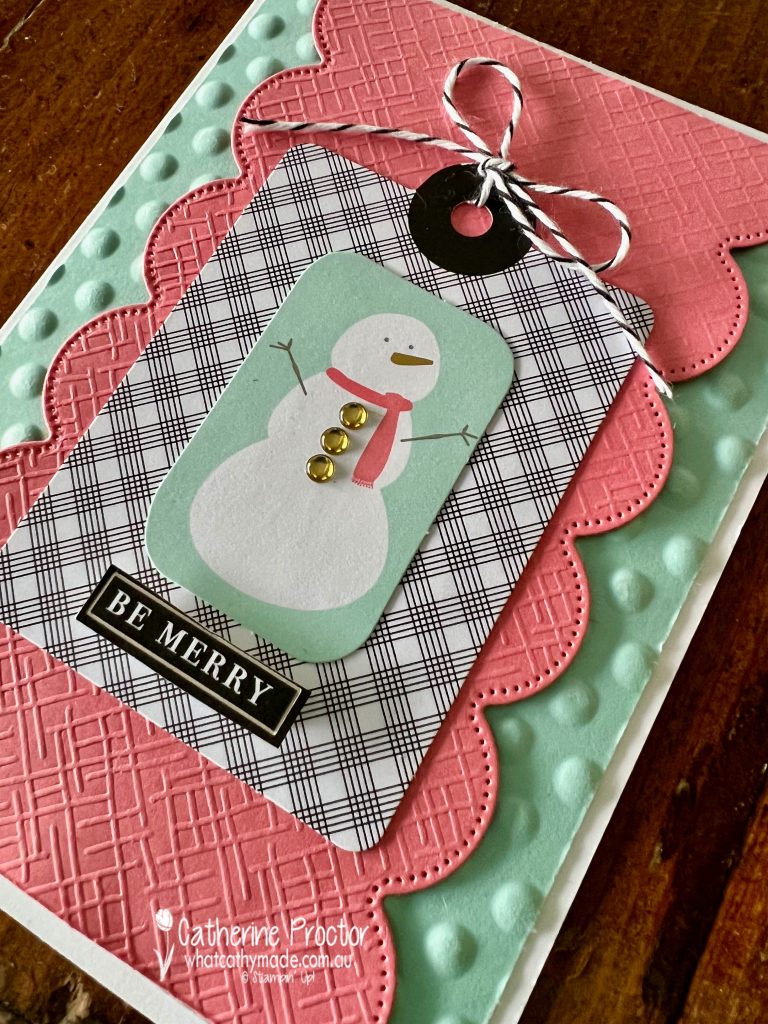
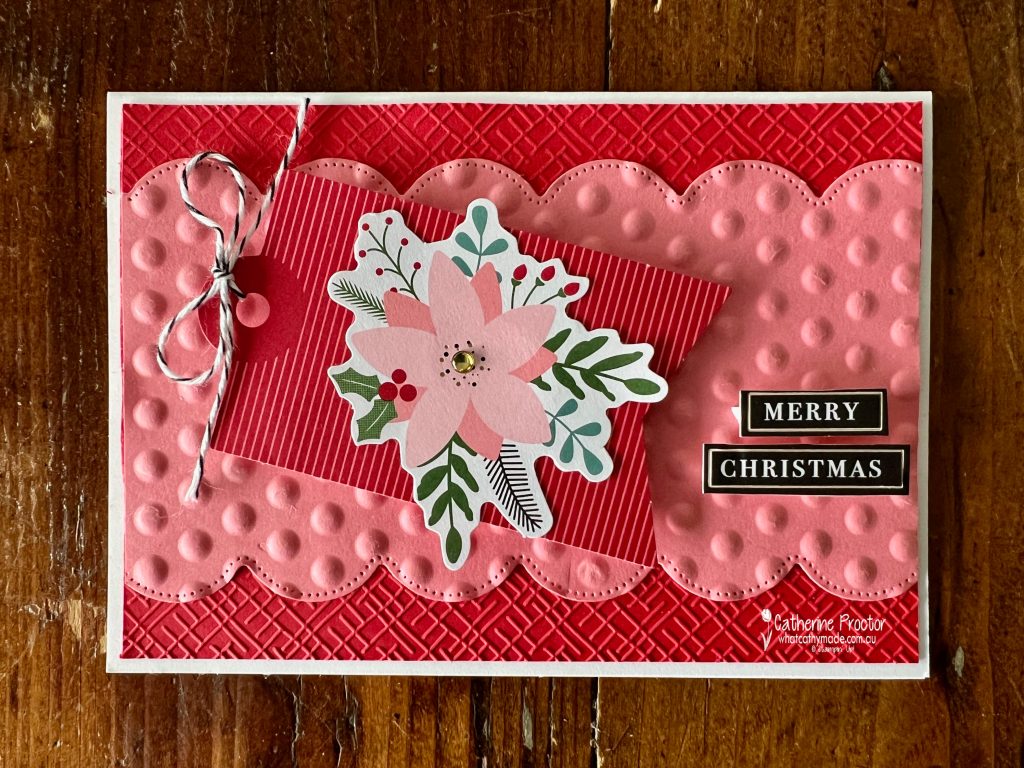
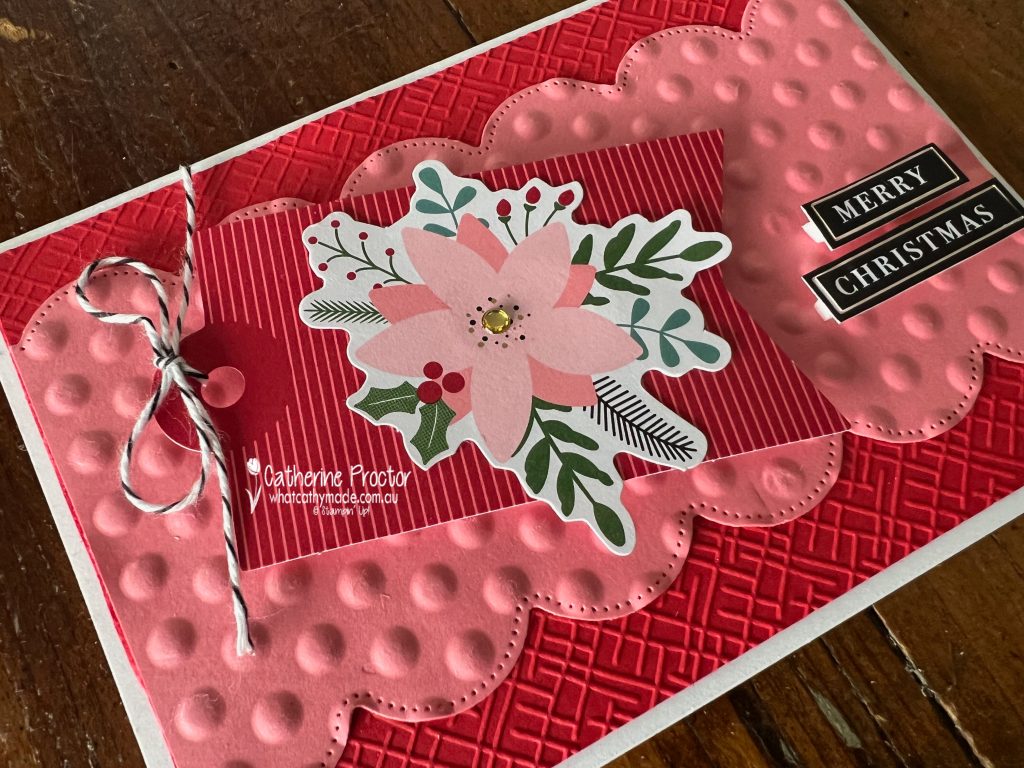
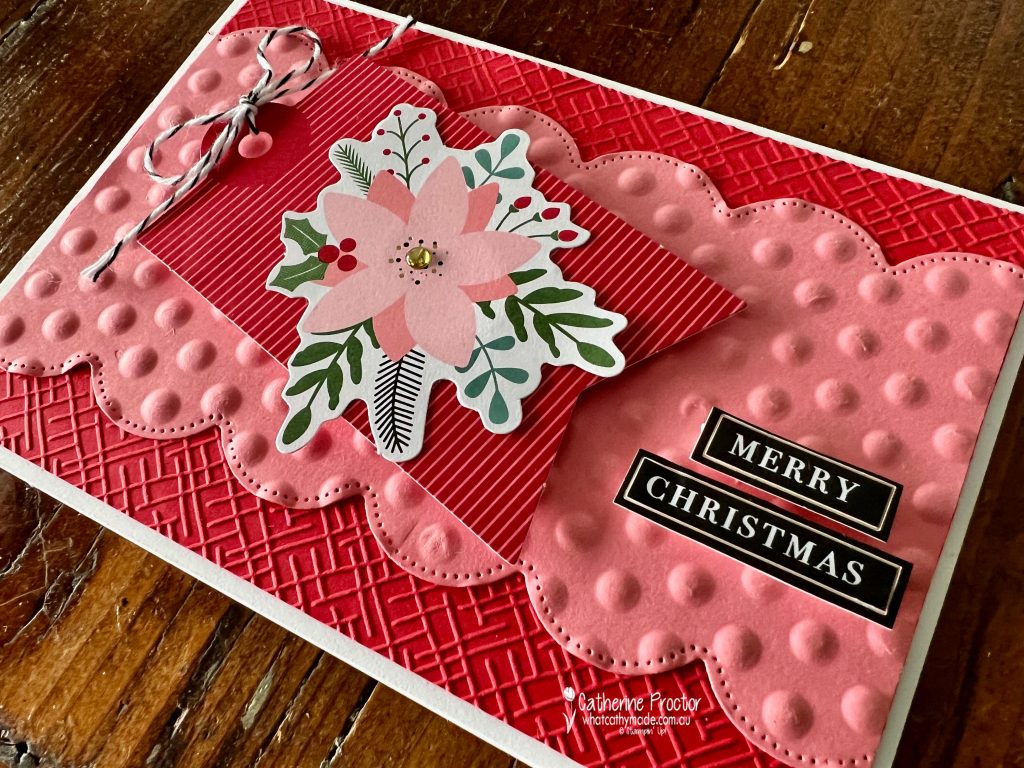
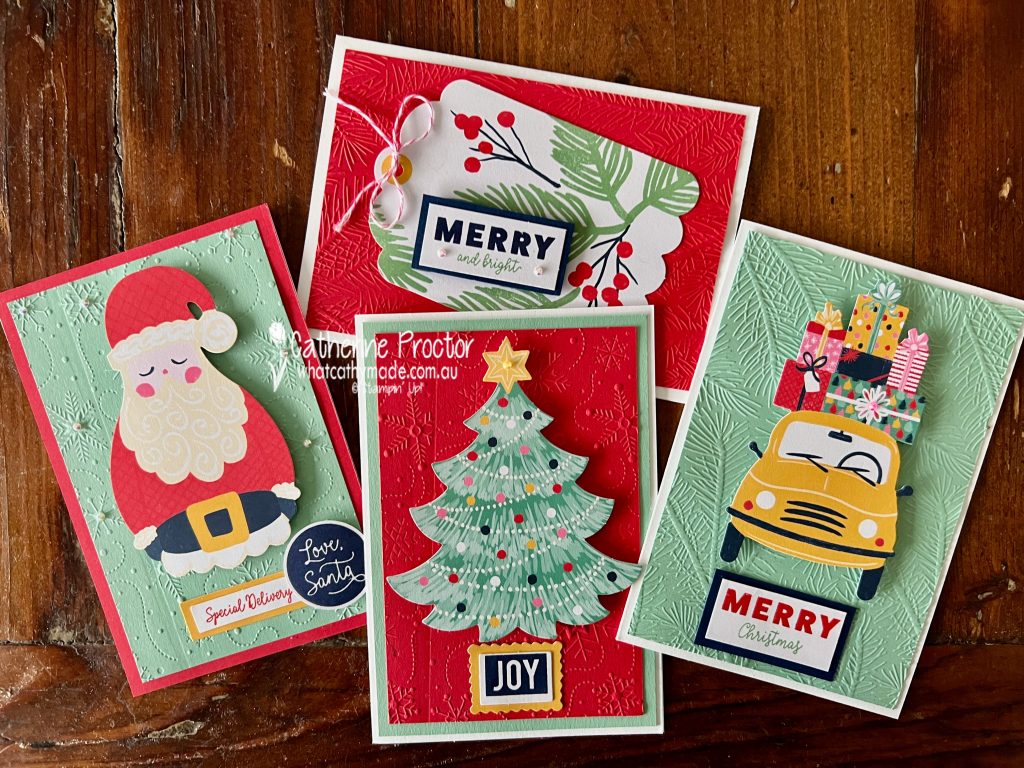
Although this is a tag kit, I’ve turned my sample tags into cards, by using a few extra supplies in the same colours used in the kit.
For the snowman card, I’ve embossed a layer of Pool Party card stock using the circles embossing folder from the Basics Embossing folders (online only).
The layer of Flirty Flamingo has been embossed using the crosshatch embossing folder from the Basics Embossing folders and a scalloped border die cut with the Scalloped Layers dies.
The floral Christmas card uses the same embossing folders and the Scalloped Layers dies to emboss and die cut Real Red and Flirty Flamingo card stock.
I love Flirty Flamingo and Real Red together!
The rest of the elements on my cards are all from the Festive Tags kit.
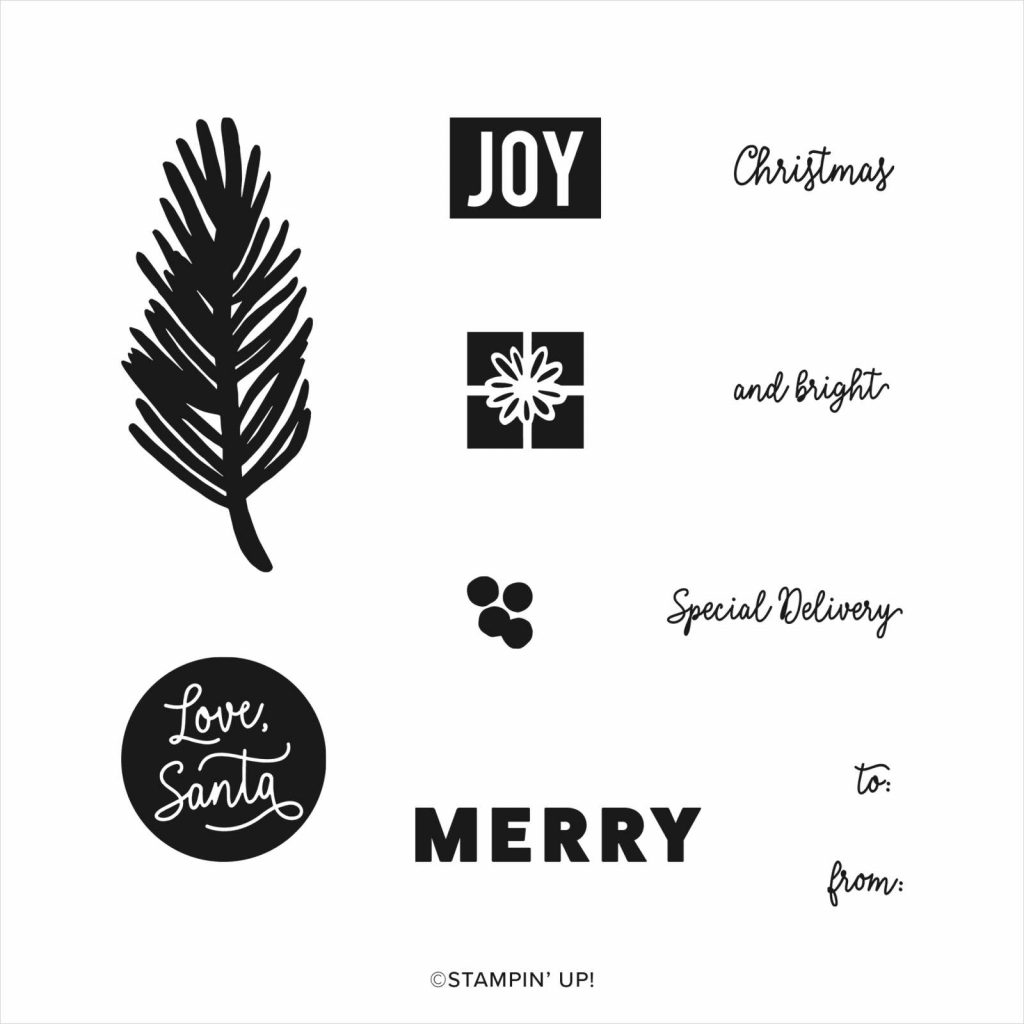
Some of the other Stampin’ Up! Christmas kits also have stamp sets, acrylic blocks and ink spots included.
The Love, Santa Tag Kit makes very large tags and it has a fabulous stamp set too.
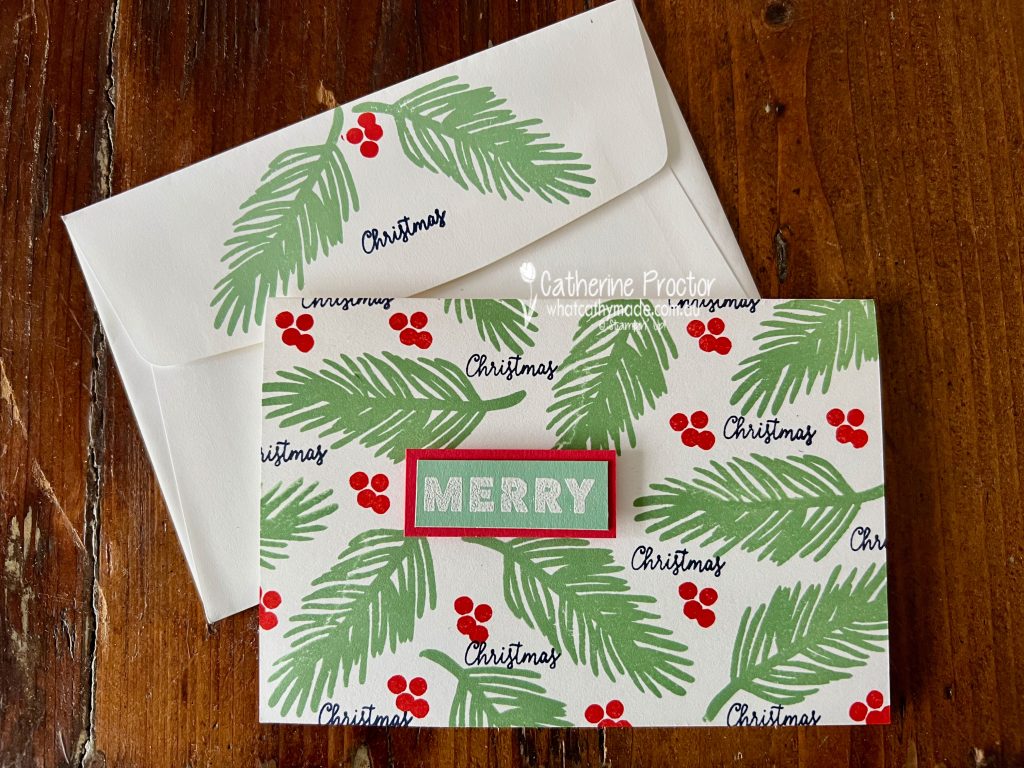
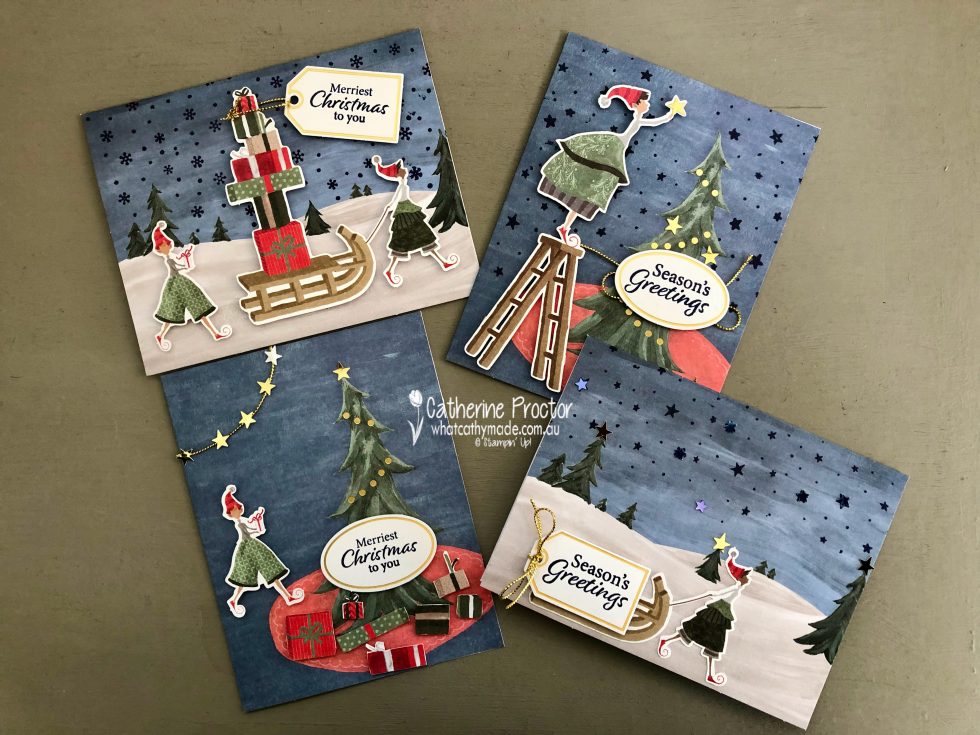
Here are variations on this kit I’ve previously shared – four cards using the tags, as well as another card with matching envelope using just the stamp set.
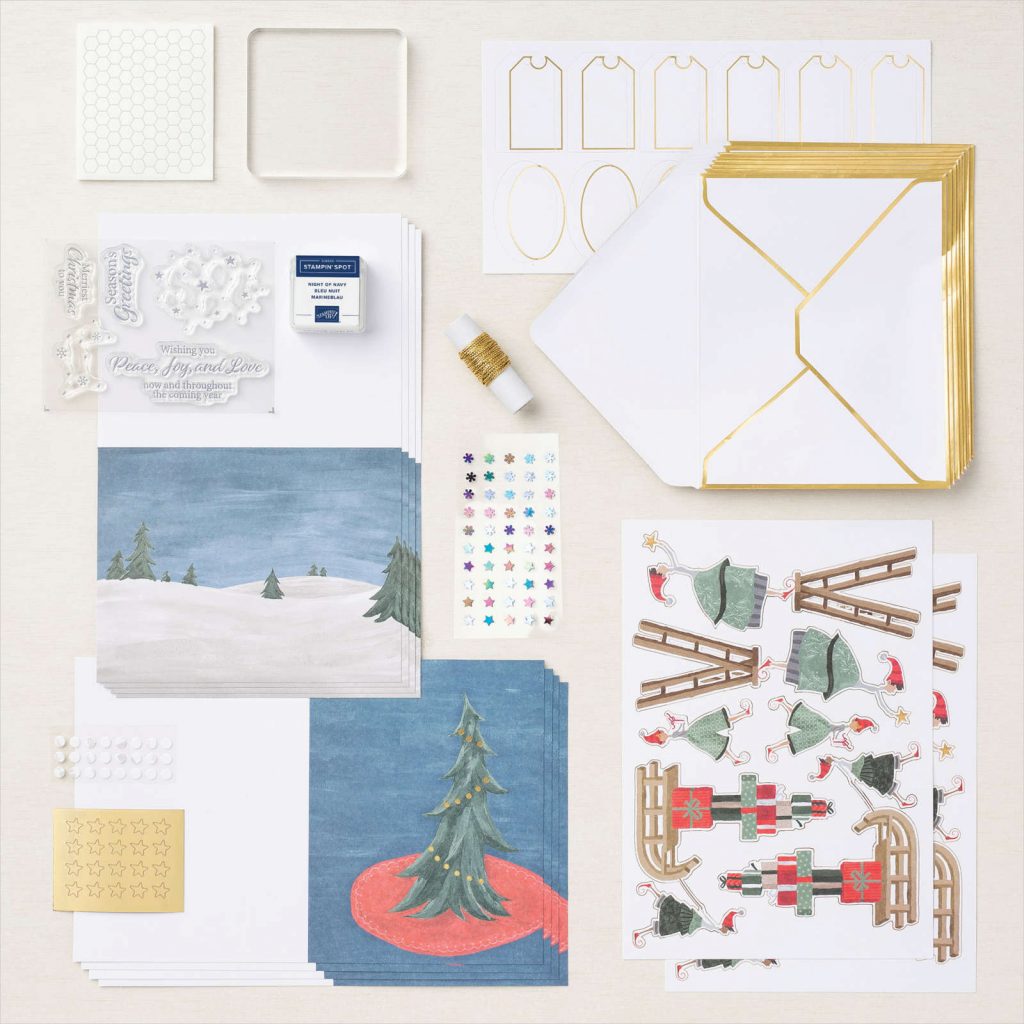
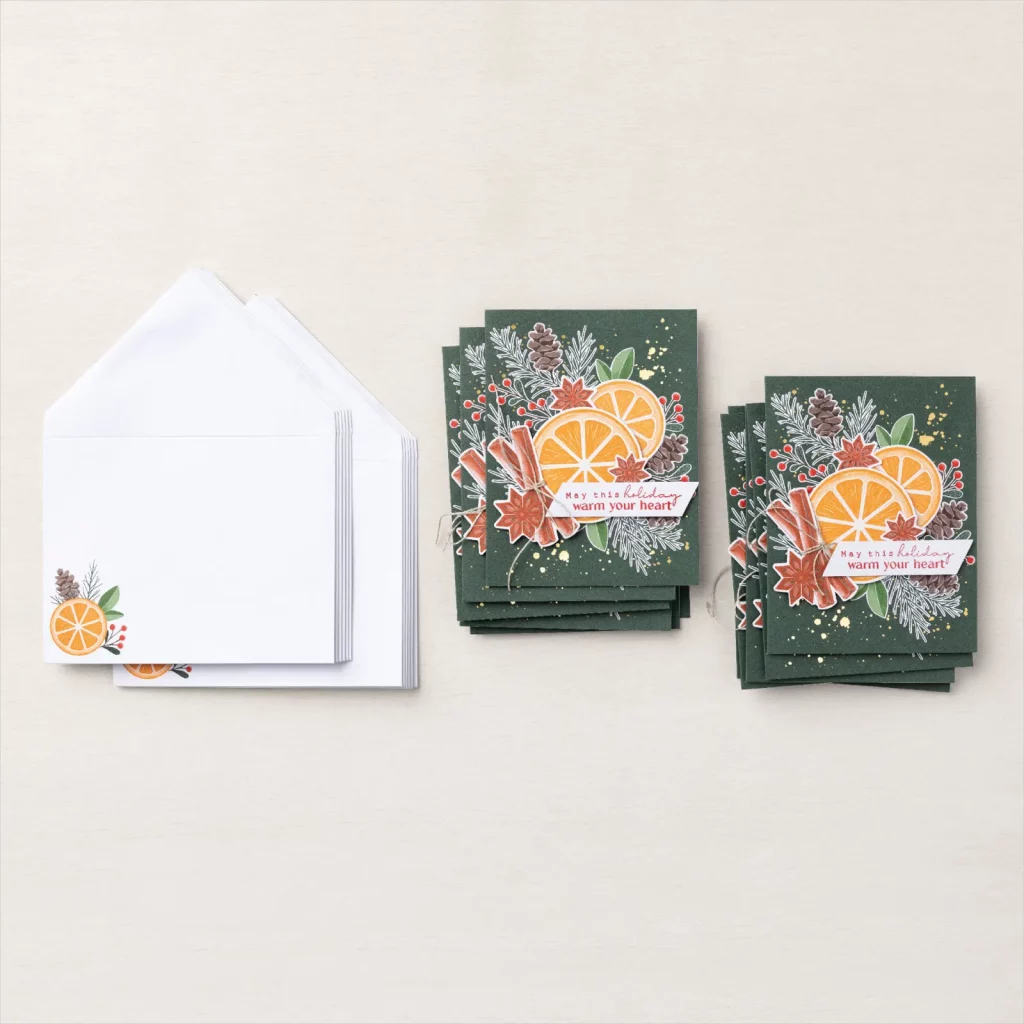
And here is the fabulous Christmas Whimsy card kit with its gold edged envelopes, stamp set and embellishments.
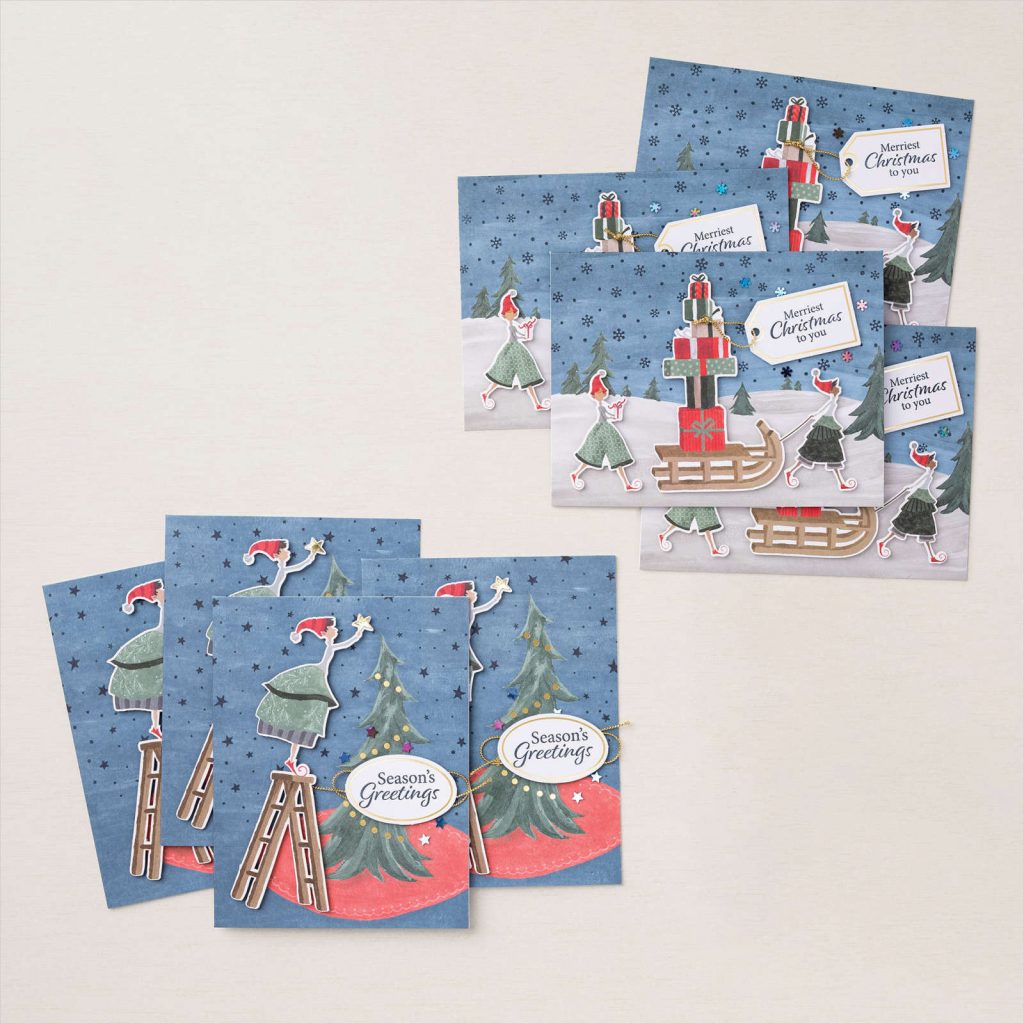
And here are my card variations – they only use the supplies included in the Christmas Whimsy card kit.
These are the other two Christmas kits, available online only. They both have stamp sets, acrylic blocks and ink spots included too.
It’s so fun and easy to get creative with the Stampin’ Up! Christmas kits – don’t forget to also use the stamps that come in the kits to create your own Christmas cards.
Now it’s time to hop on over to our next participant, the lovely Rachel Woollard. I can’t wait to see what Rachel has made this week.
If at any time you find a broken link, you can find the complete list of all participants on Sharon’s blog.
Welcome to week fifteen of our Art With Heart 2023-24 Colour Creations blog hop!
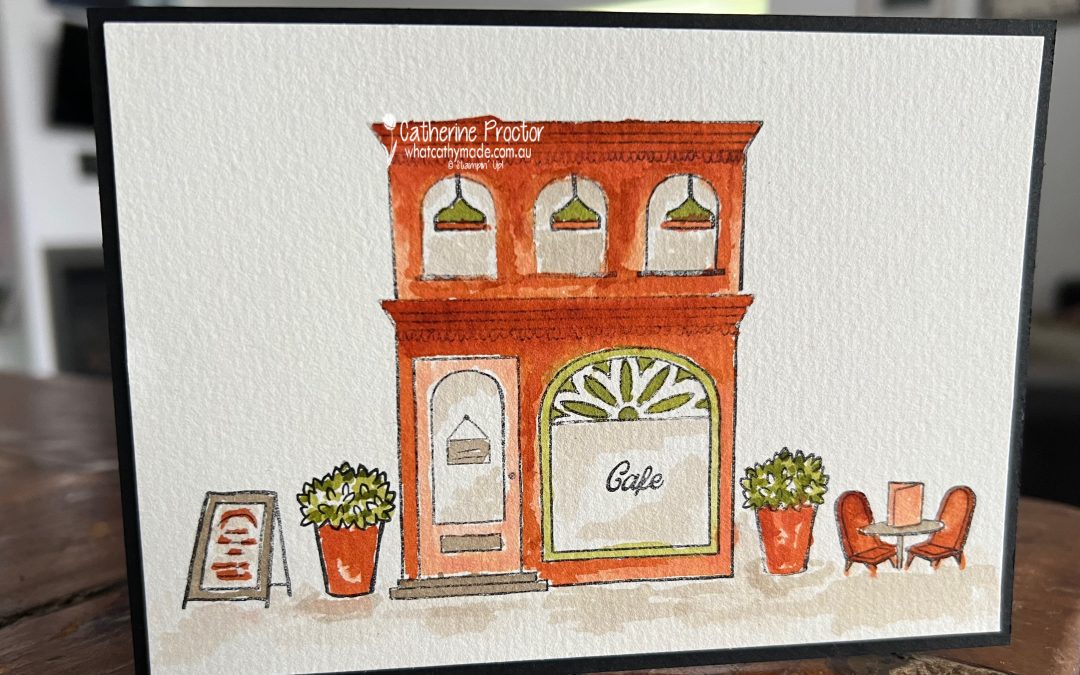
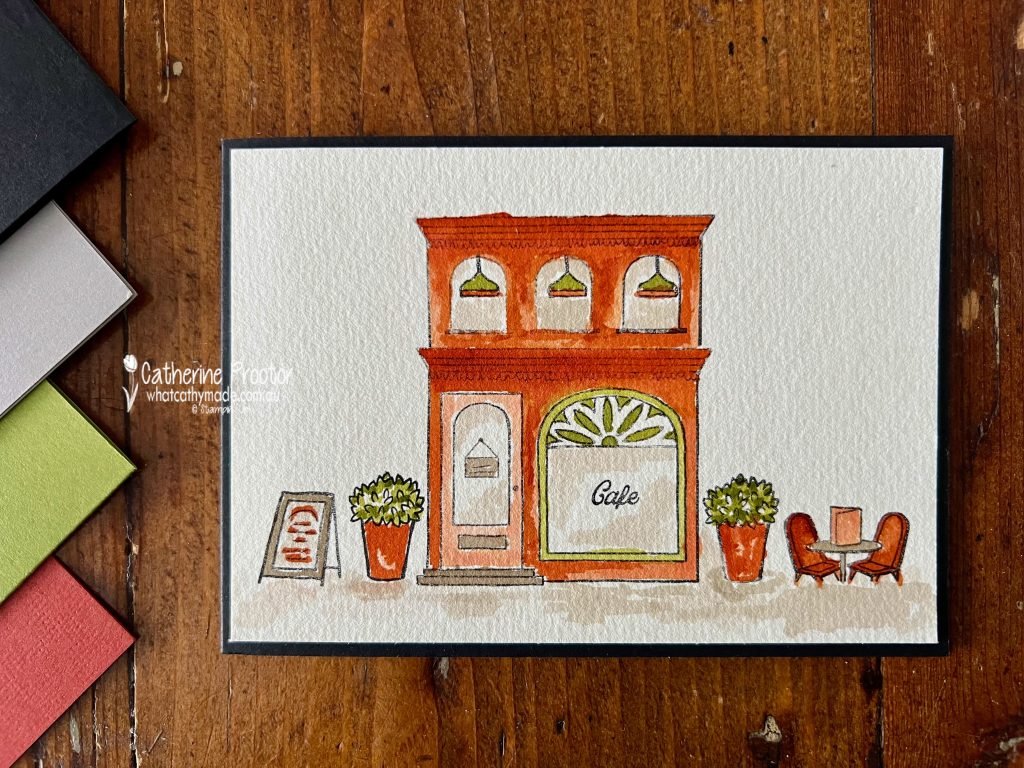
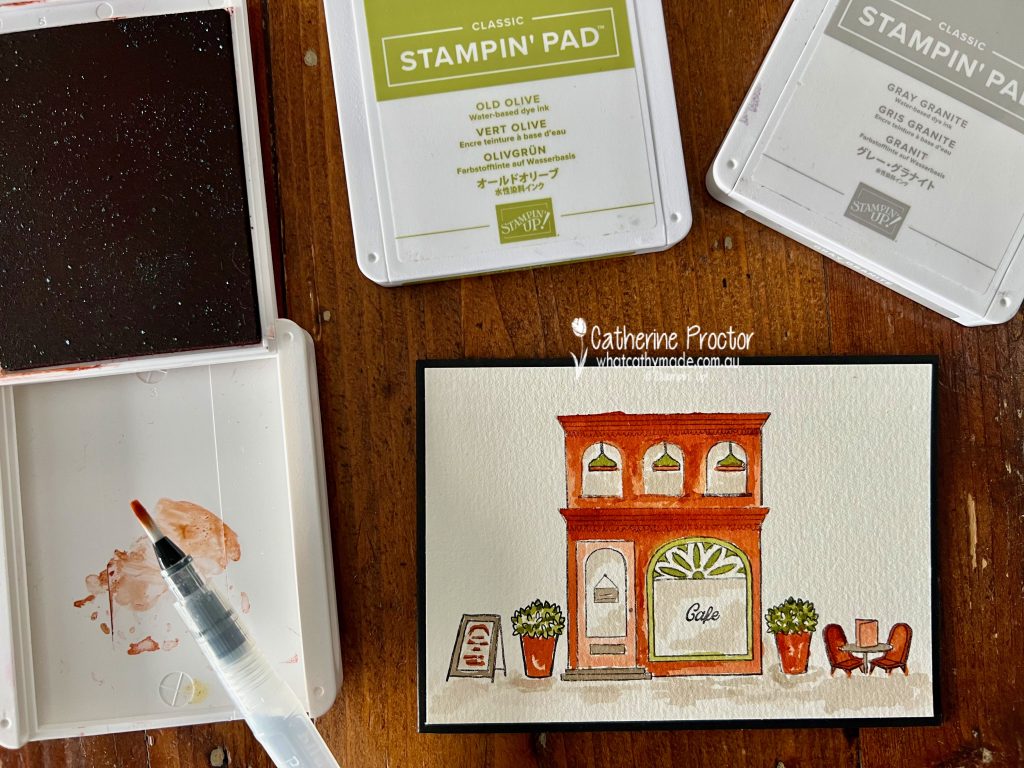
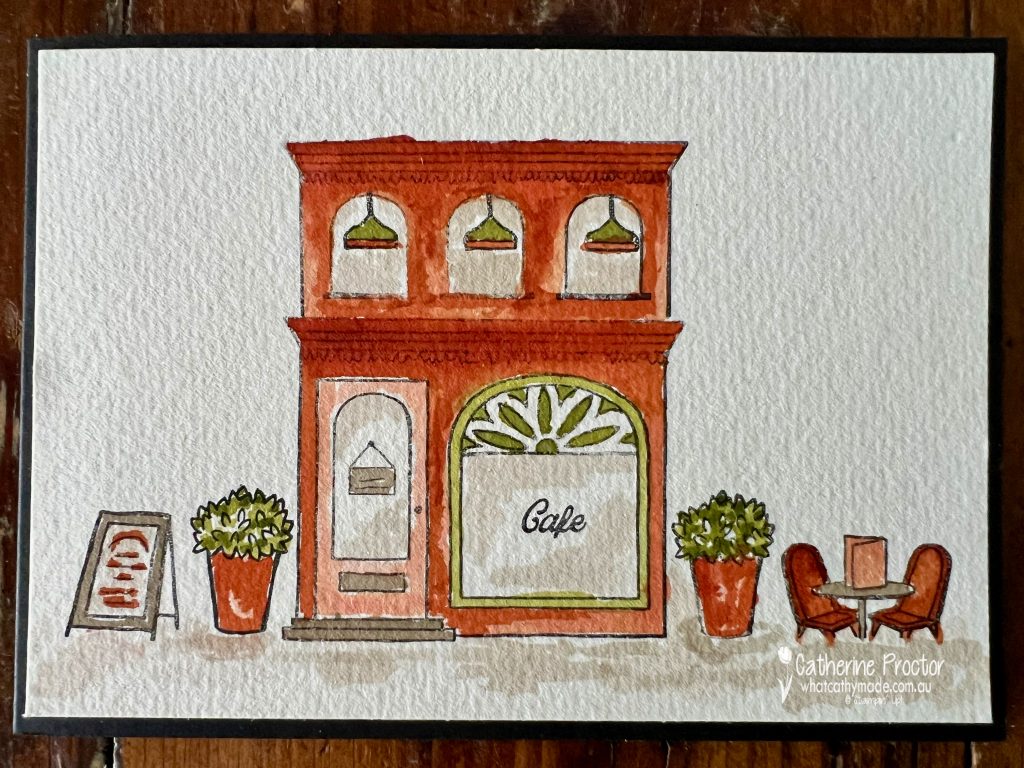
Cajun Craze is our colour for this week and as it’s a colour that always makes me think of terracotta pots or brick walls I decided to use the Let’s Go Shopping stamp set to make a watercolor card.
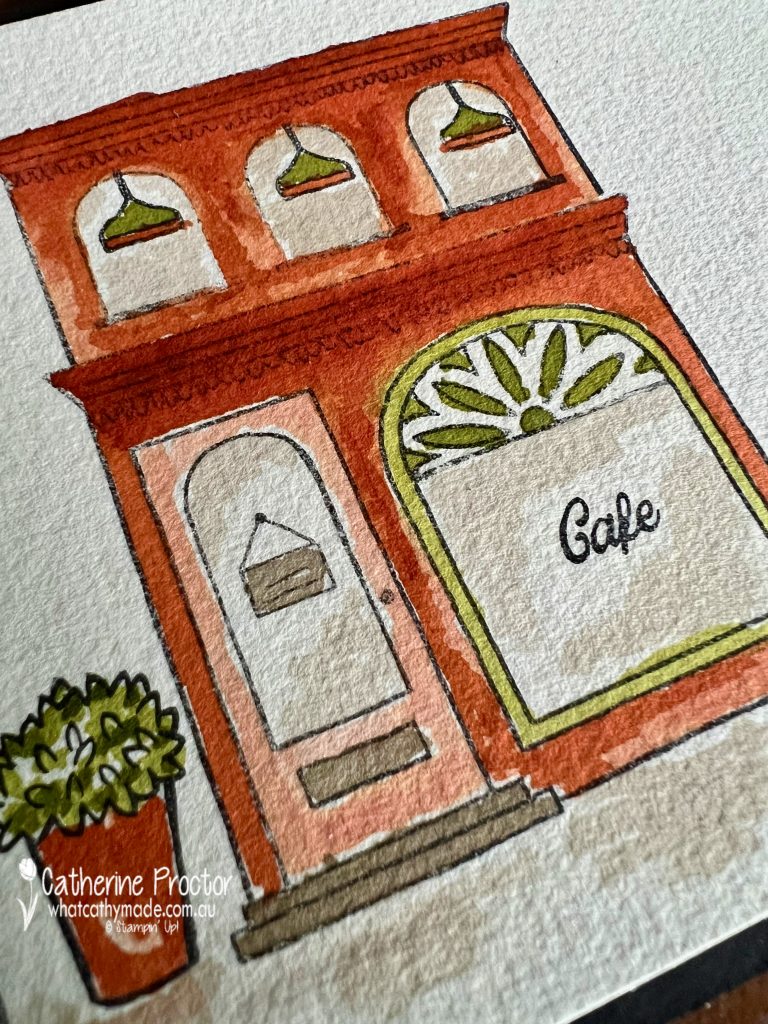
I’ve kept my colour palette fairly simple, stamping the images in Stazon Black Onk onto watercolour paper before watercolouring in Cajun Craze, Old Olive and Gray Granite.
I love the “looseness” of watercolour. Even though I’m not very proficient at watercolouring there aren’t really any mistakes with watercolour. Or at least that’s what I like to tell myself!
Watercolour is a great way to maximise your colours as you can achieve so much variety of depth from each colour. The pale pink door is Cajun Craze watered right down and the entire building is different intensities of Cajun Craze.
Although I now have the reinkers, I still find it easiest to either press my inkpad lids into the ink pad and use the lid as my palette or ink up my acrylic blocks with my ink pads and use the blocks as my palette.
Gray Granite adds shadow and grounds the entire scene.
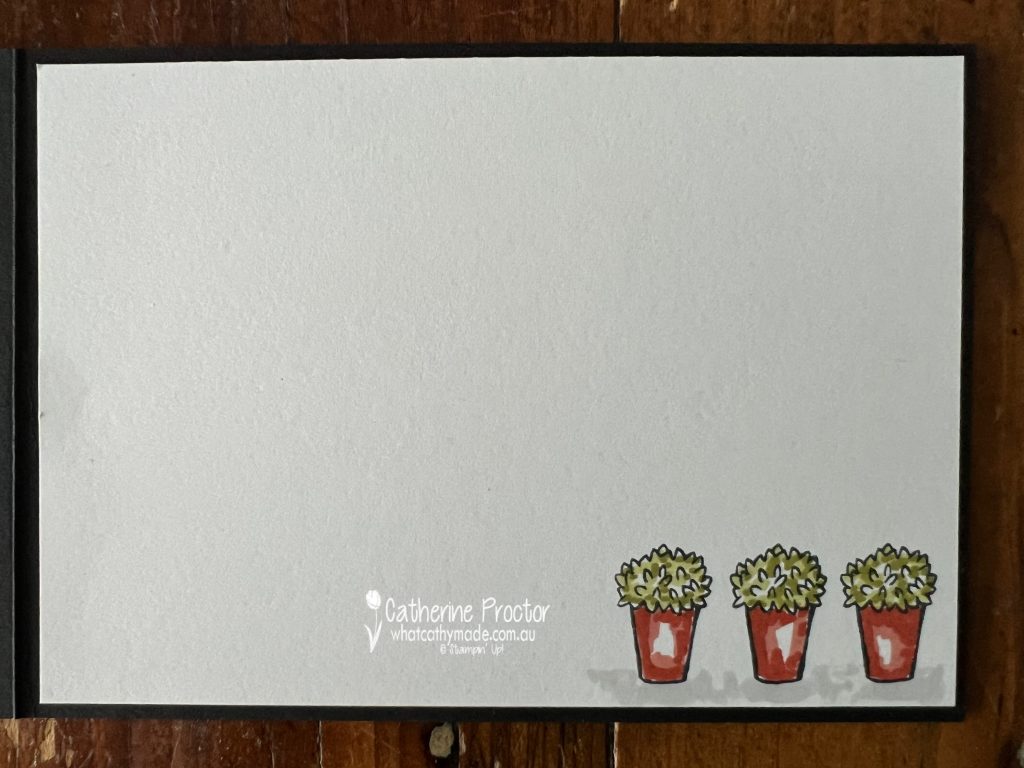
As I didn’t use watercolour paper for the inside of my card I stamped the pots using Memento ink and coloured them in with Stampin’ Blends instead.
Now it’s time to hop on over to our next participant, the lovely Tina Gillespie – I can’t wait to see what Tina has made this week!
If at any time you find a broken link, you can find the complete list of all participants below.
Are you ready for 17 weeks of Christmas inspiration?
Yes, I know it’s still 20 weeks today until Christmas, however time does fly and it’s also less than a month until the Stampin’ Up! 2023 September-December Mini Catalogue (AKA the Christmas Catty) goes live on 6 September.
So, beginning tonight, our Art with Heart team will be sharing Christmas inspiration, tips and tricks every Monday night for 17 weeks right up until November 27th.
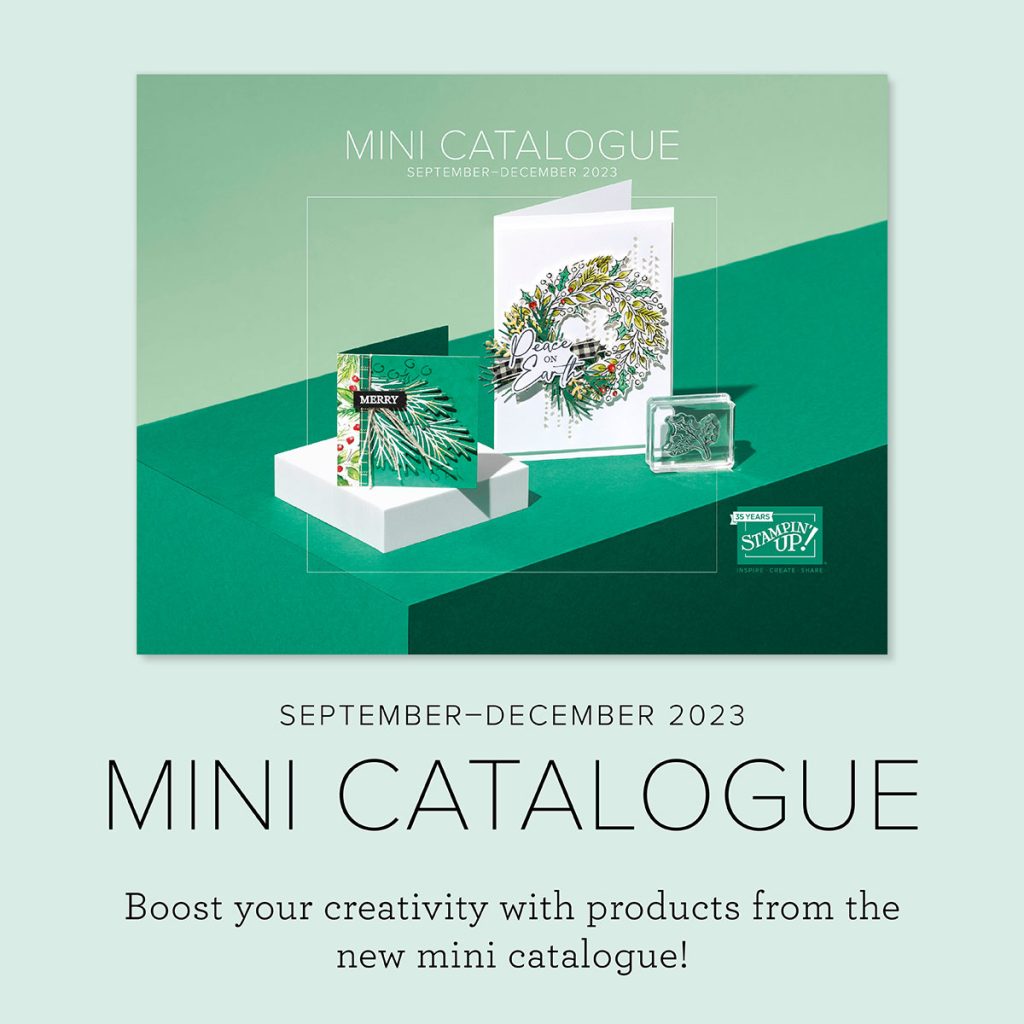
If you haven’t already received your paper copy of the Stampin’ Up! 2023 September-December Mini Catalogue in the post, here’s a sneak peek of the cover. Isn’t it stunning?
Luckily, as a demonstrator, I already have a copy of the catalogue and I was able to place an order last week which I received just in time to make a card for our very first 2023 Heart of Christmas blog hop.
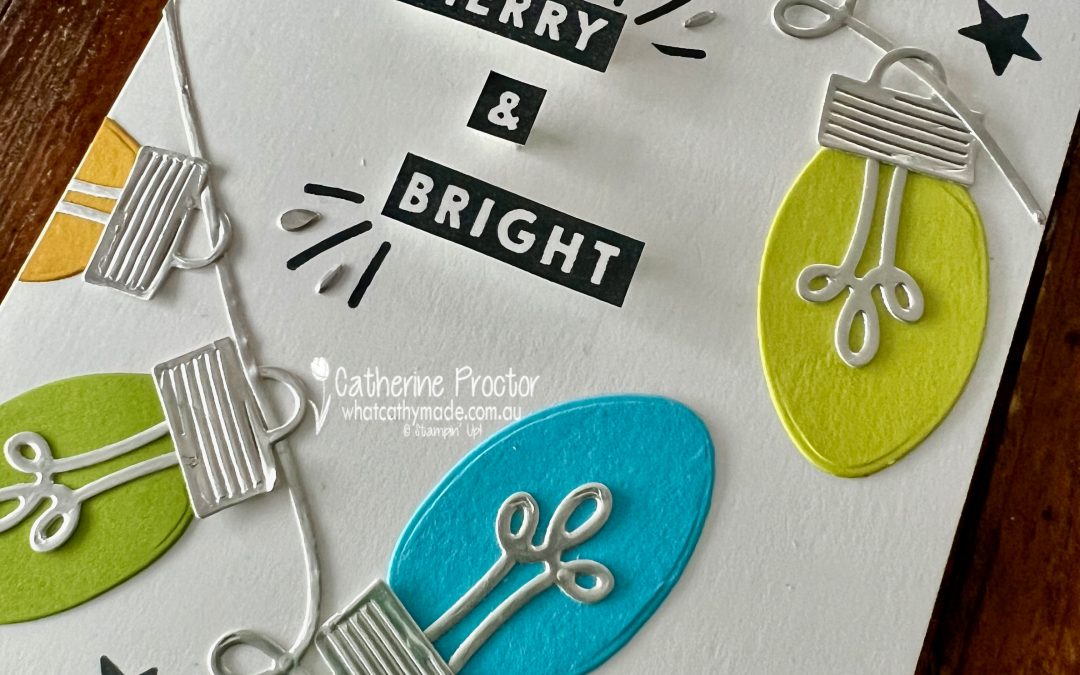
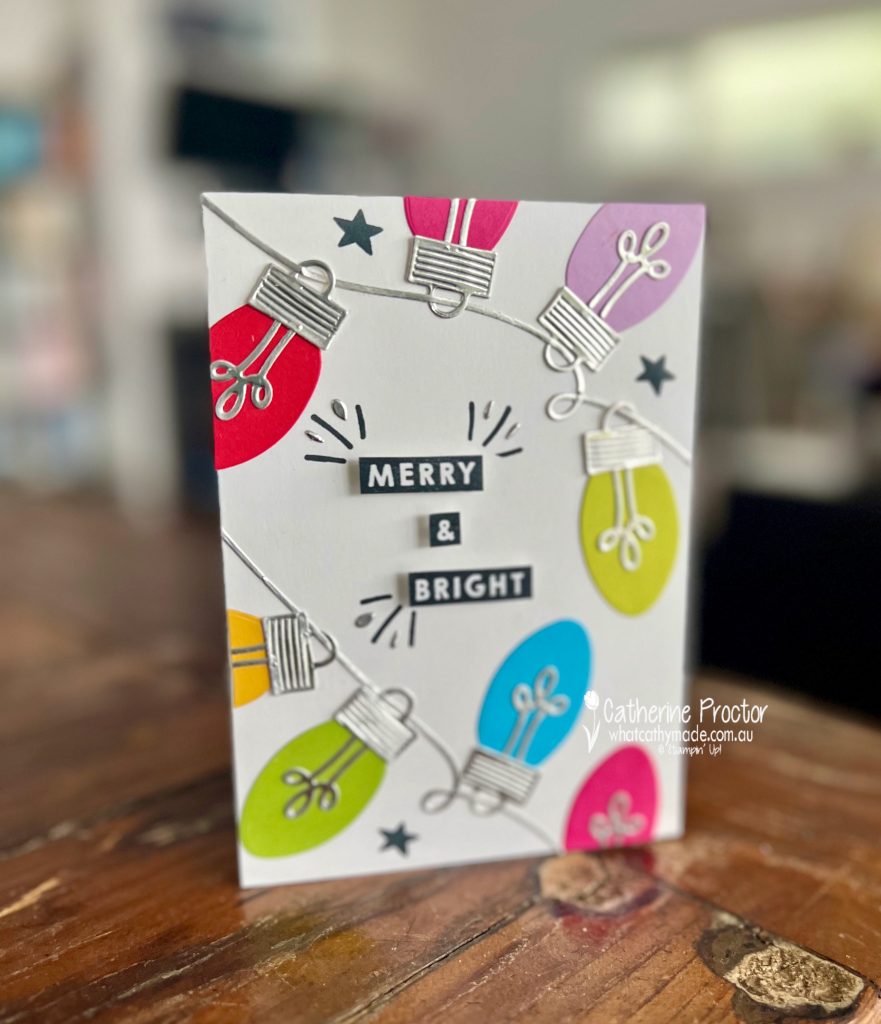
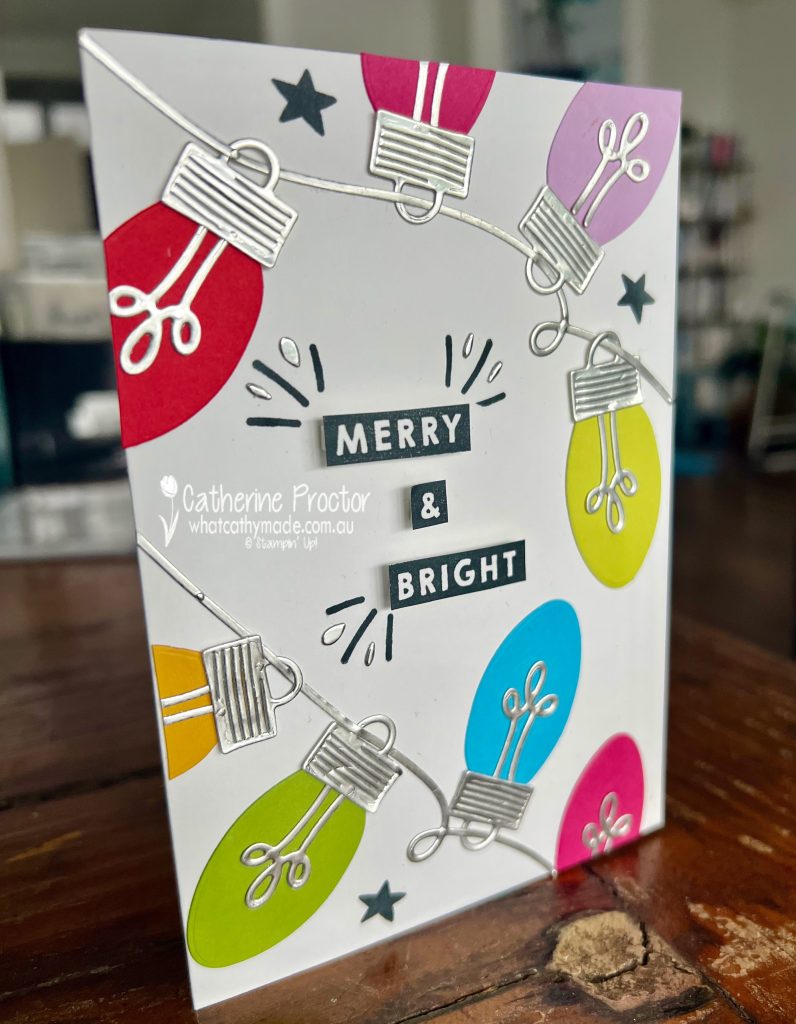
I’ve decided to start my 17 weeks of Christmas card making using a one of the brightest, boldest and happiest bundles in the catalogue – the Merry & Bright bundle.
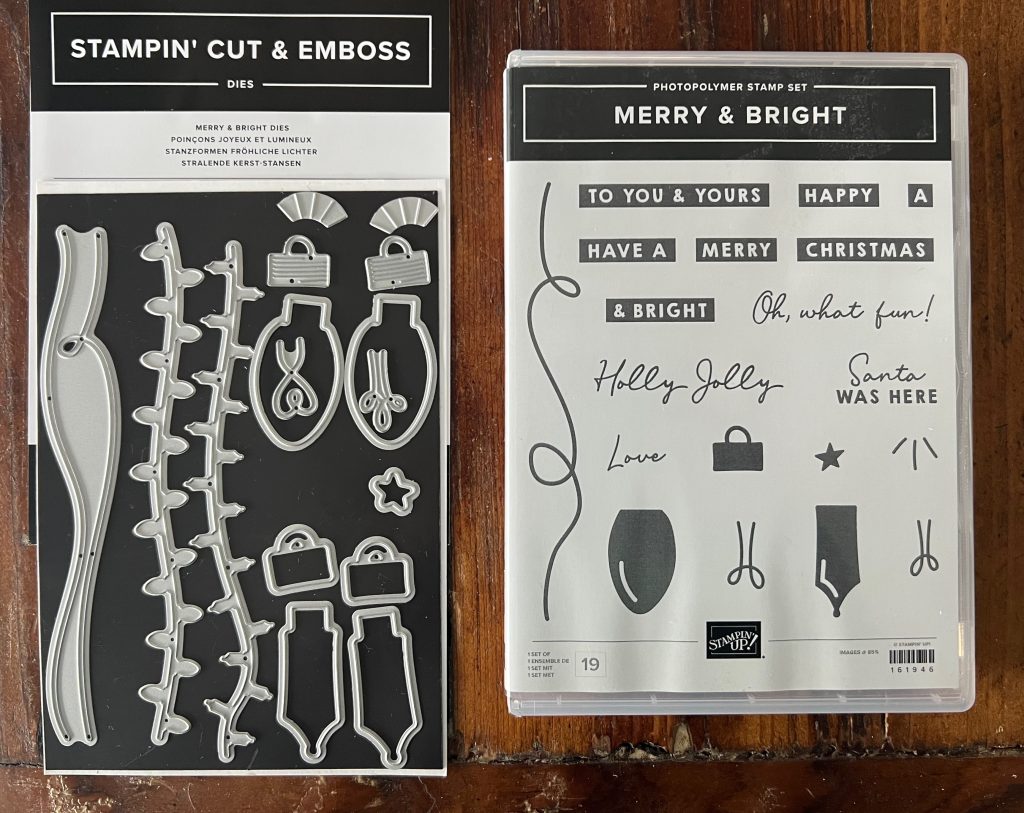
We’re not permitted to share the inside pages of the catalogue until September 6, however I can show you my own photos of the products I’ve already bought.
Introducing the fun and fabulous Merry & Bright bundle!
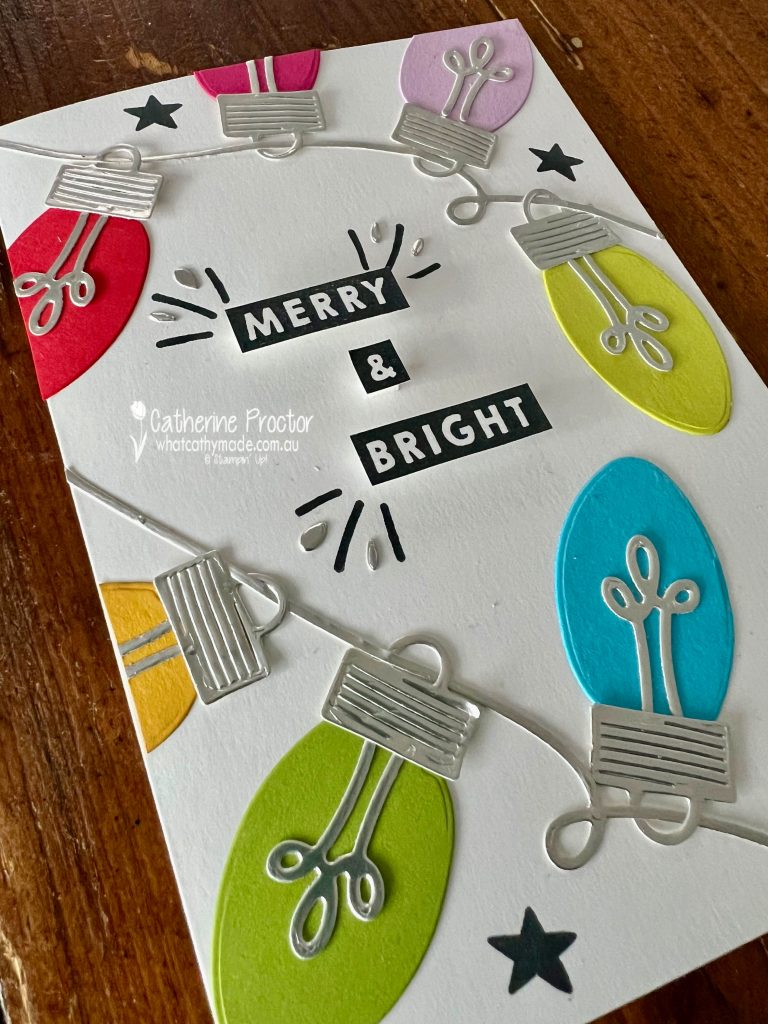
My card’s colour scheme is basically an assortment of scraps of bright and happy cardstock colours that were lying around on my craft table.
TOP TIP – The silver foil was adhered to an adhesive sheet before die cutting. This makes it super easy to position and reposition the die cut pieces on the card without any glue mess. The die cuts basically become a repositionable sticker!
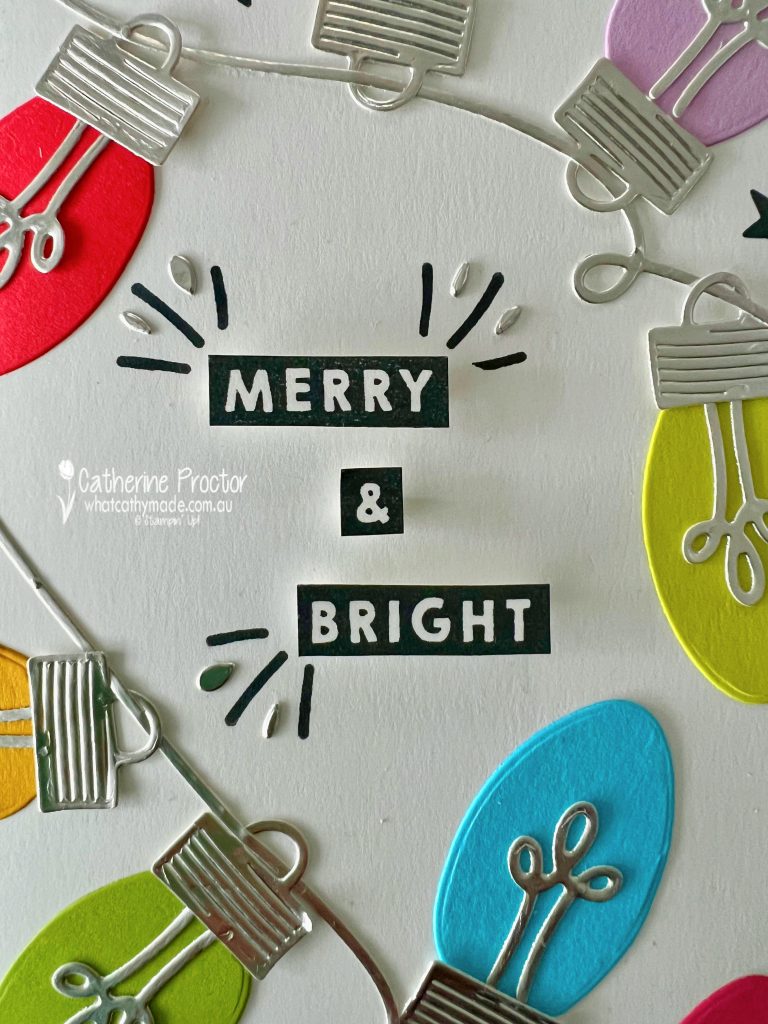
After adhering all of the light bulbs and strings, the “Merry & Bright” sentiment was stamped in Memento, fussy cut with Paper Snips and adhered to the card from using foam adhesive strips for extra dimension.
I’ve added impact to the sentiment using the “sparkle” stamp (actually designed to be used with the light bulbs) and some of the tiny silver offcuts from the inside of the light filaments.
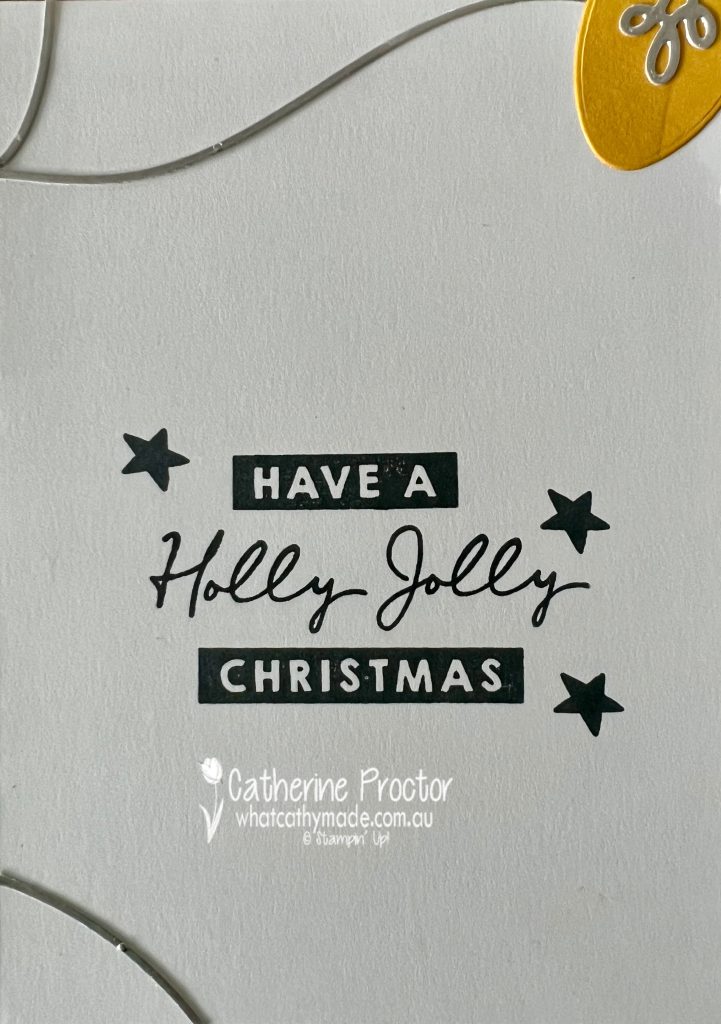
The card inside is decorated with leftover die cut pieces as well as a mix of sentiment stamps from the Merry & Bright stamp set.
Now it’s time to hop on over to our next participant, the lovely Rosa Leyden. I can’t wait to see what Rosa has made this week.
If at any time you find a broken link, you can find the complete list of all participants on Sharon’s blog.
Welcome to week fourteen of our Art With Heart 2023-24 Colour Creations blog hop!
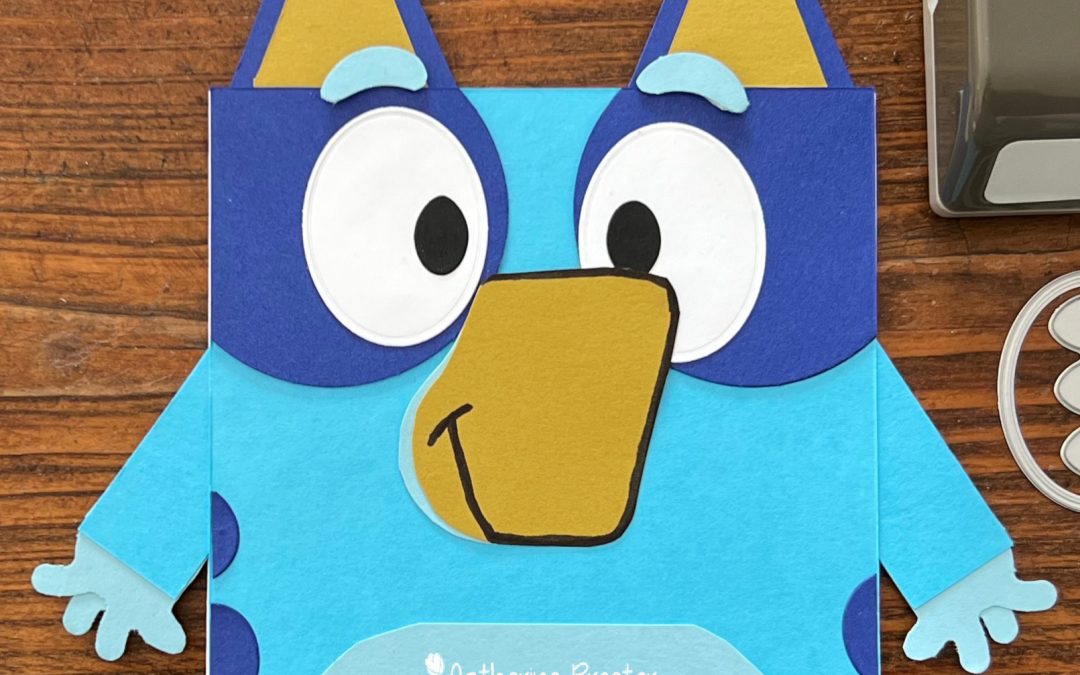
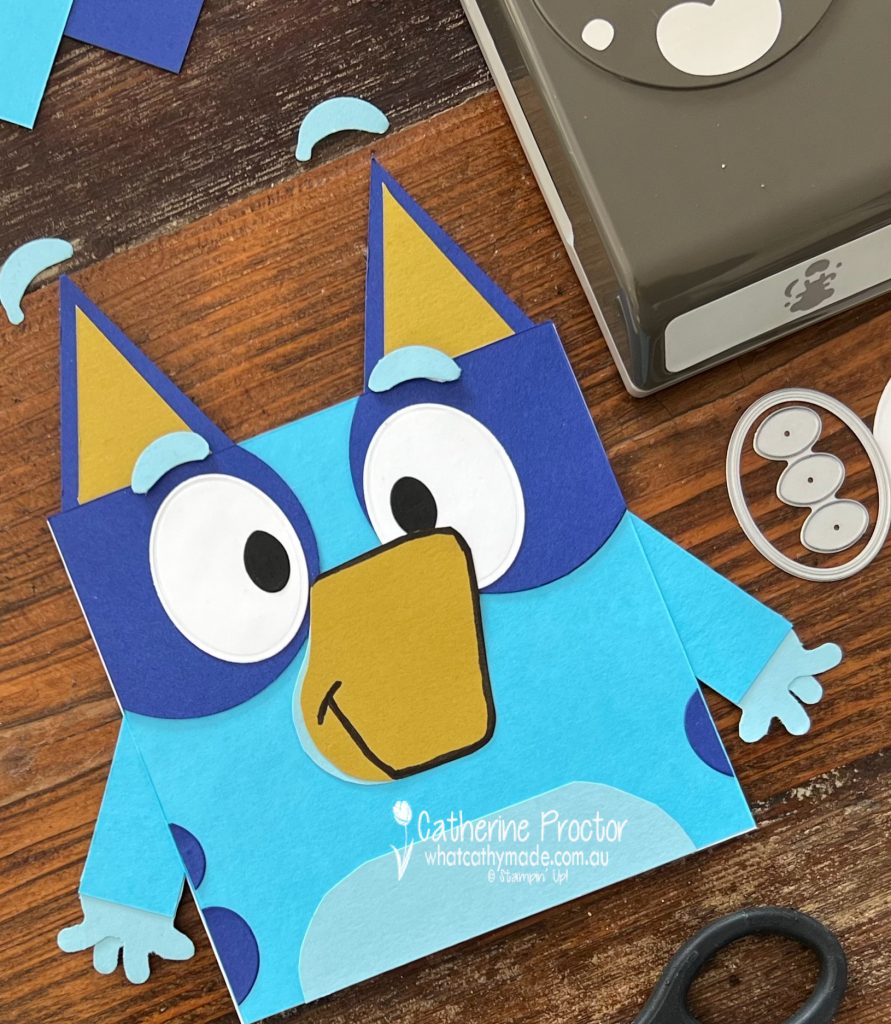
This week’s Blueberry Bushel card was made for my niece’s birthday – she adores Bluey! I originally got the idea to make a Bluey punch art/die art card from a card I saw by a USA Stampin’ Up! demonstrator called Michelle Suit. As her Bluey had no arms, I Googled images of Bluey and based my card on this image instead.
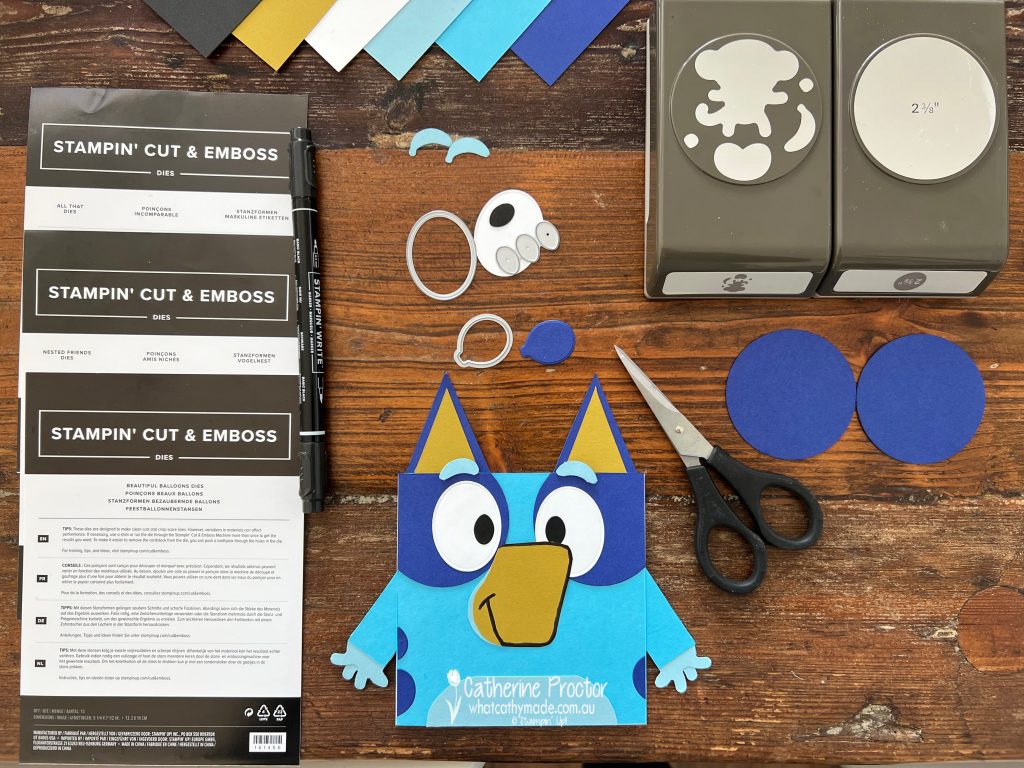
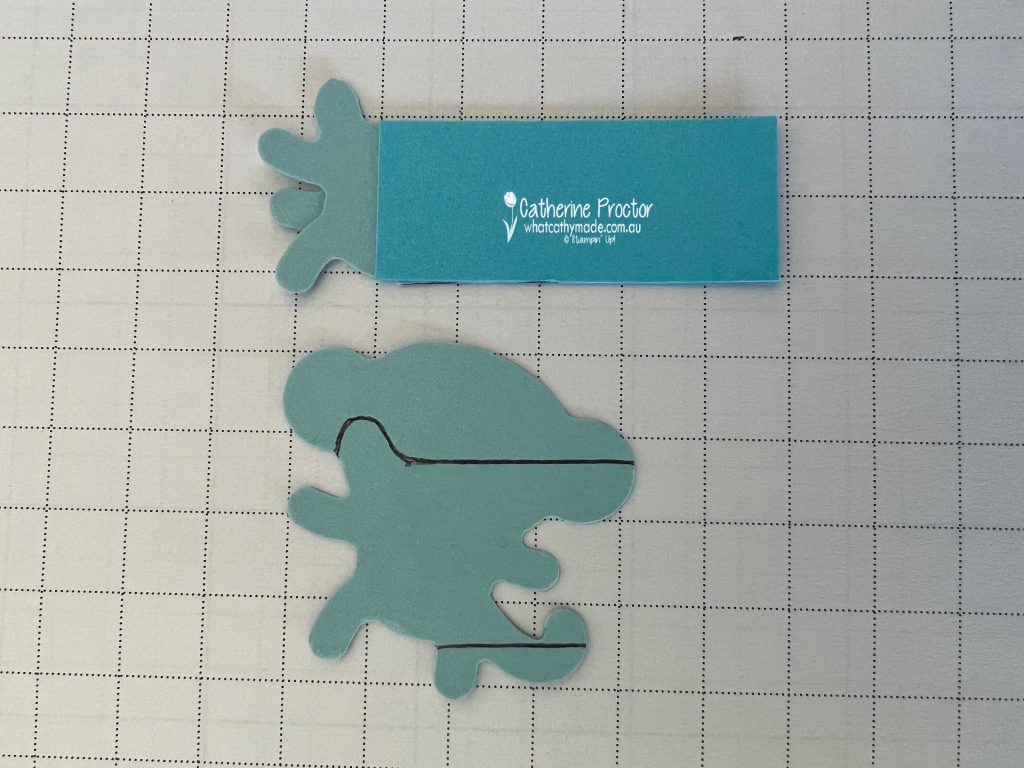
My Bluey card uses the current Stampin’ Up! supplies I had on hand and I realised while writing this blog that I omitted to add his shiny black nose even though I had punched one out in Basic Black cardstock! The nose was supposed to be made from the section of the Monkey Builder Punch you can see in the image below.
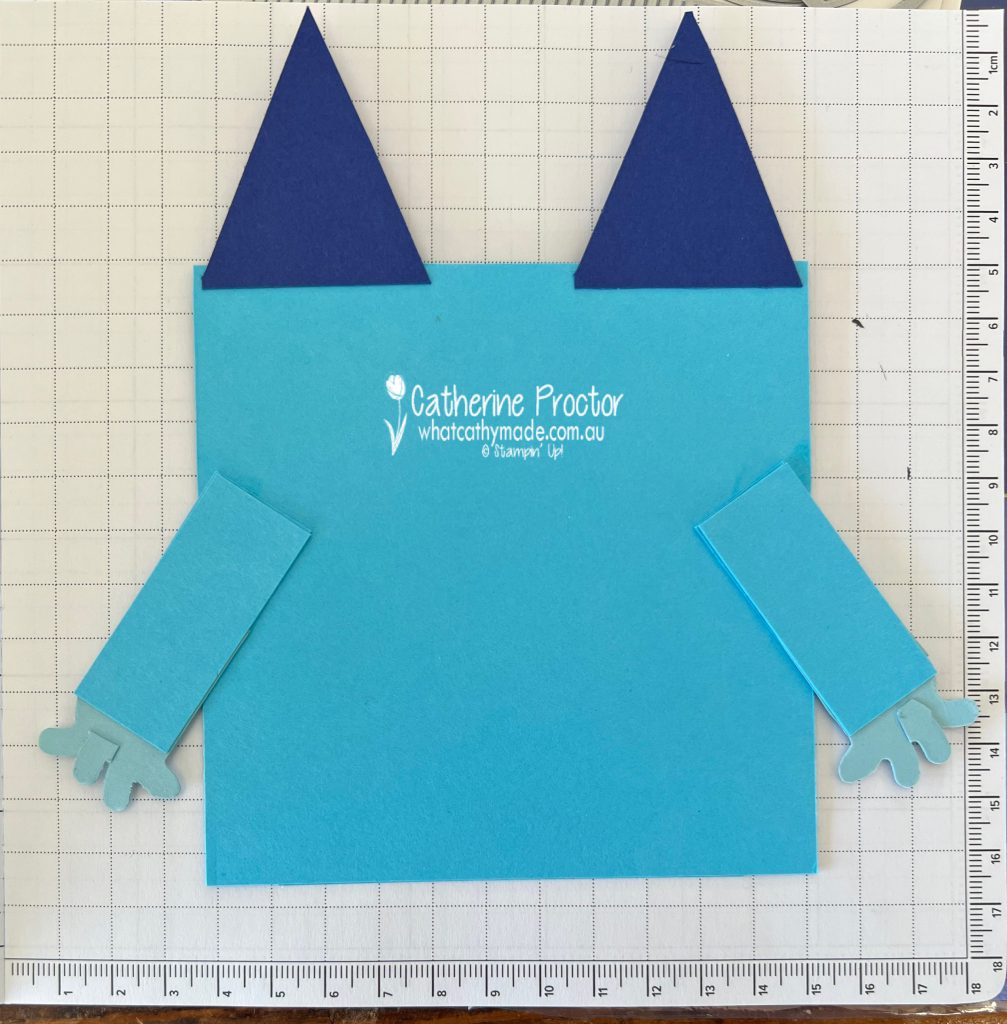
The front card layer of Azure Afternoon, measures 11.5 x 11.5 cm (4 ½ x 4 ½ inches). The card base also measures 11.5 x 11.5 cm (4 ½ x 4 ½ inches), created from a piece of Basic White cardstock measuring 23 cm x 11.5 cm (9 x 4 ½ inches) scored and folded in half. Do not attach the front card layer to the card base until you’ve completed the card front.
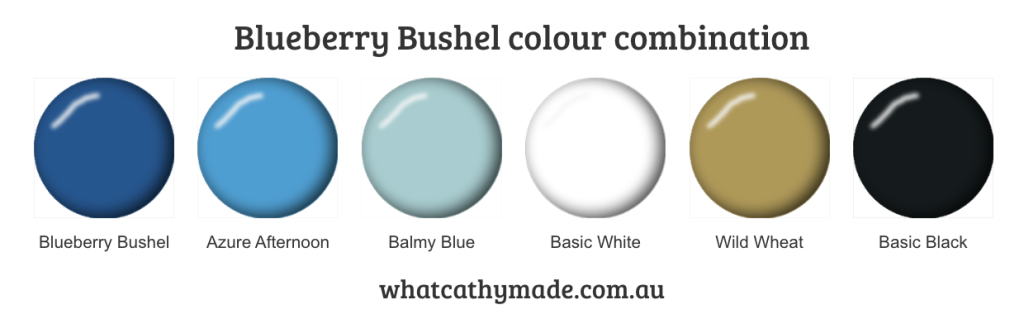
Colours used to make the Bluey Card include: Blueberry Bushel, Azure Afternoon, Balmy Blue, Basic Black, Basic White and Wild Wheat. I love the look of Blueberry Bushel and Azure Afternoon together.
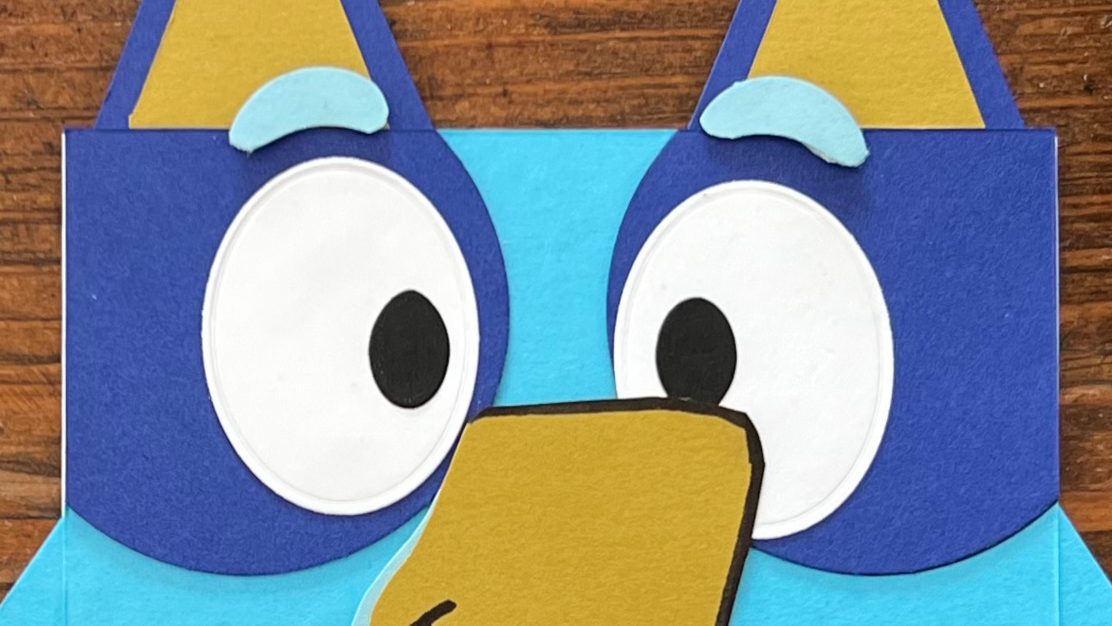
The best way to create this card is to start with the eyes, punched out of Blueberry Bushel with the 2⅜ circle punch and positioned to the sides of the card. The whites of the eyes are cut using the oval die from the “All That Dies”, with the black pupil of the eye die cut using the eggs from “Nested Friends” dies.
The Balmy Blue eyebrows are actually bananas, punched using the Monkey Builder punch, then trimmed with Paper Snips.
The Wild Wheat nose is freehand drawn then fussy cut with Paper Snips and outlined with a Black Stampin’ Write Marker. Should have added the black nose tip at this stage of the card!
The side Blueberry Bushel “splodges” are die cut with the Beautiful Balloon dies and the bottom Balmy Blue tummy is freehand fussy cut, just like the nose.
The ears are cut using the paper trimmer and adhered to behind the eyes. Now it’s time to turn the top layer over and create the arms. Two 2cm strips of Azure Afternoon make the arms and part of the monkey from the Monkey Builder punch creates hands and fingers. Fun fact I learnt while making this card – Bluey only has 4 fingers!
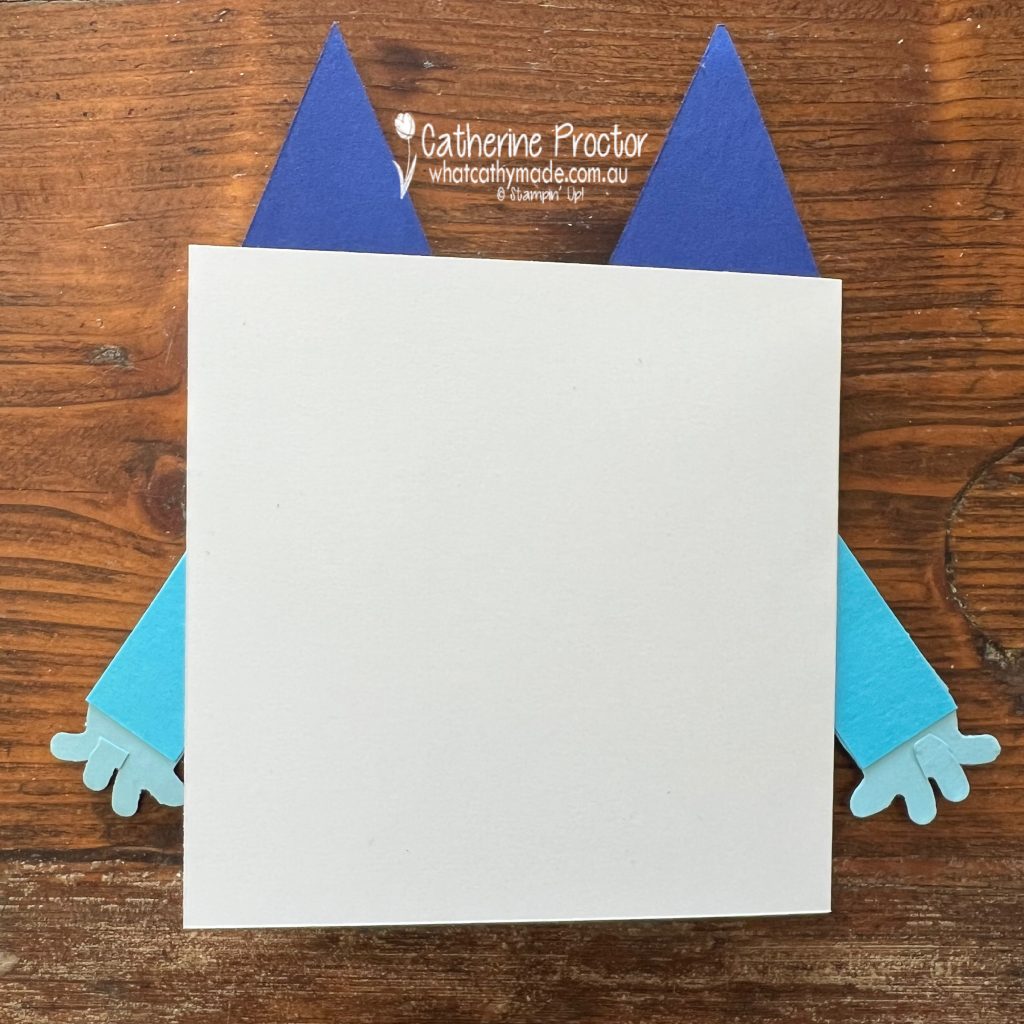
Adding two more 2cm strips of Azure Afternoon tidies up the back of the arms.
Attach your card front to your card base, Attaching it at this last stage hides the join of the arms behind the face.
Now it’s time to hop on over to our next participant, the lovely Di Furniss – I can’t wait to see what Di has made this week!
If at any time you find a broken link, you can find the complete list of all participants below.
Welcome to week thirteen of our Art With Heart 2023-24 Colour Creations blog hop!
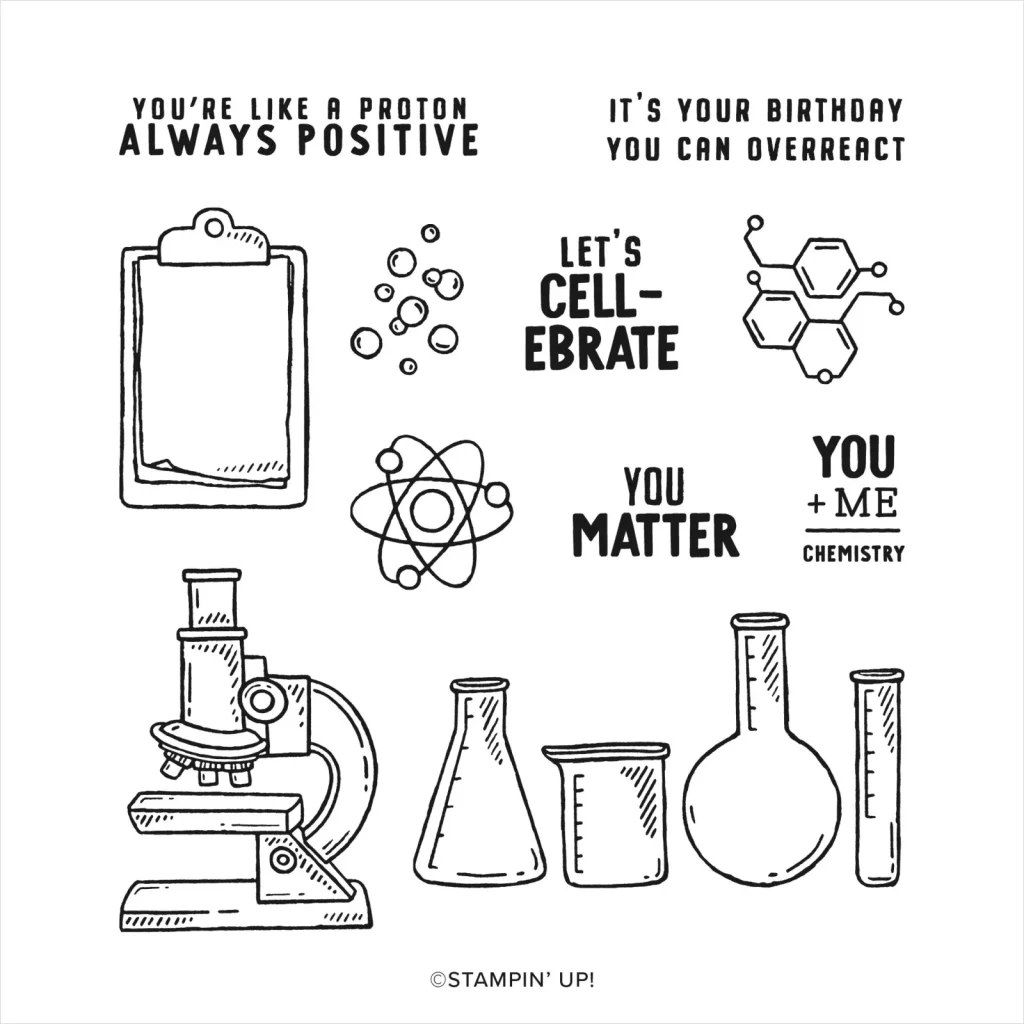
Last week was my dad’s birthday and as I gave him some science books for his birthday it only seemed appropriate to make a science-themed card using the “It’s a Science” stamp set.
I don’t normally buy stamp sets with puns, however the puns in this stamp set are really clever and I love the line art style too. It’s also a really versatile set if you enjoy colouring techniques.
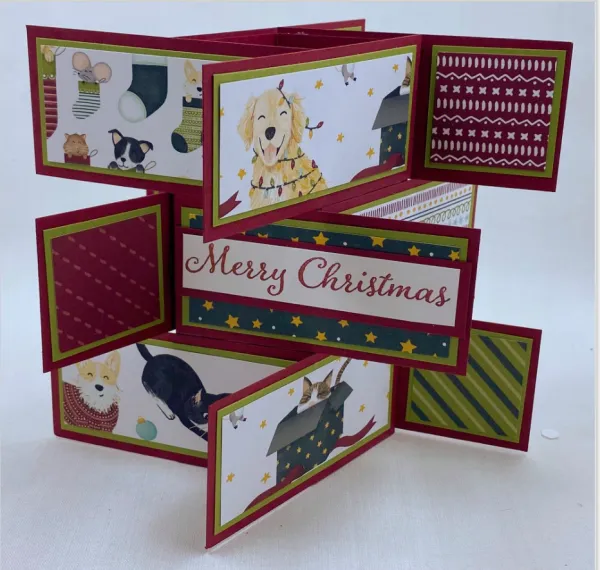
I had originally planned to make a tower flap card, like this one below by US Stampin’ Up! demo, Karen Titus, however the images from the stamp set were too large for the flaps.
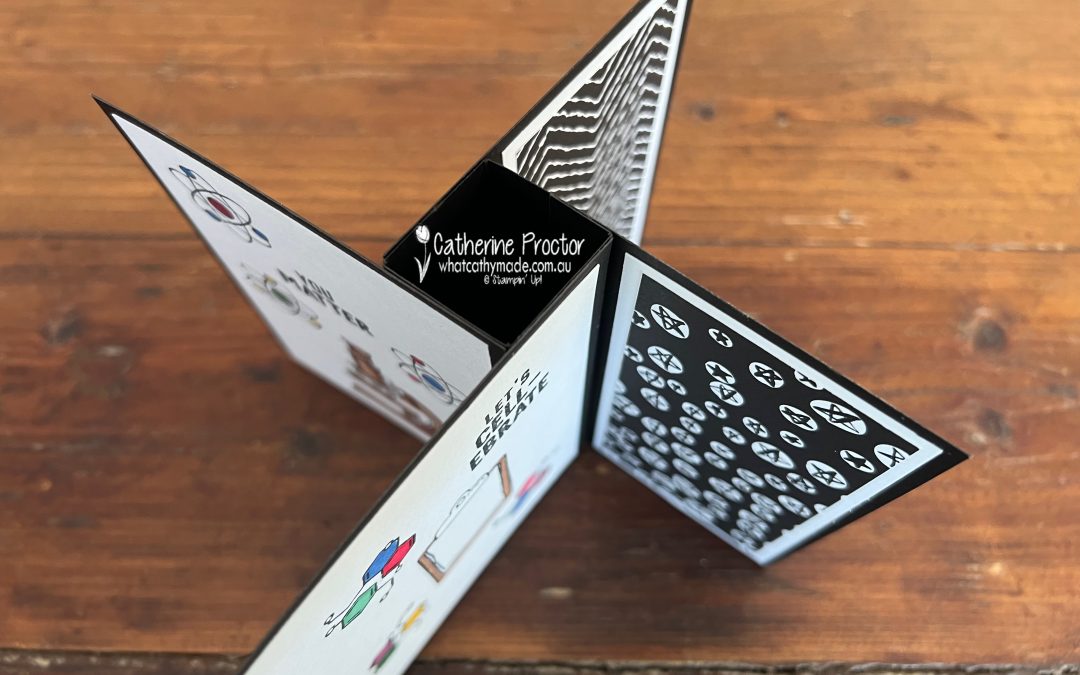
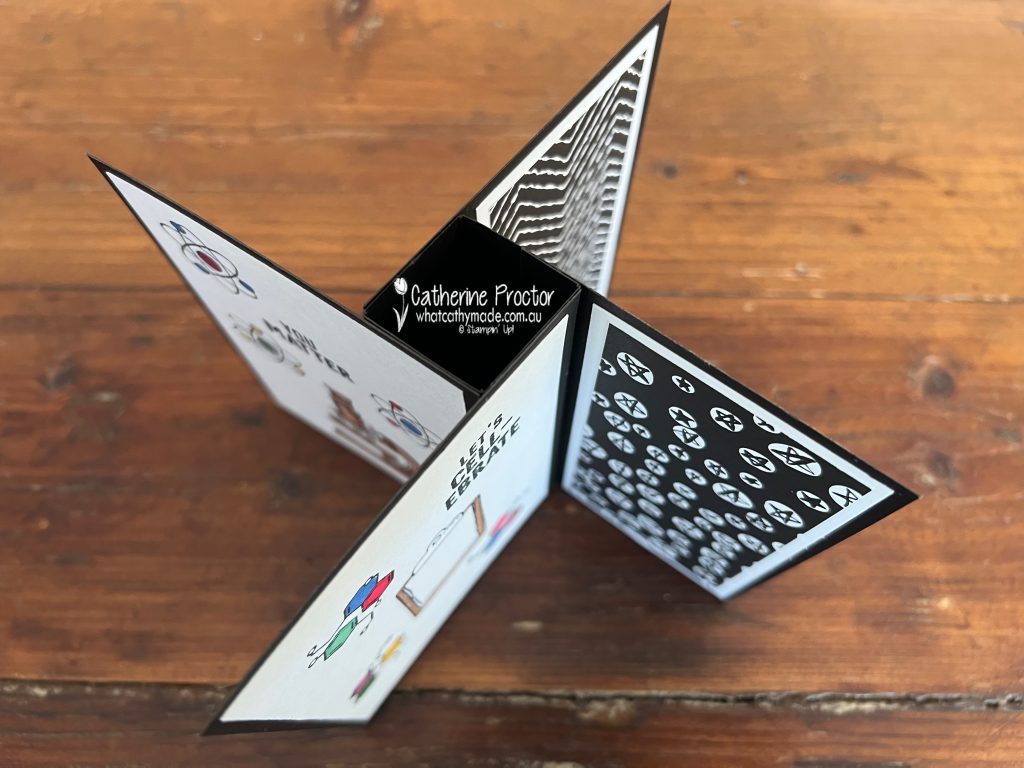
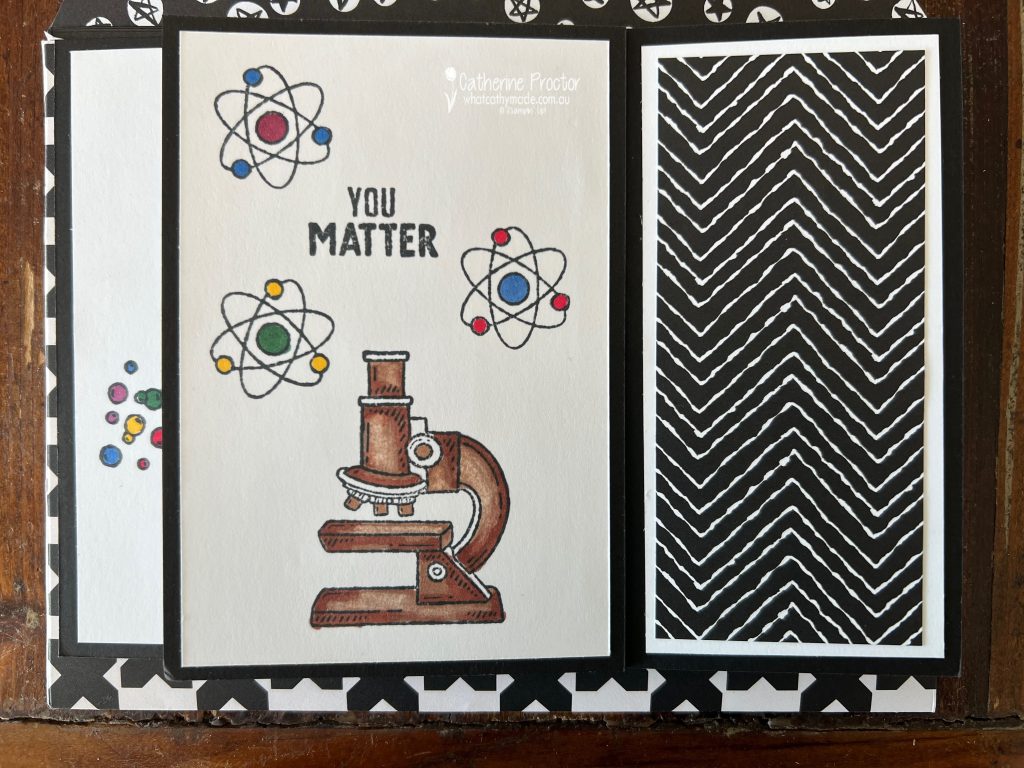
So I made a pinwheel tower card instead. It’s a very easy fancy fold to make and fabulous for display. This is what it looks like from above.
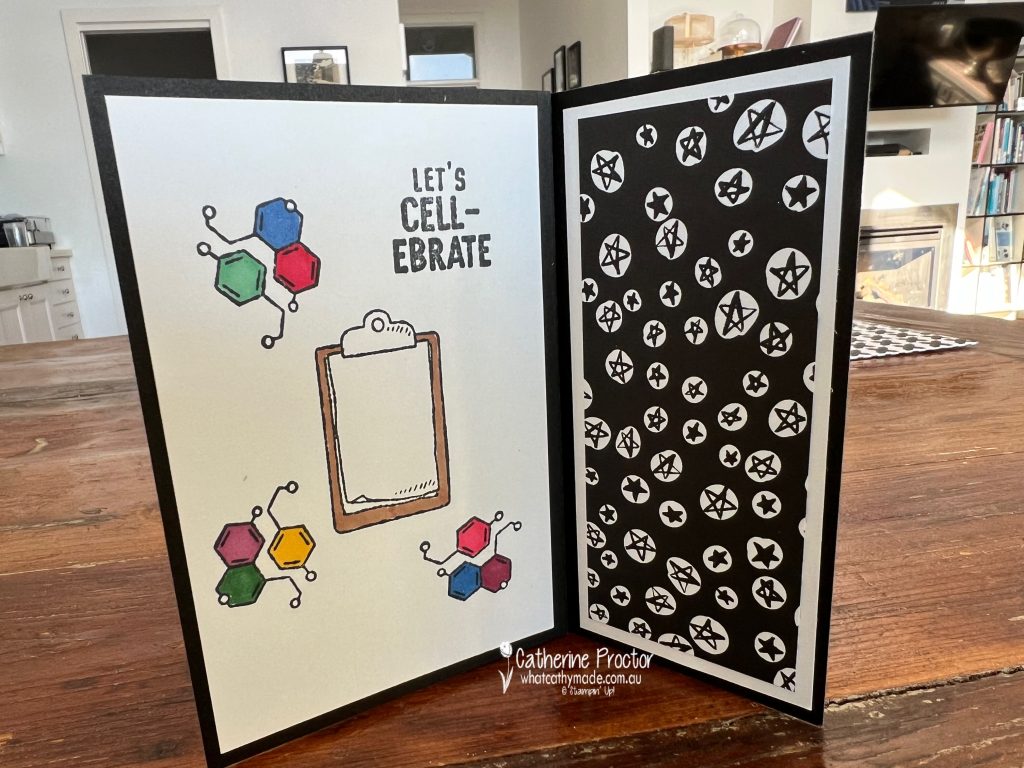
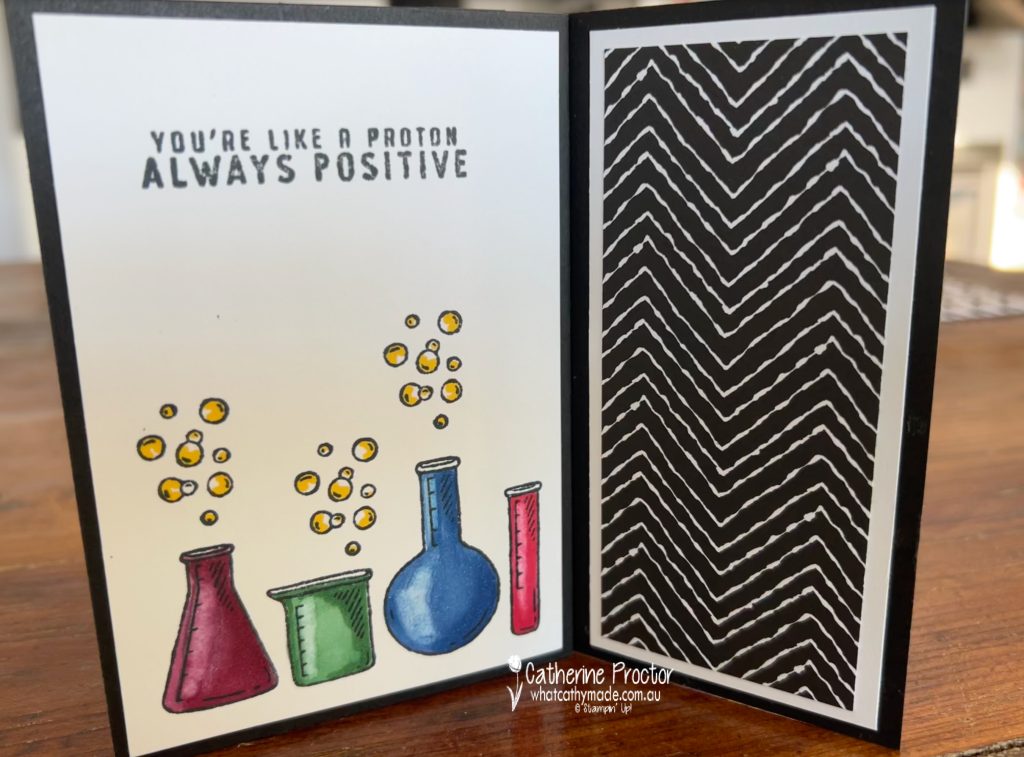
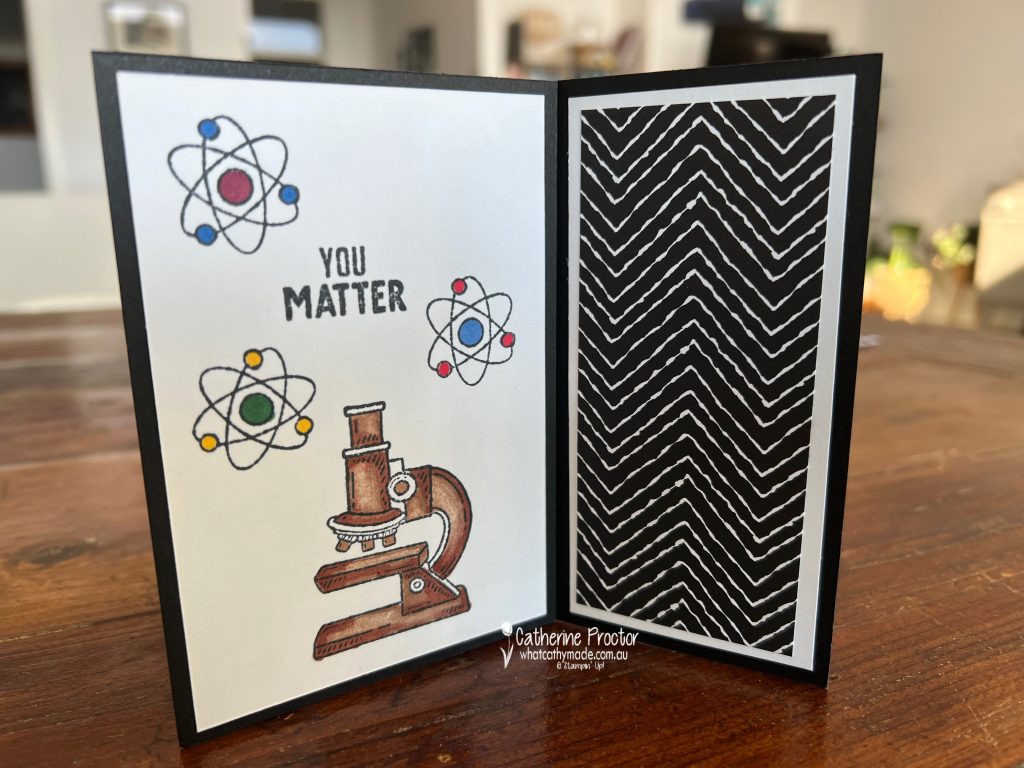
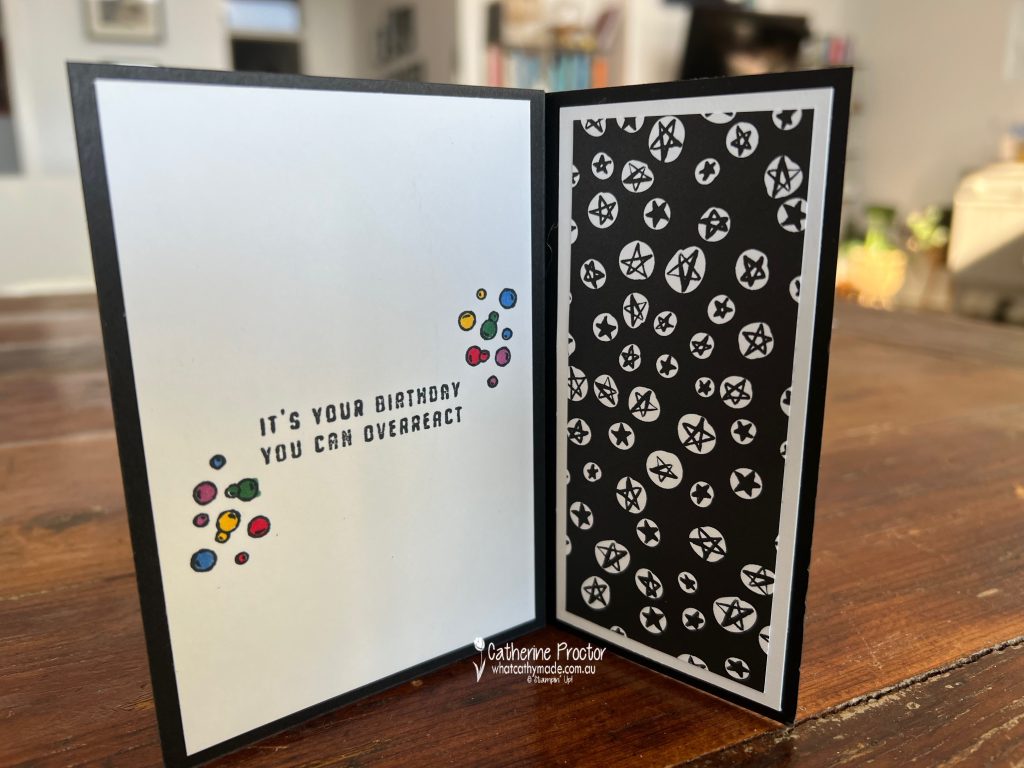
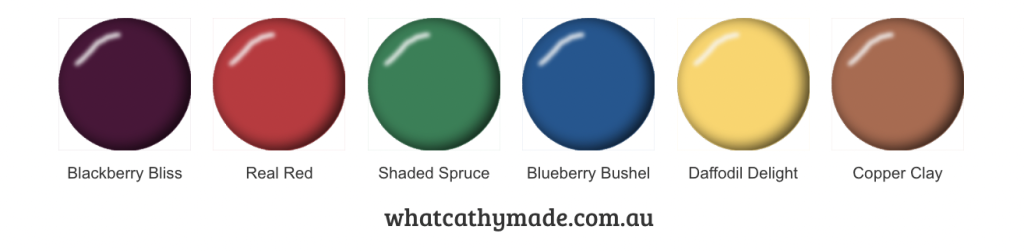
And here are the images on each of the four flaps. I’ve used Stampin’ Up! blends to colour the line art images in Blackberry Bliss, Shaded Spruce, Real Red, Blueberry Bushel and Daffodil Delight.
Using the colour lifter on the areas where light would fall gives instant dimension to my beakers. Instead of colouring them to be partially filled with different coloured liquids I’ve coloured them as if they were coloured glass. Dad used to collect blue glass and it gives such a pretty effect.
The microscope is coloured using Copper Clay, with the colour lifter again adding reflection and dimension.
The black and white DSP on the reverse side of the images is from the Zoo Crew 12″ x 12″ Designer Series Paper. I deliberately left space on this final flap to write a birthday greeting.
This card folds flat for posting, however because it is oversized a handmade envelope was required.
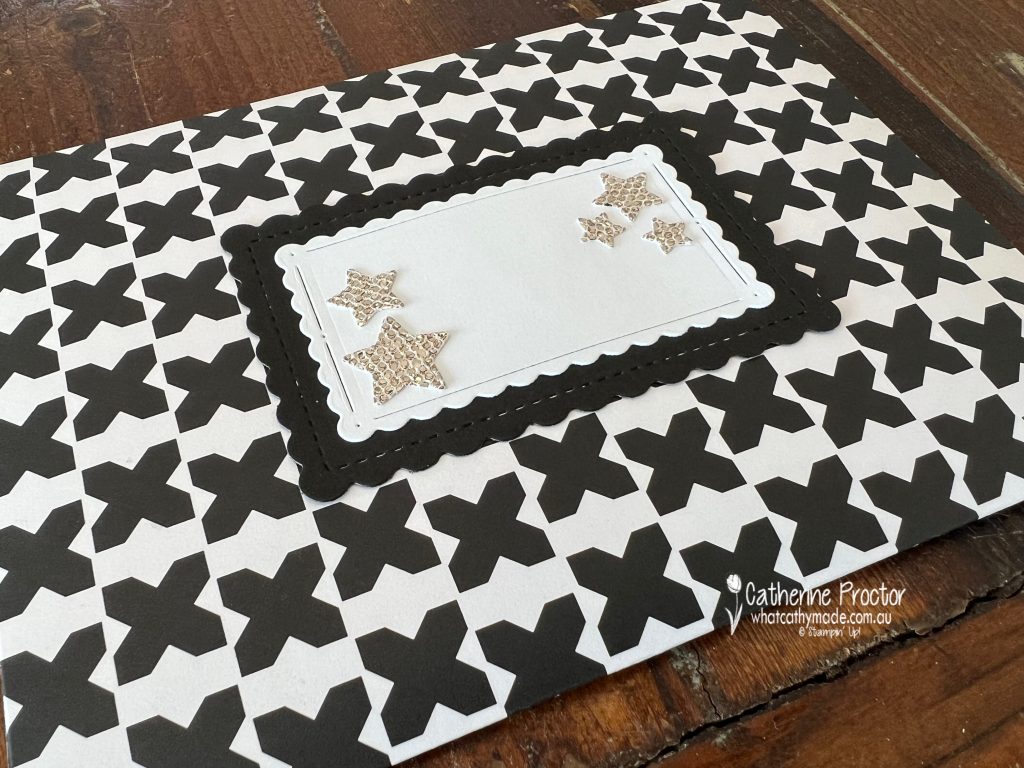
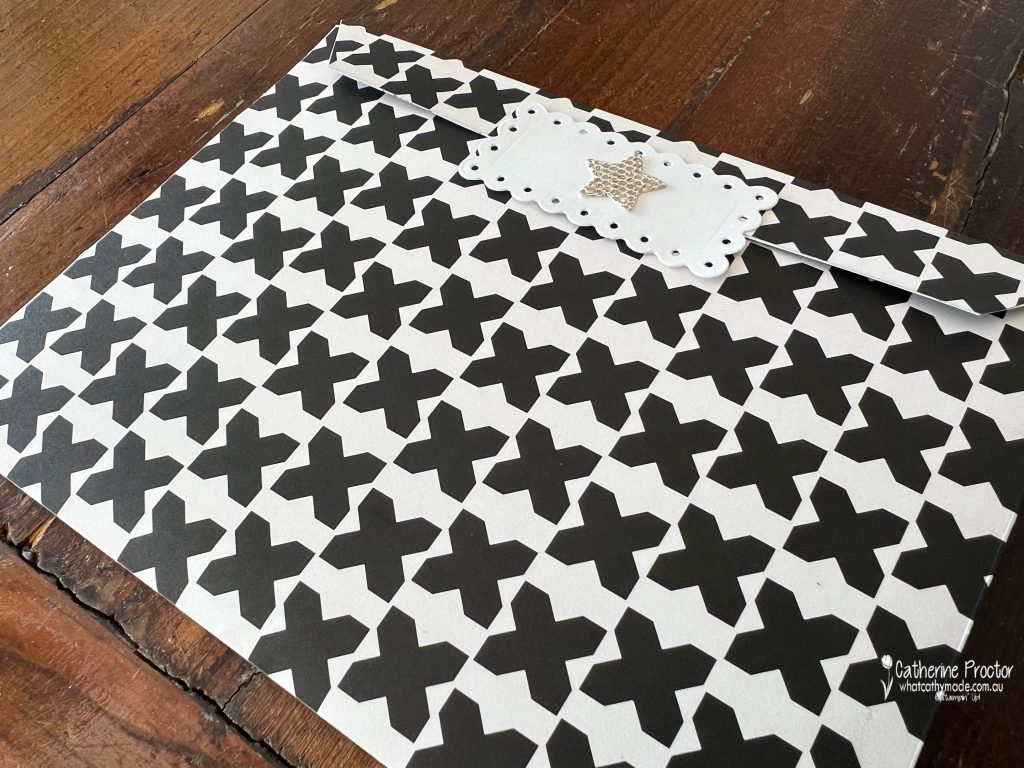
I used the Delightfully Eclectic DSP to make a black and white envelope to match the card. The name label for the front of the card was die cut using the Scalloped Contours Dies, with More Dazzle stars die cut using the Give It a Whirl Dies.
The envelope flap is also adhered using a Scalloped Contours Die, attached with glue dots to make sealing and resealing possible.
I really haven’t showcased Blackberry Bliss as the main colour this week, however hopefully I’ve shown how well it can work with colours from different colour families. I guess that’s why Stampin’ Up! have moved it to the neutrals family now!
Now it’s time to hop on over to our next participant, the lovely Di Furniss – I can’t wait to see what Di has made this week!
If at any time you find a broken link, you can find the complete list of all participants below.