Are you ready for some more Christmas inspiration?
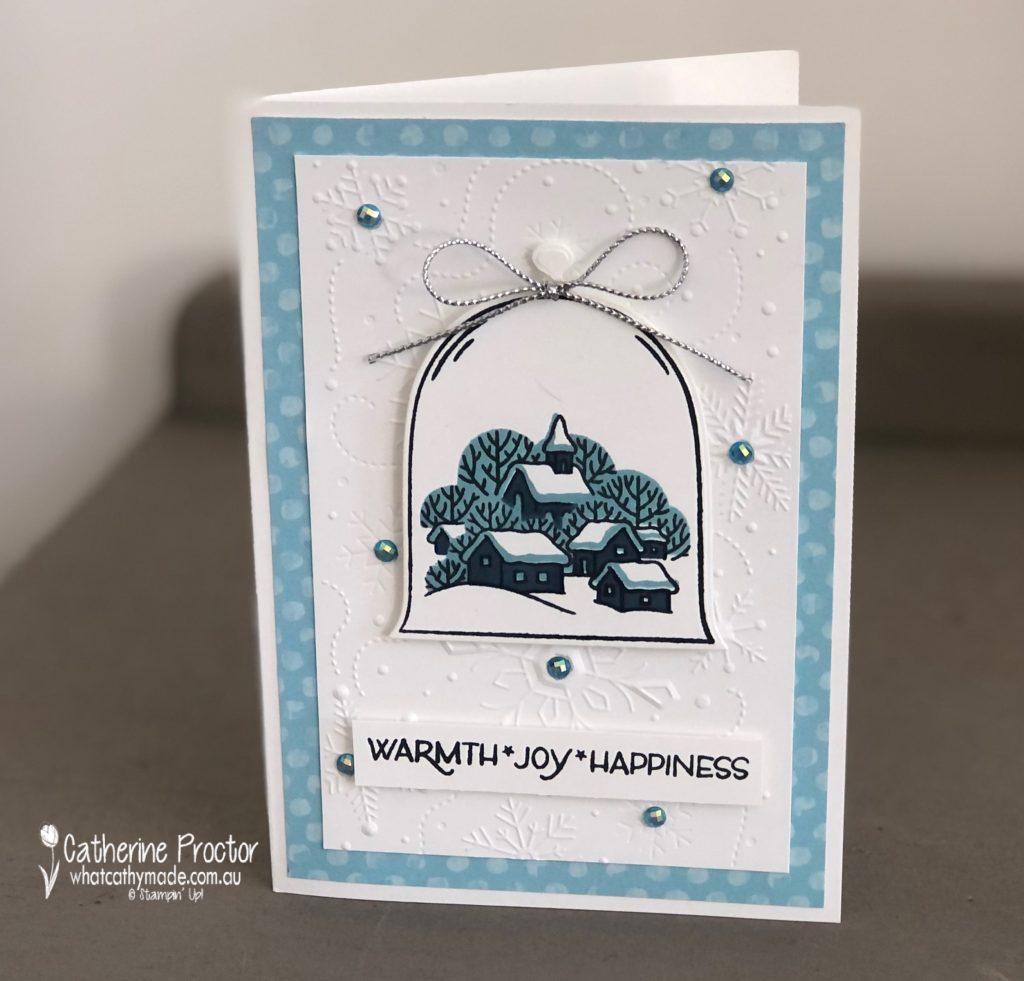
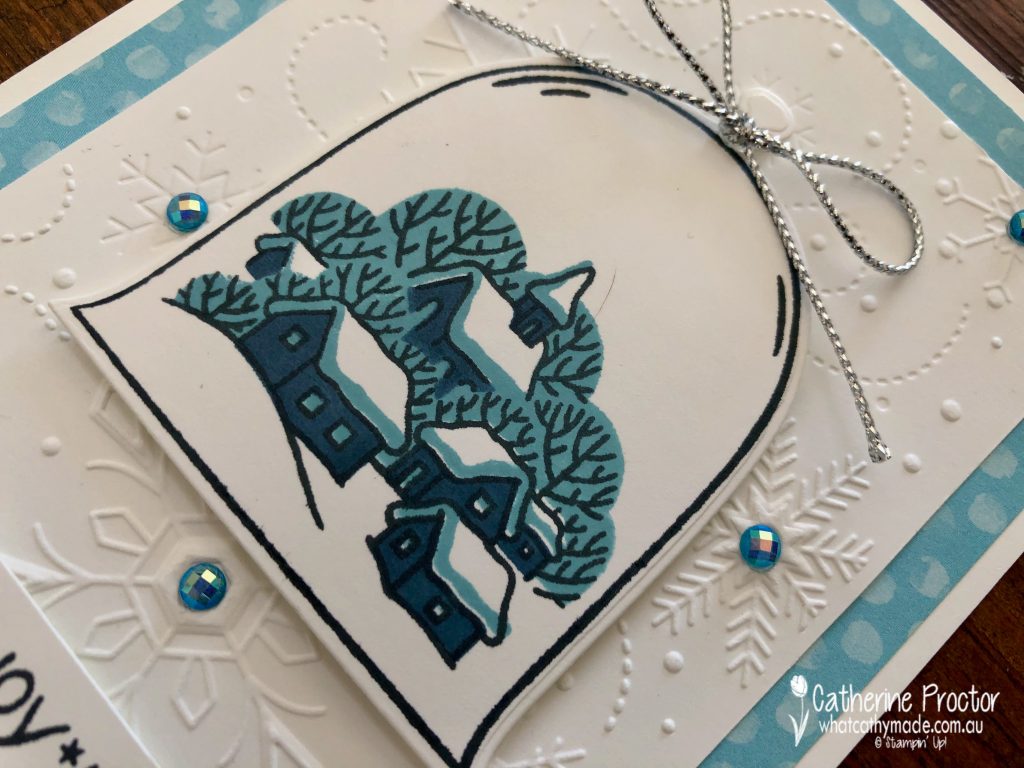
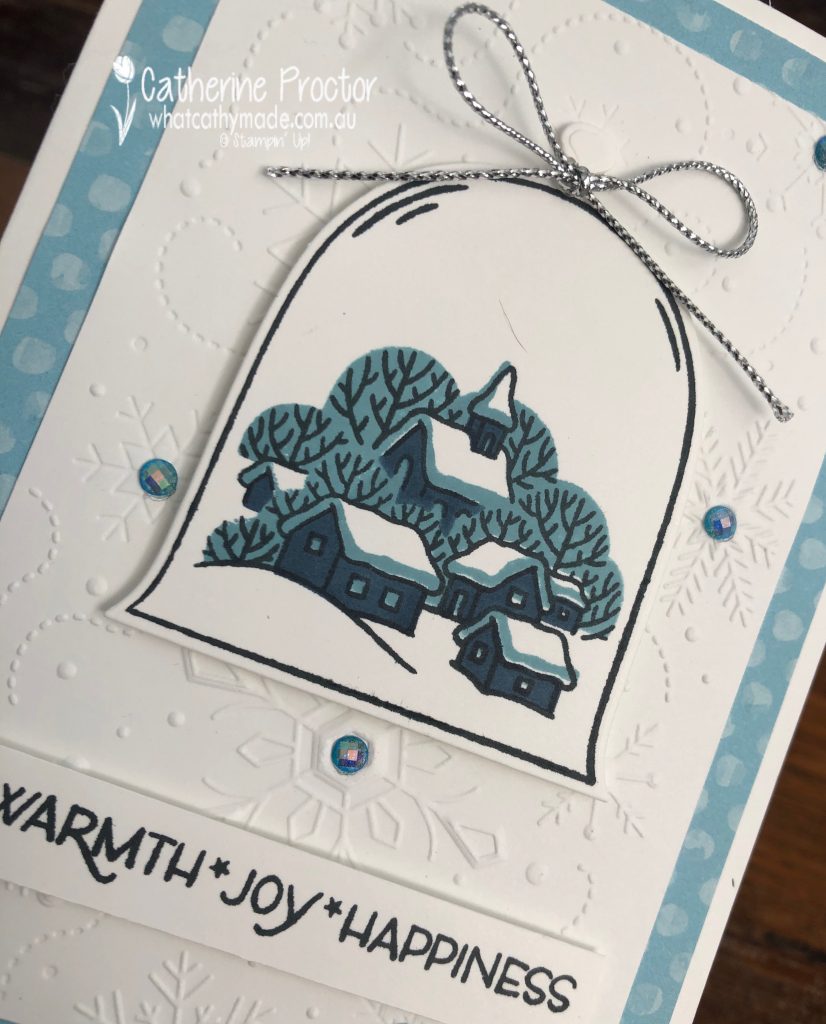
It’s pretty cold here in Sydney at the moment so I’ve made a very wintery card for you today using a new bundle from the forthcoming July-December Mini catalogue.
I have to confess this card wasn’t meant to be this simple – I had intended to make a shaker card using the new cloche shaker domes that match the Classic Cloche bundle but I forgot to order them! Luckily, this bundle really lends itself to both simple and more complex cards.
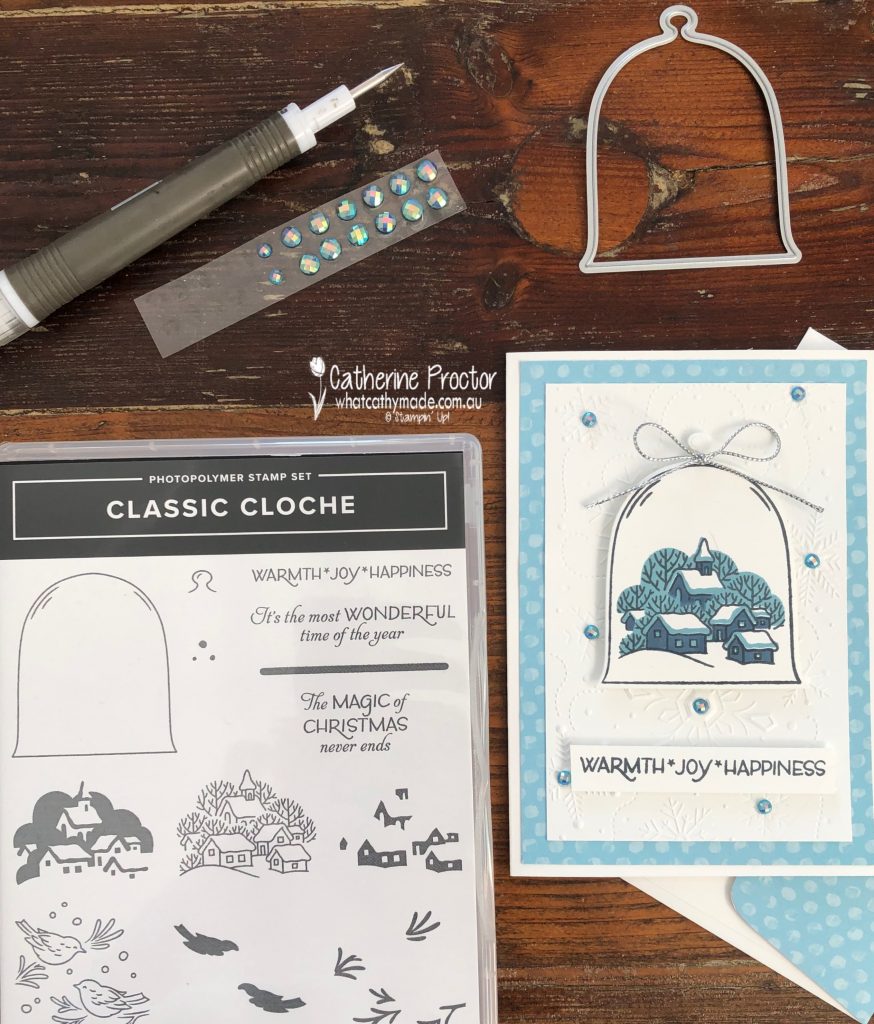
I fell in love with this little snowy town which is why this bundle made it to the very top of my wish list. There is also an adorable pair of birds sitting on branches in the stamp set and plenty of dies to create different scenes – I’ve only used the cloche die in this this card and I can’t wait to play with the other dies on some more Christmas cards soon.
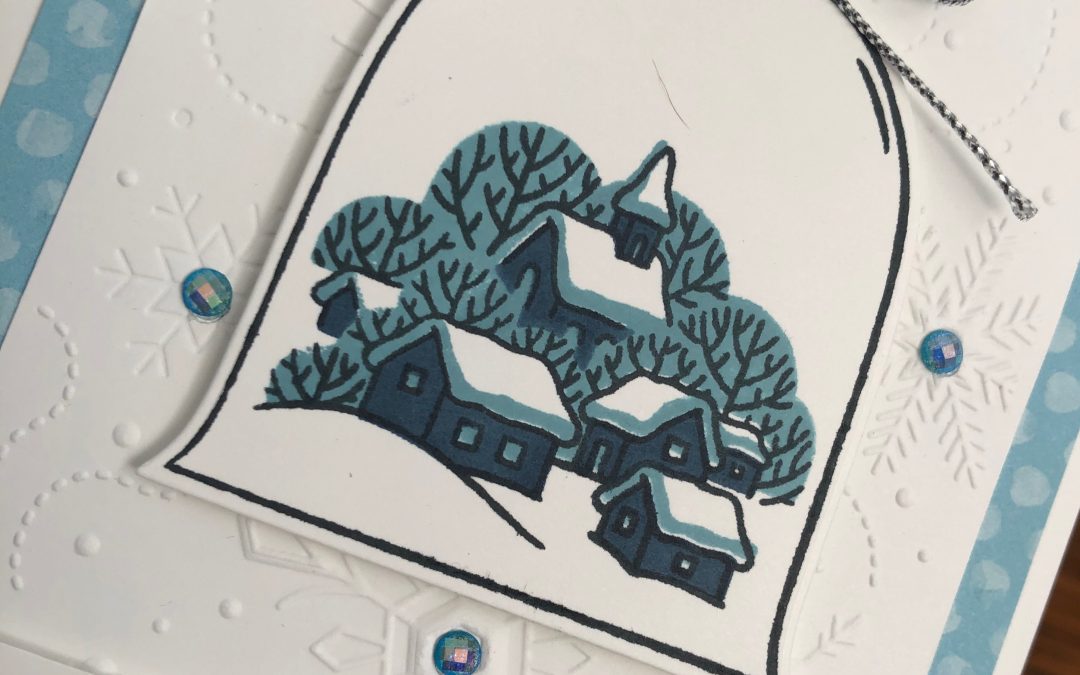
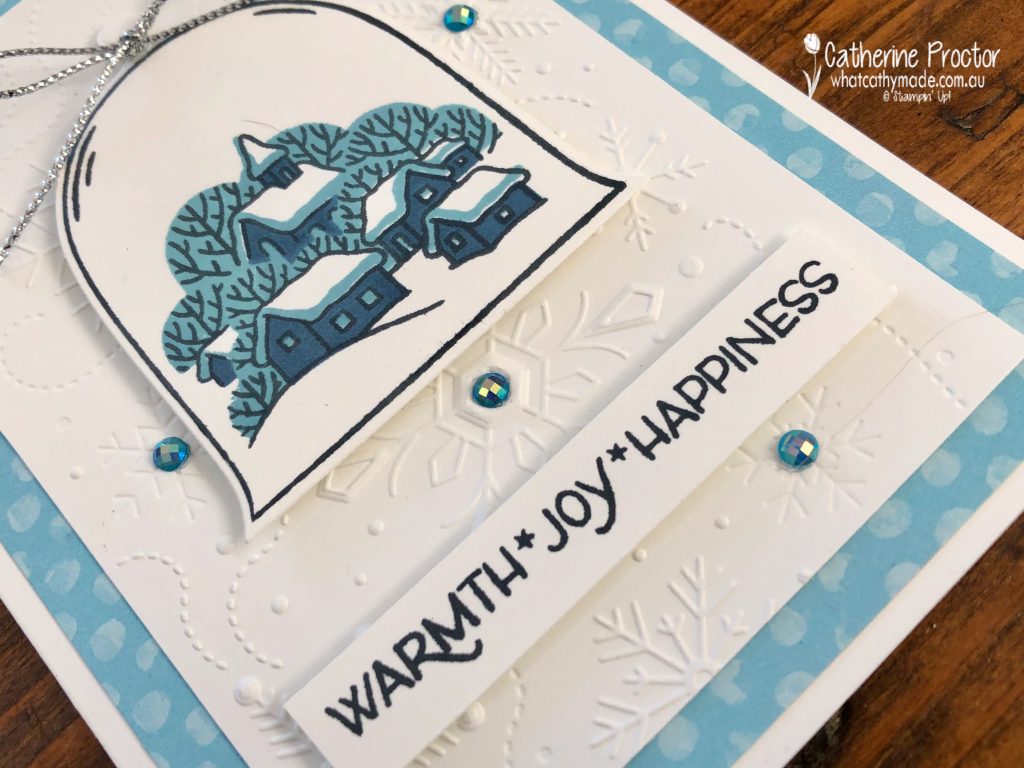
The little village image can either be used on its own and hand coloured, or you can use the 3 layer stamps as it I’ve done in this card. I stamped the cloche outline stamp and the village line image stamp in Tuxedo Memento, the background stamp in Balmy Blue and the stamp that shades the houses in Misty Moonlight.
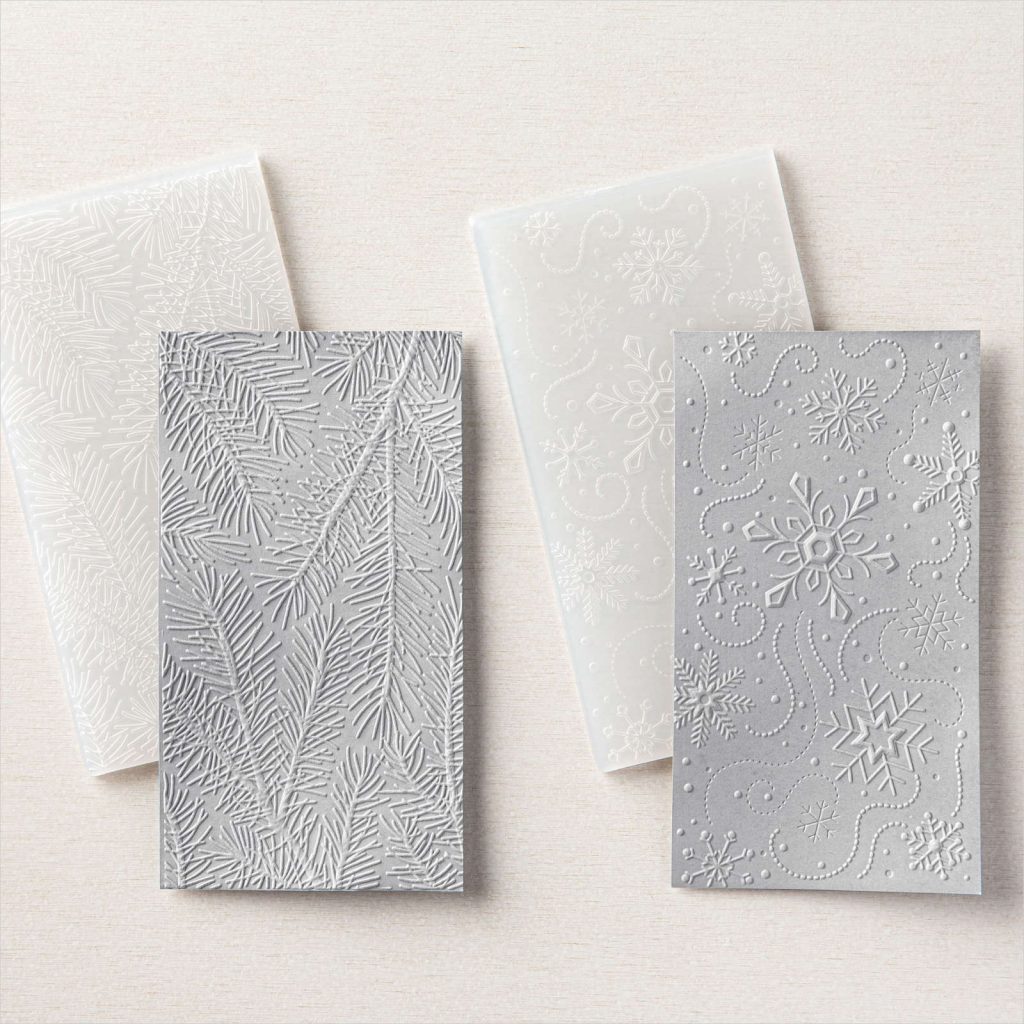
The Wintry embossing folder was the perfect background layer for my snowy village. This embossing folder is available now and it is one of a pack of two – they will be getting a lot of use on my Christmas cards this year.
The Balmy Blue Adhesive-Backed Gems were the perfect embellishment to highlight the middle of the snowflakes on the embossed layer.
You don’t always have to use Christmas paper to make a Christmas card – this spotted DSP is from the You’re a Peach Designer Series Paper (currently on sale) and it reminded me of snowflakes! I really love this sentiment from the Classic Cloche stamp set.
Now it’s time to hop on over to our next participant, our very talented Art With Heart team leader, Claire Daly. I can’t wait to see what Claire shares with us today.
If at any time you find a broken link please head to the blog of this week’s Host of the Heart of Christmas Blog Hop, Sharon Davern, and she will have the list of all who are participating.
Thanks for visiting my site. I’ll be back with another card on Wednesday. If you’d like a copy of the forthcoming July-December mini catalogue and the Sale-a-bration catalogueplease get in touch.
Welcome to week 7 of our 2021-22 Colour Creations blog hop! We are showcasing Bumblebee, a 2020-22 InColour.
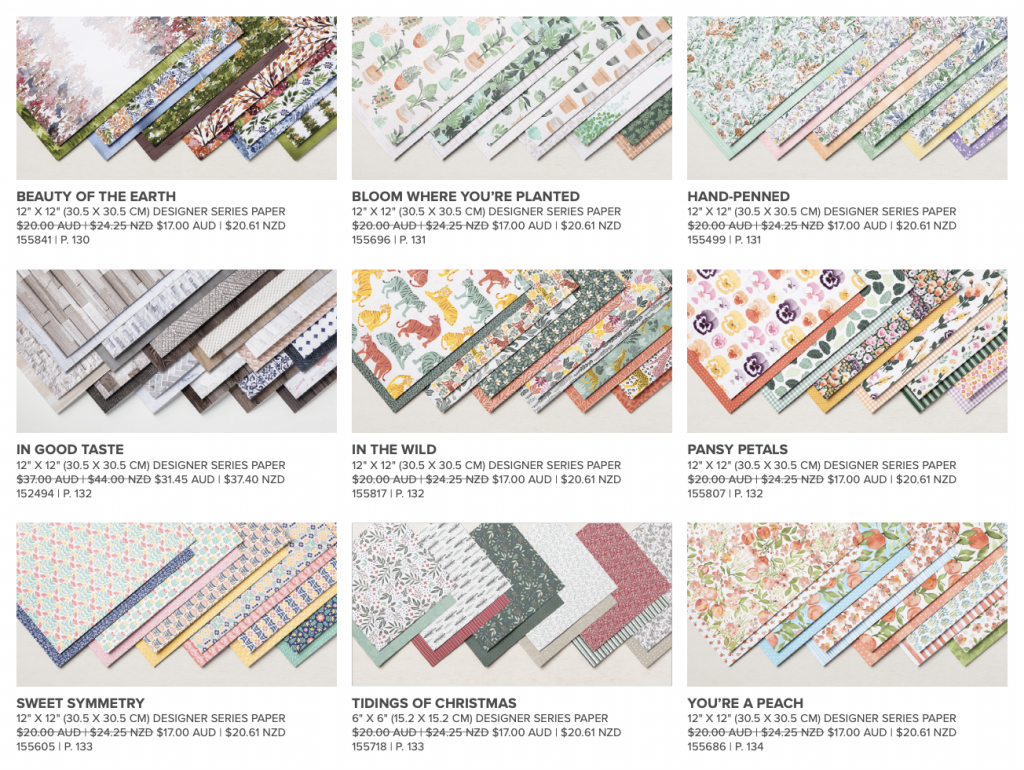
Have you ever made a one sheet wonder? I’ve never made one before but as Stampin’ Up! has nine different packs of DSP on sale at the moment I thought it was a great opportunity to show just how far you can make your DSP go!
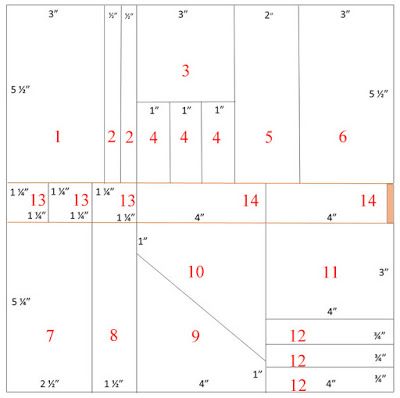
There are lots of different templates for one sheet wonders for both 12×12 and 6×6 papers – just take a look on Pinterest or Google “One Sheet Wonder Template”. This is the template I used to cut my 12×12 DSP.
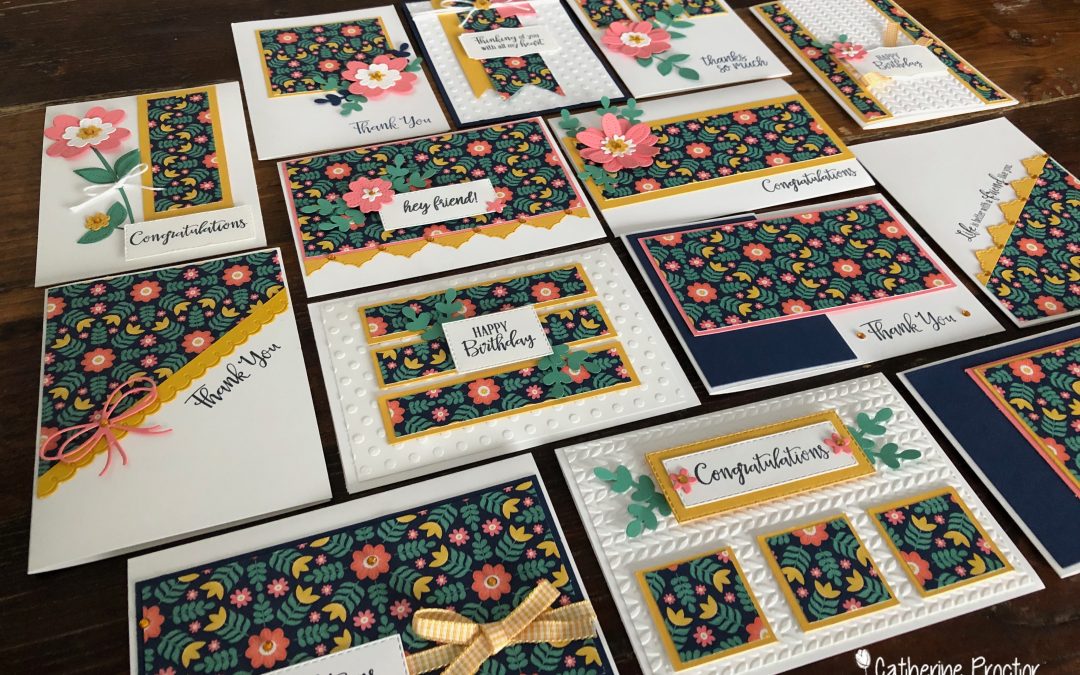
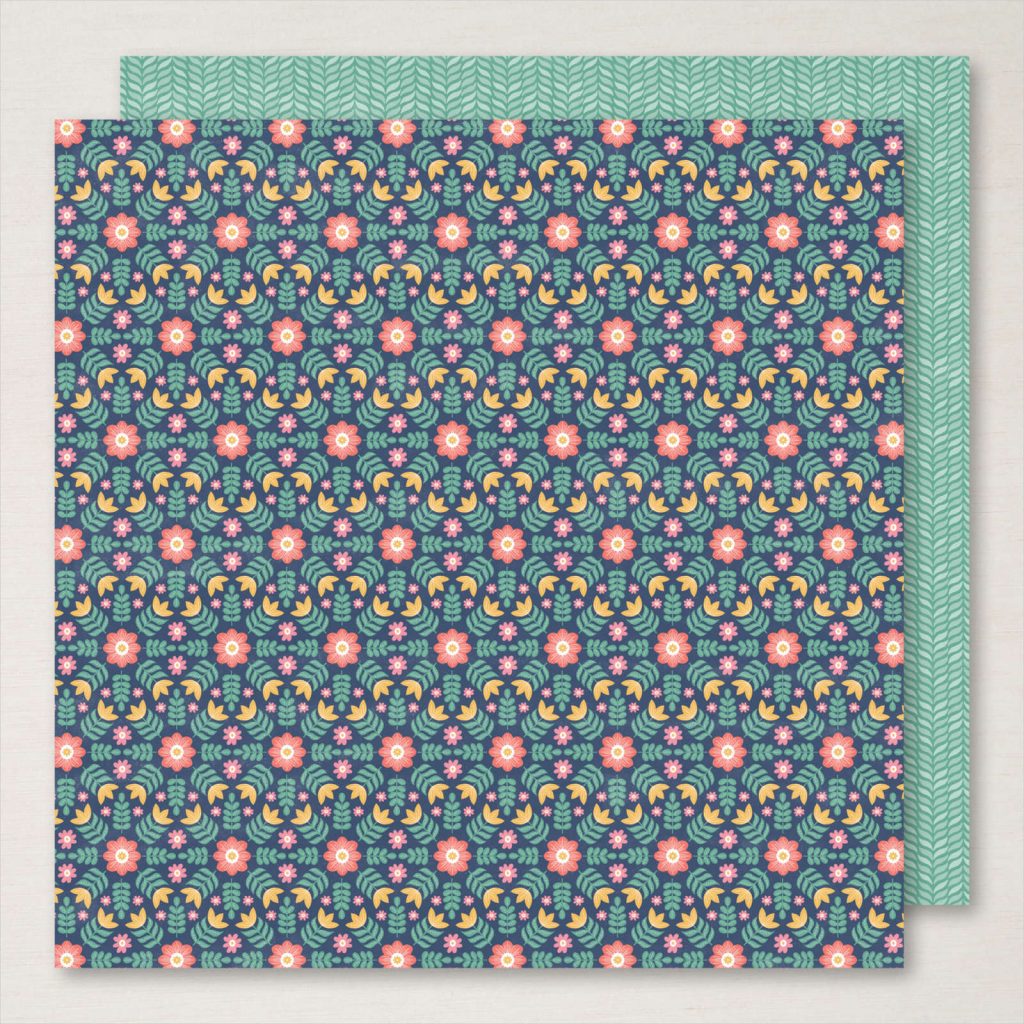
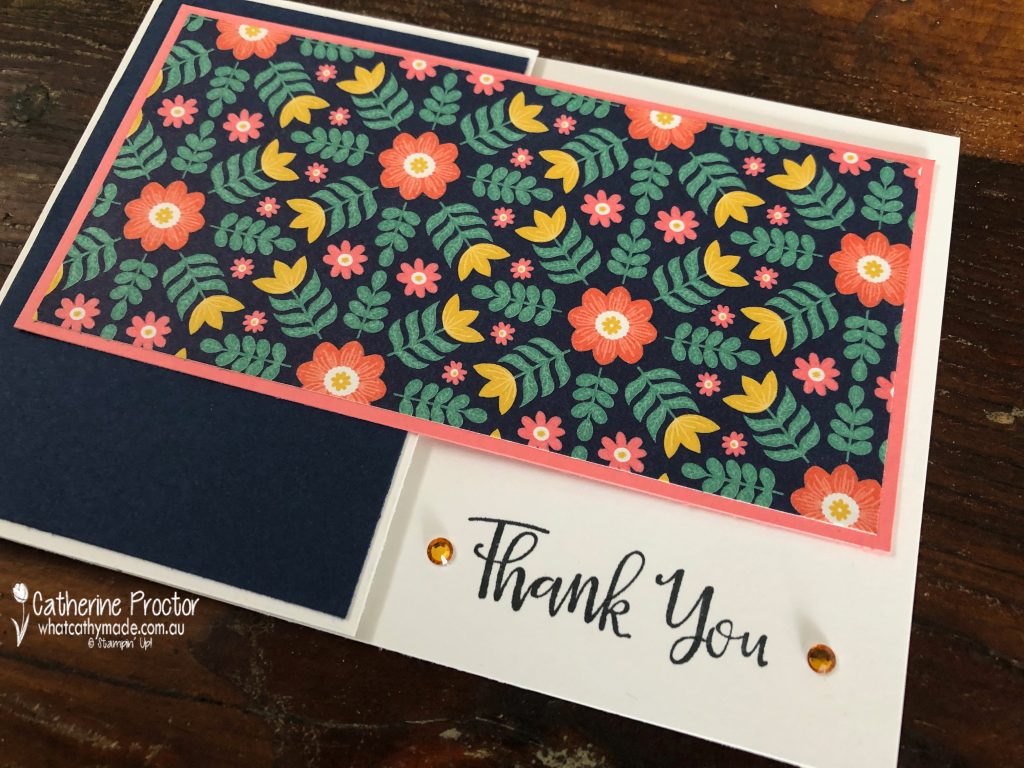
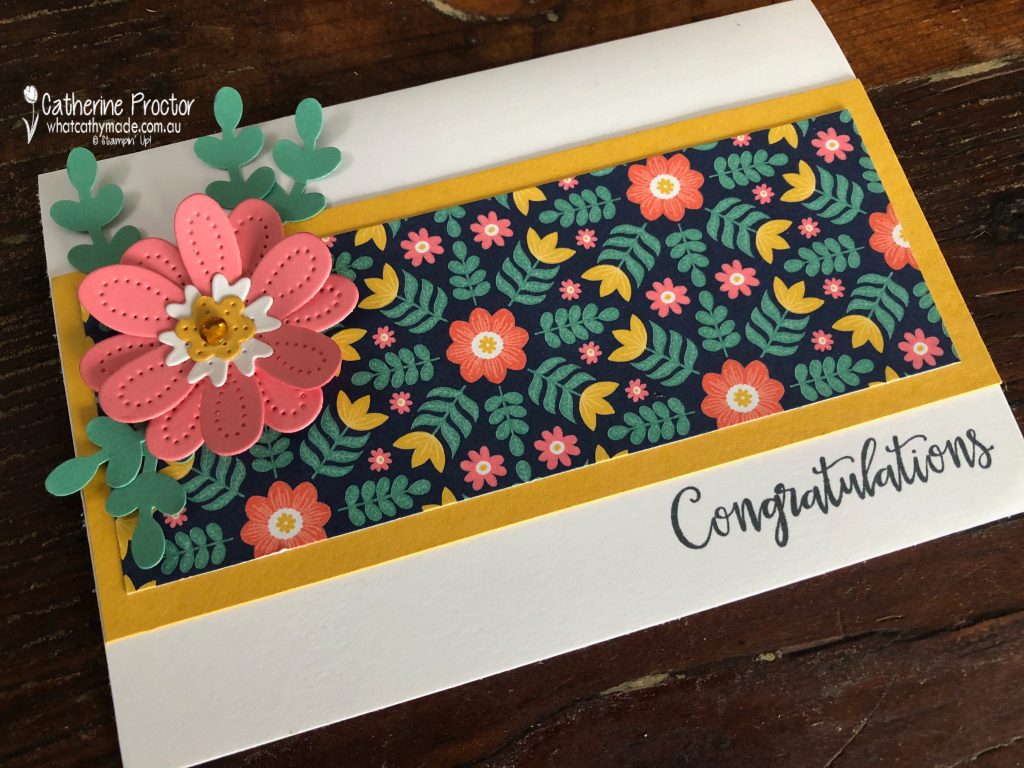
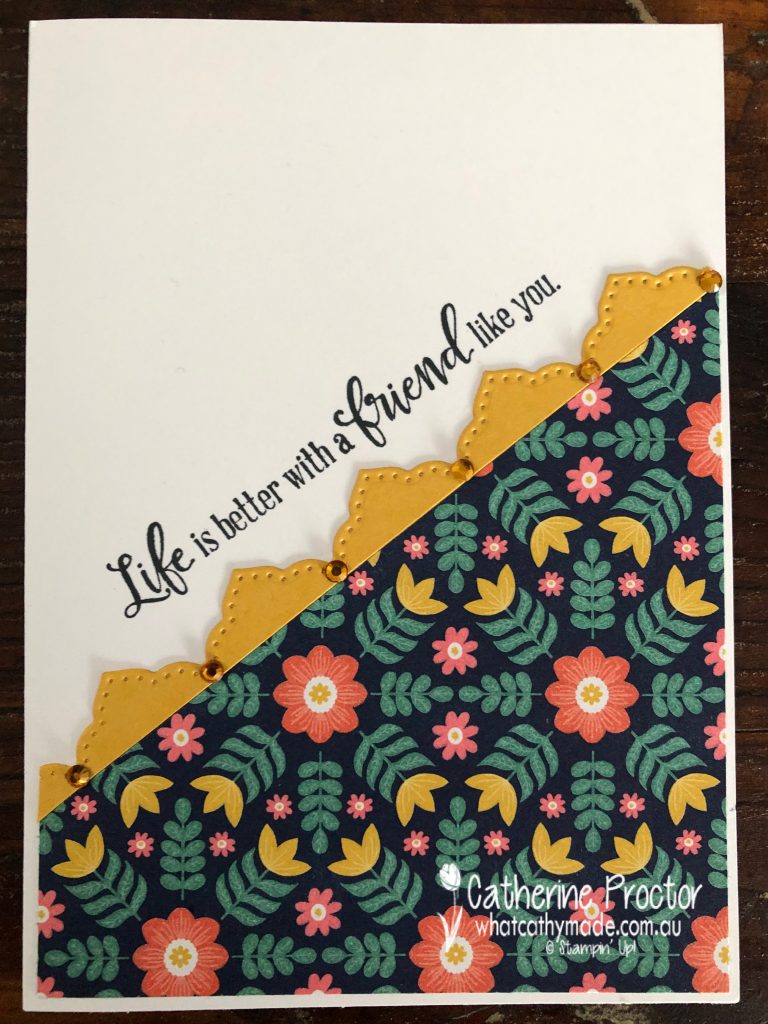
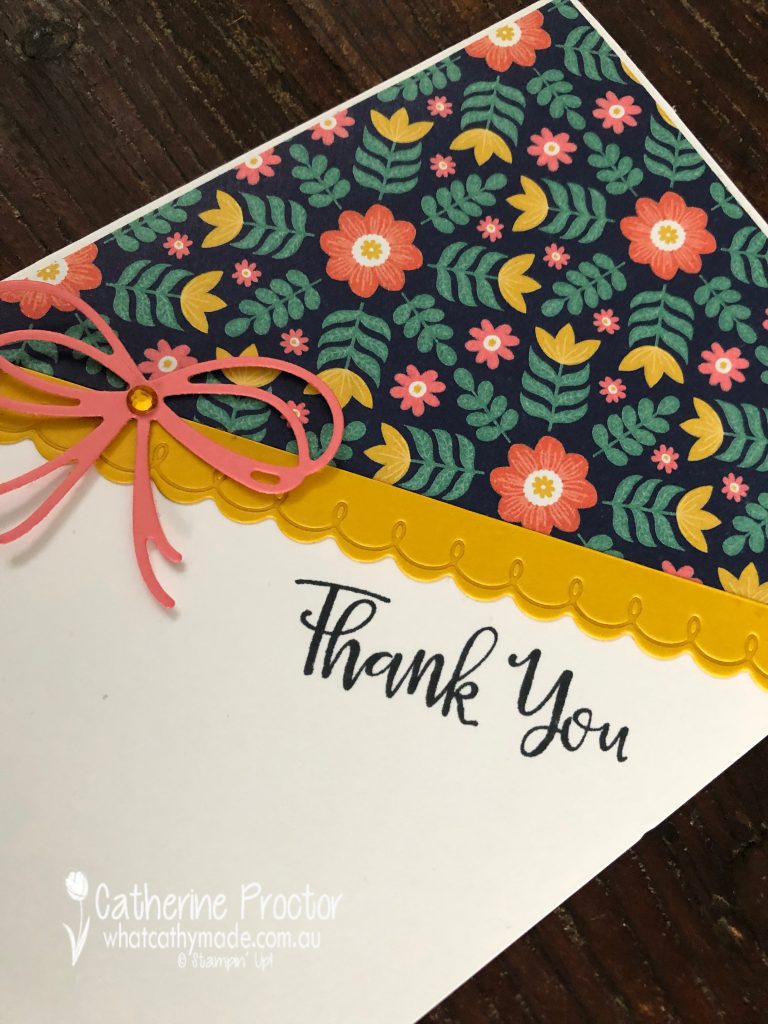
Because we are showcasing Bumblebee this week I chose this design from the Sweet Symmetry Designer Series Paper. Isn’t it pretty? Its colour combination pairs Bumblebee with Night of Navy, Flirty Flamingo, Just Jade and Basic White.
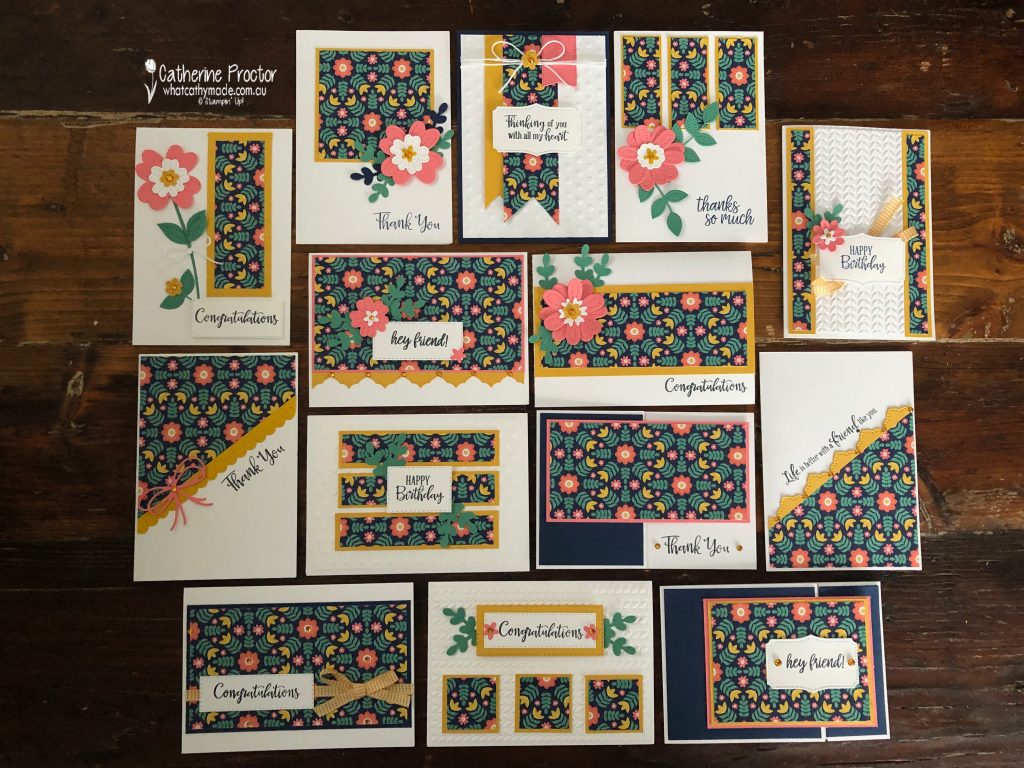
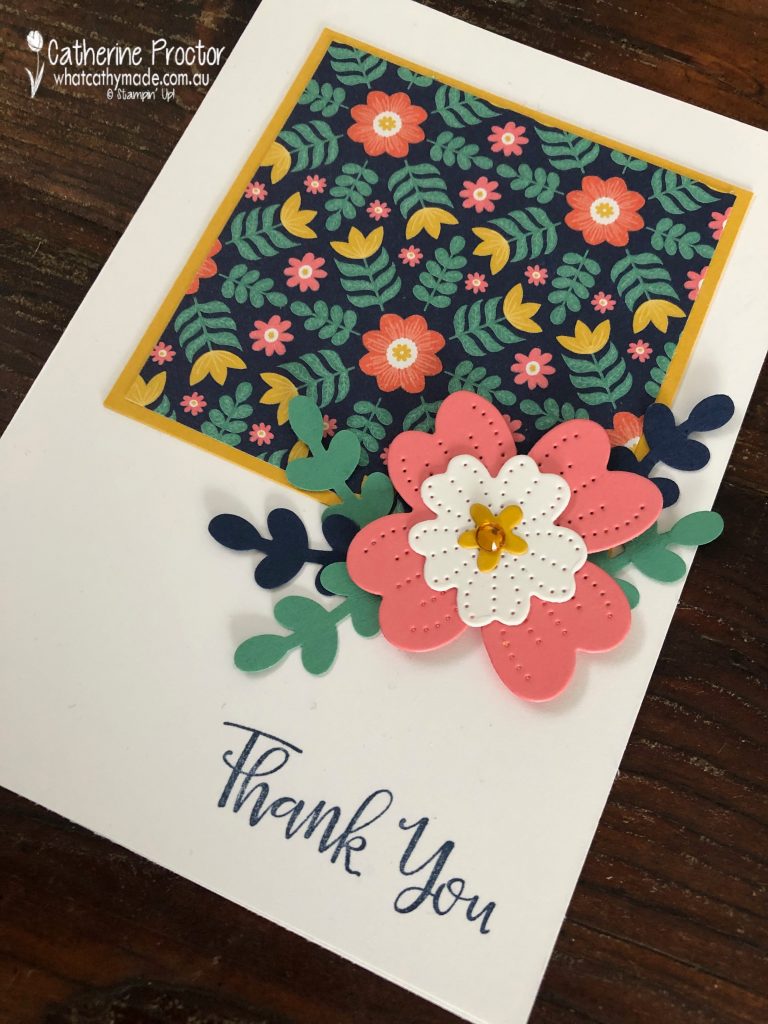
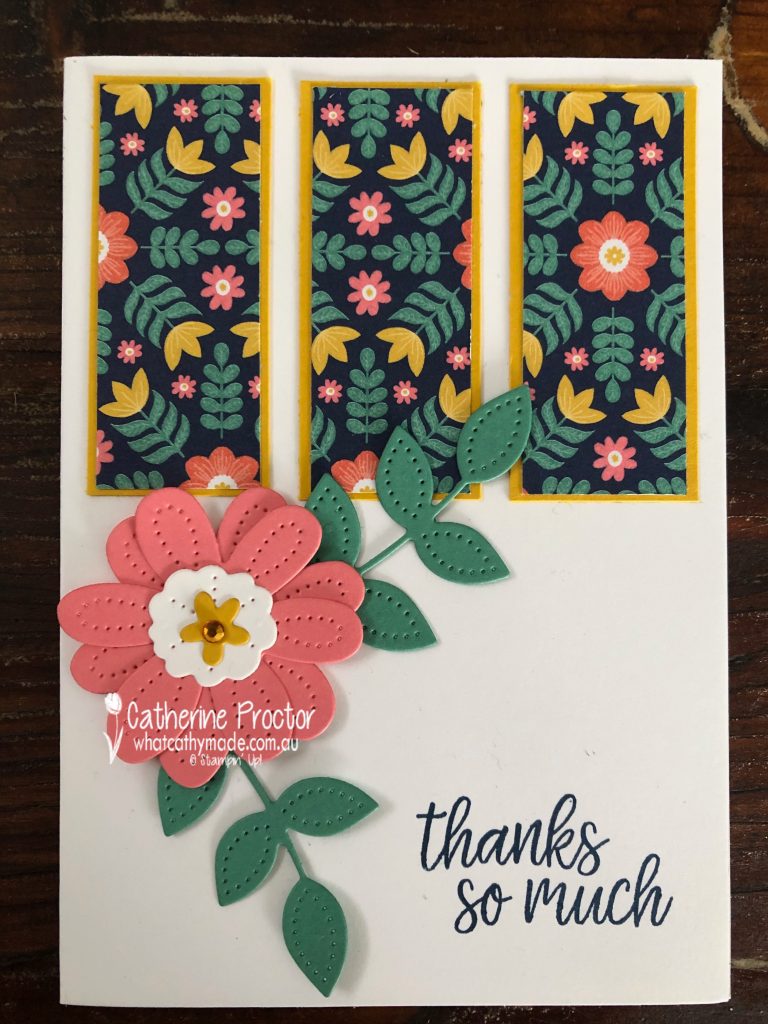
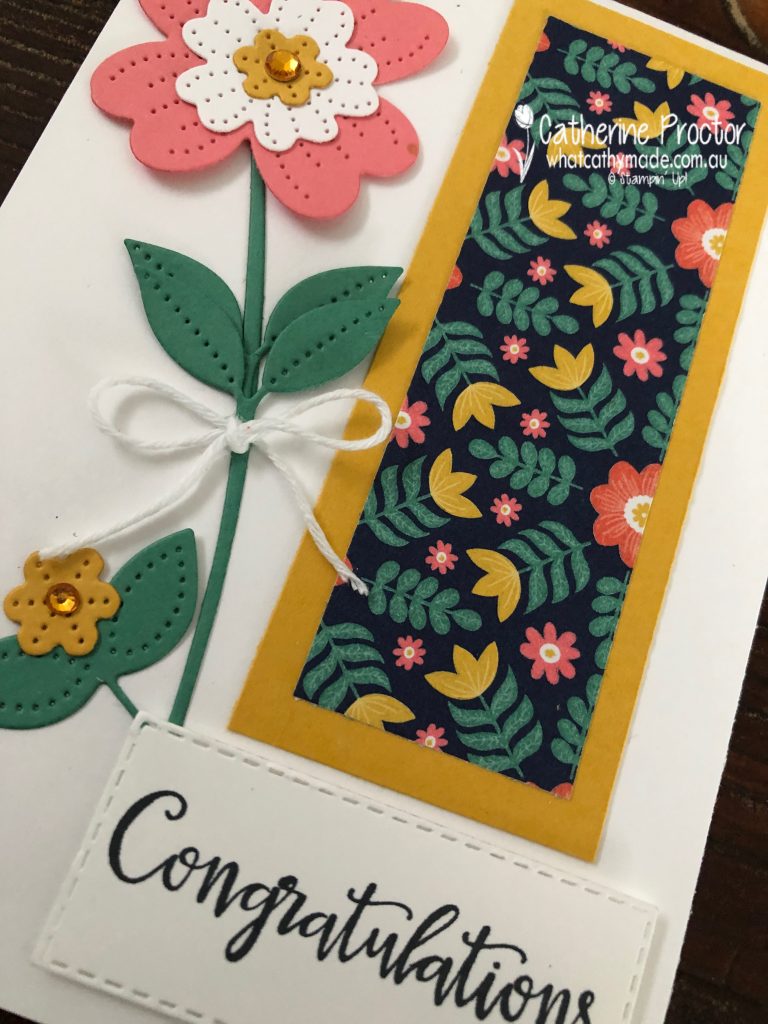
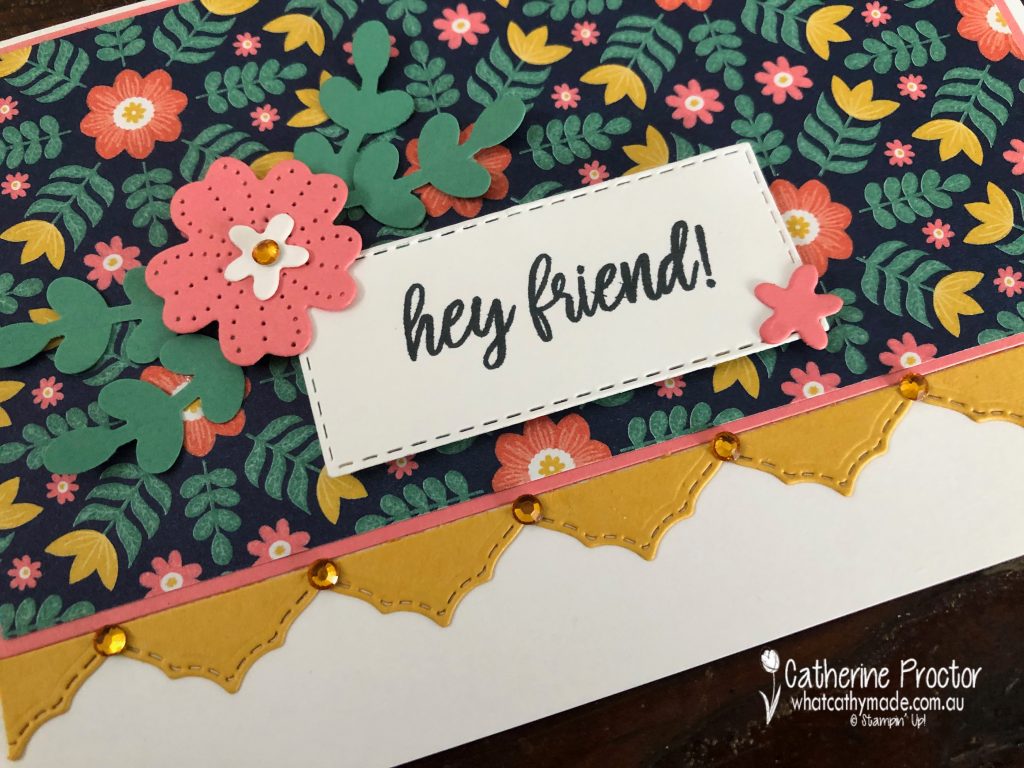
So just how many card can you make from one sheet of DSP? Well, I made 14 and here they all are!
The beauty of a One Sheet Wonder is that you can do it with any DSP and use the embellishments, ribbons, die cuts and punches you already have on hand. I made up these designs for my cards as I went along using a variety of Stampin’ Up! products.
The main products used throughout are:
Pierced Blooms dies as their shapes perfectly match the pattern in this DSP
Sentiments from In Symmetry and Peaceful Moments stamp sets
Bumblebee Gingham Ribbon and White Bakers Twine
Bumblebee, Night of Navy, Flirty Flamingo, Just Jade and Basic White card stock
Greenery and Dotted Embossing folders
Stitched Rectangle dies
Holiday Rhinestone Basic Jewels
Symmetrical Stems Border Punch
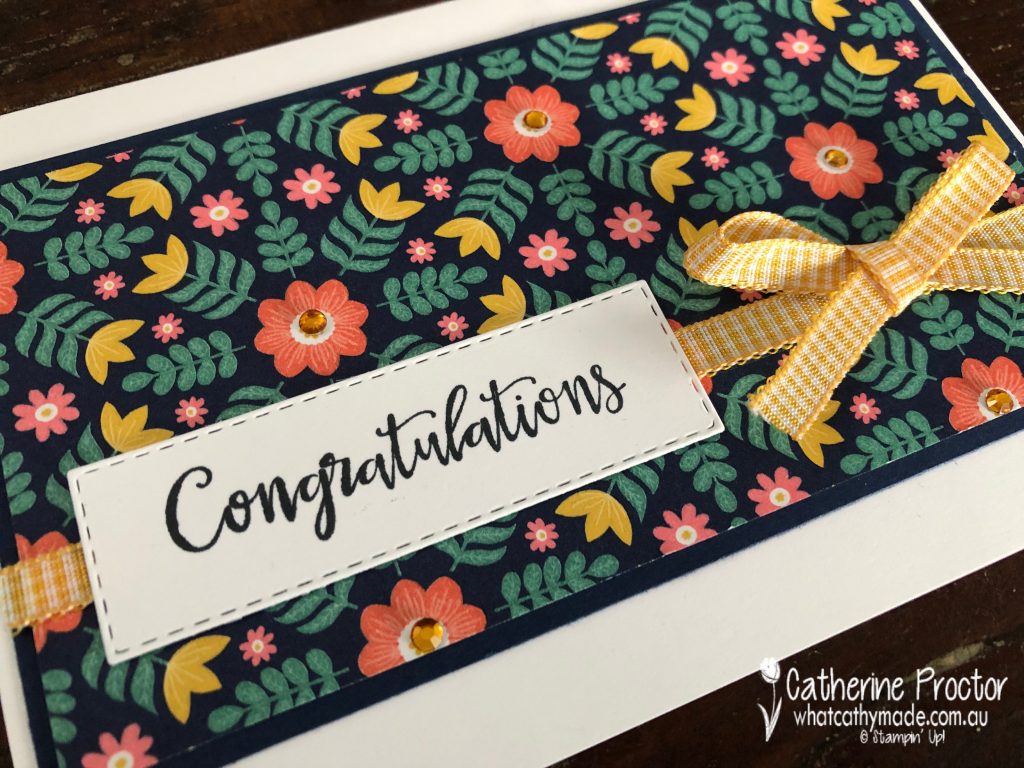
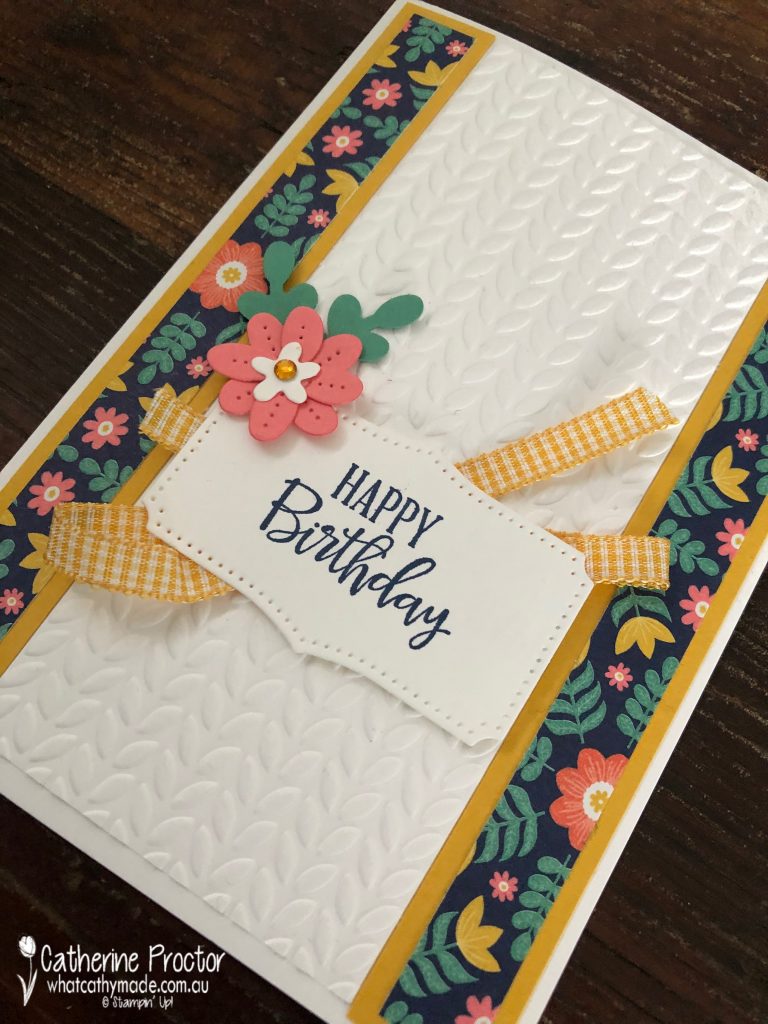
Lets see how my cards turned out. I’ve listed them in numerical order as per the numbers on the pieces in cutting template – to see which piece of DSP to use for each card refer back to the numbers on the cutting template.
Card 1
Card 2
Card 3
Card 4
Card 5
Card 6
Card 7
Card 8
Card 9
Card 10
Card 11
Card 12
Card 13
Card 14
You might be wondering where the other number 14 piece went? I used it to decorate the inside of the front flap on Card 11 (the front panel attached to the left flap folds over the right side flap) but it could be used to make a 15th card too!
Using a One Sheet Wonder Template is a great way to get more cards from your DSP – why not grab a packet of DSP while it is on sale and build up your supply of handmade cards?
Now it’s time to hop on over to our next participant, the very talented Caroline Manwaring. I can’t wait to see what she’s made this week!
If you find a broken link or have come to this blog hop from a different entry point, you can view the the full list of participants below:
With our Art with Heart Team Christmas blog hop providing Christmas card inspiration for you every Monday night I should have all my Christmas cards made by December – I just need to remember to send them in time!
My pre-order of Christmas products from the July-December mini catalogue and the Sale-a-bration catalogue arrived this week. That’s right, Stampin’ Up! is holding TWO Sale-a-bration periods this year – this second Sale-a-bration period starts on August 3, the same day as the July-December mini catalogue.
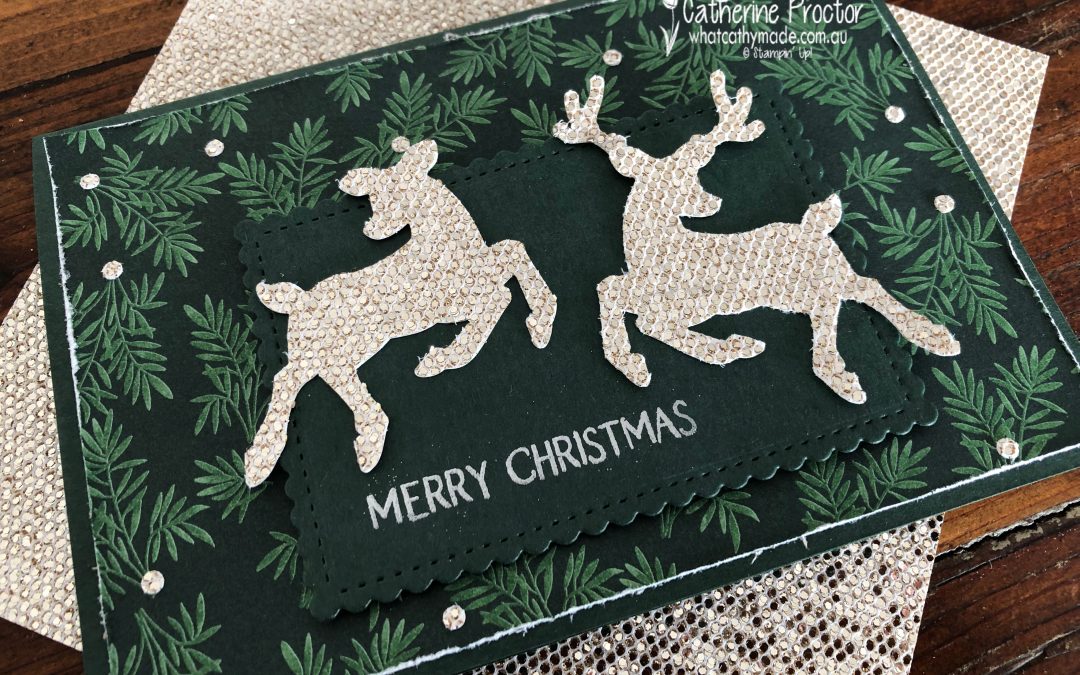
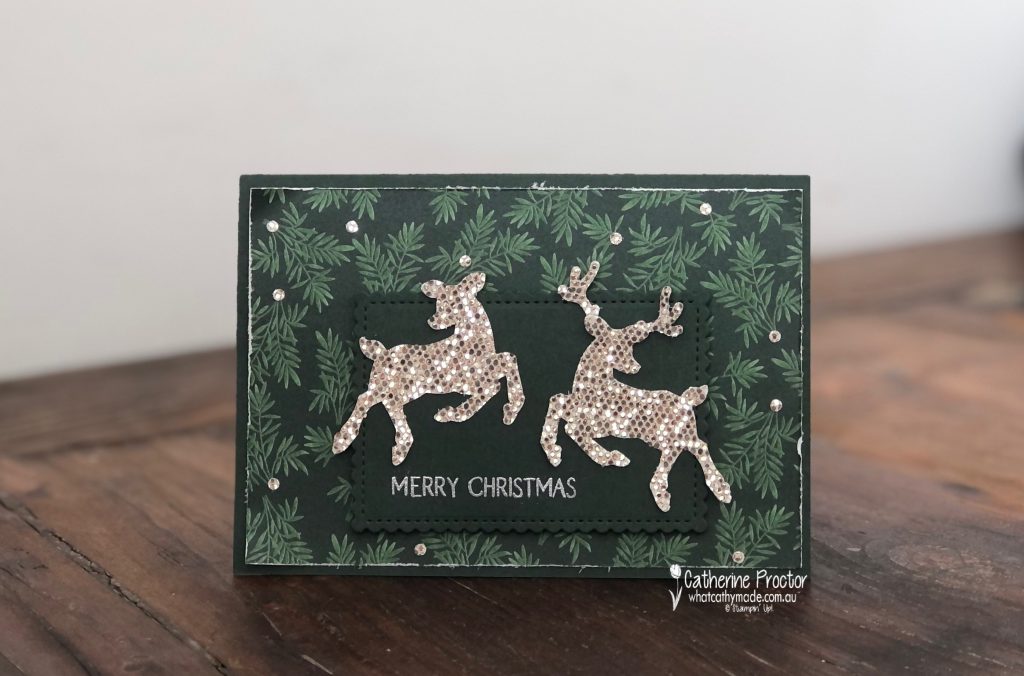
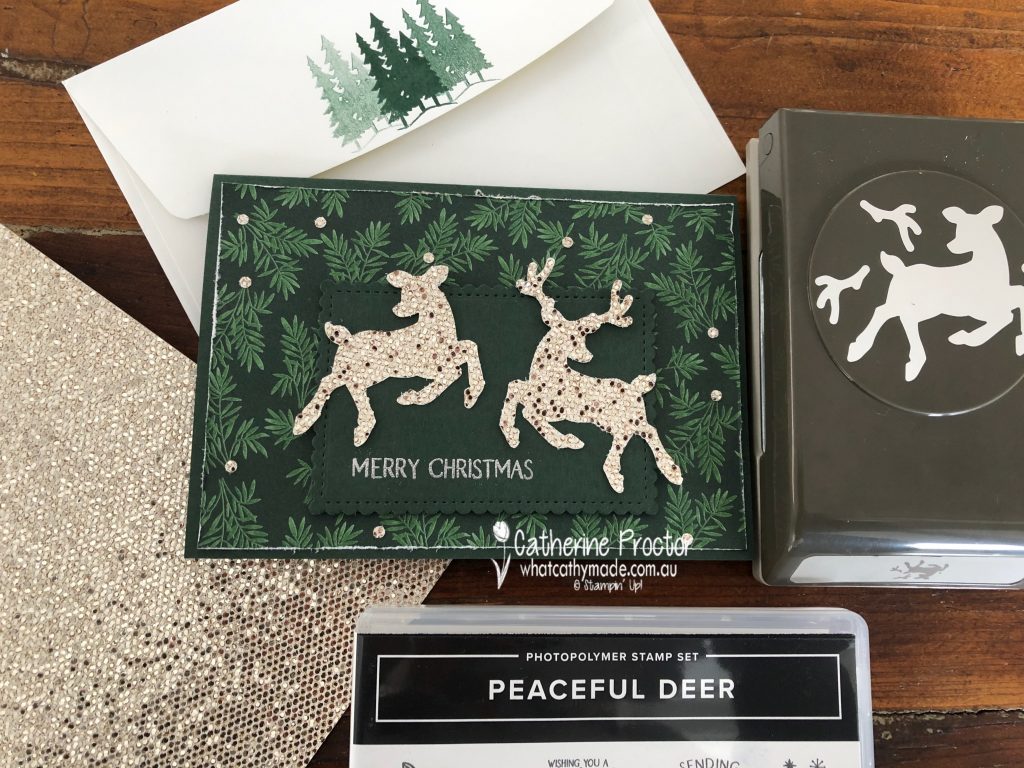
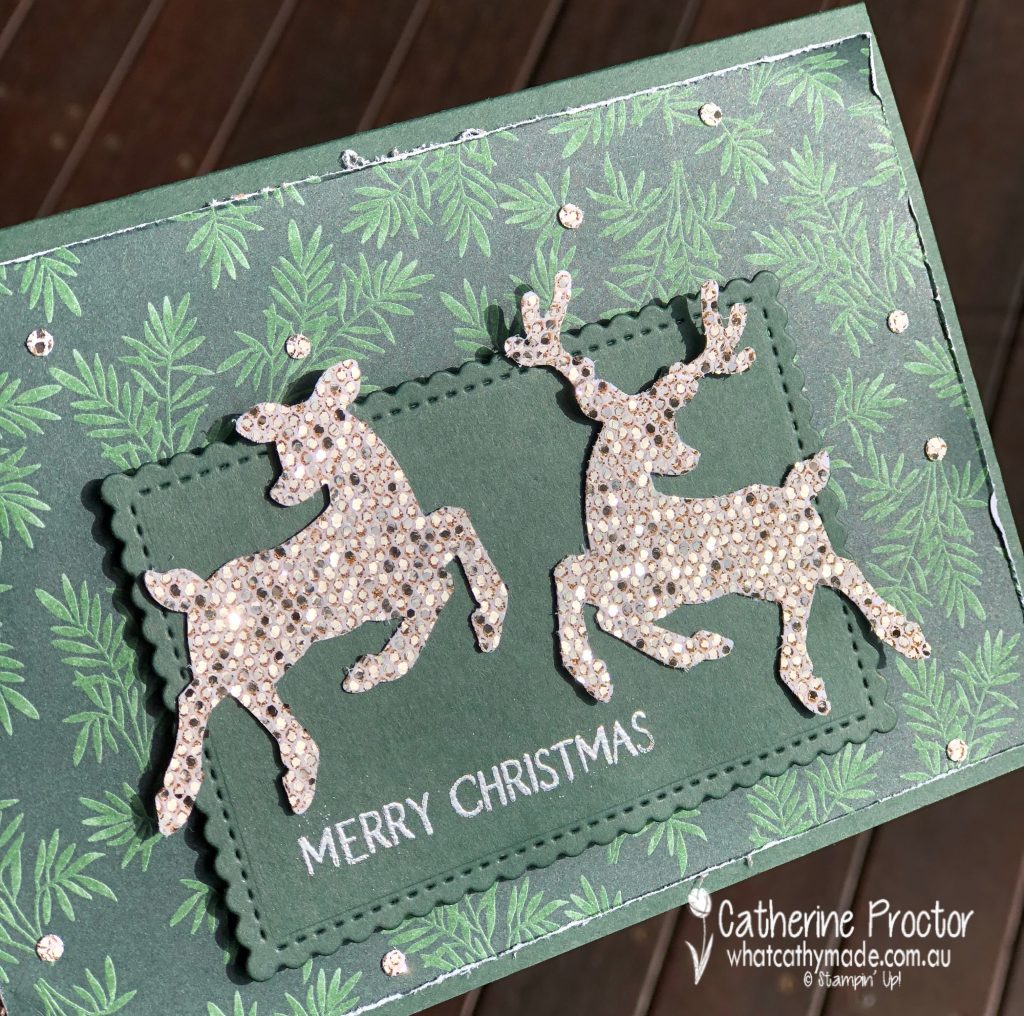
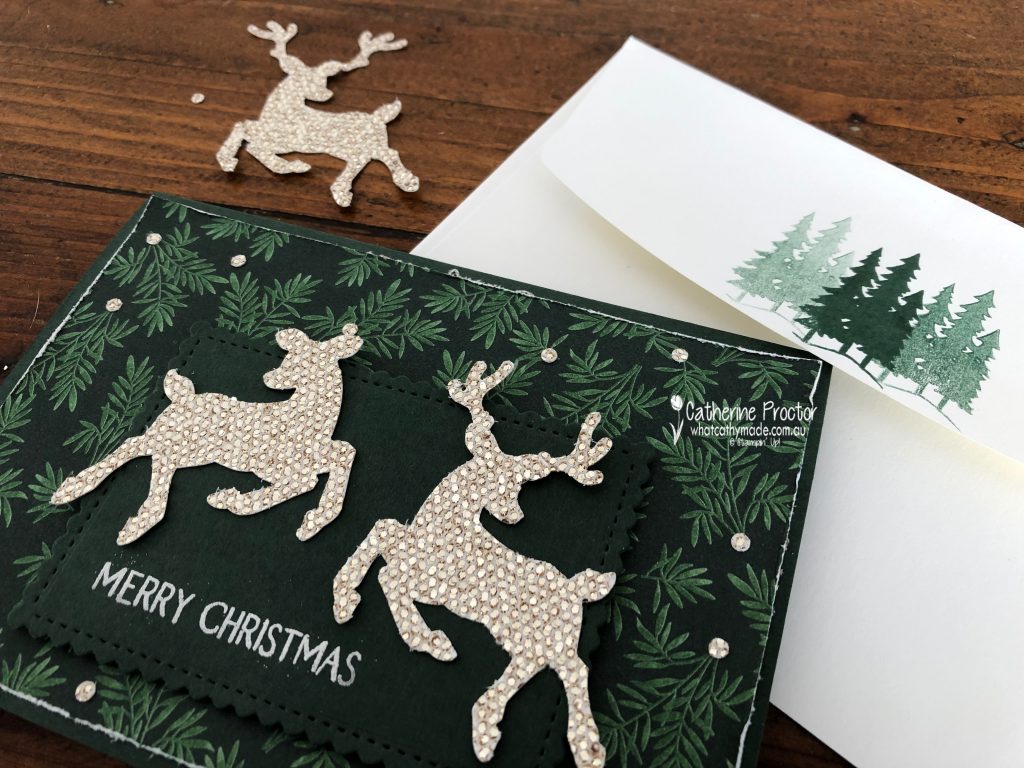
I’m so excited to share a card I made using one of these FREE Sale-a-bration products, the Be Dazzling 6″ X 6″ Specialty Paper.
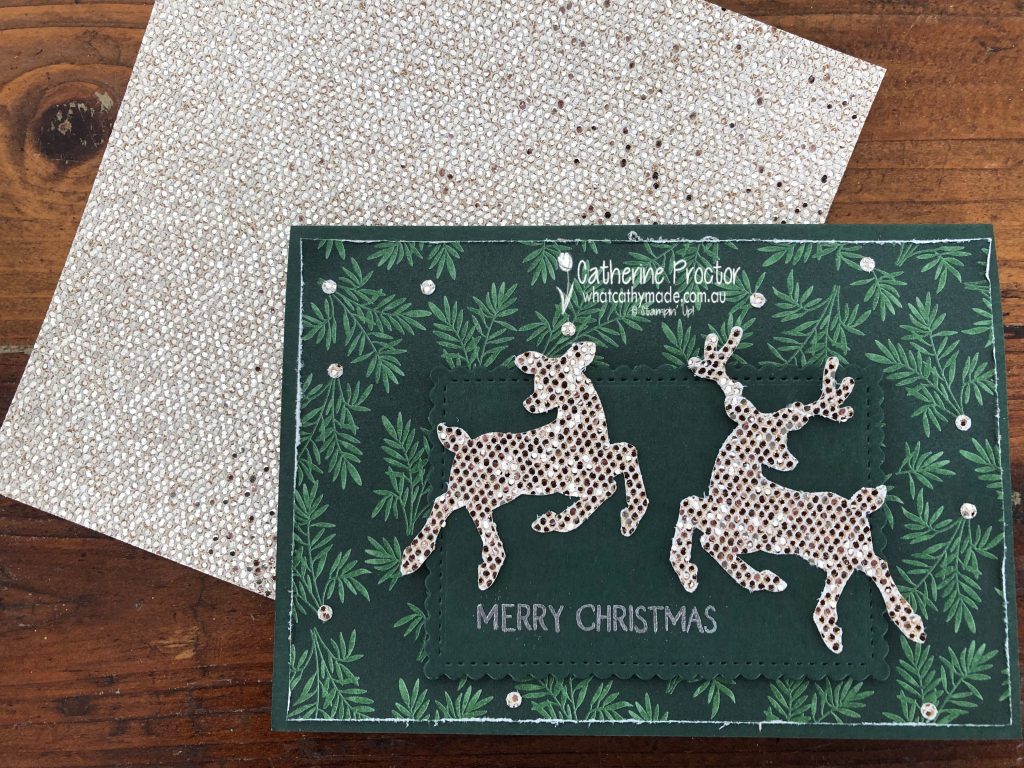
Isn’t this Be Dazzling 6″ X 6″ Specialty Paper so stunning! It will definitely make any card feel extra special. The colour is hard to describe – it’s sort of a pale champagne colour that will coordinate with either silver or gold, as well as many of the neutrals, including Sahara Sand and Crumb Cake.
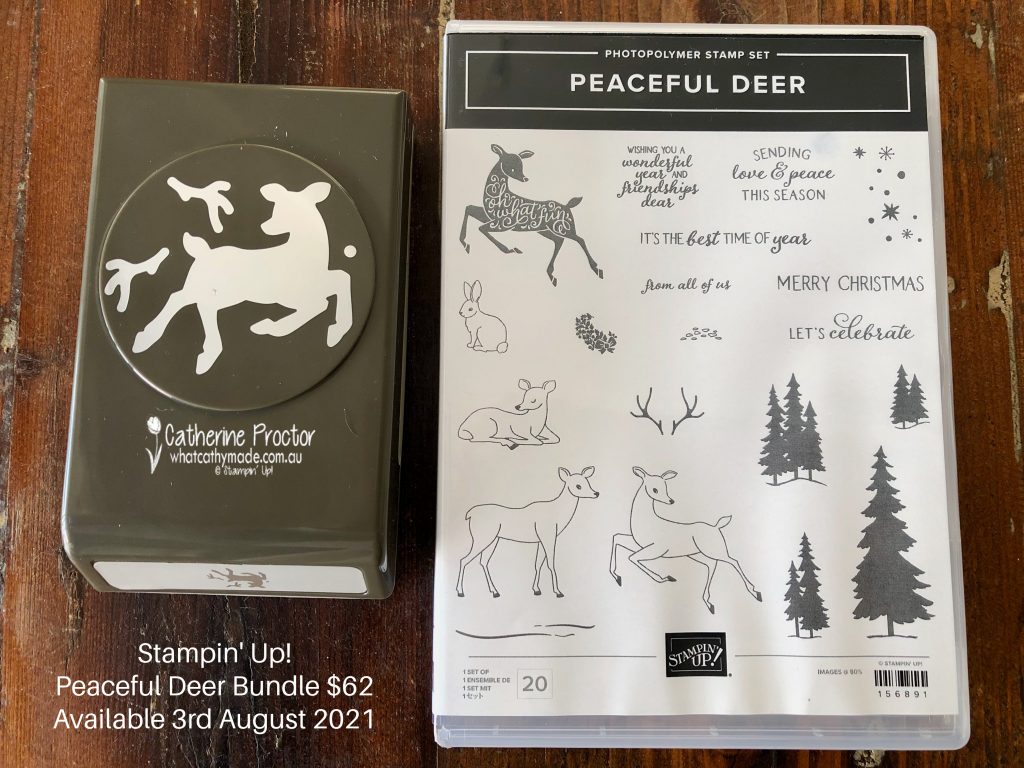
The other new products on this card are from the Peaceful Deer Bundle, which includes the Peaceful Deer Stamp Set and the Deer Builder Punch, both available from August 3.
At just $62 for the bundle, this is such an affordable and a versatile set. The Peaceful Deer Stamp Set has great sentiments and a good variety of images, including a deer that coordinates with the punch – perfect for crafters who don’t own a die cutting machine.
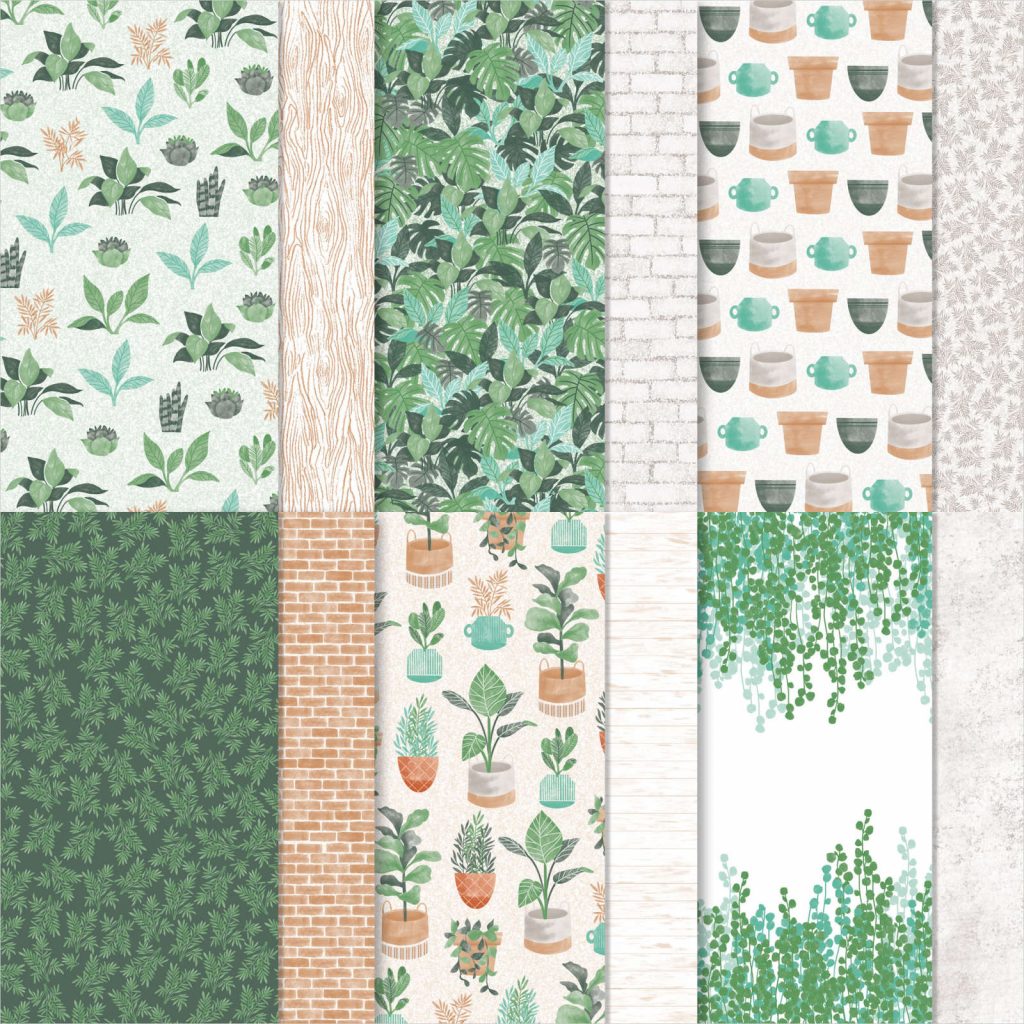
The beautiful Designer Series Paper I’ve used as my background is not a Christmas paper from the forthcoming July-December mini catalogue, however, I think it works really well on this card.
This Bloom Where You’re Planted Designer Series Paper is available now and on sale for $17.00 – I’ve used the sheet shown on the bottom left.
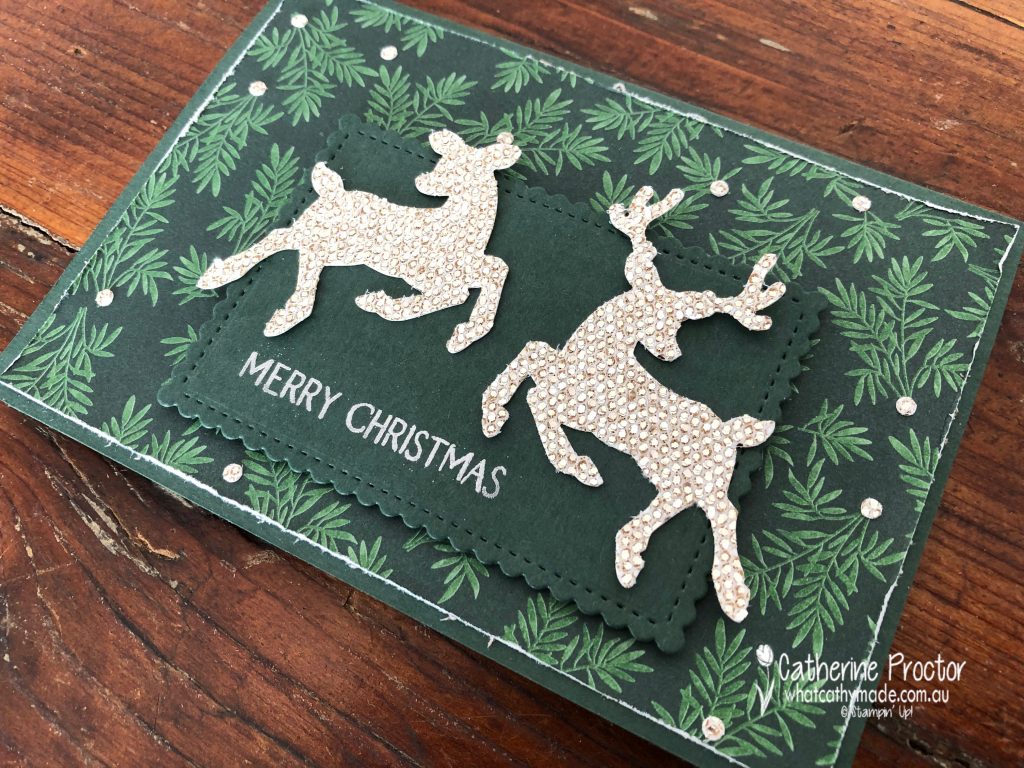
I wanted to add a few embellishments to my DSP as it is such a dark background. Looking at the scraps on paper on my craft desk I realised there is a very small circle shape in the Deer Builder Punch. I think it is meant to be the deer’s eye but I used it to punch out my own embellishments.
I love the effect of these embellishments – it’s a great way to use up the scraps! This photo – taken outside in a brief moment of sun on this rainy day – shows my embellishments close up, as well as how sparkly this paper is.
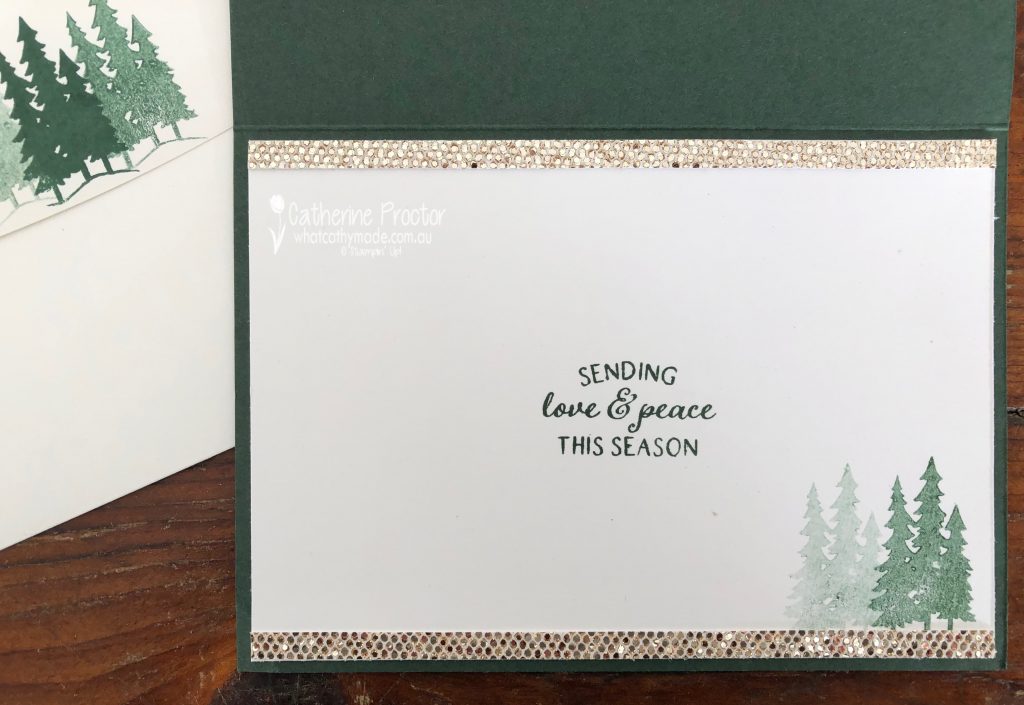
I stamped the inside of the card to match, using another sentiment and one of the tree stamps from the Peaceful Deer Stamp Set as well as adding a narrow strip of the Be Dazzling paper top and bottom.
To get the three shades of green for the trees on the back of the envelope flap, I stamped the tree stamp once at full strength in Evening Evergreen and then a second time and a third time without re-inking the stamp.
Now it’s time to hop on over to our next participant, the very talented, Sharon Davern. I wonder if she will share another fabulous fancy fold card with us?
If at any time you find a broken link please head to the blog of this week’s Host of the Heart of Christmas Blog Hop, Tina Gillespie, and she will have the list of all who are participating.
Thanks for visiting my site. I’ll be back with another card on Wednesday. If you’d like a copy of the forthcoming July-December mini catalogue and the Sale-a-bration catalogueplease get in touch.
Welcome to week 6 of our 2021-22 Colour Creations blog hop! We are showcasing Blushing Bride, a pale pink colour from our subtles family.
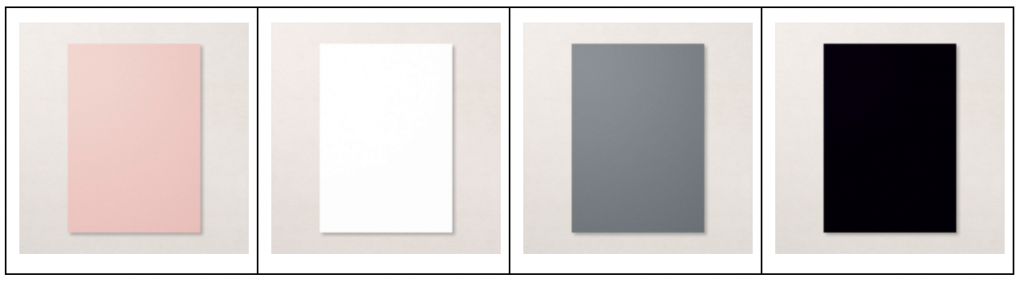
This week I was inspired by the colour combination the lovely Vicki Boucher used for our Basic Gray blog hop. Vicki paired Basic Gray with Blushing Bride and I just loved the way this dark gray made the soft pink really pop, so my colour combination for this week’s hop is Blushing Bride, Basic Gray and Basic White with a touch of Basic Black.
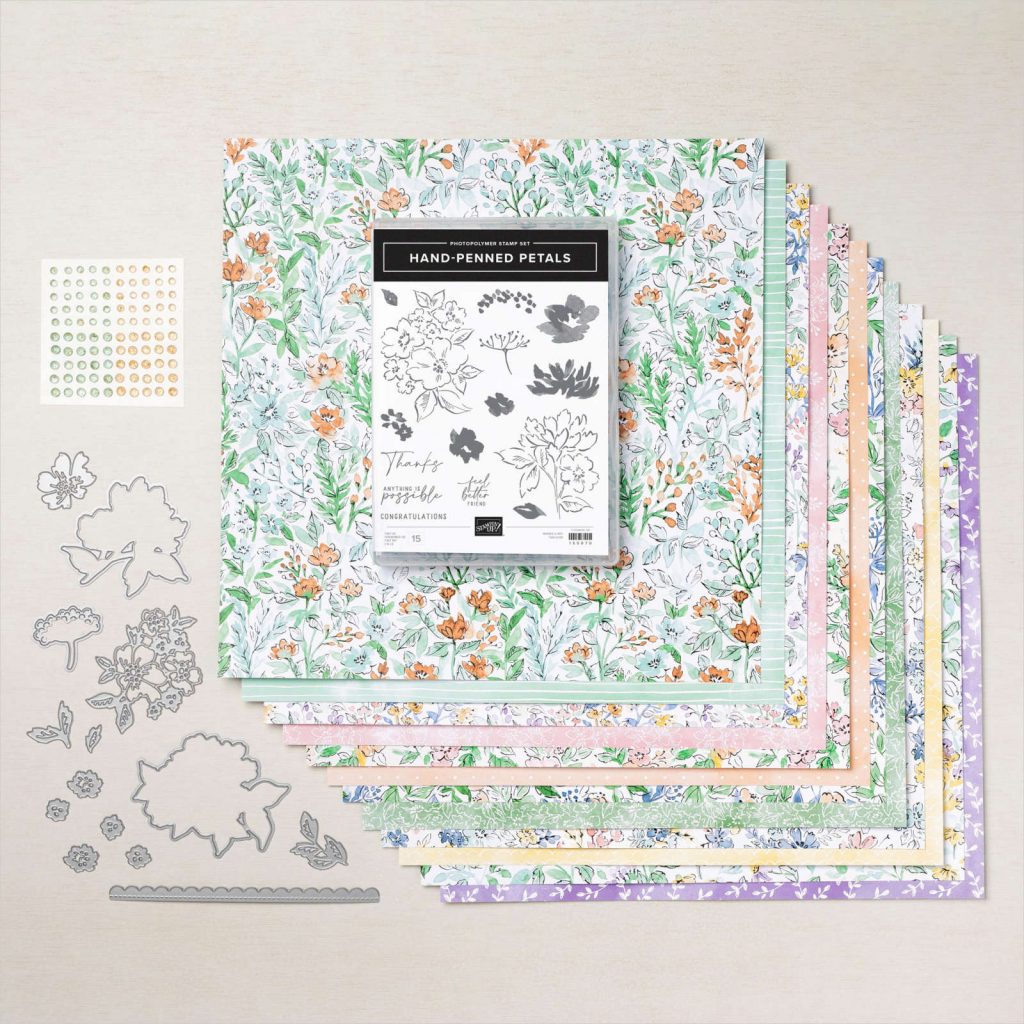
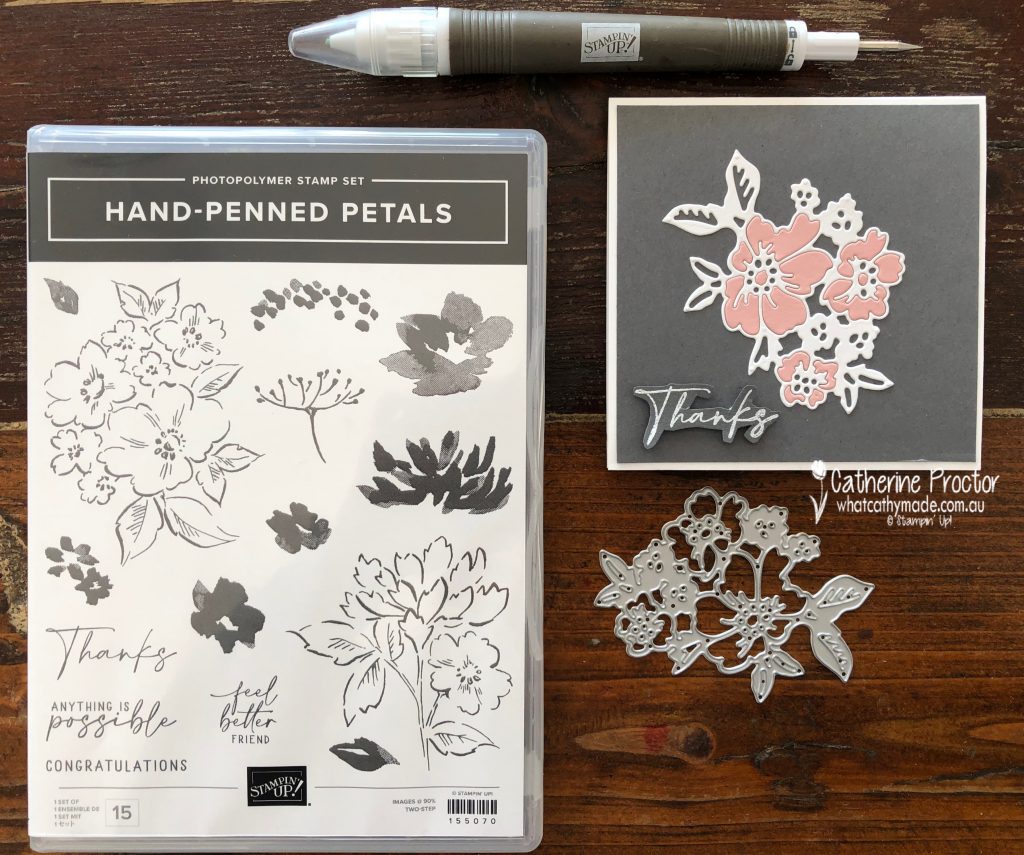
The Hand Penned Petals suite is a very pretty new suite in the Annual Catalogue and it really has something for everyone.
The DSP is so lovely you don’t have to do much to it to create beautiful cards.
The Memories and More pack and matching cards make for super easy cards.
The Hand Penned stamp set is fabulous if you love colouring — or you can simply use the two step stamping if you prefer not to colour in.
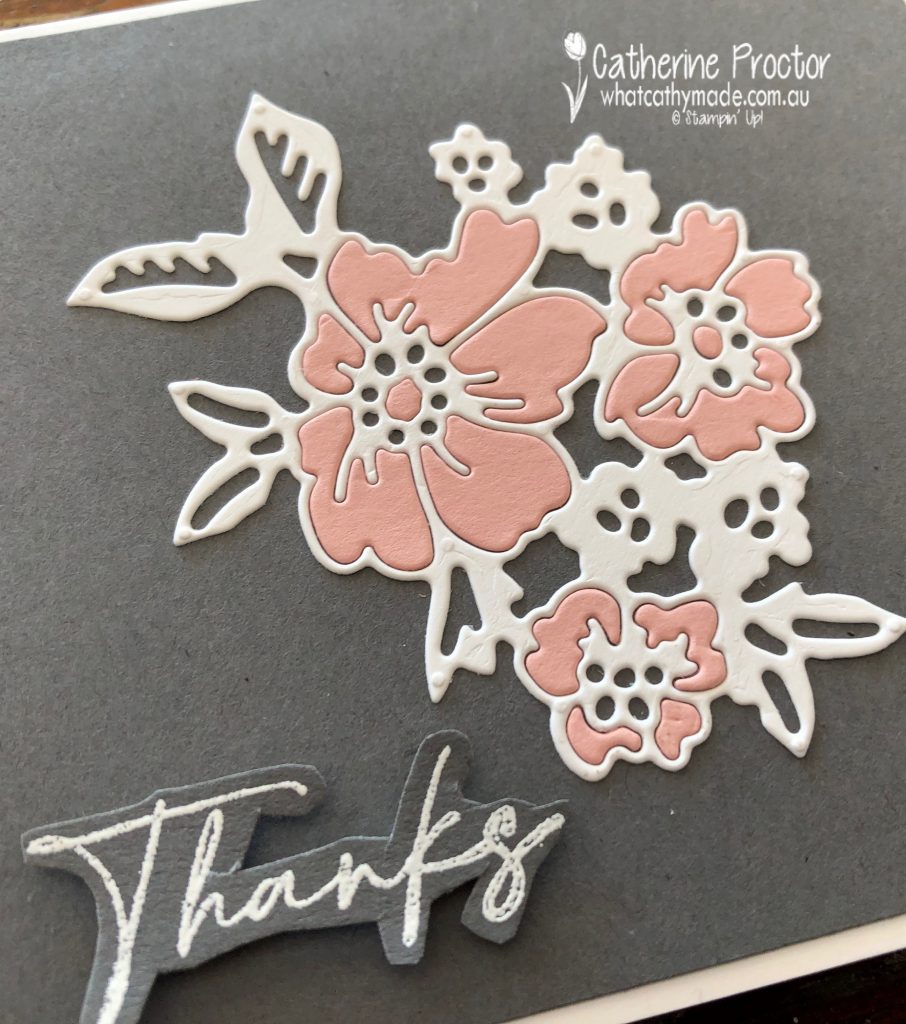
The dies can be used to cut the stamped images or also on their own for the die inlay technique.
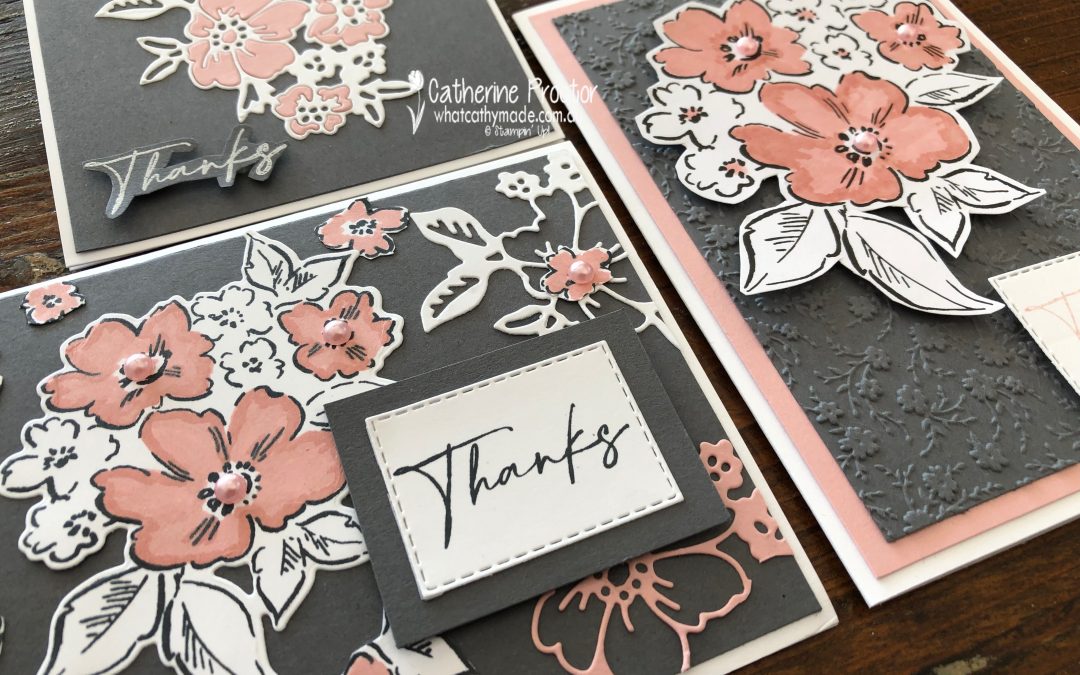
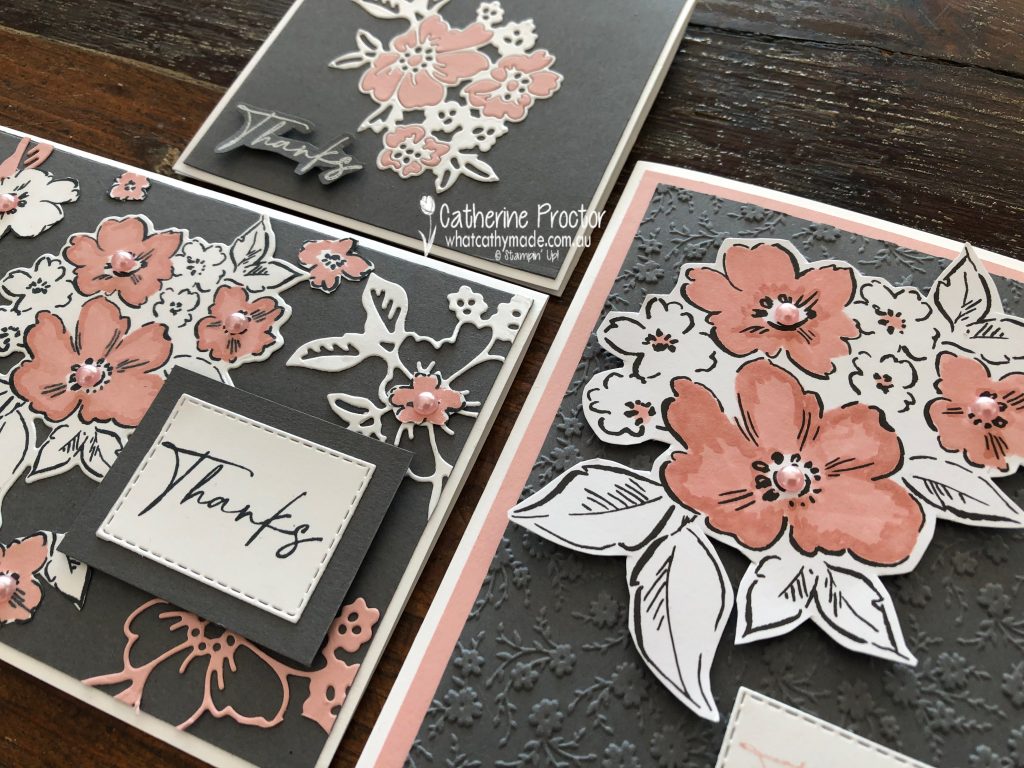
My three cards today show you three different ways to use this suite: a quick and easy card using the Memories and More Cards; a simple but effective die inlay technique; and a card that uses leftovers from the die inlay technique combined with stamped and coloured die cut floral images.
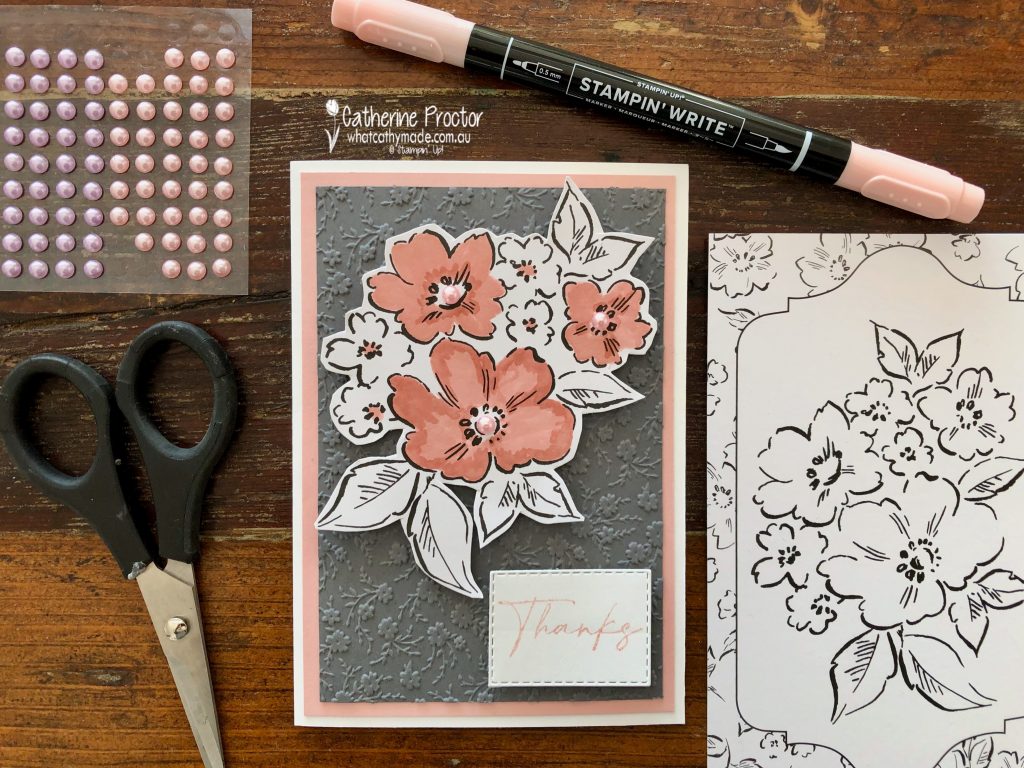
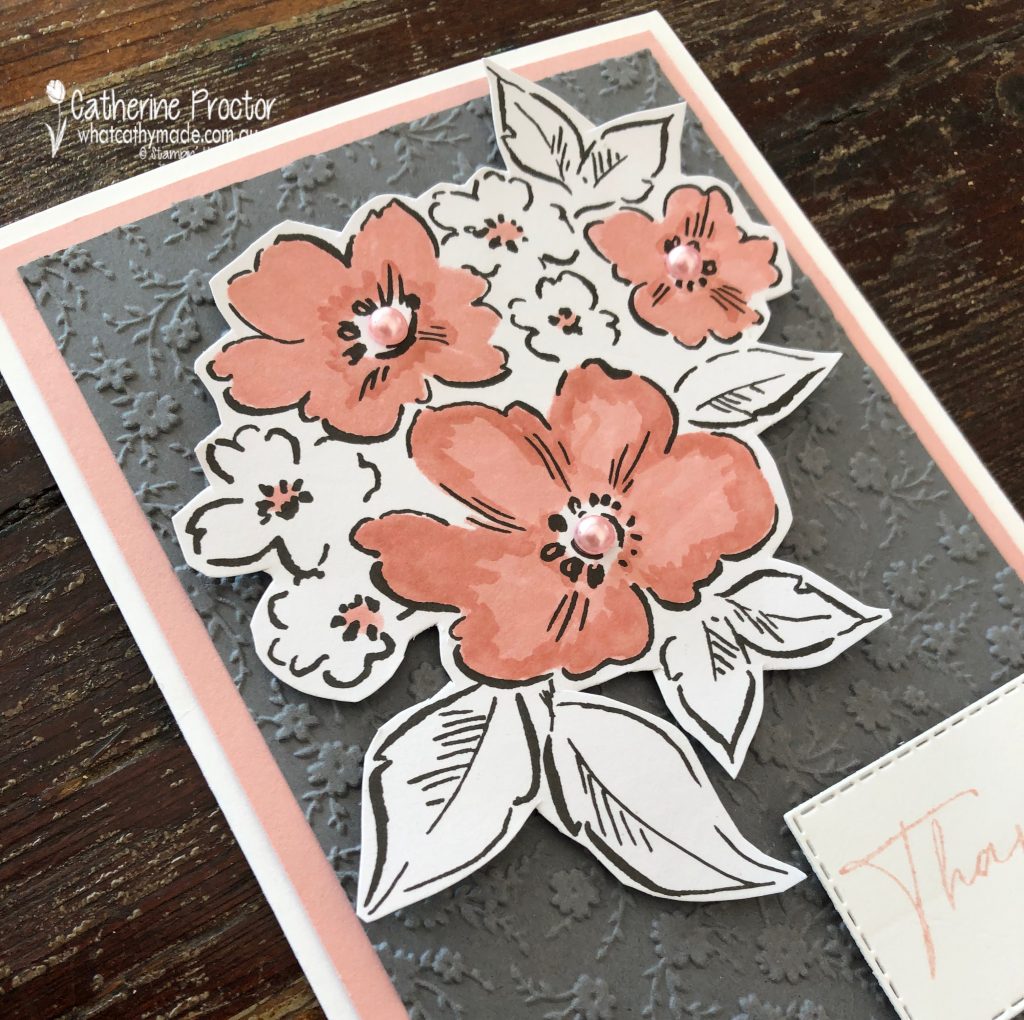
As well as elegant floral designs and pastel hues, the Hand-Penned Memories & More Cards pack contains outline images you can colour in. I chose a large Memories & More card to colour in with my Blushing Bride Marker. You can see the card in the photo below – I simply fussy cut it out after colouring in. So quick and easy!
The ornate floral embossing folder was the perfect background layer for this large image and the Pastel Pearls were the finishing touch for my card.
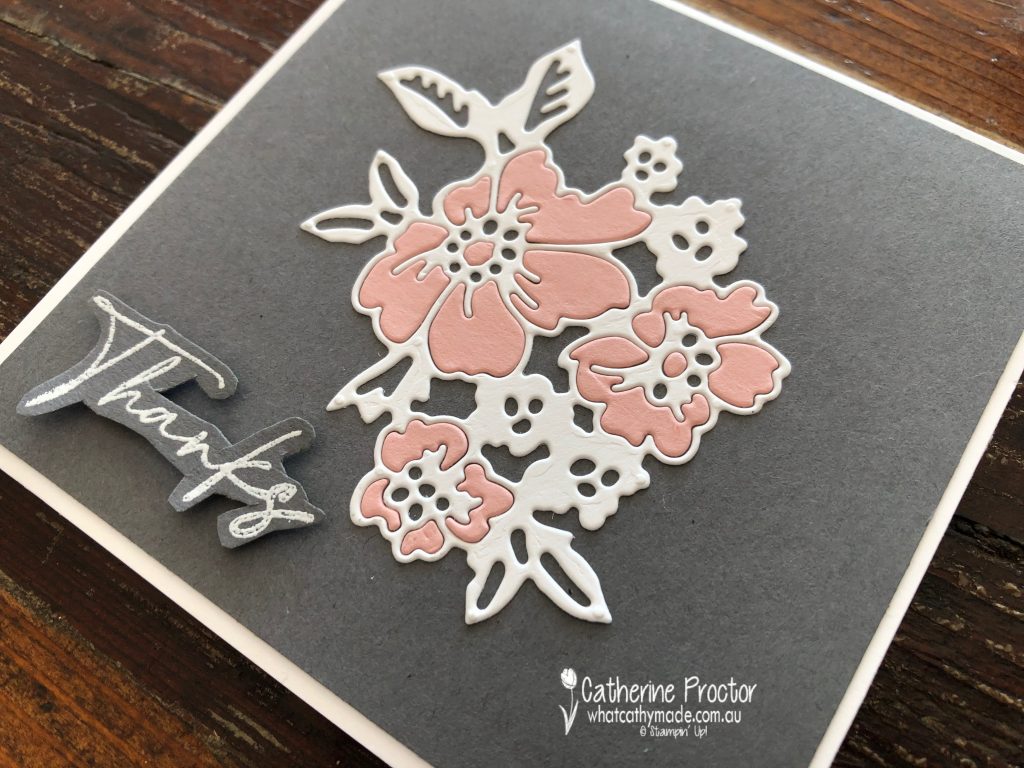
The die inlay technique is a bit fiddly but well worth it. Using Adhesive Sheets makes it a lot easier to adhere the die cut pieces to the card base without getting glue everywhere and the Take-a-Pick Tool is essential for picking up and inserting the die cut pieces.
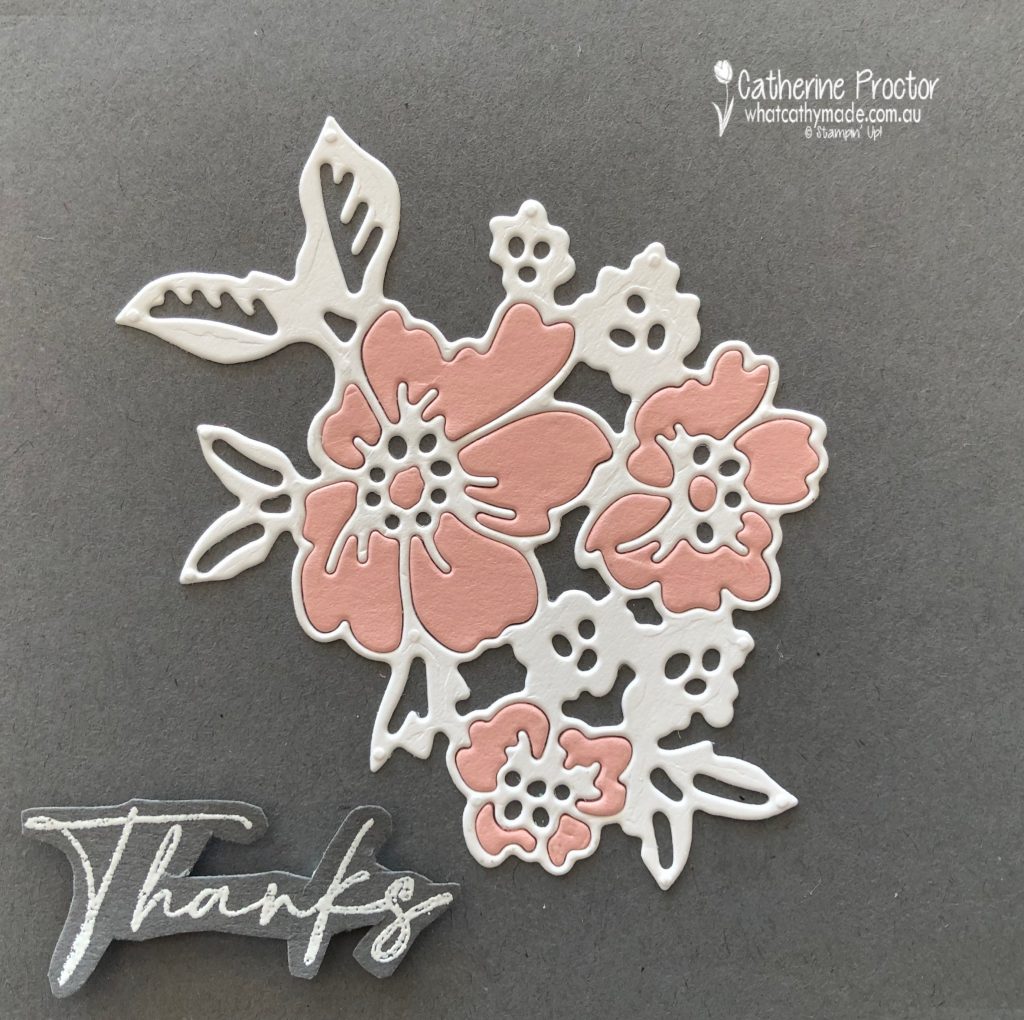
You can also use multipurpose glue for this technique. Simply squirt some onto a silicon sheet and use a cotton bud to apply very sparingly to the die pieces. Use the die shape in the photo above to cut one piece out of Whisper White and one piece out of Blushing Bride card stock – don’t forget to adhere the adhesive sheet to the back of the card stock before die cutting.
Then it’s simply a matter of adhering the white die piece to your background layer (save the leftover pieces) and using your Take-a-Pick tool to insert Blushing Bride pieces to make the flowers.
The Thanks sentiment was stamped in Versamark ink, white heat embossed and fussy cut out before applying to the card.
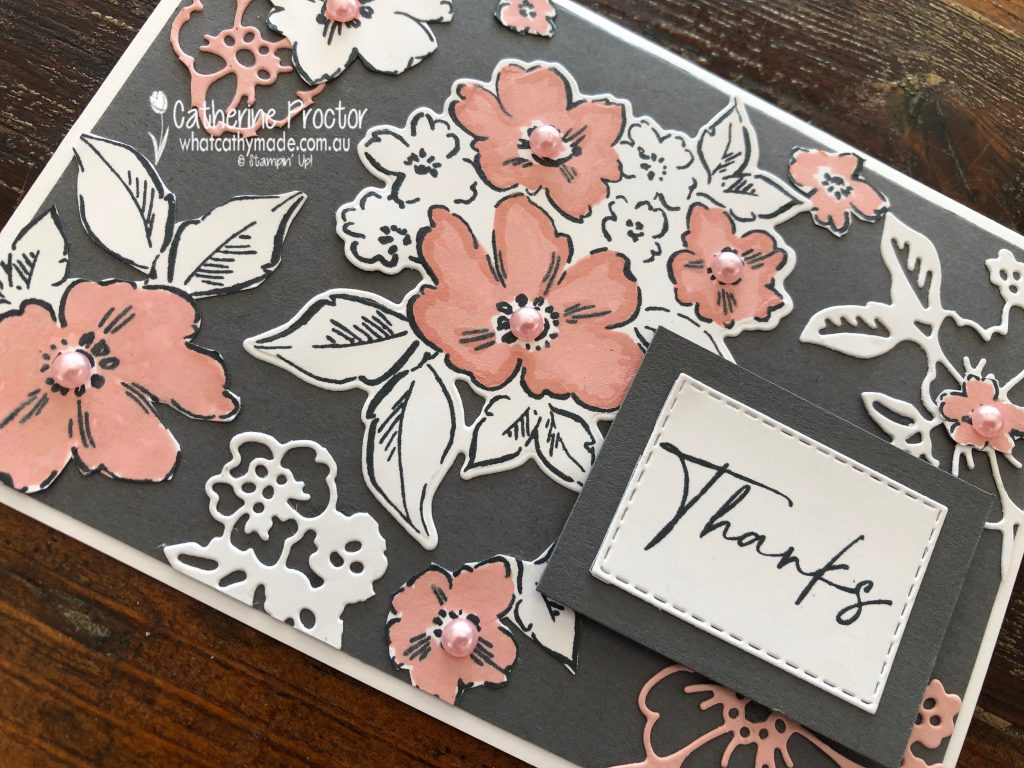
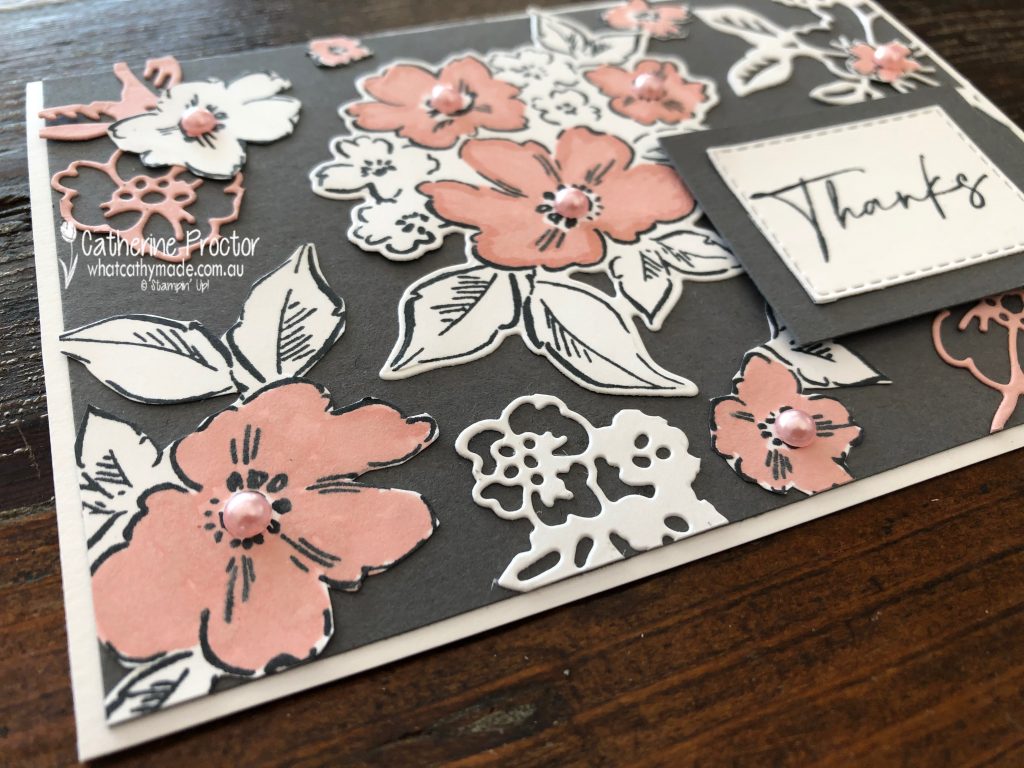
Remember how I said to save the leftover die cuts from the die inlay technique? I’ve used them on my third card, along with a couple of stamped, coloured and die cut images using the Hand-Penned bundle.
This is such a great way to incorporate your leftover pieces into a card. I cut up my second stamped image and arranged pieces of it and the die cuts around the main stamped image. Once again, the Pastel Pearls were the finishing touch for my card.
One amazing suite of products…three very different cards.
Do you have a favourite?
Now it’s time to hop on over to our next participant, the very talented Caroline Manwaring. I can’t wait to see what she’s made this week!
If you find a broken link or have come to this blog hop from a different entry point, you can view the the full list of participants below:
I know it’s only July, but in this house it’s beginning to feel a lot like Christmas!!!
Why, you may ask? Well firstly, it’s Week One of our Heart of Christmas blog hop for 2021, yeah!
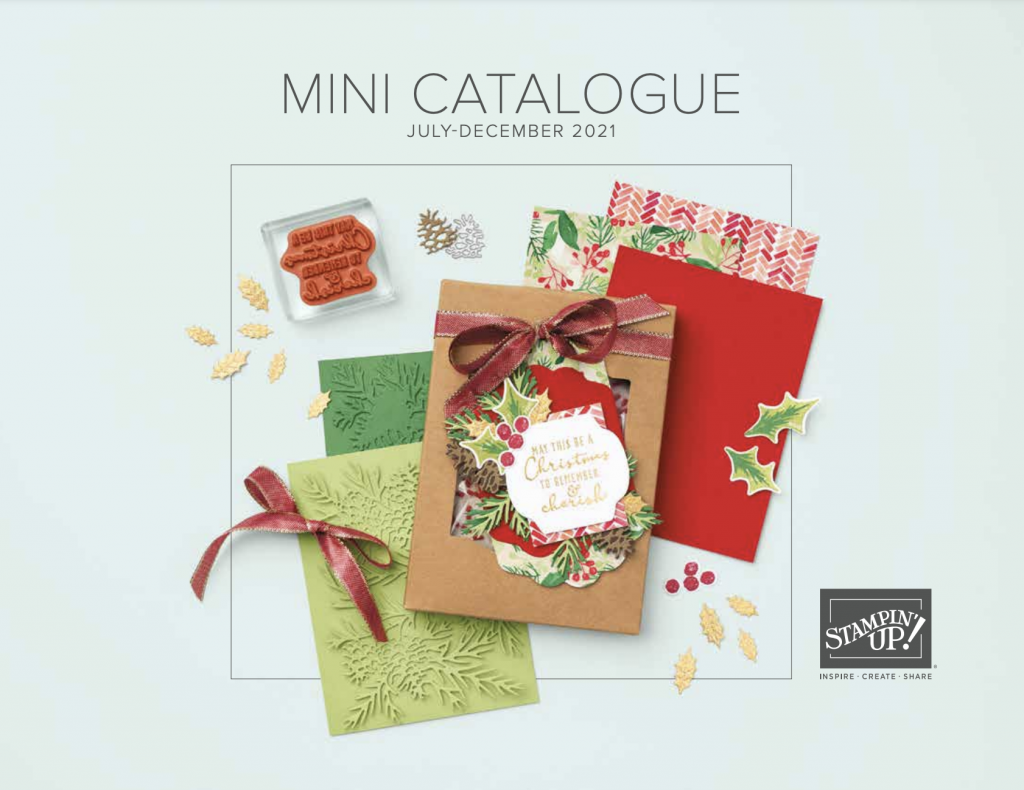
And secondly, as a Stampin’ Up! demonstrator I’ve already got my hands on the brand new July-December mini catalogue, jam packed with lots of beautiful Christmas products! My pre-order will be arriving in the next few days, so watch this space for upcoming sneak peeks. Here’s the cover…
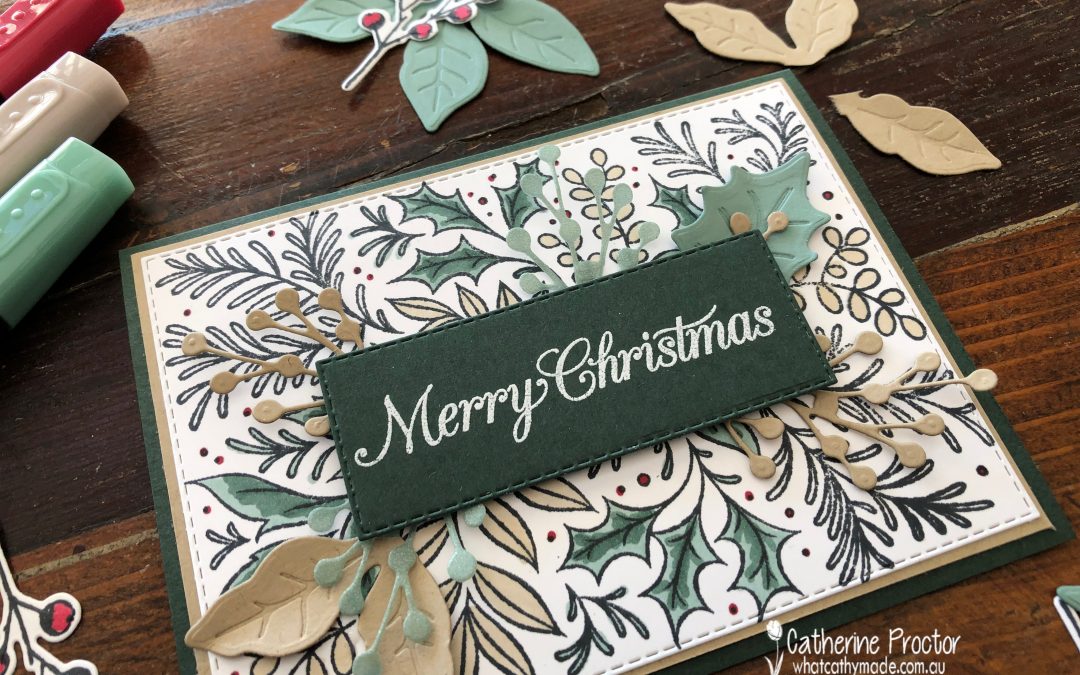
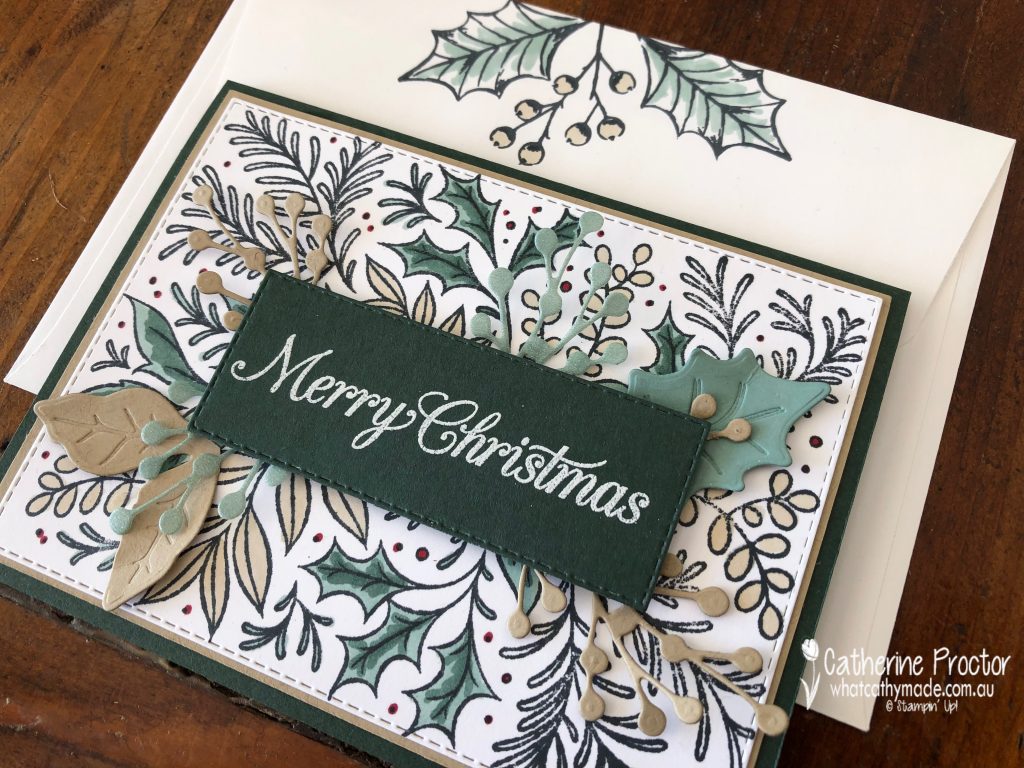
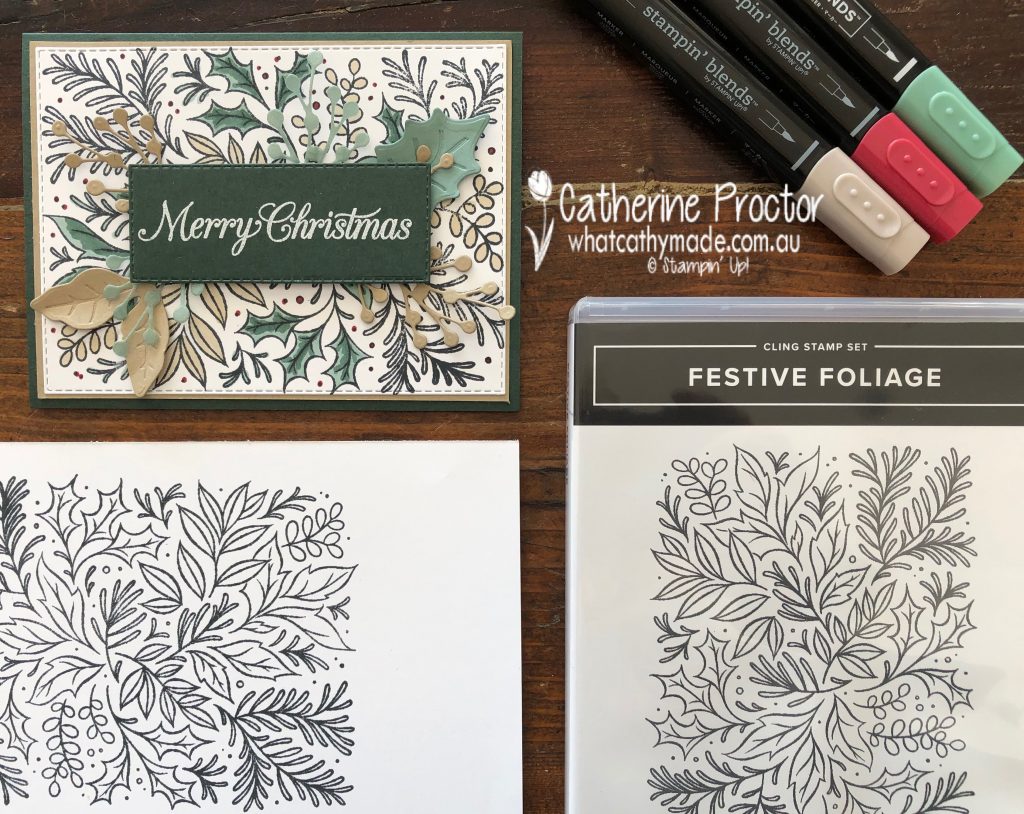
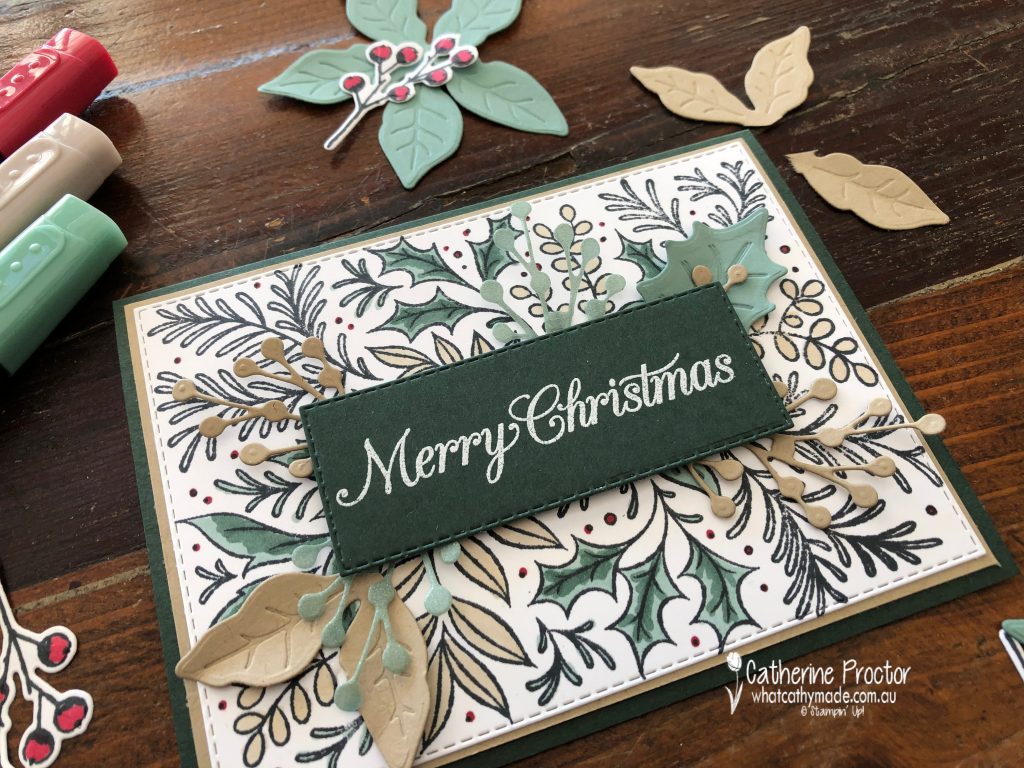
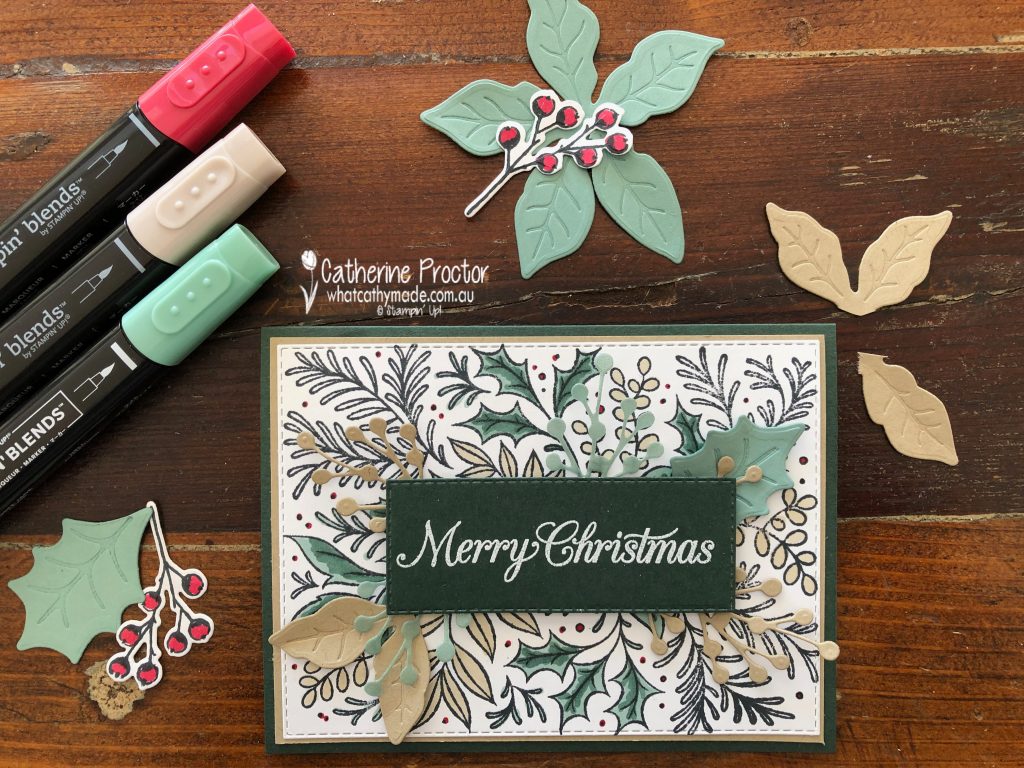
For tonight, I’ve made a card that uses two products you can already get your hands on. Festive Foliage is a brand new background stamp set from the 2021-22 Annual Catalogue (p90) and the Poinsettia Petals Photopolymer Stamp Set (p92) and coordinating Poinsettia dies (p165) which have carried over from last year’s Holiday catalogue.
This Festive Foliage background stamp is a great alternative to using DSP because with a single stamp (I always use my Stamparatus for stamping background stamps) you get a large image that covers an entire layer. You can either stamp this image in any coloured ink and leave it uncoloured OR colour it in with blends, markers, pencils, pastels or even watercolour it using water painters and inks. TIP – don’t forget to use Stayzon ink instead of Memento ink if you are water colouring.
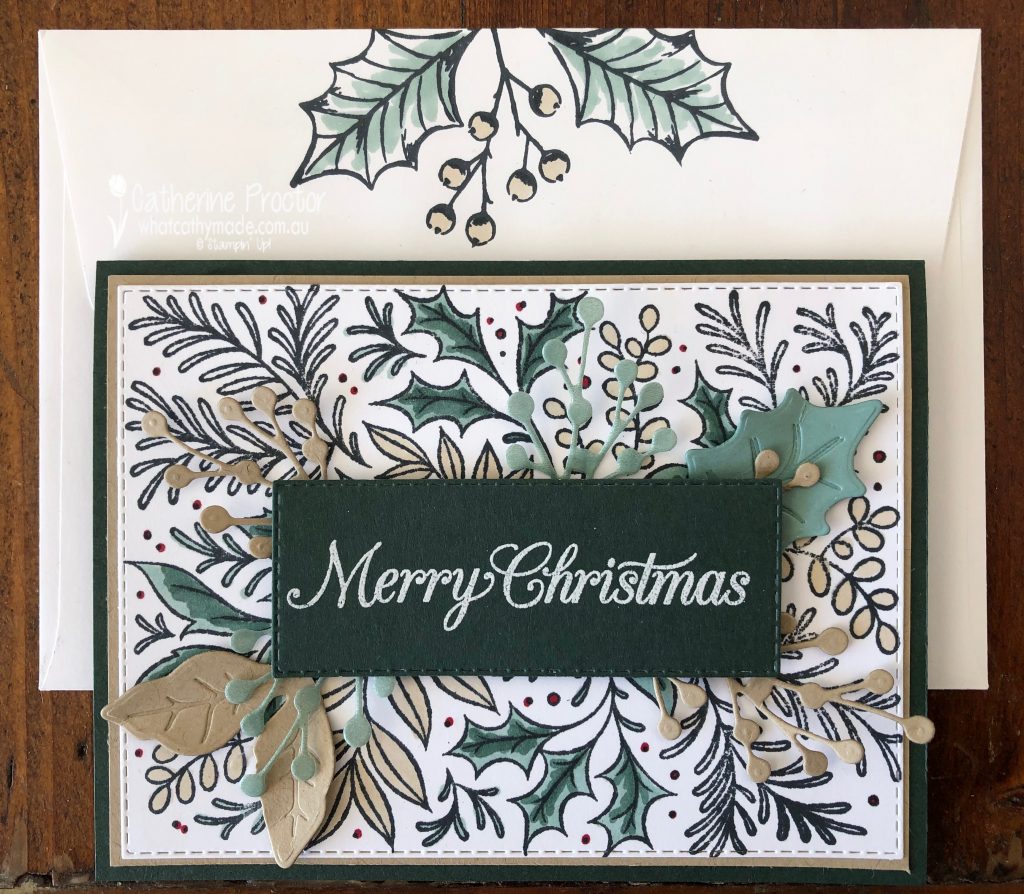
I’ve stamped in Memento and then coloured the image in with Evening Evergreen, Real Red, Crumb Cake and Soft Succulent dark and light Stampin’ Blends.
To add layers, textures and a sentiment to my card, I chose the Poinsettia Petals Photopolymer Stamp Set and coordinating Poinsettia dies as the images and die shapes work so well with the Festive Foliage stamp set.
I’ve die cut flowers and leaves and strategically placed them under the sentiment to add a bit of dimension to the card WITHOUT covering all of the lovely hand coloured background image. Some of the flower petals I used as leaves by tearing them off the main flower.
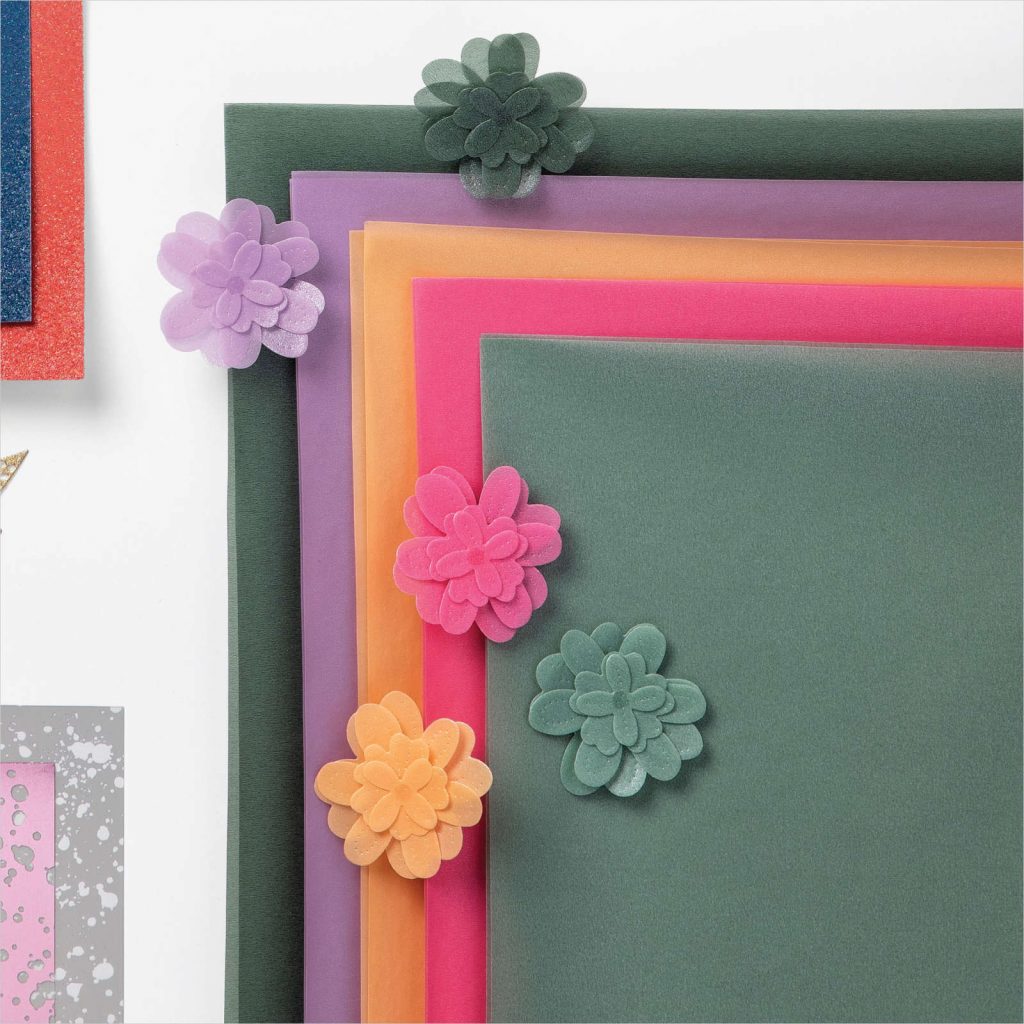
It’s hard to see in my photos, but I’ve used the new Soft Succulent 2021–2023 In Color Shimmer Vellum for the green sprigs – it adds such a lovely subtle shimmer to my card. This photo from a Annual catalogue gives you a better idea of the shimmer.
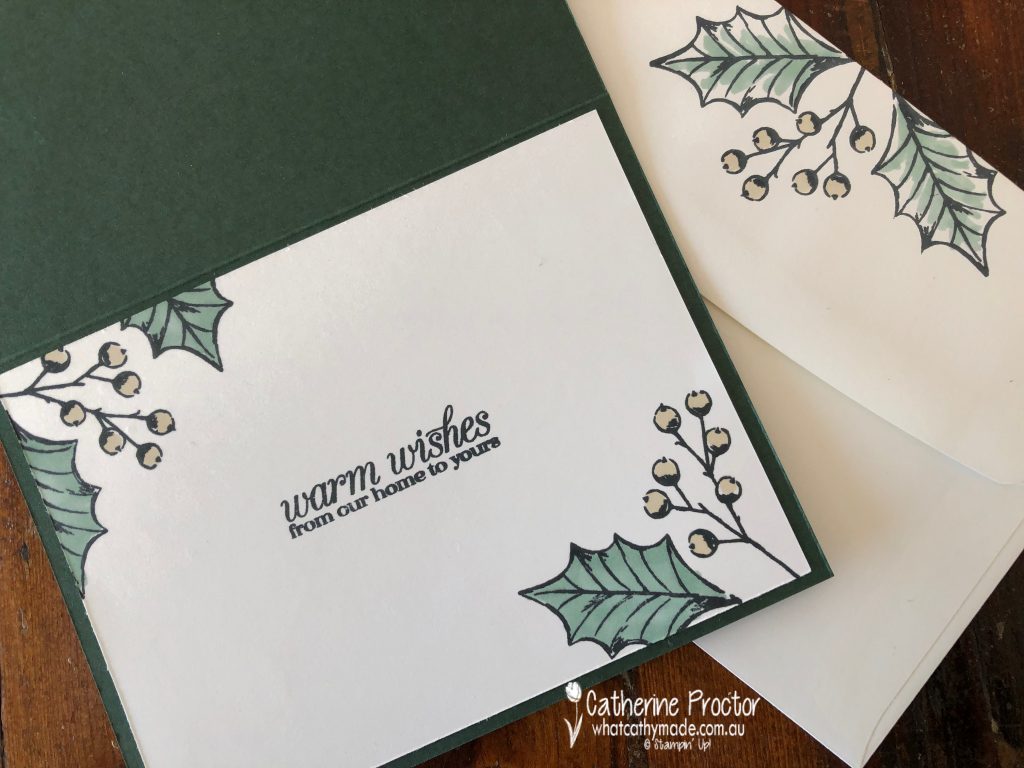
Finally, the Poinsettia Petals Photopolymer Stamp Set was perfect for decorating the inside of my card and the back flap of my envelope too.
Now it’s time to hop on over to our next participant, the very talented, Claire Daly.
If you find a broken link or have come to this blog hop from a different entry point, you can view the full list of participants on Sharon Davern’s blog.
To purchase any of the products used in my cards today you can add them to your cart here.