
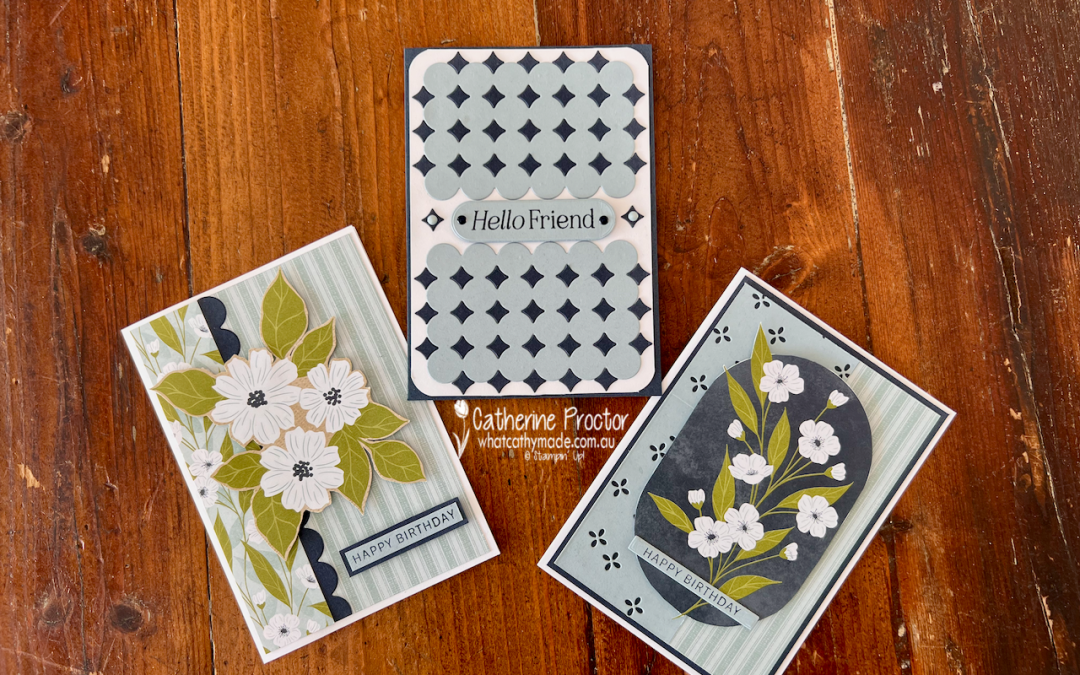
Three Lovely Arrangements Cloud Cover Cards
Welcome to Week 15 of the Art With Heart Colour Creations Blog Hop. This week we’re creating with Cloud Cover, a beautiful soft blue-grey that works wonderfully with Secret Sea.
For my projects this week, I’ve paired Cloud Cover with Secret Sea, Old Olive and Basic White to create three very different cards using the Lovely Blossoms Designer Series Paper and the Lovely Arrangements Bundle.
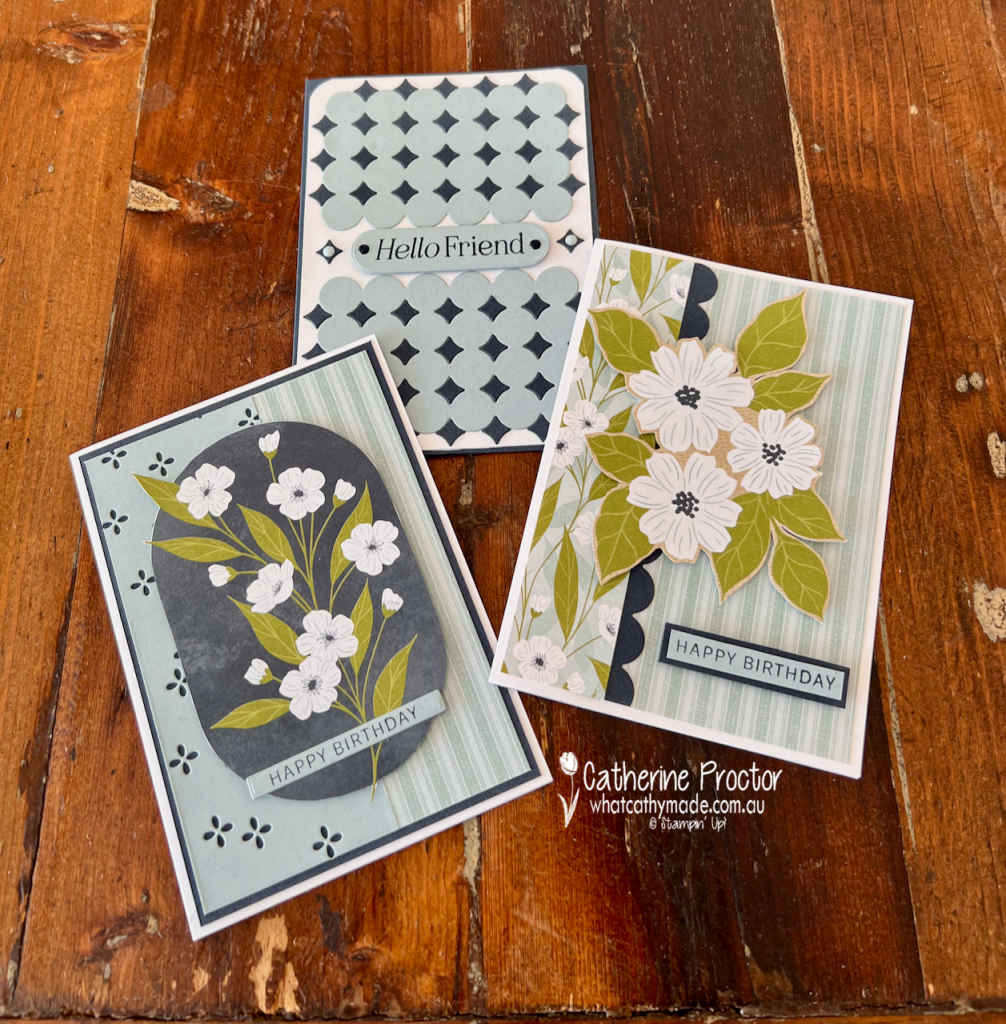
And yes, this is another one of those DSP packs I’ve been hoarding because it’s just too lovely to cut into!
The good news is that Lovely Blossoms Designer Series Paper is currently included in the Stampin’ Up! paper sale, so it seemed like the perfect excuse to finally put some of mine to use.
The Lovely Arrangements Dies are also now in the Last Chance section of the Stampin’ Up! website, so if these versatile dies have been on your wish list, you might want to grab them before they disappear.
Card One – Fussy-cut florals
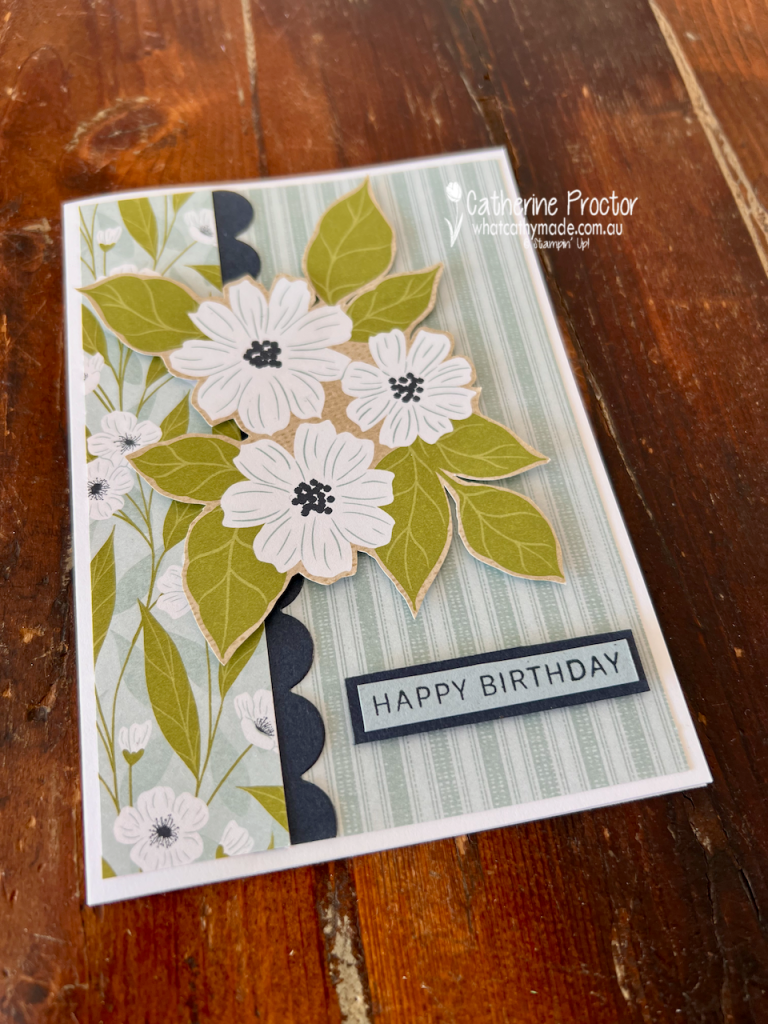
For my first birthday card, I let the gorgeous Lovely Blossoms DSP do most of the work.
I covered the card front with the subtle Cloud Cover striped pattern, then added a contrasting strip of the floral DSP down the left-hand side.
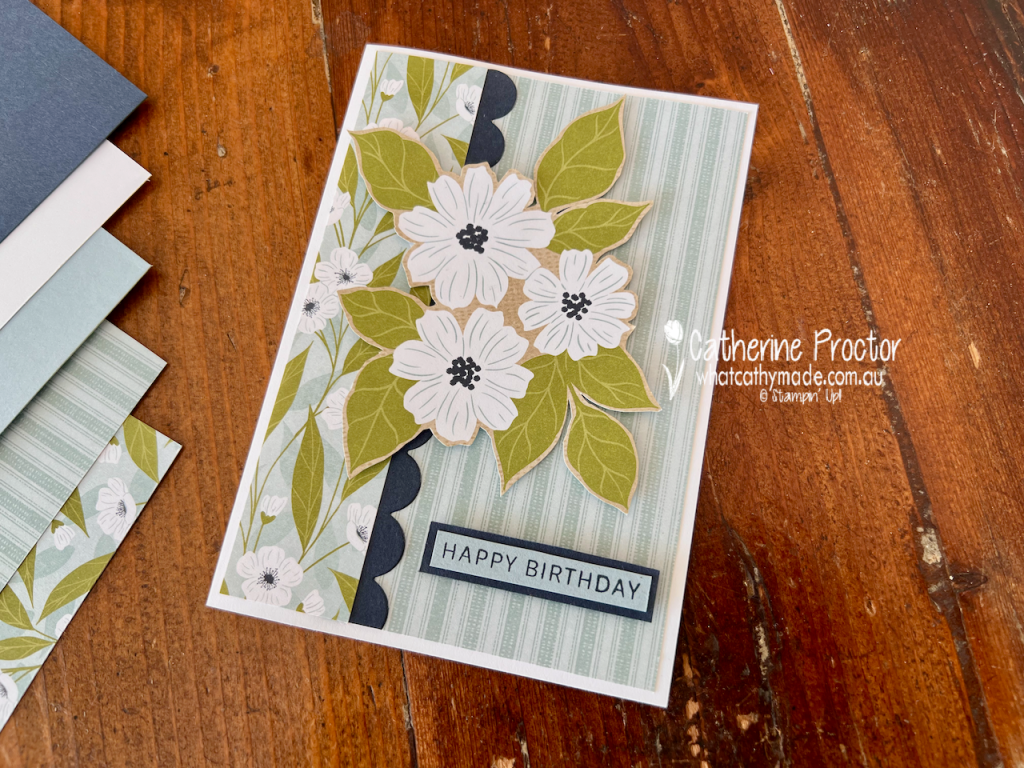
A narrow Secret Sea scalloped border was die cut using the Circle Lattice Die from the Lovely Arrangements Dies, creating definition between the two patterns.
The large floral arrangement was fussy cut directly from the DSP. I love doing this with papers that have beautiful large-scale imagery because you get all the detail of a stamped and coloured image without having to do any stamping at all.
I popped the arrangement up to give the card some dimension, then finished it with a simple Happy Birthday sentiment from the Lovely Arrangements stamp set, layered onto Secret Sea card stock.
Card 2 – Flower Frame
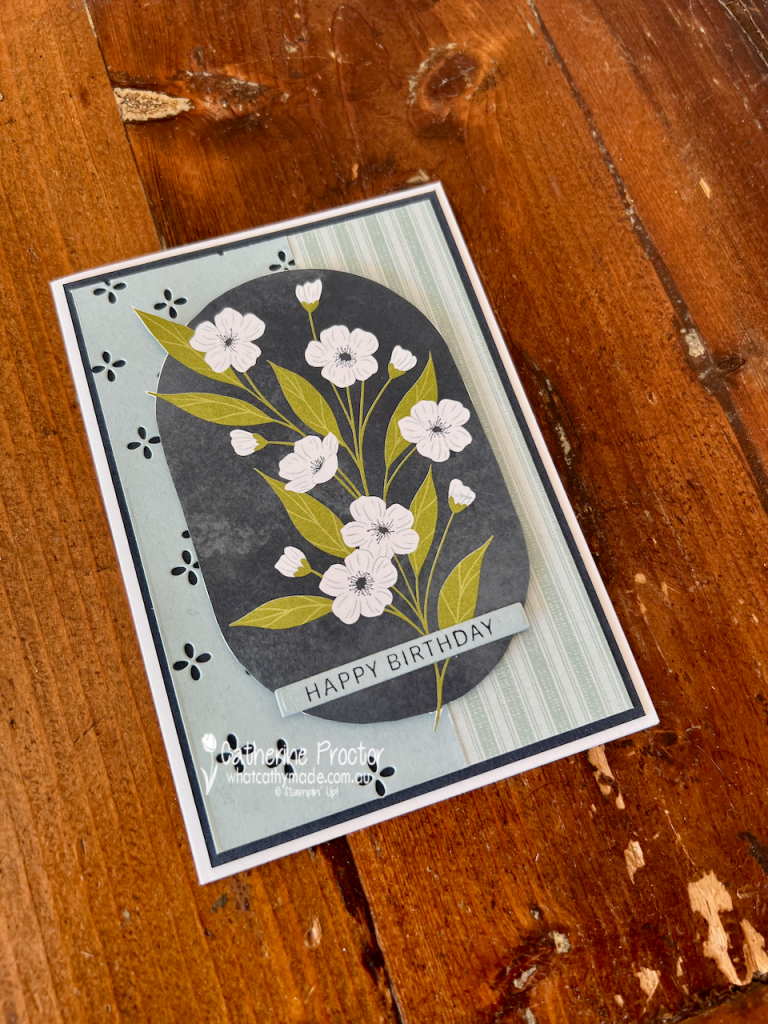
My second card uses another section of the Lovely Blossoms DSP, this time featuring the delicate white flowers and Old Olive foliage.
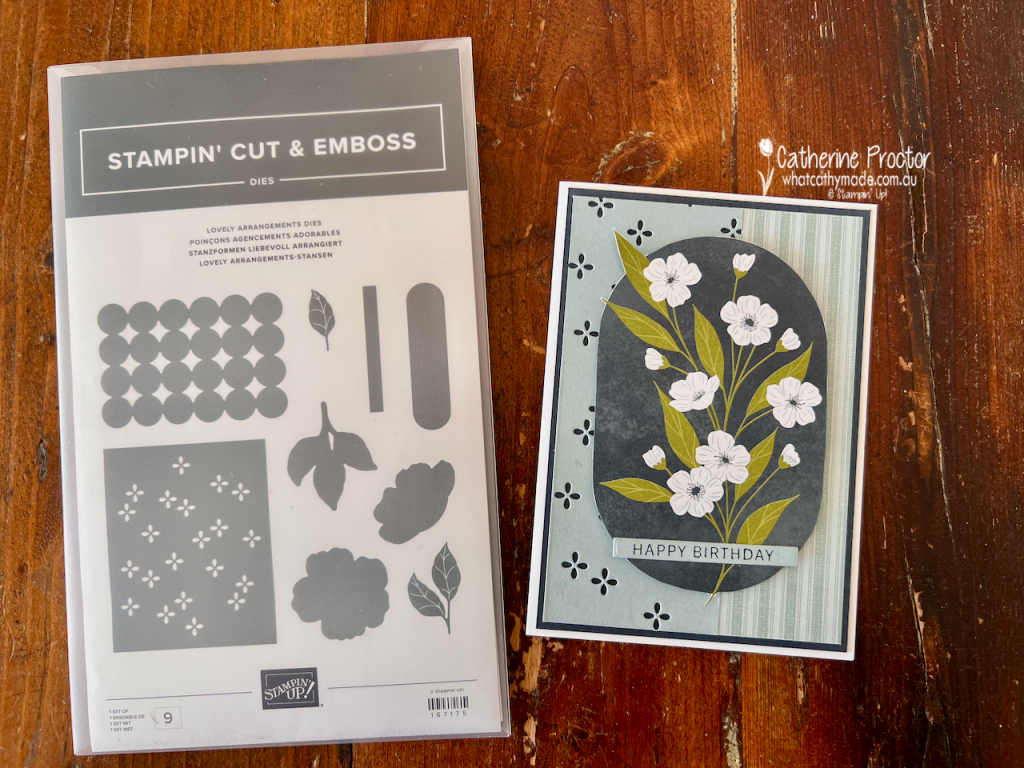
I once again fussy cut the floral arrangement from the DSP and layered over the Cloud Cover layer on the card front. I combined Cloud Cover card stock with another strip of the striped DSP.
I used the small floral detail die from the Lovely Arrangements Dies to cut tiny flowers into the Cloud Cover panel, allowing the Secret Sea layer underneath to show through.
A simple Happy Birthday sentiment across the bottom of the floral panel completes the card.
Card 3 – Lovely Arrangements Dies
For my third card I wanted to show just how versatile the Lovely Arrangements Dies can be, even without using the floral DSP.
I used the Circle Lattice Die to cut two panels from Cloud Cover card stock. I also cut the die twice from Secret Sea card stock, this time keeping the small negative diamond-shaped pieces. I carefully adhered these into the openings in the Cloud Cover panels to create a striking geometric pattern.
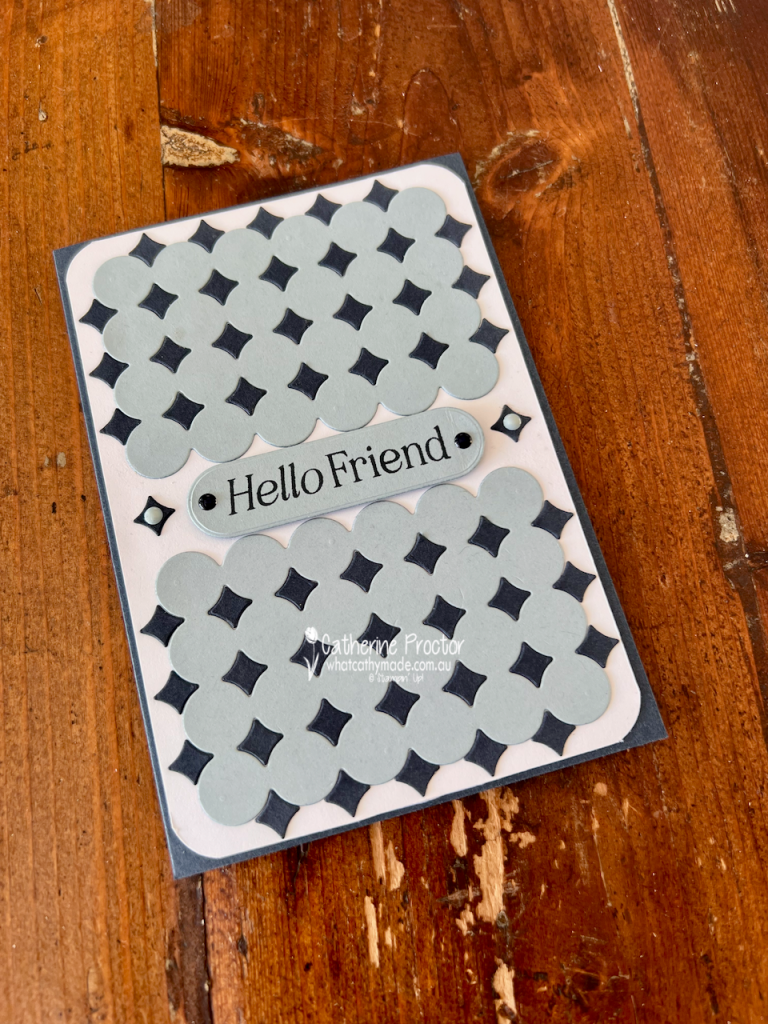
The panels are mounted onto a Basic White card stock layer and I rounded the corners to reflect the overall circular design.
Between the two panels I added a Hello Friend sentiment on a Cloud Cover label, with more Secret Sea card stock diamonds on either side and a few Secret Sea and Cloud Cover embellishments from the Moody Palette Glossy Dots to finish it off.
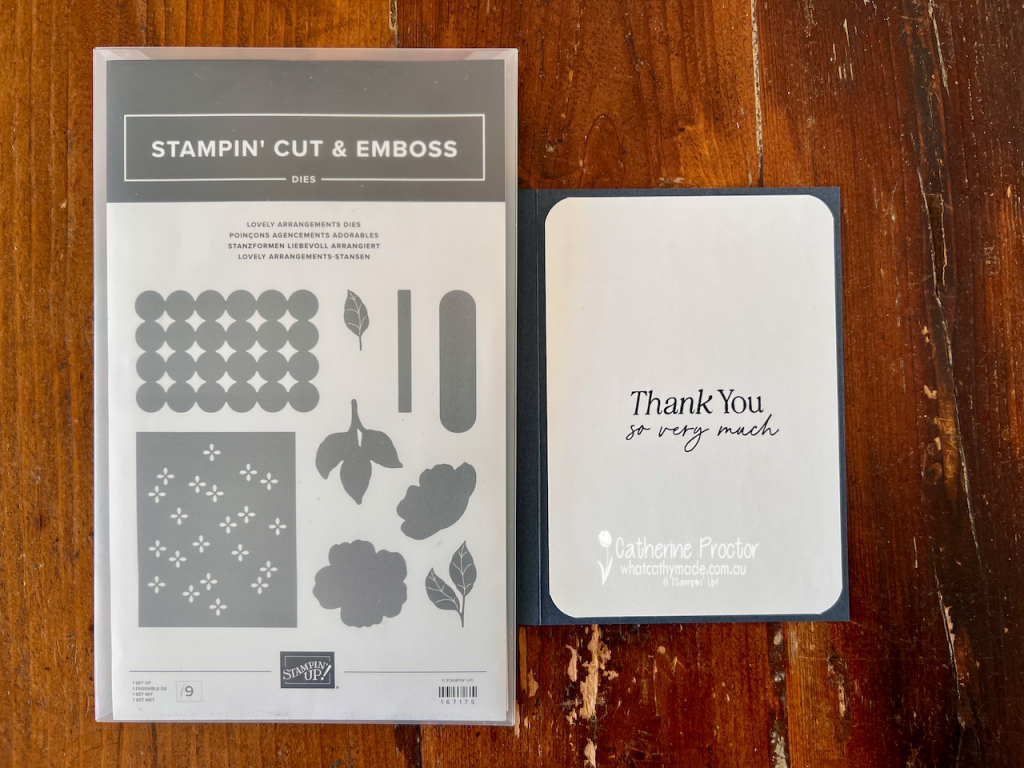
It has a completely different look from the first two cards, but uses exactly the same die set! Here’s the inside of the card.
Take a look at some more Cloud Cover inspiration on our Insta Hop!
Our blog hop is now an Instagram hop but the good news is that you don’t need to have an Instagram account to view all of the other projects!
Simply go to my Insta handle in a new search engine window to follow the Instagram hop: @whatcathymade.
Next week we are showcasing Coastal Cabana.
I hope you can join us then.