Tonight I am participating in a blog hop along with the super talented ladies in the Art With Heart Team. We thought it would be fun to share some fabulous ideas to inspire you from our brand new 2017-2018 annual catalogue, which is available 1st June.
Be sure to request your copy of the catalogue today!
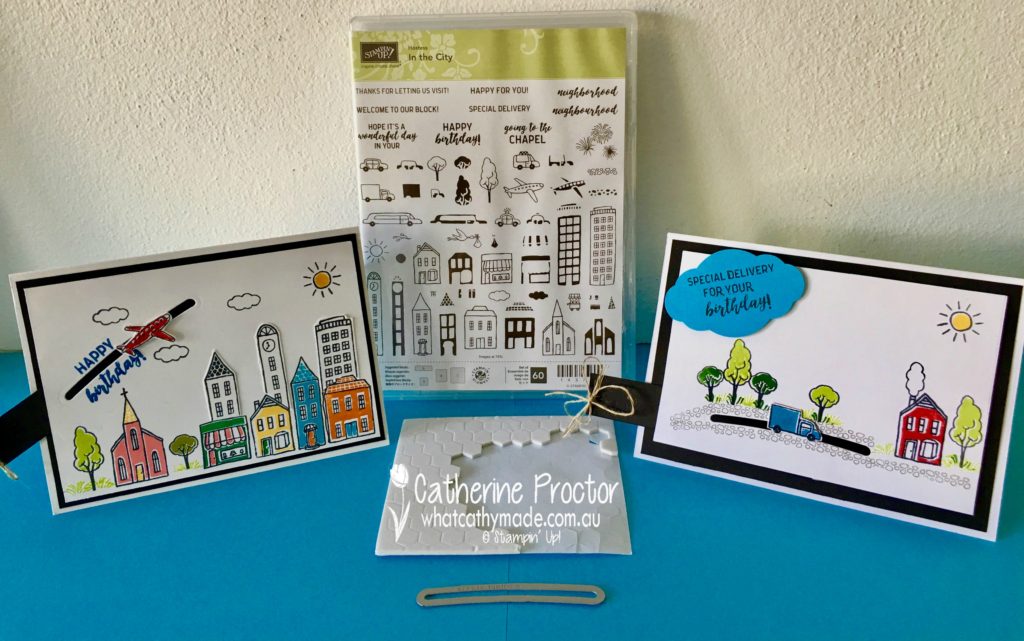
A Sneak Peek at the “In the City” Host Stamp Set
When I first received my copy of the 2017-2018 catalogue I immediately began to mark up my wishlist, however there are so many beautiful things in there it would have actually been quicker to mark up the list of things I didn’t want!
As a demonstrator I not only get a copy of the annual catalogue a month before it is released to the public, but I also get to order in advance from a selected list of products and I was beside myself with excitement when I discovered that the new “In the City” stamp set was available for pre-order.
I am totally in love with this set because:
It is perfect for so many occasions (birthday, new home, new baby, wedding & welcome cards)
The stamps work for both single or two-step stamping (which I adore)
It works with any of the Stampin’ Up ink colours on any of the cardstock
The stamps are equally perfect for beginner or advanced stampers
It is a great set for male and boy cards
This stamp set is just so versatile…and it contains 60 stamps!
Deciding how to use this set was tricky at first because there is just so much you can do with it!
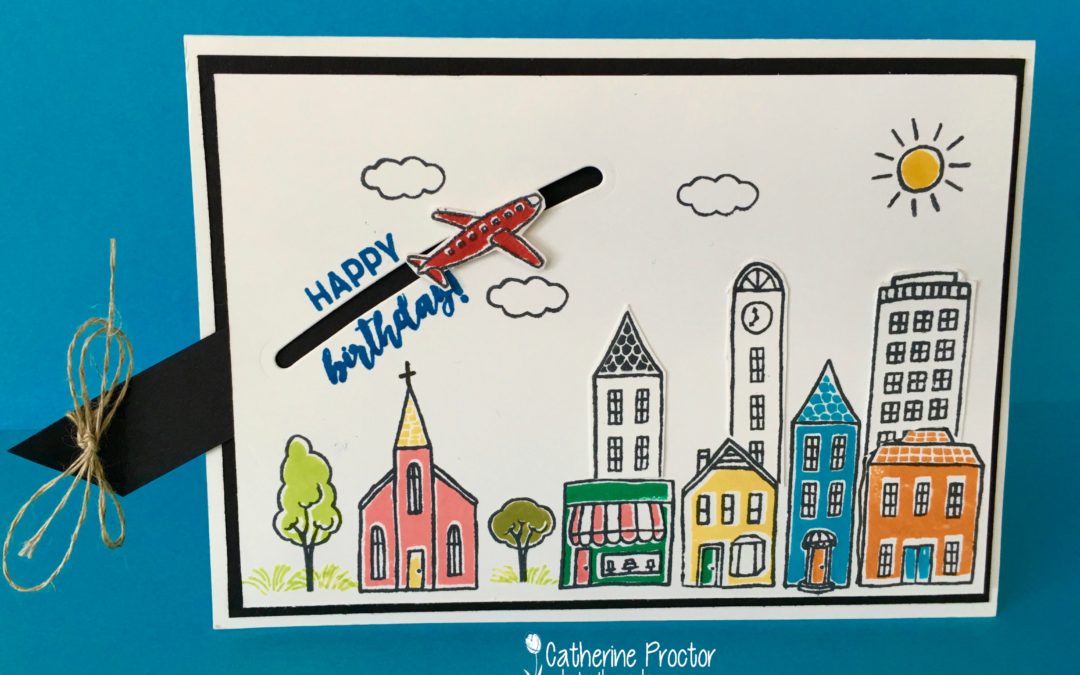
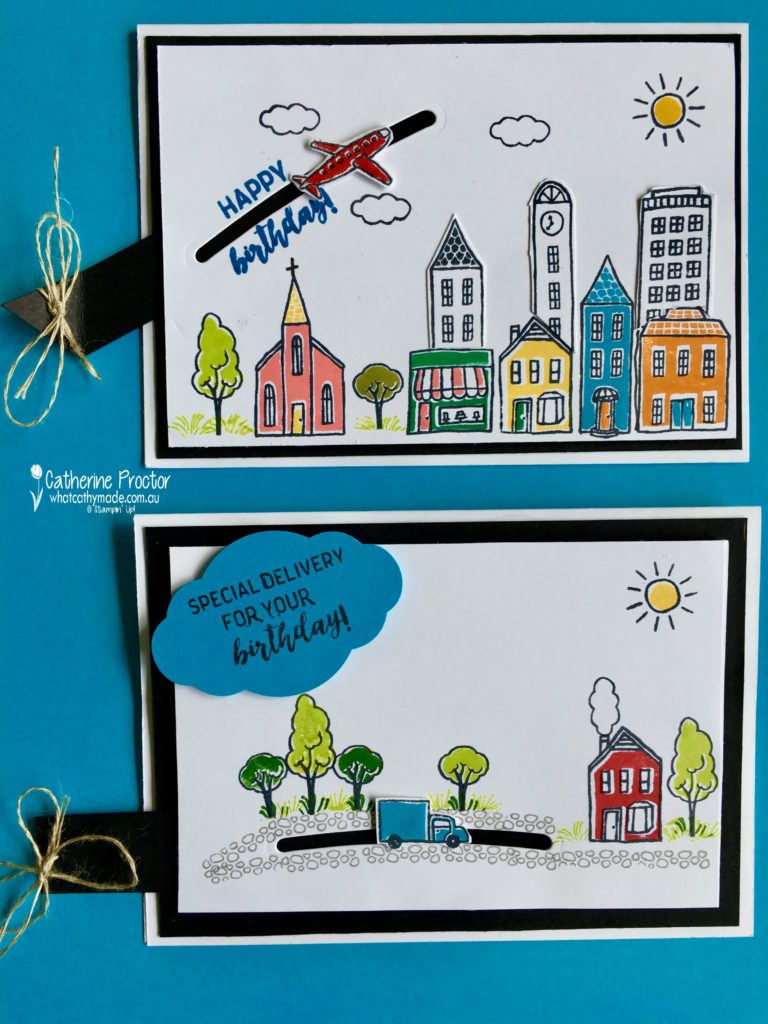
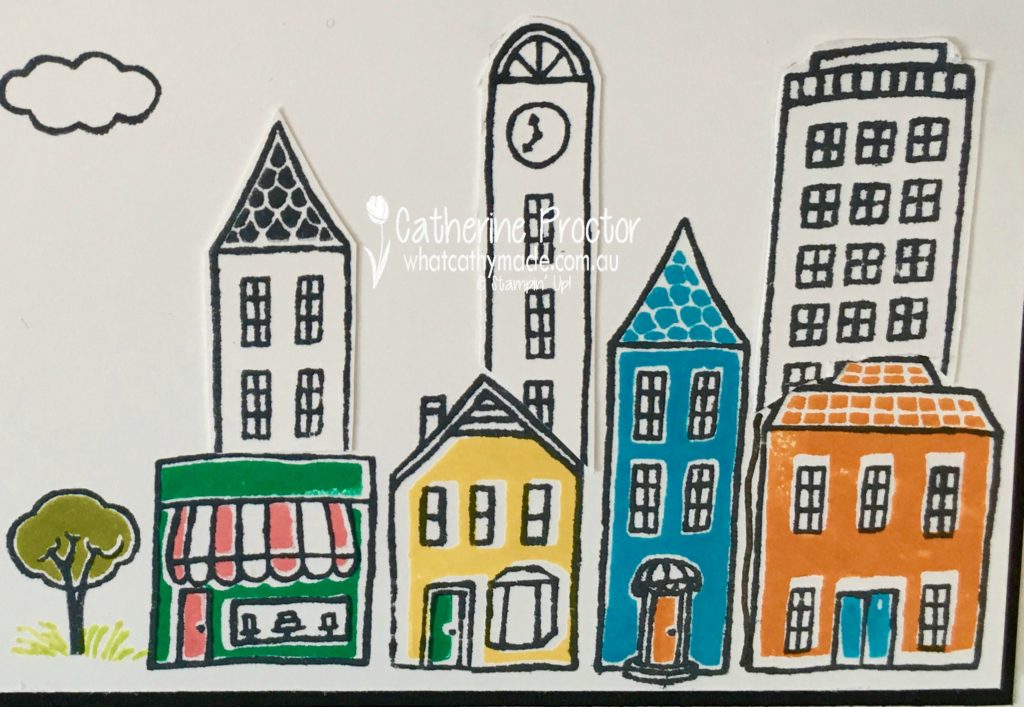
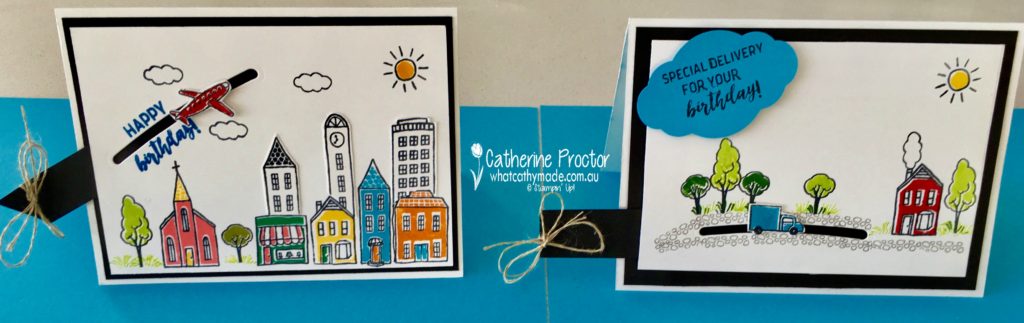
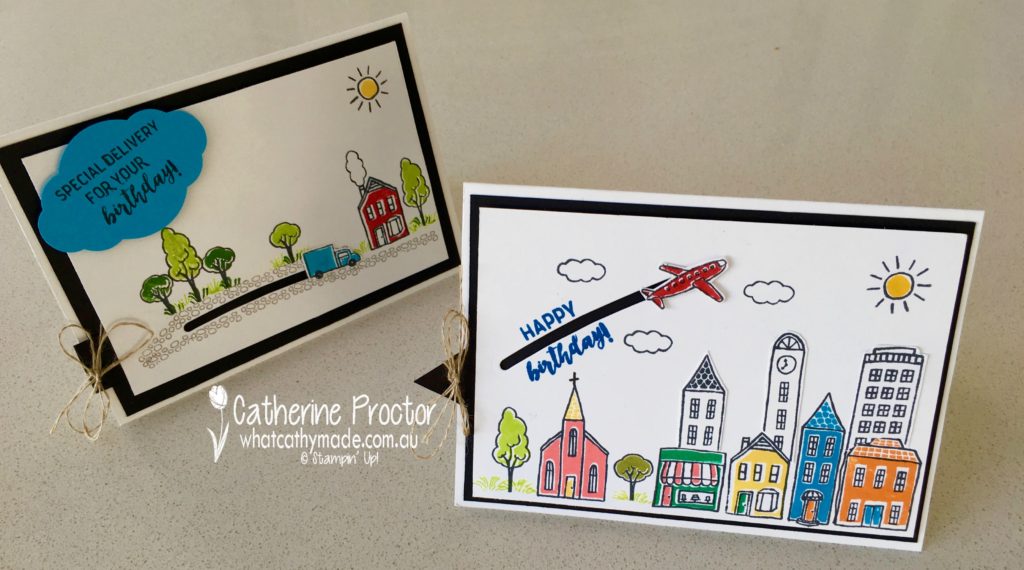
For my first card I began by stamping a city skyline and I knew I wanted to stamp my little plane flying high in the sky over the buildings.
But then I thought to myself, “How cool would it be to actually make the plane fly?”
Unfortunately, I’d never made a slider card before and the instructions I’d seen for these cards involved using coins that were much larger than this little plane.
I had to come up with another way to make it work…and I was so excited when I finally worked out how to do it.
Want to see my little red plane fly?
I decided to see if I had any dies that would work as the channel for the slider card and I realised that one of the stems from Everyday Jars framelits would be the perfect size for the job.
After die cutting the channel I then hand cut a small section of a Stampin dimensional to fit inside the channel. I adhered the fussy cut plane to the front of the Stampin dimensional and then attached a piece of black cardstock at the back to become the pull mechanism that “flys” my tiny plane.
The “grass” is made using a firework stamp in the stamp set. Don’t you love the detail in this set?
If you look closely at the cake shop stamp below you can even see the tiny little cakes in the shop window!
I had so much fun making my happy birthday plane card I decided to make another slider card, this time using a truck that also moves.
Here’s a 7 second video showing the truck delivering something special for someone’s special birthday.
This time I stamped a more rural setting using the tree stamps again and the firework stamp as a grass. I used the pebble stamp to make the road and the cloud stamp became smoke coming out of the little red house’s chimney.
The sentiment shape is a new punch called the Pretty Label Punch. It comes with a matching stamp set of its own but also works perfectly with so many other sentiments from different stamp sets. Another incredibly versatile tool I just know I’m going to get so much use out of.
I used a combination of sentiments from the In the City stamp set to create the perfect sentiment to suit my little fussy cut blue delivery truck delivering birthday wishes…and hopefully a present as well.
The same Everyday Jars framelit was used to make the sliding channel but I cut it horizontally this time so the truck could drive along the road to the house. This photo below shows the framelit I used–it is actually a stem!
Get More Out of Your Craft Supplies
Have you ever tried to make a slider card using framelits and Stampin Dimensionals?
This was my first attempt and I’m thrilled with the result. I always enjoy discovering another use for a product I already have and I just can’t wait to play with this set more!
Next up on our blog hop is the incredibly talented Rebecca Jacovou. I can’t wait to see what she’s created!
If you find a broken link or have come to this blog hop from a different entry point, you can view the participants below:
Last week I was delighted to finally meet in person someone I’ve admired from a distance for a great for many years…our former Governor General, the Honourable Dame Quentin Bryce AD CVO.
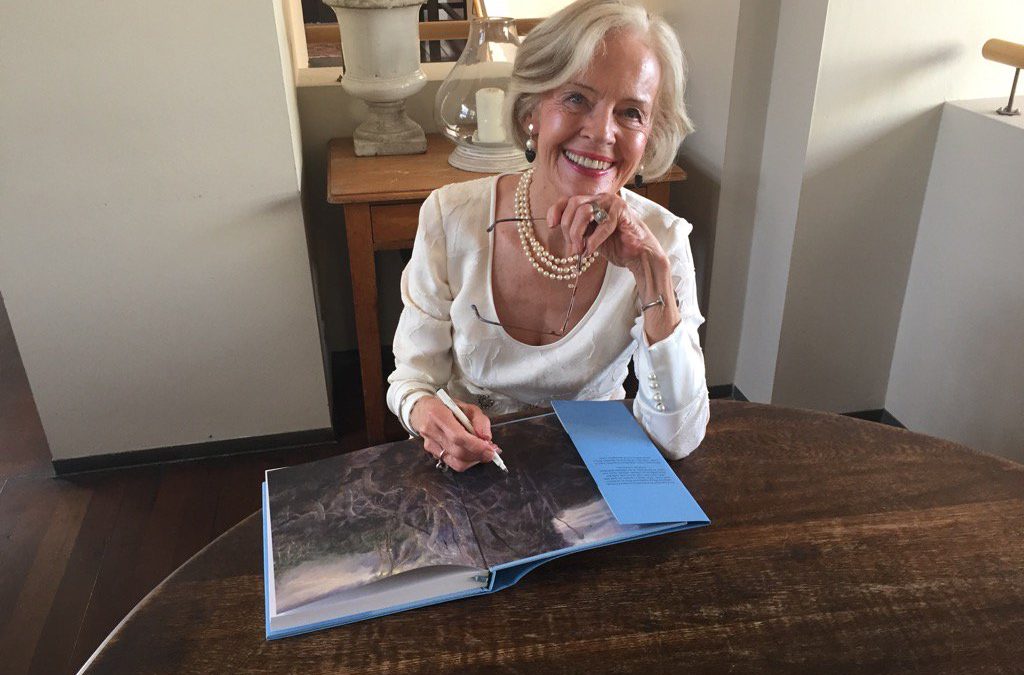
Quite unexpectedly, I found myself sitting next to Dame Quentin at a literary lunch to launch her new book, Dear Quentin, and I’m happy to report she was even more inspiring in person. As much as I would have loved to take a selfie with her, it really wasn’t the done thing, so a photo of her signing my copy of her book will have to surfice.
Over two hours we chatted about so many of the important and interesting issues she is passionate about, but the main thing that I took away from our conversation was a reinforcement of the importance of writing and sending cards and letters.
I must admit I am really shocking at sending cards and letters. I love to make cards but often forget to send them in time or only realise it’s someone’s birthday when Facebook tells me so!
Meeting Dame Quentin in person has inspired me to lift my game…after all if she managed to write and send over 50 letters a week while holding down one of the most important jobs in the country, I really should remember to send birthday and Christmas cards!
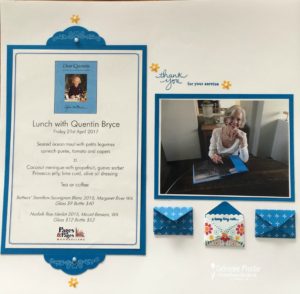
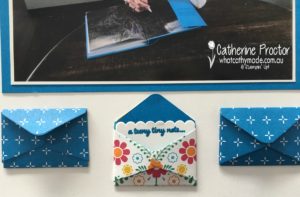
When I decided to scrapbook this occassion I immediately knew which product I had to use…the gorgeous little envelopes framelits in the Love Notes Framelits Dies, (on sale now) and part of the Sealed with Love Bundle. These are both retiring on 31 May.
The sentiment I used for this page fits the occasion perfectly and is another retiring product, the Endless Thanks stamp set. There really couldn’t be a more fitting sentiment for the former GG then “Thank you for your service”.
Another product that was just perfect for this page is the pretty label punch (it will be available to order from 1st June) in the new annual catalogue. I cut it in half and used it either side of the menu, then stamped it with a beautiful stamp from the retiring Sealed with Love stamp set (on sale now) and also in the retiring Sealed with Love Bundle. I love how they look like they were made to go together!
I hope you’re feeling as inspired as I am to write more letters and cards.
Want to get extra discount every time you order and be the first to see and order new product? Find out more about being a hobby or business demonstrator HERE.
And sign up HERE to get my blog posts delivered directly to your email.
Today I am participating in a blog hop along with the super talented ladies in the Art With Heart Team. We thought it would be fun to share some projects using our favourite retiring products from both the 2016-2017 annual and 2017 occasions catalogues!
Select retiring products have discounts of up to 50% off but are only available until sold out. Be sure to place orders before the sun sets on these items on 31 May. You don’t want to miss out – ask me how!
Such an incredibly versatile product
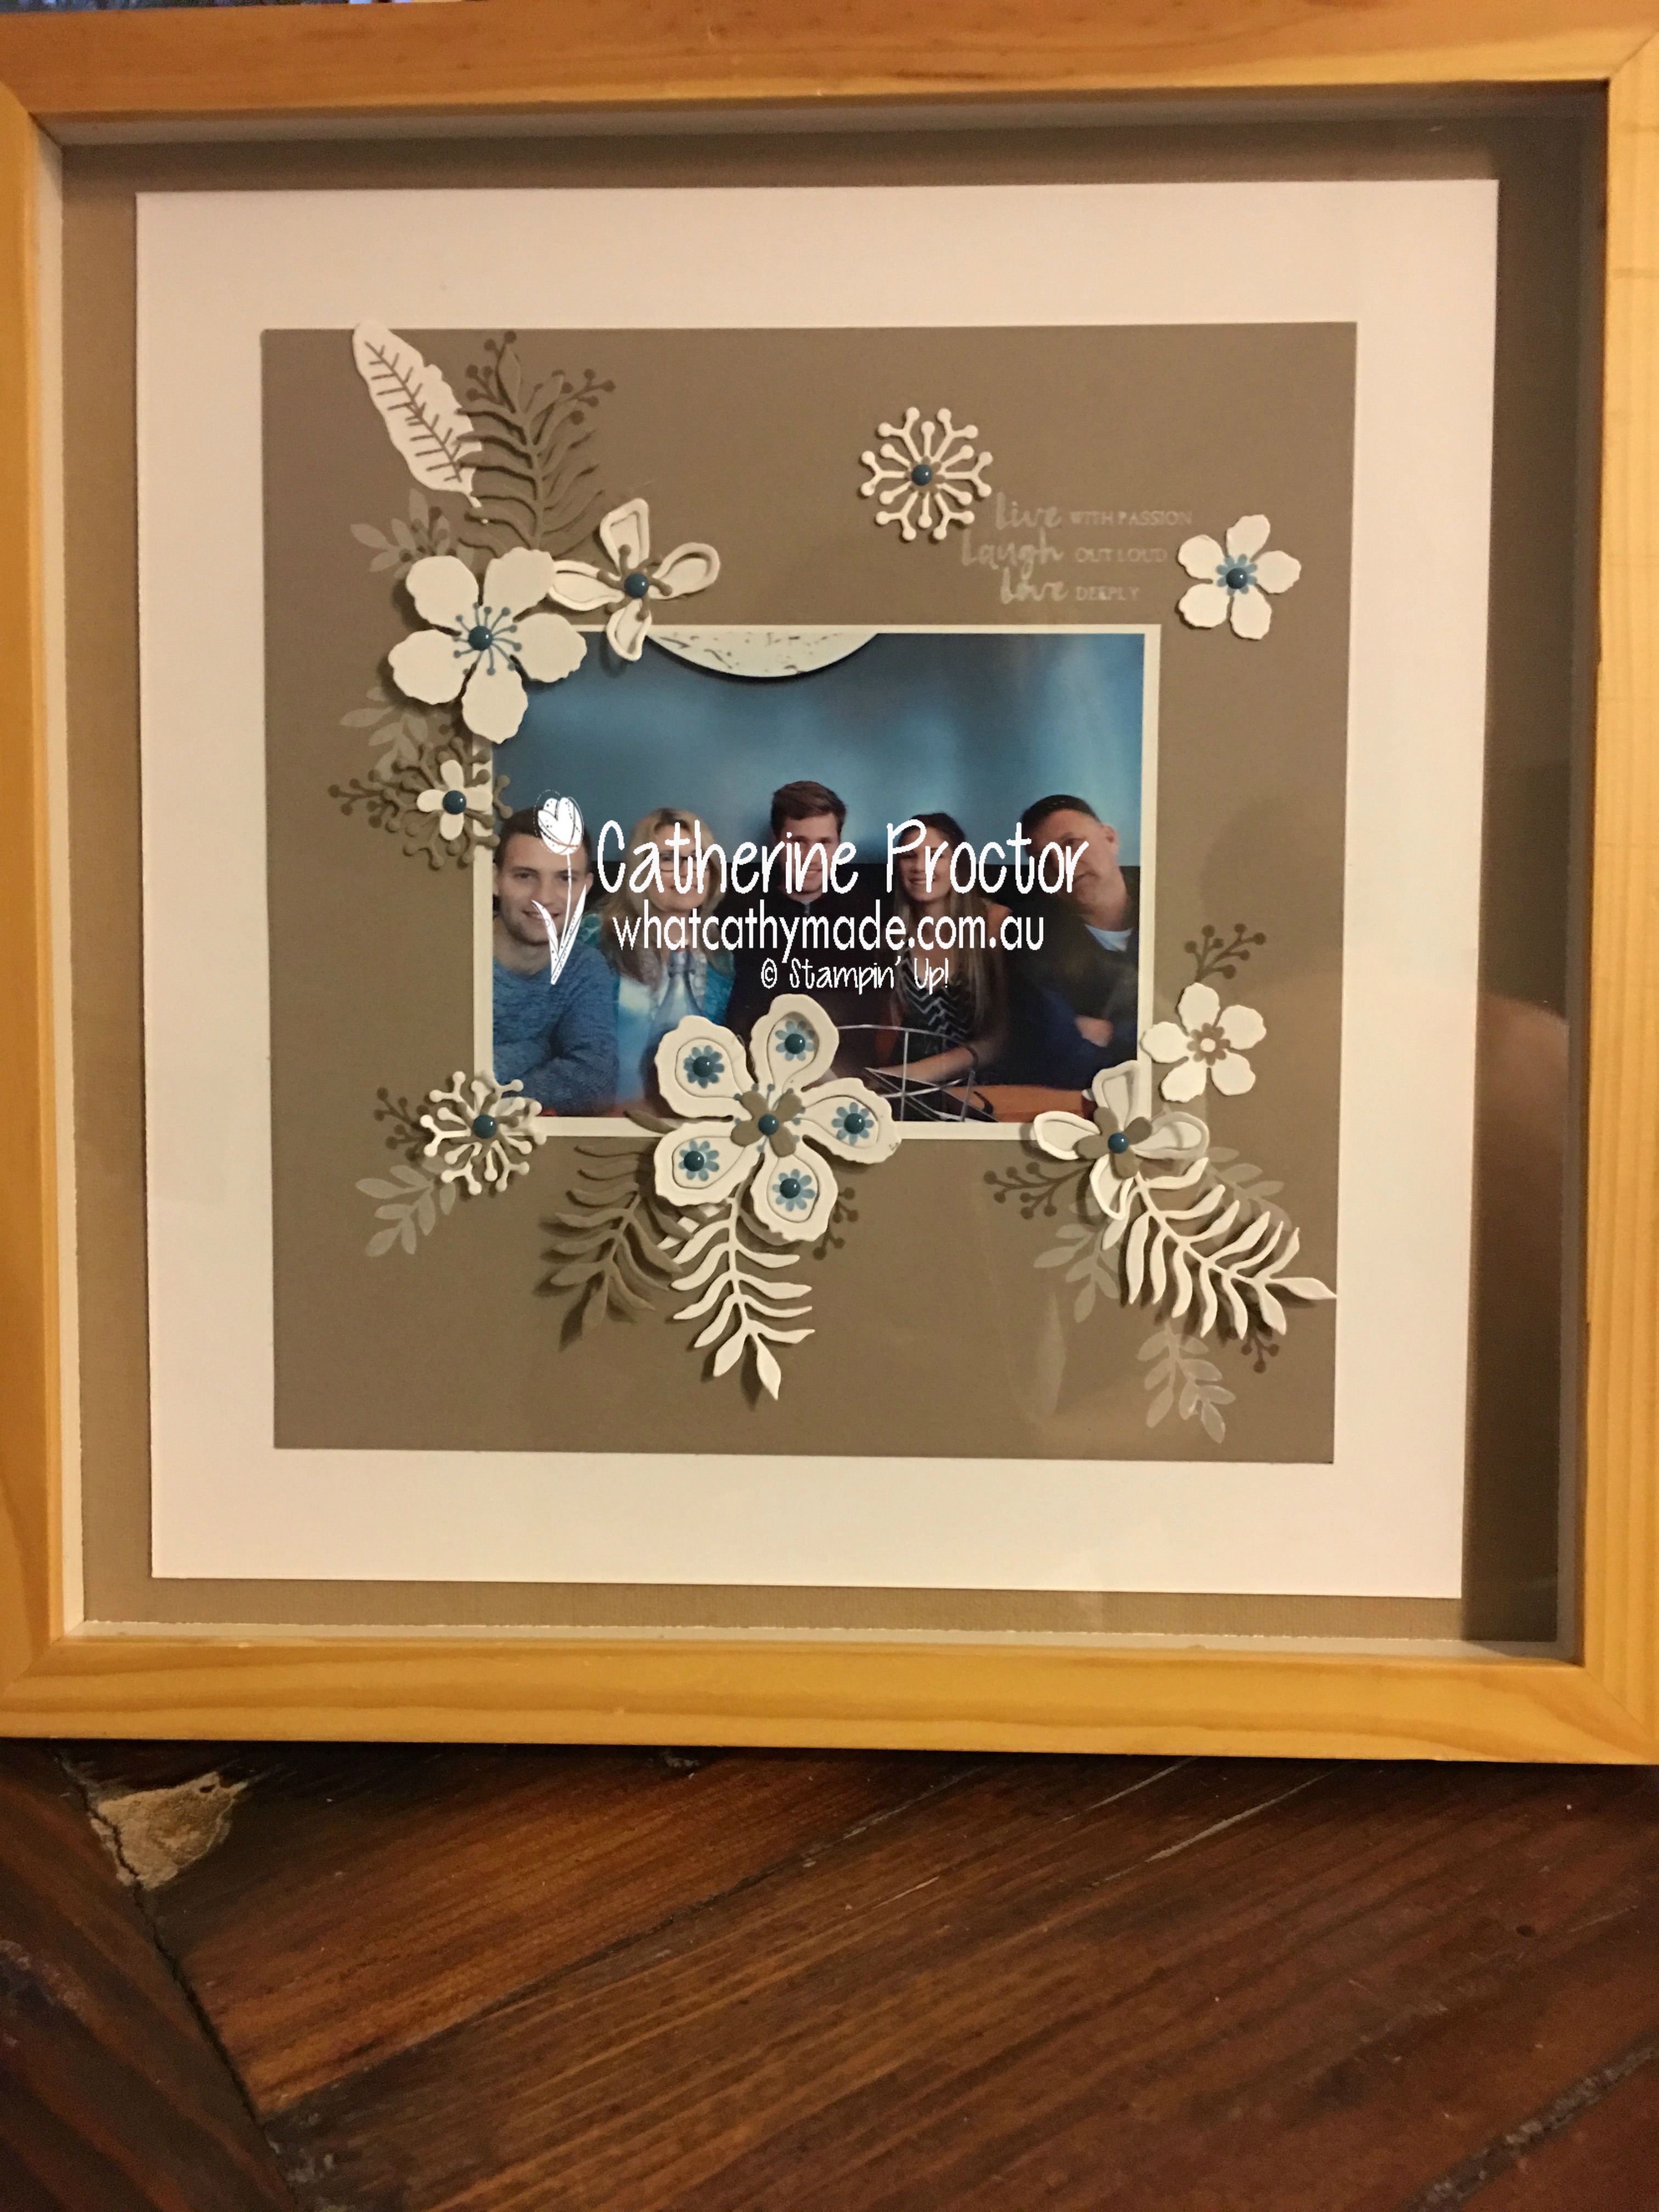
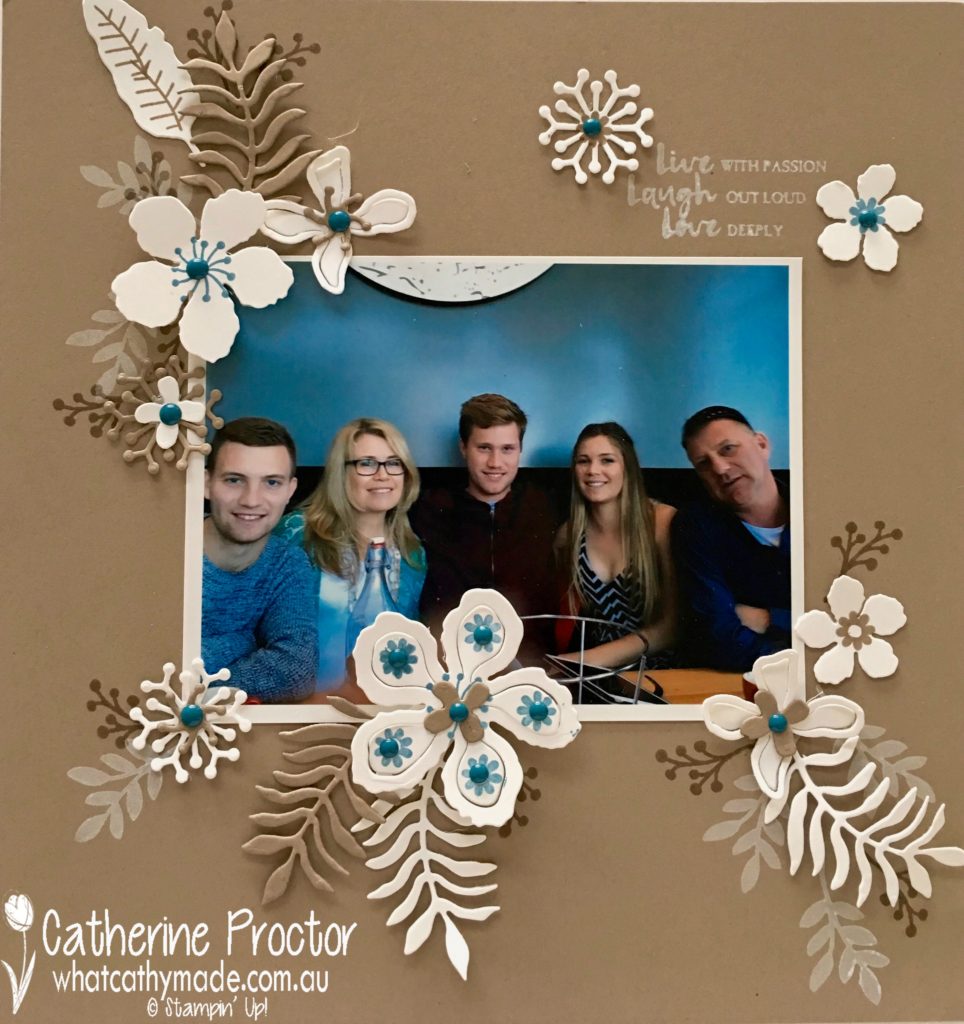
My beautiful sister-in-law recently turned 50 and instead of a party she decided to take a well-deserved holiday to Thailand. So when we finally caught up over the Easter break it was the first time I’d seen her since her birthday and I wanted to make her something personal to mark the occasion.
For this scrapbooked wall art I used several of my all-time favourite retiring products. Botanical Builder Framelits are the most versatile Stampin’ Up! product I have ever used. It is actually impossible to make a bad card with this set! If you don’t already own them, now’s your last chance to buy them…and they’re on special! They work with any colour card stock and are just so incredibly beautiful, easy to use and versatile.
I’ve used the matching Botanical Blooms polymer stamp set (also so versatile and on sale) and my favourite retiring in-colour: Tip Top Taupe.
This is such a great neutral…don’t you love it here with the whisper white and tip top taupe ink stamped on it?
The lovely blue ink is Marina Mist – I’ve only recently purchased this colour and it’s truely love at first sight.
Other gorgeous retiring products I’ve used here are the Love & Affection stamp set (stamped in Tip Top Taupe) and the 2016-2018 In Colour Enamel Shapes (in Dapper Denim).
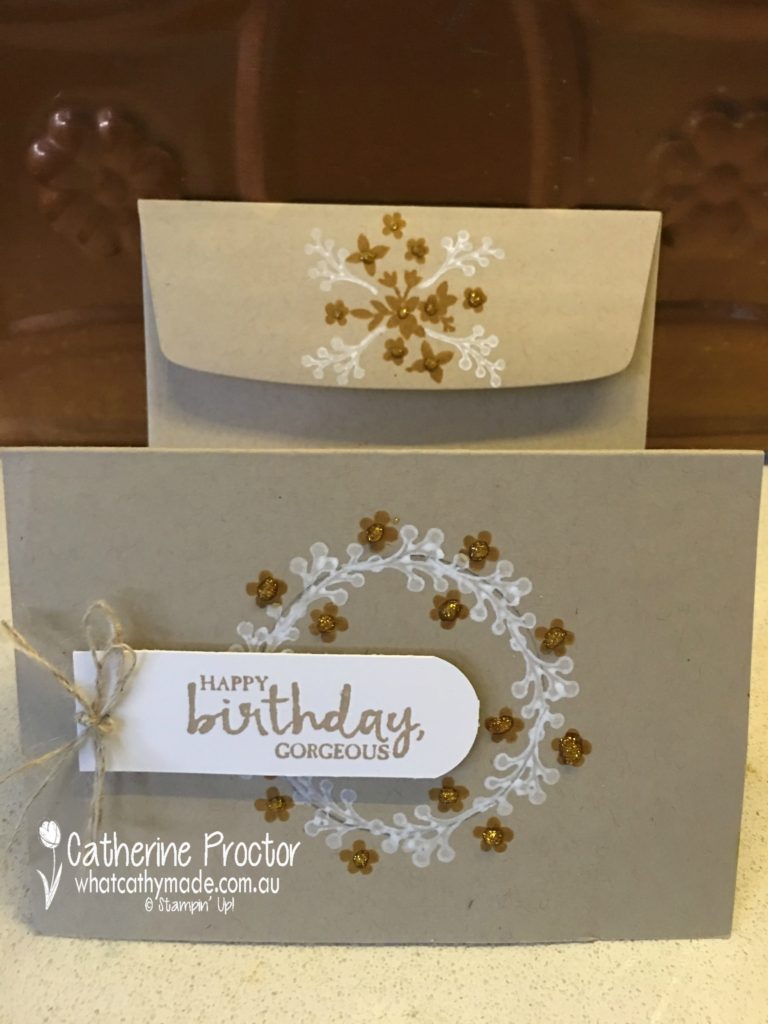
For the matching card and envelope I used the retiring Crumb Cake Note Cards & Envelopes stamped with stamps from the retiring Love & Affection stamp set (another favourite!) in retiring Tip Top Taupe and the ever lovely Whisper White. I embellished the little flower stamp with the retiring Gold Glitz Dazzling Details.
Luckily the linen thread and the sentiment (on the wall art and on the card) from Beautiful You are not retiring. Boy am I going to miss all these retiring products!
Now it’s time to see what the talented Ros Davidson has made.
If you find a broken link or have come to this blog hop from a different entry point, you can view the participants below:
Today I am participating in a blog hop along with the super talented ladies in the Art With Heart Team.
We thought it would be fun to share some Easter projects, seeing as Easter is only about 3 weeks away!
Saleabration is a great time to join or place a $90 order to get extra free items – ask me how!
Blog Hops are full circles, so you can start hopping here and then at the end of each post is a link to the next one. There is also a list of participants at the end in case of any broken links. Now let’s get started!
‘Punch and Framelit Art’ Easter Bunny
The Stitched Shape Framelits are one of the most versatile products I have ever bought from Stampin’ Up!
I love how the set includes 4 different sizes of 3 different shapes and they work with so many sentiments, stamp sets…and even on their own.
But (until now) I’d never thought of using them in punch art.
Sweet Sugarplum Stitched Rabbit
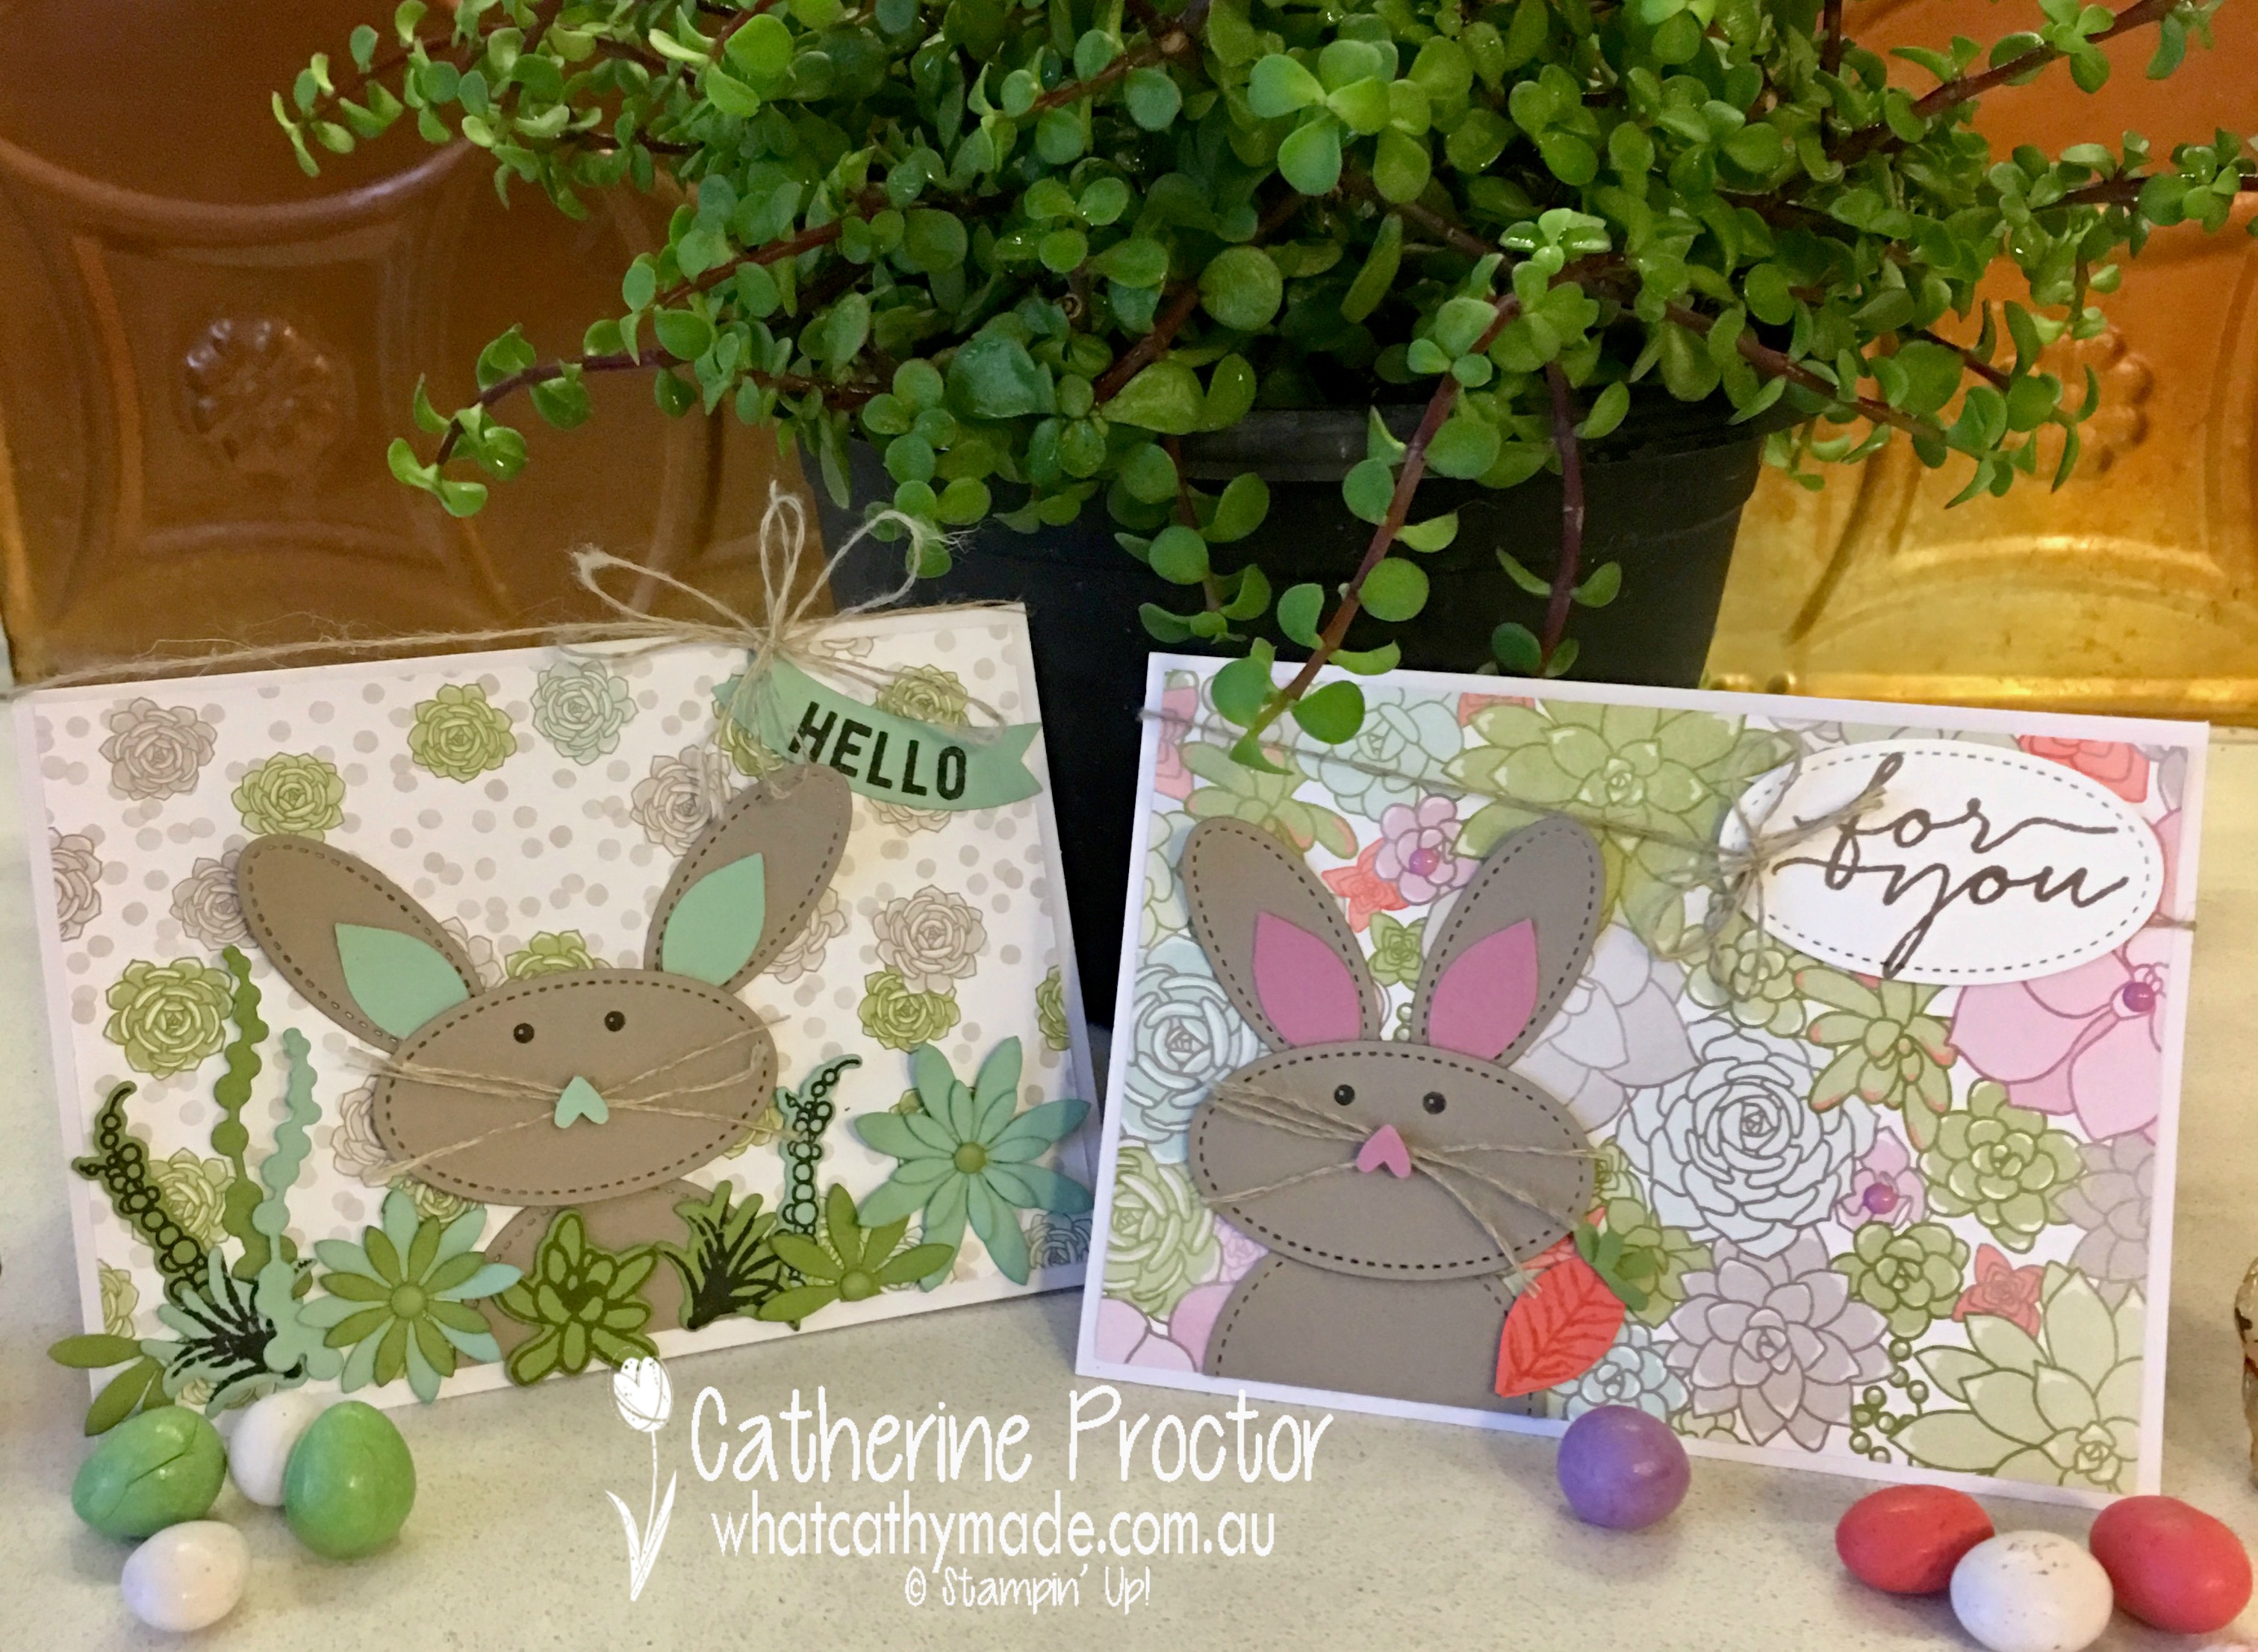
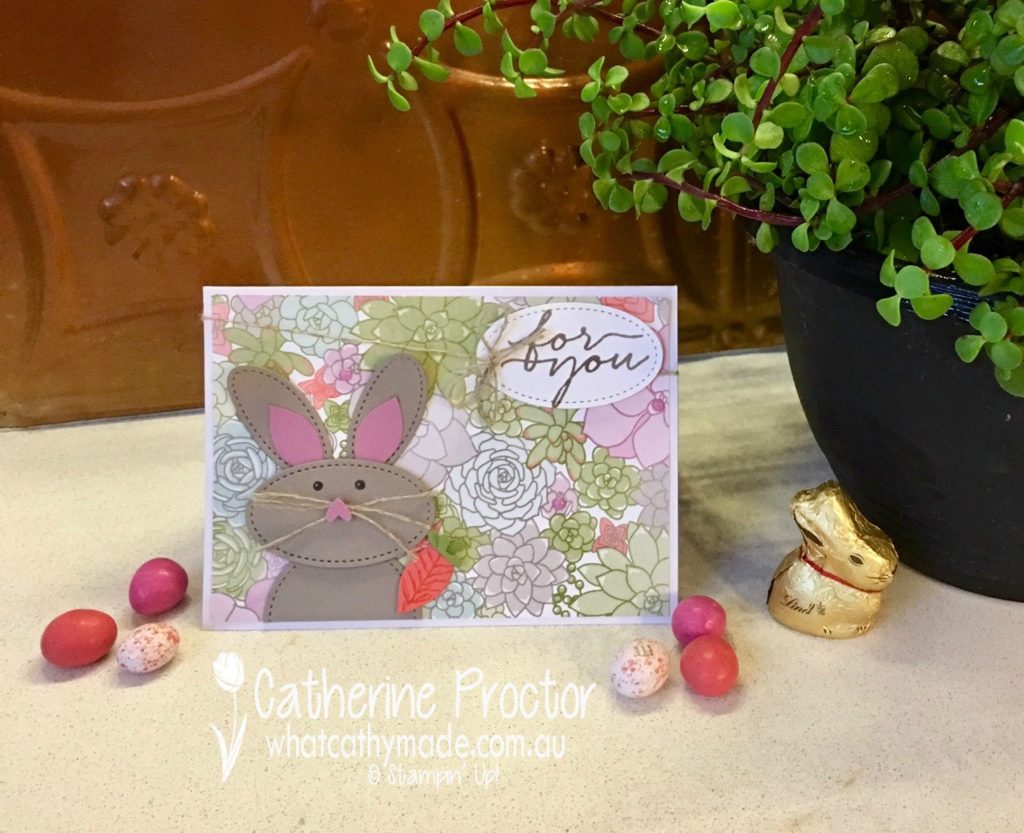
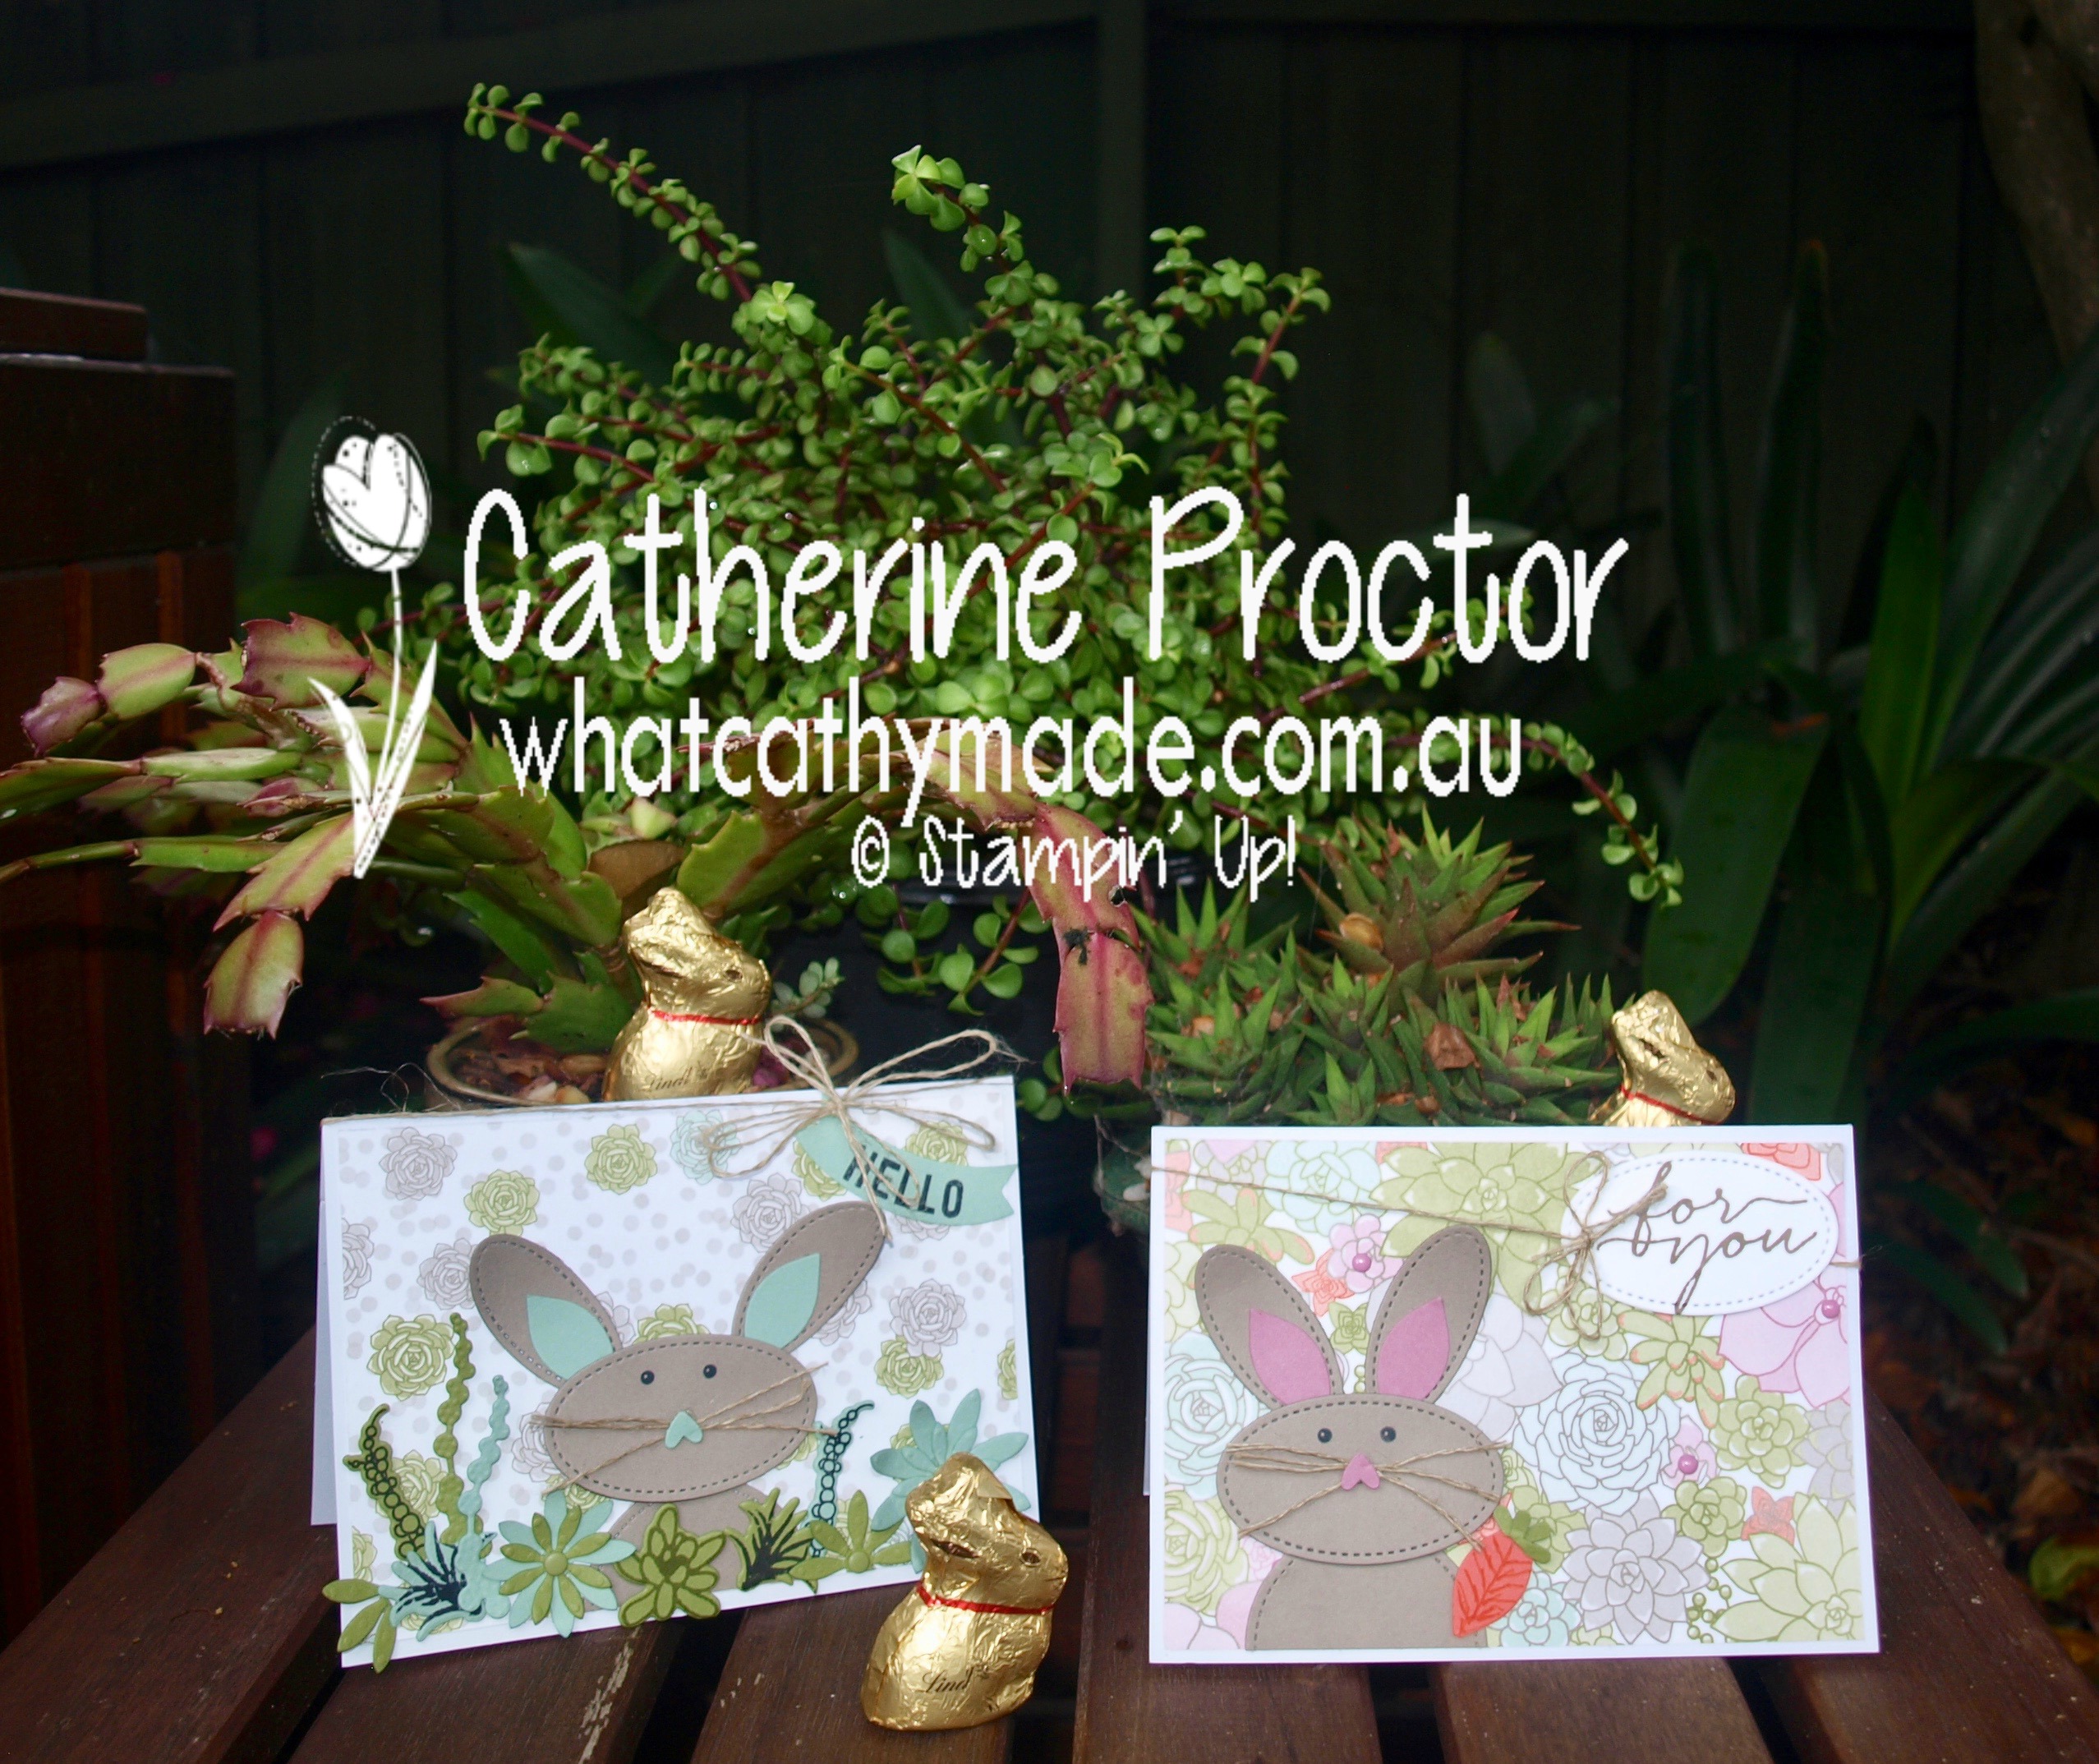
For my first Easter card I decided to give my rabbit Sweet Sugarplum ears to match the beautiful background paper from the Succulent Garden Designer Series Paper.
Can you guess which punch I used for her ears?
I’ll give you a hint…I also used the same punch to make her crunchy carrot.
Believe it or not, it’s the Festive Flower Builder punch!
Both the inside of her ears and the carrot were made out of the long, moustache shaped piece of the punch. For the ears, I cut that piece in half, and for the carrot I punched it in Calypso Coral cardstock and then simply folded it over.
The little green carrot top is made from the cross piece of that punch as well–I punched it out in Old Olive card stock and simply folded it in half on an angle.
Here’s a close-up to show you how I also curved her ears forward to add even more dimmension
Her body and ears are made from Tip Top Taupe card stock and her nose is cut from the Owl builder punch.
The eyes are stamped with another incredibly versatile set, Cookie-Cutter Christmas. When stamping the eyes I just made sure I only inked up the the eyes and not the nose, because I wanted to use the cute little heart piece from the Owl Builder punch for her nose.
And don’t you just love her whiskers, made with the Stamping’ Up! Linen Thread?
Mint Macaron Stitched Rabbit
Well, I had so much fun making my sweet sugarplum rabbit I decided to make her a friend.
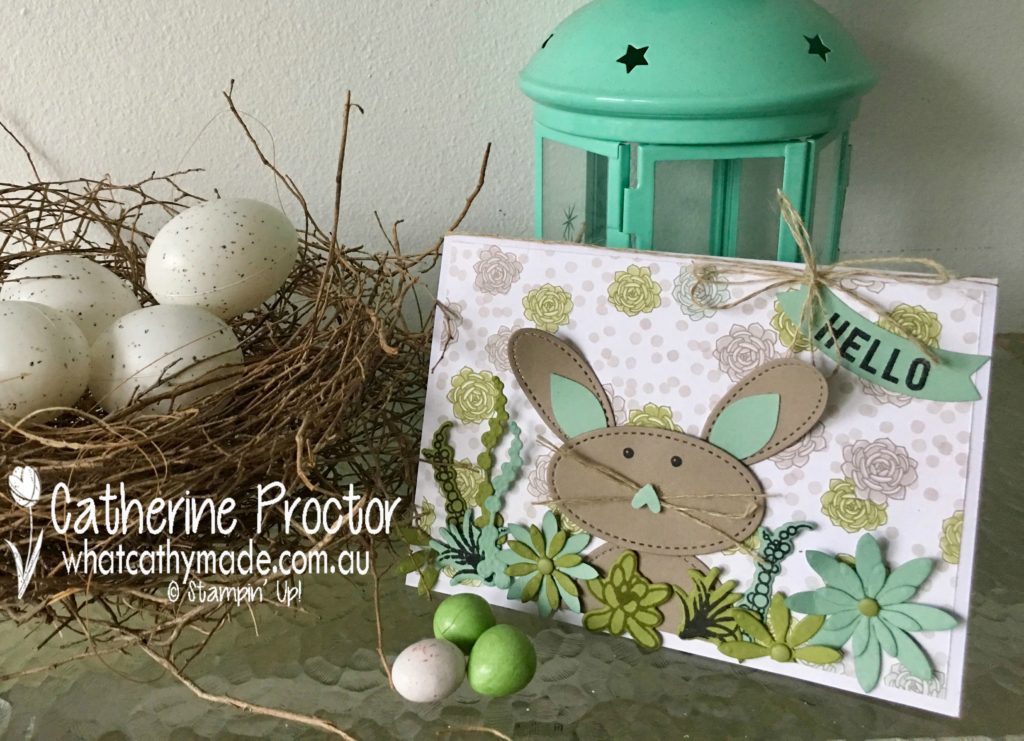
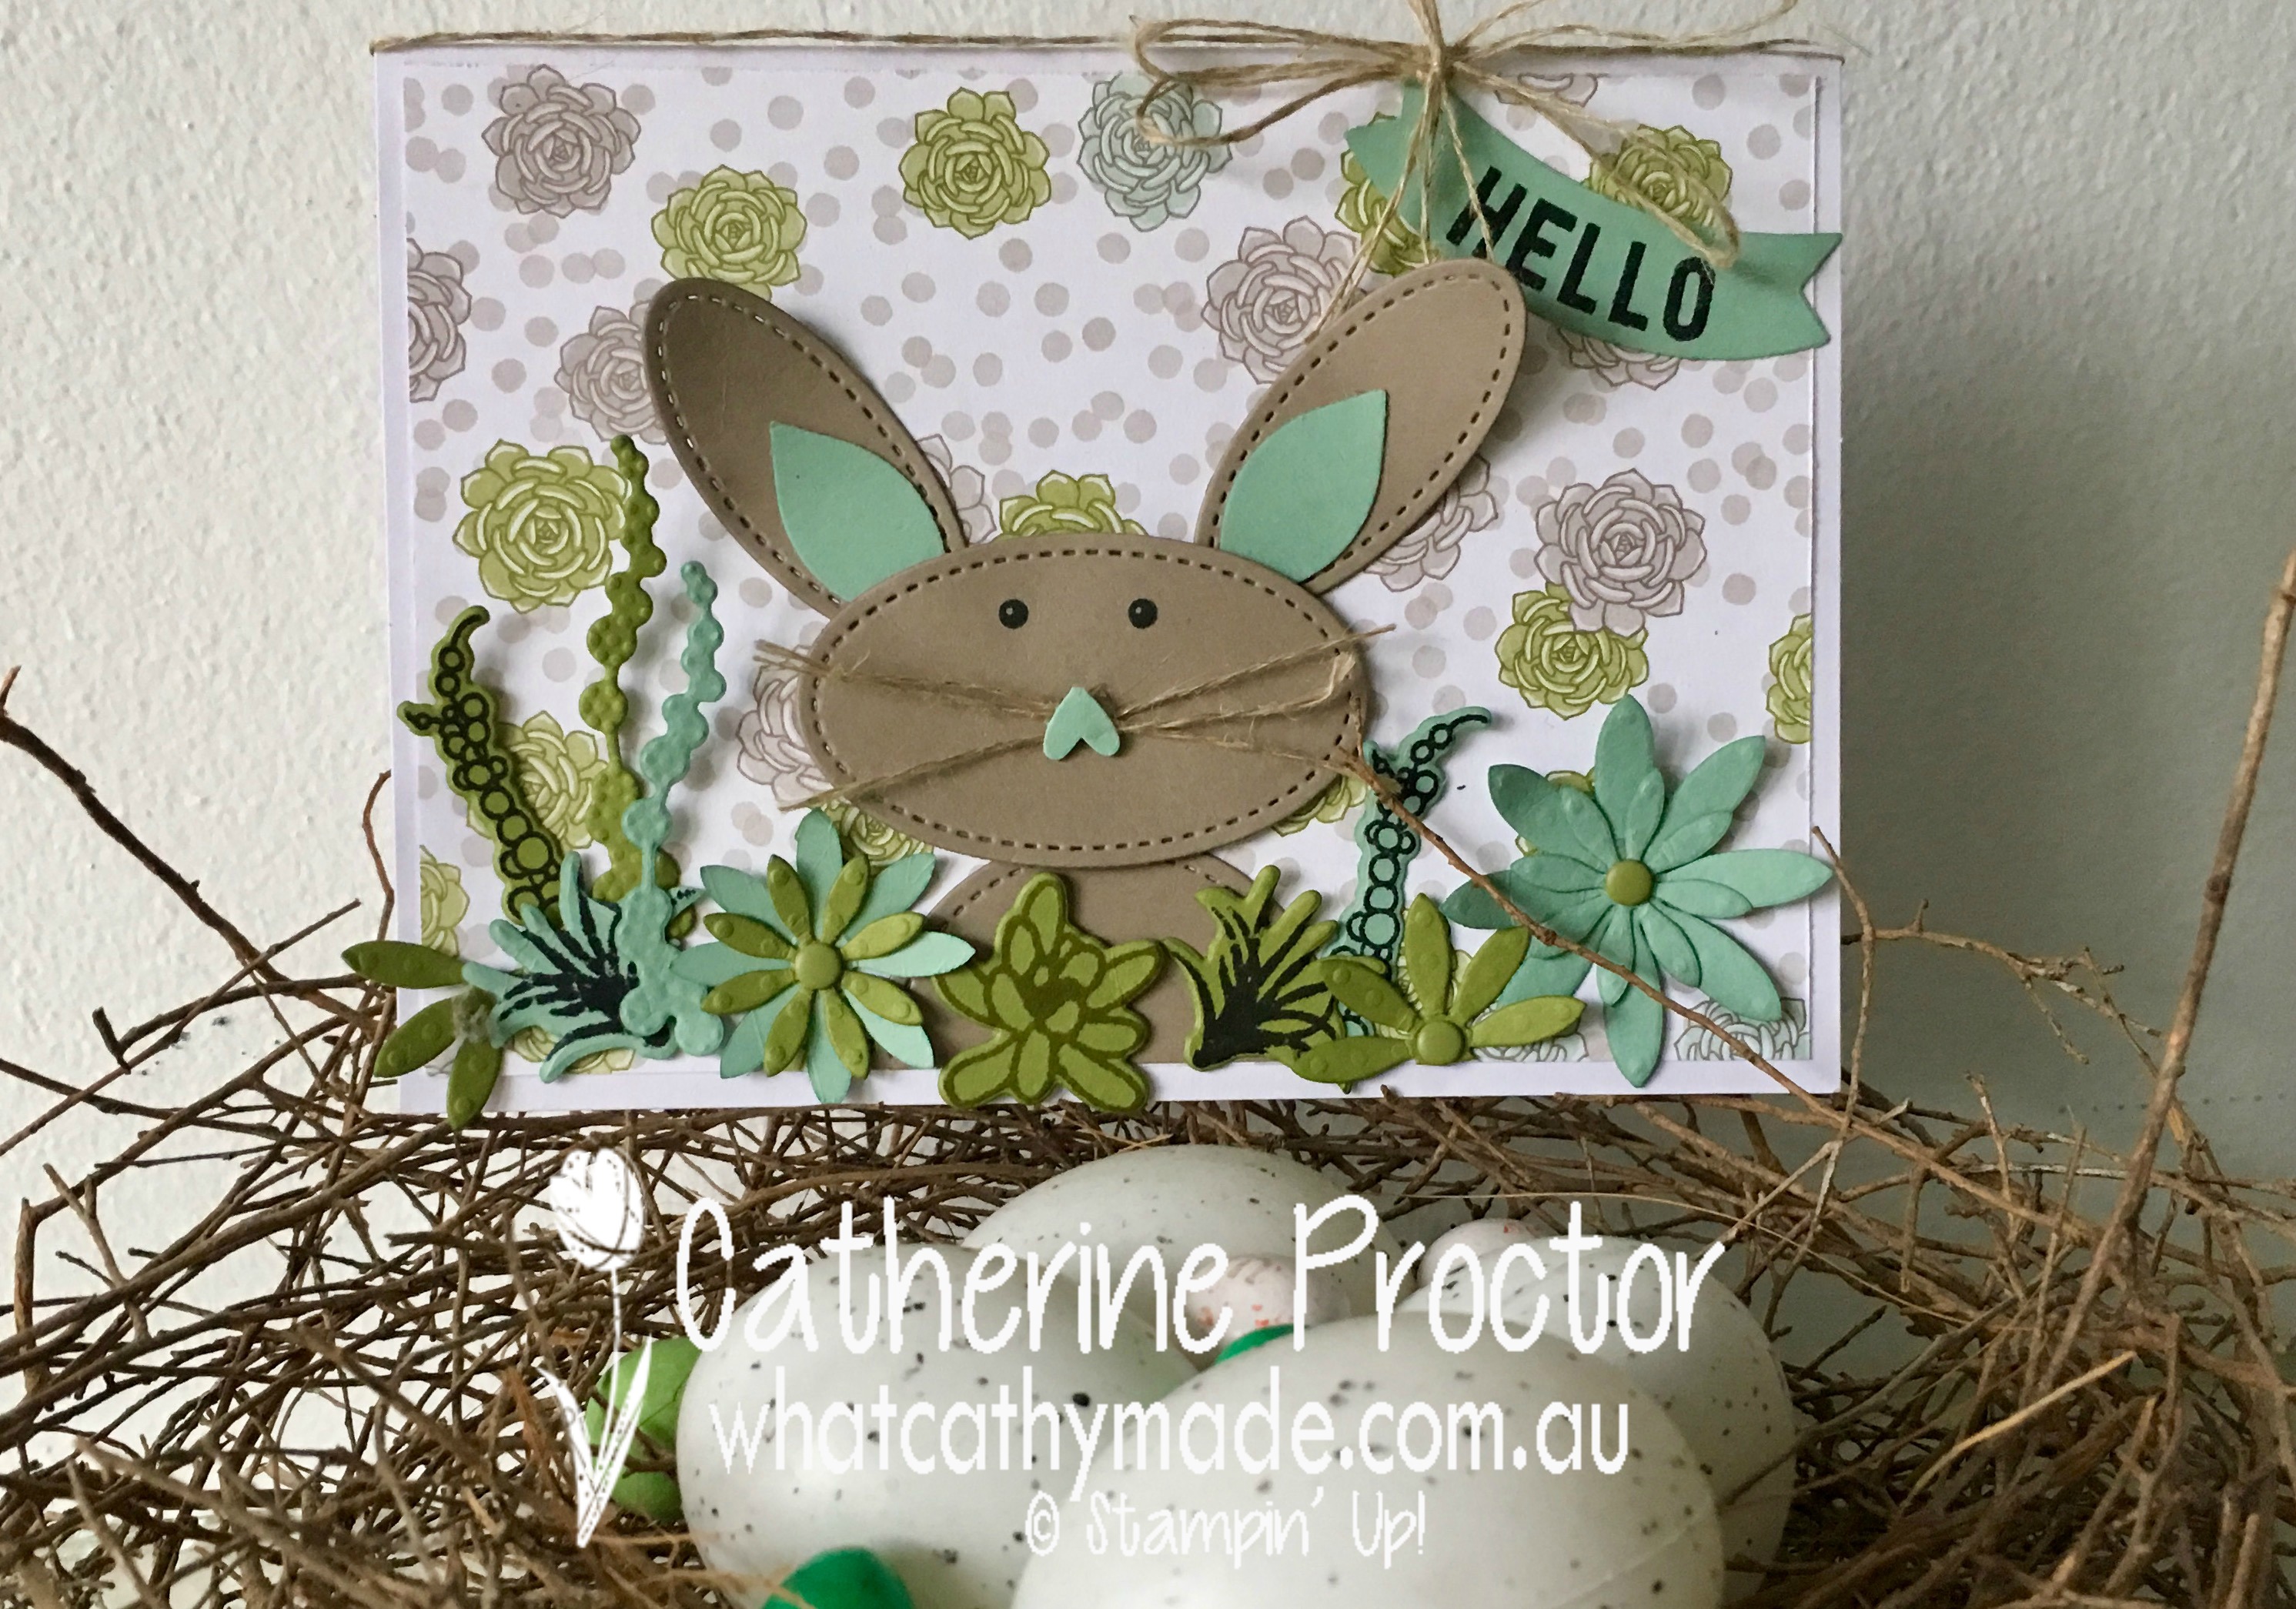
This time I used a different sheet of paper from the Succulent Garden Designer as the background paper and then dies and stamps from The Oh So Succulent Bundle to give him the appearance of hiding in the shrubbery.
He looks a little bit shy and a little bit cheeky, doesn’t he?
Mint Macaroon, Old Olive and Tip Top Taupe is one of my all-time favourite colour combinations.
For the sentiment on this card I used one of the free Salebration stamp sets, Any Occasion. It actually fits perfectly into the Duet Banner Punch, making for a quick and easy sentiment to finish the card off.
Get More Out of Your Craft Supplies
Have you ever tried to use your framelits as punch art?
This was my first attempt and I’m thrilled with the result. I really enjoy discovering another use for what was already an incredibly useful and versatile set.
And as a sewer and quilter I just love how quickly and easily the Stitched Shapes Framelits add texture and give my cards that hand-stitched look.
Next up on our blog hop is the incredibly talented Ros Davidson. I can’t wait to see what she’s created!
If you find a broken link or have come to this blog hop from a different entry point, you can view the participants below:
Today I’m excited to bring you a blog hop with some of the awesome ladies in the Art With Heart Stampin’ Up! Team.
Today we focus on the kids in our lives, from birthday cards to party ideas.
Sale-a-bration continues and this week we have three new additional items you can earn for free with a $90 order – ask me how!
As soon as I received my Occasions catalogue I knew I was just going to have to have the Beetles and Bugs stamp set. It instantly evoked memories of coming to the big smoke (i.e. Sydney) as a child and going to the Australian Museum with my parents when we put on our Sunday best and caught the train into the city.
As a child from the country, Sydney was total sensory overload!
We’d have lunch in a smart coffee shop in the city, visit the David Jones Food Hall and we were allowed to chose just one thing from the Nut Shop in the Strand Arcade.
There was always something new and exciting to see in the Australian Museum, but my favourite part was the insect collection. I think I loved the wide wooden drawers the insects were stored in as much as the insects themselves!
My love affair with beetles and bugs has continued to this day…as long they’re not in my house!
Stamp Sets for Boys Can Be So Hard to Find!
…which is why I love this set so much!
As a mother to two boys I instantly knew this stamp set would be incredibly useful. It’s also very versatile because beetles and bugs come in so many different colours, which means you can use any Stampin’ Up! ink you like with this set.
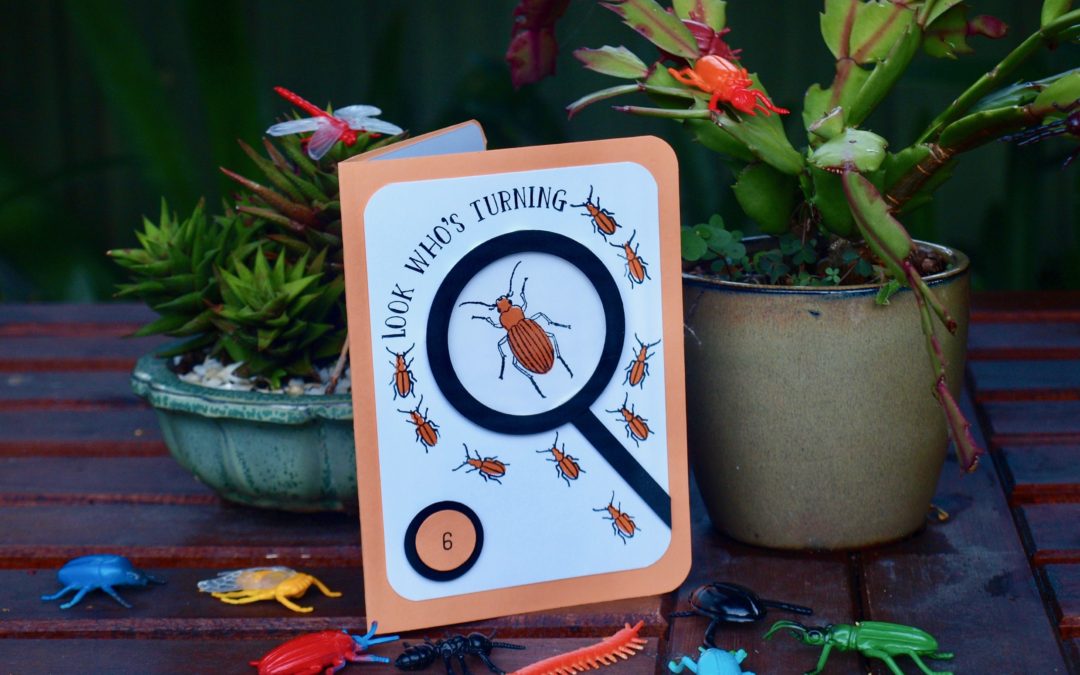
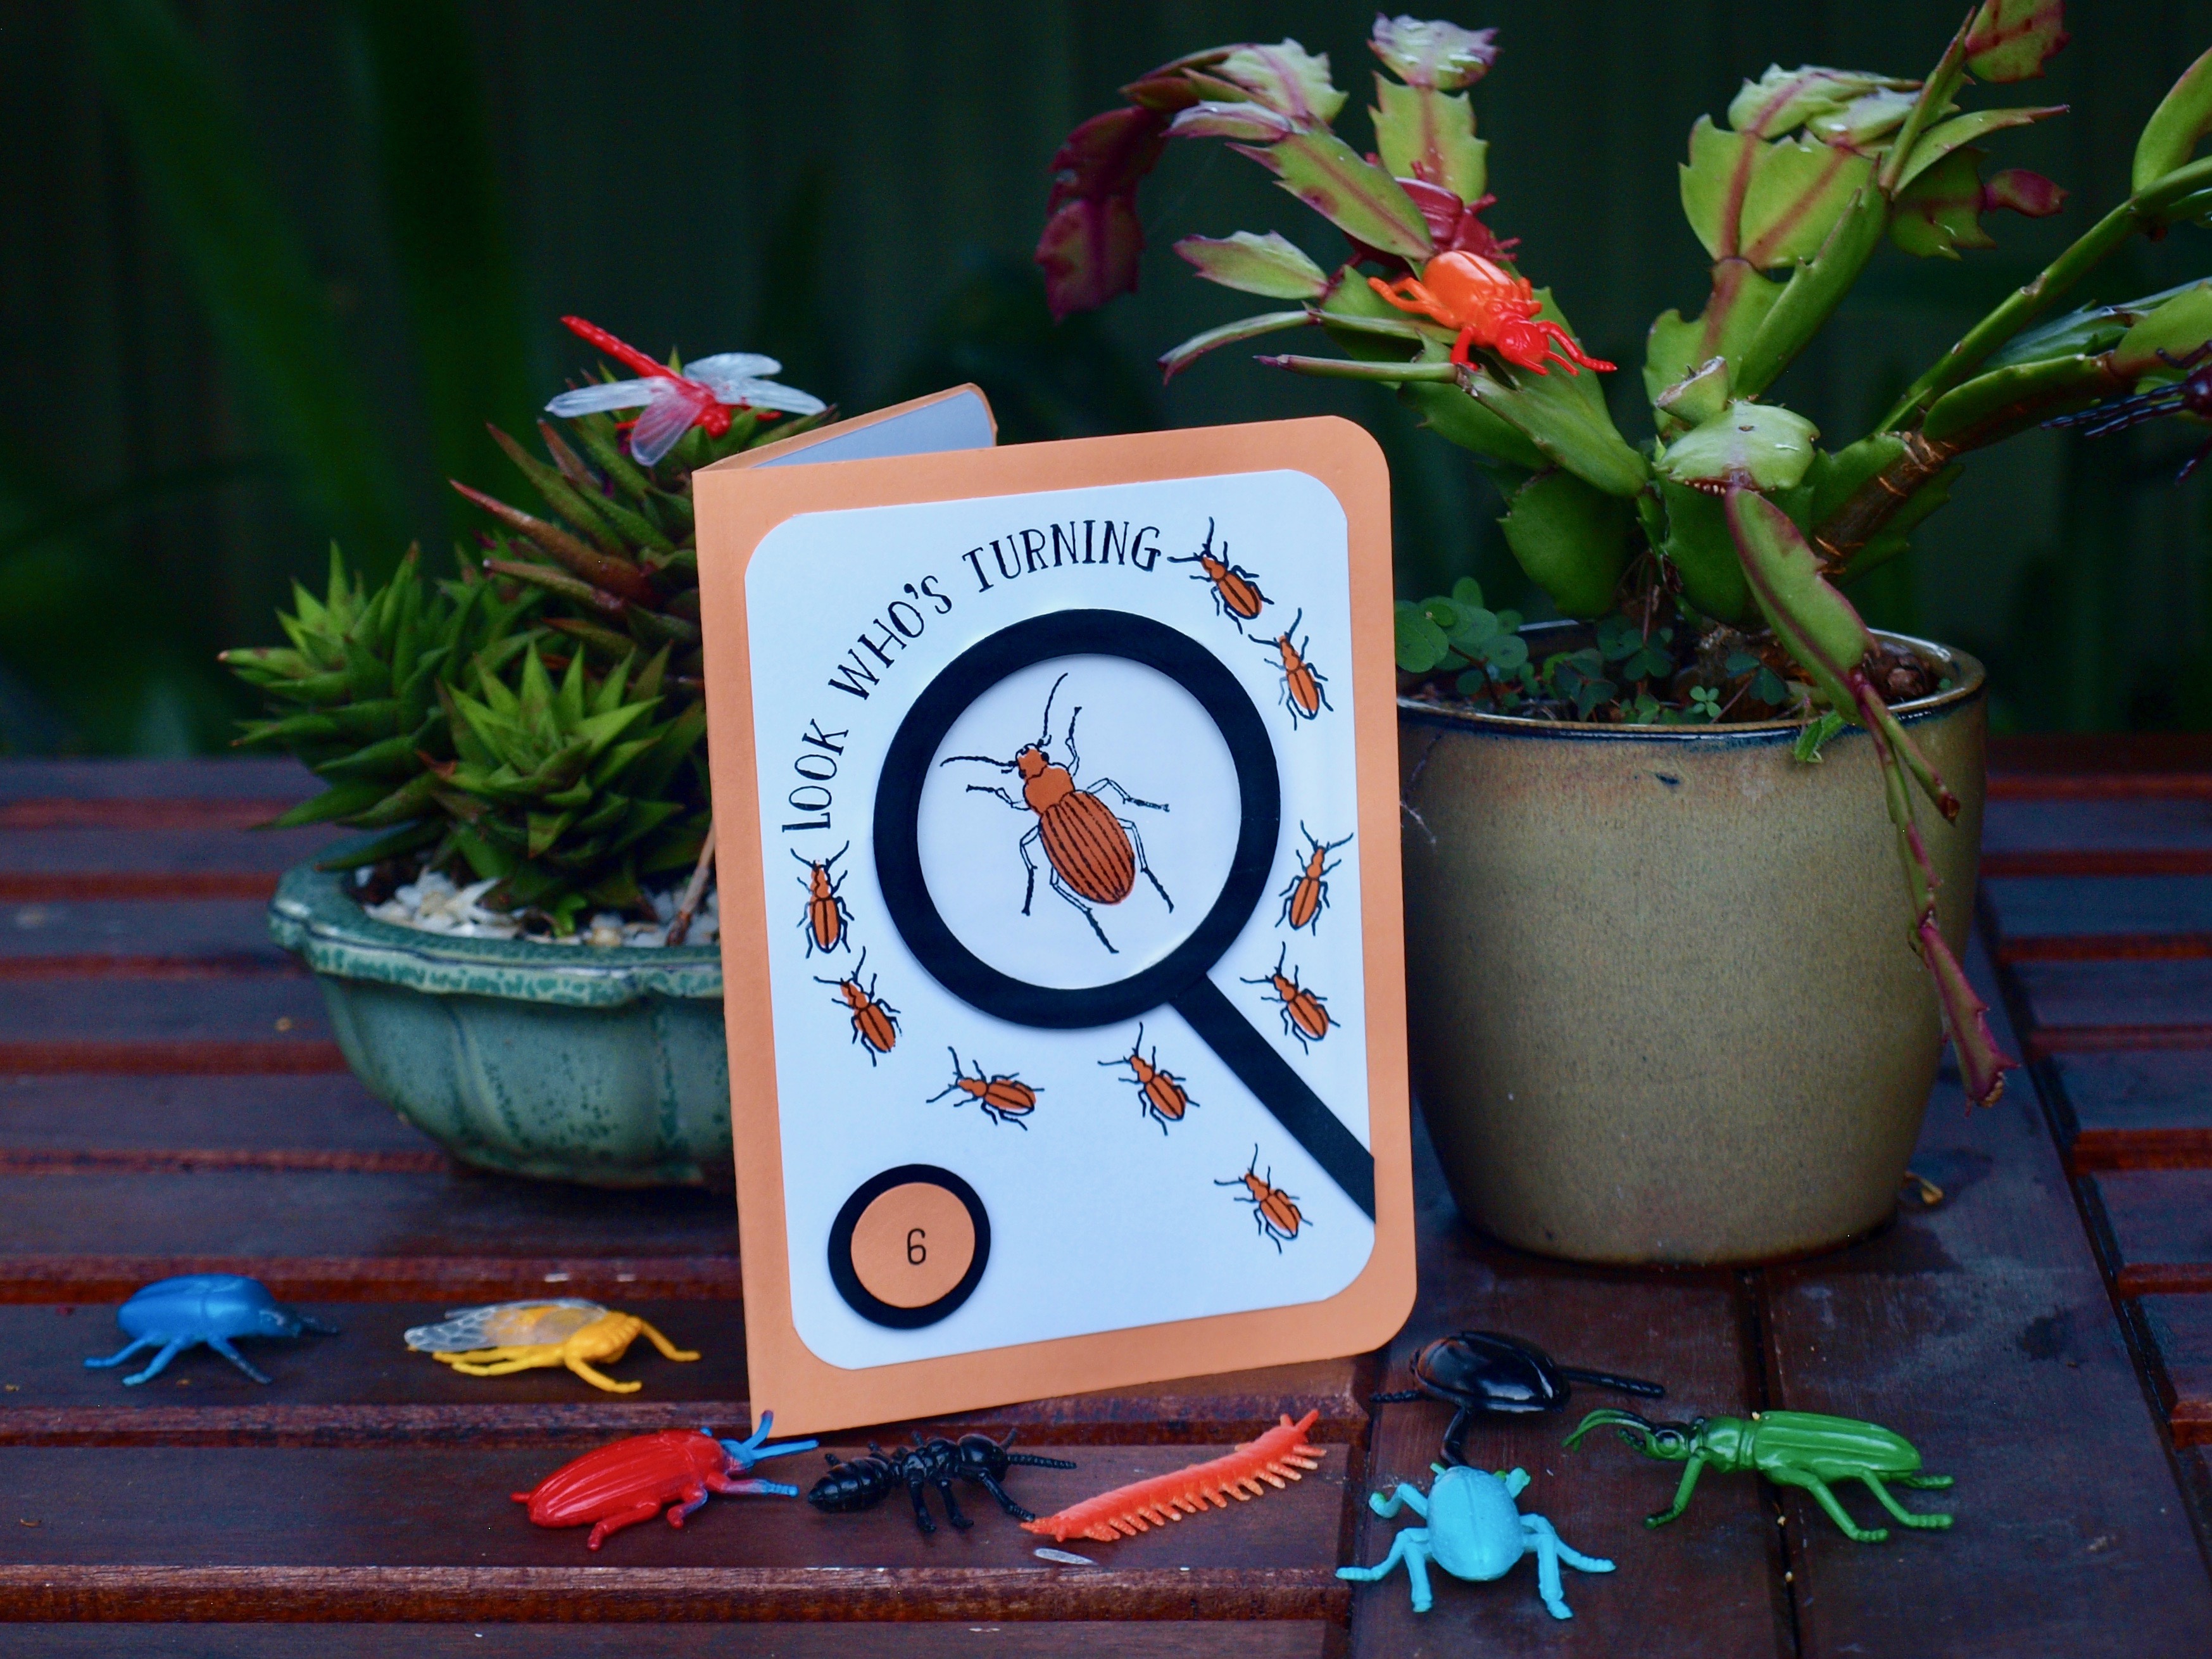
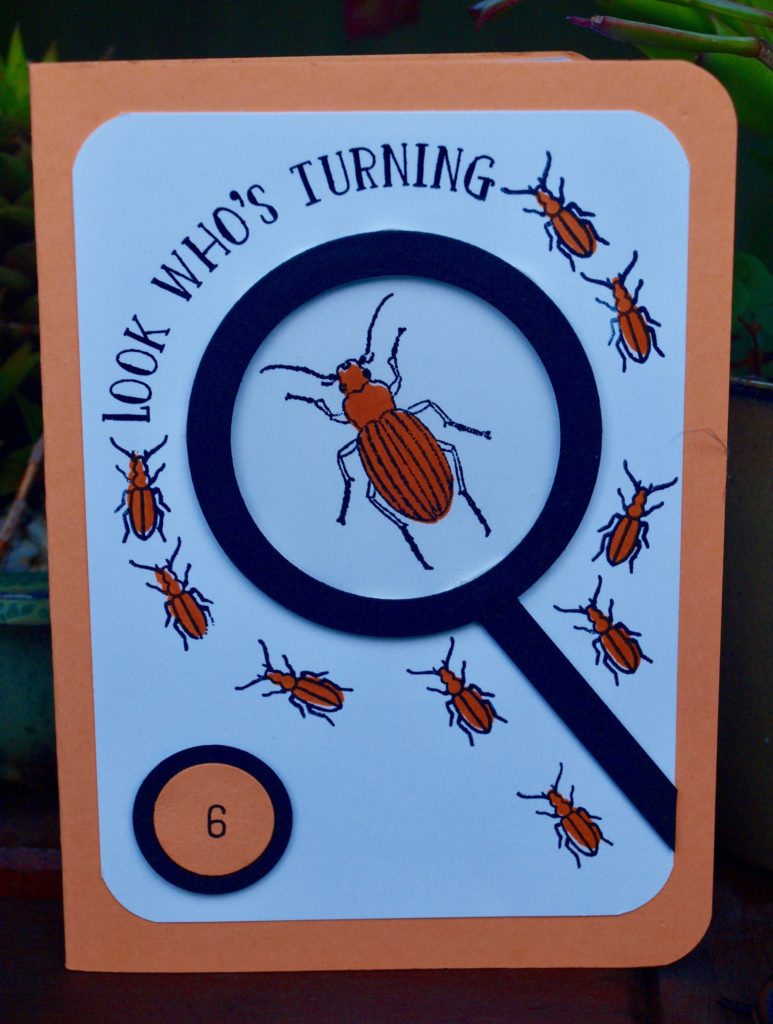
When making this card I decided to try a colour I hadn’t used before – Peekaboo Peach – and I just love how well it co-ordinates with Pumpkin Pie, Whisper White and Basic Black. I’ll definitely be using Peekaboo Peach again.
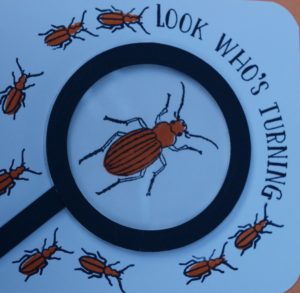
I used the layering circle framelits with basic black card stock and window sheets to make my magnifying glass and I’m really pleased with how realistic it looks, however it’s hard to photograph the ‘glass’ in the centre of my magnifying glass. Here’s a close-up to give you a bit of a better look.
The sentiment is from the Number of Years stamp set and because it is a photopolymer stamp I was able to bend it to exactly fit around the curve of the magnifying glass. The tiny number 6 is from the incredibly useful and versatile Labeler Alphabet stamp set.
Little Boys Always Love a Surprise!
The Party Pop-up Thinlits die would have to be one of my all time favourite dies to add that ‘wow’ factor to all of my birthday cards.
Both my boys would have loved to receive this card when they were younger…in fact I’m sure that even as teenagers they would still secretly love it today!
I hope you enjoy the versatility and ‘boy friendliness’ of the Beetles and Bugs set as much as I do.
Thanks for stopping by!
Now it’s time to see what the incredibly talented Alisha Watson has created by clicking on the next blog hyperlink below.
If you find a broken link or have come to this blog hop from a different entry point, you can view the participants below:

 Tonight I am participating in a blog hop along with the super talented ladies in the Art With Heart Team. We thought it would be fun to share some fabulous ideas to inspire you from our brand new 2017-2018 annual catalogue, which is available 1st June.
 As a demonstrator I not only get a copy of the annual catalogue a month before it is released to the public, but I also get to order in advance from a selected list of products and I was beside myself with excitement when I discovered that the new “In the City” stamp set was available for pre-order.

 Over two hours we chatted about so many of the important and interesting issues she is passionate about, but the main thing that I took away from our conversation was a reinforcement of the importance of writing and sending cards and letters.
 When I decided to scrapbook this occassion I immediately knew which product I had to use…the gorgeous little envelopes framelits in the
  page fits the occasion perfectly and is another retiring product, the
  hat was just perfect for this page is the pretty label punch (it will be available to order from 1st June) in the new annual catalogue. I cut it in half and used it either side of the menu, then stamped it with a beautiful stamp from the retiring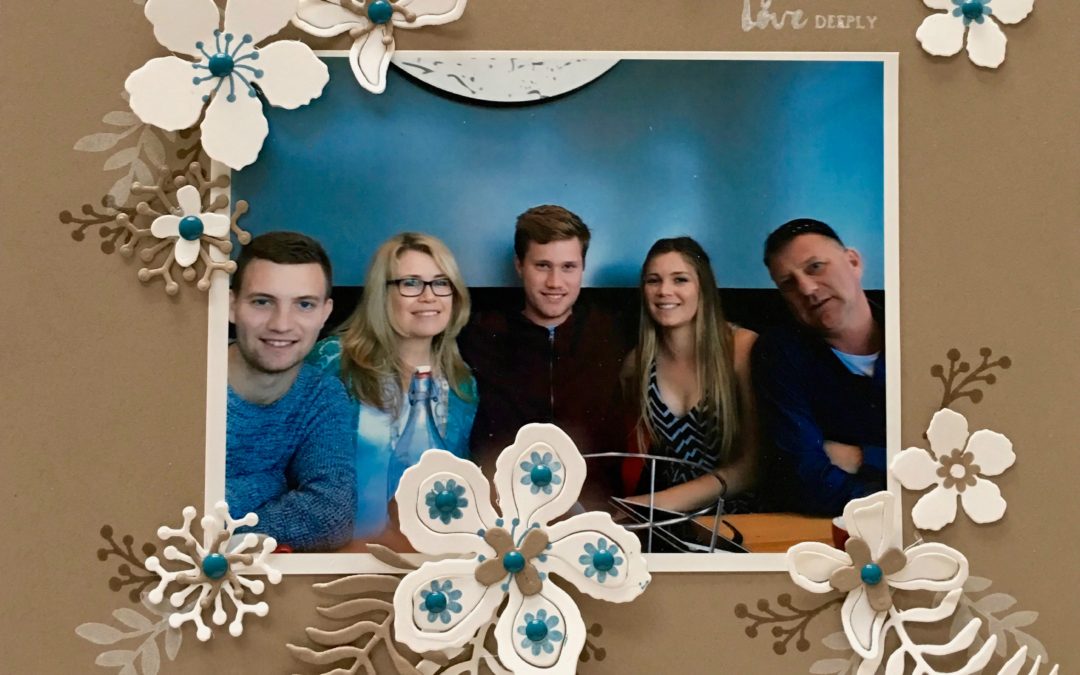

 For my first Easter card I decided to give my rabbit Sweet Sugarplum ears to match the beautiful background paper from the Succulent Garden Designer Series Paper.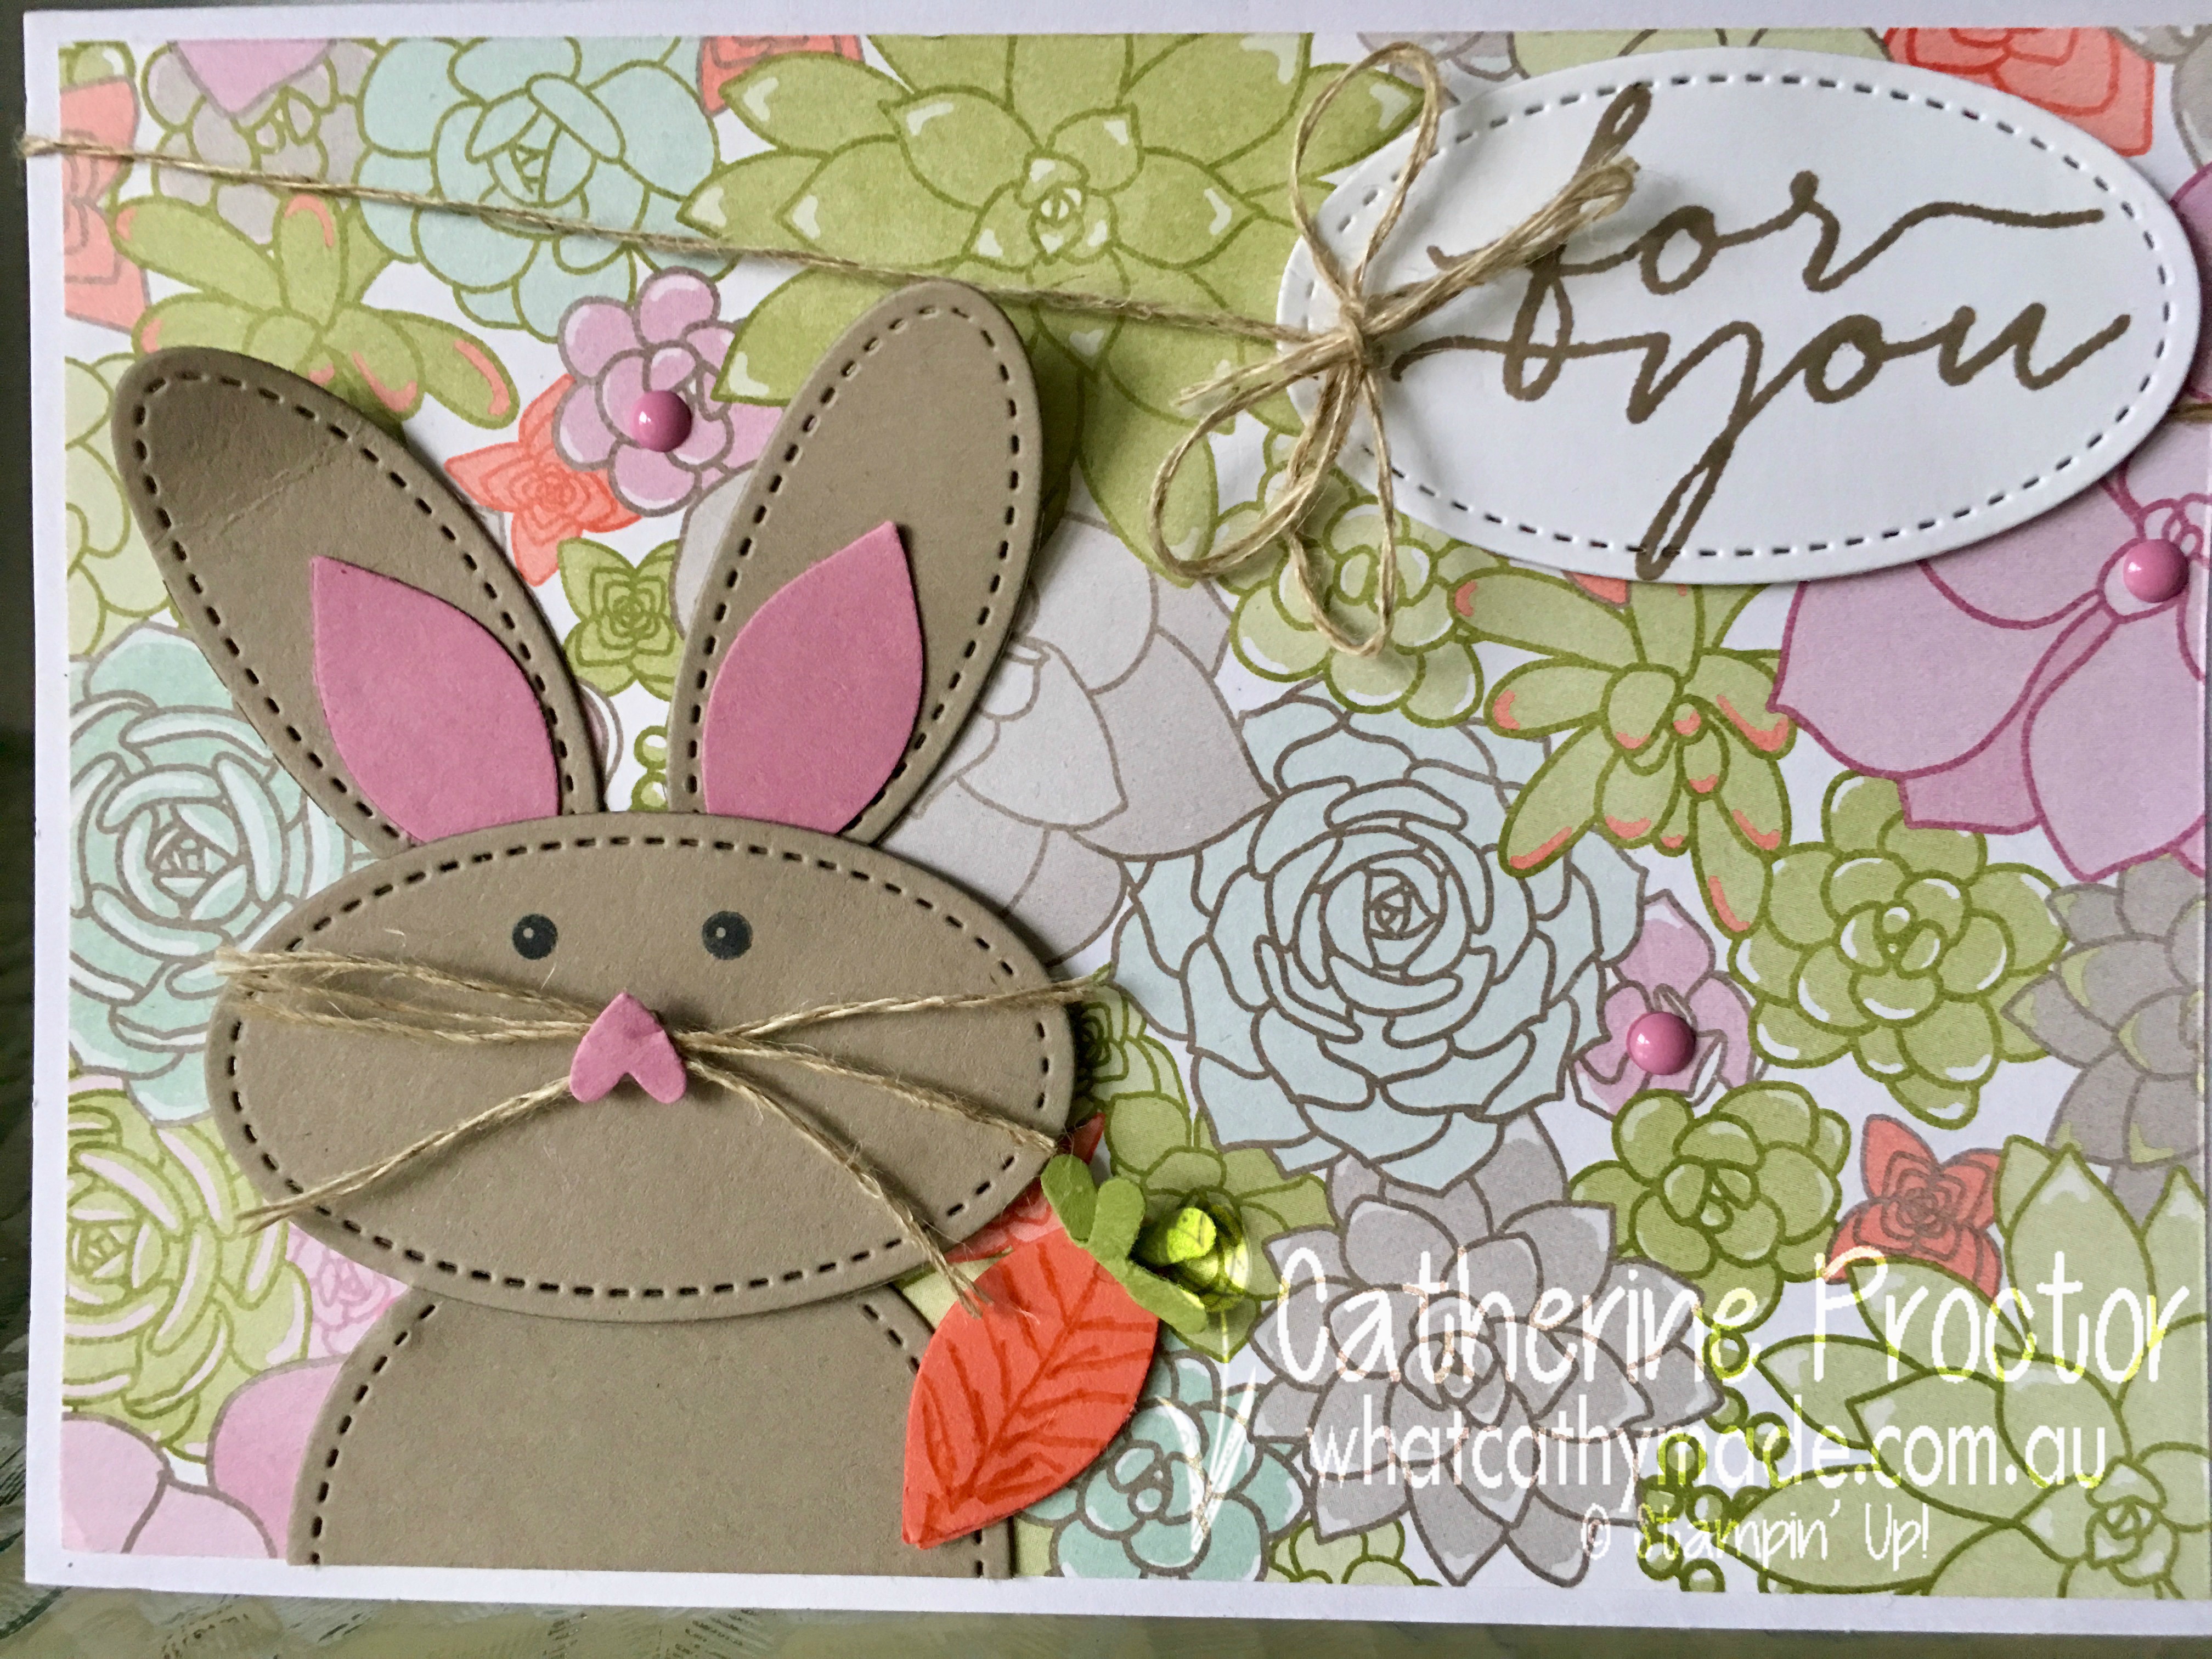

 …which is why I love this set so much!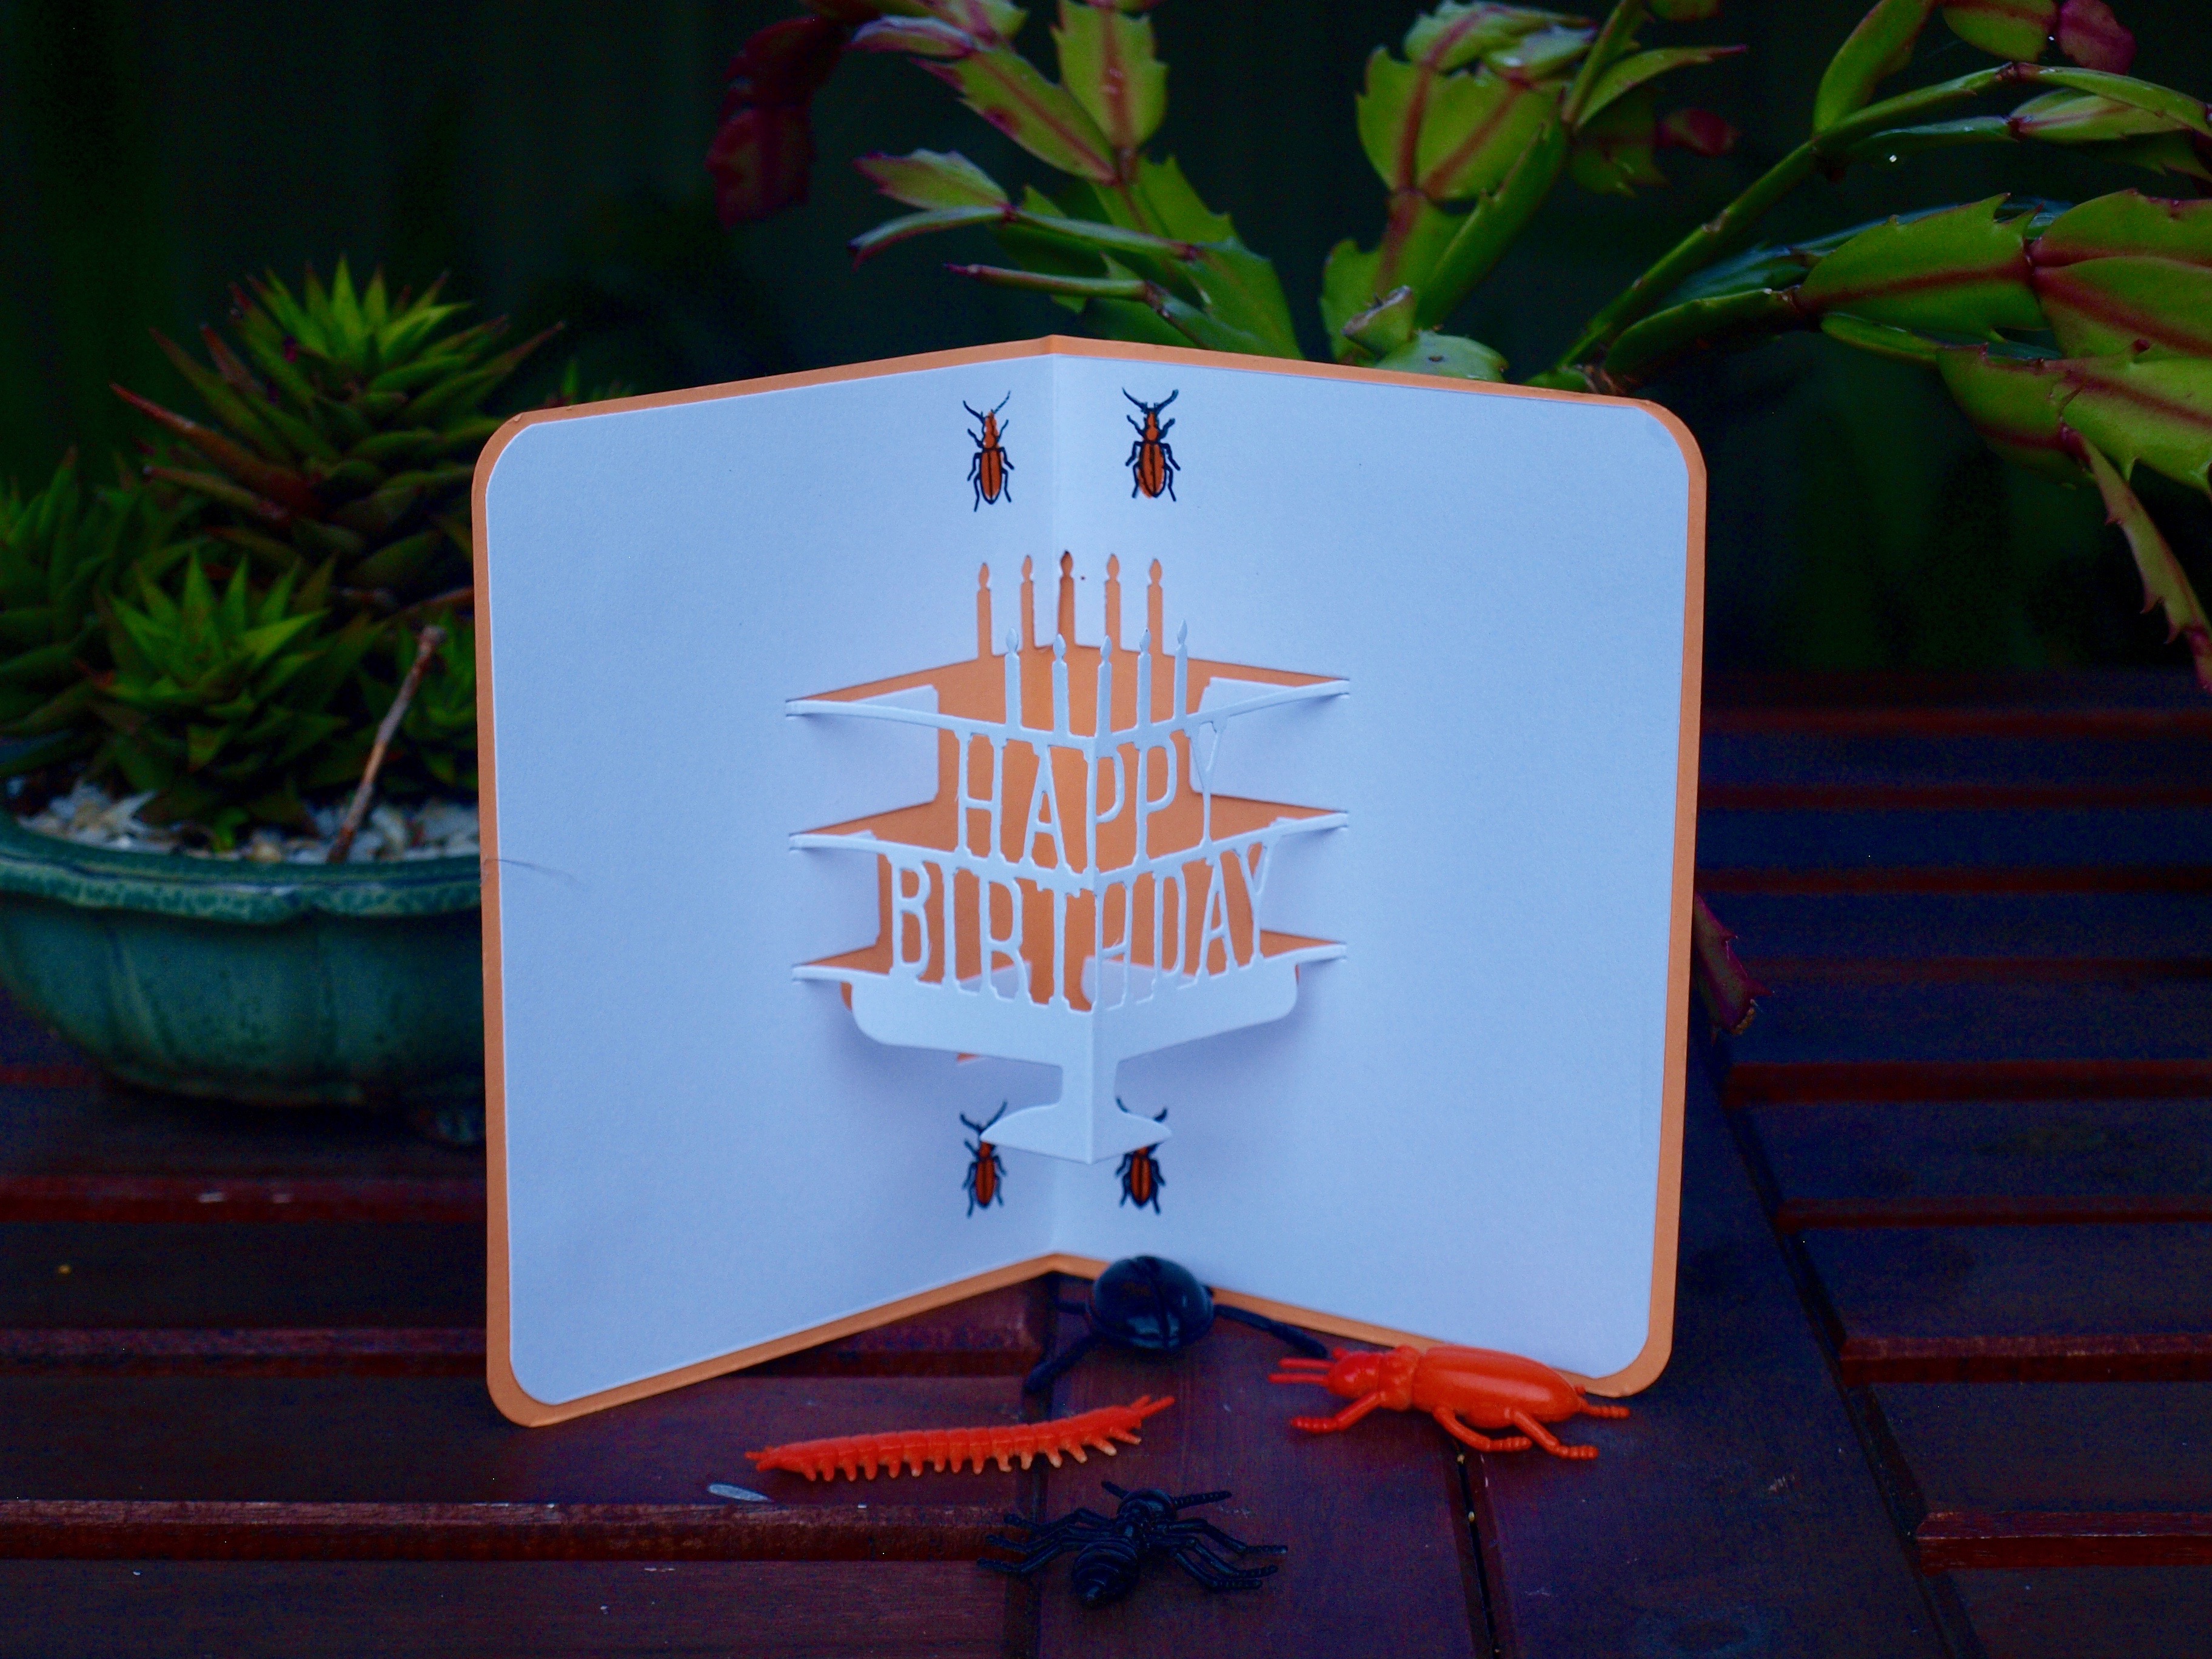
 Both my boys would have loved to receive this card when they were younger…in fact I’m sure that even as teenagers they would still secretly love it today!