Don’t you just love a bargain? I certainly do and Stampin’ Up! currently have two BIG sales on their products.
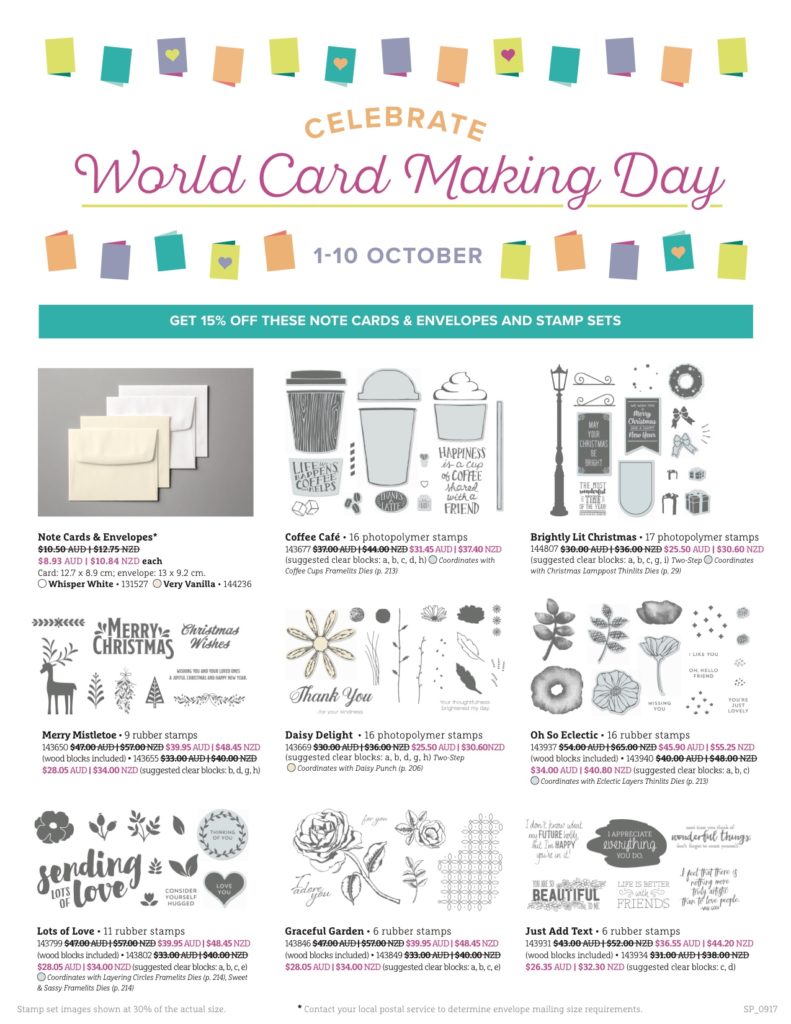
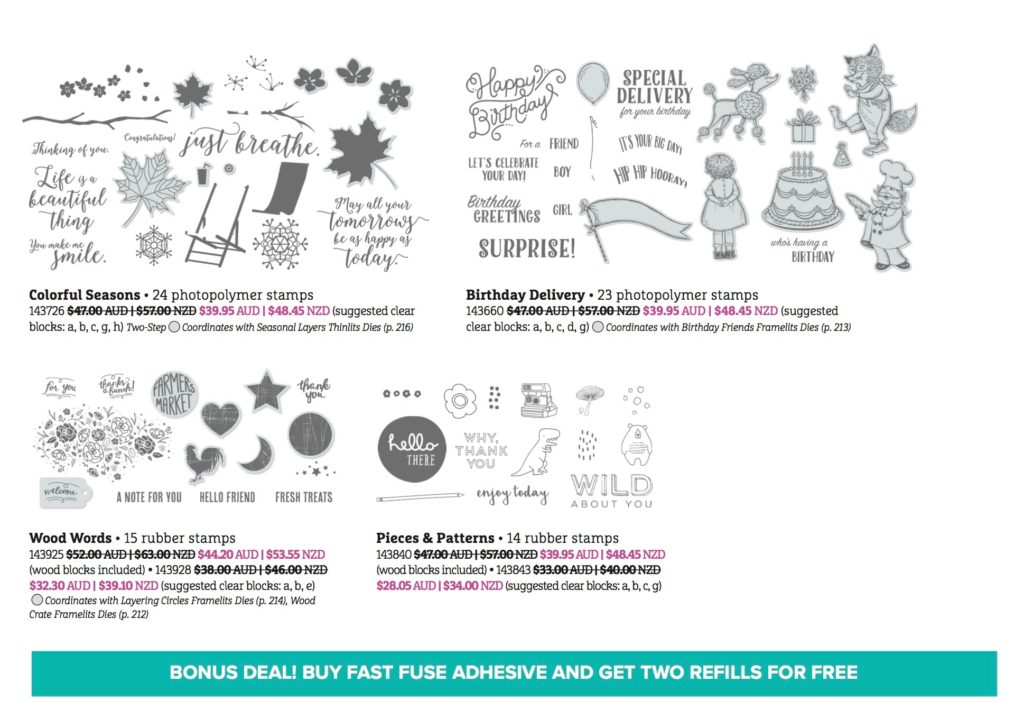
The first sale is only on until October 10. To celebrate World Card Making Day on 7th October Stampin Up are offering 15% off the following notecards & envelopes and stamp sets from 1st-10th October.
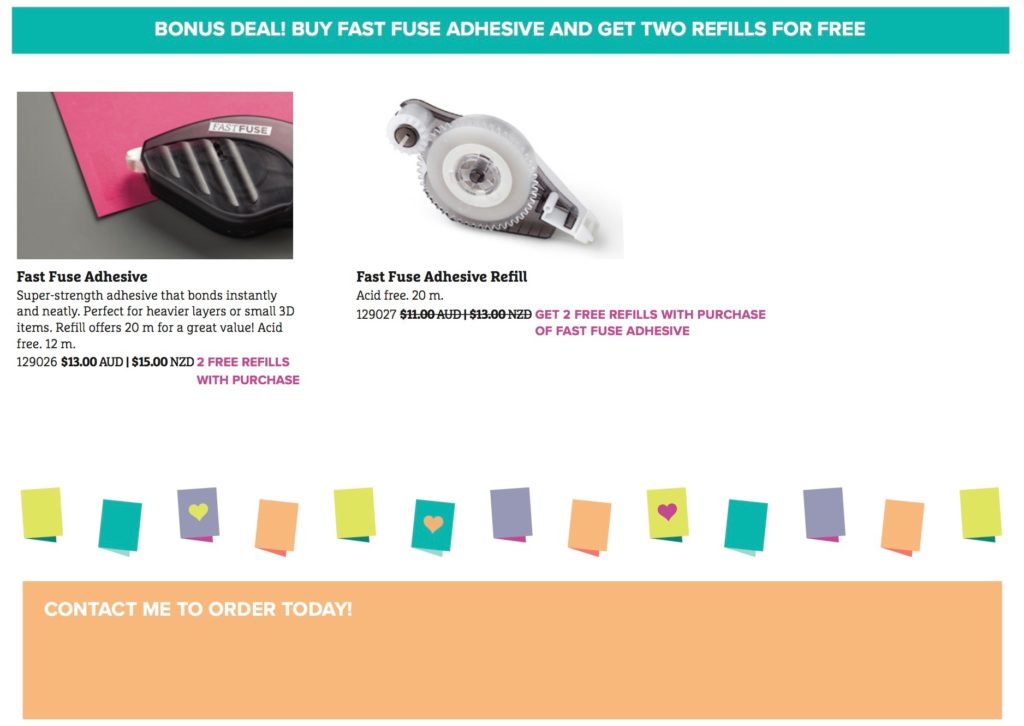
And to sweeten the deal even further you will also get two refills for every fast fuse adhesive you purchase. That’s $35 worth of adhesive for just $13!
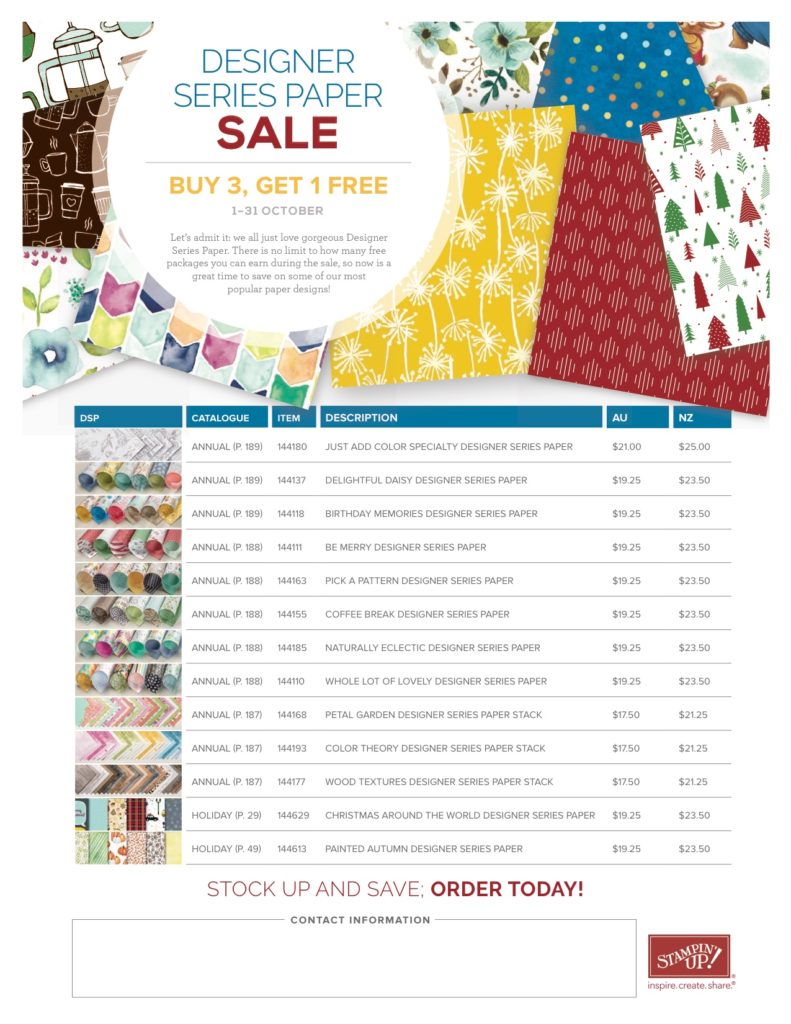
The second sale lasts throughout the entire month of October. Stampin’ Up! are having a “buy 3 get 1 free” sale on selected packs of their gorgeous designer series papers.
To purchase any of these sale products you can click on the links below and the discount will added when you purchase through my online store.SaveSave
World Card Making Day Sale Product List
(15% off items from 1st-10th October…discount will be applied at checkout)
Welcome back to the Heart of Christmas weekly blog.
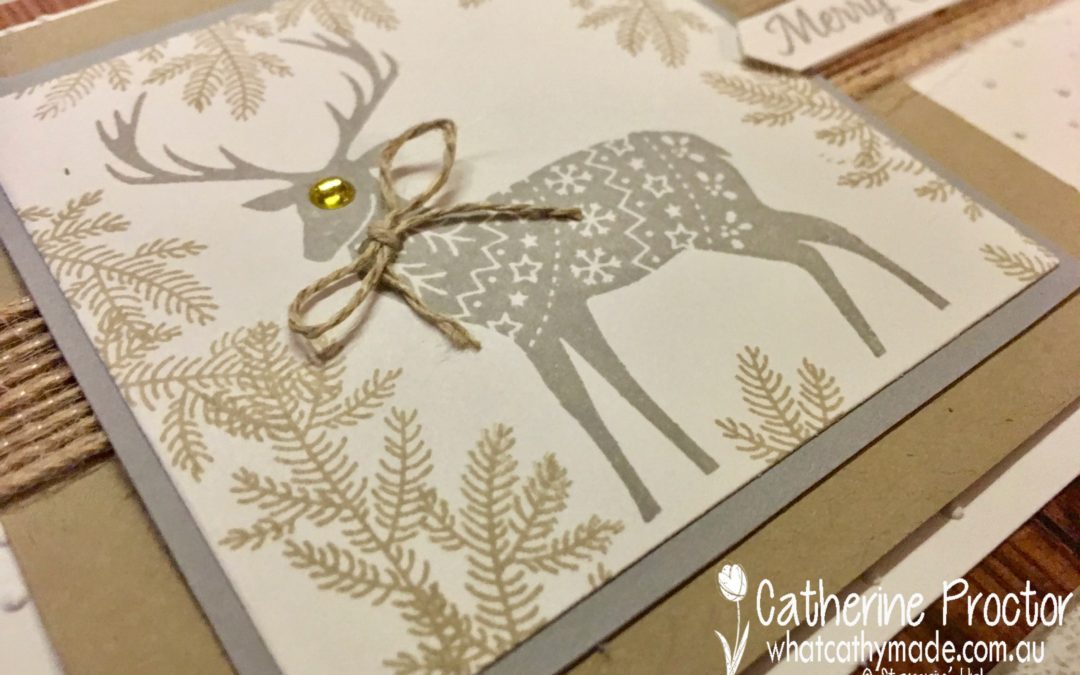
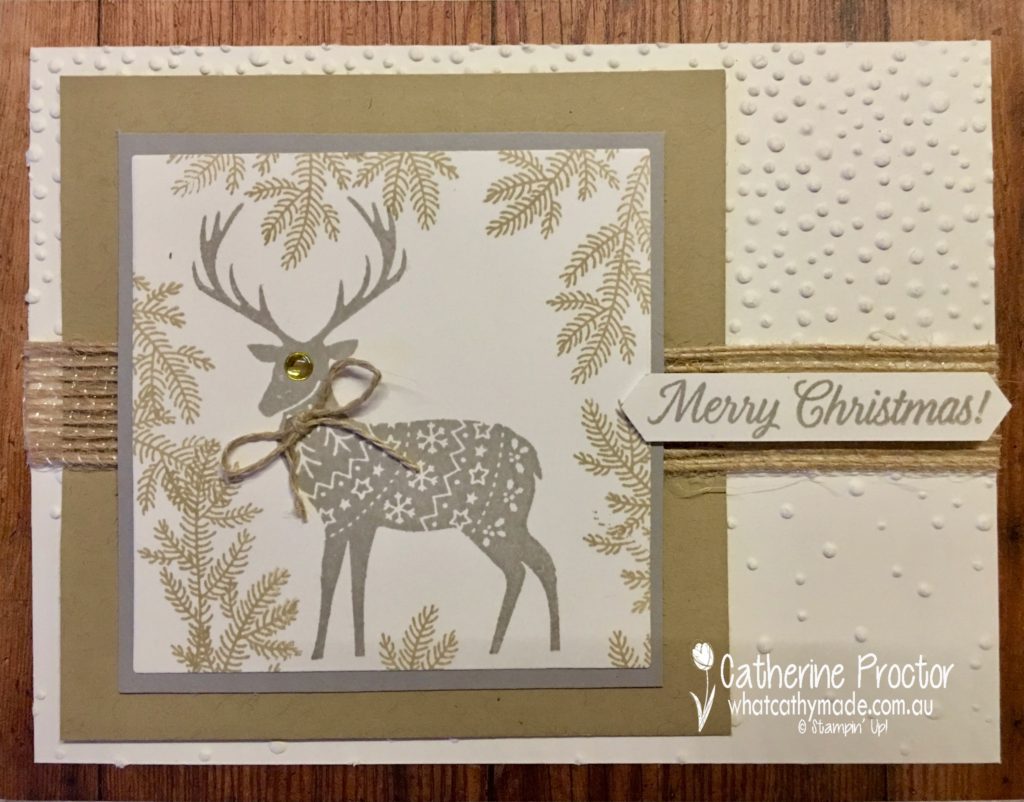
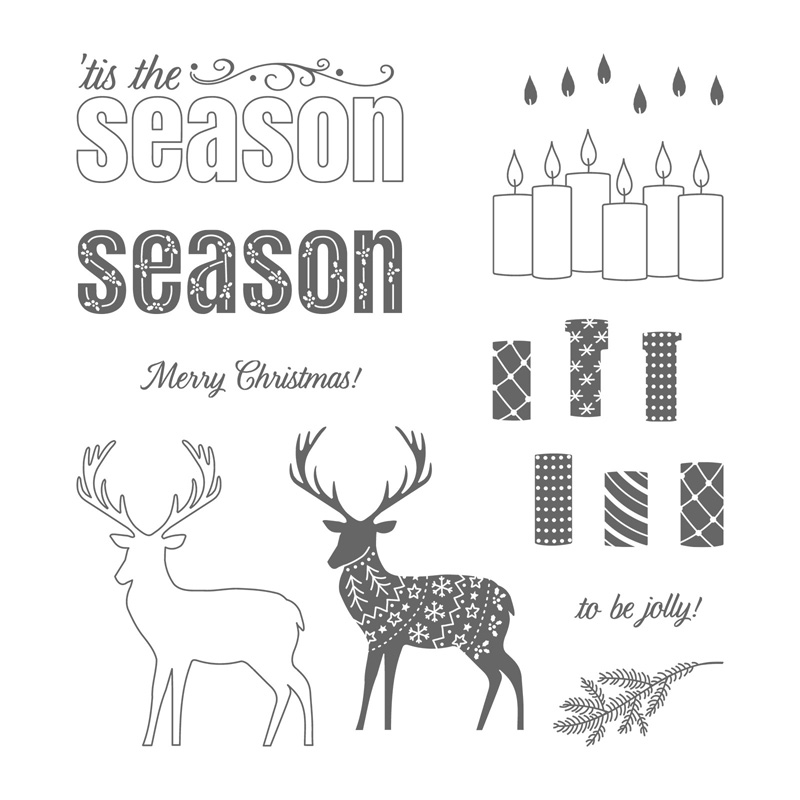
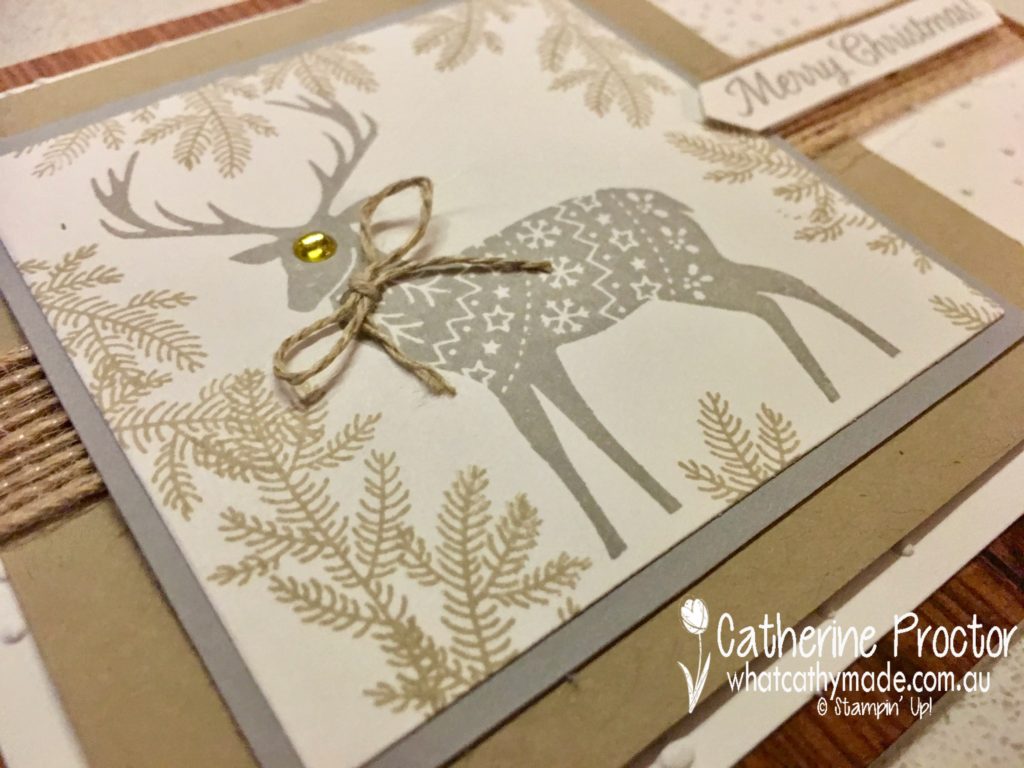
This week I had a play with a gorgeous new free Stampin’ Up! hostess set called Merry Patterns. Merry Patterns features the cutest reindeer in its very own knitted jacket. It’s no secret that I adore reindeer and just take a look at this beauty!
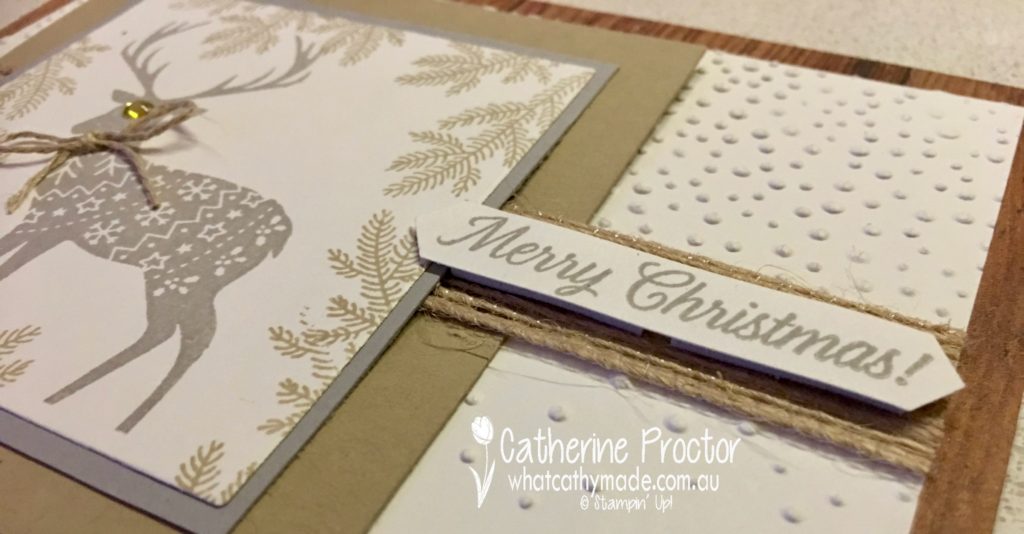
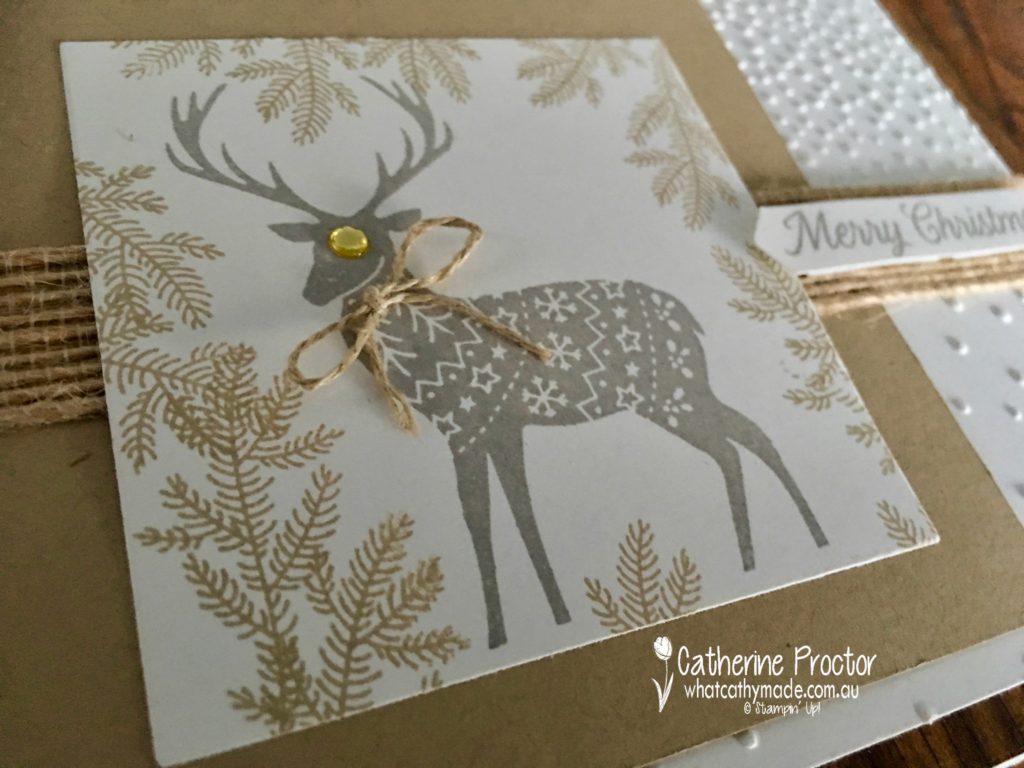
There are so many cute stamps in this stamp set but I only used 3 of them here…the pine branch is so lovely and the Merry Christmas sentiment is the perfect size for the modern label punch.
.
I’m going to make some more cards with this set to share with you in the coming weeks because this is such a versatile set. Here are all the stamps you get in this set:
What I love about this set is that you don’t need a big shot to make stunning cards…the images are just lovely on their own, which makes for quick, easy and inexpensive cards. My kind of cards.
I also think I’ve found a new favourite colour combination while making this card: crumb cake and smoky slate. Don’t you just love this combo?
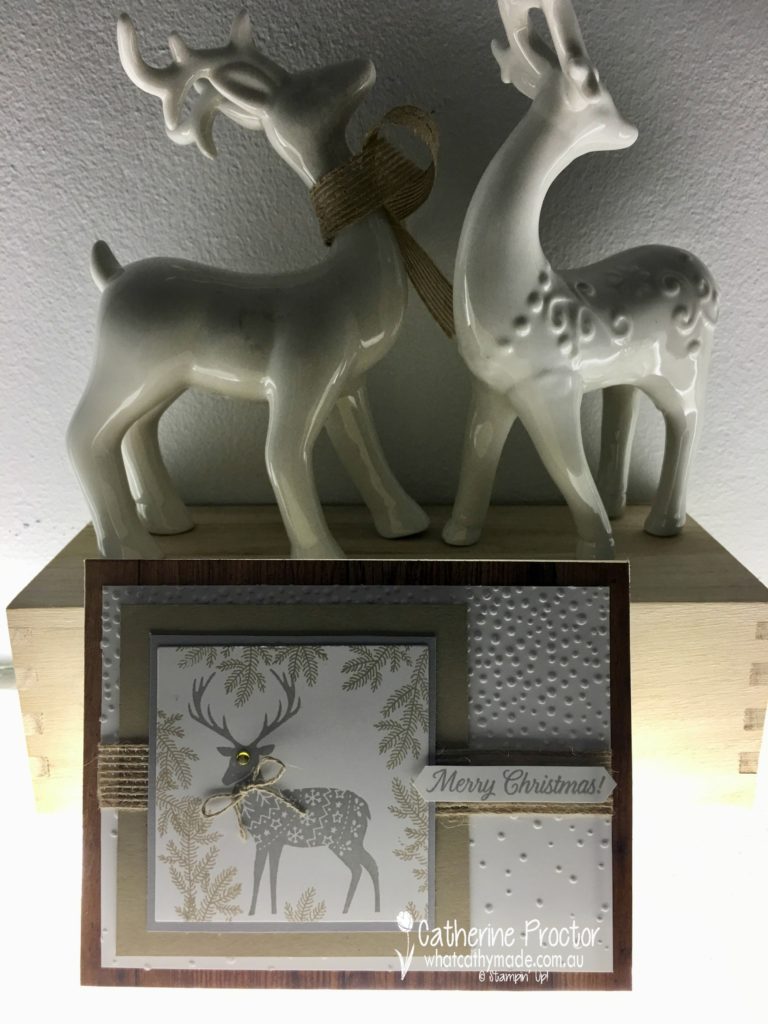
Originally I mounted the stamped image straight onto the crumb cake layer (see the pic below) but them I went back and added a layer of smoky slate between. I really like both versions.
I hope you’ve enjoyed my Merry Patterns card today and I’ll be back soon with some more cards made from this lovely set.
My last photo is a bit dark but I had to include this shot with my reindeer because I made a reindeer card this week and they haven’t appeared on my blog for a couple of weeks!
To see what the other members of the Art with Heart team have made for you today, please go back to the very talented Claire Daly’s blog.
And to purchase any of the products I’ve used you can click on the links below.
PLEASE NOTE: Merry Patterns cannot be purchased…it is a free hostess stamp set you can earn simply by hosting a qualifying party…contact me to find out more.
Welcome back to the Heart of Christmas weekly blog.
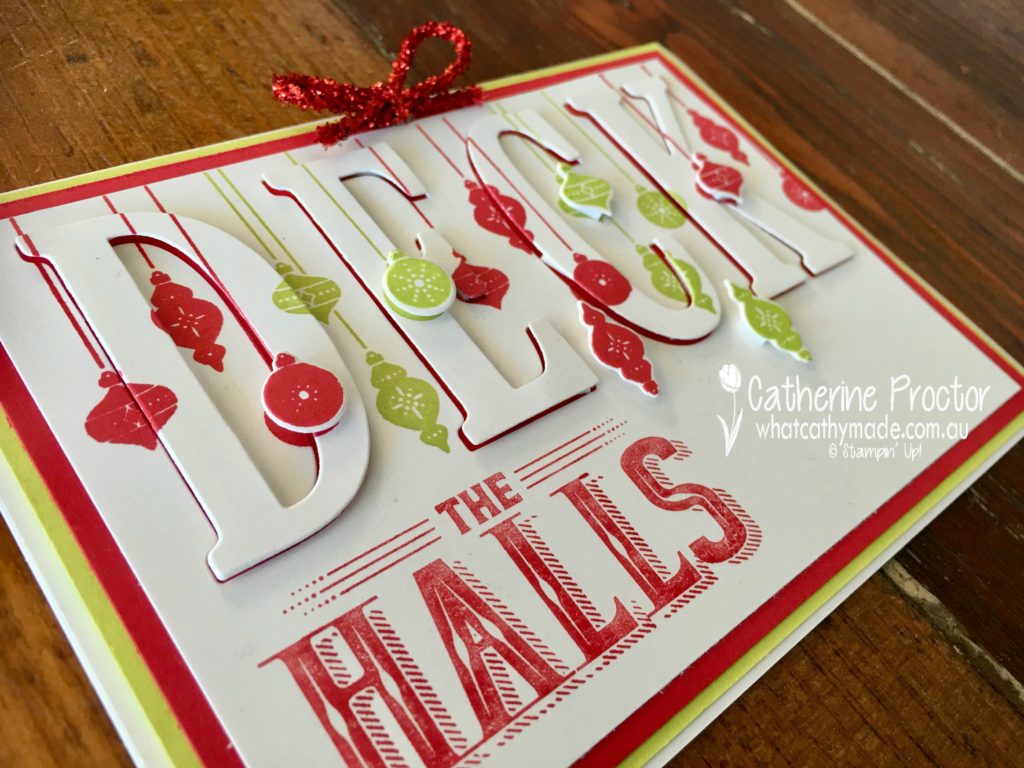
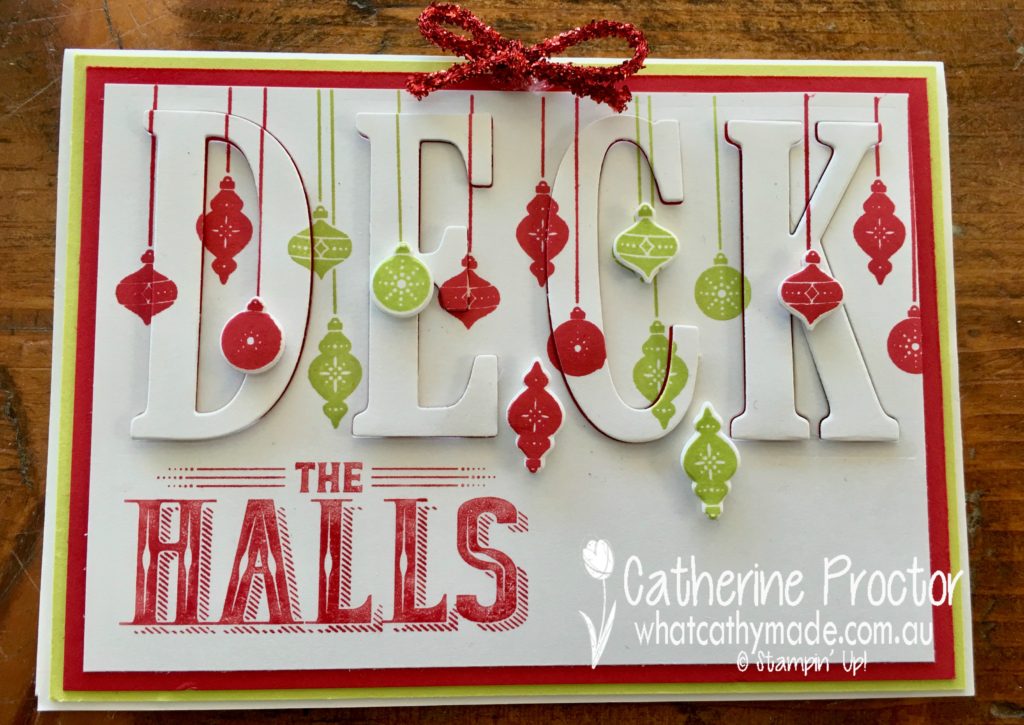
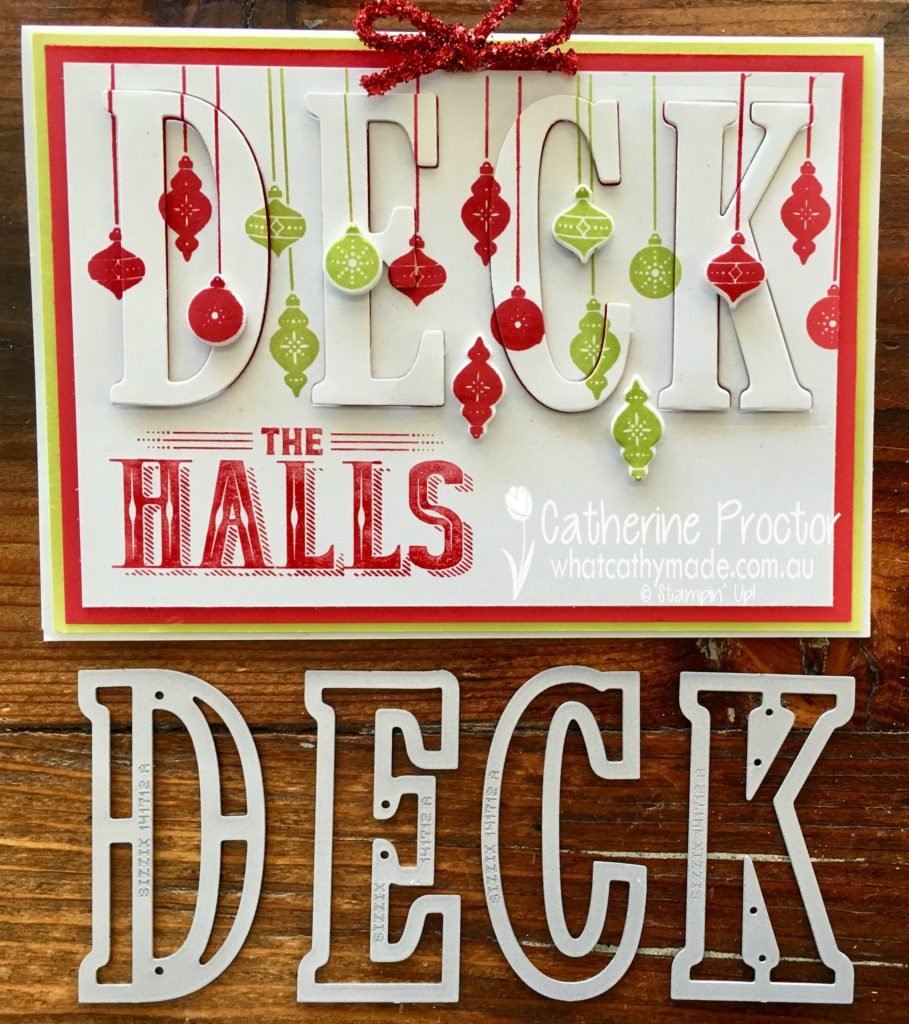
After seeing so many beautiful eclipse cards posted on social media I decided to hop on the bandwagon as well. My “deck the halls eclipse card” was CASED from one I saw on Pinterest, however the card that inspired me wasn’t watermarked and it didn’t link to a blog so I have no idea who to attribute the original idea to!
What I loved about the eclipse card I CASED was that it took one word from a Christmas sentiment and used the eclipse technique to create that word, then the rest of the sentiment was stamped. To do this on this first card I used my real red marker to only mark up the section of the Deck the Halls stamp I wanted to use, stamping with lemon lime twist and real red for the rest of the card.
Anyway, here are the two cards I made, inspired by an anonymous stranger on Pinterest!
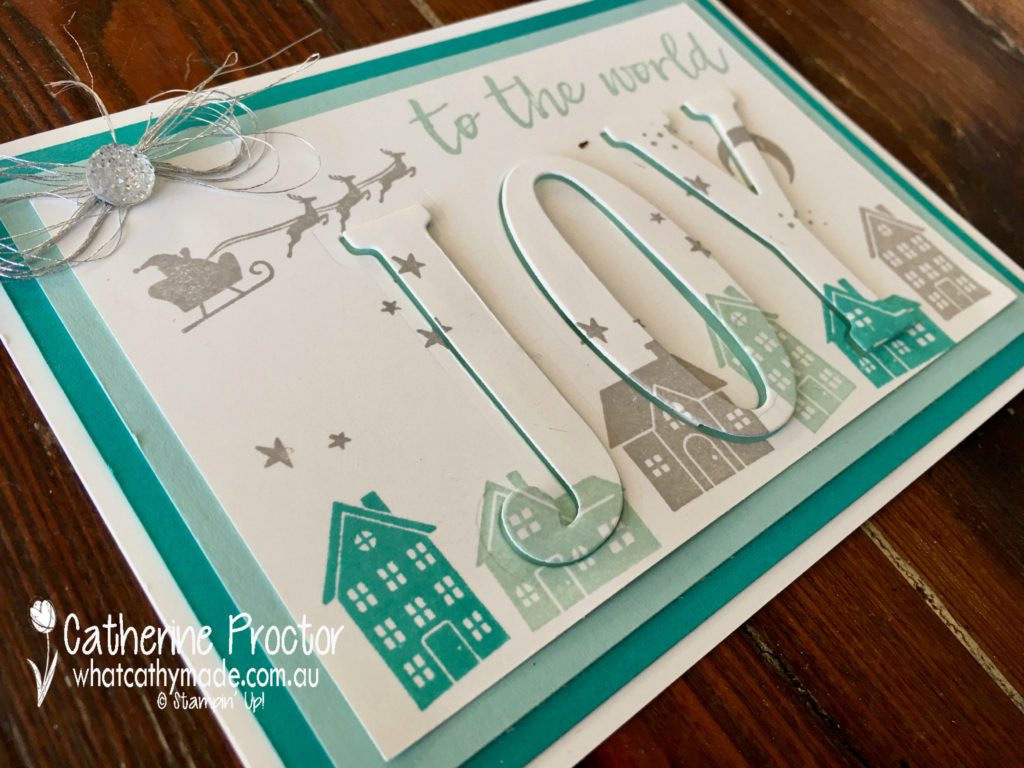
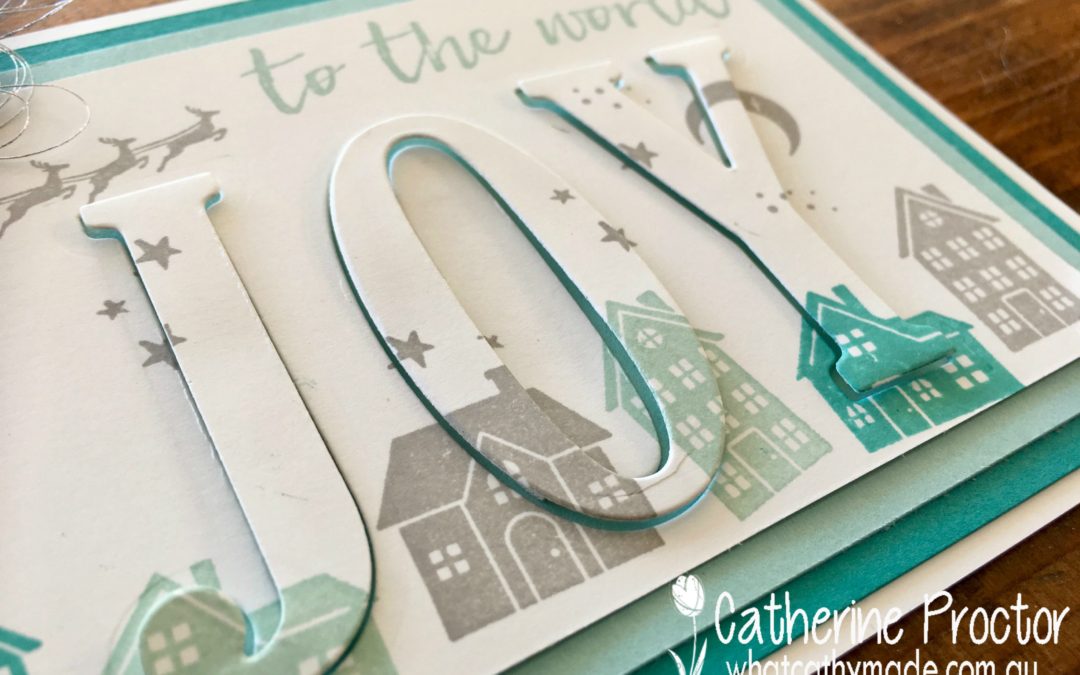
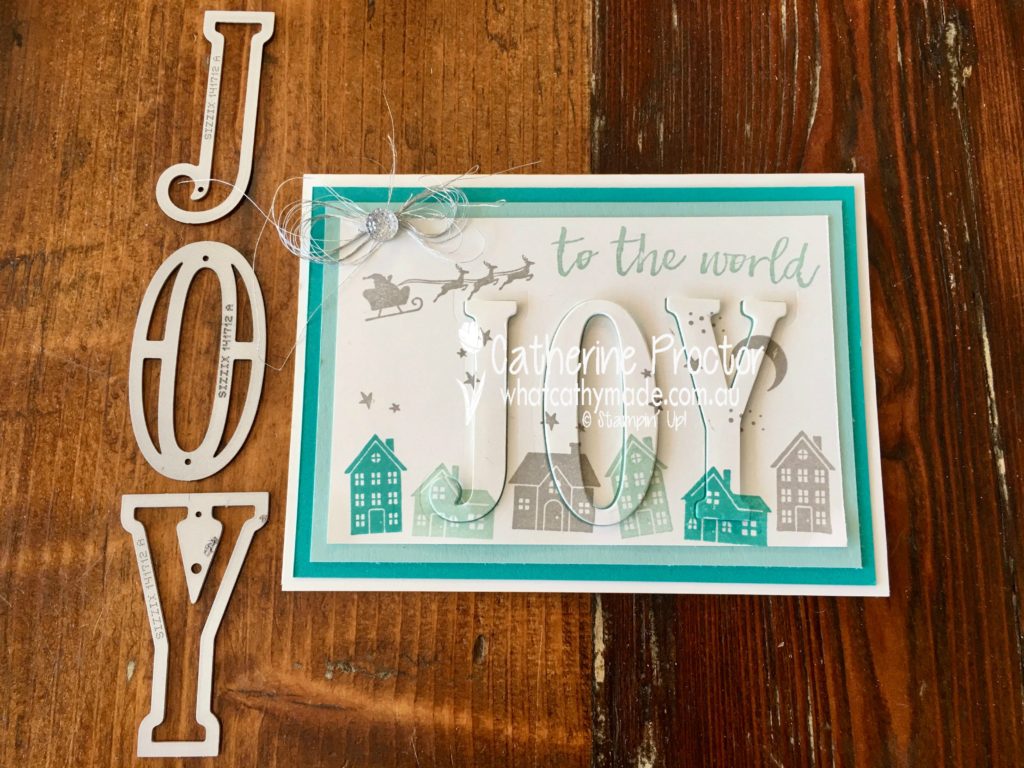
If you’ve never made an eclipse card before, you simply die cut your word with the large letter dies, but before you remove your die cut letters you stamp over them. When you’re done you lift up the letters and then adhere them with dimensionals so you can see the shadow of the coloured card stock below. I just love the dimension this technique adds to the card.
On my first card I stamped and die cut some extra baubles from the Carols of Christmas Stamp set and adhered them on top of the eclipse letters for added dimension. A tiny bow made out of the red tinsel trim completes the card.
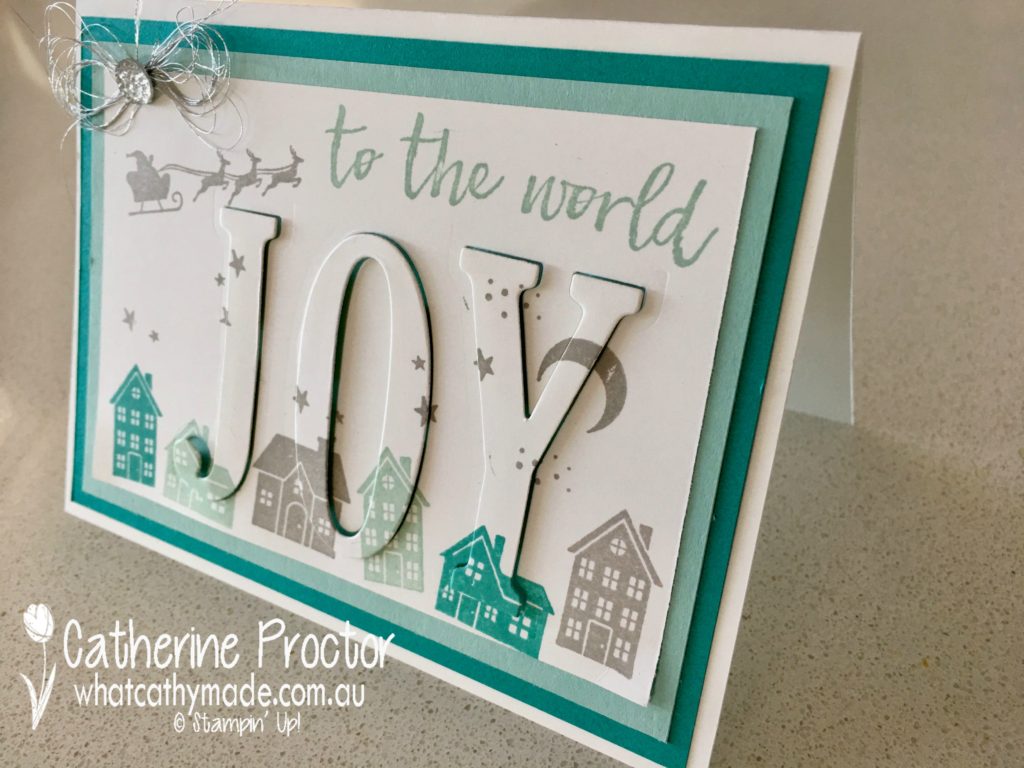
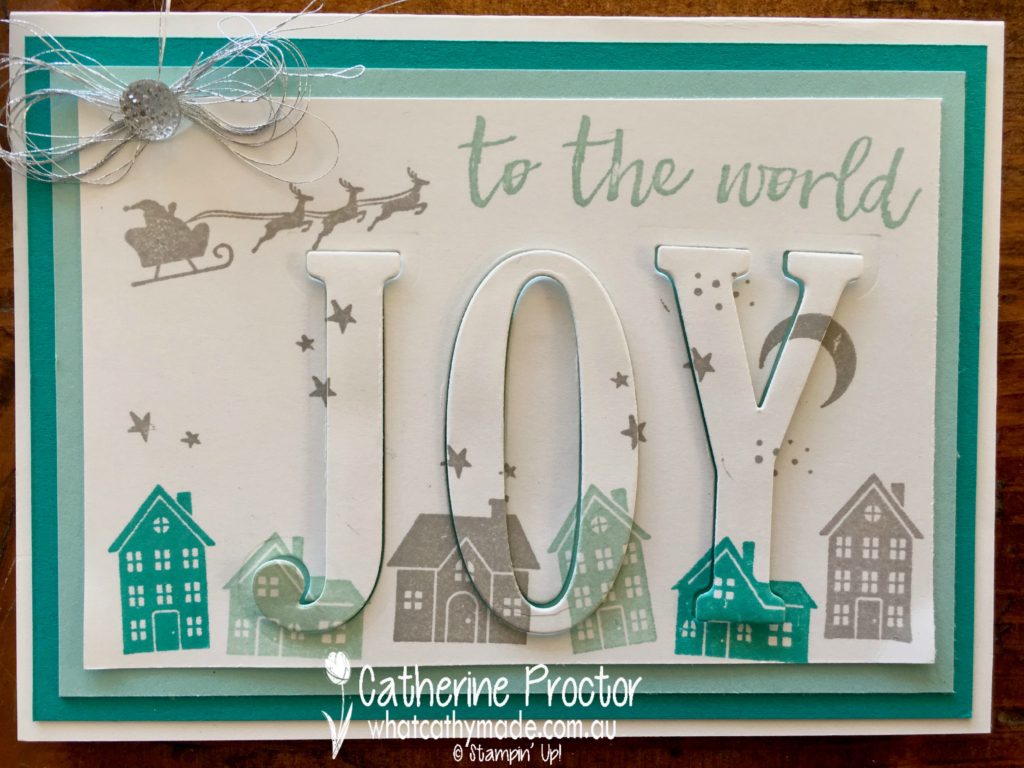
For my second card I went for a cooler palette, using pool party, Bermuda bay and smoky slate ink. I used the same technique I described for the first card, this time making the word joy with the large letter dies and using the Hearts Come Home stamp set.
To complete my second card I made a bow with the silver thread and adhered it to my card with a clear facetted gem.
I hope you’ve enjoyed my eclipse cards today and I’ll be back tomorrow with a fancy fold card for you.
To see what the other members of the Art with Heart team have made for you today, please go back to the very talented Claire Daly’s blog.
And to purchase any of the products I’ve used you can click on the links below.
Hello fellow crafters, it’s time for some weekly “Heart of Christmas” Christmas card inspiration with the Art with Heart Team.
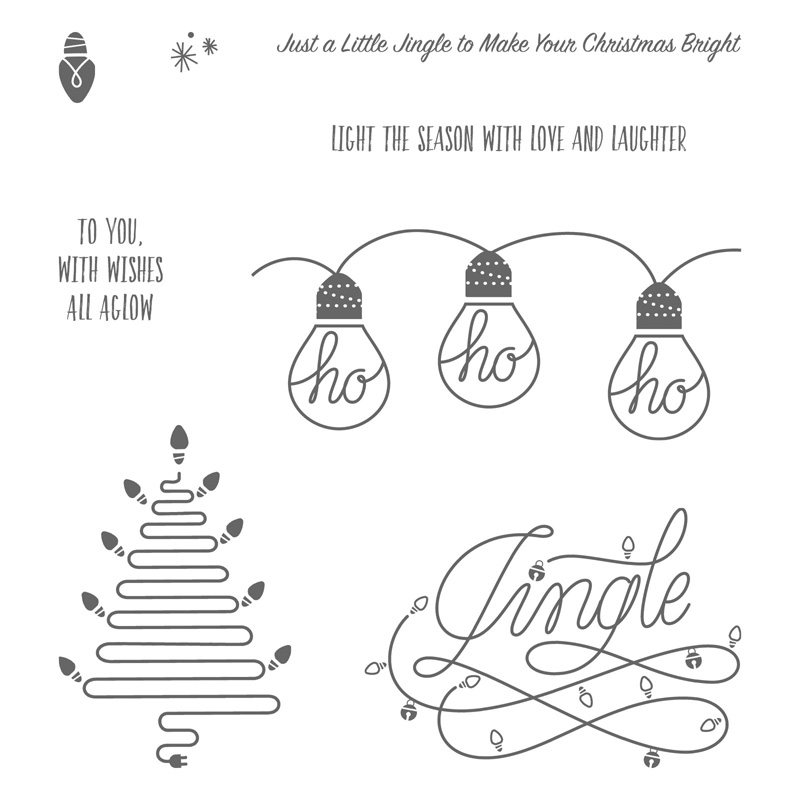
This week I decided to ink up a set from the new holiday catalogue called Wishes All Aglow.
I really love this stamp set because it’s playful and fun and I love stamps with images of Christmas lights and really any stamps with lights in general.
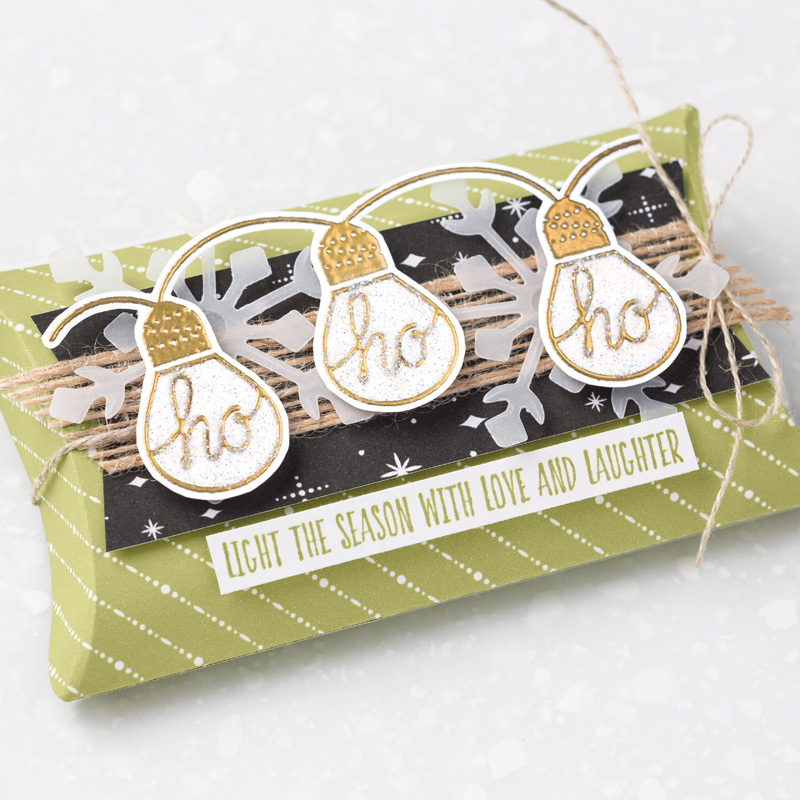
I took my inspiration from the holiday catalogue and here’s what they did with this set.
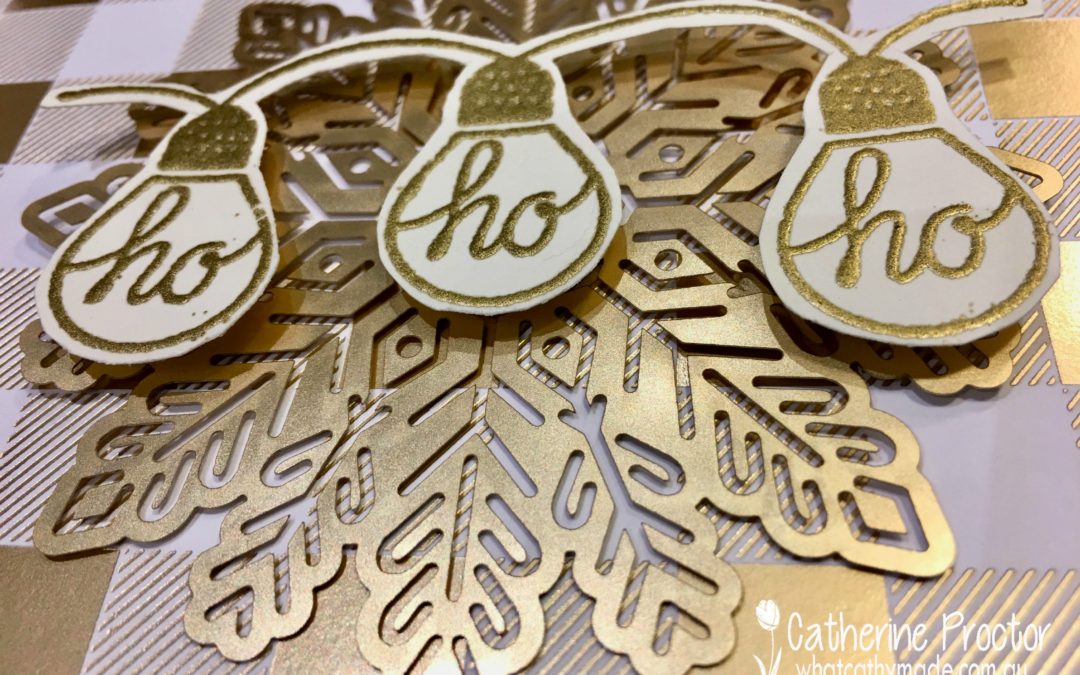
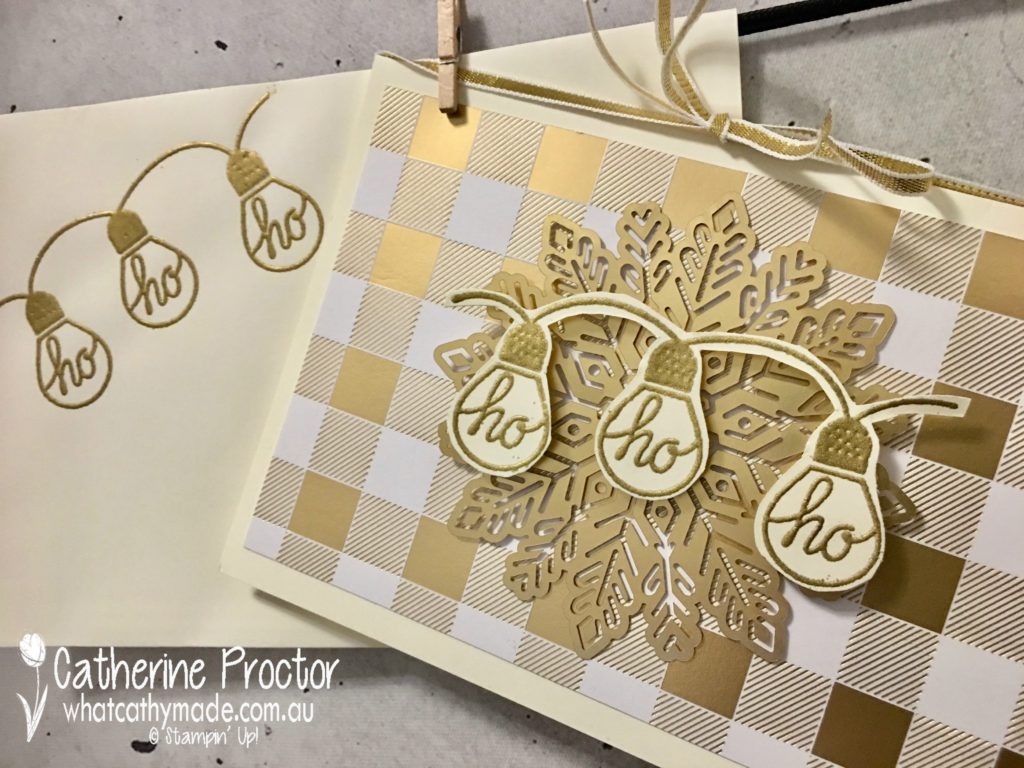
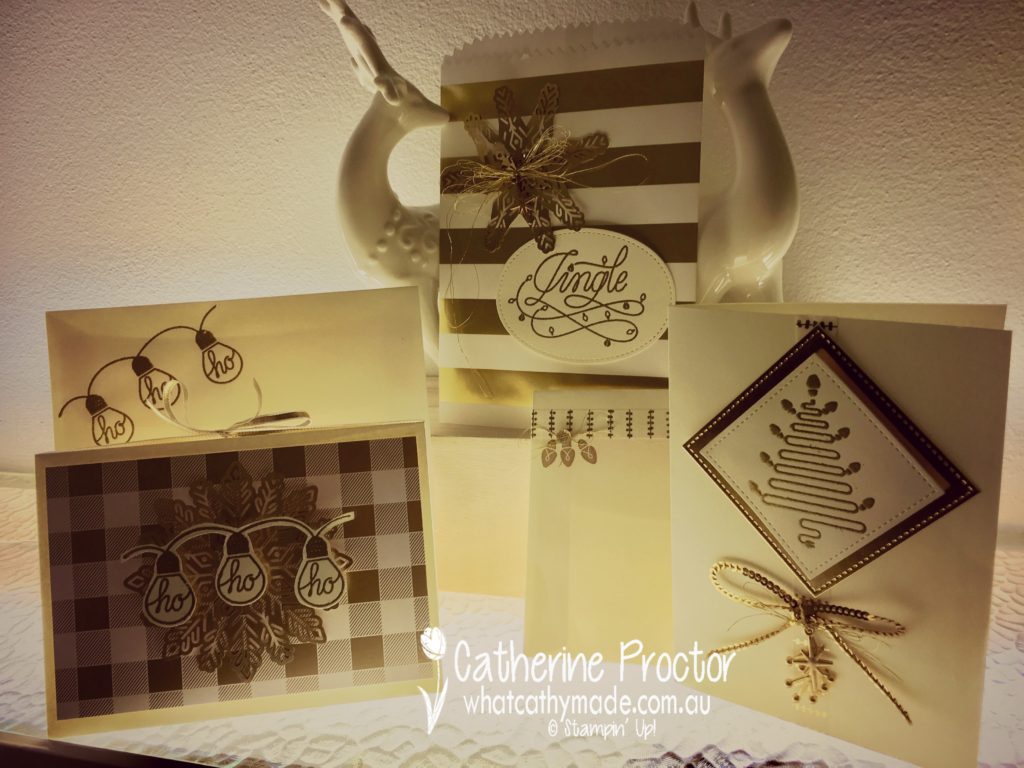
For my first card I decided to CASE the fussy cut “ho ho ho” but keep my card to a tighter colour scheme of very vanilla, white and gold. I also decorated a matching envelope to go with the card. The fussy cut stamp is mounted on a gold foil snowflake, which in turn is mounted on some of the Year of Cheer DSP.
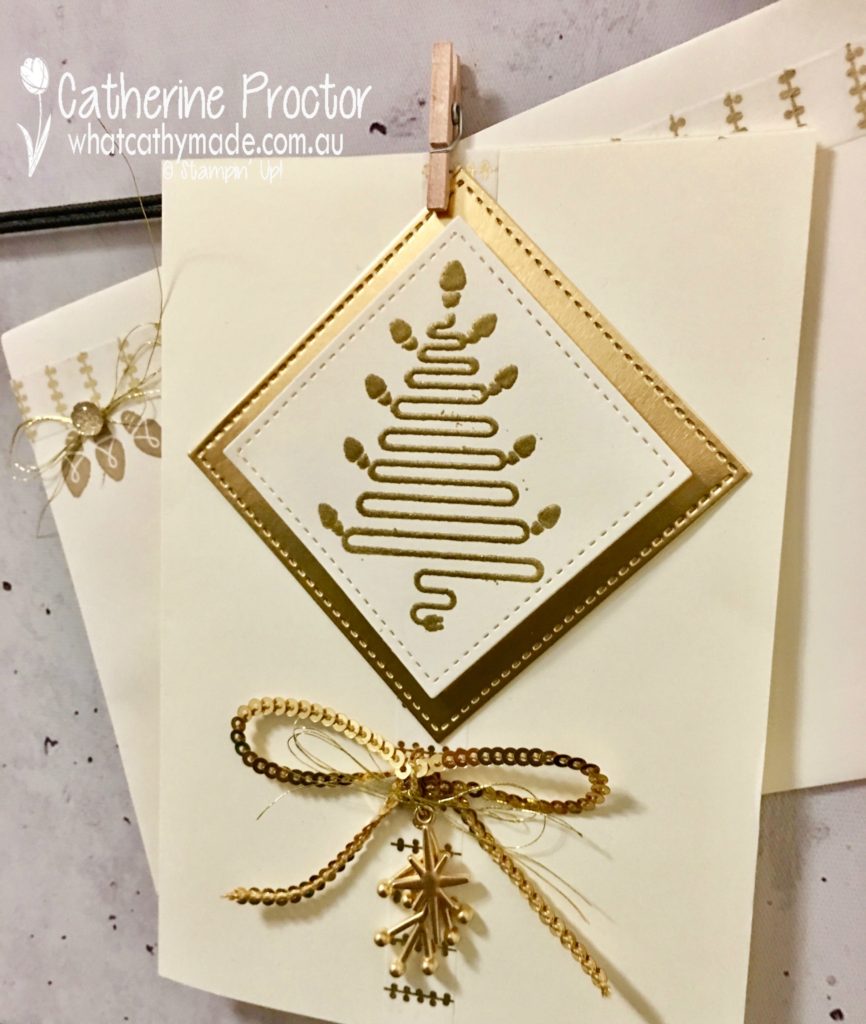
For my second card I kept to the gold vanilla and white theme but inked up different stamps from this set. I also used some of the Year of cheer washi tape and again decorated a matching envelope.
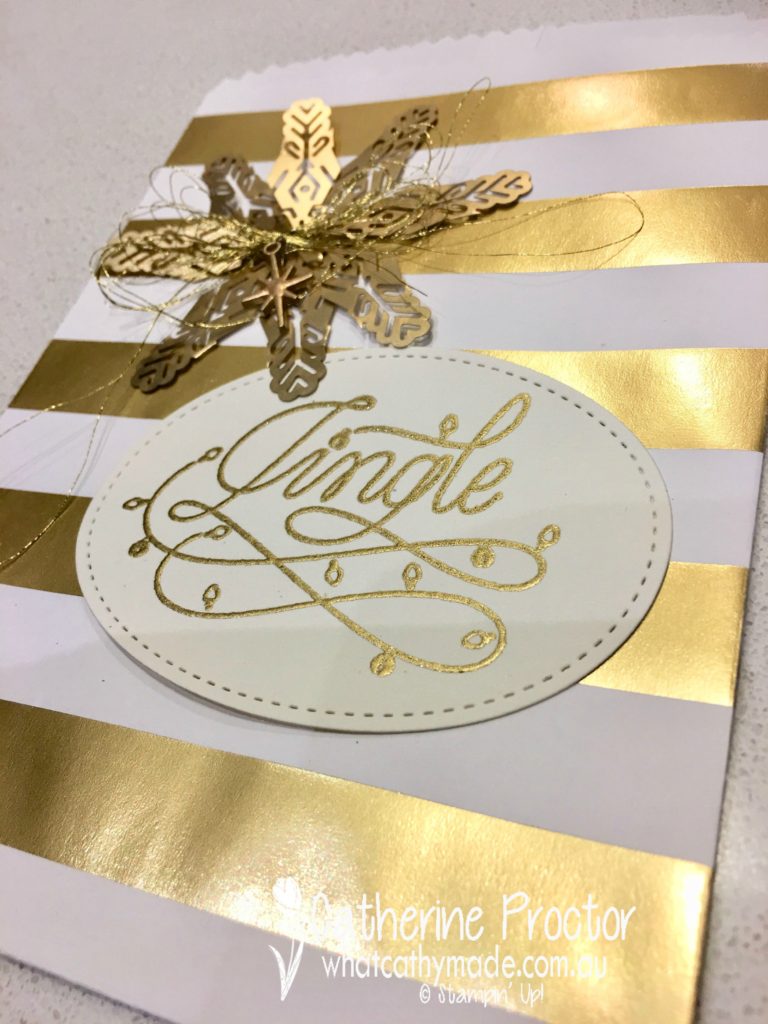
Finally I inked up the jingle stamp from the set and instead of making another card I decided to make a quick and easy treat bag to go with the cards, using the gold striped treat bags. I also used the leftover part of my foil snowflake from the card I made last week to decorate the bag. These foil snowflakes are so easy to cut up to use in different ways.
I used versamark ink, gold embossing power and my heat tool to achieve the gold stamped images and I love how the gold ties in the Wishes All Aglow Set with the beautiful products from the Year of Cheer suite.
To see the lovely projects the other members of the team have made this week hop back to Tina Gillespie’s blog.
To get your free copy of the new holiday catalogue, contact me here.
Or to purchase any of the products I’ve used in my cards, click on the links below.
Thanks for stopping by and I’ll be back with more holiday inspiration next week.




 .
.


 If you’ve never made an eclipse card before, you simply die cut your word with the large letter dies, but before you remove your die cut letters you stamp over them. When you’re done you lift up the letters and then adhere them with dimensionals so you can see the shadow of the coloured card stock below. I just love the dimension this technique adds to the card.