Welcome to week fifteen of our 2020-2021 Art With Heart Colour Creations Showcase.
Each week various members of our Art With Heart Colour Creations team will be bringing you weekly colour inspiration as we showcase our range of over 50 beautiful Stampin’ Up! colours in alphabetical order.
Week 15 – Early Espresso
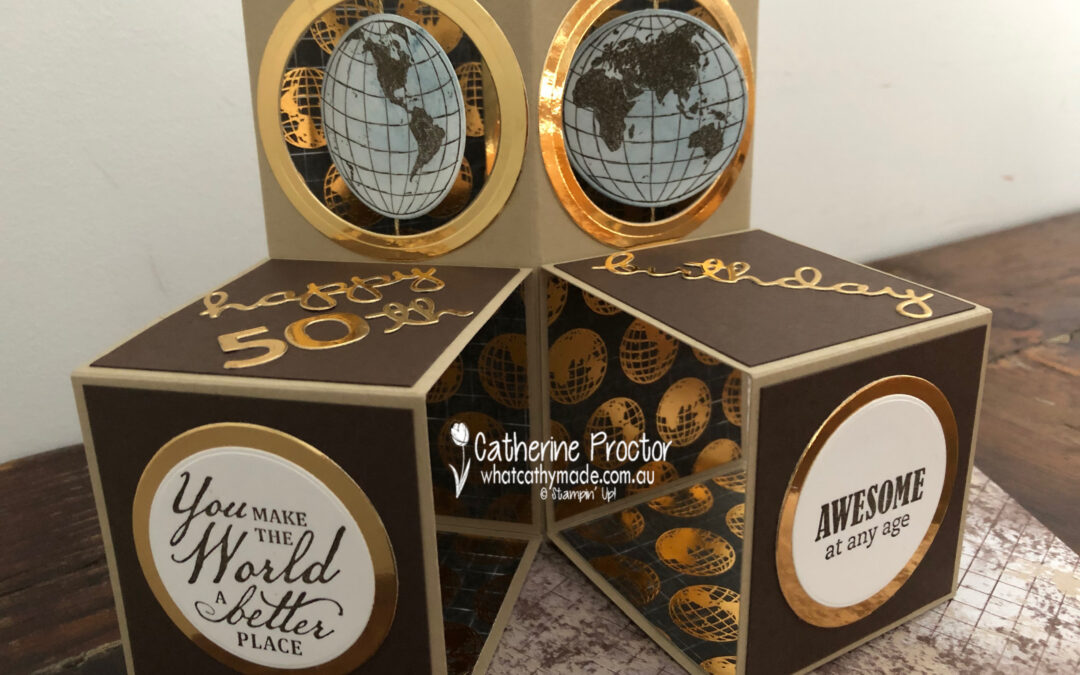
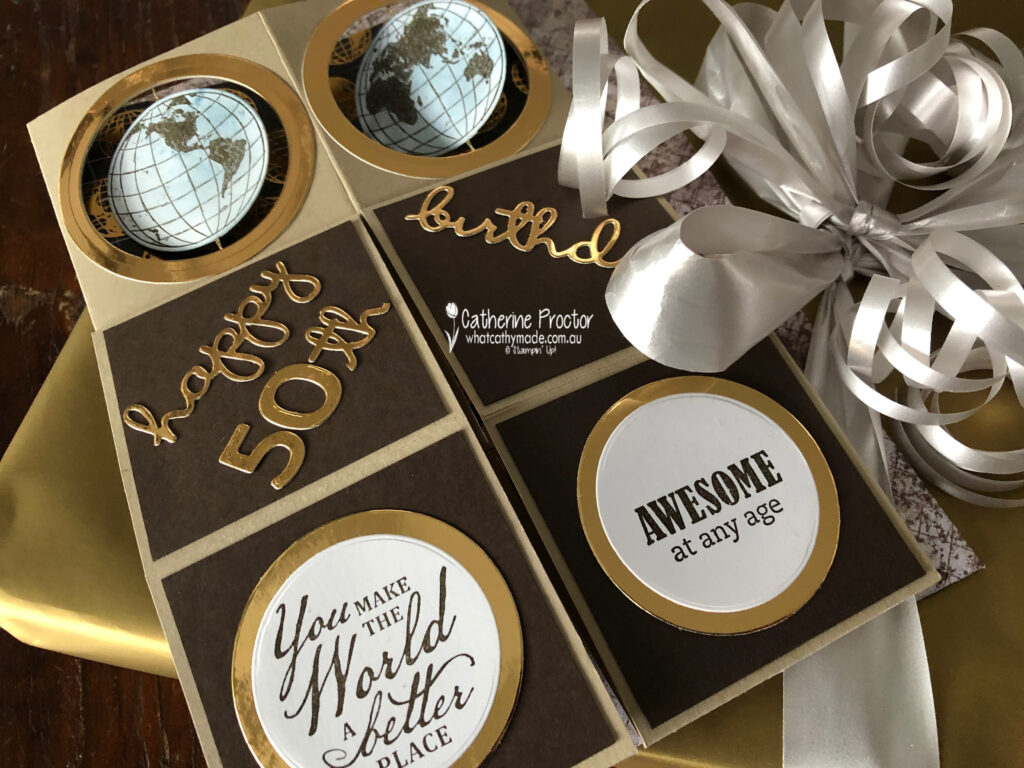
I actually made this special card in July for my brother’s 50th birthday but I waited until tonight to share it with you because it features the rich dark chocolate brown of Early Espresso…a colour that is just perfect for male cards.
I love using Early Espresso with other neutral colours and especially with foils – Early Espresso really makes foils pop. For my card today I’ve paired Early Espresso with Crumb Cake, Brass Foil, Whisper White and just a touch of Misty Moonlight.
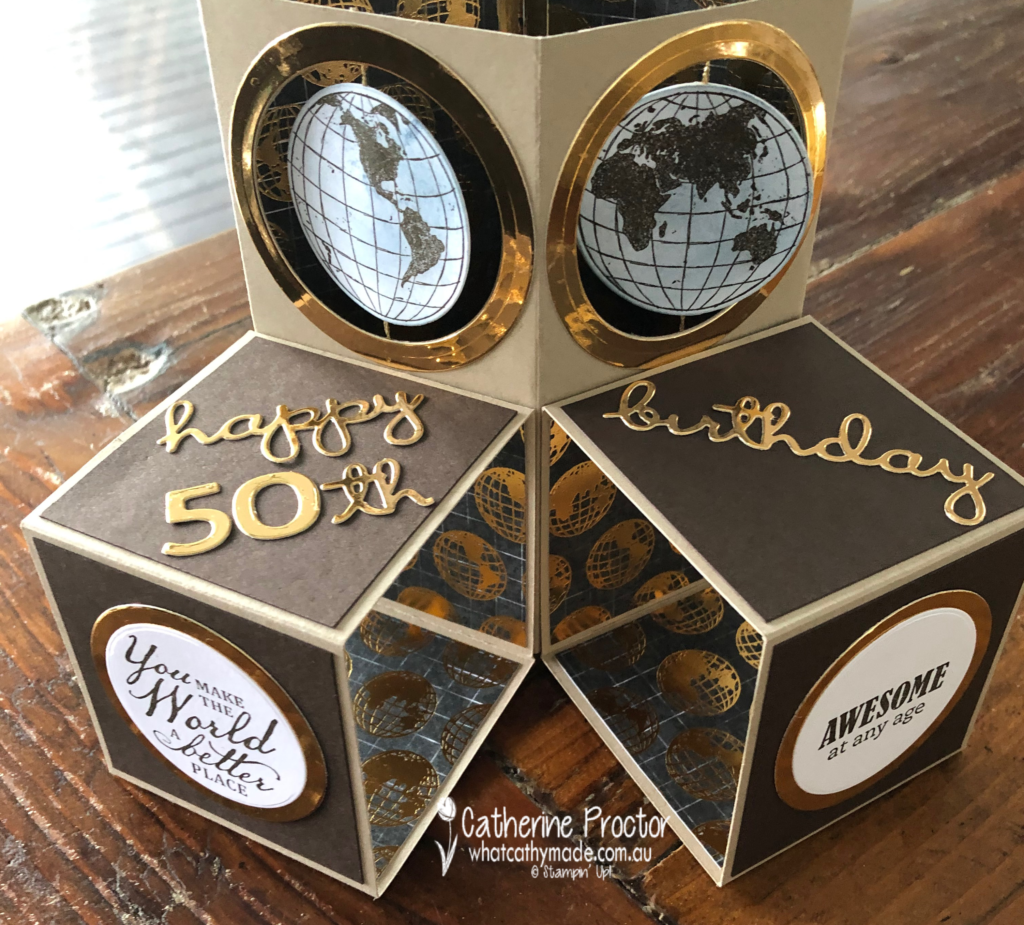
I wanted to make a birthday card that moved for my brother because he used to be an engineer but I couldn’t find a pattern for a combined spinner and triple cube card so I designed one myself.
This 30 second video shows you how my double spinner triple cube pop-up card goes from lying flat in an envelope to popping up with spinning globes – it’s such a cool card to make if you love cards that move, like I do!
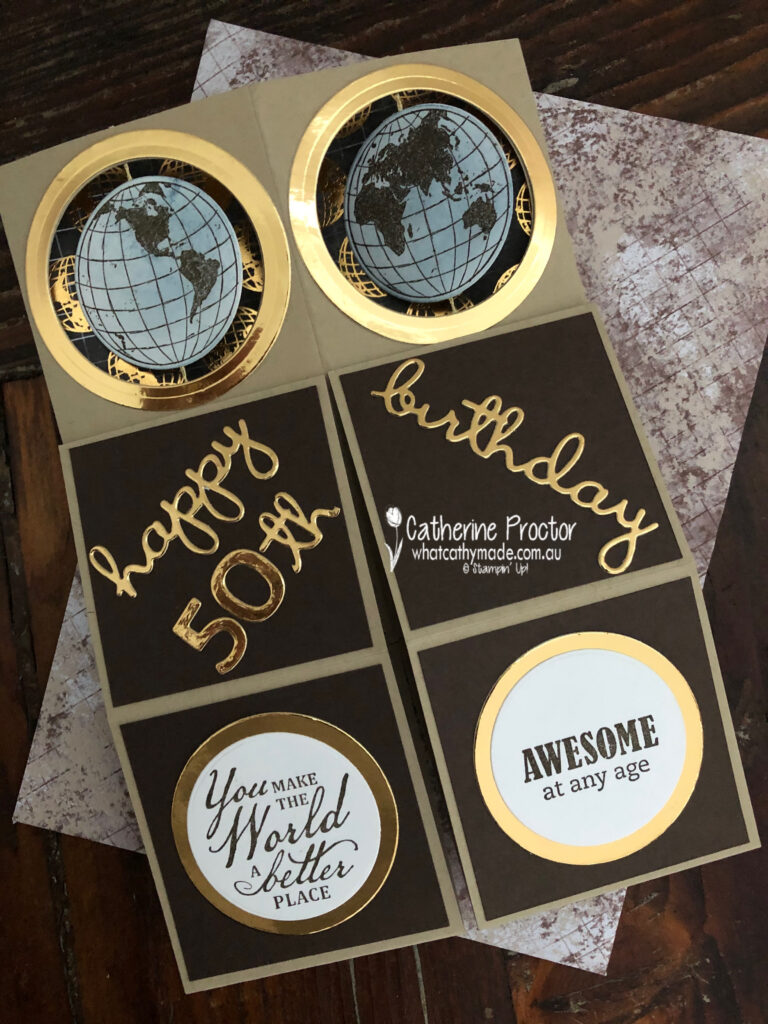
Here’s a close up of what the double spinner triple cube pop-up card looks like lying flat to slip inside an envelope.
And here’s how to make the card.
Triple Cube Instructions
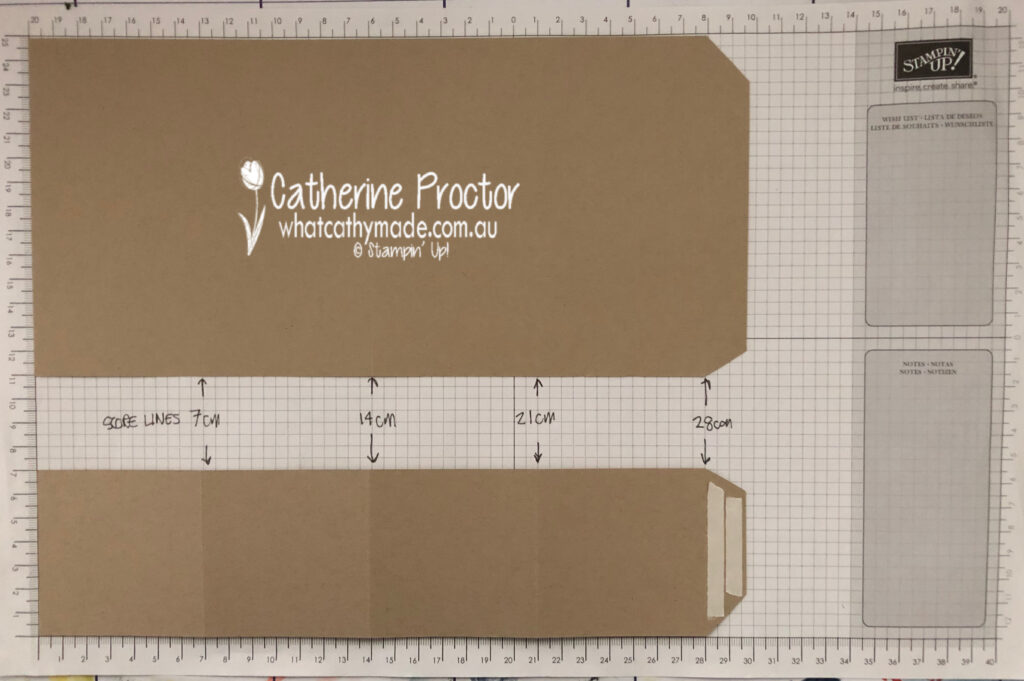
Use your trimmer to score an A4 piece of Crumb Cake card stock at 7cm, 14cm, 21cm and 28cm and then cut across the A4 sheet at 7cm along the 21cm side as shown in photo above.
Trim another A4 piece of Crumb Cake card stock at 7cm x 29.7cm and score at 7cm, 14cm, 21cm and 28cm (this piece is identical to the smaller rectangle in the photo above).
You will now have one larger 14cm x 29.7cm rectangle and two smaller 7cm x 29.7cm pieces. Bevel the side flap of all three rectangle pieces and adhere Tear & Tape to the beveled edges.
Double Spinner Instructions
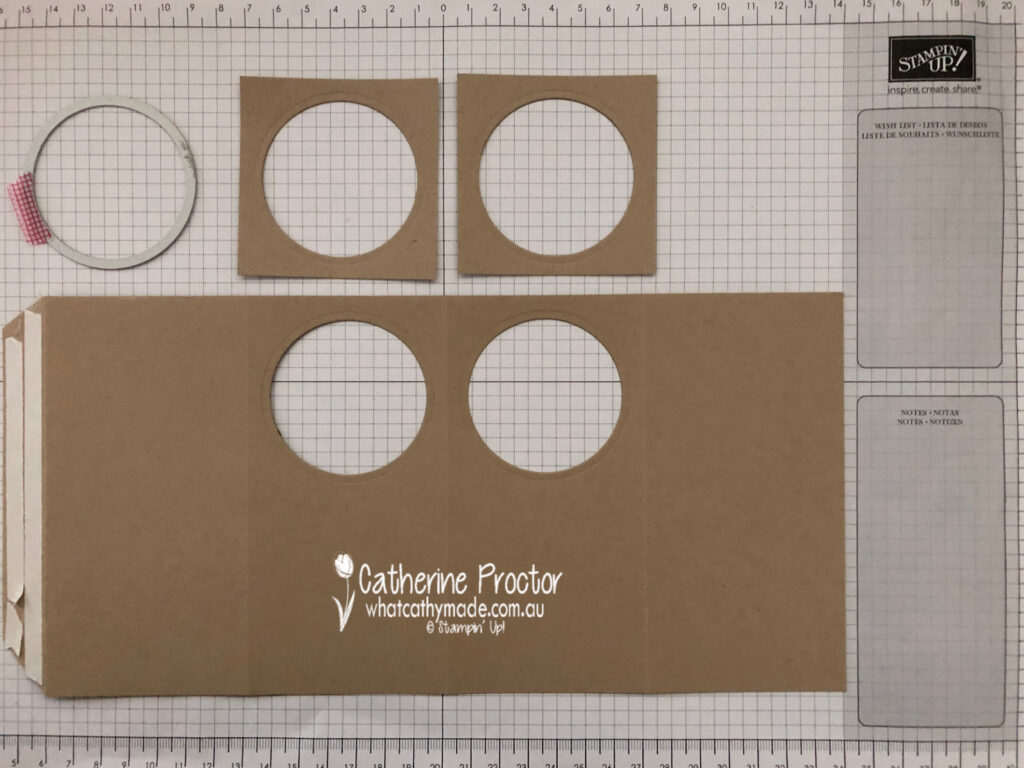
Create the holes for the two spinner mechanisms by cutting two 7x7cm squares of Crumb Cake card stock and laying them over the top of the two centre panels of the largest rectangle. Use a layering circle die in the centre of the 7cm square pieces to cut through both layers of card stock.
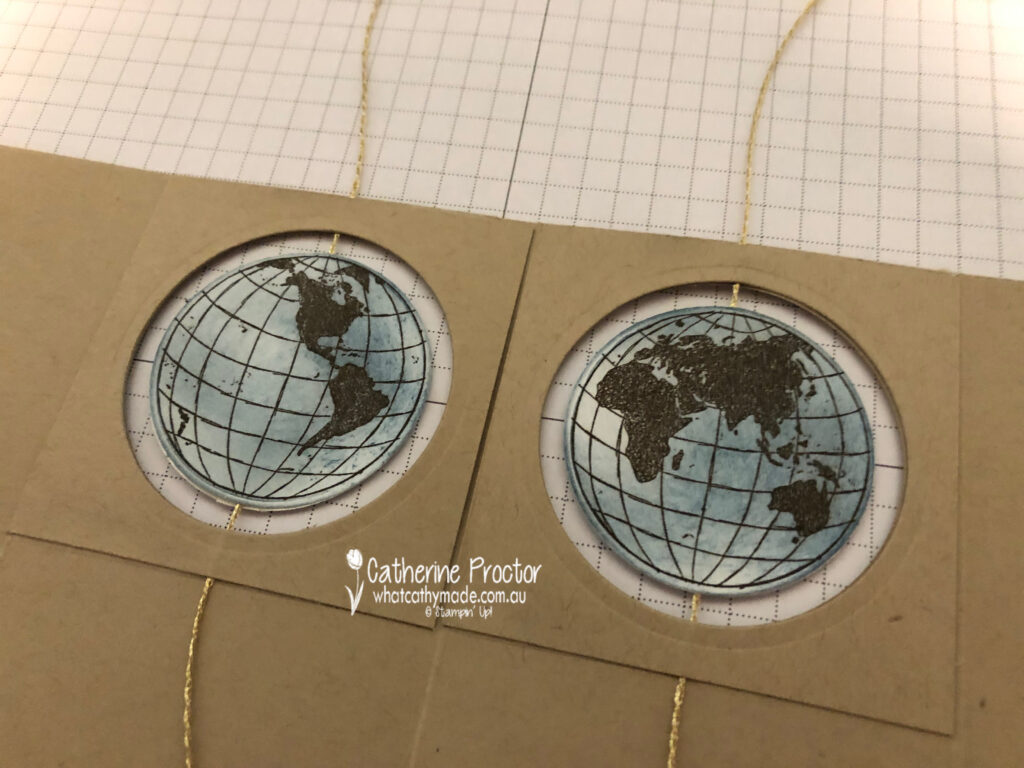
Stamp four globes in Early Espresso onto Whisper White card stock – two of each side of the world. Die cut these four globe pieces with the matching circle die. Use a sponge dauber to gently shade some Misty Moonlight ink onto the globes.
Carefully lay a strip of Tear & Tape from the north pole to the south pole on two of the globes and lay a piece of gold trim (from the Forever Greenery trim pack) along the Tear & Tape. Glue the other side of the globe together – you will now have two complete double-sided globes.
Align the globes onto the card base and glue the 7x7cm square of Crumb Cake to the inside of the card base to hold the spinner globes in place as shown in the photo below. Cut off the excess gold trim.
Double Spinner Triple Cube Pop-up Card Assembly and Decoration
Fold the large cube card base and the two smaller cube bases, closing them into cube shapes by removing the Tear & Tape to adhere the sides of the cubes together.
Use multipurpose glue or Tear & Tape to attach the two smaller cubes to the bottom front of the larger spinner cube base as shown below.
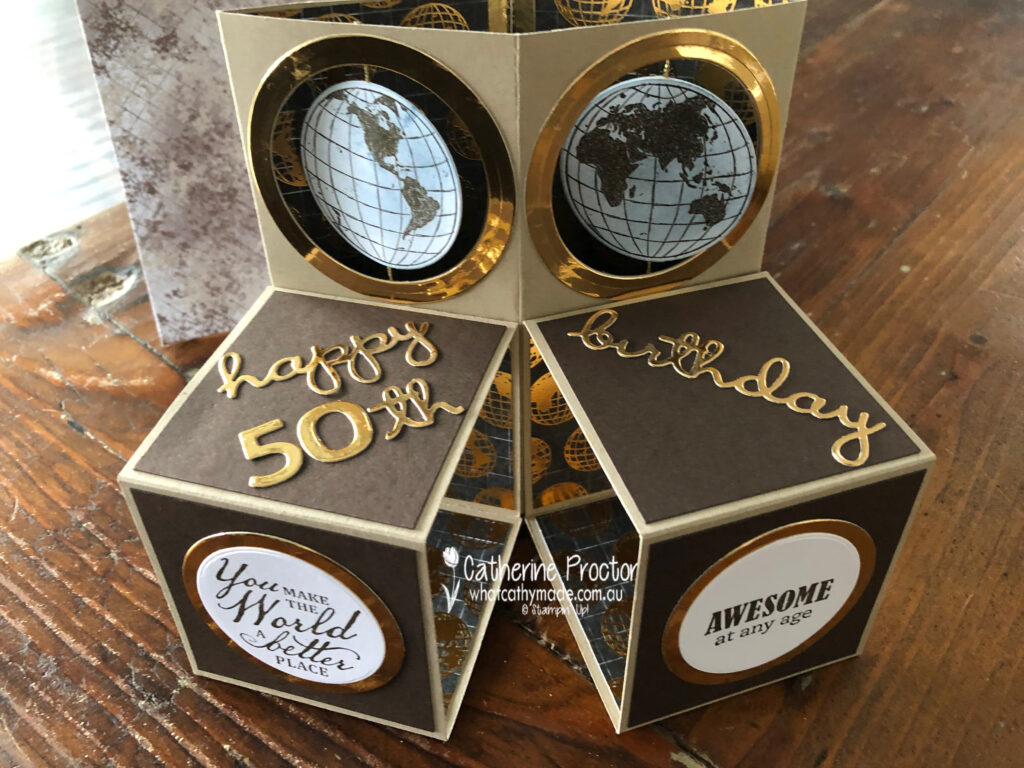
Die cut six 6.5 x 6.5cm squares of Early Espresso card stock and attach to the outer squares of the two smaller cubes. Decorate with sentiments of your choice – I’ve stamped my sentiments in Early Espresso onto Whisper White card stock.
Other decorations on the spinner cube include brass foil circles die cut using the layering circle dies, squares of the World of Good DSP and “Happy 50th birthday” greeting die cut from brass foil with the Well Written dies and the Playful Alphabet Dies.
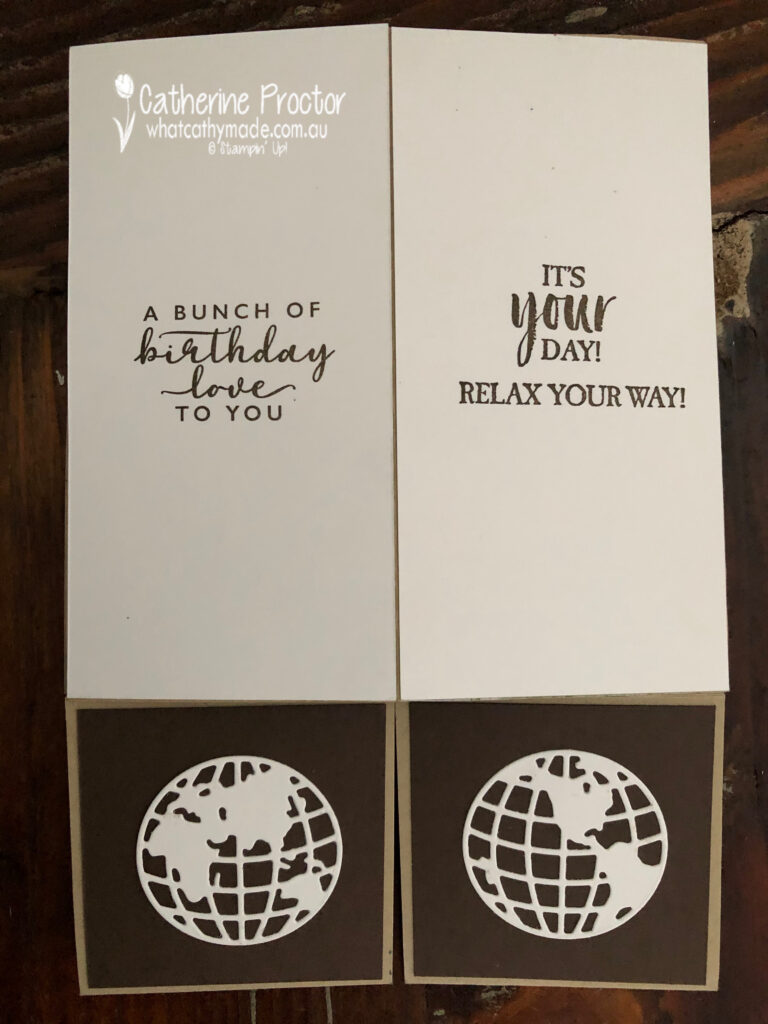
The back side of my card has Whisper White panels to write a message on and more globes die cut using the World Map dies.
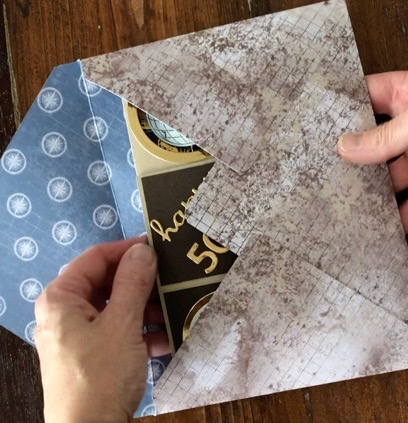
Finally, I used another sheet of the World of Good DSP to make a simple co-ordinating envelope.
I can’t wait to see what the rest of the Art With Heart team have created with Early Espresso today. Click on the links below to see what they’ve made.
Next Wednesday we’ll be showcasing one of the Brights family: Flirty Flamingo. We hope you can join us all then.
To purchase any of the products featured in today’s post, simply contact your Stampin’ Up! demonstrator, any of the ladies in the AWH Colour Creations Showcase or click on the product links below.
If you’d like me to post you your very own copy of the August – December 2020 Mini Catalogue, the 2020-21 Stampin Up! Annual Catalogue, the 2020-21 Beginners Brochure, or to simply find out about more about Stampin’ Up! contact me.
In the meantime, wherever you are in the world, stay safe, stay calm…and keep on crafting xxx
Welcome to week fourteen of our 2020-2021 Art With Heart Colour Creations Showcase.
Each week various members of our Art With Heart Colour Creations team will be bringing you weekly colour inspiration as we showcase our range of over 50 beautiful Stampin’ Up! colours in alphabetical order.
Week 14 – Daffodil Delight
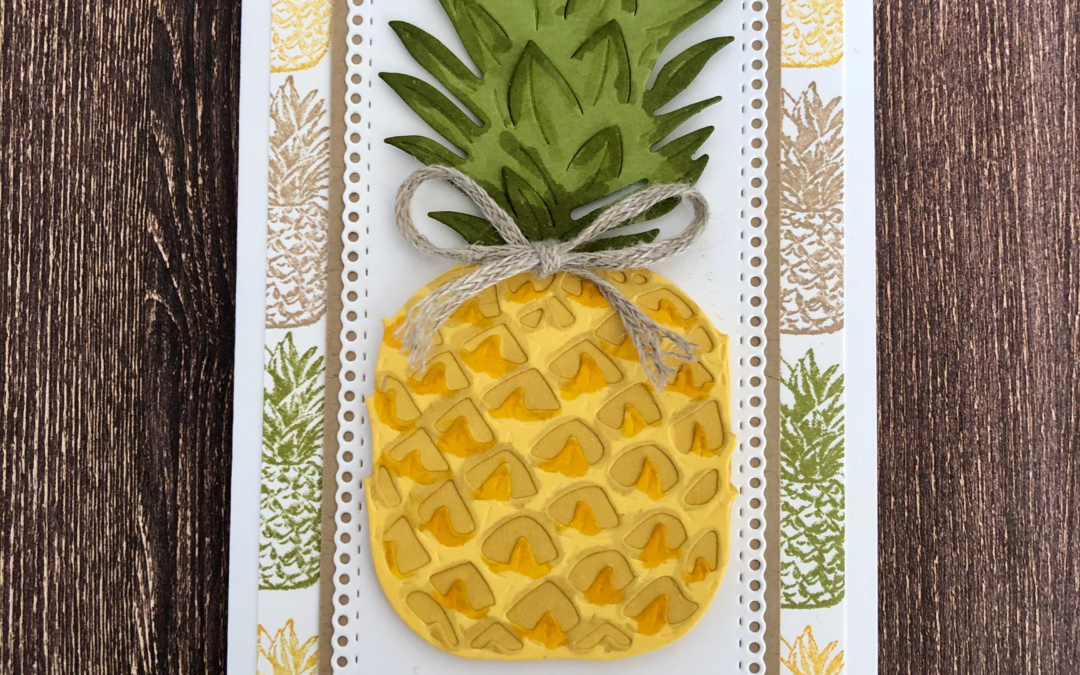
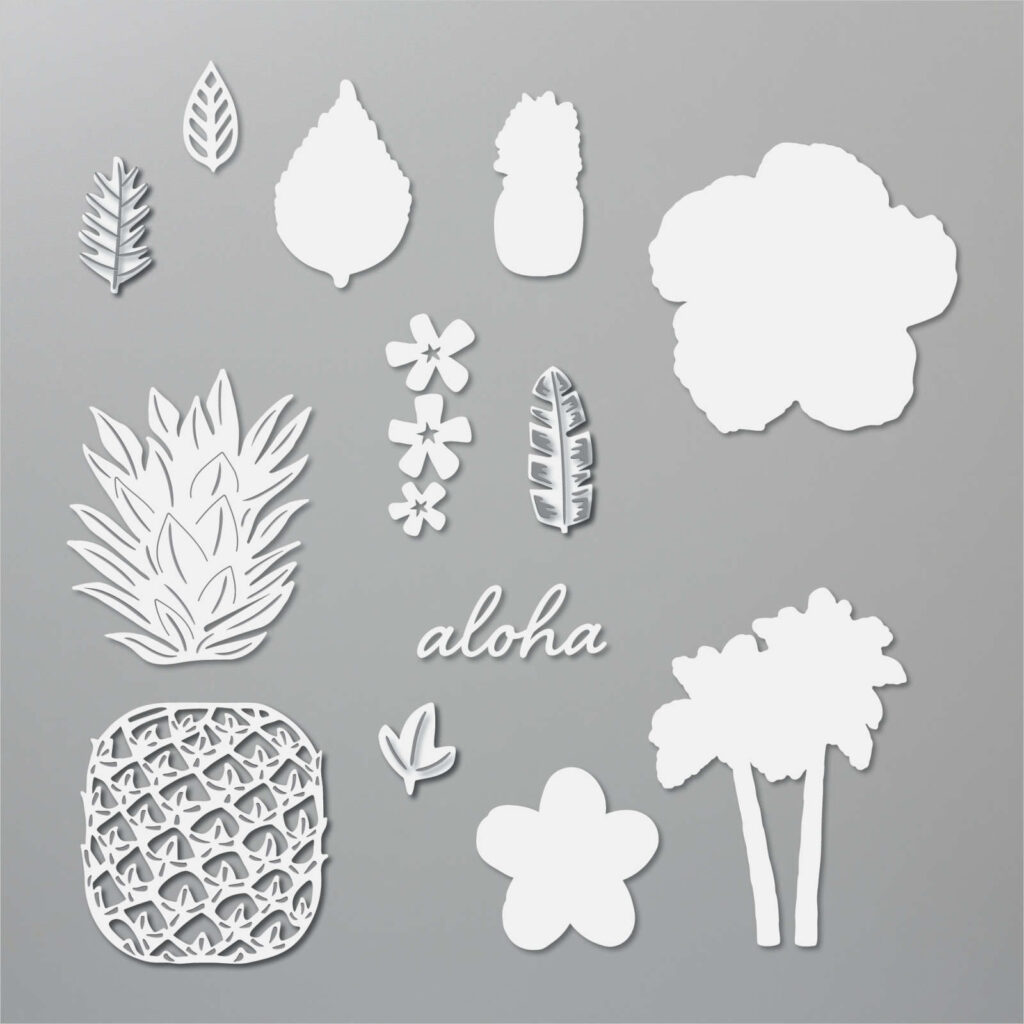
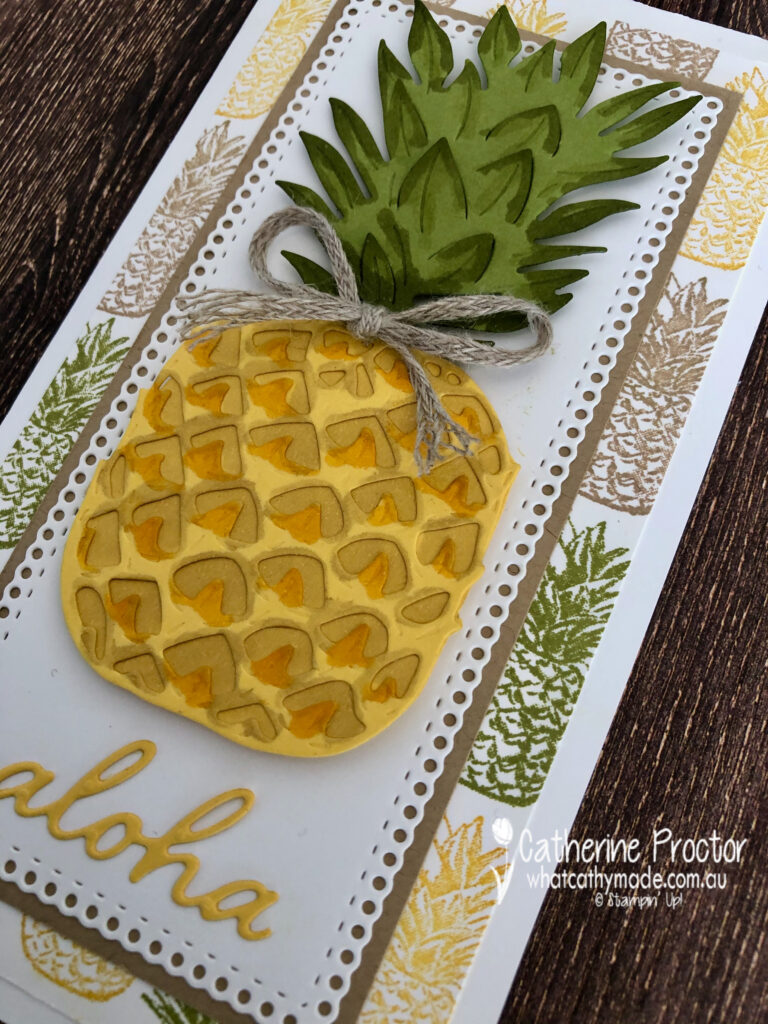
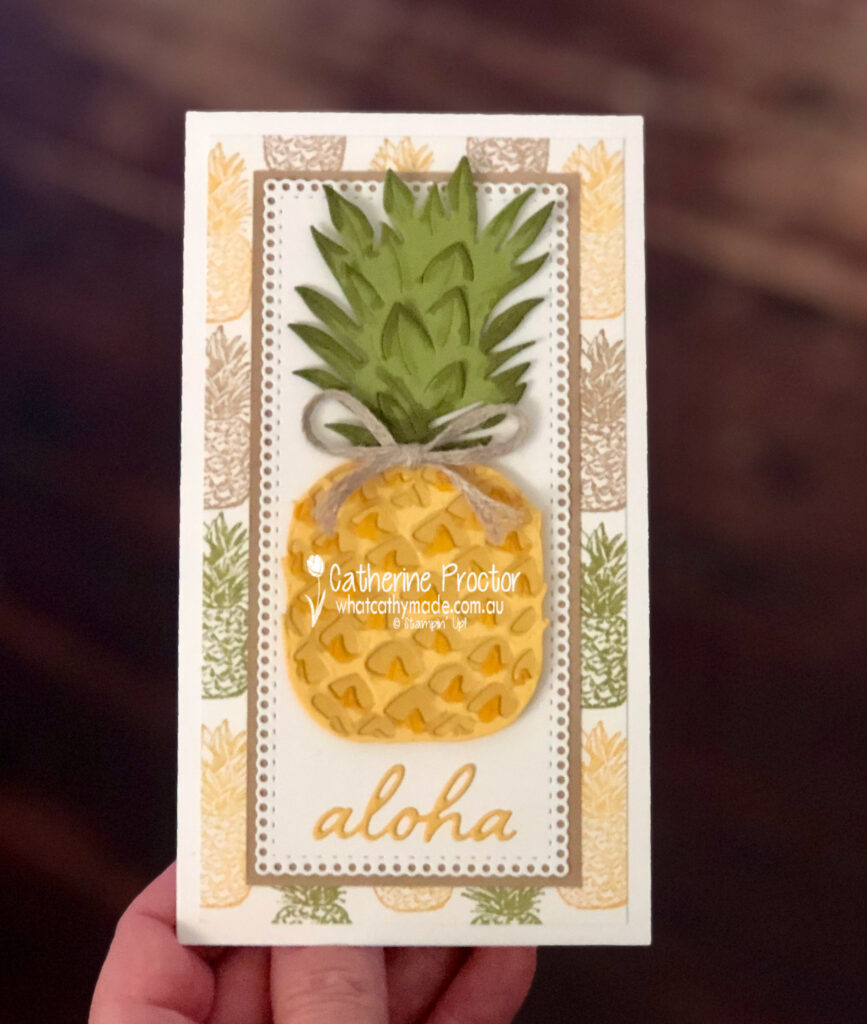
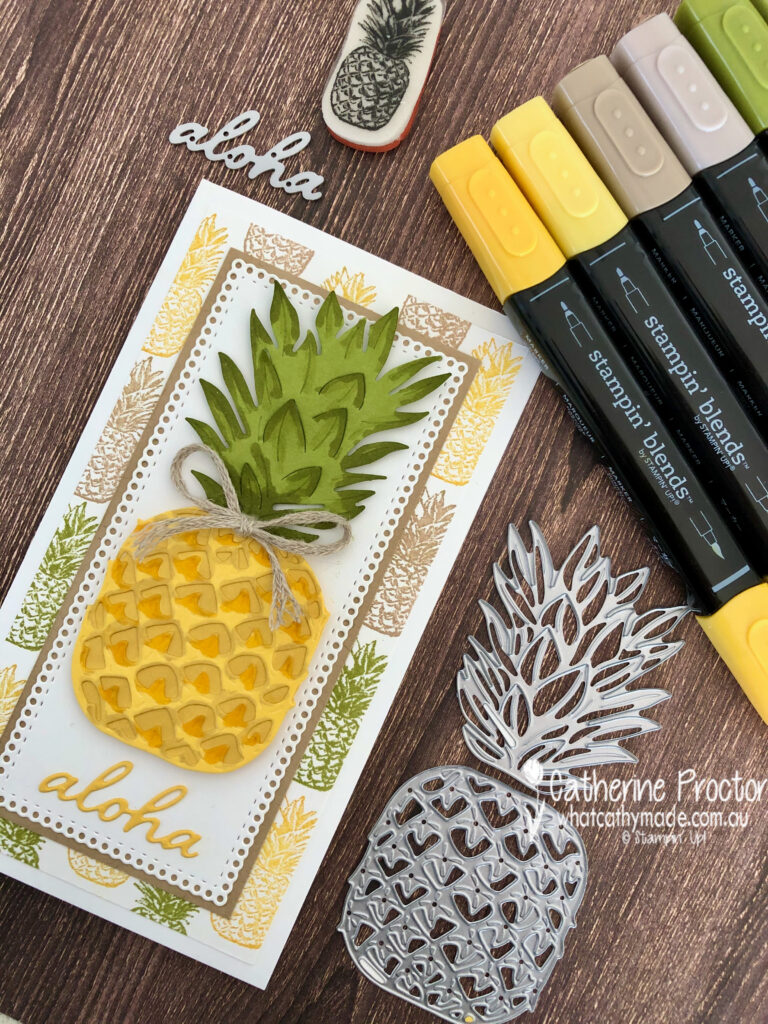
It’s the first week of spring here in Australia so I wanted to make a sunny, happy card using Daffodil Delight. And if there was ever a sunny happy stamp set that was begging to be inked up with Daffodil Delight it’s the Timeless Tropical stamp set with its co-ordinating In the Tropics dies.
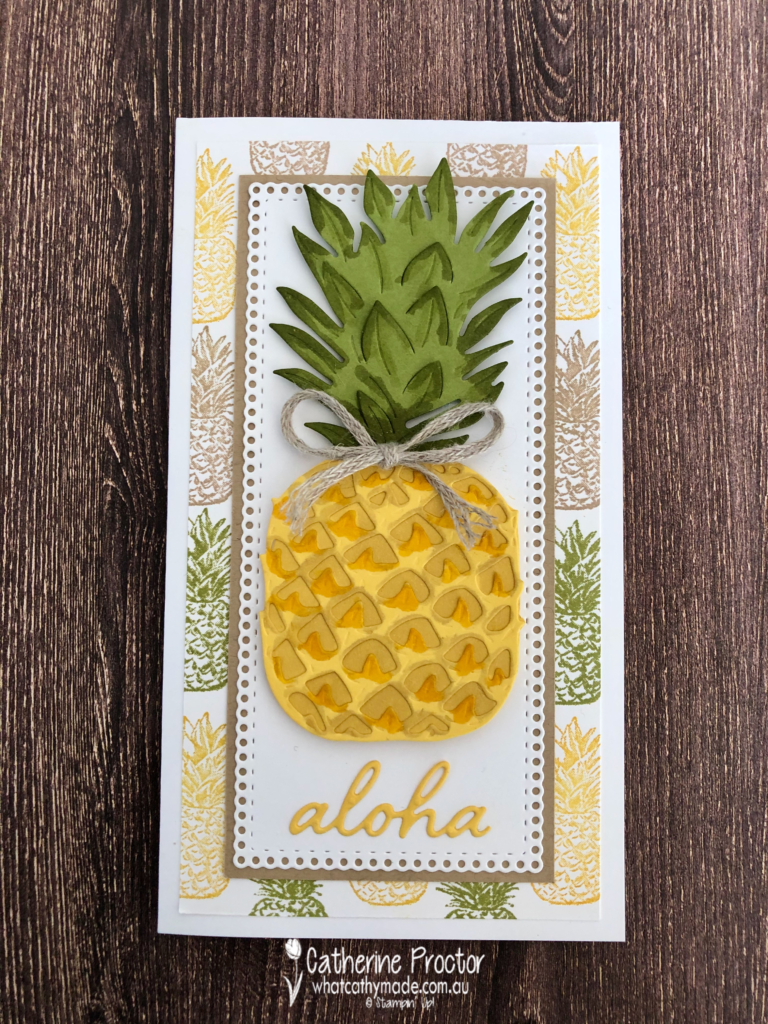
Originally I had intended to make a card by water colouring the hibiscus and the frangipani stamp set but when I opened my stamp I realised I had never used the the pineapple die and little pineapple stamp – and I knew they would look great in Daffodil Delight too.
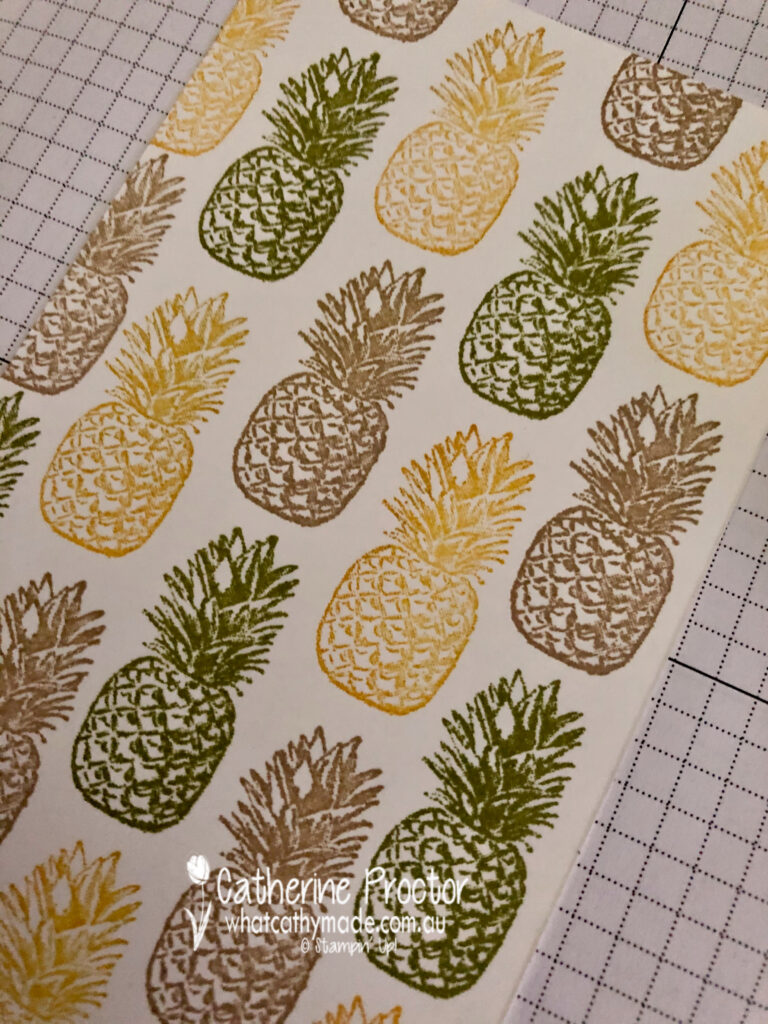
I began by creating a piece of homemade DSP for my background layer using Whisper White card stock.
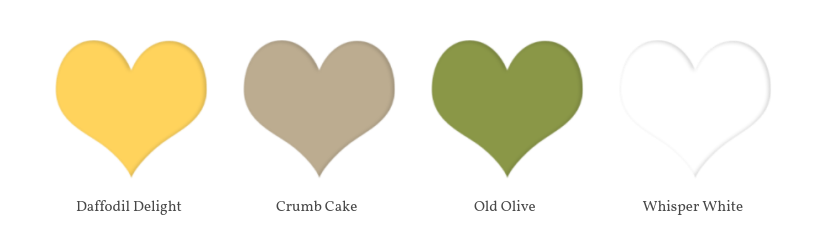
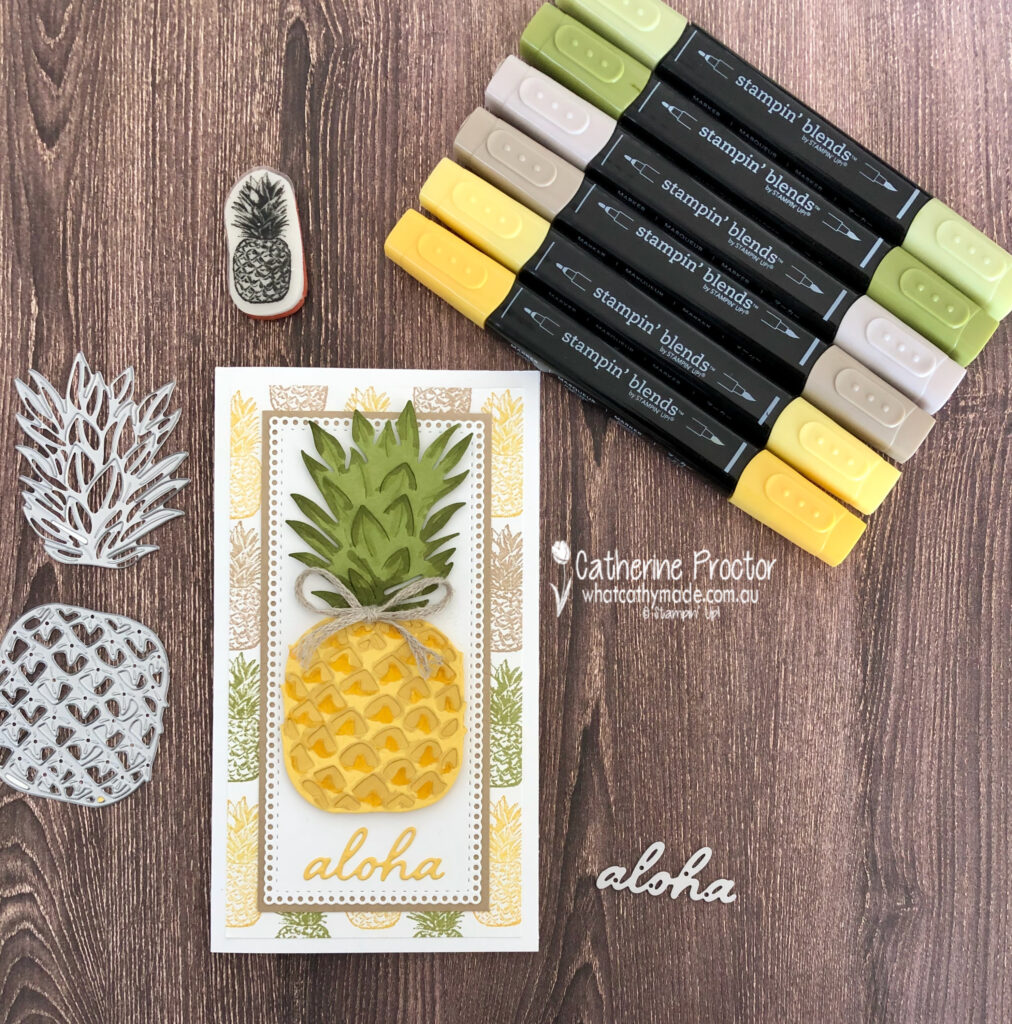
This homemade DSP was quick and easy to do using just the one small pineapple stamp inked up with the following colour combination: Daffodil Delight, Old Olive and Crumb Cake.
The body of the pineapple was created in two layers: die cutting the pineapple in Daffodil Delight card stock and then tracing around the outline of this pineapple die and fussing cutting the die shape out of another piece of Daffodil Delight card stock to layer under the die.
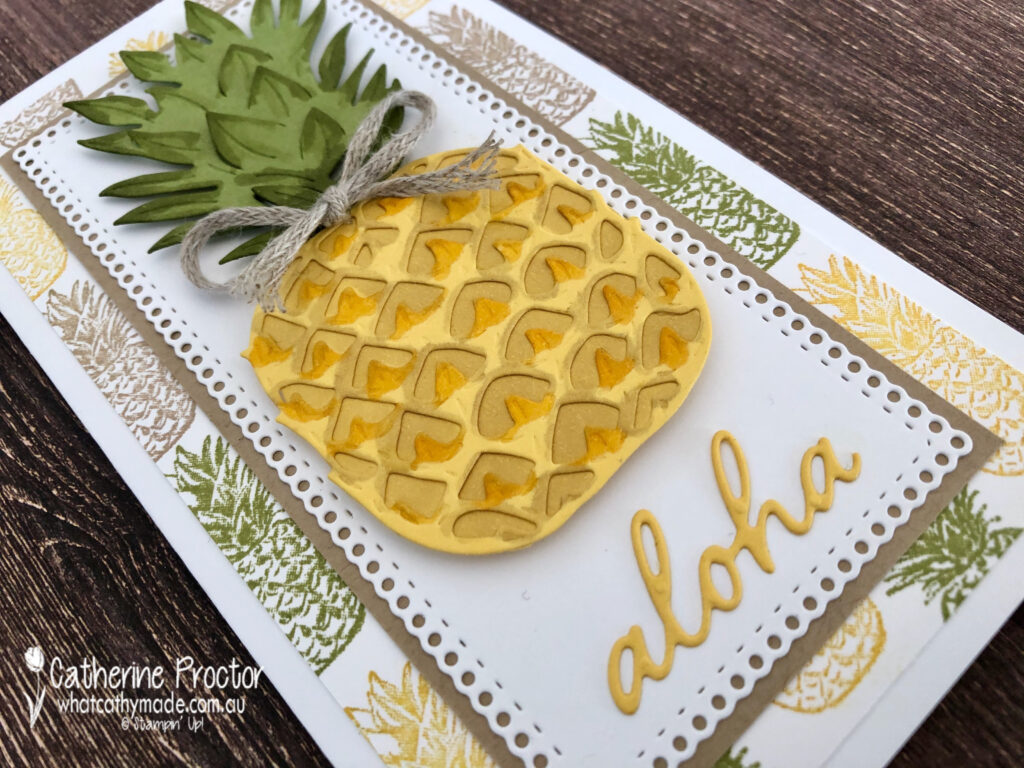
Having a second layer of Daffodil Delight card stock allowed me to use my Daffodil Delight and Crumb Cake Stampin’ Blends to colour inside the holes of the top layer pineapple die to highlight the “knobbly” bits on the pineapple.
Don’t you love the way this highlights the texture of the pineapple?
The leafy pineapple top was die cut from Old Olive card stock and I used my light and dark Old Olive Stampin’ Blends to add colour variation and texture to it as well.
The Whisper White card stock layer the pineapple is adhered to is die cut with a long rectangle die from the Ornate layers dies and it’s just perfect for the size of the pineapple.
Did you realise the In the Tropics dies include a gorgeous little “Aloha” greeting die? I’ve found the best way to cut and adhere this die is by first cutting a rectangle of card stock slightly larger than the Aloha die and then attaching this card stock to some adhesive sheet.
Once you die cut the Aloha sentiment the adhesive sheet helps keep the word straight, as well as providing the easiest way to adhere it to a card.
The final touch for my pineapple card is a simple bow made from Braided Linen Trim with the ends frayed.
I can’t wait to see what the rest of the Art With Heart team have created with Daffodil Delight today. Click on the links below to see what they’ve made.
If you’d like me to post you your very own copy of the August–December 2020 Mini Catalogue, 2020-21 Stampin Up! Annual Catalogue, the 2020-21 Beginners Brochure, or to simply find out about more about Stampin’ Up! contact me.
In the meantime, wherever you are in the world, stay safe, stay calm…and keep on crafting xxx
This week’s CASEing the Catty #CTC382 challenge is to case your favourite bundle from the 2020 August – December Mini Catalogue.
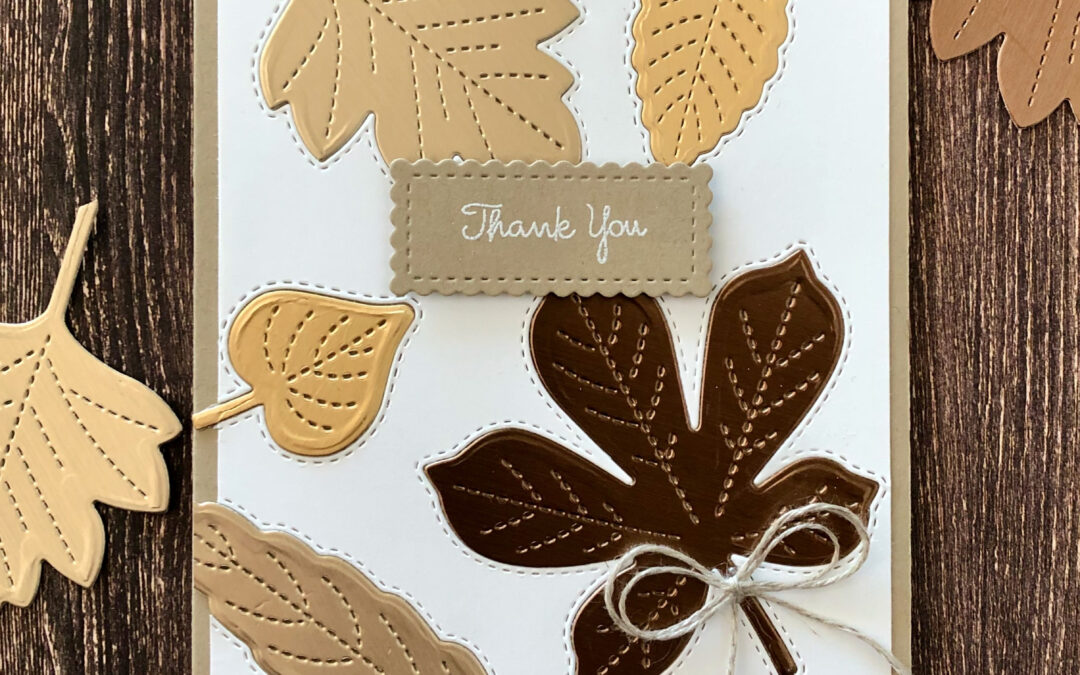
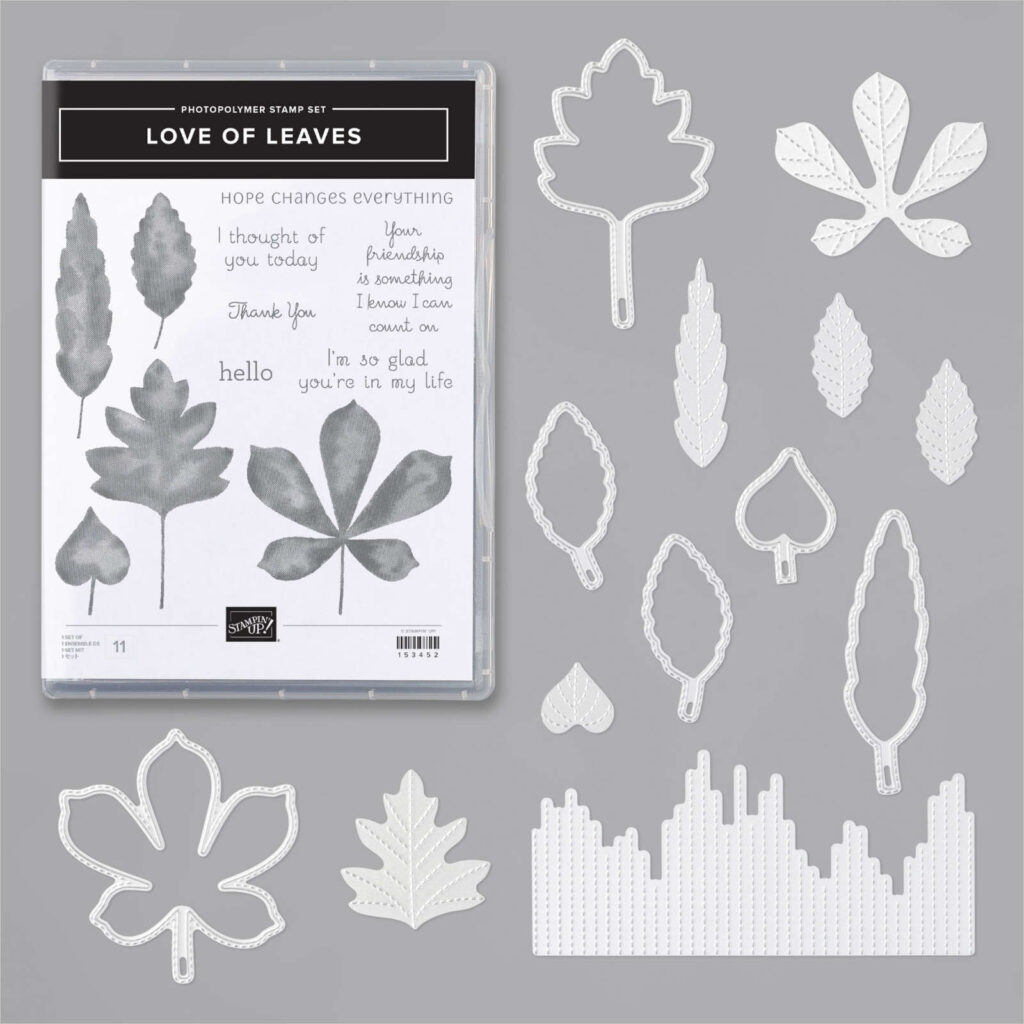
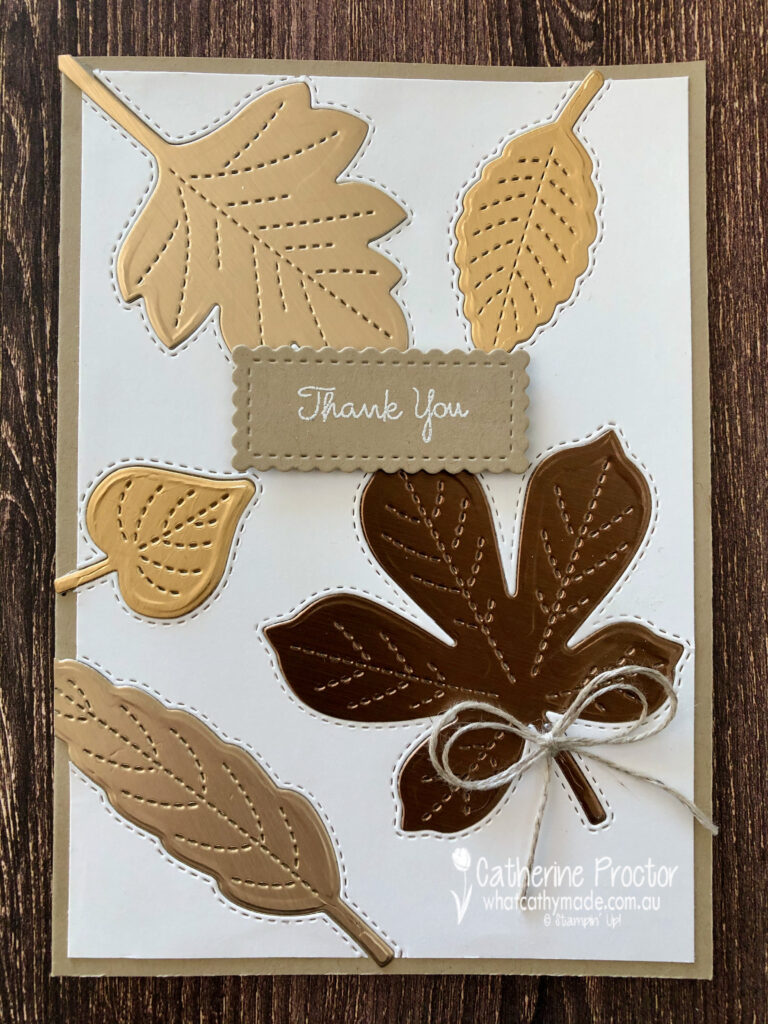
I have so many favourites in this catalogue but in the end I decided to use a bundle I hadn’t played with yet: the Love of Leaves bundle.
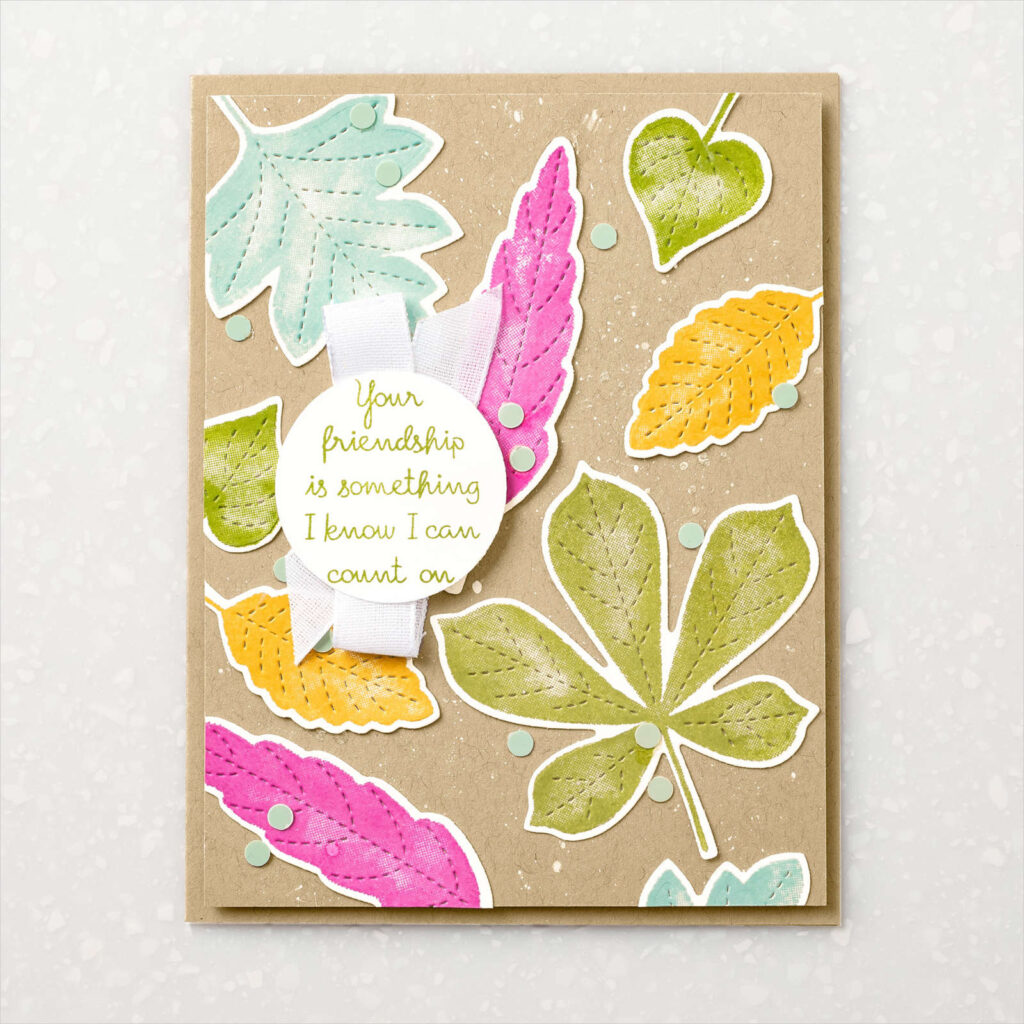
This is the card design I decided to CASE – it’s on page 74 of the 2020 August – December Mini Catalogue.
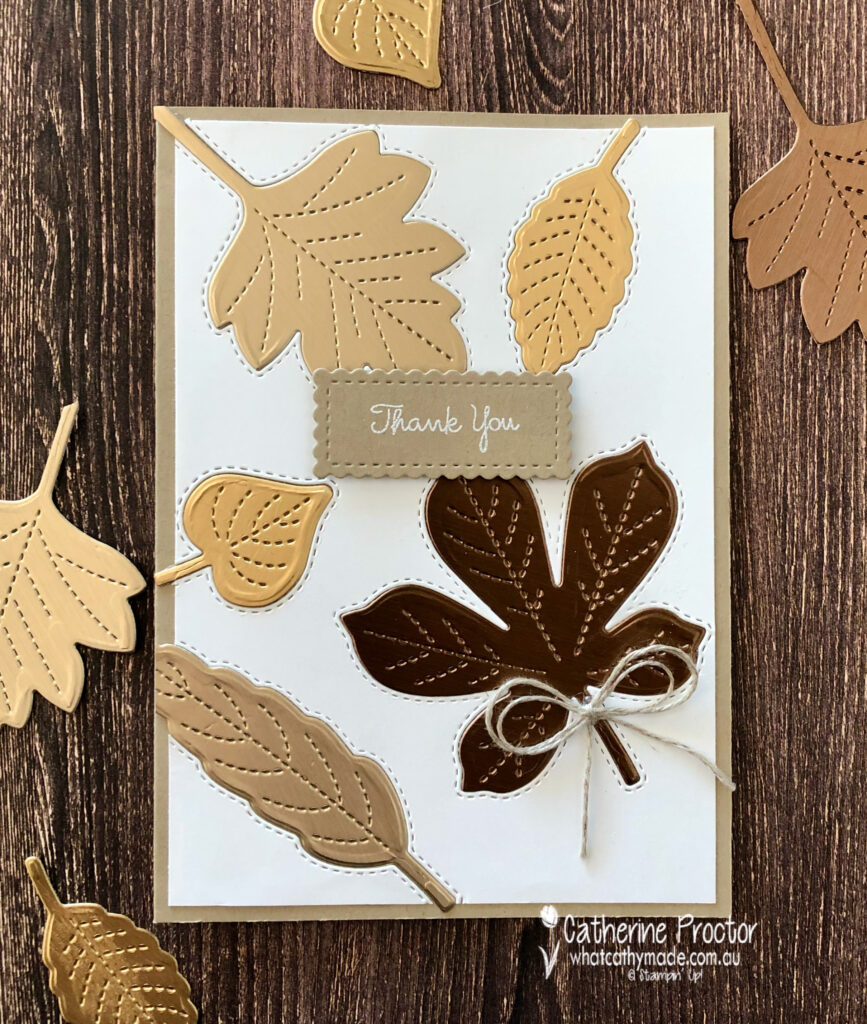
My card is the same basic layout but I’ve used the die inlay technique to insert the die cut shapes into the card front instead of layering them on top.
I cut my leaves out of the beautiful brushed metallic cardstock instead of the coloured and stamped leavers in the sample I CASED.
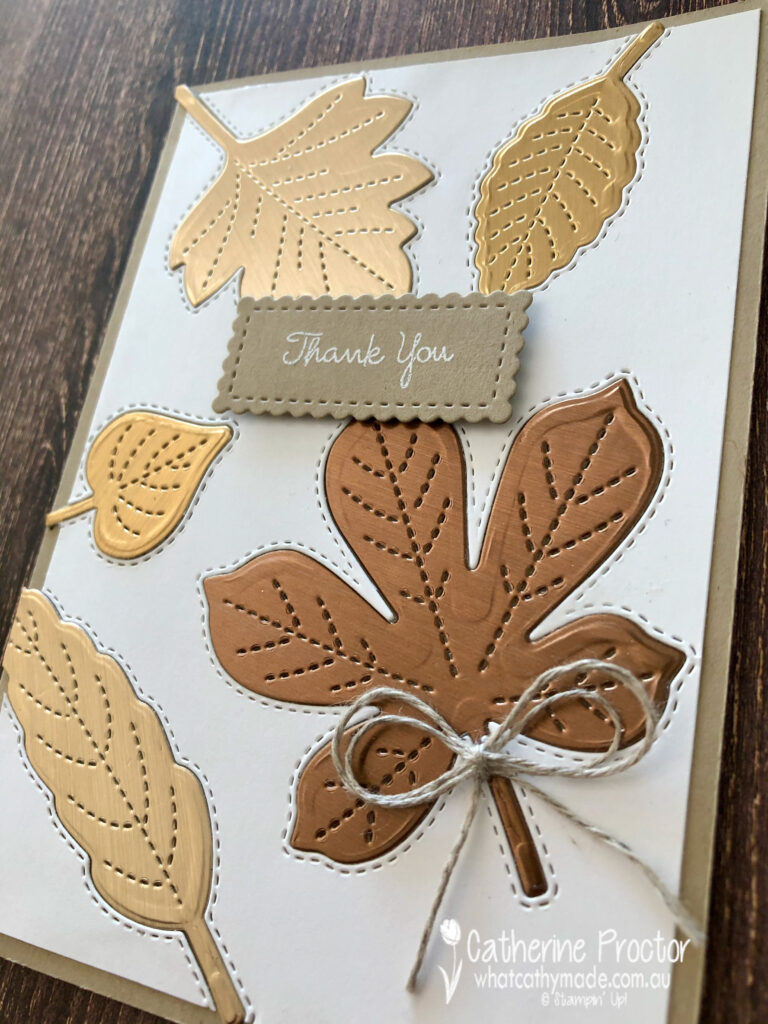
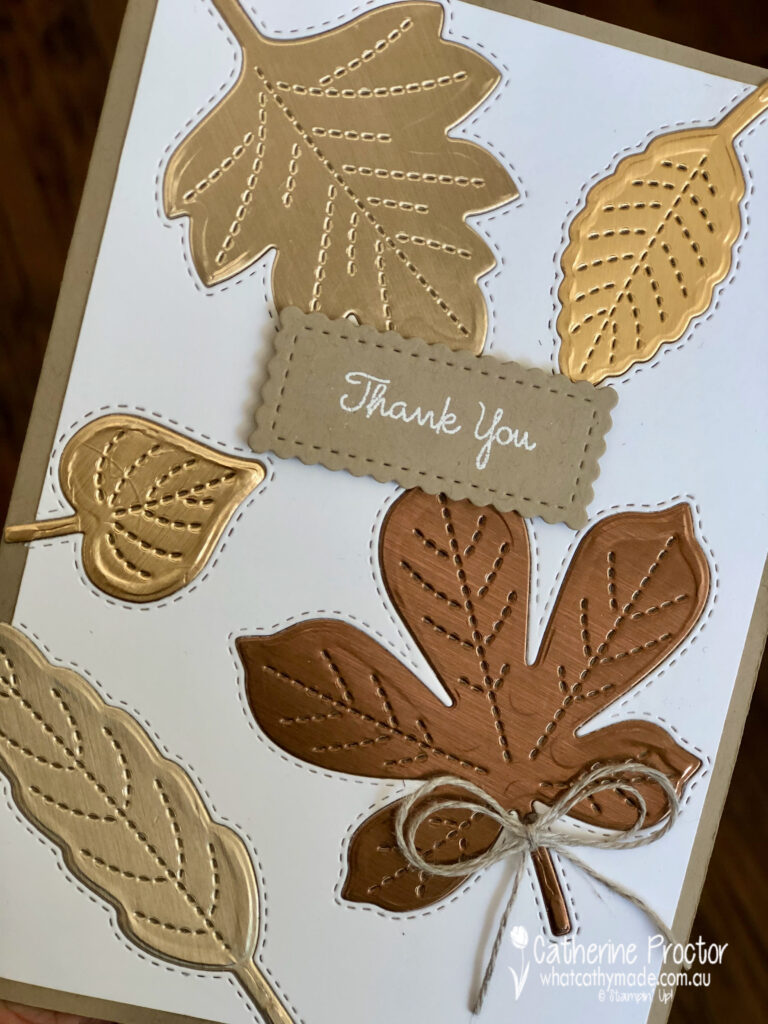
This angle better shows the soft sheen of this card stock.
I’ve used all three colours of brushed metallic cardstock: bronze, copper and gold.
The sentiments and fonts in the Love of Leaves stamp set are incredible. I’ve white heat embossed the little Thank You for my card today.
To purchase any of the products featured in today’s post, simply click on the product links below.
If you’d like me to post you your very own copy of the the August – December 2020 Mini Catalogue, the 2020-21 Stampin Up! Annual Catalogue, the 2020-21 Beginners Brochure, or to simply find out about more about Stampin’ Up! contact me.
In the meantime, wherever you are in the world, stay safe, stay calm…and keep on crafting xxx
Welcome to week thirteen of our 2020-2021 Art With Heart Colour Creations Showcase.
Each week various members of our Art With Heart Colour Creations team will be bringing you weekly colour inspiration as we showcase our range of over 50 beautiful Stampin’ Up! colours in alphabetical order.
Week 13 – Crushed Curry
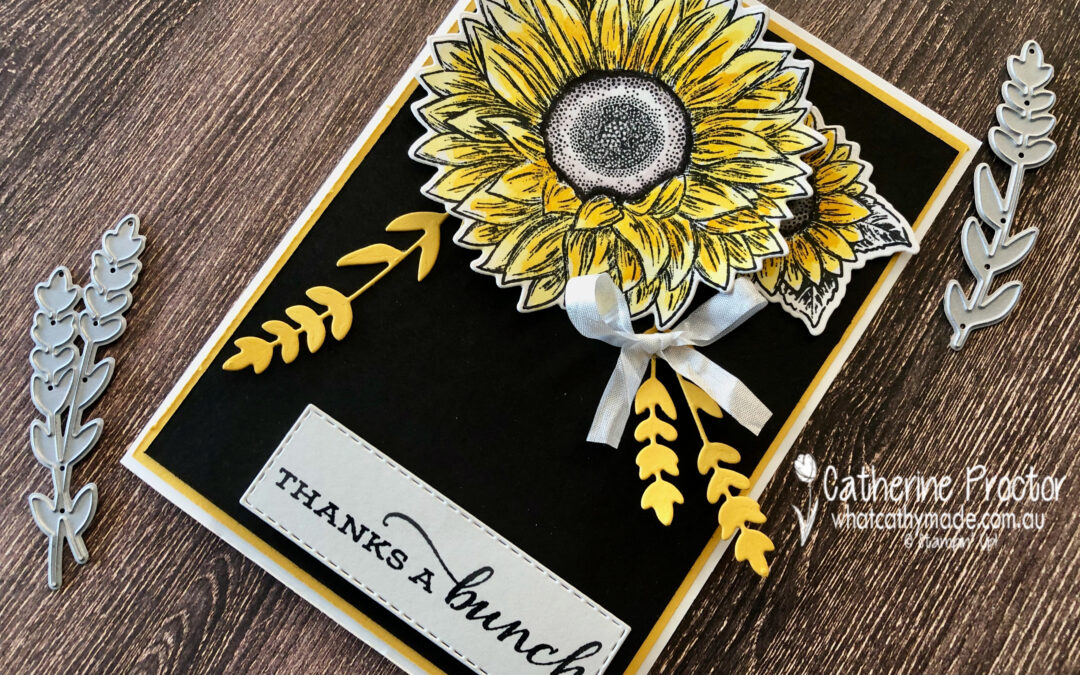
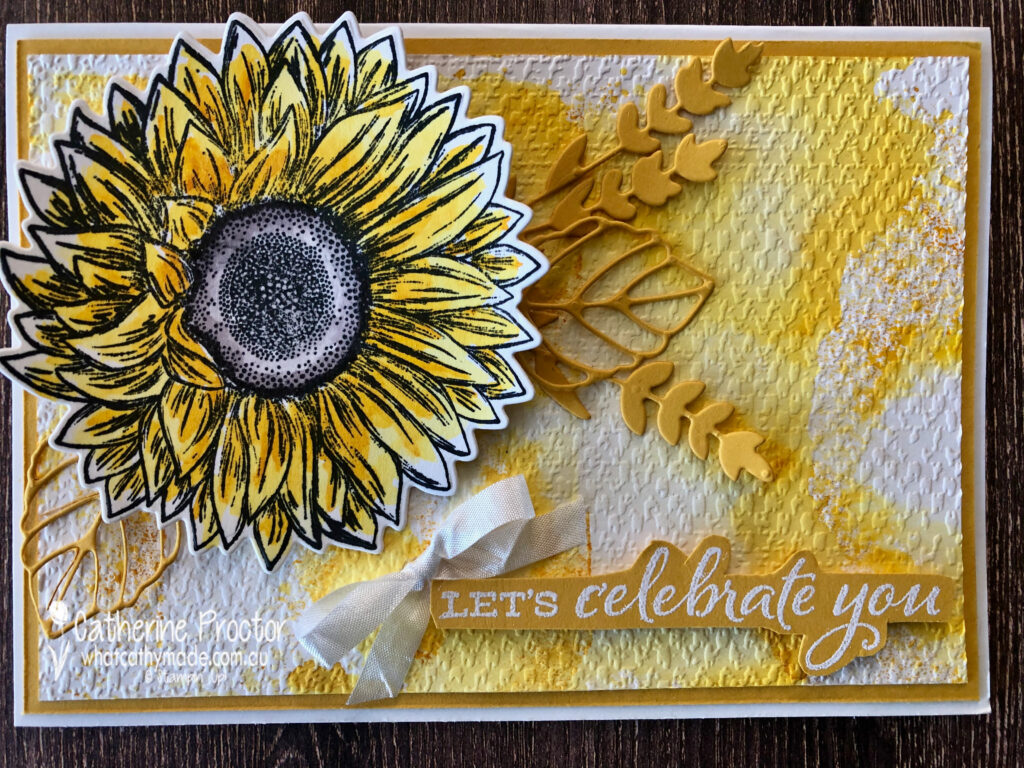
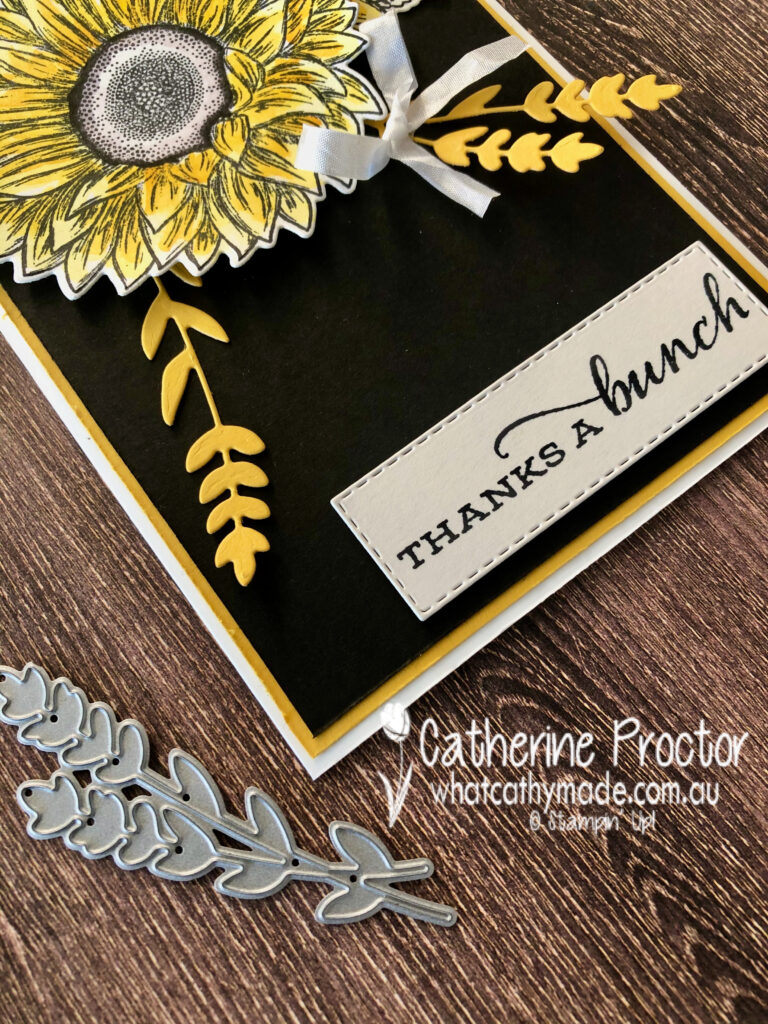
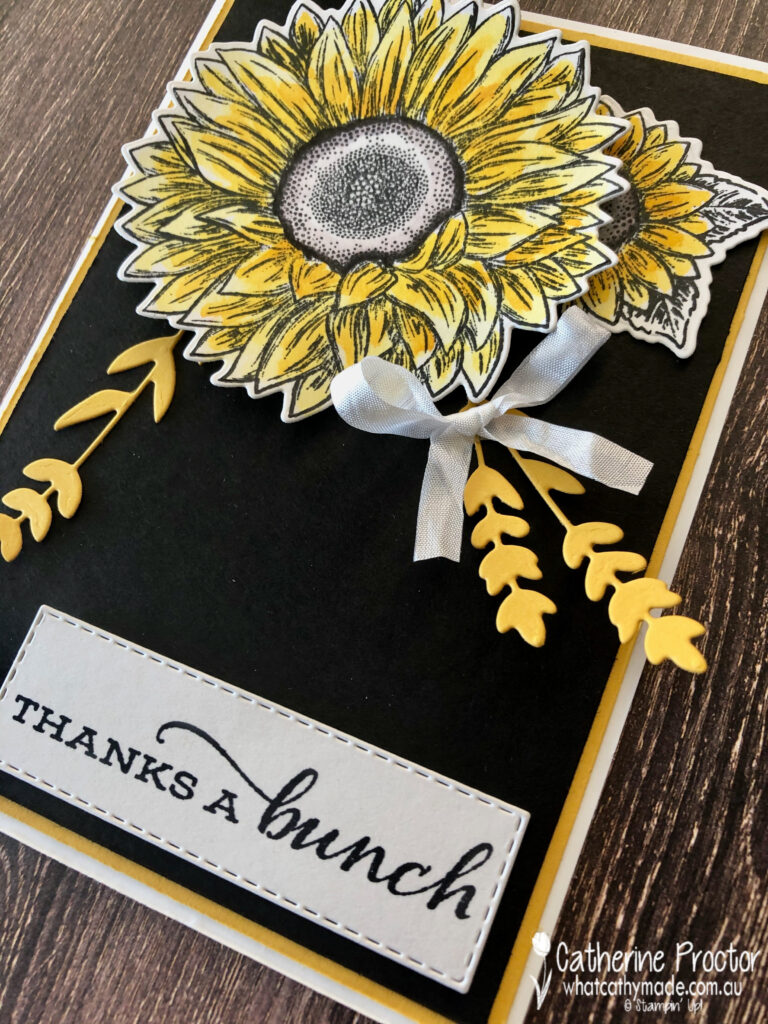
Crushed Curry is part of the regals family and it’s a rich, deep, warm yellow colour…which is why I thought it would be perfect to use with the Celebrate Sunflowers Bundle.
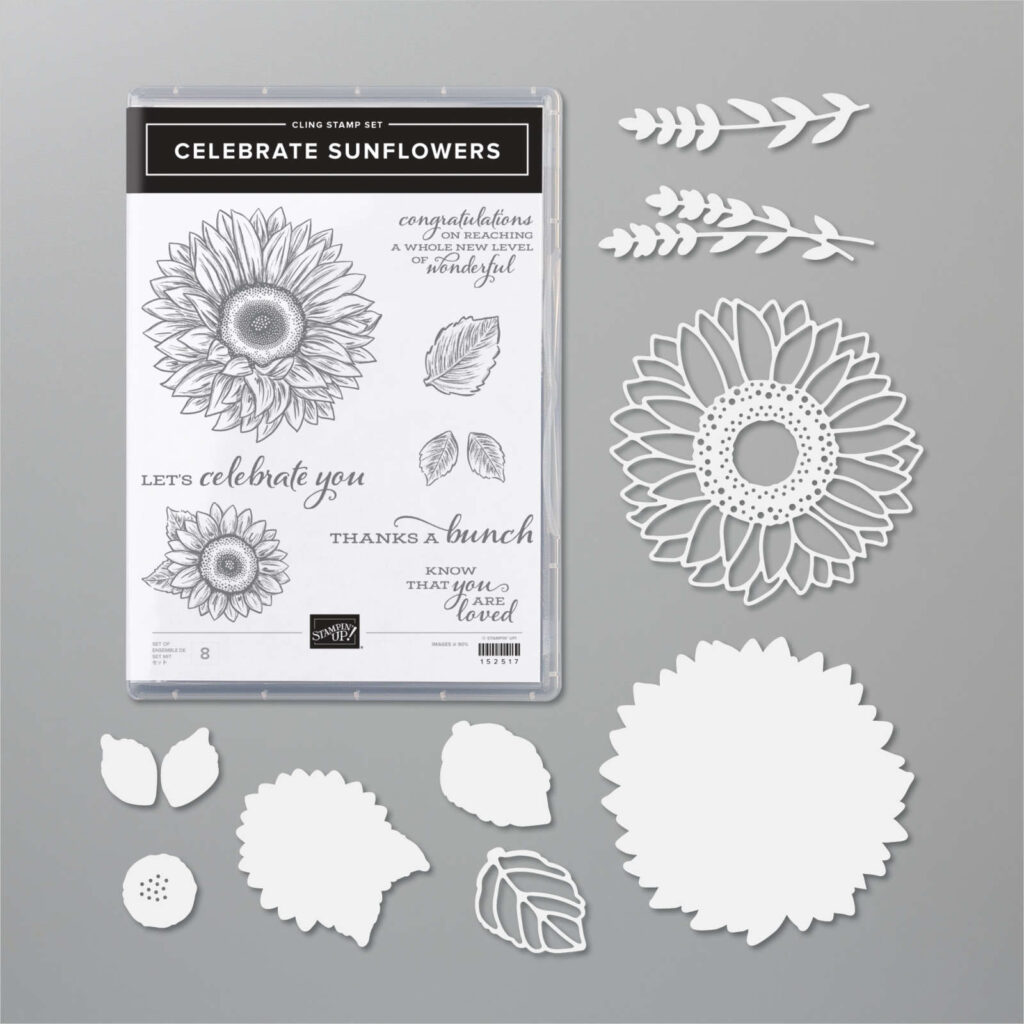
This bundle includes the Celebrate Sunflowers Stamp Set and the Sunflowers Dies but you can buy both the stamp set and the dies separately too.
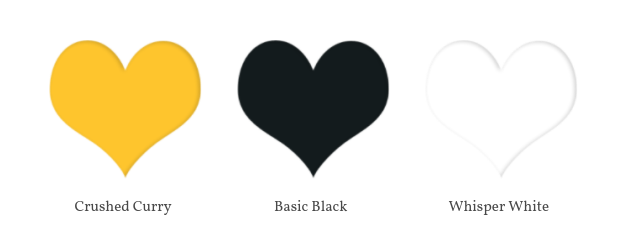
I’ve seen so many different and eye-catching cards made with the sunflower bundle but for my cards tonight I’ve decided to keep to a very simple colour palette. I personally like Crushed Curry best when it’s paired with either black and white. or grey and white.
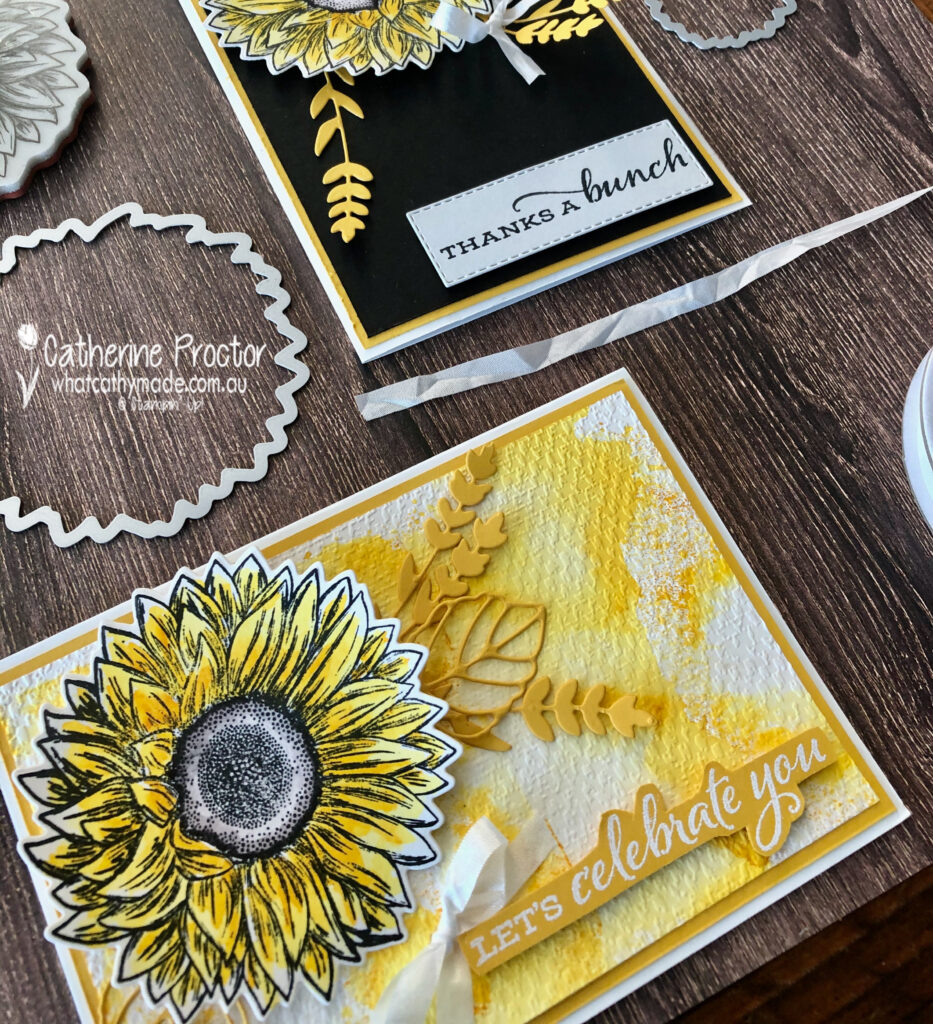
First things first – colouring in the sunflowers. You can do this in a variety of ways but love water colouring so I stamped in Stazon onto shimmery white card stock and then water coloured using the new Water Painters to lift Crushed Curry ink off the lid of my stamp pad.
Once the sunflowers were water coloured and dried they were die cut with the matching dies.
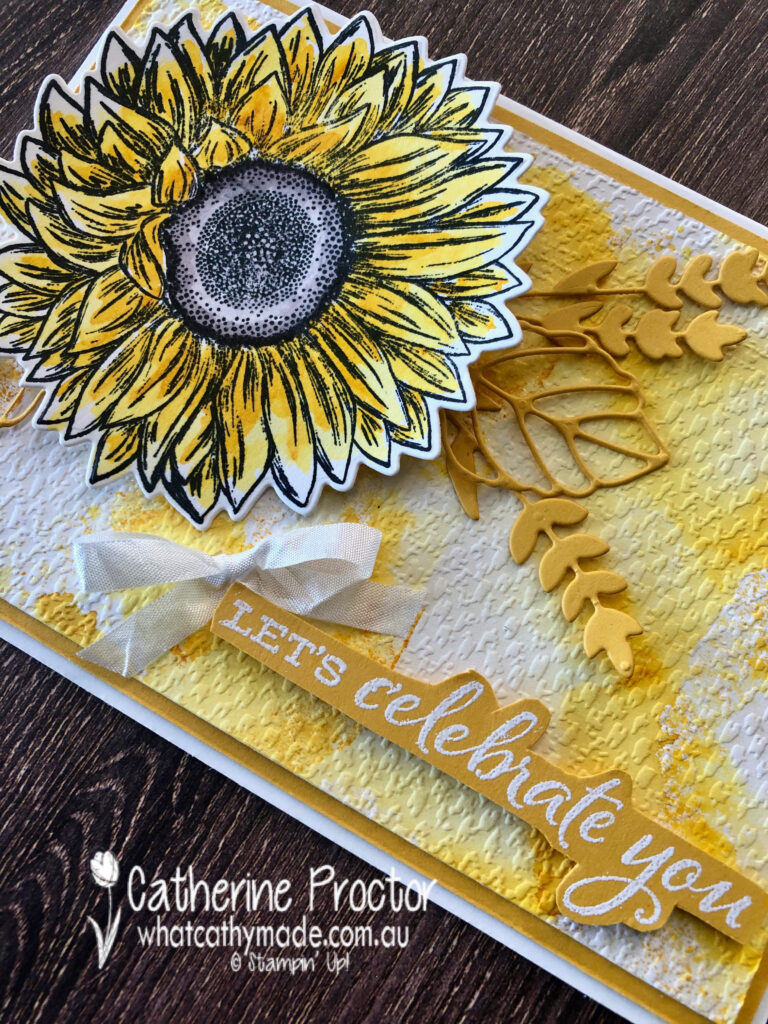
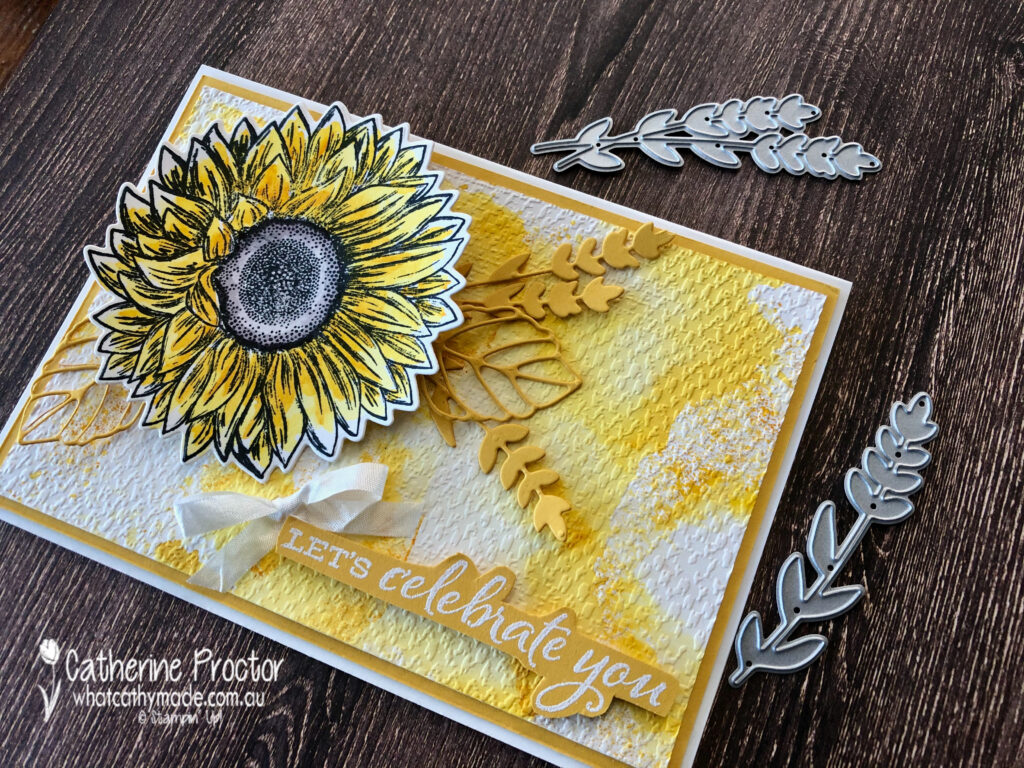
The custom background for my “Let’s Celebrate You” card was created using the side of my Crushed Curry ink pad randomly stamped onto a large acrylic block and then sprayed with water from a Stampin’ Spritzer.
This created a marbled ink effect on the block – I carefully placed the card stock onto the marbled block to transfer the ink to the paper before letting it dry and embossing it with the tasteful textile embossing folder.
The “Let’s Celebrate You” sentiment was stamped onto Crushed Curry card stock in Versamark Ink before heat embossing with White Emboss powder.
These adorable dies were used to die cut leaves and foliage out of Crushed Curry card stock.
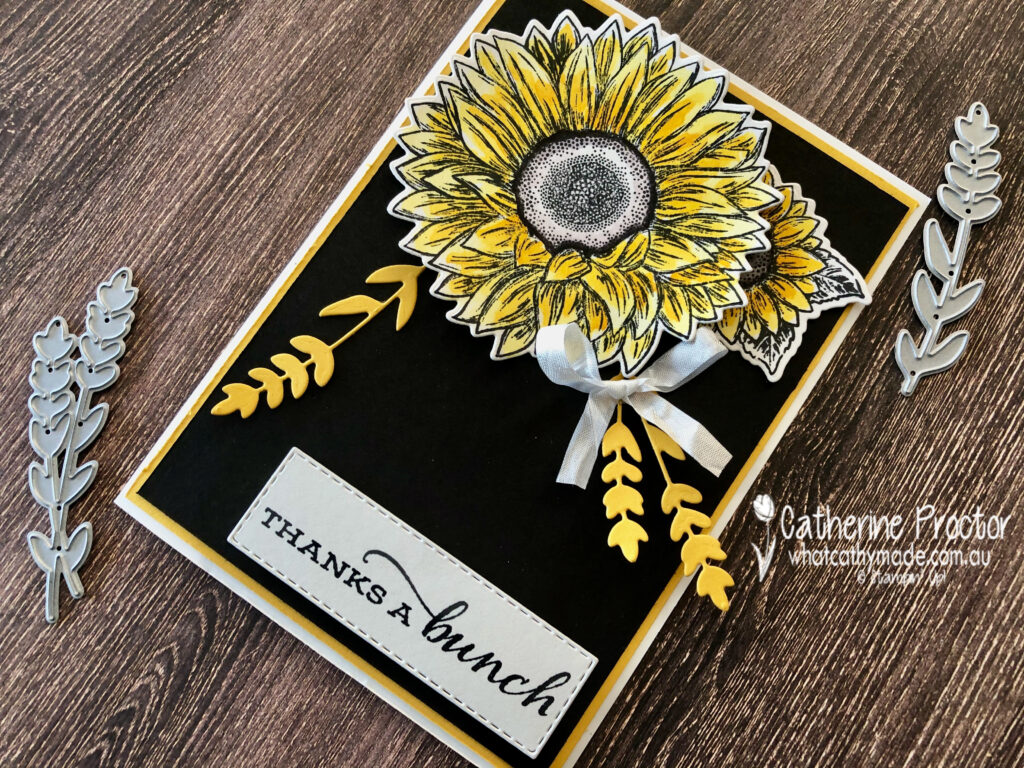
My second card was quickly created to use up my leftover water coloured sunflowers.
I really love the sentiments in this set, especially the mixed font on this “Thanks a bunch” sentiment.
I have to confess I think I actually prefer this card to the first because the Basic Black background layer really makes the sunflowers pop!
Liking my card made from leftovers more than the original card is starting to become a habit with me!
Thanks to the deep vibrant yellow of Crushed Curry, both cards are so bright and happy in real life, but I’m curious to find out which card you prefer?
I can’t wait to see what the rest of the Art With Heart team have created with Crushed curry today. Click on the links below to see what they’ve made.
If you’d like me to post you your very own copy of the August–December 2020 Mini Catalogue, 2020-21 Stampin Up! Annual Catalogue, the 2020-21 Beginners Brochure, or to simply find out about more about Stampin’ Up! contact me.
In the meantime, wherever you are in the world, stay safe, stay calm…and keep on crafting xxx
Welcome to week twelve of our 2020-2021 Art With Heart Colour Creations Showcase.
Each week various members of our Art With Heart Colour Creations team will be bringing you weekly colour inspiration as we showcase our range of over 50 beautiful Stampin’ Up! colours in alphabetical order.
Week 12 – Crumb Cake
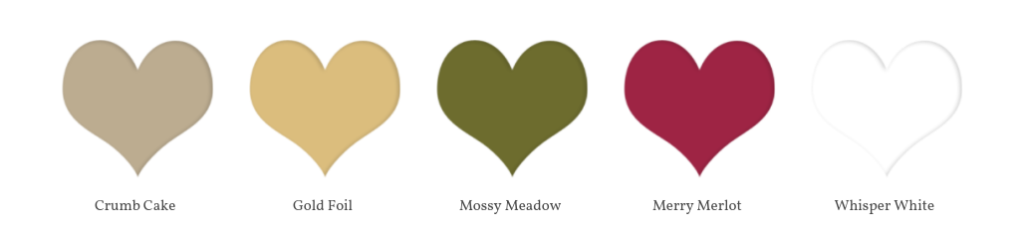
I have to confess that Crumb Cake is my favourite and most used Stampin’ Up! colour, although Gray Granite has given it a run for its money since joining the Neutrals family.
I like to think of Crumb Cake as a “bridesmaid” colour – not to dark, not too light. It sits beautifully in the background, complementing any colour it is paired with without vying for attention and yet it also looks amazing on its own. This is why for me, Crumb Cake really is the perfect neutral.
There were so many colour combinations I could have used for my projects today but in the end I decided to stick with a combination of neutrals, using stamping off to add some lighter shades to my colour palette.
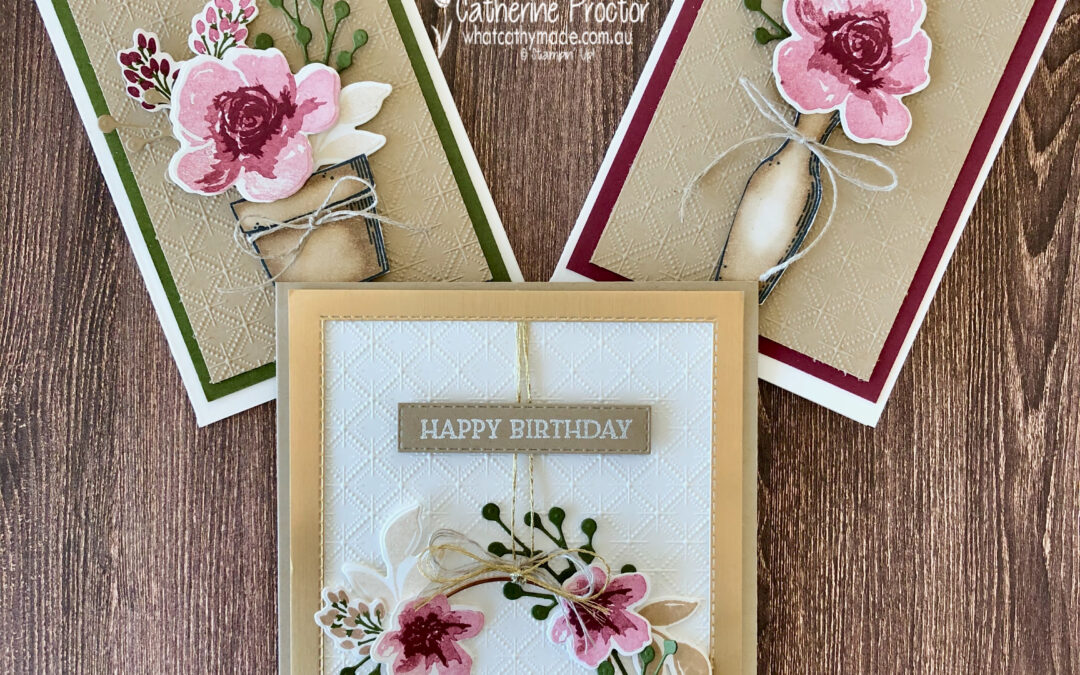
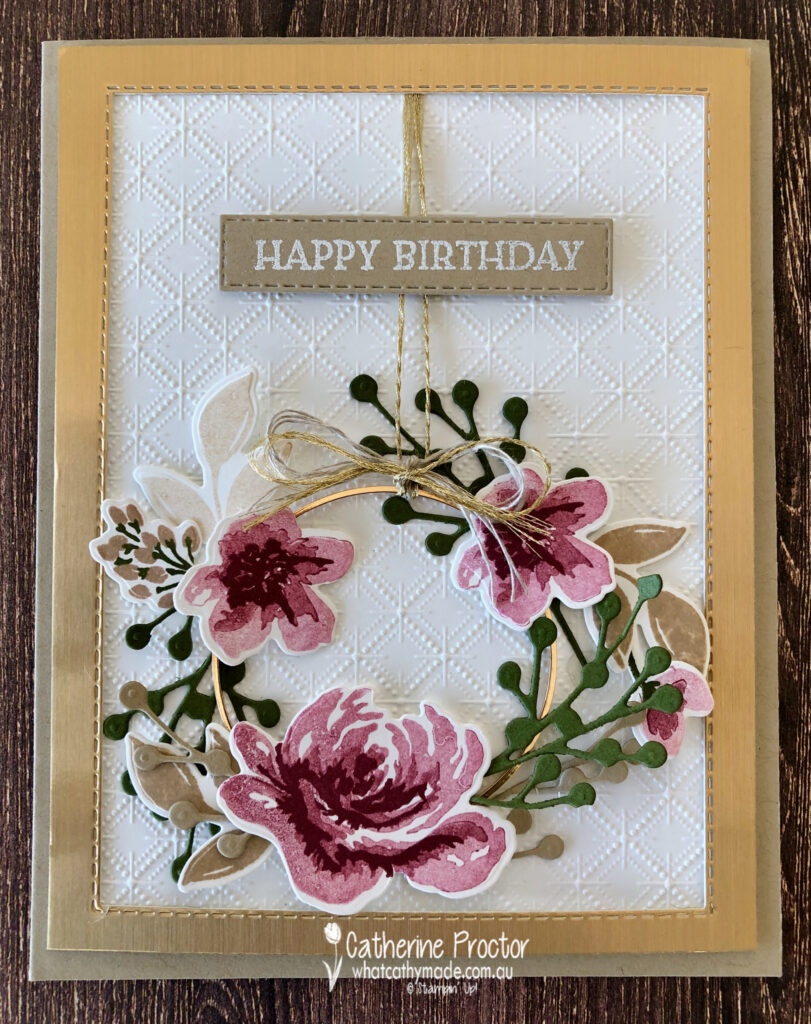
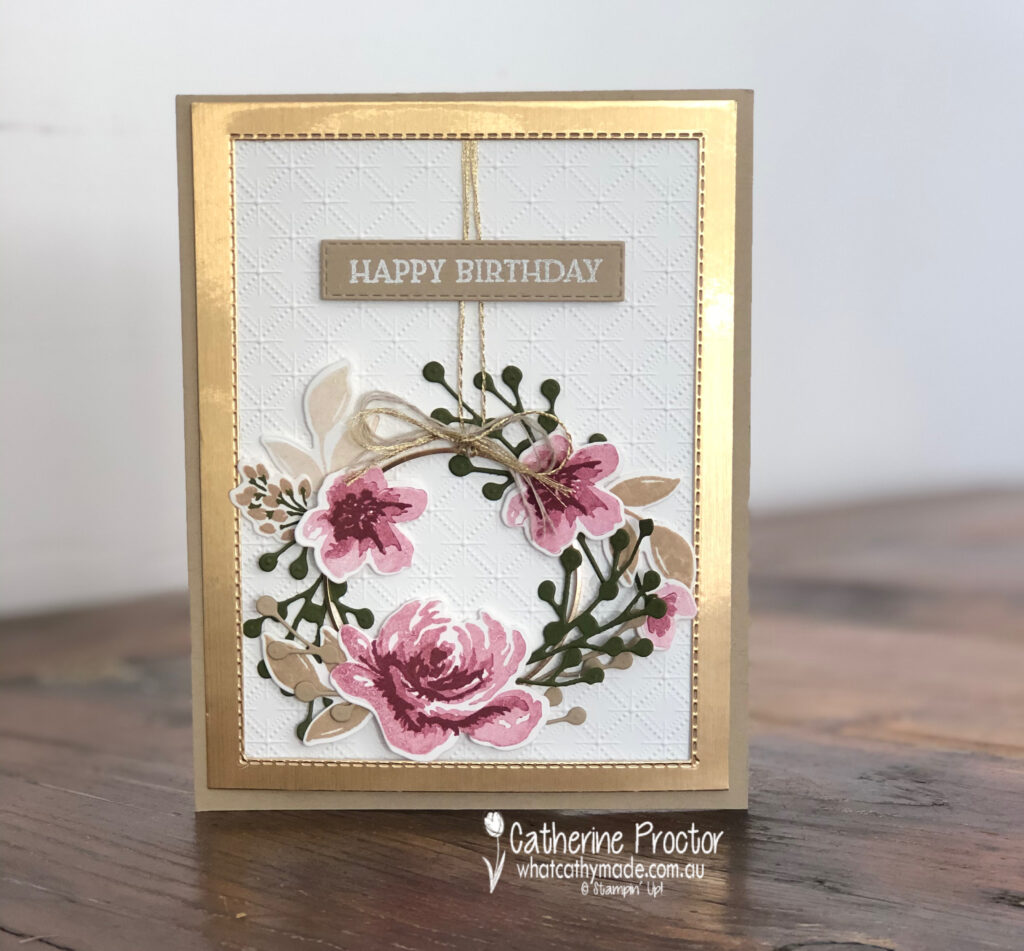
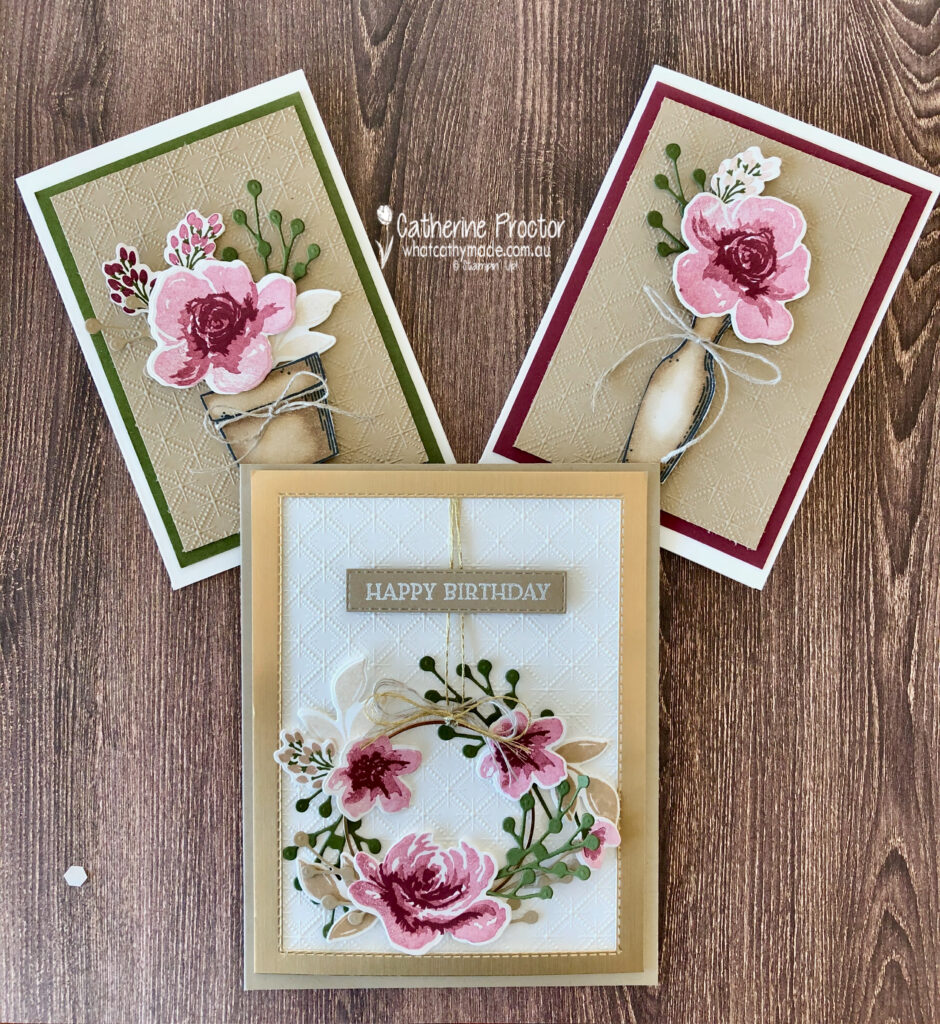
What started out as a clean and simple card has actually become the opposite, but that’s how I craft! And although this is not my usual style I actually love the soft, feminine and “vintagey” vibe of my wreath card.
The Dainty Diamonds embossing folder is fast becoming my favourite embossing folder – I can’t seem to stop using it! I’ve laid it onto a Crumb Cake card base and framed it with another new favourite – brushed metallic cardstock.
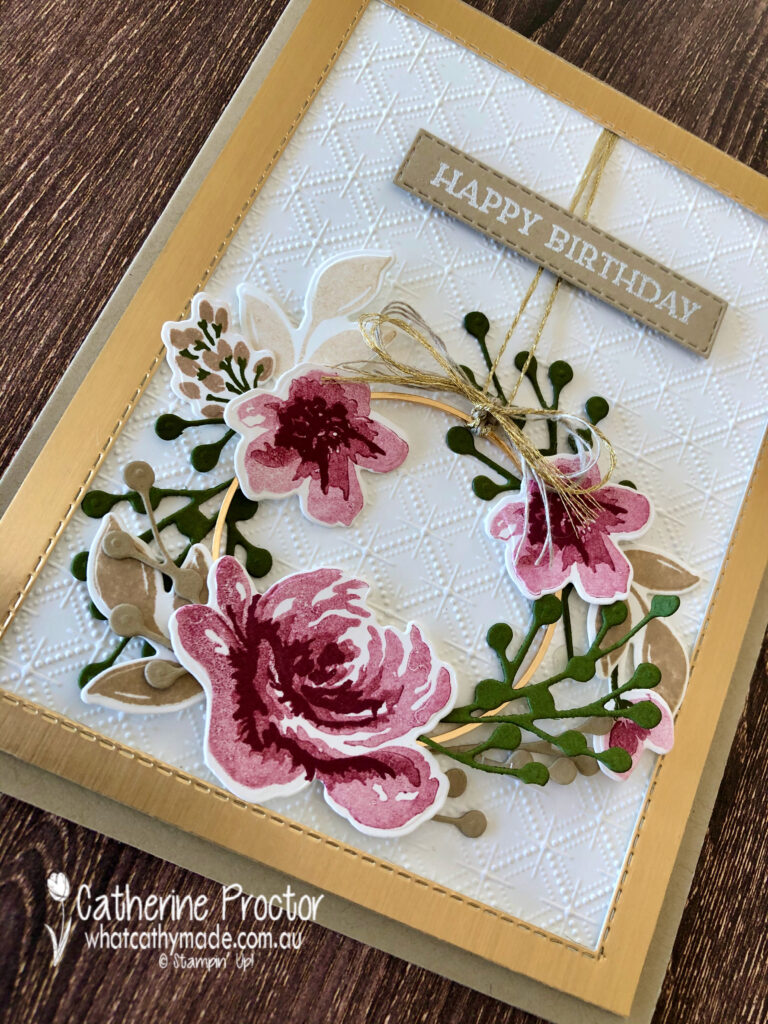
This photo better shows the burnished sheen the card stock gives – it is hard to photograph but simply luscious in real life!
I know it looks like I’ve used Rococo Rose to stamp my flowers, but it is actually Merry Merlot stamped off once, twice and also used at full strength for the middle of the flowers. I’ve also stamped off Crumb Cake to add variety to the leaves and buds.
Did you notice the beautiful Gold Hoop Embellishment that I used to create my wreath peeking out from beneath the foliage?
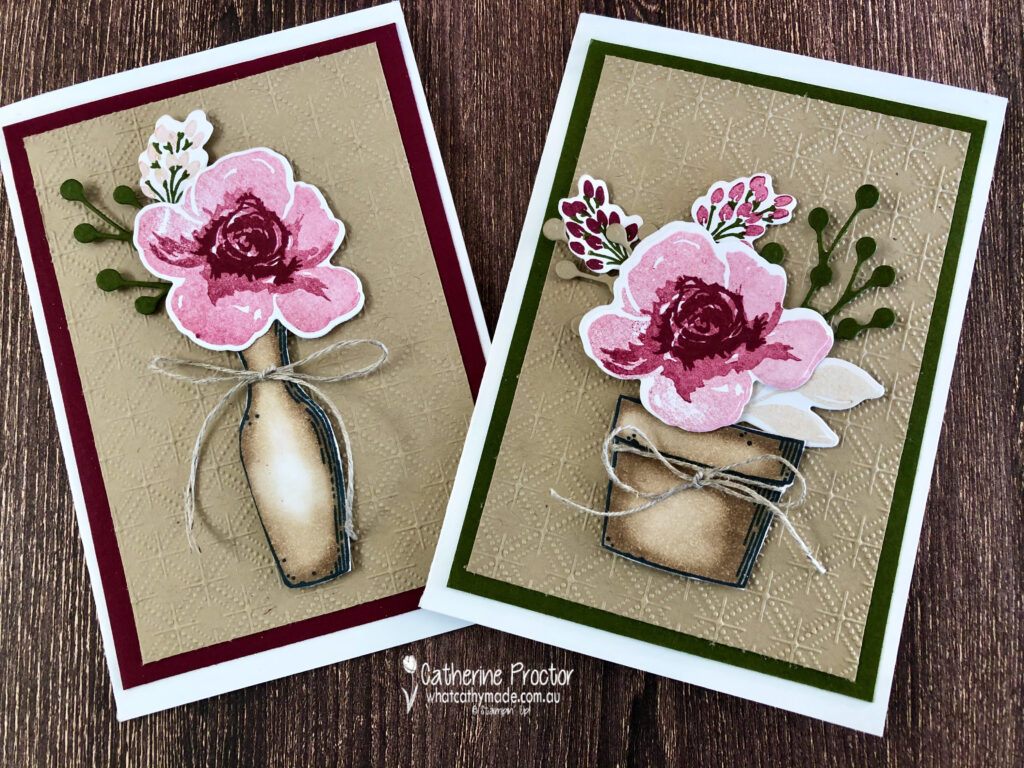
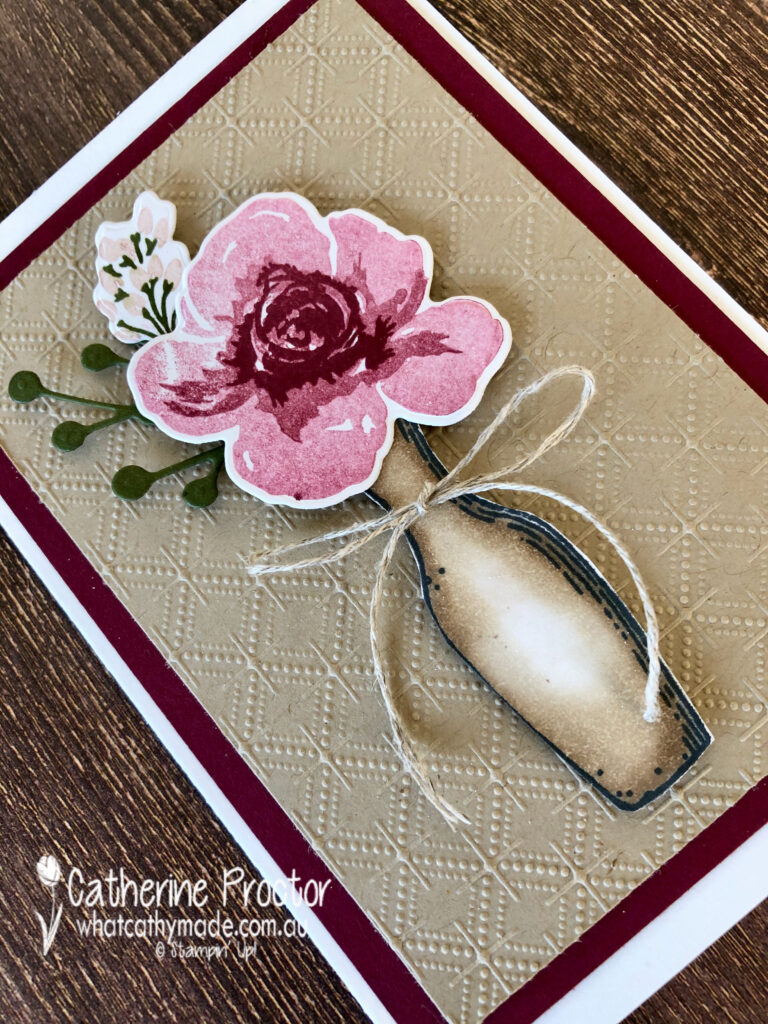
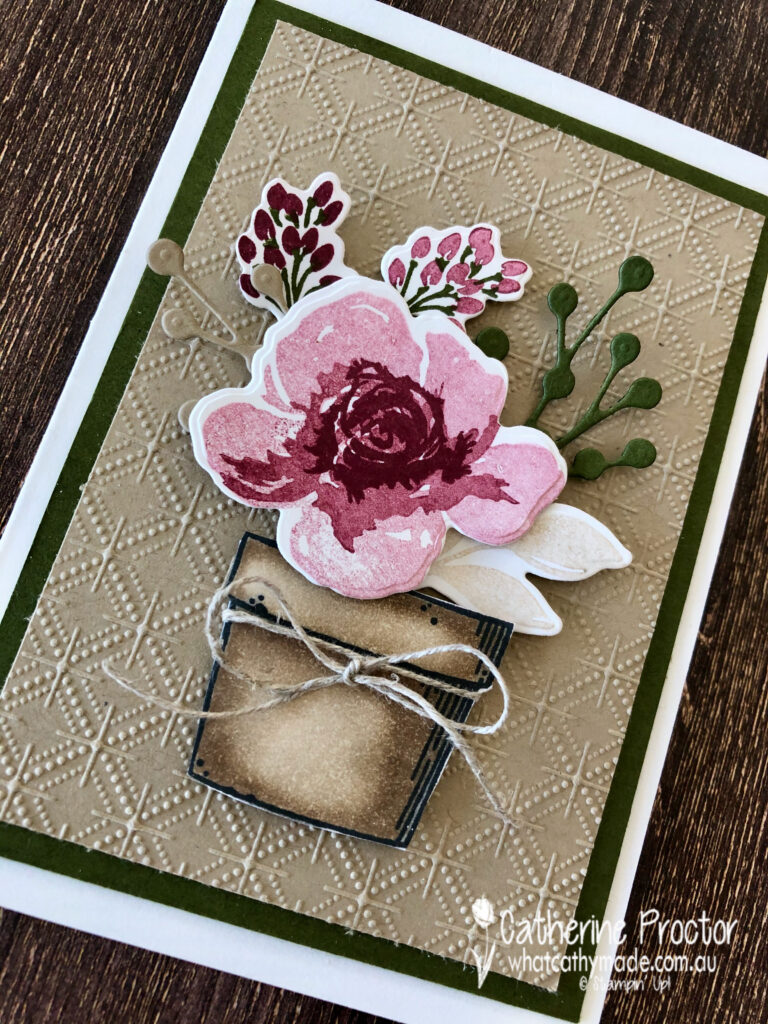
I had originally designed a card for today based on a pot and vase I had stamped in Memento before colouring in with my Crumb Cake blends, but I ended up making the wreath card instead.
Because I hate wasting leftovers (and I also had leftover flowers and foliage) I quickly made two note cards, this time using Crumb Cake card stock embossed with the Dainty Diamonds embossing folder.
The Crumb Cake blends make it super easy to give dimension to any image. I used the colour lifter bend pen in the middle of my vase card to create the shine that a vase would naturally throw.
The pot card, like the vase card, is finished off with a bow of linen thread – in my opinion linen thread and Crumb Cake really are a match made in heaven!
I have to admit I probably like my last minute leftover note cards as much as the intricate wreath card that took soooo much more time to make! Ain’t that often the way with crafting, LOL!
I deliberately left sentiments of my note cards so they can be used for any occasion. I often do this and leave my card insides blank so I can stamp the appropriate sentiment in the card as I need it.
I can’t wait to see what the rest of the Art With Heart team have created with Crumb Cake today. Click on the links below to see what they’ve made.
Next Tuesday we’ll be showcasing one of the Regals family: Crushed Curry. We hope you can join us all then.
To purchase any of the products featured in today’s post, simply contact your Stampin’ Up! demonstrator, any of the ladies in the AWH Colour Creations Showcase or click on the product links below.
If you’d like me to post you your very own copy of the August–December 2020 Mini Catalogue, 2020-21 Stampin Up! Annual Catalogue, the 2020-21 Beginners Brochure, or to simply find out about more about Stampin’ Up! contact me.
In the meantime, wherever you are in the world, stay safe, stay calm…and keep on crafting xxx