Welcome to the Heart of Christmas 2020 where the Art with Heart team share their Christmas inspiration with you on the third Monday of each month.
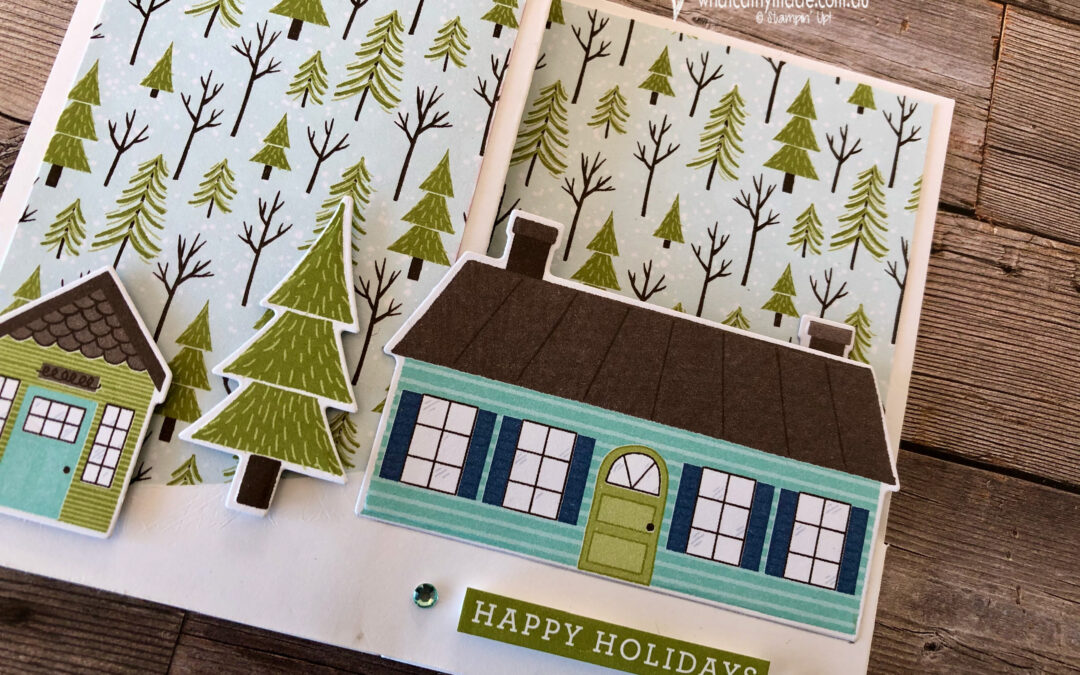
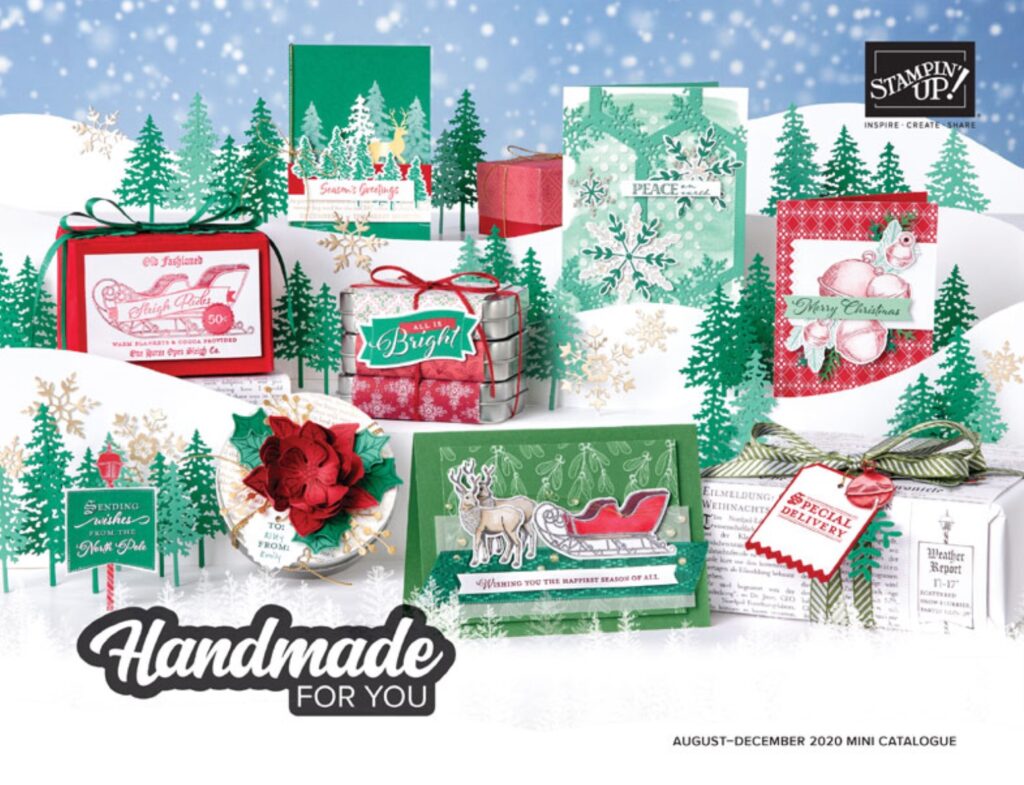
Today I’m sharing with you a card that features some adorable new products from the Stampin’ Up! August – December mini catalogue.
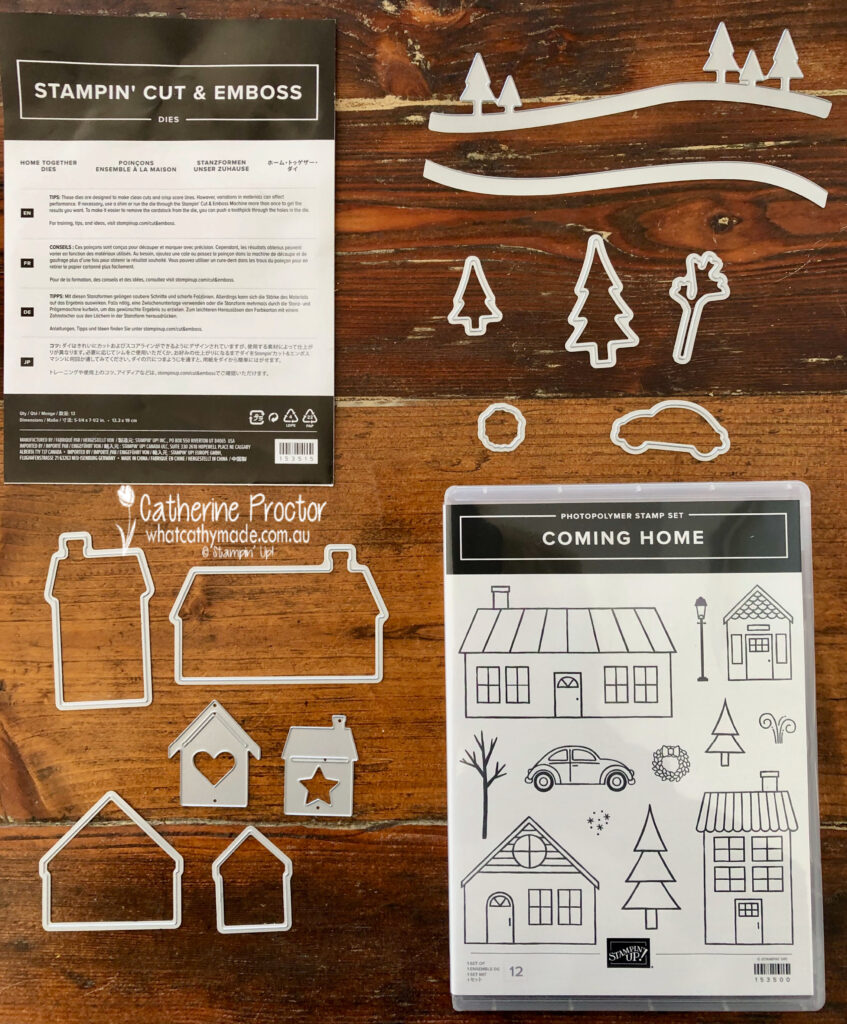
The Coming Home Bundle is part of the Trimming the Town Suite and one of my favourite items in the catalogue.
Last month I shared a blue, silver and white card I made using the Home Together dies, but this week I’ve used the same dies in a different way to create a double Z fold card.
A double Z fold card is one of the simplest and most versatile fancy folds you can make…and it always looks impressive!
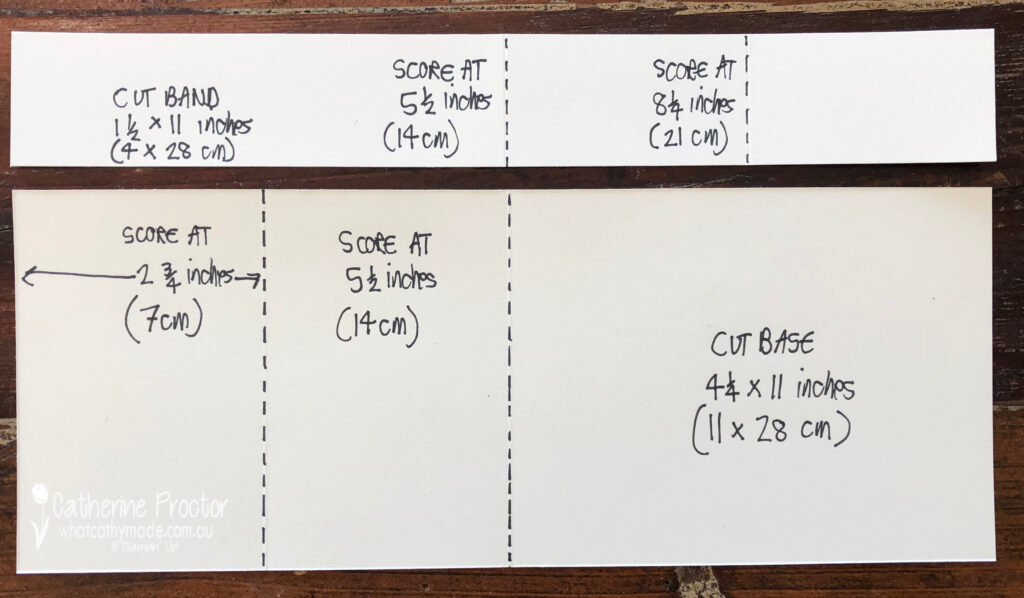
Here are the measurements for the card base and band, although you can make the band what ever width you want and position it at any height you prefer depending on the type of effect you want.
Double Z fold card template
Once I’d cut and scored my base and band I used the long curved line die to die cut my band, creating a hilly base for my houses to sit on.
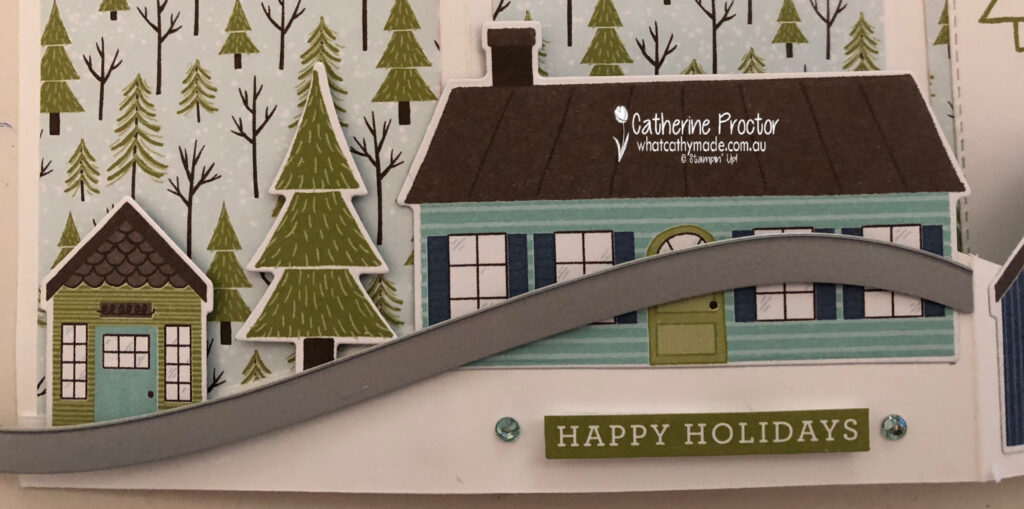
This is how I cut the 5 1/2 inch (14cm) front section of the band.
And this is how I cut the remaining two sections – I die cut them laying flat, not folded.
Before you attach your band to your card attach the DSP layer to the inside back of your card base. Attach the band and then work out exactly where you want the the little houses and trees to sit.
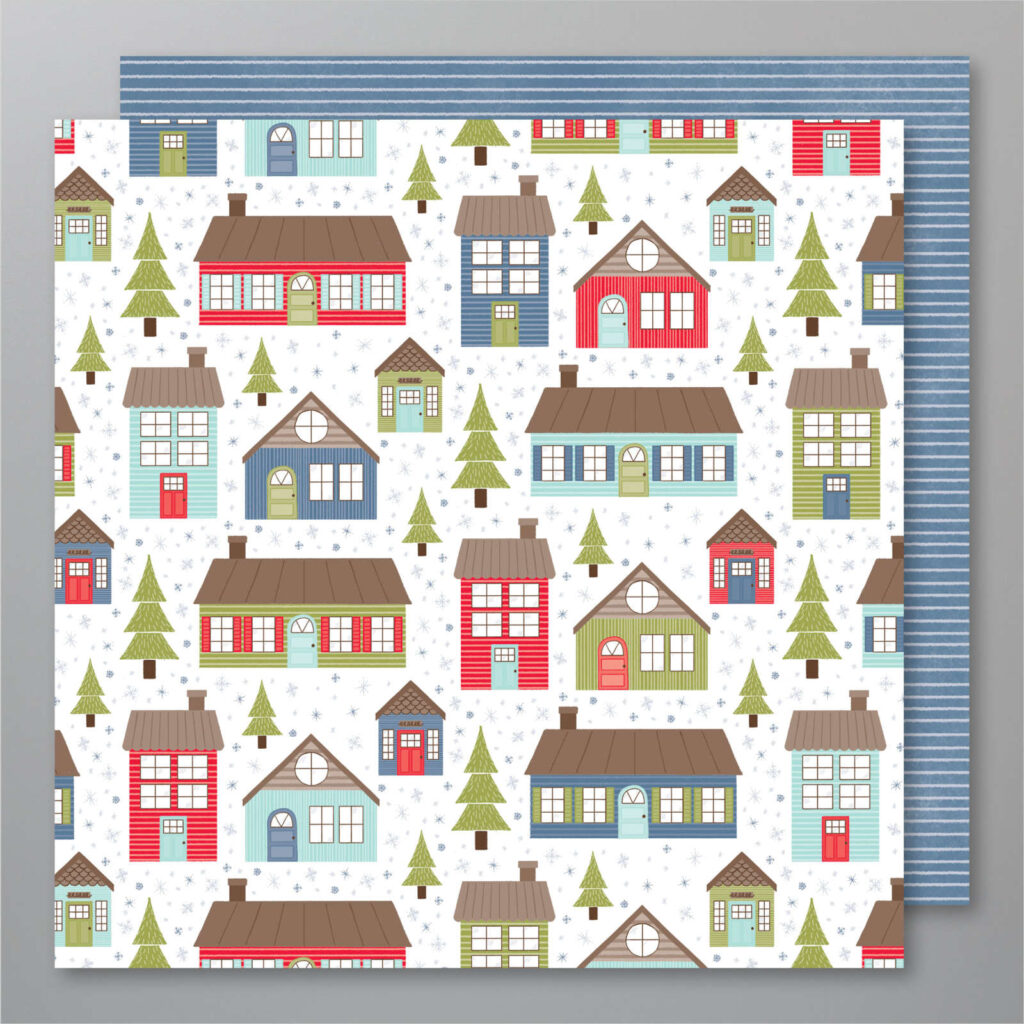
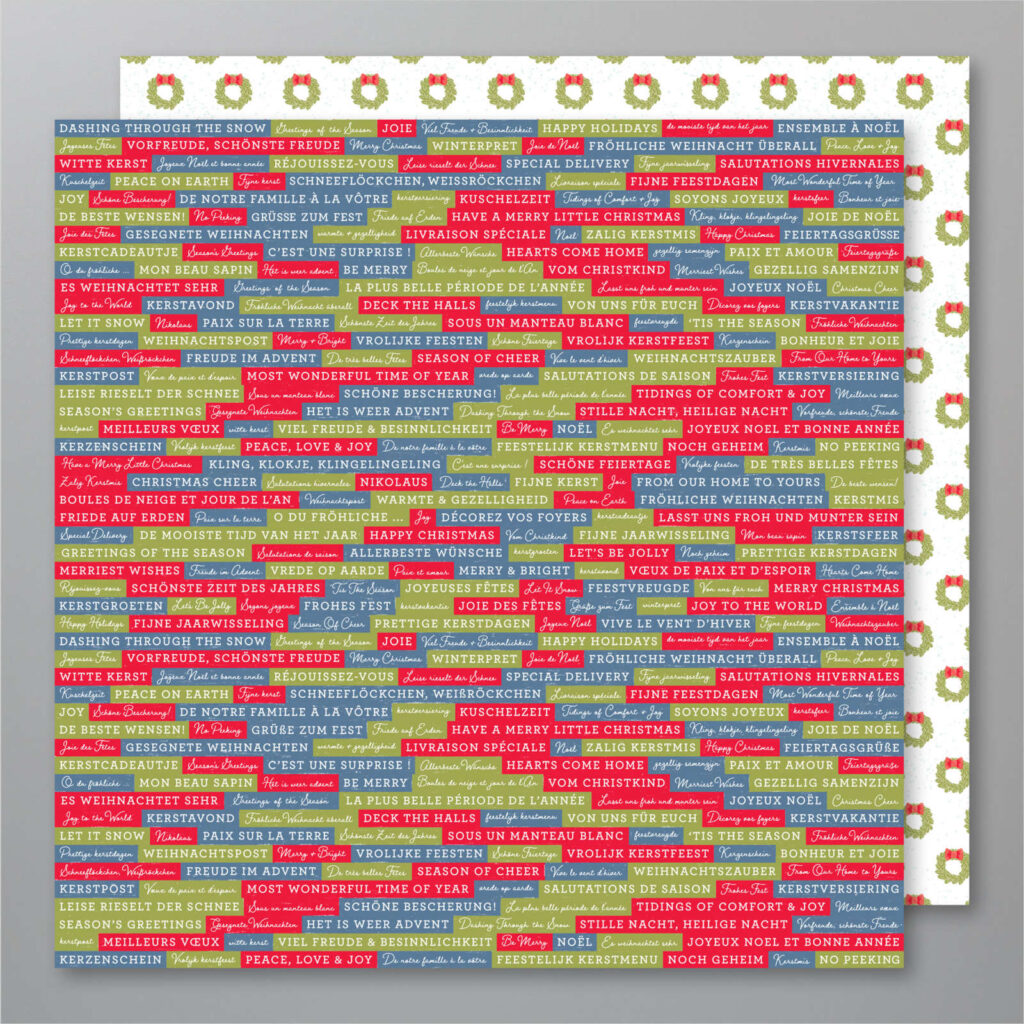
Did you realise the dies in this bundle cut out the trees and houses from the Trimming the Town Designer Series Paper? I just love this for quick and easy card making – it’s this sheet that co-ordinates with the dies.
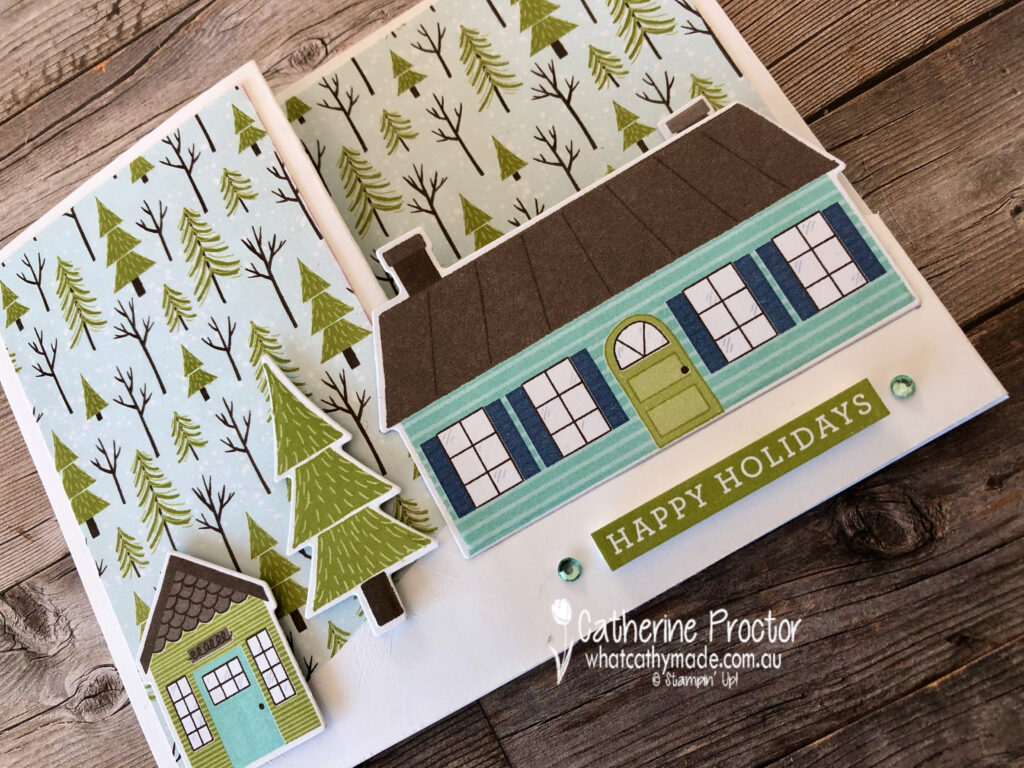
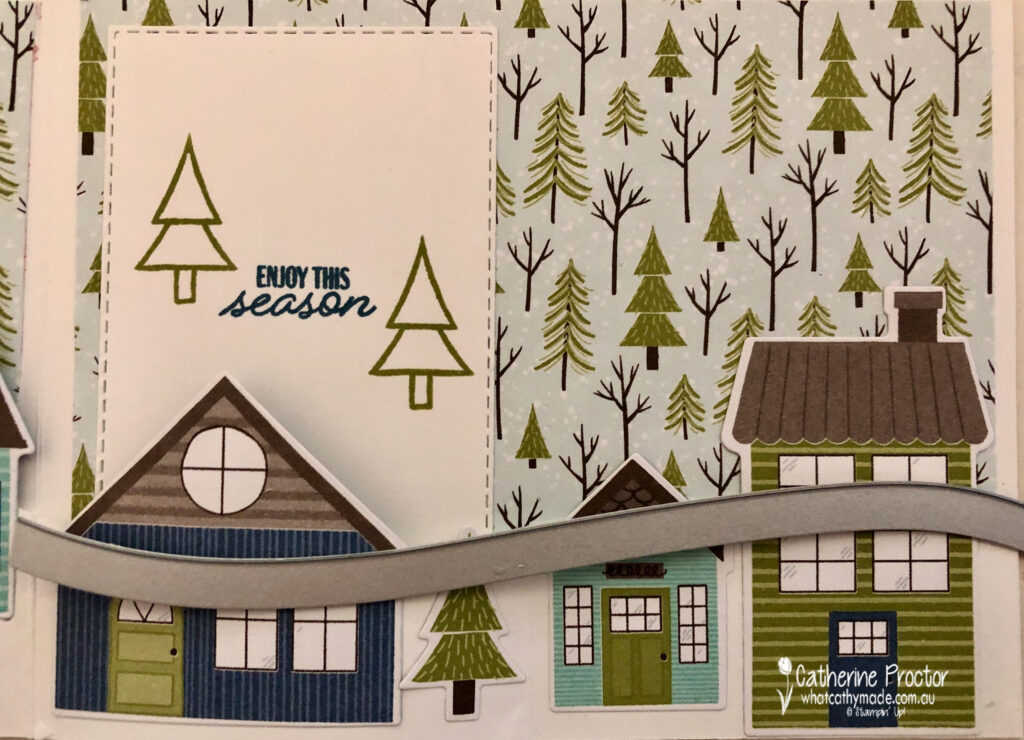
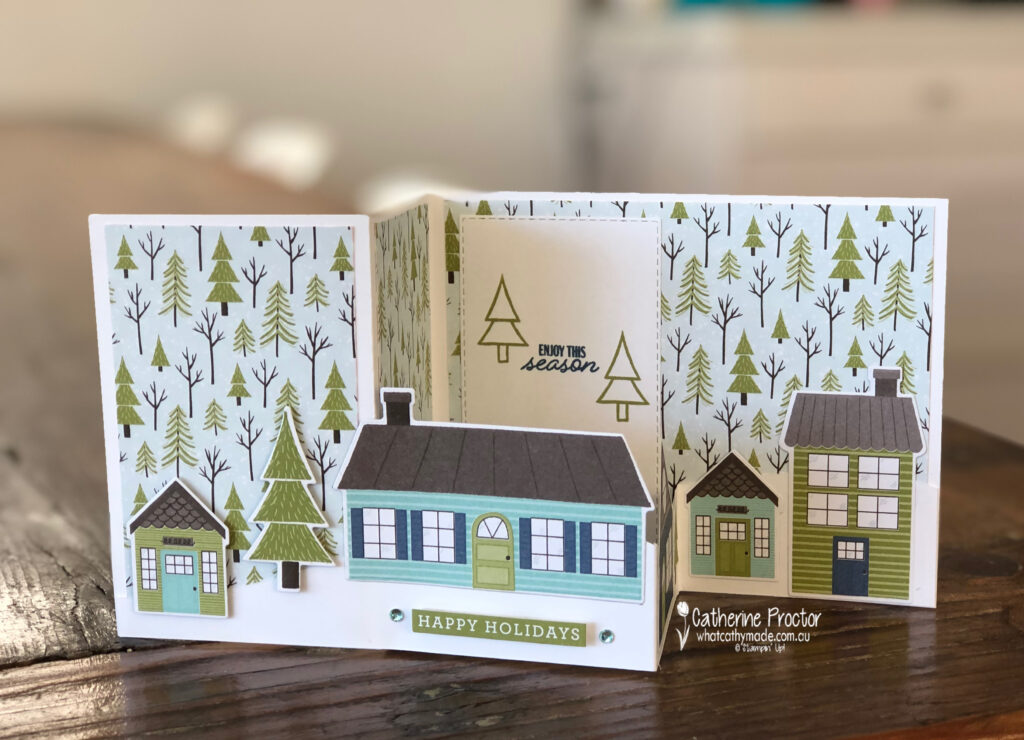
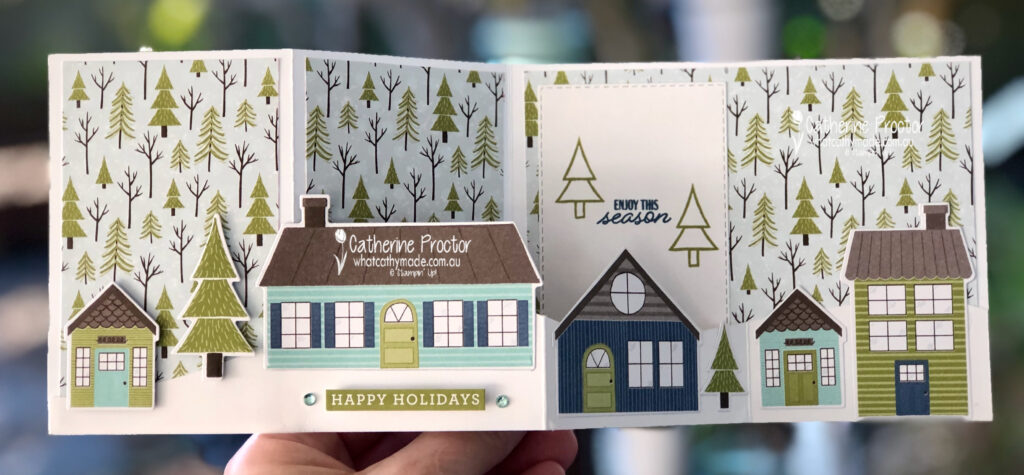
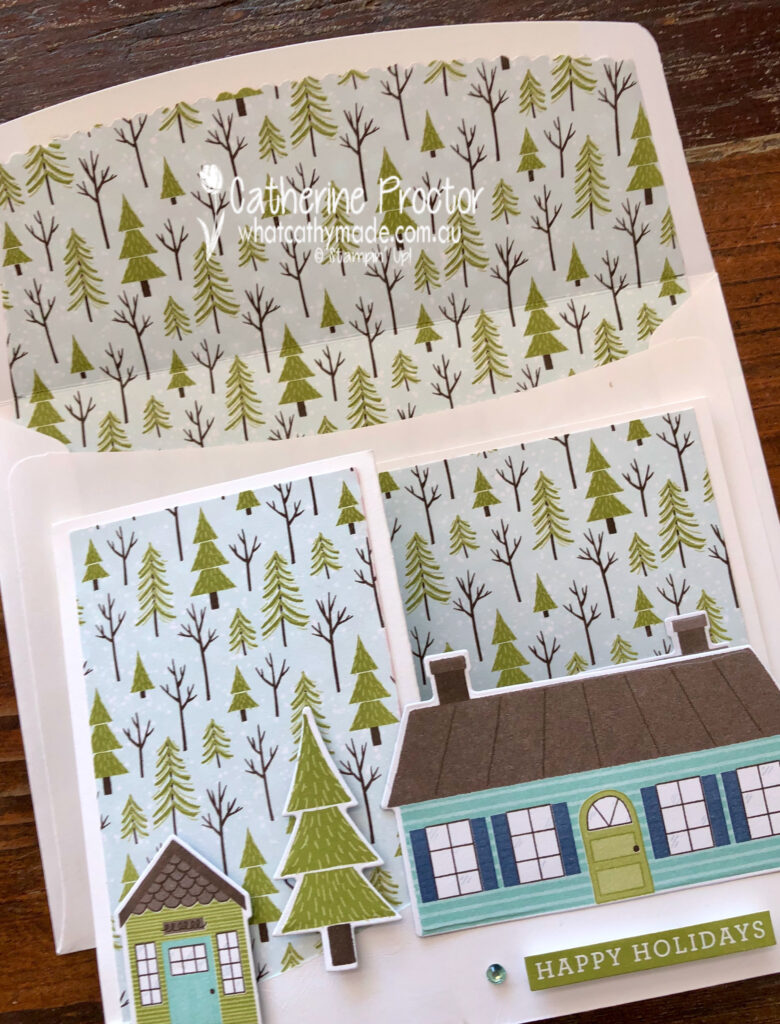
I decided to narrow my colour palette to just Early Espresso, Misty Moonlight, Pool Party and Old Olive for this card. I then lined up my die cut houses and trees to ensure they looked good both when the card is closed and when it is open.
Here’s how it looks closed.
Standing up…
And fully open…
The sentiment inside and the little trees are stamped from the Coming Home stamp set but the cute “Happy Holidays” sentiment on the front of the card is cut from this sheet of DSP in the the Trimming the Town Designer Series Paper.
This DSP has sentiments in other languages too, which is great for overseas relatives!
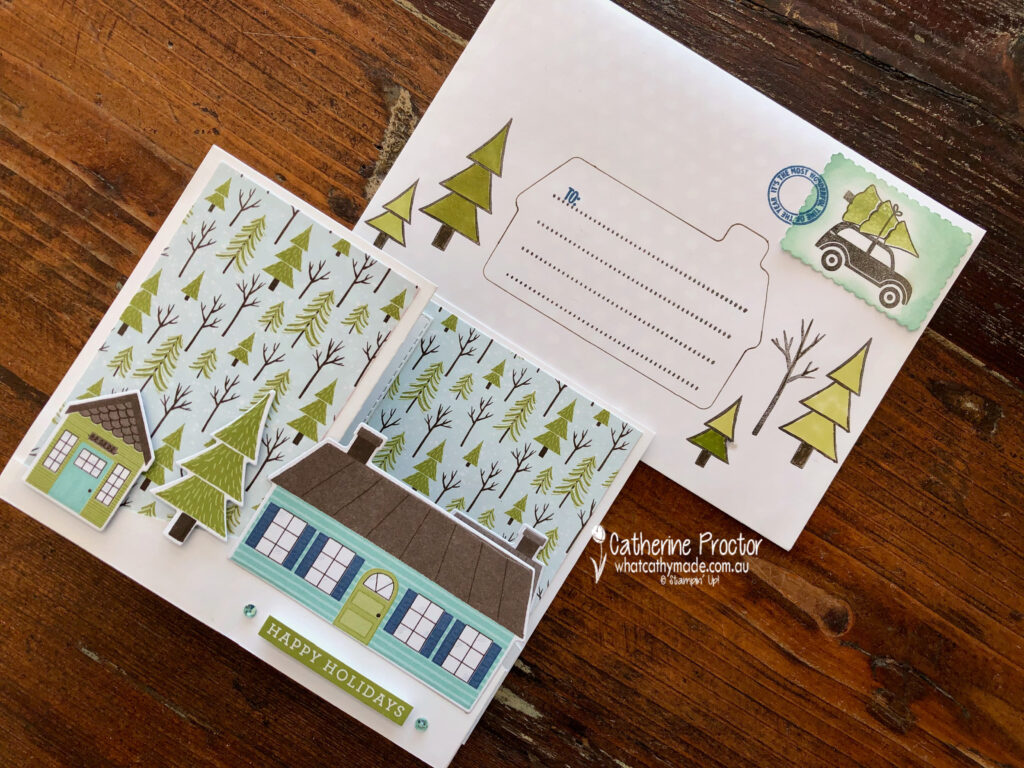
I wanted to make a special envelope for this special card and try my hand at some snail mail art, also known as mail art or envelope art. This is where you decorate an envelope to match a card and it’s so much fun!
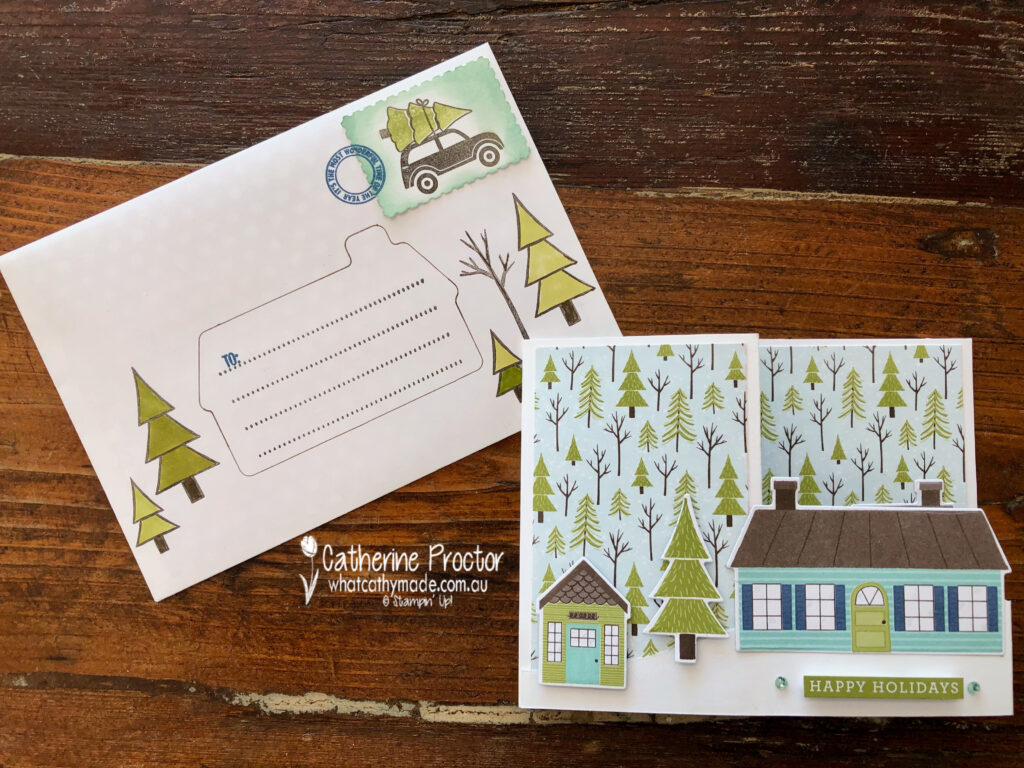
I used a C6 Whisper White envelope, which is the perfect size for my Double Z Fold card.
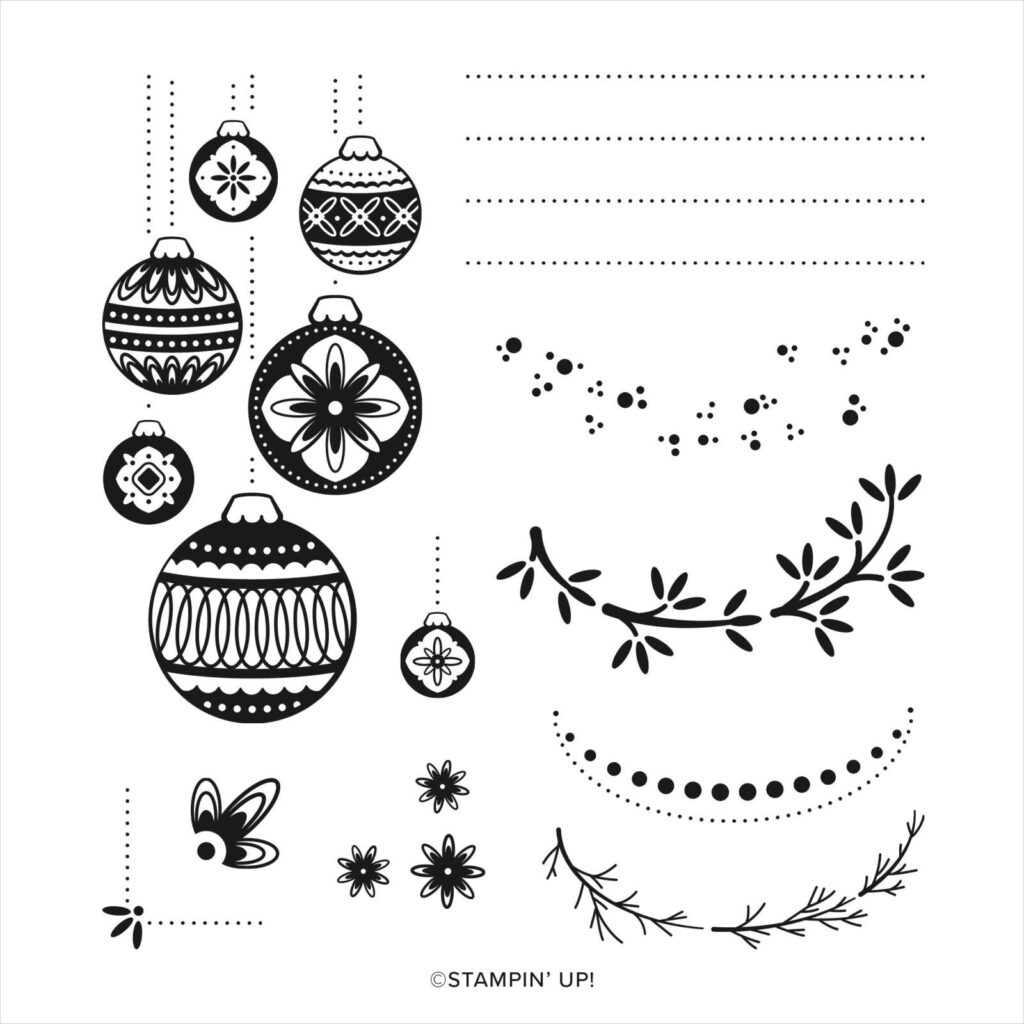
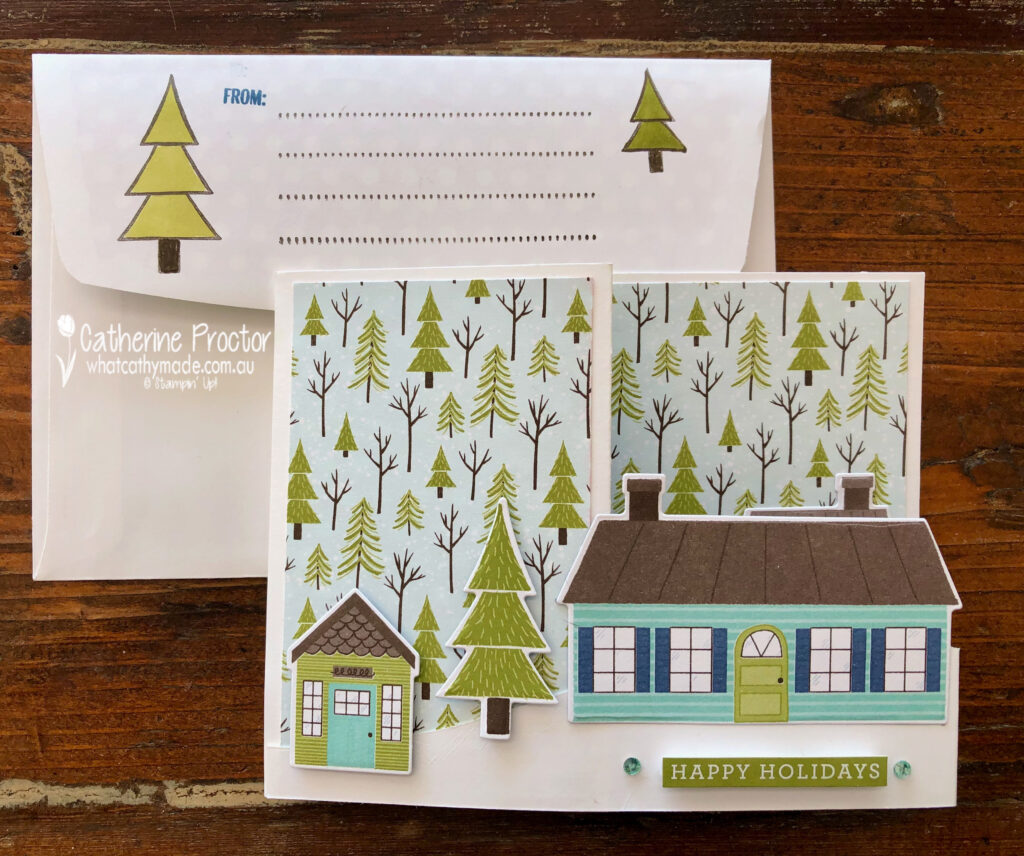
The address panel was created by using an Early Espresso marker to trace around the largest house die. The dotted lines for the address are in the Ornamental envelope Stamp set.
I also stamped and coloured in some tress from the Coming Home stamp set using my Old Olive bends.
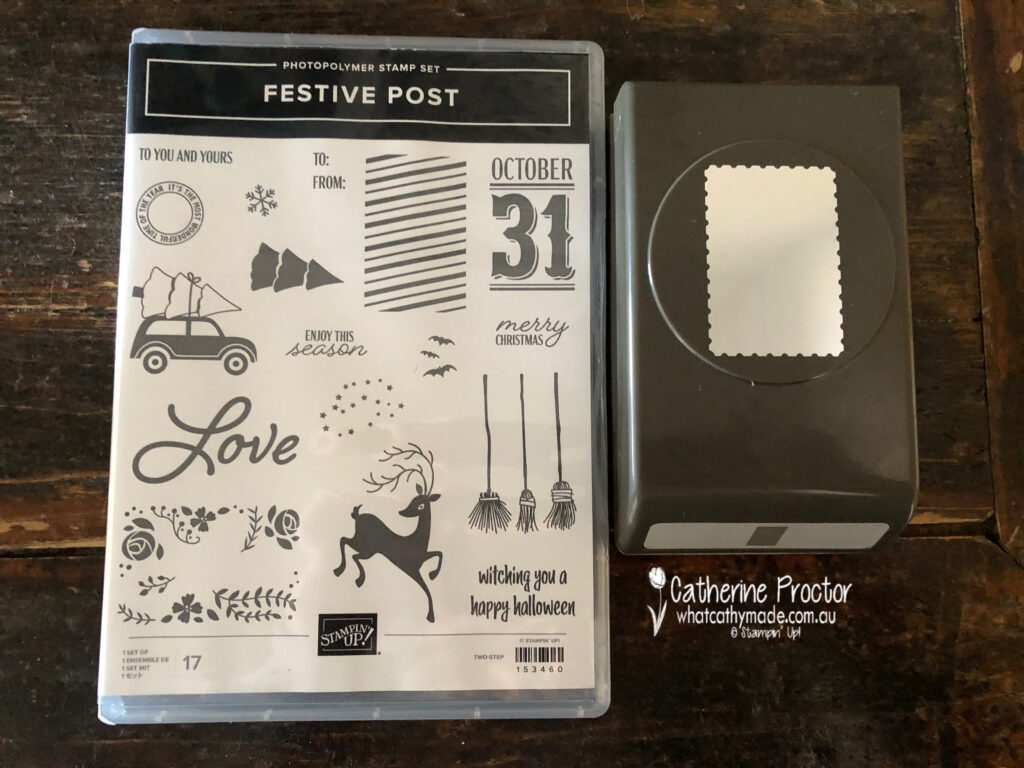
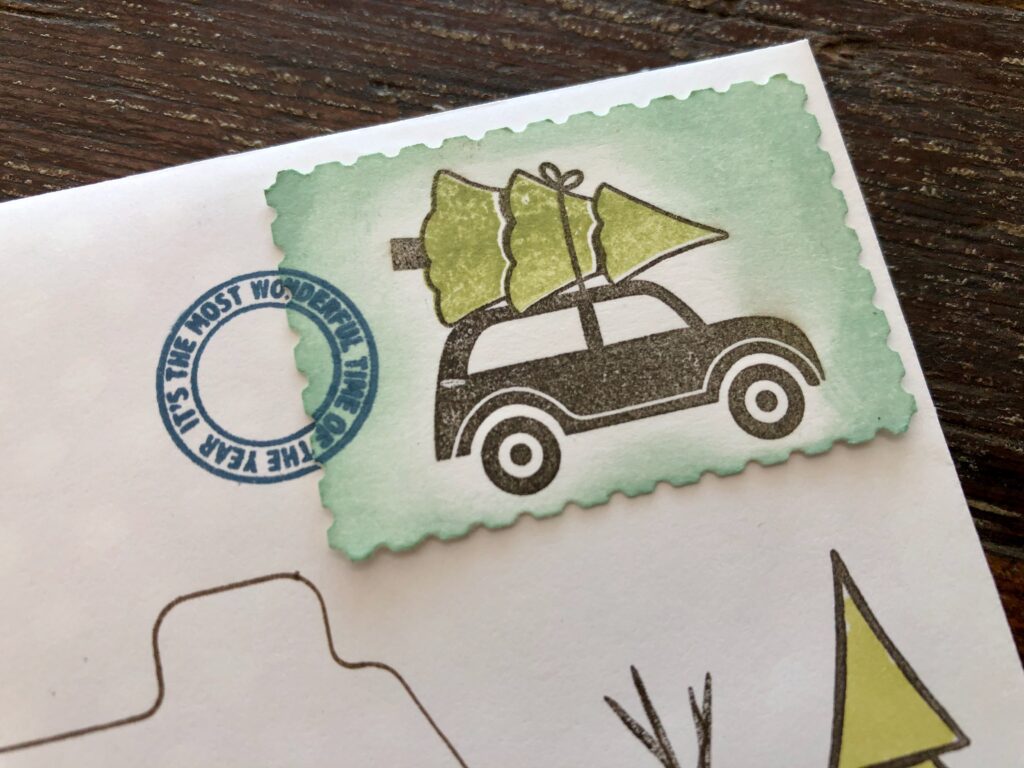
The postage stamp was created using the Festive Post stamp set and matching Rectangular Festive Postage Stamp Punch.
Pool Party was sponged around the outside of the postage stamp to give a vintage look.
The inside of my envelope has been lined using matching DSP, die cut with the Envelope dies that coordinate with the Ornamental Envelopes Stamp set.
The C6 envelope takes the widest envelope liner die – cut a strip of DSP 15cm wide and then line up the die at the top of your insert.
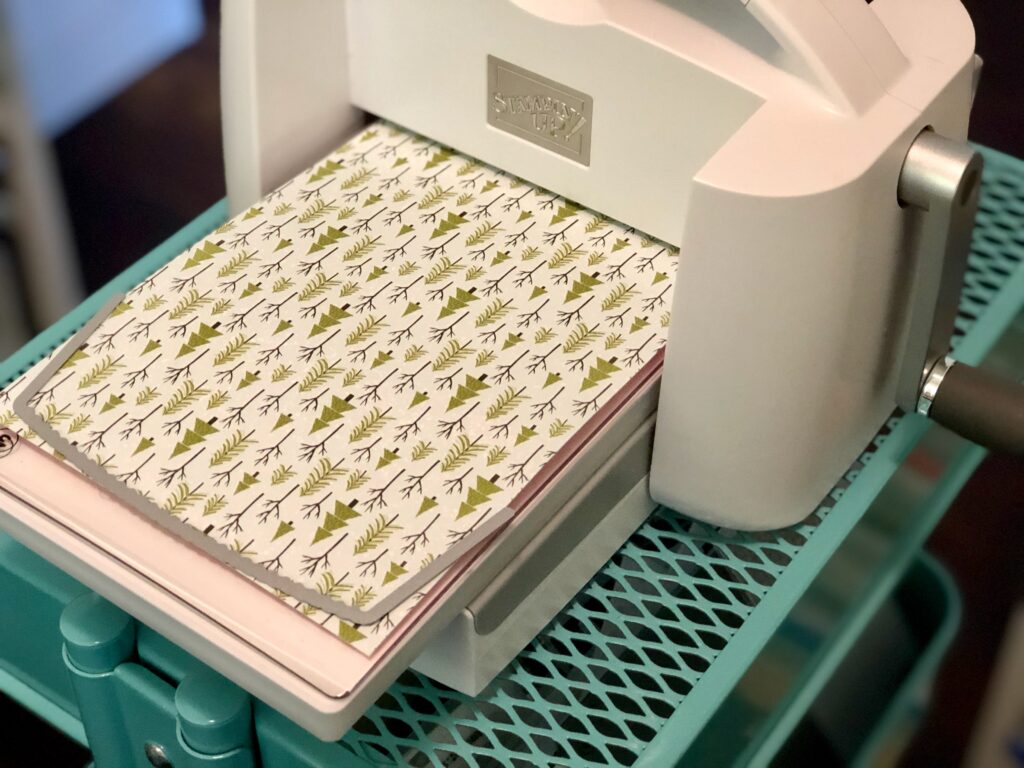
Here it is being cut out on my new Stampin’ Cut & Emboss Machine – I love how well this machine cuts! It will be available to purchase from September.
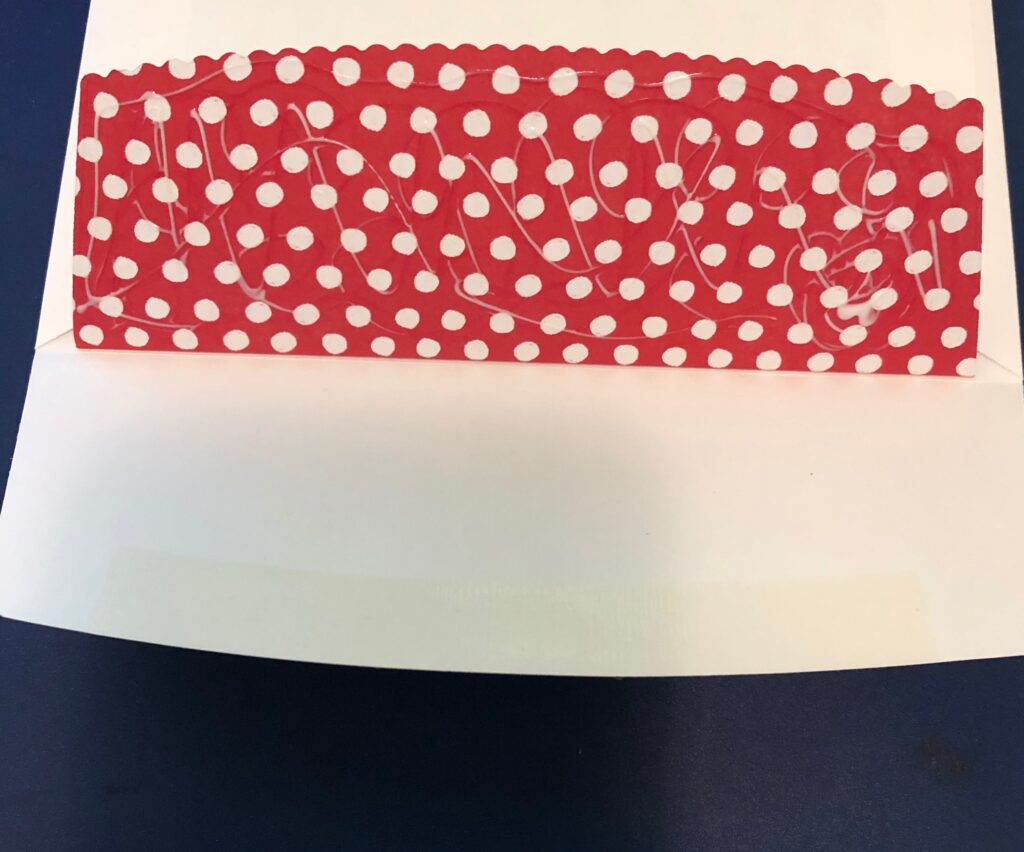
Fold your insert so it lines up with the fold of the envelope and then all you need to do is trim the length to fit inside the envelope and glue the top flaps together.
You glue on the reverse pattern of your DSP lining.
The final touch was to embellish the outside back flap of my envelope to match the front of the envelope and the card.
I’ve had so much fun creating this fancy fold card and creating some snail mail envelope art!
The lovely Judy May is hosting our Heart of Christmas showcase this year. To see the other Christmas creations go back to Judy’s post.
To purchase any of the products featured in today’s post, simply contact your Stampin’ Up! demonstrator, any of the ladies in the AWH Colour Creations Showcase or click on the product links below.
If you’d like me to post you your very own copy of the August – December Mini catalogue (AKA the Holiday Catalogue), the 2020-21 Stampin Up! Annual Catalogue, the 2020-21 Beginners Brochure, or to simply find out about more about Stampin’ Up! contact me.
In the meantime, wherever you are in the world, stay safe, stay calm…and keep on crafting xxx
Welcome to the Monthly Art With Heart Creative Showcase.
With all that’s happening worldwide at the moment the Art With Heart Team are here with a Rainbow theme Creative Showcase to brighten your day.
Every month the talented ladies share their inspirational ideas in a monthly Showcase and this month our projects are inspired by Rainbows.
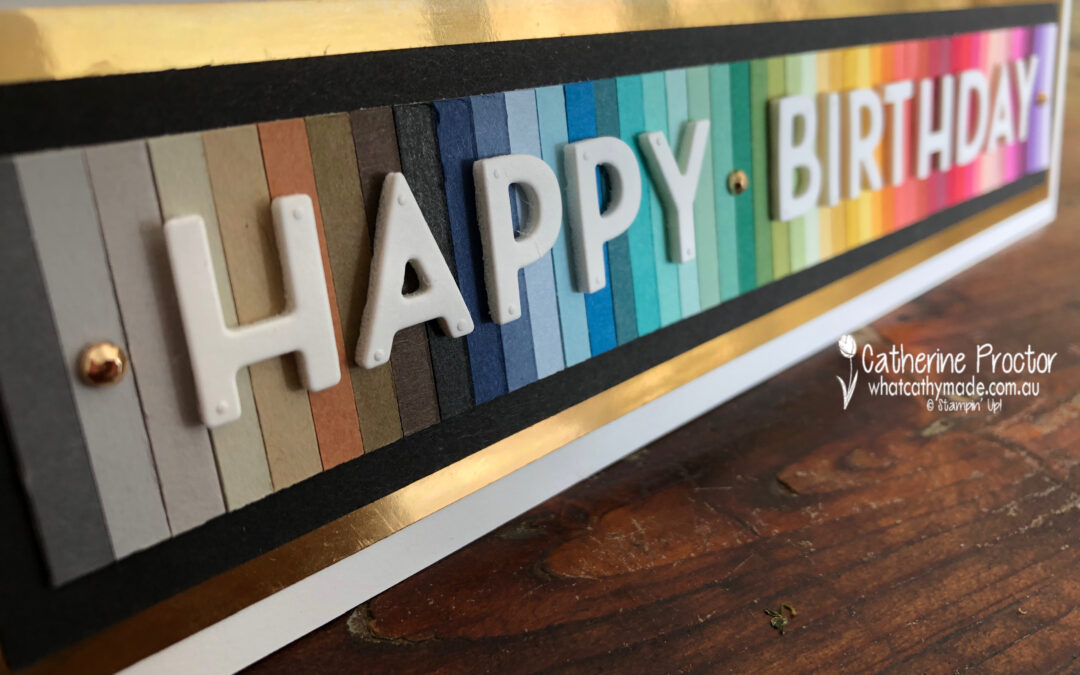
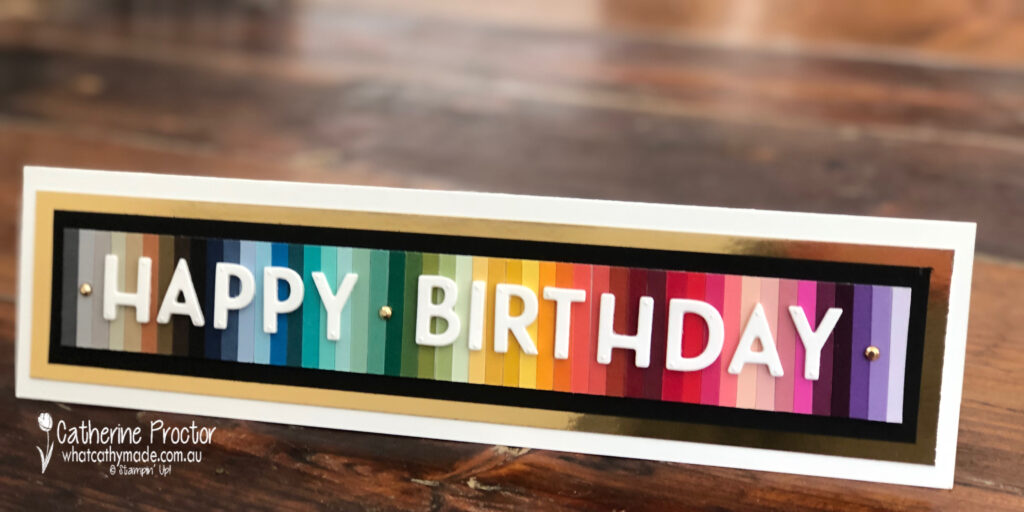
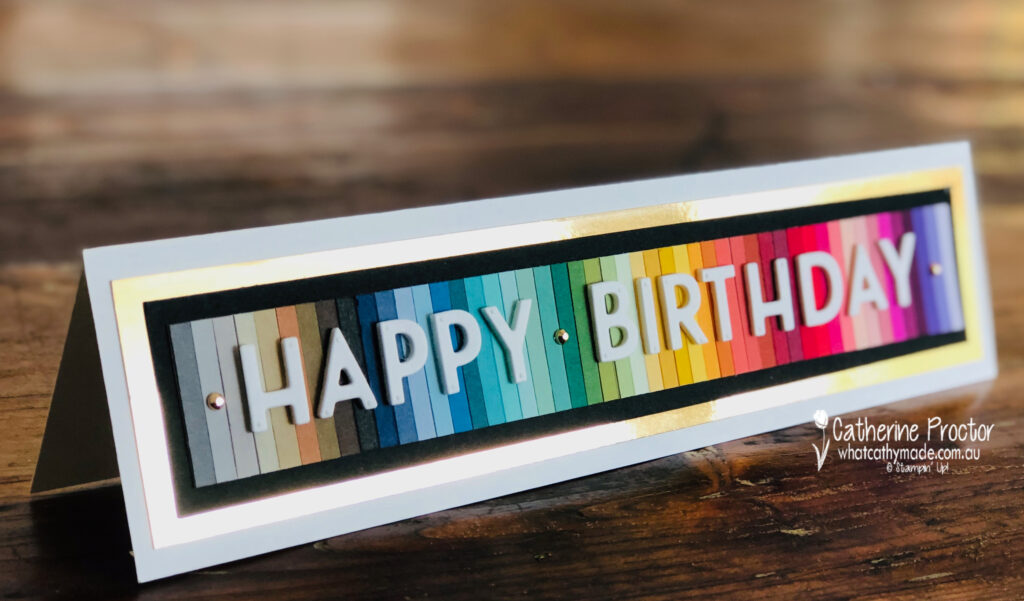
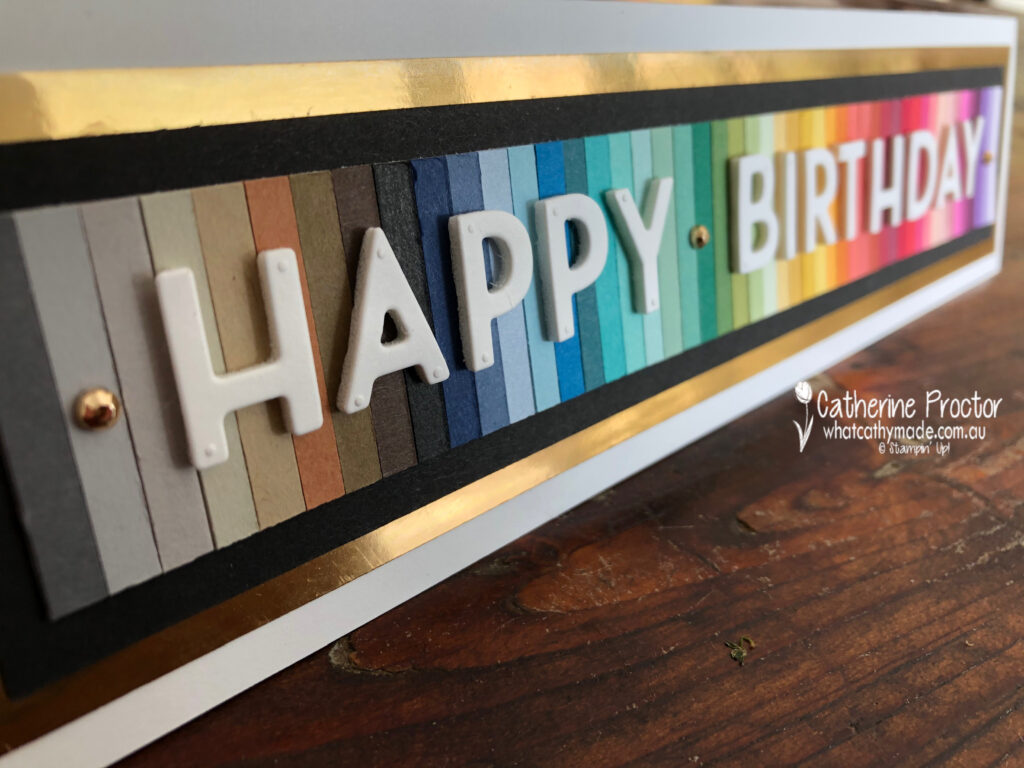
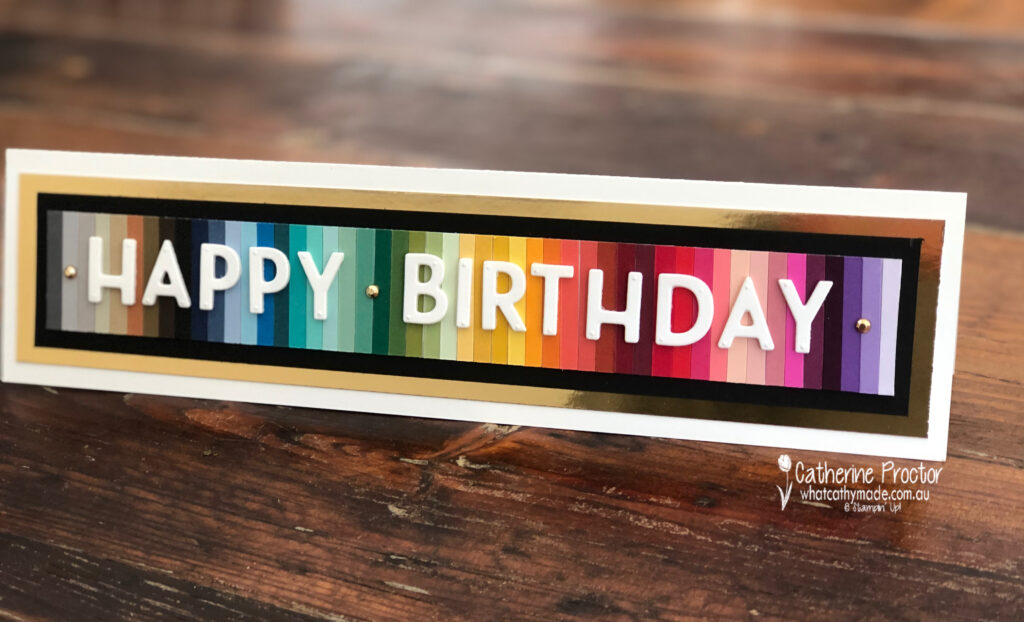
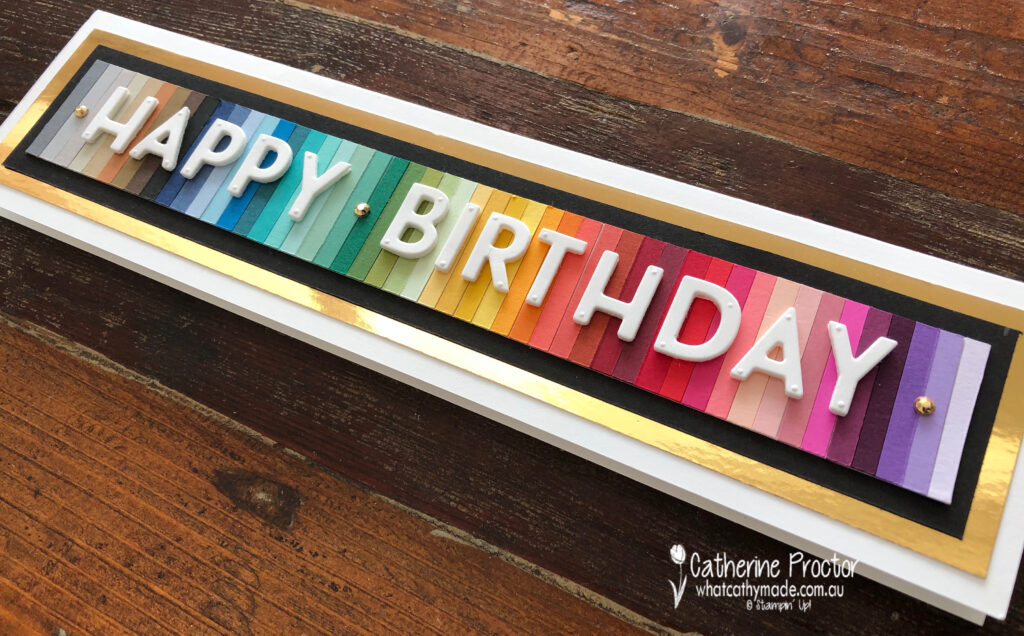
With 40 core colours, 10 in colours and the 3 basic colours of Whisper White, Basic Black and Very Vanilla I found it impossible to chose a just a few of these colours for my rainbow, so I decided to use them all!
The only way I could fit them onto one card was to create a slimline card. For each colour I cut a 5mm thick strip with my paper trimmer and then I organised them into rainbow order onto strips of tear & tape on a Whisper White base.
It took a while to decide on a colour order – there are so many ways you could arrange these colours!
The rainbow strip was trimmed to size, mounted onto a Basic Black card stock layer and a gold foil layer before attaching it all to a Whisper White slimline card base.
The “Happy Birthday” was cut out using the Playful Alphabet dies mounted onto the new foam adhesive sheets – I love the dimension it gives!
Three Gilded Gems add a final touch of bling to tie in the gold foil layer and finish off the card.
I do have a confession to share with you.
After I finished making and photographing my card I planned to list all the colours I used in their rainbow order, but when I counted the strips I realised I have left two colours out and I don’t know which ones they are!
I deliberately didn’t include Whisper White or Very Vanilla card stock in the rainbow strip but I did include Basic Black, which means I should have 51 strips – but I only have 49.
Can you help me out and tell me which two colours I’ve left out!
The next Art With Heart Team Member to share their colouring technique with you is the very talented Caroline Manwaring.
If you have a broken link or have come to this blog hop midway, you can view all the participants below:
Welcome to week six of our 2020-2021 Art With Heart Colour Creations Showcase.
Each week various members of our Art With Heart Colour Creations team will be bringing you weekly colour inspiration as we showcase our range of over 50 beautiful Stampin’ Up! colours in alphabetical order.
Week 11 – Coastal Cabana
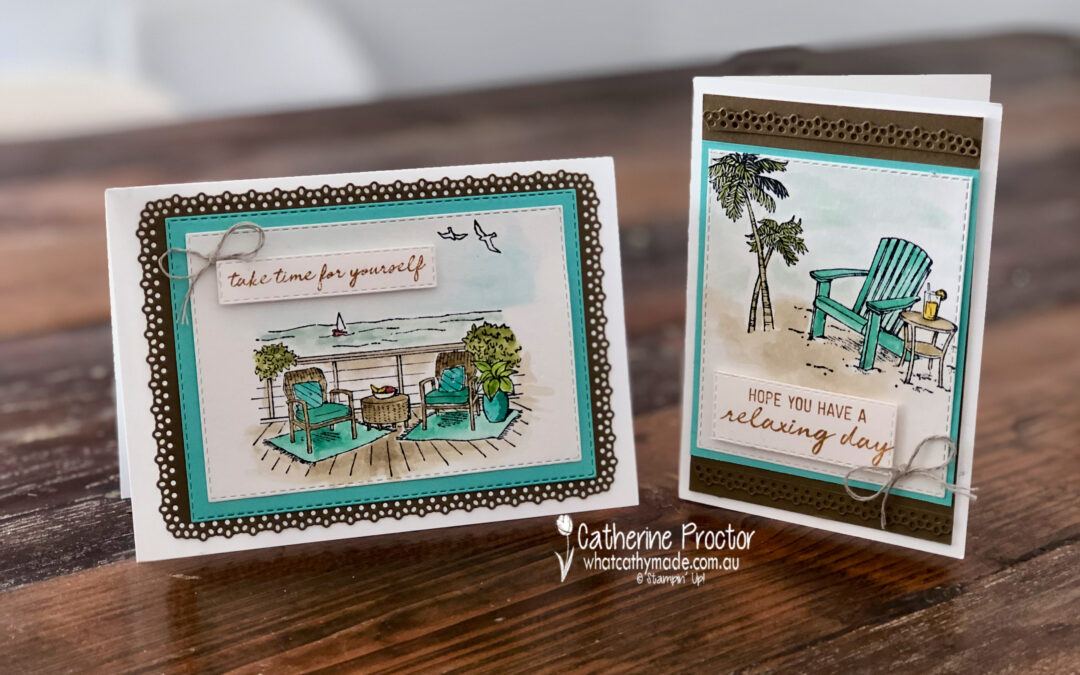
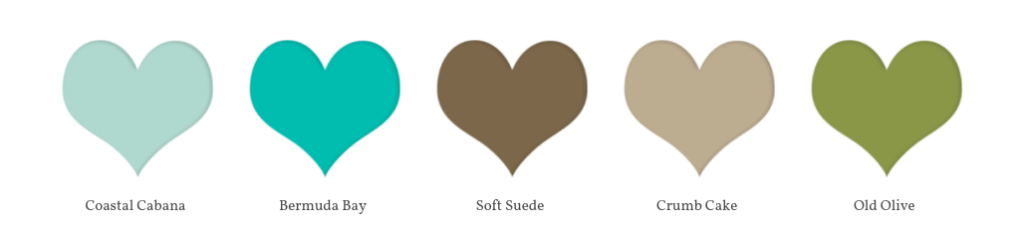
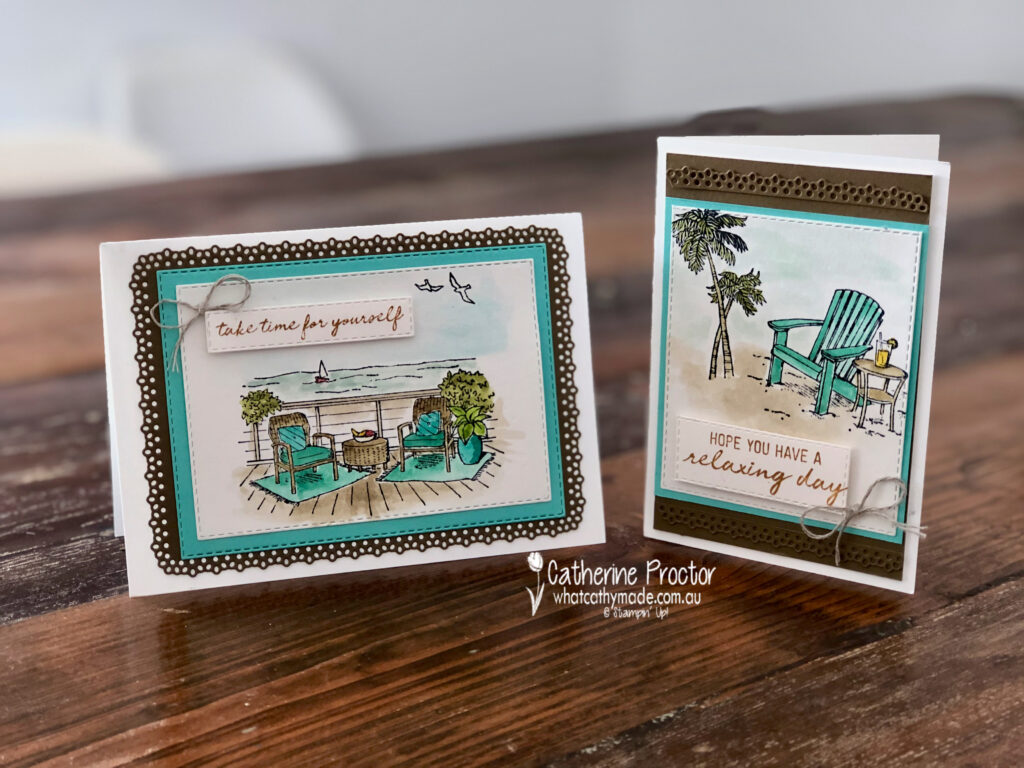
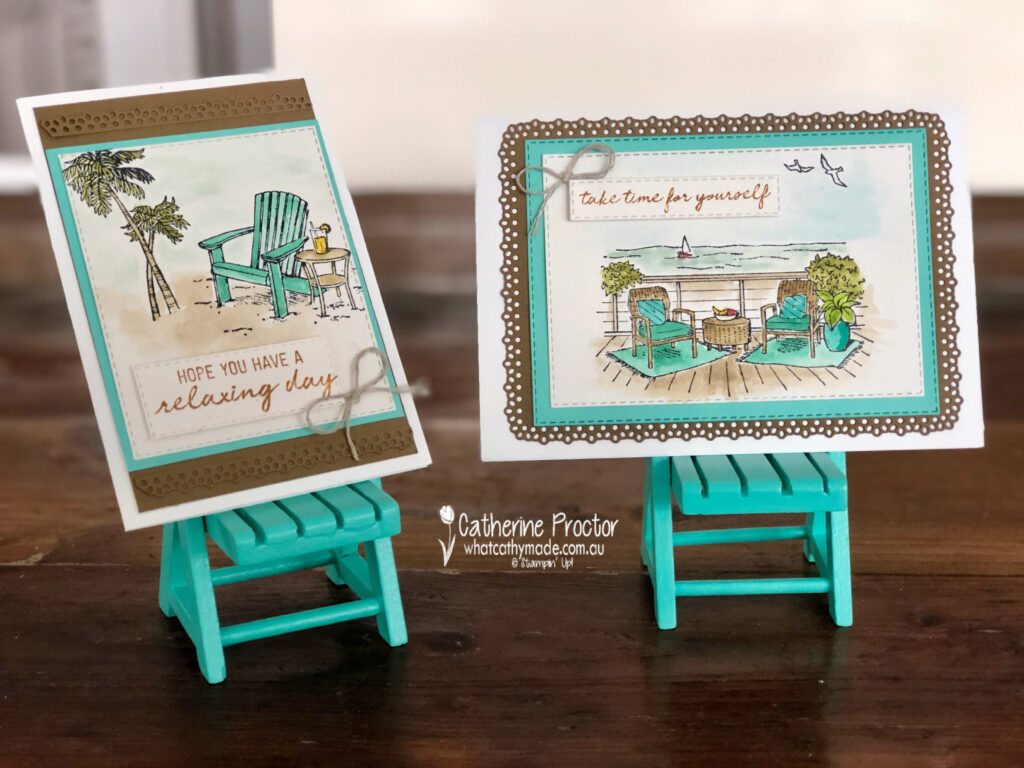
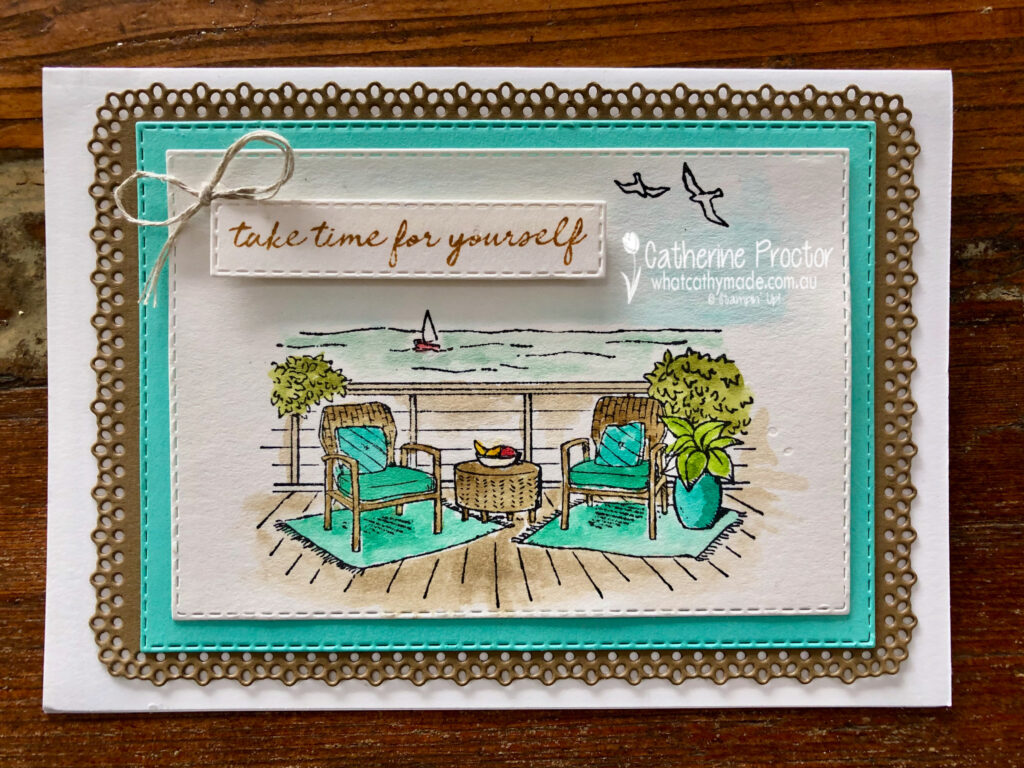
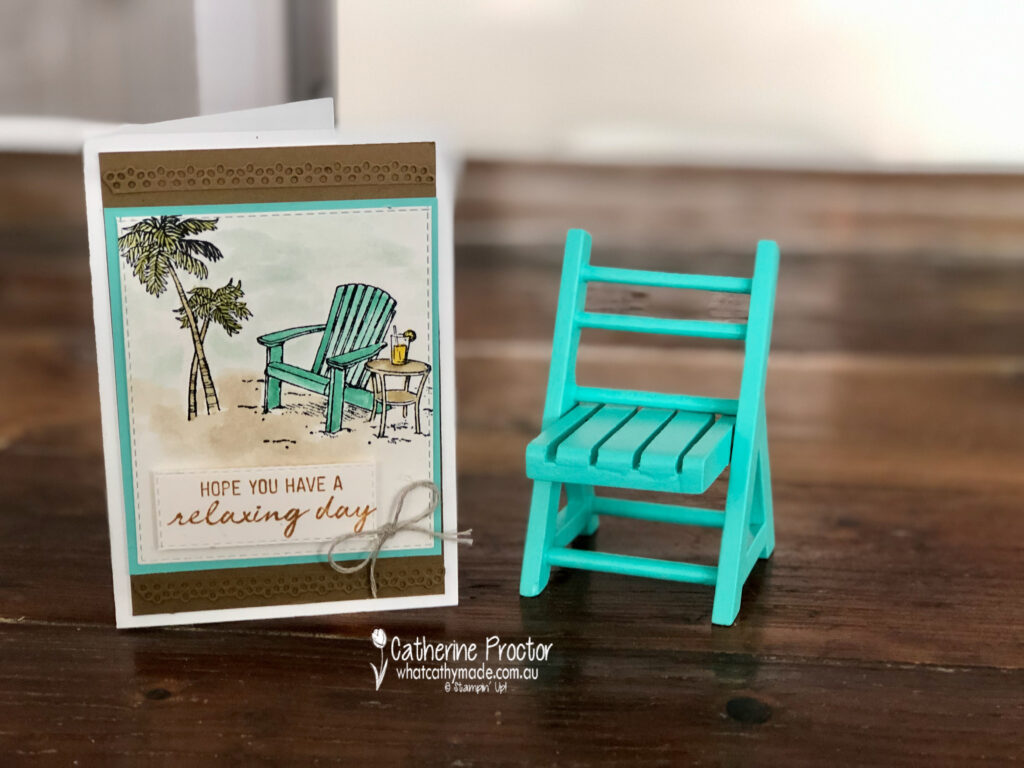
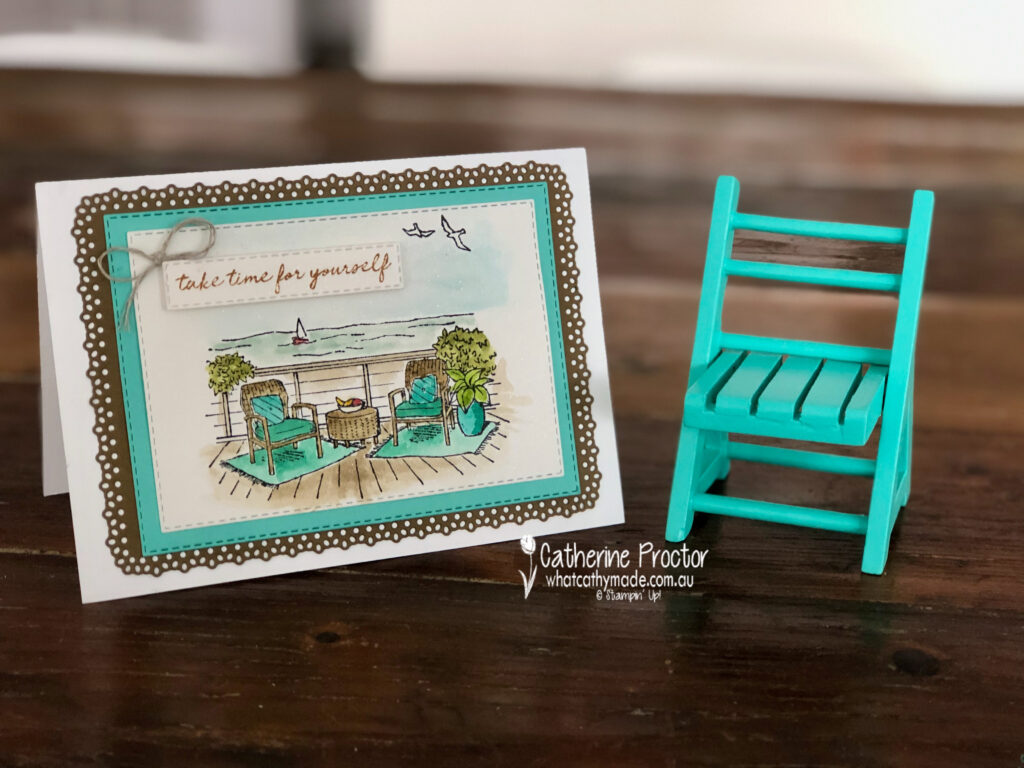
Coastal Cabana is one of the brights and such a happy colour – exactly what we all need in our world right now! Today I’ve paired it with Soft Suede, Bermuda Bay, Old Olive, Crumb Cake and Whisper White to create two watercolour scenes.
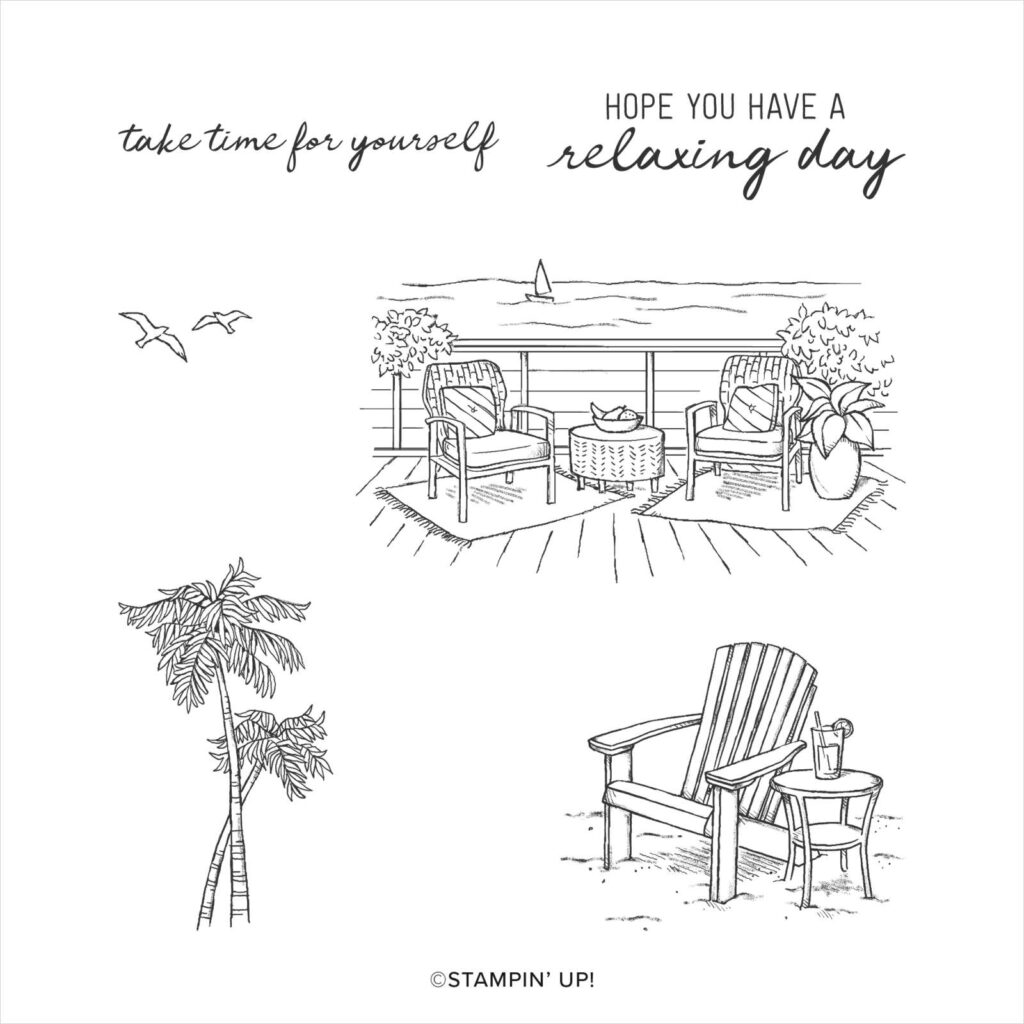
I’ve used a beautiful stamp set called Seaside View that I gave to my “crafting partner in crime” (AKA known as Jenny Boffey!) as part of her birthday present last week.
I then immediately borrowed it back from her to make my Coastal Cabana Cards!
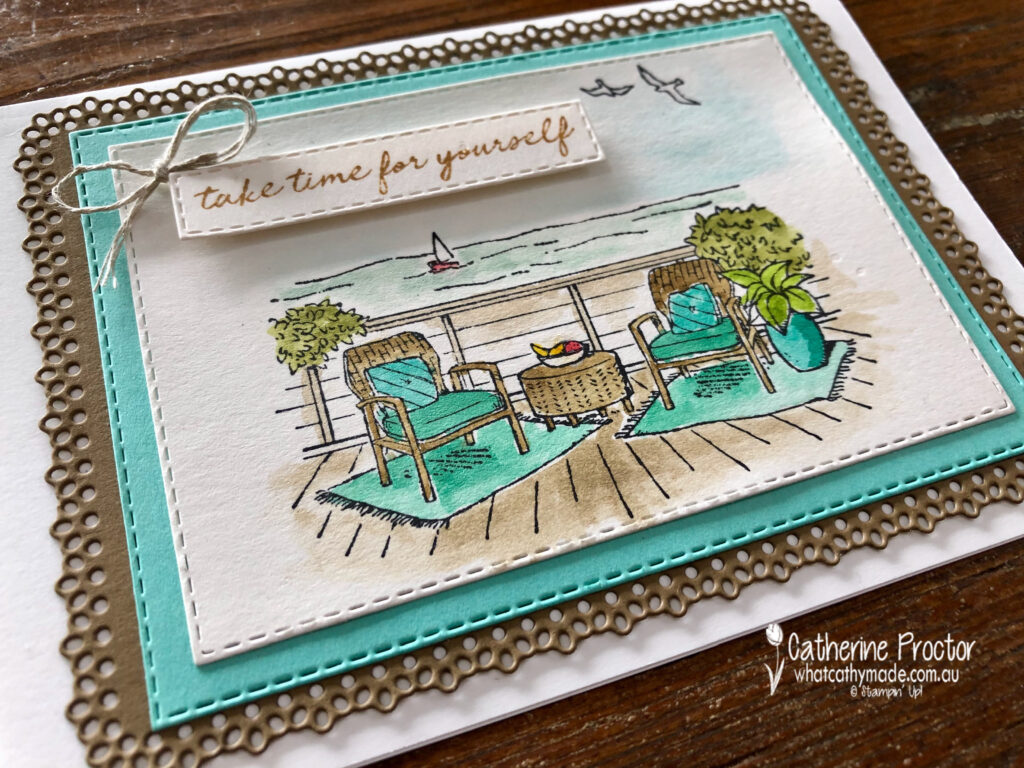
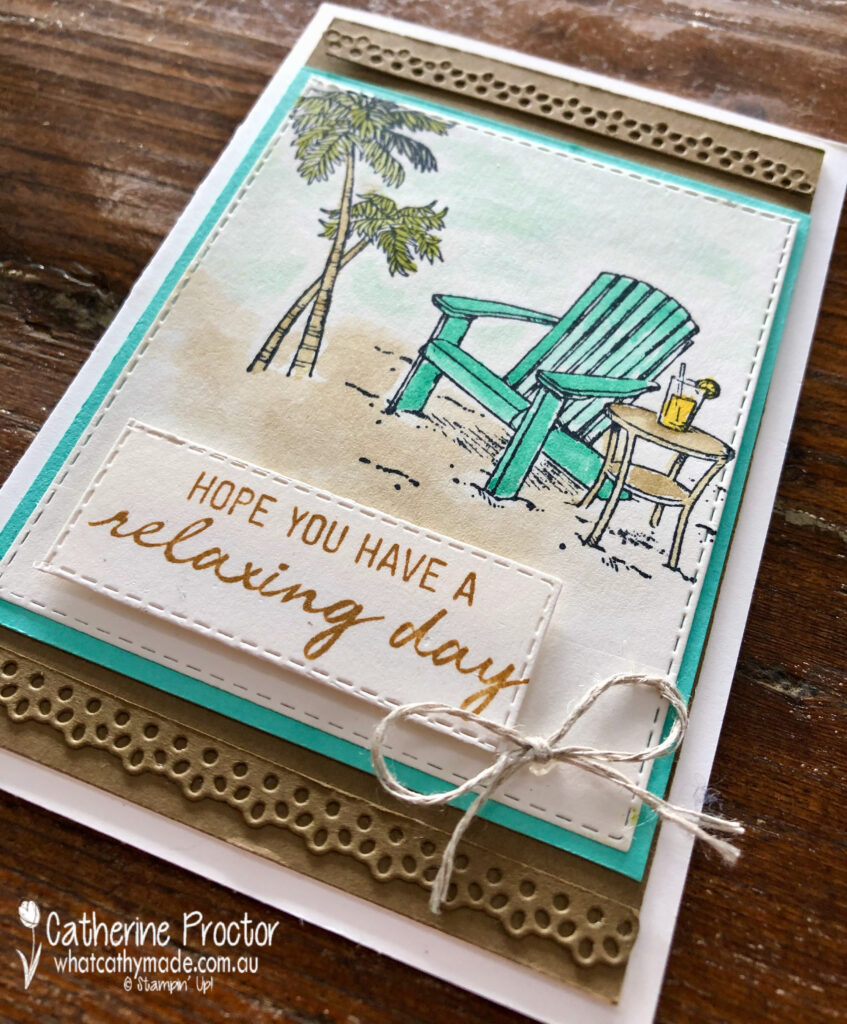
I stamped my seaside images using Black Stazon ink onto Fluid 100 Watercolour Paper and then used my smallest water painter brush to lift ink off the lids of the my ink pads and water colour my scenes.
The sentiments are also from the Seaside View stamp set but I stamped them with the Saddle Brown Stazon ink – I love this colour and I think it looks great with Soft Suede.
The background layer for my “Take Time for Yourself” card is die cut using the largest Ornate Layer die and the other layers are cut using the stitched rectangle dies.
Card two also uses the largest Ornate Layer die but it was too big for the notecard base so I trimmed the edge off the die and uses it as a lace detail at the top and the base of my card.
Don’t you love it when you already have the matching prop for a photo shoot? I found these miniature chairs at an op shop several years ago – they are so cute and just perfect for this Coastal Cabana seaside card!
Both cards are finished off with a bow of linen thread.
I can’t wait to see what the rest of the Art With Heart team have created with Coastal Cabana today. Click on the links below to see what they’ve made.
Next Tuesday we’ll be showcasing one of the Regal family: Crumb Cake. We hope you can join us all then.
To purchase any of the products featured in today’s post, simply contact your Stampin’ Up! demonstrator, any of the ladies in the AWH Colour Creations Showcase or click on the product links below.
If you’d like me to post you your very own copy of the 2020-21 Stampin Up! Annual Catalogue, the 2020-21 Beginners Brochure, or to simply find out about more about Stampin’ Up! contact me.
In the meantime, wherever you are in the world, stay safe, stay calm…and keep on crafting xxx
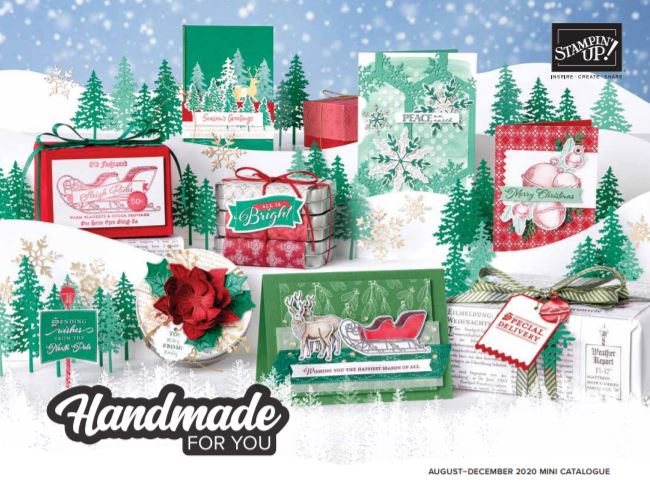
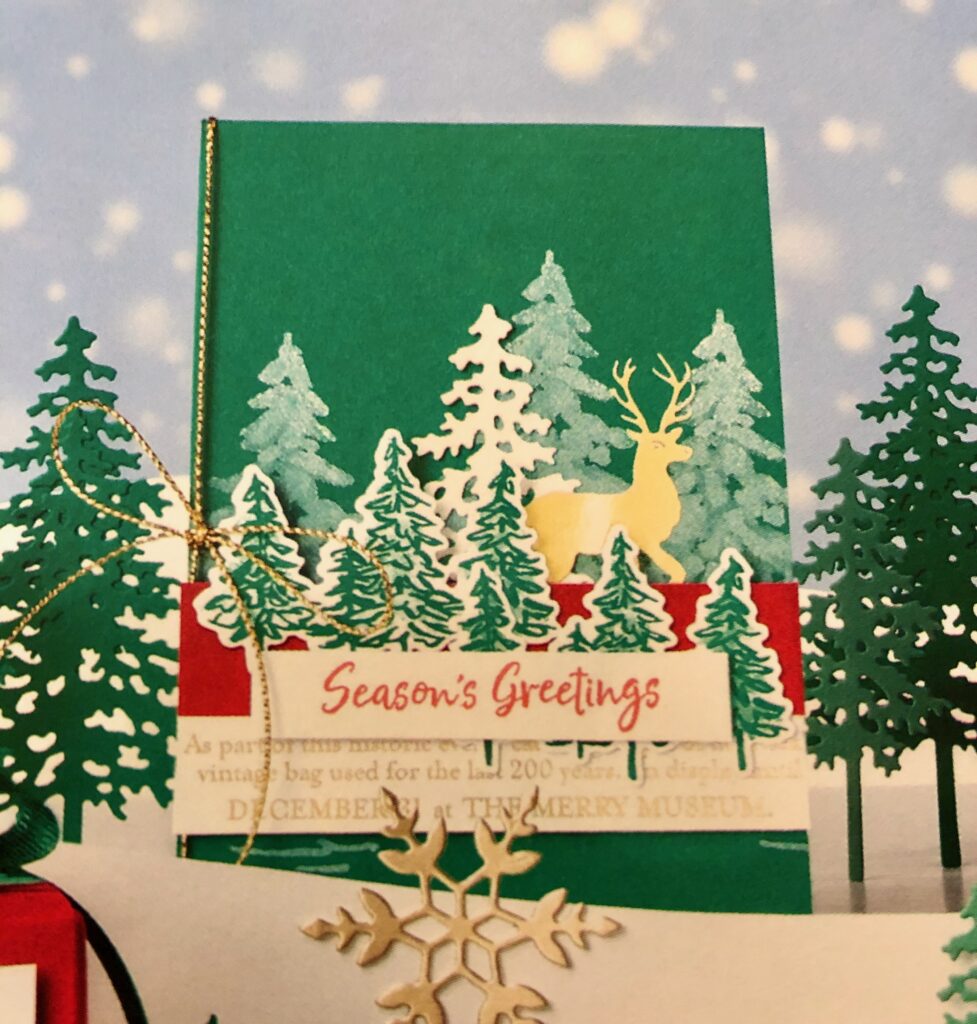
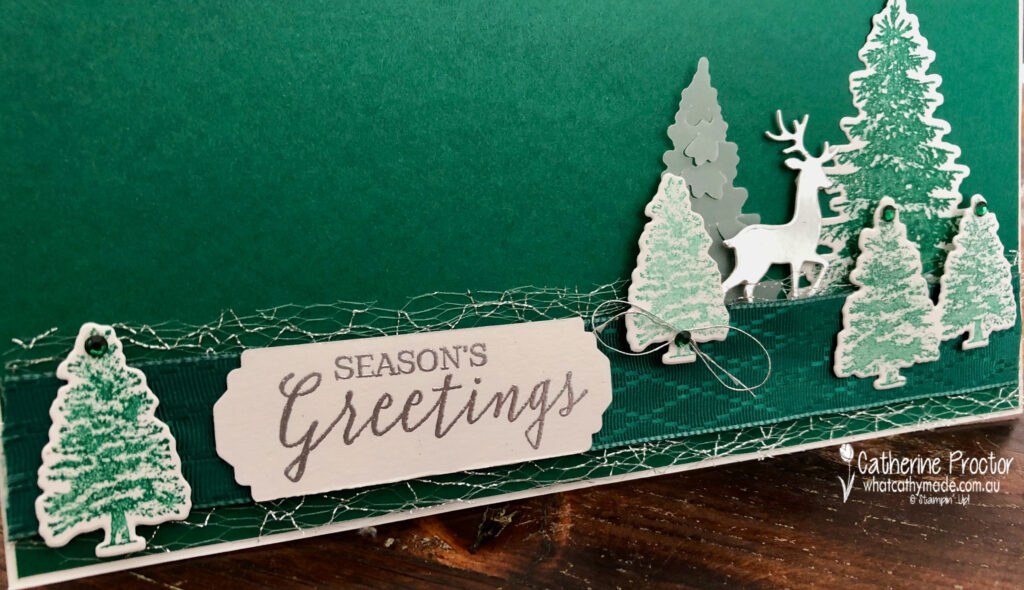
I’ve been following the beautiful creations of the CASEing the Catty team for a while and I decided to finally join in this week for the CTC380 challenge, which is CASEing the cover of the August – December 2020 Mini Catalogue.
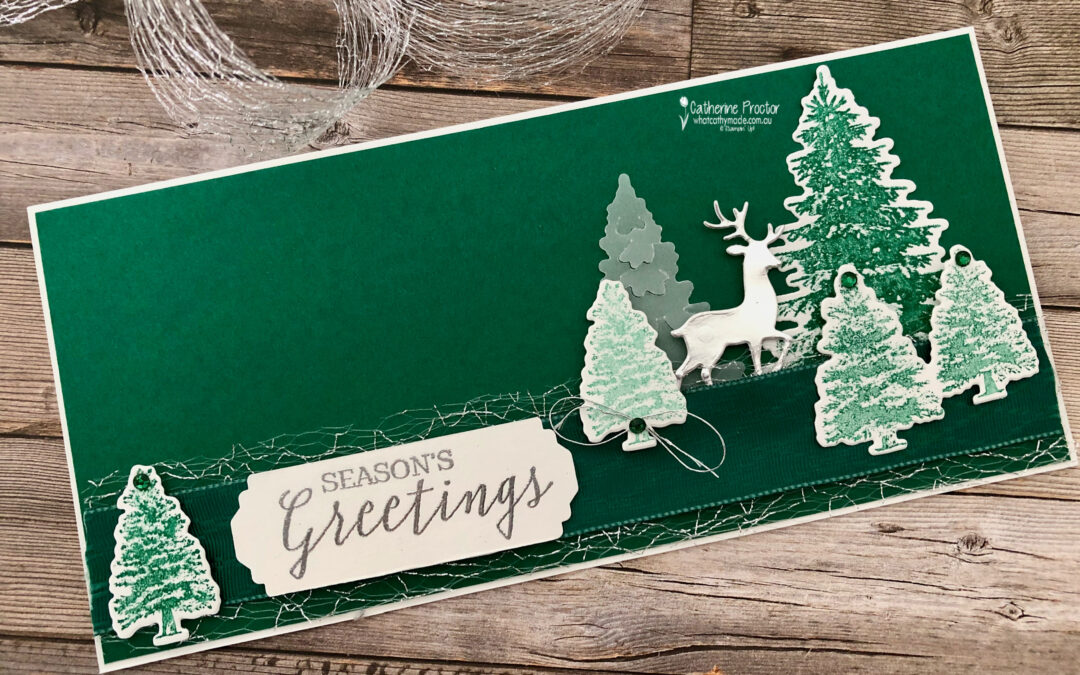
There are so many beautiful cards on this cover but in the end I decided to CASE the “Seasons Greetings” card which is on the top left of the cover. I just love that little deer standing proud in amongst the trees.
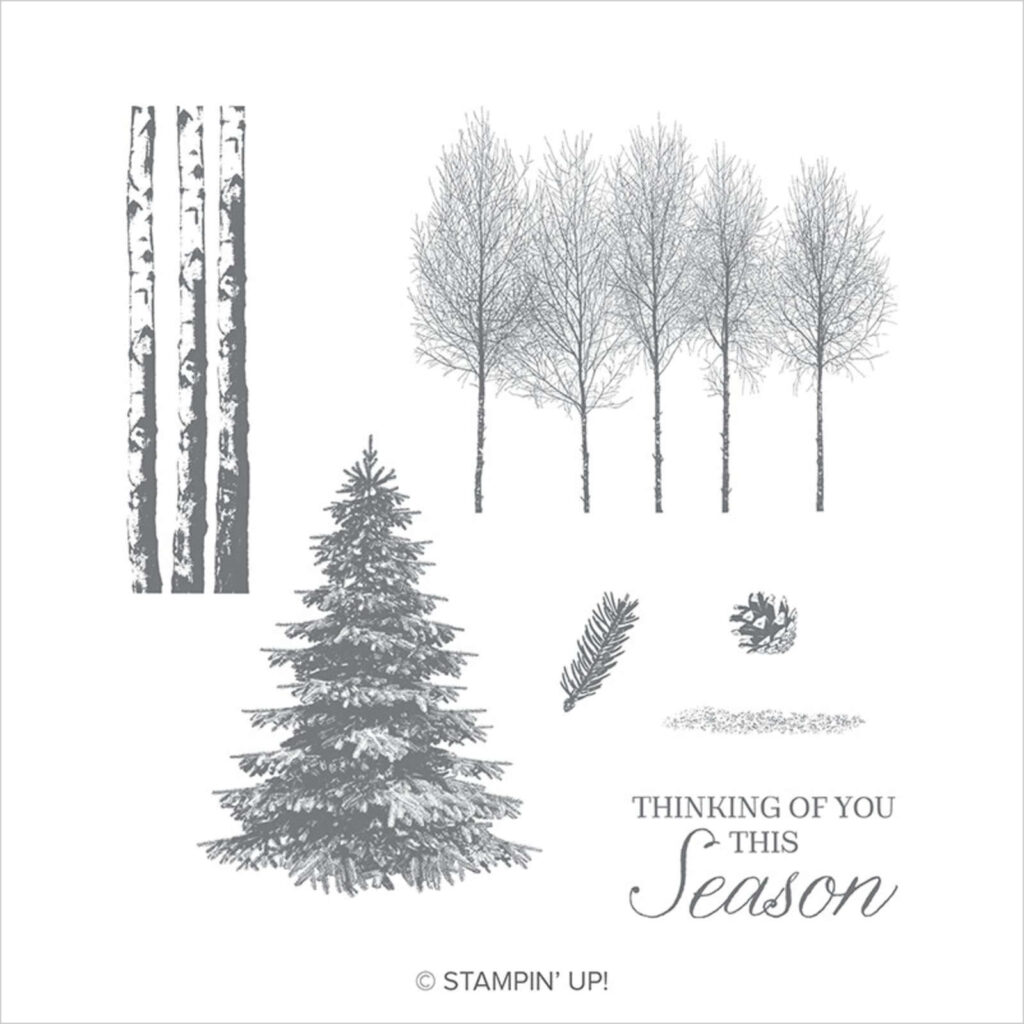
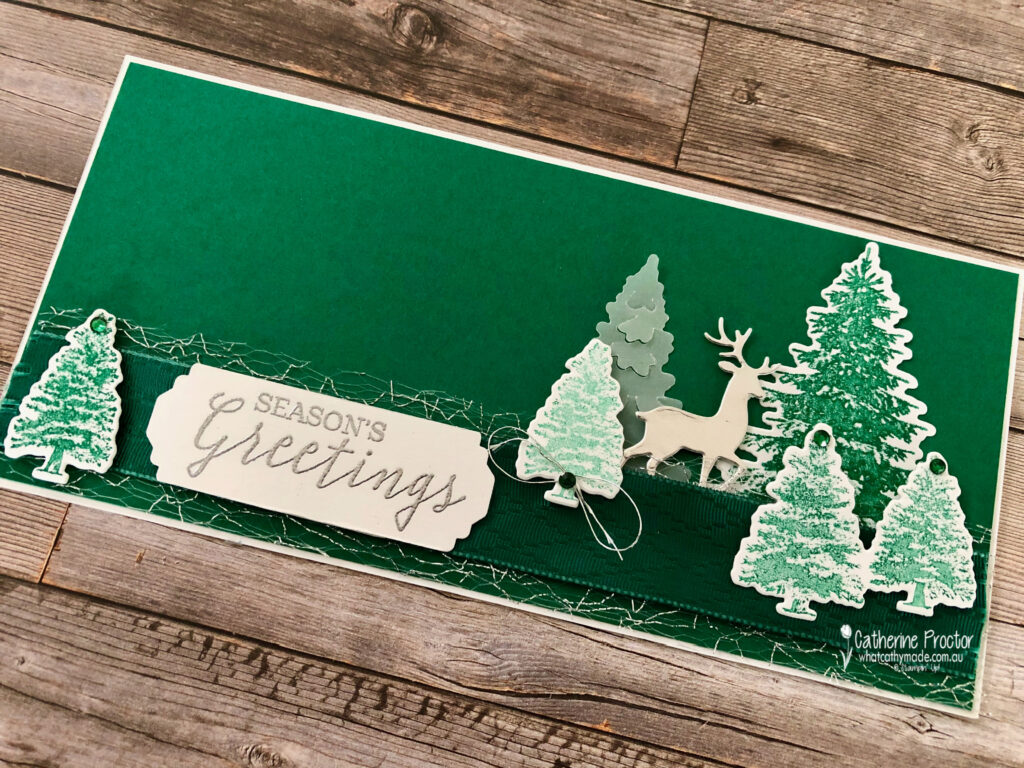
I don’t have the “In the Pines” bundle yet so I used the Winter Woods and the Rooted in Nature stamp sets (with their matching dies) and the snow globe dies instead.
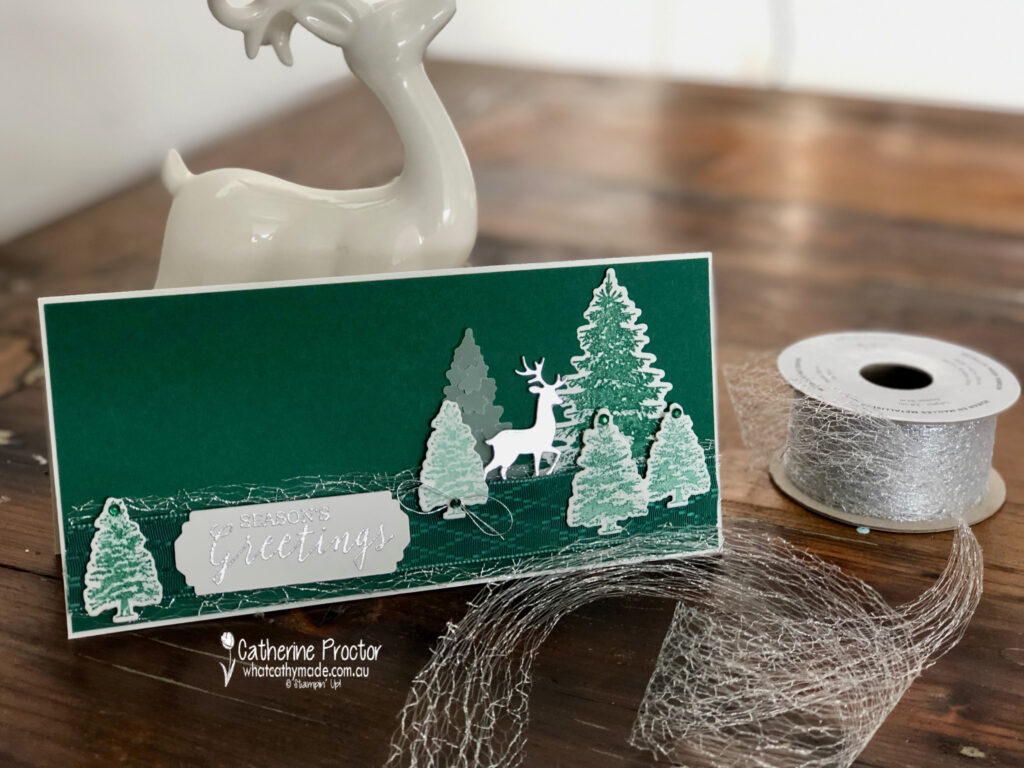
Slimline cards are all the rage ATM which is why I made my scene horizontal rather than the original vertical. I also switched out the gold for silver, which I personally prefer with Shaded Spruce.
These gorgeous new ribbons are both from the the August – December 2020 Mini Catalogue. The Shaded Spruce Argyle Satin ribbon comes in the “Wonder of the Season” Ribbon Combo pack and I’ve layered it on top of the Silver Metallic Mesh Ribbon.
My deer is die cut from silver foil using the Snow Globe Scenes dies.
And the “Season’s Greetings” sentiment is from the coordinating Still Scenes stamp set.
To purchase any of the products featured in today’s post, simply click on the product links below.
If you’d like me to post you your very own copy of the the August – December 2020 Mini Catalogue, the 2020-21 Stampin Up! Annual Catalogue, the 2020-21 Beginners Brochure, or to simply find out about more about Stampin’ Up! contact me.
In the meantime, wherever you are in the world, stay safe, stay calm…and keep on crafting xxx
Welcome to week ten of our 2020-2021 Art With Heart Colour Creations Showcase.
Each week various members of our Art With Heart Colour Creations team will be bringing you weekly colour inspiration as we showcase our range of over 50 beautiful Stampin’ Up! colours in alphabetical order.
Week 10 – Cinnamon Cider
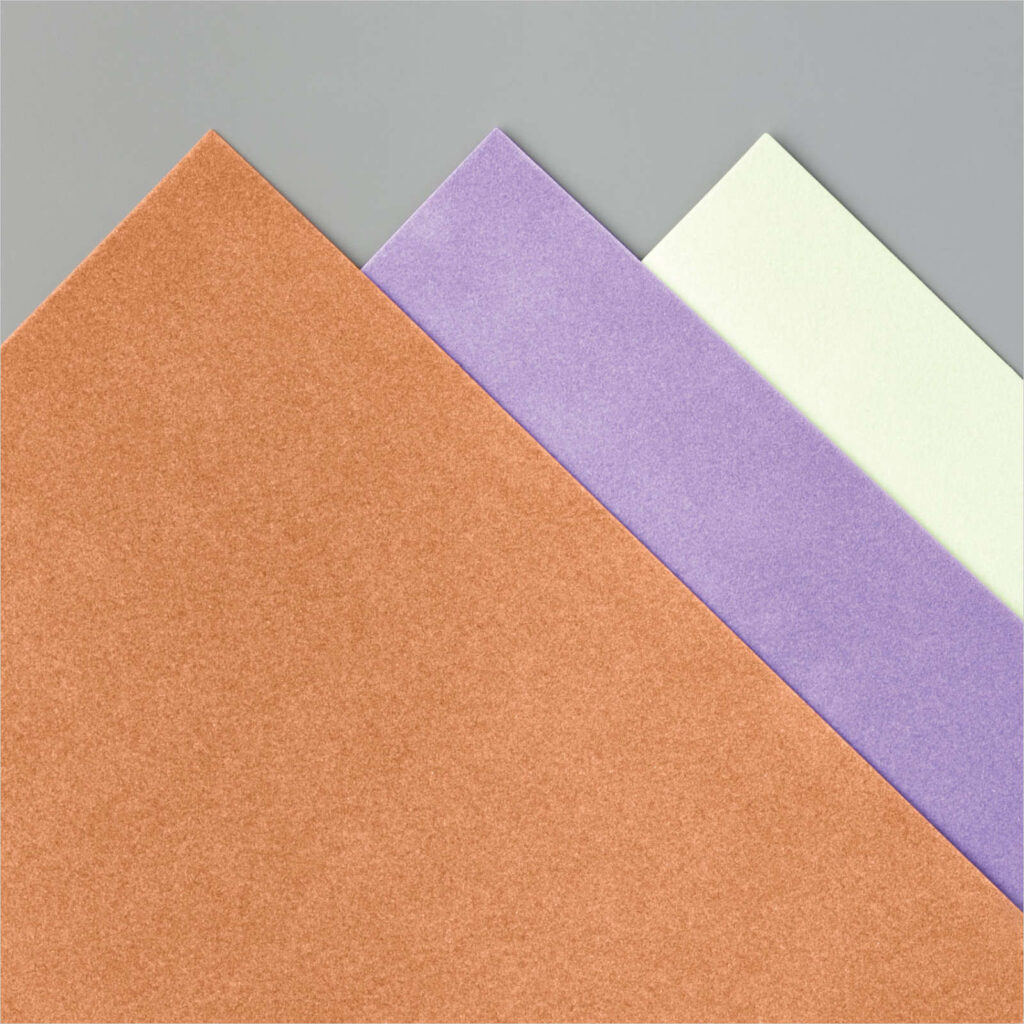
Cinnamon Cider is a 2020-22 In Color and one of the exciting new products available in this colour is a velveteen paper. You’ll find the velveteen paper pack is on page 153 of the 2020 Annual Catalogue and this soft flocked paper comes in Cinnamon Cider, Highland Heather and Soft Sea Foam.
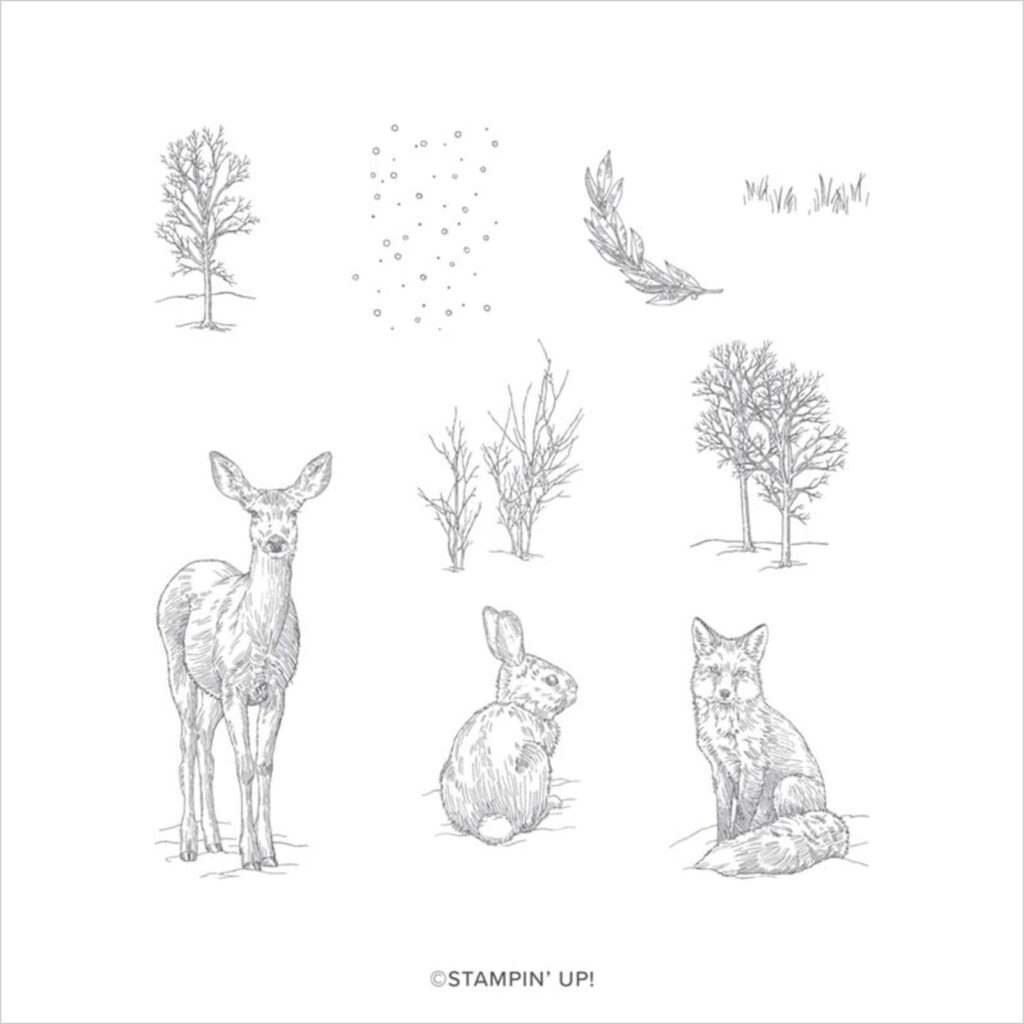
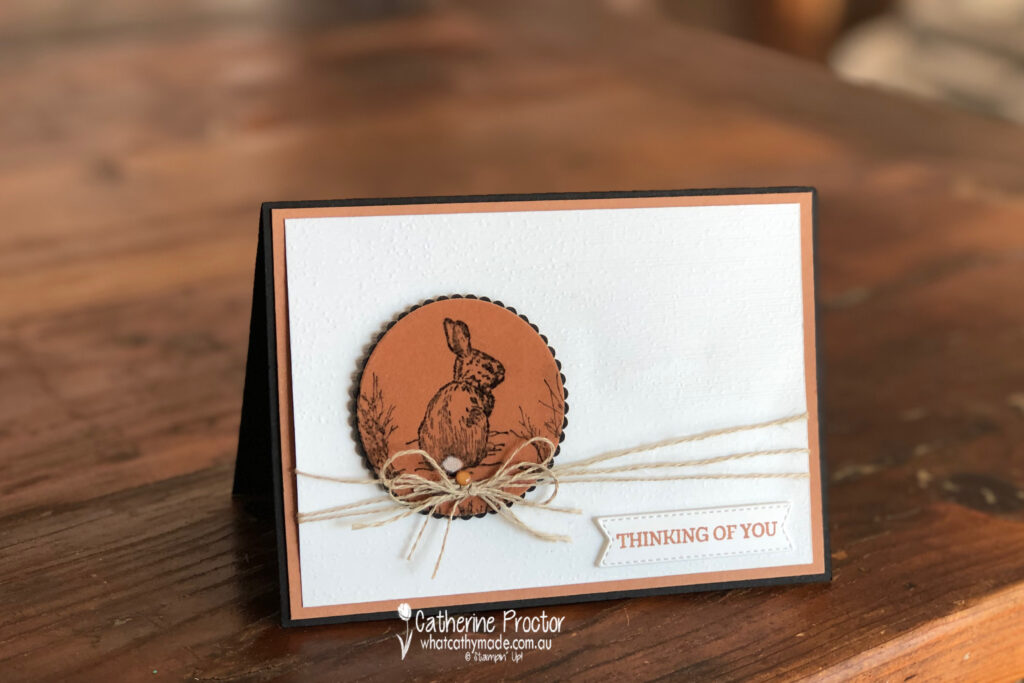
I thought this soft velvety paper would be ideal for bringing the rabbit from the Nature’s Beauty stamp set to life, so my cards this week feature this darling little rabbit.
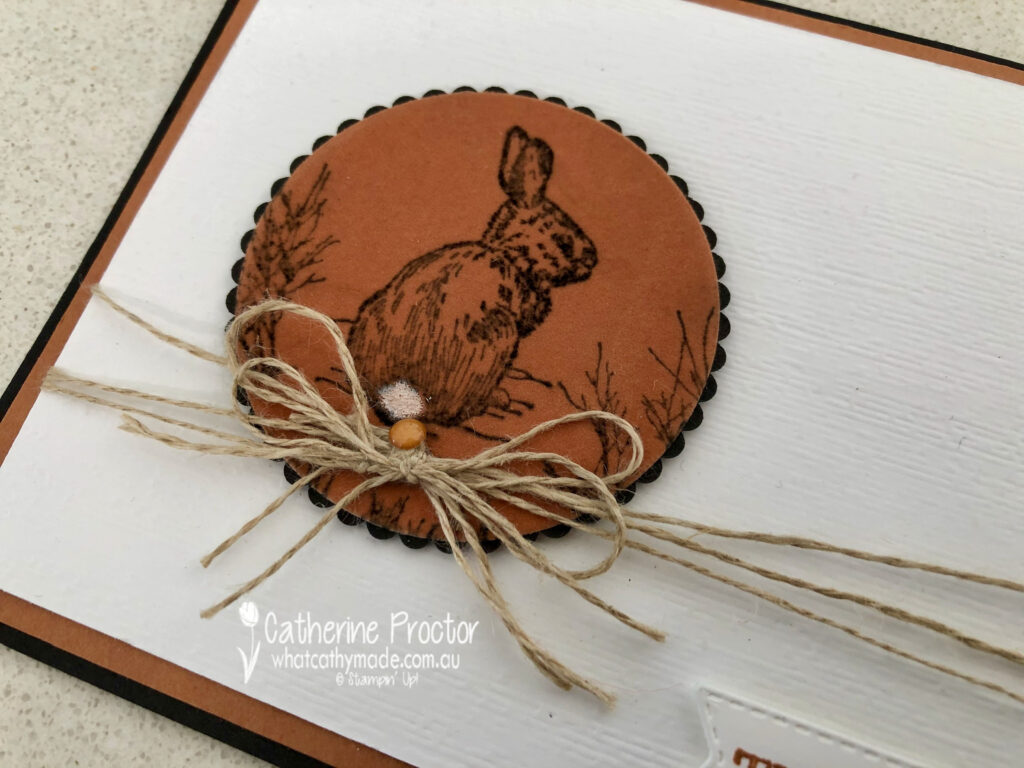
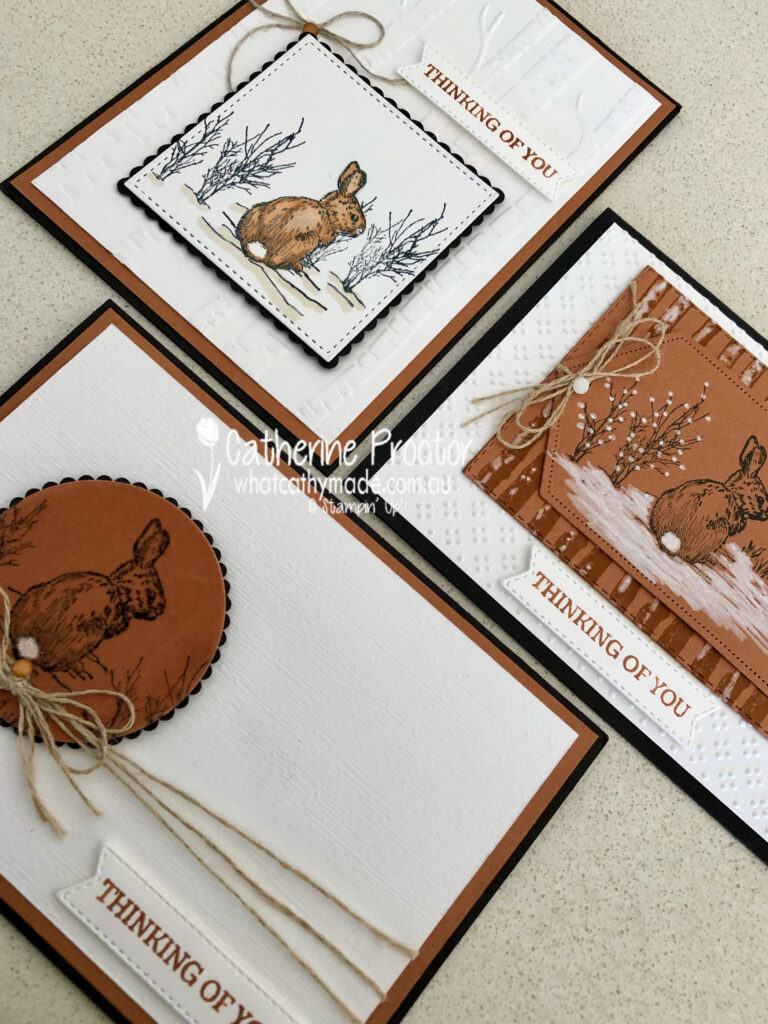
How adorable is does he look stamped with Memento Ink onto the Cinnamon Cider velveteen paper? I die cut the image using a circle die and mounted it onto a scalloped circle of Basic Black die cut using the larger scalloped circle die from the layering circle dies.
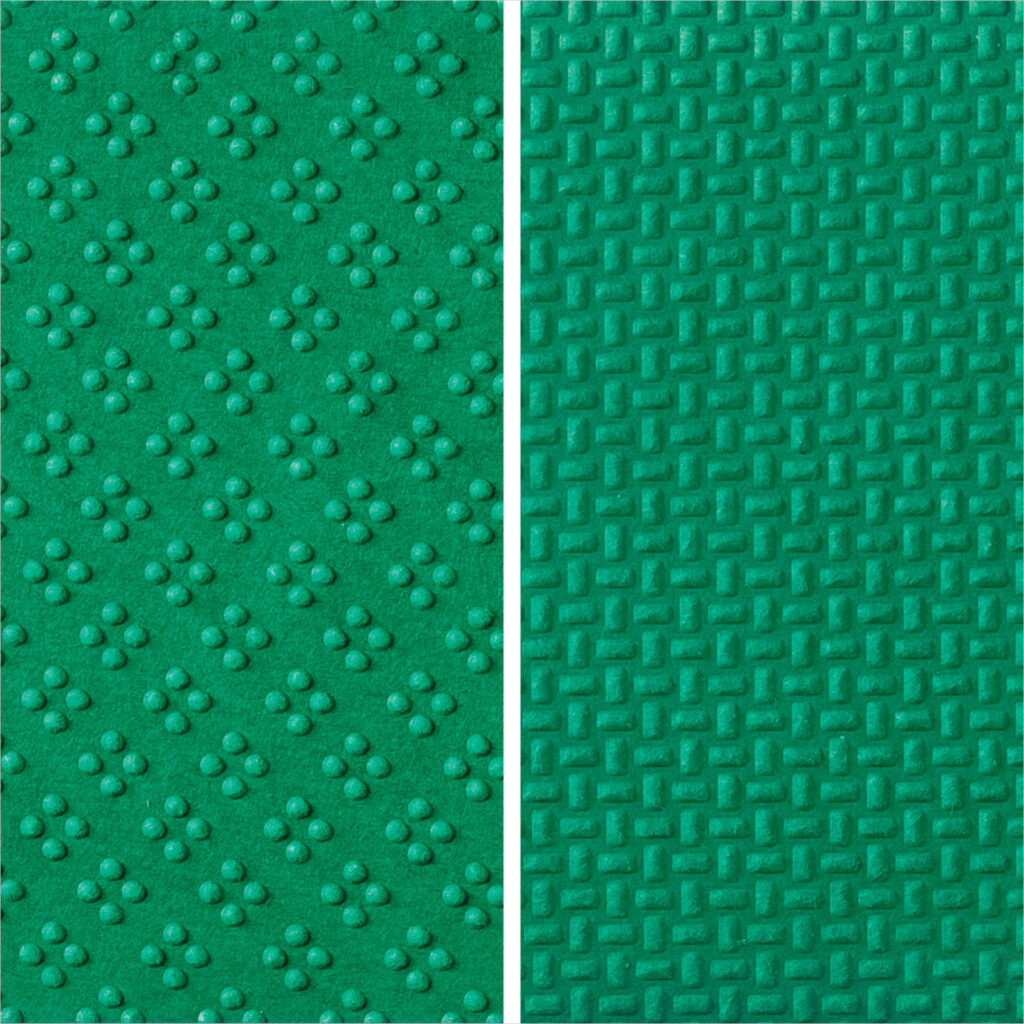
It’s really hard to show the soft texture of this velveteen paper and the effect of the subtle embossing on the Whisper White card stock but this close up gives you a clearer view. I just can’t stop stroking this tiny little Cinnamon Cider bunny. His fluffy white tail was coloured with the Chalk Marker.
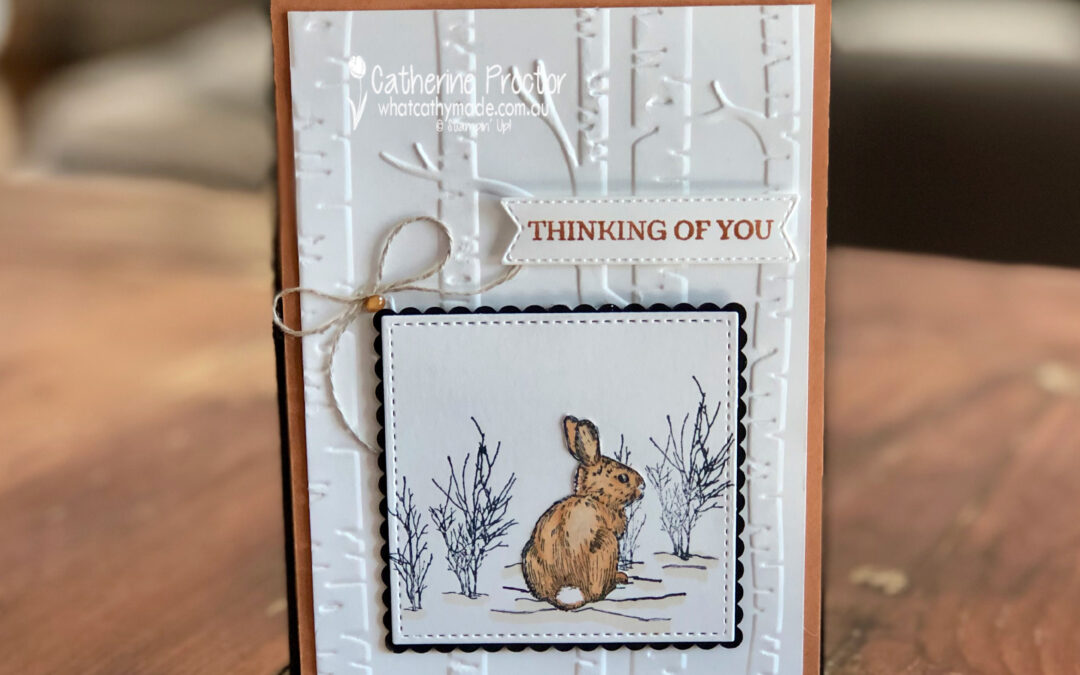
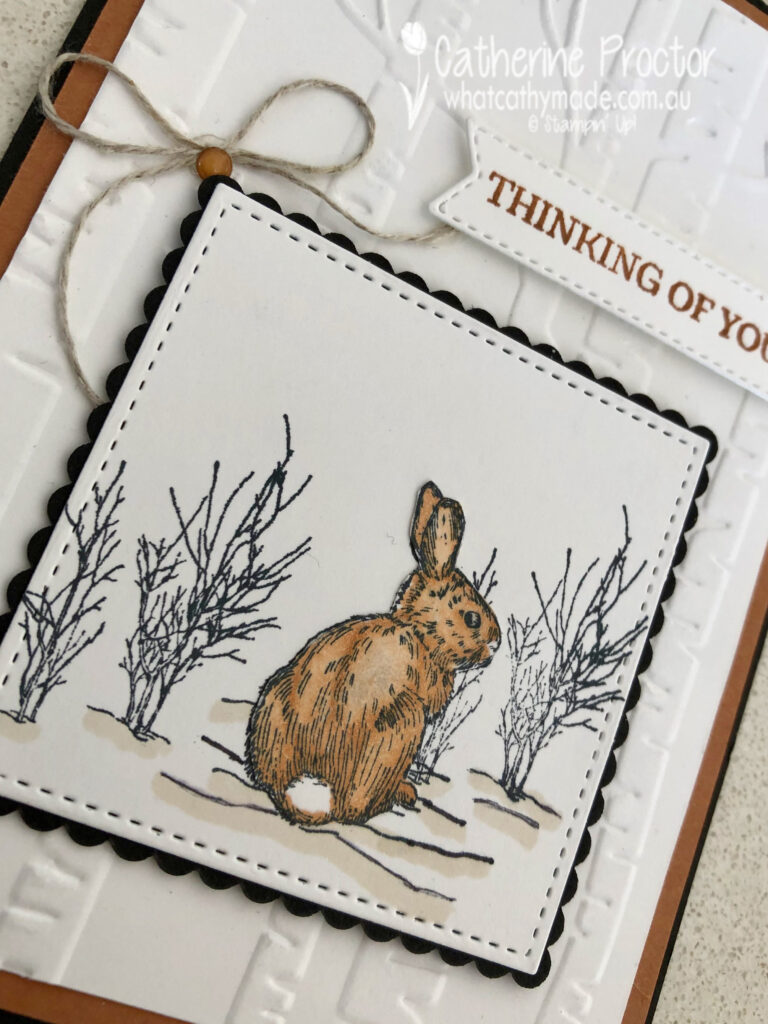
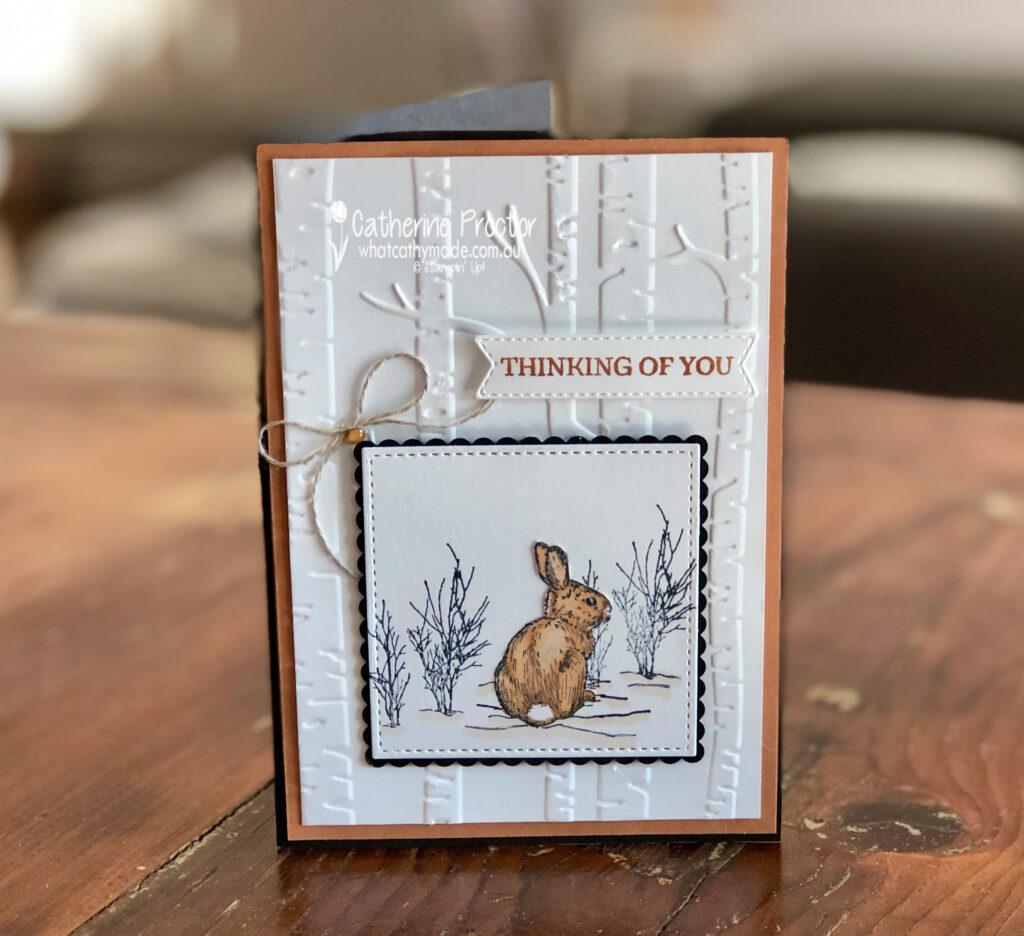
For card two my bunny rabbit has moved to the woods. I’ve stamped him onto Whisper White card stock, coloured him in with my Cinnamon Cider blends and created a landscape using my Basic Black marker to extend the lines in the stamps.
The background Woodland embossing folder really pairs well with the Nature’s Beauty stamps.
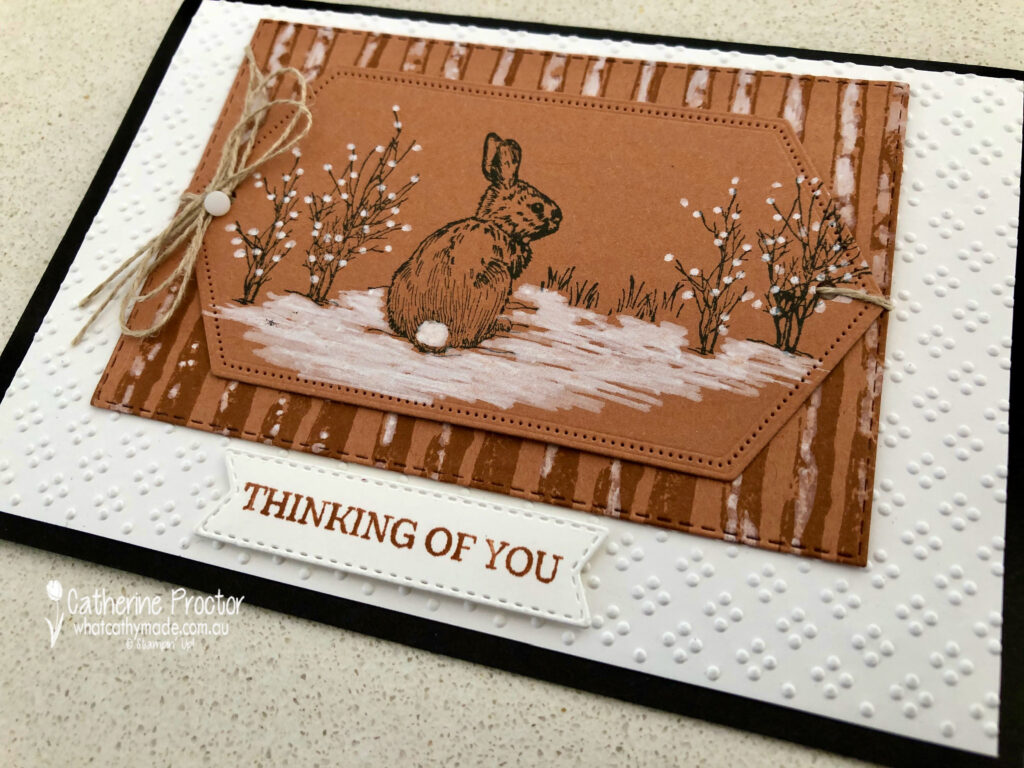
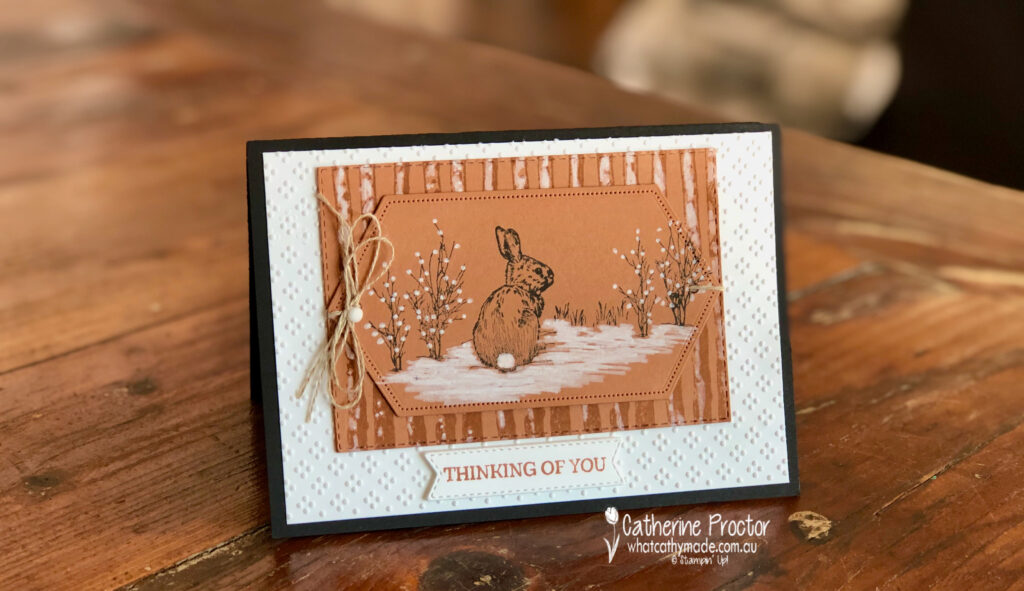
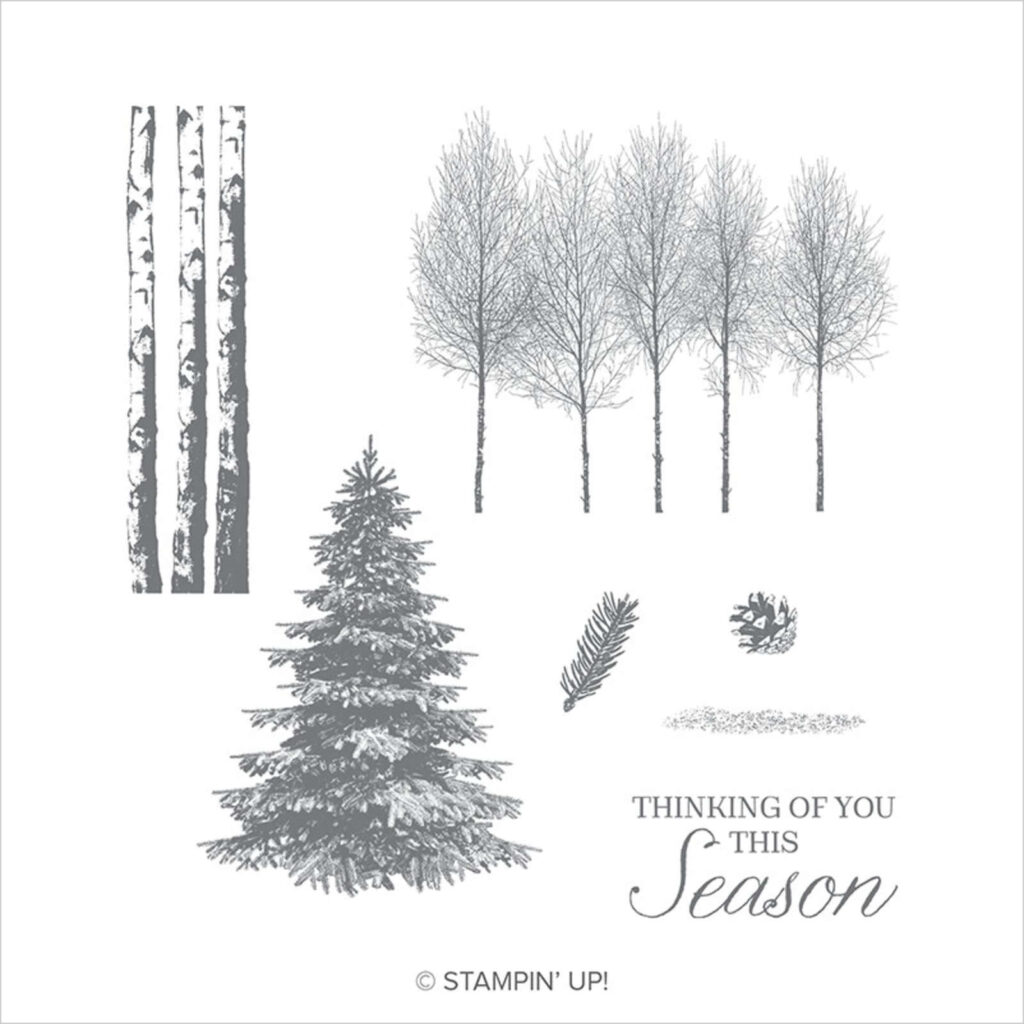
Card three continues the woodland theme, this time with a background stamped using the tree trunk stamp from the Winter Wood stamp set. I stamped my tree trunk stamp in Cinnamon Cider ink onto Cinnamon Cider card stock before using my Chalk Marker to add White.
I love how the Wrapped in Texture embossing folder echos the snow I added to the trees. You get two embossing folders in this pack and you’ll find them on page 9 of the August-December 2020 Mini Catalogue.
The white dot on top of my linen thread bow is another new product from the August-December 2020 Mini Catalogue – the All the Trimmings Embellishments on page 25.
All three cards have the same sentiment “Thinking of You” which I created using the marker technique.
The sentiment in the Winter Woods set actually says “Thinking of You This Season” but by using my Cinnamon Cider marker to just colour in the “thinking of you” section of the stamp I was able to create a more versatile and year round sentiment for my cards.
I can’t wait to see what the rest of the Art With Heart team have created with Cinnamon Cider today. Click on the links below to see what they’ve made.
Next Tuesday we’ll be showcasing one of the Brights: Coastal Cabana. We hope you can join us all then.
To purchase any of the products featured in today’s post, simply contact your Stampin’ Up! demonstrator, any of the ladies in the AWH Colour Creations Showcase or click on the product links below.
If you’d like me to post you your very own copy of the August-December Mini Catalogue (AKA the holiday catalogue), 2020-21 Stampin Up! Annual Catalogue, the 2020-21 Beginners Brochure, or to simply find out about more about Stampin’ Up! contact me.
In the meantime, wherever you are in the world, stay safe, stay calm…and keep on crafting xxx