Welcome to week 25 of the Art With Heart Colour Creations Blog Hop!
This week we are halfway through our year-long showcase of the entire 50 Stampin Up Colours (there are actually 52 colours if you include white and black). Wow, that’s a lot of colours and a lot of blog posts!
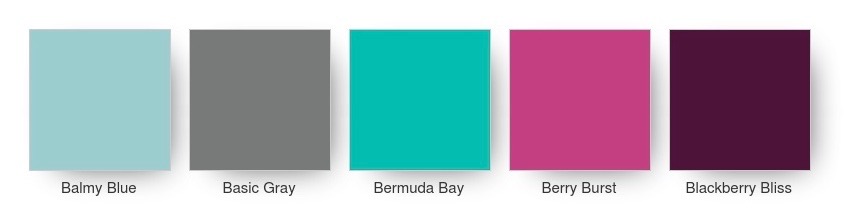
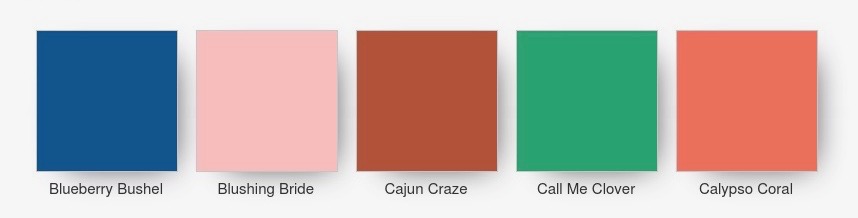
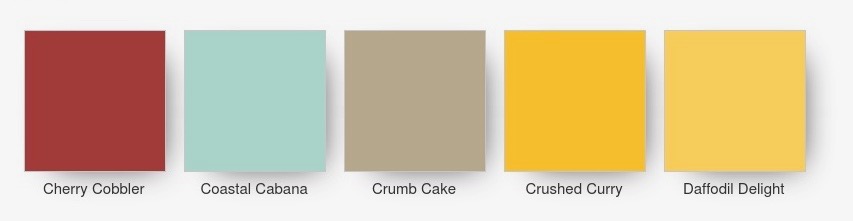
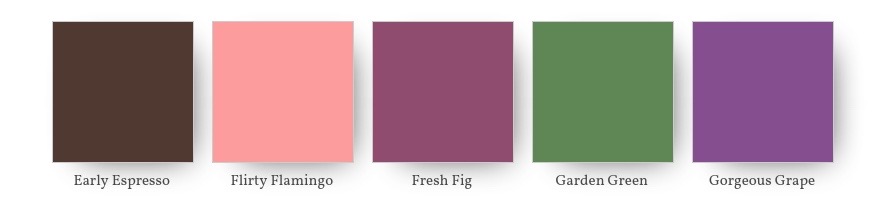
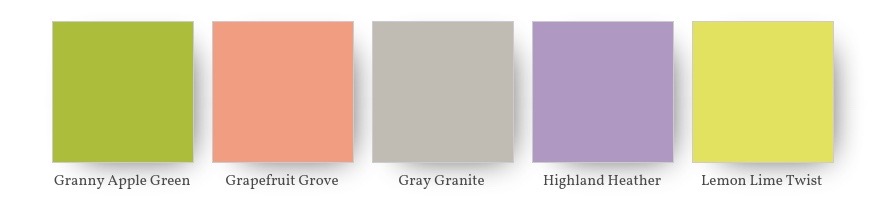
We are doing the colour creations blog hop in alphabetical order, so here are all the colours we’ve done so far (including this week’s colour)!
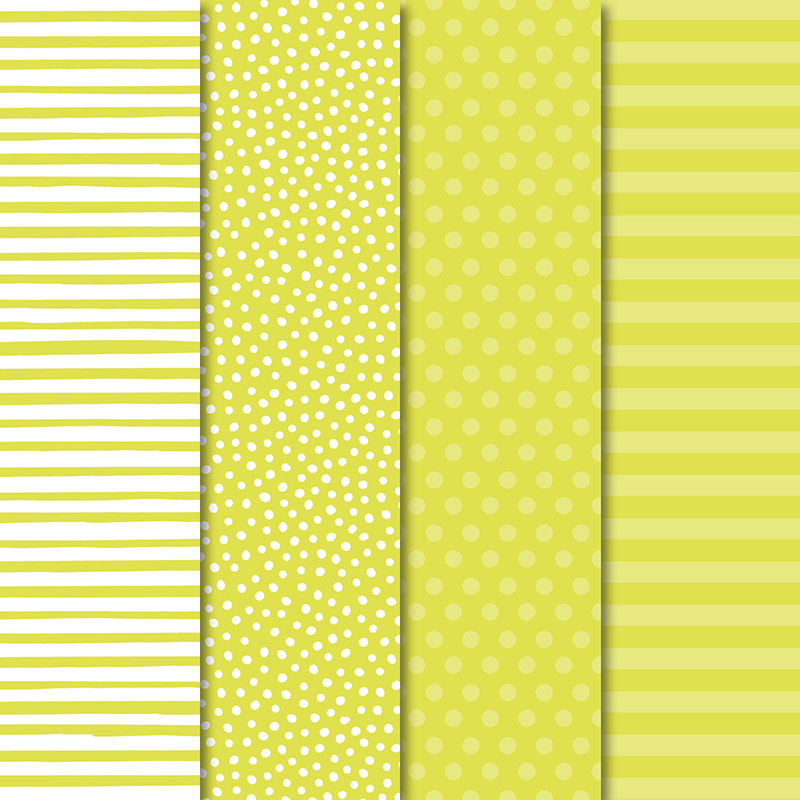
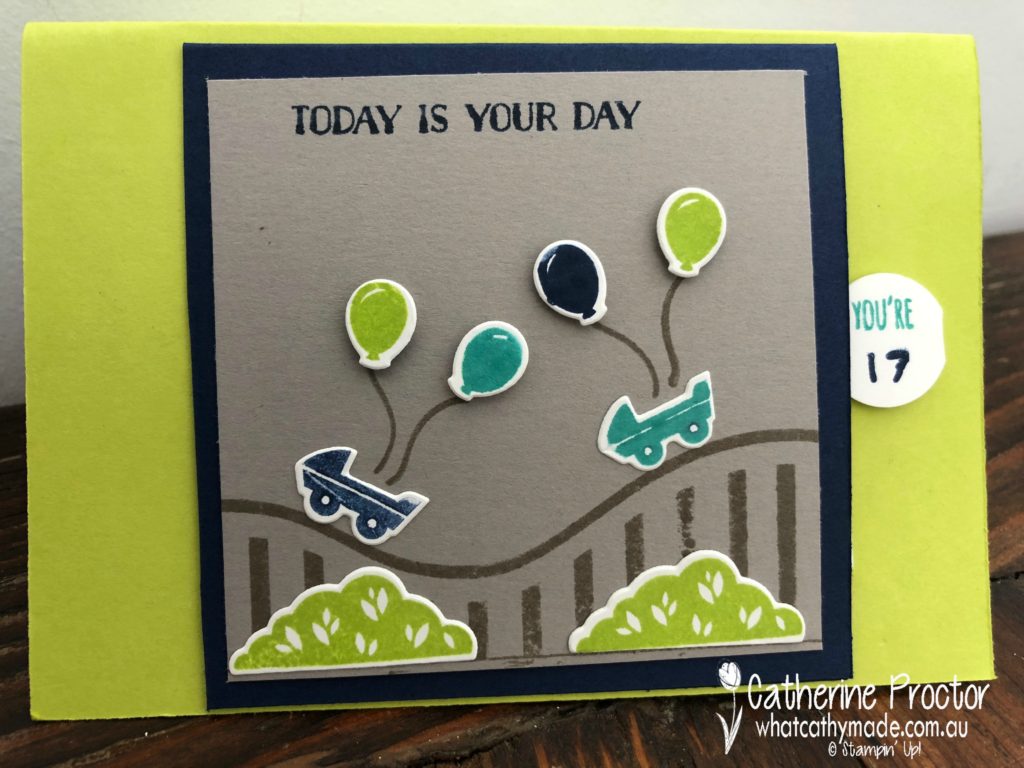
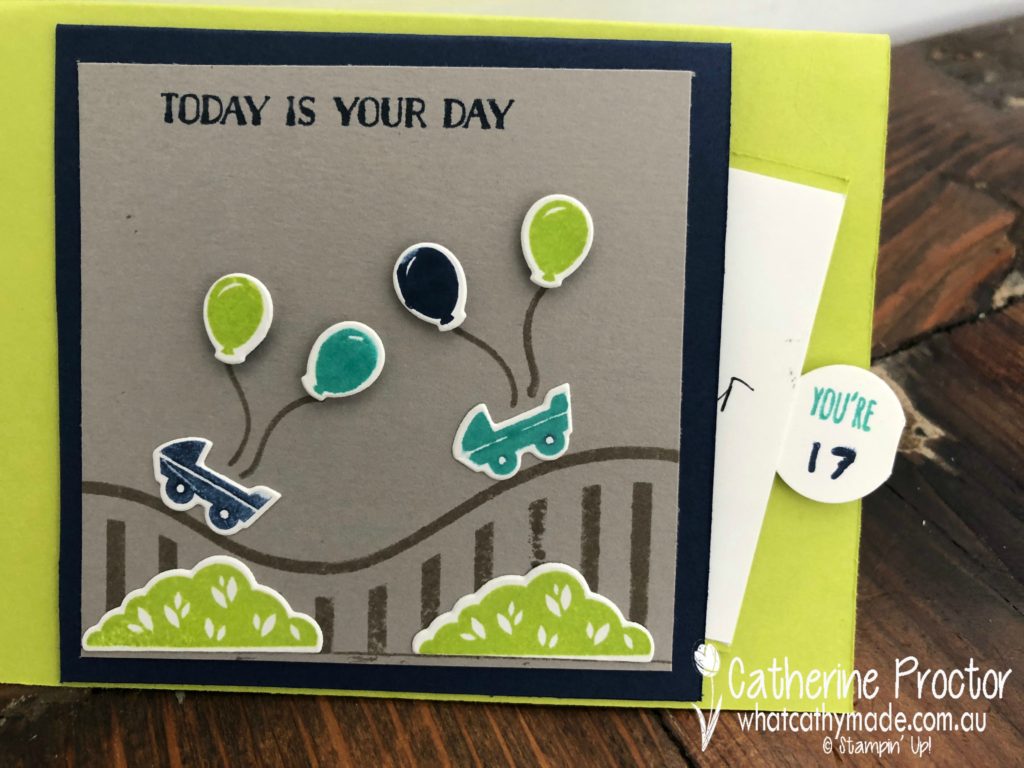
Our colour this week is one of the 2018-19 In Colours: Lemon Lime Twist….and as much as I love this colour, I have to admit I am VERY VERY cross with myself this week.
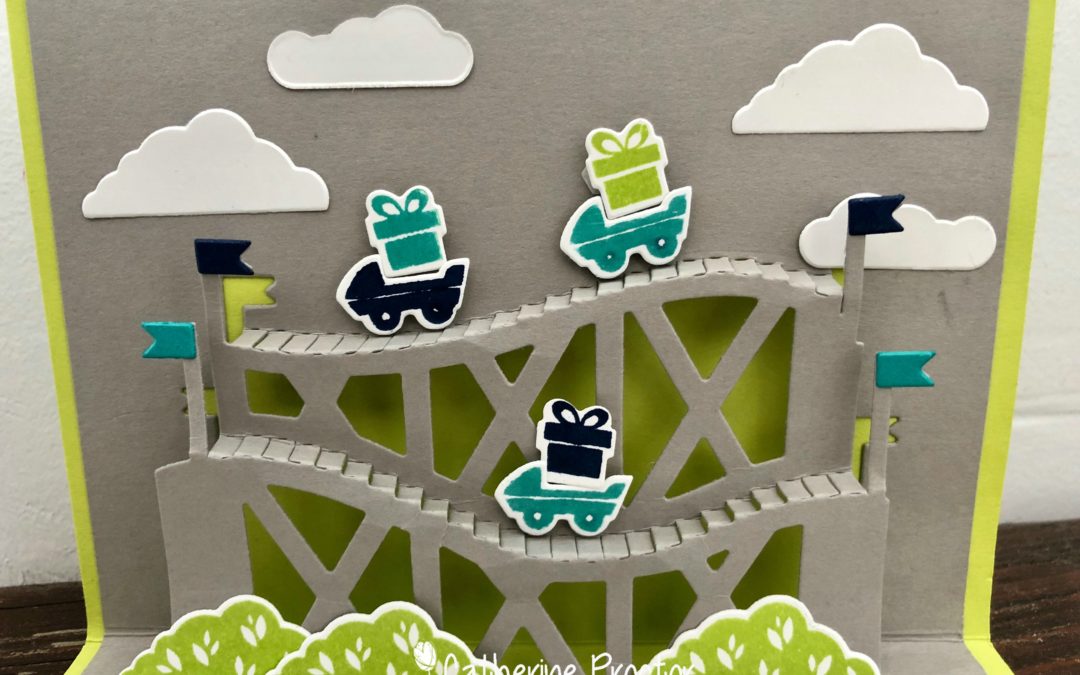
You see, my youngest son turned 17 yesterday and bought his first car and there is a brand new stamp set coming in the Occasions Catalogue called “Geared Up Garage” stamp set that would have been just perfect for his birthday card but I FORGOT to order it!
So instead, I had to make his birthday card with the only other set I own that has a car (of sorts) in it: Let the Good Times Roll.
This rollercoaster set is probably a bit too young for a 17-year-old who has just bought his first car, but I love the playful nature of this set and I love the sentiments.
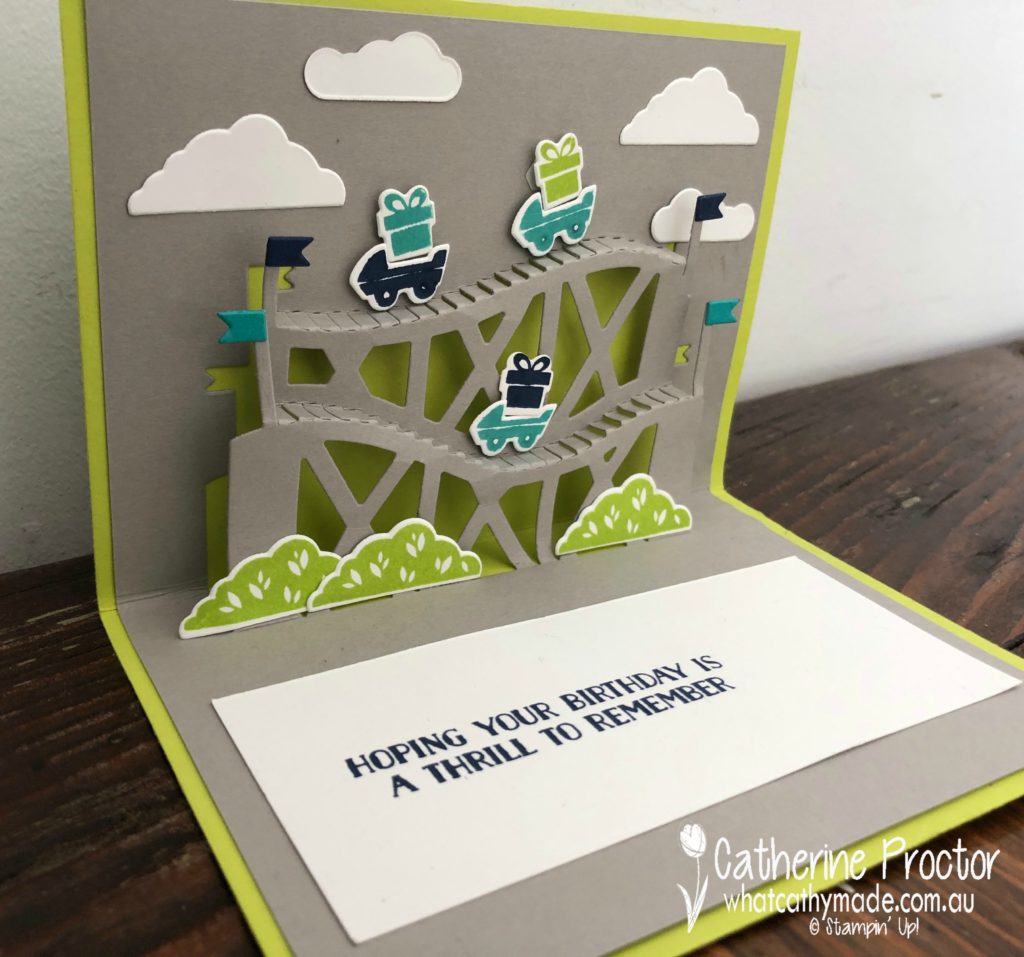
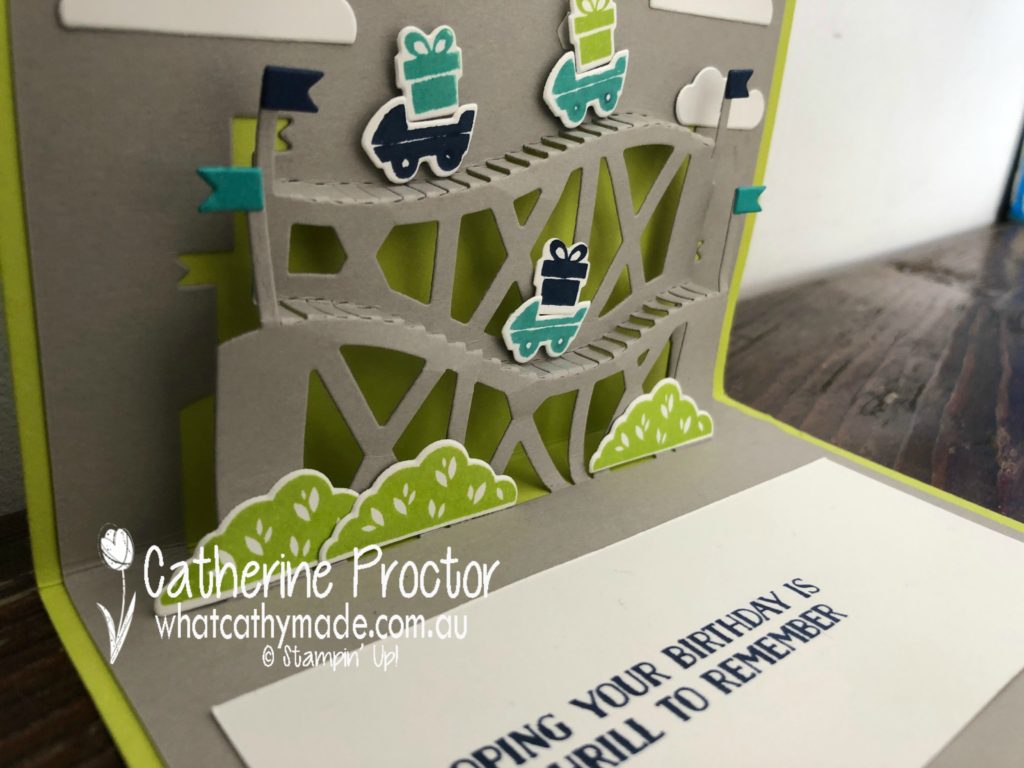
And check out the inside…this is where the magic really happens, using the matching dies for this stamp set. I’ve always loved pop-up cards and this is so super duper cute!
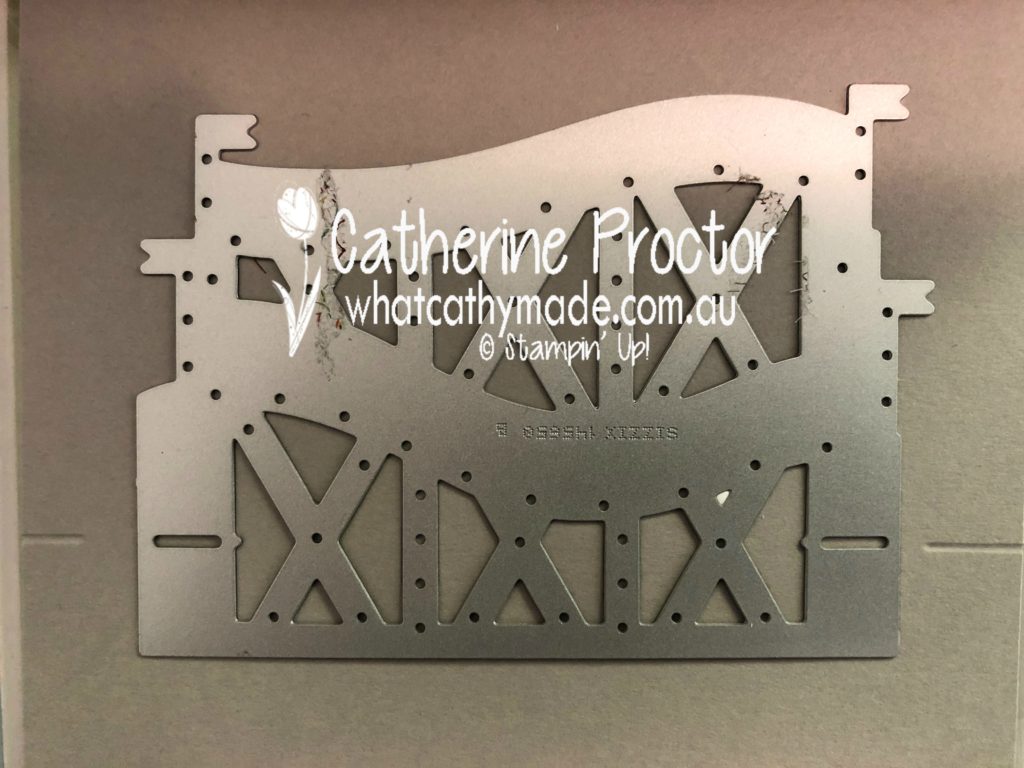
This die can be tricky to use and it’s a bit fiddly to score into the correct position, but it’s definitely worth it for such an amazing pop-up. The secret to success is using your bone folder and fingers to carefully bend out and fold the die cut shape, as well as lining up your die correctly with the fold of your card BEFORE you cut the die out.
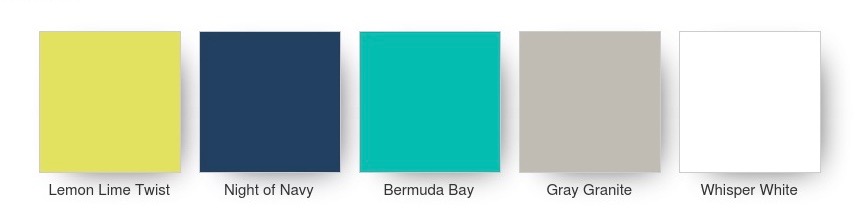
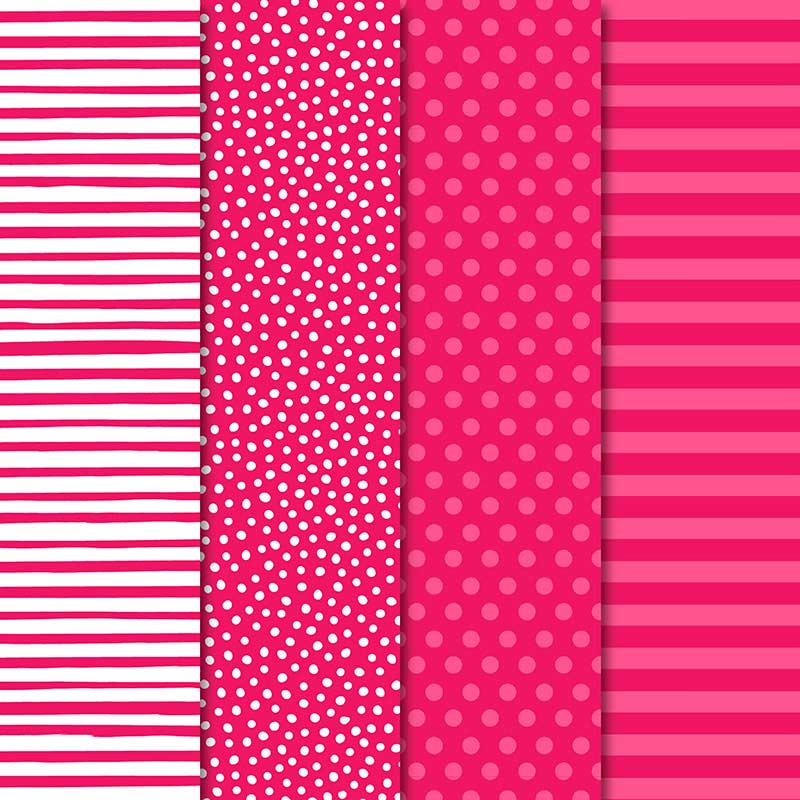
Lemon Lime Twist is one of my favourite colours because it is just so fresh and vibrant. It looks amazing with pinks and all the other greens but I also love it with the colours I’ve used in my card today: Gray Granite, Night of Navy and Bermuda Bay.
I used another stamp set called “Tabs for Everything” with its matching tab punch to make a pull our gift voucher that slips into the front of the card. This was super easy to make … I simply made a smaller card to attach to the front of my Lemon Lime Twist card (sealing 2 of the sides with tear and tape) and made a pull tab on the side of a piece of Whisper White cardstock to pull the gift voucher out.
So what was on the gift voucher? Money towards his new car and dinner out last night at a yummy Thai restaurant.
To see what the rest of the team have made click on the links below.
Welcome to week 24 of the Art With Heart Colour Creations Blog Hop!
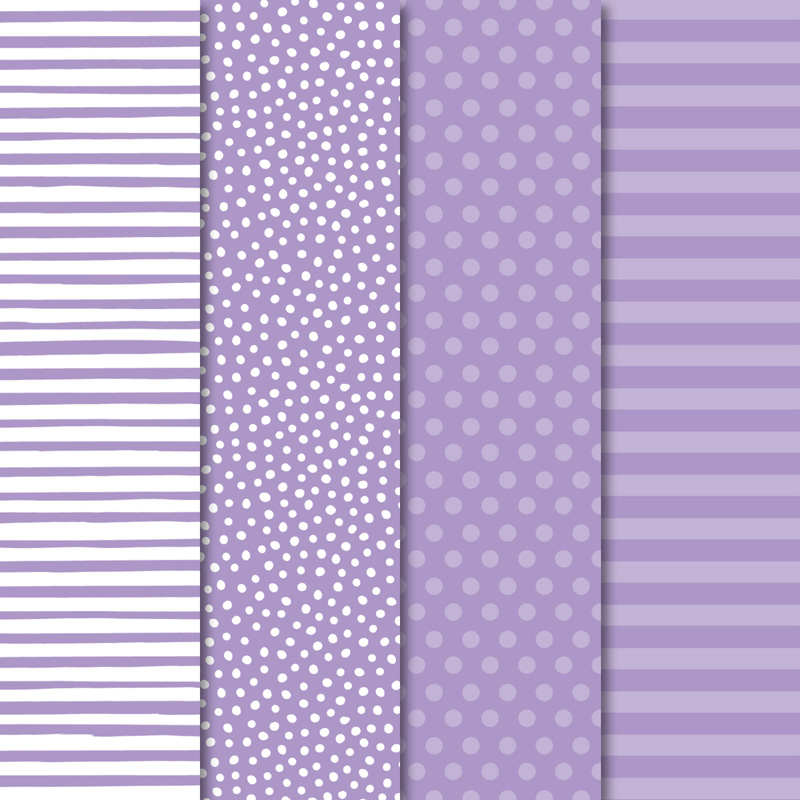
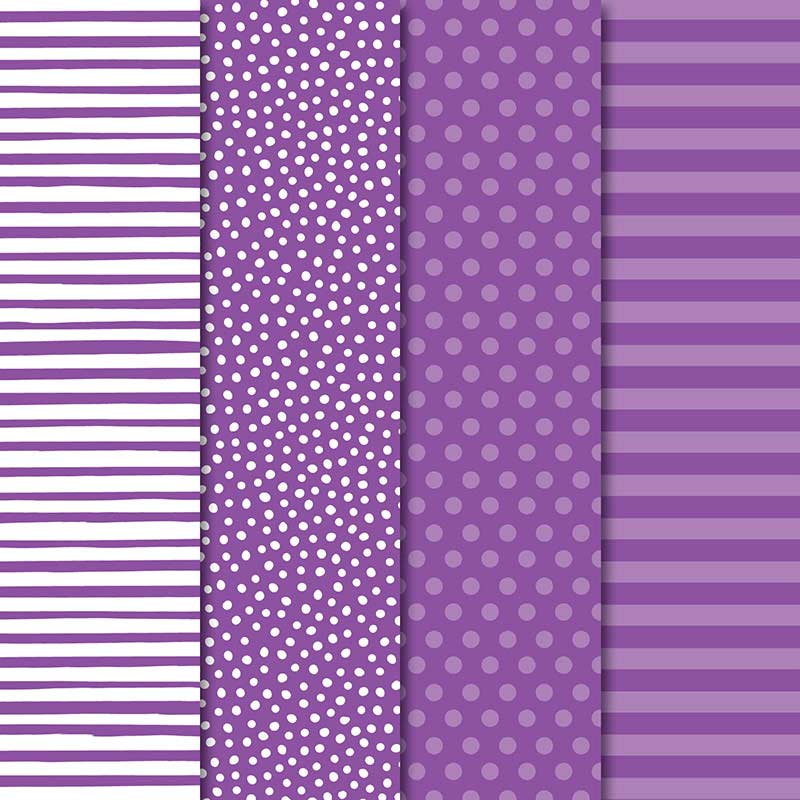
This week we are showcasing one of the Subtles: Highland Heather.
Although I’m not usually a purple kind of a gal, I really love this colour and I have a soft spot for it because of its name. You see my mum’s name is Heather and my grandparents on my dad’s side are Scottish, emigrating from the Scottish Highlands to Australia in the late 1930s.
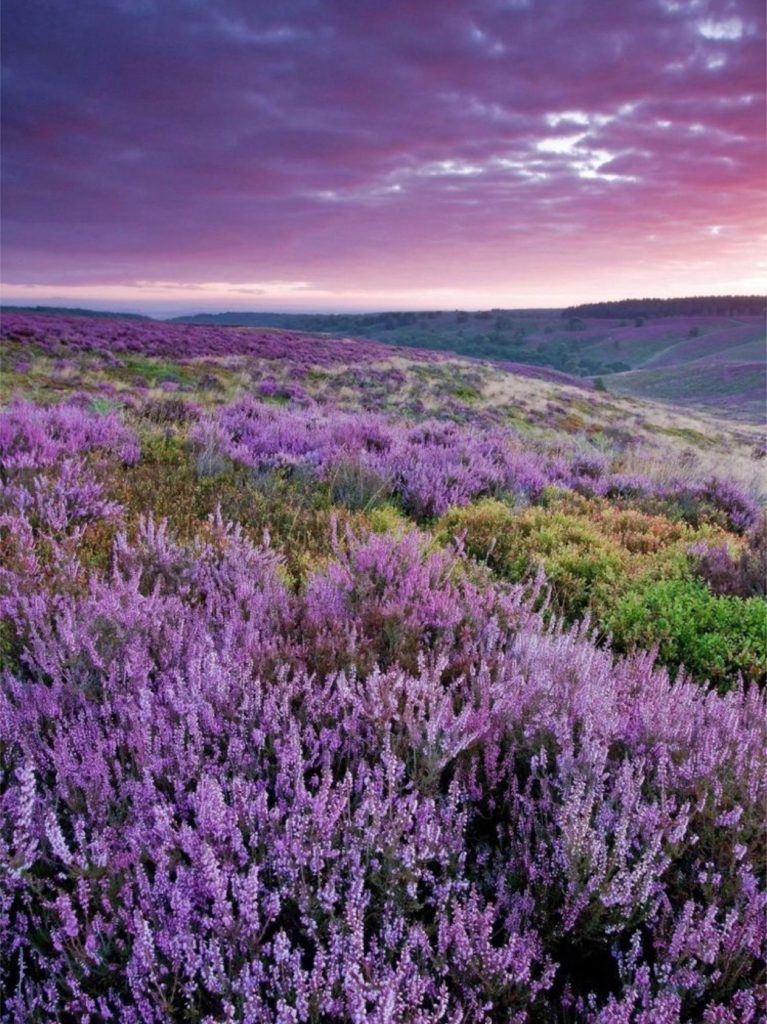
Here’s a stunning picture I found of the Highland Heather on the Scottish moors. Look at that sky!
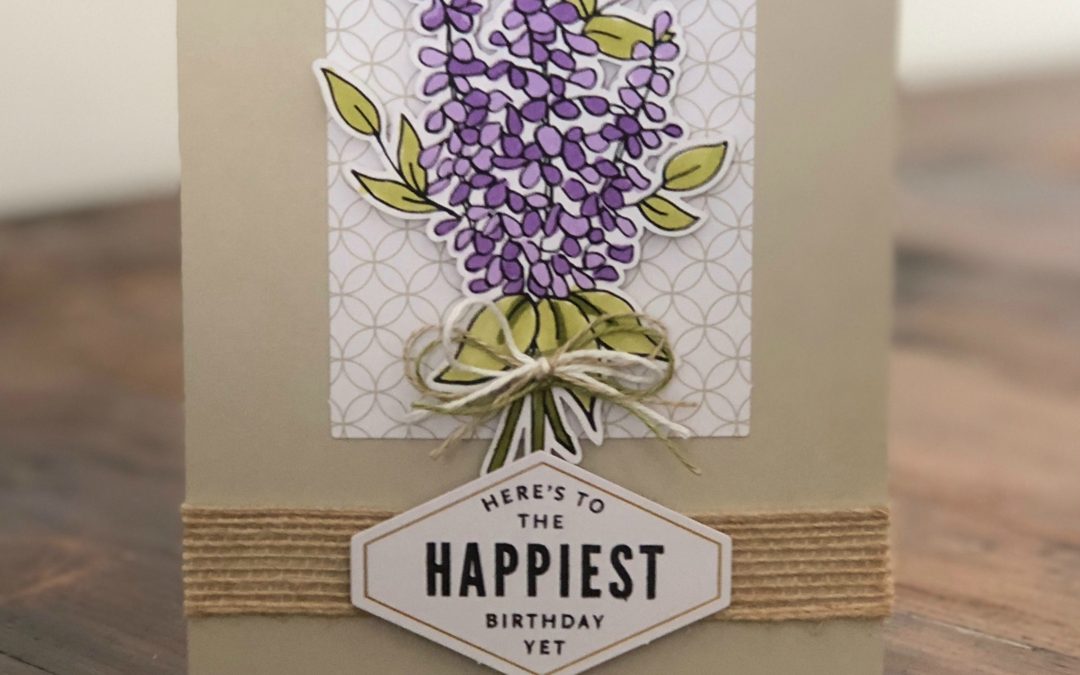
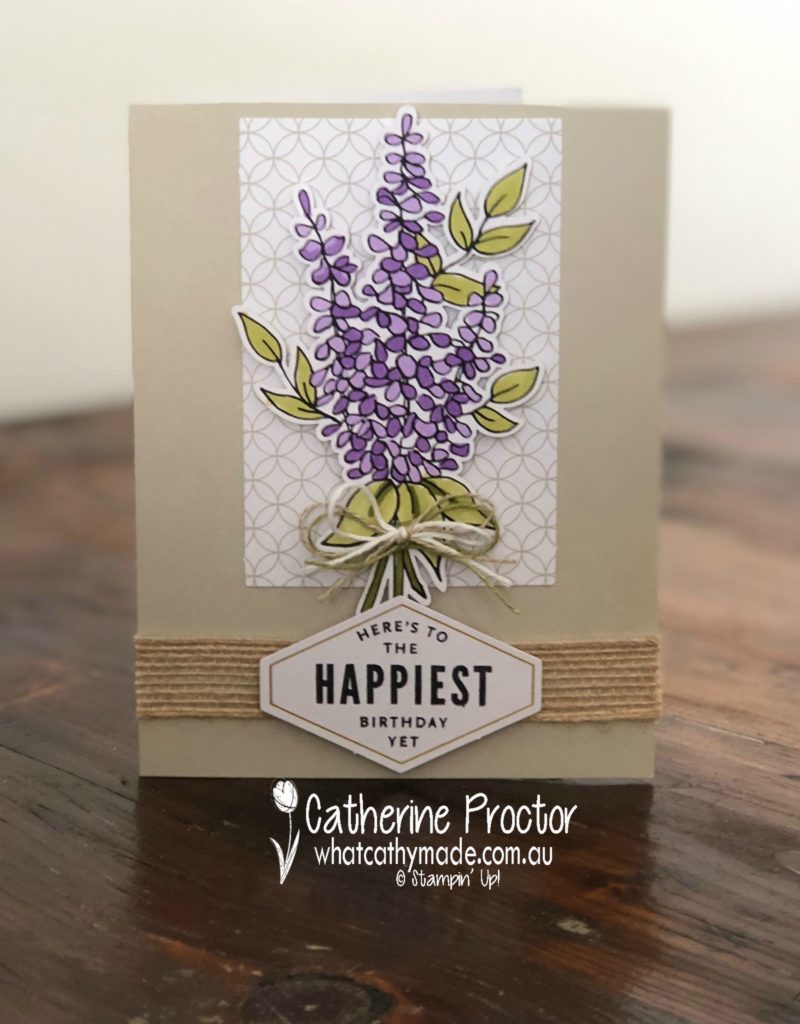
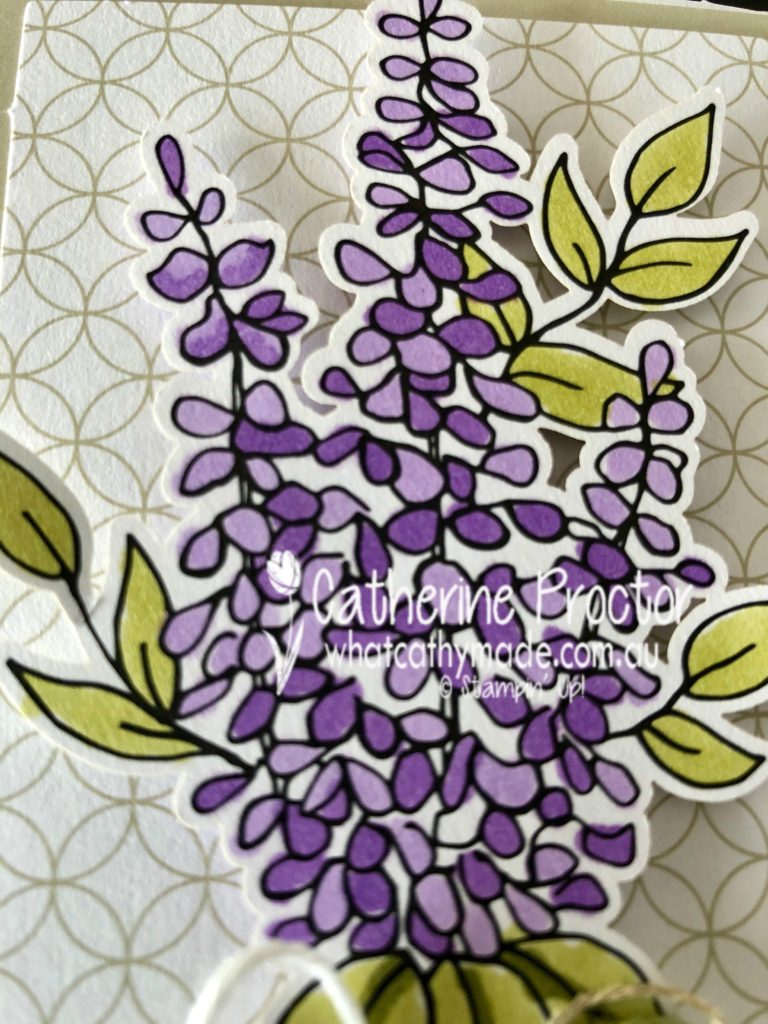
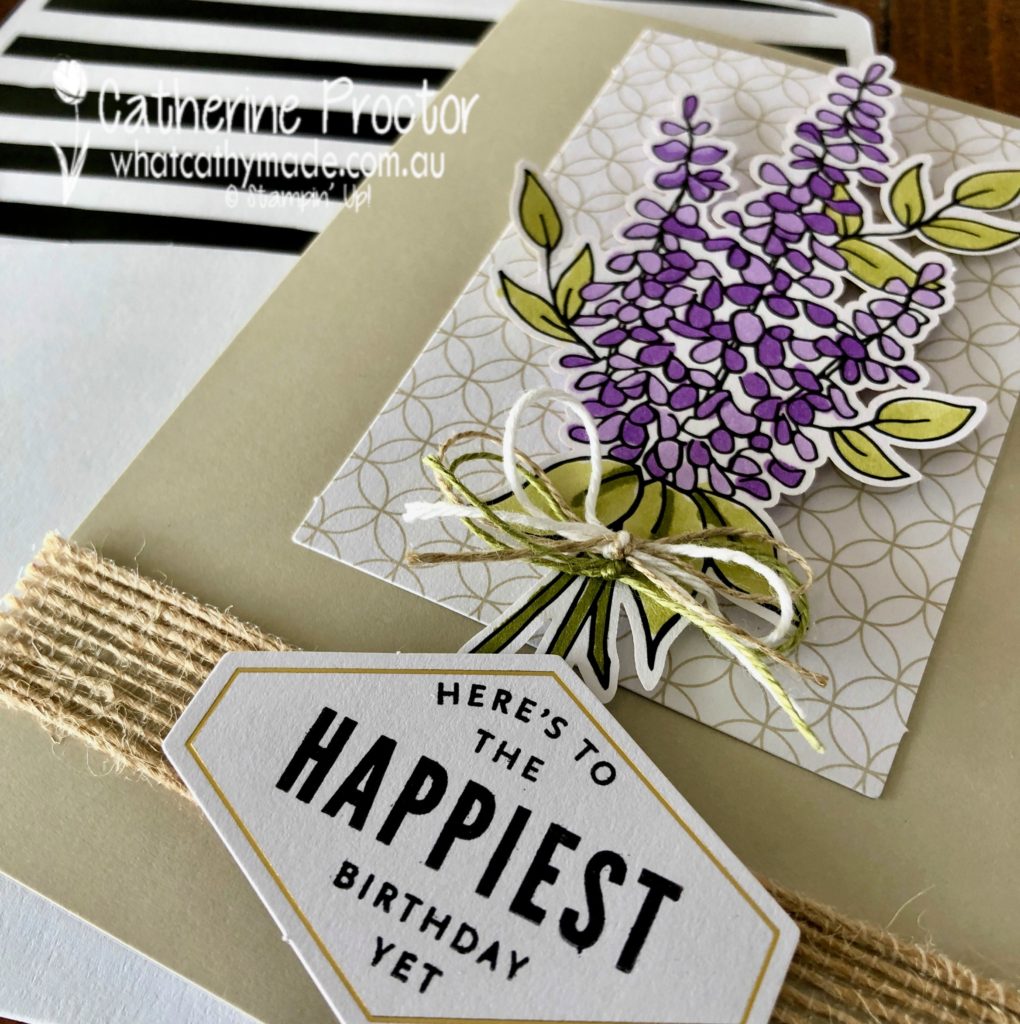
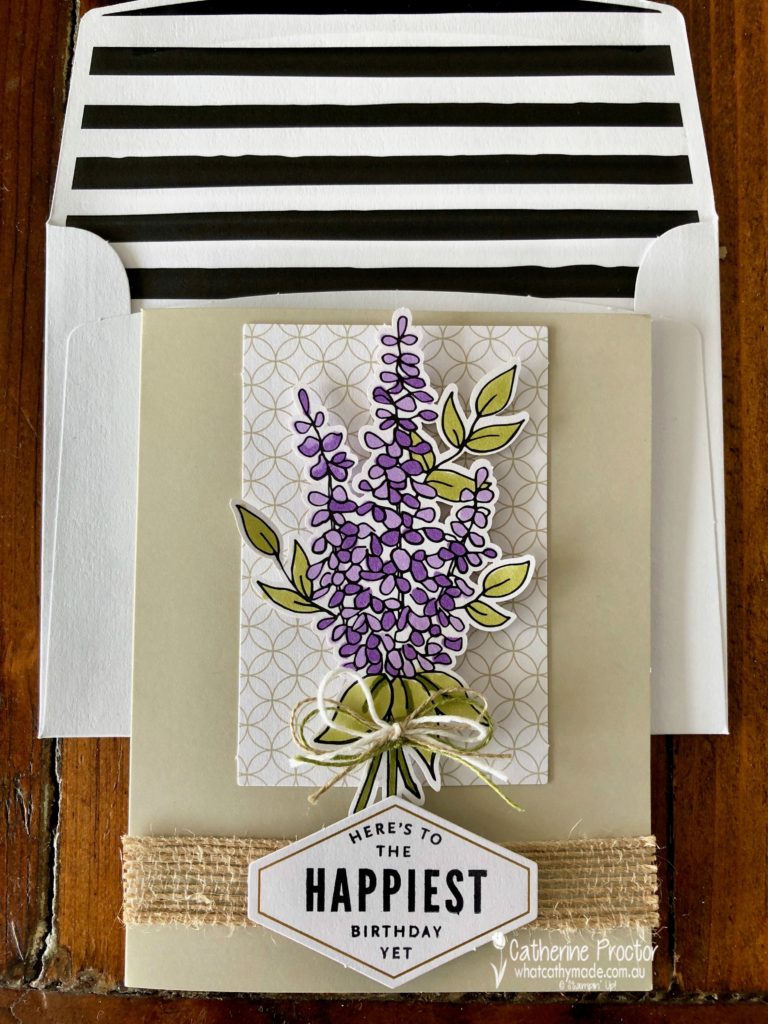
For my card today, I really wanted to recreate a bunch of this gorgeous highland heather and the “Lots of Happy Card Kit” was just perfect for the job.
The great thing about this kit (apart from how quick it is to create a stack of cards) is that it’s also easy to make your own variations. I’m pretty sure this gorgeous flower is supposed to be lilac but I think it looks a lot like heather when it is coloured in with the Highland Heather.
Instead of using the watercolour pencils that come with the kit, I coloured the flower in with my light and dark Highland Heather blends. The leaves and stems are coloured in with my light and dark Old Olive blends.
Another variation I made was to add some burlap and, drum roll………
….a sneak peek of a new item from the forthcoming Occasions catalogue – Old Olive linen thread, tied in a bow with some Crumb Cake linen thread and Whisper White bakers twine.
One of my favourite elements in this kit is the matching envelopes with the black and white stripe. So very cute.
To see what the rest of the team have made click on the links below.
Welcome to week 13 of our Art With Heart, Heart of Christmas blog hop.
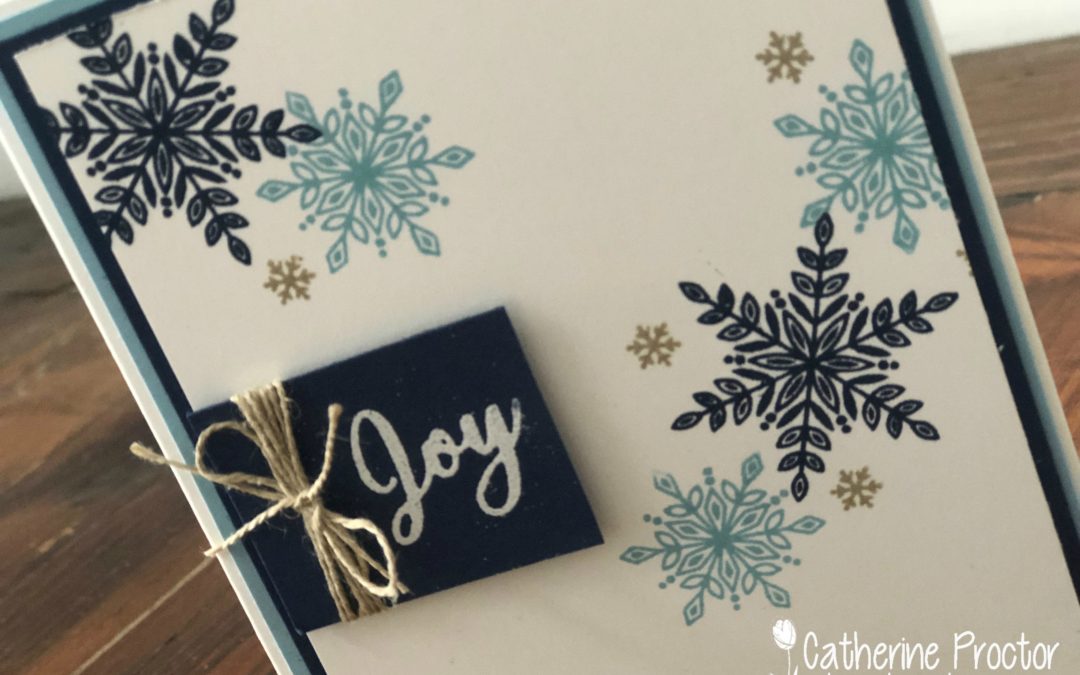
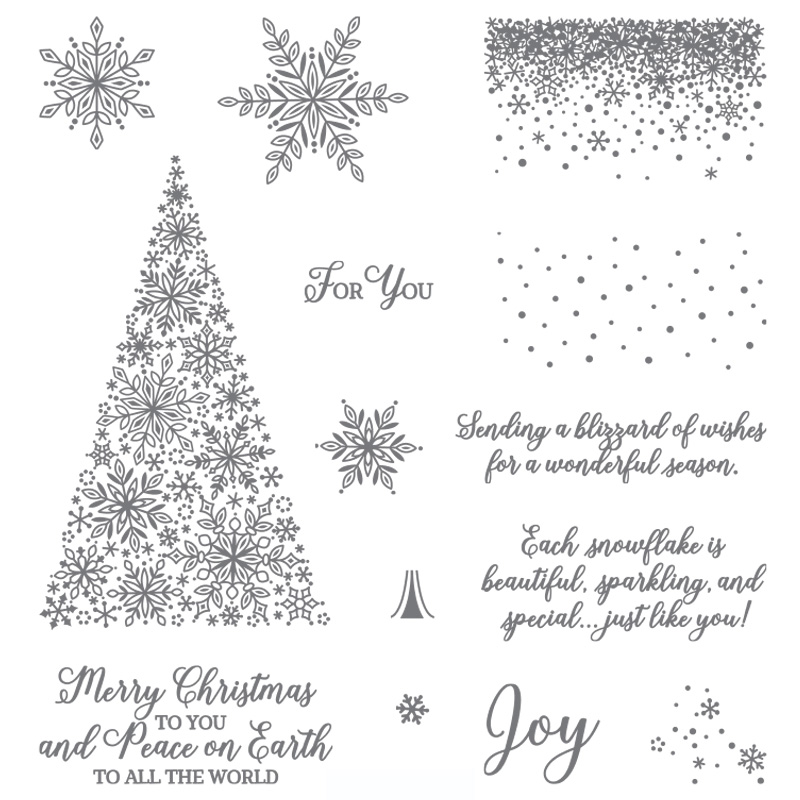
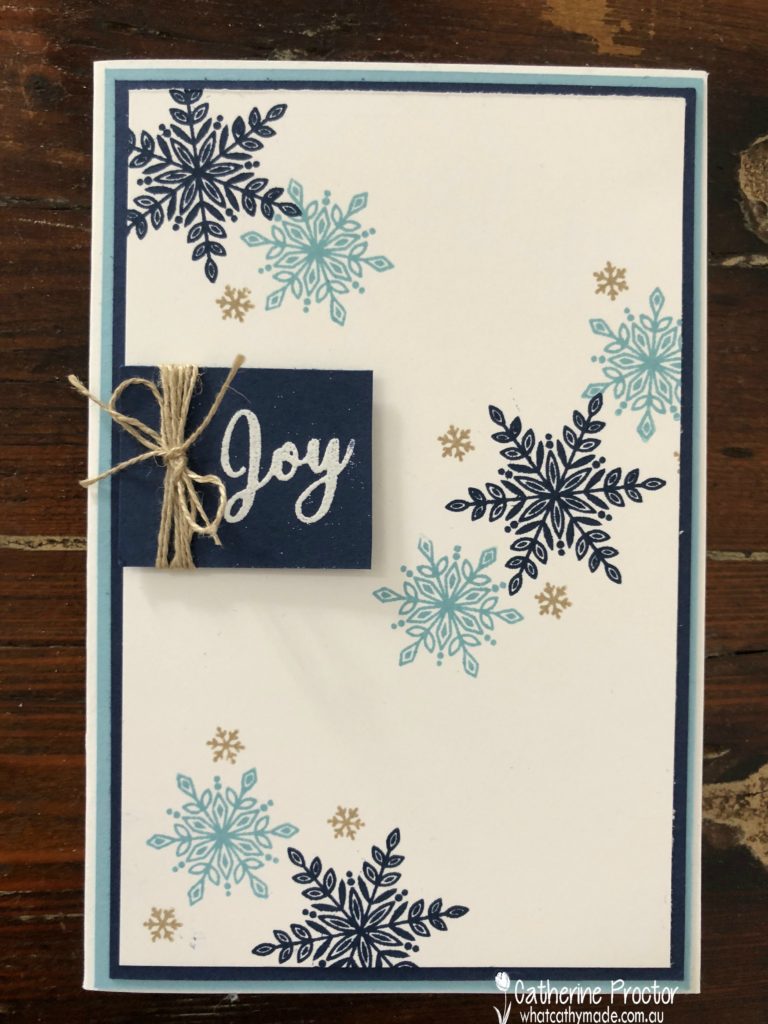
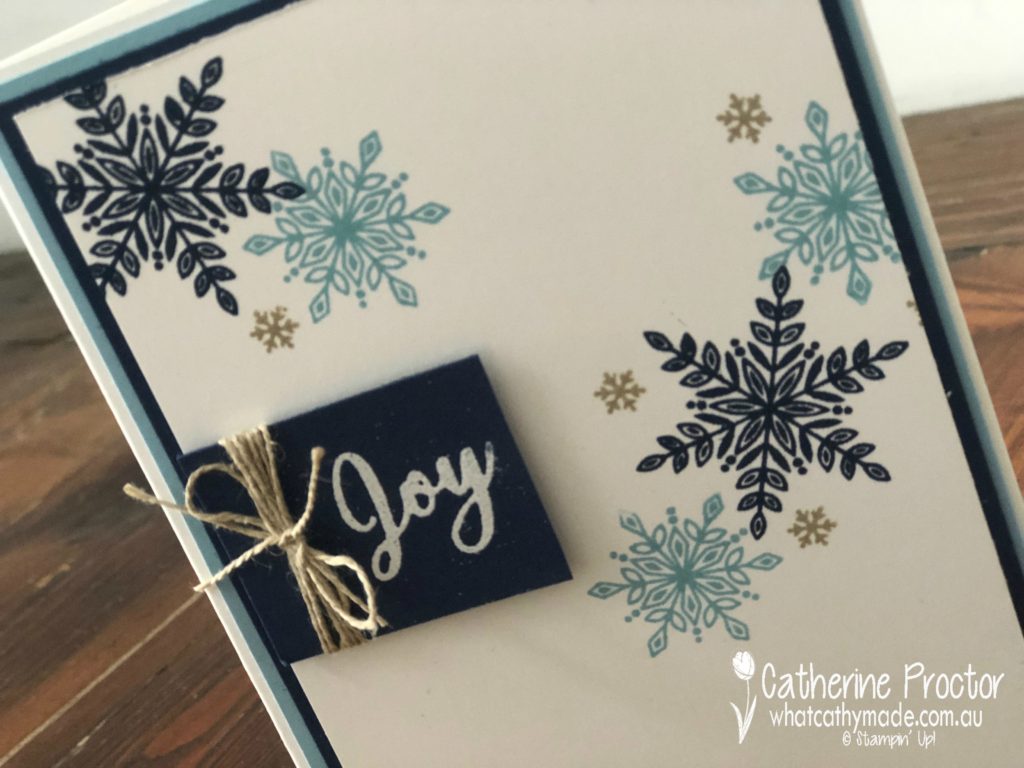
This week I’ve made a card using a limited edition stamp set, Snow is Glistening. I know we don’t have snowflakes here in Australia but I really have a thing for snowflakes and I couldn’t resist this stunning stamp set.
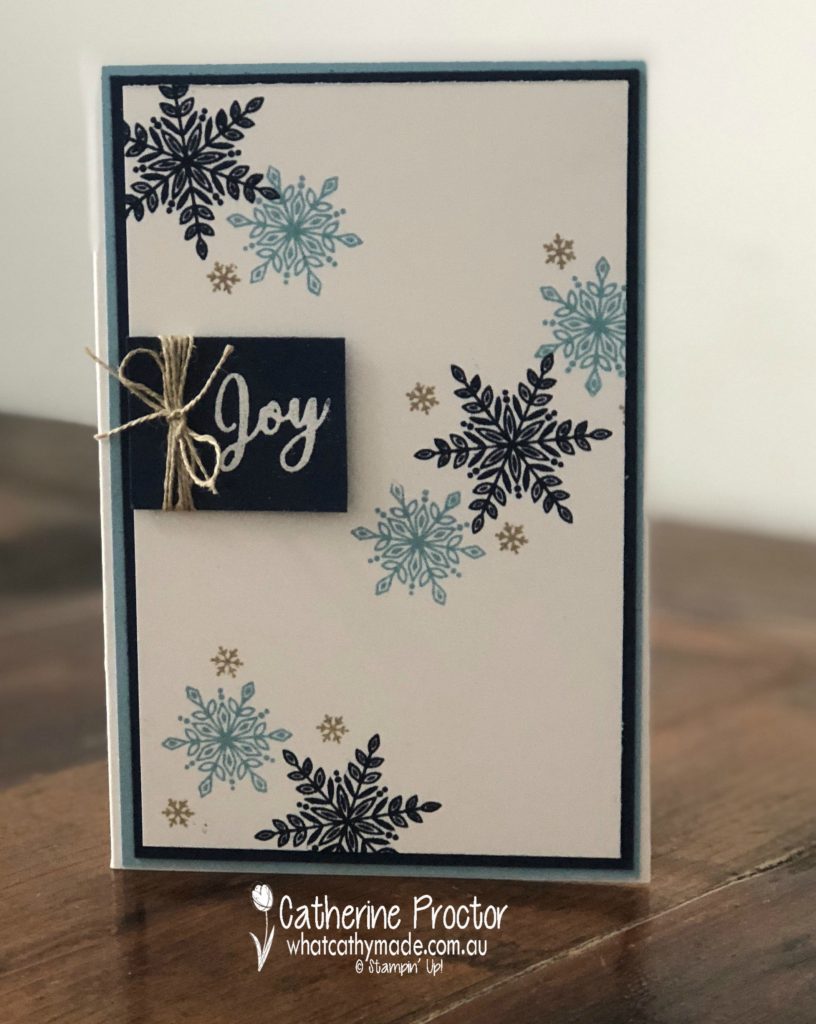
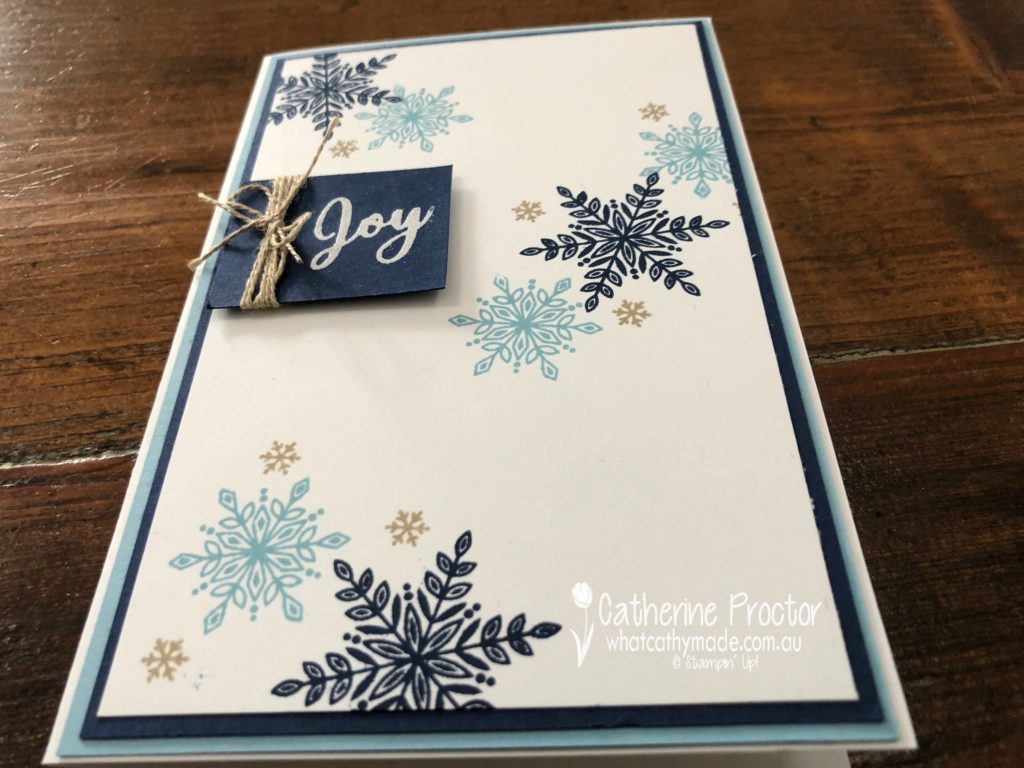
Although this comes with matching dies, I decided to make a very simple card that only involves stamping. The design was inspired by a card I found on Pinterest that was made by an American demo called Mary Haugen. I’ve CASED her placement of the snowflake stamps and the way she wrapped the twine around the sentiment, but changed the colours as well as several other elements on her card.
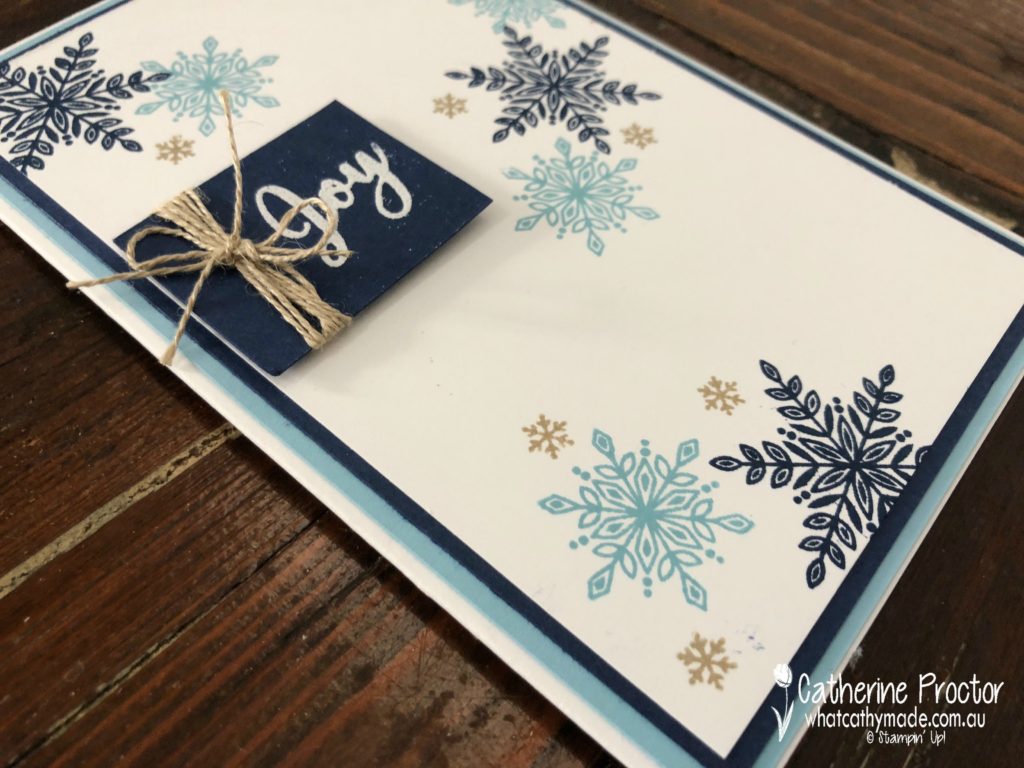
I used the three snowflake stamps in this set to stamp my card in Night of Navy, Balmy Blue and Sahara Sand. I LOVE these three colours together.
The stamped Whisper White panel was mounted onto Night of Navy cardstock, then Balmy Blue cardstock and adhered to a Memories and More Whisper White card base.
The final touch is the simple joy sentiment, stamped in Whisper White and then heat embossed in Whisper White, with linen thread wrapped around it.
To see what the rest of the team have made tonight head back to the lovely Claire Daly’s blog.
To purchase any of the products I used in this project you can shop with me here. Or if you’d like me to post you your very own copy of the 2018-2019 annual catalogue or find out about more about Stampin’ Up! contact me.
Welcome to week 23 of the Art With Heart Colour Creations Blog Hop!
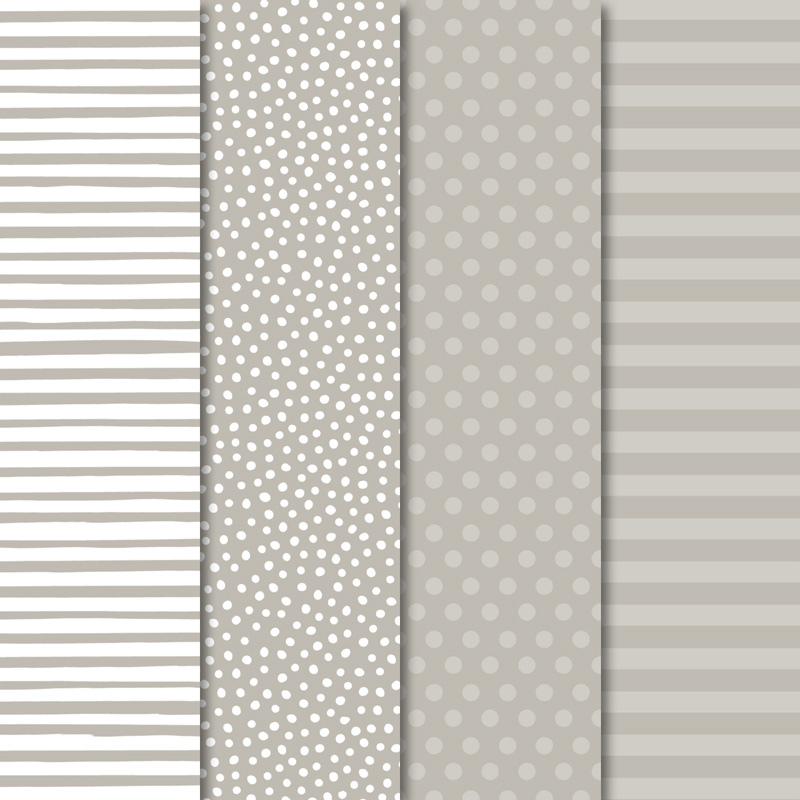
This week we are showcasing a new neutral: Gray Granite.
I must admit, as much as I love crumb cake, gray granite comes a close second. This is a colour that literally goes with everything and it sits somewhere between smoky slate, Sahara sand and crumb cake.
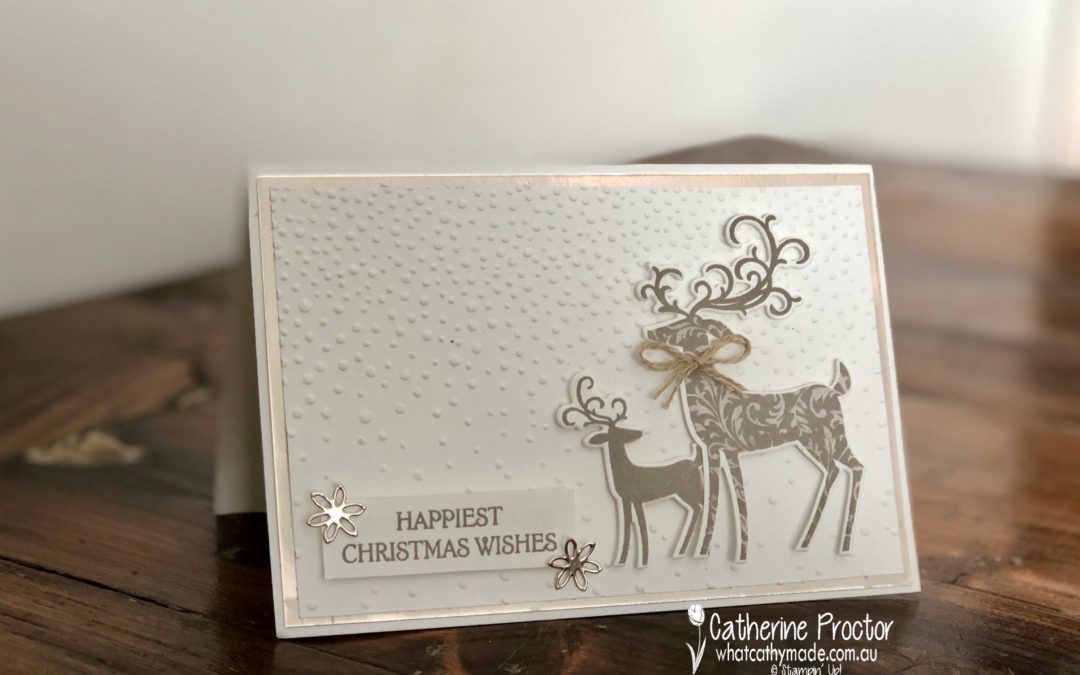
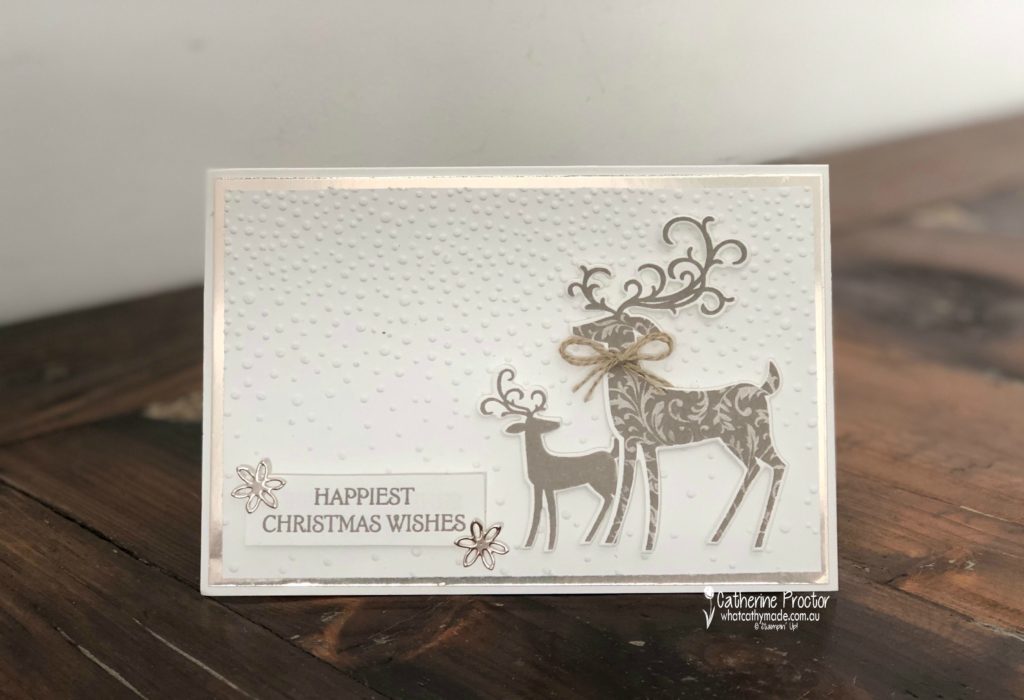
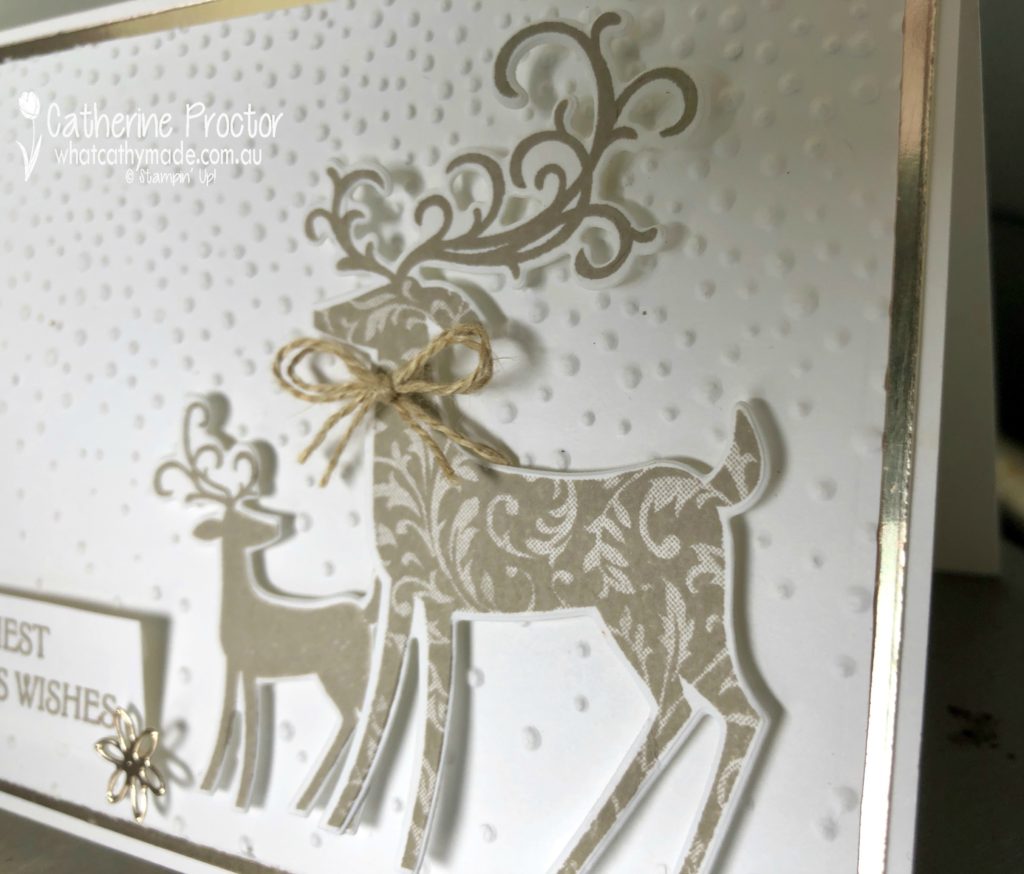
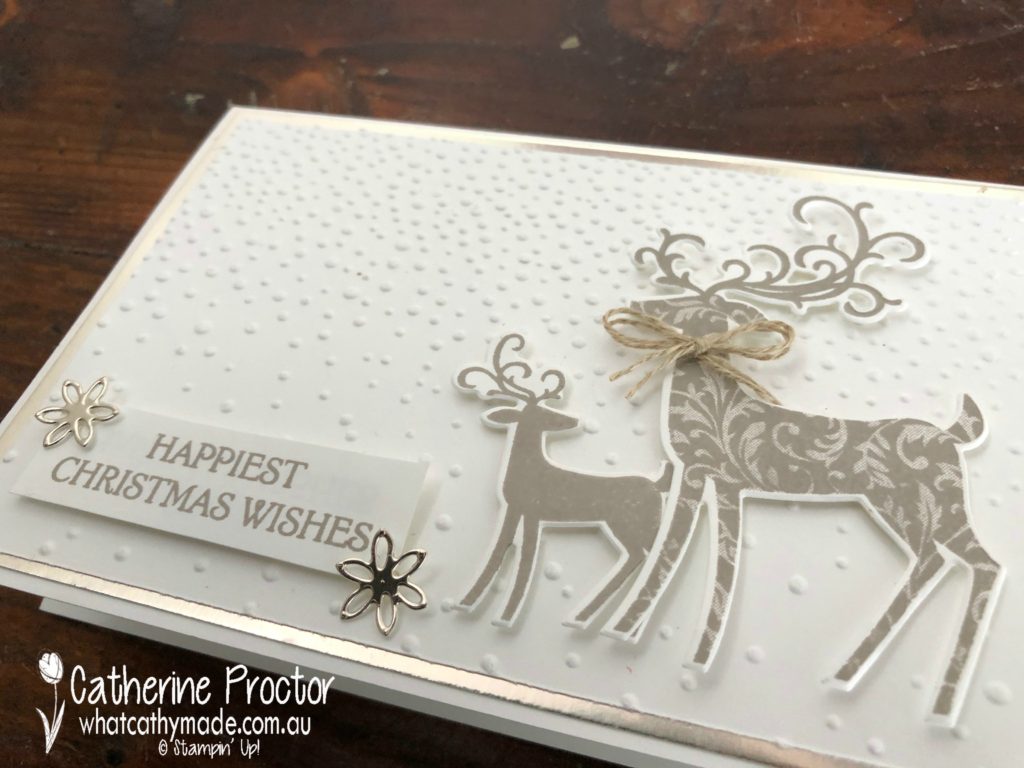
Even though it makes every other colour pop, for my card today I decided to go for a very fresh and clean look, pairing it with just whisper white and champagne foil.
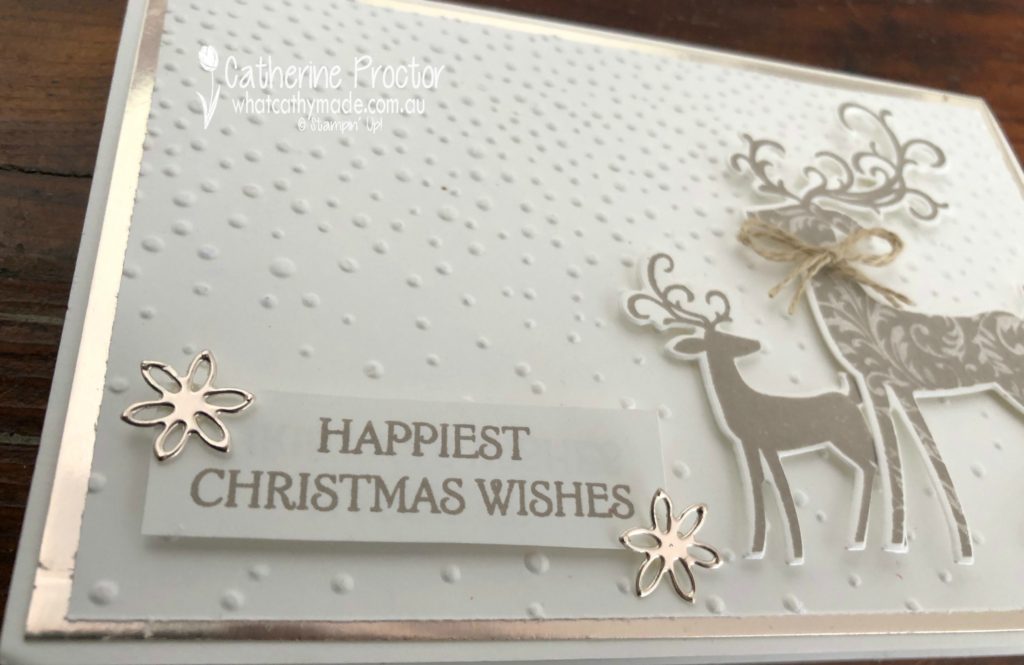
I used a Memories and More whisper white pre-made card as my base, added a layer of champagne foil and then another layer of whisper white embossed with the softly falling textured impression embossing folder.
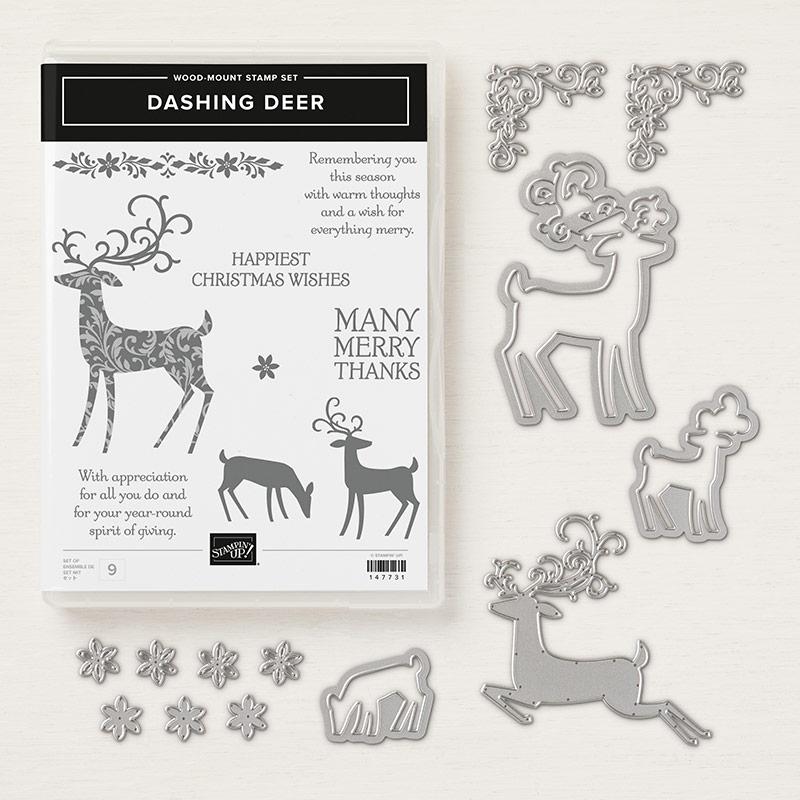
The beautiful deer are stamped in gray granite onto whisper white using the Dashing Deer stamp set, then cut out with their matching Detailed Deer thinlits.
Don’t you love the pattern on the biggest deer?
The sentiment is from the same Dashing Deer stamp set, stamped in gray granite and the embellishments are die cut out of champagne foil using the detailed deer thinlits. A tiny double bow of linen thread is the final touch.
To see what the rest of the team have made click on the links below.
Welcome to week 22 of the Art With Heart Colour Creations Blog Hop!
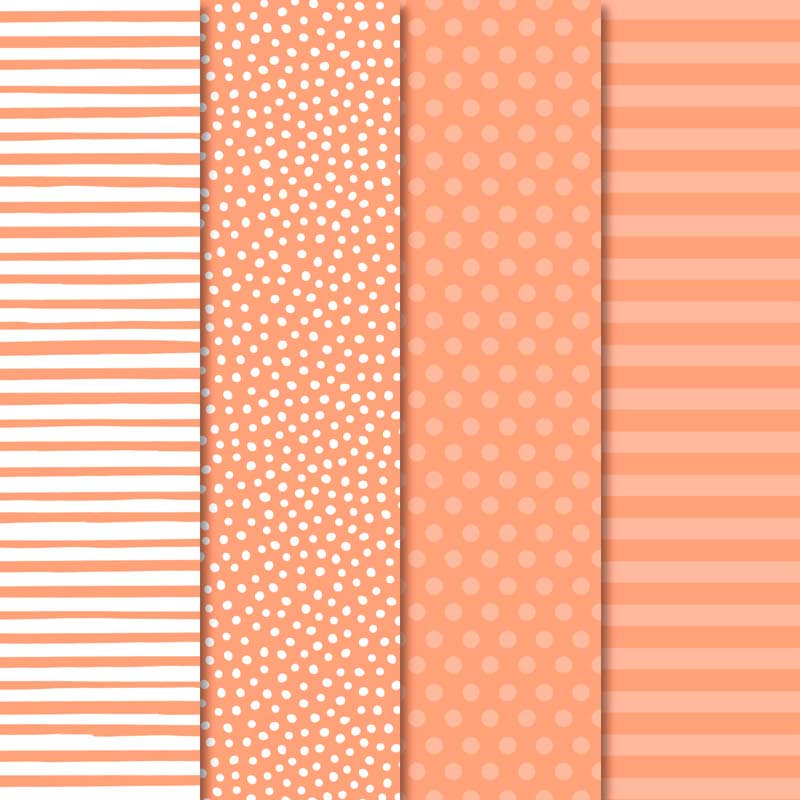
This week we are showcasing a 2018-19 In Colour: Grapefruit Grove.
This isn’t a colour I’d used before so I was really stumped when trying to decide what colour combination to use.
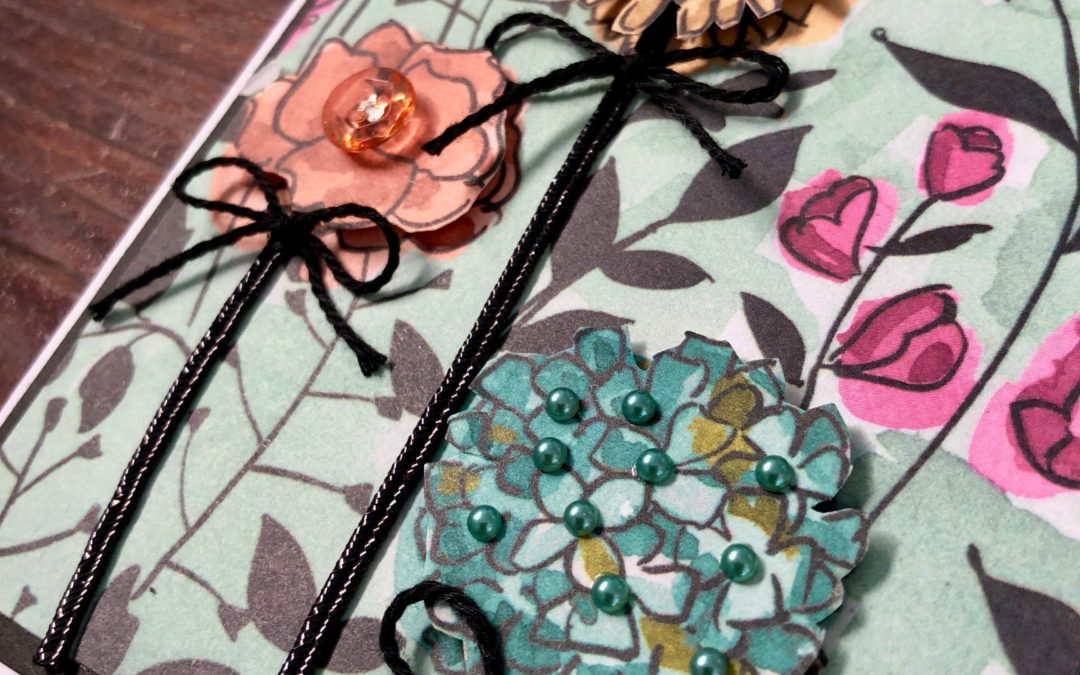
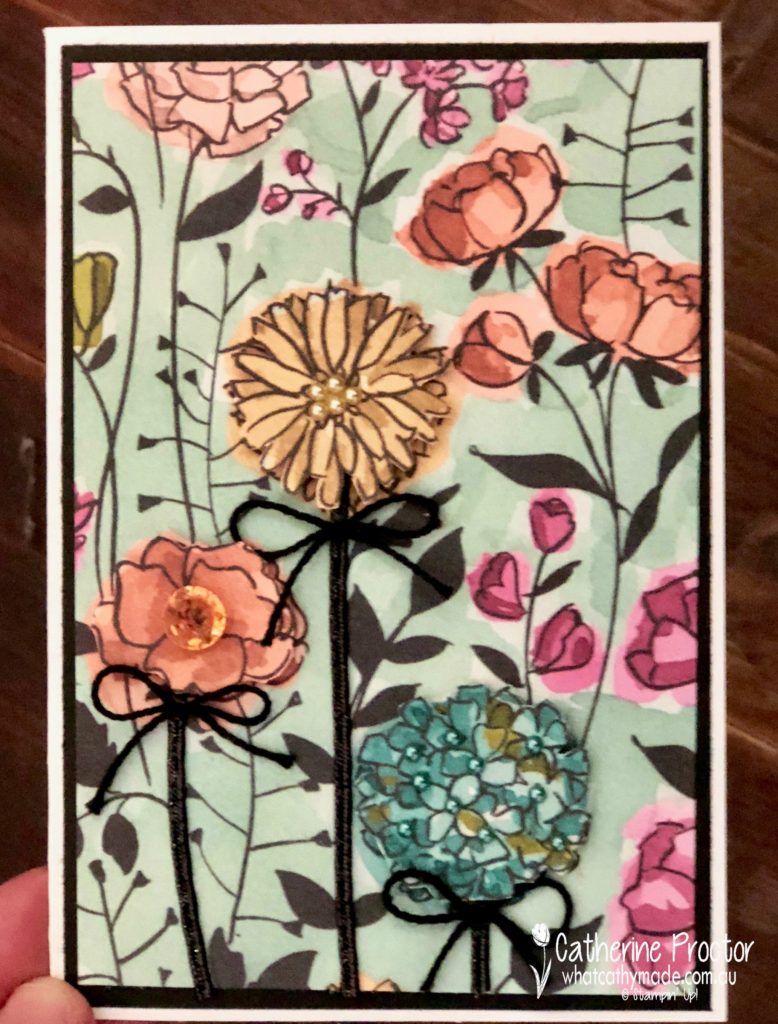
Then I realised Grapefruit Grove was a colour featured in one of my favourite Designer Series Paper collections, the Share What You Love DSP. And you really don’t need to do much to this stunning paper.
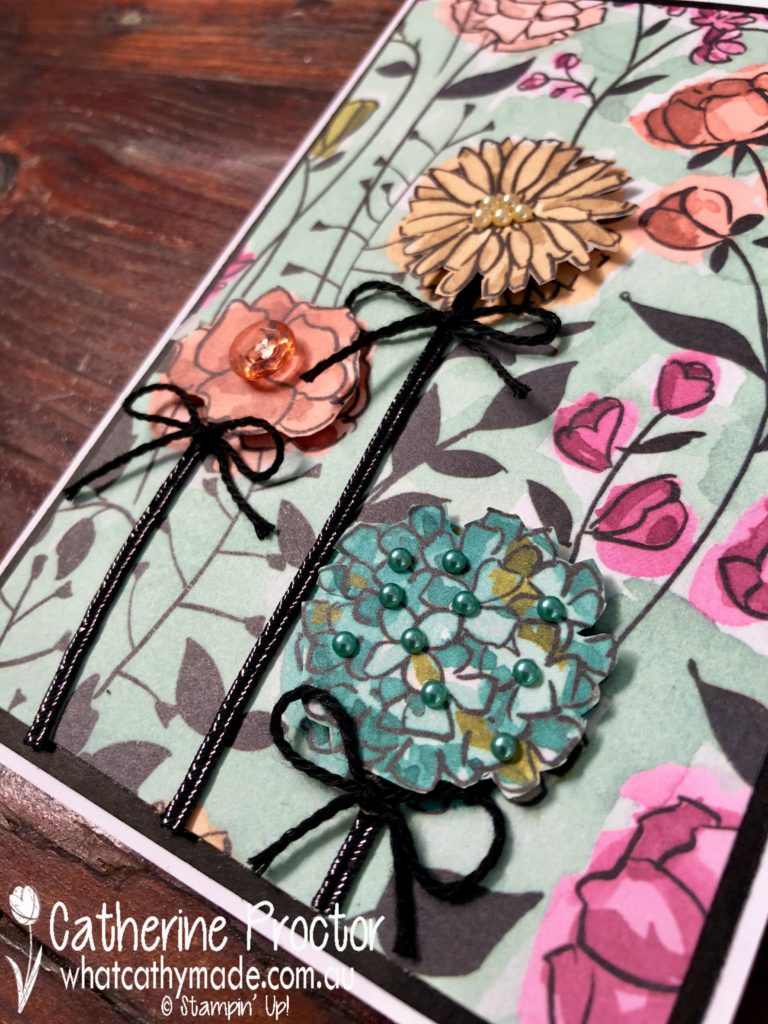
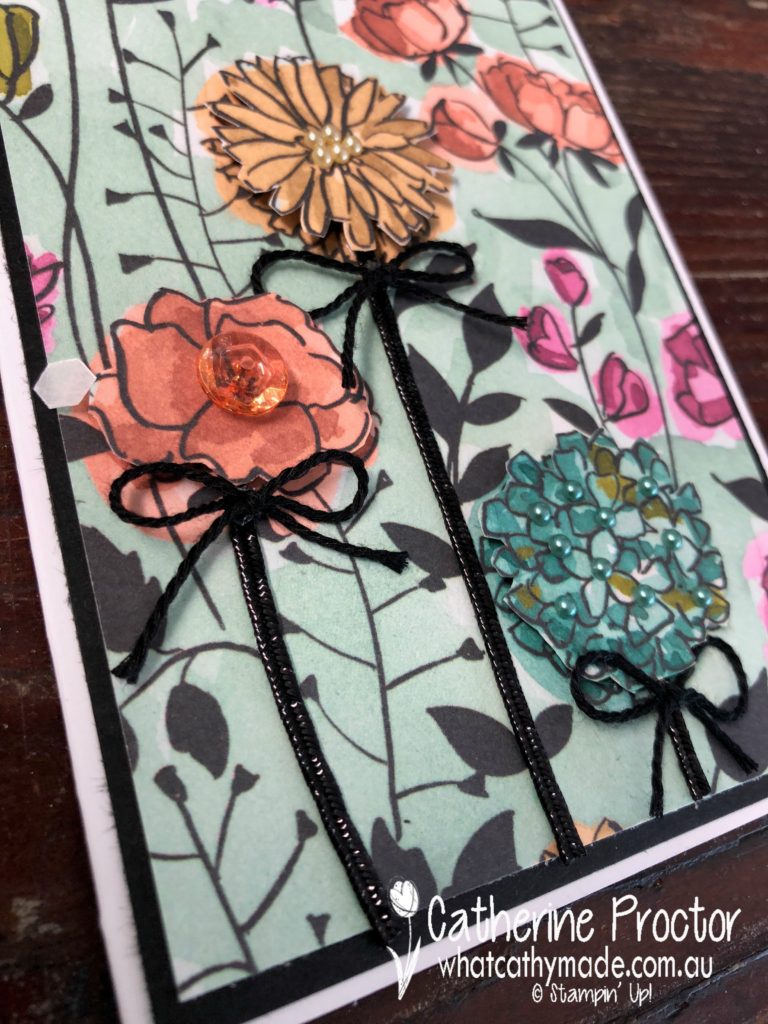
I simply fussy cut some of the flowers (including the Grapefruit Grove flower) layered them onto the DSP with dimensionals and embellished the flowers. I used the Share What You Love Artisan Pearls for two of the flowers and a sparkling Grapefruit Grove tinted faceted button for the other flower.
I also highlighted the black stems of these flowers by adhering strips of black cord to the stems and adding little bows of black bakers twine.
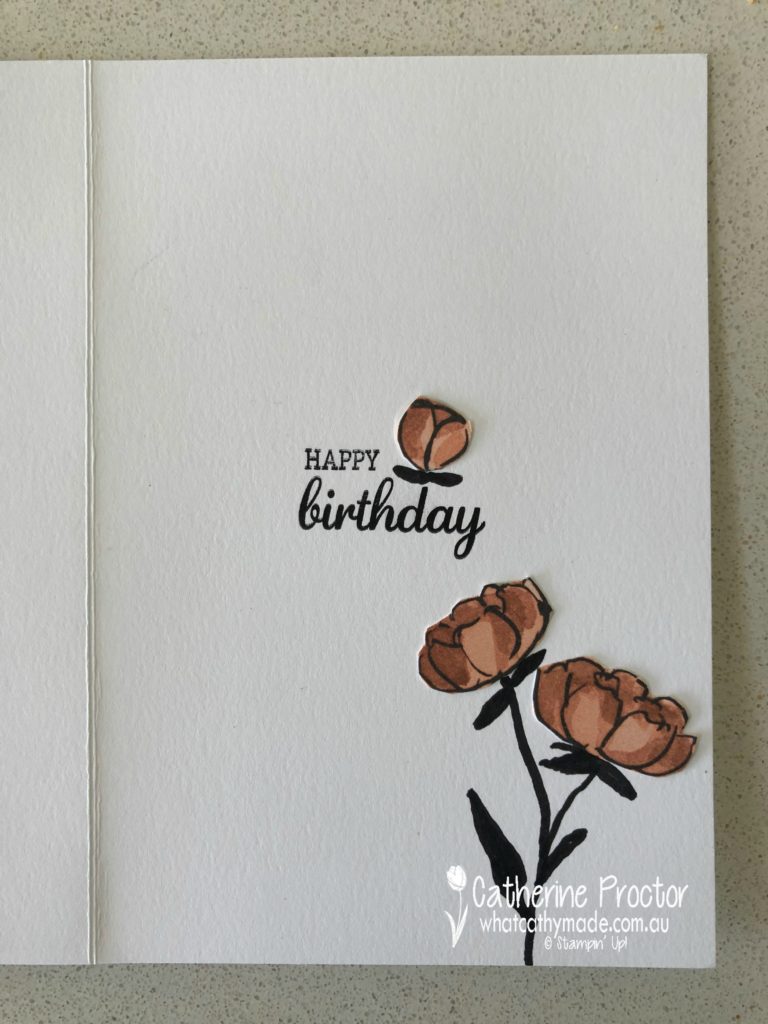
And because I felt there was already enough happening on the front of the card, I stamped the sentiment inside the card instead, using the happy birthday stamp from Best Birds and embellishing with some more fussy cut flowers. The stems I simply drew in with my Basic Black Marker.
This DSP is just so lovely I ended up making a second card, using the reverse side of this pattern I used in my first card.
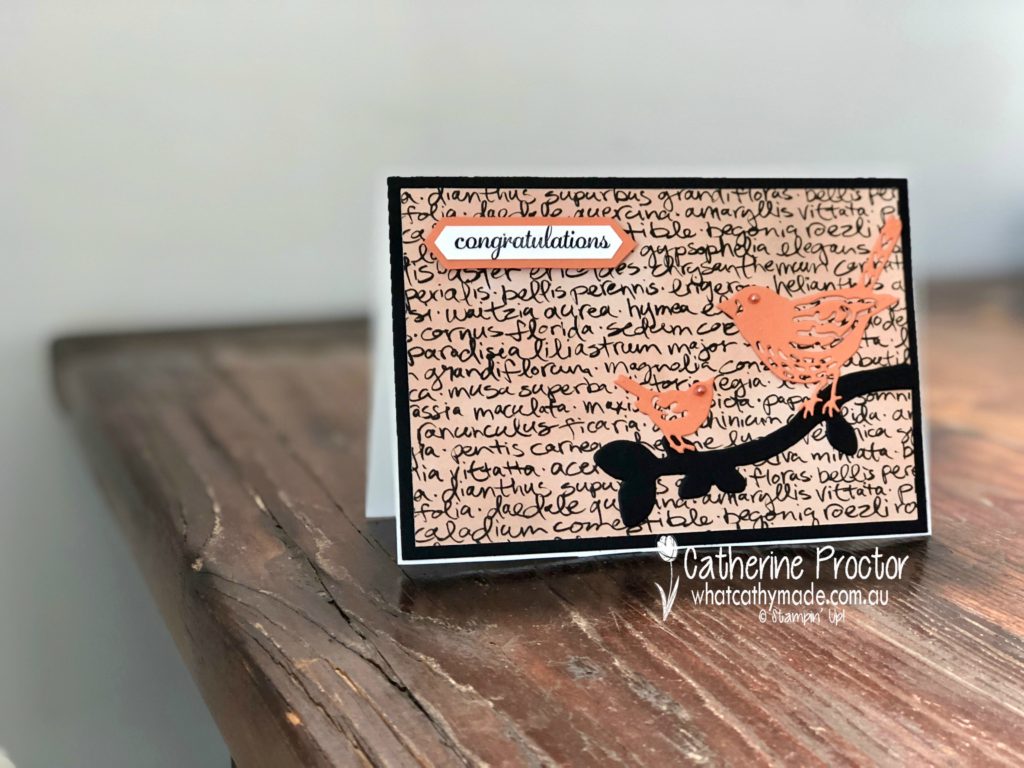
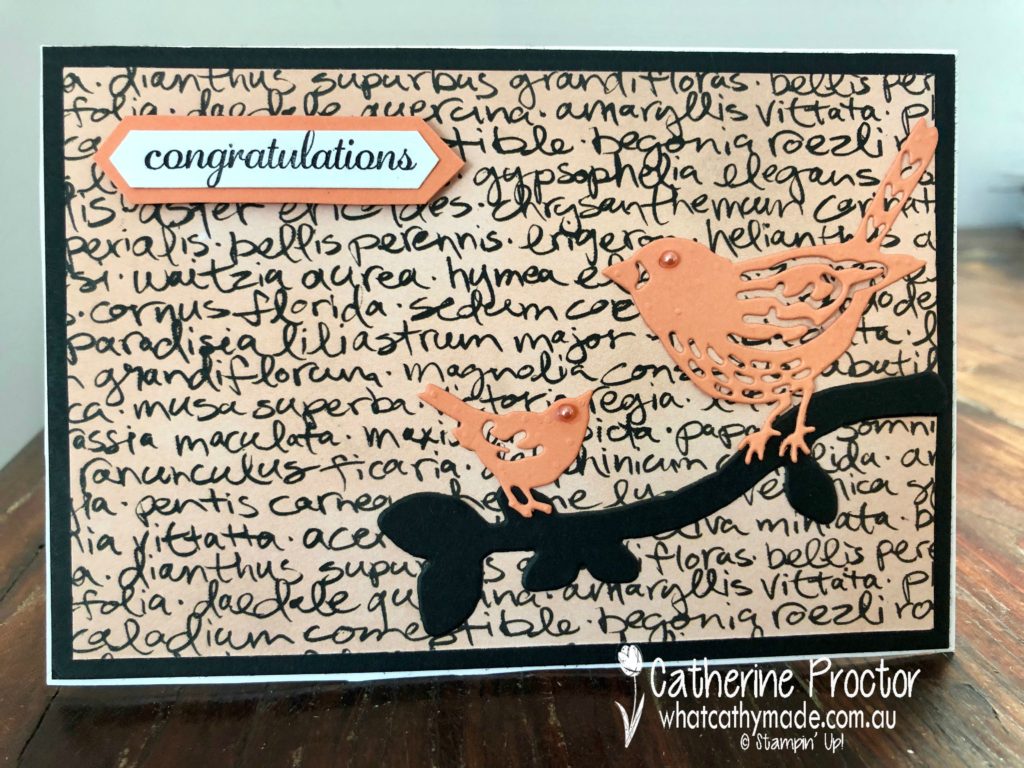
I’m not sure whether the colour on this side of the DSP is Petal Pink or Grapefruit Grove stamped off, but either way, I think it works really well with my Grapefruit Grove birds sitting on their Basic Black tree branch.
The eyes of the birds are Grapefruit Grove pearls from the Share What You Love Artisan Pearls, and the sentiment, birds and tree branch are all from the Best Birds stamp set and its matching Birds and Bloom thinlits.
To see what the rest of the team have made click on the links below.
Welcome to week 11 of our Art With Heart, Heart of Christmas blog hop.
I have a confession to make.
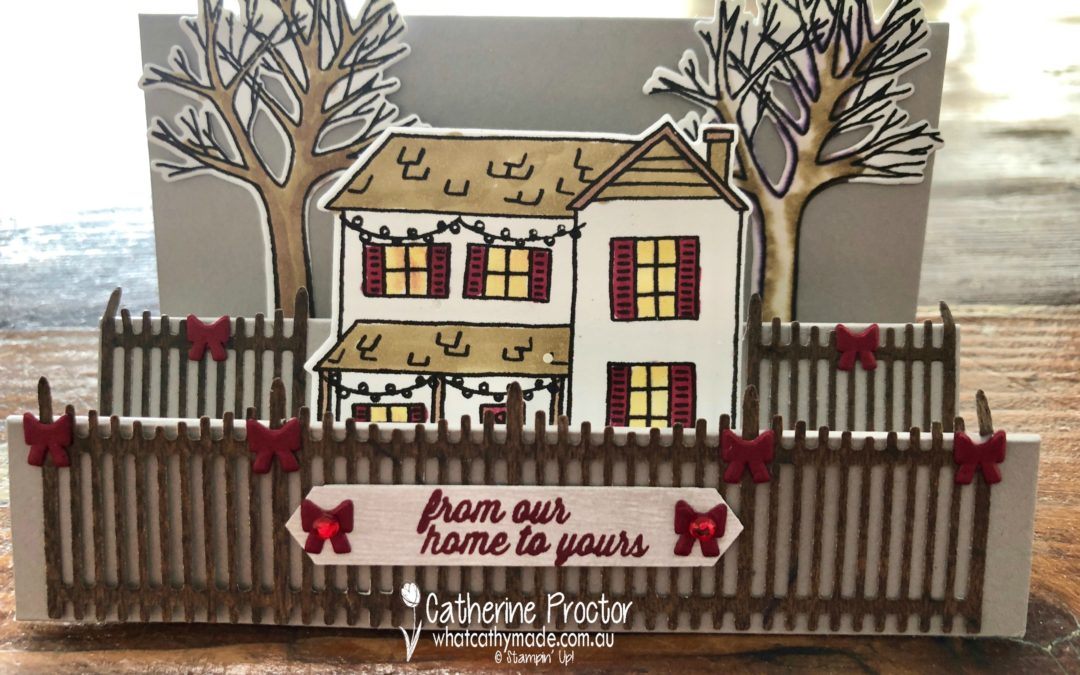
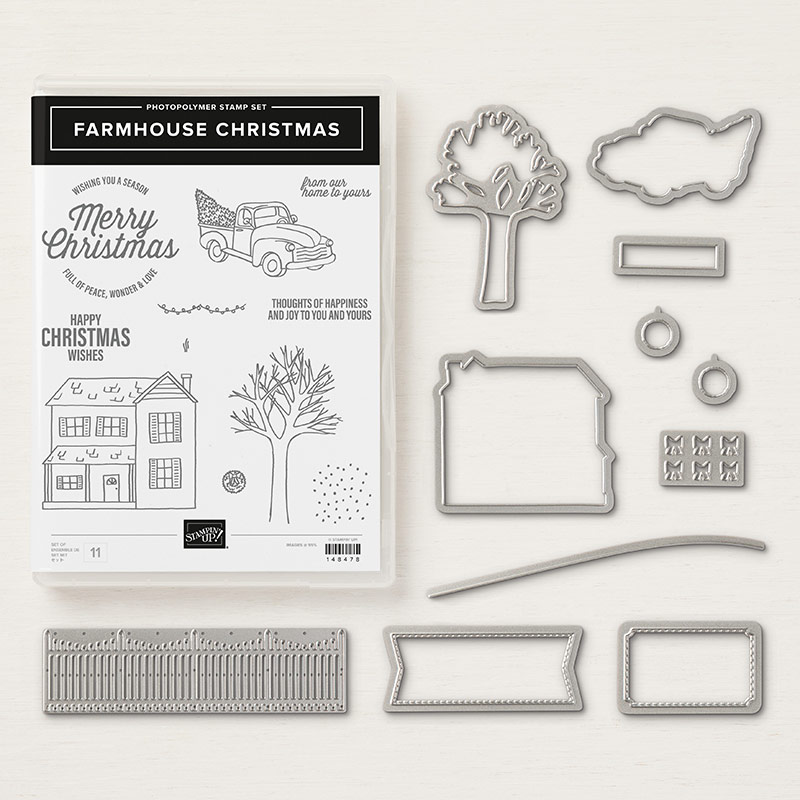
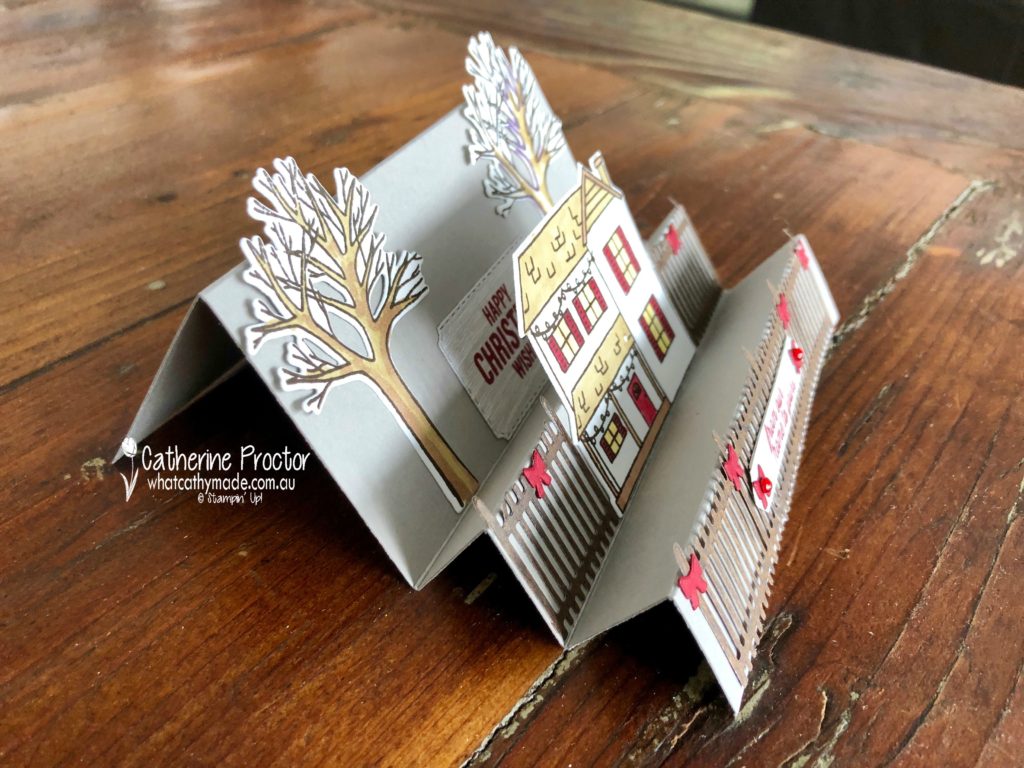
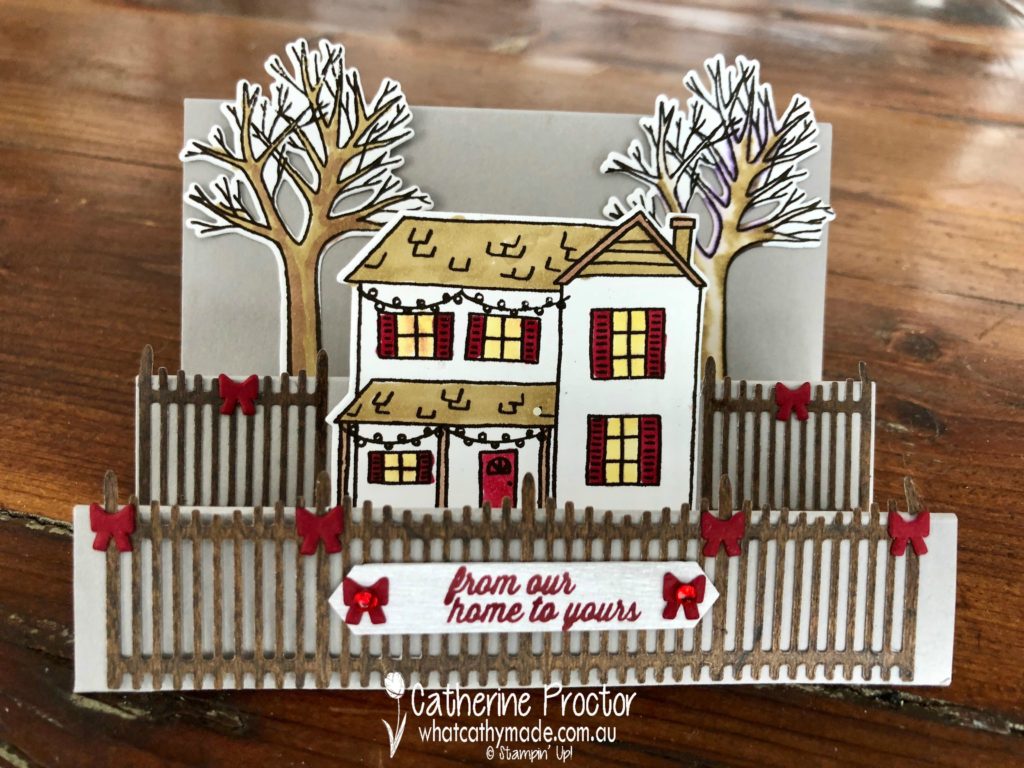
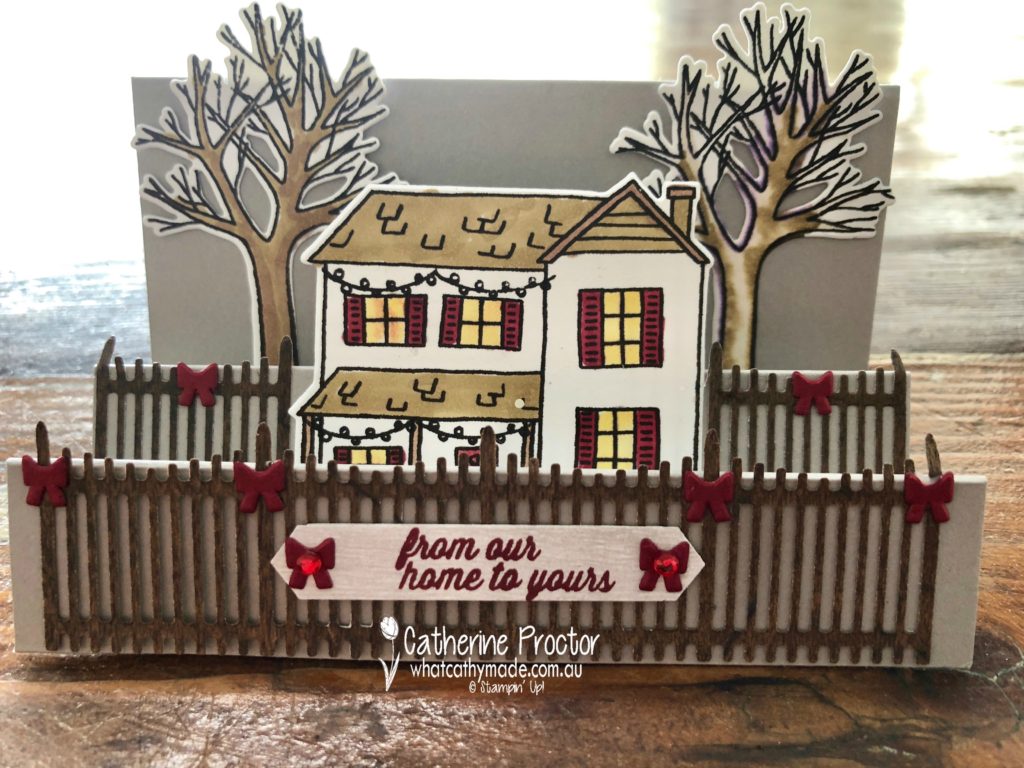
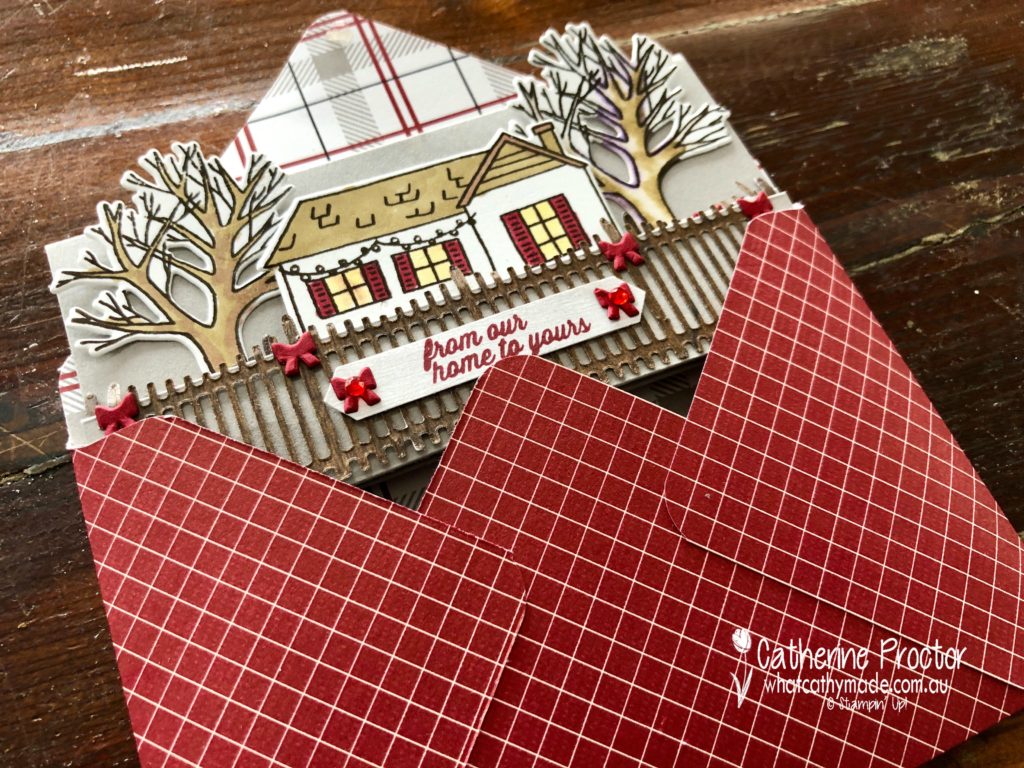
I bought the Farmhouse Christmas bundle simply to get the picket fence, the teeny tiny string of lights and the teeny tiny bow dies. But now that I’ve had a play with this set, I’ve fallen in love with every stamp and die in this bundle. It’s just so cute!
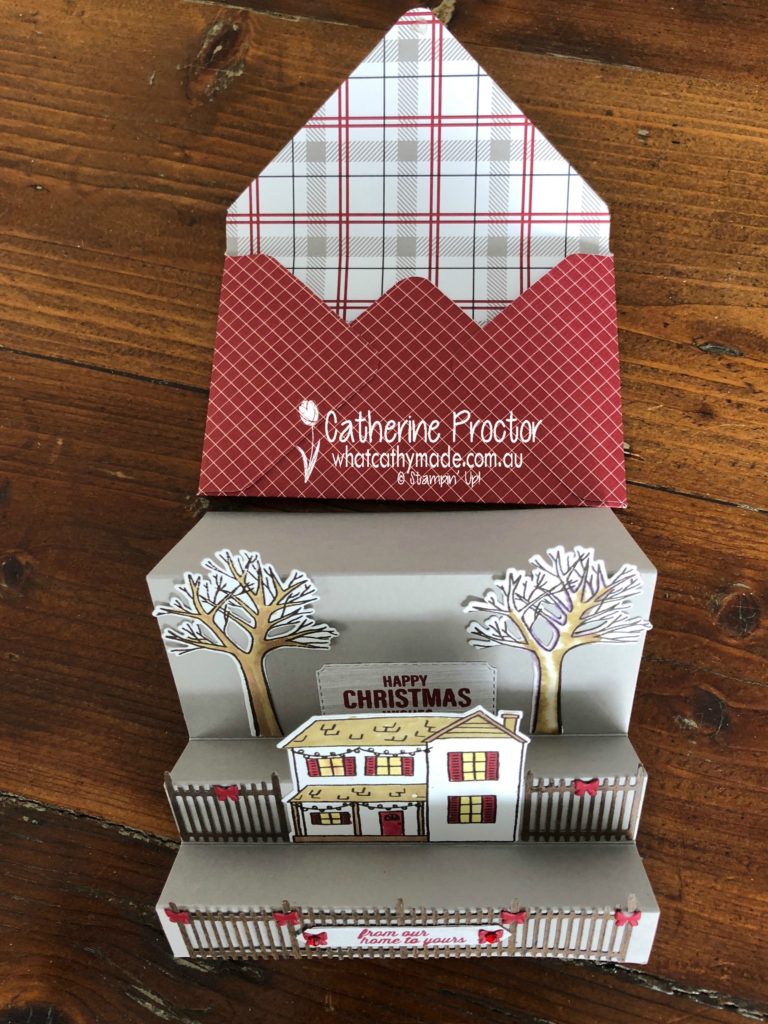
I’ve seen a few Z fold cards made with this set but I haven’t seen any step cards so I decided to make one for my project this week. If you haven’t seen a step card before, here’s a side on view to show you what I’m talking about.
Step cards come in so many different variations (just Google it and you’ll see what I mean) but the type I’ve made with the Farmhouse Christmas bundle is very simple and so easy to make. The measurements for my card are as follows. Begin with a piece of cardstock (I used Gray Granite) measuring 8 1/2 x 4 3/4 inches. Score and fold at 1″, 2″, 3″, 4″ and 6 3/8″.
At this point, I need to insert a little disclaimer. I stamped my house and trees using Early Espresso ink and then used my Stampin’ Up! blends to colour them in, but on the tree where I used my colour lifter blender pen it comes up with a purple hue in my photos!
In real life, you don’t even notice this but if this worries you and you don’t want that purple hue on your card don’t use the colour lifter pen when colouring in.
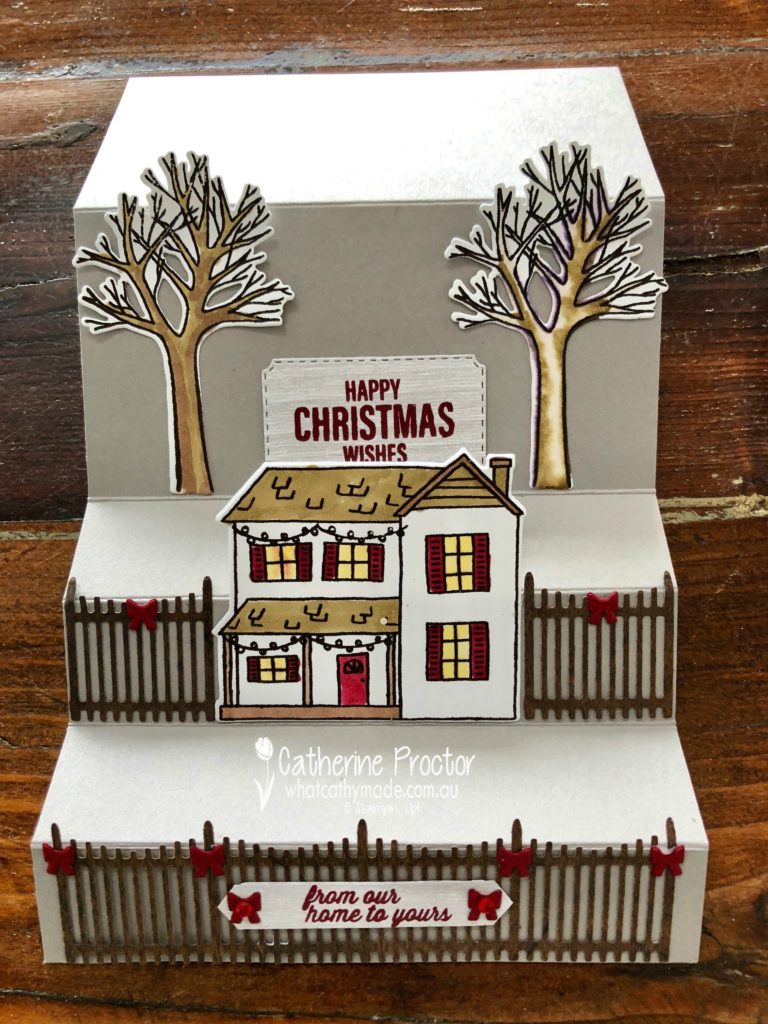
Here’s a photo of the card stretched out so you can see how I’ve laid out the stamps and the dies on my card.
Step cards are really suited to stamp sets that you can use to create a layered scene. And they are wonderful for the recipient because they stand up beautifully by themselves for display purposes.
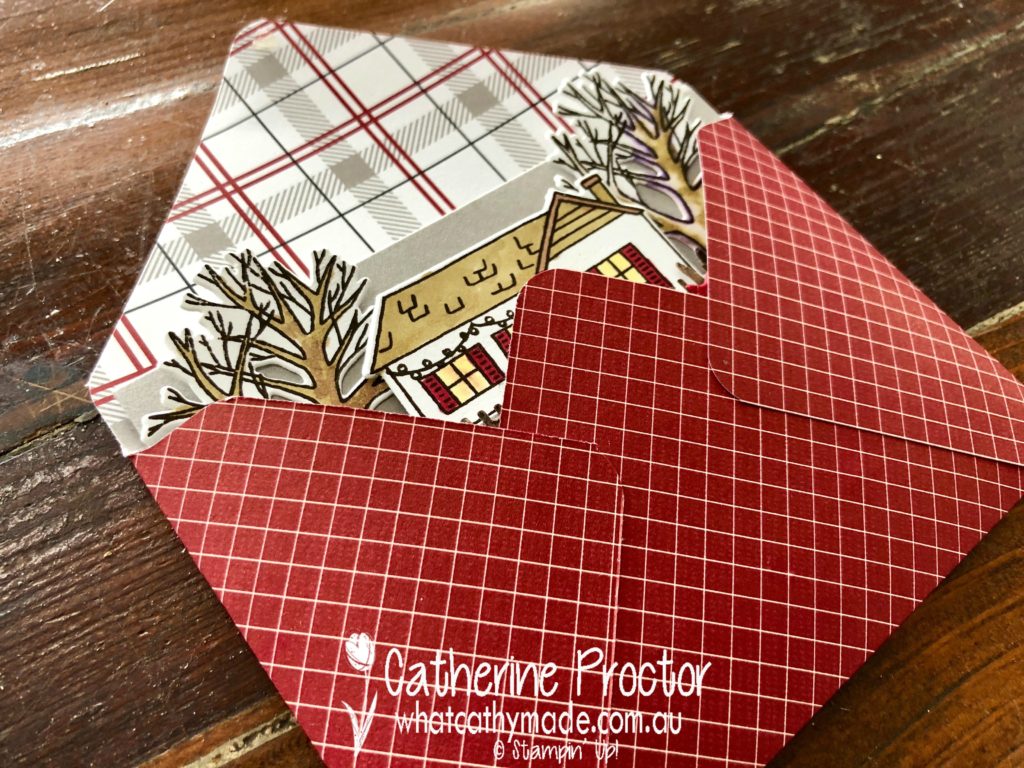
As you can see in the photo above I’ve made an envelope to match my card, using the envelope punch board and the matching Festive Farmhouse DSP. To keep my envelope closed when posting or gifting the card I use a glue dot underneath the back flap.
To see what the rest of the team have made this week hop over to the lovely Claire Daly’s blog.
To purchase any of the products I used in this project you can shop with me here. Or if you’d like me to post you your very own copy of the 2018-2019 annual catalogue or find out about more about Stampin’ Up! contact me.
Welcome to week 21 of the Art With Heart Colour Creations Blog Hop!
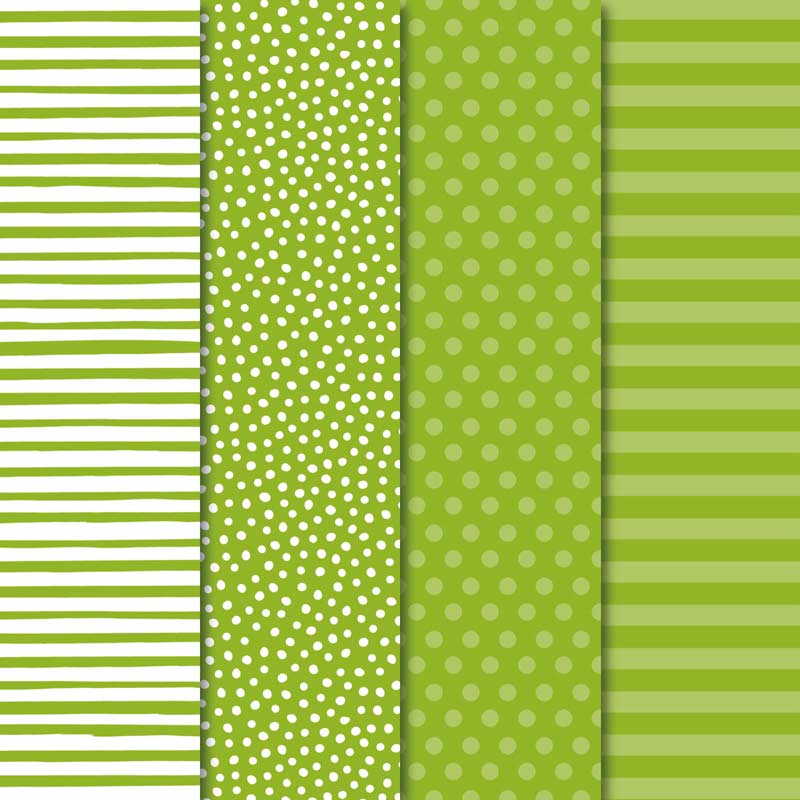
This week we are showcasing one of the Brights: Granny Apple Green.
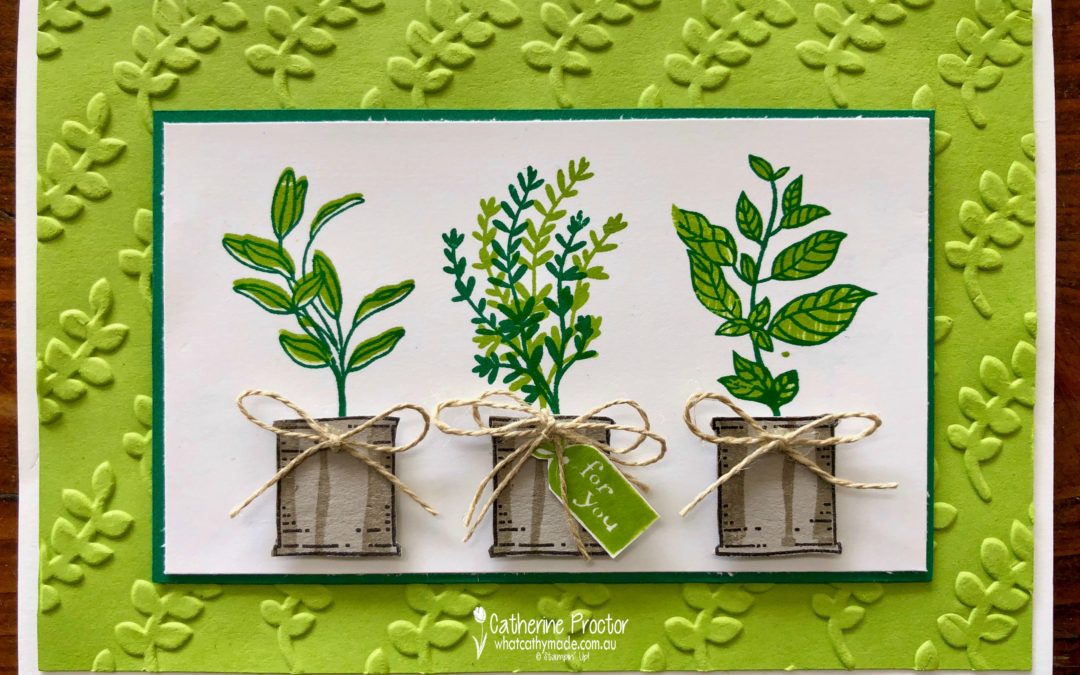
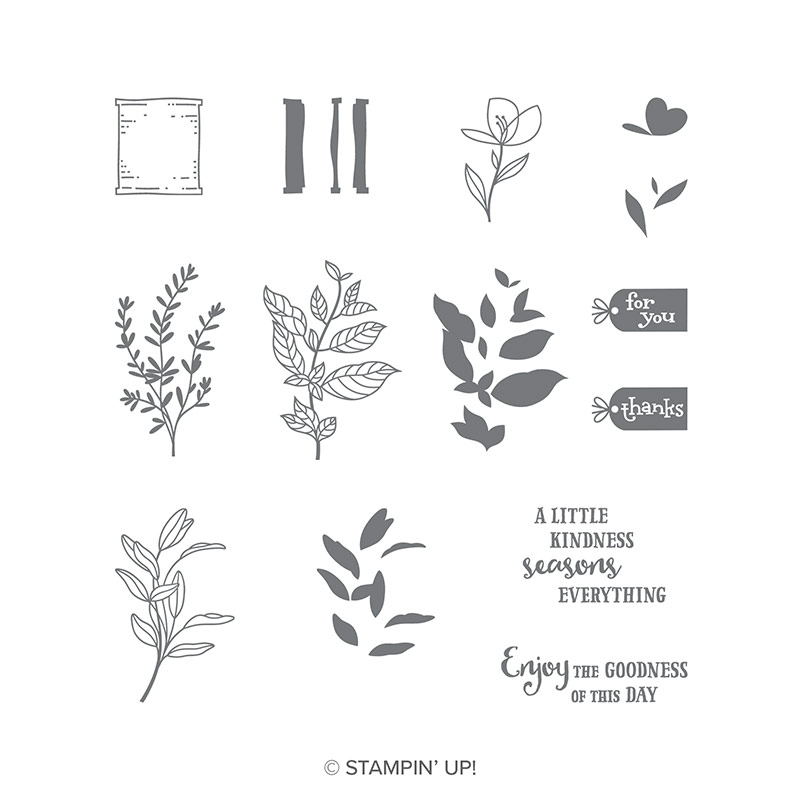
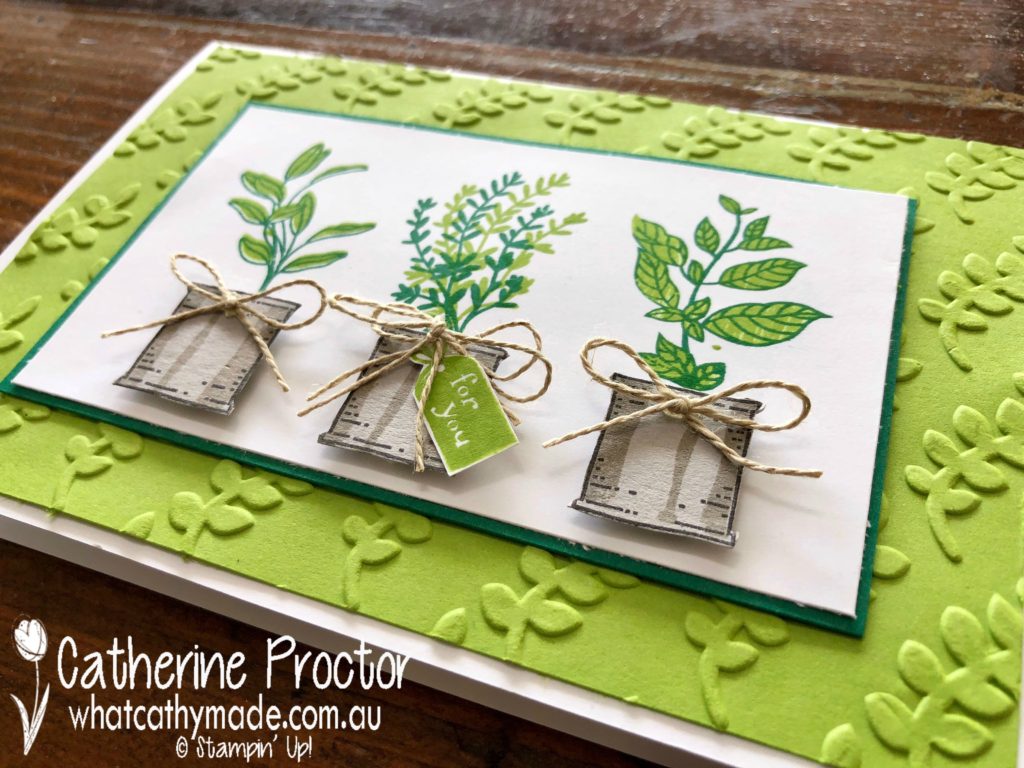
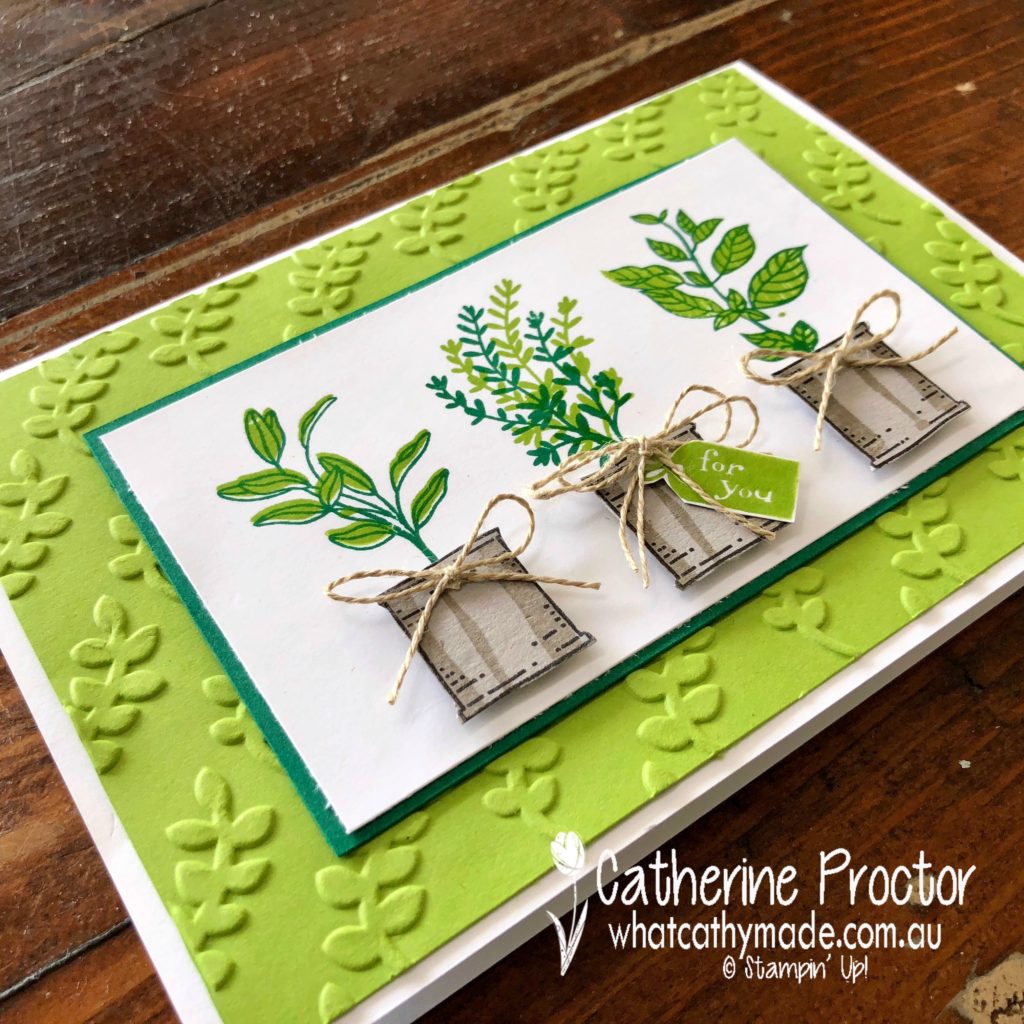
I really love this vibrant, fresh colour as well as the stamp set I used on my card today: Seasoned With Kindness. Seasoned With Kindness is a hostess stamp, found right at the back of the catalogue.
The is such a fun set to use because you can colour in the images or use the two-step stamping with the stamps provided like I did on my card, lining images up with my Stamparatus.
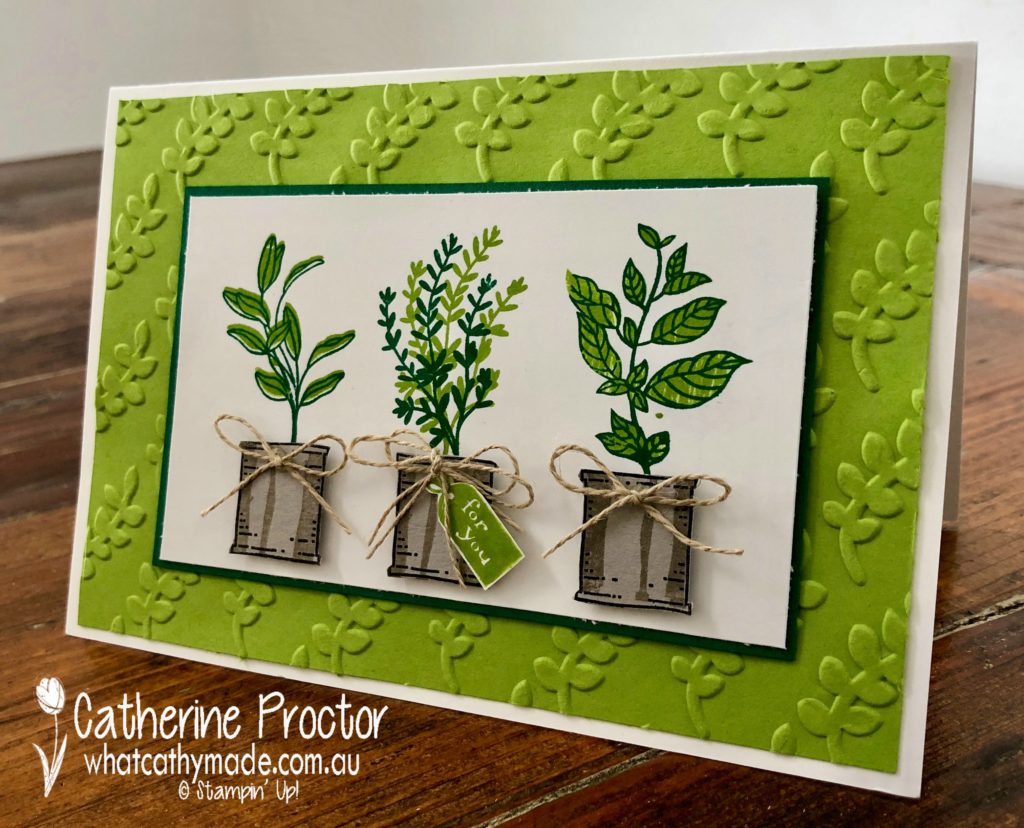
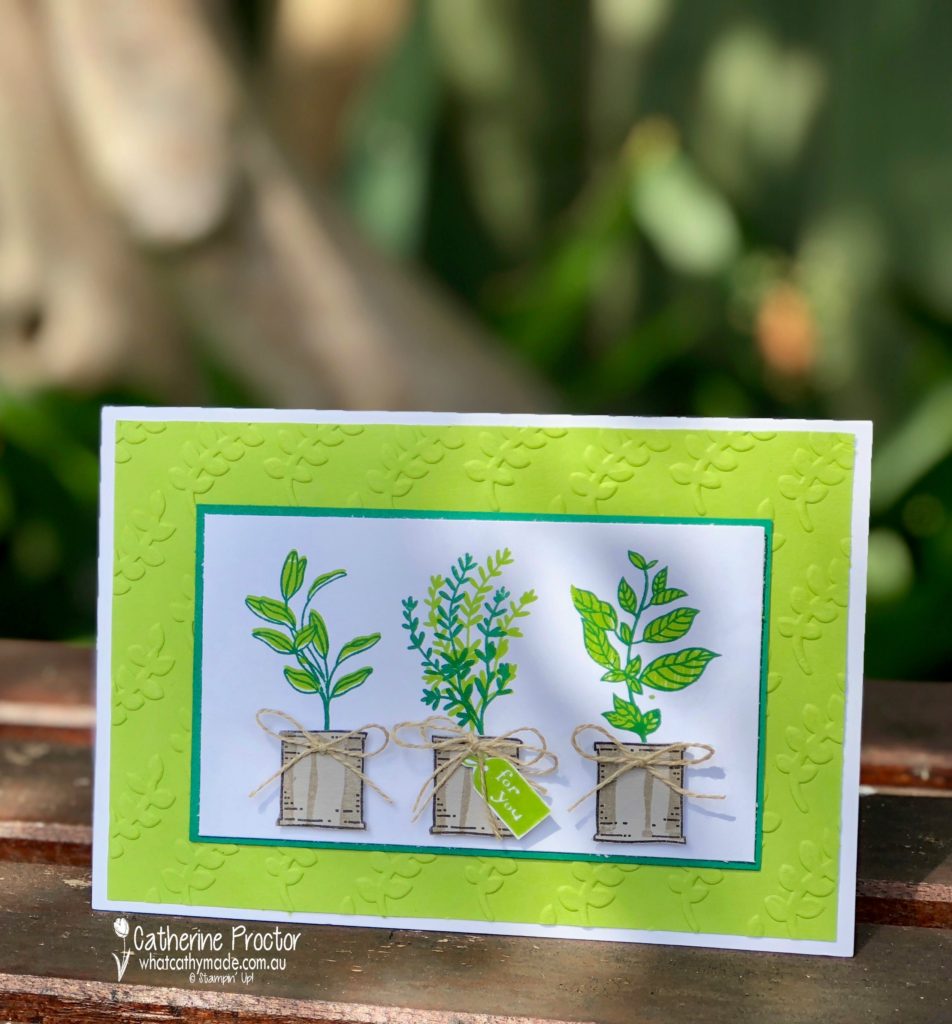
Can you guess what colour I used with the Granny Apple Green to stamp the plants? It’s Shaded Spruce…isn’t this a great colour combination?
The little pots my plants sit in are stamped in Gray Granite and Basic Black Ink onto Gray Granite cardstock, fussy cut with my snips, mounted onto the cardstock with mini dimensionals and then topped with a bow of Linen Thread. How cute is that darling little tag ♥!
I mounted my stamped image onto some Shaded Spruce cardstock and then onto a piece of Granny Smith Green I embossed with the Climbing Vine embossing folder.
To see what the rest of the team have made click on the links below.
Welcome to week 10 of our Art With Heart, Heart of Christmas blog hop.
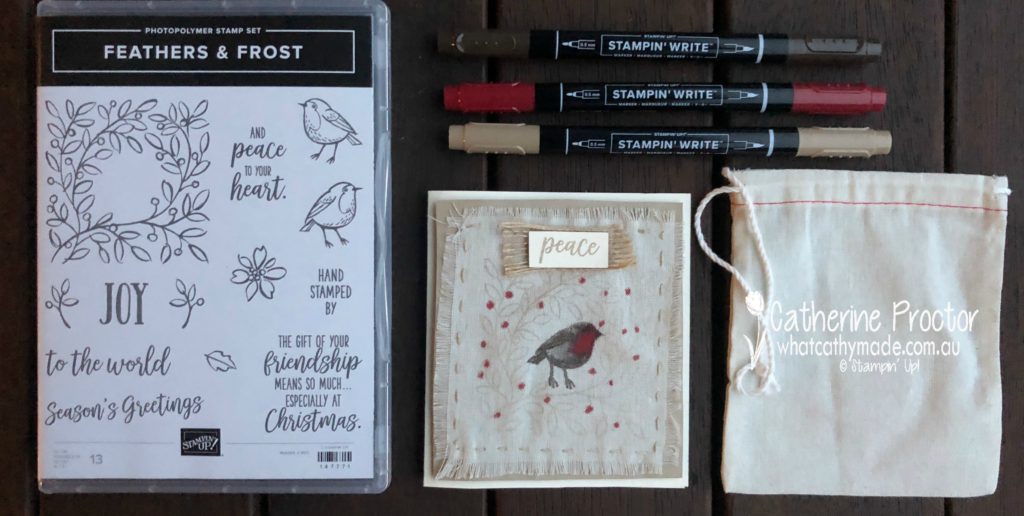
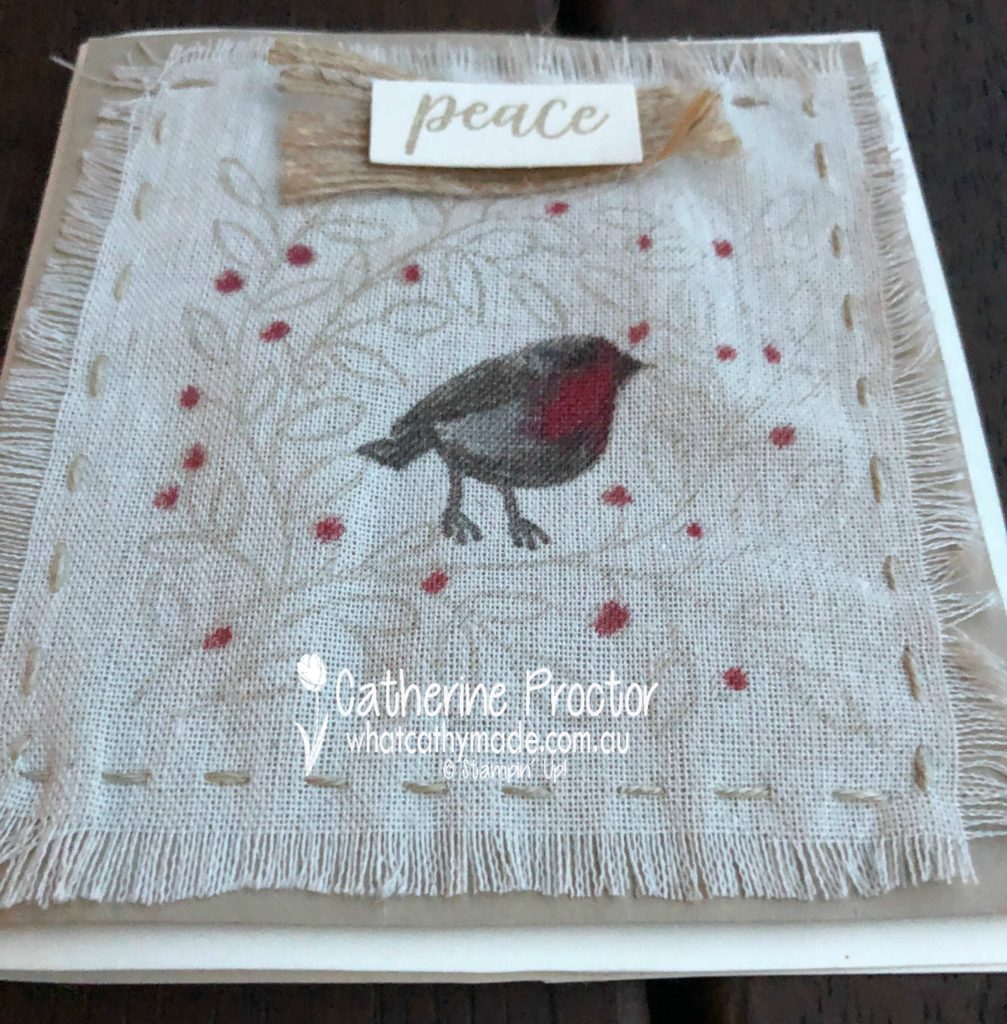
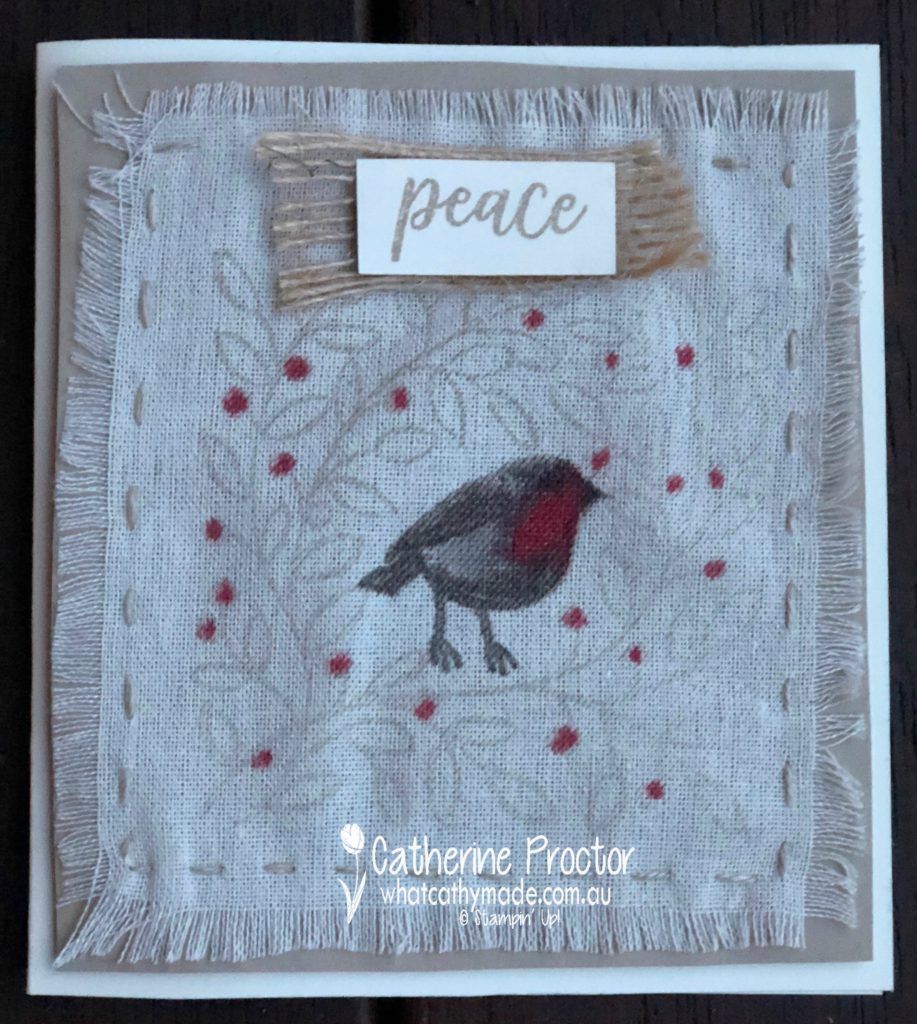
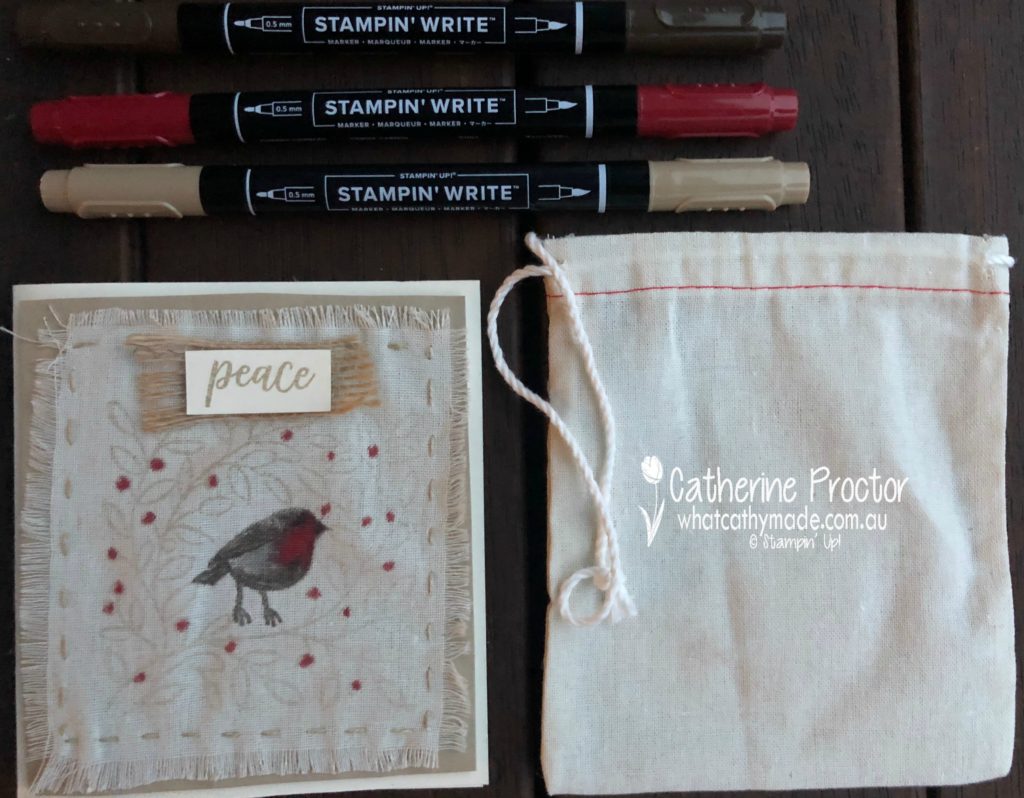
This week I made a very simple and rustic card using the Feathers & Frost stamps set, my Stampin’ Up! markers, the Santa Bags from the Holiday Catalogue and some linen thread.
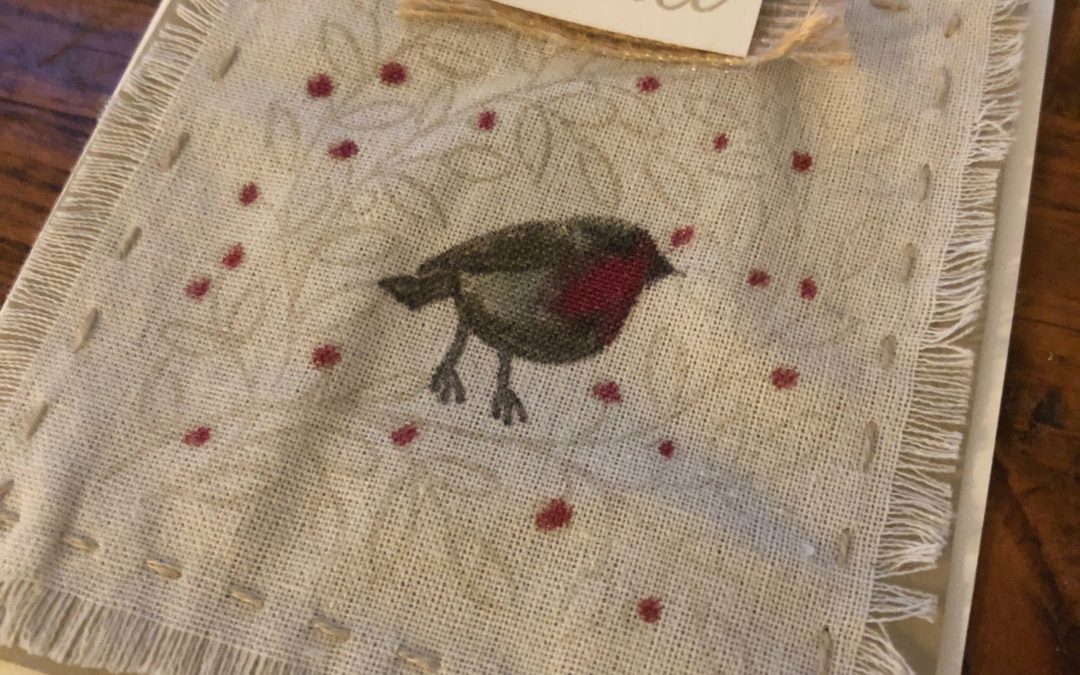
This stamp set is just perfect for colouring in and, as it turns out, for stamping directly onto linen. I used my paper snips to cut one of the Santa Bags in half and then I stamped my stamps directly onto the linen using Crumb Cake ink.
I coloured the little red robin in with my Early Espresso and Cherry Cobbler Stampin’ Up! markers before I used a needle with a large eye to sew the linen onto the cardstock using some linen thread.
Can you see the frayed edges of the linen? This is super easy to do, but I waited until after I’d coloured my image and sewed the linen to cardstock to fray the edges.
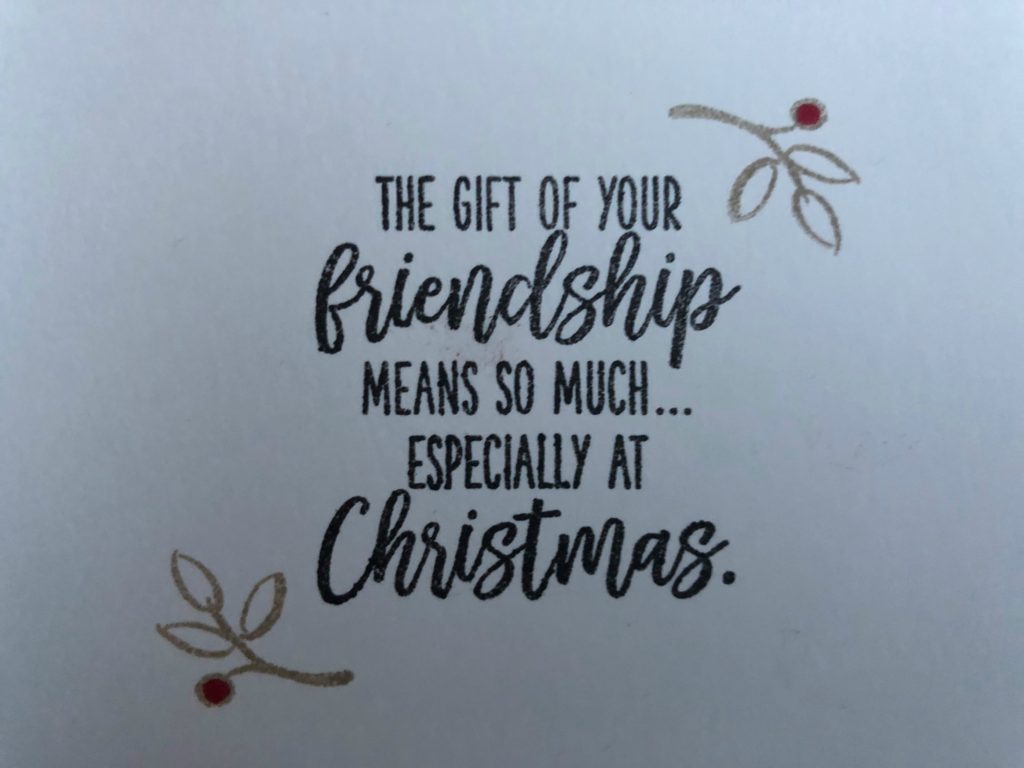
I stamped the inside of the card using a lovely sentiment from the Feathers & Frost stamp set.
I must apologise for the quality of the photos tonight- they were taken just before the blog went live on a dark and rainy night in old Sydney town. I also simply ran out of time re-redo my card…the linen is not sitting as flat as I would like so next time I would adhere it with tear and tape first BEFORE stitching to ensure it sits flat.
To see what the rest of the team have made this week hop over to the lovely Claire Daly’s blog.
To purchase any of the products I used in this project you can shop with me here. Or if you’d like me to post you your very own copy of the 2018-2019 annual catalogue or find out about more about Stampin’ Up! contact me.
Welcome to week 20 of the Art With Heart Colour Creations Blog Hop!
This week we are showcasing one of the Brights: Gorgeous Grape.
I have to confess that although I think this is a stunning colour I’m actually not very confident using the brights and so I had never used this colour before. Ever!
But I ended up making two cards for my blog this week and if I’d had more time I would’ve made some more as I was just getting warmed up playing with Gorgeous Grape.
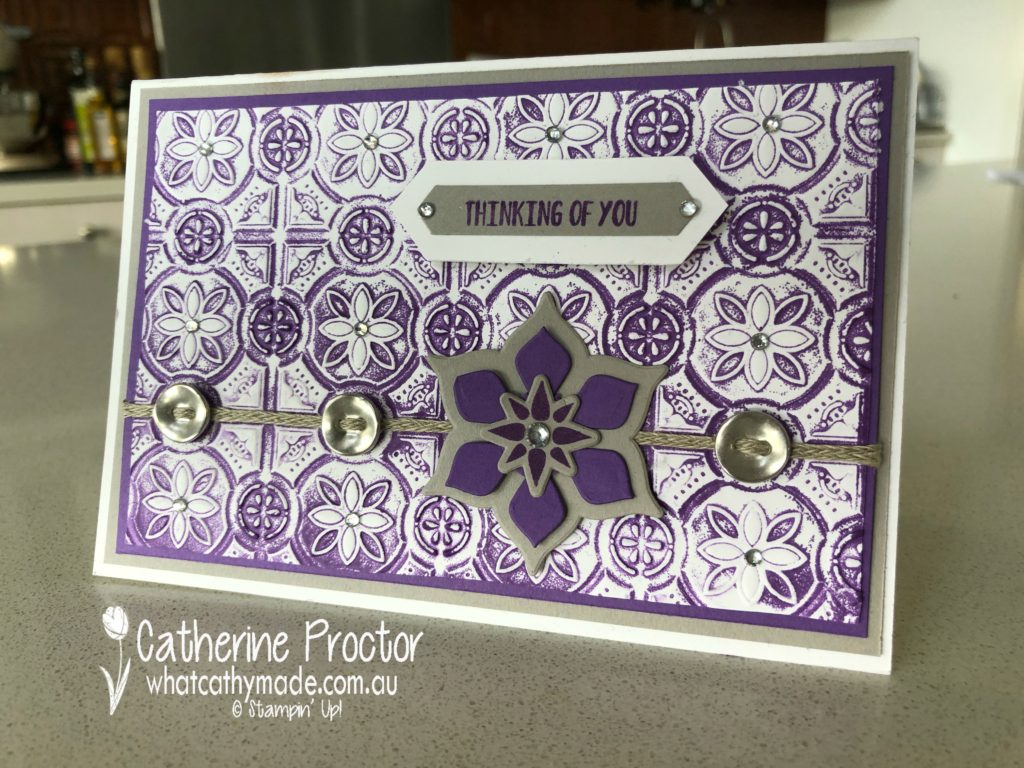
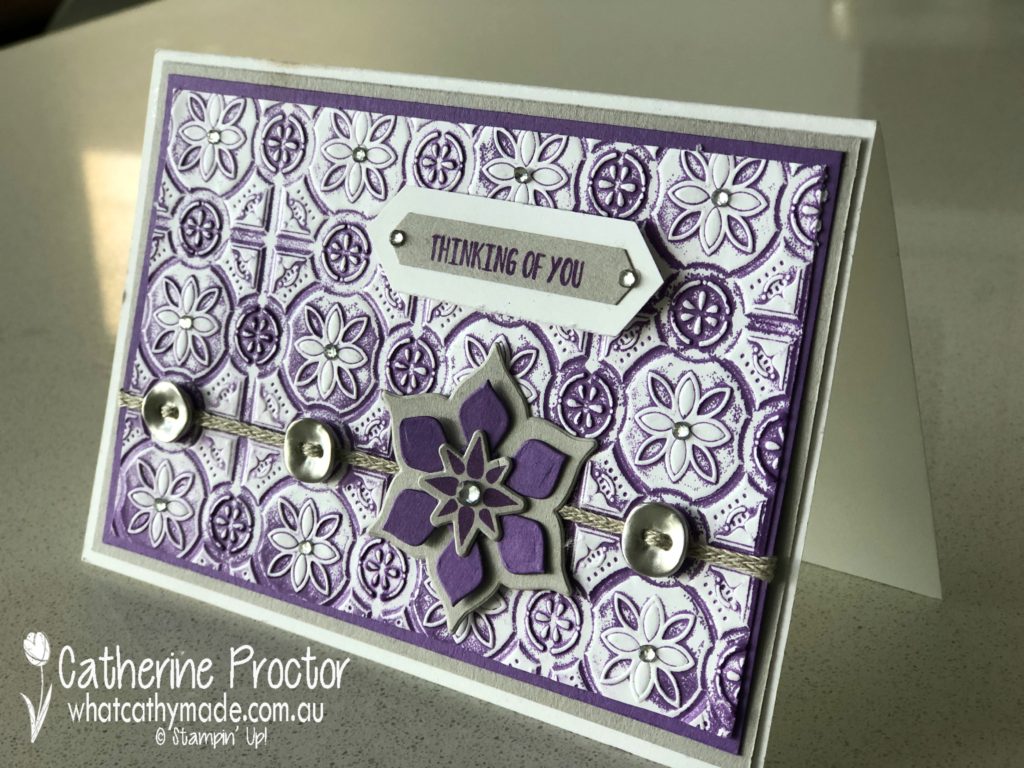
The first card I made used the stunning tin tile embossing folder. I rubbed my Gorgeous Grape inkpad inside one side of the embossing folder before carefully inserting a piece of Whisper White card stock and running it through my bigshot. I love the soft antique effect this gives to the card stock.
The embossed paper was mounted onto Gorgeous Grape and then Gray Granite cardstock and then onto a white card base.
I embellished my card with some braided linen trim threaded through galvanised buttons and a flower embellishment I made using the Eastern Beauty stamp set and matching dies. I think the shapes in this stamp set and matching dies really match the tin tile embossing folder.
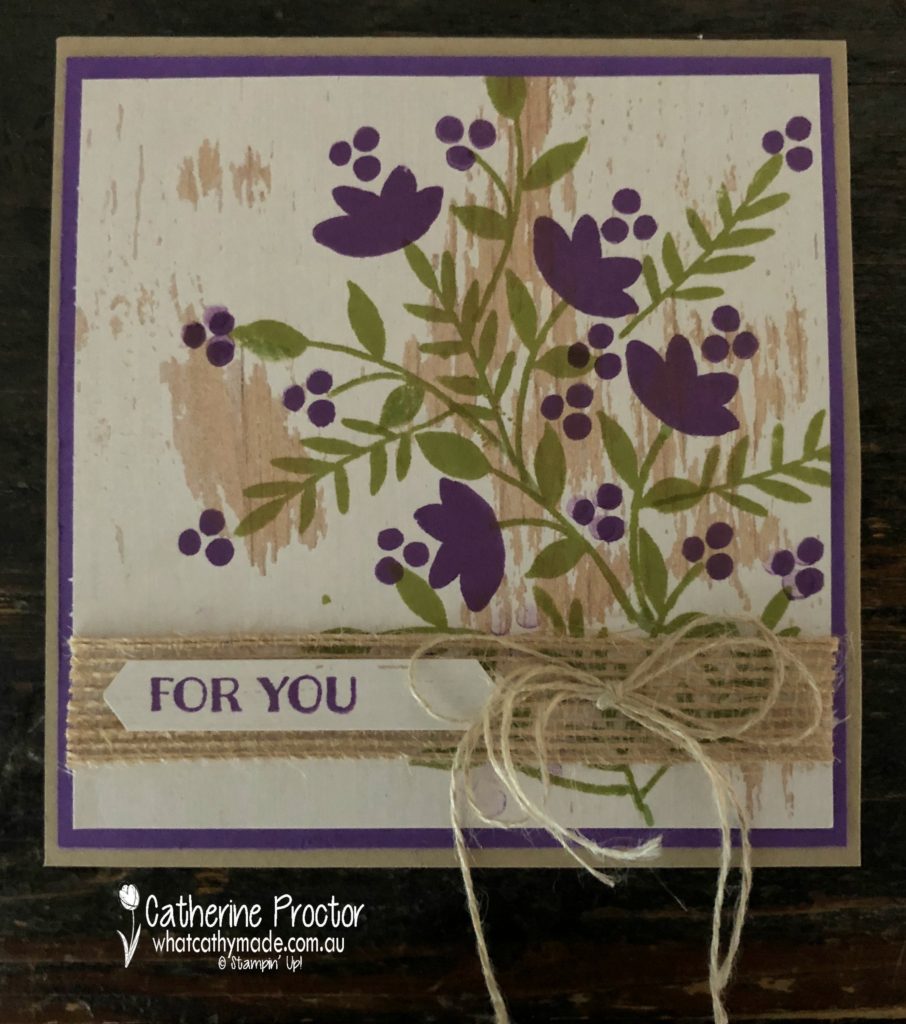
My second card pairs Gorgeous Grape with Pear Pizzaz and Crumb Cake…I had to reassure Crumb Cake that I haven’t abandoned it for the new kid on the block, Gray Granite.
Do you recognise the stamp set I’ve used in the card below?
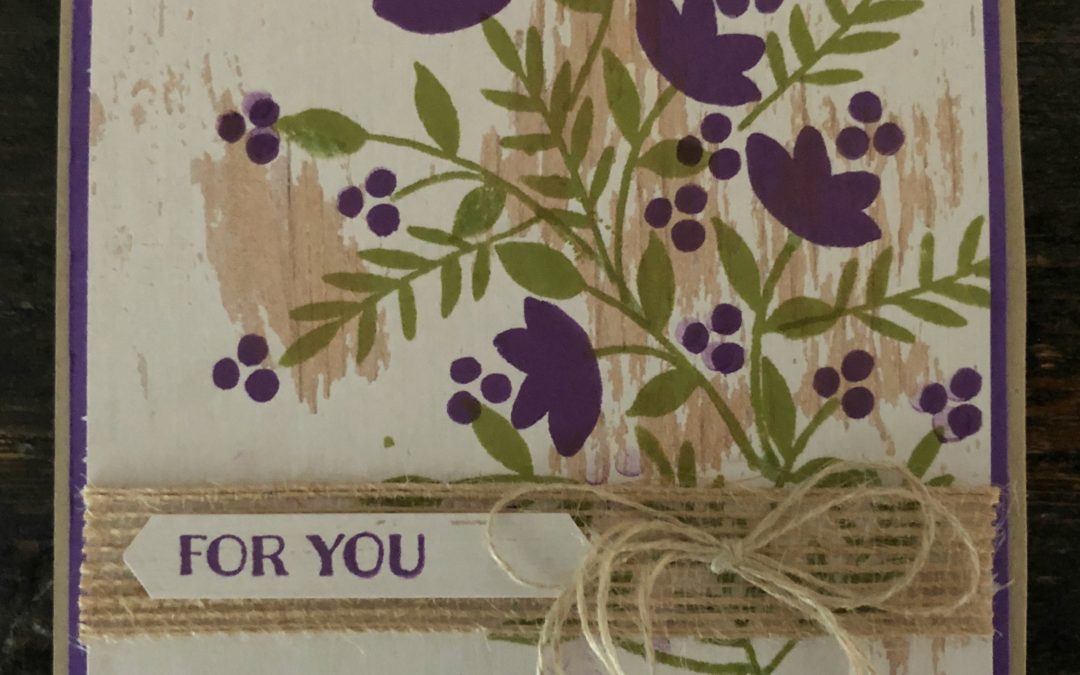
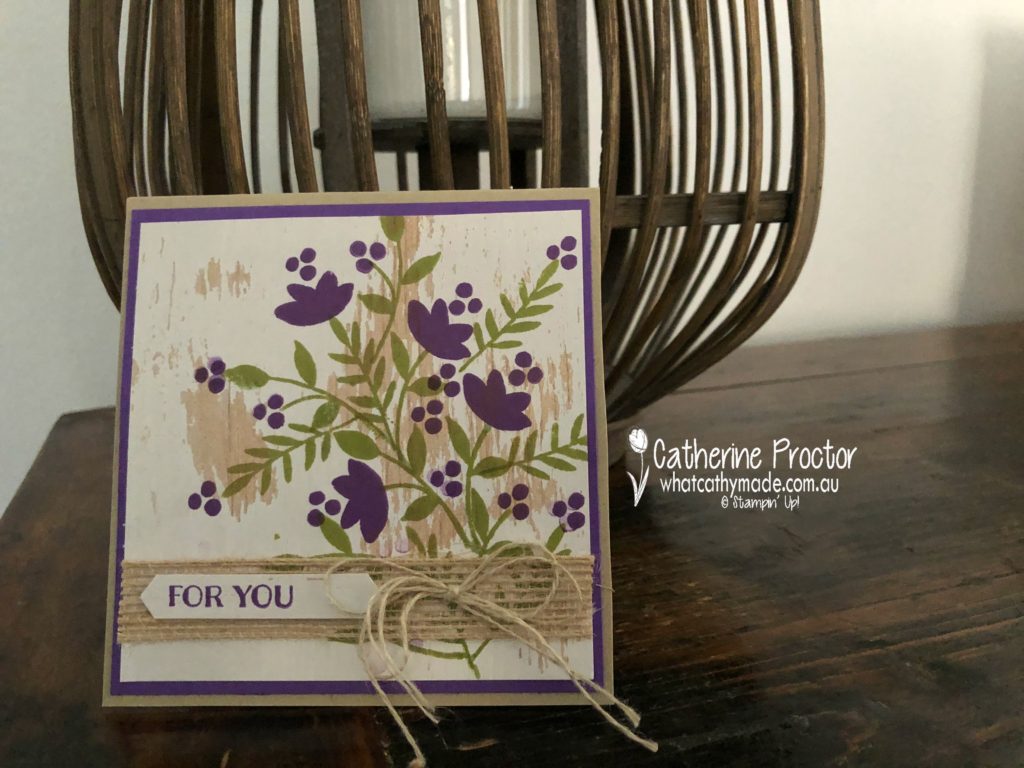
It’s an oldie but a goldie and it needed some ink. The Banners For You stamp set is wonderful for sentiments but I also love the little details in the smaller stamps on this set, which I have stamped onto one of the sheets of Wood Textures DSP.
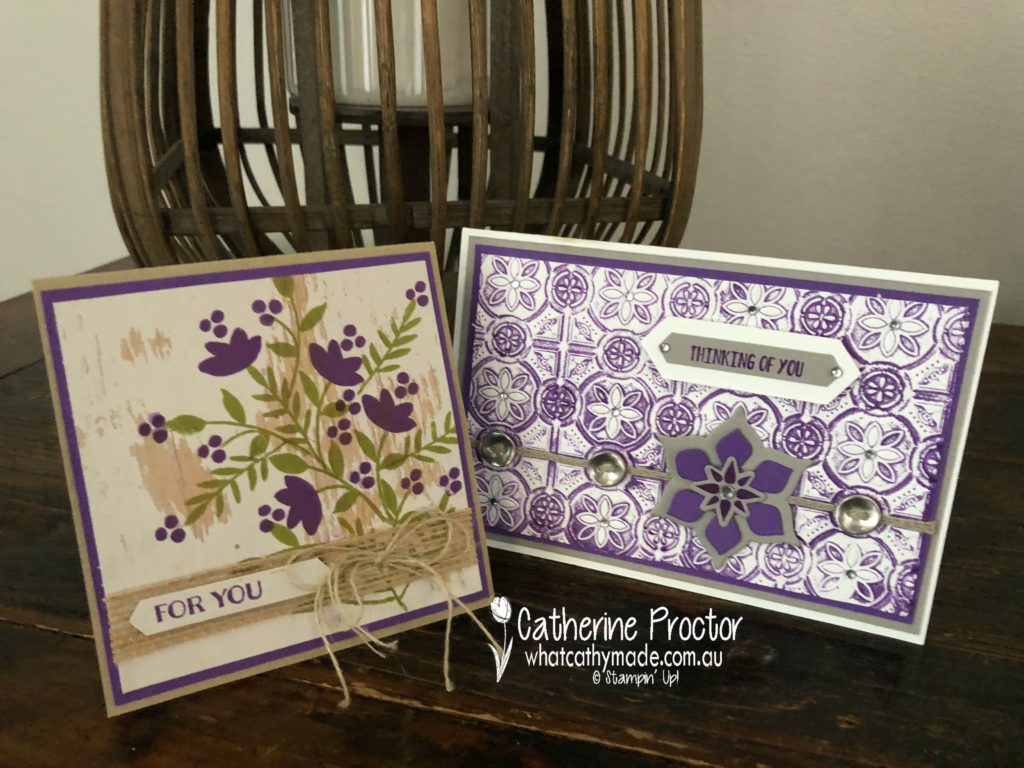
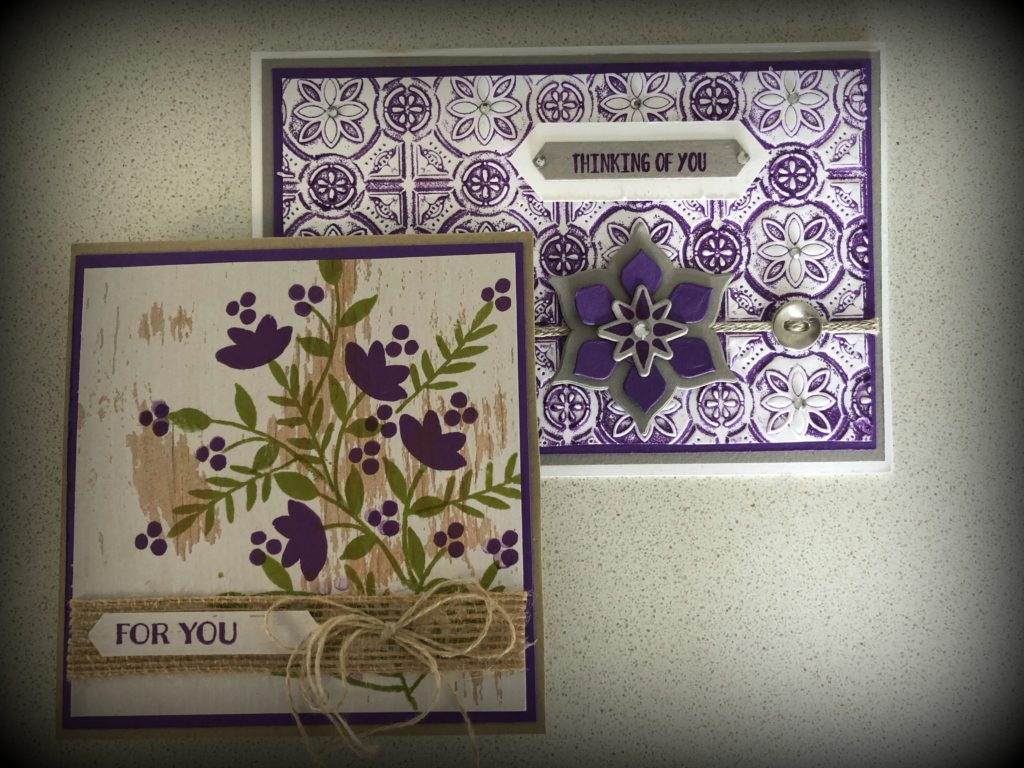
So, which colour combo gets your vote? Does Gorgeous Grape work better with the stunning new Gray Granite in the Morrocan inspired embossed tin tile card…
…or does it work better with the old favourite Crumb Cake in the rustic floral card?
To see what the rest of the team have made click on the links below.
Thanks for hopping along with us today. To purchase any of the products I used in this project you can shop with me here. Or if you’d like me to post you your very own copy of the 2018-2019 annual catalogue or find out about more about Stampin’ Up! contact me.
Next Tuesday we’ll be showcasing another new Bright: Granny Apple Green!
Welcome to week 9 of our Art With Heart, Heart of Christmas blog hop.
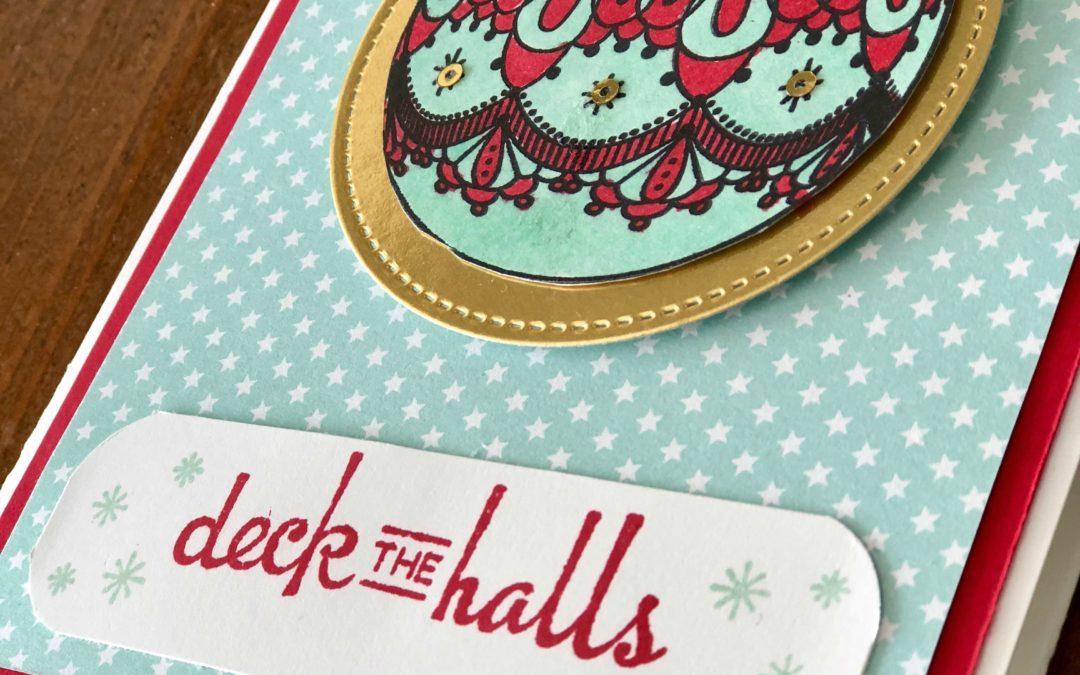
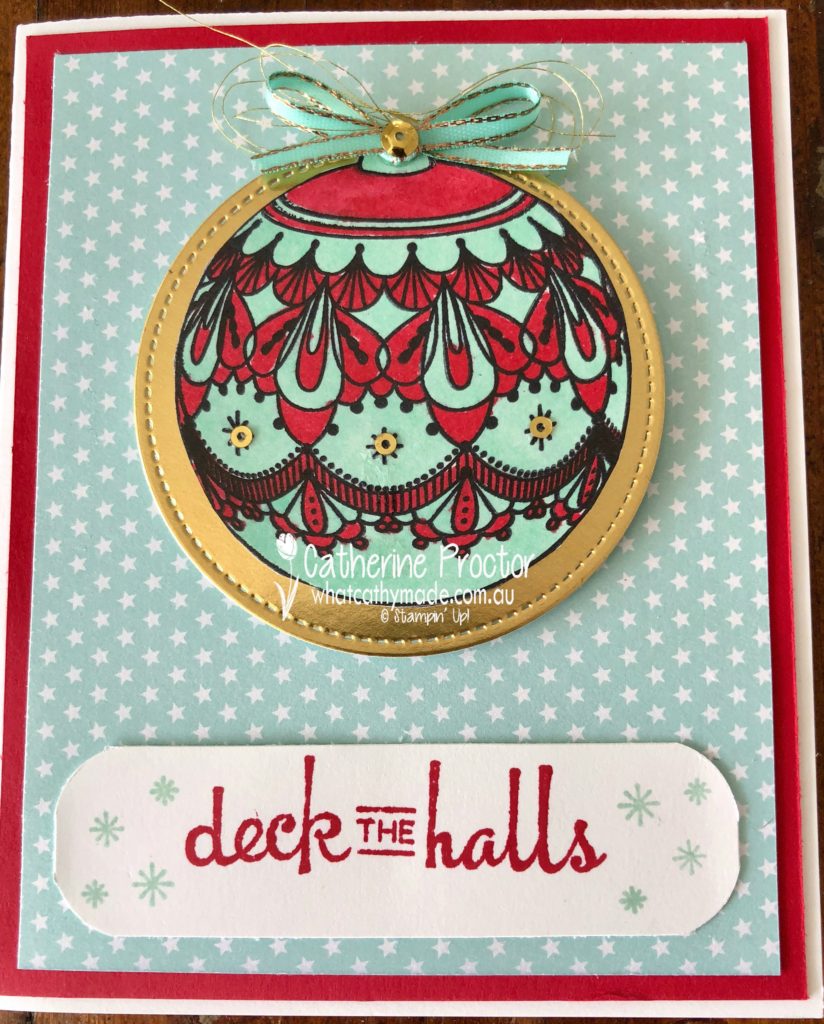
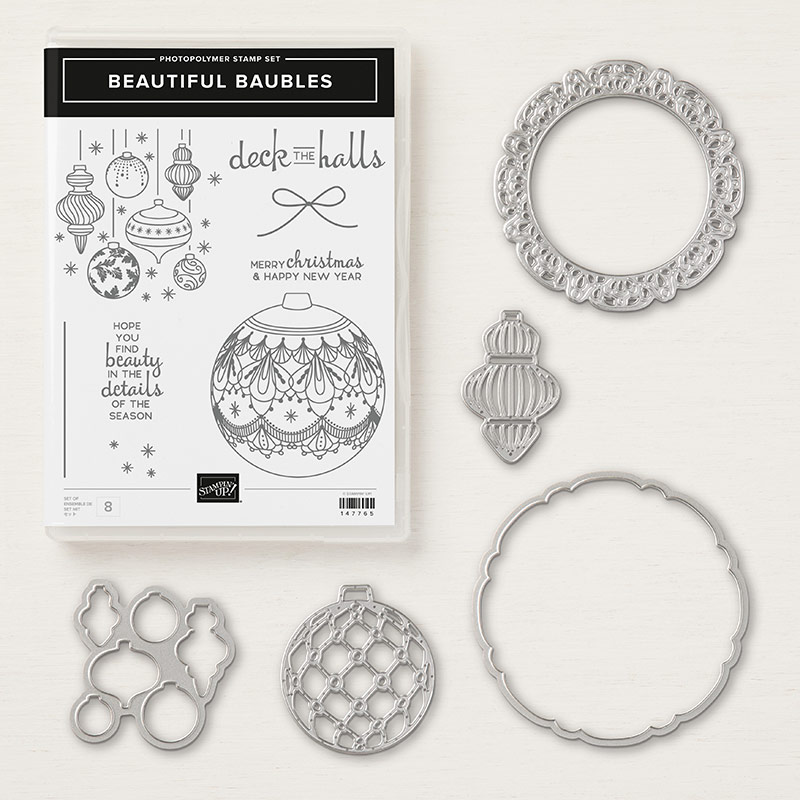
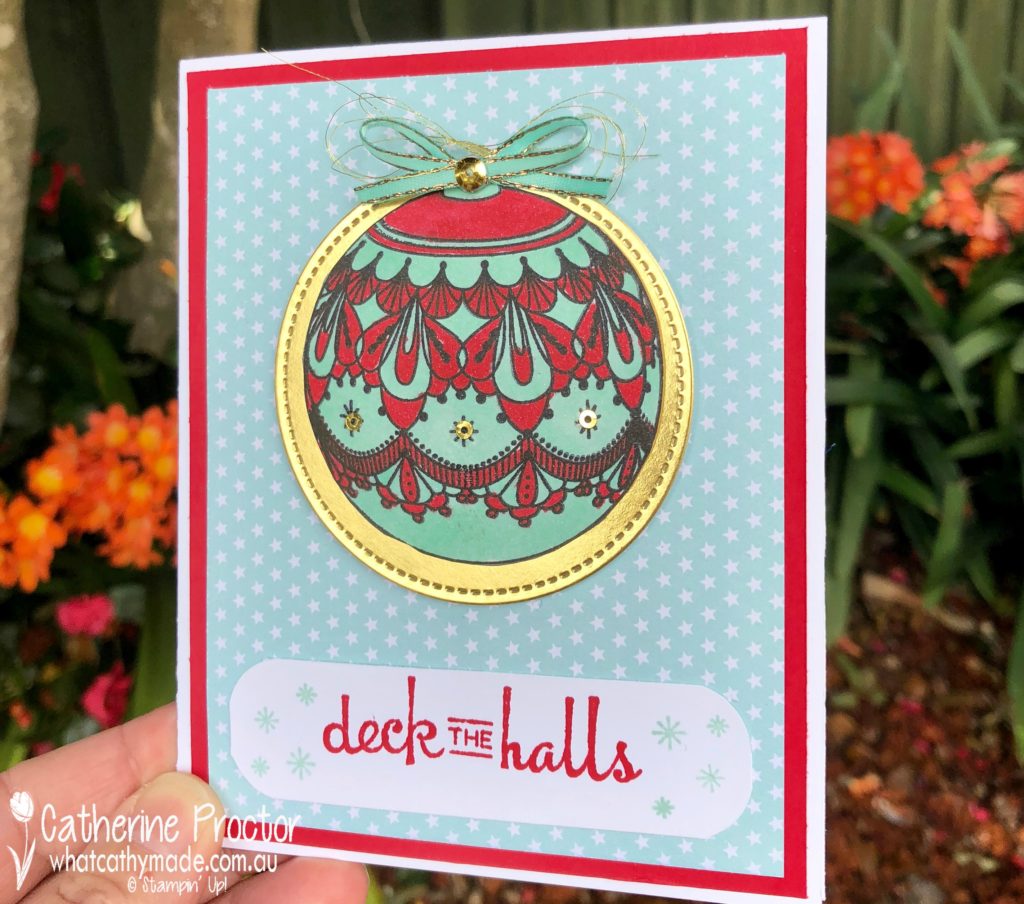
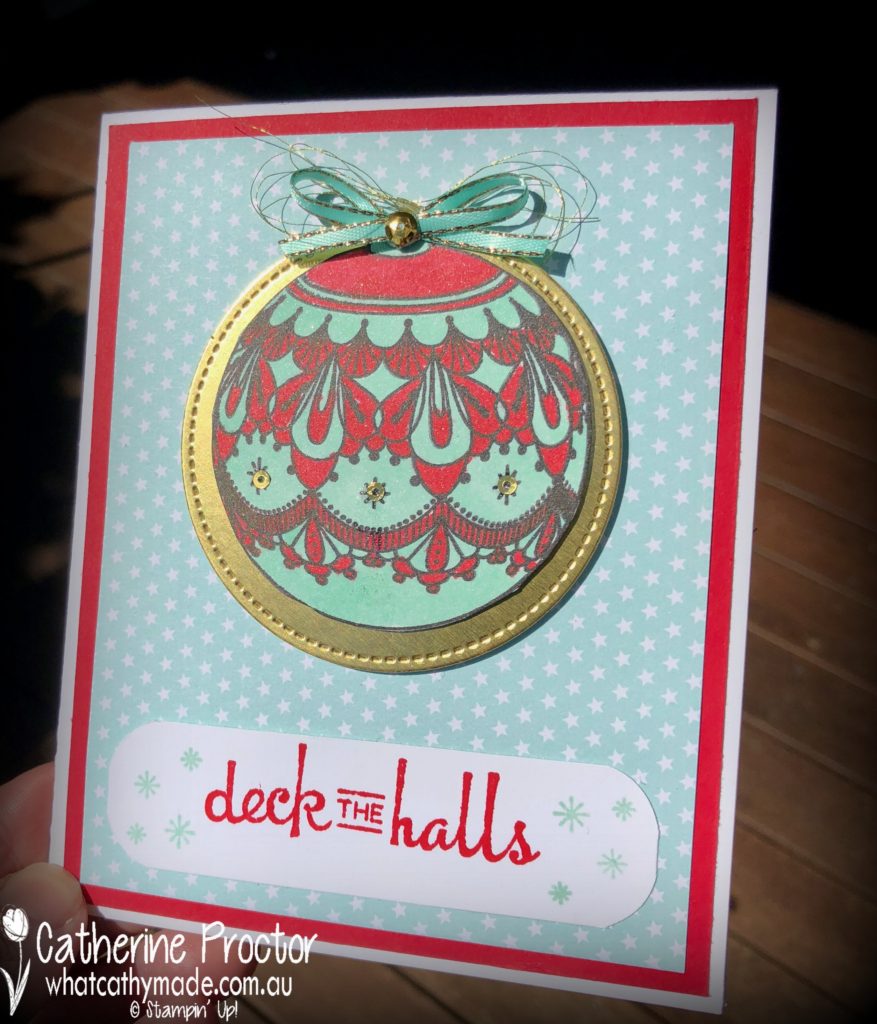
This week I had a play with the “Beautiful Bauble” stamp set.
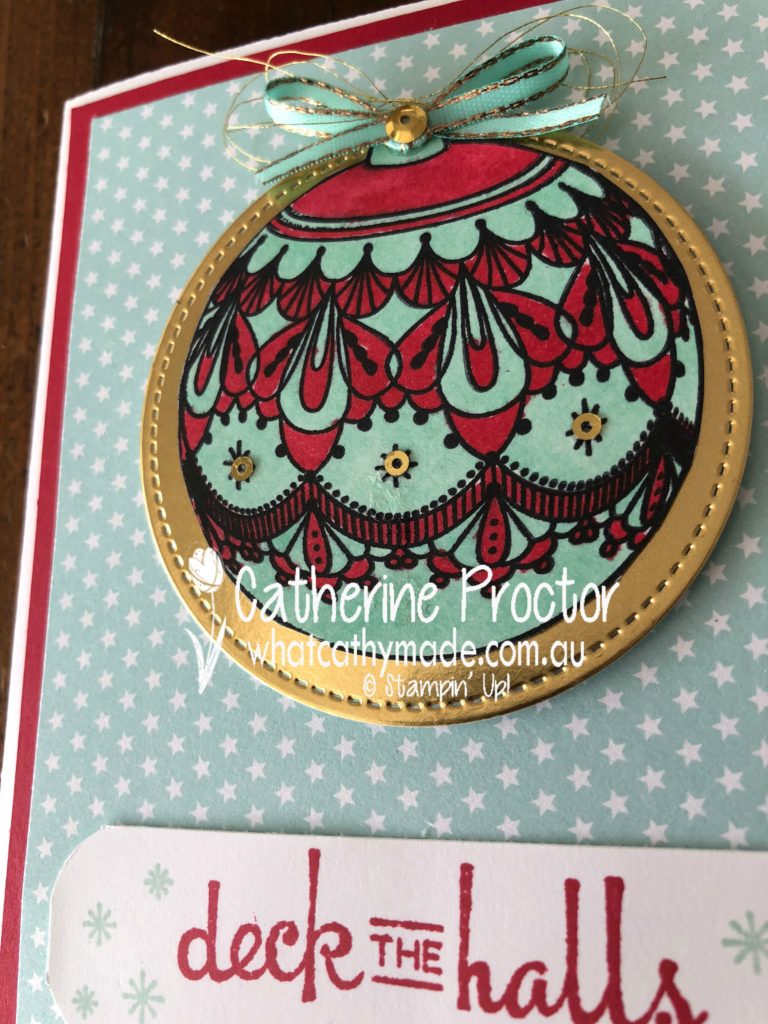
This stamp set is just so easy to stamp, to colour in and even to fussy cut, just like I did for my card today. There are matching dies in this bundle but there isn’t a die for the big bauble I used on my card.
I used one of my favourite colour combinations: Real Red and Pool Party, but you can use any colour combination you want with the bauble stamp because baubles come in so many different colours. I stamped my bauble in black, coloured it in using my Stampin’ Blends and then I fussy cut it out.
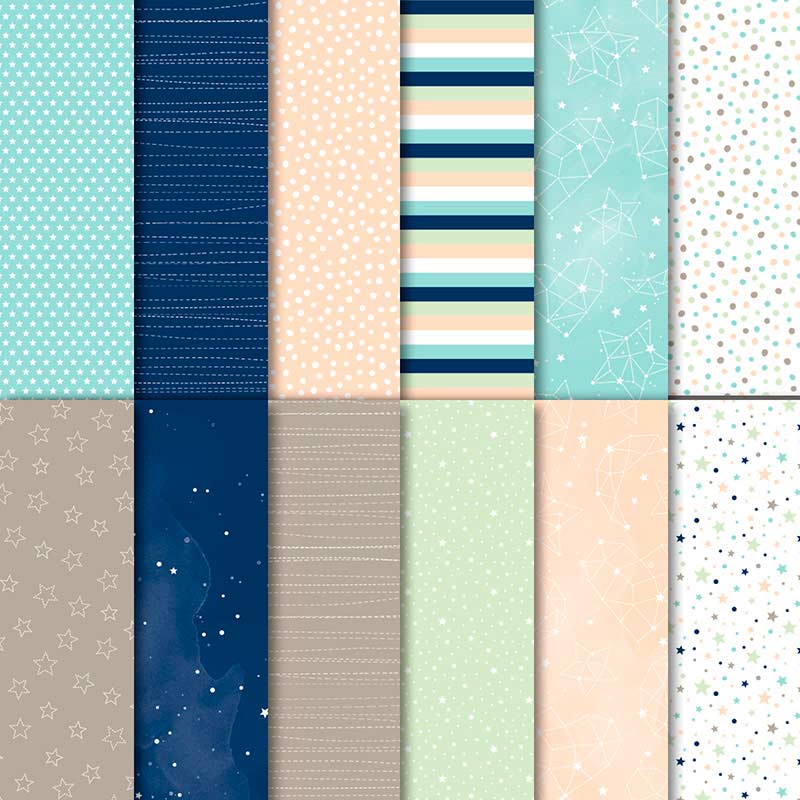
This stunning background Designer Series Paper with the teeny tiny stars is from a lovely DSP set in the annual catalogue called Twinkle Twinkle DSP.
Of course, I just had to add a little bling to this card so I used my Stitched Shapes framelits to cut out a circle of gold foil. My new “Take a Pick” tool was super helpful for removing individual sequins from the Gold Mini Sequin Trim and adhering them to my card.
I also used some gold metallic thread to decorate my bauble and the big gold sequin at the top of the bauble is from the Metallic Sequin Assortment.
To see what the rest of the team have made this week hop over to the lovely Claire Daly’s blog.
To purchase any of the products I used in this project you can shop with me here. Or if you’d like me to post you your very own copy of the 2018-2019 annual catalogue or find out about more about Stampin’ Up! contact me.