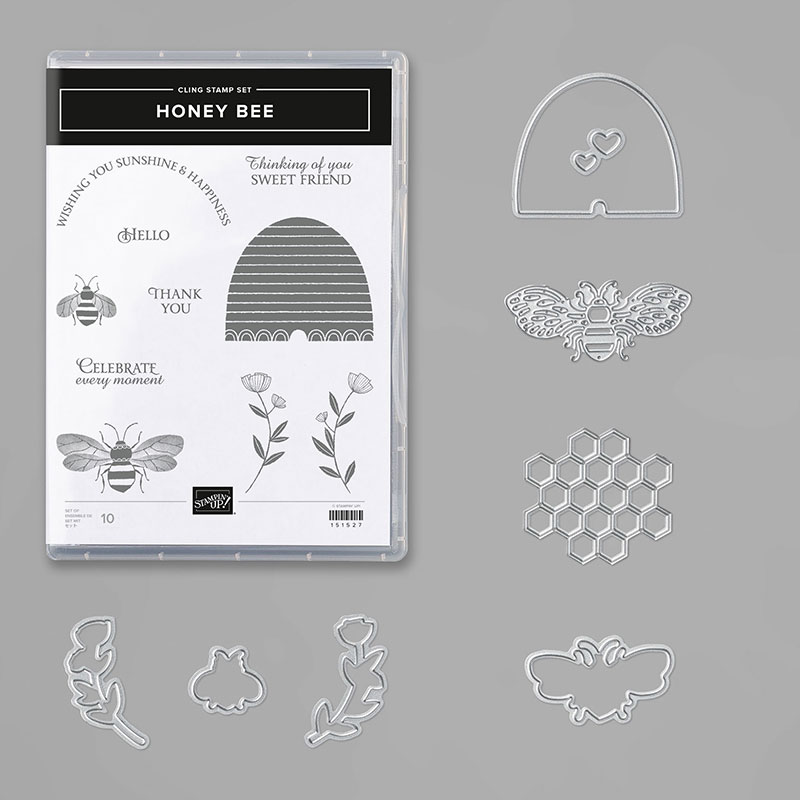
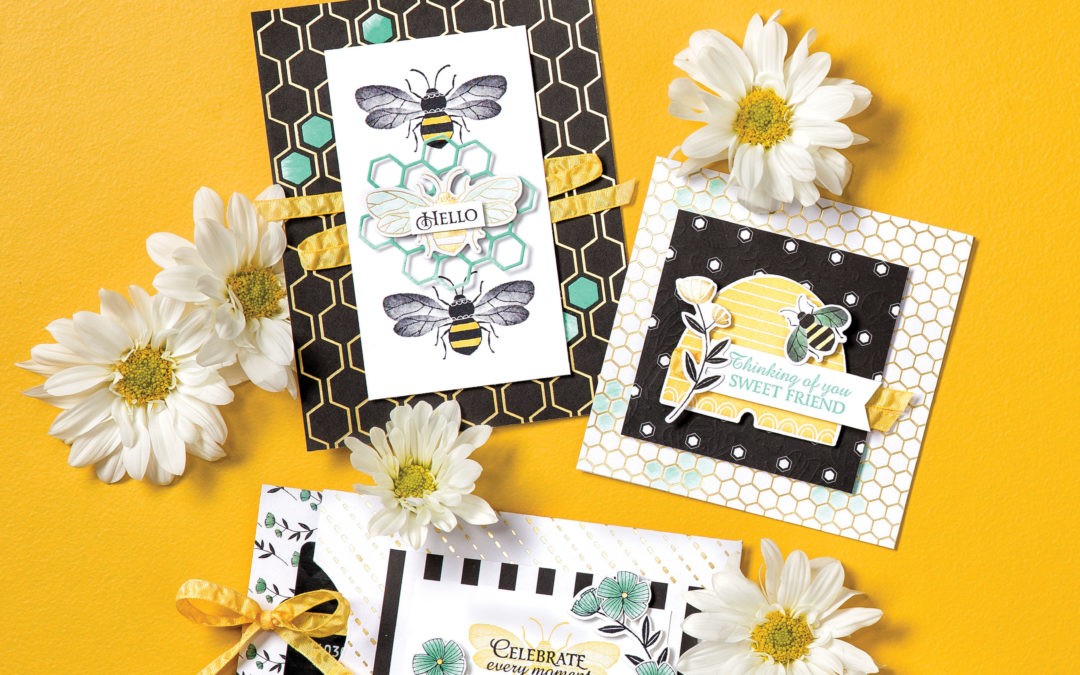
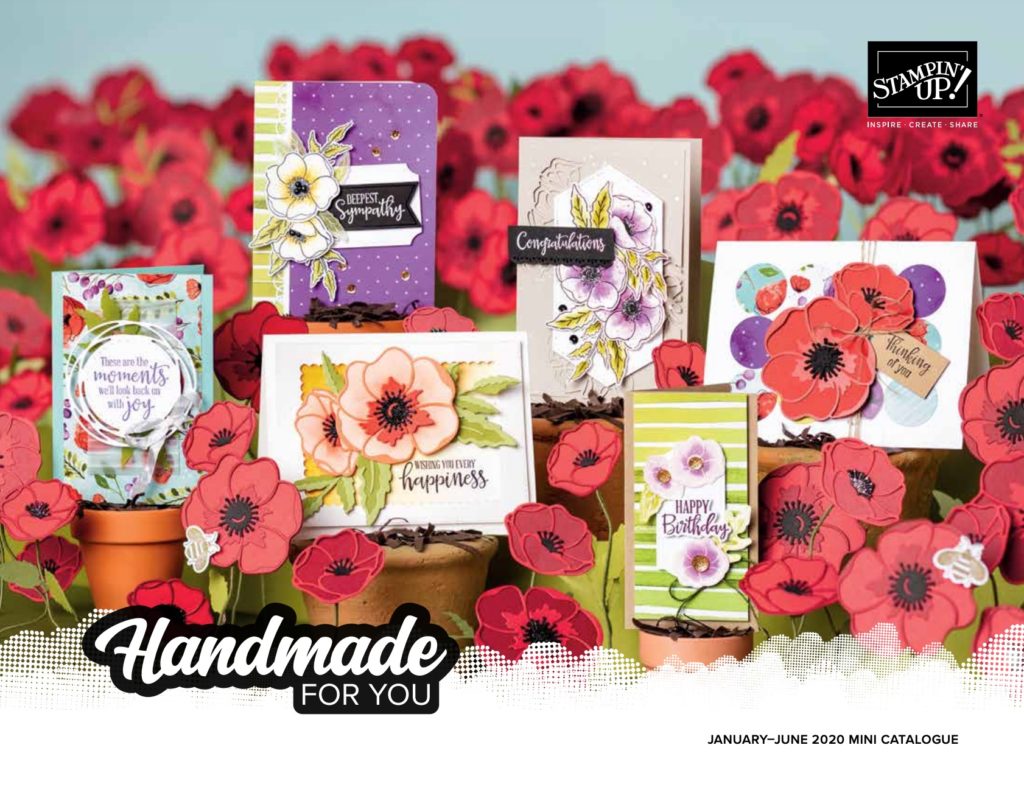
As soon as I saw the Honey Bee bundle and the Golden Honey Specialty Designer Series Paper in the Stampin’ Up! 2020 mini catalogue and Sale-a-bration catalogue I knew it would be perfect for making a card for my friend Amanda.
Amanda lives just around the corner from me and we quilt together, enjoy coffee catch ups at the beach and walk our dogs together. But the reason I was so excited about the Honey Bee suite is because Amanda has recently become the owner of a bee hive.
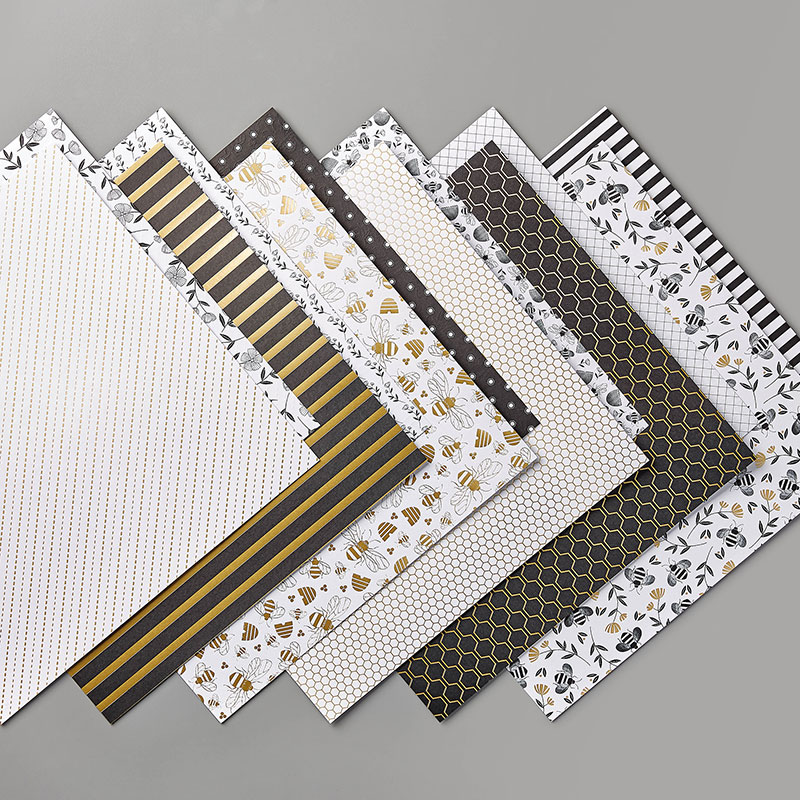
However, when it was Amanda’s birthday a couple of weeks ago and I wanted to make her a bee birthday card, I realised I hadn’t yet ordered the Honey Bee bundle. Luckily, I had a packet of the beautiful co-ordinating Golden Honey Specialty Designer Series Paper.
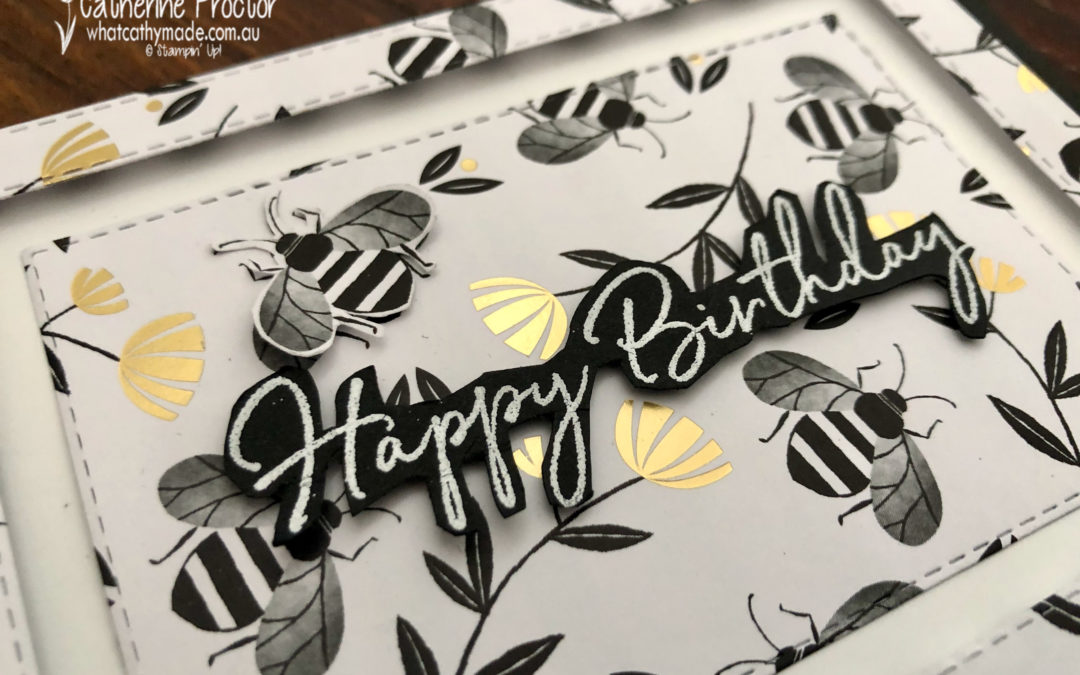
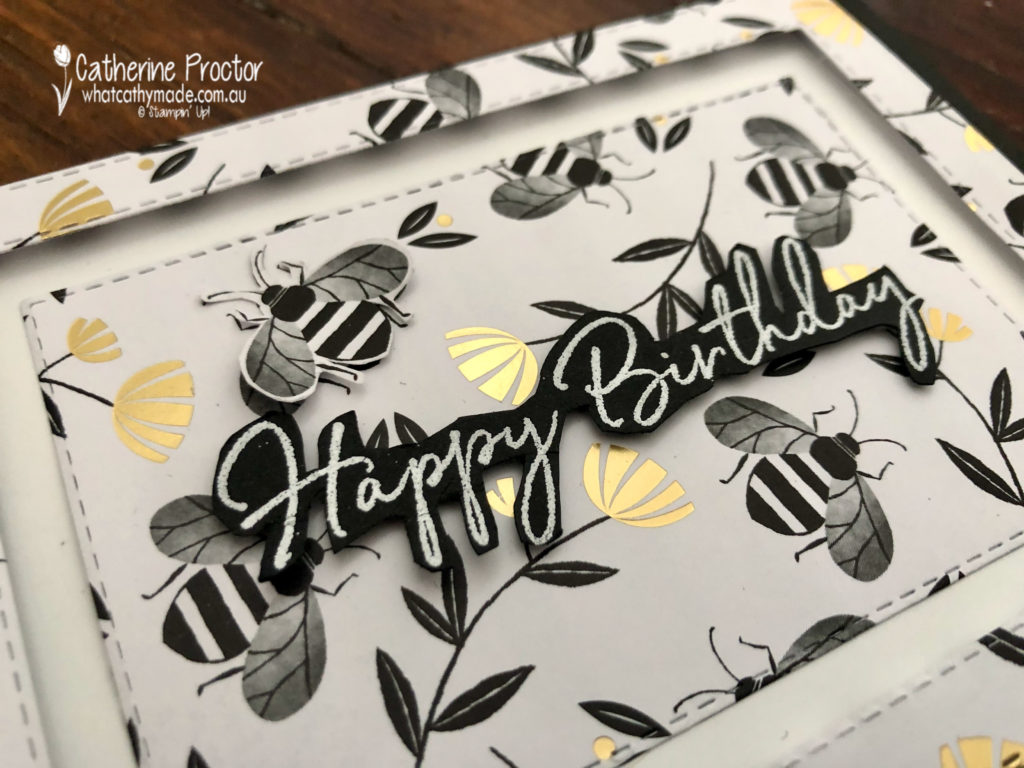
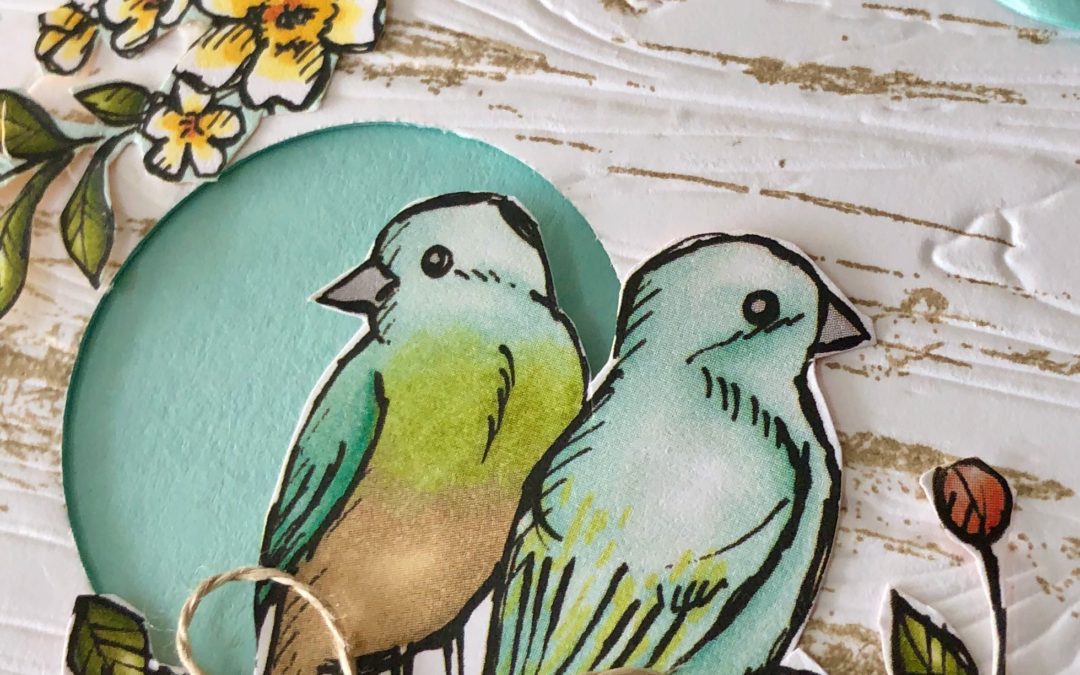
This paper is so elegant with its black and white designs highlighted with touches of golden foil and I wanted to make a card that really showcased the beautiful bee patterns on this paper.
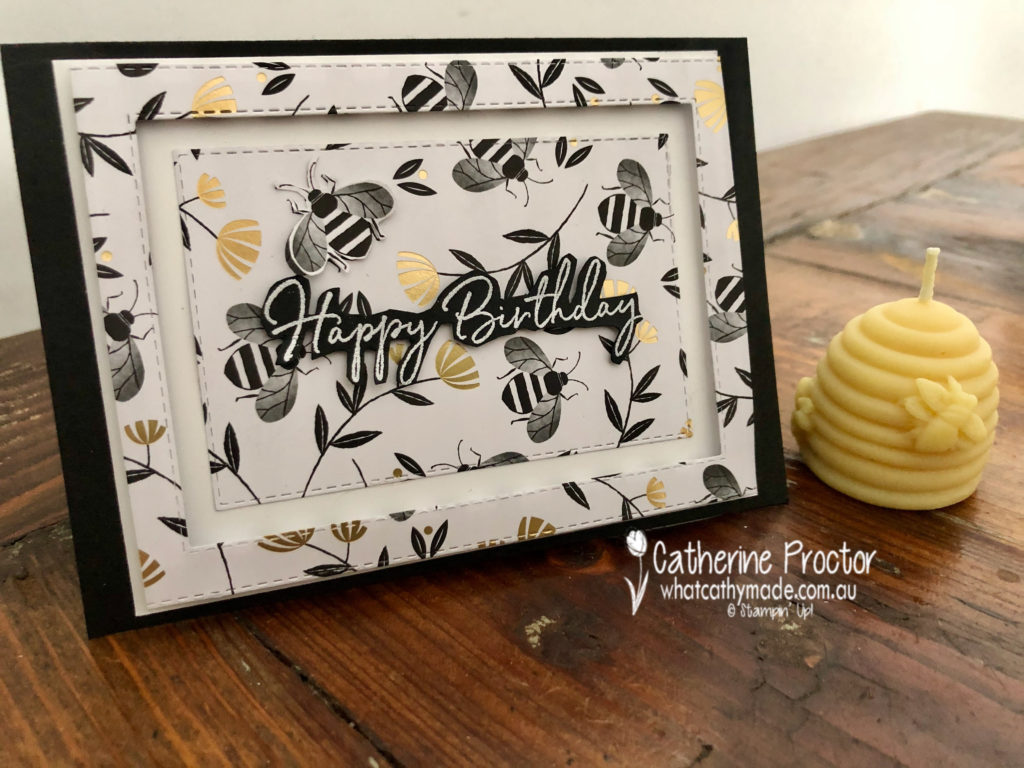
And here’s what I came up with!
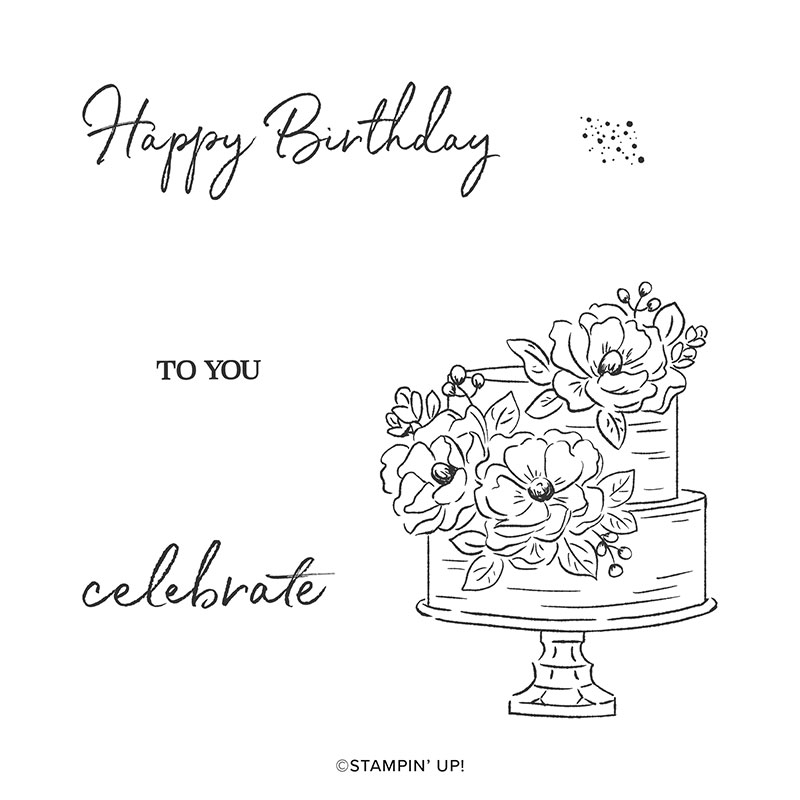
For the Happy Birthday I used the happy birthday sentiment from the Happy Birthday To You Cling Stamp Set, stamping it with Versamark ink before heat embossing it in white and fussy cutting it with my paper snips.
I used the stitched rectangle dies to create a frame for my card and attached the frame using adhesive strips. I fussy cut a tiny black and white bee from the the DSP, attaching it with a mini dimensional.
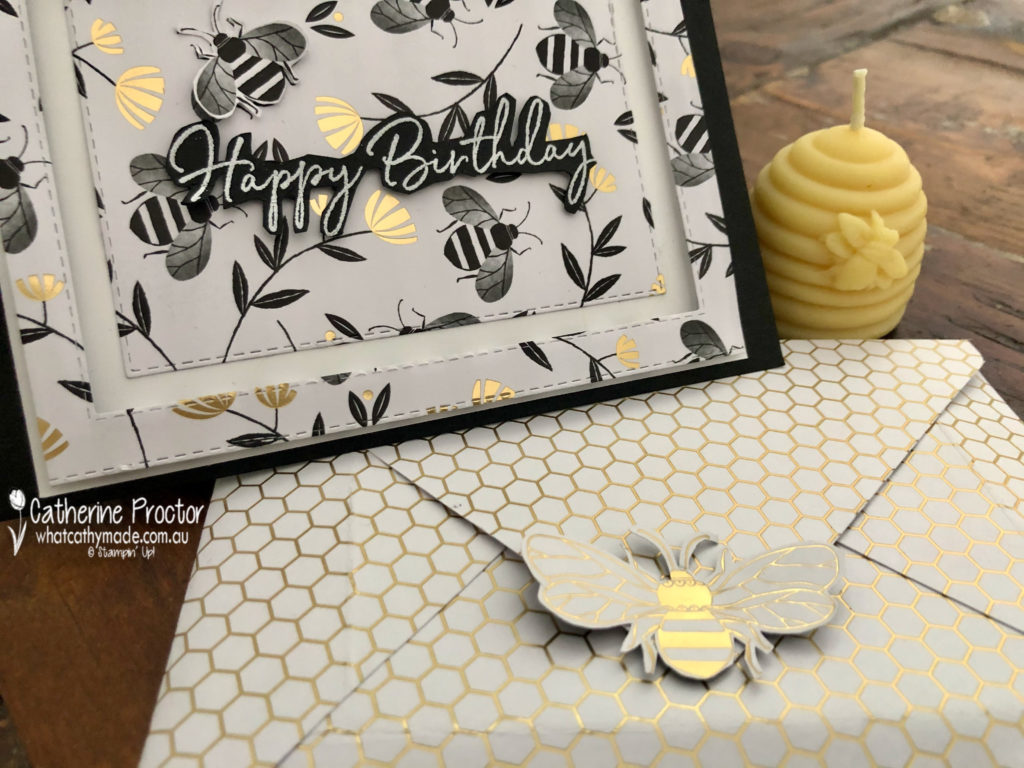
Here’s my finished card with the matching envelope I made from a different sheet of the Golden Honey Specialty Designer Series Paper.
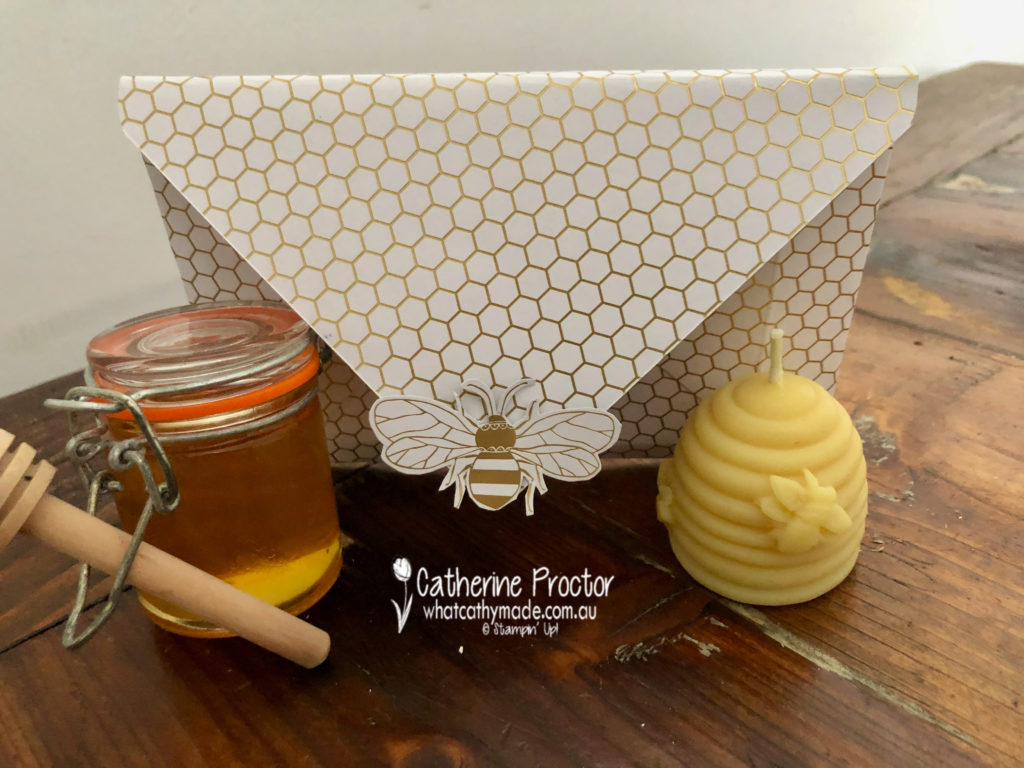
The back of the envelope features another bee. This one is golden and larger than the one on the front of the card, but it’s also fussy cut from the Golden Honey Specialty Designer Series Paper. I used a sticky dot behind the bee to make the envelope seal resealable.
Here’s a picture of the back of the envelope with a mini jar of honey and a bee’s wax candle that Amanda gave to me … I love that I could make a card that is just perfect for her, even without the Honey Bee Bundle!
You can earn both the Golden Honey Specialty Designer Series Paper and the Happy Birthday to You stamp set for free when you place any order over $90 in my online store during Sale-a-bration.
You can also purchase matching dies for the Happy Birthday to You stamp set and I’ll be sharing some more cards made with this set later this week.
If you’d like me to post you your very own copy of the 2020 Stampin Up! Mini Catalogue, the 2019-20 Stampin Up! annual catalogue, or the Sale-a-bration catalogue or to simply find out about more about Stampin’ Up! contact me.
Welcome to another Creative Showcase with the Art With Heart Team.
This month we are featuring masculine themed projects. We have many masculine themed products in the Stampin’ Up! range including Stamp Sets and coordinating Dies, Designer Series Papers, Embellishments and Embossing Folders.
The Art With Heart Team have a wonderful selection of projects to inspire you to create Masculine Masterpieces, so let’s get started!
I’m sharing some techniques you can use to make masculine cards that feature Designer Series Paper – even when you don’t have the coordinating stamp set bundle from the same suite.
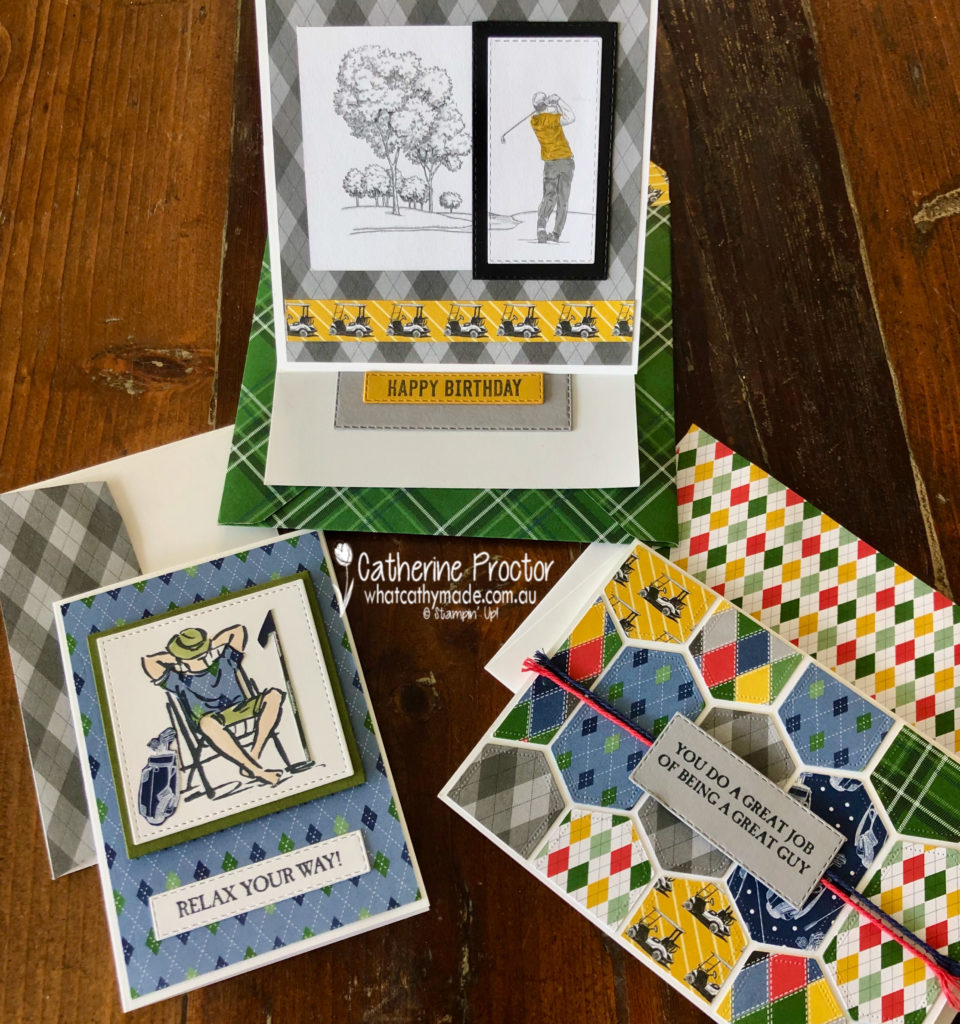
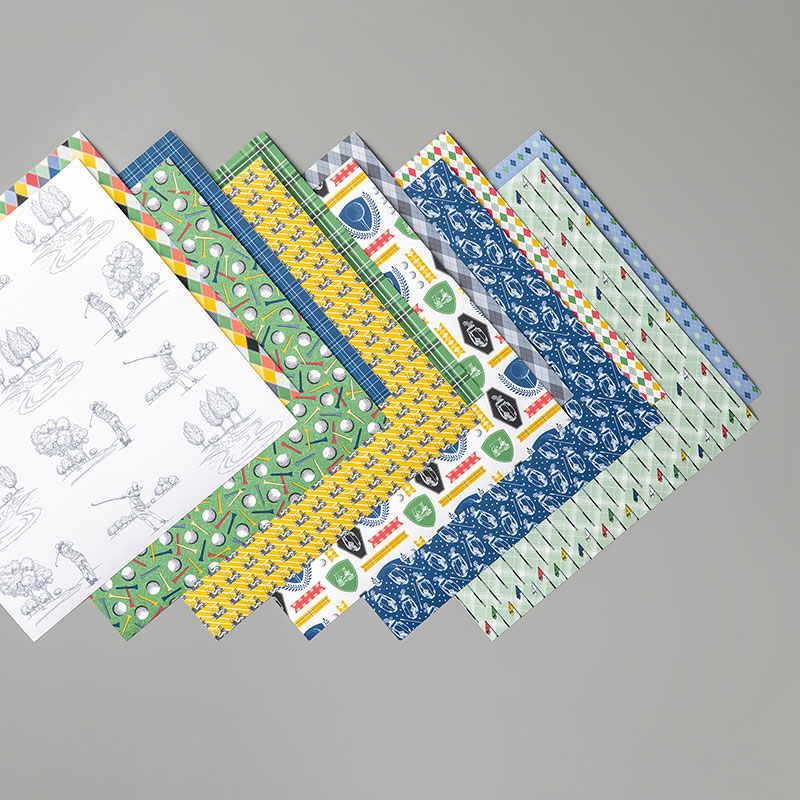
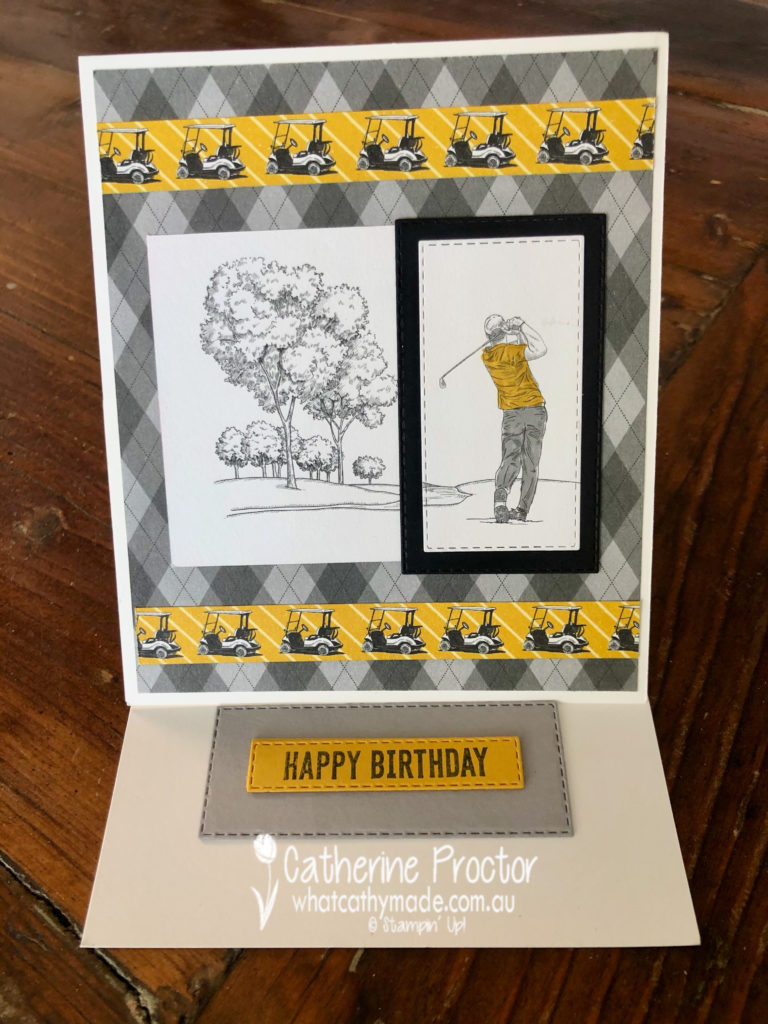
I’ve used the Country Club DSP as the base for all three cards. This DSP and its coordinating Golf club Dies and Clubhouse stamp set are perfect for any golf loving male or female.
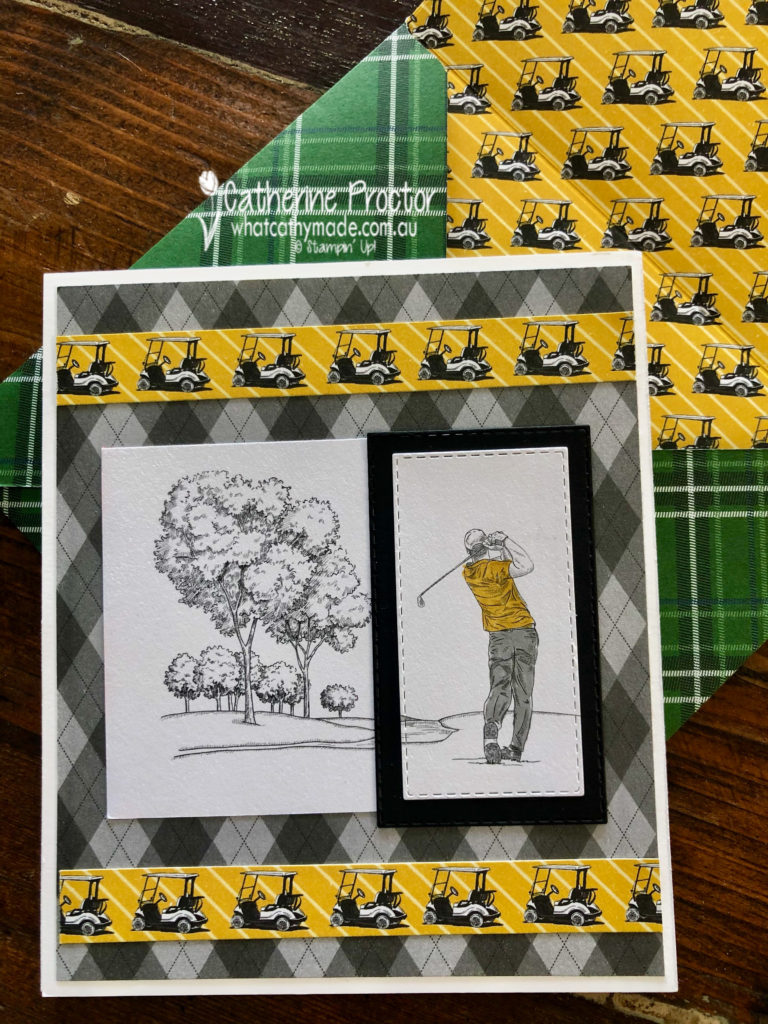
My first card is an easel card – this is a super easy fancy fold that stands the card up for display. Here it is standing up. The sentiment is from Itty Bitty Birthdays.
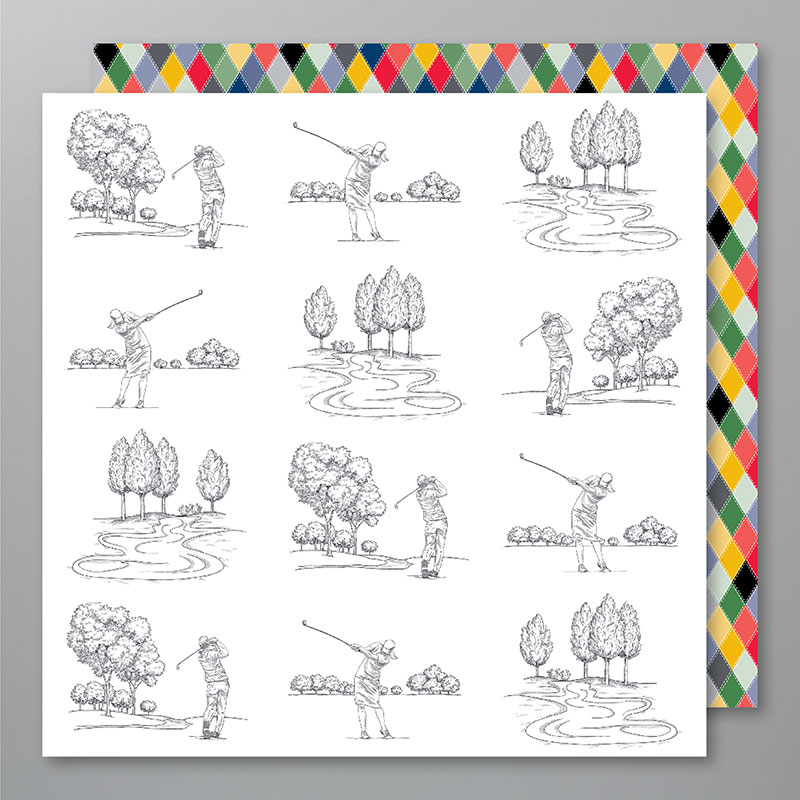
I love how the yellow golf cart pattern looks like a strip of washi tape when trimmed to a narrow line, but most of all I love how one of the papers in the Golf Club DSP has a series of stamped images – this made it so easy to create a card without the co-ordinating stamp set.
I coloured in the male golfer using my Crushed Curry and Smokey Slate Stampin’ Up! markers, before making a custom envelope for my card.
Here’s how it looks when folded down for postage.
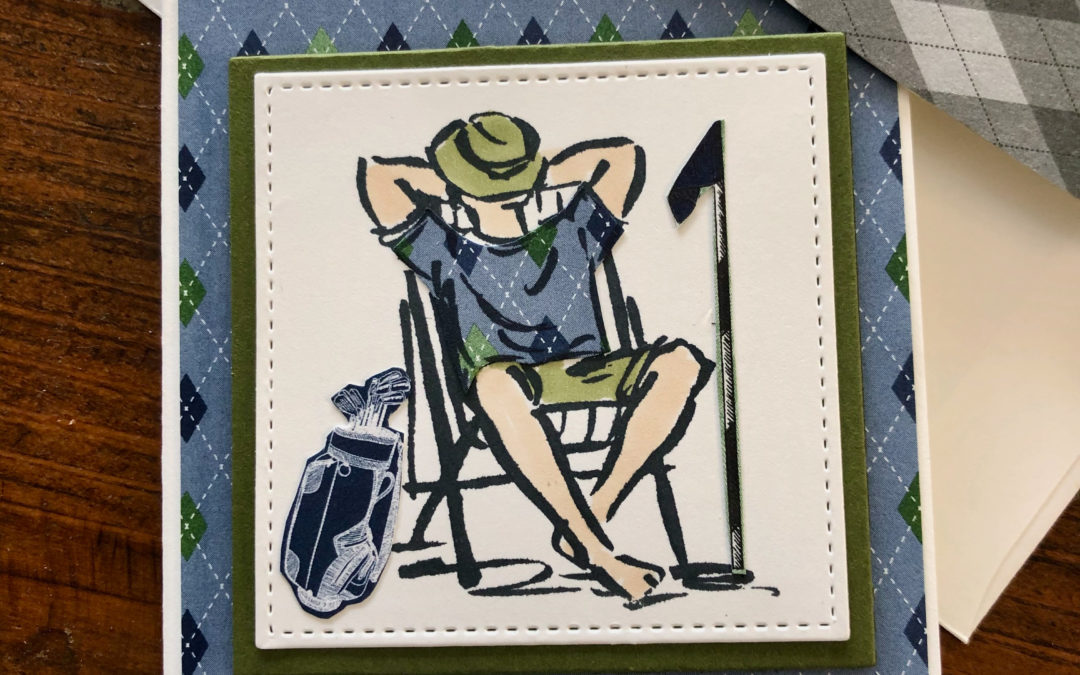
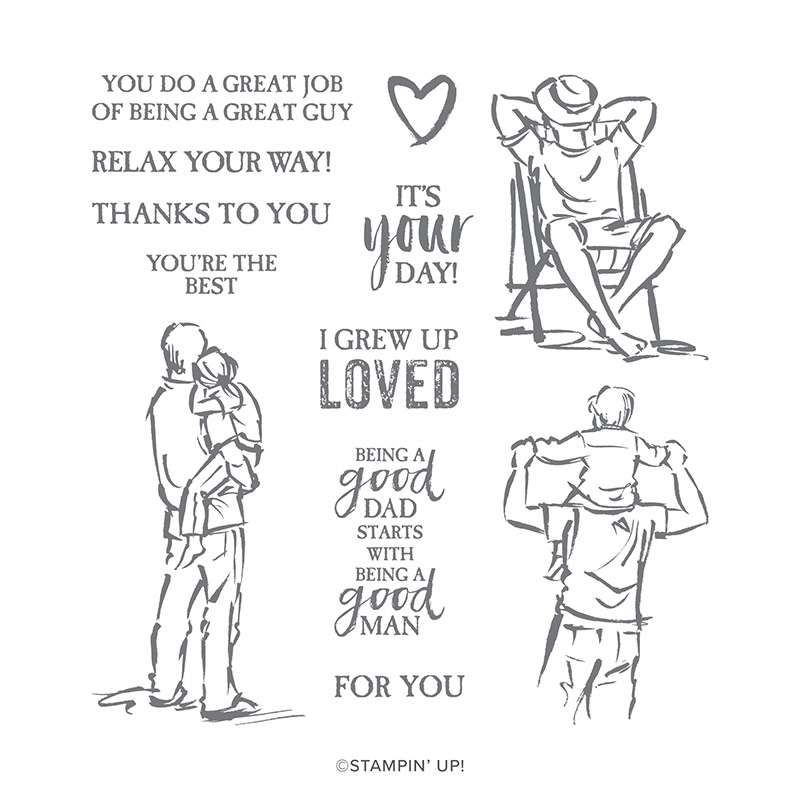
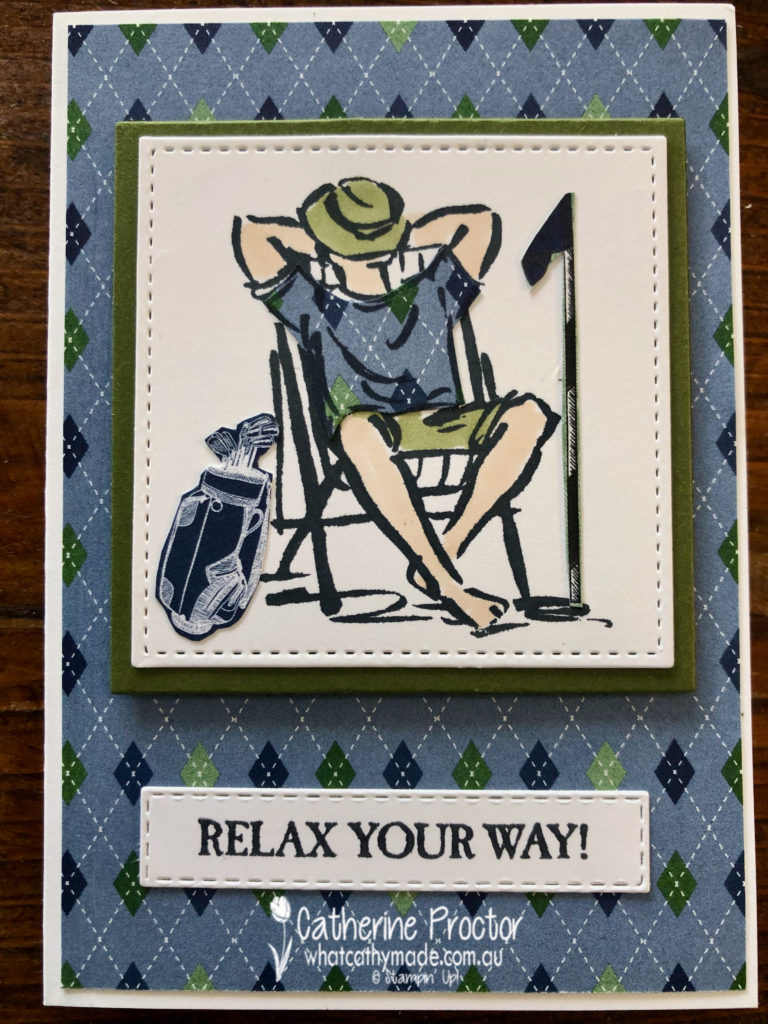
For card two I stamped an image from the “A Good Man” stamp set – I especially love the sentiments in this set.
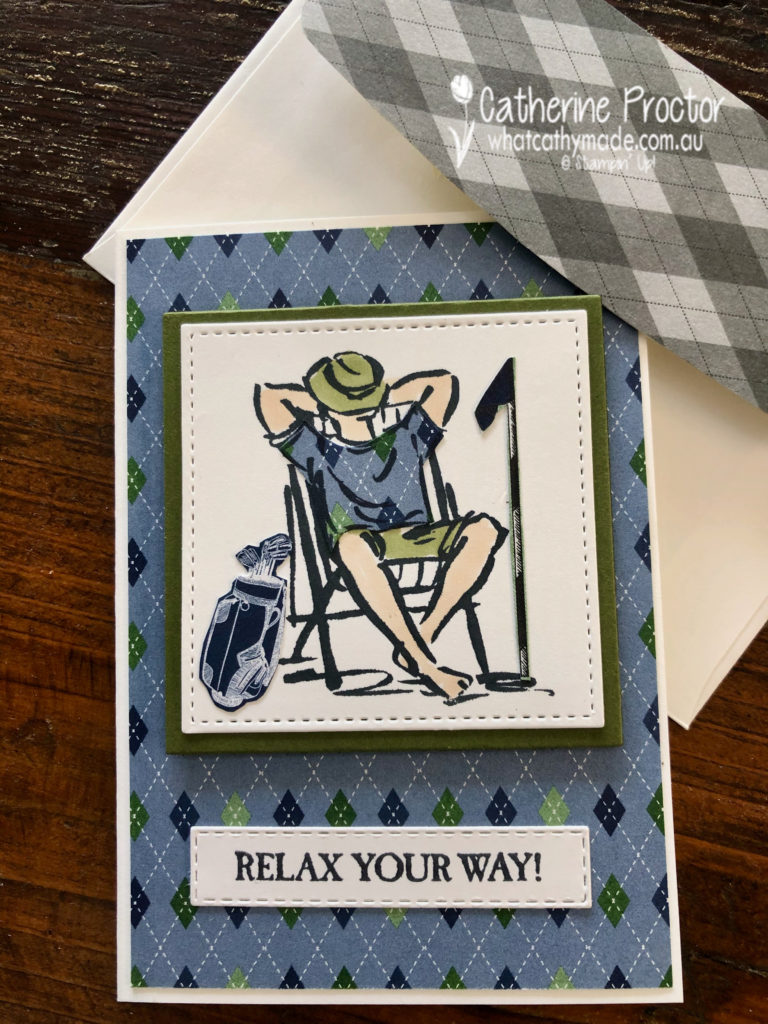
I used a technique called paper piecing to make a golf shirt out of the argyle pattern in the Country Club DSP. I then coloured the rest of the image in with Stampin’ blends before fussy cutting a flag and golf bag out of some of the other Country Club DSP sheets to complete the scene.
My golfer looks like he’s plonked his chair down right on top of the 18th hole with his golf bag leaning in as he finally relaxes after a tough game.
The base of my card is a Whisper White Notecard with matching envelope which I customised to match the card.
First cover the outside of your envelope flap with Multi Liquid Glue and line up the edge of your DSP to the top fold of your envelope. Glue the outside of the envelope flap to the reverse side of the DSP before using your paper snips to trim the DSP around the edge of your envelope flap.
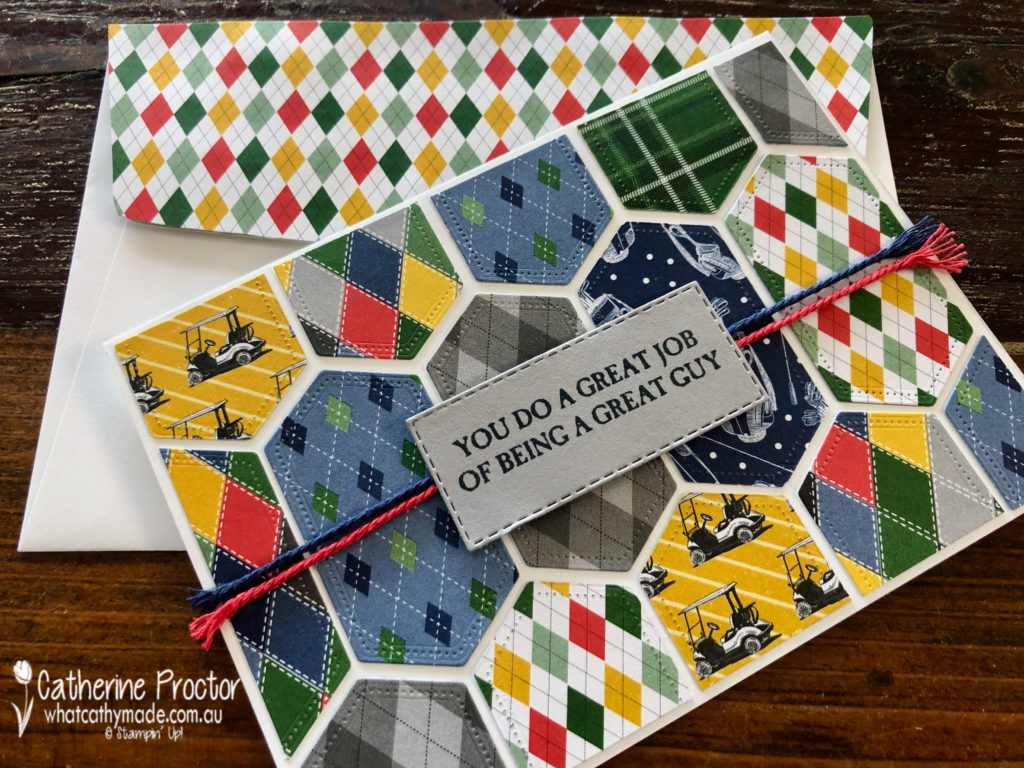
Card three uses the stitched nested labels to cut out lots of different Country Club DSP patterns. I attached some of the Country Club Twine across the middle of the card and then added a sentiment from the “A Good Man” stamp set.
The customised envelope flap was made in the same way as for card two but this time attached to a larger C6 Whisper White envelope to fit the card.
The next demonstrator to share their Masculine project with you is the very talented Rachel Woollard. I can’t wait to see Rachel’s masculine cards.
If you have a broken link or have come to this blog hop midway, you can view all the participants below:
Welcome to the first Art With Heart Blog Hop for 2020. This month we are featuring cards using the amazing products you can earn for free during our Sale-a-bration promotion.
Until the 31st of March for every $90 you spend on Stampin’ Up! products you will earn free products from our Sale-a-bration brochure.
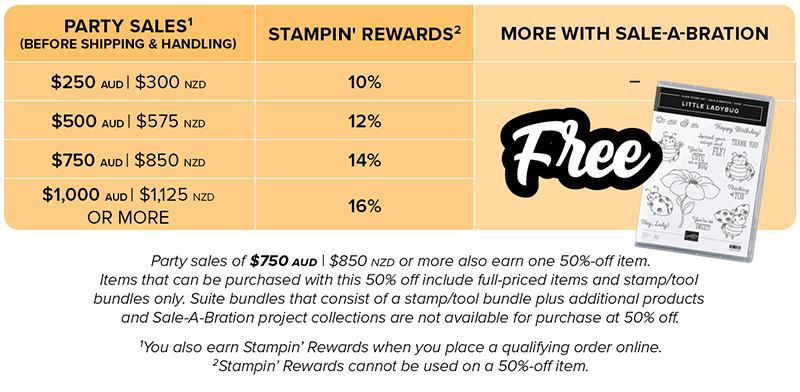
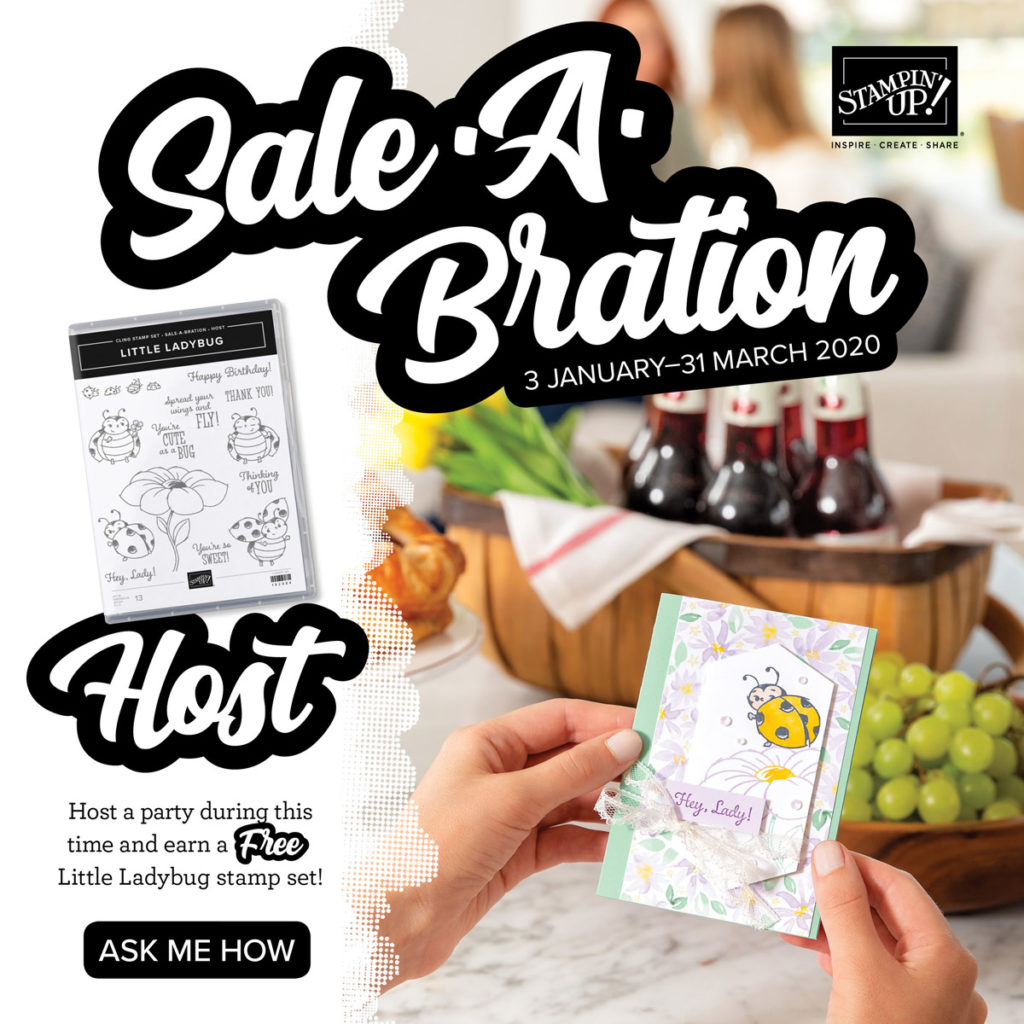
Hostesses earn bonuses too! When you host a party with sales above $500 you receive this Little Ladybug set in addition to the usual Hostess benefits.
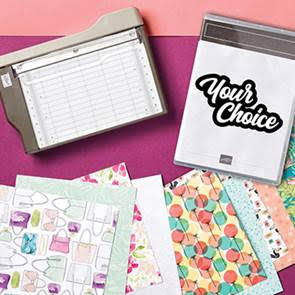
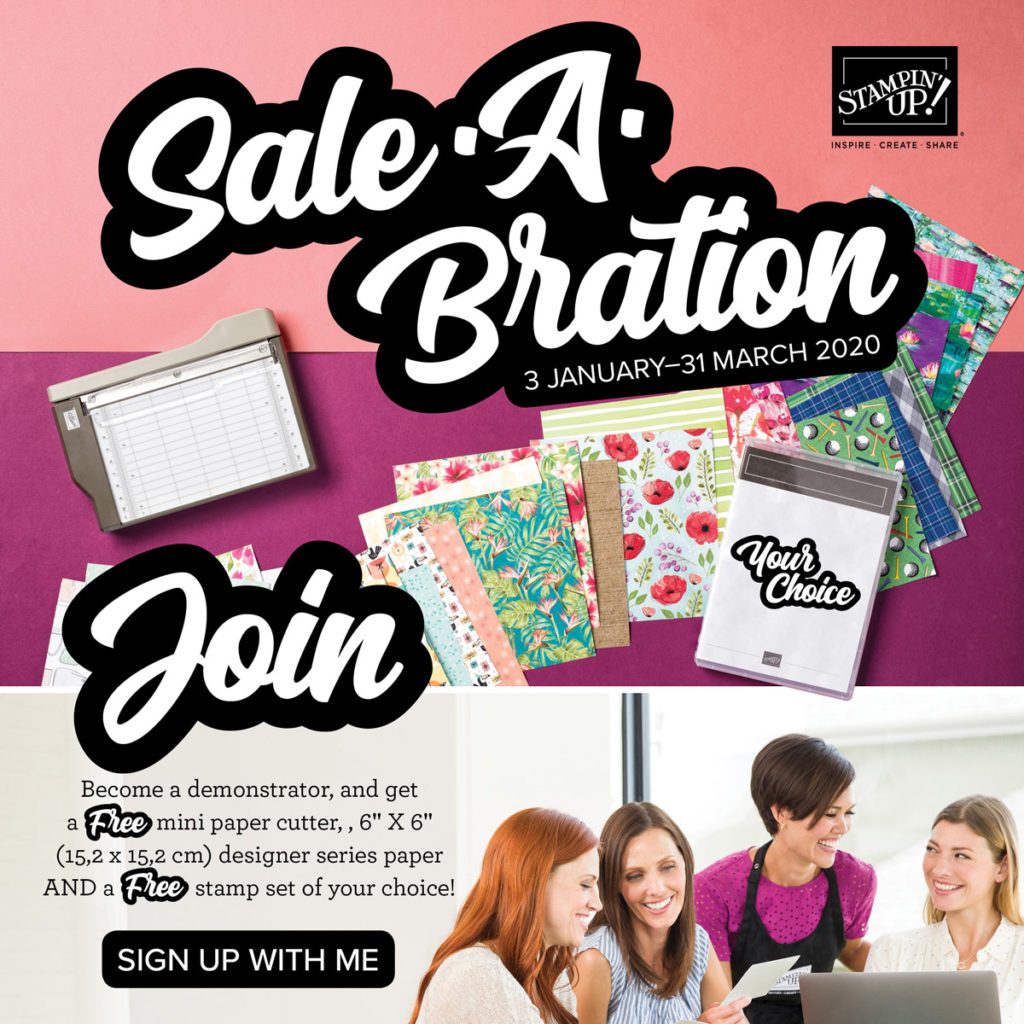
Sale-a-bration also has a bonus for recruits joining during this promotion. For the joining fee of $169 you can choose your starter kit of products to the value of $235 plus a Mini Paper Cutter, a 6″ x 6″ Designer Series Paper sampler and their choice of stamp set.
Now, let’s get to the projects! I can’t wait to see what everyone has made!
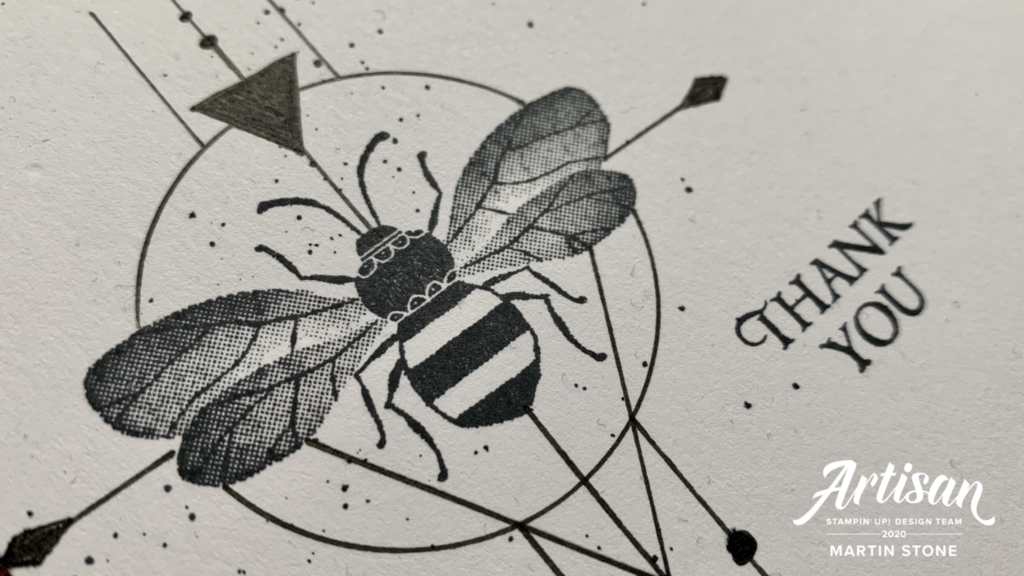
This month I was inspired by a male member of the international Artisan Design Team – his name is Martin Stone and he is a Stampin’ Up! demonstrator from the UK. He created a tattoo style card using the Honey Bee bundle, adding his own elements with a stencil as well as by doodling with the Stampin’ Up! journaling pens.
Isn’t this so cool? It is such a fresh approach and a totally different way to use your stamps.
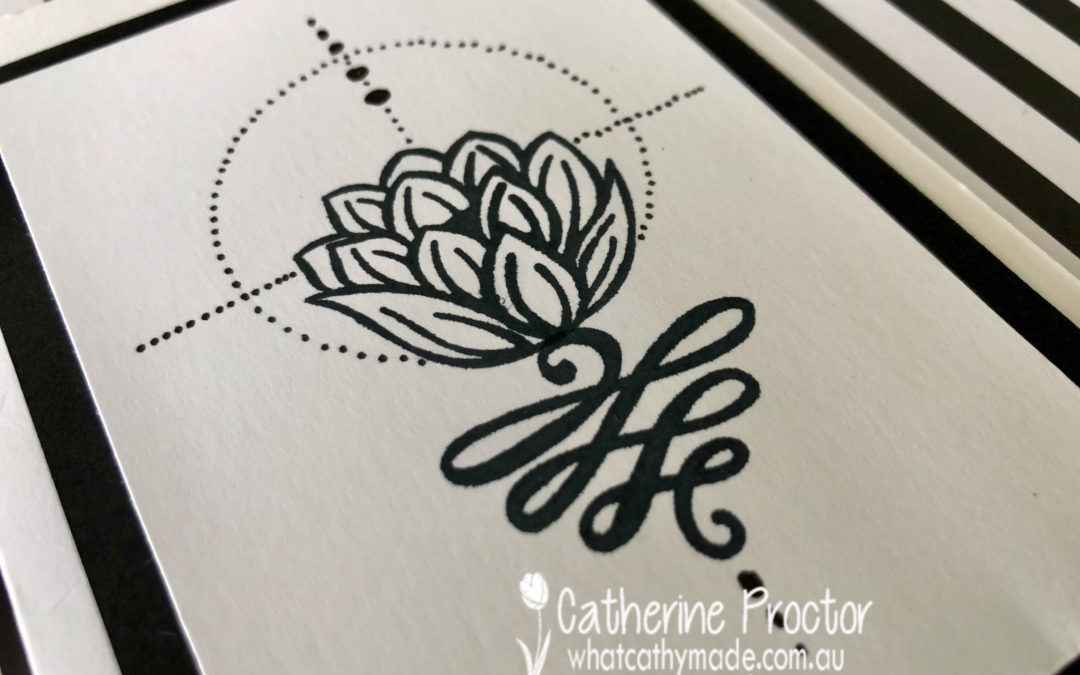
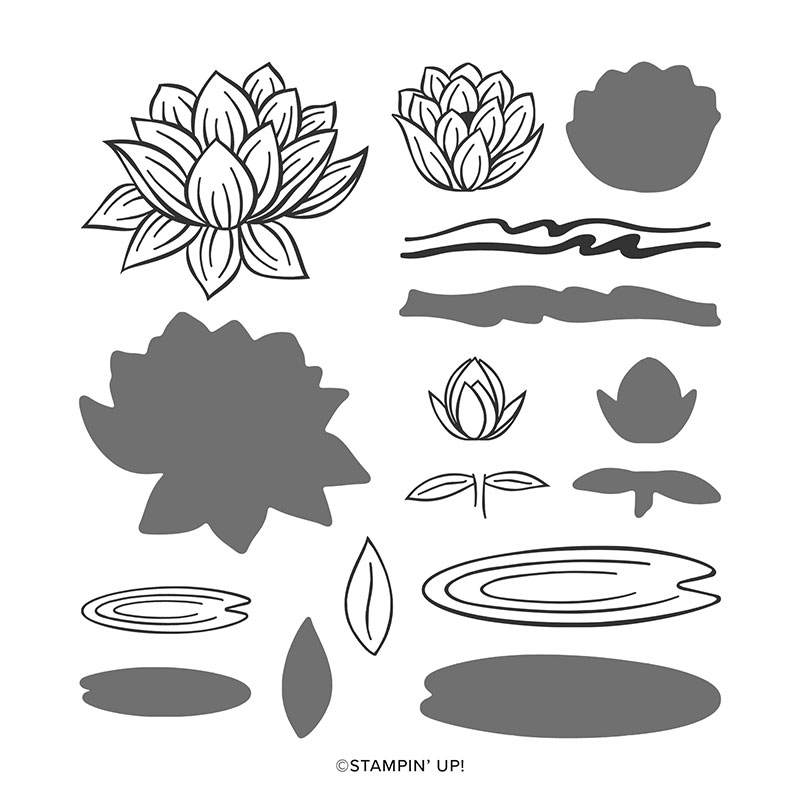
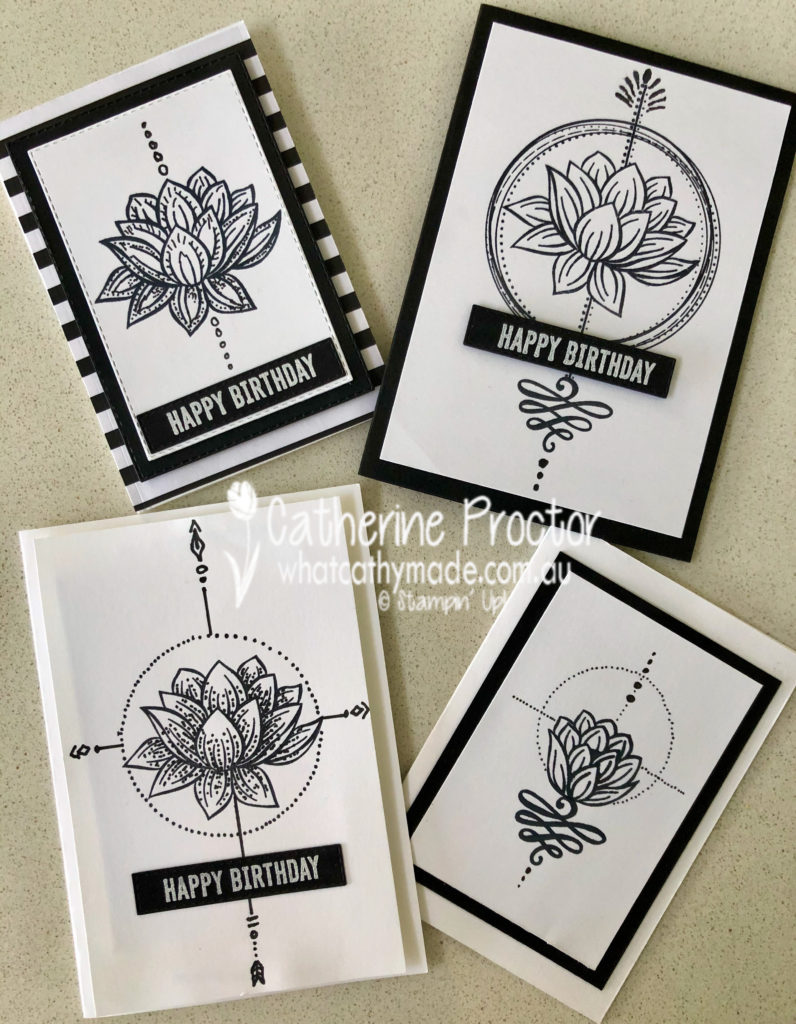
I’ve always loved to doodle on my stamping and I just loved the sharpness of his geometric style so I decided to give this style a go using a free stamp set from Sale-a-bration: Lovely Lily Pad.
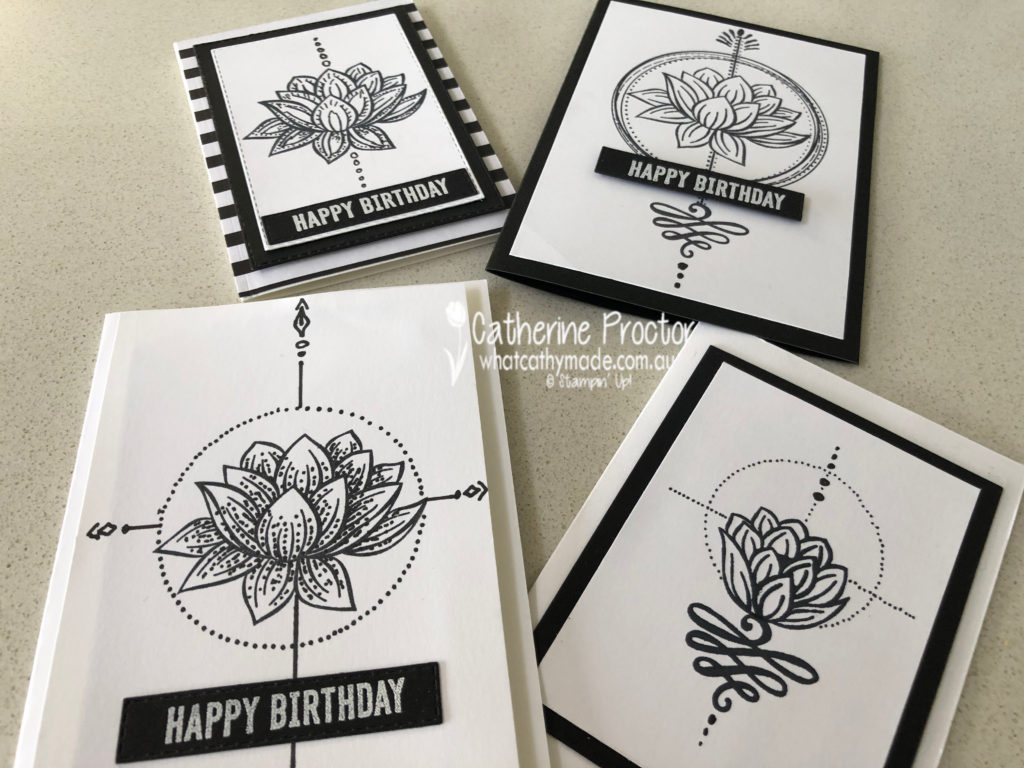
This technique is so fun I ended up making four cards for tonight’s blog hop. I also used some of my other stamp sets and my journalling pens.
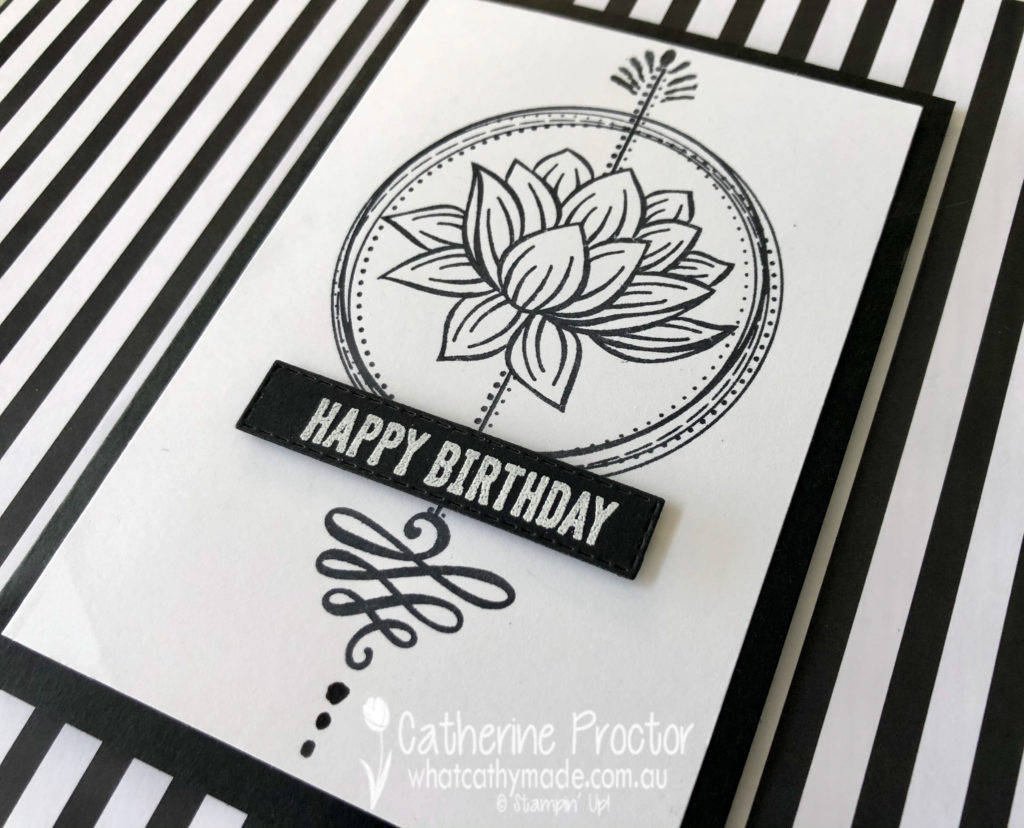
My first card features the largest water lily image, along with a circle stamp and the longest straight line stamp from the Swirly Frames stamp set and the “swirly” stamp from the A Big Thank You stamp set.
I used the free lilypad dies (a level 2 Sale-a-bration item) to cut out a mask for my water lily before I stamped the Swirly Frames line over the top of it and then I drew the rest of the image freehand with my journalling pen.
The Happy Birthday sentiment is from the Itty Bitty Birthday stamp set, stamped in versamark ink and heat embossed using white embossing powder on black card stock.
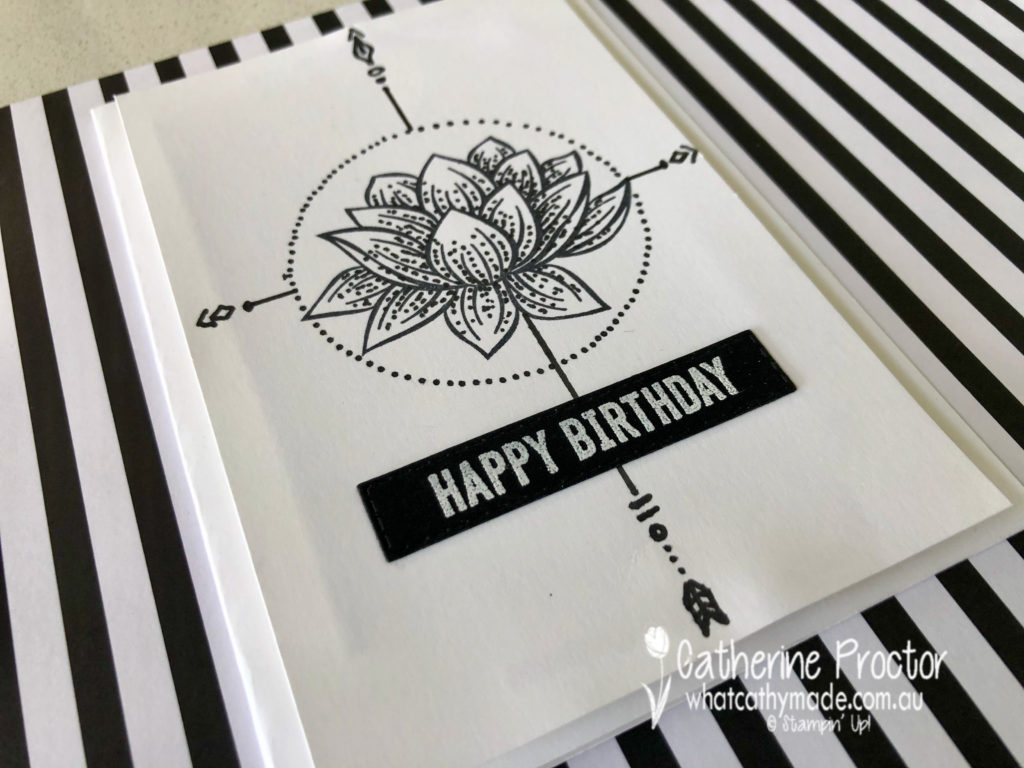
For card two I used tiny freehand dots to shade my water lily, which I framed with a dotted circle. Geometric compass points were drawn with a ruler and finished off with more doodling.
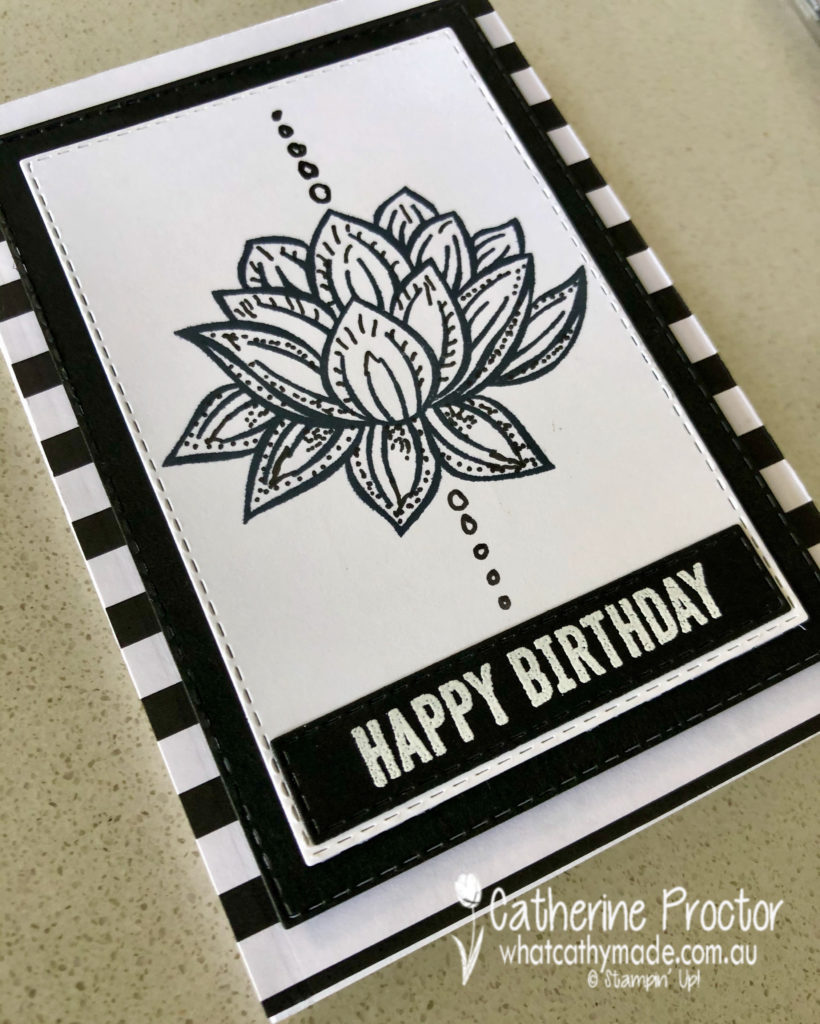
I doodled lines and dots on the large water lily for card three, before adding doodle circles above and below. The striped black and white background DSP is from another free Sale-a-bration item: the stunning Golden Honey Specially DSP.
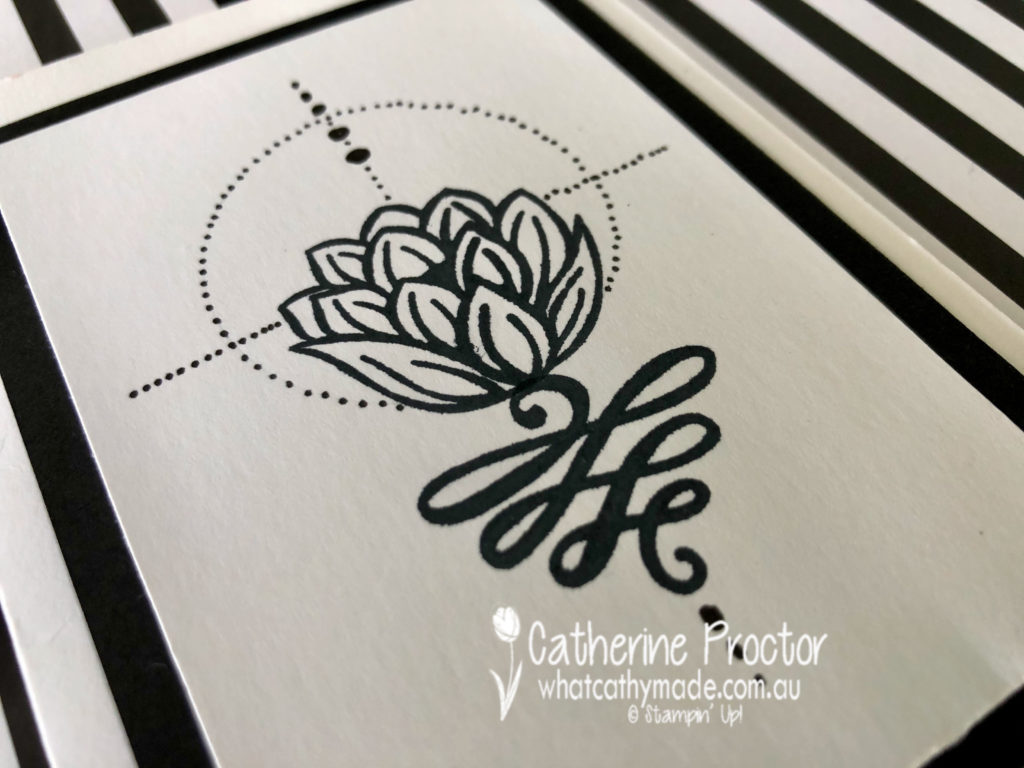
Finally, my smallest card uses the smallest water lily stamp, the swirly stamp from A Big Thank You and more free hand doodling and tiny dots.
Which of my cards do you prefer? Even though I need more practice to get to Martin’s standard, I had so much fun creating them all I can’t make up my mind!
The next demonstrator to share their Sale-a-bration inspiration with you is…..Michele Taylor.
If you have a broken link or have come to this blog hop midway, you can view all the participants below:
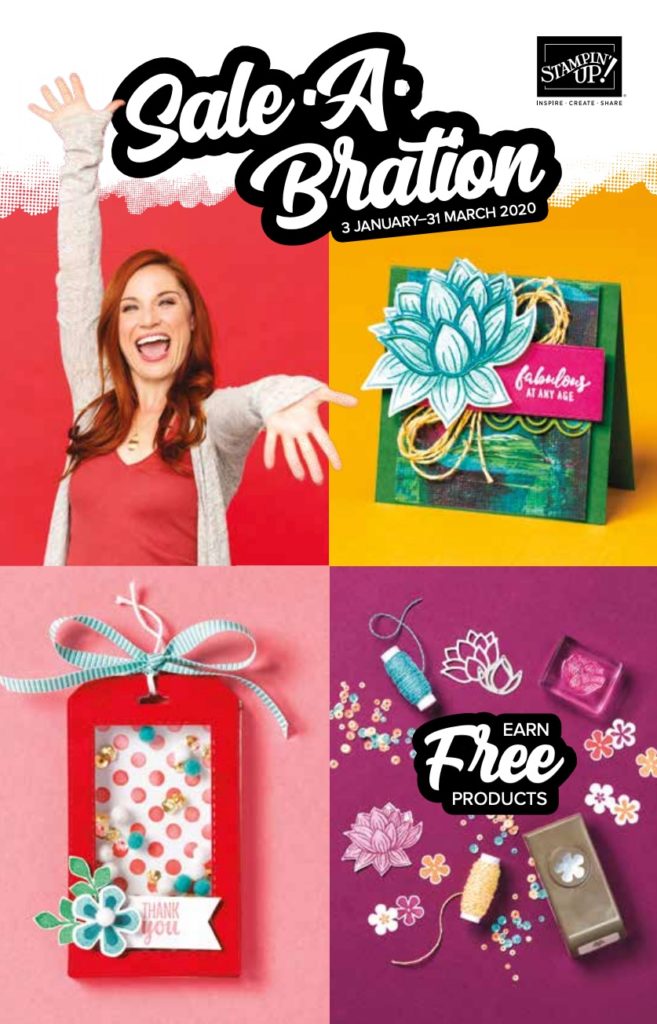
From 3rd January to 31st March, it’s Sale-a-bration time!
Whether you’re a customer, thinking of becoming a demonstrator or hosting a party, Sale-a-bration has something for you.
Customers earn free products
With Sale-A-Bration you earn free level 1 product every time you reach a threshold when you shop.
Level 1 items are free products earned for every $90 spent. There are 9 level products to chose from including:
5 stamp sets,
2 packs of designer series paper,
1 all inclusive card kit,
a bakers twine and sequins combo pack.
Level 2 items are free products earned for every $180 spent. You can chose from:
a die set that co-ordinates with one of the free level 1 stamp sets,
a flower punch that co-ordinates with one of the free level 1 stamp sets
a stamp set and embossing folder bundle.
Here’s how it works. If you spend $270 you can then choose three level 1 items or one level 1 item and one level 2 item. This gives you flexibility to choose what they want…and there are so many co-ordinating items!
Hosts earn free products and an exclusive stamp set
If you host a party (or place an order greater than $500) you will also receive another free Sale-A-Bration product – the exclusive Little Ladybug stamp set. This stamp set really is the cutest set and from February 1 you can purchase matching dies!
New Demonstrators – it’s never been a better time to join!
If you’re thinking of placing an order for $169 or more why not become a hobby demonstrator? You can drop your demonstrator-ship at any time and there’s absolutely no obligation to continue purchasing products after your initial order.
If you join Stampin’ Up! as an independent Stampin’ Up! demonstrator between 3 January–31 March 2020 will receive:
$235 of product of your choice, free postage and business supplies,
your choice of a stamp set from any current catalogue (host stamp sets and Sale-A-Bration stamp sets not included).
Would you like me to send you a catalogue?
If you’d like me to post you your very own copy of the Sale-a-bration Catalgoue, January-June 2020 Mini Catalogue, the 2019-20 Stampin Up! annual catalogue or to simply find out about more about Stampin’ Up! contact me.
Looking to learn new techniques or for some creative inspiration?
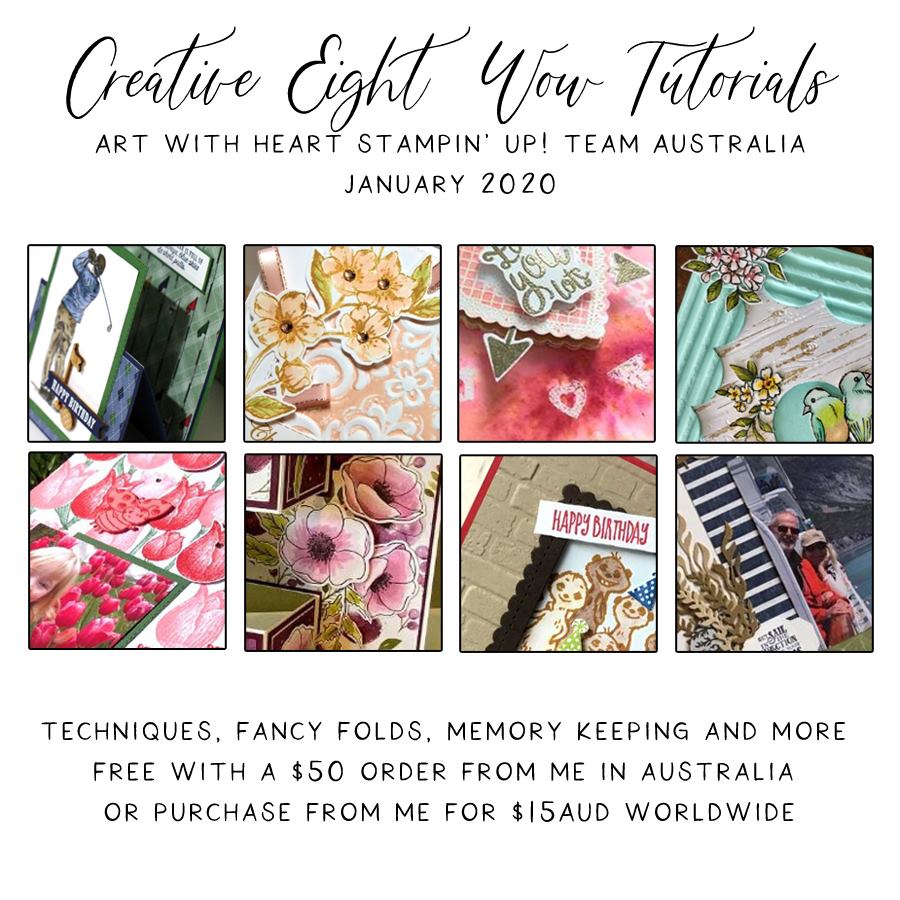
If you love to learn new techniques or you’re looking for a little creative inspiration, I’m releasing a brand new series of monthly tutorials called the Creative Eight Wow Tutorials.
I’ve collaborated with some of my Stampin’ Up! demonstrator friends to bring you eight inspiring paper craft tutorials a month for the next six months. The January edition of the Creative Eight Wow Tutorials is available now as a PDF download.
What’s included in each month’s tutorial bundle?
These monthly tutorial bundles are designed to help you create and to learn new techniques, as well as give you plenty of fabulous ideas for using current Stampin’ Up! products from the 2019-2020 Annual Catalogue, the 2020 Mini catalogue and the Sale-a-bration brochure.
Each monthly tutorial bundle includes eight tutorials, all with full colour photos, a supply list, measurements and comprehensive step by step instructions.
You will receive: two Fancy Fold PDF Tutorials, two Technique PDF Tutorials, two 3D or Scrapbooking PDF Tutorials (depending on the bundle mix that month0, and two Embossing Folder PDF Tutorials.
There is no obligation to purchase all six bundles. You can purchase just one or as many as you like…or even better earn them for free with a qualifying order from my online store!
How do you get it?
There are two ways of accessing this fantastic tutorial.
Get it for free!
That’s right, this month’s tutorial bundle is yours FREE with any $50AUD purchase from my online store here. The tutorial bundle will be automatically sent within 24 hours of order purchase.
Order it online for just $15AUD from anywhere in the world!
Or you can purchase this bundle for $15AUD from anywhere in the world as a PDF document that will be emailed to you within 24 hours.
You can pay with Paypal or credit card, simply click on the button below to order online.